
So, I actually bought a book called how to make your own soap about a year ago, took it home all full of enthusiasm, only to fizzle out once I realised that a lot of the recipes were full of rather hard-to-locate ingredients *sad trombone* I did enjoy looking at the pretty pictures though and dreaming a bit, not much else, kept on buying soap from the supermarket, blah blah blah… Fast forward to a few days ago, and I saw on ig a simply beautiful picture of castile soap Marilla had just made, and she mentioned how simple it was, only olive oil, water and sodium hydroxide! well that, I could manage!! I was inspired! Enthusiasm reignited! Immediately dove straight in; googled the youtube video she recommended, picked up the NaOH next time I went out. NaOH, aka caustic soda, aka lye, can be found in Bunnings in the heavy duty cleaner section.
Watching that youtube video, of course there were links to about a million other, soap-making videos, so I watched another, and another, fell down a bit of a rabbit-hole… who knew there were so many soap-making you-tubers??? Several of them prone to snarking on each other in the comments section, haha… but that’s another story! I did a bit of googling, and found some more simple recipes that also called for ingredients I could easily buy. By the way, I’m linking to the videos and recipes that gave me the proportions but I’m writing my own recipes here too… why? Several reasons: it’s a little annoying to have to sit through a whole video just to catch that moment when they mention the ingredients and quantities they’re using; secondly because I had to convert everything to metric, which is actually a pain in the neck and I don’t want to have to do it again the next time I want to make soap; and thirdly; I’ve altered some of the quantities to better fit in with a. the quantities of things I can buy here and b. for next time what I think is going to make a decent and manageable quantity of soap.
I made three types of soaps, pictured above from left: Castile, or pure olive oil soap, pure coconut soap, and buttermilk soap. I bought all the ingredients from the supermarket apart from the NaOH, which I got from Bunnings. It was lots of fun making soap… and far easier than I thought! 🙂
Since I’m writing recipes here : a few very important safety notes on working with NaOH, or caustic soda… long term readers may know that I’m an analytical chemist, and I spent years working with chemicals day in day out, and when you do that you can get a little lackadaisical with the handling of very dangerous chemicals. But never ever with stuff like NaOH! it is a very strong alkali; highly corrosive and potentially explosive if not handled correctly around, say, water, which you are doing when you’re making soap. So!

WHEN HANDLING NaOH, ALWAYS WEAR RUBBER GLOVES, PROTECTIVE EYEWEAR AND CLOTHING THAT COMPLETELY COVERS YOUR ARMS.
- Never let it get into contact with your skin. When mixing into water, work outside as much as possible so as to avoid inhaling the fumes. Never under any circumstances put your face over or near the container you are mixing it in.
- Ensure you are not going to be disturbed for the time you are working with it. Keep all pets and children well away.
- If you must take your lye solution inside, keep all windows open and work underneath a range hood with the fan on full blast.
- In the case of spills, clean up with copious amounts of water… i.e. a garden hose if outside. If you do happen to splash some on your skin, IMMEDIATELY put the affected area underneath a tap, and flush with water running fully over the area for several minutes at least. If you can see a visible burn or the area continues to sting and burn after copious flushing then seek medical attention immediately. NaOH is not to be trifled with!
Making your lye solution; FOR ALL RECIPES: When mixing NaOH into water, put the full volume of your cool or cold water into a clean, thick sided, glass container that has no cracks, and can hold at least twice the volume of the water you are working with. Add the NaOH to the water, a little at a time, stirring with a metal spoon. You can stir with a wooden spoon, but you may find the solution gets a little discoloured with tannins from the wood. NEVER add water to NaOH, ALWAYS ADD NaOH TO WATER. This is because as NaOH dissolves in water it generates heat and fumes, and is potentially explosive. If you have trouble remembering which is the correct way to mix the two: when I was at school we learnt this little ditty… and the exact same principle applies to working with a strong alkali like NaOH.
(Picture of a gravestone)
“May her rest be long and placid,
she added water to the acid;
The other girl did as she ought-er,
and added acid to the water”
Substitute alkali for acid, it’s the same situbar. After the solution mixes clear, it will be quite hot. Do not seal the container. Supervise it until it cools before using.
Having said all that, I hope I haven’t unnecessarily scared anyone off! as long as one is careful, knows what is going on with it and has a healthy respect for the dangers, and follows all the above simple and common sense safety rules, you should be fine. On with the soap-making!
Each recipe should make 18 bars of soap approximately the size pictured, give or take a little

Castile, or pure olive oil soap… (rating 4/10)
1kg olive oil… I used an extra virgin olive oil… do not know if this makes any difference
280mL water
130g NaOH
See the above safety note for handling and mixing lye. Outside, carefully add NaOH to the water, a little at a time and stirring. Let it sit for a few minutes, uncovered and under constant supervision, until jar feels lukewarm and no longer hot, and fumes are no longer visibly emanating from the surface before mixing it into the oil.
Pour NaOH solution all at once into the oil, and commence mixing with the stick mixer not running. After a few minutes of this, turn the stick mixer on and keep mixing for about 10 minutes or until the mixture becomes visibly “gelatinous” in appearance.
this was my first effort, and got me hooked, it was so easy and quick! My olive oil was quite a strong green colour, and the mixture looked pretty swampy while I was mixing it, so I was pleasantly surprised at how the colour mellowed and softened into this beautifully soft and creamy, greeny-yellow. MUCH nicer!! We have an olive tree, so I snipped a few leaves to decorate my soap bars.

My second effort was this rather dreamy Coconut Soap ( 7/10)
900mL coconut oil
340mL water
125g NaOH
See the above safety note for handling and mixing NaOH. Leave the solid coconut oil out in the sun, or even sitting in your car or something until it’s completely liquified. Procedure is otherwise exactly the same as for the castile soap, above.
 So, I’ve had a large jar of coconut oil sitting in my pantry for the last ten years or so; we’d bought it for Cassie to make a “beachy waves” hair product that required about 1 tablespoon of the stuff. The hair product was horrible, made your hair revoltingly greasy, and so the jar has sat untouched in our pantry ever since. Well guess what?! *throws a party* finally found a use for it!!!!
Note: I found this mixture gelled more quickly by comparison to the previous mixture, and was a noticeably more solid gel too. LOVE the heavenly pure white colour… like meringue! and I sprinkled some shredded coconut flakes over the top, just for decoration. Afterwards I thought I should have stirred some coconut through the mixture before pouring into moulds, it might make a nice exfoliant in the soap. Next time maybe!

Buttermilk soap (9/10!)
based on this recipe, though I didn’t watch the video… I’d watched enough videos by this time that I was like… got it!!
240mL buttermilk
800mL regular olive oil.. this one was a much paler yellow in colour, not as green as the variety I used for my castile soap
145g coconut oil
125g NaOH
Pour the buttermilk into ice-cube moulds and freeze. Once frozen, tip into a glass jar with a capacity of at least 500mL. Add the NaOH –see the above safety notes – and stir until dissolved. As the two mix, the heat given off will cause the buttermilk to melt quite quickly. I guess this is why you freeze it in the first place, so the heat of this reaction doesn’t burn the milk, or cause it to curdle.


In a large separate bowl, mix the oils, and add the buttermilk/NaOH mixture, and proceed just as previously described.
 Compare the mixture’s rather strong yellow colour above with the much paler colour it takes on as it sets and dries, below.
Note: I found this mixture took quite a lot longer to reach the “jelly” stage than the previous two recipes.

So that’s it! For moulding the soaps, I used a silicon, 6 capacity muffin tin and a 20cm x 20cm metal cake tin lined fully with baking paper, and let them sit for 24 hours before removing from moulds and cutting.
the buttermilk mix…

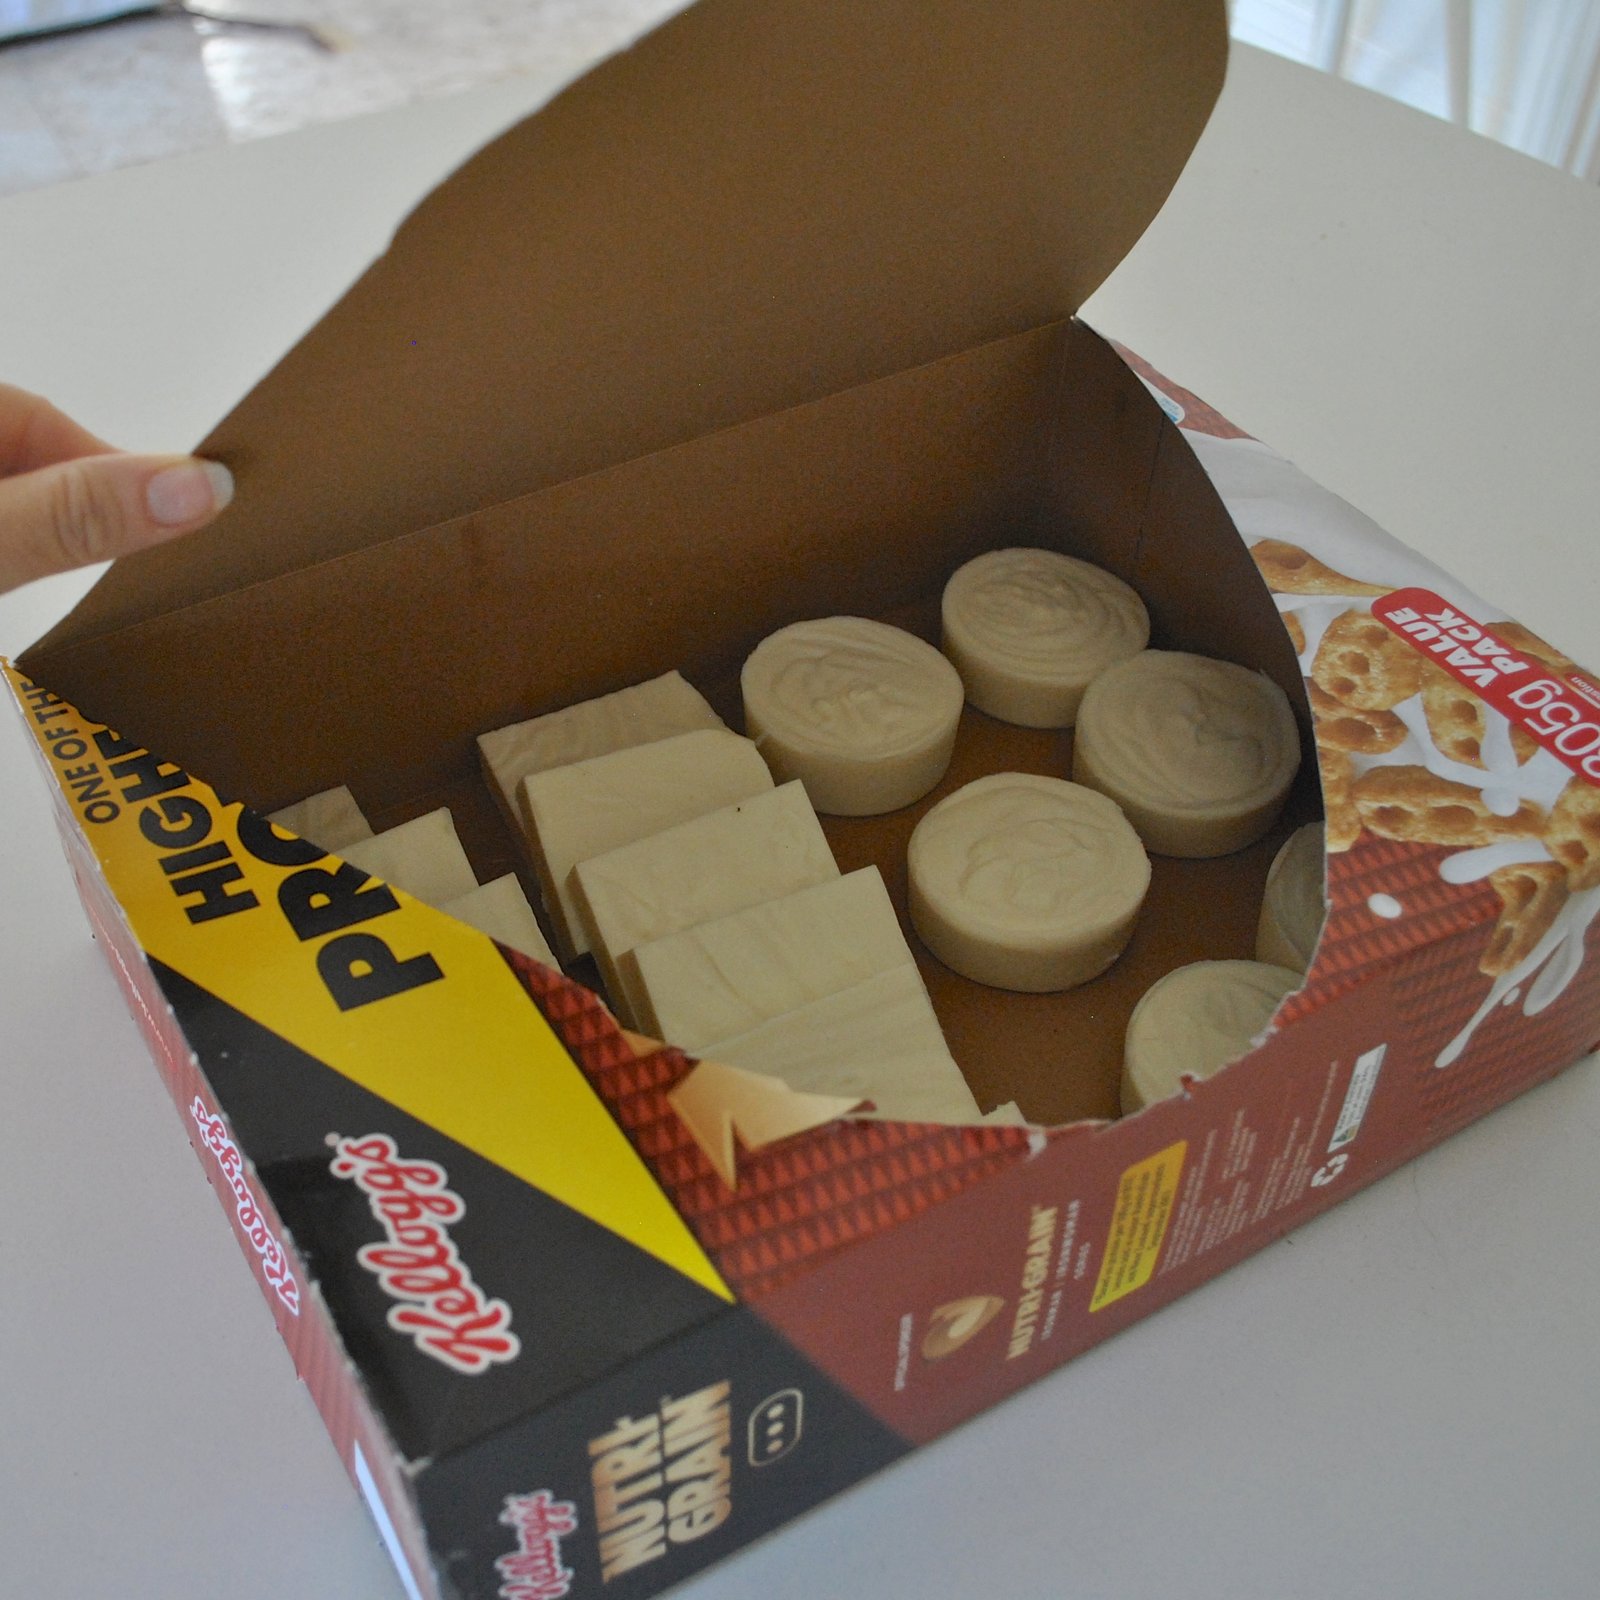
The muffin “tins” were great because the soaps just popped out ready formed and don’t need any further shaping… but I like the more conventionally shaped bars I cut from the slabs of soap too. The soaps need to cure for at least 6 weeks in a non-airtight container before using; I used old cardboard cereal boxes and have stored them up high on my overhead kitchen cabinets so they’re out of the way.
buttermilk soaps
I can hardly wait until they’re ready! My pouring skills drastically improved with each batch, so my castile soap bars started out a bit messy with blobs of soap slopped up on the sides, a little rough and ready, the coconut soap is still kinda choppy but more attractively so, and my buttermilk soap bars are smooth and silky things of beauty to my eyes! I’m reeeeally looking forward to when they’ve all finished curing so we can try them out. According to my reading, if you start using them too early before they’re fully cured, homemade soaps will wash away faster and be used up too quickly, which would be a waste… we don’t want that!

the whole lot…I’m roughly estimating that this might be… maybe, a year’s? supply? though I’ve never really kept tabs on “how much” soap we use so that’s a pretty wild guess and I’ll have to wait and see.,.
I read that olive oil soaps apparently don’t give as much lather as other oil soaps, again we shall wait and see!
When I’ve tested them all out I’ll come back here and write an update! Stay tuned!
Update: so I’ve rated the soaps up there…. clearly my favourite is the Buttermilk soap, with a rating of 9/10… I love this soap! silky smooth and beautiful to use, and a lovely very soft, unobnoxious fragrance.
The Coconut soap I’m giving a good solid 7/10; although it has quite a hard texture I don’t mind this too much in a soap, but I am deducting a few points just for that. It has a nice, very subtle fragrance, and coconut is one of my favourite fragrances.
The Castile, or pure Olive Soap is sadly my least favourite of the bunch, it turned sloppy in the soap dish quite quickly and actually dissolved very quickly too. I’m not ruling out that I made some boo-boo while making it, it was my first go at soap-making after all! but all the same, I think I just prefer the others… 4/10
The other soaps I’ve made, Macadamia (7/10) and Avocado (5/10) are blogged here.


Impressie! And tempting to try it too. I wonder how they smell!
thank you Lies! I prefer my soaps to be mostly unscented, so they only have the slightest of scents. The coconut soap smells very faintly like coconut, and the other two have that faint musky smell of olive oil.
Lovely! The lye part sounds a bit scary, since I’ve got two inquisitive toddlers running around these days, but it sounds quite simple to do. Since said inquisitive boys mean that I won’t be putting lye on my shopping list in the immediate future, I’ll be waiting to see how they work out for you. 🙂
thank you Becky! hehe, I don’t what it says about me that my own inquisitive toddlers would not have put me off trying something like this for even one minute! but you are very sensible I think!
Carolyn, I have been making soap for several years, and that is not a year’s supply of soap. Wishful thinking, I think. You will need to cure the olive oil soap for at least 6 months, but much better for a year. Castile is very slow to cure. And I fear the coconut soap will eat you alive. Coconut oil in soap provides a lovely lather, but strips all oil from the skin and dries the skin. You really should use an online soap calculator to determine your recipes. It will give you a score for a guideline on how balanced your recipe is. There are not many recipes that utilize only one oil that are worth making. Having said all that, this looks like a wonderful start! I recommend that you read a soapmaking site like soapmakingforum where you can peruse all the expert experience that is available. And I generally use soapcalc for recipe design, but there are many others. You don’t have to use a lot of expensive ingredients to make a wonderful soap. One of my favorite ingredients is lard. It makes a creamy lather that is is very nice. Your soaps are lovely. Hang in there! This journey is fun!
thanks for the feedback Becky! and for the advice to use an online soap calculator, I didn’t know they existed but now I’ve had a lookI can see what a very useful resource that will be. I will definitely give lard a go 🙂
I really appreciate your lucid instructions for lye safety! I have been wanting to try soapmaking for years and have always been put off by the lye-but no more. Your soaps look lovely!
thank you very much Erin!
I have been making soap for years. I keep a jug of vinegar handy to splash on if hit by the lye water. I wear heavy rubber gloves, goggles and a protective apron as well. I use the following calculator to figure out recipes. http://soapcalc.net/calc/soapcalcWP.asp My favorite is a mix of olive oil, coconut oil and shea butter. I usually put some lavender oil in it for a bit of fragrance too. I also make a lemon , poppy seed scrubby soap for use by the gardeners in the family. I am in Canada and I order all my supplies from Voyageur Soap and Candle in Surrey BC. They are amazing and have lots of organic oils and butters, as well as natural colourings and fragrance oils. I try to keep things simple, but like anything creative sometimes you want to jazz it up.
I have to agree with Becky to watch using just one oil…especially coconut, as that one is very drying unless you superfat the recipe.
Happy soap making!!
Barb
thank you for the recommendations, Barb! I will definitely have to hunt out some more ingredients for myself. I think I’ve caught the soap-making bug, aaaargh!
Your soaps are beautiful; I hope you enjoy them. Because of sensitive skin I used to make all my own soap; I used olive oil only. I like oval bars so used empty hand lotion plastic bottles for molds. The bottles have to be cut open anyway to get all the lotion out. To remove the soap, just slice the bottle open at its largest diameter with a hardware knife and push the soap through. My grandmother used to have boxes of bars of soap, resting on coarse cloths, in the attic for their cure.
thank you Carol! It’s good to hear that olive oil is nice for sensitive skin; I’m quite excited to try some other oil combinations too. It’s going to be really hard waiting for them to cure!
Fabulous! I bought a book in an op shop years ago and had a play, and now you’ve inspired me to have another go as I only buy handcrafted soap and it costs a fortune. Have you heard of Aussie Soap Supplies in South Freo? They have lots of different soap making supplies but the ingredients are expensive. Olive oil soap should last a long time if it is dried out properly between uses.
thanks Sue! I hadn’t heard of that store, will definitely head over to check it out one day . It’s always good to support local businesses 🙂
This looks fascinating. I’m not certain that I’d try … but I just might. I love hand made soaps but they can be very expensive!
Kim, it really is very easy! 🙂
Coconut soap gives the richest lather of all. It’s great for all uses. I use it to wash the dishes, the clothes, to take a bath, to wash my hair, everything. Love it. Castille soap is mild on the skin, you will like it for sure. I never tried buttermilk soap.
thank you Beatriz, I’m so excited to try them soon 🙂
Such beautiful soap!! Your unbridled enthusiasm for soap-making comes through your post and how fun to see you embark on another creative journey!!! 🙂
thank you so much Lisa! xxx
Lovely soaps. I fell down that rabbit hole many years ago. Once you get the hang of cold process soap you can also give hot process a try. Helps when you want a fresh batch right away….cures just about immediately.
thank you Pam! I want to investigate hot process soap but the ingredients seems a lot harder to source here where I live
They all look so lovely.
As I read your post I was quite imagining how its done.
Thanks for sharing…
and now you can share those soaps to family and friends too.
Ann
thank you Ann 🙂
oh YAY! I love that you’re making your own soap! I’ve been doing it for a couple years, and it’s really fun. I only like to shave with superfatted olive oil soap (low water ratio). I make my favorite with salt water, orange 10x and black pepper essential oil (EO) from the Natural Soap book. I make a few others too, but that’s my favorite and the only one I don’t tweak much other than extra EO. Have you gone down the rabbit hole of Bramble Berry yet? Emulsifying your own lotion? Lip balms? GAH. So much fun being a kitchen-chemist. You’re going to love it.
PS – you don’t have to let it cure for a whole 6 months or a year – it just won’t last as long/be as hard. It’s not the end of the world. Make more, experiment, give away extras at holidays/birthdays. I like coconut oil soap and blends just fine – you’ll find what you like, and what you don’t love with all your heart makes great re-melted ‘shower gel’ or hand soap or gifts, or grated as “speckles” into another bar or that on-top decoration you’re looking for…. Making soap is a LOT like sewing. You’ll find your groove and what works for you, but there’s no one ONLY way. xoxo
thanks so much for the boost of encouragement sewbeckyjo! that’s so sweet of you and I really appreciate it xxx
These look so yummy. Thank you for emphasizing protective gear around NaOH. My friend, who makes soaps, had a blow up one day that caused severe burns and almost cost her eyesight in one eye.
Hello Carolyn, please, please, please please , please always weigh your oils. 800mls of Olive oil are are about 720grms, depending on its temperature. So your buttermilk soap is barely superfatted.