
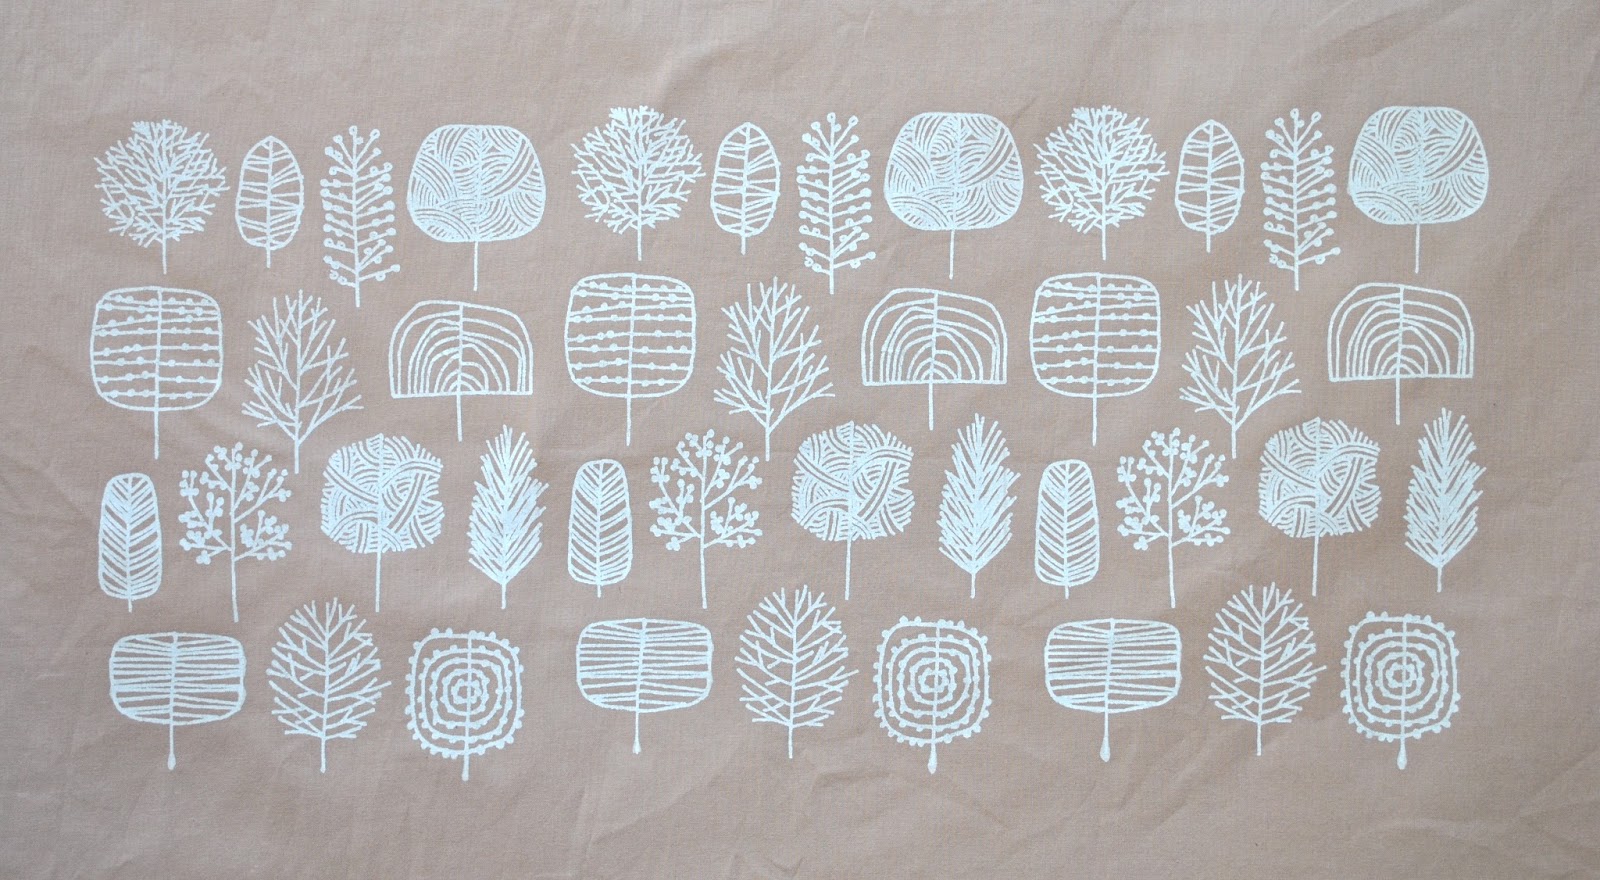
A very simple little print, but finally one with which I am satisfied… maybe because this design is not my own?! This is a design by Eloise Renouf, which I re-drew free-hand to improve the resolution for a screenprint. I
LOVE her designs; and they strongly remind me of the Figgjo crockery that our family used every day while I was growing up. Such stylised naive interpretations of nature really inform my own tastes to this day I think. I’m plunged straight back into my childhood whenever I look at them 🙂
LOVE her designs; and they strongly remind me of the Figgjo crockery that our family used every day while I was growing up. Such stylised naive interpretations of nature really inform my own tastes to this day I think. I’m plunged straight back into my childhood whenever I look at them 🙂
As
well as the pretty design, my execution went sooo well this time too. No boo-boos! The print is very simple, which helped a lot!
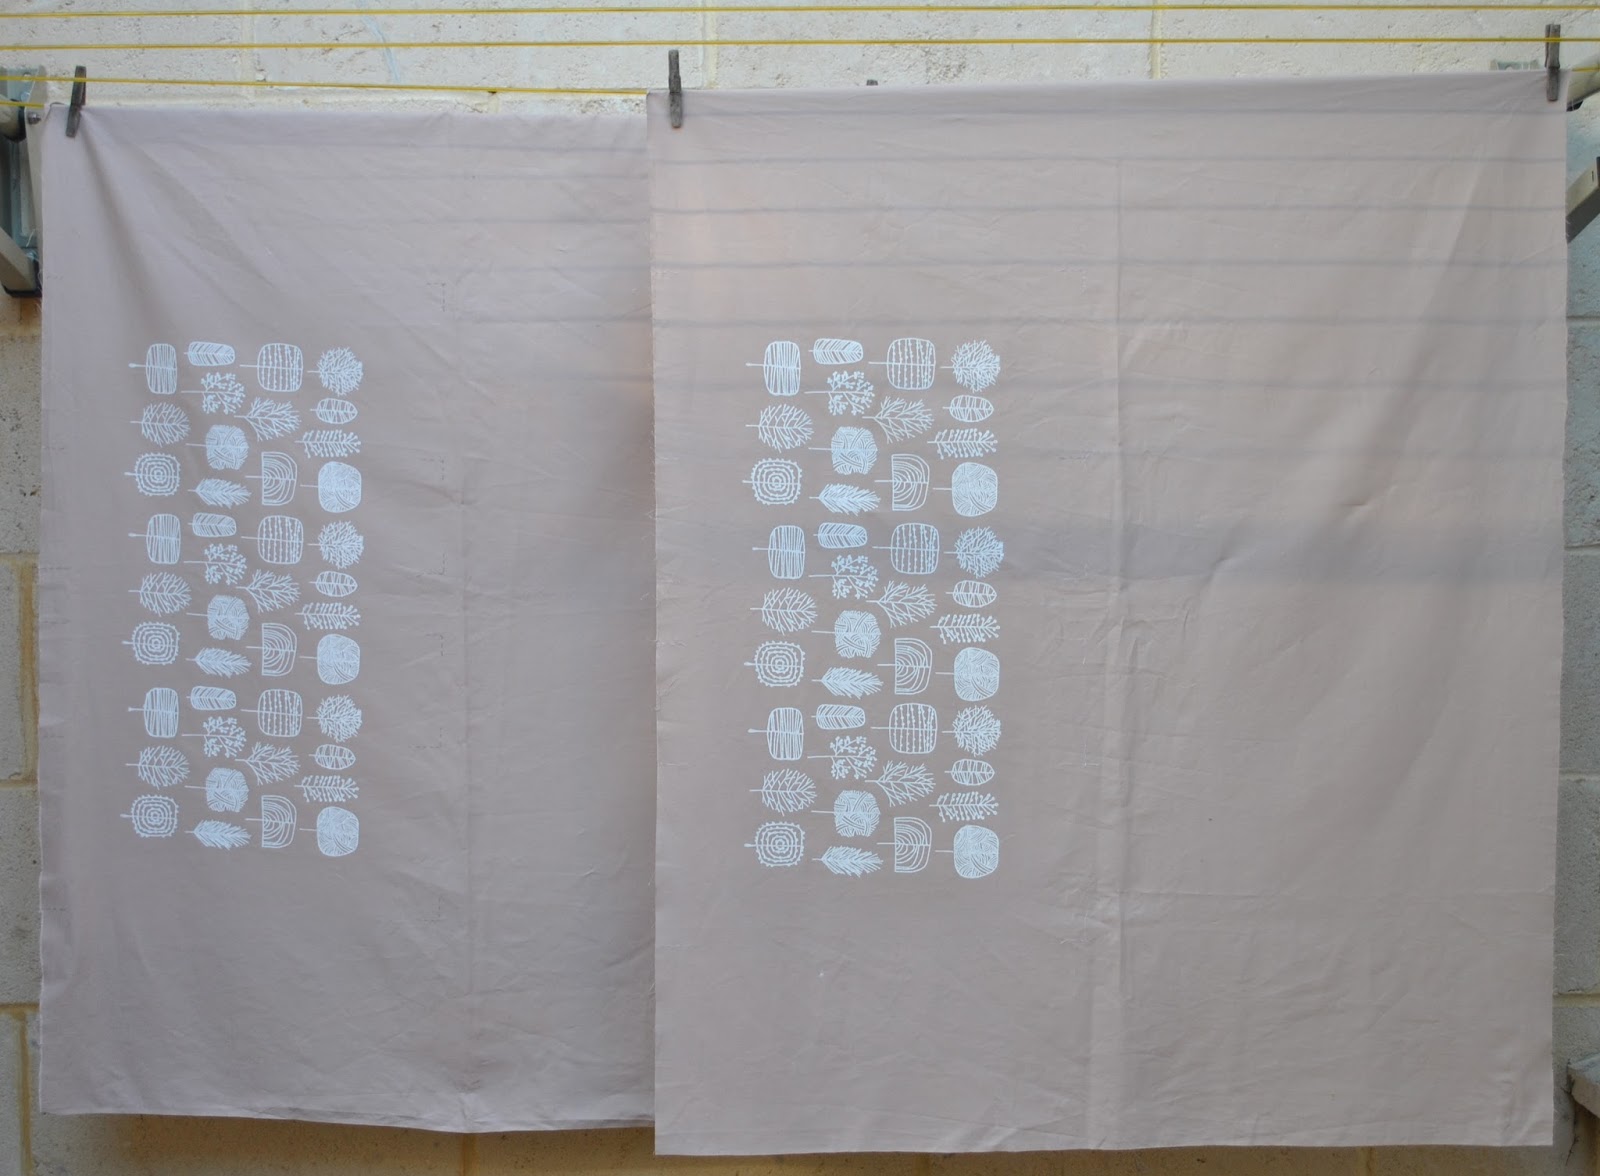
just one colour, with three repeats each on two pieces of fabric.
The fabric is lightweight, cafe au lait cotton broadcloth from Spotlight.
well as the pretty design, my execution went sooo well this time too. No boo-boos! The print is very simple, which helped a lot!
just one colour, with three repeats each on two pieces of fabric.
The fabric is lightweight, cafe au lait cotton broadcloth from Spotlight.
I
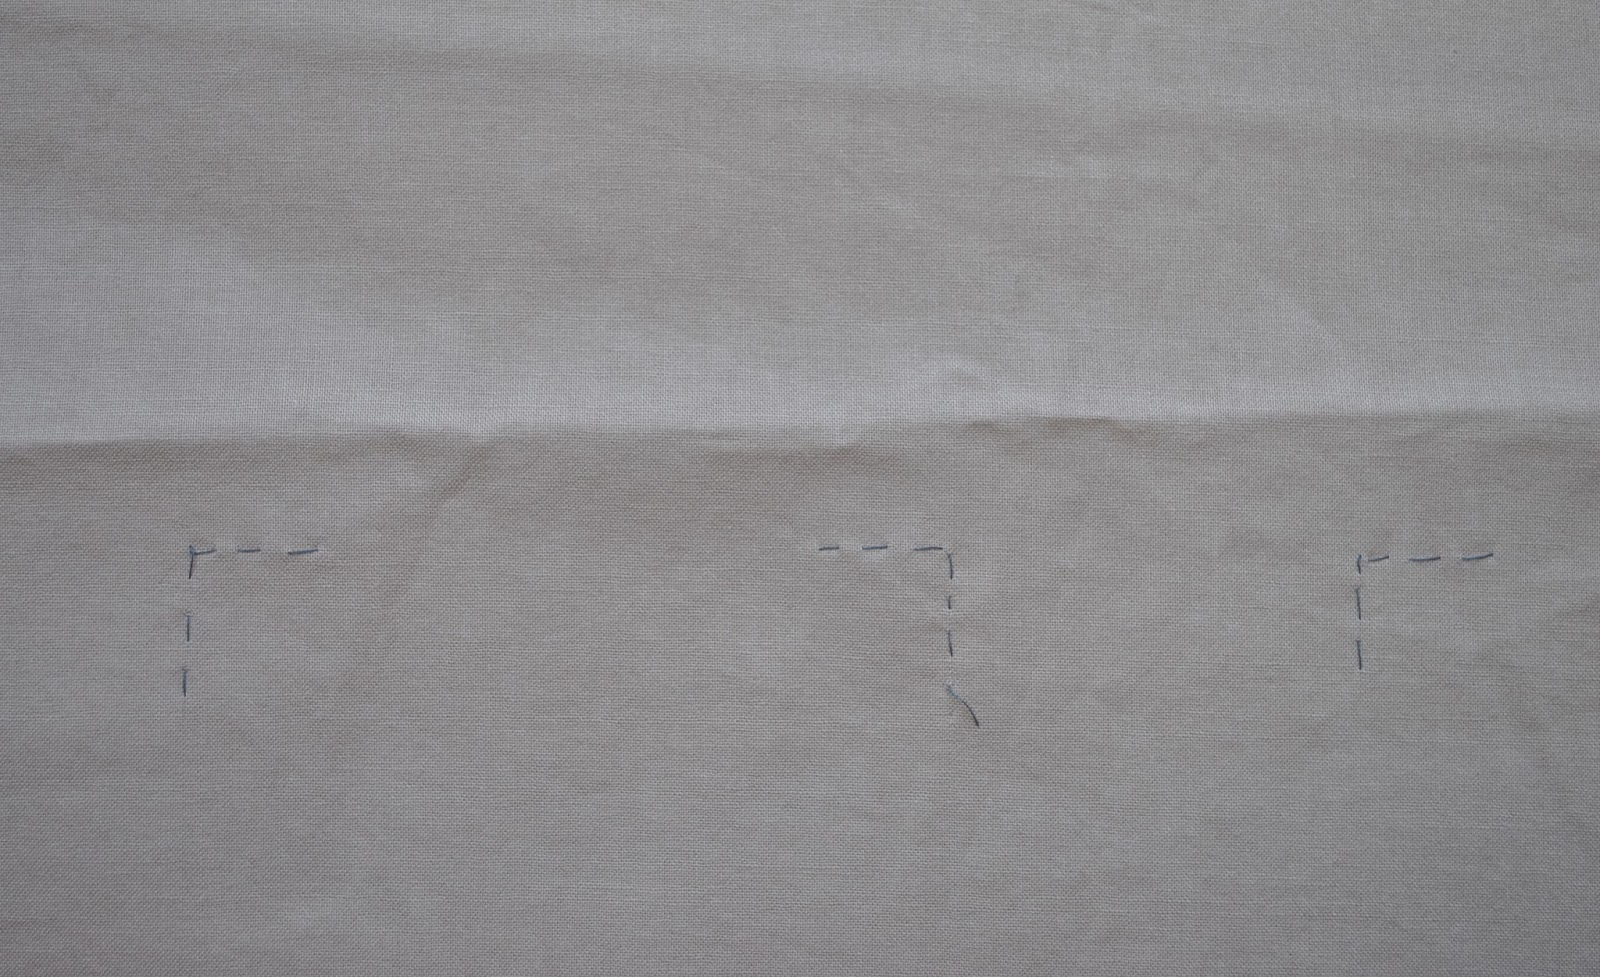
was super careful about marking for the repeats this time; I went down the same path as for the murky blocks design and tacked thread-lines at the corners of
each screen placement, and this paid off big-tiiime! with very easy and stress free placement. It may take a bit of
extra time and planning, but doing this is well worth the effort and I will not
ever ever shirk doing this properly ever again. With my previous design, the autumn leaves, I was really pushed
for time in the class and just quickly marked the corners with lightly pencilled-in crosses, but
this was a pretty lazy and slapdash method really.
The sameness of them, and the proximity of different crosses for
different placements to each other was confusing and I was a bit disappointed
with how the registration turned out. Note to
self: do NOT try to save time on marking the placement spots. In fact, spend the MOST time on this bit. Srsly!!!
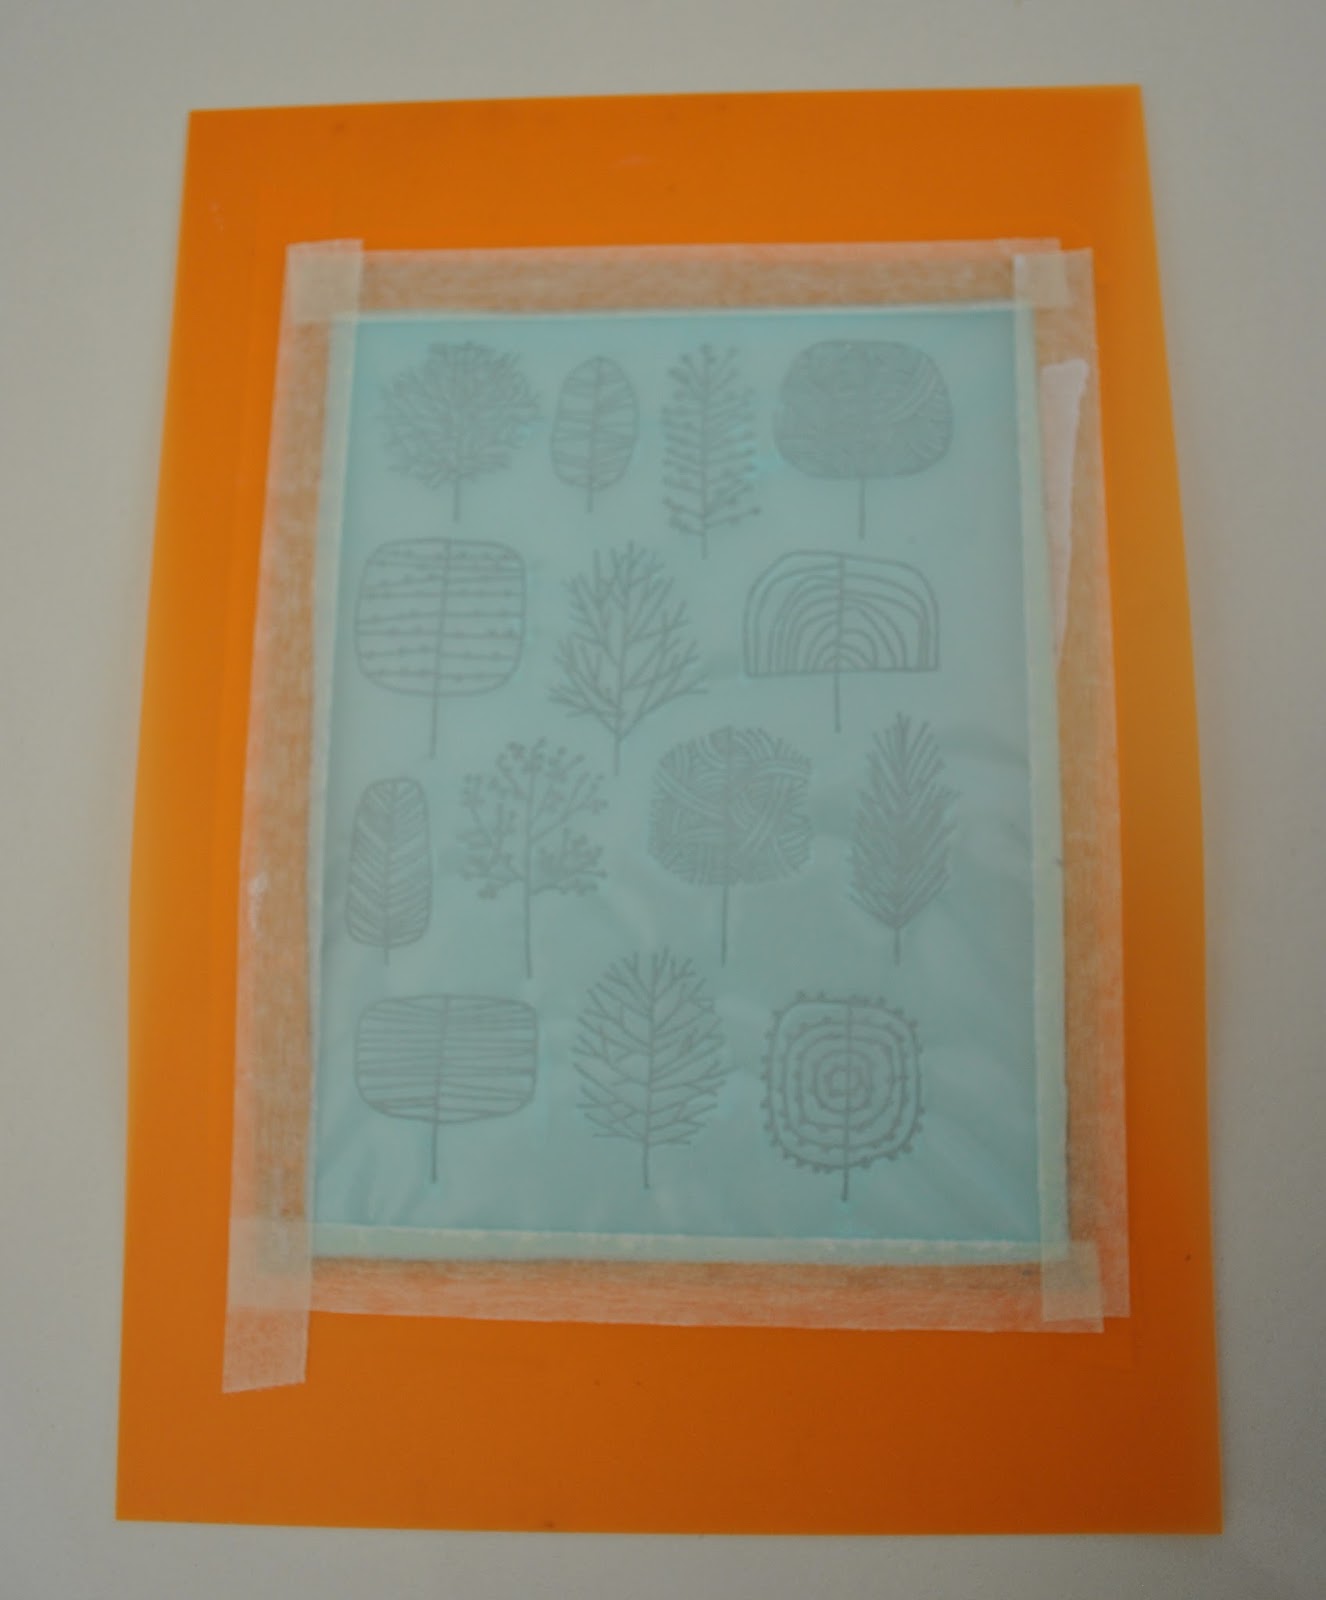
Unlike
my previous stencils, which have all been paper stencils hand-cut by moi with a
craft knife, this time my drawing was scanned and transferred to a permanent
bonded stencil. The advantages of this are obvious; it can be used over and over and lasts almost indefinitely, depending how well you look after it, and design-wise you can dispense with the bridges needed to join all the negative spaces in your design so they don’t fall off. Also the stencil and screen are all in
one, bonded together, so you don’t even need a separate screen.
Downside; it costs more.
It’s
probably pretty easy to see that my print is a border. A border for a mysterious… something, hehehe. Something summery, of course! I do have a plan…. which will appear here soon, when I can
get around to both making it, and then wearing it, and photographing it. Lately, I’ve been zooming along supersonically with the first task on that list, and lagging behind with the
third… since I have a little queue of finished new spring projects just waiting to be worn and pictured.
Oohh. You're skills are just getting better and better. That is a lovely design!
That's a lovely design – my favorite so far. Non-screen printer's stupid Q, though – why are your prints only on part of the fabric & not across the entire fabric? Love it nonetheless. It's so very organic looking.
My favorite too! So lovely Carolyn.
Love your print so much. Can't wait to see it made up.
that print is so simple but effective, my favourite by far.
Looking forward to seeing the spring outfits.
A very cool print. You are making some amazing textile prints here, can't wait to see your border print garment!
Just amazing Carolyn! Love this!
i love this print! it's just darling, can't wait to see what you make with it! 🙂
So lovely… and I know what you mean about the crockery – it is very reminiscent!
What a gorgeous print. I am learning so much from your posts. Can't wait to see you final project.
Awesome, awesome, awesome!!! Can't wait to see what you make with this!
Your experiments in screenprinting are so very beautiful, and huzzah for you take the sewing your own clothing one step further and printing your own fabric! I am not sure what you mean when you say that "my drawing was scanned and transferred to a permanent bonded stencil"… is this some sort of commercial process that one can send a drawing out somewhere and get a stencil back?
Alison; yes, there is, but I don't know much about it yet, I'll have to get back with more details once I learn more 🙂
That is gorgeous. Your screen registration skills are improving so quickly!
But, I'm a bit confused. Was your design "inspired by" or a copy of Renouf's design?
Designs on fabric (prints) are copyrighted so mechanical reproductions of someone else's design are forbidden. Freehand, but literal, copies are in a legal gray area. But, no one has a copyright on free-hand tree designs.
I never meant to imply that your use is infringing on copyright.
Copying masters of a craft is an age-old learning technique and "fair-use". You are taking a class and copying professionals is how you learn why they make the design decisions that they do. Not only can you do it, serious students should do it.
You cited your source and provided a link back, which is very responsible.
Your blog is noncommercial, with no ads, so you gain nothing but learning (and teaching) from this post. All these factors weigh in favor of fair use.
However, I wanted to get the work out that one cannot sell works that are copies of others' work–even if transferred to another media. For example, quilts based on someone else's photograph can be made for your personal enjoyment, but those quilts cannot be sold.
Your hand-drawn replica for your personal learning and use is totally fair use.
For more info:
http://cyber.law.harvard.edu/cx/Copyright_Exceptions_and_Limitations
Oops, that should have said, "I wanted to get the word out…"
badmomgoodmom; Thank you, that is excellent advice 🙂
Love. It.
Wow, you are gaining skills rapidly. I like these trees a lot and can see many ways to use the screen. I also want to say your dress from last post is gorgeous. Thanks for sharing your button mishap as we sometimes need to hear that not everything goes smoothly! 🙂
Getting into print design opens up a whole new world of fabrics!! Good luck out there.
Amazing, you are really creating some wonderful designs/prints, looking forward to seeing what they all become.
Wow! This looks fantastic! I am so impressed with your scree printing, and loving that you are sharing your learning journey with us. Many great things to come! Thank you.
That is a lovely design. I doubt I'd come up with anything decent on my own design wise.
Classic colours and it's a very calming print.This is going to look wonderful.
Hi Carolyn,
How did you make that? I do not totally understand the technique, partly because I am French and English is not my mother tongue.
Could you please explain how you printed these trees on your fabric?
Valérie
Valerie; if you would like to learn how to screen-print, a good and clear explanation of the same process that I am using is here:
http://www.theguardian.com/lifeandstyle/2010/may/11/how-to-screen-print-tshirts-at-home
Dear Carolyn,
Thanks a lot for the link.
By the way, I've been following your blog for several months and I love what you create, I wish I could do the same !
Wow, your skills are building so fast – and I'll bet this could become quite an addictive interest!
What a beautiful print! I'm vicariously enjoying your foray into printing.
I know exactly what you mean about childhood influences. I have a weakness for 70's china and try desperately to resist my weakness for 70's clothes haha! Srsly though I love this print. It's very interesting following you learning a new skill.
Yay for spring coming around (and I almost don't mind fall coming, since the warm, colourful fall days are my second favorite time of year). Your border print is very pretty, can't wait to see your new spring/summer makes!
Yay for spring coming around (and I almost don't mind fall coming, since the warm, colourful fall days are my second favorite time of year). Your border print is very pretty, can't wait to see your new spring/summer makes!
Yay for spring coming around (and I almost don't mind fall coming, since the warm, colourful fall days are my second favorite time of year). Your border print is very pretty, can't wait to see your new spring/summer makes!
oooh, I love this! what are you going to make with it!
I'm just catching up on a long furlough from blogging & blog-reading – what a delight to see your creations! SO beautifully done, and inspirational!
Hi Carolyn, I am nina from http://www.forestandlakes.com.au/, blank t-shirts for fashion designer to DIY or Screen Printing! If intested, please contact with nina@forestandlakes.com
Carolyn, I love trees! So, I really love this screen print! Can you print it for a wall hanging? I think it would look great on a wall displayed plainly on stretcher bars, or stapled to an artist canvas! Happy Knitting and Sewing! BTW, are you on Ravelry?