A while ago, Caroline asked if I could go into more detail the next time I did a batch of dyeing, and yesterday morning I felt the urge to haul out the ol’ dye-pot again… so here ’tis! A short tute on basic, one colour, flat dyeing.
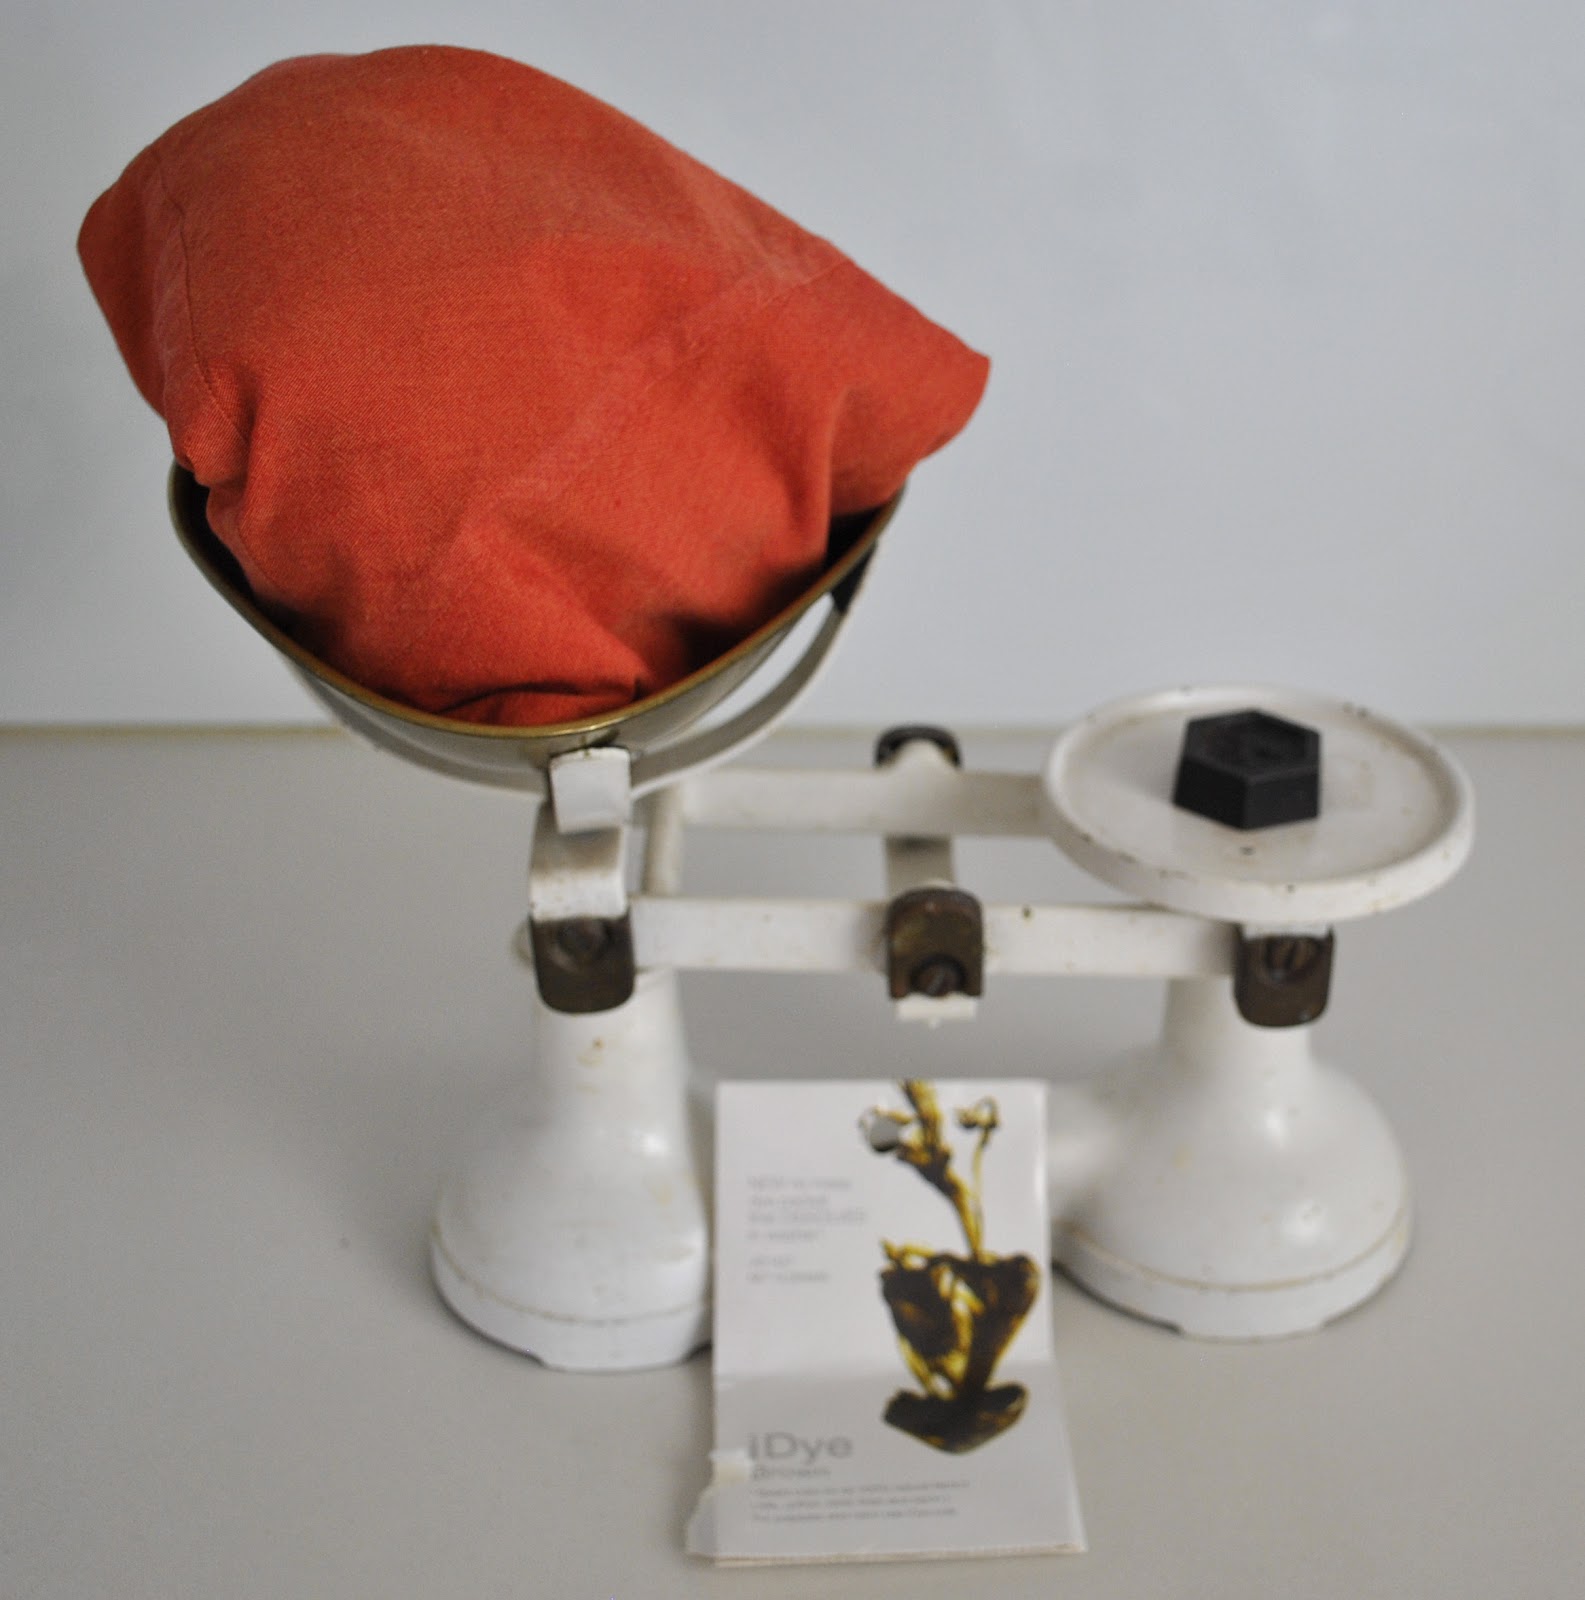
Firstly, if you are being scientific about this process, weigh your fabric and check the instructions on your dye packet to see how much is the recommended amount for this weight of fabric. This is the quantity that will give you the maximum intensity of colour the dye is capable of achieving in your fabric. If you are after a lesser intensity or a lighter shade then use less dye. The colour you will achieve is dependent on several factors: the quantity of fabric compared to the quantity of dye, the fibre content of your fabric and whether it is a mix of different fibres (different fibres react to and soak up dyes quite differently) and the existing colour of the fabric. All these factors play a part and it is impossible to pin down a definitive result without extensive tests of the sort that the average home-dyer is neither capable nor willing, so without said testing the final colour you will end up with will be a little surprise. Hopefully a beautiful and happy one! though naturally if your fabric is pricey or precious then DO do some testing!
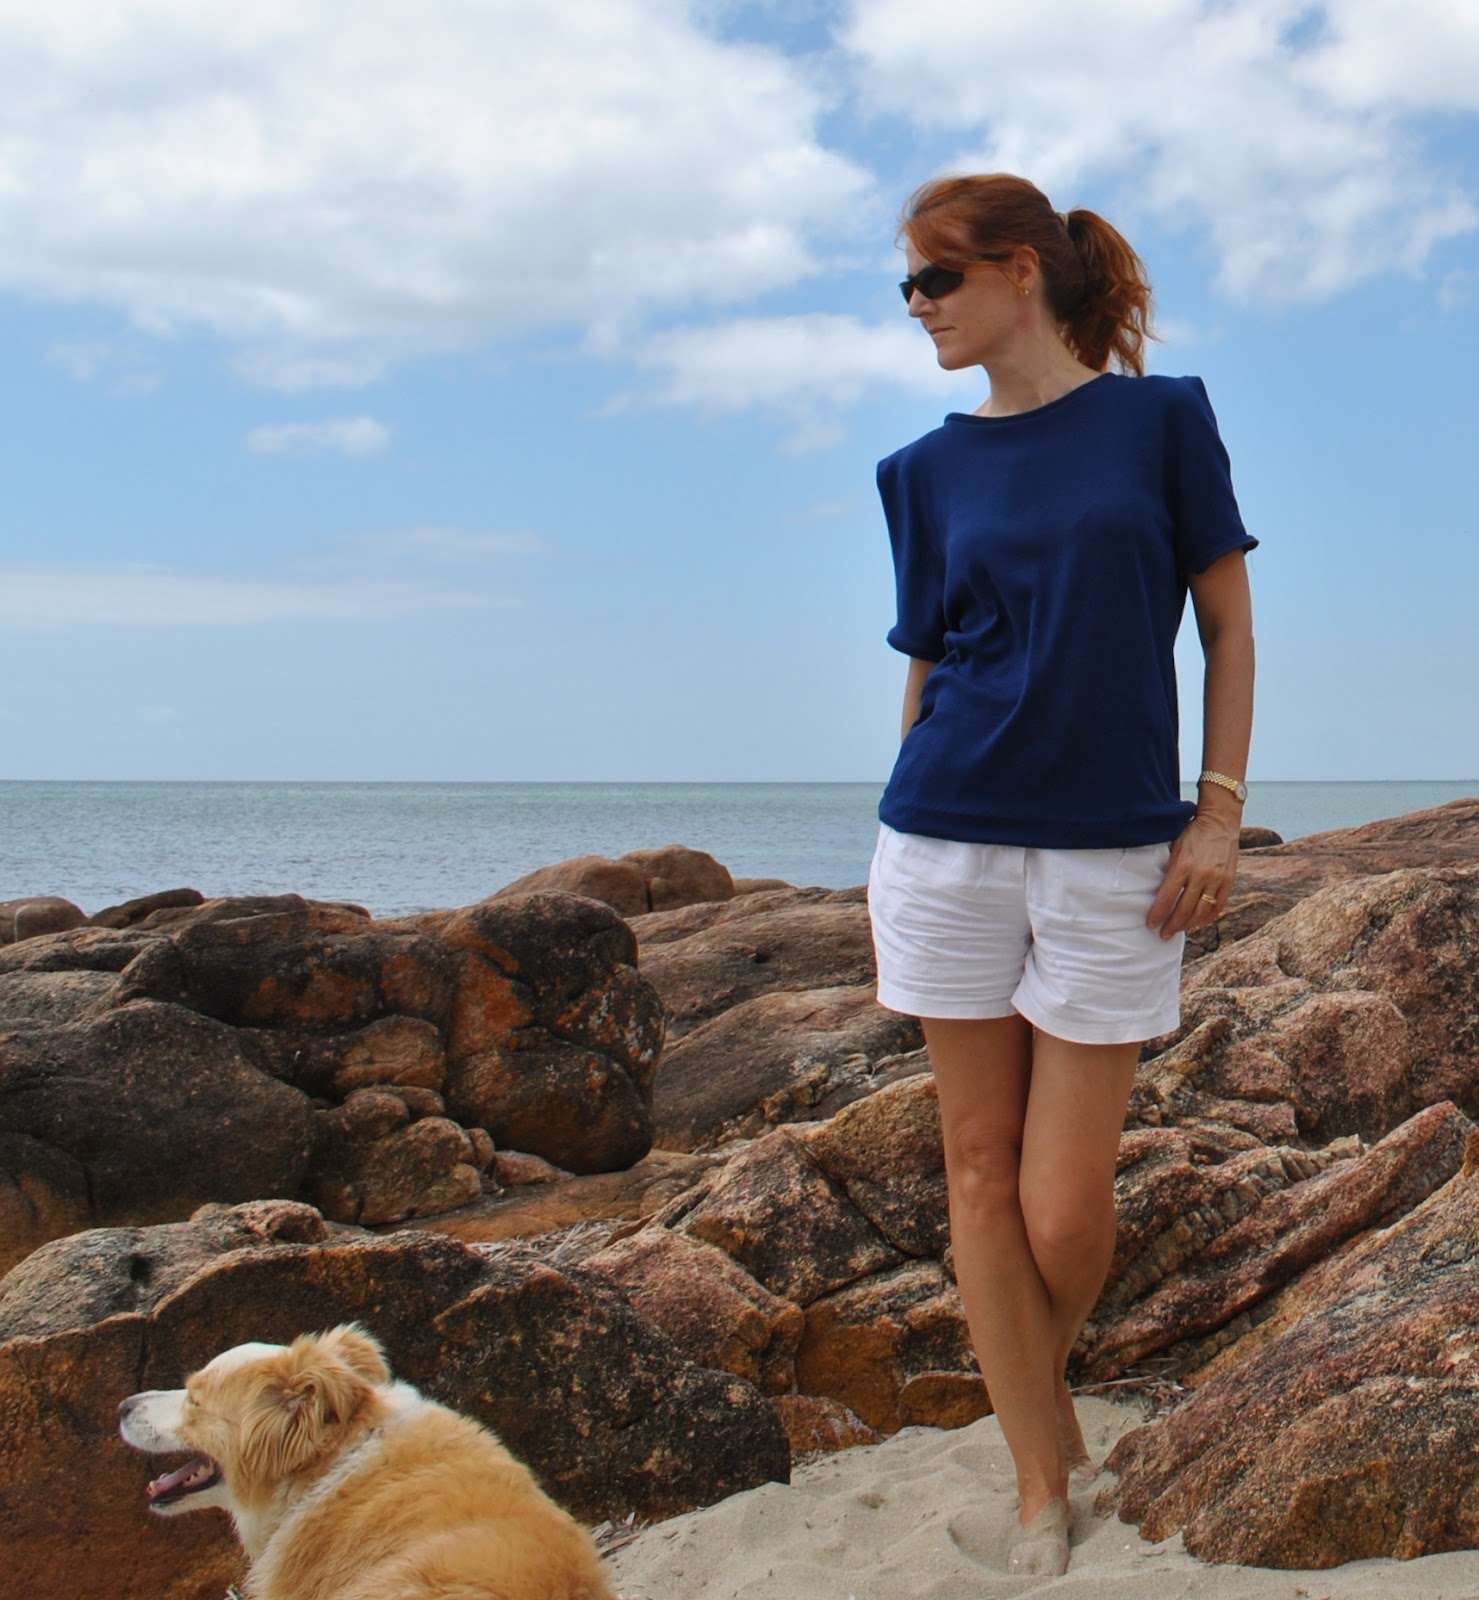
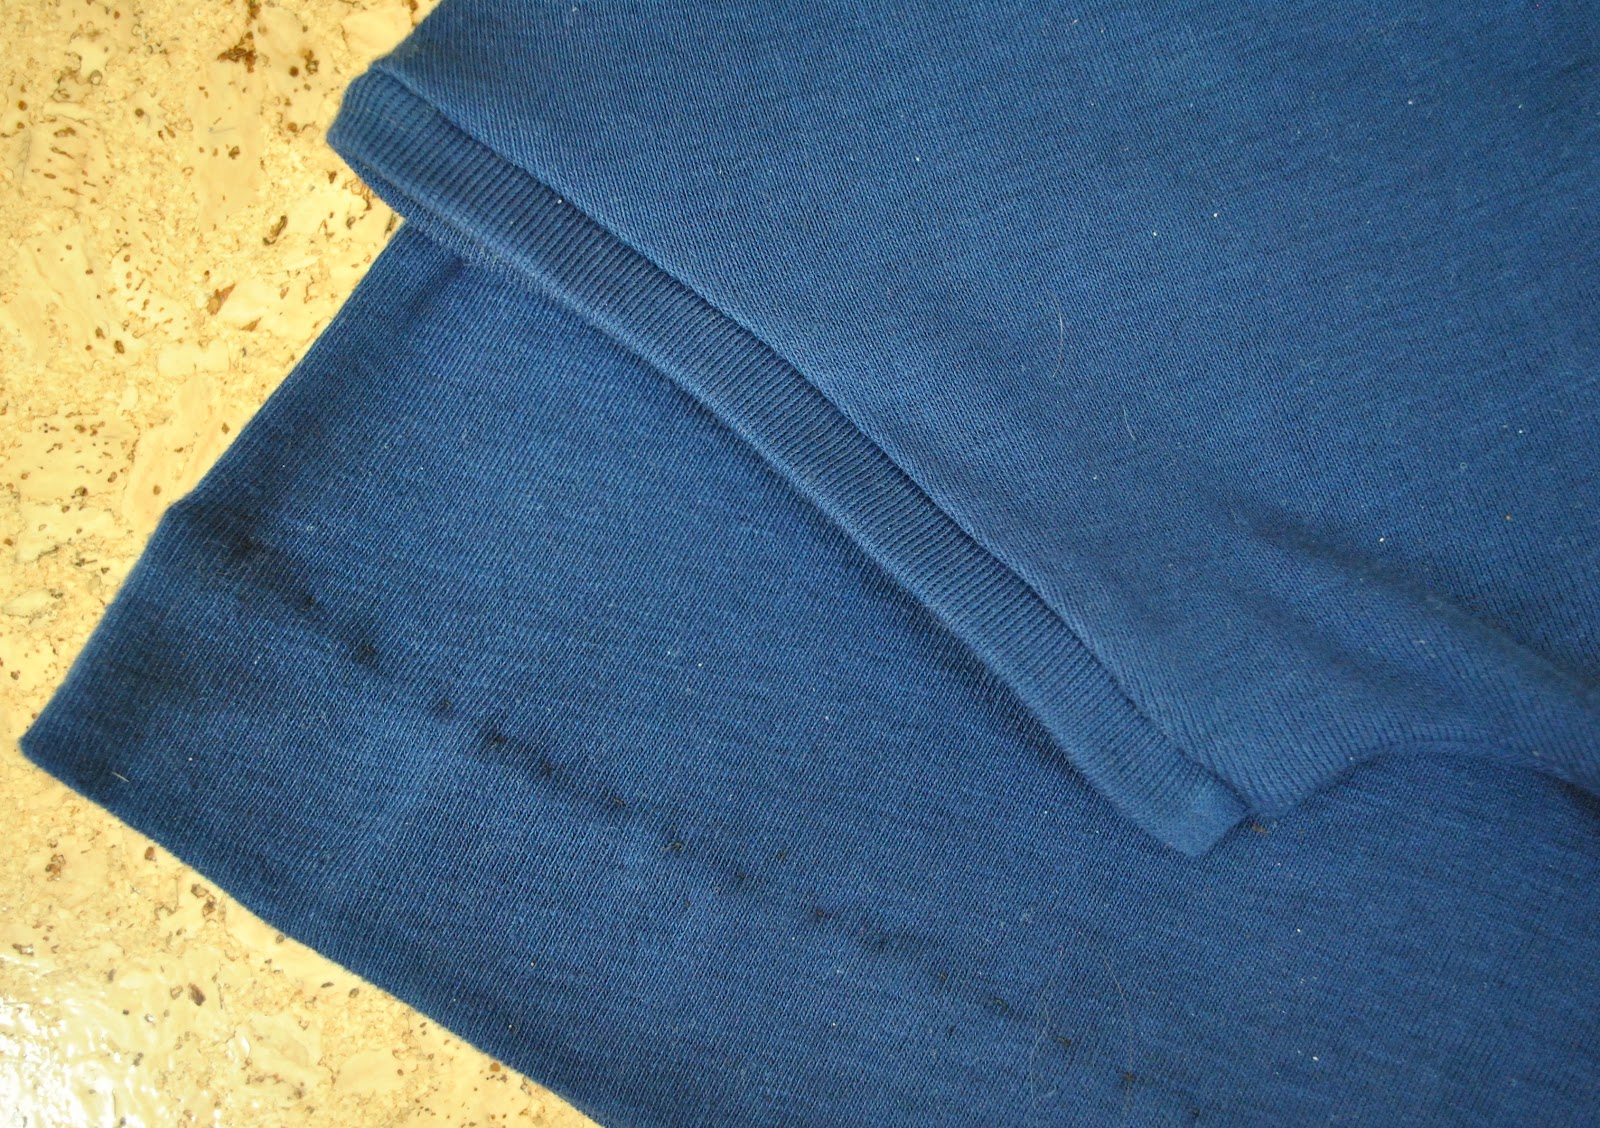
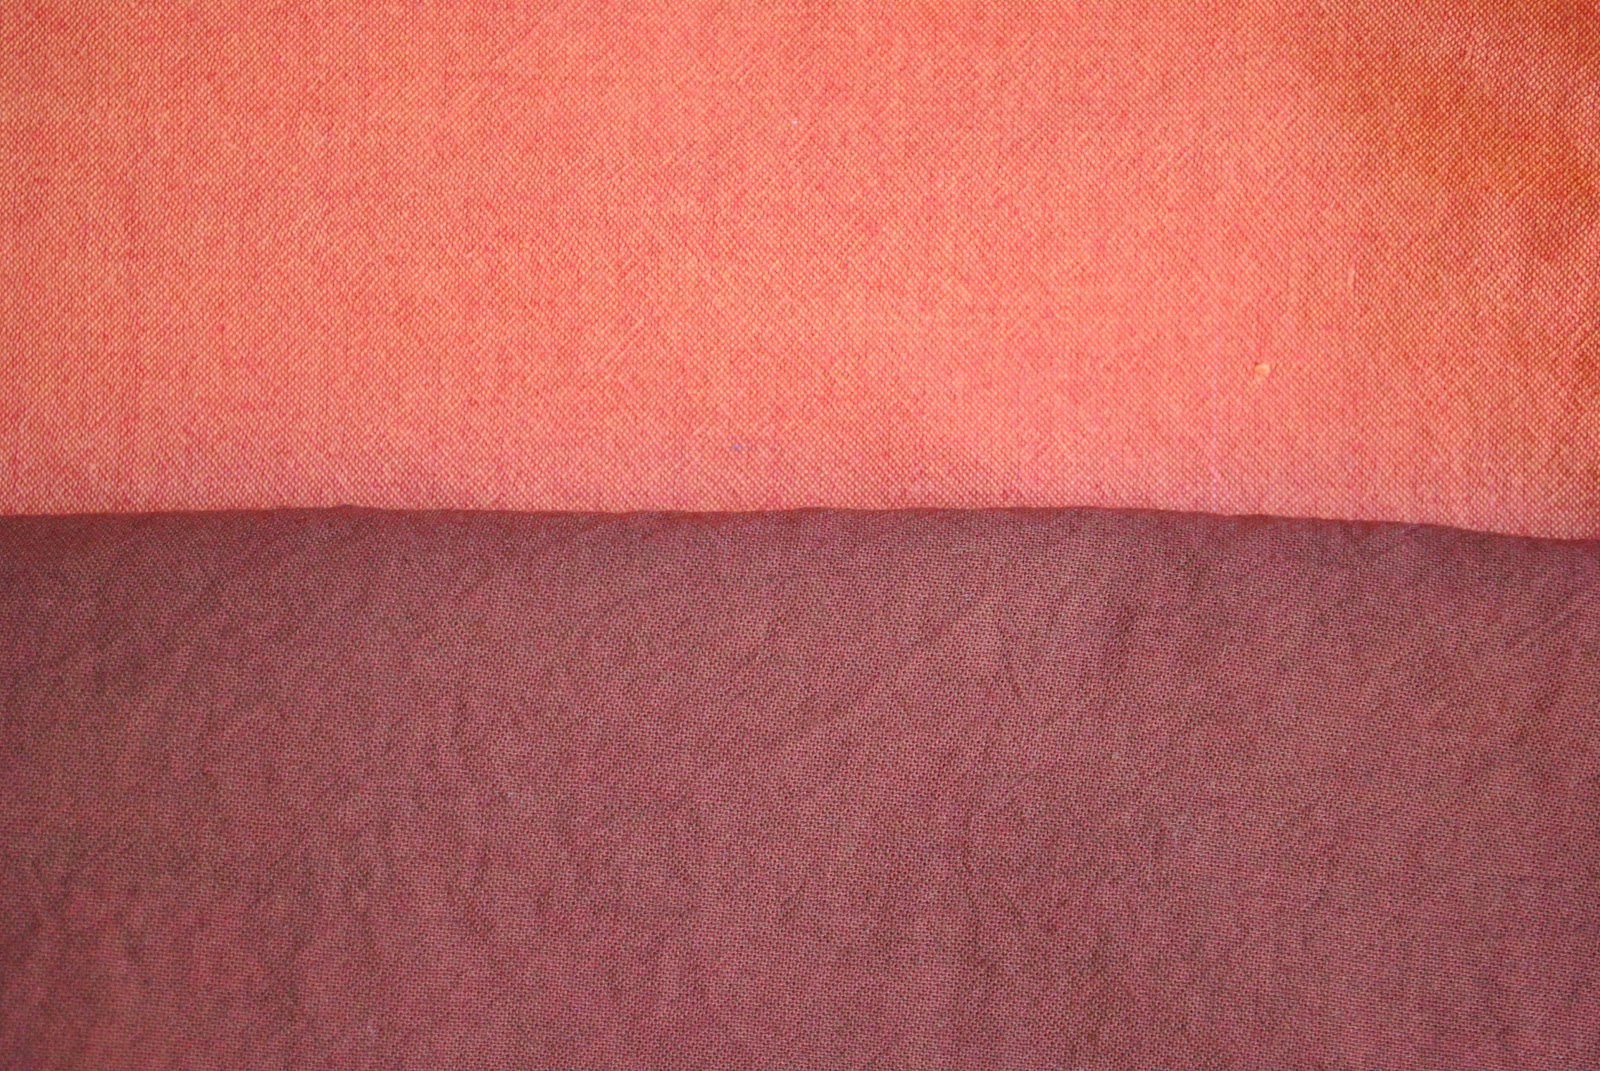
I’m using the leftover piece of cotton from this Clementine top since a girl only needs one piece in this distinctive shade in her wardrobe, and dyeing with iDye in Brown. I also used about half the recommended amount of dye, to maintain the orange-ness.
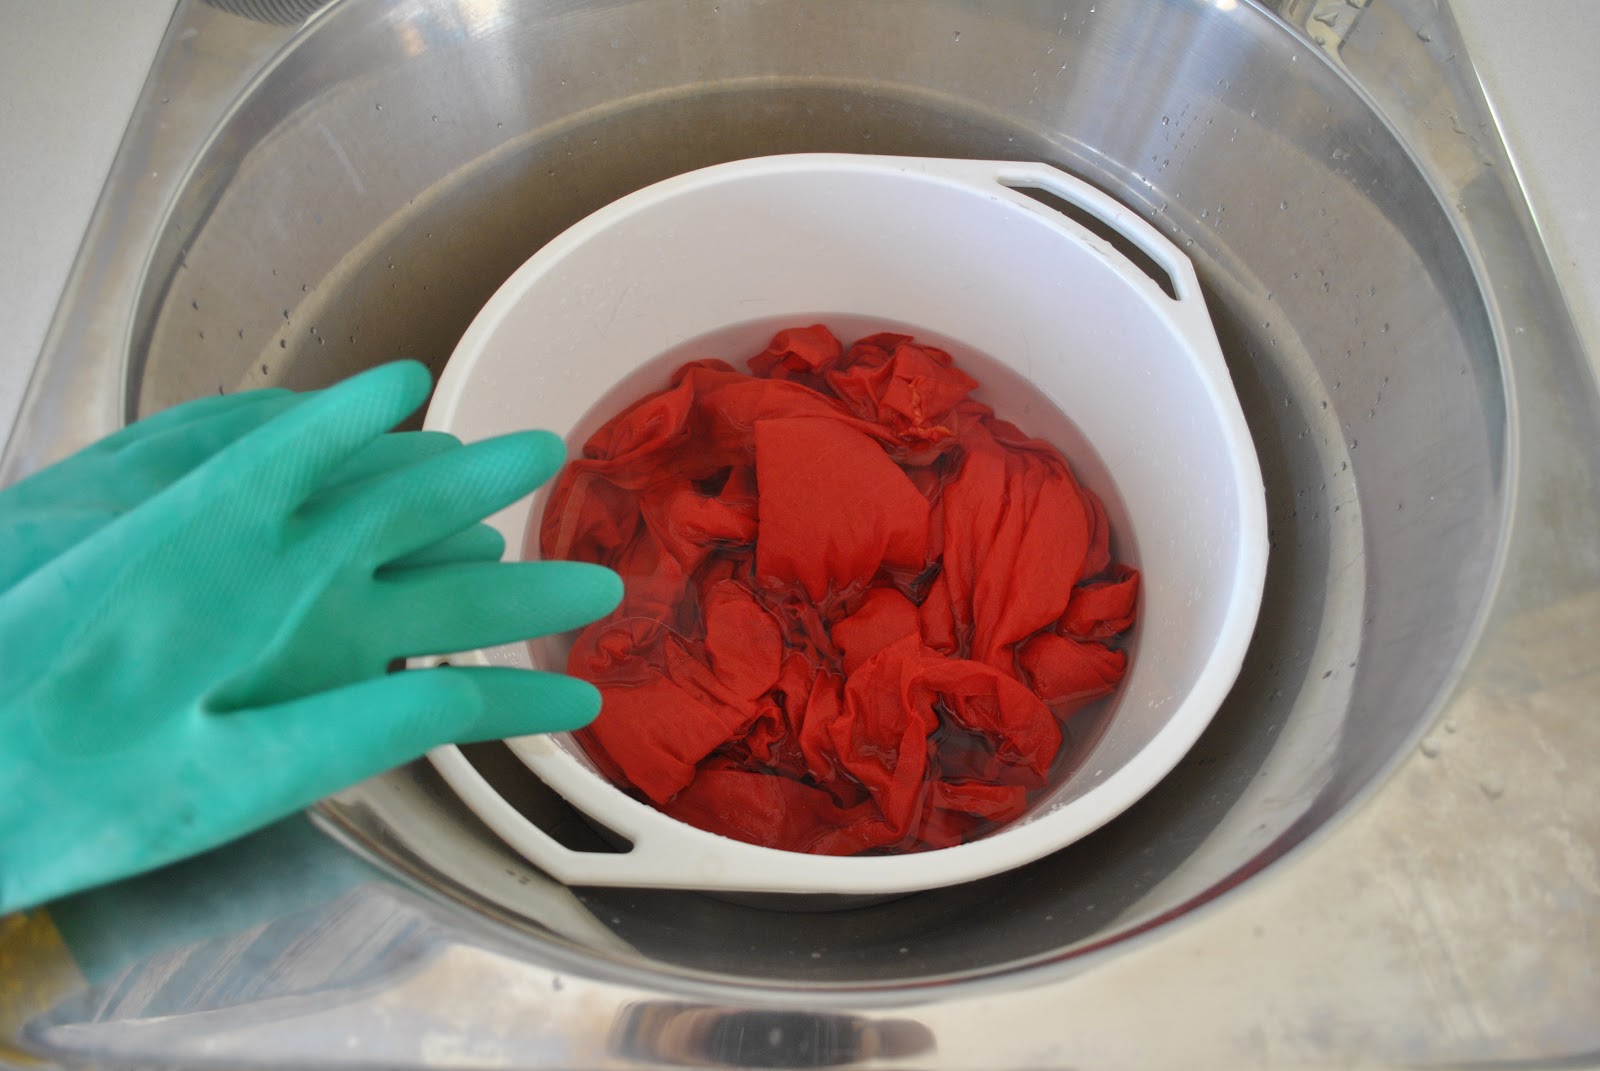
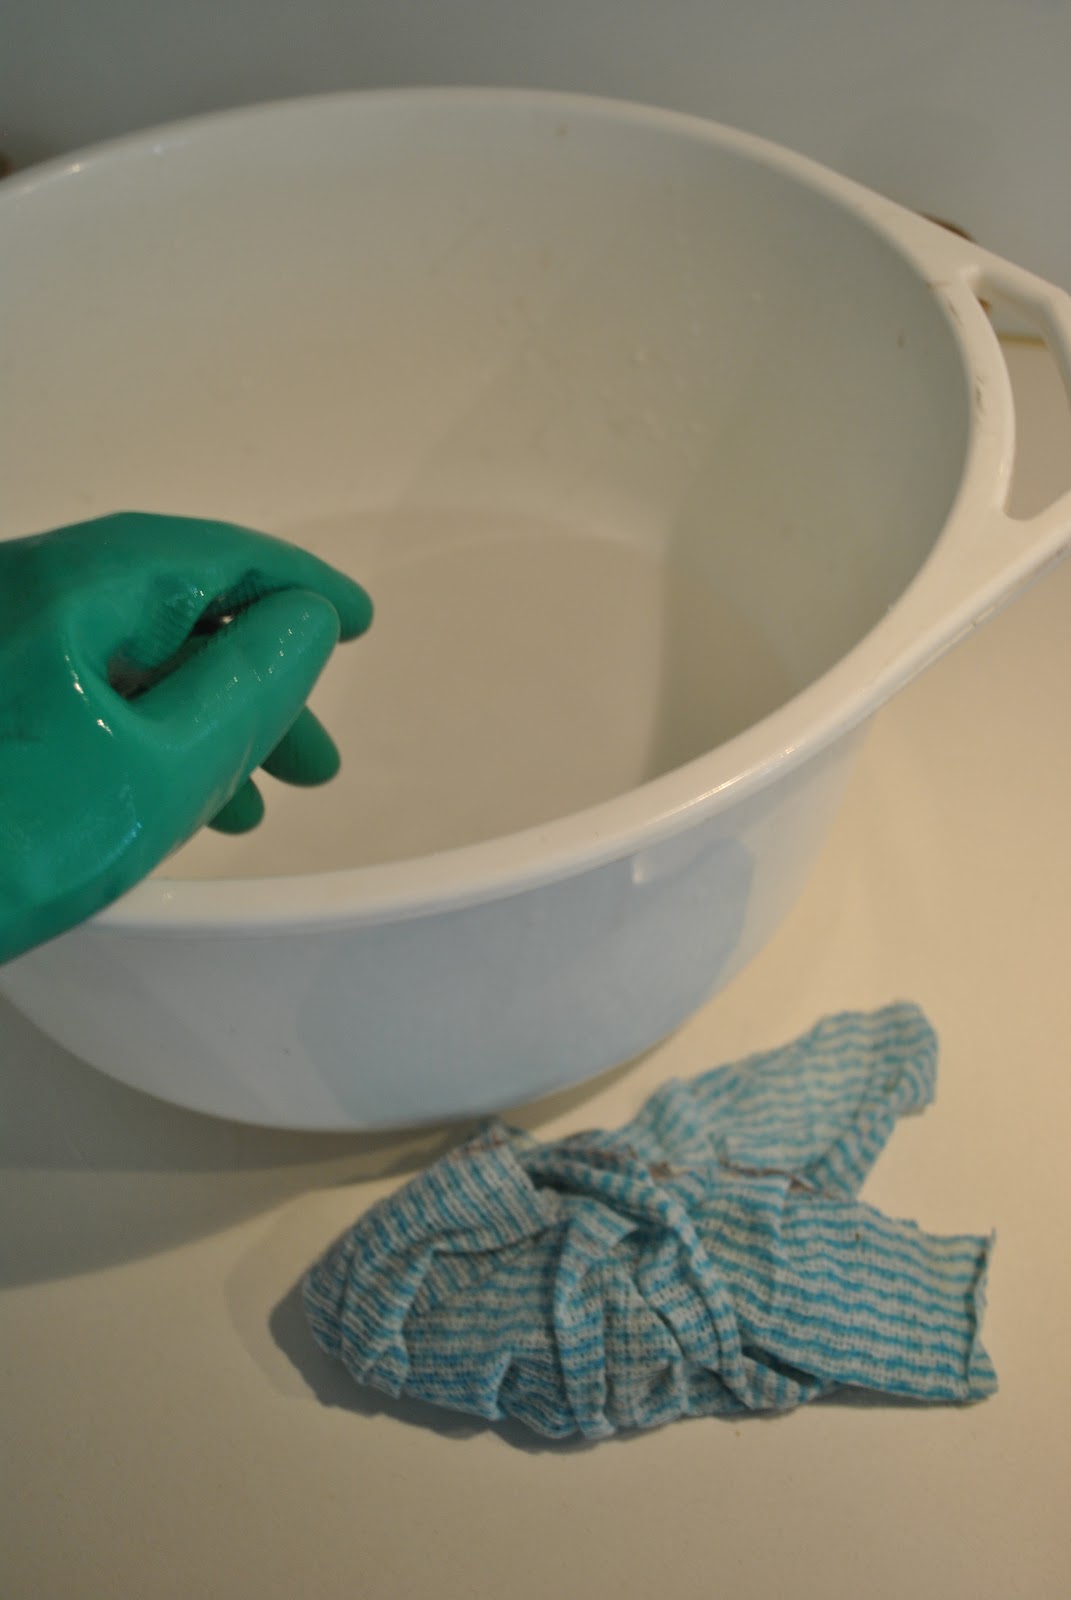
Now wash the fabric. This is particularly important if your fabric is new; and is to remove any sizings, starches or other finishes it may have from the manufacturing process. Even if you have already washed it and even if it is old textiles, set it to soak in a bucket of water. Woosh it around some to ensure all the fabric is thoroughly wet all the way through. Leave it in there for at least ten minutes, preferable more, with several bouts of swooshing (wooshing and swooshing; technical terms there).
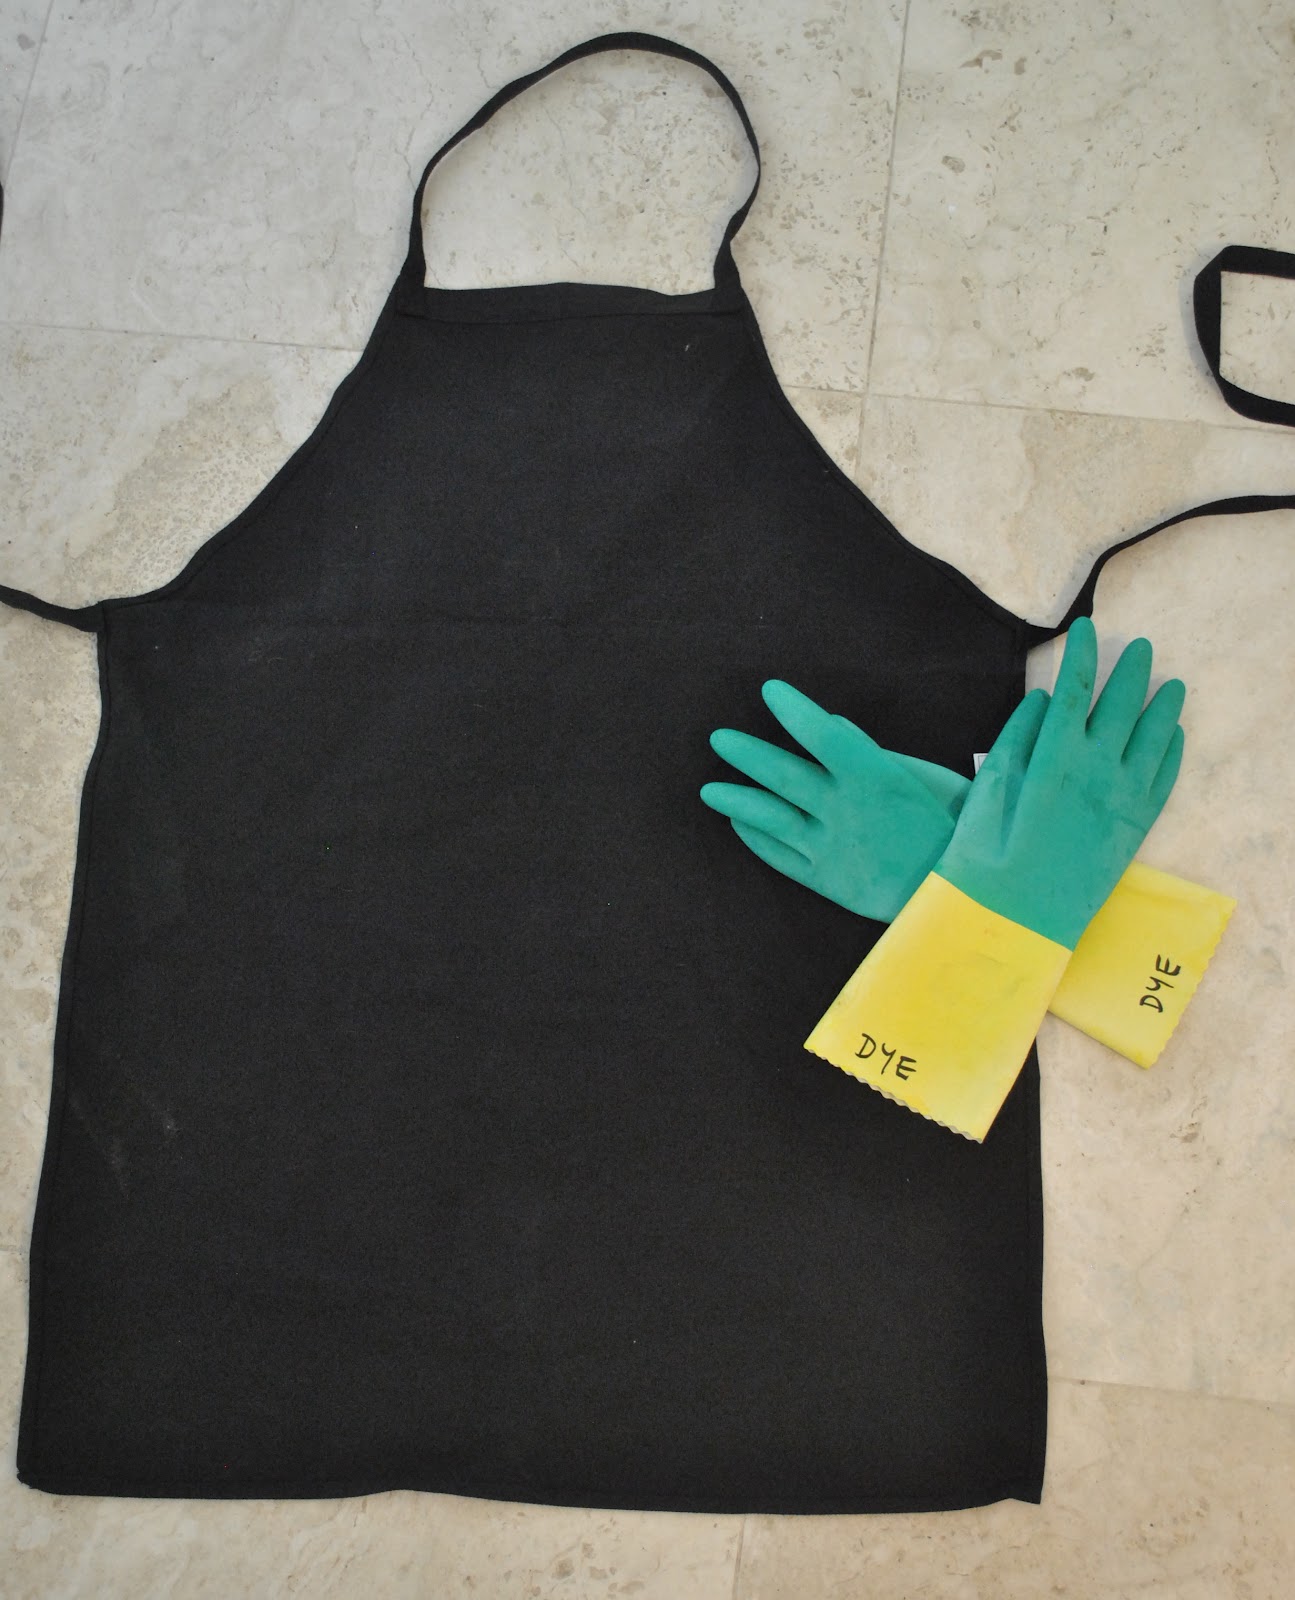
Assemble your dyeing stuff. You need:
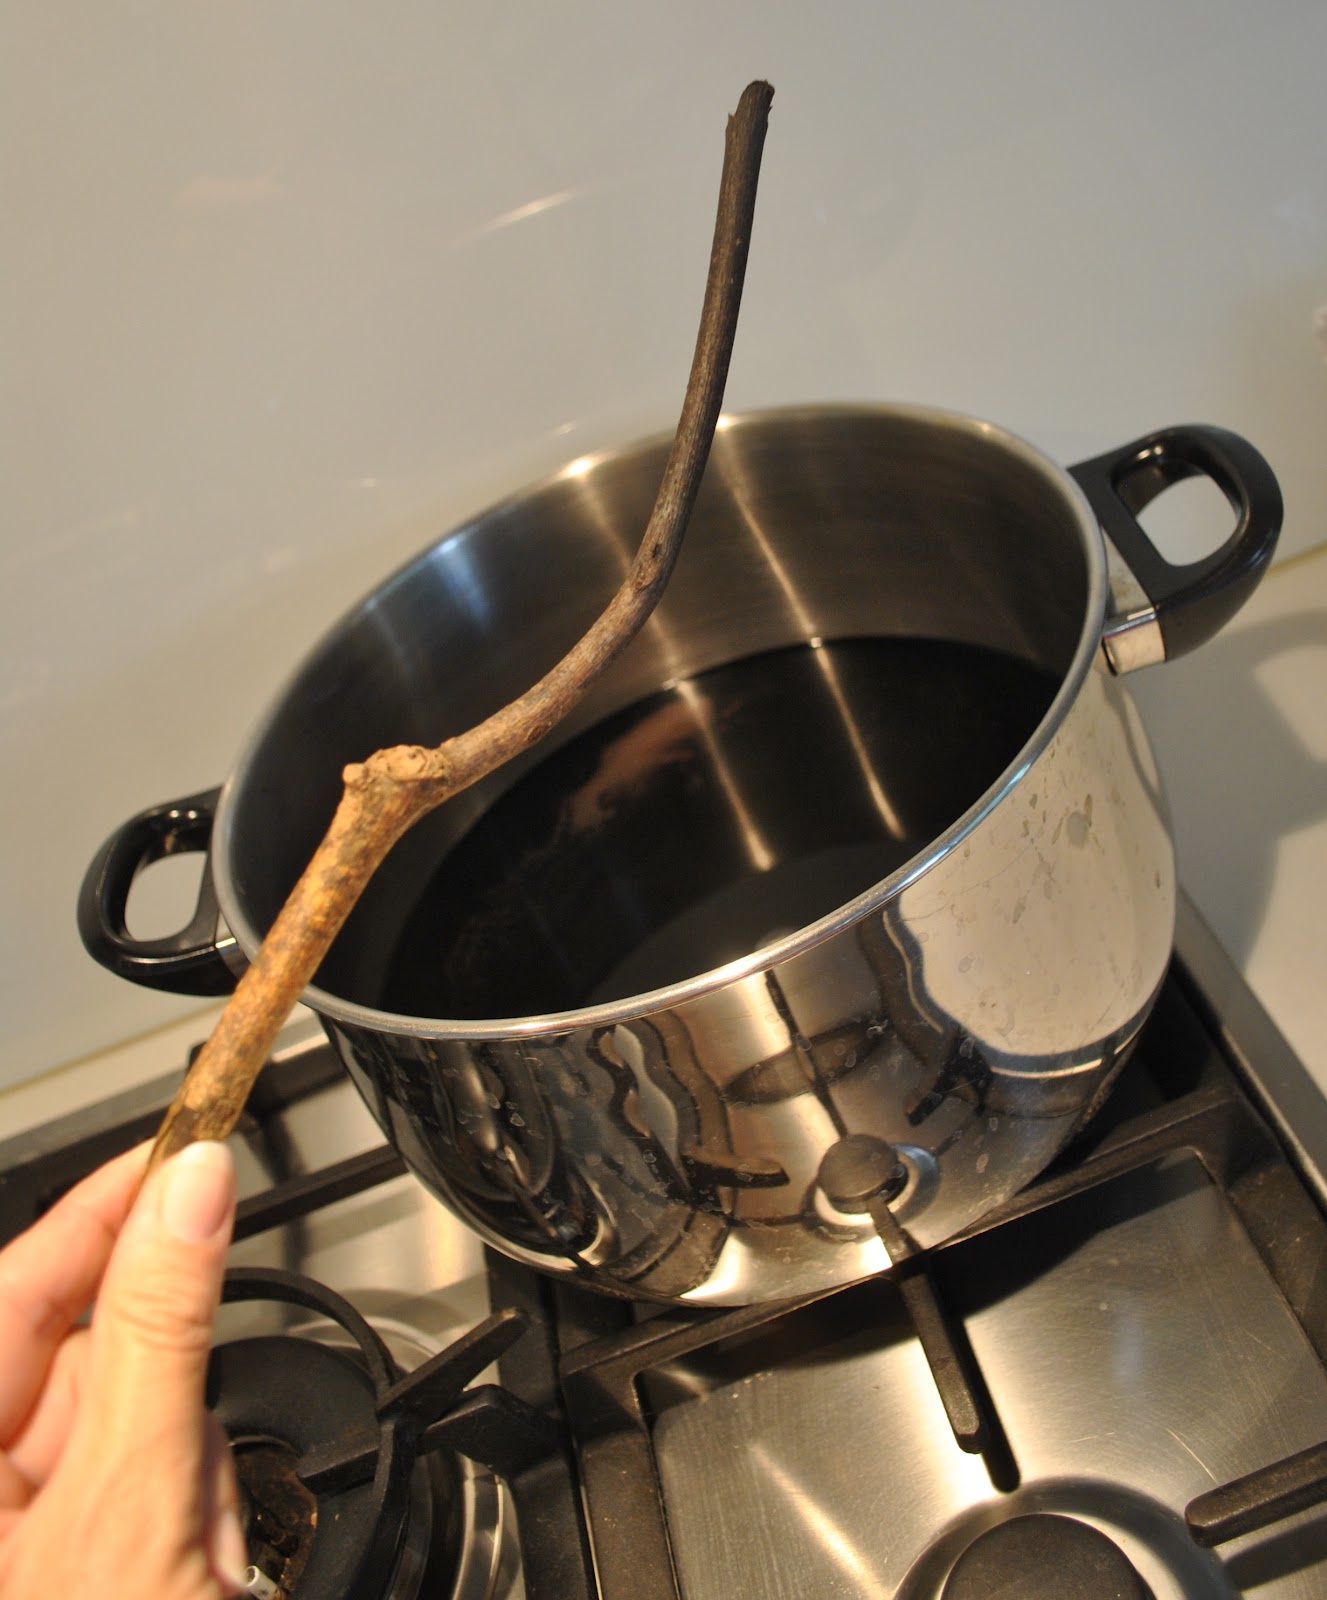
- Dye-pot. A big big cooking pot, lid not essential but handy, and after you have used it for dyeing, particularly with commercial dyes, then never ever using it again for cooking. I have a big old pot bought cheaply yonks ago, and it has always been The Dye-pot… I store it with a big unavoidable note stuck in the bottom so no one in the household can ever mistake it for a cooking pot.
- Stirrer, I use a handily shaped and sturdy stick from the garden. It is a good one, since it has a twist that enables it to sit on the edge of the pot quite stably. However you can use a dedicated pair of tongs or wooden spoon if you have not located the perfectly shaped stick… and if so I recommend labelling it very clearly that it is not to be ever used for cooking, like your pot.
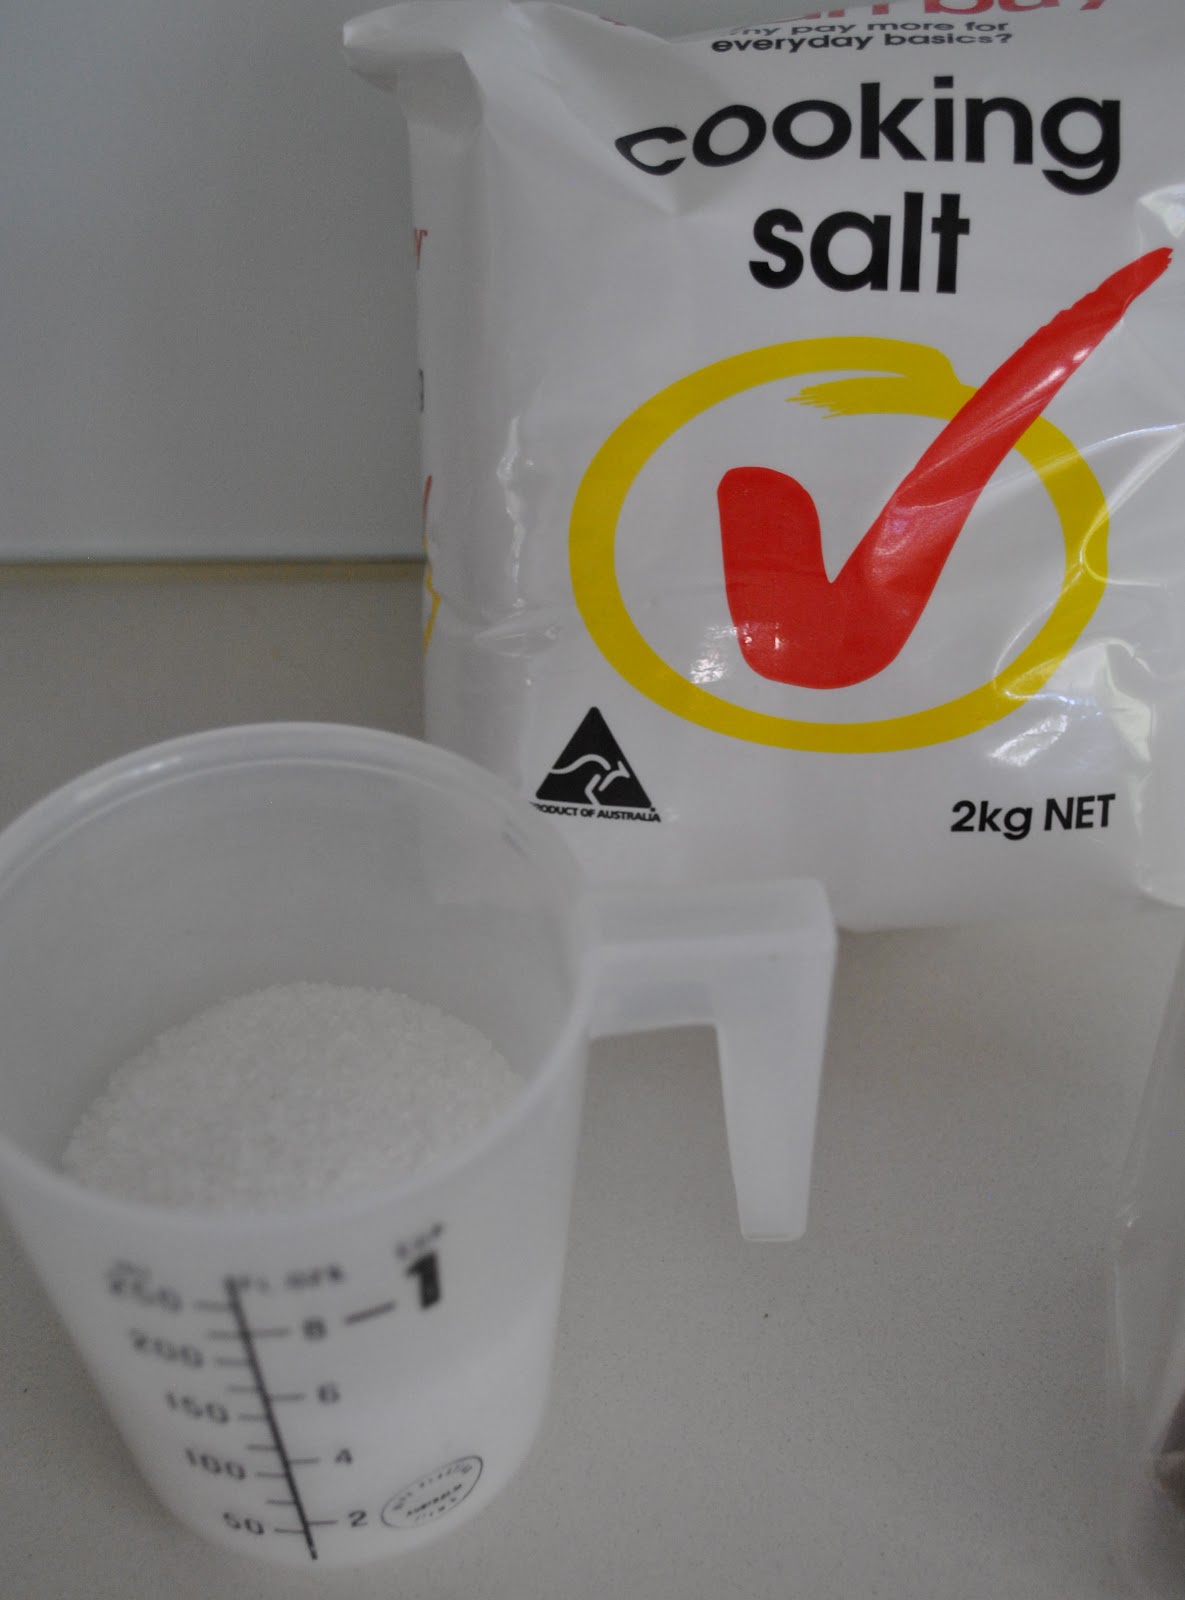
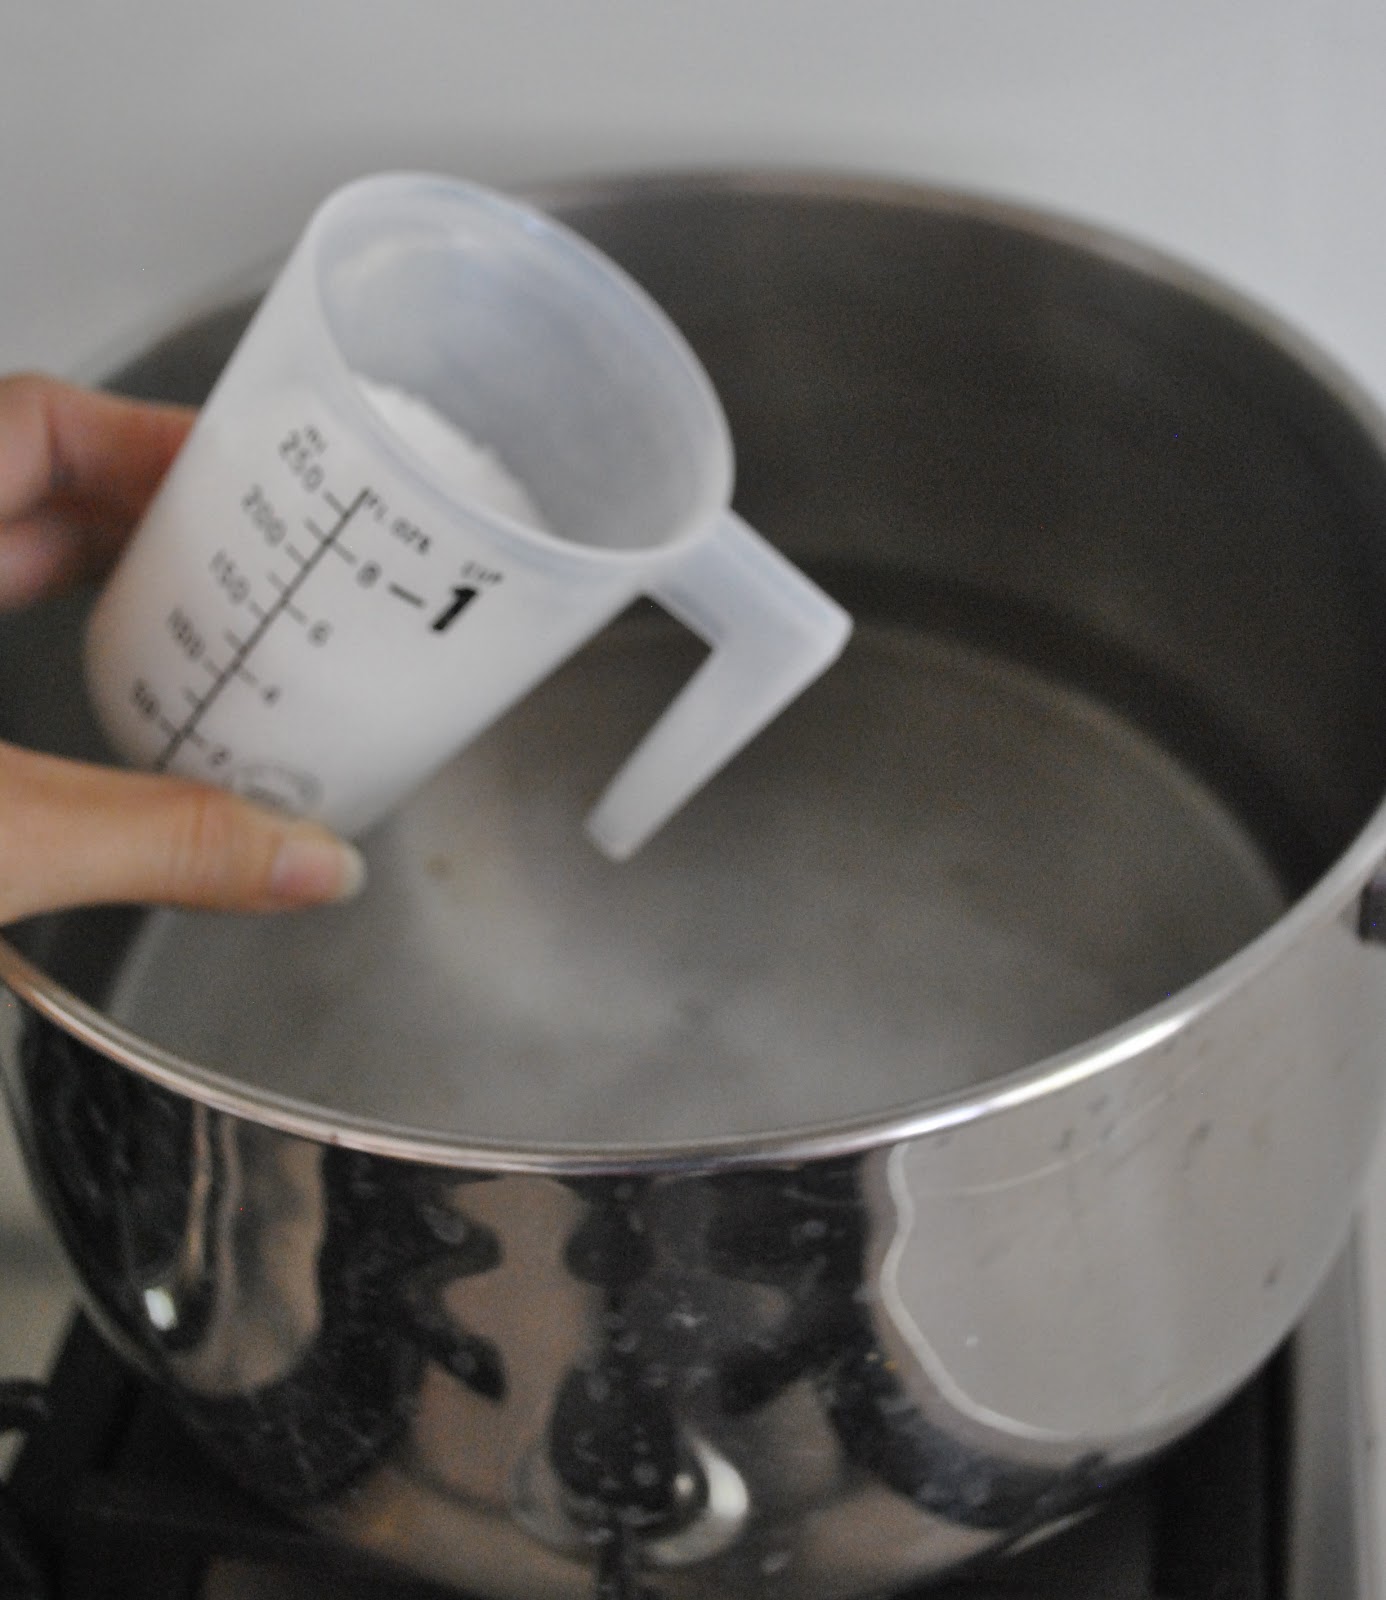
- Salt. Read your dye packet to see how much is recommended to go with your amount of fabric, but I reckon it never hurts to add a little extra….
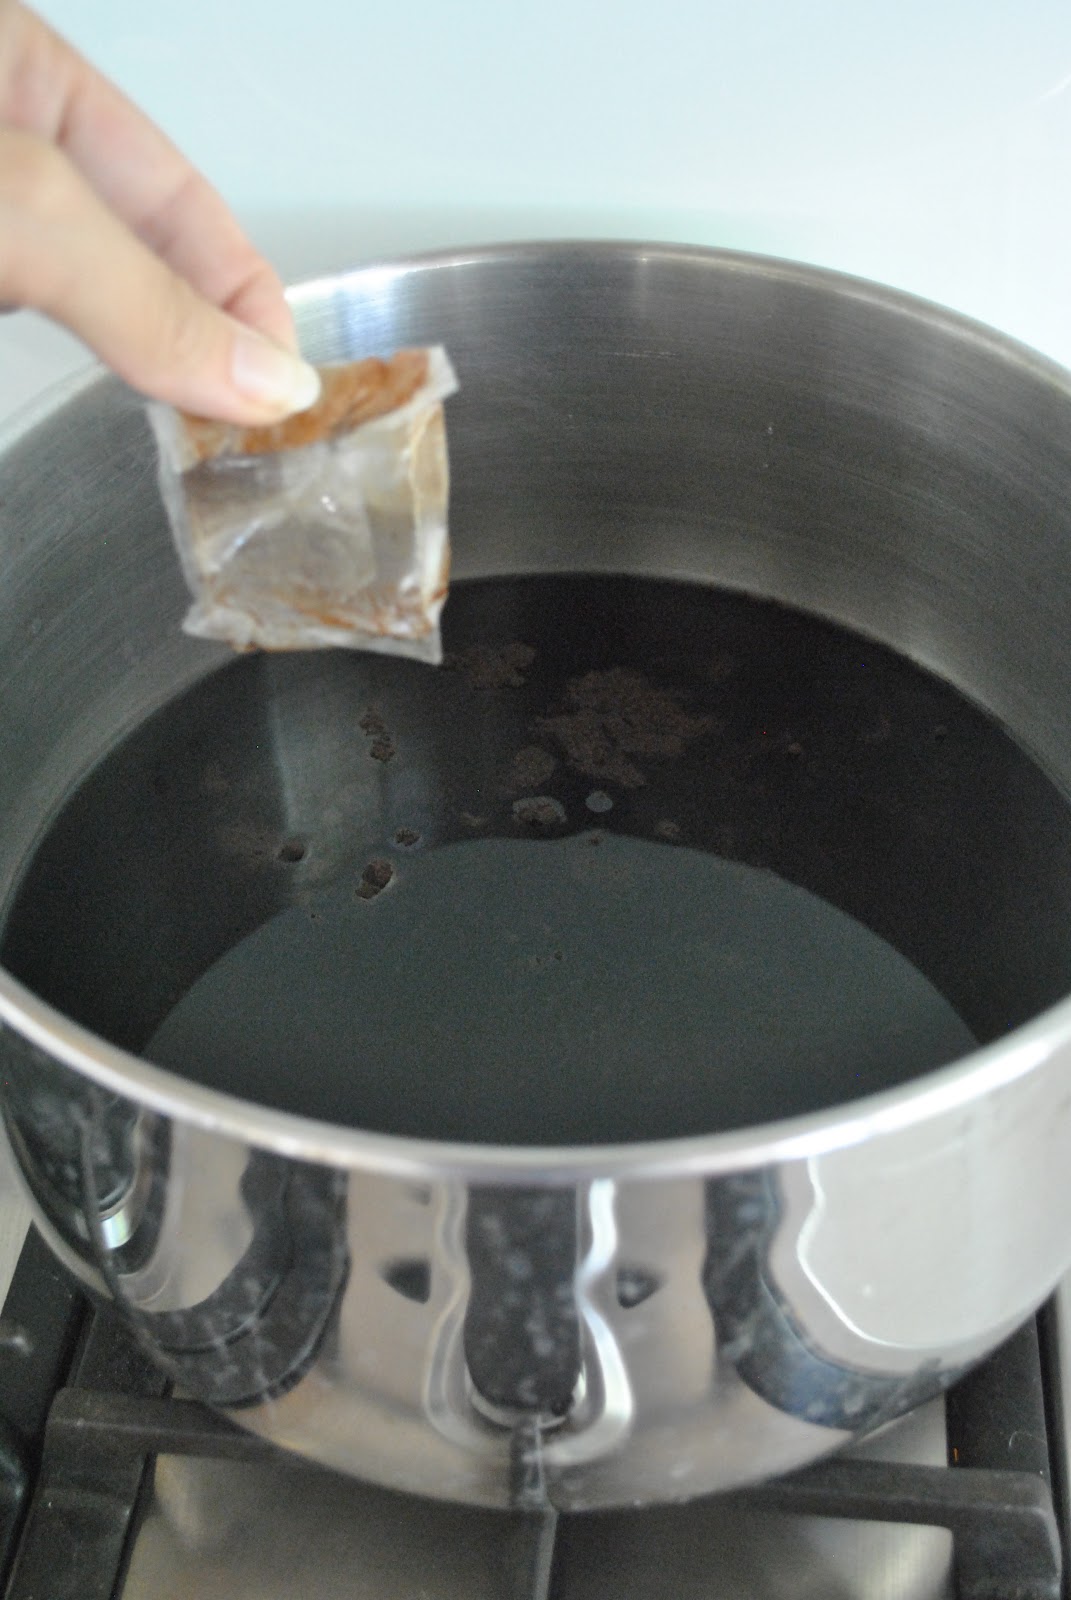
- Oh, and the dye, natch! Once I’ve opened the little packet and used some I seal it as well as possible with tape and store it in a clear screw-lid plastic jar, with the instructions.
- keep a bucket of water and a wet rag handy to deal immediately with any splatters and spills.
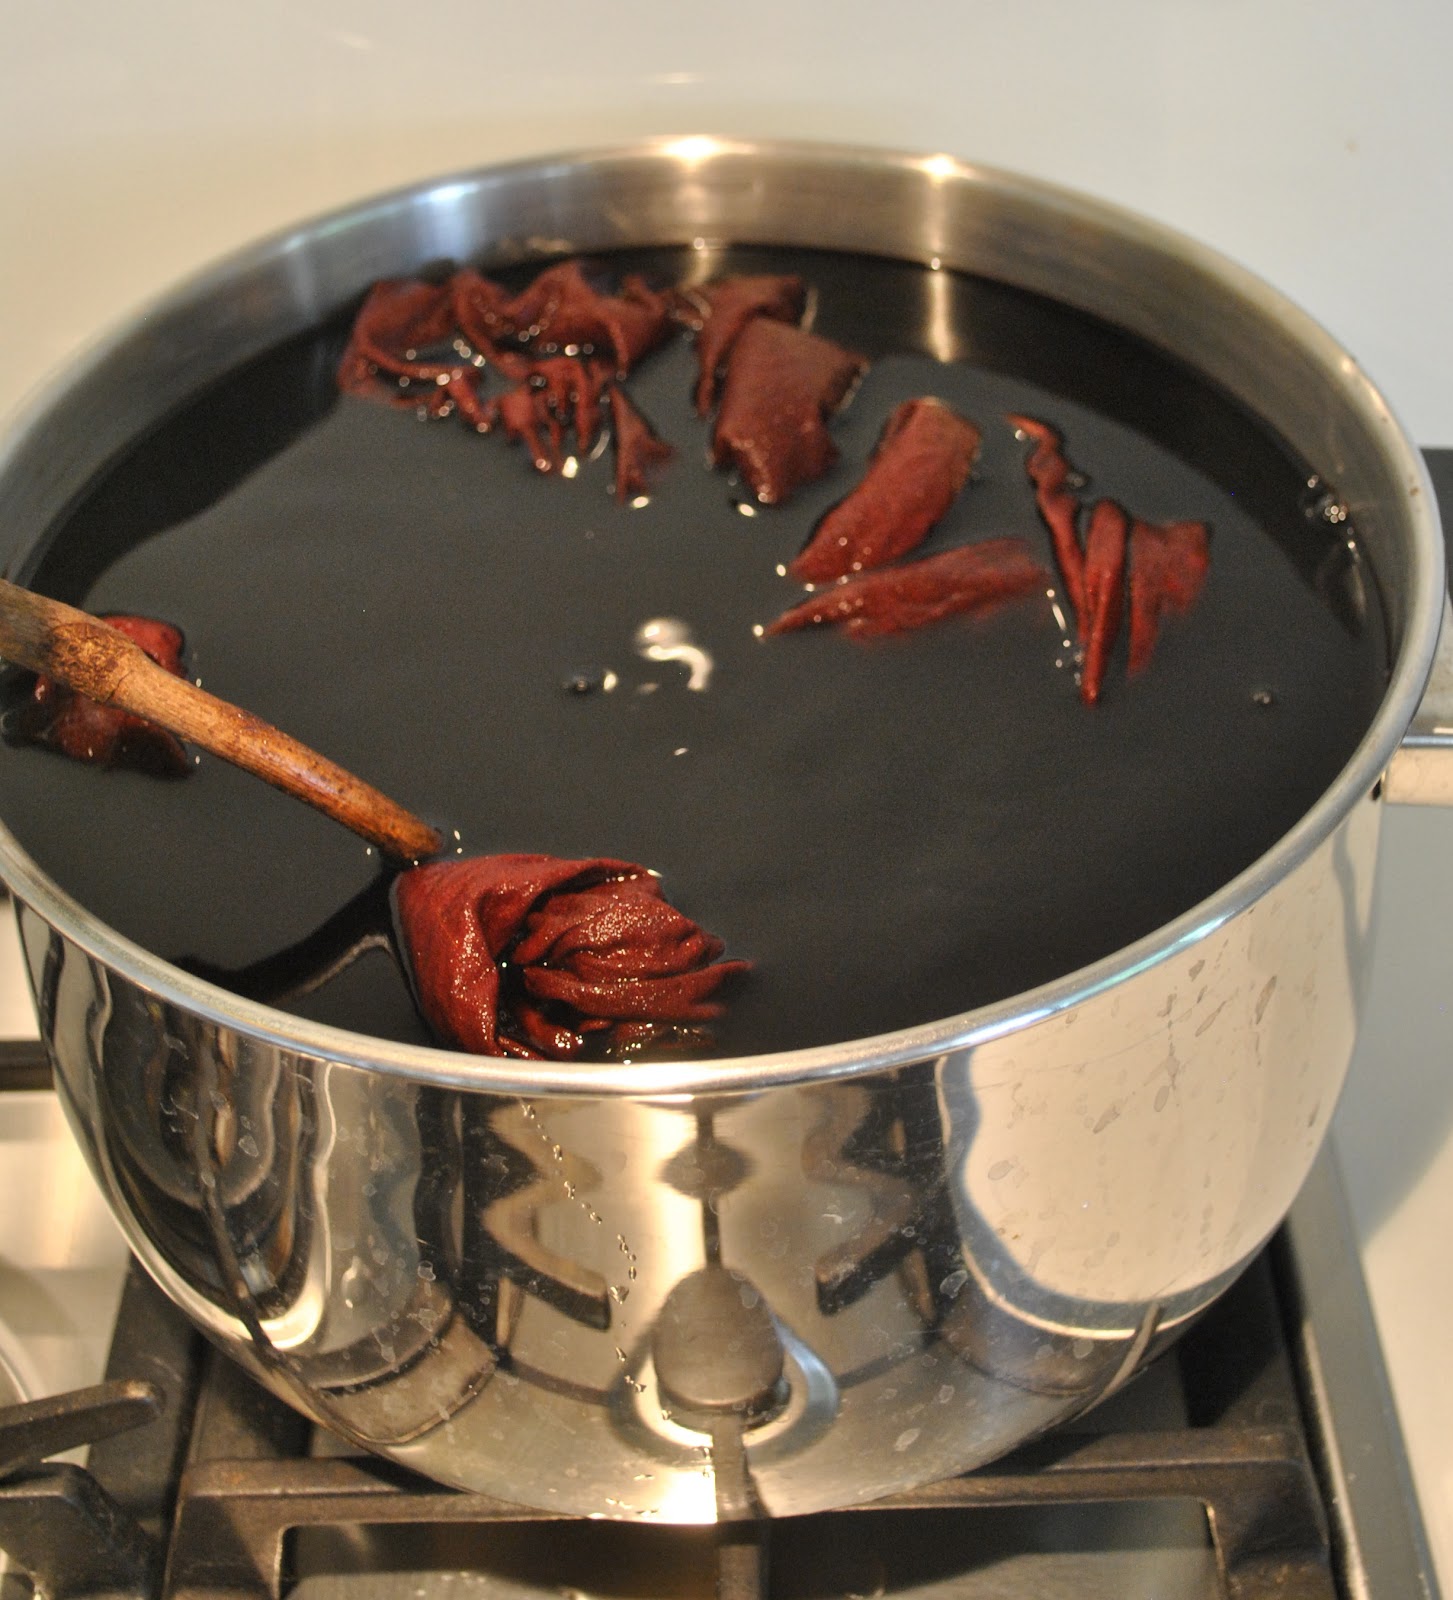
Pour off some of the water from your bucket of soaking fabric into the dye-pot. Doesn’t have to be a massive amount just say 10cm in the bottom of the pot, add the salt and dissolve over a low heat.
Once the salt has dissolved, add the dye and stir it in well. Turn up the heat to get to boiling point.
Ventilation is important… one may not mind poisoning oneself in the pursuit of gorgeous fabric but we love our families and don’t want them to suffer for the sake of our colour-fun, do we? Do we??! If you have access to an outdoor cooker, then yay! lucky you, use it! If not, then make sure your exhaust fan is on high, and the windows in your room are all wide open.

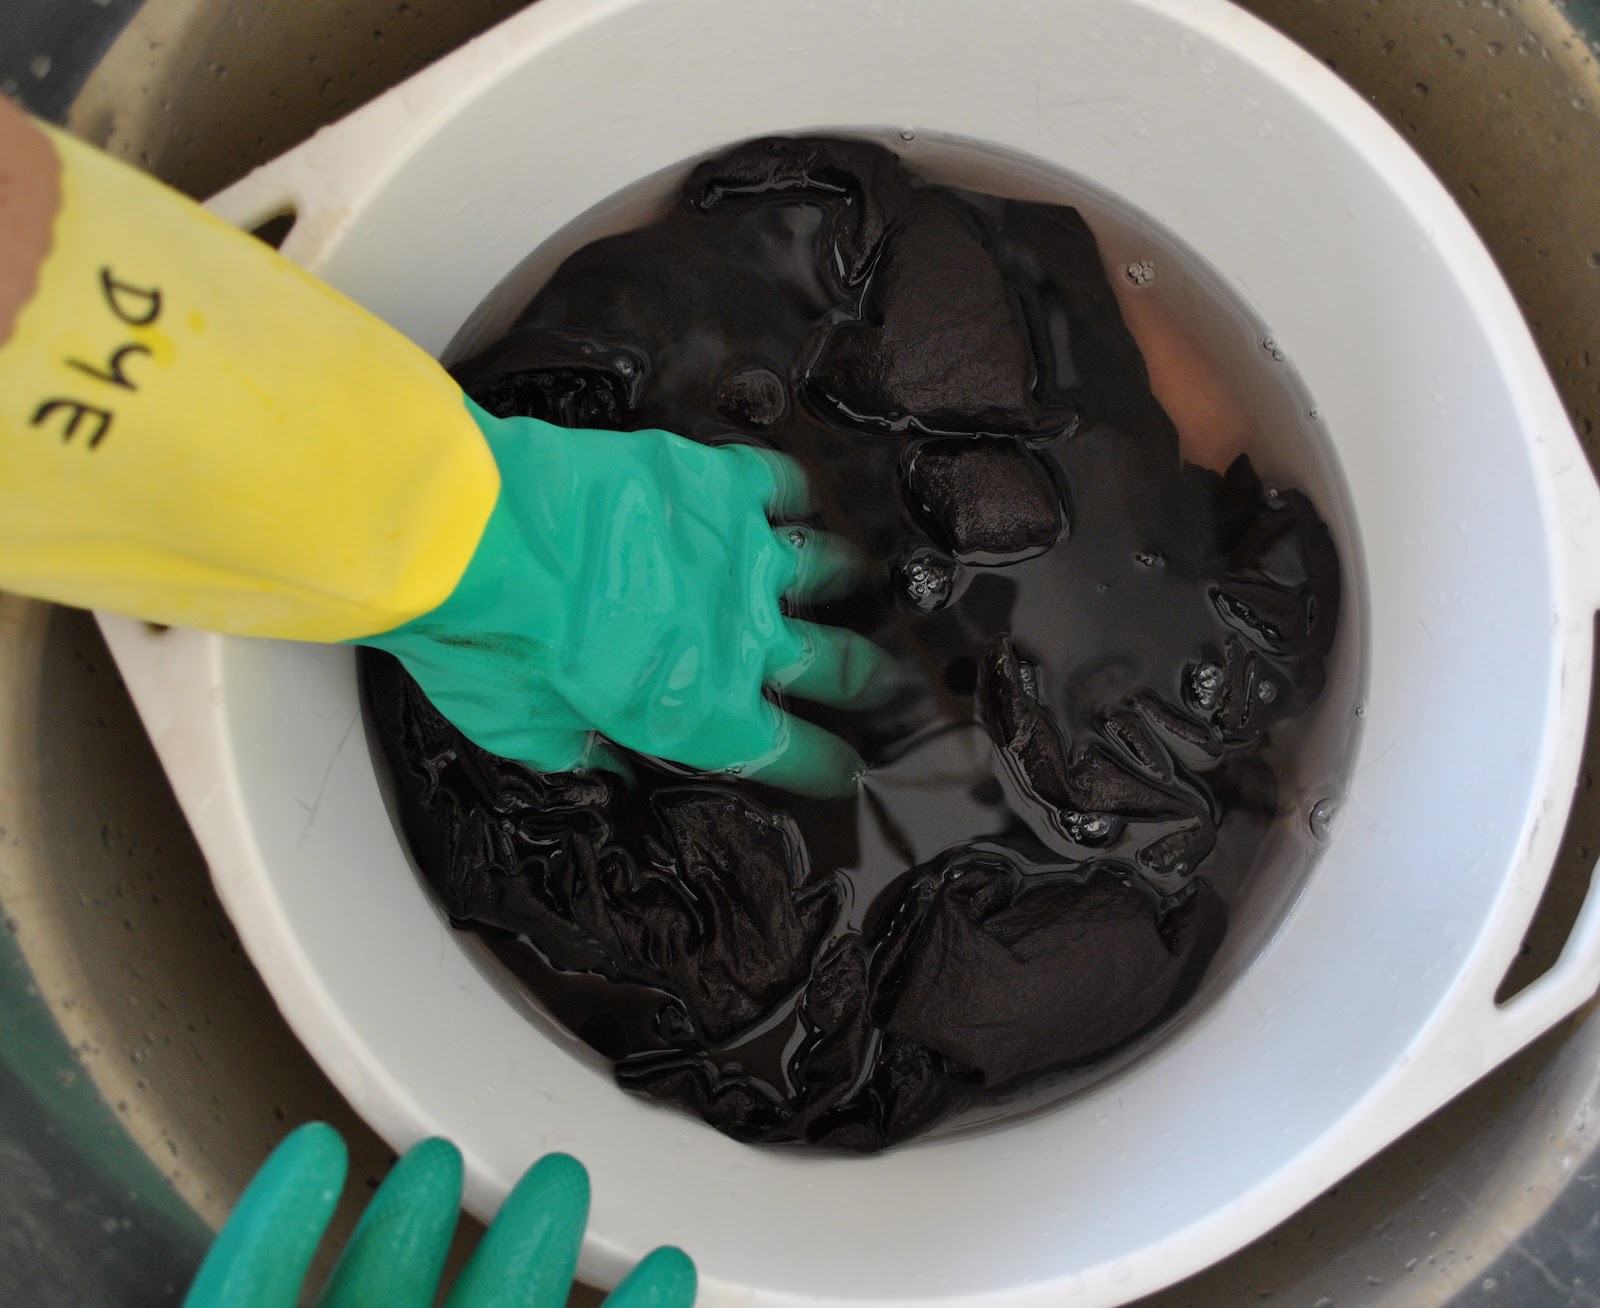
Now, pour in your fabric, all at once, and still in its soaking water, and woosh and stir it around as much as humanly possible, immediately. This is the most crucial step in the dyeing process. It is reckoned that the fabric picks up the most of the dye it is ever going to in the first thirty seconds of contact. This is why you want your fabric to be soaked through when you add it, and also why whenever I have seen photos on the internet of garments partially dunked into the dye bath (people unable to resist the action shot, “Now, here I am adding my dress to the dye-pot…”) you invariably see in later shots that the dye job turned out blotchy. Of course a blotchy dye-job may well be one’s desirable outcome. Hey, no judging here.

Lower the heat and let it simmer and bubble away for thirty minutes, or whatever is the recommended time on your dye packet.
Once that time is up, remove the fabric, squeezing and wringing out hard, and transfer to a bucket of water. Rinse, wooshing and squeezing out thoroughly a few times. Do this several more times, until it washes clear. I find you can use far less water by very thorough wringing out, several times while washing out in the same rinse.
Et voila!
If you want to, you can re-use the dye-water to do more fabric or another garment; just keep in mind that the guts of the dye has been used and the colour will be paler with each subsequent use.
I did use my leftover iBrown dye… for something else, hehe.
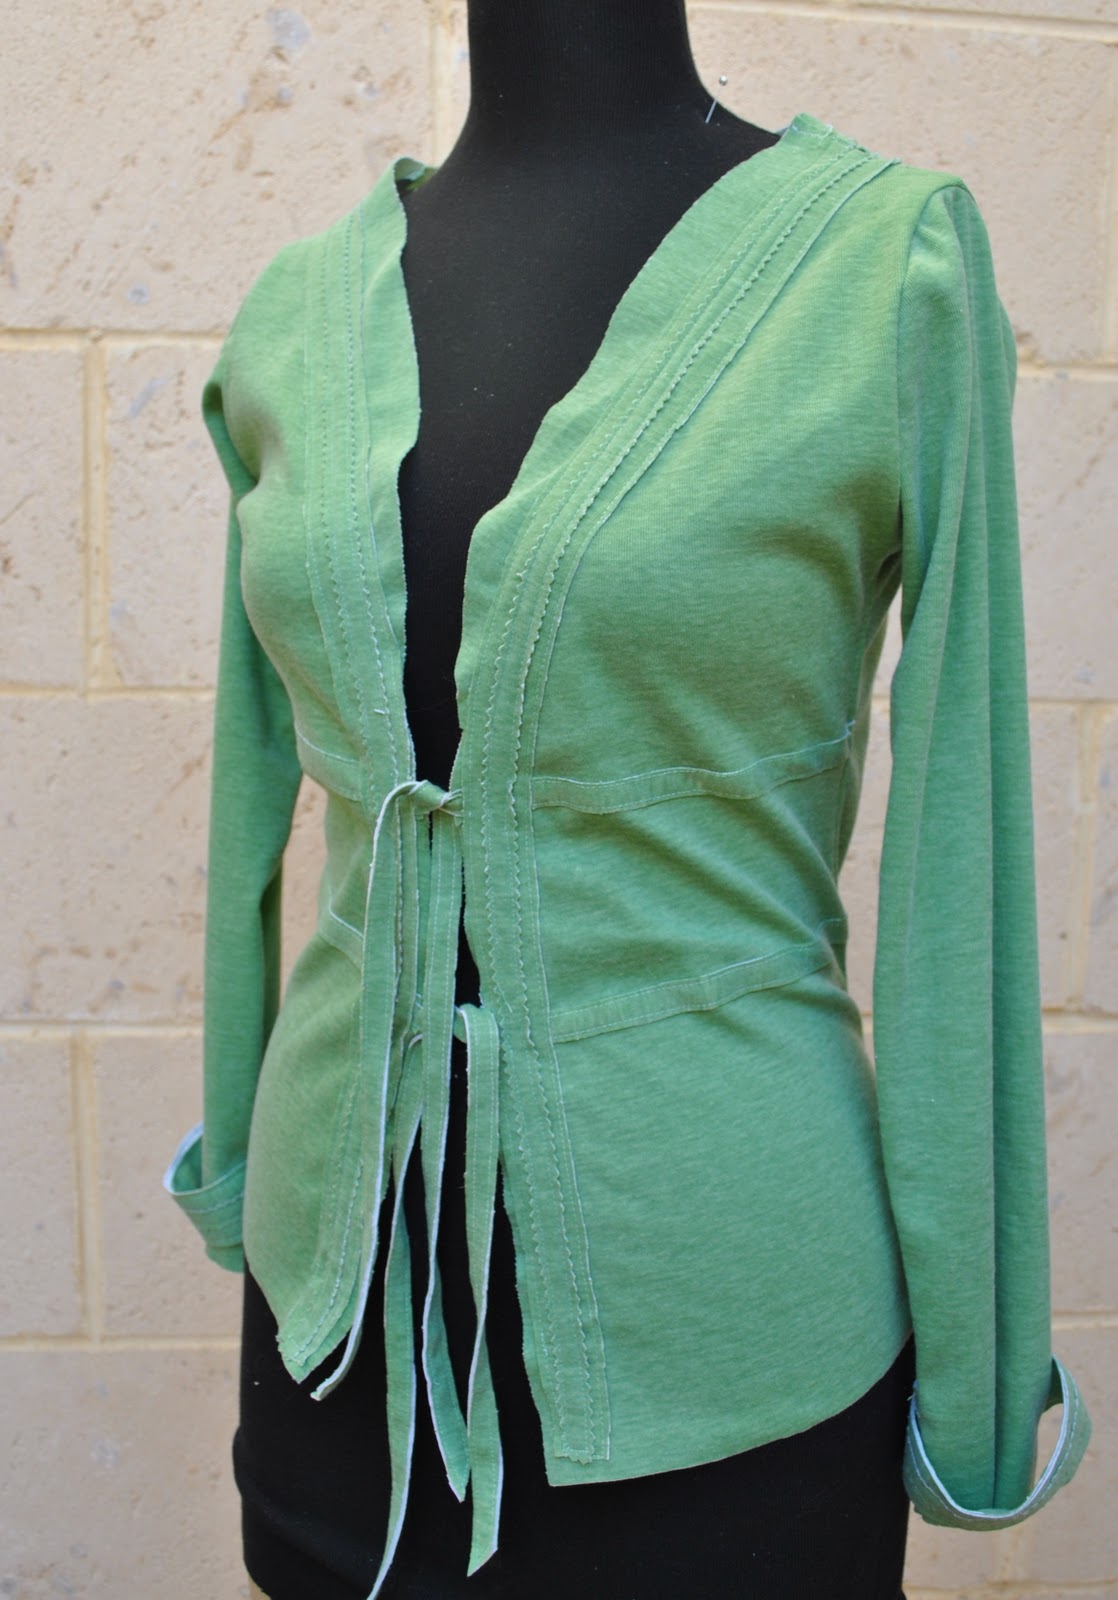
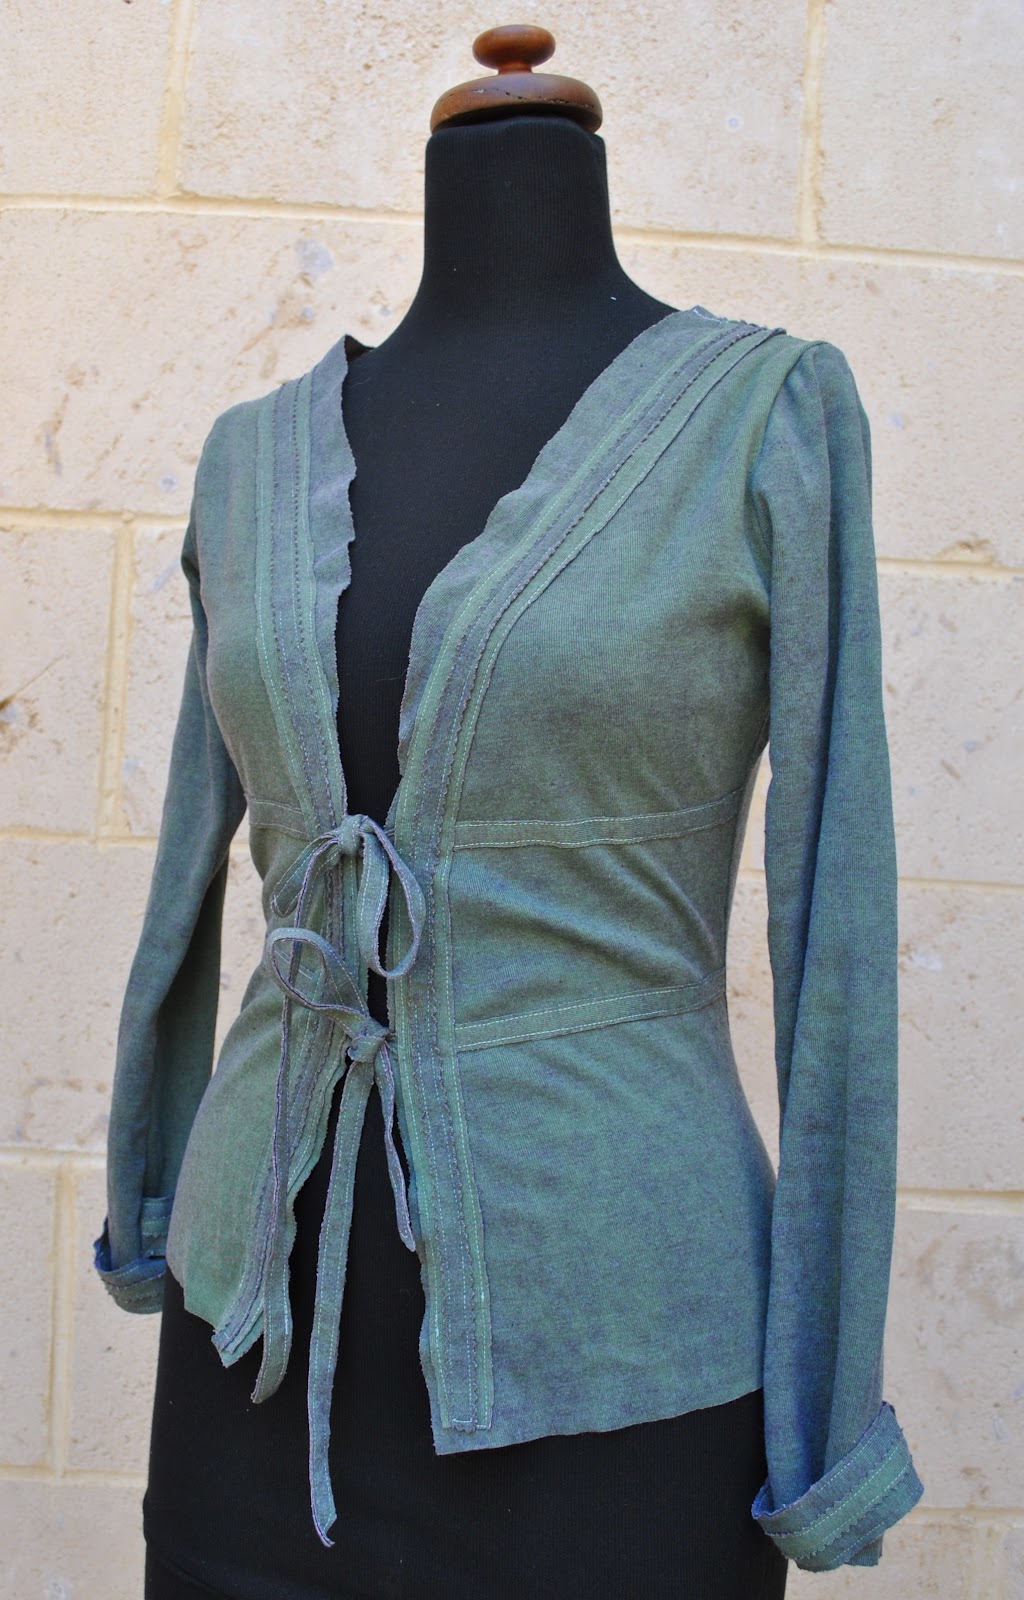
Remember this cardigan? Definitely prefer this fab new colour. Not so much leprechaun-on-St-Patrick’s-Day any more, but beautifully fudge-y and sludge-y. Actually almost purple. I call that a win!


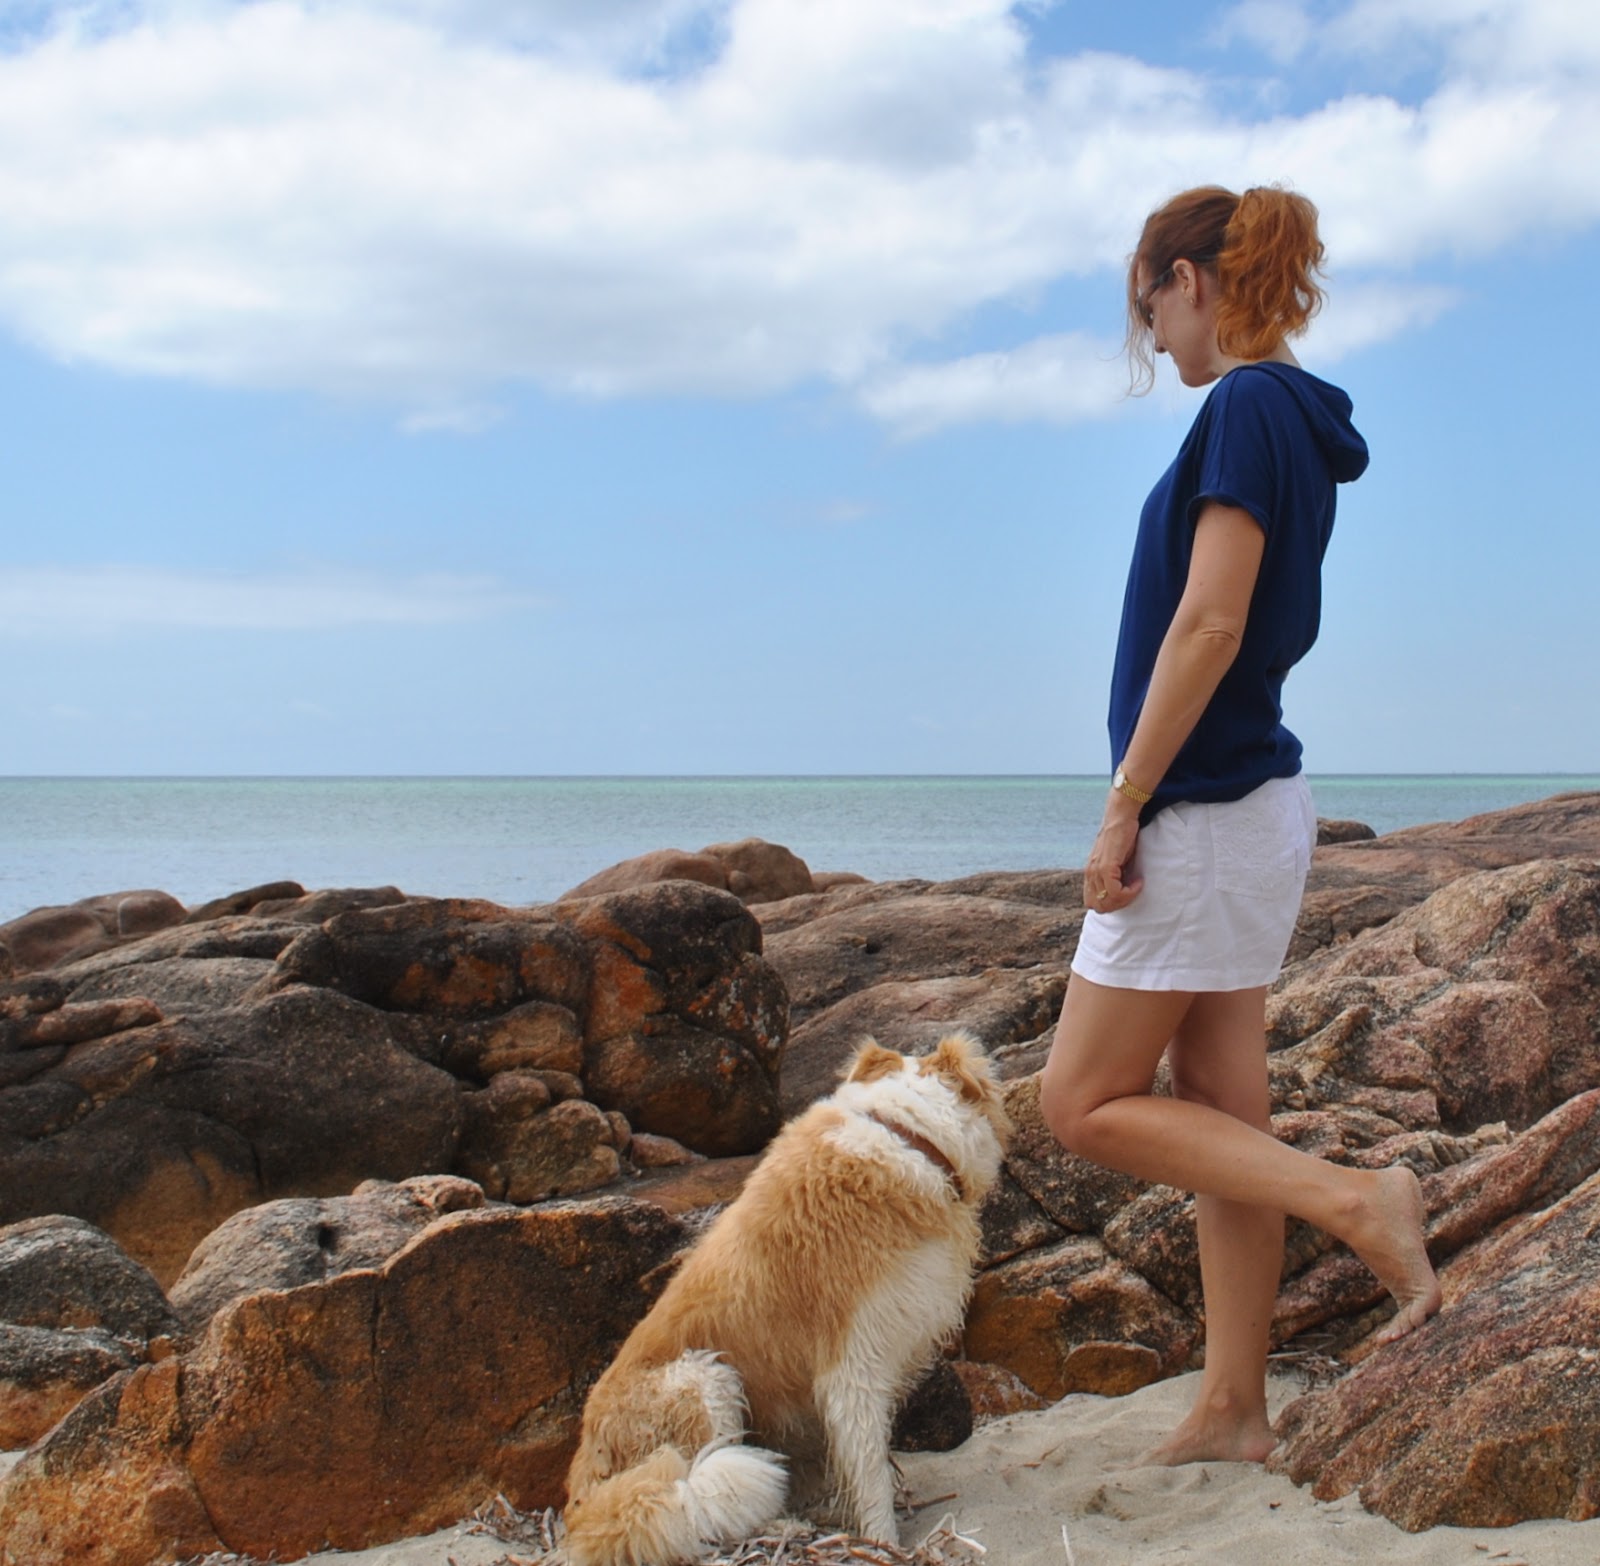
 New top, woot!
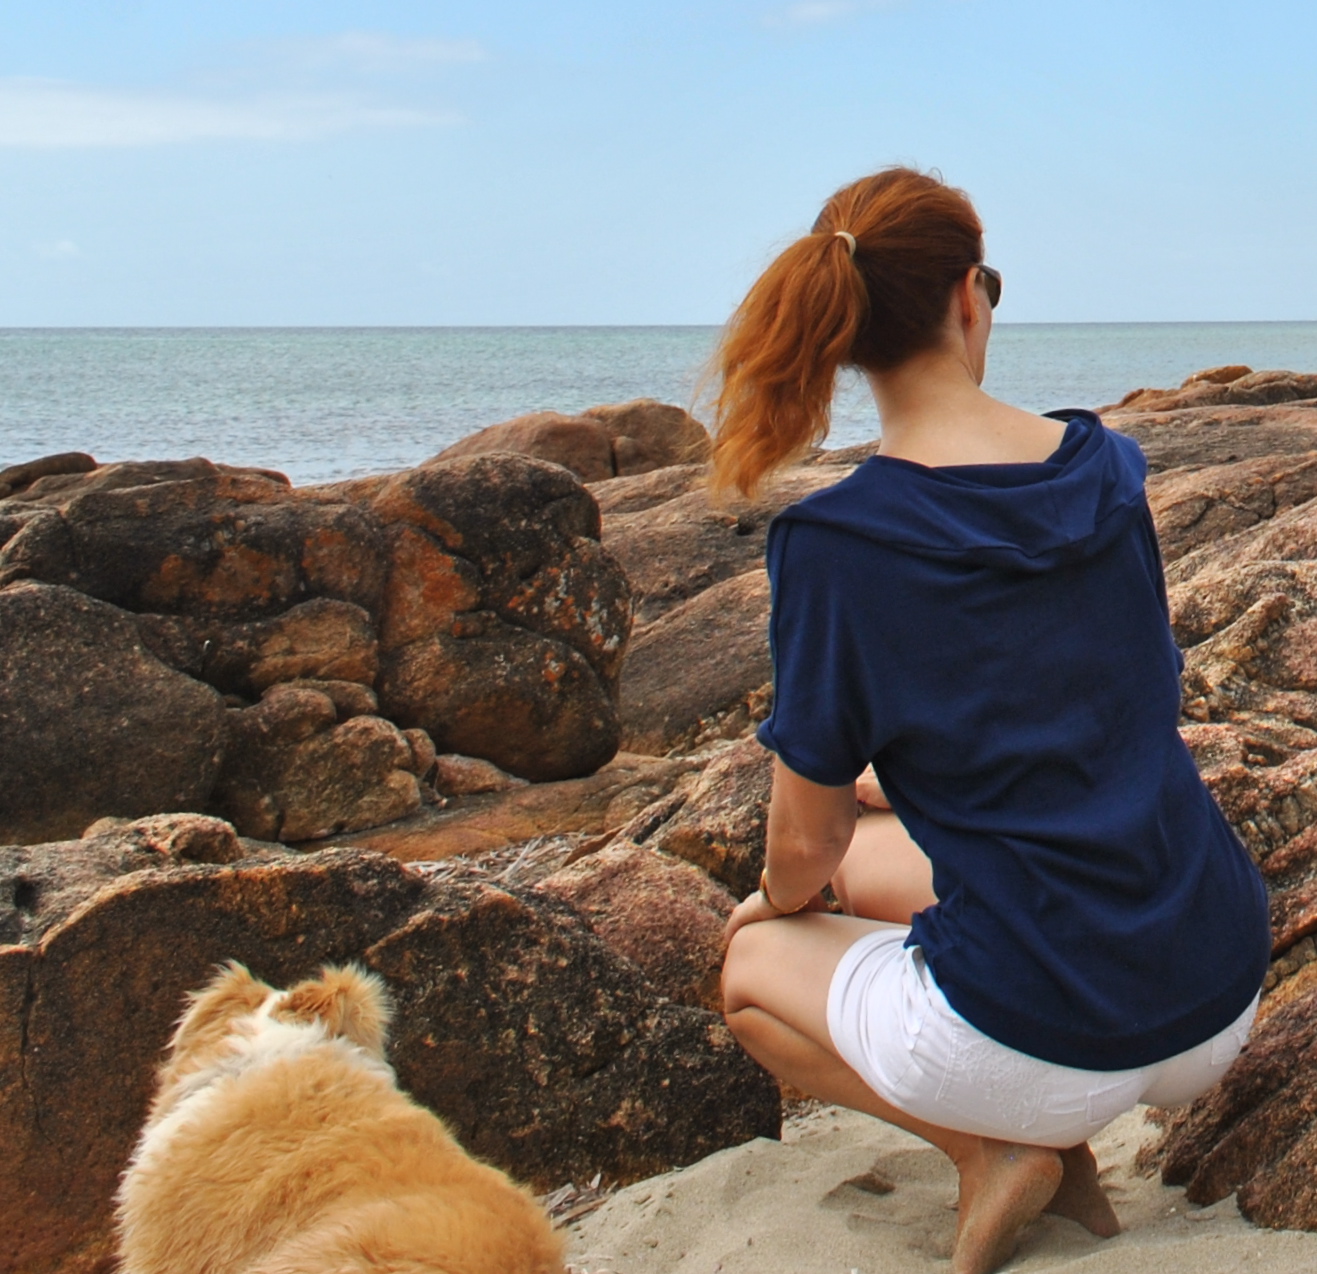
 In hood down mode this appears not unlike an ordinary little Tshirt, plain-ish but with a just-interesting-enough little variation to redeem it from being outright featureless and boring. The incorporated hoodie thingie (that’s a technical sartorial term there) looks a bit like a backward cowl neck when it is flipped down like above…. it’s actually quite cute, yes?