
I have a word of advice for anyone considering putting leatherette piping in a garment.
Don’t.
There, I think that just about covers it 😉
Haha, I’m kidding… but seriously now, leather/ette detailing is pretty hot right now and adds a smart urban edge to the most ordinary of garments, so I made some to put into my latest project.
It’s fiddly but I think it’ll be worth the effort.
Some thoughts:
When sewing around a sharp corner, clip into the corner before pinning the next section in place, and sew each section as a separate little seam.

Same goes for sewing around a curve. Go slow and check everything is sitting just as it should frequently. There is no shame in hand-cranking the machine, stitching just one stitch at a time! Those needle holes are permanent.

Obviously when sewing in tight corners and curves, pick a nice, long-enough section of the piping with no joining seams. No point in making it more difficult for yourself than it is already. Only use those bits on long, straight easy edges.


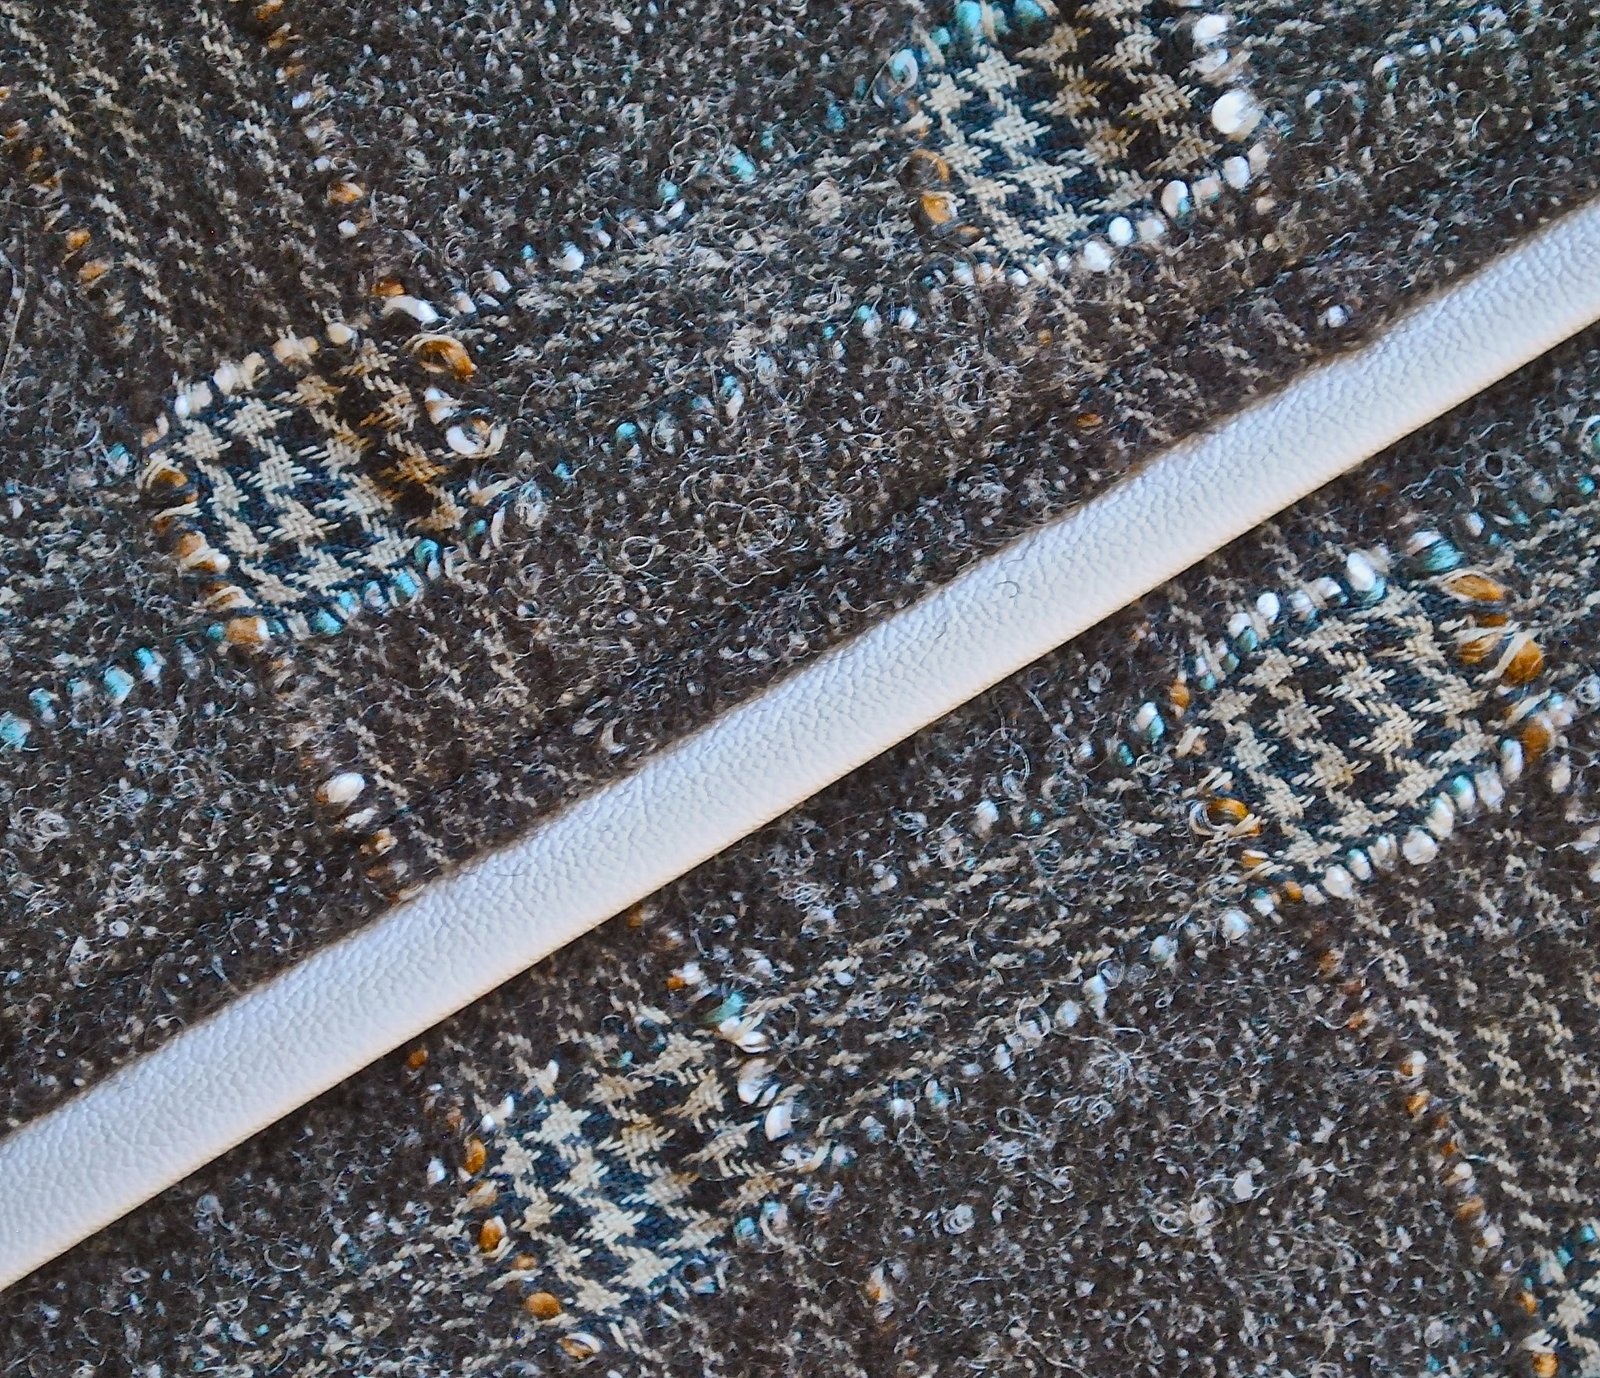
Leatherette does not fold into a sharp edge or point, and even on the bias will not naturally stretch out smoothly around curves either, like a woven fibrous fabric would. But it does give a nice, softly rounded edge when turned out. I like the bluntness, am very pleased with the contrast in textures and think they’ll lend a certain je ne sais quoi to the final garment. Hopefully. 🙂

Thanks for the tips – it's something I'm thinking about for winter. Look forward to seeing the finished garment 🙂
Its looking very nice!
I love the succinct advice. Despite that, yours looks great so far! Rachel ☺
ellerinize sağlık, çok güzel olmuş…:)
When sewing around curves make slashes at 45 degrees angles for greater ease
I've not attempted piping yet and I am feeling leather(ette) is probably best saved for when I've mastered fabric piping! But I can see your coat (?) is going to look wonderful. The colours combine together so beautifully 🙂
Thanks for the advice. Looks like it will be gorgeous. The fabric is beautiful!
So nice!
This looks like another beautiful garment. The piping looks amazing.
Having just done a jacket with this piping I know how much it takes. But it definitely is worth it, it gives the nice edgy look.
Sound advice. It is looking good so far – I am looking forward to seeing the whole garment!
looking good, are you sewing for fall now? and is that a hot pink tailor's tack I spy in the last photo? love that.
Beth; you have a sharp eye! yes! and this is going to be my new winter coat 🙂
The piping looks wonderful, I am thinking it will be a very beautiful jacket for winter 🙂
This does look fiddly! Your garment looks very nice so far, though 🙂
Loving the look of this garment Carolyn. Thanks for the tips as well!
Shaping Up To Be Gorgeous Carolyn! Great Tips Too… I Have Some Nice Pleathers In My Stash That's WaitinG To Be Used. U Made Cordless Piping Right?
Far; yes I did 🙂
I just finished a skirt that was designed to be color-blocked but instead of used a very weird fabric that looks like green snake skin and used home-made leatherette piping to set-off the different sections. If I had your email I would send you a photo as it came out really well.
Re; my email address is in the side bar at right 🙂 Your skirt sounds fabulous!
This garment looks most interesting already.Despite your opening statement ;), the leather piping is already looking rather sharp and appealing.
Brave – that's all I'm saying Carolyn. That comes from a woman who just about managed to use ready made piping/cording to go round a simple square cushion lat week!!! Can't wait to see you in it. Jo xx
Love it – I bought some leatherette piping tape from Tessuti last year. When I sewed it around a curved pocket it was really apparent that it wasn't cut on the bias and wrinkled around the corner. Best to make your own. Great technique as usual.
This is looking gorgeous and you had me worried for a moment as I purchased some leatherette piping tape from Rathdownes in 2009 and had plans on using it soon. Thank you for the tips and is that paper on top of the piping?
thank you Sharon! Yes, I find it a good idea to use strips of tissue paper over the leatherette, helps it to glide smoothly underneath under the presser foot, and they can just be torn away afterwards 🙂
Great tips! I have struggled with leather details myself. But your results are oh so pretty.
Wonderfully sewn and while the leather piping may have been tedious your results show it was worth the time.
Looks wonderful so far. I have some leather that I would like to use for piping so thanks for the tips. A little detail like that makes a garment really stand out.
Whatever it is that you're making is looking super sharp! Love that plaid.
This kind of details are soooo cute! Thanks for sharing your tricks 🙂
Ooh, looking very nice. A coat?
Thanks for the tips. Your piping looks great!
It is so cool, I love the piping.
Wonderfully sewn.
Ellen 🙂
Your trench is awesome with the piping. I'm still working on mine in between other things.
Niiiiice, love contrasting textures