On the “news” * the other night they had a little segment where Kmart introduced their new range of $5 bras, which is insanely cheap… and all over again I got to thinking about why I make my own in the face of the ever plummeting prices of rtw clothing. See, a lot of people I know think I’m completely bonkers (source; they tell me) for making my own when it’s so cheap to buy a perfectly pretty and well-made bra, and without the angst of sourcing all your own bits and pieces and spending the few hours it takes to put it all together.
* “News” in inverted commas… because some of our local news programmes go for a full hour here while at the same time this is a city where basically nothing ever happens. The world news, or REAL news, is raced through in about ten minutes; local news might be another one or two minutes, tops, and usually is something like “the Mayor in hot water because she tried to claim her wardrobe as a work expense!”; the twenty minute sports section is always lengthily and disproportionately weighted towards Aussie rules football and stats and is highly detailed, let’s not even go there! ; the weather is a brief high point; and the rest of it is thinly disguised ads. The Kmart bra story definitely fell into the category of thinly disguised ad.
So, summarising into a neat and tidy little list of pros and cons…
CONS
- it’s relatively expensive to make your own. During my year where I added up how much I spent on my totally handmade wardrobe, I discovered that bras and undies were amongst the priciest of things to make yourself. Sure, you’re only using teeny pieces of fabric and/or lace, but once you include elastics, hook and eyes, rings and sliders, and even the optional underwires, underwire casing and foam paddings… well it adds up pretty quick!
- it’s fiddly
- if you buying a rtw bra, you can reject any one that is not completely perfect and just keep trying on different ones until you find The One… when you’re making your own it takes time and maybe even a few less-than-satisfactory bras before you work out the perfect fit for you with any given pattern.
- it can be difficult if not impossible to find colour-matching bits and pieces. You can dye your own (more fiddle) or settle for good old boring black, white or beige. Kind people may give you their old colourful bras from which you can harvest the colourful bits.. however in my experience the hooks and eyes closure at the back which is the very hardest bit to source in different colours is usually the very first bit to look hideously wrenched and worn out, and is not worth saving.
PROS
- you can be creative… express yoself!!
- I feel a lot better about myself and my wardrobe if it is my own labour being poured into it, rather than someone else who is being grossly underpaid for doing so. Many years ago when I took my Lifetime Pledge in Wardrobe Refashion, I thought long and hard at the time about doing so… and my reason has remained unchanged… I love fashion, I love the artistry and creativity and self-expressiveness of it, but I can only live with myself by taking that ethical stance
- it’s actually kinda fun
- it’s fiddly. Yes, I also claimed this as a “con” but I’m the kinda loon who actually thoroughly enjoys doing detailed and fiddly things.
- I like that my free time is spent doing something productive and useful… and there’s not much more productive and useful than making your own consumables. Plus, last but certainly not least:
- I LOVE sewing with a weird and totally unreasonable passion. Perhaps that should have been number one on the list.
Well, anyway, there it is, annoyingly inconclusive. I suppose what I’m saying is that as long as I’m able, I’ll probably continue to make my own, while questioning my own sanity at the same time. Definitely bonkers.
Oh, and yes, I made a new lingerie set… ta da!

Fabric; Liberty cotton Clifton jersey Josephine’s Garden in the Pink colourway … this is the other piece of liberty cotton jersey that I bought from the Fabric Store in Melbourne during my weekend away there with Mum, Cassie and Tiffany… and now I’ve made up all my Liberty and have NONE LEFT! (sob) Knicker elastic, and the white cotton jersey used for lining from Spotlight. The pink ribbon that I used to make the little decorative bows, white rings and sliders, and the bra hook and eye thingie were all from Homecraft Textiles.

Pattern; both bra and the two identical pairs of matching knickers are the Watson by Cloth Habit… with a few variations of my own, namely:
1) the front crotch seam has been eliminated from the knickers, as per usual.
2) I really like the shape of the Watson bra pattern, however the raw edges showing inside has always been a problem for me… anyway I made this one so the bra cups + front band are fully lined and with NO raw edges showing on the inside. My method is outlined below.
Stitch the side seams…

then stitch the cup into the cradle curve… taking care to leave free the narrow upper seam allowance of the cup at the centre front
Wrong sides together, stitch the cup lining to the cup/cradle seam allowance, cradle side up so you are stitching along the previous stitching line. After this, fold out and twist the shell and lining cup pieces so they are right sides together and stitch the upper, inner-front cup seam with a narrow seam allowance. (no picture of this, sorry!)

Pin cradle lining right side to the seam allowance of the existing cup/cradle seam allowance, and stitch together with the shell pieces uppermost, so you are stitching over the previous stitching. Trim and grade seam allowances…
Now, take the cradle lining and twist it round so you can pin the side seam edge to the outside of the bra side seam… i.e. the right side of the cradle lining is up against the wrong side of the bra back piece. Holding the pinned seam with the shell fabric uppermost, and taking care not to catch any other bits of fabric in with the stitching, stitch along the previous side seam stitching.

Trim and grade seam allowances…
Looking pretty neat and tidy already!
Attach the upper and lower elastics as per usual, and it’s all perfectly clean and neat in there with absolutely no exposed raw edges… *satisfied sigh*
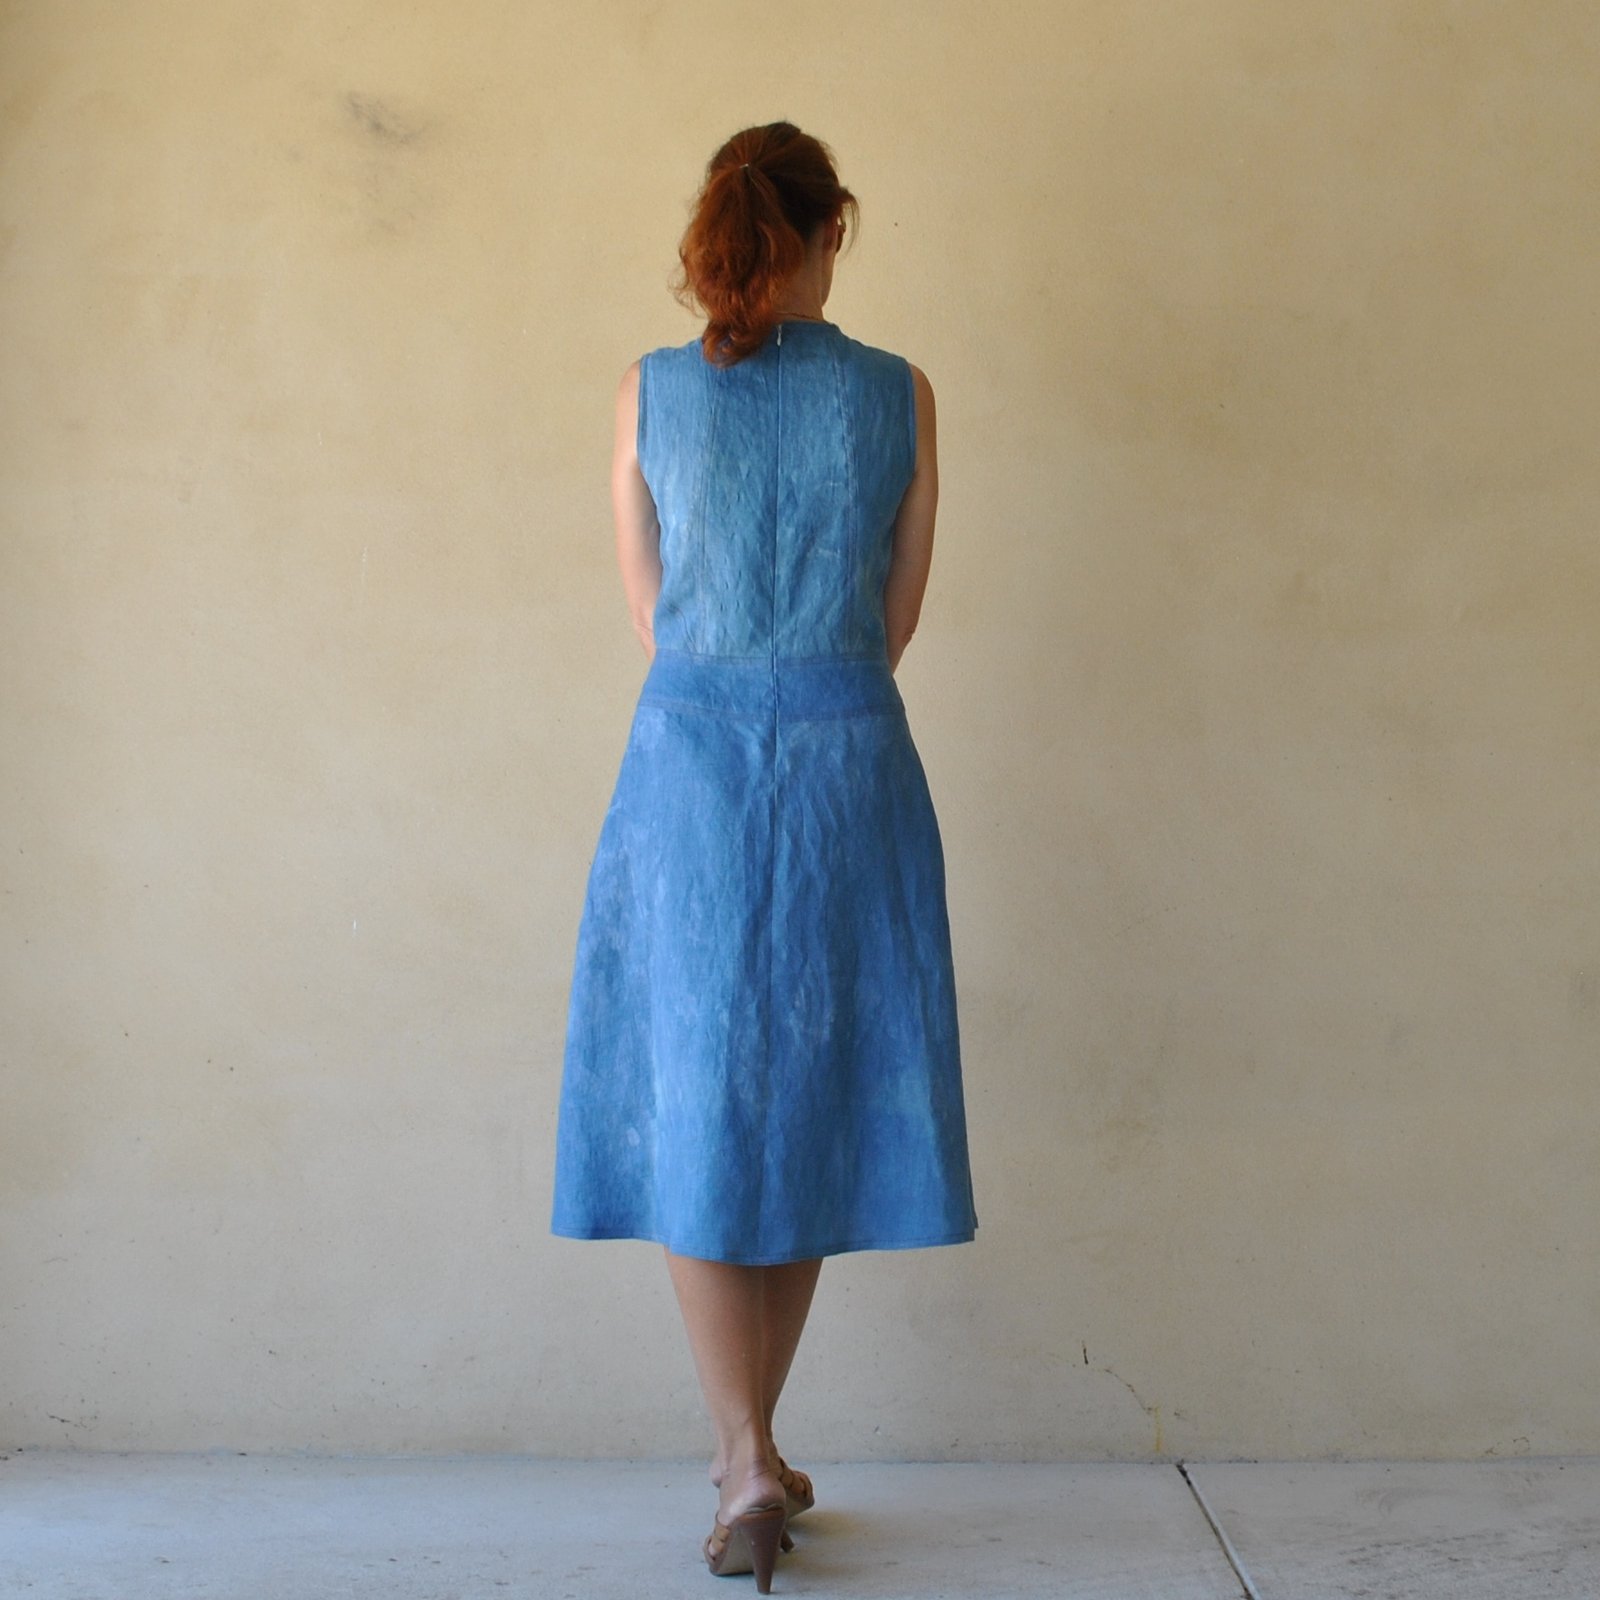
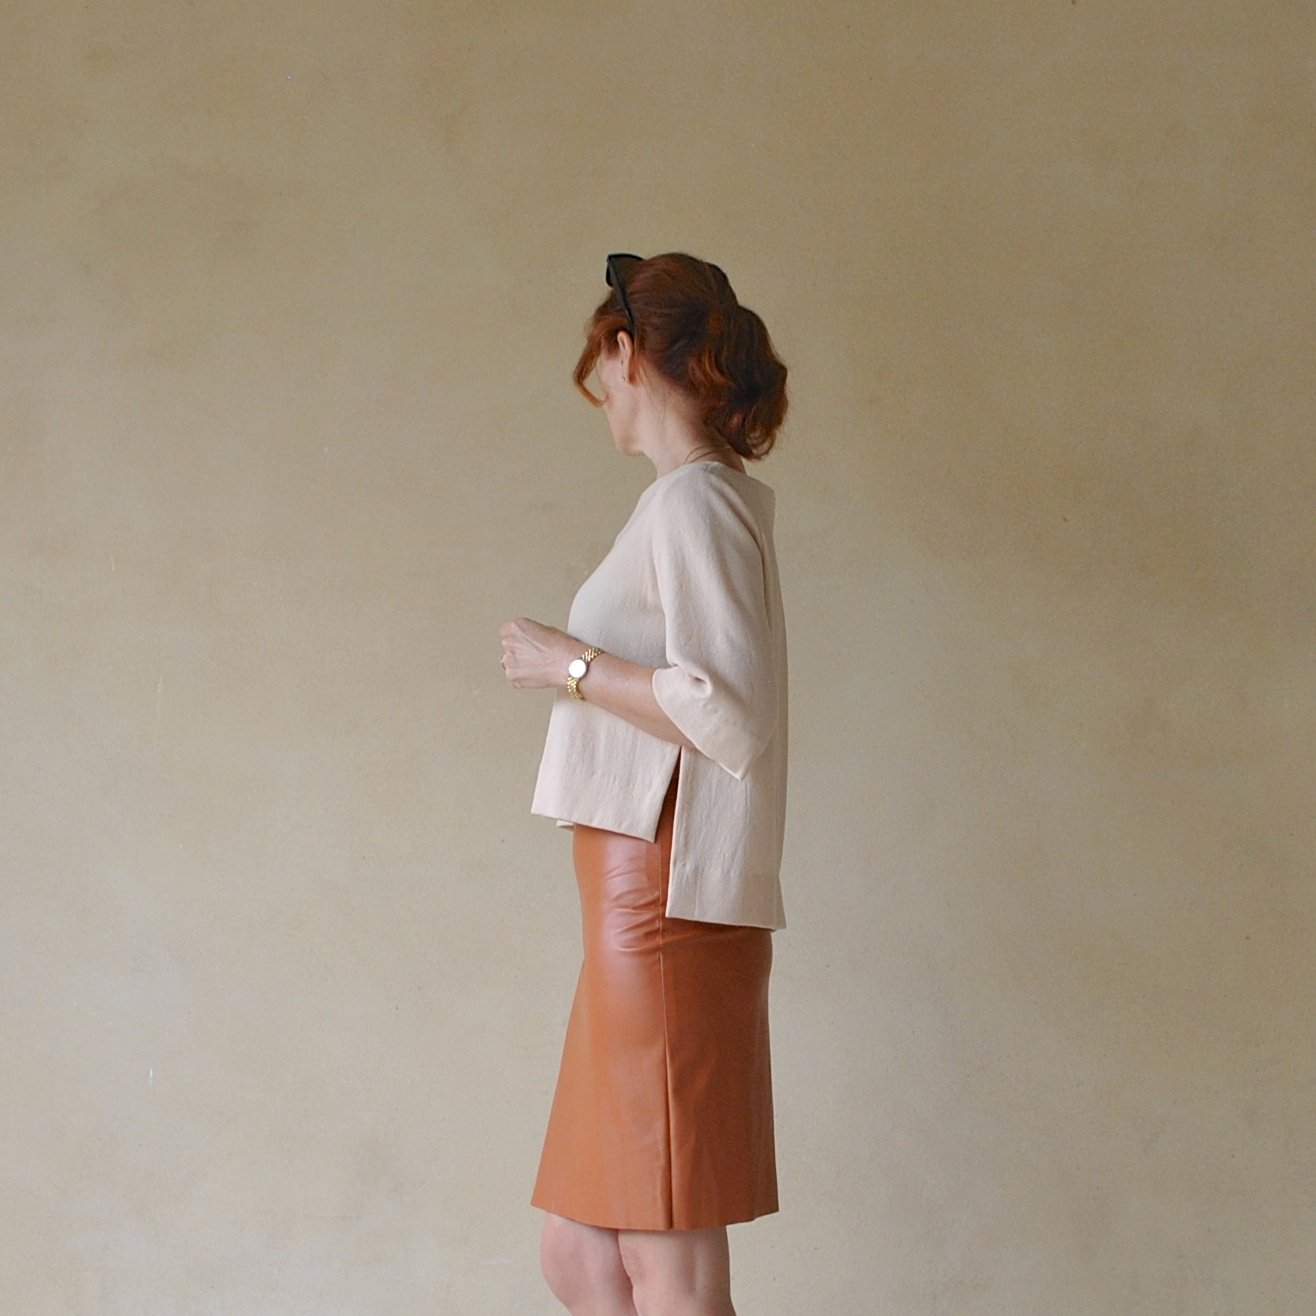
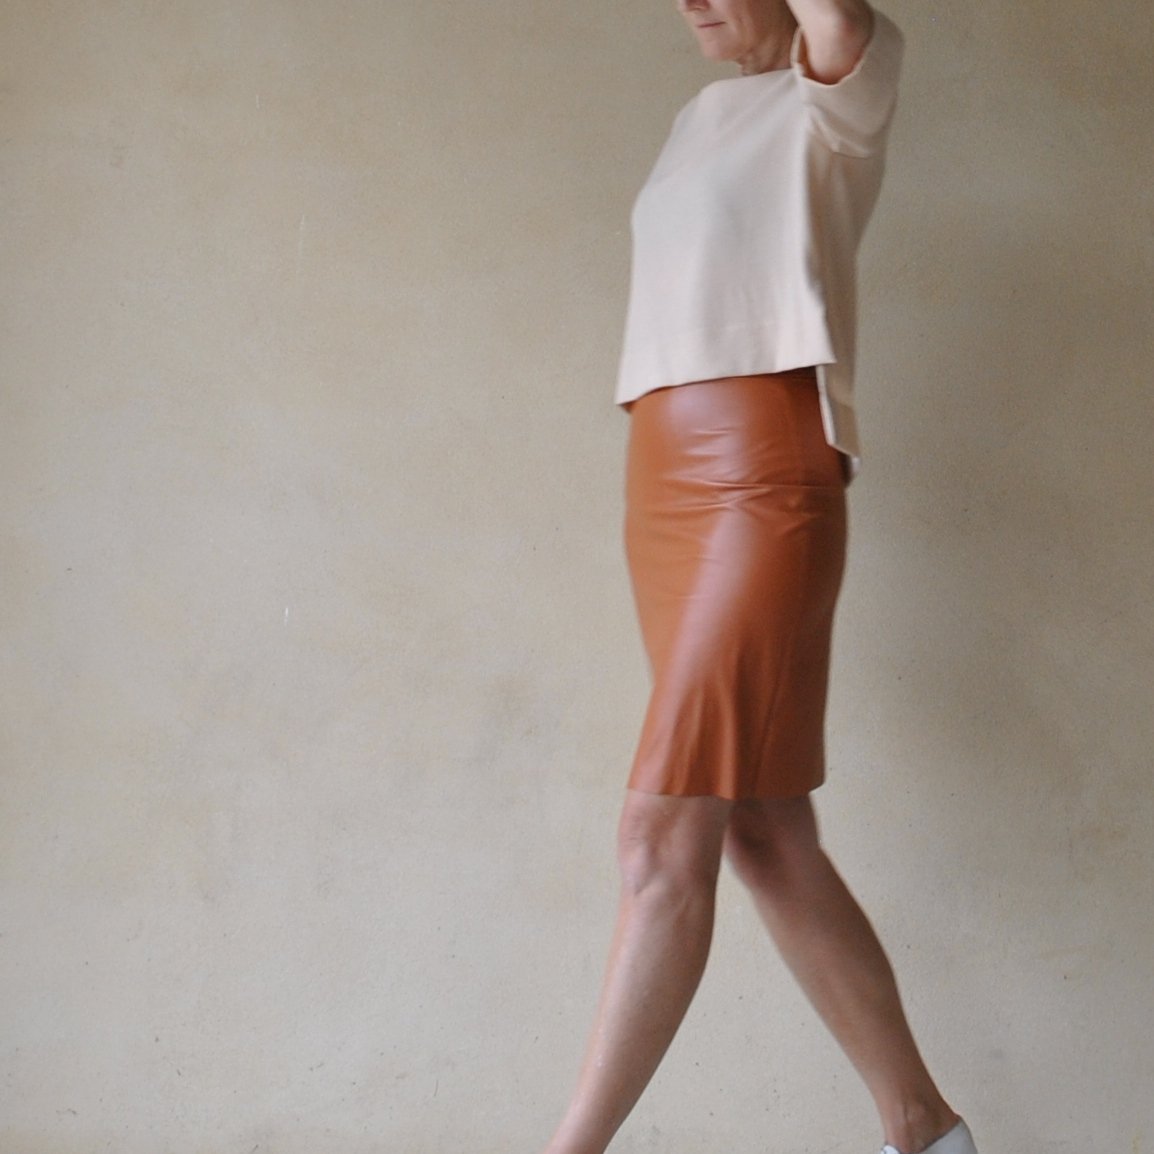
 I’ve made this new dress! every year my dear friends give me a Fabulous Fabrics voucher for my birthday… it’s taken me a little while but I finally got around to spending it and making my birthday dress!
 Pattern; Vogue 1351, this is my third version of this pattern,


 I wore it for the first time today! along with my scarlet Miette cardigan, to show it to my lovely girlfriends who had given me the voucher… 🙂


 Now, remember how I mentioned pretty recently that I was looking out for this pattern?? Well, Evie, of
  Please note; I did receive this pattern gratis, however there are no affiliate links in this post. I will always notify my readers if there is an affiliate link in my posts. Also on a tangential yet related note, I read somewhere that people think bloggers are raking in the money through affiliate links, well! that may be true for some types of bloggers, like maybe fashion bloggers? but sewing bloggers… NO.
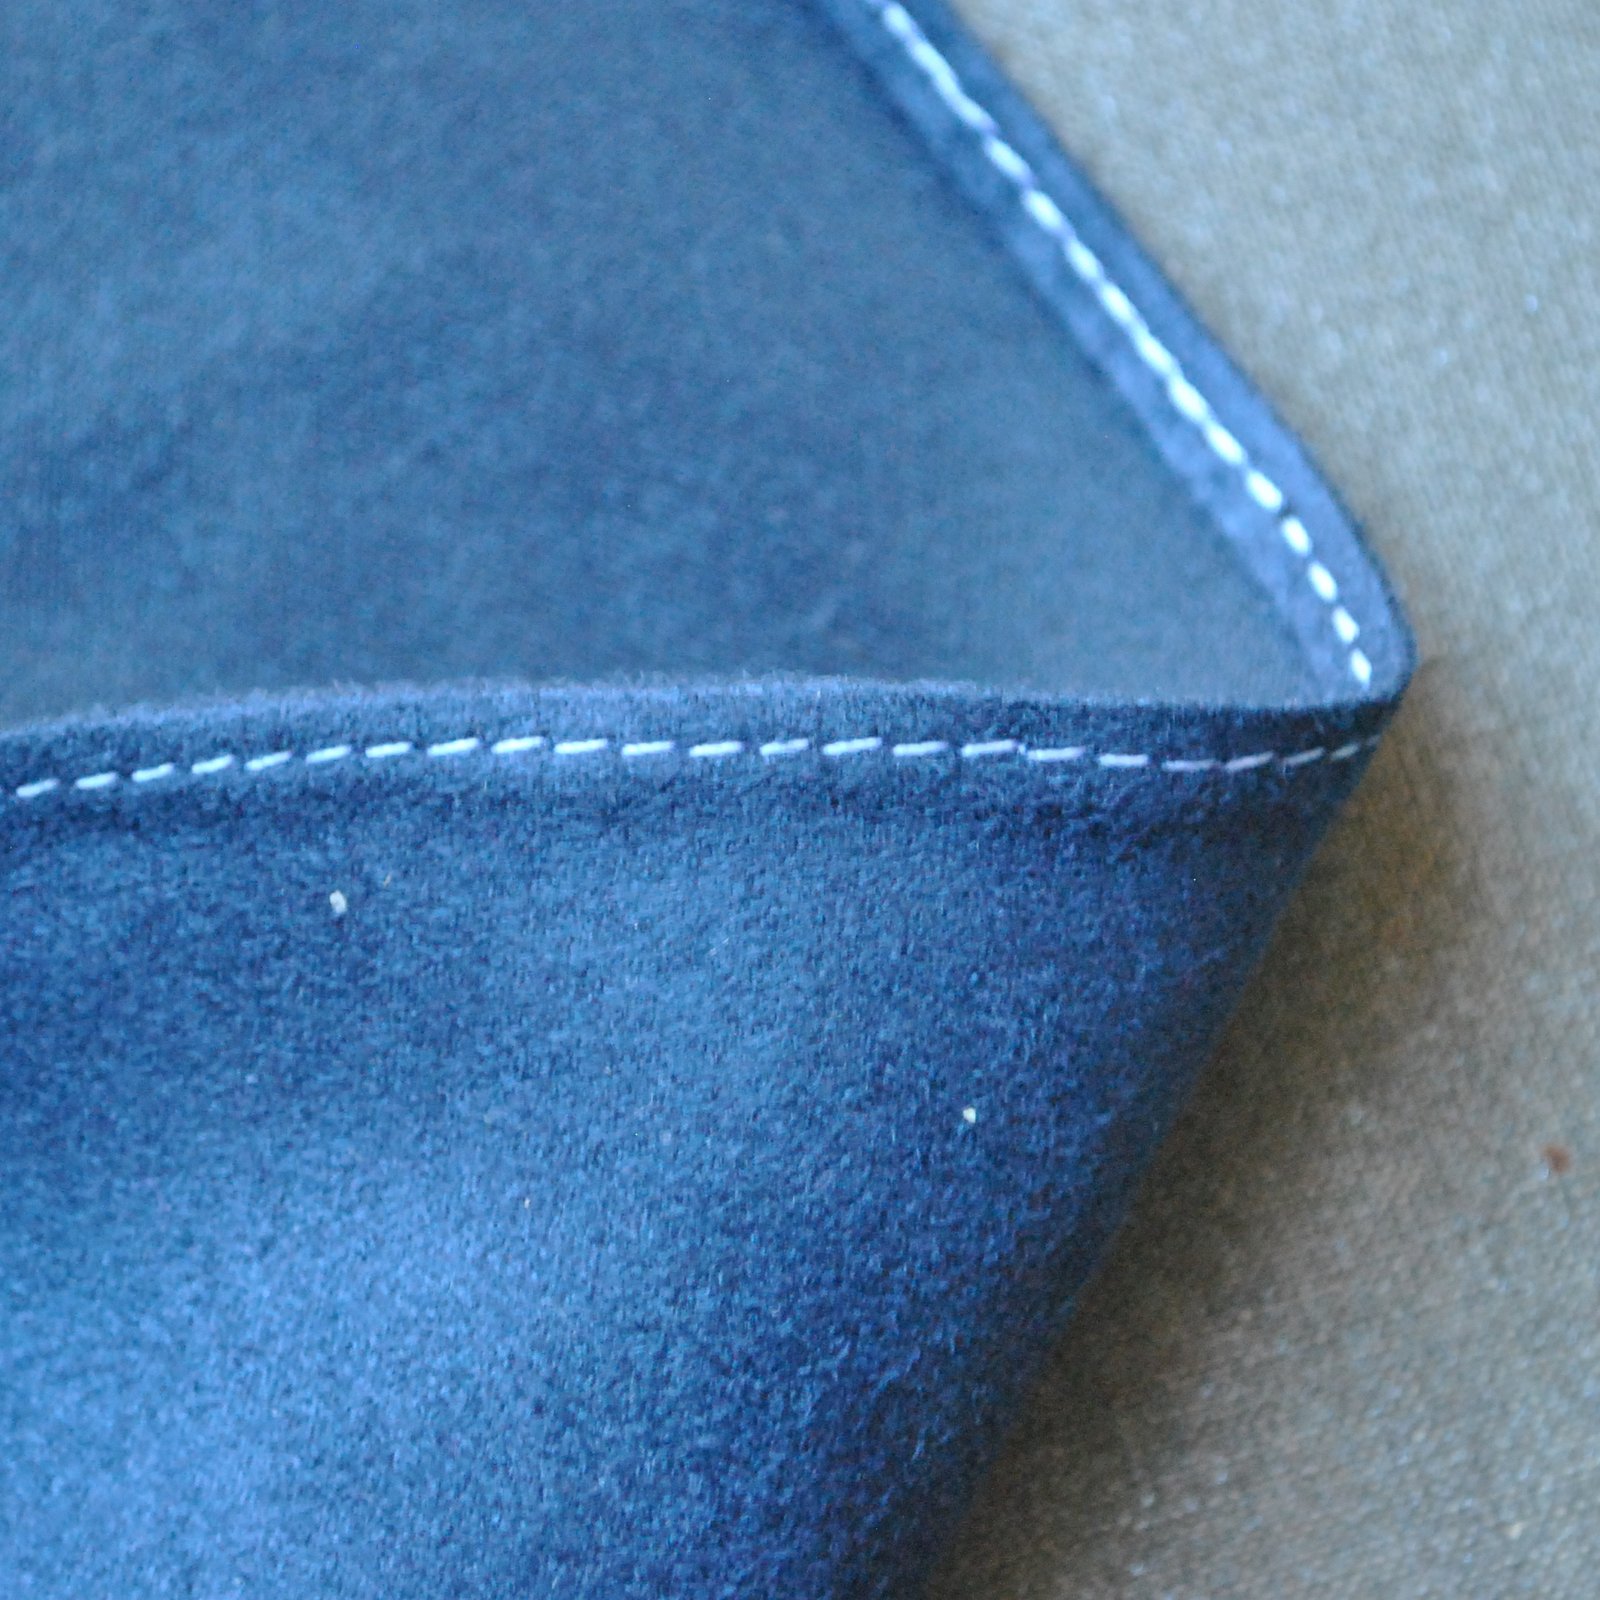
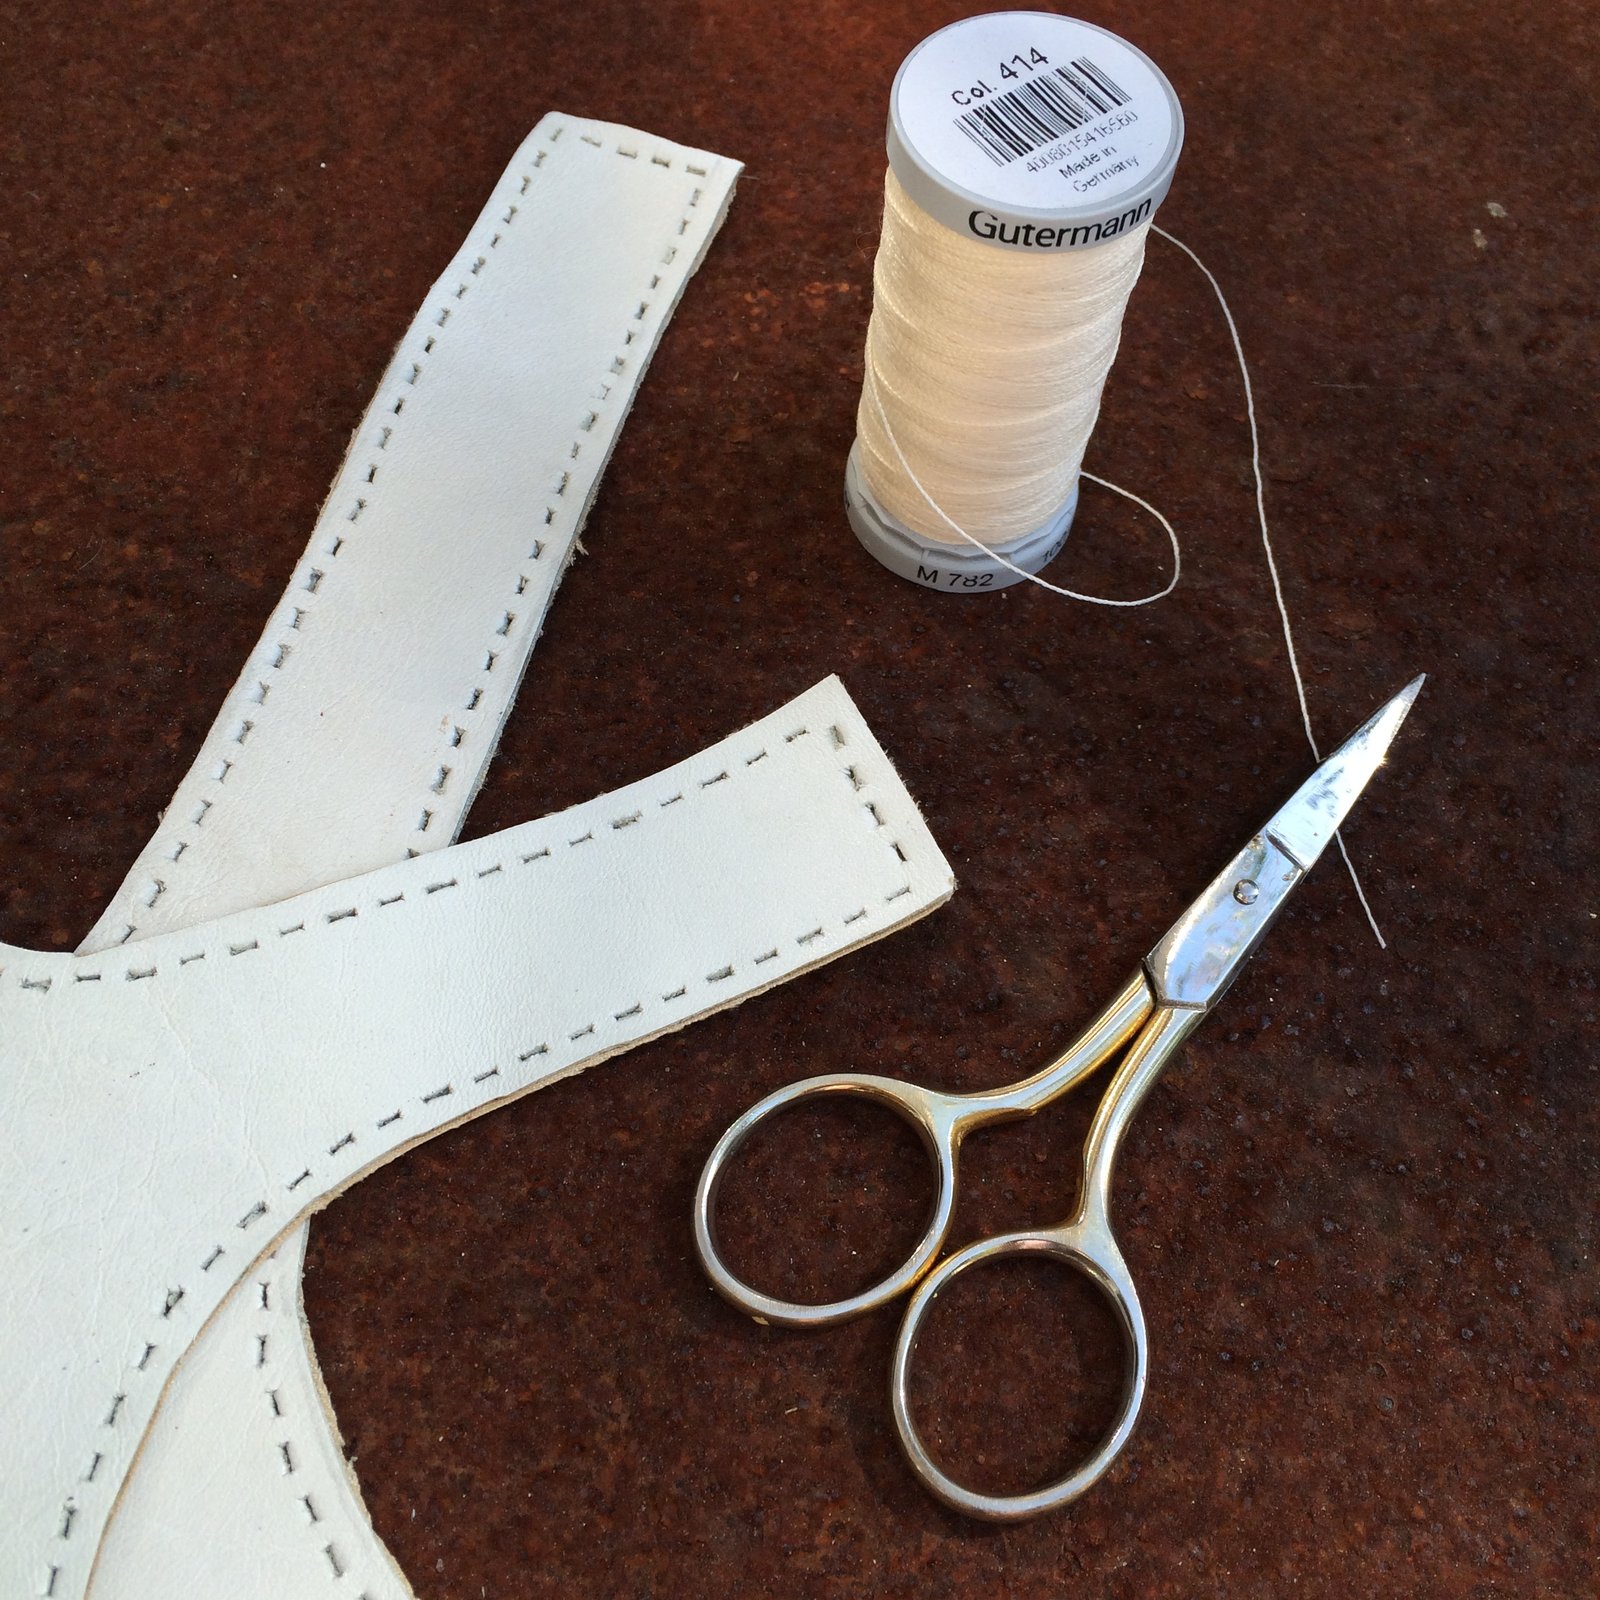
 I used a contrasting white thread here because I found you could barely make out a single thing in my pictures with the matching thread! anyway:


 Trim away the raw edge as close to the 2nd stitching as you can.


 This is actually the second Sudley I have made. I also made a dress that has now been assigned to Cassie when I realised it was just going to be a little too, er, young for me. I expect it’ll show up on ye olde blog here sometime…
 I also cut the lower hemline to have a curved “shirttail” line to it. The hems and the neckline are all finished by hand, because I really wanted to have a smooth clean stitch-free expanse of fabric with absolutely no visible topstitching anywhere. This is about as invisible as I could get.


 e to, otherwise… what would I link to?? *horrified gasp* O, the shame of having nothing to link to!


 I MADE THESE!!!
 So, the process…

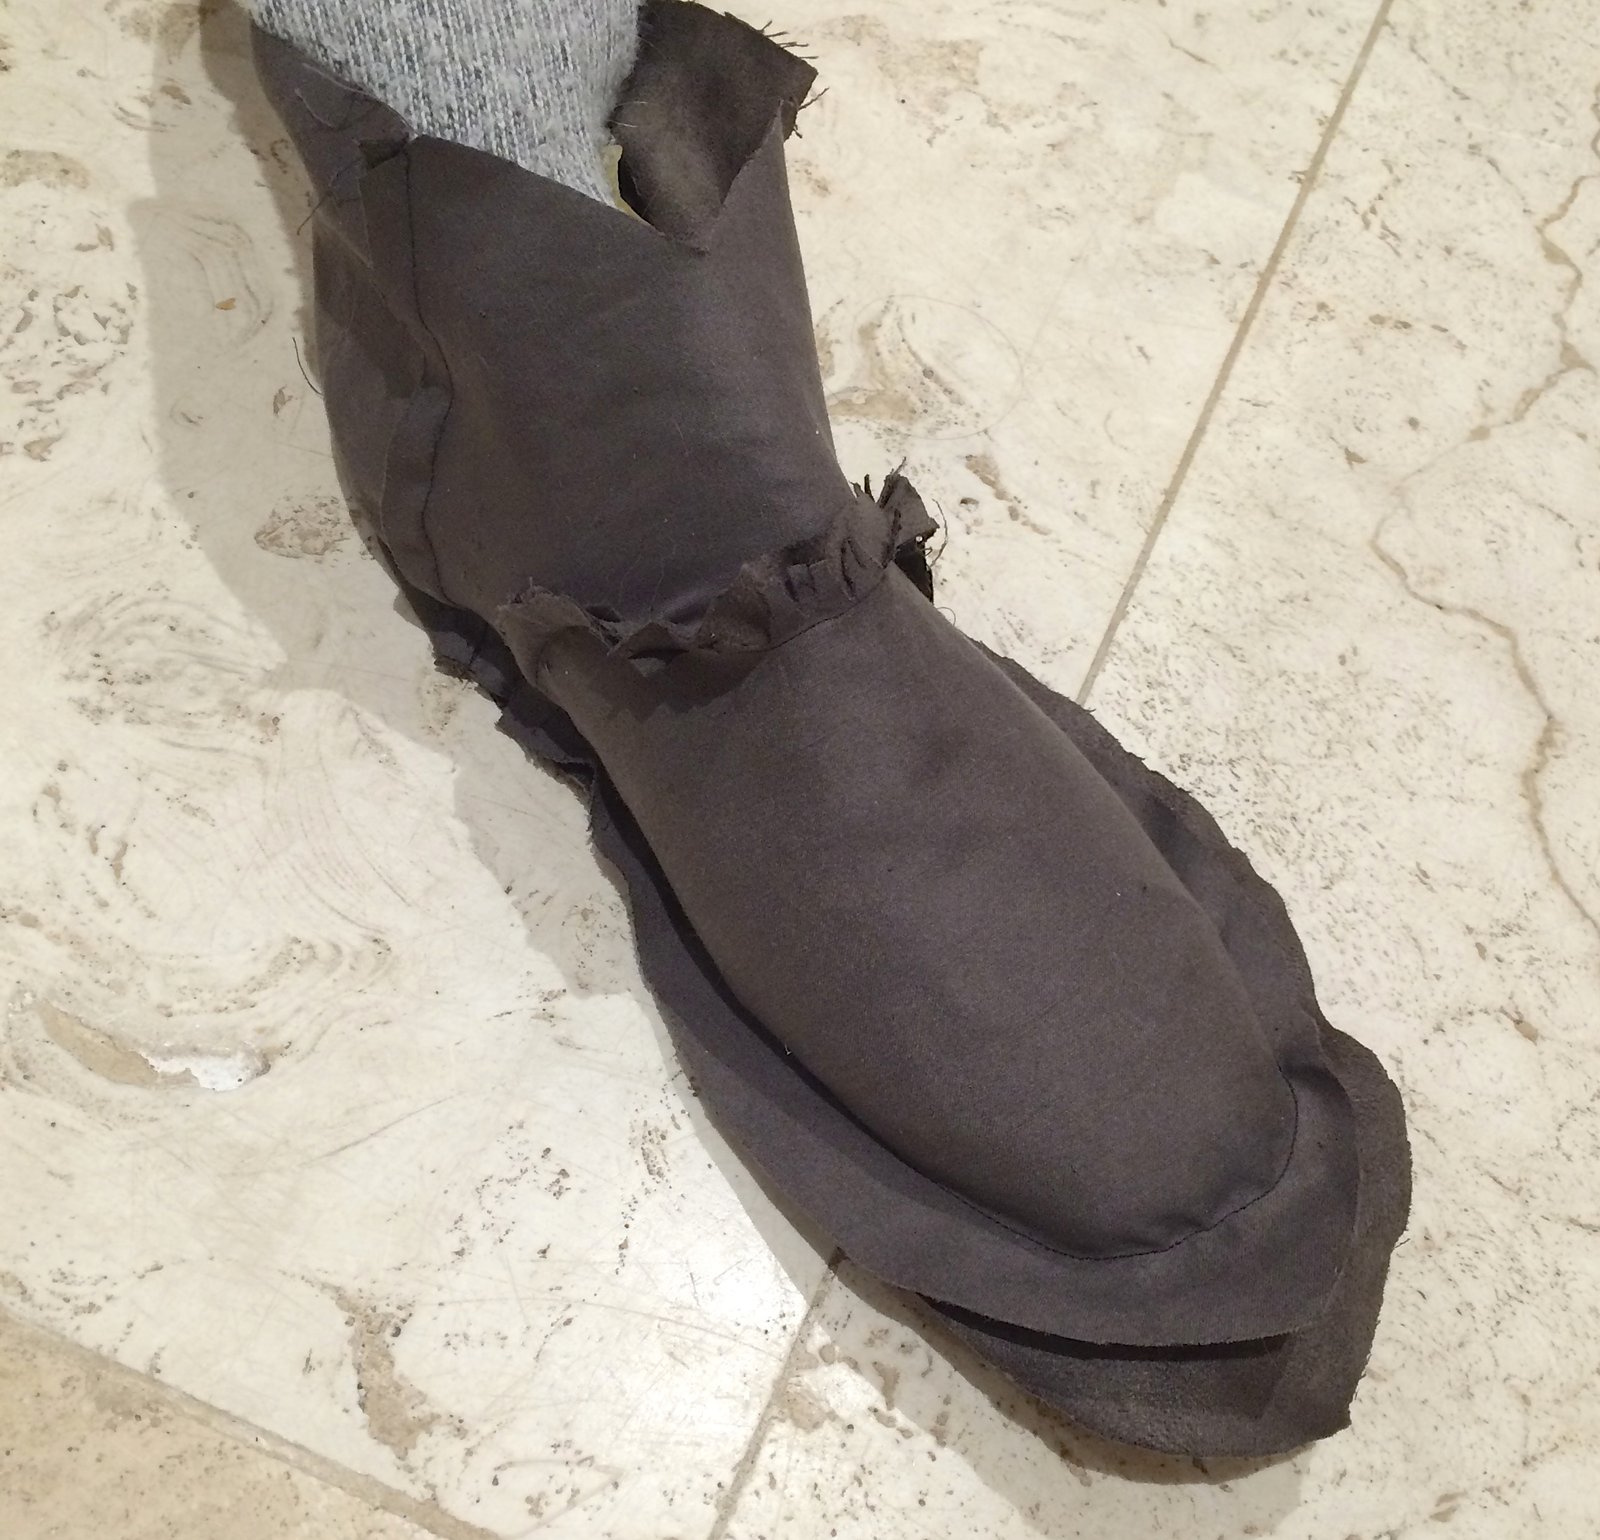


 sorry for the picture overload, but honestly; I’m so proud of those boots I could burst!


 “Yoshimi dress” since