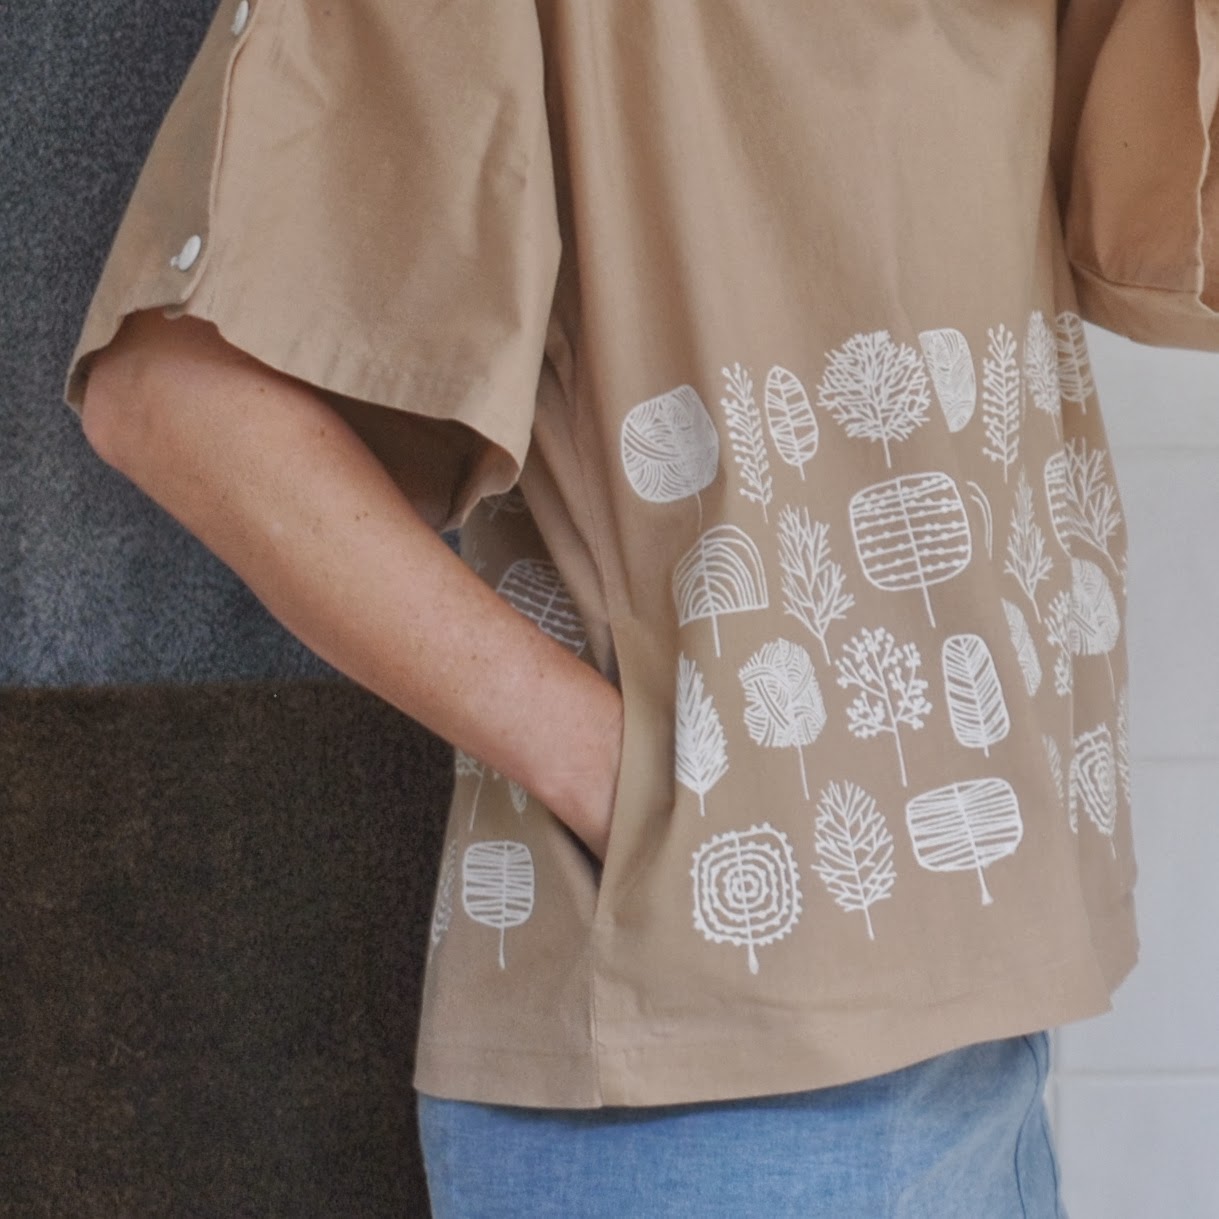
An in-seam side pocket is a pretty simple, basic and close-to invisible pocket, and is a modification I make to a heckuvva lot of my own sewing projects. It can be added to most garments that are loose enough to allow you to comfortably have your hands shoved inside ie. not anything tight and close-fitting like a pencil skirt.
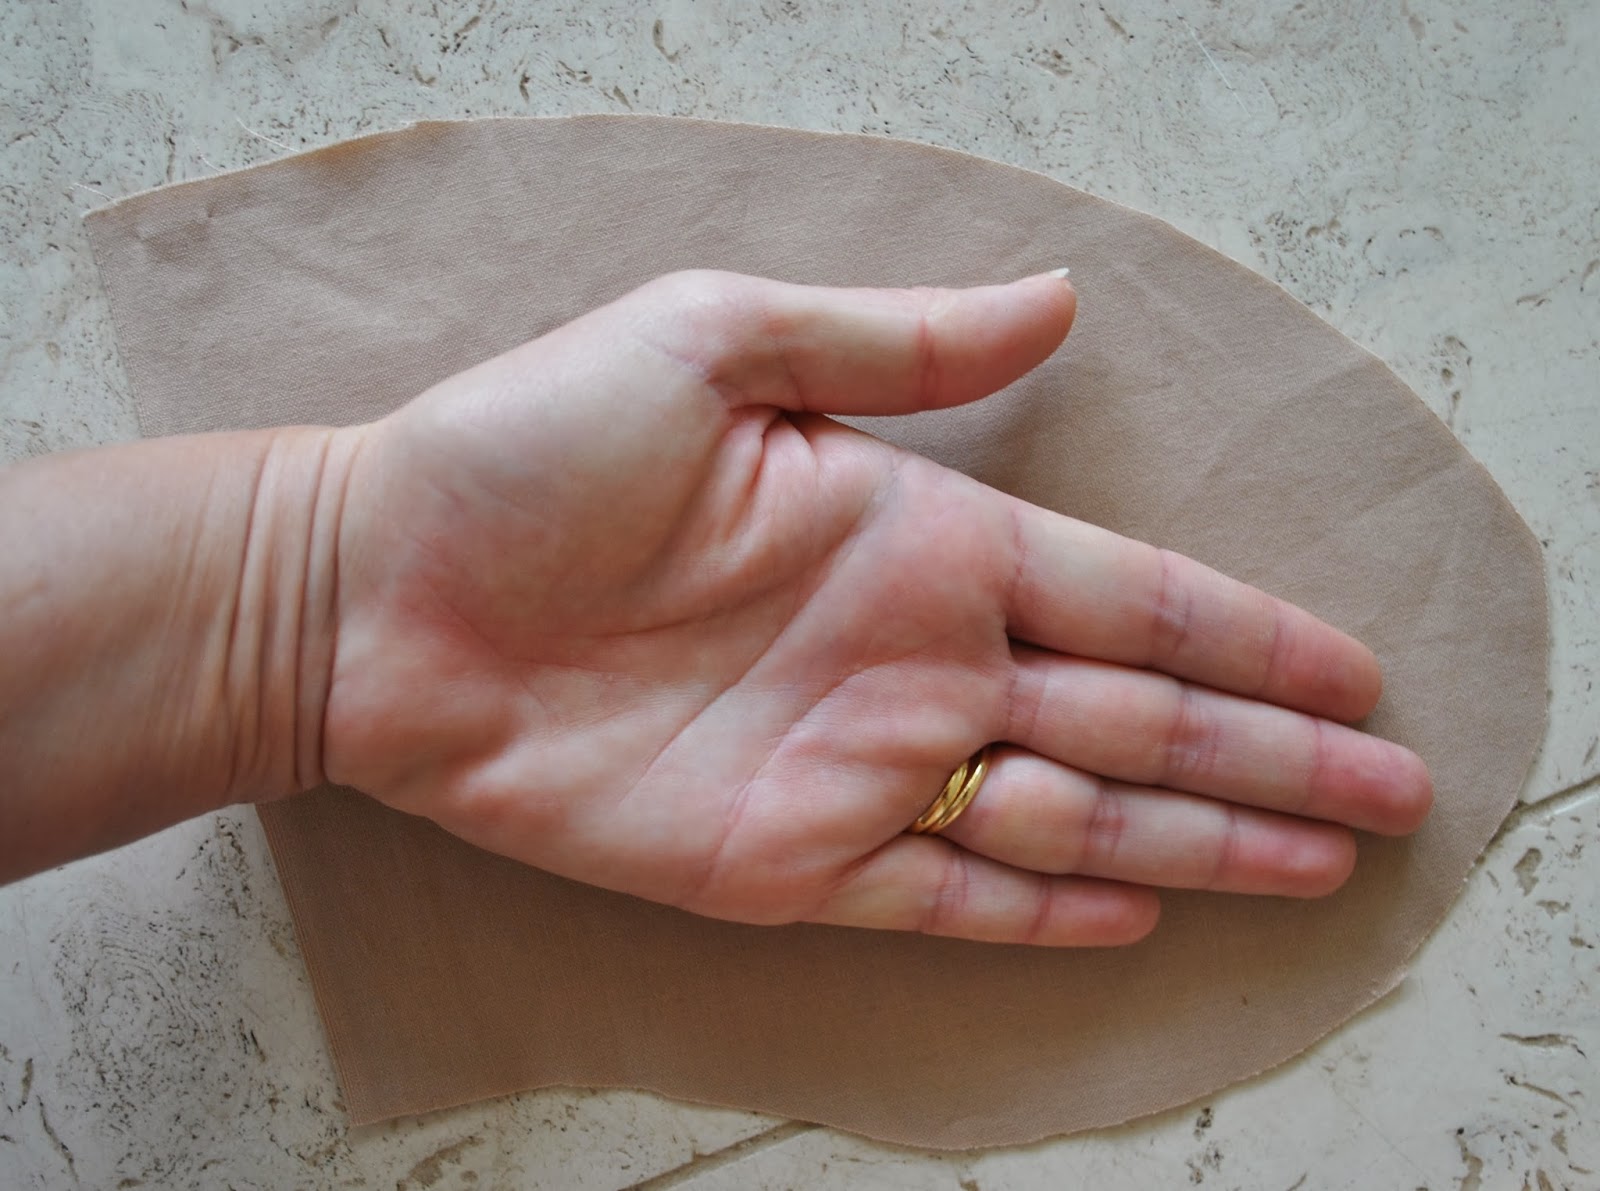
If you have a good-size-for-you pocket piece already, use this, otherwise just lay your hand down on the fabric and draw around it. Give yourself a 1cm seam allowance, and allow a plenty wide opening straight edge at least the width of the very widest part of your hand… otherwise you may have trouble getting your hands into your pockets! Yup, I learnt that one the hard way once….
Cut 4 pocket pieces with the straight opening edge on the grain. If you don’t have enough fabric for 4 pieces, you can just cut 2 mirror image pocket pieces from the fashion fabric, and then cut the other two pocket facings from another, tonally unobtrusive fabric OR if your fabric is bulky, you can optionally cut the pocket facing pieces from a lightweight, thinner fabric to reduce the fabric bulk in your garment.
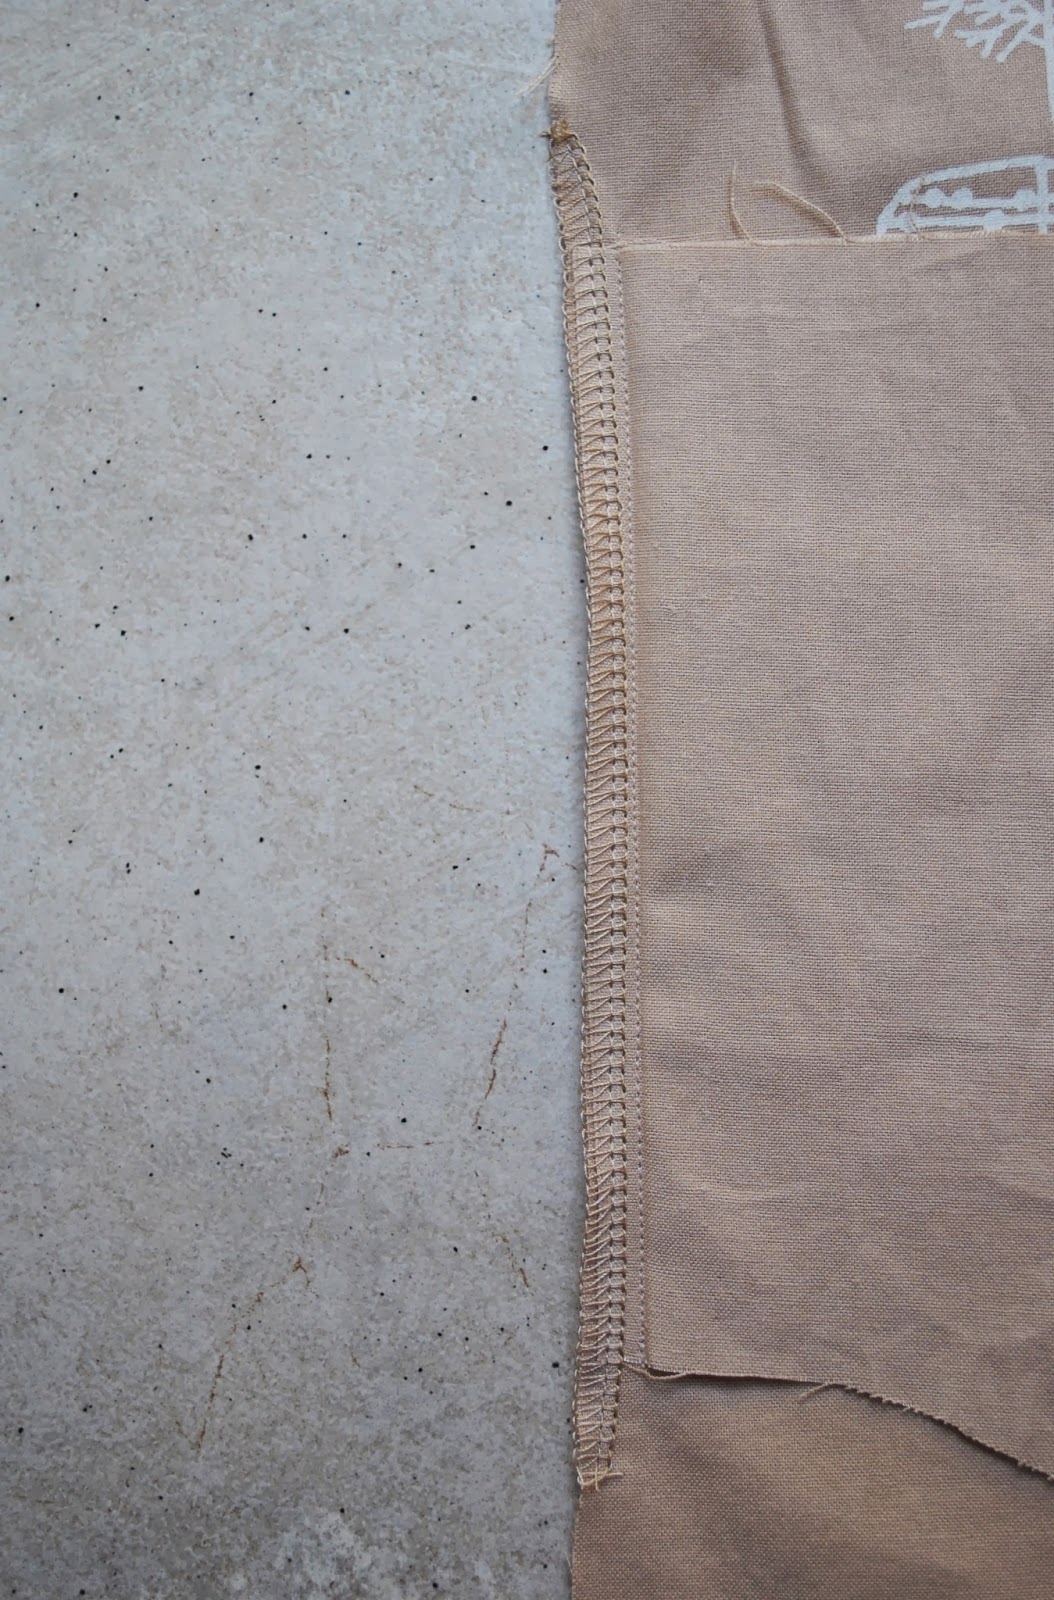
Decide where on your garment you want the pockets to sit. Pin the pocket pieces (fashion fabric) to the back piece, and the corresponding pocket facings to the front piece and stitch together in a narrow 1cm (3/8″) seam allowance.
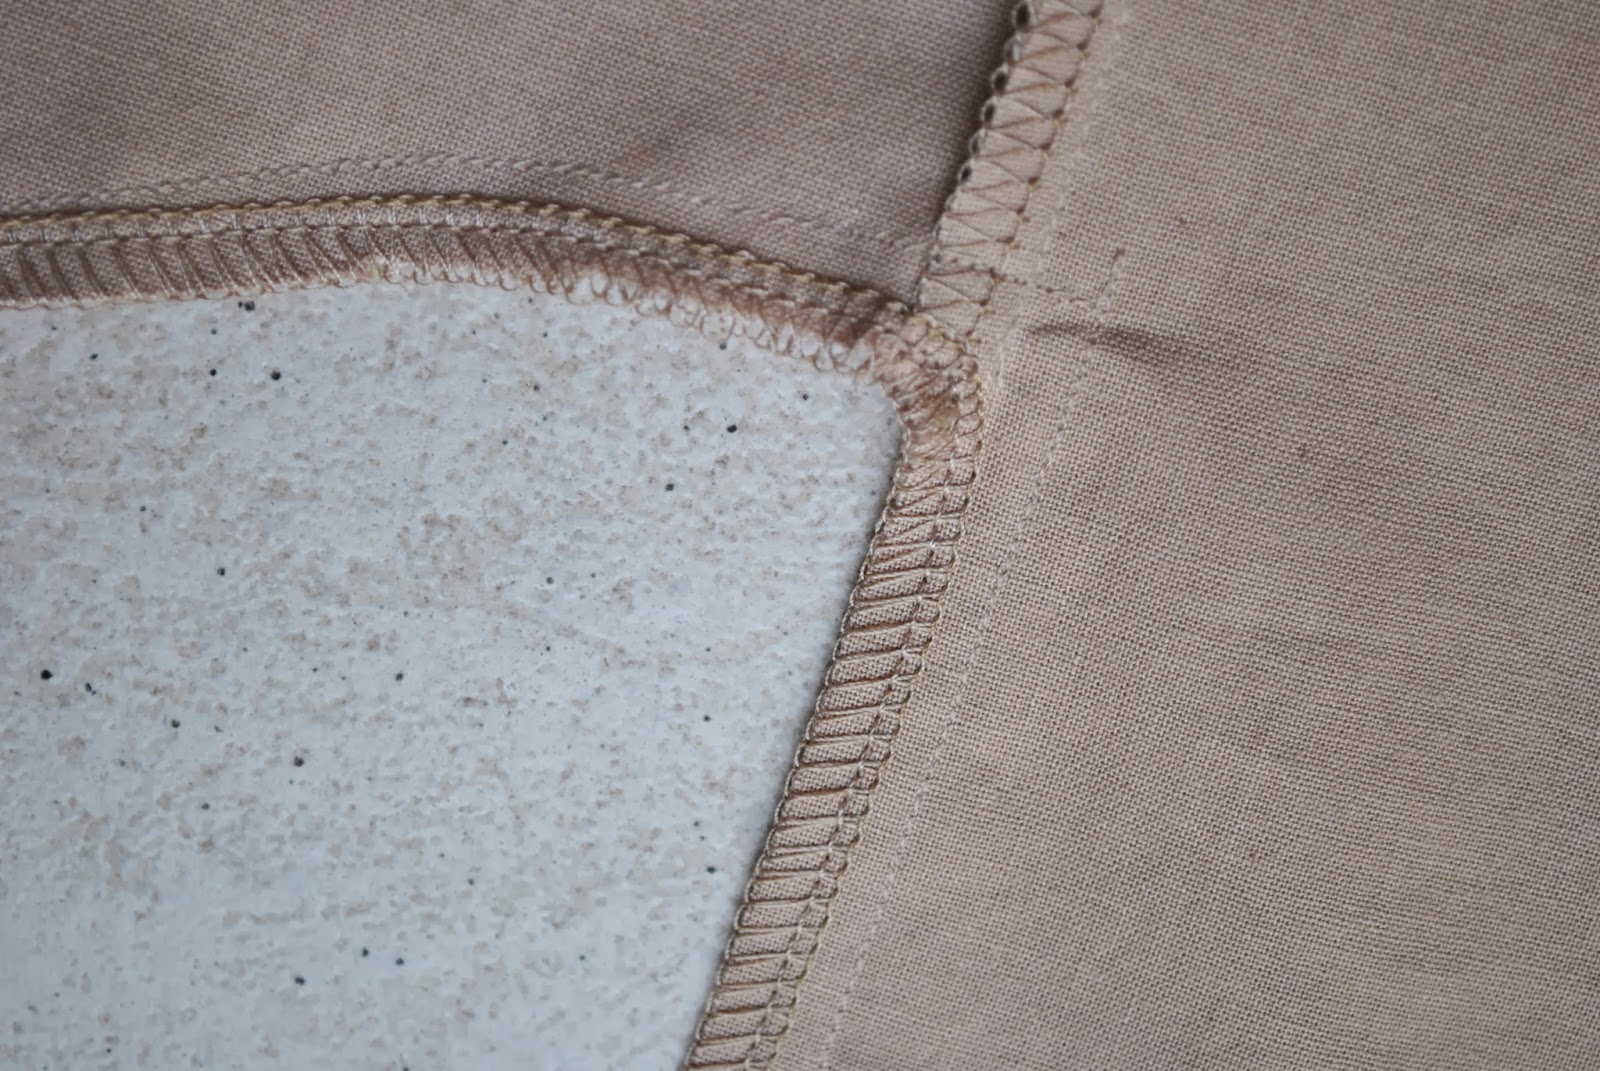
Finish the edge with overlocking or HongKong seaming, if desired, and press the pocket and pocket facing pieces out.
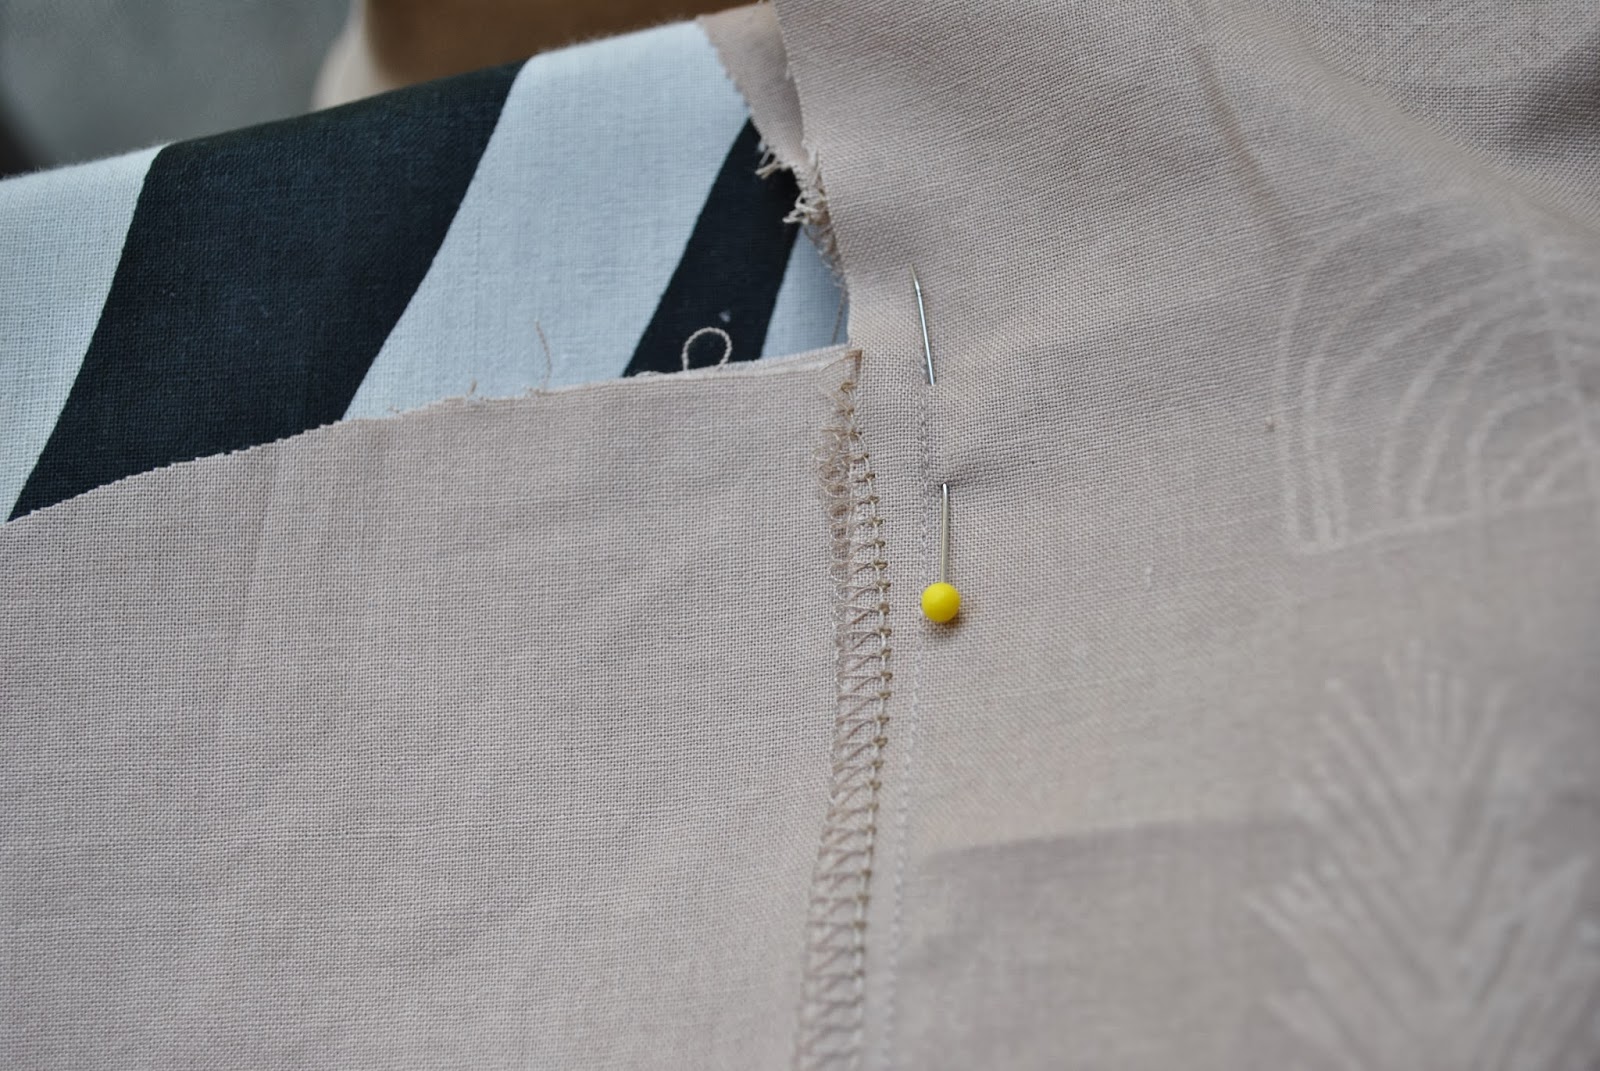
Pin front and back right sides together, aligning the pocket seams exactly.
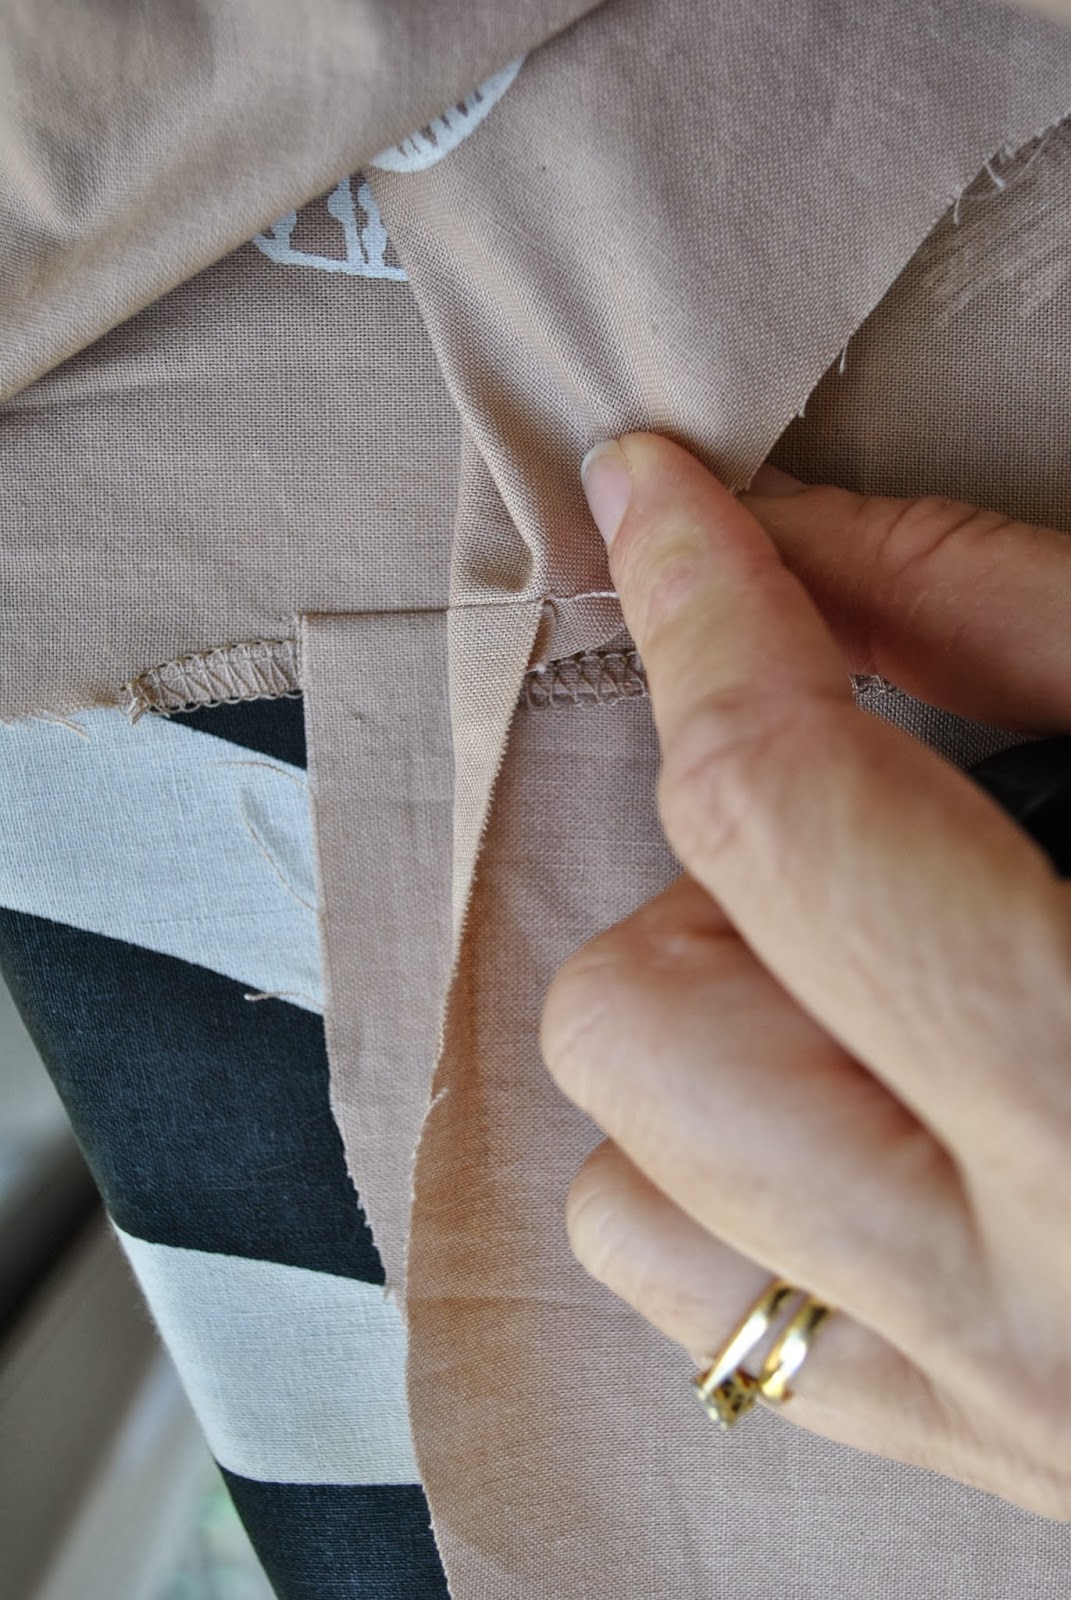
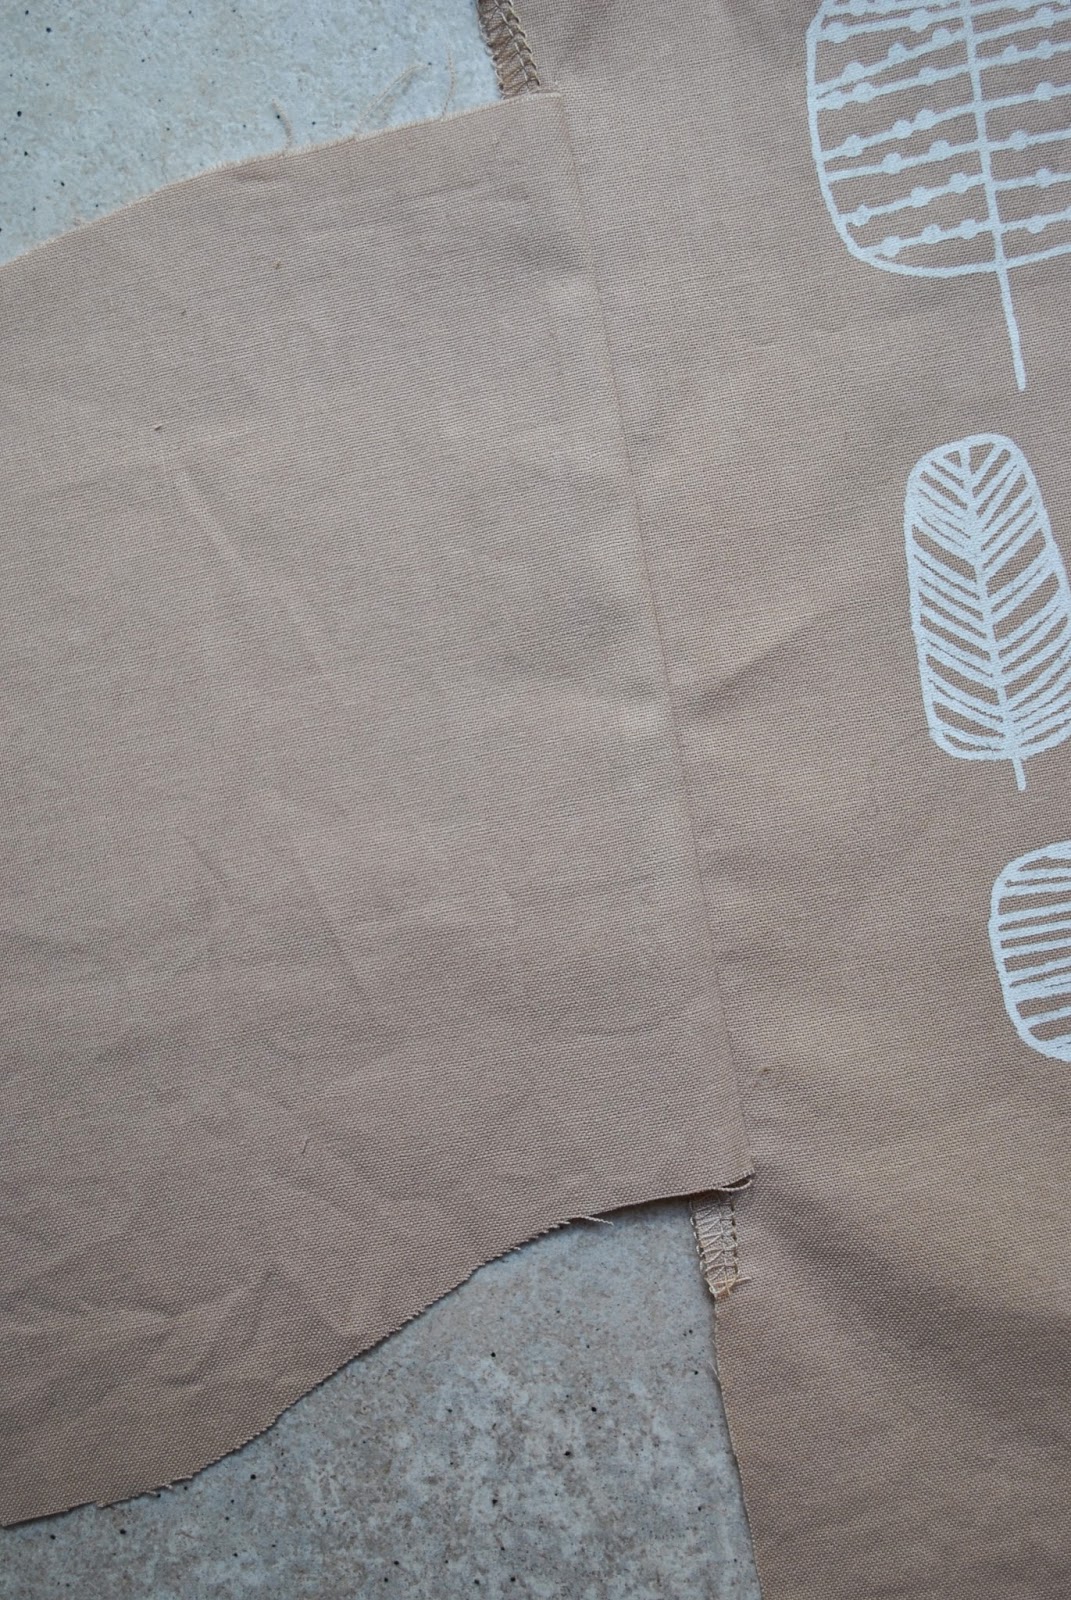
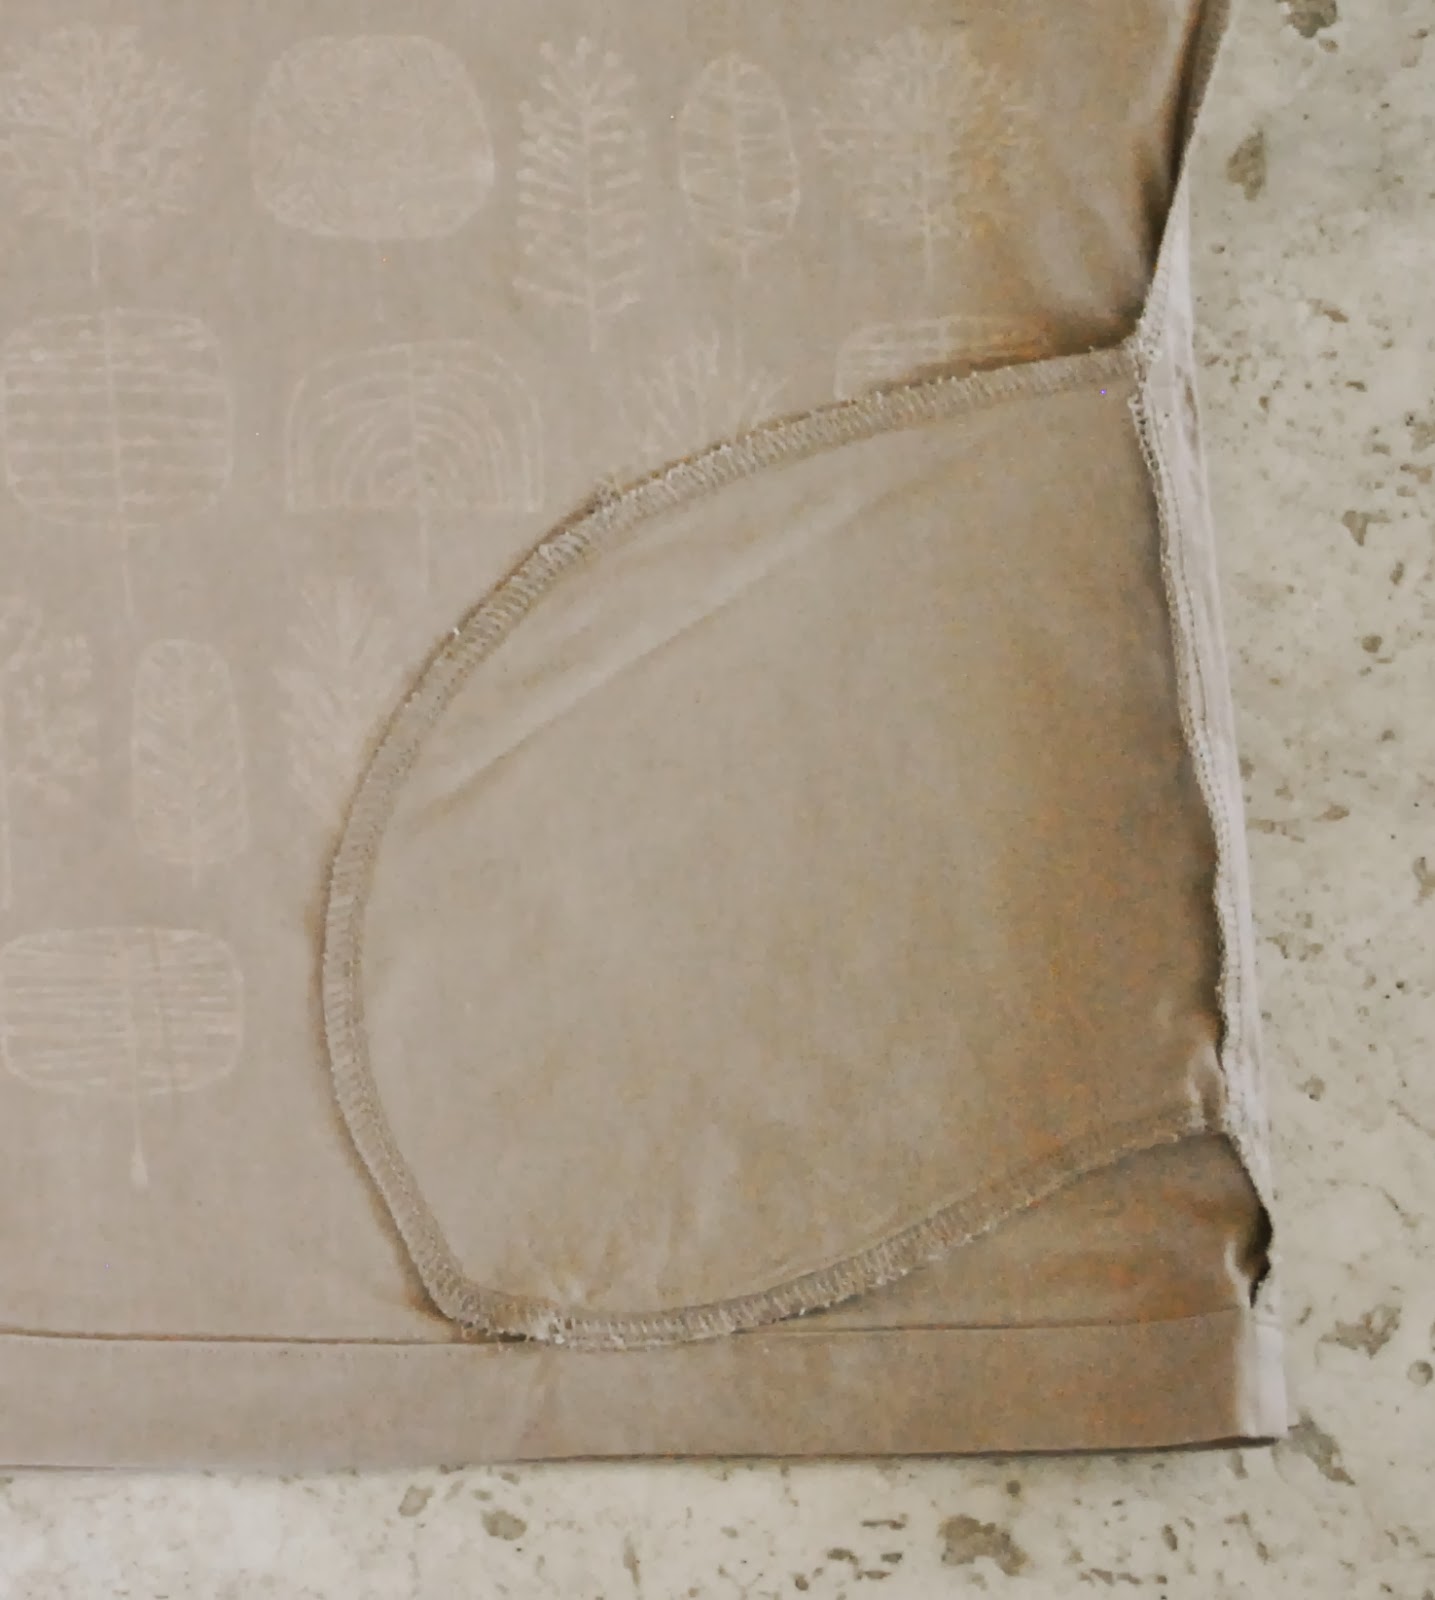
Now sew the side seams of the garment in a regular 1.5cm (5/8″) seam allowance, to a point just a couple of stitches below the the junction of the side seam and where the pocket bag seam will start. Back sew those few stitches to the start of the pocket bag seam, turn and continue sewing around the pocket bag. Do the same back sew for a couple of stitches up in to the pocket opening at the lower edge of the pocket bag seam, and then continue sewing the remainder of the side seam. The seam junctions, with the narrower pocket SA within the side SA, will look like so:

Finish the seam allowances with either overlocking or HongKong seaming, if desired.
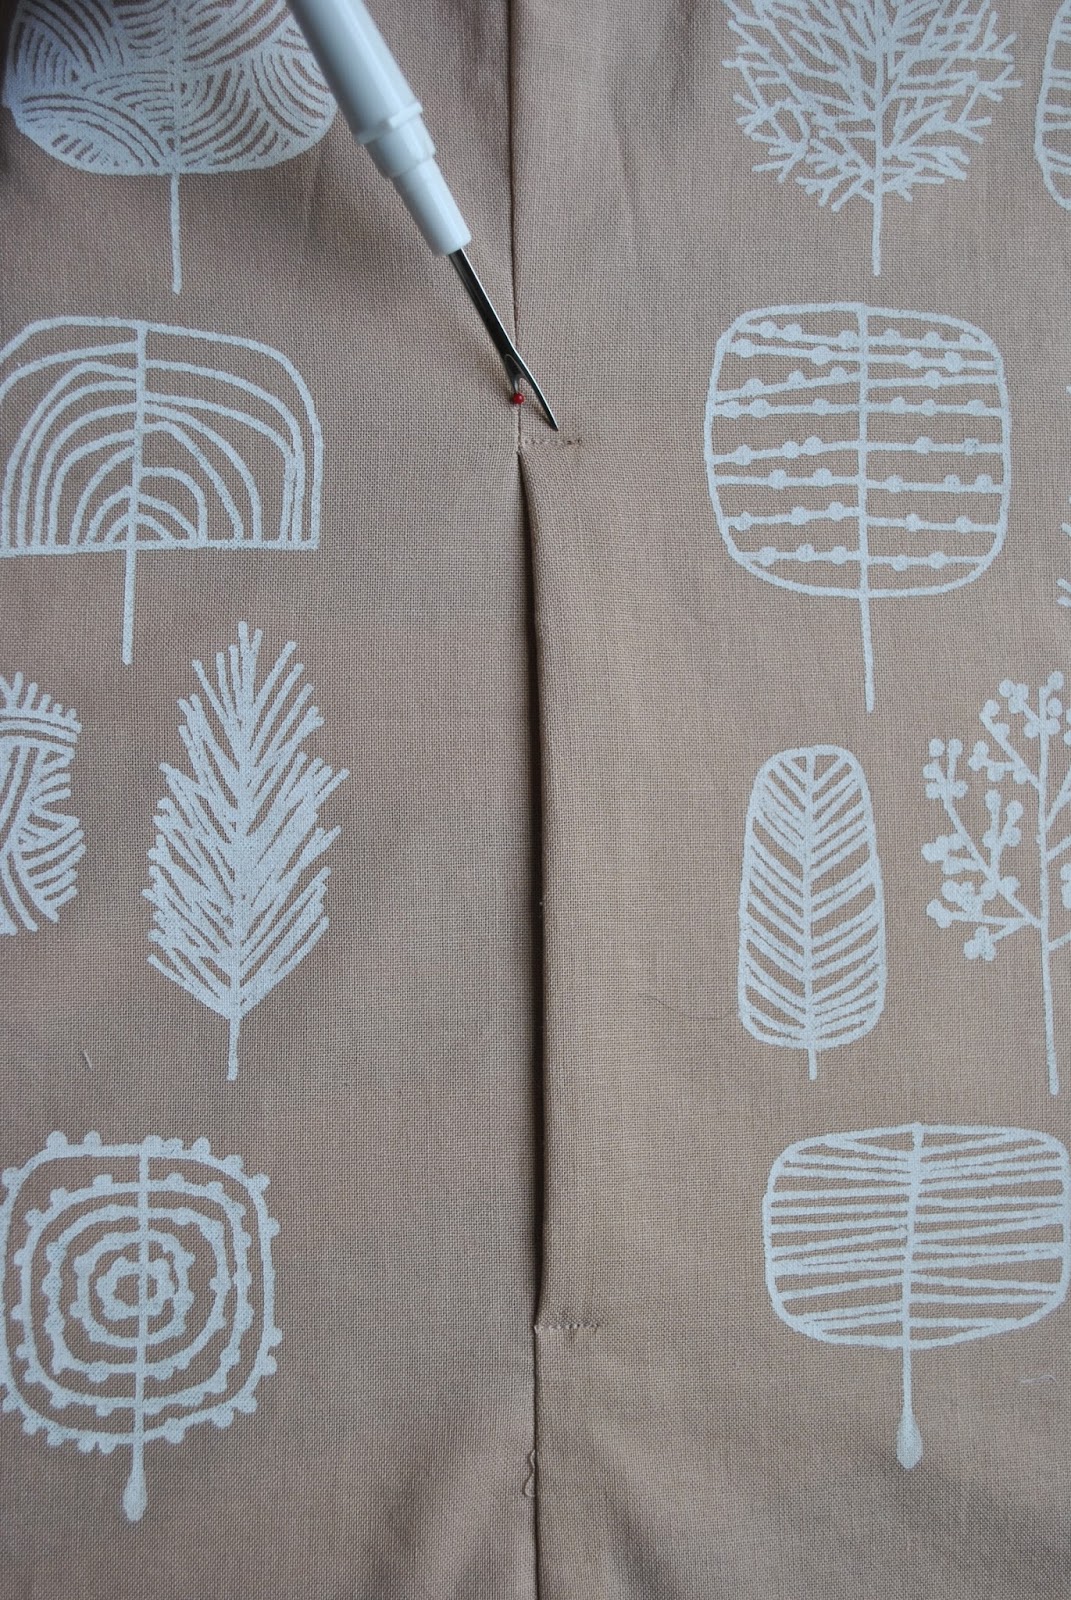
Press the pocket bag and all seam allowances towards the garment front. To keep the pocket bag permanently sitting frontwards, stitch all the seam allowances to the garment front, in a short row of stitches at the upper and lower pocket opening of the pocket. Stitch from the right side of the garment, and just go forward and reverse a few times.
E finito!
Optional; I also stitched the lower edges of my pockets to the lower hem allowance of this top to give them an extra tethering point but you wouldn’t ordinarily do any more stitching. I just lucked out with the size and space there!


thanks so much for the tutorial, can I just say your blog is really really inspiring! I will be coming back to this tutorial soon, as EVERYTHING needs pockets in my opinion!
Jessica
Thanks for this. I haven't done pockets yet. Another thing on my list.
I have never sewed pockets to a top before, but it seems like a good idea! I really have to say again, I love this yop!
Thank you! I add them all the time, specially to kid´s clothes but my method was not good enough (Burda instructions!) From now on I´ll make them your way!
Thanks a lot for this great tutorial! I also love to have pockets and this will be very helpful for me!
Such handy (sorry!!!) info to know – pockets are always so needed … J
It`s great idea and tutorial!:)
A very sweet idea! 🙂
Love
Tabea
http://wolkedrei.blogspot.de/
Beautiful top, and how wonderful to have added pockets to it! I started adding in-seam pockets to a lot of my garments too in the past few years, I love having pockets! Although it wasn't until this past May that I started thinking you could add them to tops – I found a 70s tunic pattern at a thrift store that actually had pockets cut in one with the tunic front and back pieces. I love having the pockets in it and how they're constructed, it's one of my very favourite garments – I almost like wearing pants/jeans because of it!
I, too, love pockets and always add where I can, but tend to the slapdash. Thank you for this detailed tutorial, it's really useful and I look forward to creating neater pockets!
Thank you for this very clear — and non-intimidating — explanation.
Thank you Carolyn! I love your tutorials and learn so much from you.
I love this one – great design and use of fabric!
Good tips, I'm going to bookmark this for my next inseam pockets. And, I keep forgetting that I can change the size of the pockets. My hands are really small and I have no reason to have all the bulk that comes with the pocket pattern pieces with many skirts/dresses.
I do love pockets and ready-to-wear garments just don't seem to have them any more. Sometime in my 30s I found I was happiest at work if I had a hankie and my lipstick in a pocket all day – and sometimes a pen. I'm not sure it did the line of my clothing much good, but I always felt I had my best 'face' forward. Inseam pockets are definite the way to go for a petite person, too!
The first project I made when I picked sewing back up, a yellow dress, had in seam pockets and I thought it pretty much rocked! However, I did not end up liking the dress. I think I will have to play with in seam pockets or patterns that have in seam pockets more, though. 🙂 BTW, I love your shirt!
Pingback: red gingham | Handmade by Carolyn
Pingback: White linen Zsalya dress with patchwork | Handmade by Carolyn
Pingback: dress of plastic splattered linen - Handmade by Carolyn
Pingback: Jim jams - Handmade by Carolyn
Pingback: french navy, french navy orla - Handmade by Carolyn
Pingback: gingham Kalle dress - Handmade by Carolyn