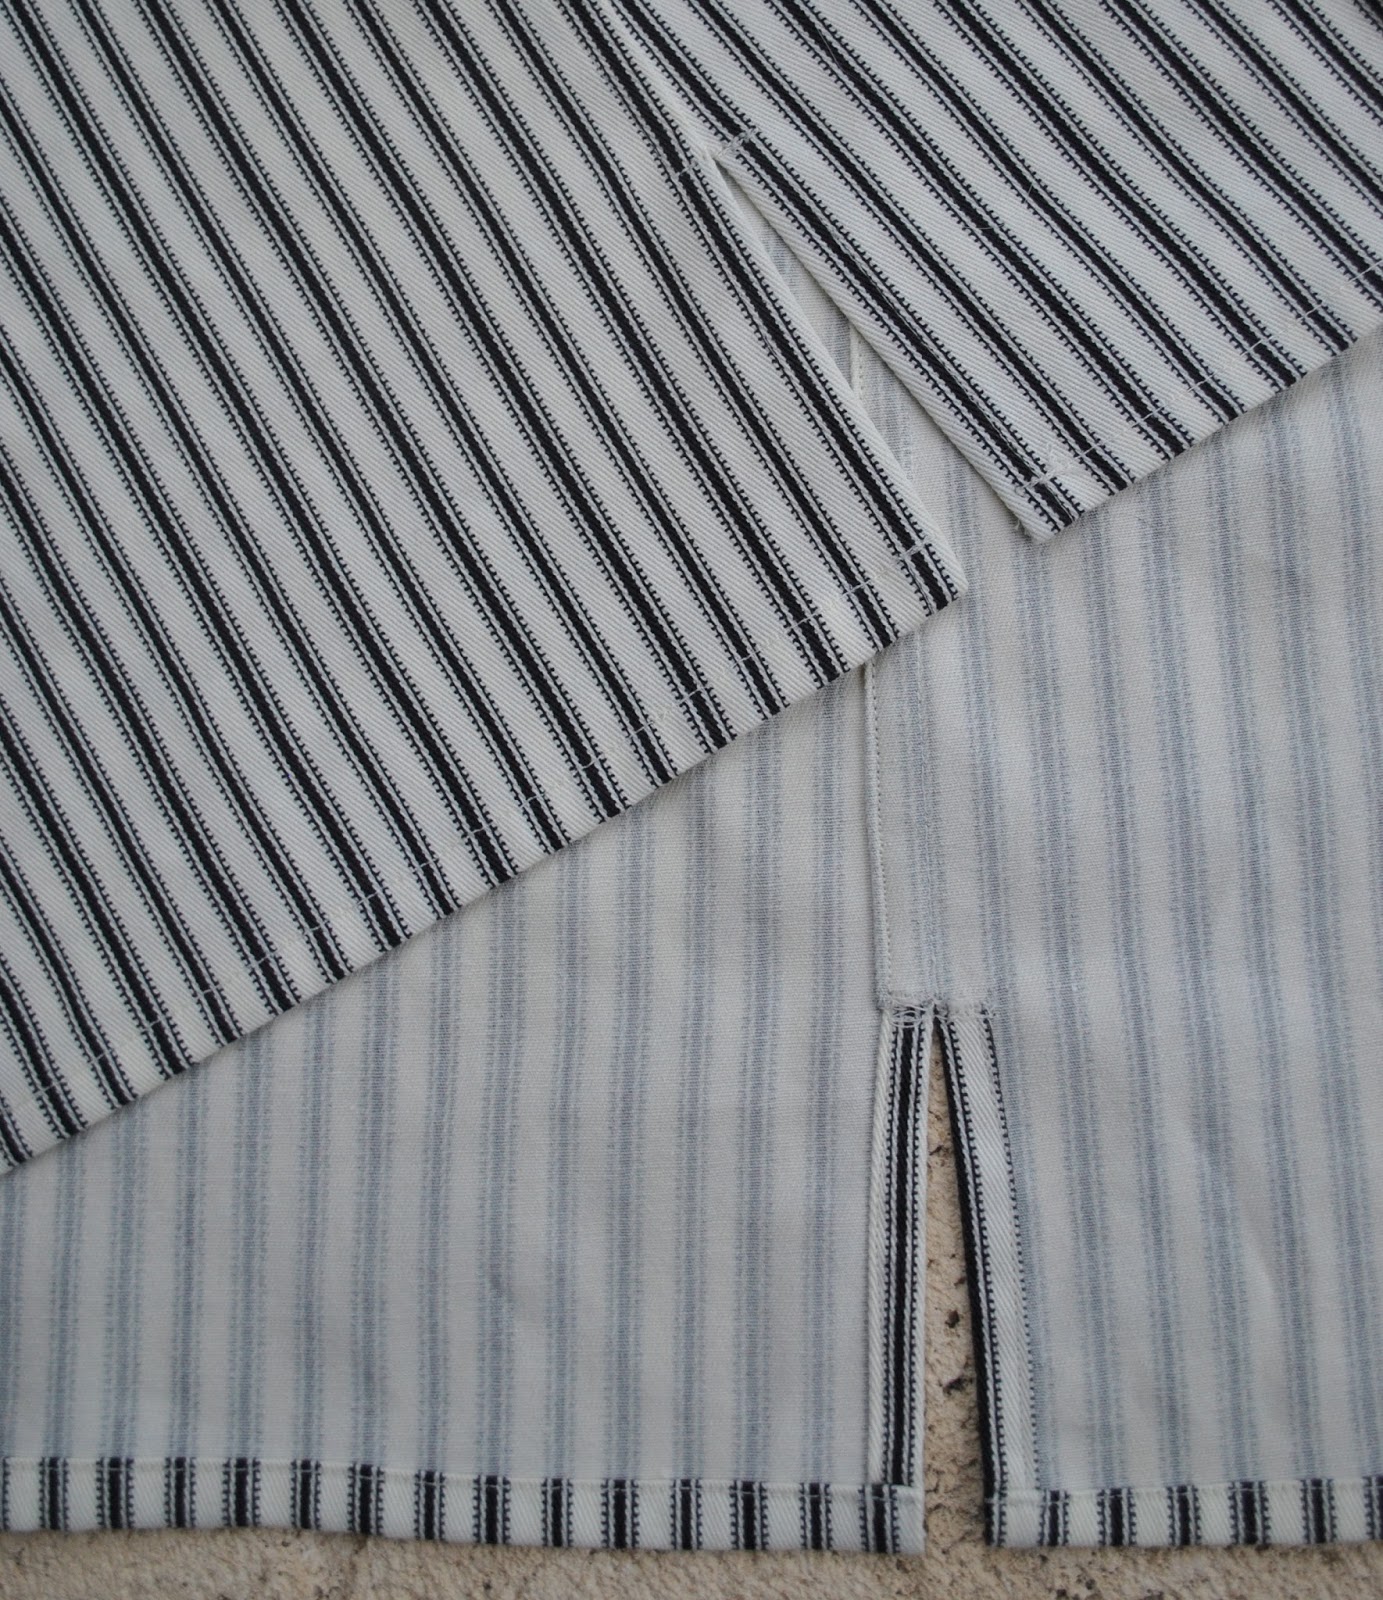
A split side seam is a nice feature that adds a bit of visual interest as well as some wearing ease to a straight-hemmed garment, and flat-felling is a smooth and clean finishing technique for seams; but how to manage the awkward joining point between the two?
Marie Coffin and knj09705 both asked about the transition between the flat-felled seam and the split side seam on Sam’s shirt… thanks for showing an interest! and since I happened to making another shirt hot on the heels of the previous one I snapped a few pictures to demonstrate how I did it…
btw: I’ve checked out some of the better rtw menswear shirts and there’s a choice of finishing methods. So the following is not the only way to construct this feature, but this is the way I chose this time. I wonder… is there even a “right” way?
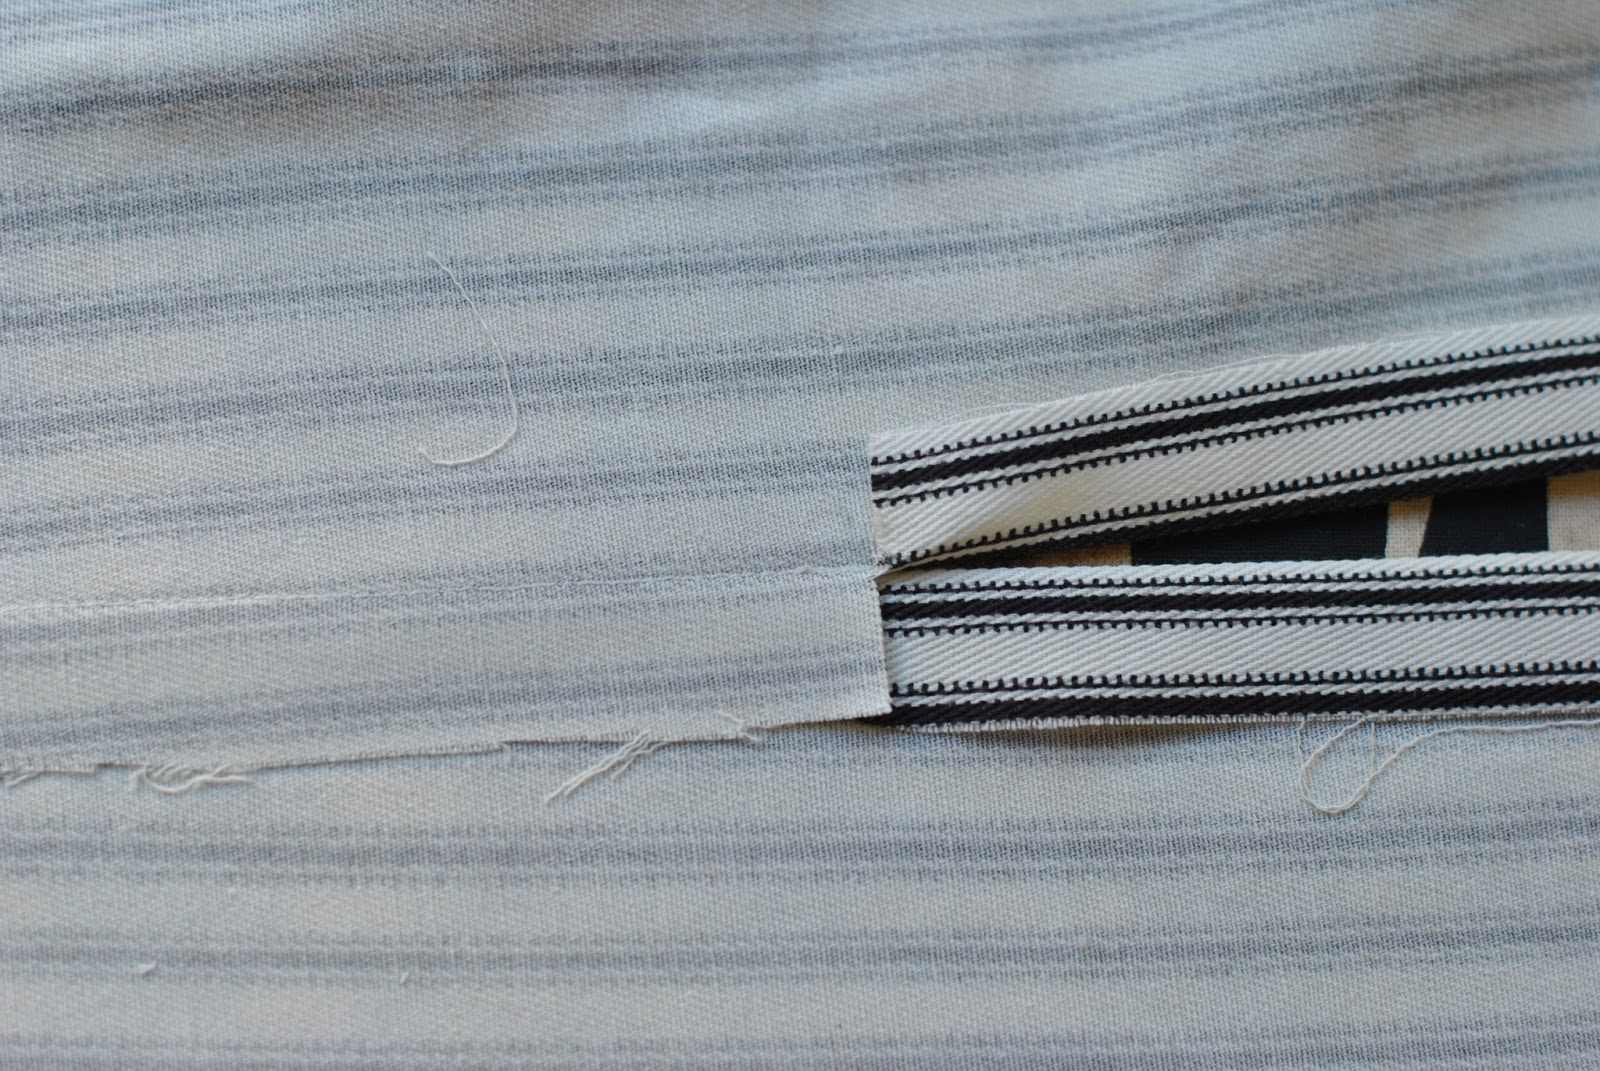
Stitch the seam down to the point at which the slit is to start. I left an unfinished length of 10cm for the side seam splits on both of these shirts…
Press the seam open, and and the seam allowances of the split.
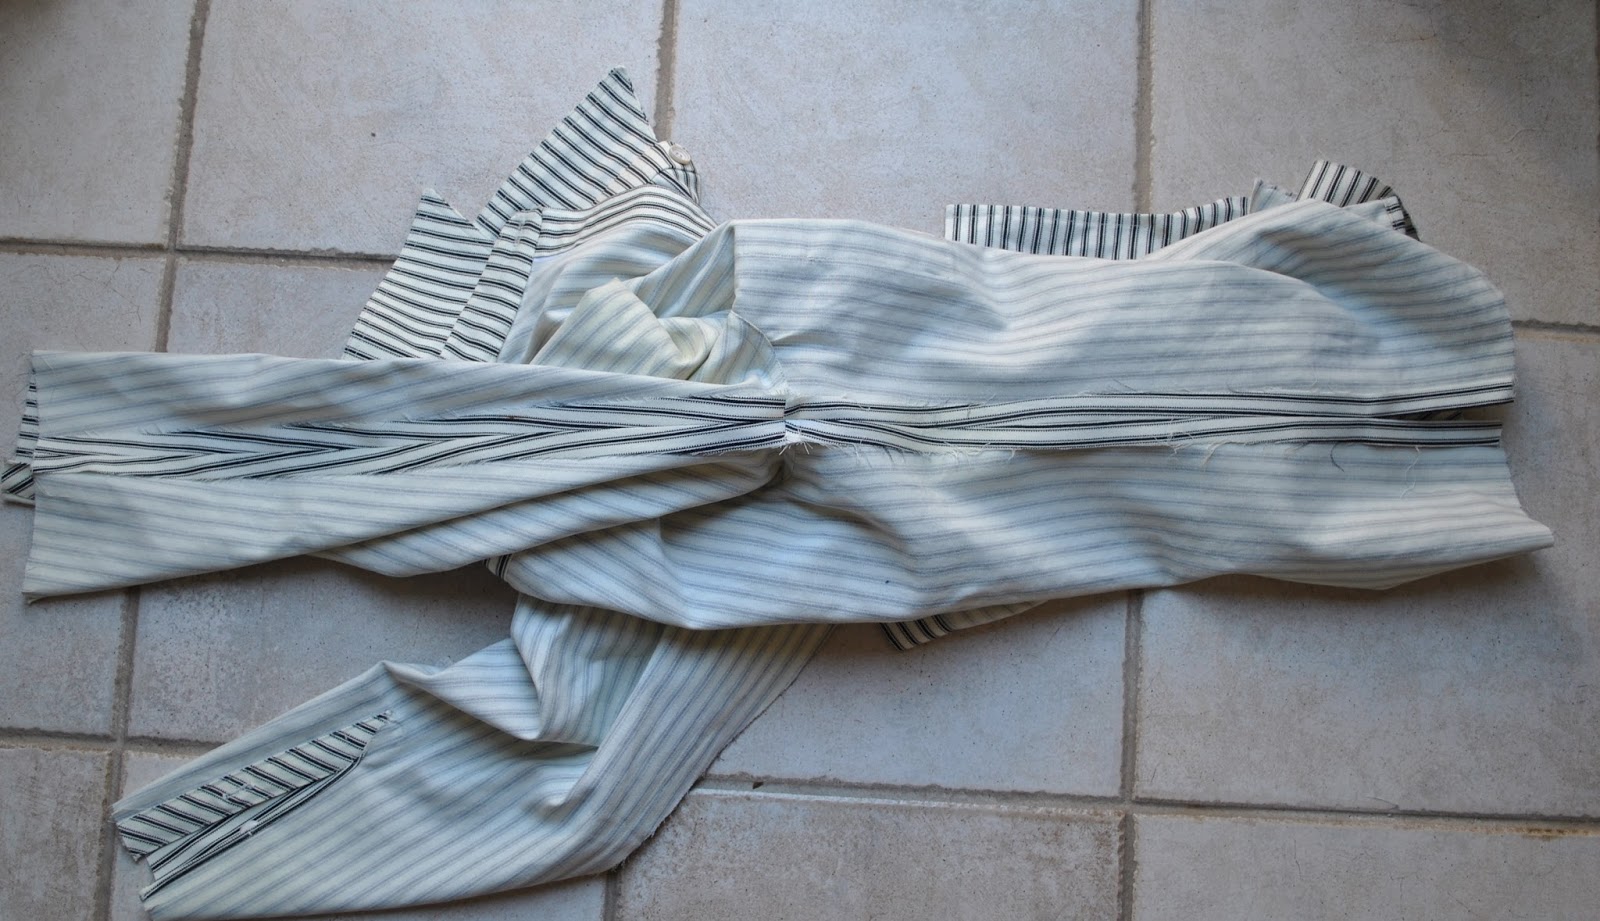
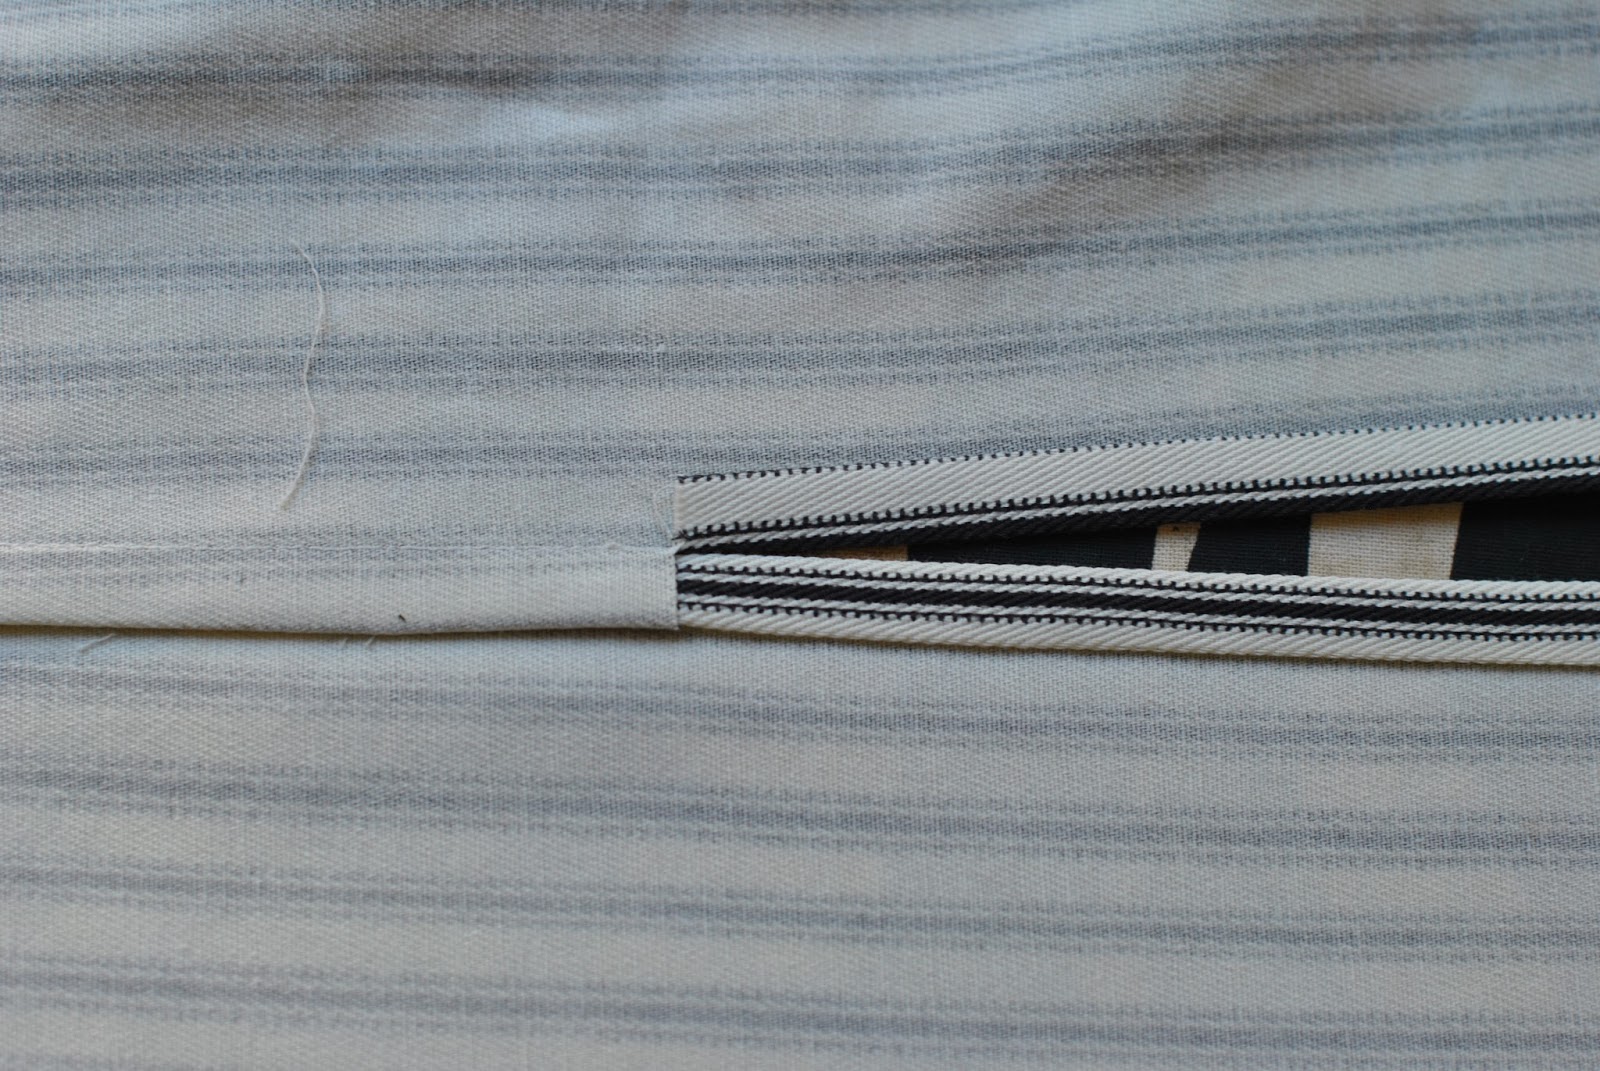
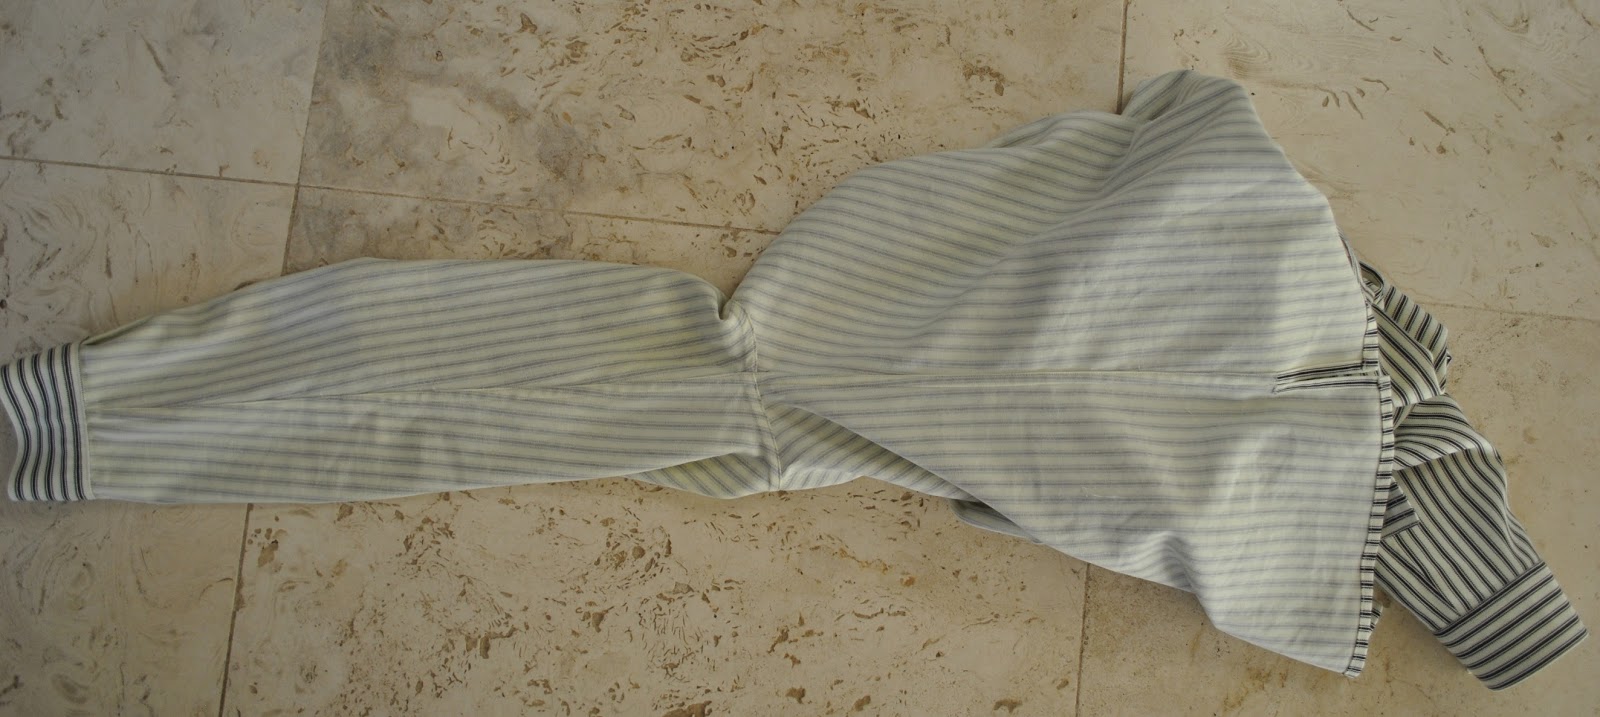
So in this case, the flat felled seam of this shirt is continuing from the split, right up the side seam and continuing right down the length of the sleeve to the wrist opening. The rather weird picture below is attempting to show the side seam and sleeve seam allowances pressed open all in one continuous length; correspondingly, the seam allowance will be flat-felled all the way along this seam as one continuous length.
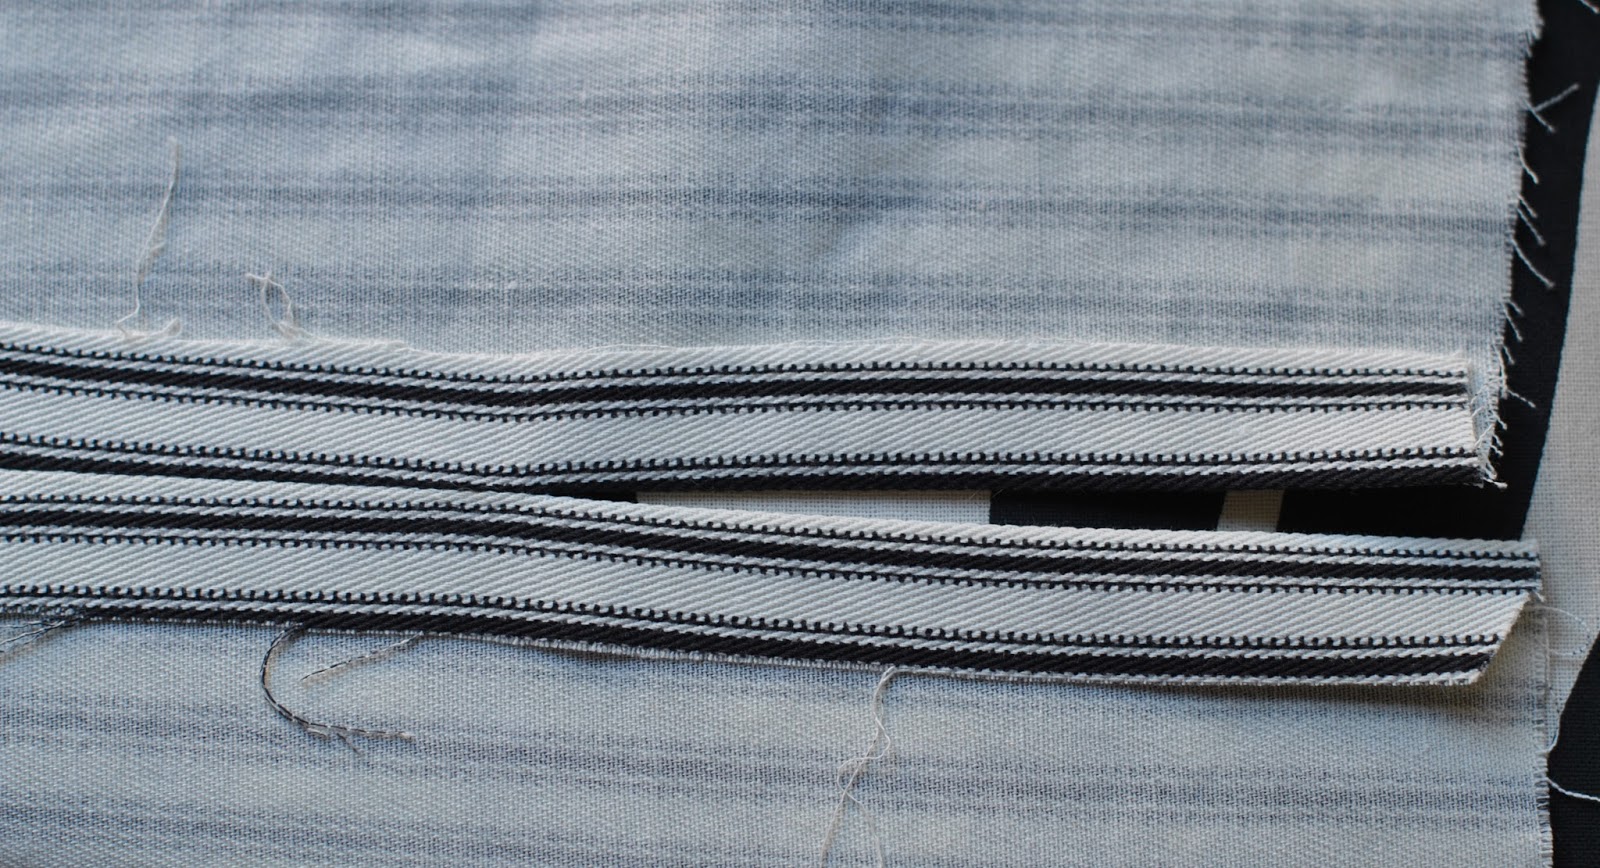
Decide which side of the seam allowance the seam will be flat-felled onto; again, after checking out rtw menswear shirts I’ve noticed there doesn’t seem to be an accepted convention here. I’ve randomly decided for the seam allowances to lie against the shirt back.
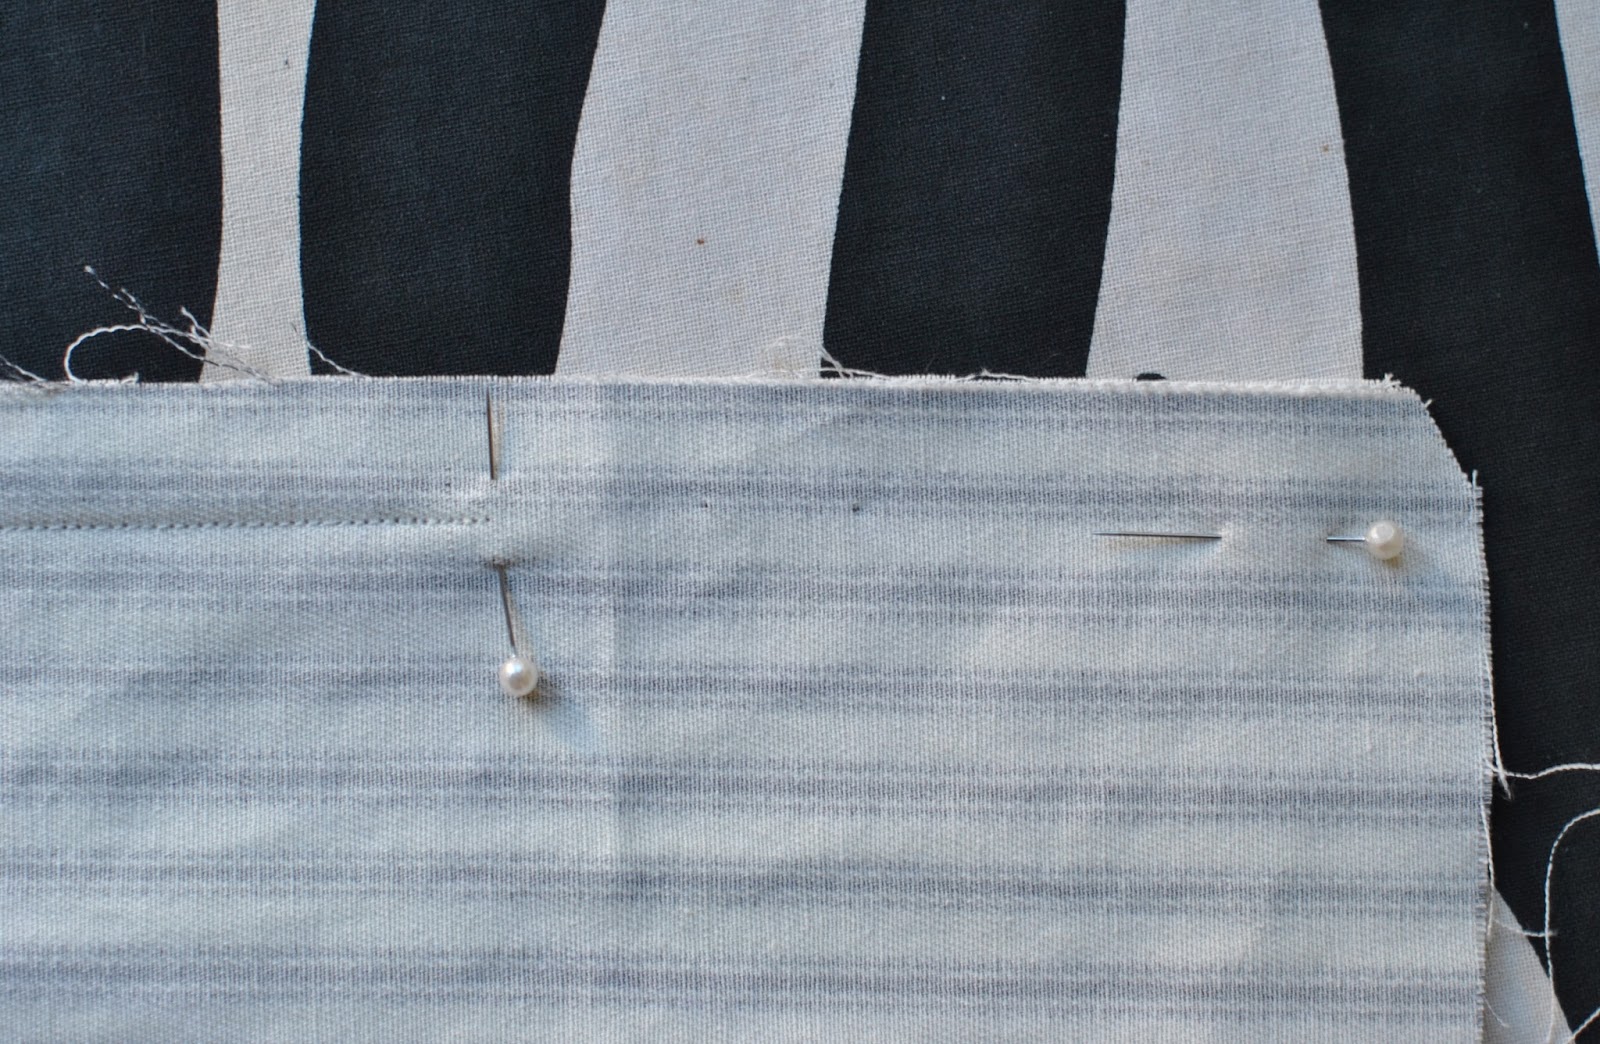
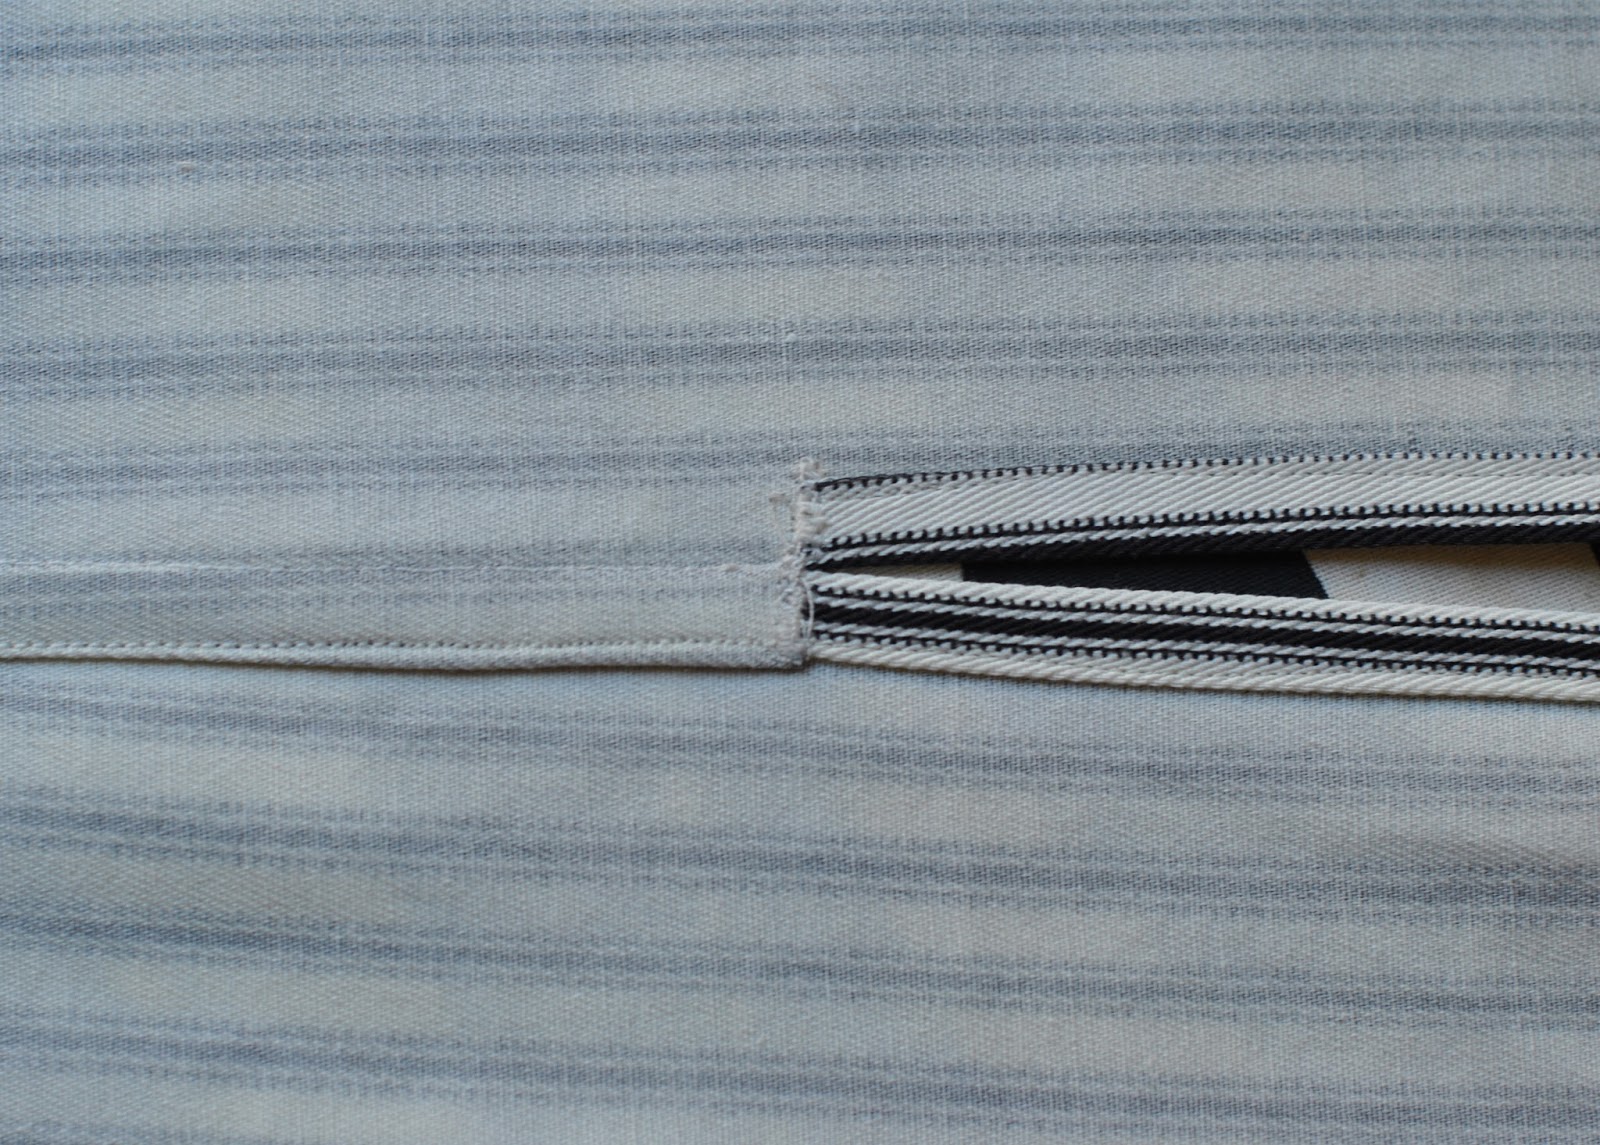
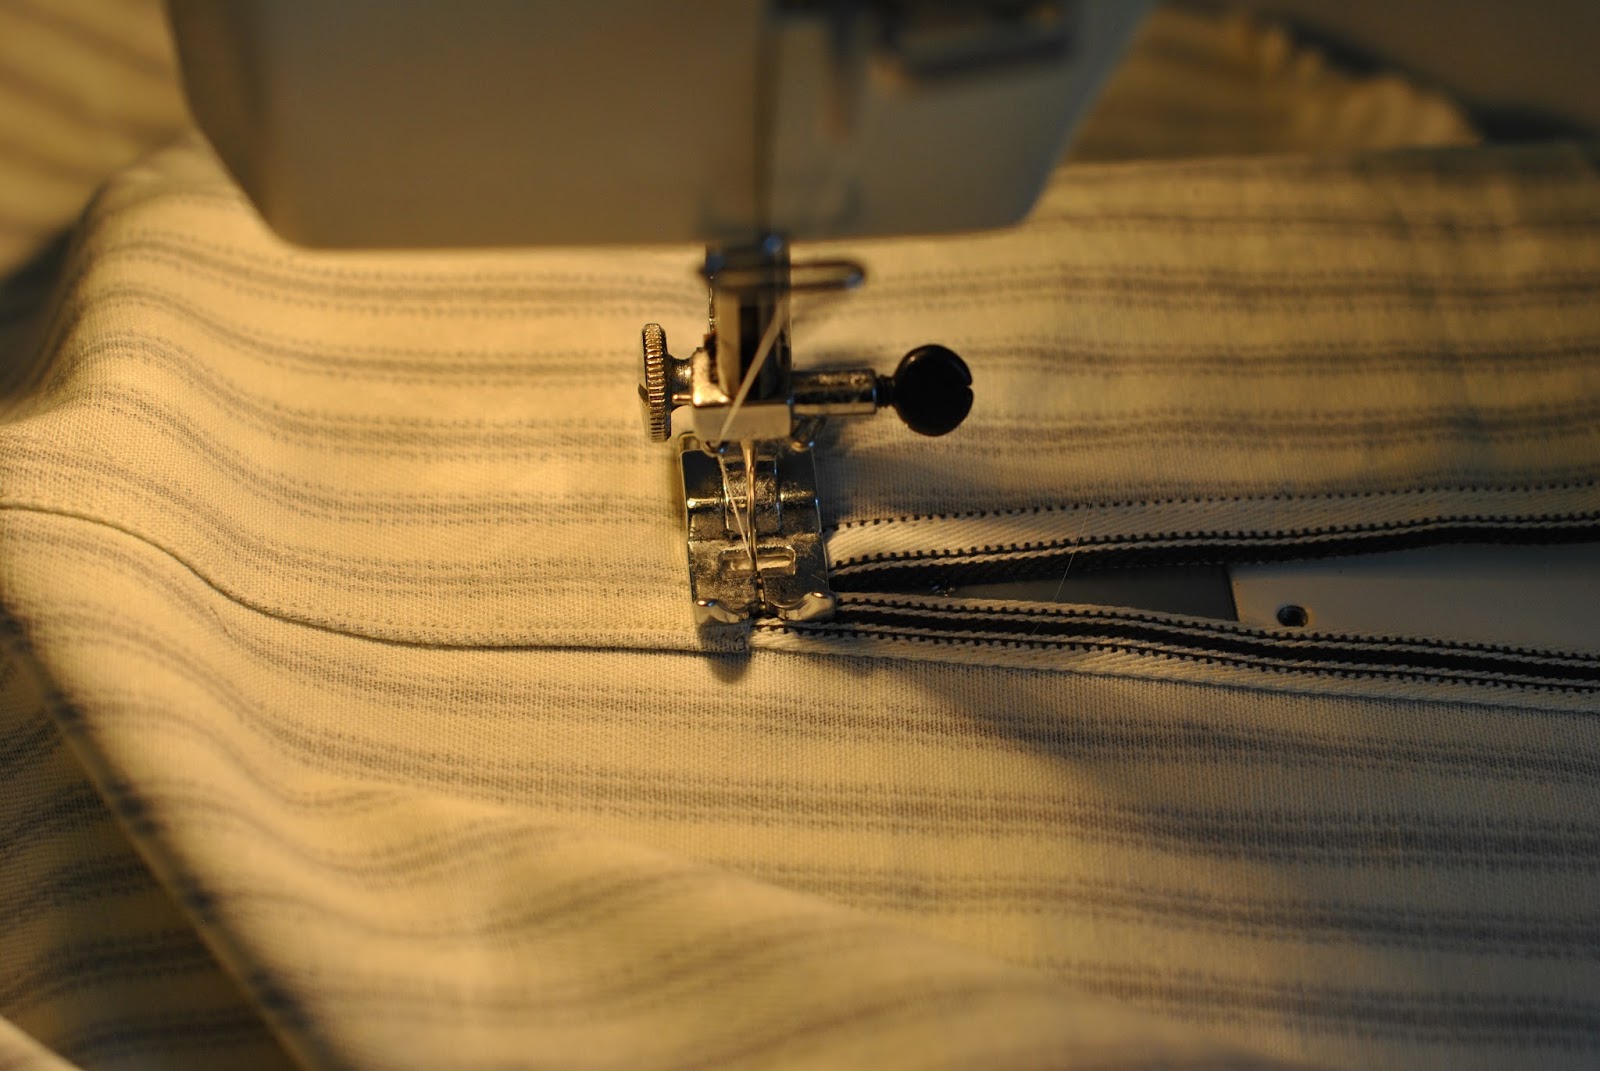
Trim this seam allowance to half its current width, with the trimming tapering off for the last couple of centimetres to the level of the slit. Also, snip into the seam allowance of the other side to the endpoint of the side seam (pictured below). Leave both slit seam allowances untrimmed.


What a beautiful finish! I love the look of a ticking stripe. Who is this shirt for?
Thank you, I just cut out a shirt for my husband today, and I just may give this a try!
The cut out par where you stitch the seam does that unravel?
Lakshmi; no, it doesn't seem to. Even on my husband's old shirts that I've been washing for years. The stitches on either side, meaning the side seam stitching and the flat-felled stitching, holds it all together nicely, I think.
I meant split the seam
I beautiful finish!
very nice! love those flat felled seams. hate doing them though!
Thanks So Much For D Pictorial InstructioNs! 🙂
Thank you for such a detailed and careful explanation – lovely.
Thank you Carolyn!
I often wonder what´s the proper way to resolve this kind of awkward details. Seeing how you did it helped me understand there´s many possible ways, but it looks that the quality of finished seam very much depends on how carefully one is able to sew it.
You´re sewing is always so neat and wonderful!
María
Wonderful explanation and so detailed, thank you!
Thank you so much, Carolyn! This is a very clear explanation, and I´m sure I´ll use your neat method in the future!
Well I have never heard of it but it looks pretty darn professional so whenever I need one I shall use your tutorial. Jo x
I've been using this technique a lot lately, along with French-seaming, and I find the result so aesthetically pleasing that it's made me reconsider my long-standing plan to save up for a surger! This looks so much more polished and luxurious!
Nice finish. Thanks for sharing — working on a sport shirt for my husband now. I'm also using David Page Coffin's book for reference. His construction differs from the pattern instructions and is truer to what you see if the stores.
great tutorial. i wish i had seen this recently when i was trying to get a similar finish on a tunic top for myself – i used french seams on the body and turned upder the side splits. but i have realised that i seam finish i thought i had made up is actually a flat felled seam without the stitching down!
Wow! flat fell seams – I haven't used these in…like, forever. Great tutorial. Thanks for sharing.
Thanks for the awesome tute!
Thanks for the awesome tute!
Thank you so much for this tutorial! I have recently started to make some clothes for myself and I've been wondering how to finish side splits neatly. Your tutorial is excellent 🙂 this is the first time I've ever commented on a blog post but I've been reading your blog avidly and wanted to thank you for all the inspiration.
Thank you for detailing your technique – it's very clear and helpful. I noticed the seam is on the inside, which made me curious, as I've always flatfelled on the outside. Now, I have to go look at my husband's shirts!
To say I appreciate your tutorial is putting it mildly. Monday I cut out 2 linen skirts with a split side seam. The pattern directions have a regular seam with just top stitching around the split. So what happens when the fabric frays? Oh my gosh…when I saw your shirts with the flat-felled split seams and perfect directions and pictures, I laughed out loud!!! Thank you soooo much!!!!!!!!!
Thanks so much, Carolyn, for the detailed explanation and photos of the side seam finish; very helpful!
I'm amazed you could get two young men to cooperate for photos like this. That in itself is awesome. I'm a Gemini myself and I couldn't tell you what comes before or after me on the zodiac, so I wouldn't worry too much about it.
Oh wow, that really is a very nice finish, and doesn't seem at all complicated. 🙂
This is so helpful! Thank-you. I also really appreciate the flat-felled sleeve tutorial.
Thank you for sharing.
Pingback: Gemini - Handmade by Carolyn