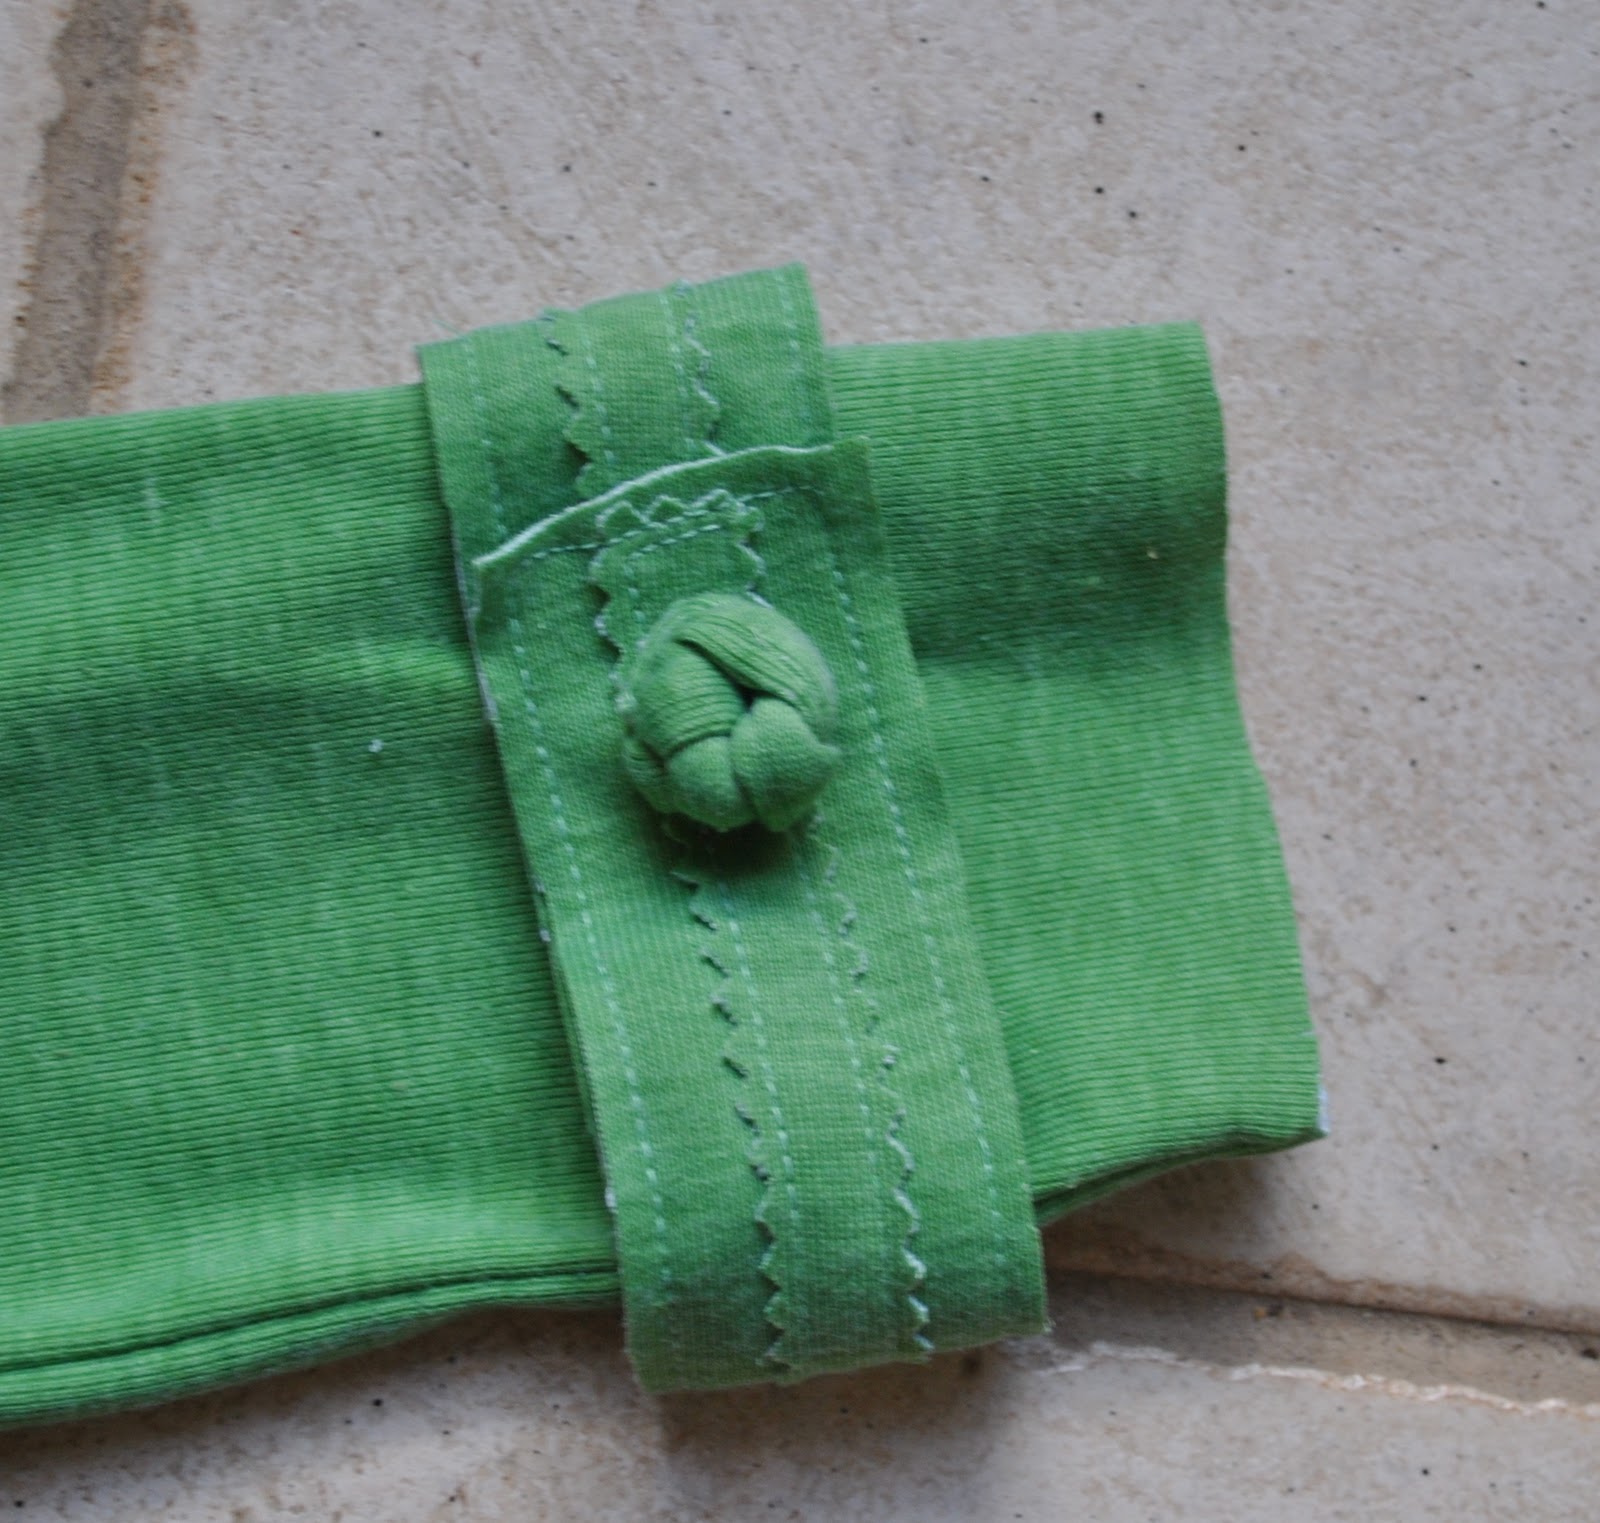
I made knotted buttons of self fabric for my Kelly-green cardi; and Gail asked for a how-to… well I had taken a few photos while I was making them but had sorta decided against posting a lengthy series of pictures in that post because I thought people might find it not interesting; so thank you Gail, for asking!
I saw this knot in a Vogue pattern (1107) and even though the Vogue instruction sheet has a nice computer-drawn set of diagrams, a lot cleaner and neater than my efforts here; I have re-drawn them because I’m not sure whether for me to photograph even one step from the Vogue pattern instruction sheet and put it here is trampling copyright (does anyone know??) But just in case I am not going to even go there….!! But I can’t see how a knot is “owned” by anyone so I did my own drawings and instructions and I hope they are clear enough. It is not a particularly difficult knot.
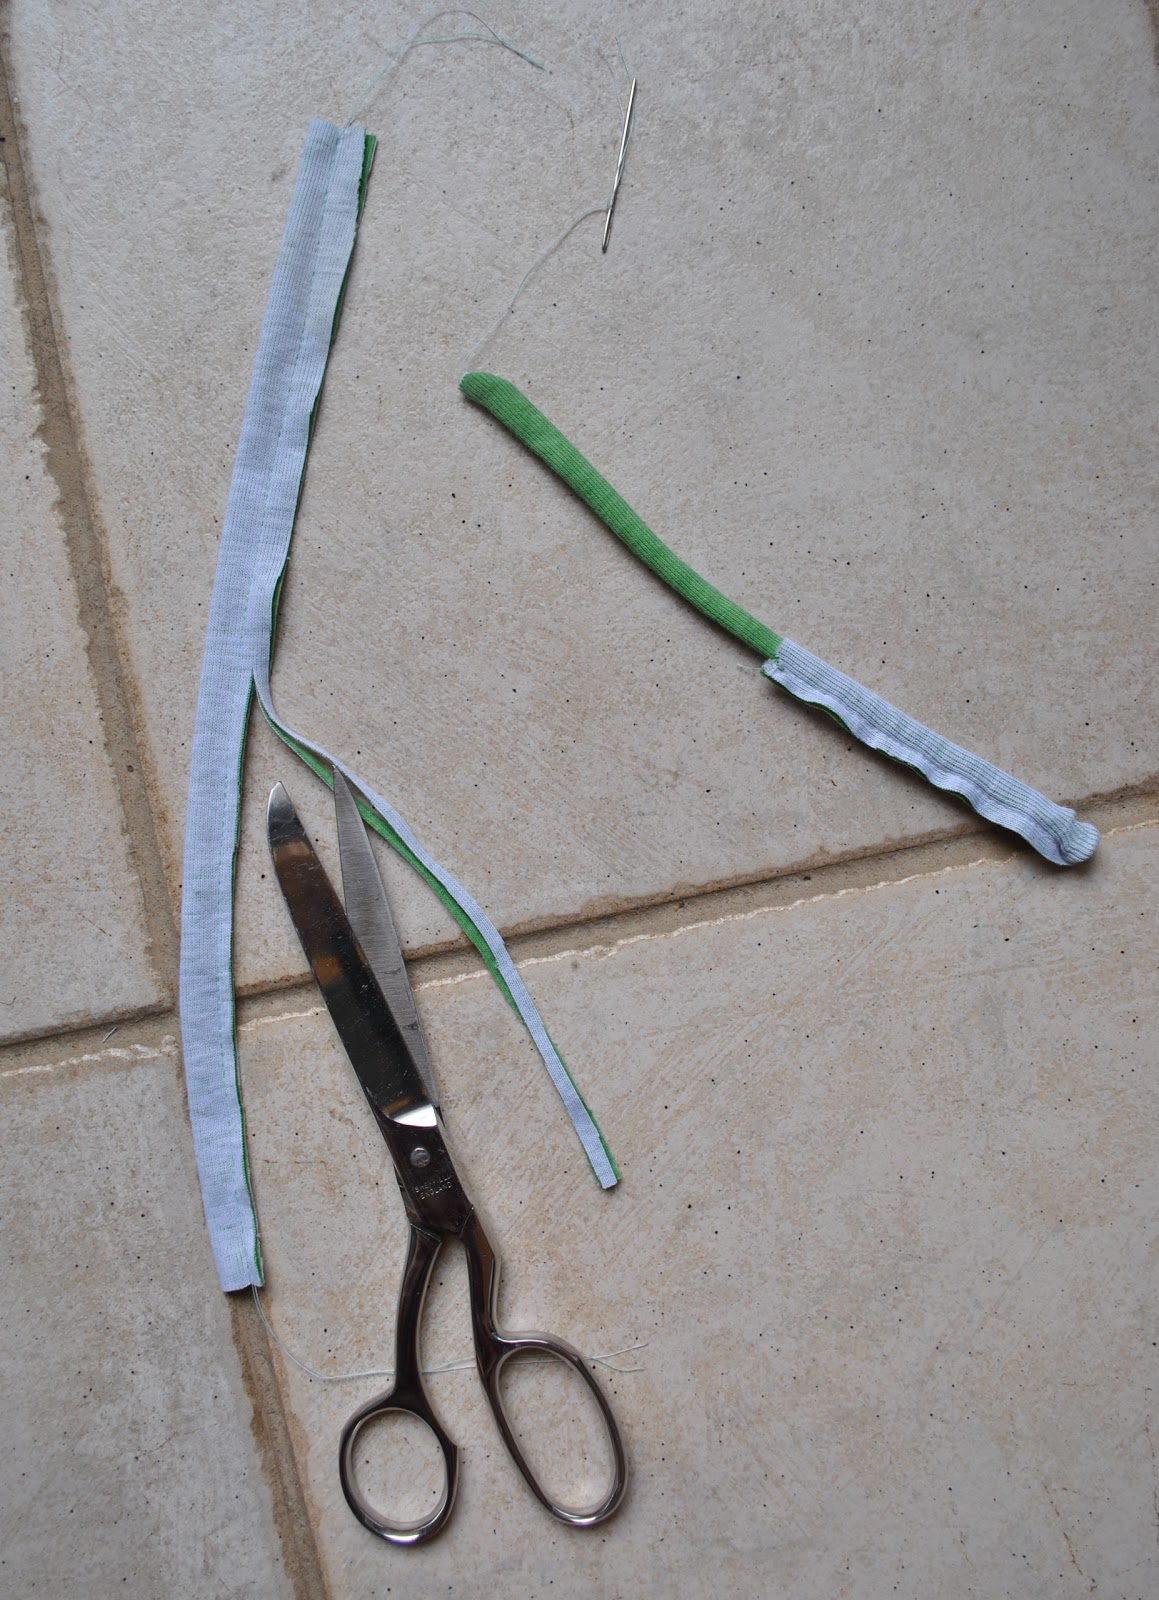
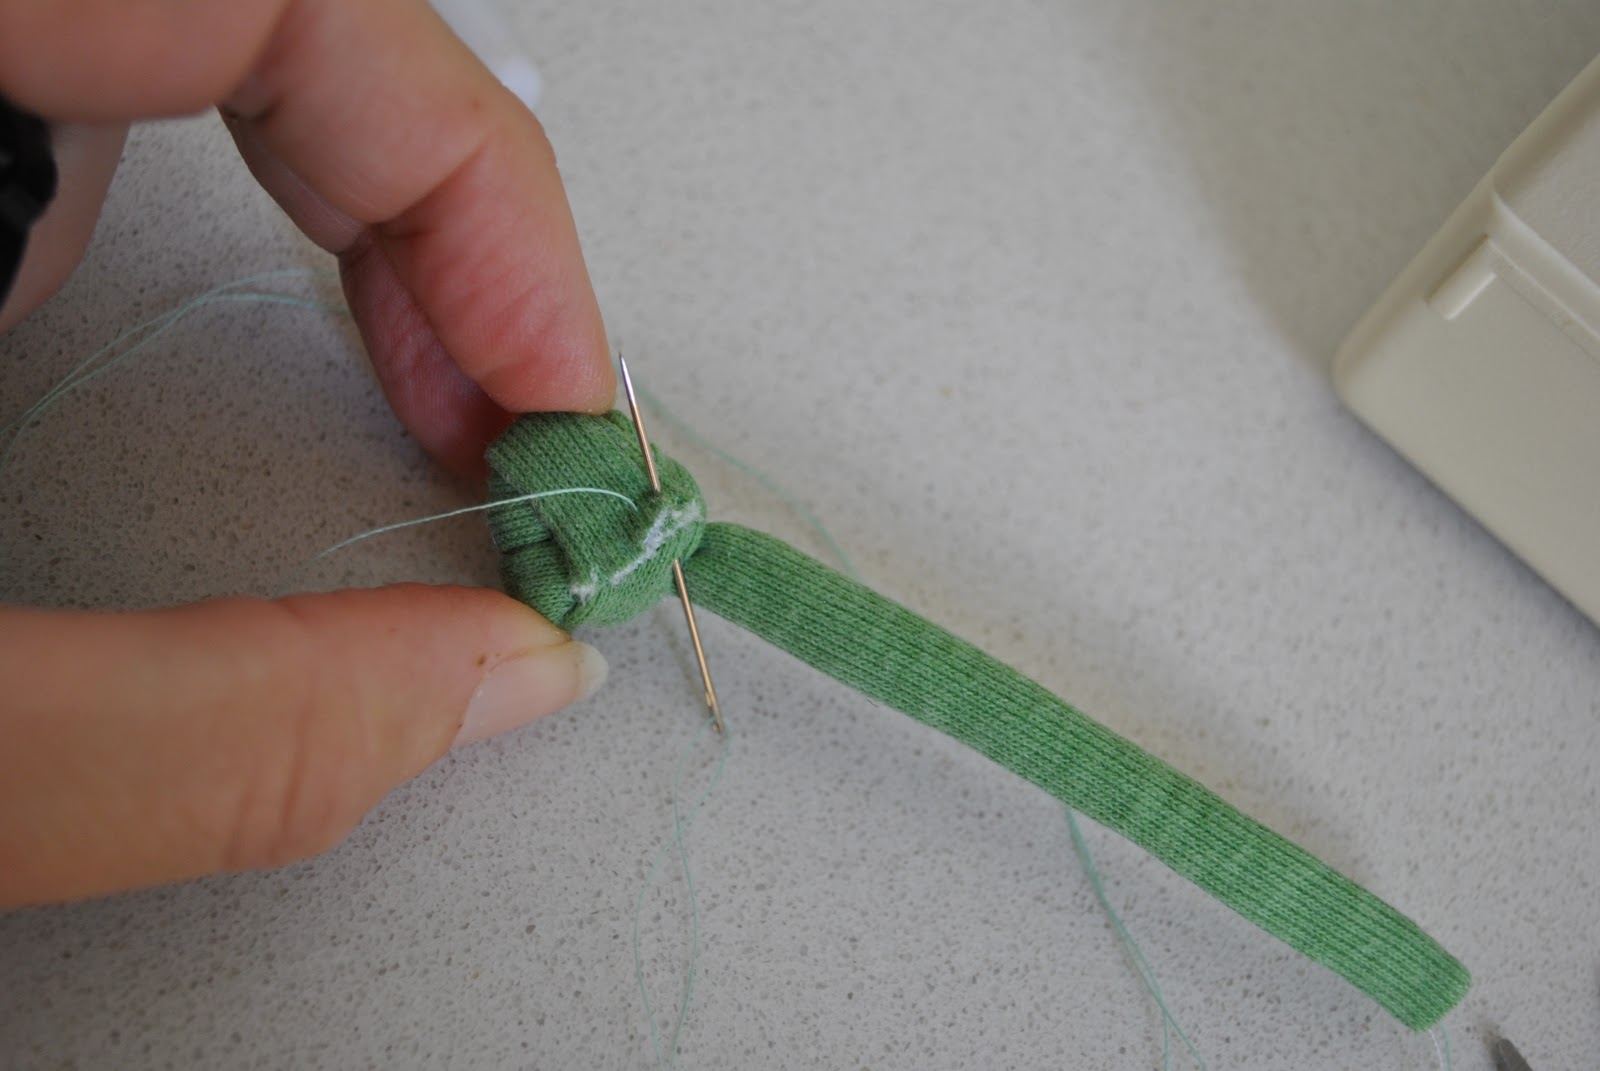
Firstly I made two long spaghetti tubes of the fabric. You make these by folding a 2.5cm (1″) x (roughly) 25cm (10″) long rectangle right sides together and sewing along one long edge in a narrow 6mm (1/4″) seam, cutting the two machine threads to be nice and long long long. Trim the seam allowances of the tube and thread those long tail threads into a needle; and feed back through the tube to turn right side out (with the blunt end of the needle leading, for obvious reasons!) to make a long narrow cord for knotting.
Now for the knot…
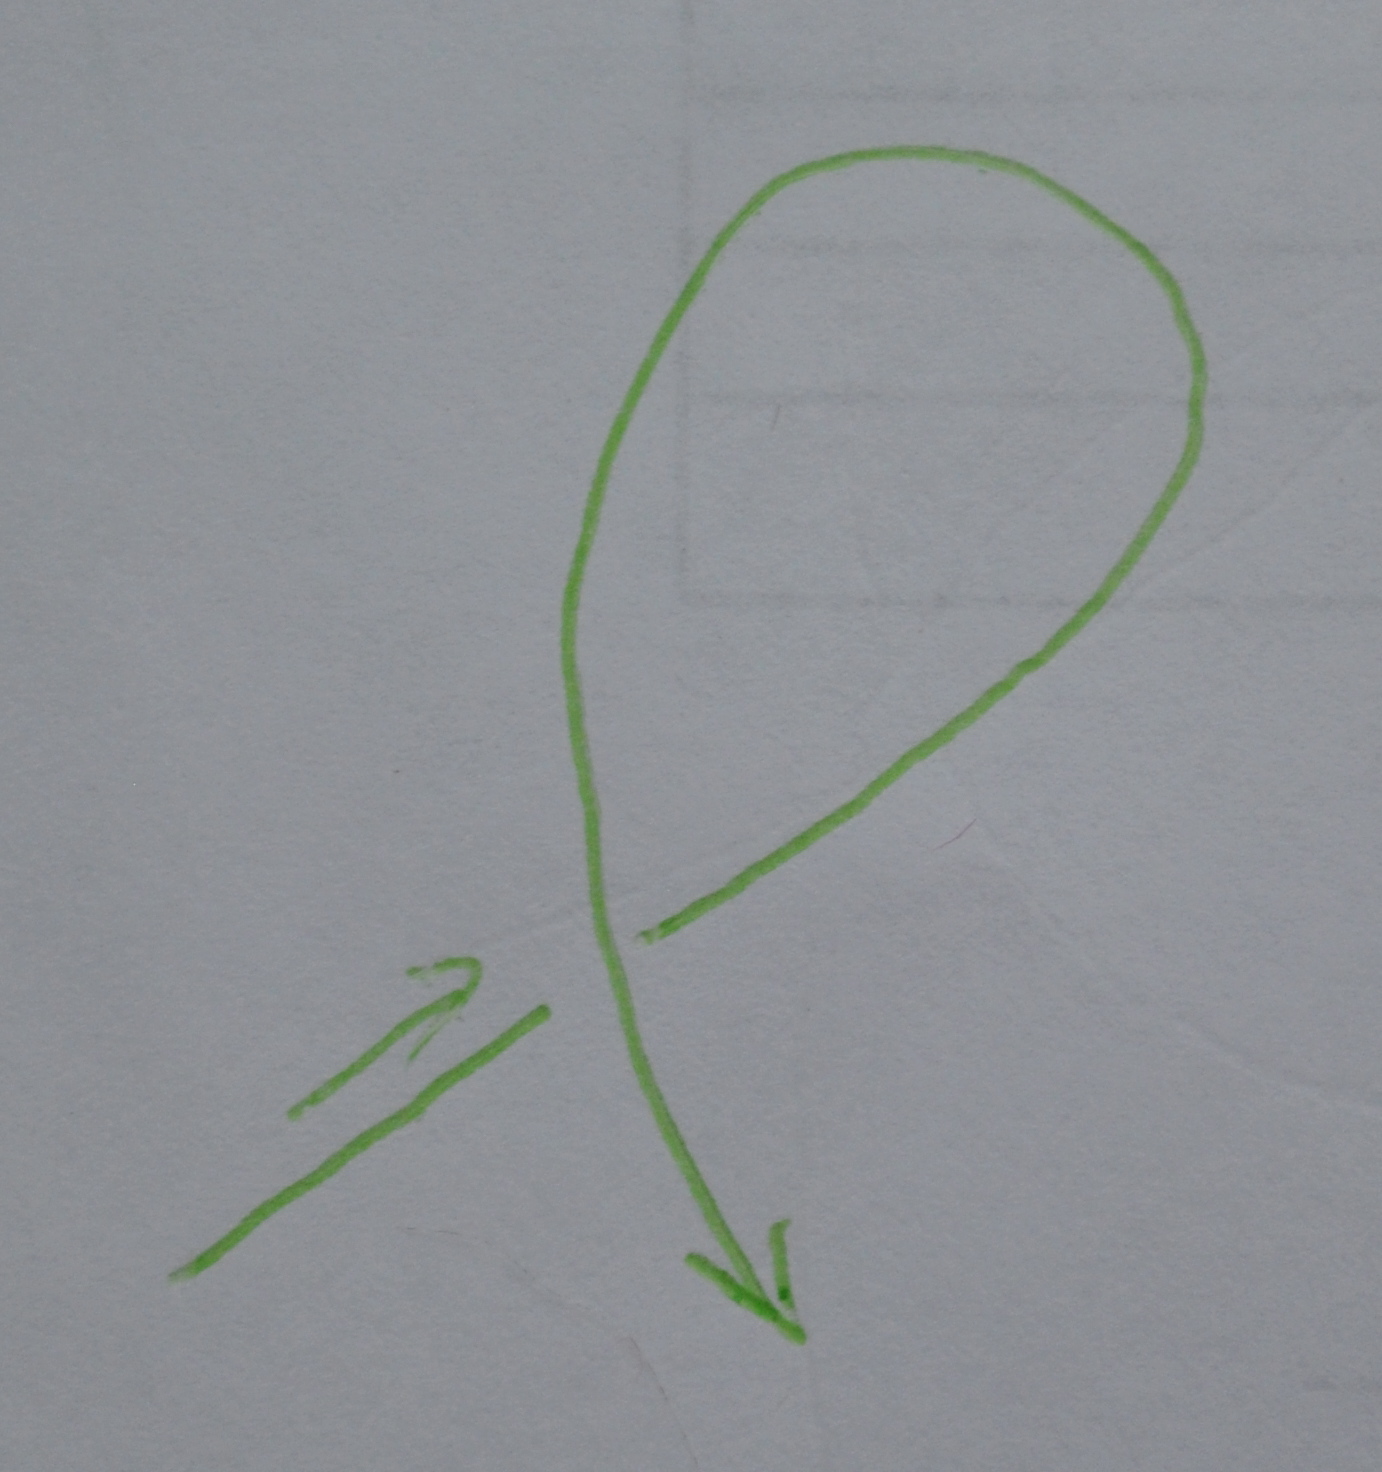
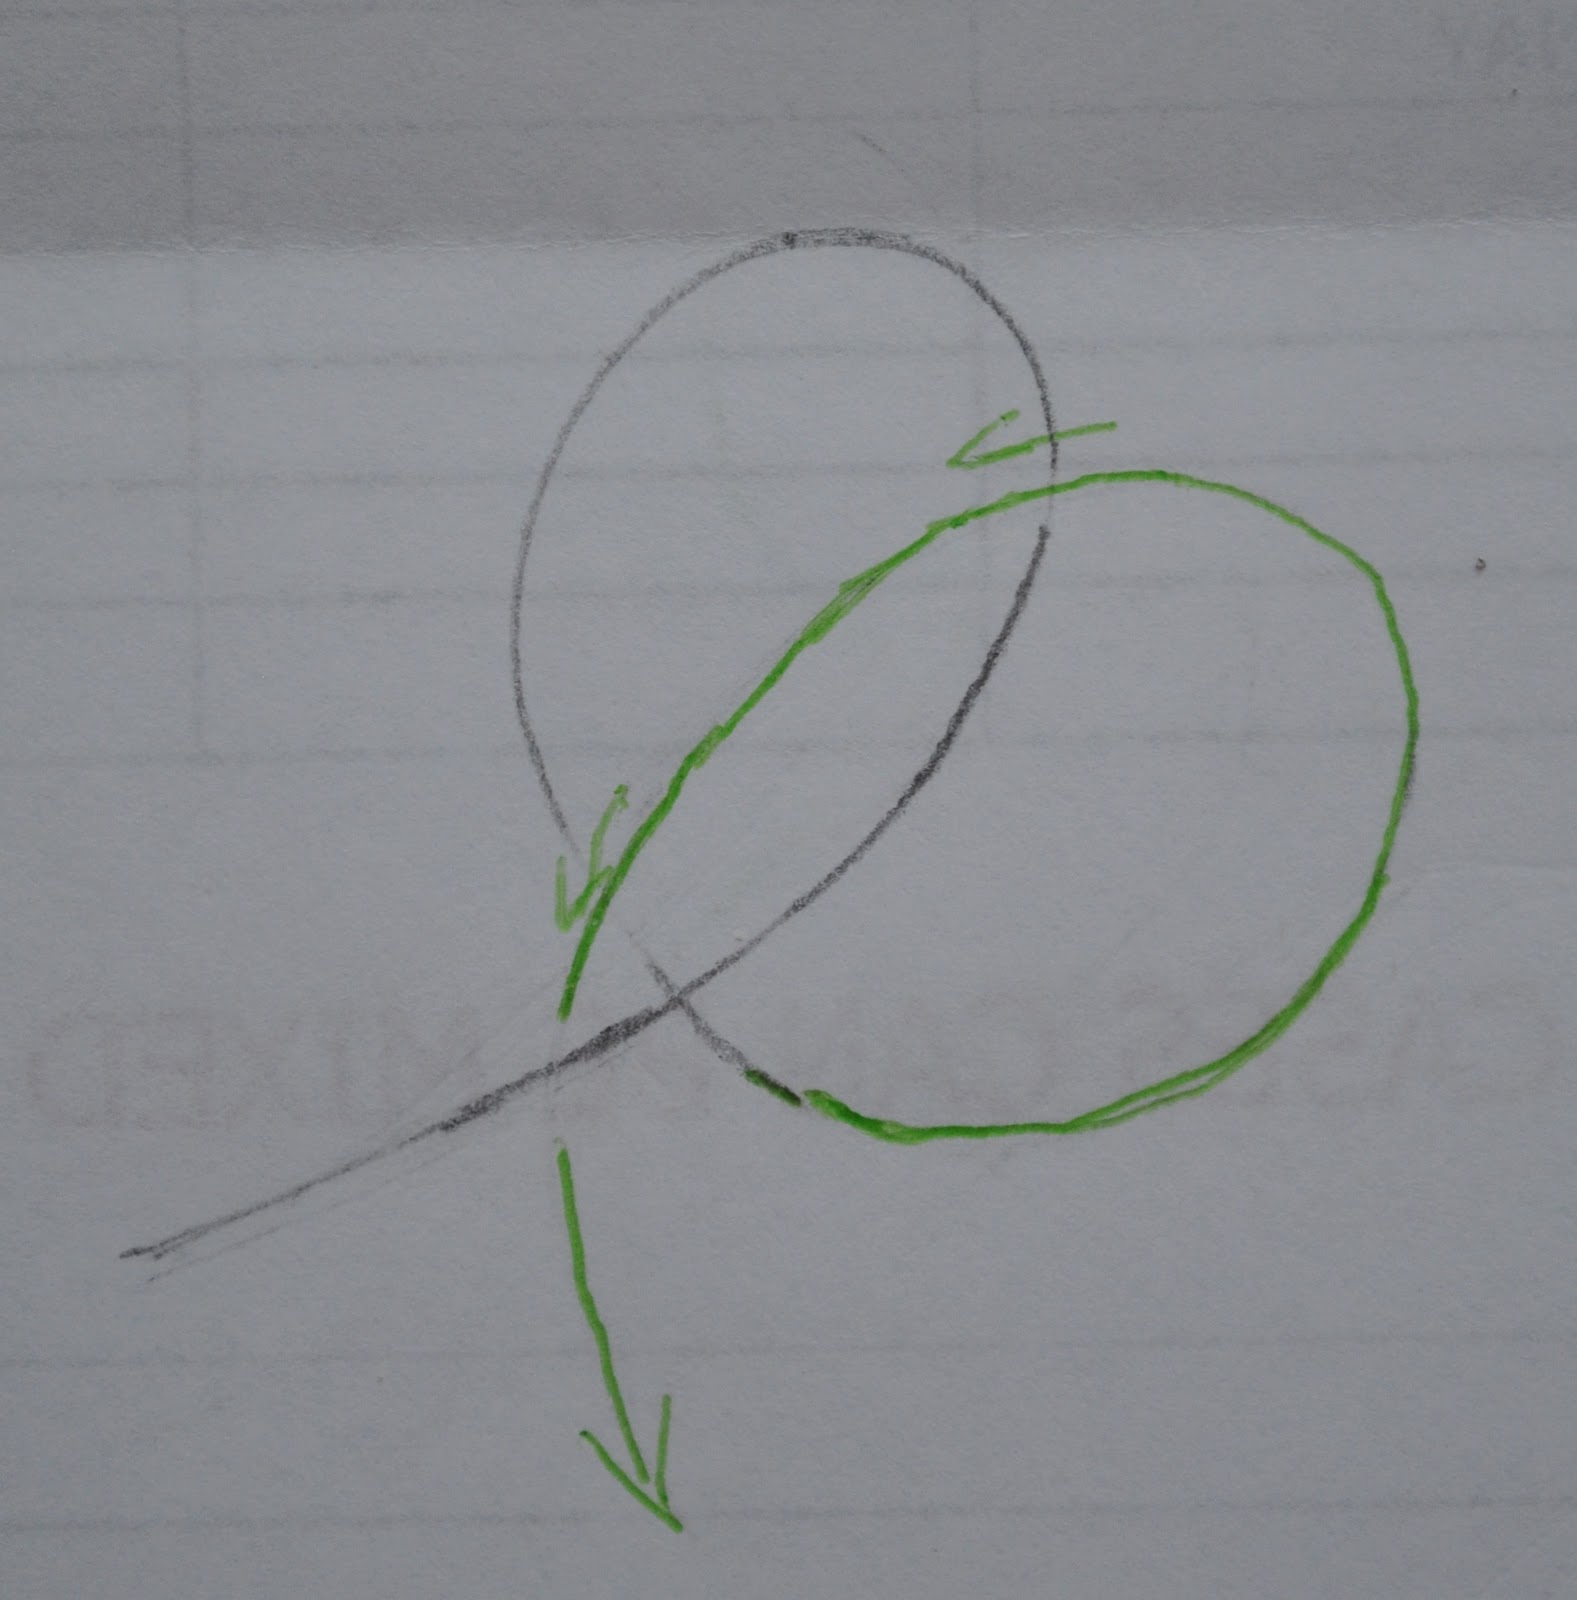
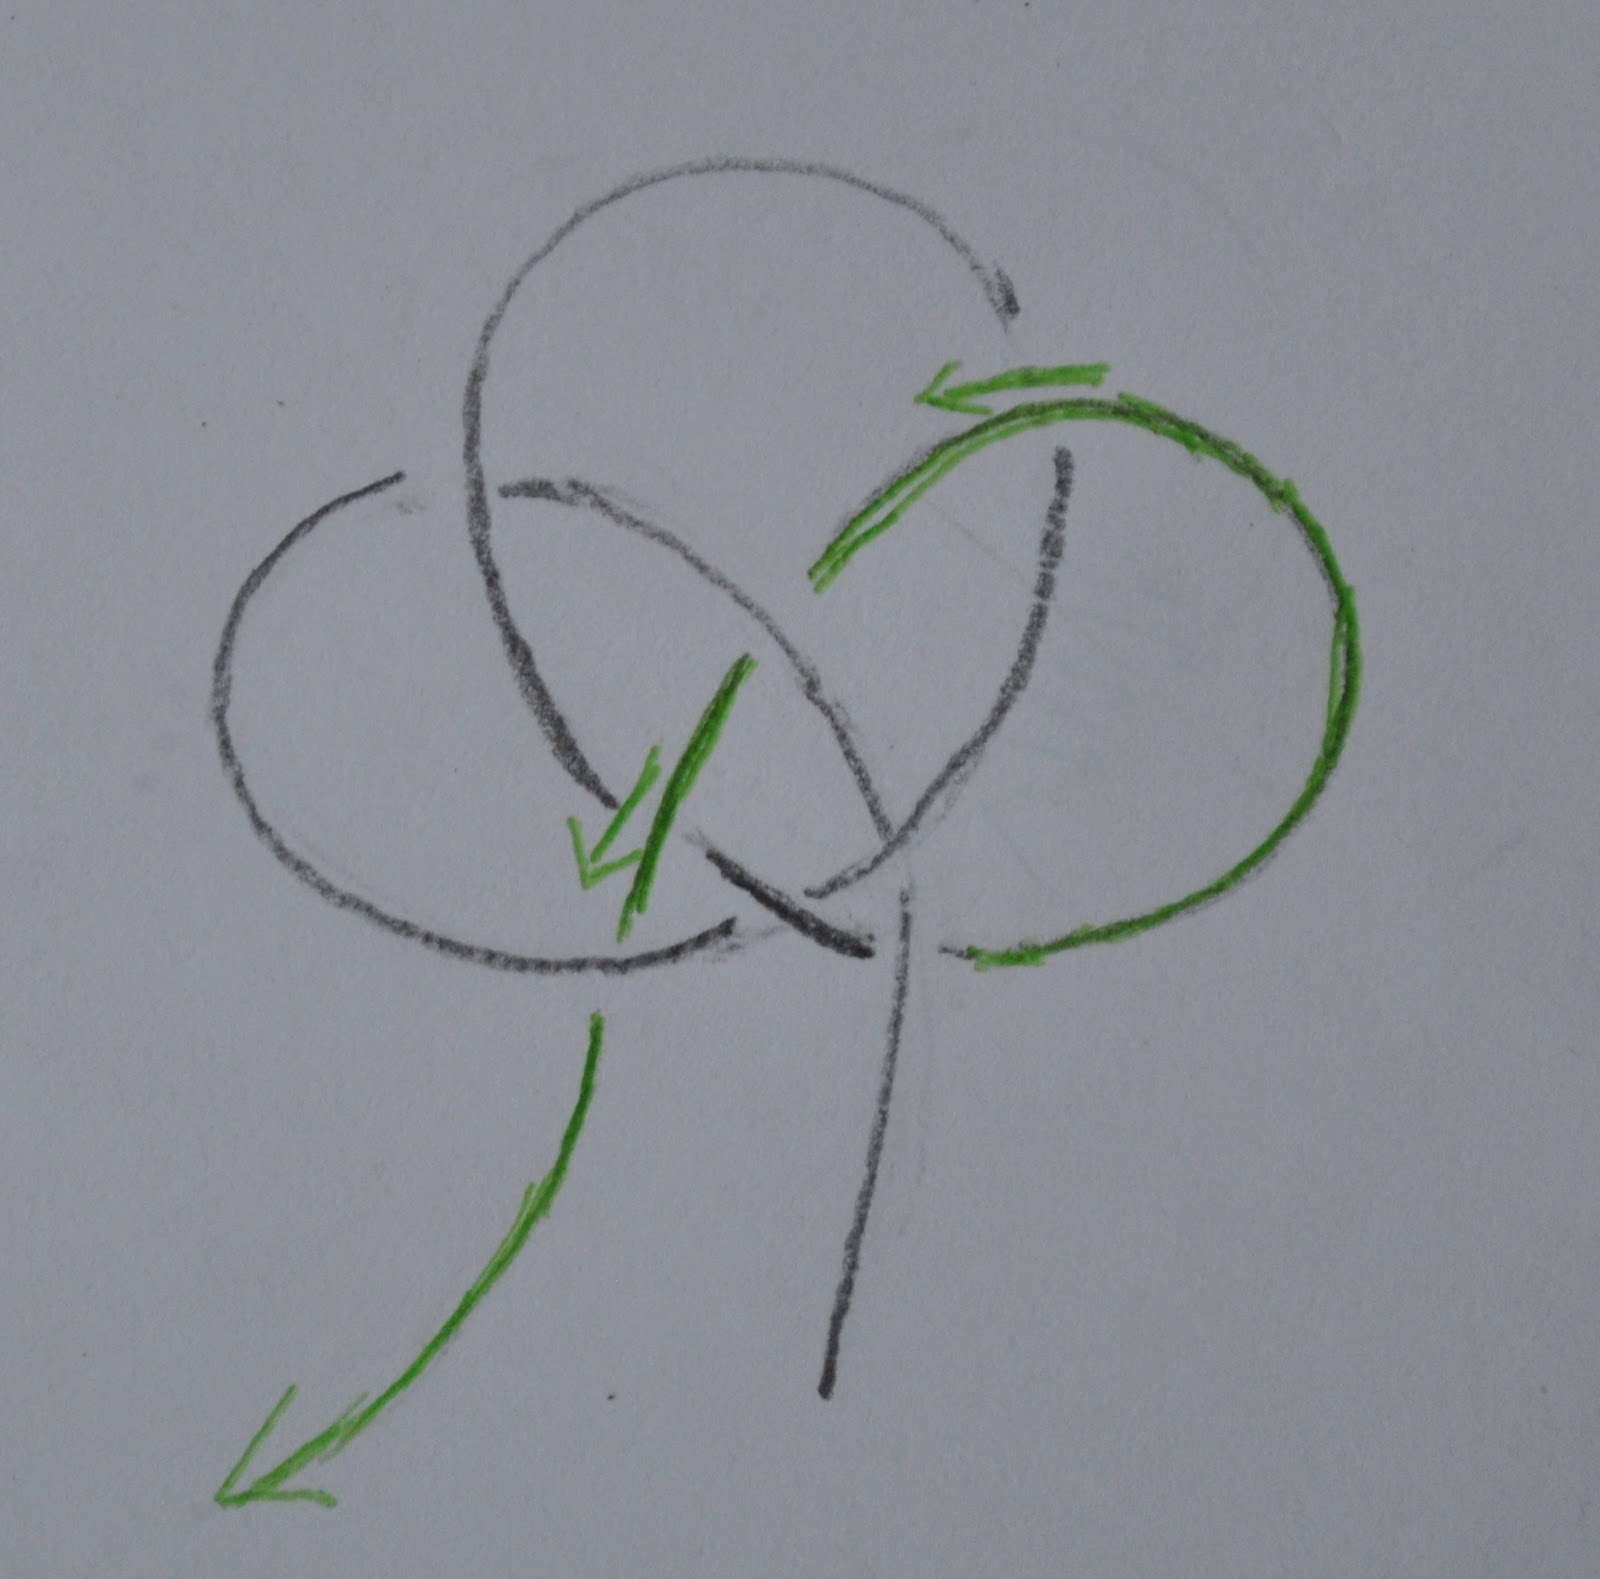
(Note: in each step; the new instruction is in bright green, with the previously executed steps in grey.)
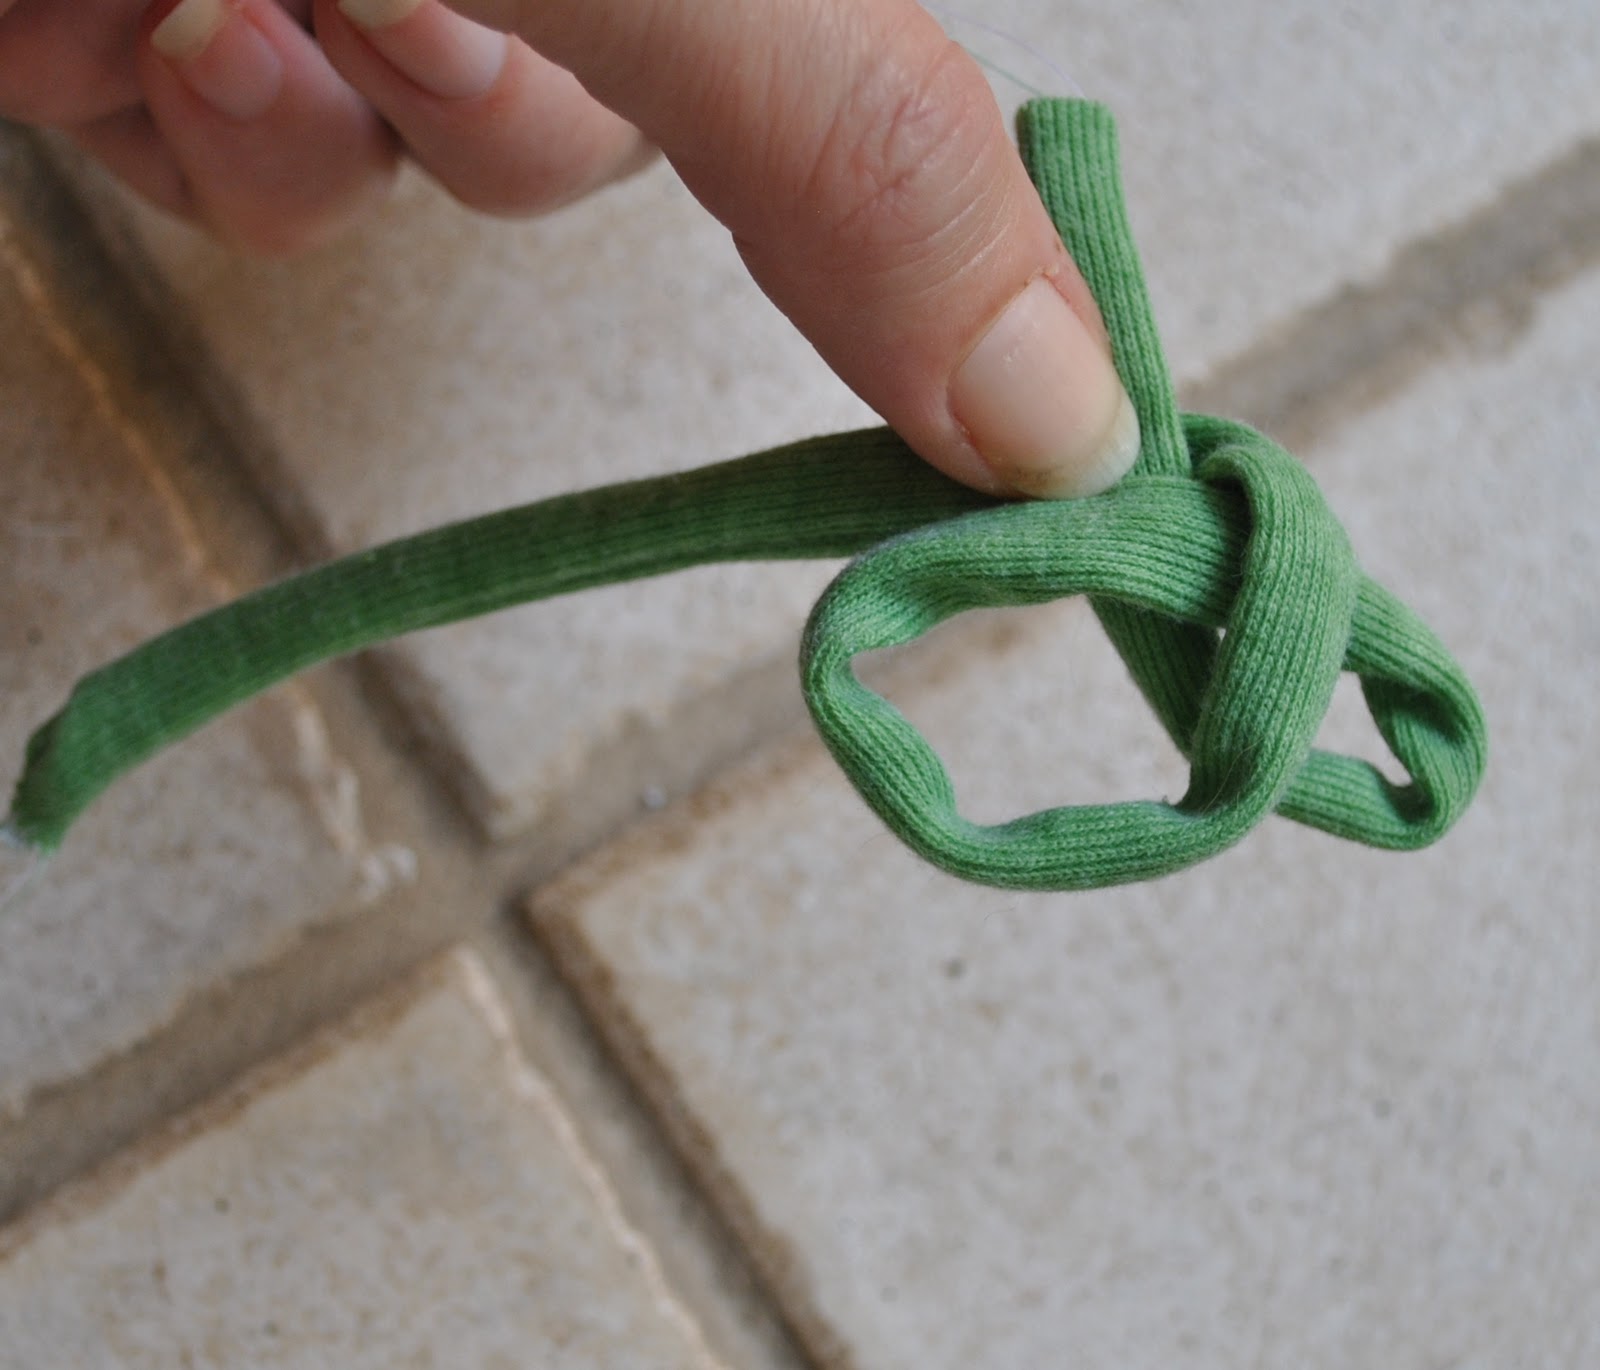
Firstly hold the cord with your left hand with a short tail and loop the end over itself and to the right…
Then loop the long end back over the first loop again and under the first junction…
Thirdly; take that long end and weave it through the four loops of cord created in the first two steps; first over, then under, then over, and finally under and out…
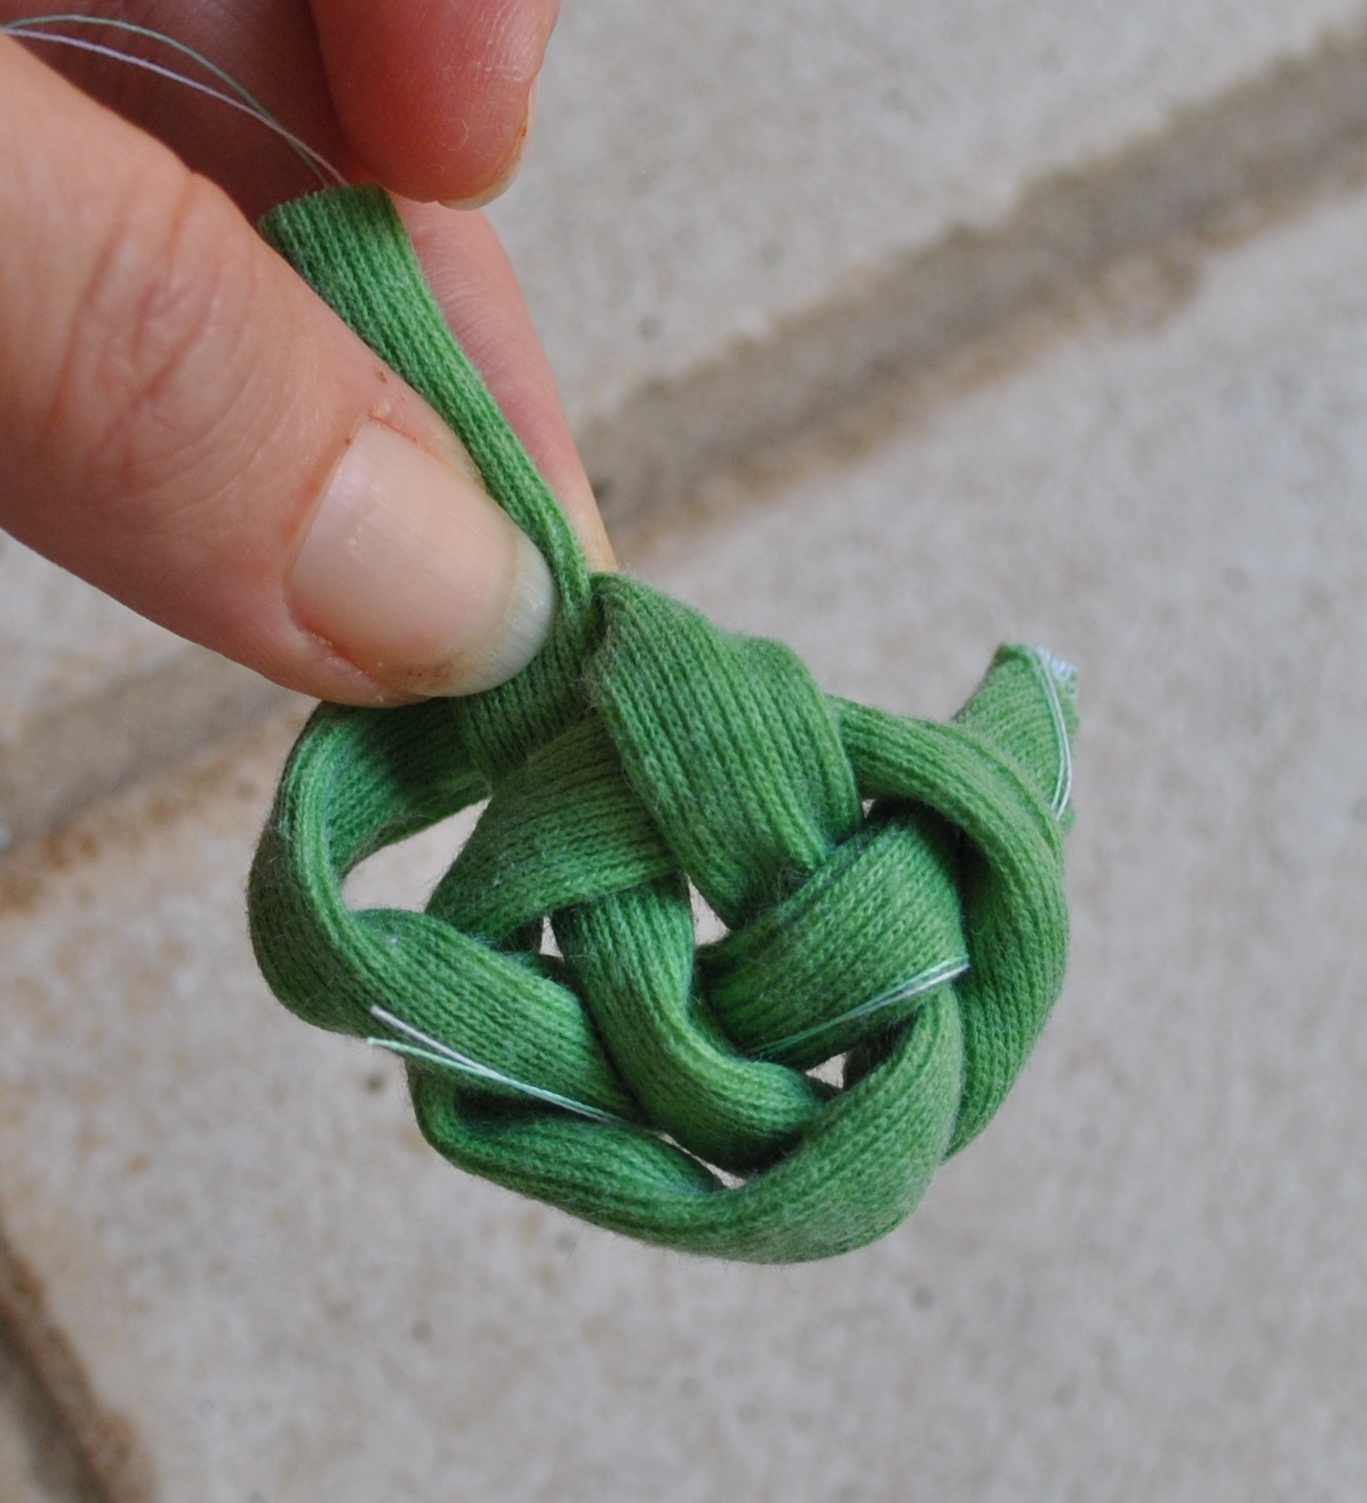
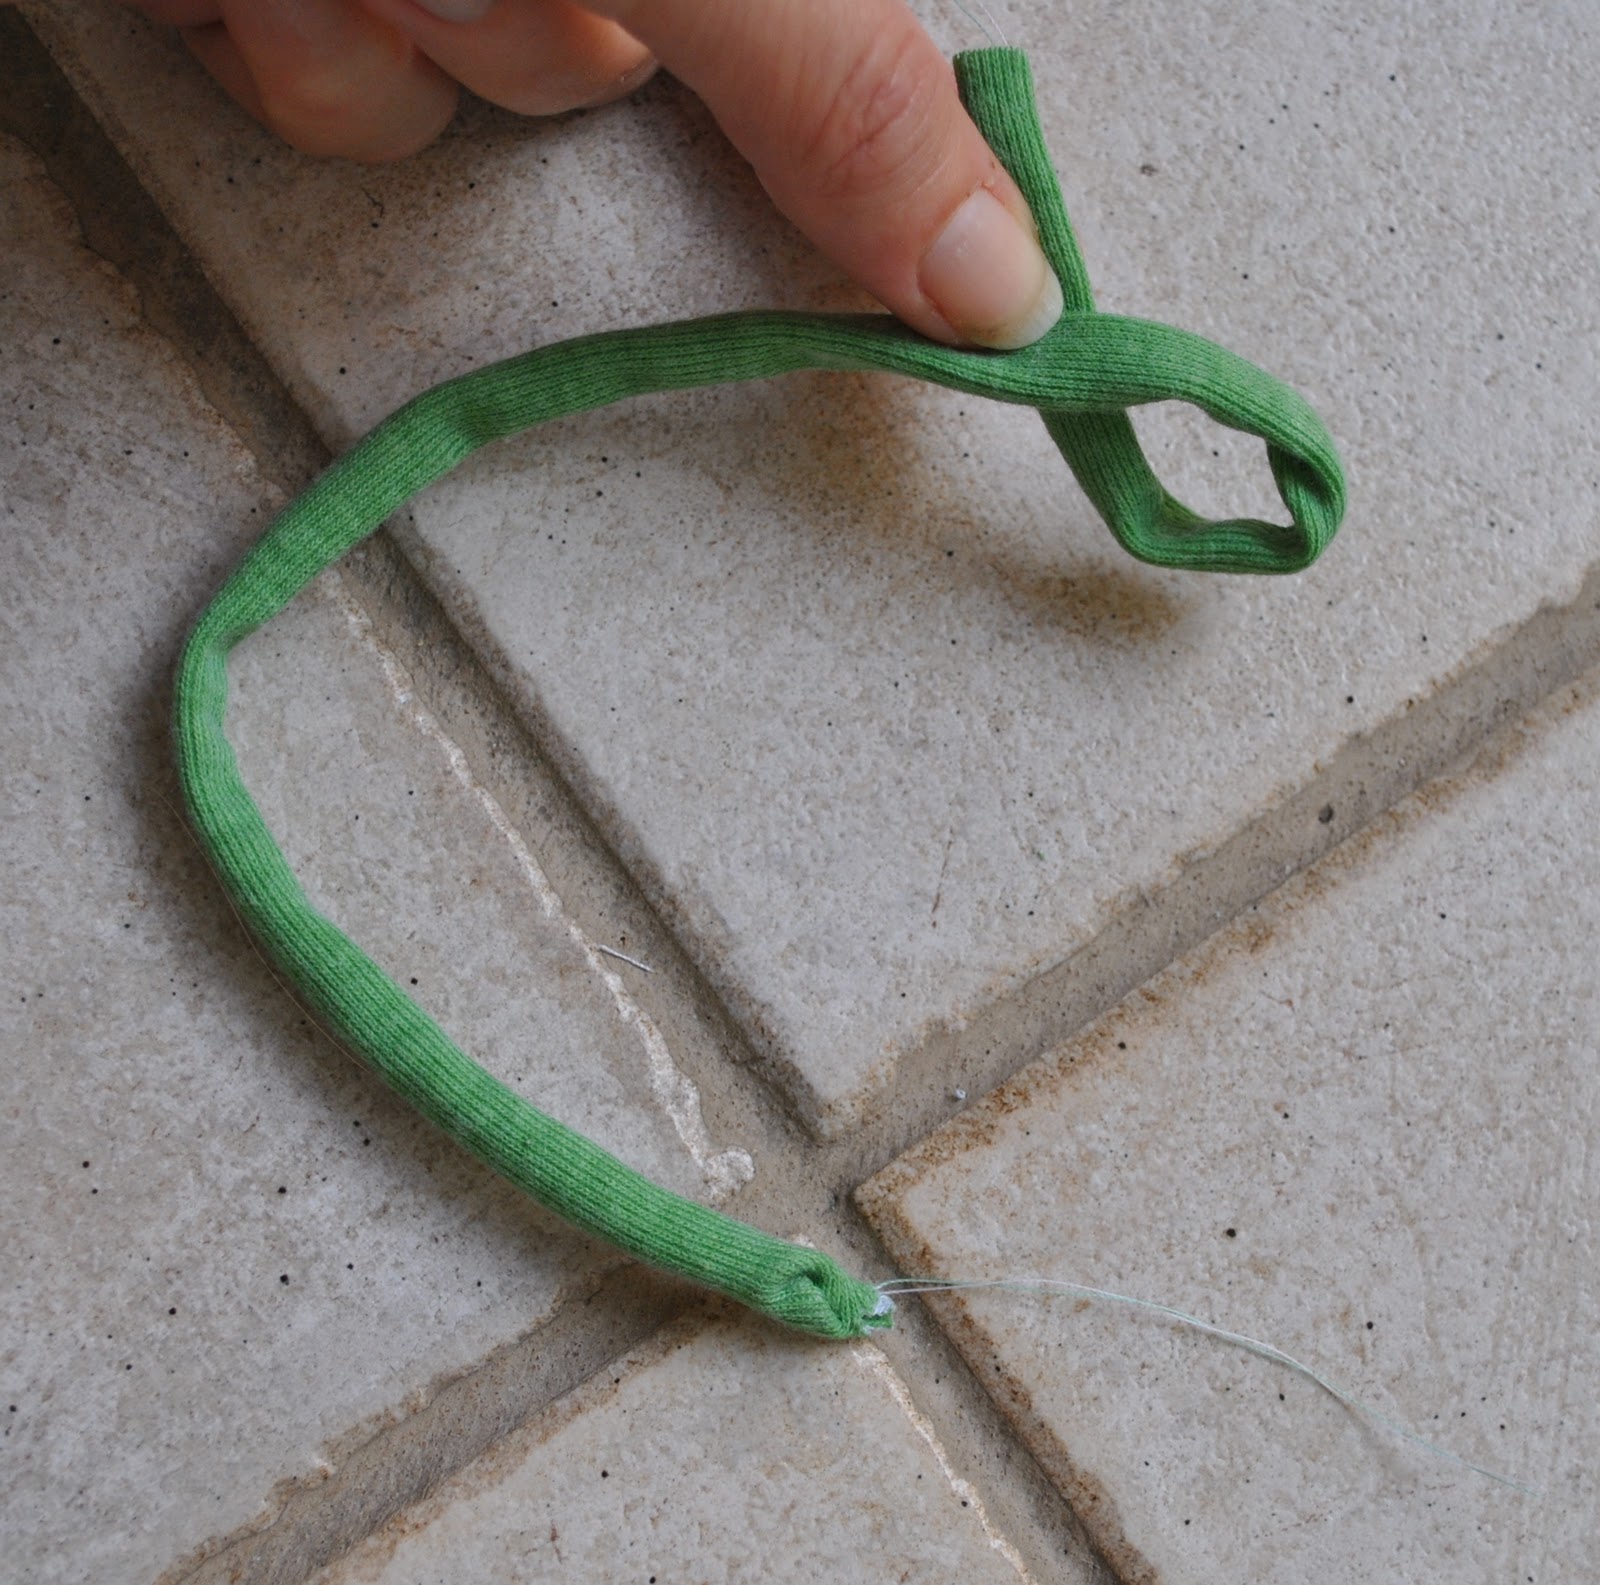
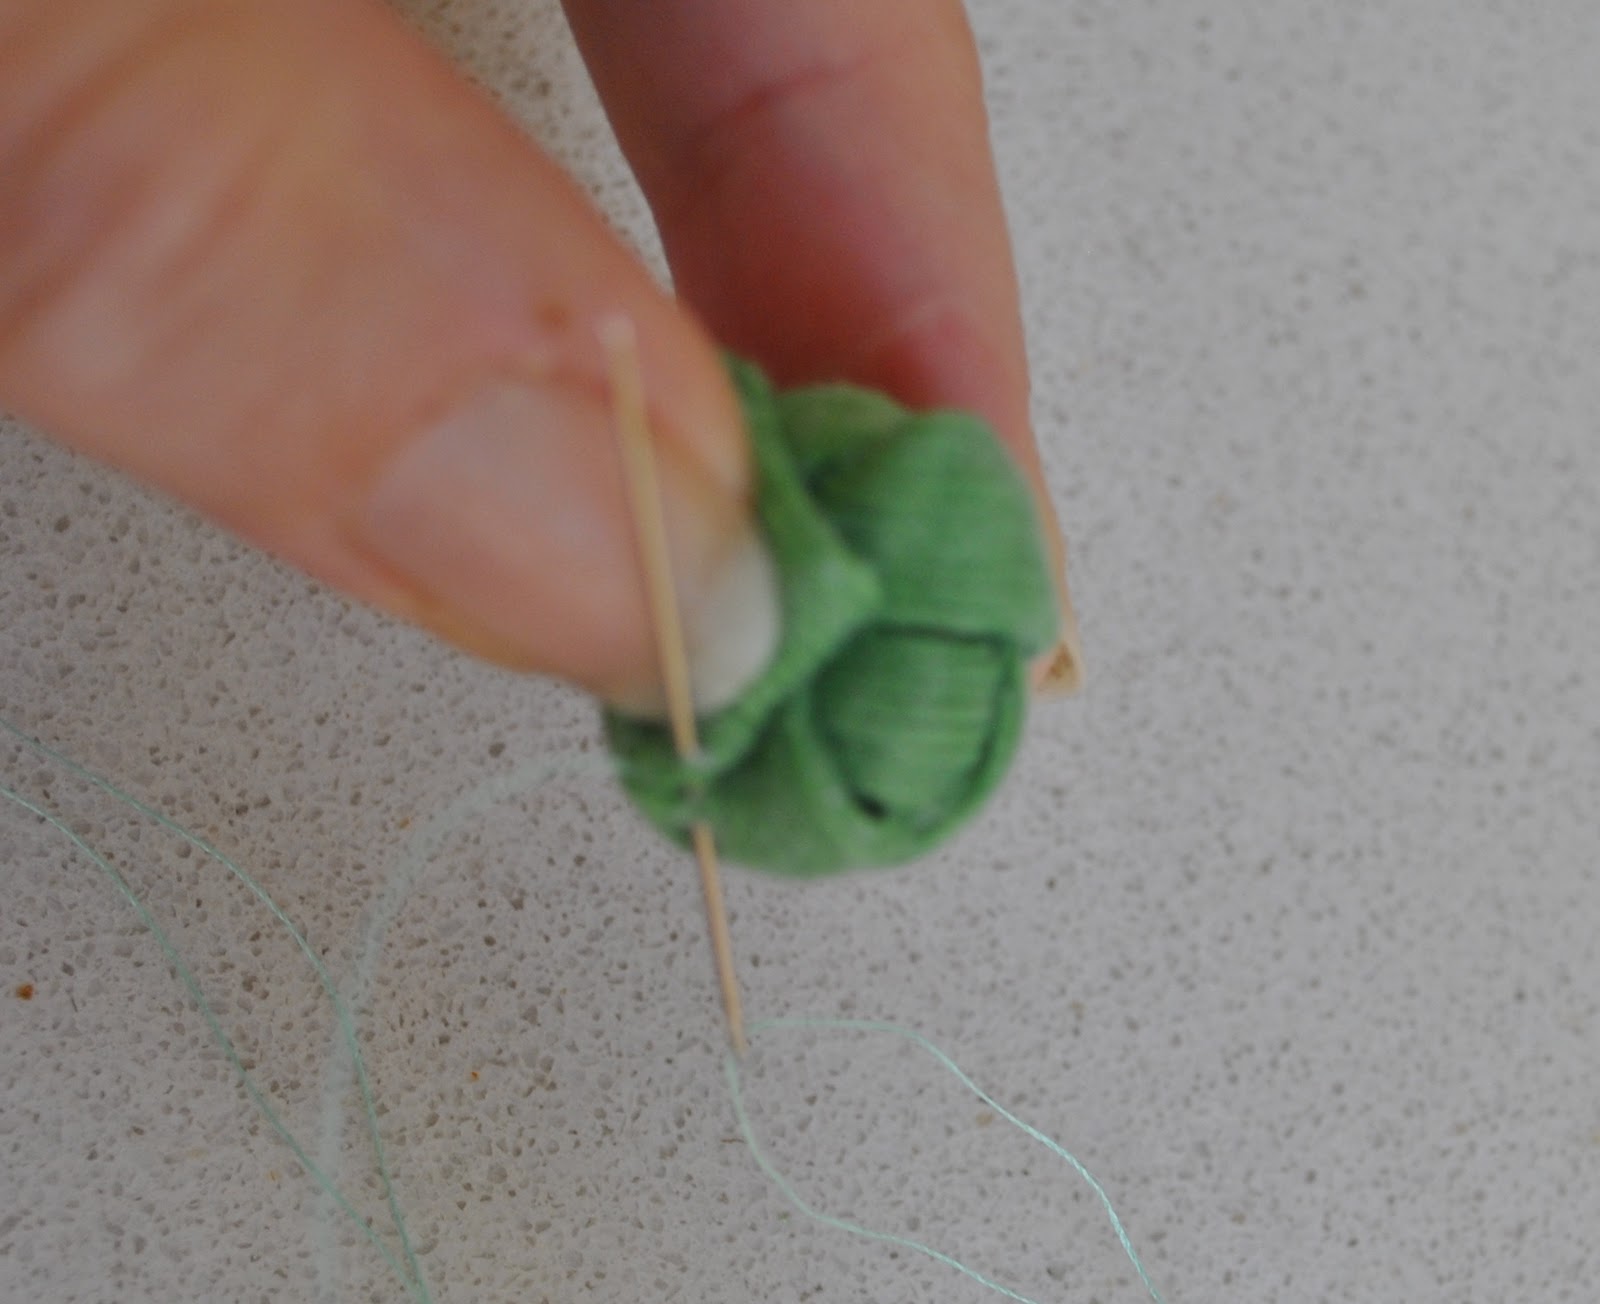
Gradually tease closed and tighten the loops of the knot together to be a nice, firmly and evenly arranged knot.
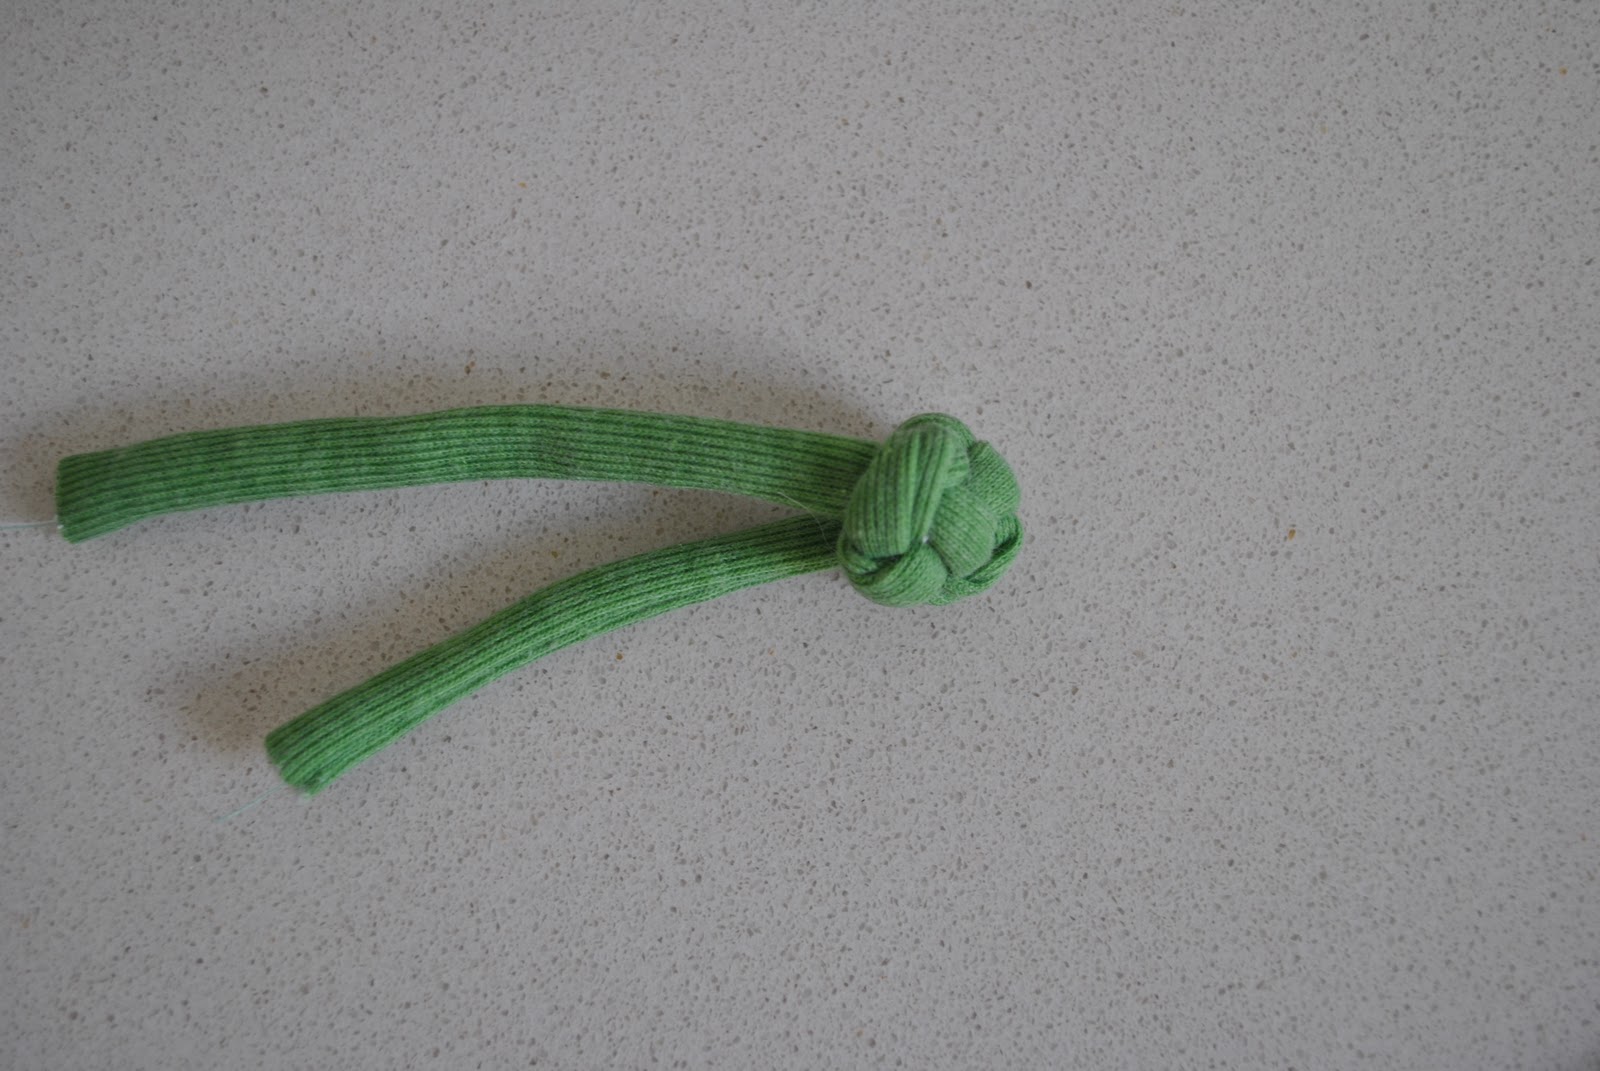
One at a time, cut the ends, turn under and slipstitch the ends neatly and invisibly on the underneath of the knot.
Voila! C’est fini!


That is really cool Cazza. Good use of scraps.
Hope all is well on your side! Back from holidays … definitely put UK on your list for one day soon. xo
Thank you so much for responding to my request so quickly. It looks quite simple – but the effect is stunning.
Thank you for your lovely comment on my blog – I popped over here & what do I find but THE most timely post!!! I was making up some embellishments for a project out of some bias strips, but these knots are WAY better than what I was doing!
Hopefully my project will be done & blogged tomorrow, & I'll be crediting the knots back to you – thank you!
Lovely! and easy .. thanks.
This is a technique I have seen for many years (and Vogue definitely doesn't own the knot button) but have never tried. Thanks for this wonderful tutorial that I will pin on Pinterest!
As well explained, so clever, Thank you for sharing this, you gave me some ideas to wear this …
Thanks for sharing this nifty little technique. I'd like to try it someday when I have an appropriate project. It's a nice detail.
Such a lovely clear tutorial. I admirde your buttons on your smart cardifan, and was just coveting some for myself!
This is great! thank you for the tutorial.
wonderful!
such a nice detail! Will surely make some soon!
Your instructions are wonderfully easy. I have done these buttons from a purchased cord – really must try these from "spaghetti". Yours look sooo good.
Don't worry about the button-copyright 😉 It's actually a traditional Chinese button knot. The Chinese call it … Why can't I read that any more? Okay I'll tell you just as soon as I have figured out what I wrote … But I know the translation is two coin knot 🙂
Thank you!!
thanks for posting. It looks lovely on your jacket- I must try
Thanks for posting this very clever button. I will try it.
This site also has a diagram showing how to make round and flat knots: http://www.karensvariety.com/ARTICLES/ButtonKnots/ButtonKnots.htm
Great tutorial!
Thank you for the tutorial. I think i will try out.
Beatiful…
kis
su