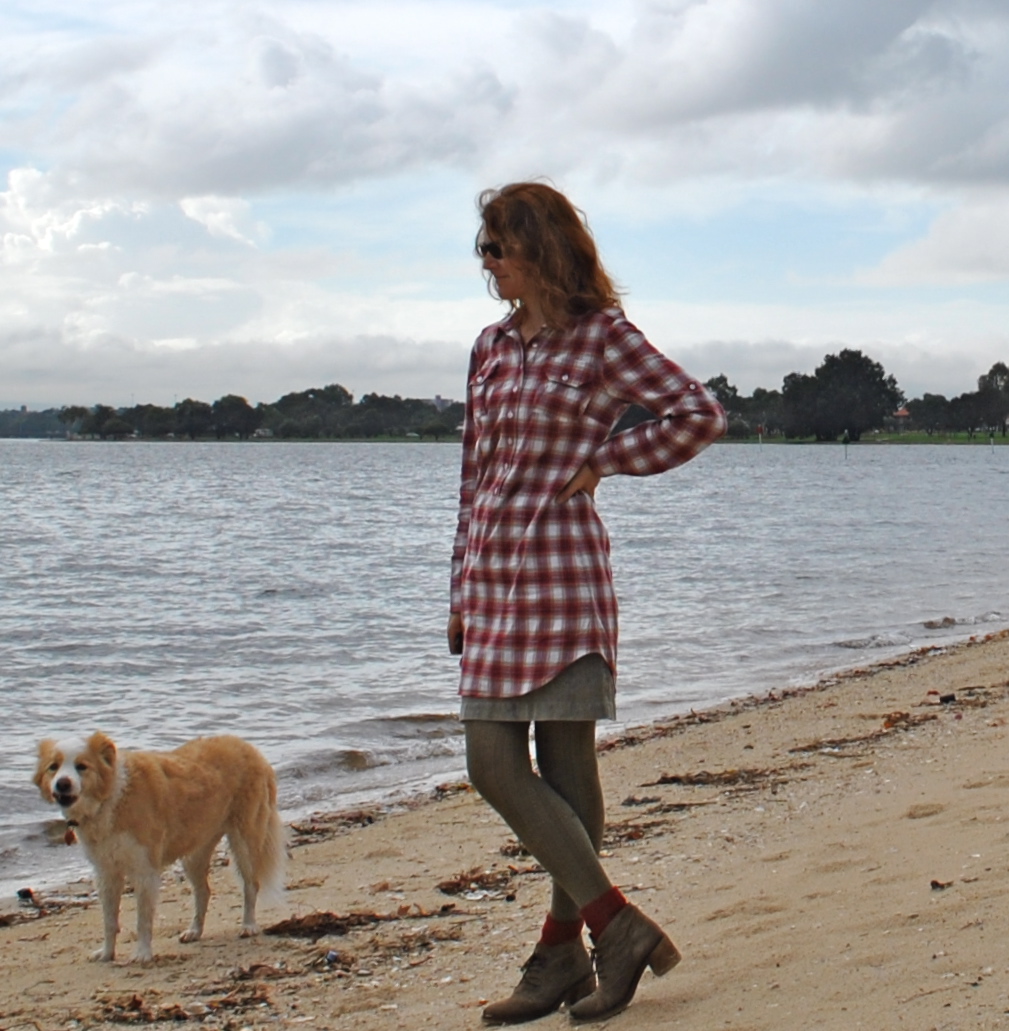
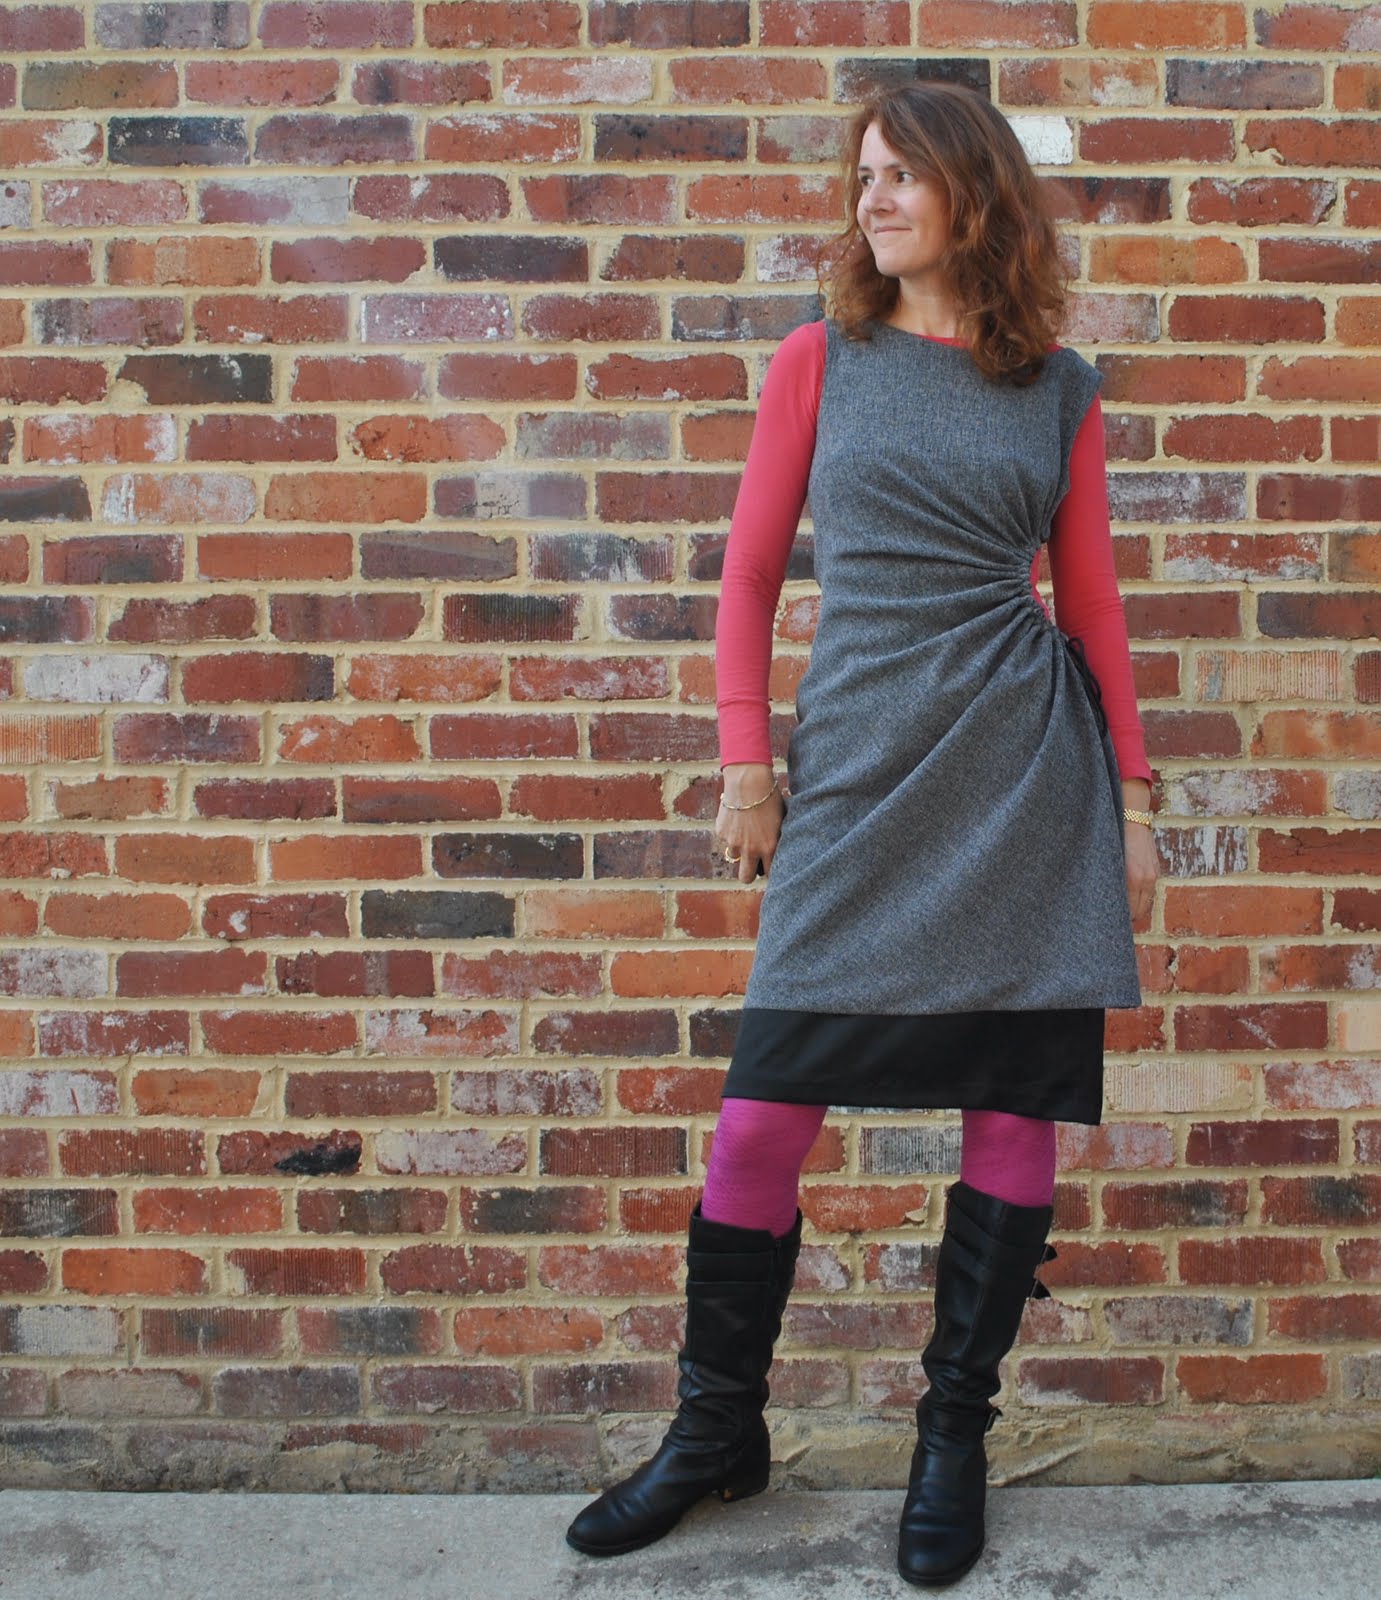
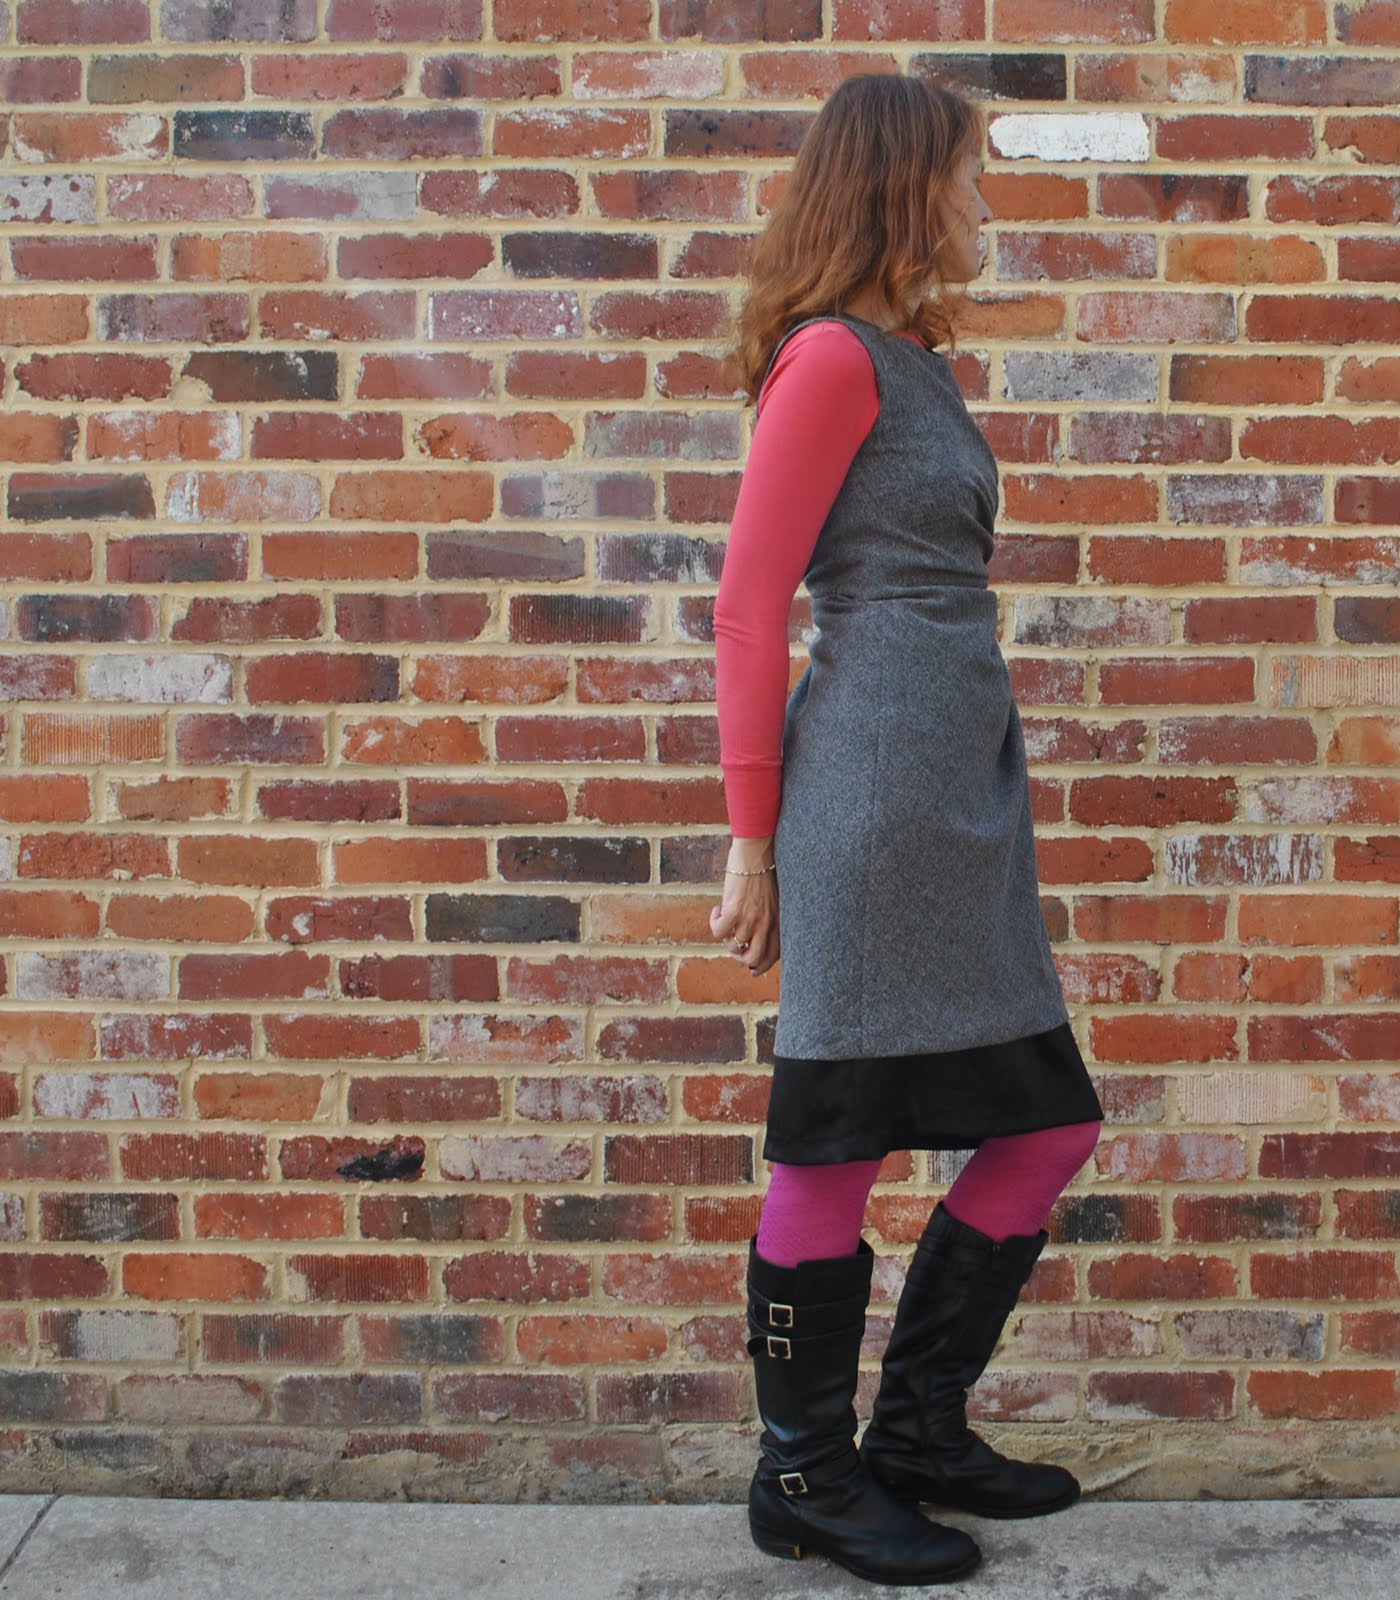
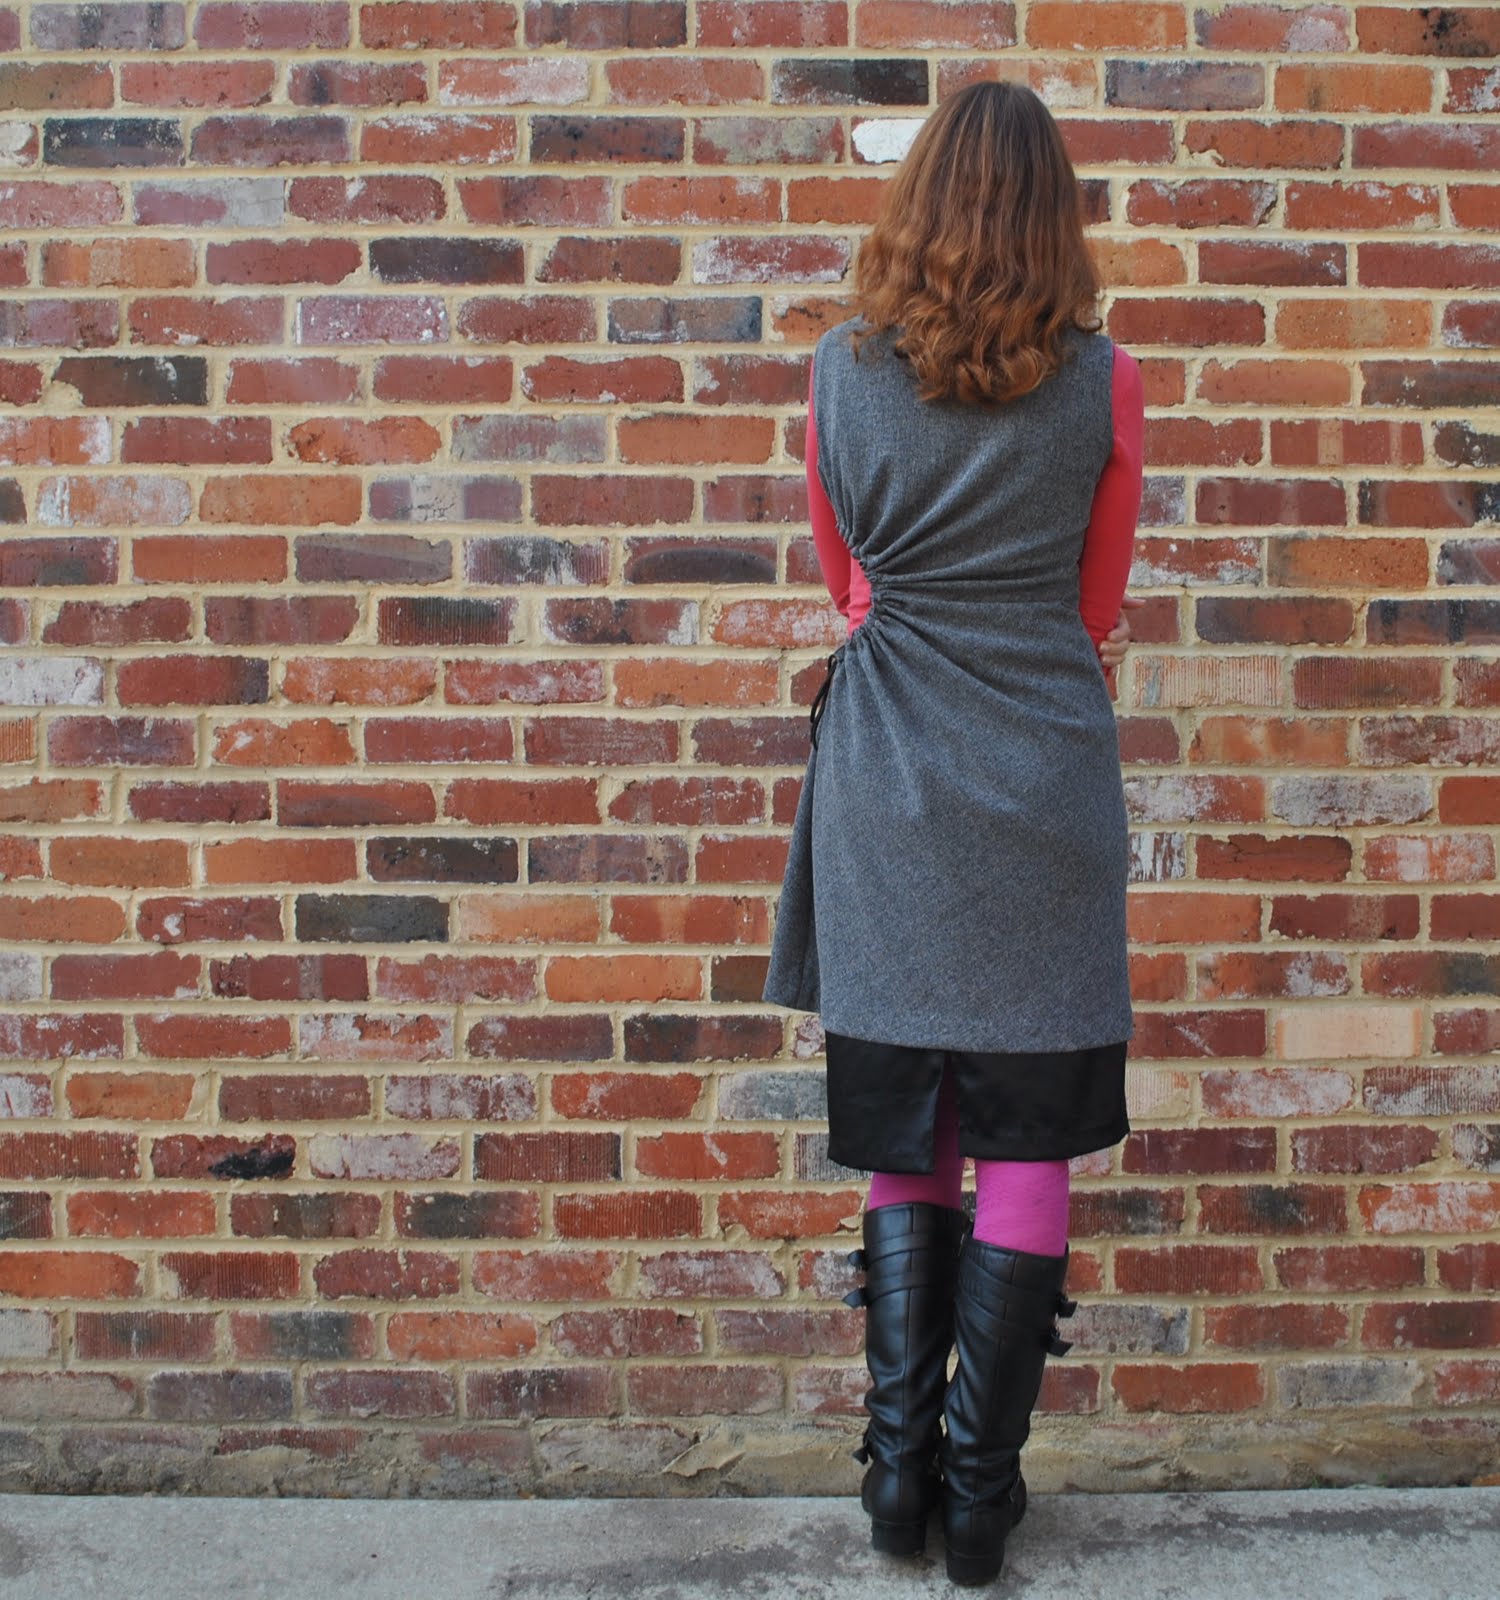
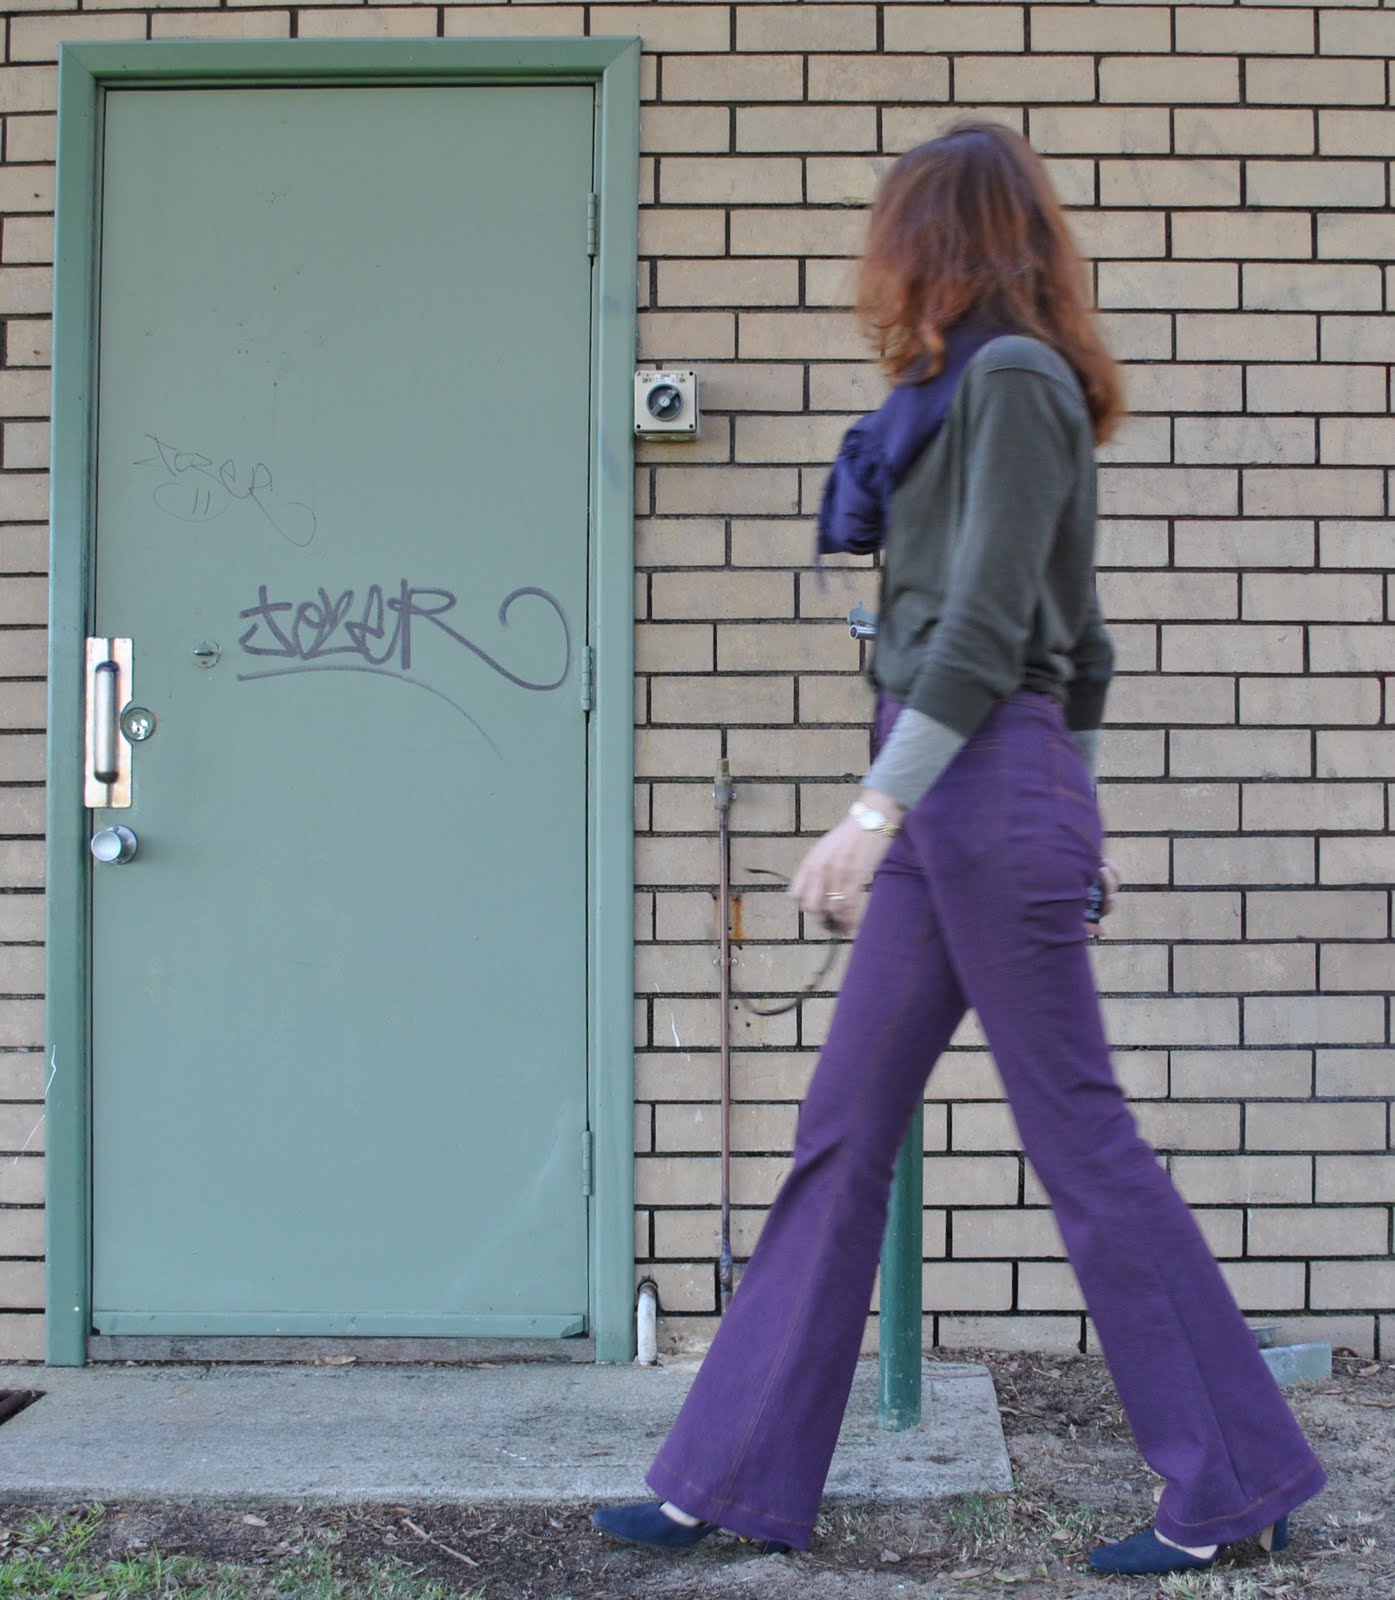
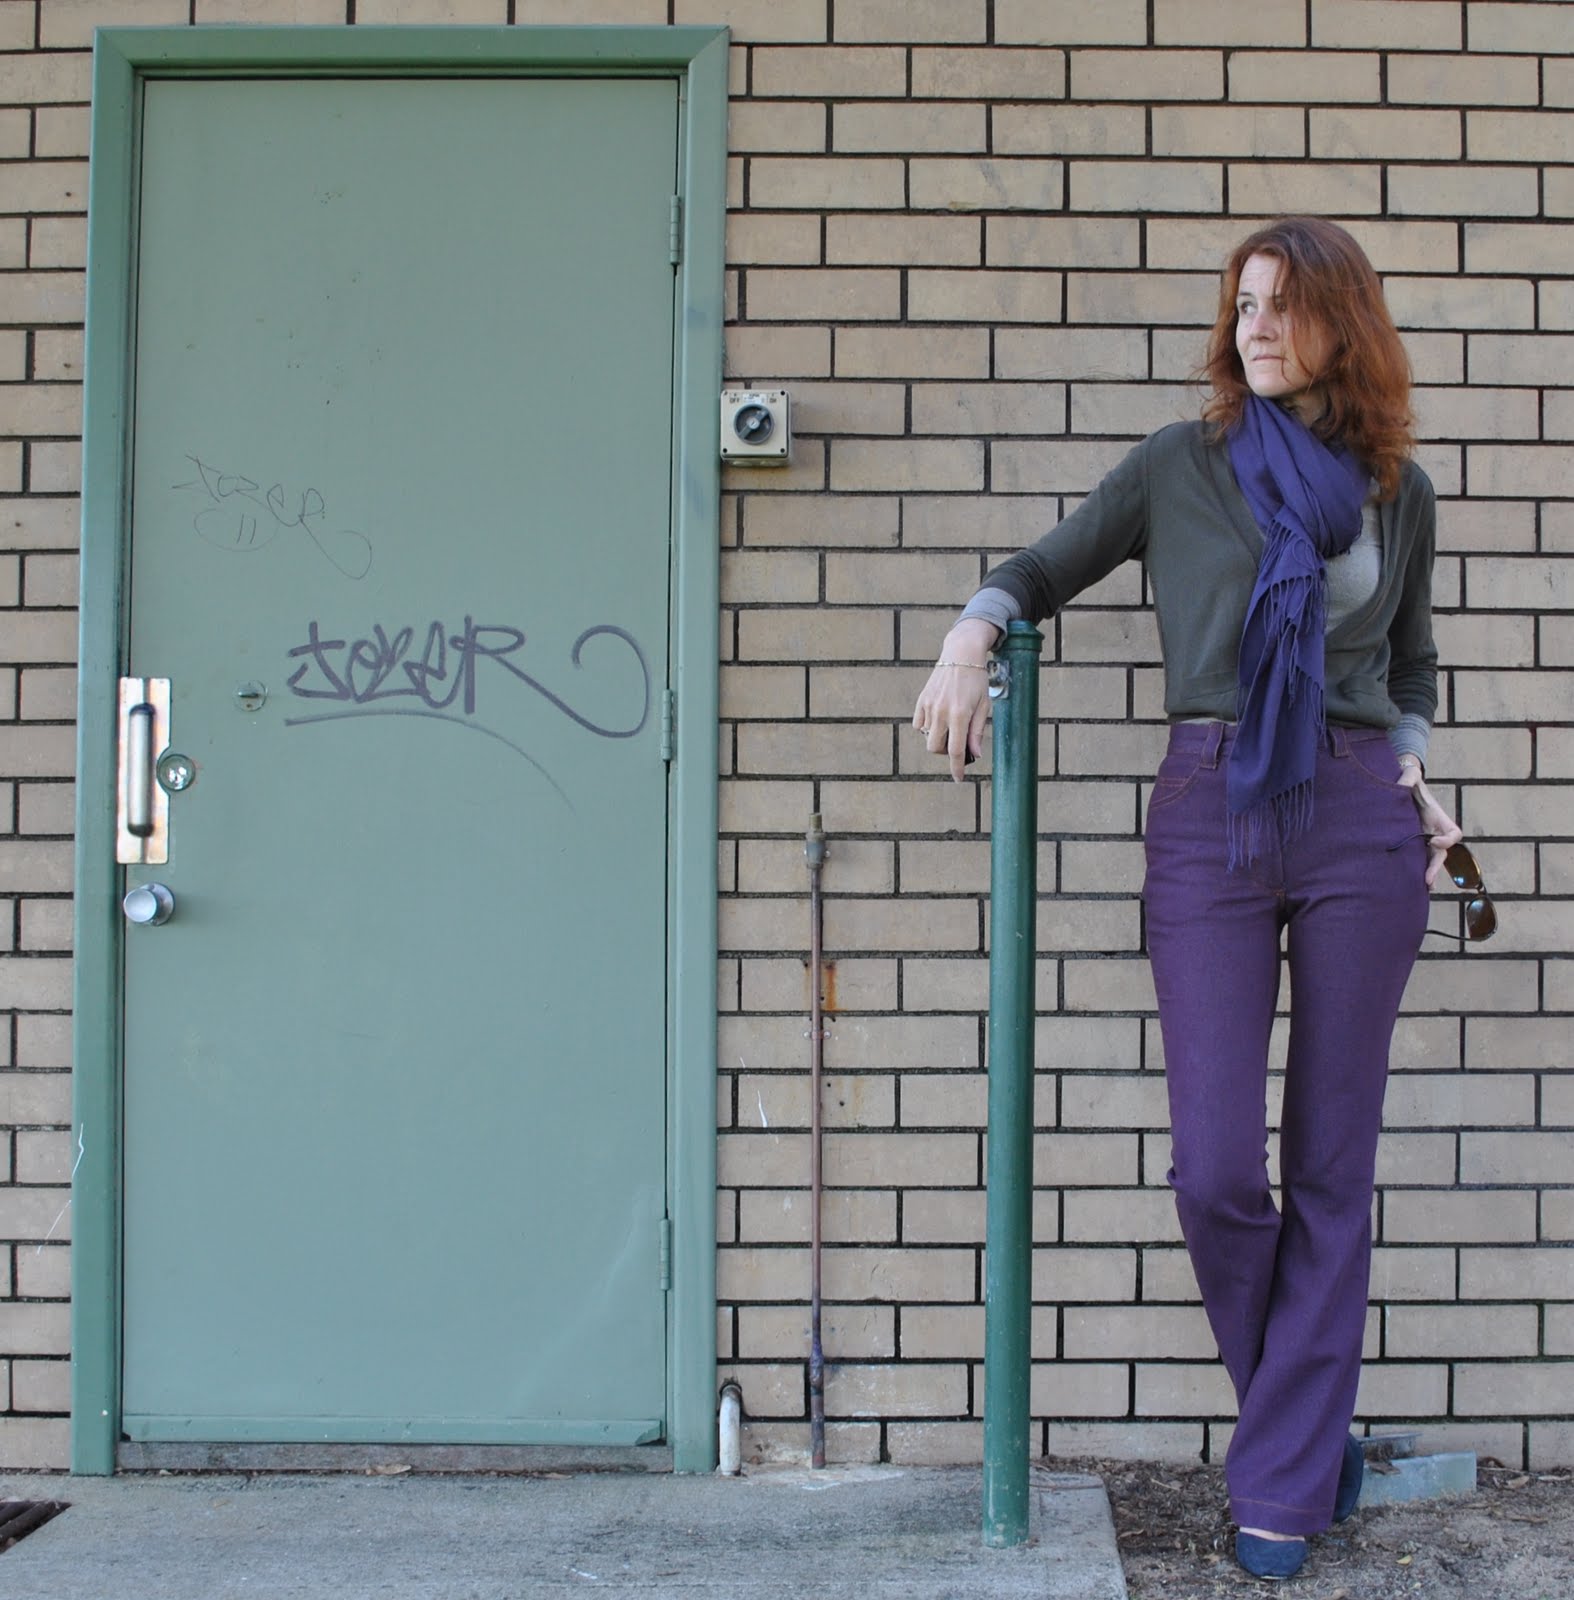
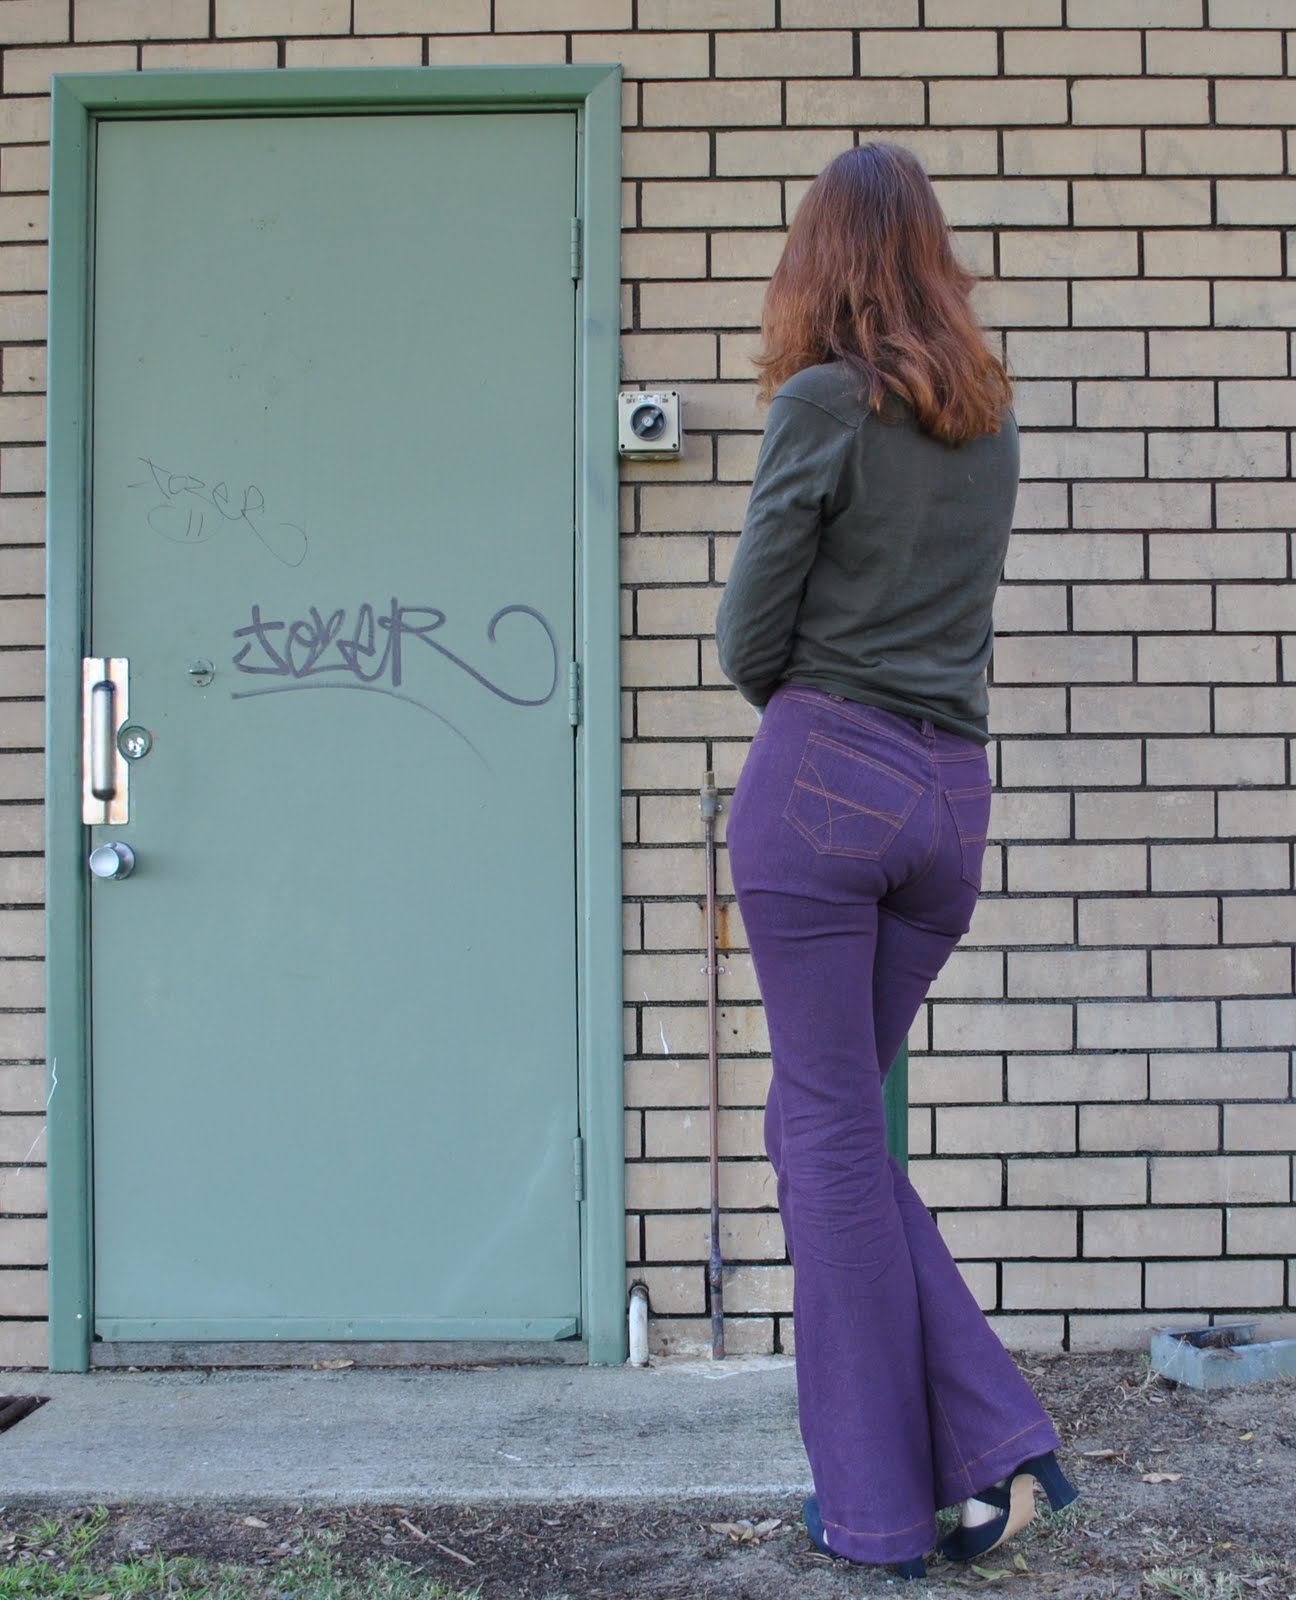
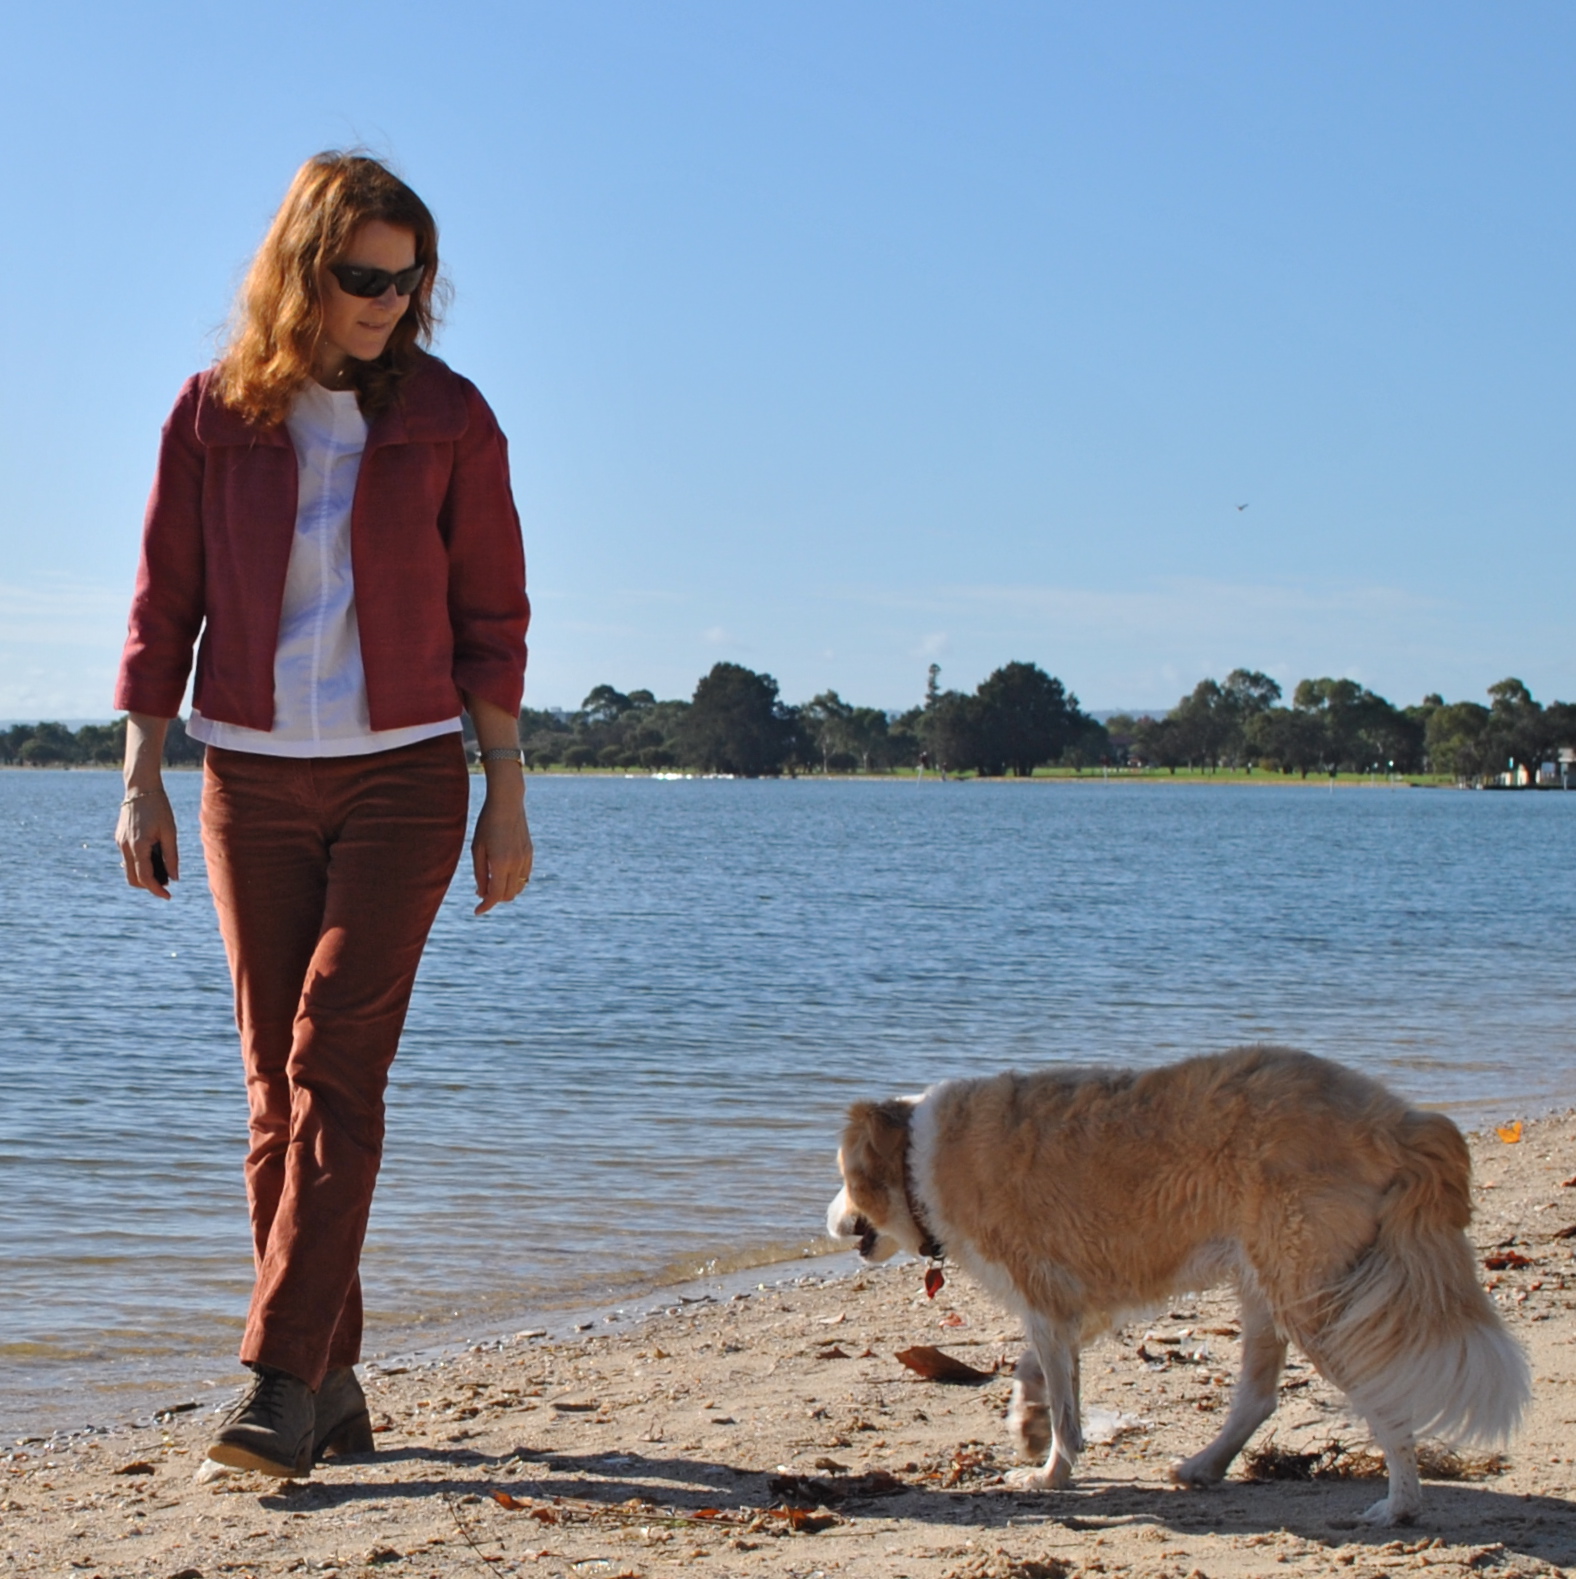
Hot off the press… my new flared jeans for winter, and for Joy’s Bell-Bottom challenge!
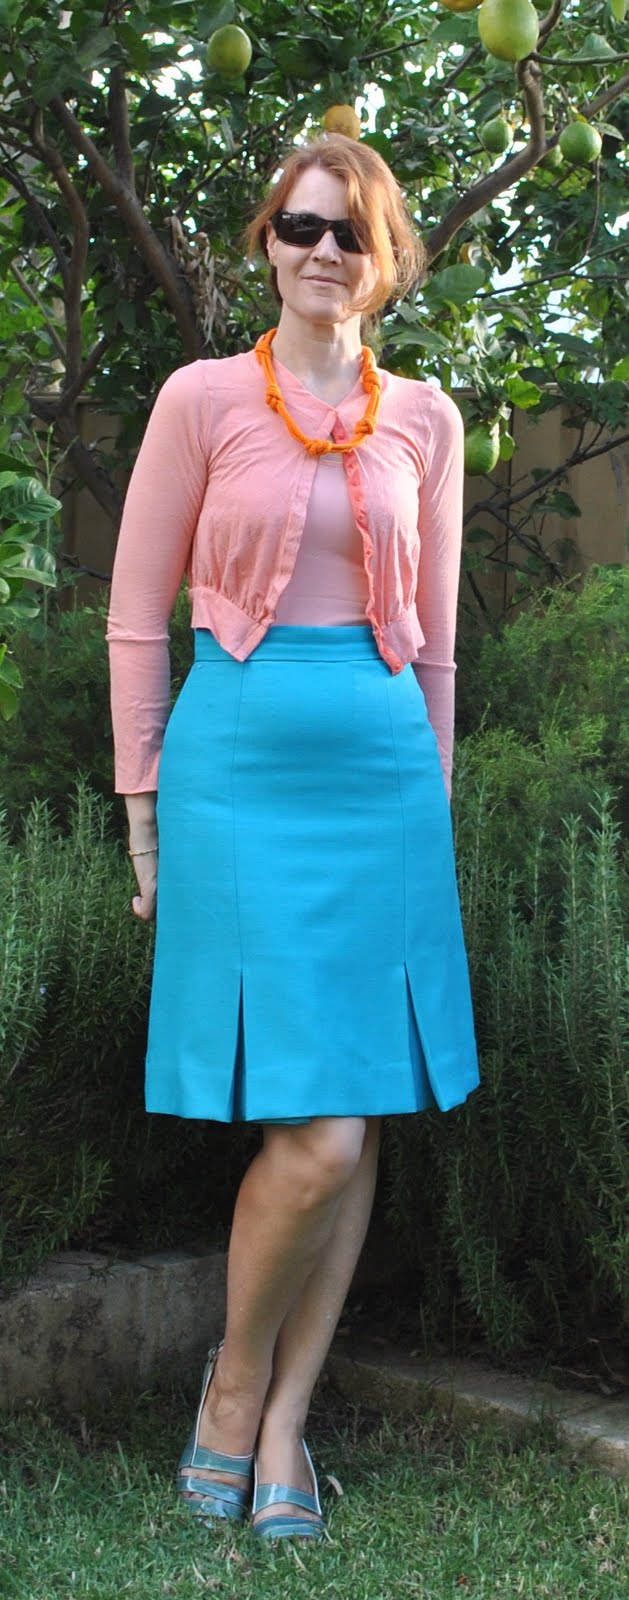
I adore flares, after half a lifetime of trial and error I have finally decided they could be the most flattering jeans shape for my particular body type. Sure, I wear other kinds of jeans as the mood takes me but really the shape of flares always just pleases me immensely. I think the flare from knee down provides a nice counterpoint to the curve of a lady’s hips above. Skinnies look wonderful on the very slim hipped, and if a girl is in that lucky category then yay! for skinnies. Go for it! But I reckon for me with wider hips, or child-bearing hips as my grandmother referred to them; then the look of the skinny leg from those hips tapering down into petite little ankles is perhaps not the most flattering silhouette for my body type. When I do wear my skinnies I usually try to counteract that tapering effect by wearing them with biker boots to provide some visual weight for the lower half of my legs… as here.
But getting off track, my new flares, groovy, no? I already had this grape coloured stretch denim planned for some new winter jeans when I read about Joy’s challenge, and instantly knew nothing could be groovier nor more age of Aquarius than the colour purple. Even the word “purple” brings to mind decadence, pimp-chic and naughty avant garde movies from the seventies, yes? Do you recall Alvin Purple, fellow Aussies? I was too young to ever be allowed to watch this, hehe. I imagine though that some of the (dressed) ladies might have worn pants such as these…?
Details:
Jeans; Burda 7863 with modifications, purple stretch denim, see my review of this pattern here
Top; Metalicus
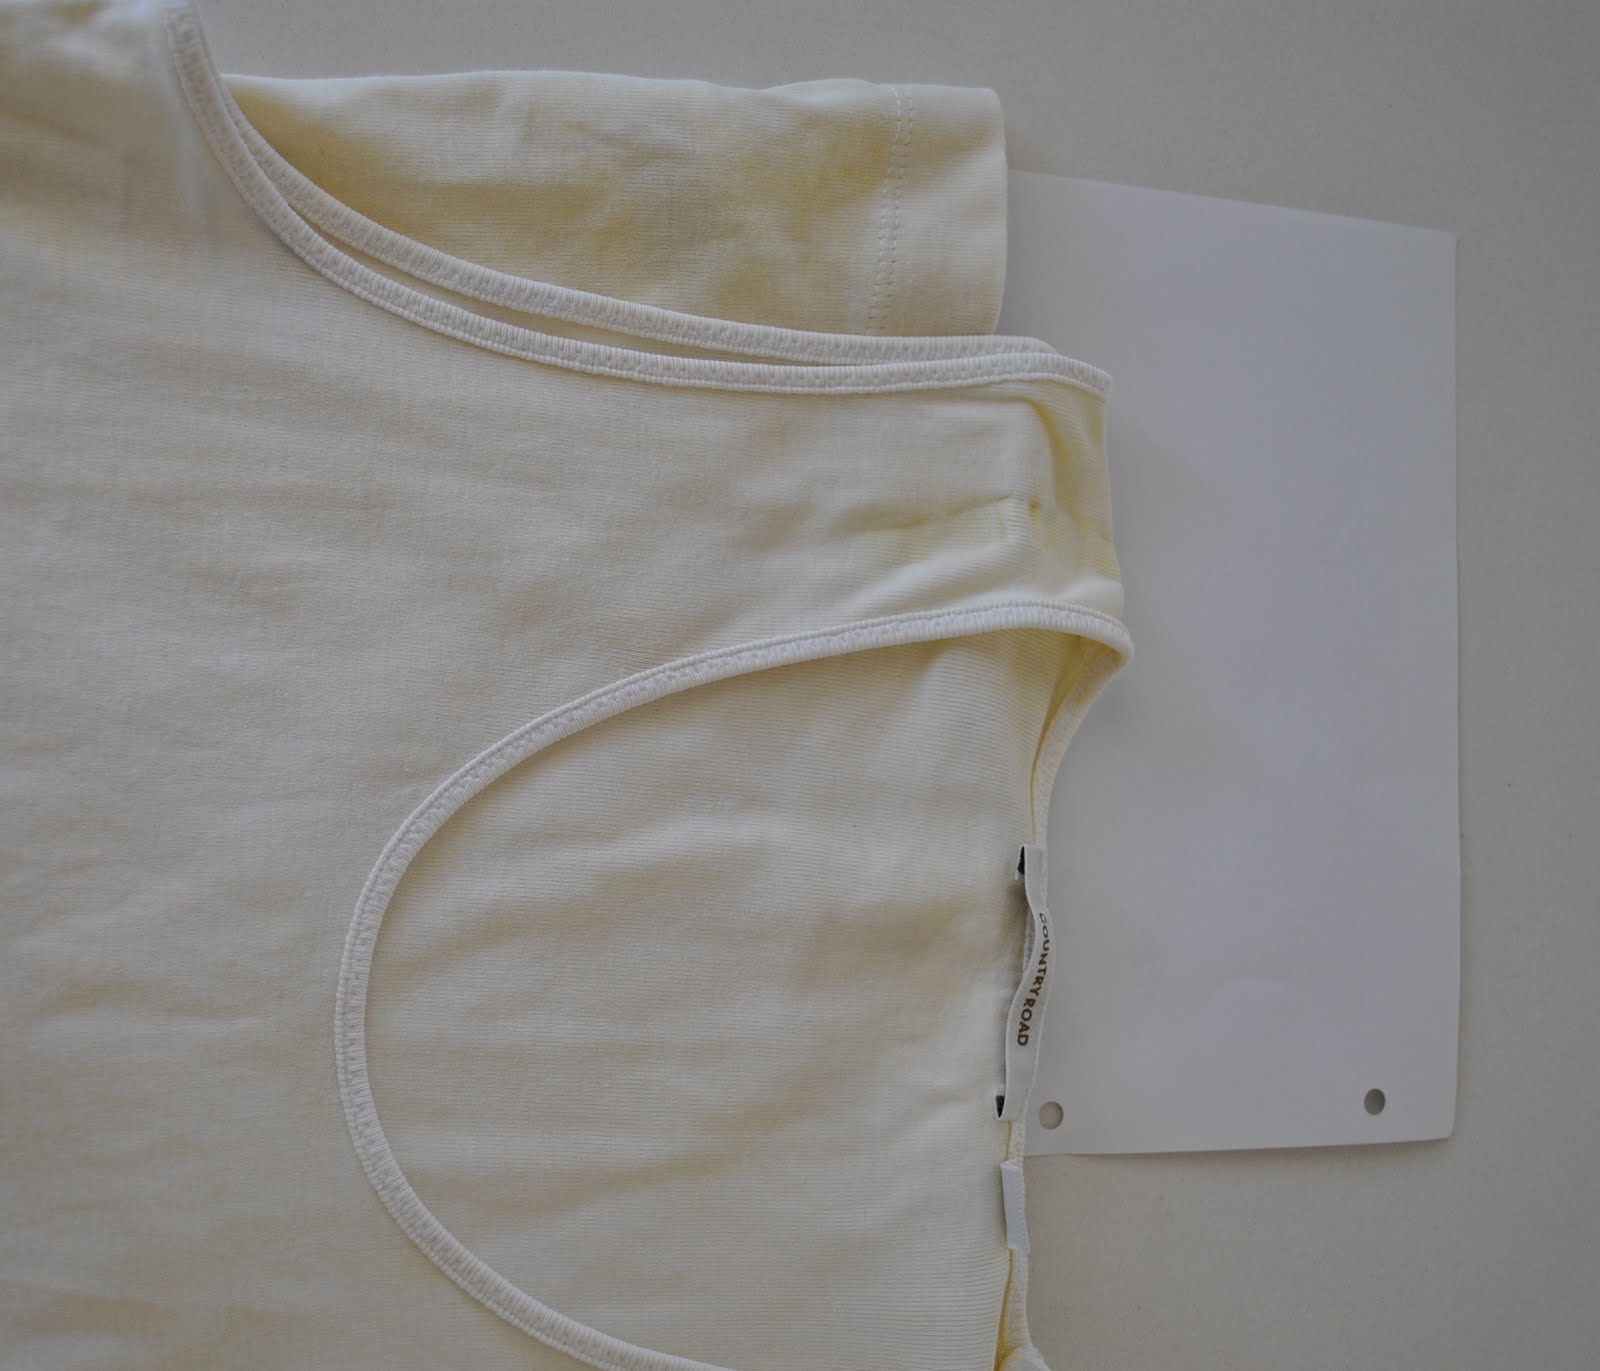
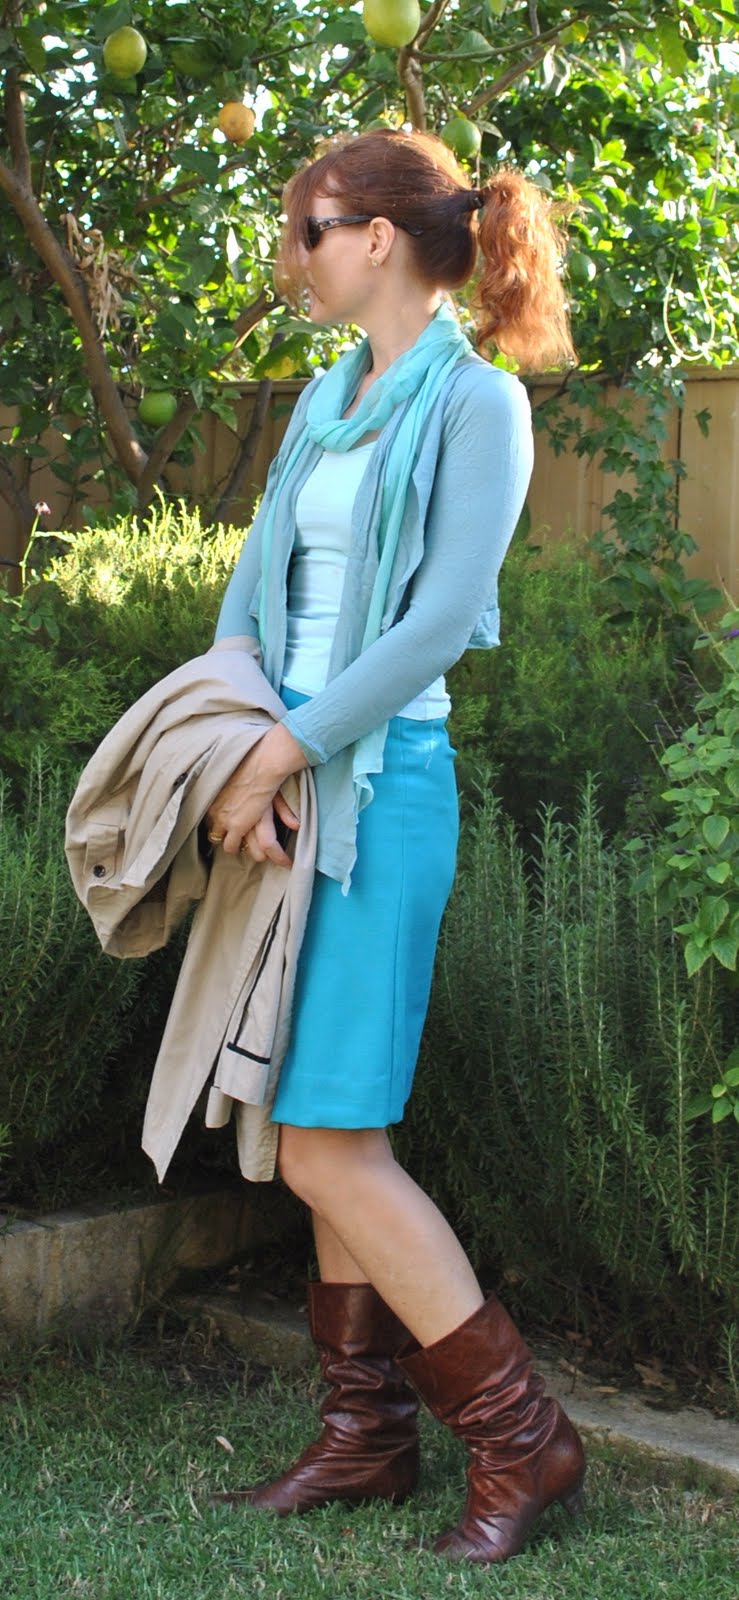
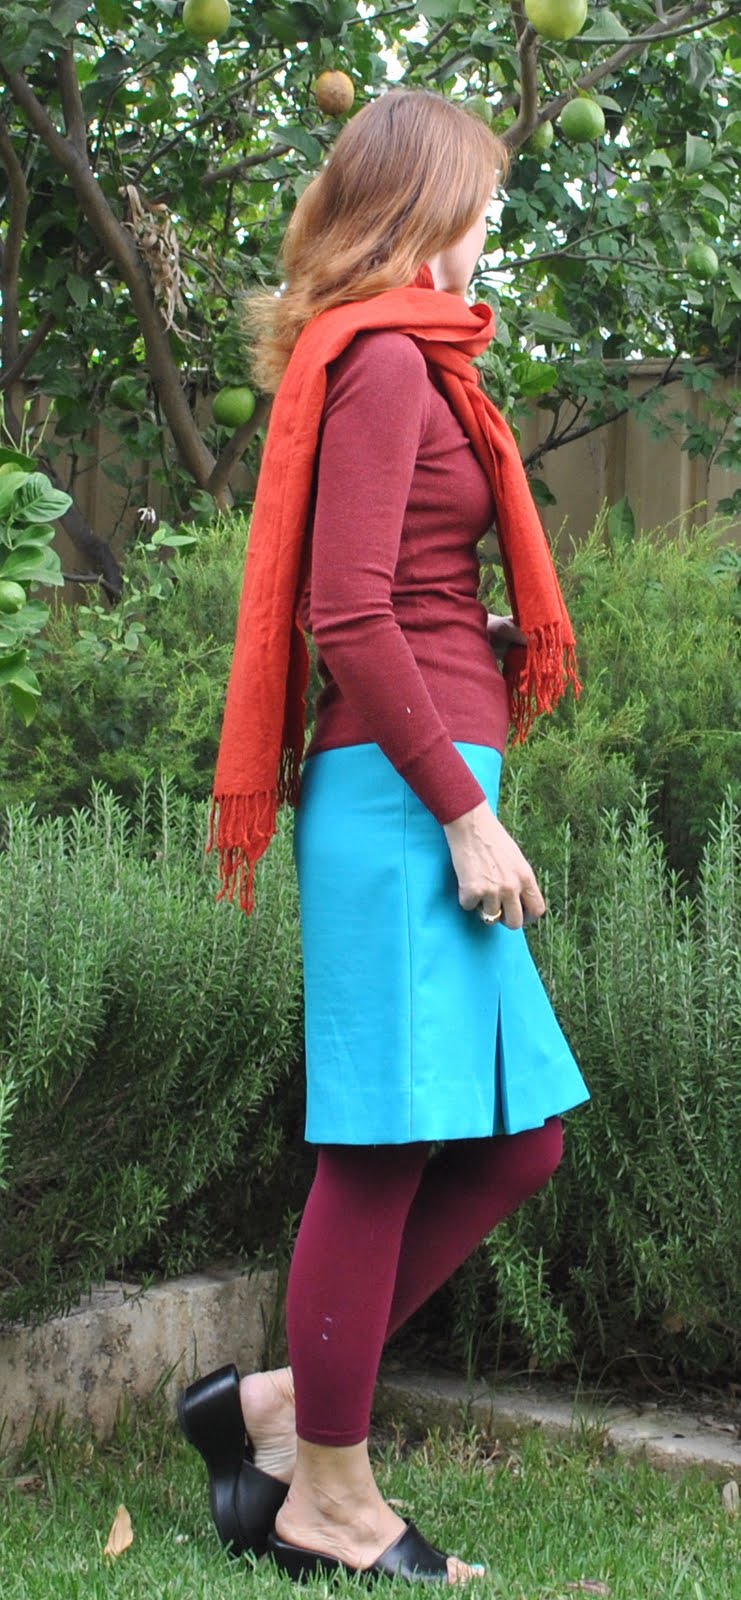
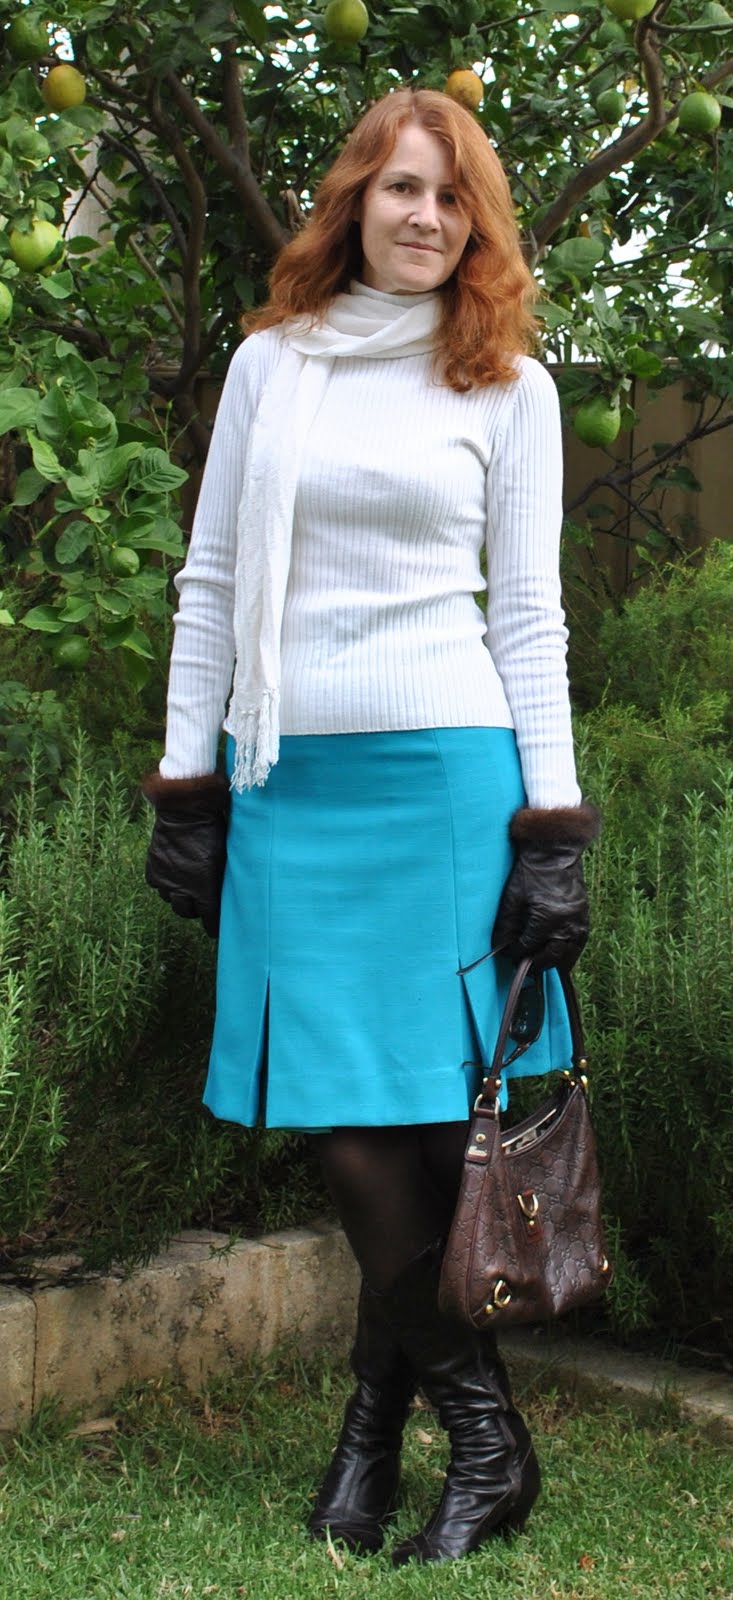
Cardigan; Country Road
Scarf; alta, a gift from Cassie
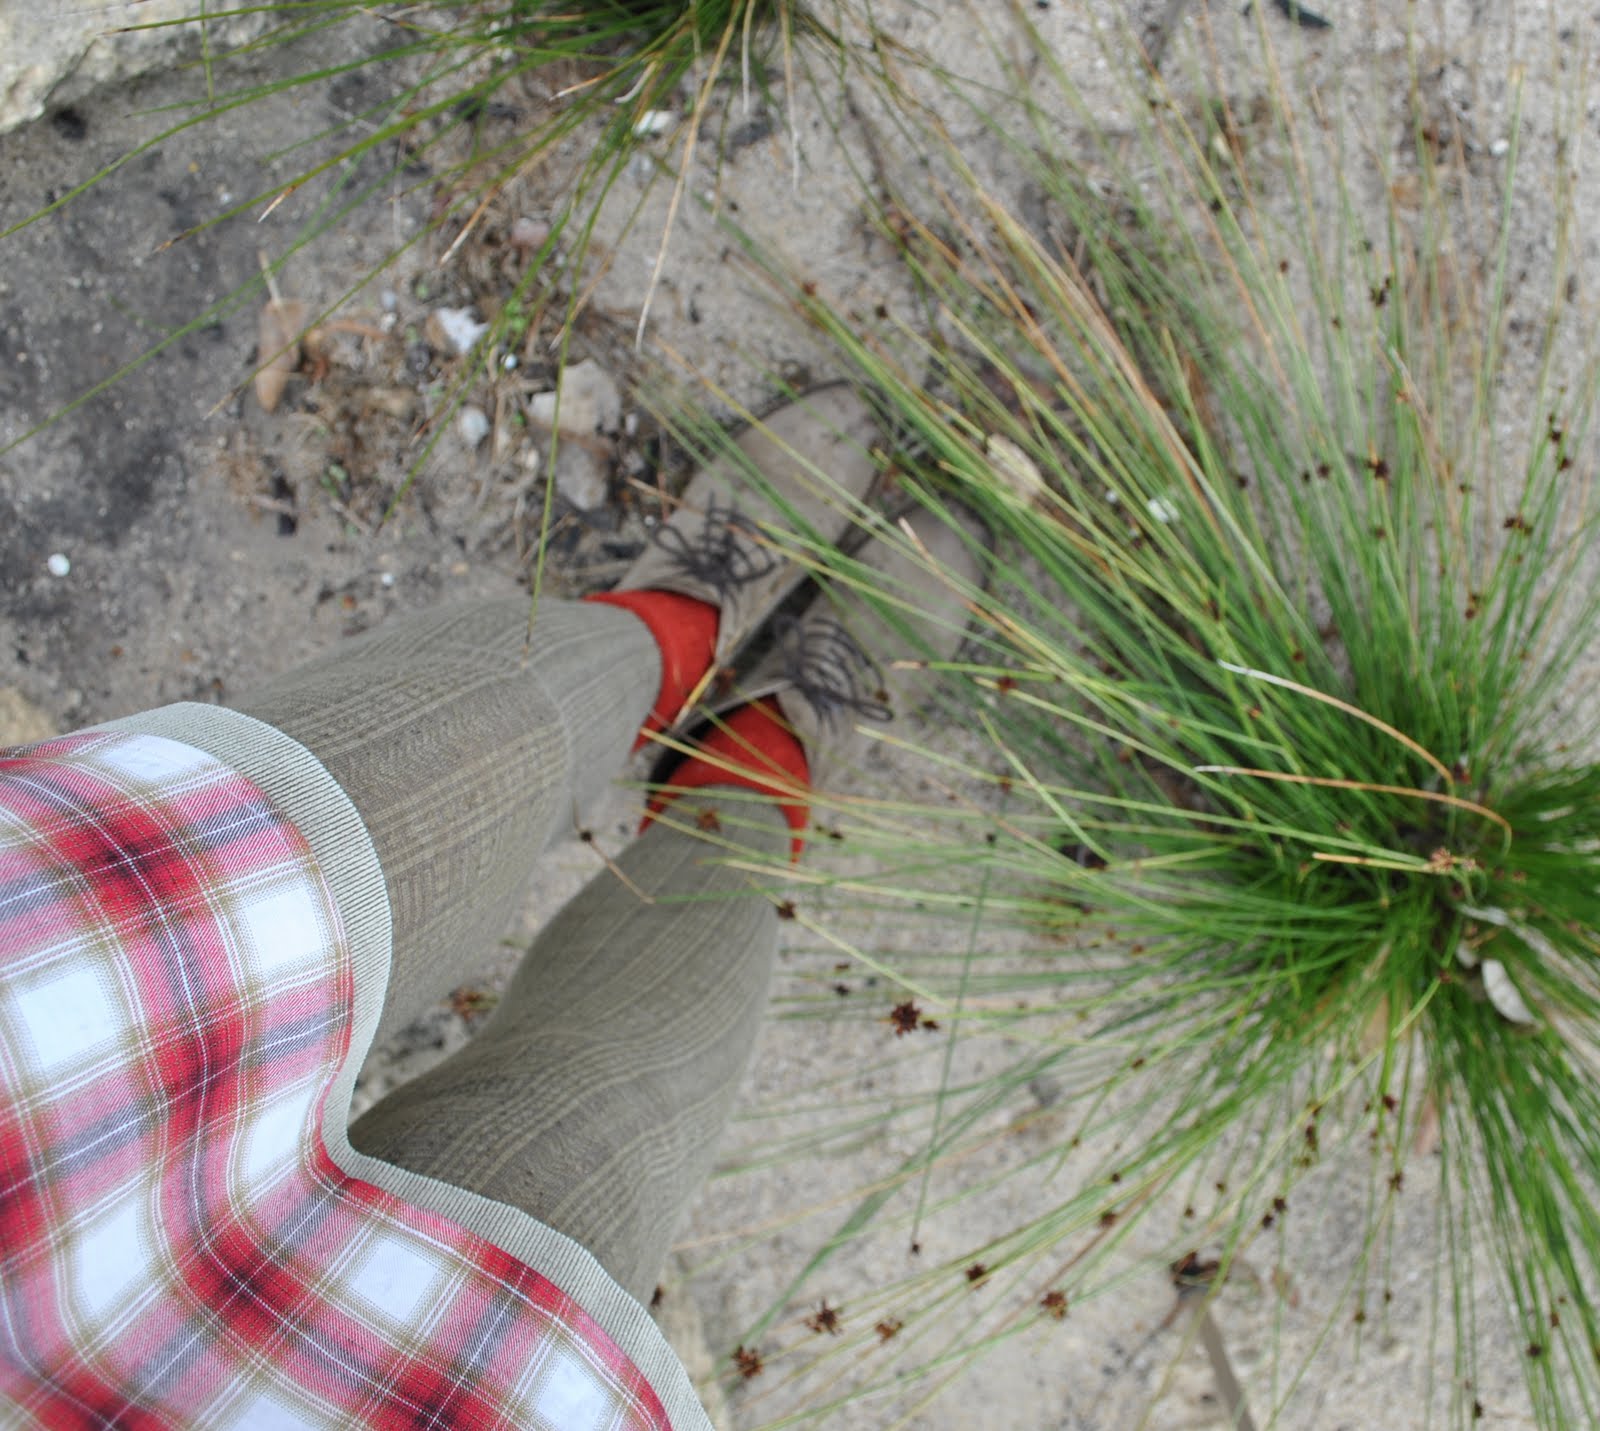
Shoes; Sandler, from an op shop
Dressmaking details:
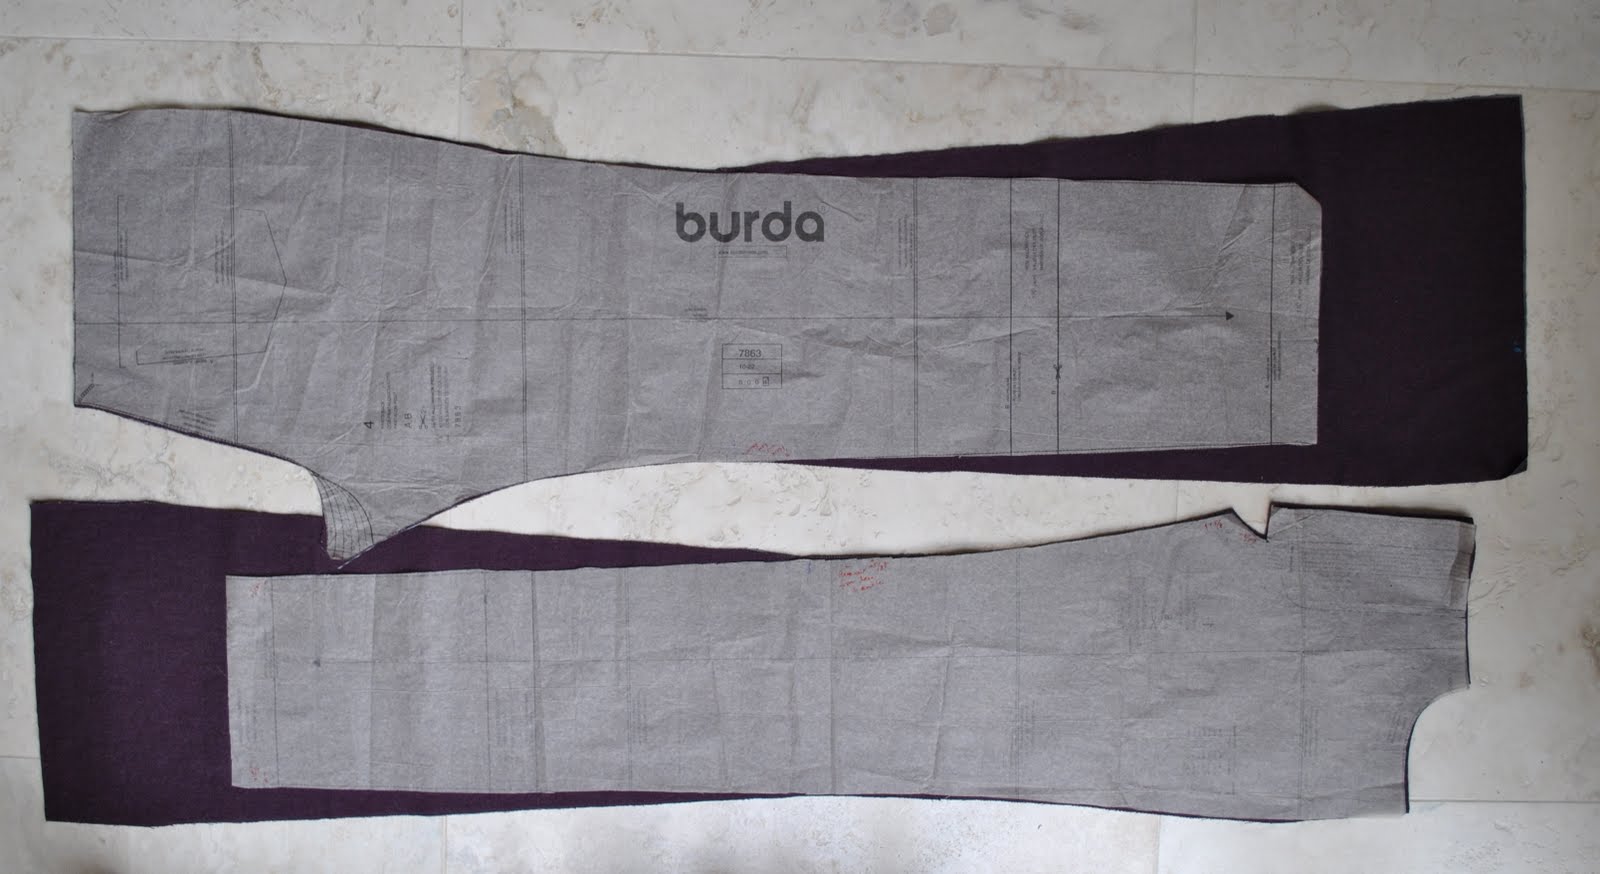
I used my old favourite Burda 7863, and cut the legs to taper out from knee level down to the ankles by about 5cm each edge, resulting in an extra 20cm flare on each ankle. I am happy with this amount of flare, although I can see I could have gone more… it becomes an exercise in how much flare is possible without making the outward curve of the pants leg too sudden.
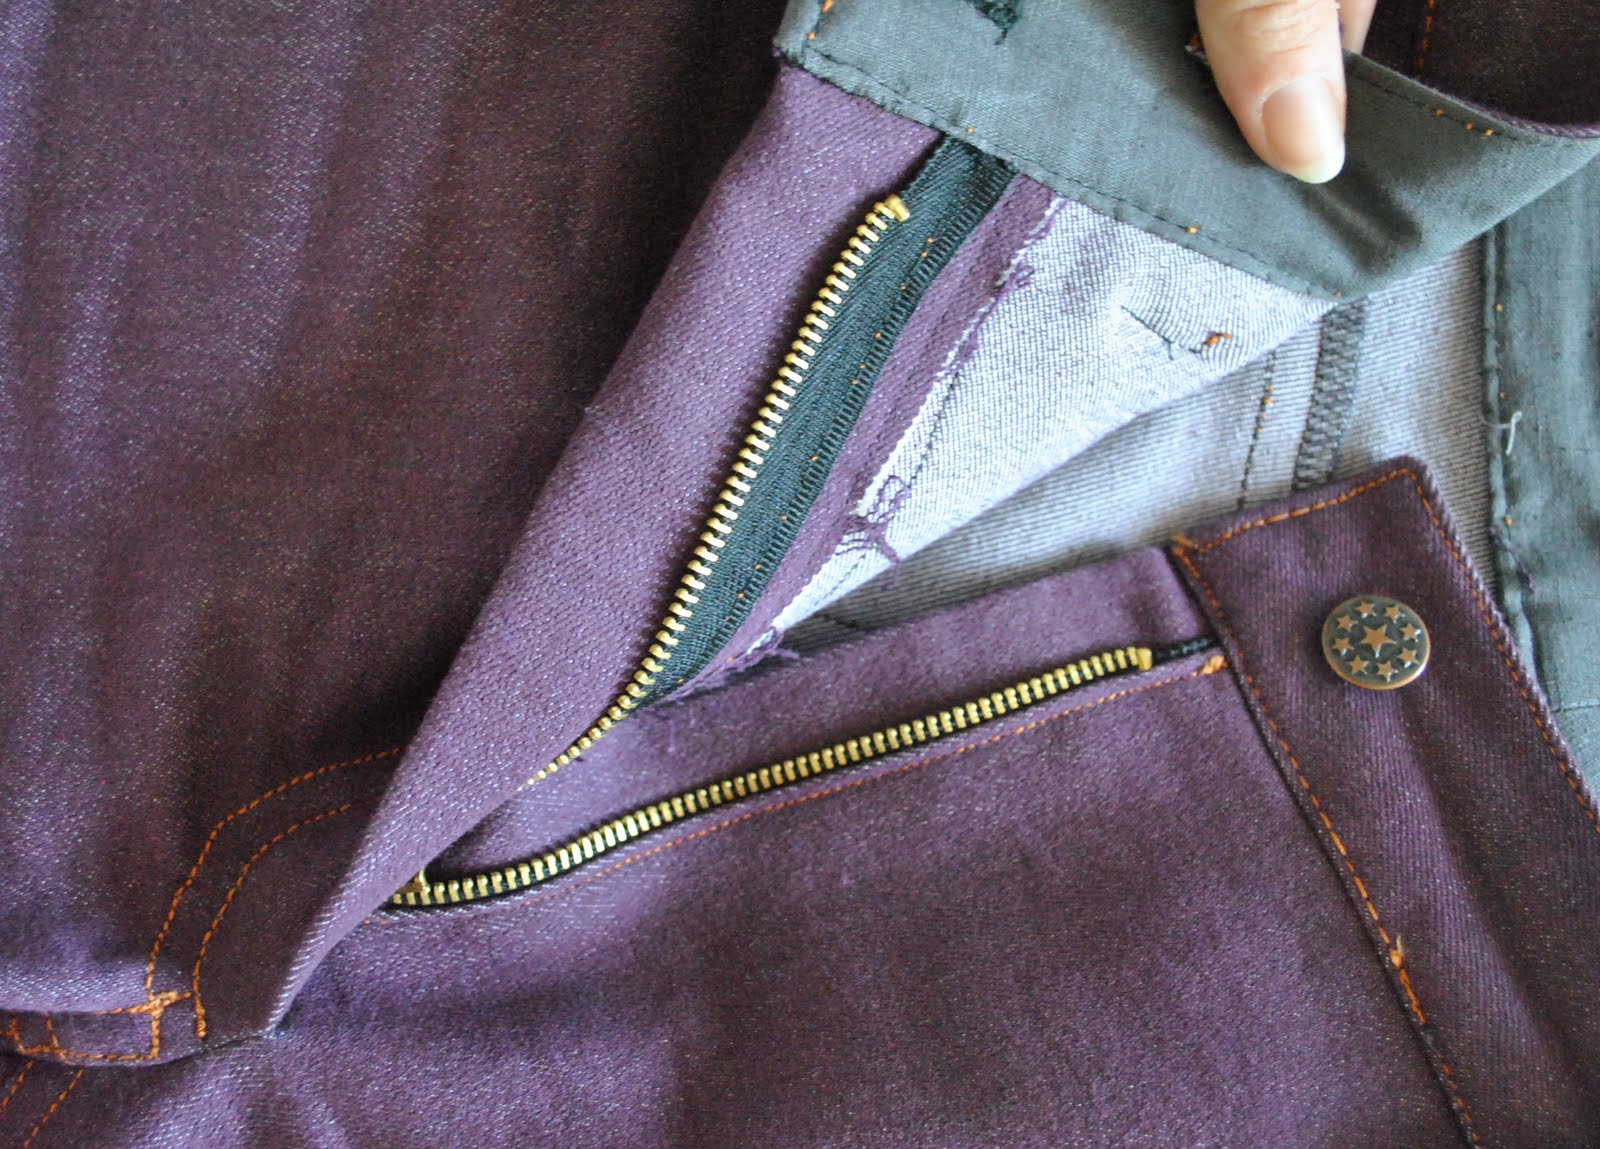
I put in my now standard modifications of a zip placket and a coin pocket, and left off the pocket flaps.
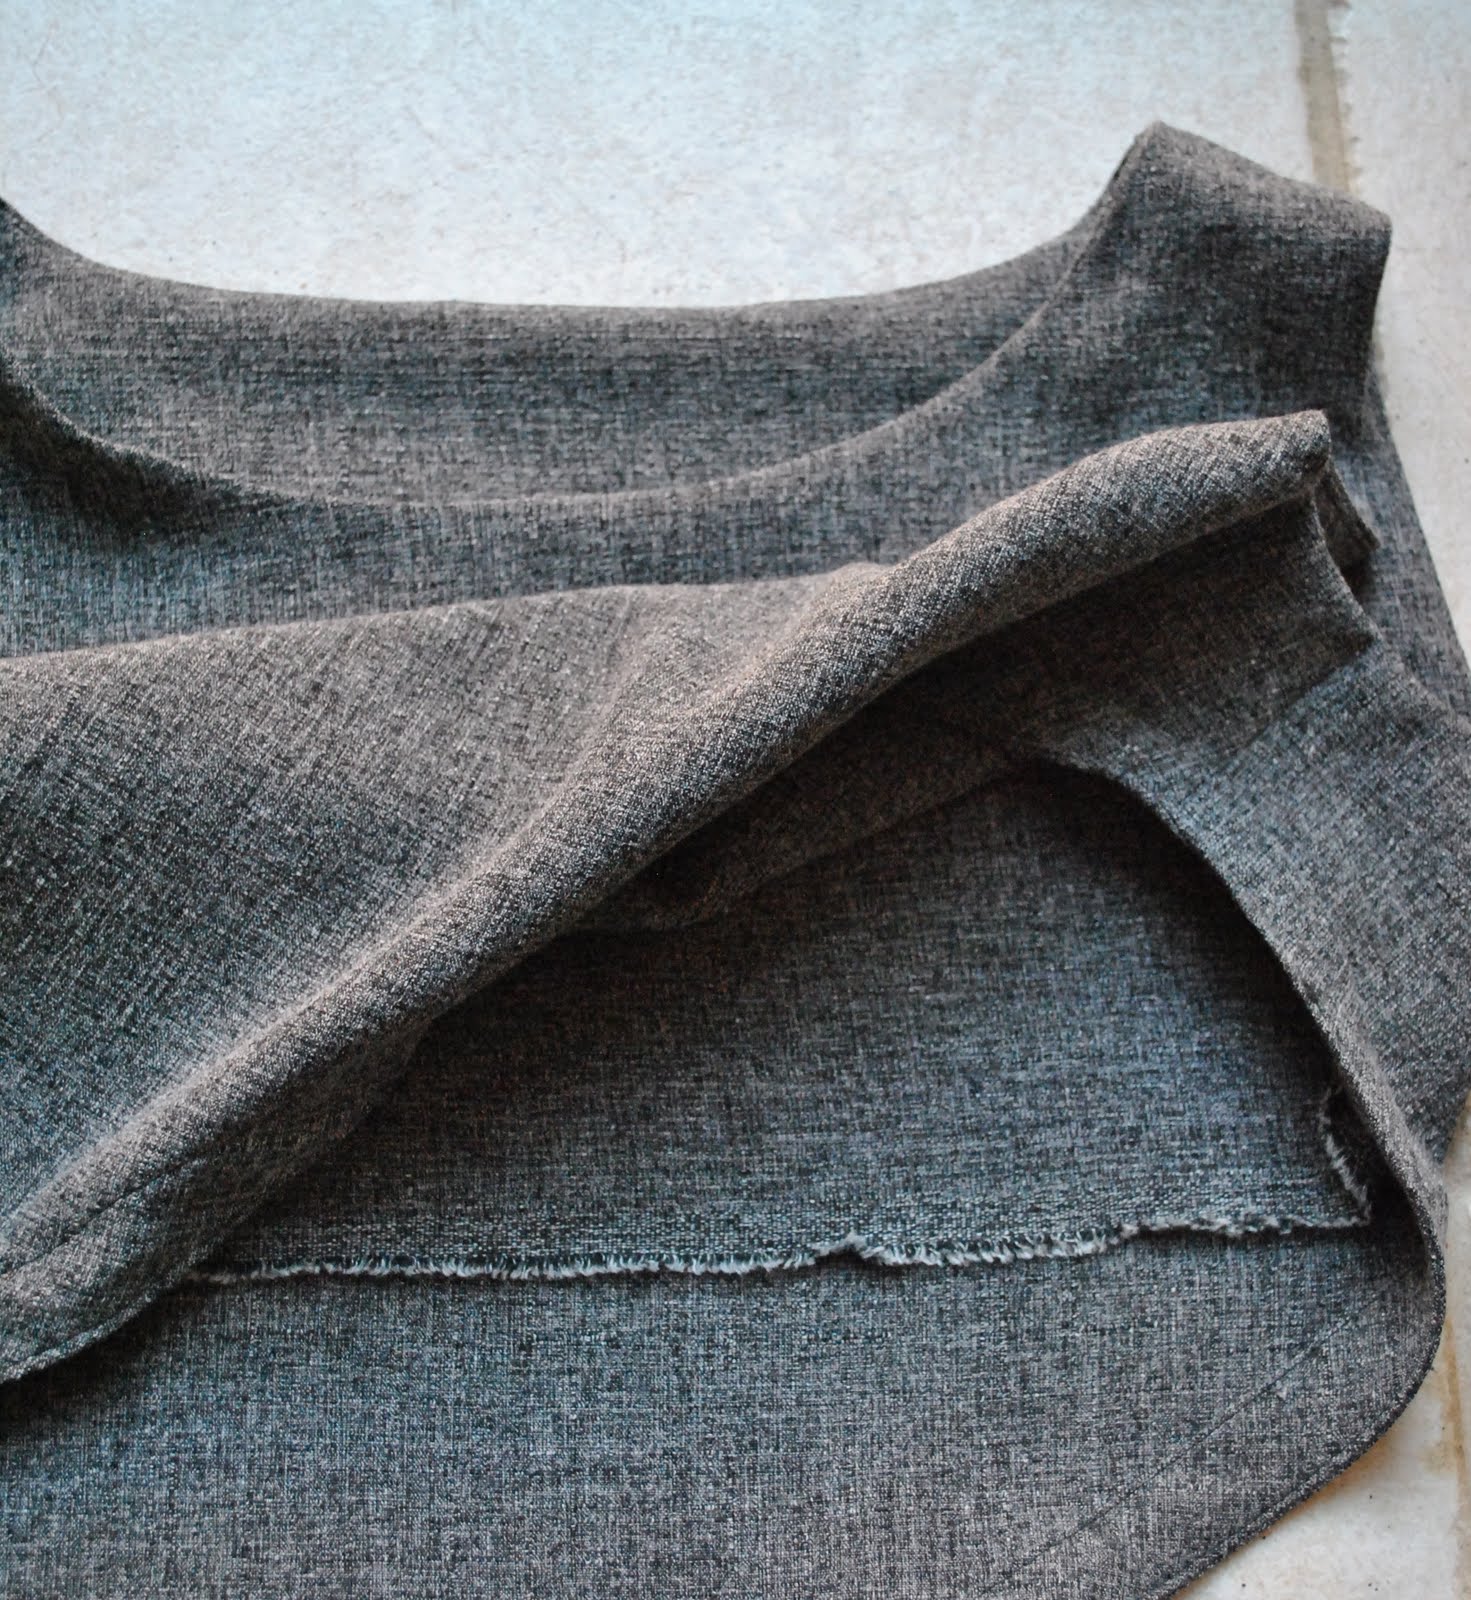
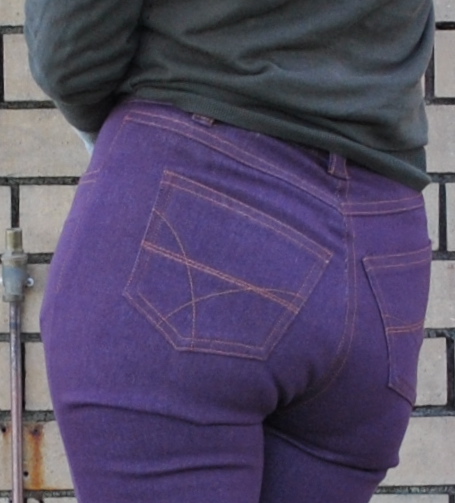
I’ve seen some very interesting and unusual pocket stitchings out there, I usually choose something simple and abstract… below was my effort this time:


Another modification with regard to this pattern; after studying RTW jeans and ever since my first pair of jeans from this pattern I have used a different method of construction to that outlined in the pattern… as follows:
(after doing the yoke, both sets of pockets and all topstitching therein…)
Sew the inside leg seam first, and topstitch the seam allowance down to the front with a double row of topstitching.
Sew the front pants legs together from the bottom of the zip opening, and around the back legs for about 20cm, no more.
Then sew the outside leg seam of each leg. Topstitch the seam allowance down onto the pants back with a single row of topstitching down to the lower level of the pocket edge.
This order of construction gives the same look as RTW jeans.

At the time of purchasing the fabric I was encouraged by one of the shop ladies to buy some proper top-stitching thread to finish off my purple jeans and I thought this would be a good idea. While I was browsing the colour range she helpfully suggested baby pink! can you imagine; quelle horreur! I politely declined the pink… and eventually chose this lovely strong mustard/rusty colour. I thought this would be pretty good-looking against the richness of the plum. But the top-stitching thread turned out to be a nightmare… my poor old machine hated it with a passion and threw major wobbly fits during the most visible and important of the topstitching moments. Yikes!! It particularly hated going through the thickest parts, such as the belt loops. A close inspection of my jeans would reveal that these parts are sewn on with ordinary black thread, and I merely embroidered the top-stitching thread over the top in back stitch, to mimic the look of topstitching. It was either that or break more needles, and lead to my incarceration in a lunatic asylum… I broke my last denim needle doing the waistband topstitching, and then two more ordinary needles (well, it was late at night and I was at that crazy determined stage where I was going to finish those jeans then and there no matter how many needles it took, or die in the attempt…)
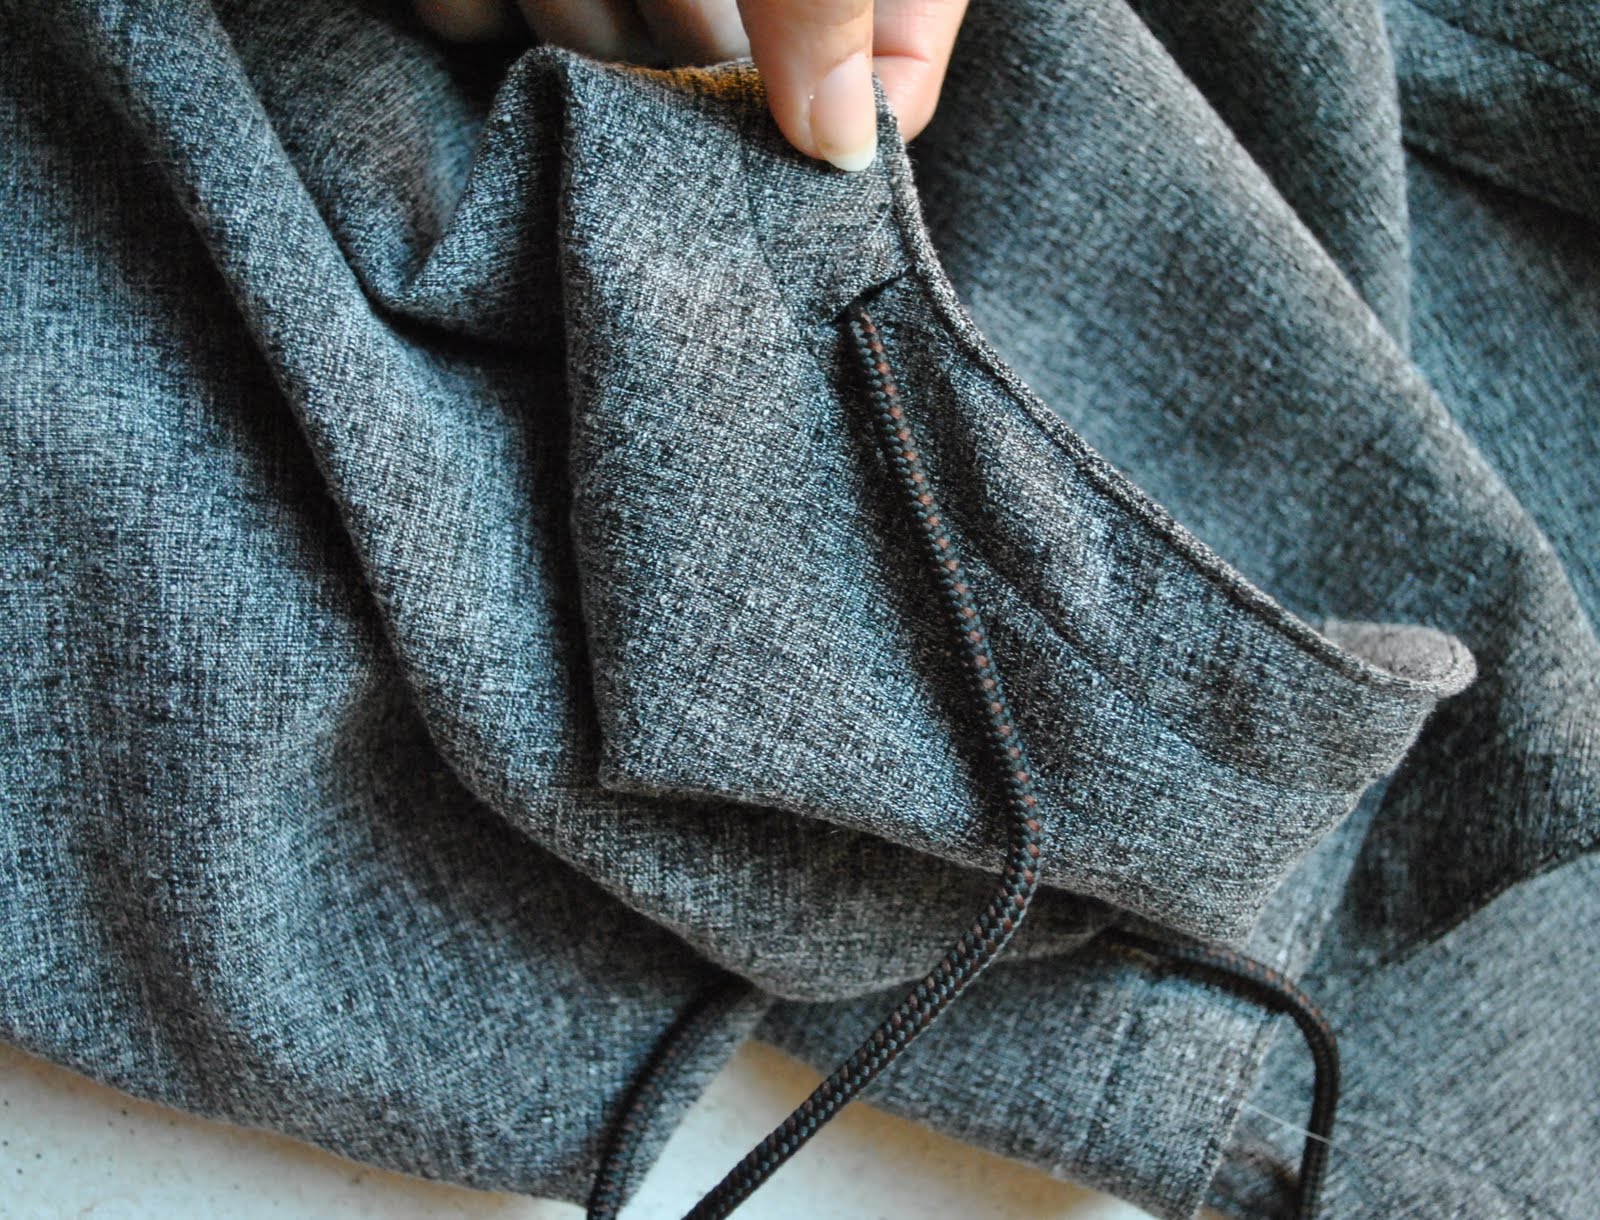
Re the Burda waistband technique, and since I have mentioned this on a few other blogs, I will try to illustrate here how I think the Burda method of attaching waistbands is so useful for getting a good fit …
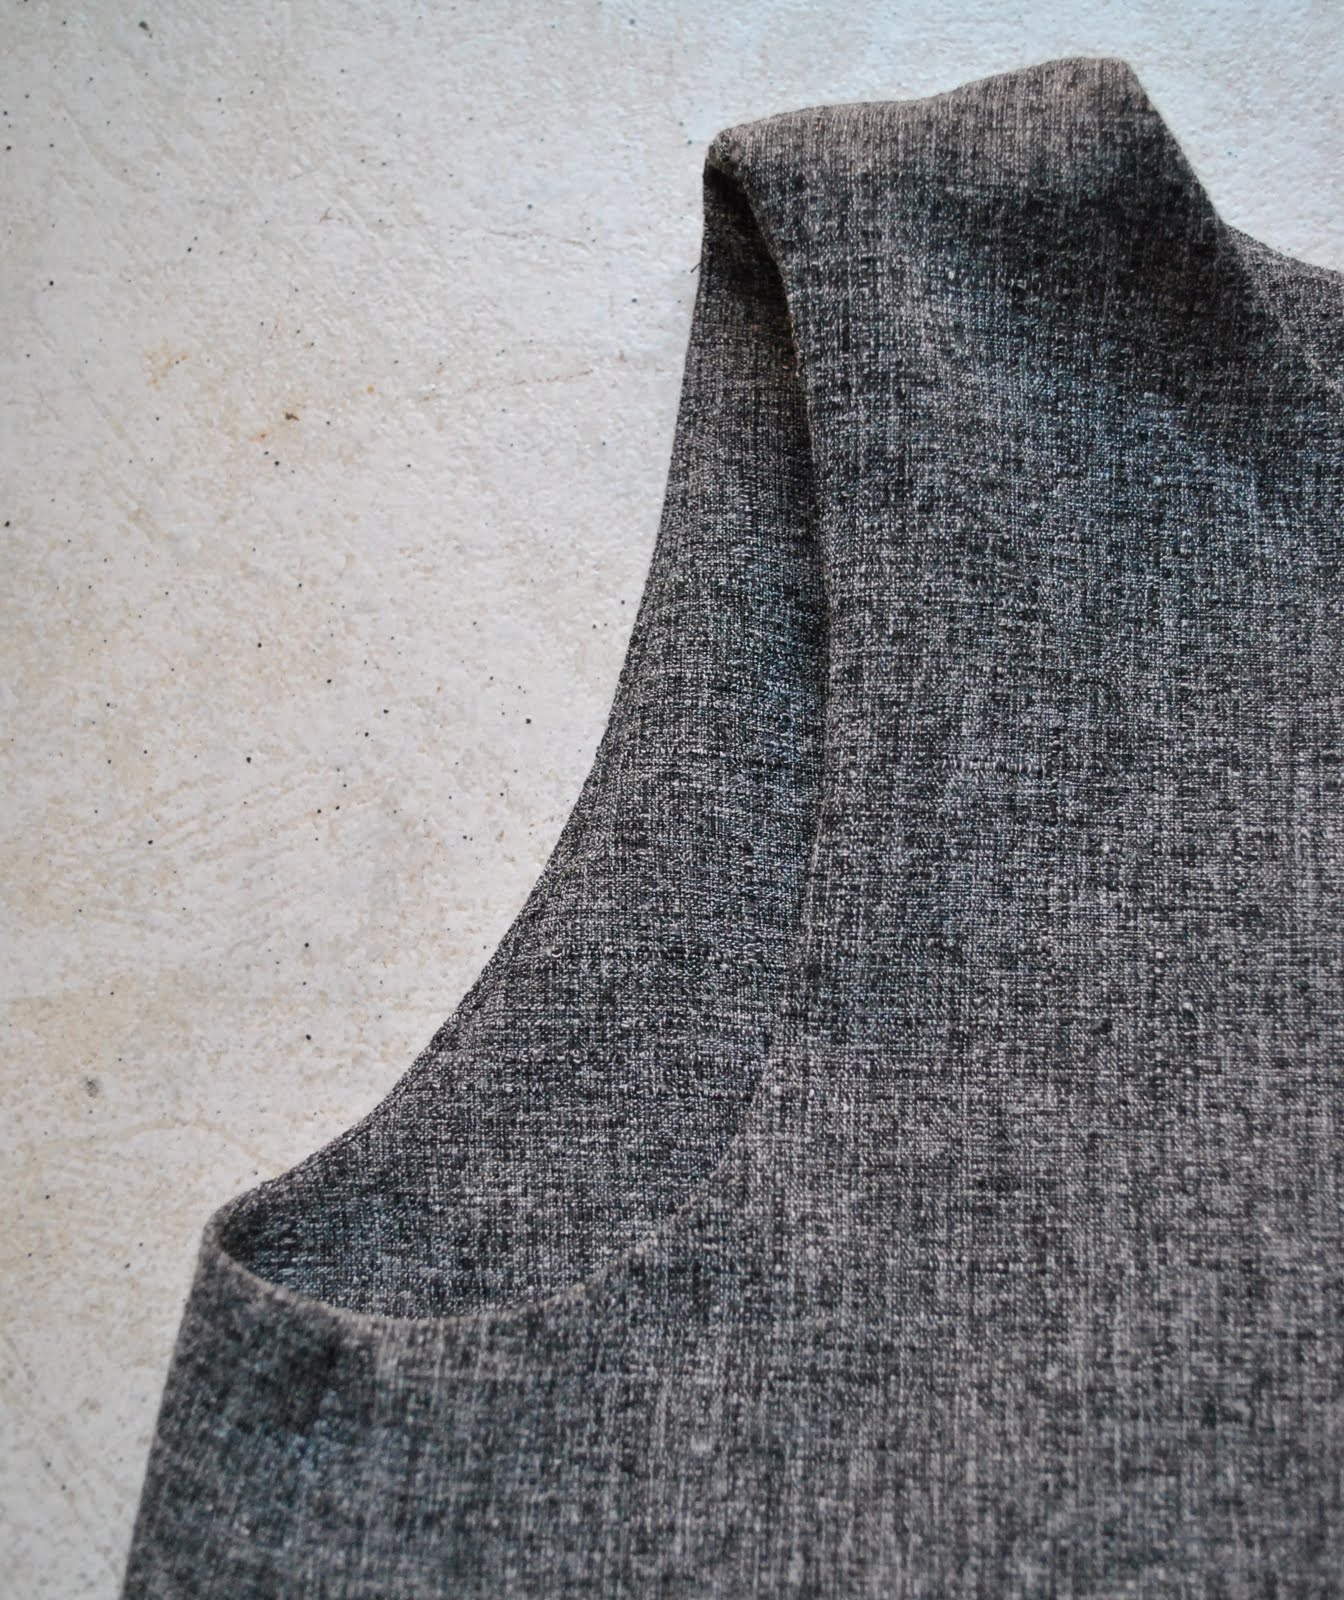
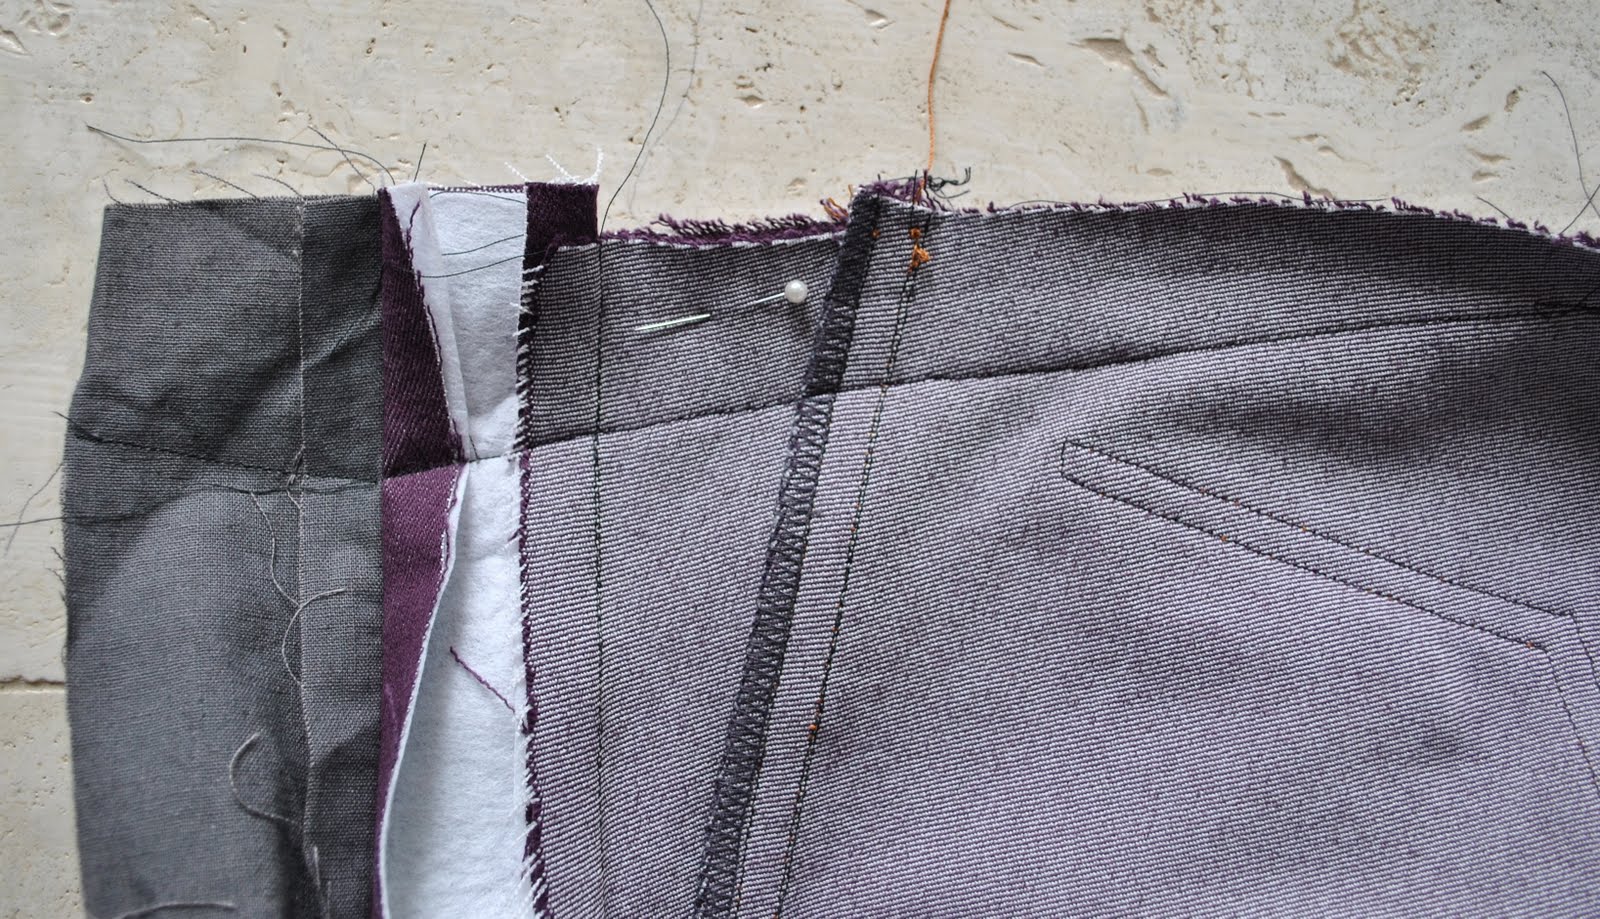
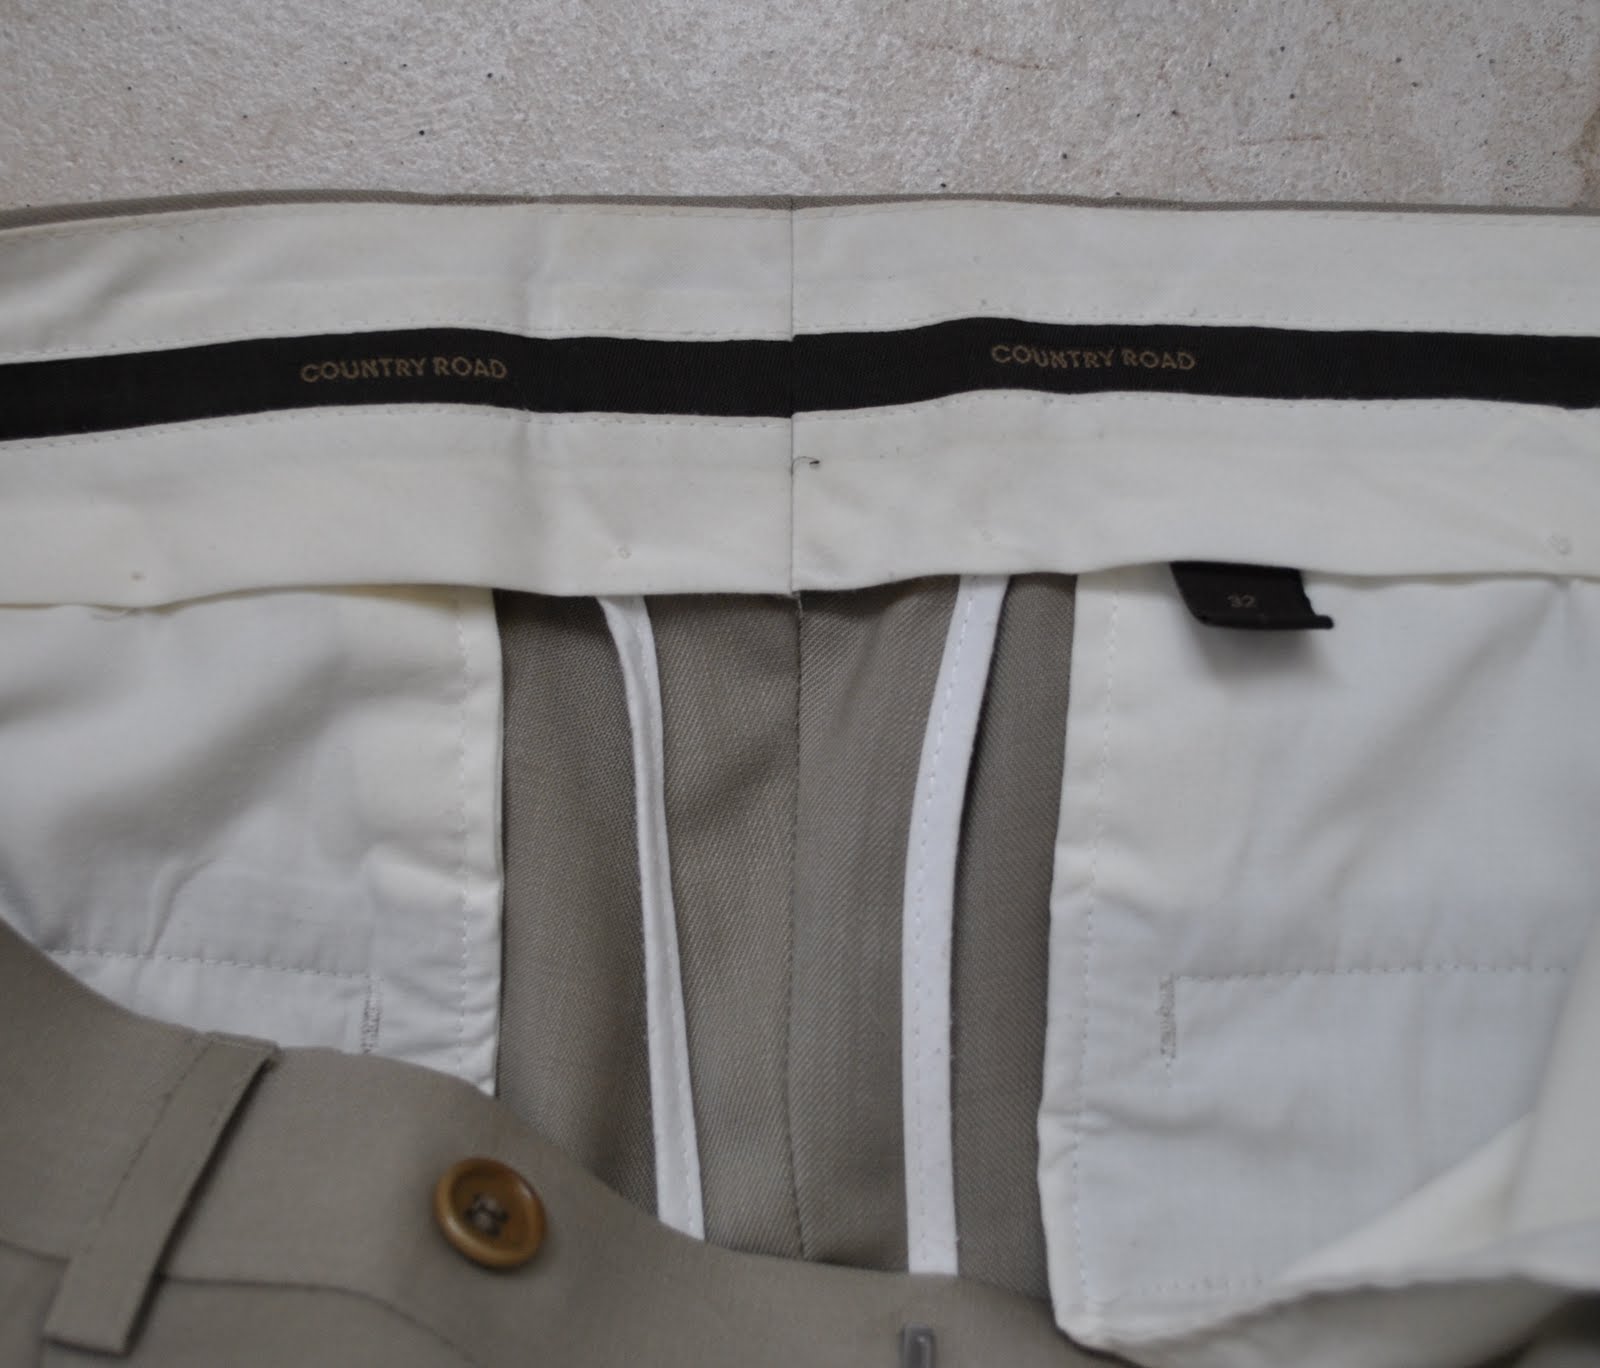
Burda usually attaches their left and right waistbands as separate pieces to each pants side, and then to sew up the centre back seam including the waistband in one fell swoop after fitting. I think this makes a superb method of getting a really good fit on your pants, especially if like me you have a slight sway back combined with wide hips, and the back of even the best fitting RTW pants nearly always require taking at the back of the waist. This is a picture of the centre back seam of these pants with the (black) stitching line taking in the centre back of the pants and the centre back of the waistband all in one clean seam.

The dark blue/grey linen at the left of picture is my waistband facing, which I use here as well as for the pocket piece to reduce fabric bulk. The centre back seam on this facing is angled out to mirror the angle of the seam on the waistband, so it will fold down to the inside smoothly. The pin in the picture is marking the seamline as it is in the pattern, and if I had sewed the back seam here, and then put on a straight one-piece waistband as done in other pants patterns I would end up with a floppy pokey-outy waistband hanging away from the small of my back, grrr. So to have the waistband in two halves like this, and to sew a fitted angled seam all in one, makes for a really GREAT fit. Below is a picture of the inside of a pair of my husband’s good suit pants, showing that this one-seam/two-piece waistband method of construction is also used in high quality menswear. It additionally means if a person loses or gains weight, that centre back seam can be adjusted relatively easily without having to reconstruct the waistband…


 …as it is here. Il secondo di giugno, as it is in Italy. June two, as it is in the USA.
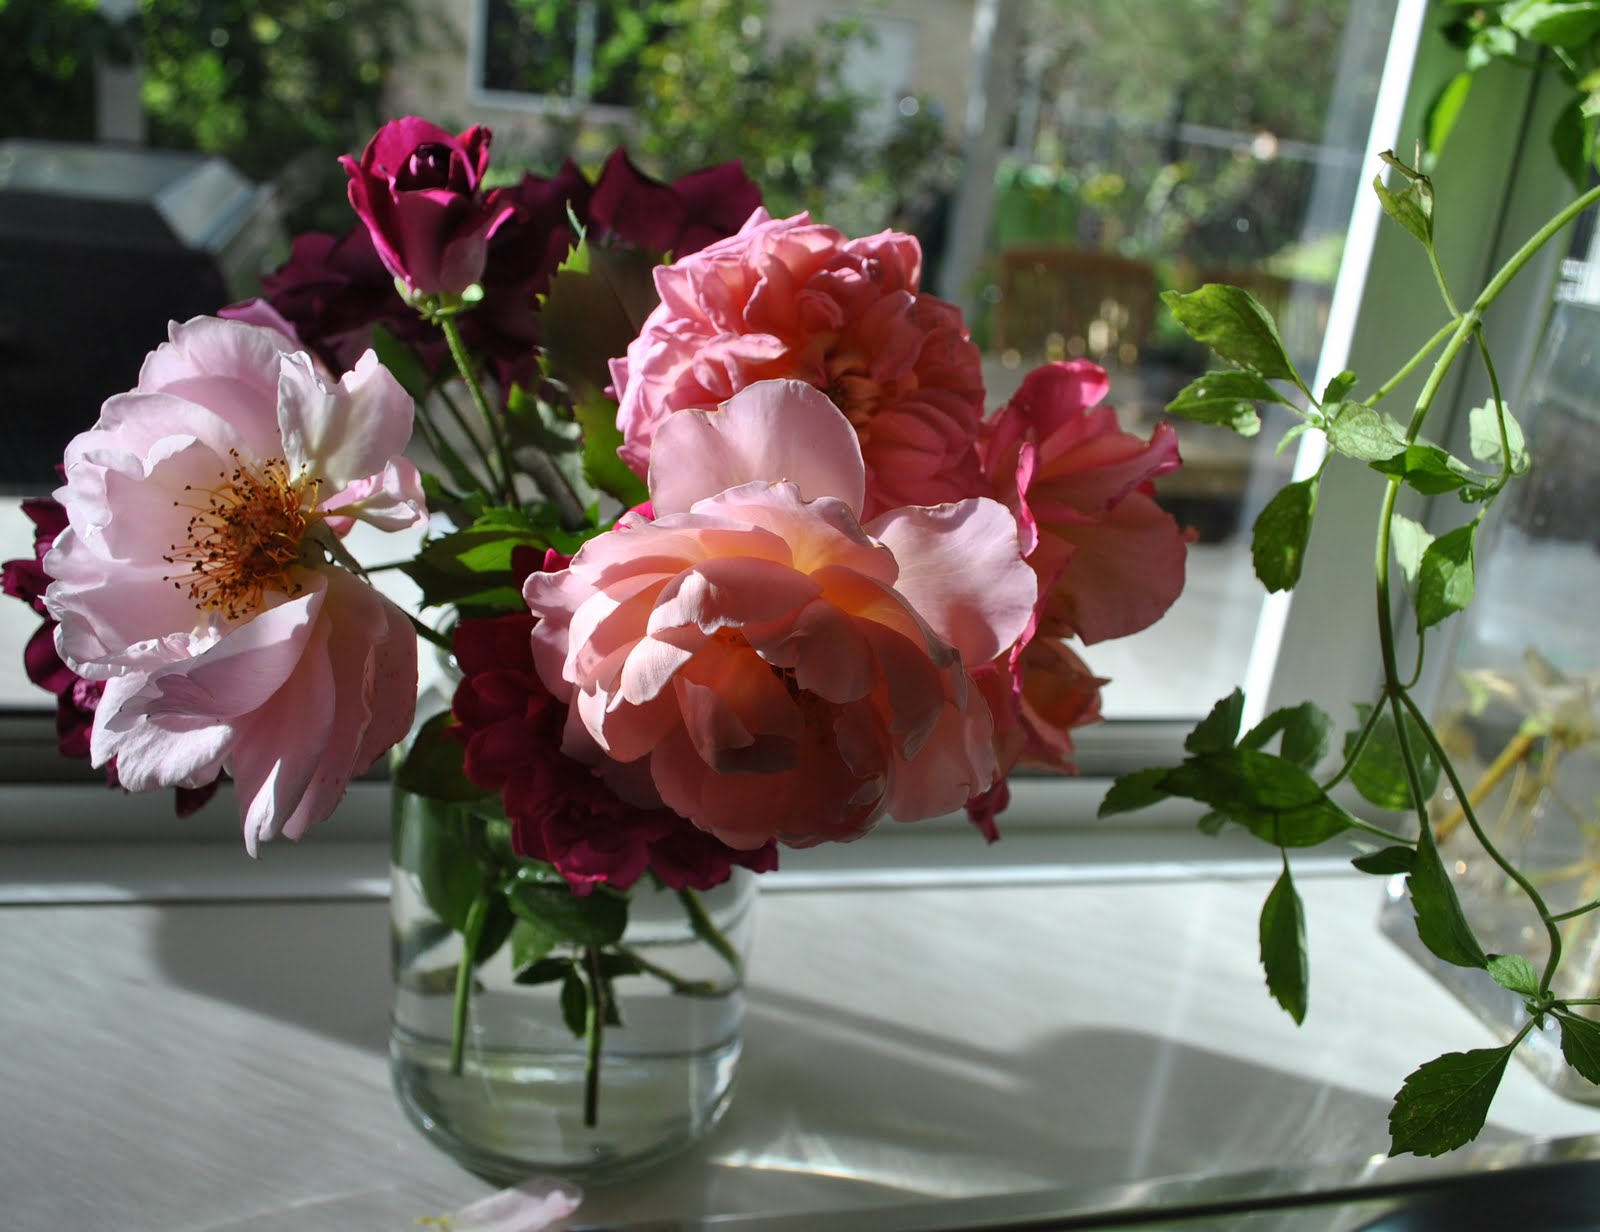
 Please enjoy my autumnal roses in an old coffee-jar from our own garden, pictured below. This is why I am so enjoying my daily washing-up lately, with this to look at. You see, our rose bushes haven’t yet got the memo that it is winter and still think it’s autumn, so are producing their second flush accordingly.