 I have made some new jeans! Au Bonheur des Petites Mains PLH08002: Pantalon droit avec decoupes. (my less than perfect translation: trousers right with slices?, hehe)
Now; to say I am grateful to shams for helping me to obtain this awesomely cool jeans pattern is an understatement; I will be forever. Eternally. Grateful! This is a reeeally good pattern, and is destined to become my go-to pattern for non-stretchy denim jeans.
THANK YOU SO MUCH SHAMS!! YOU’RE A GODDESS!
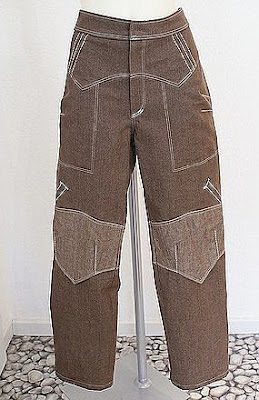
The pattern has a few quirky and unusual styling details, which I love, and which add a very unique flavour to the jeans, but the long-term value of this pattern for me is that the jeans fit beee-autifully! If I tried these on in a store I would be slapping down the plastic due purely to the classic perfection of the fit alone. In a pair of jeans this is a massive massive plus; I cannot stress this sincerely enough. What is more; even though the styling is quite unique and eye-catching the pattern can also be easily adapted to make a more conventional pair if jeans if one desires just one quirky pair in one’s collection.
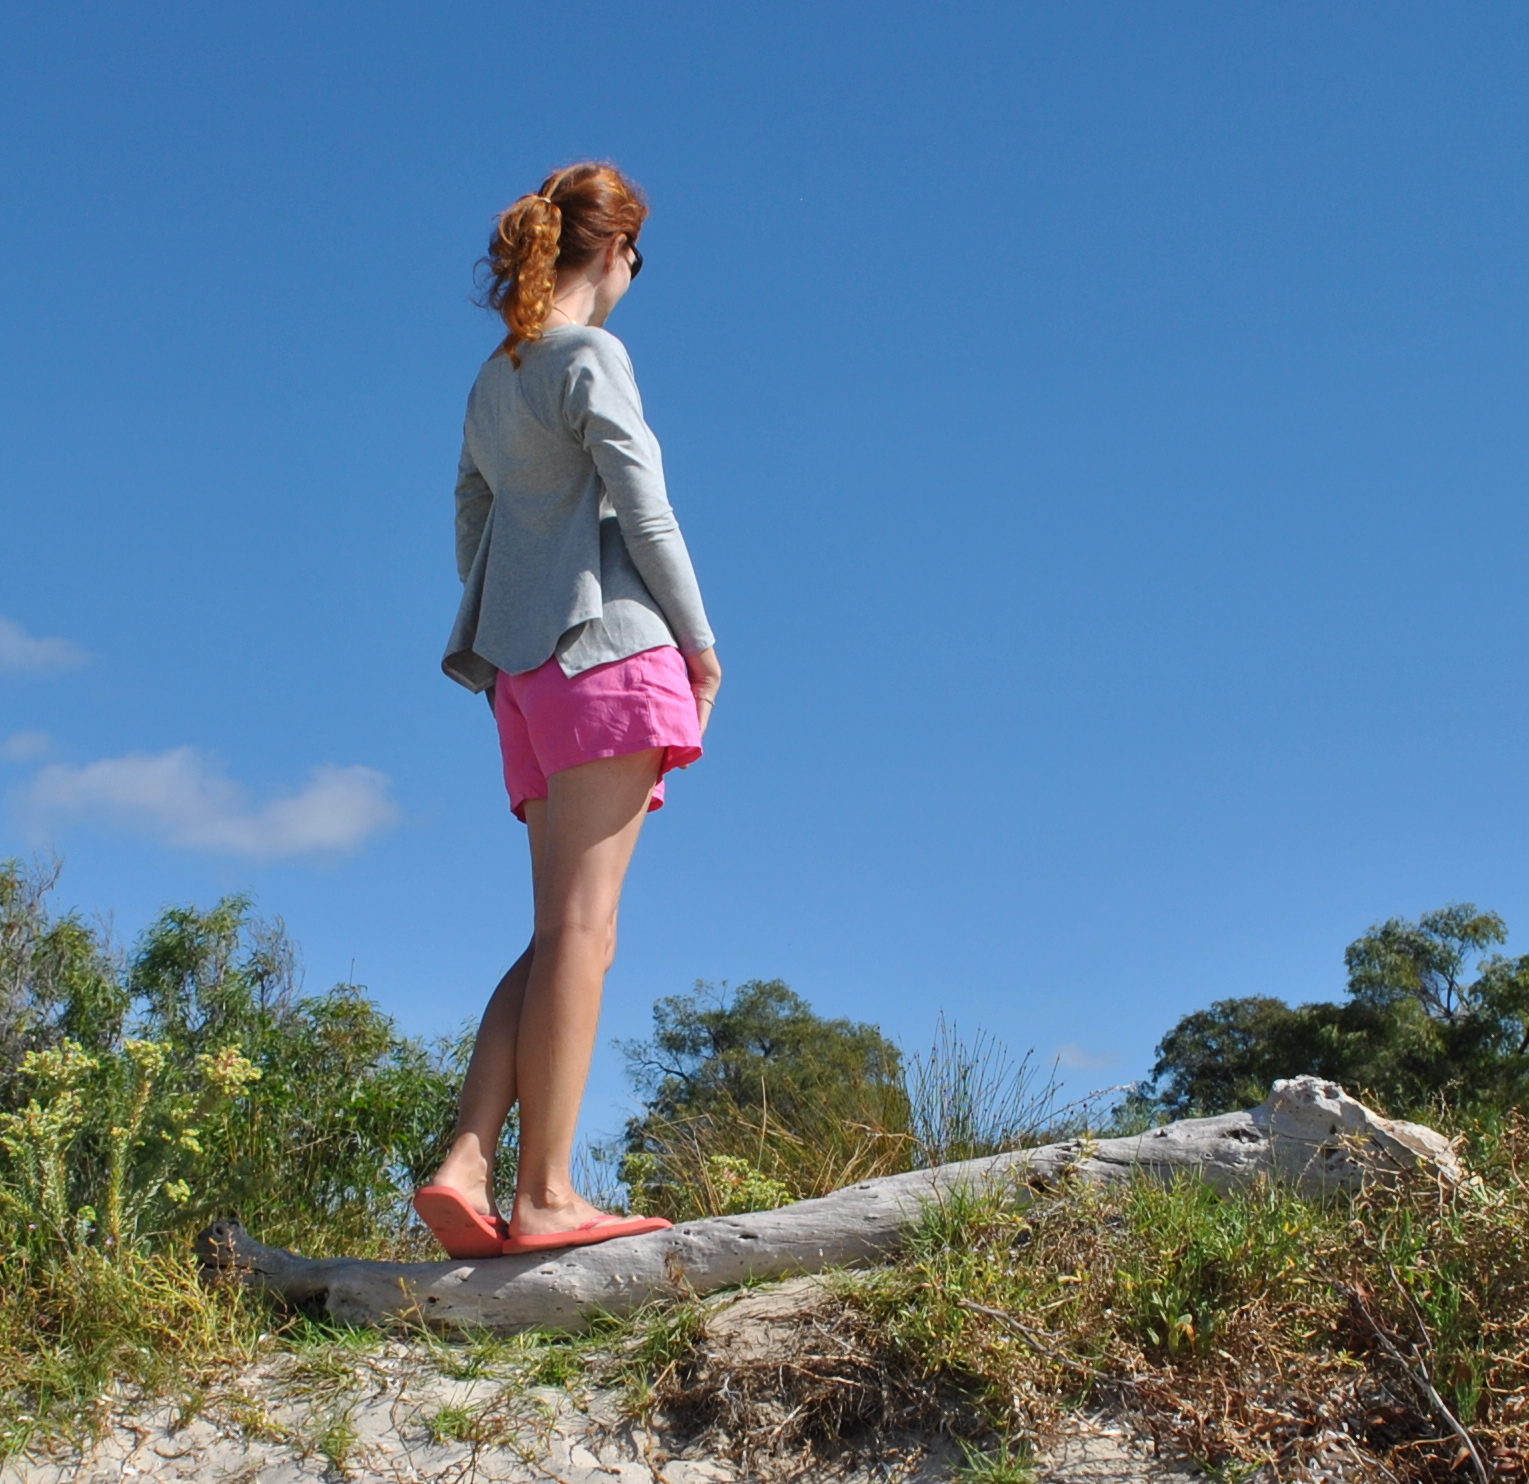
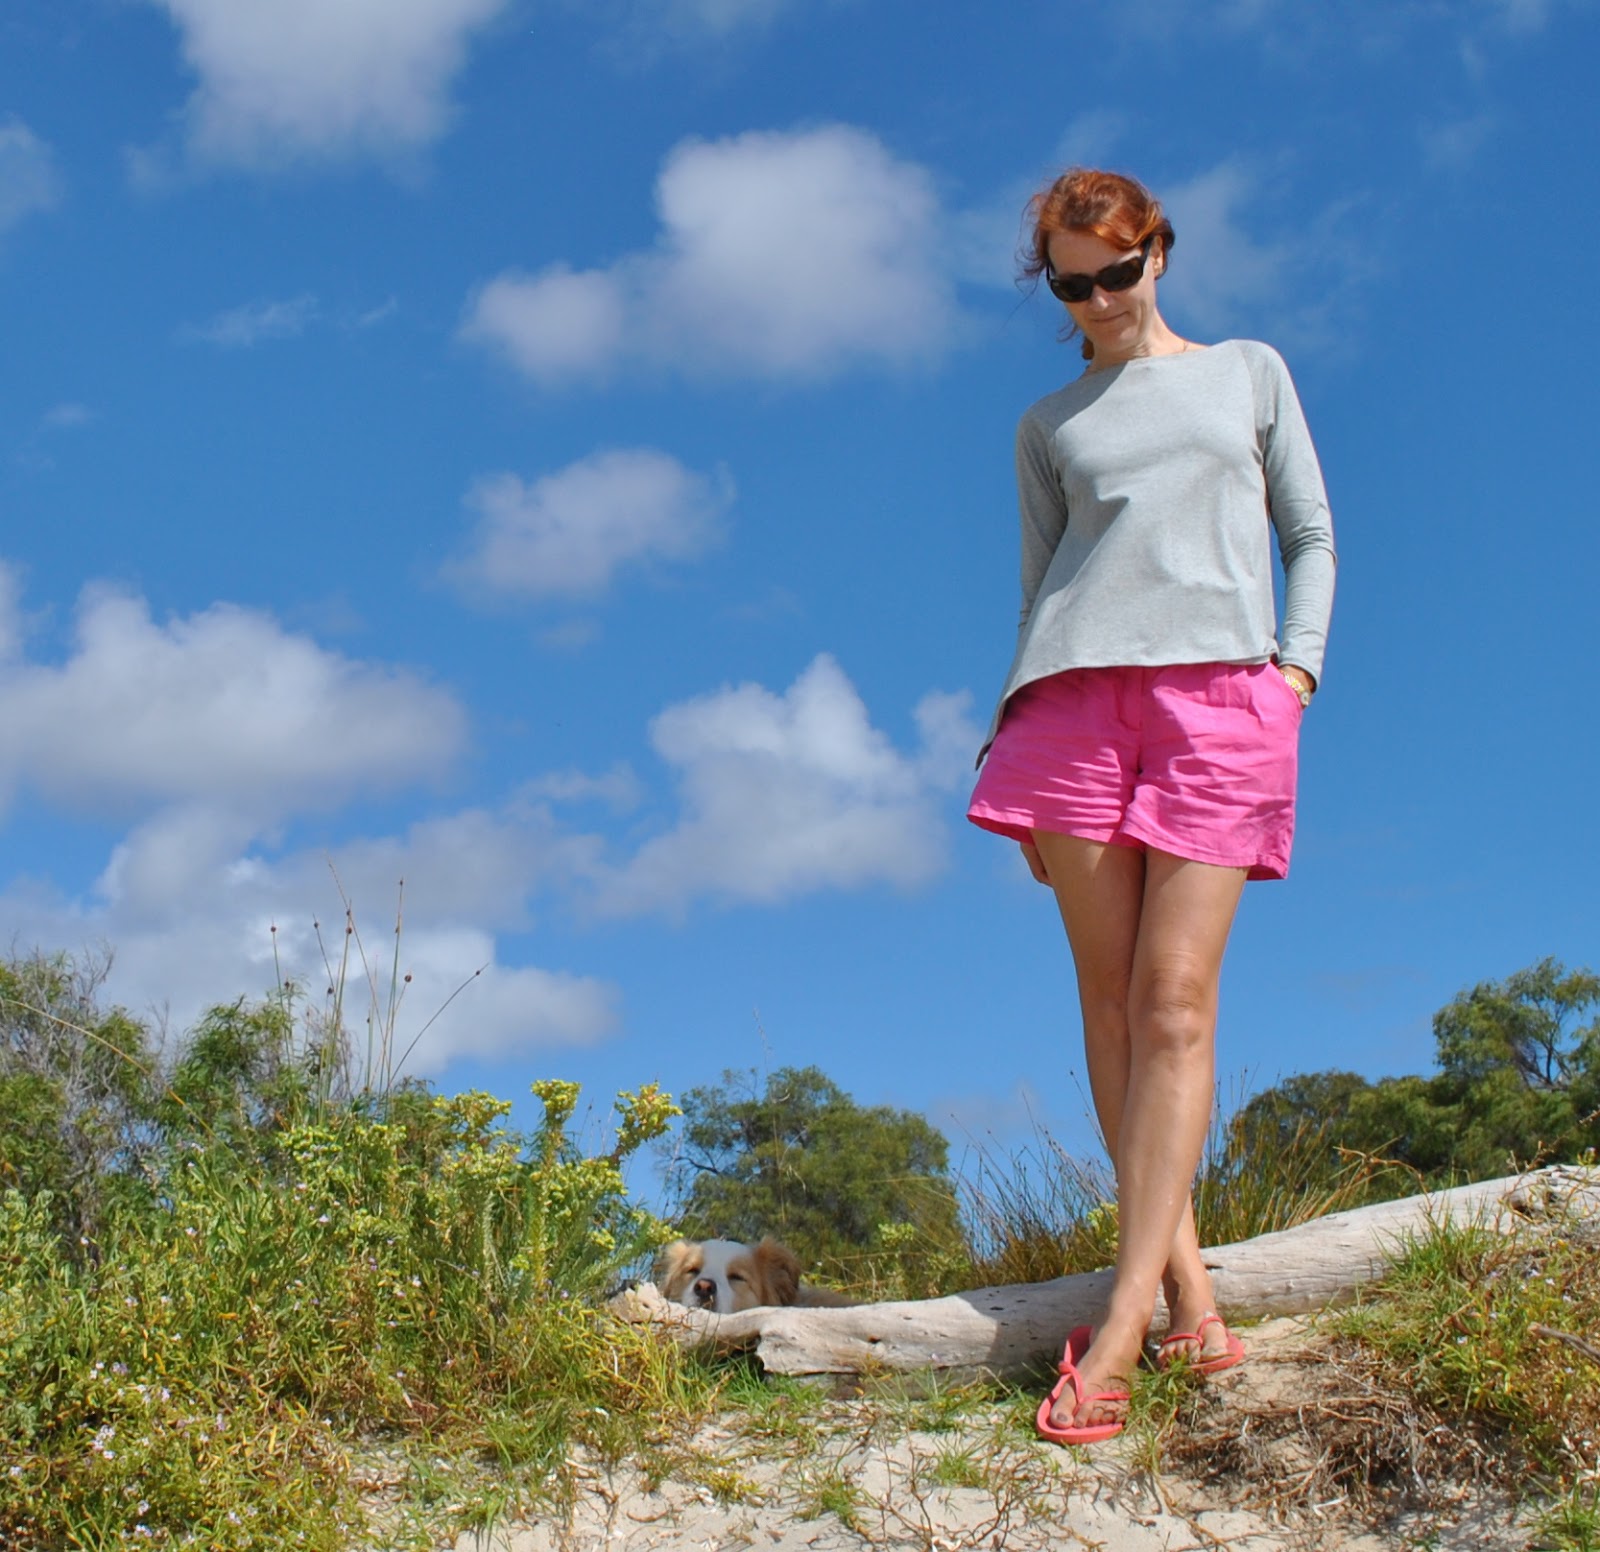
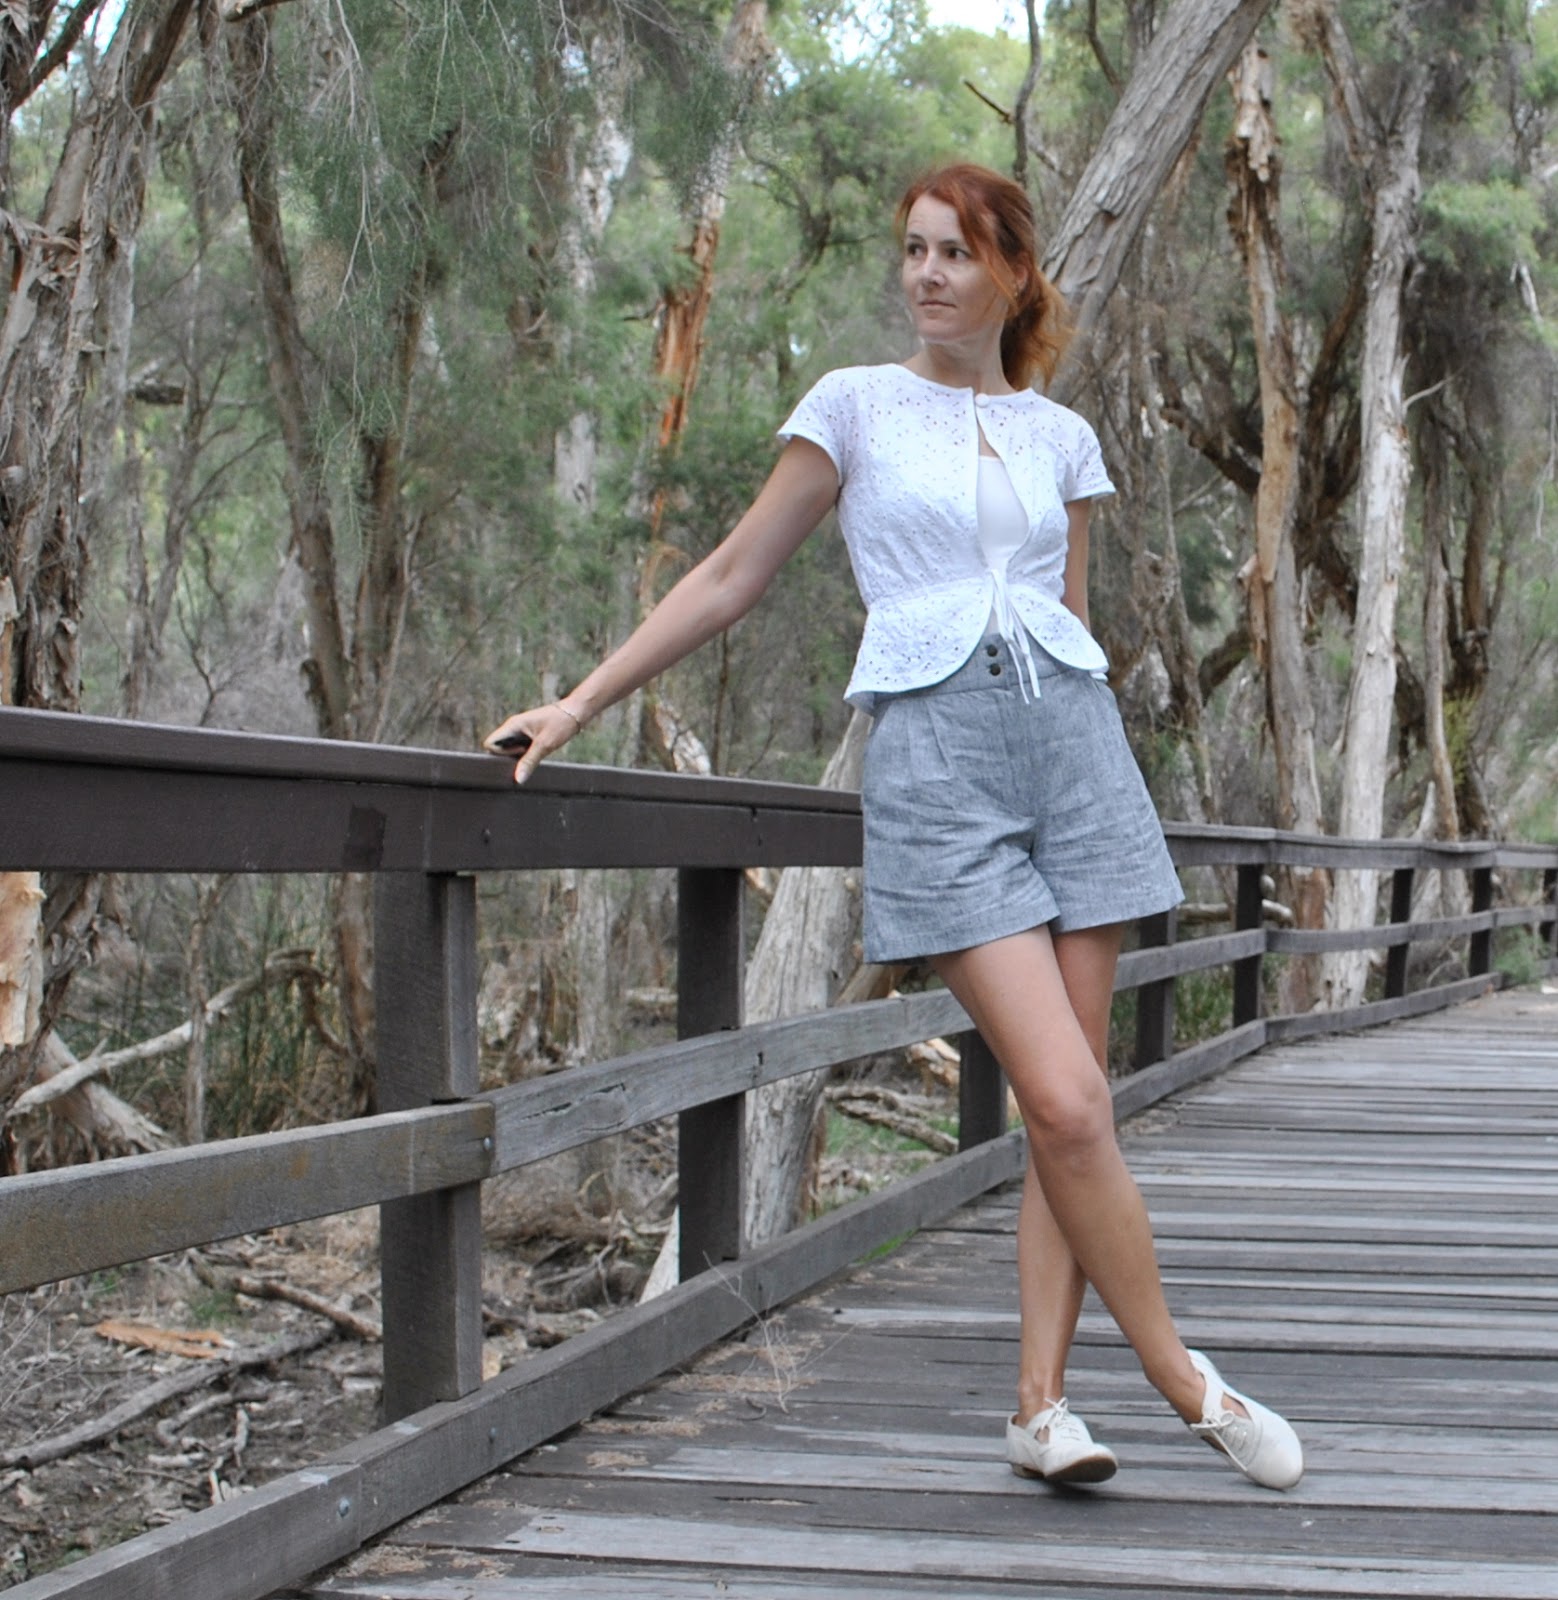
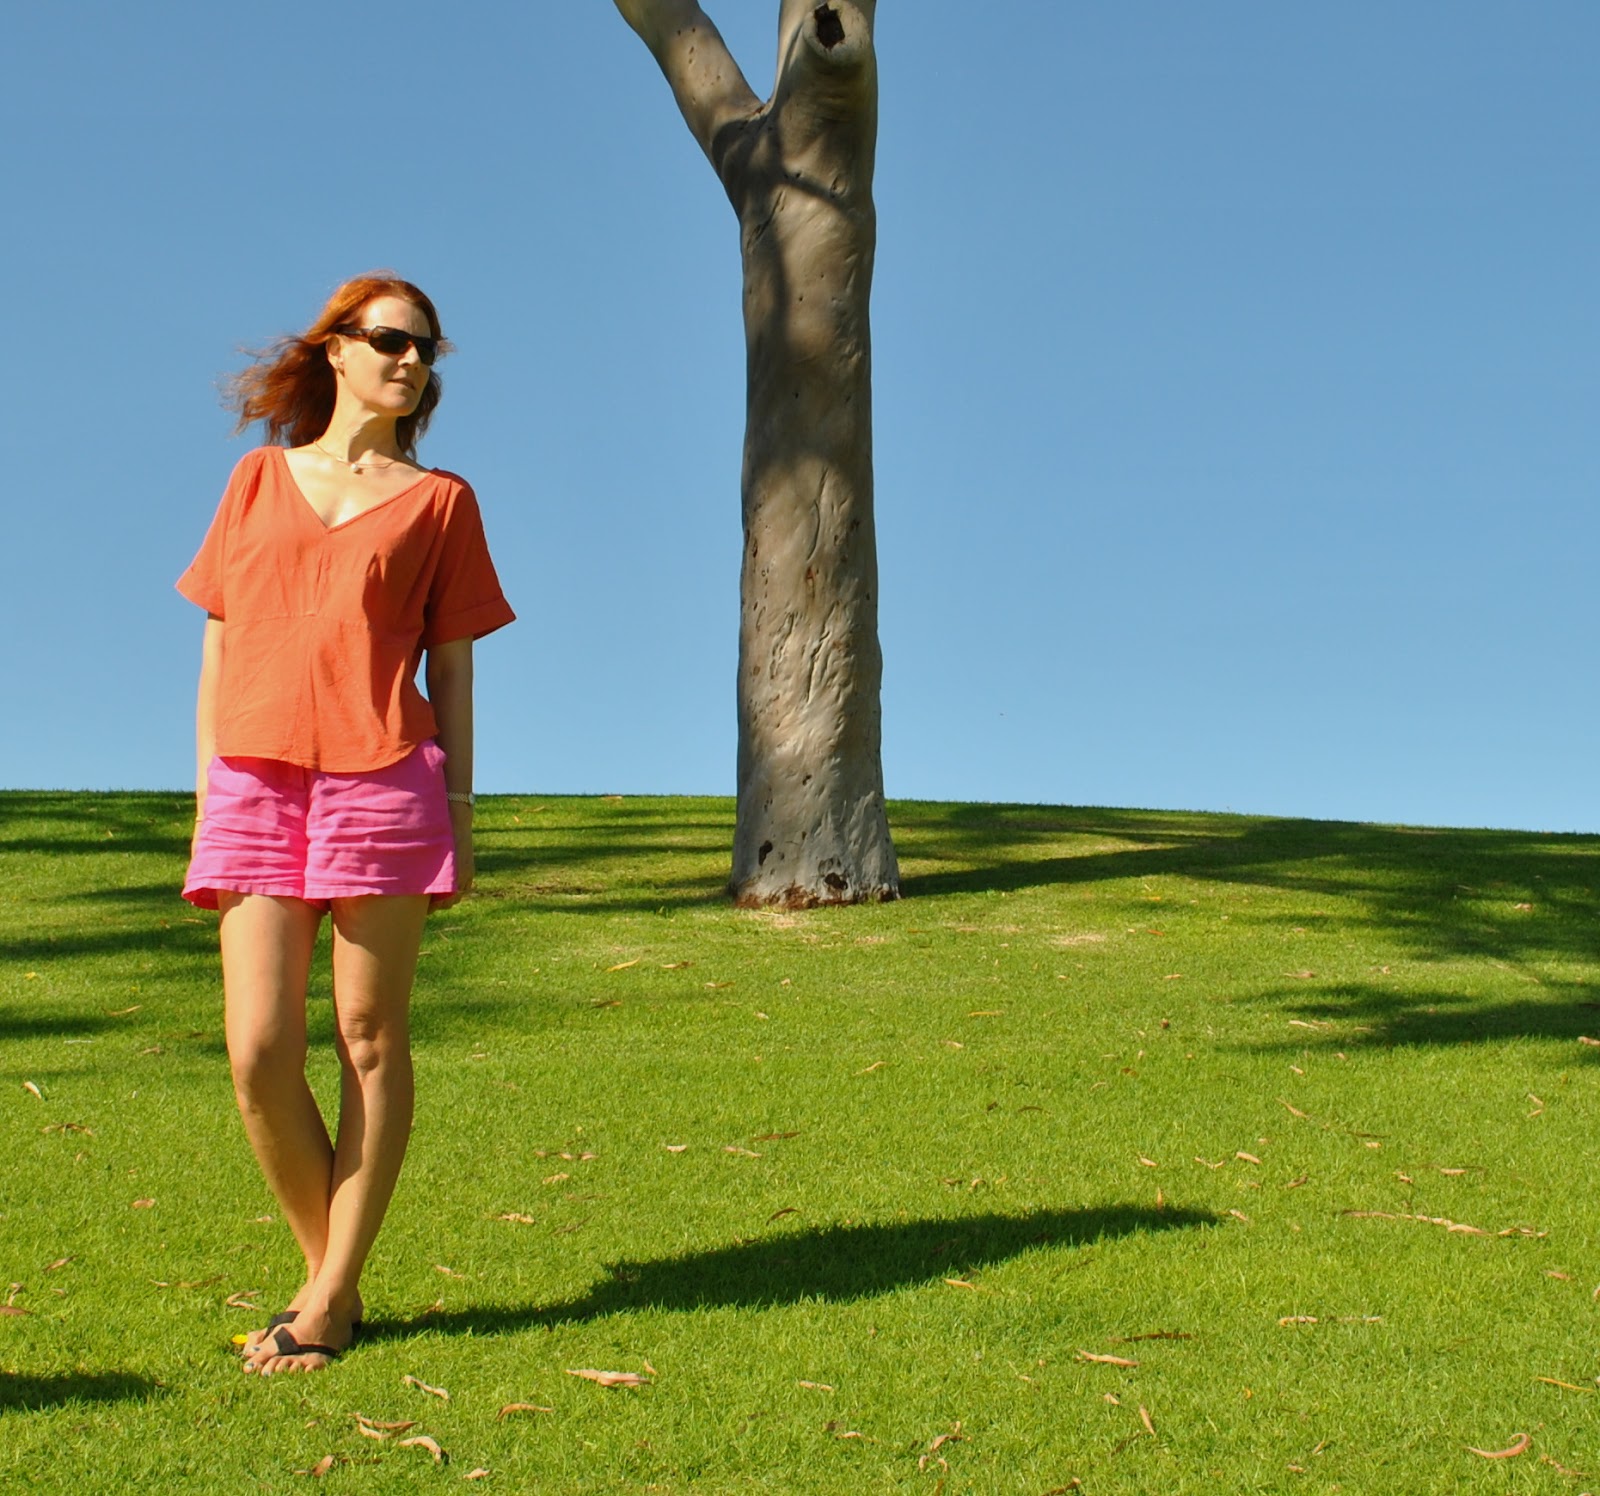
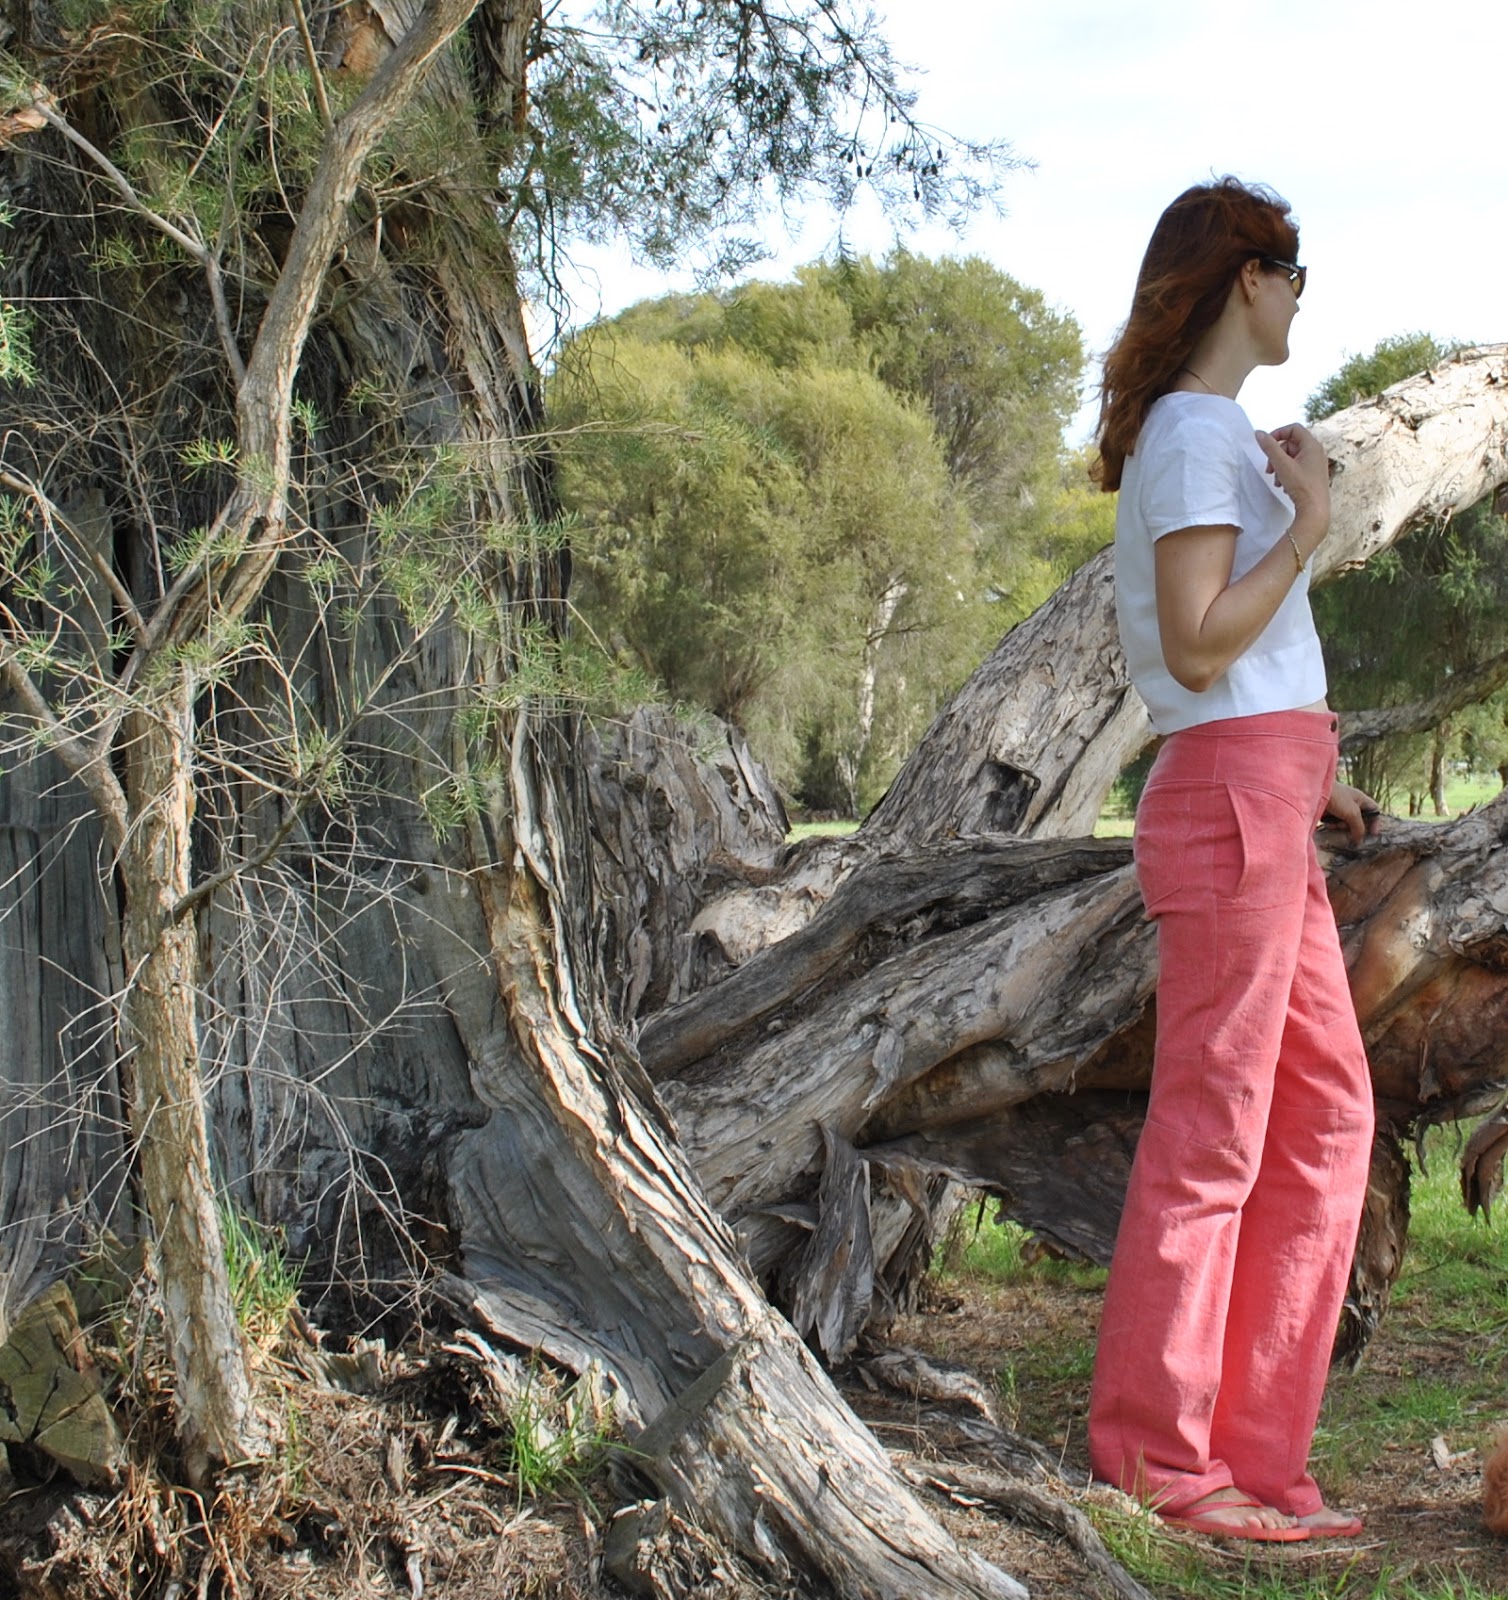
I used non-stretchy thick-ish cotton denim from Spotlight in a cheerful shade of strawberry pink, which has white undertones in the drill weave. Thus my selection of white thread for all the top-stitching details. I elected to have just a single row of top-stitching throughout, and I left off some of the top-stitching details suggested in the pattern. I highly recommend you also check out and admire shams‘ awesome variations on this pattern; here and here and here.
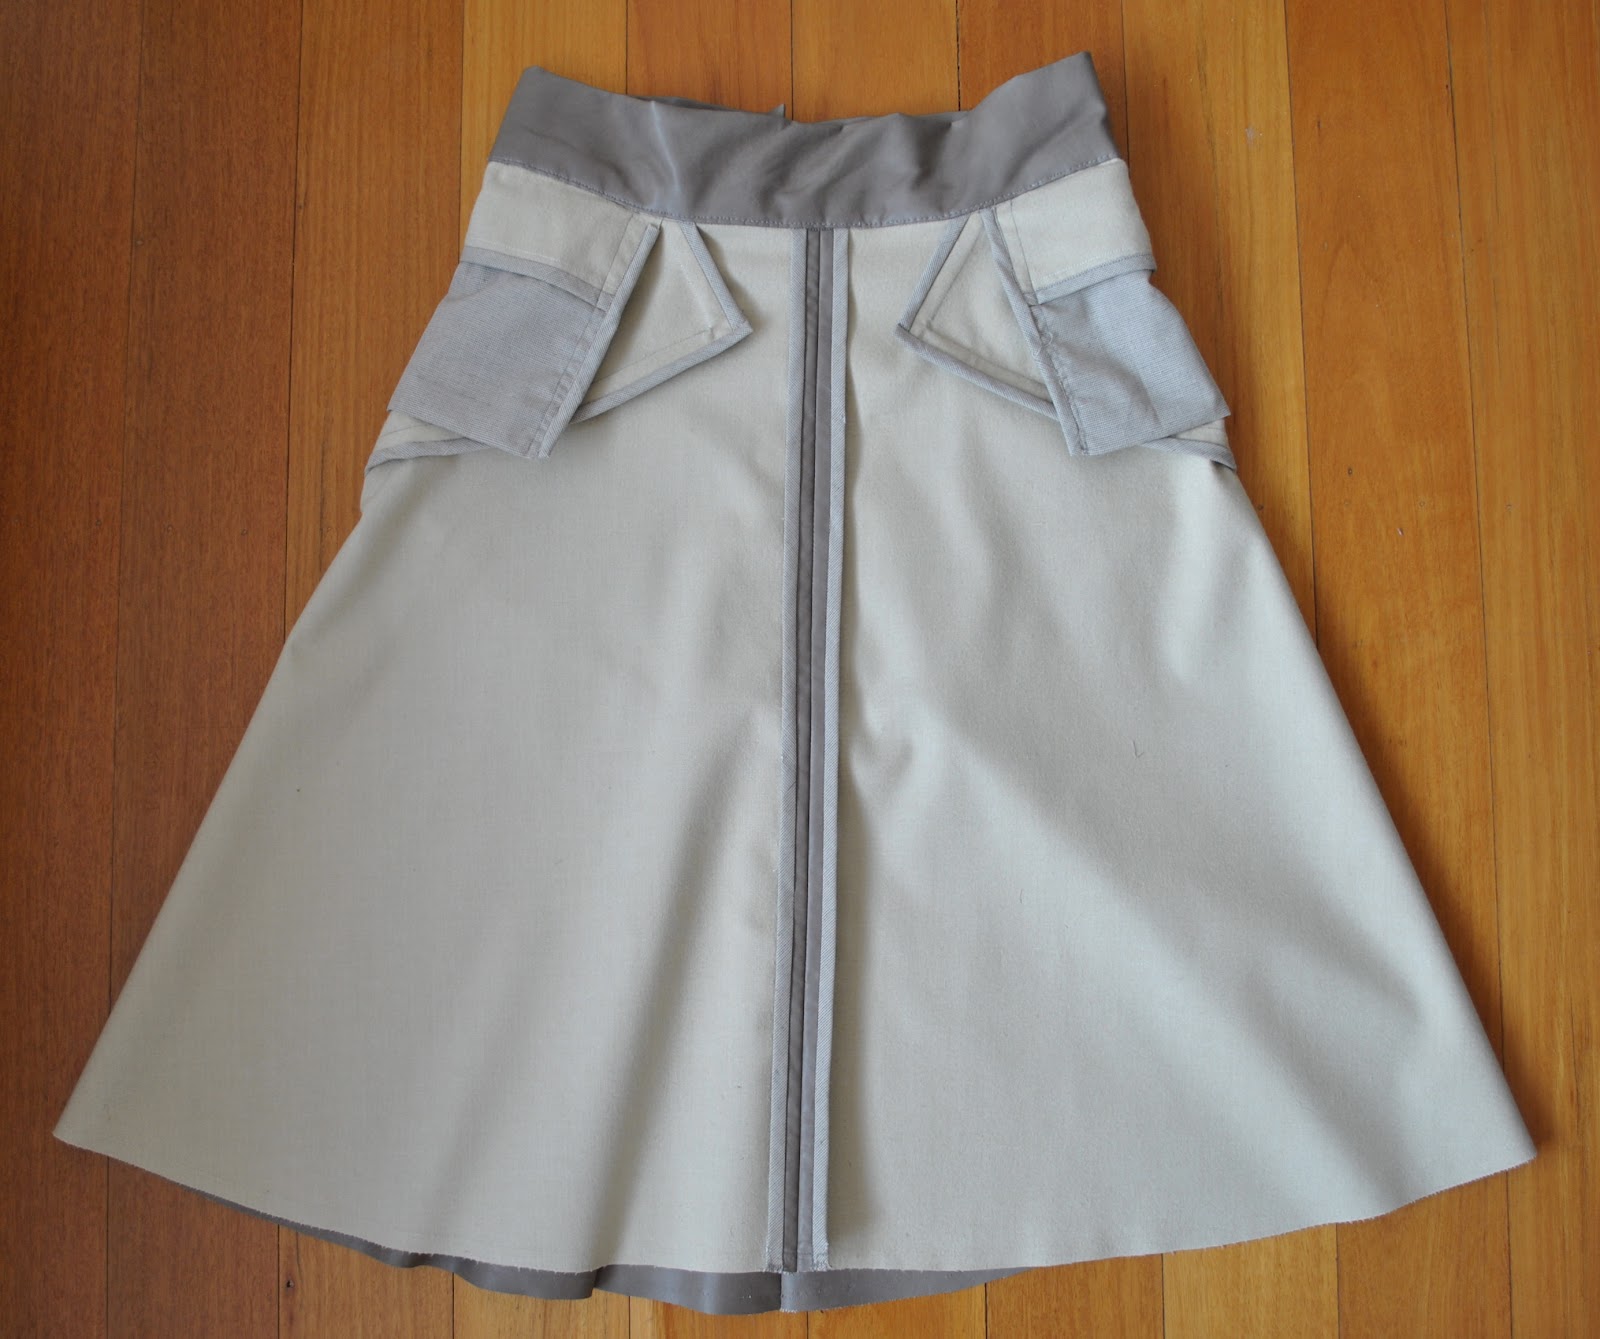
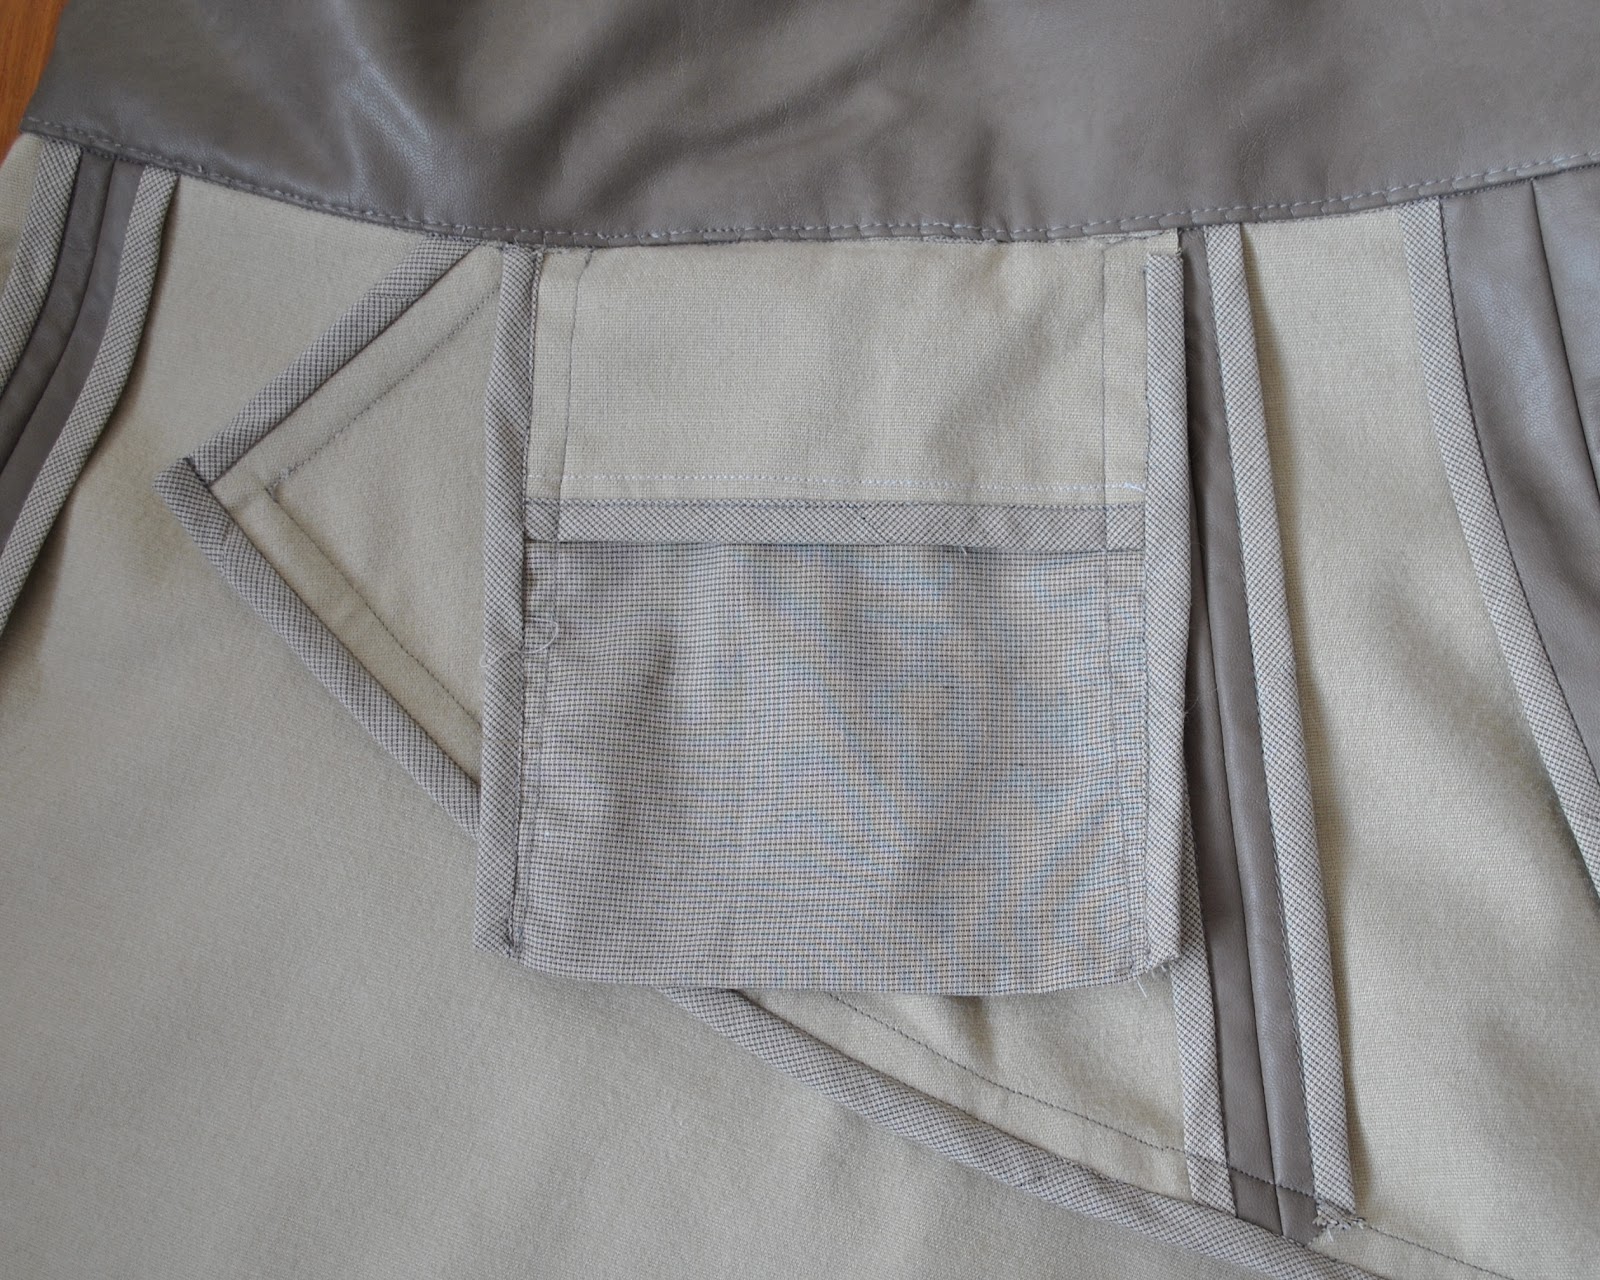
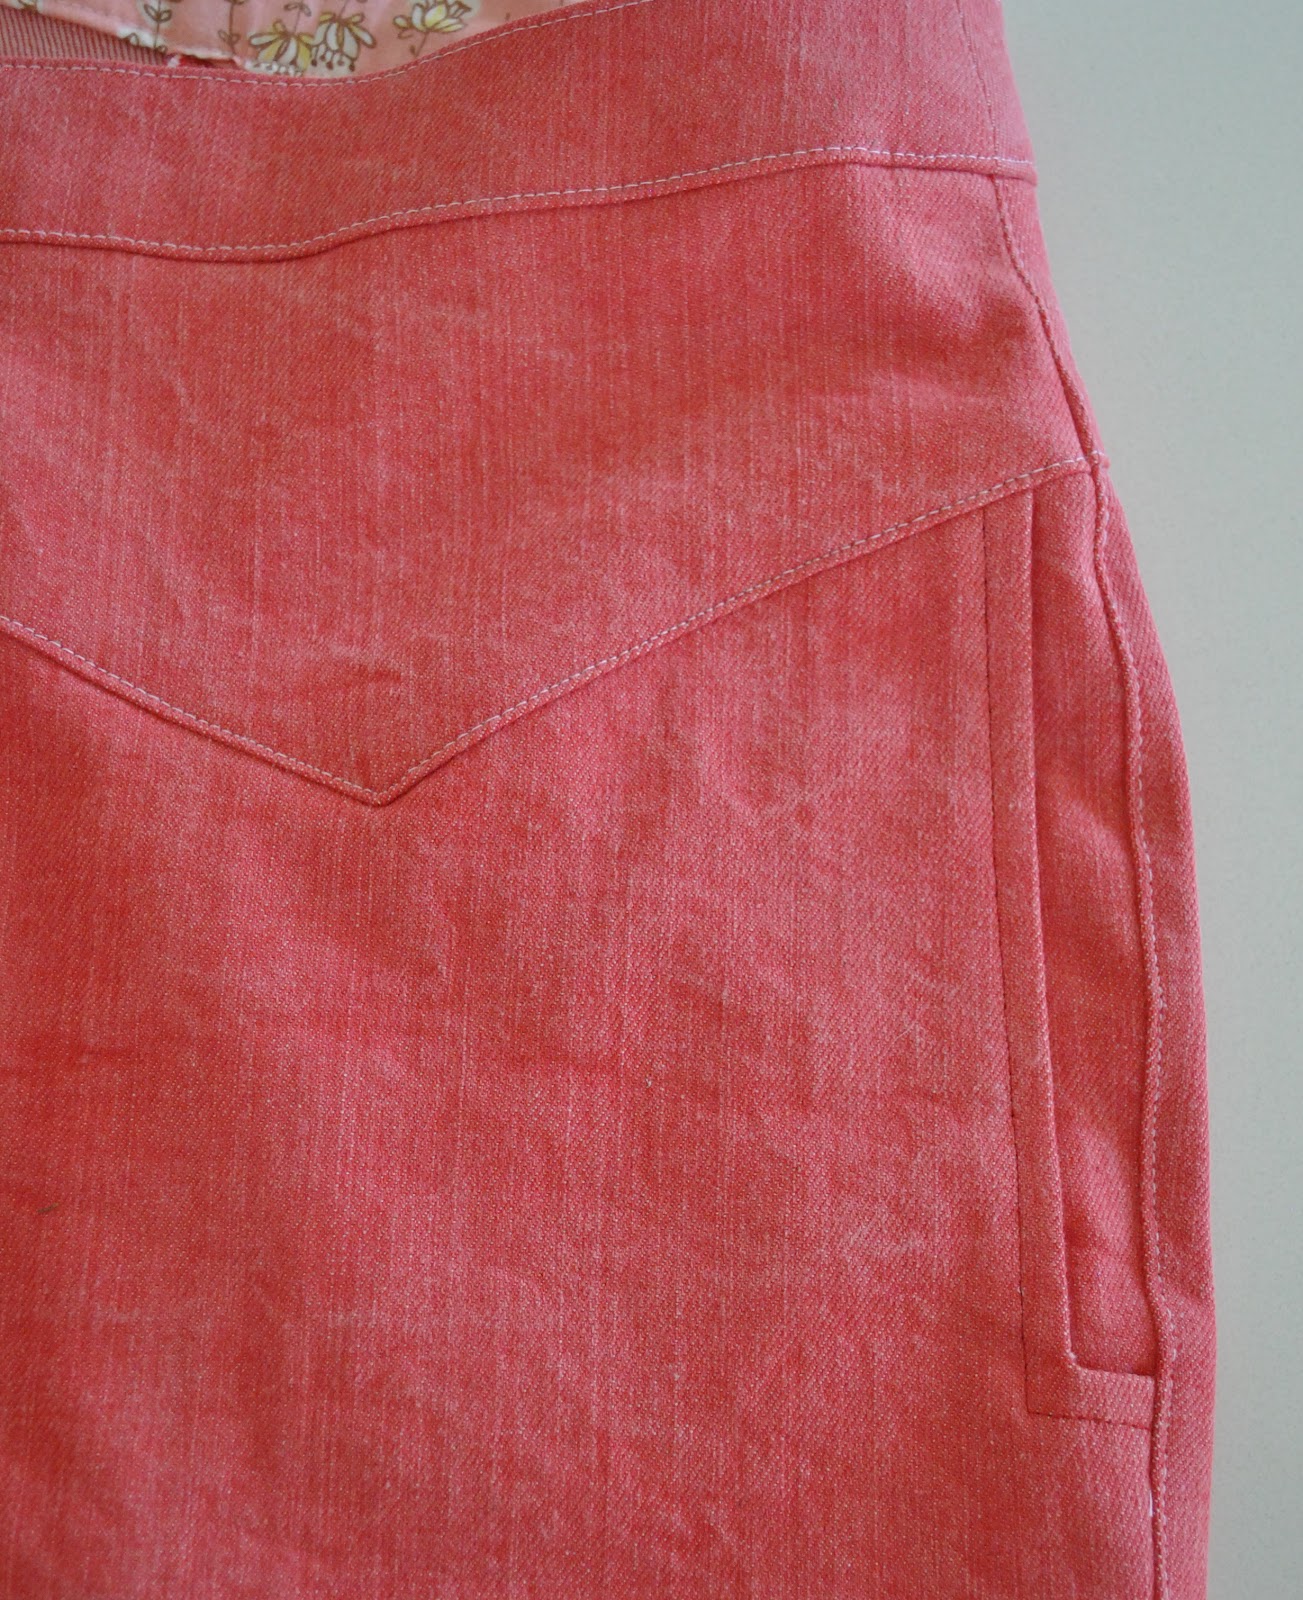
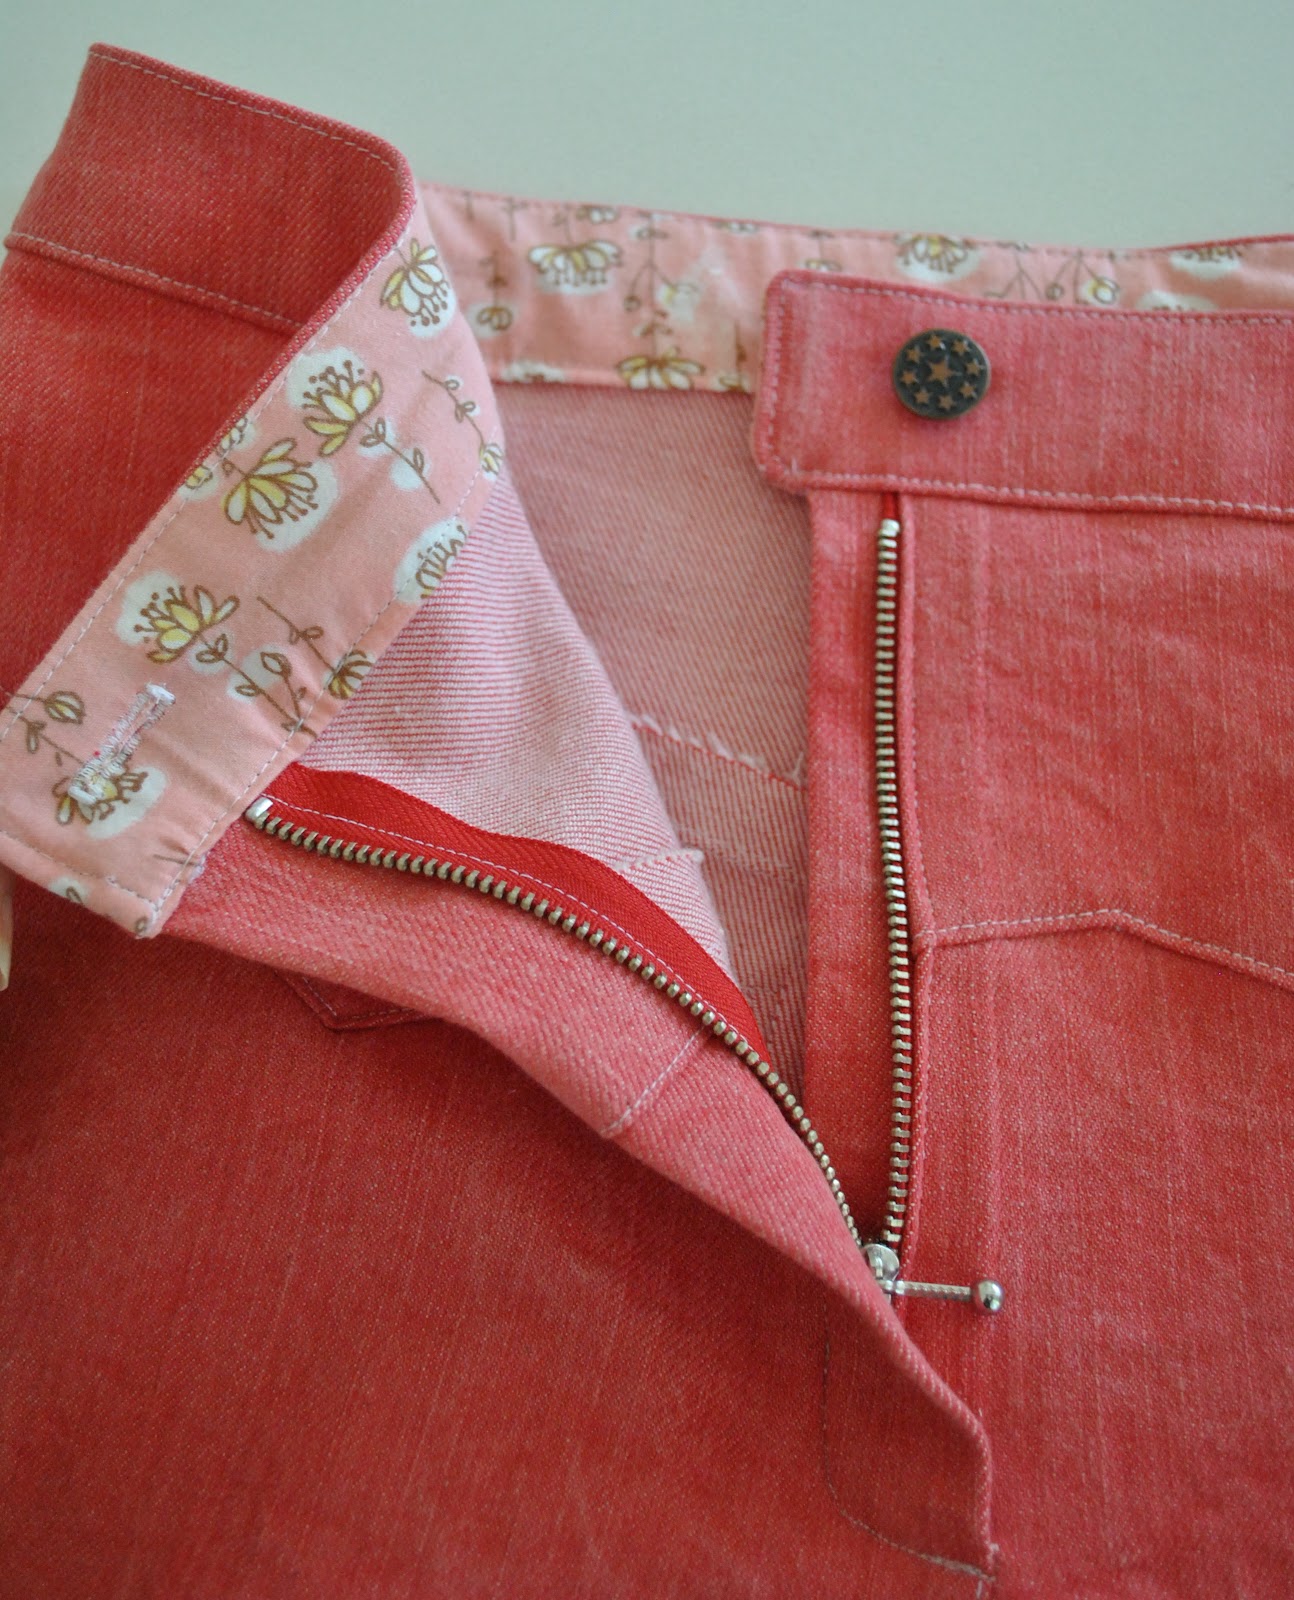
For the waistband facing and the pocket facing I used a pink print cotton, that was formerly a pair of old pj bottoms. I cut a separate pocket facing, rather than have the pocket bag stitched directly onto the jeans front, because I had decided I wanted the front of my jeans “bare-r” with less top-stitching detailing, but obviously I was not going to forgo having those awesome pockets!
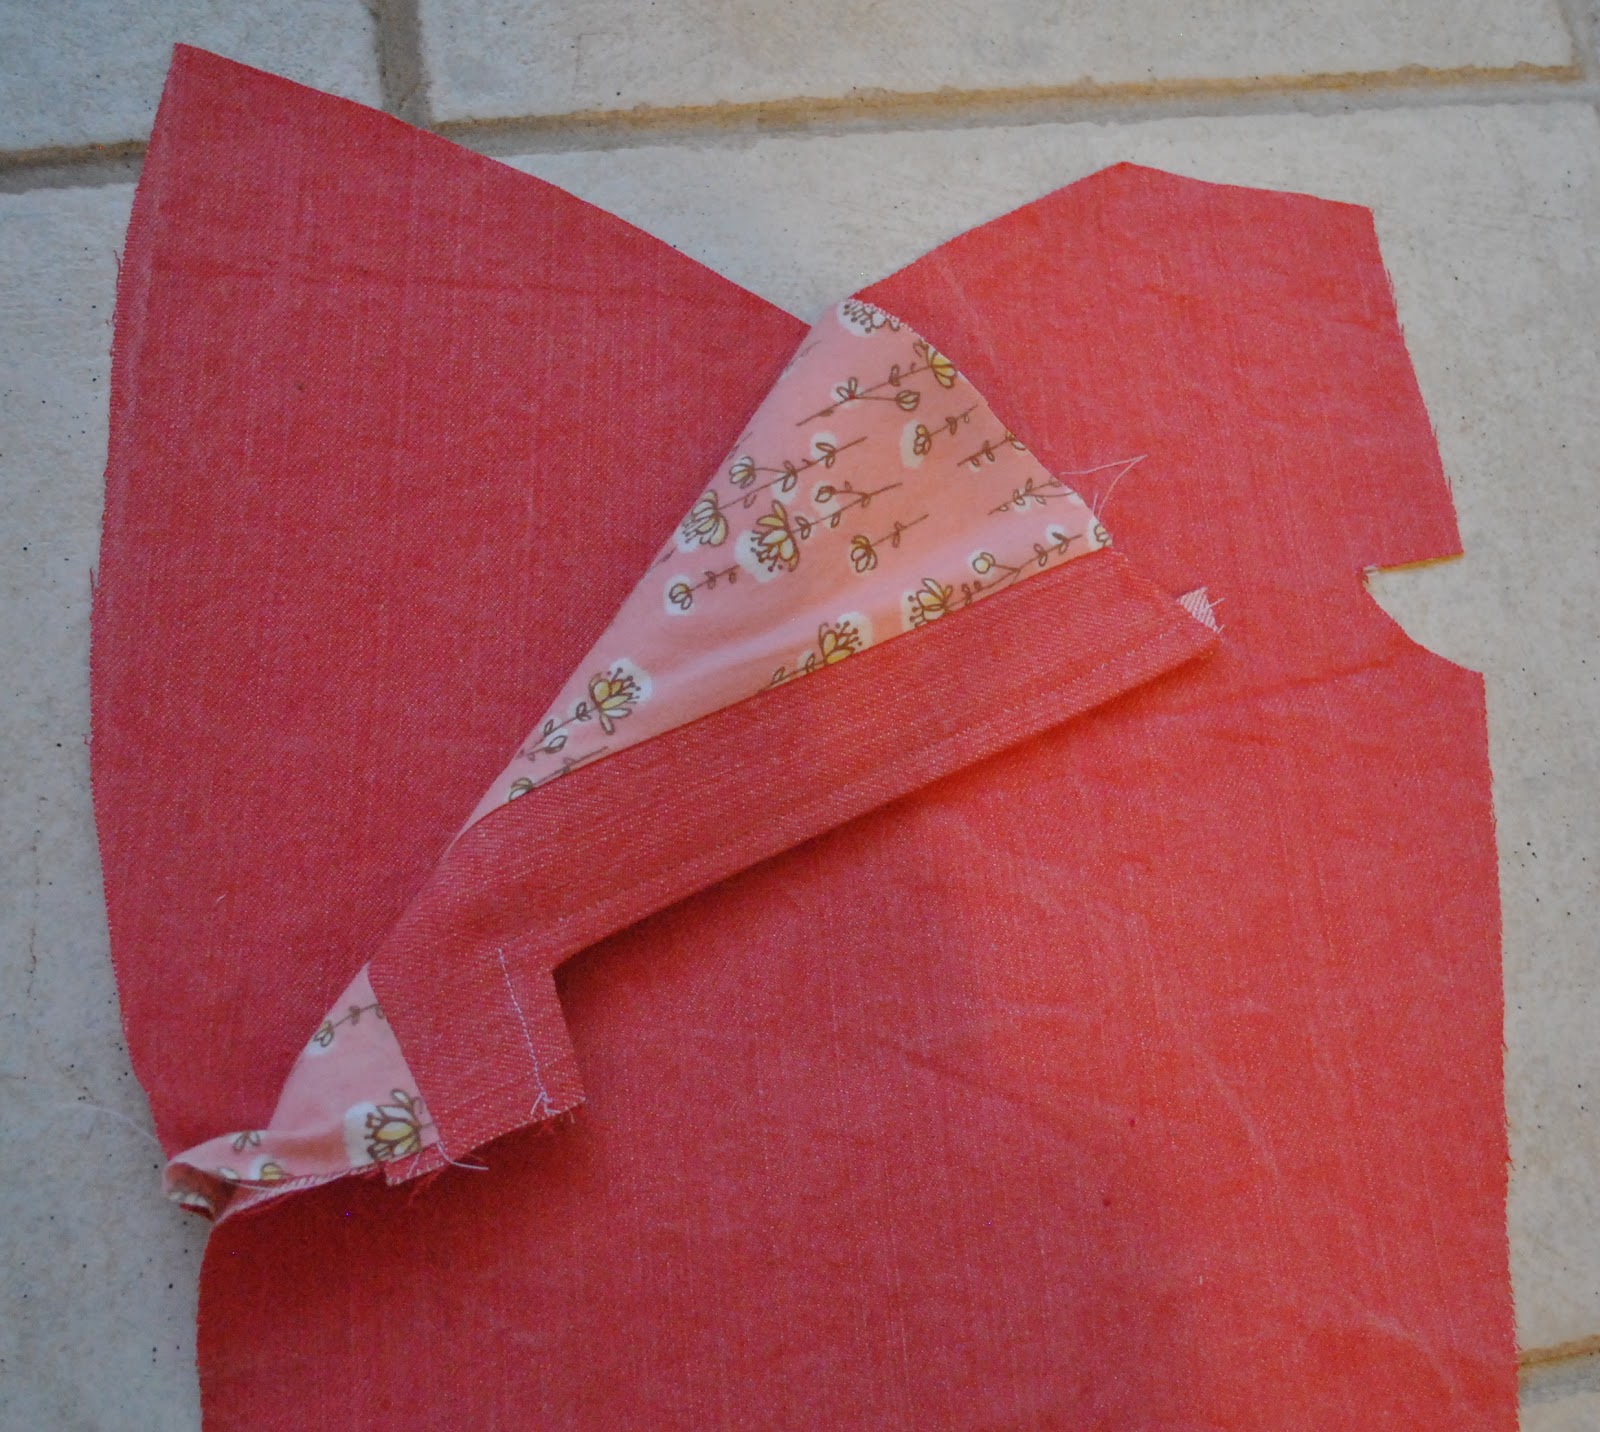
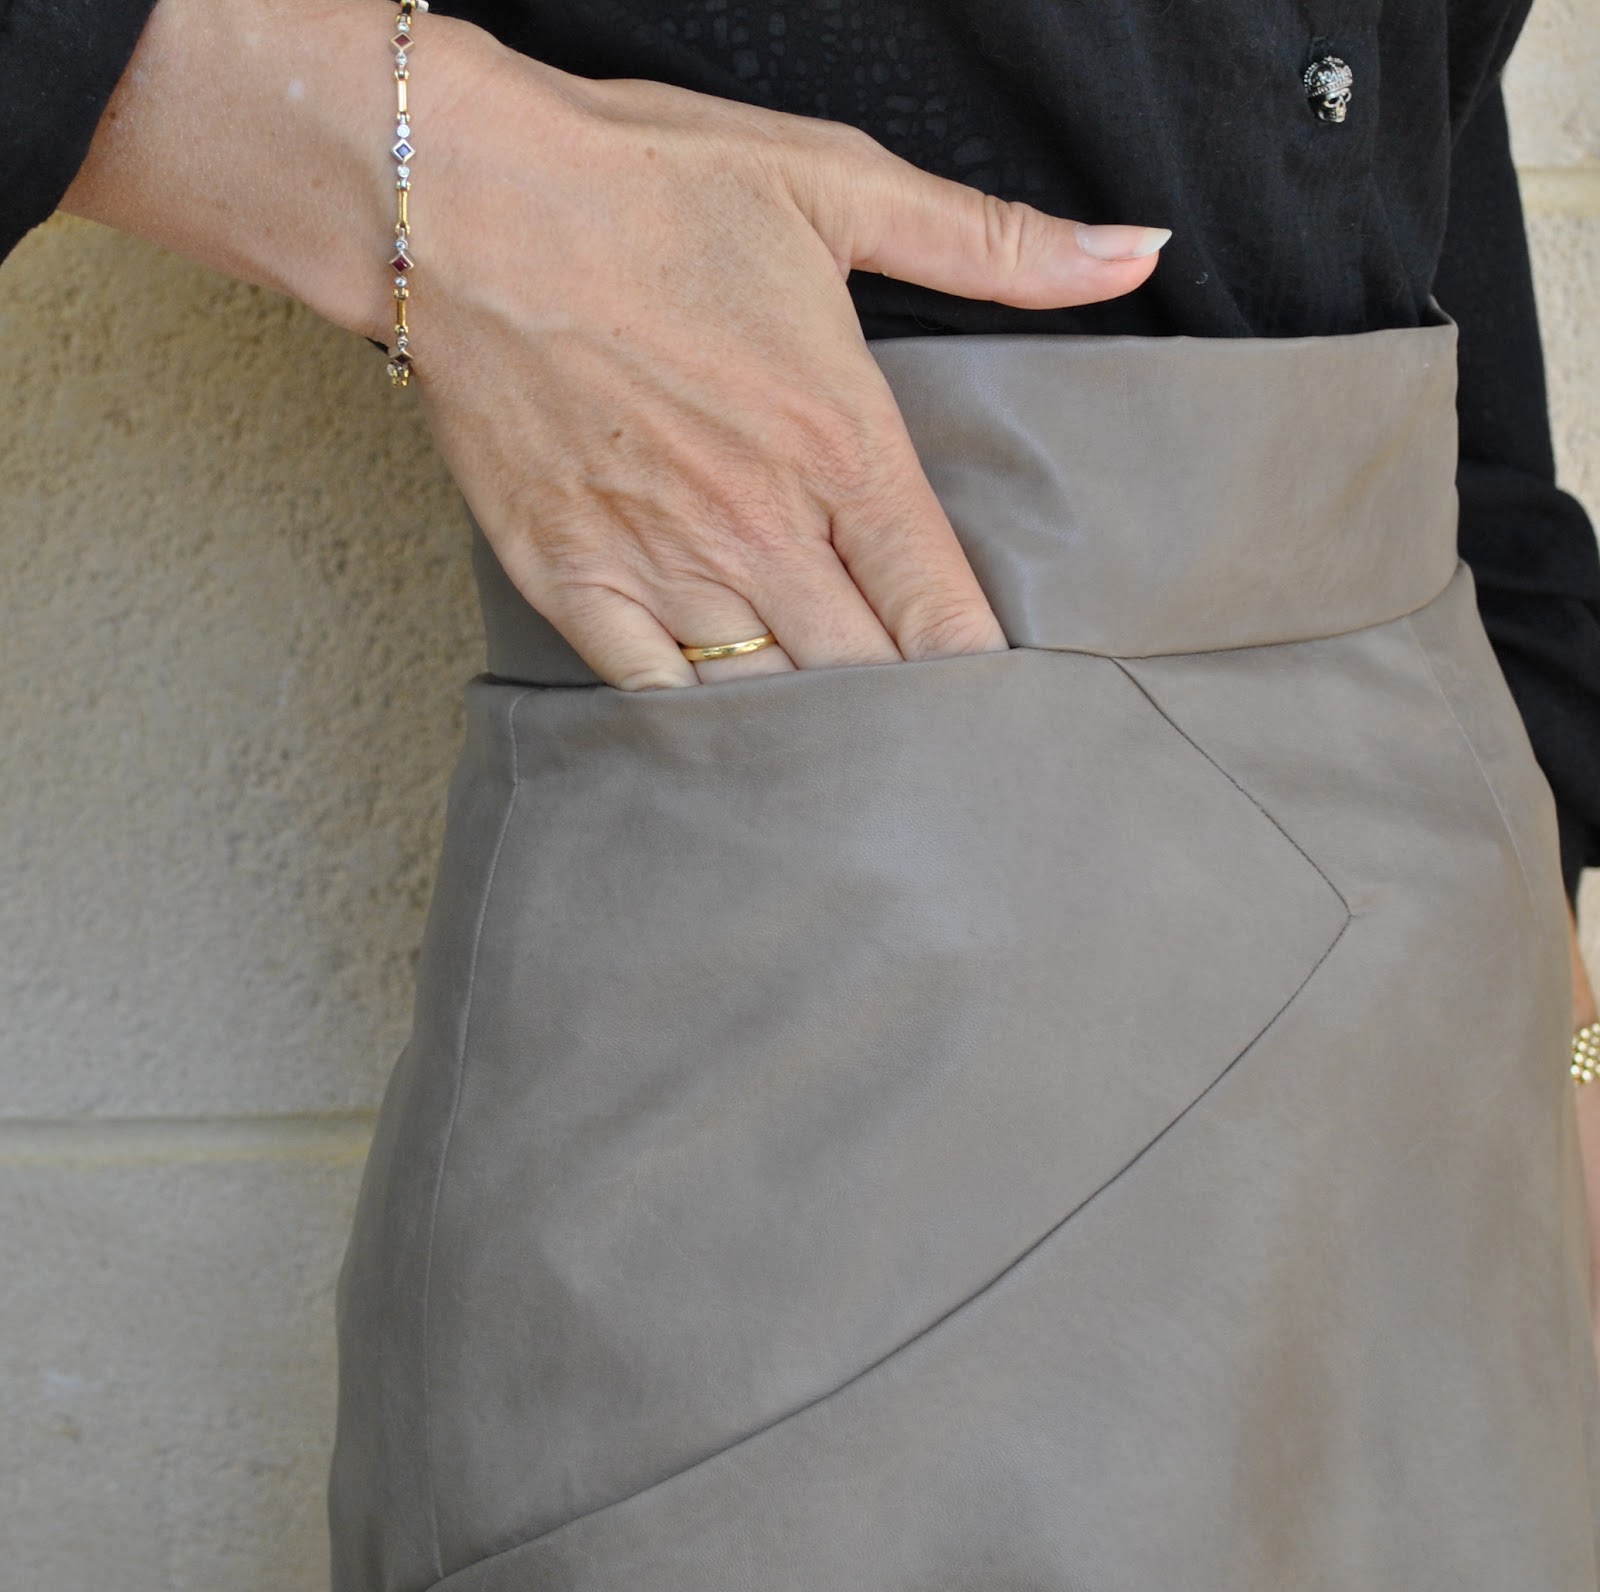
Shams elected in her second and third pairs of these jeans to put in a slanted high hip pocket because of “pooching” of the pocket opening; I decided to go ahead and make the pocket as per the pattern in this my first go at it, and see how it went. Y’know what? it does bulge out a bit, but not enough to worry me so I’m OK with it. The best thing about the location of the pocket is that they are perfectly situated to make slouching around with one’s hands shoved deep in one’s pockets very very easy. I am pretty partial to mooching about with my hands in my pockets, so yeah 🙂 The slanted high-hip pocket location that one sees in regular jeans is not hands-in-pocket friendly, imo. A feature that is fairly high on my personal list of criteria for garment satisfaction.
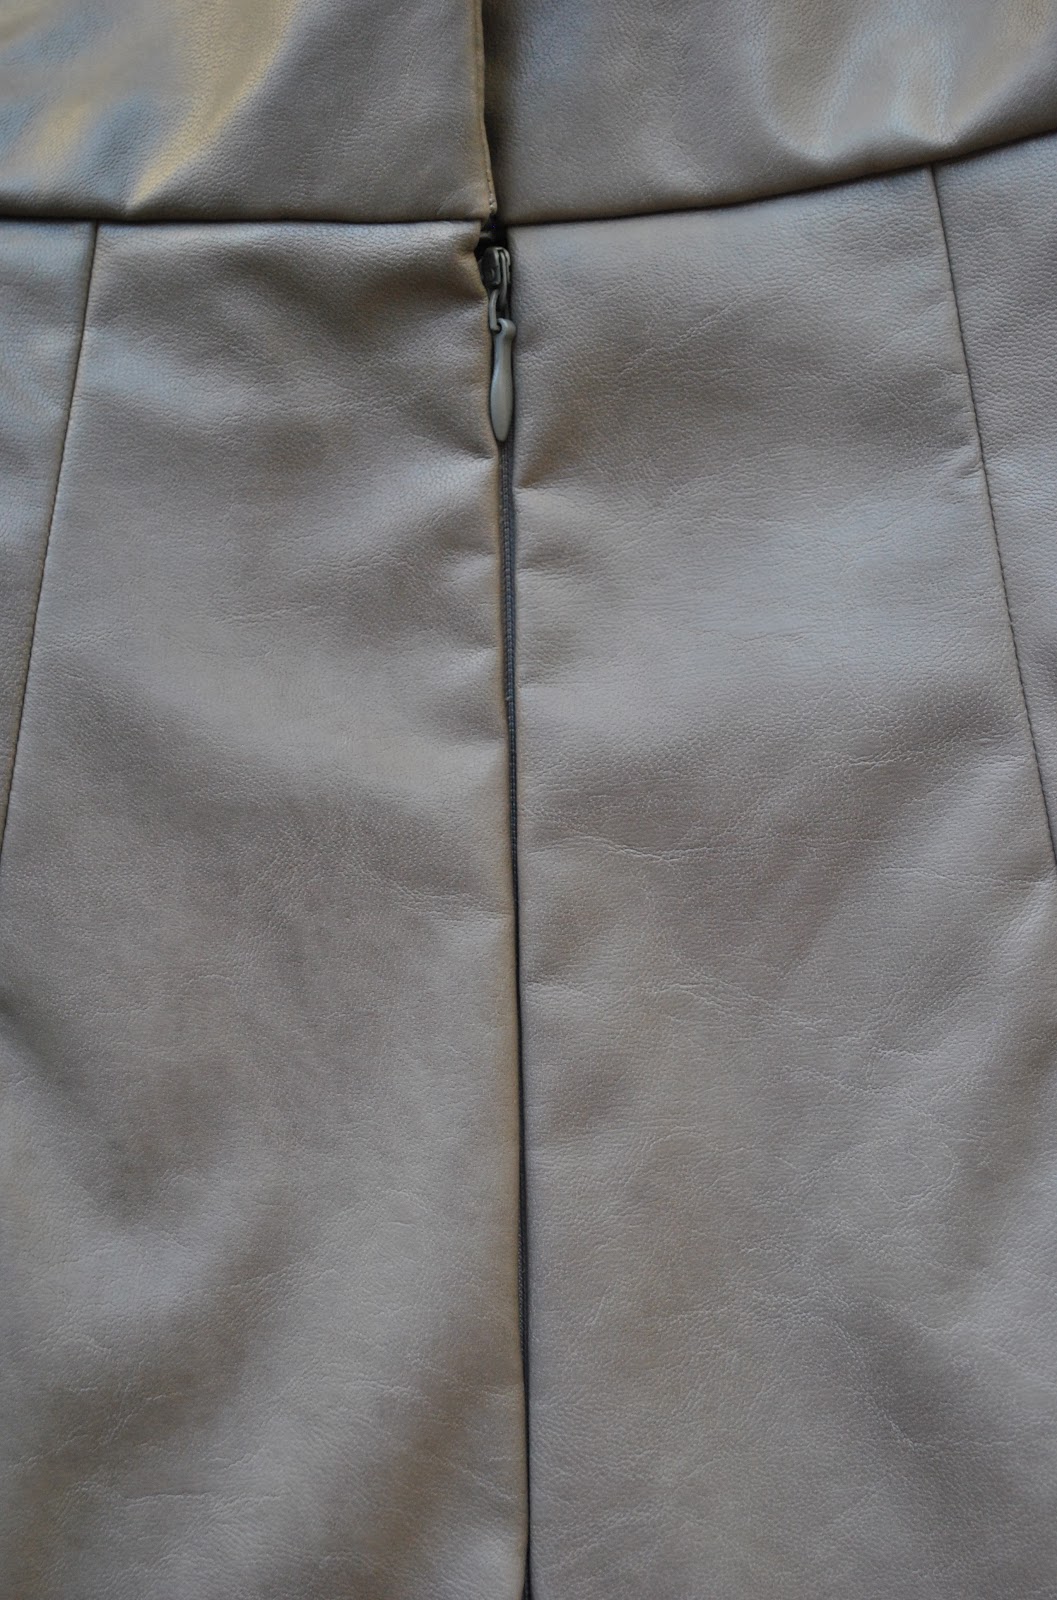
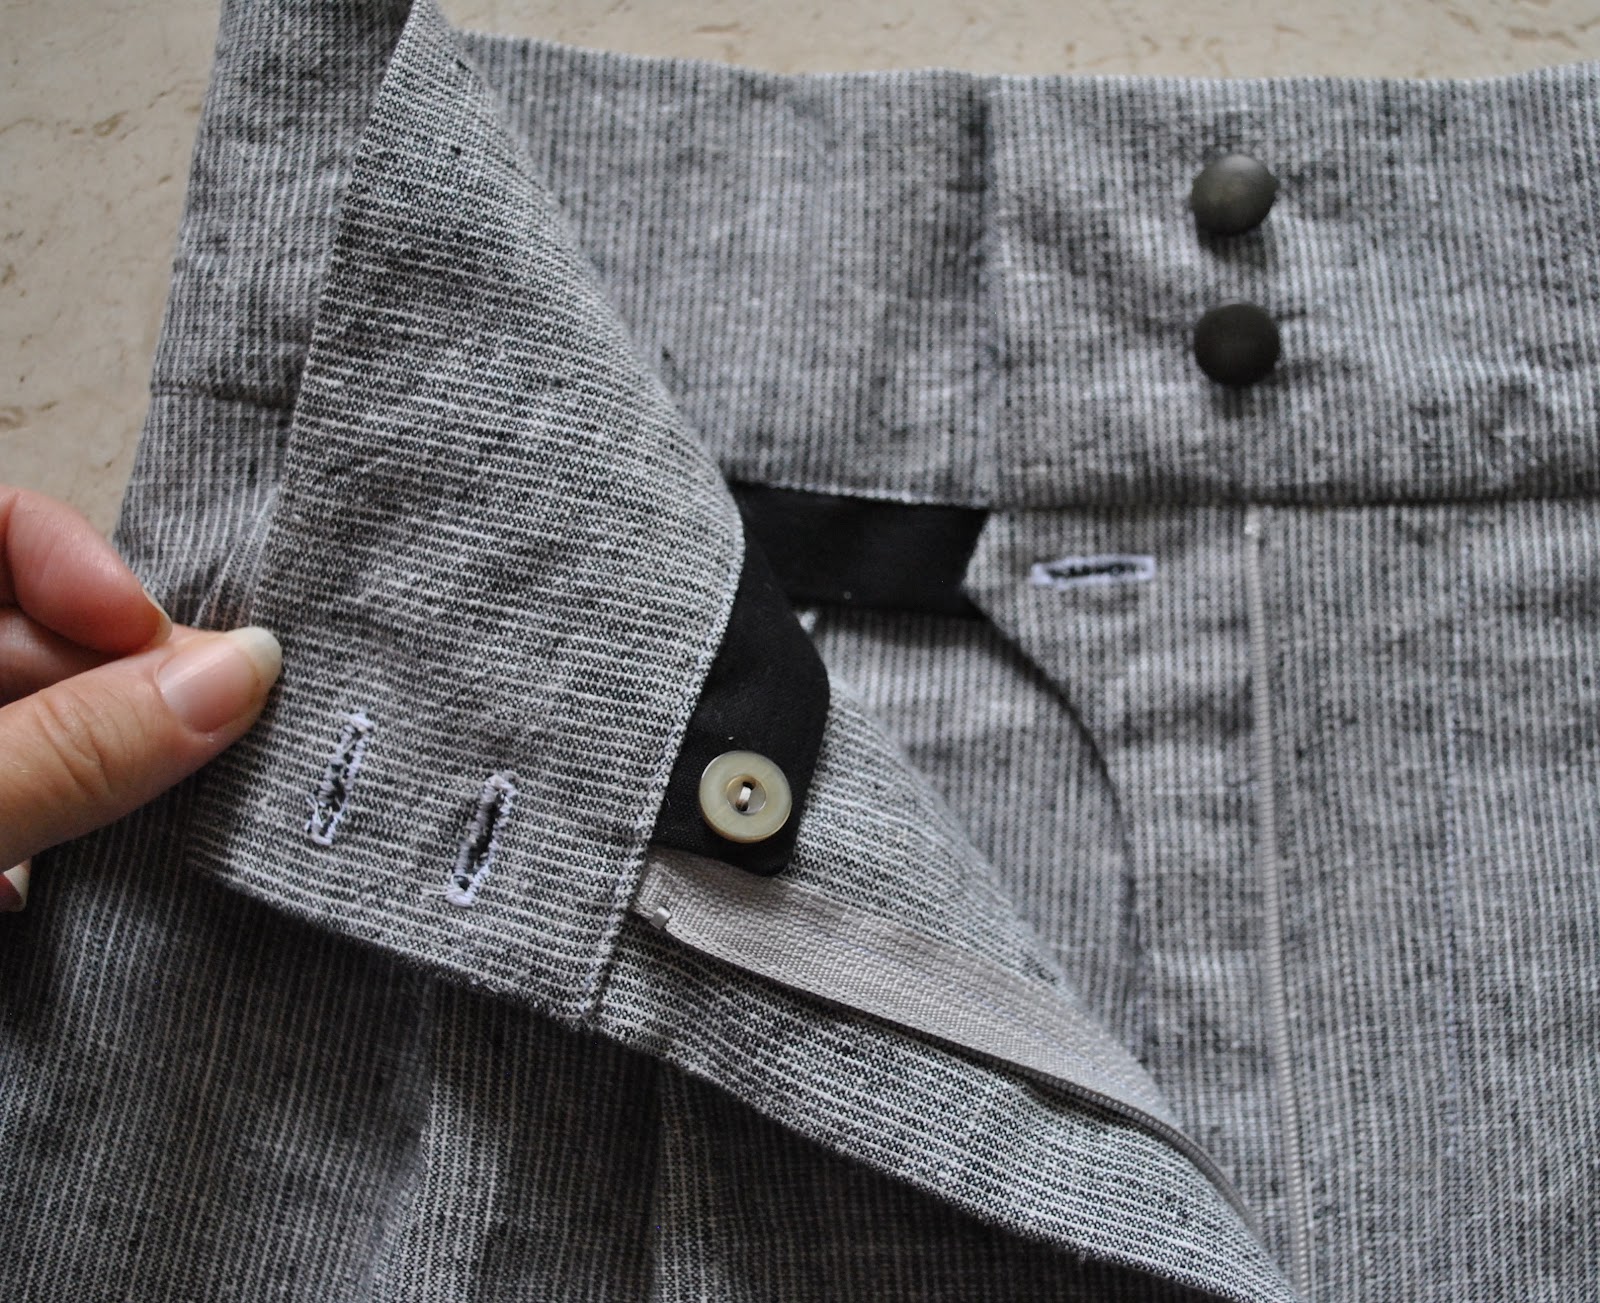
I added a zip placket, and used a red jeans zip from Spotlight. Functionally, this was a fairly hideous zip that required copious anointing with household oil to make it zip up and down smoothly! Inserting the jeans zip with that zig-zag front seam to look acceptably centred and evenly spaced across the front fly and with the top-stitching on each side lining up was interesting. I spent quite a bit of time on this, and re-inserted that zip twice before I was satisfied.

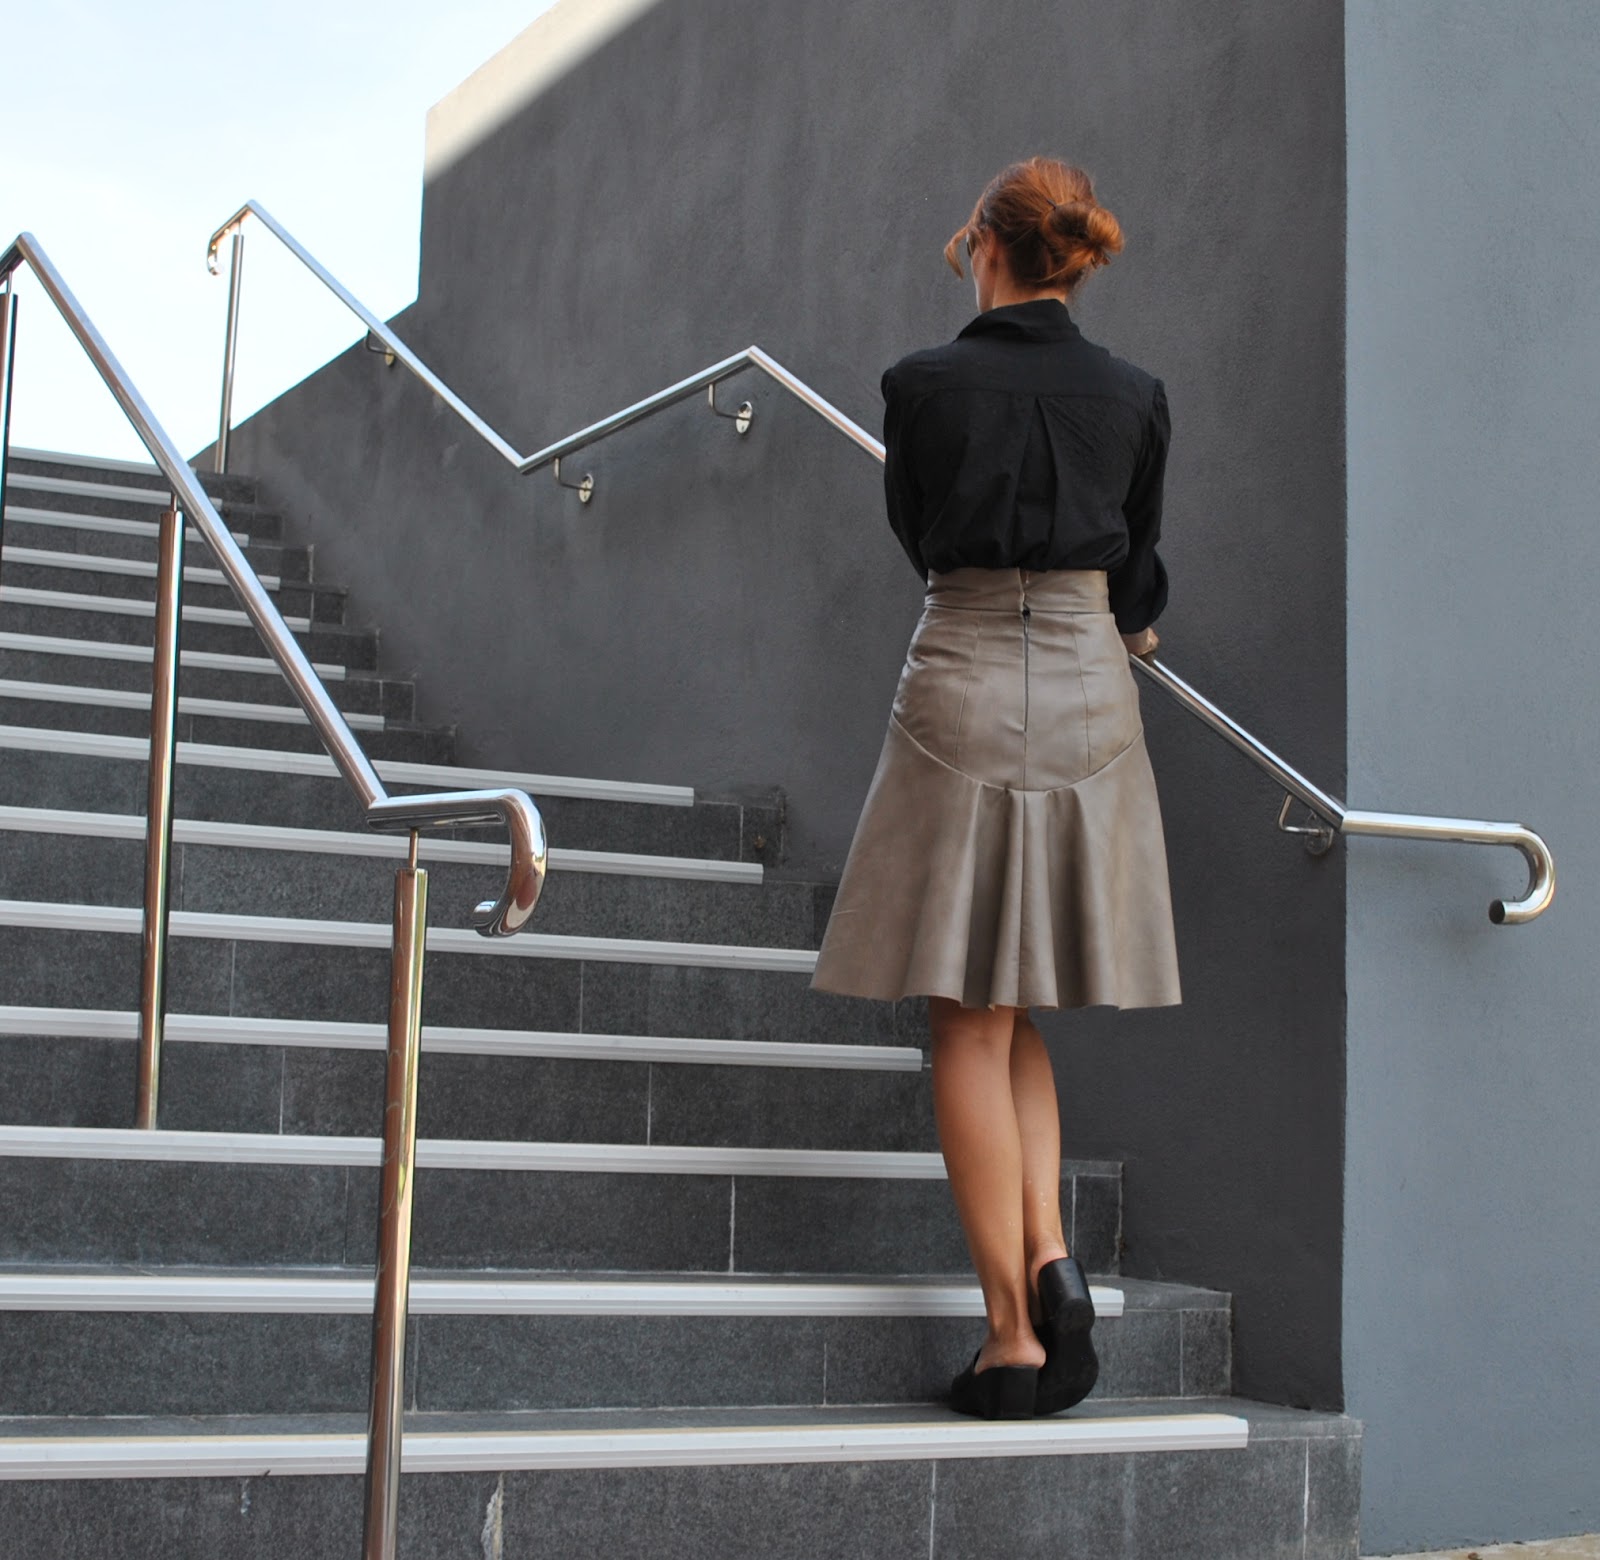
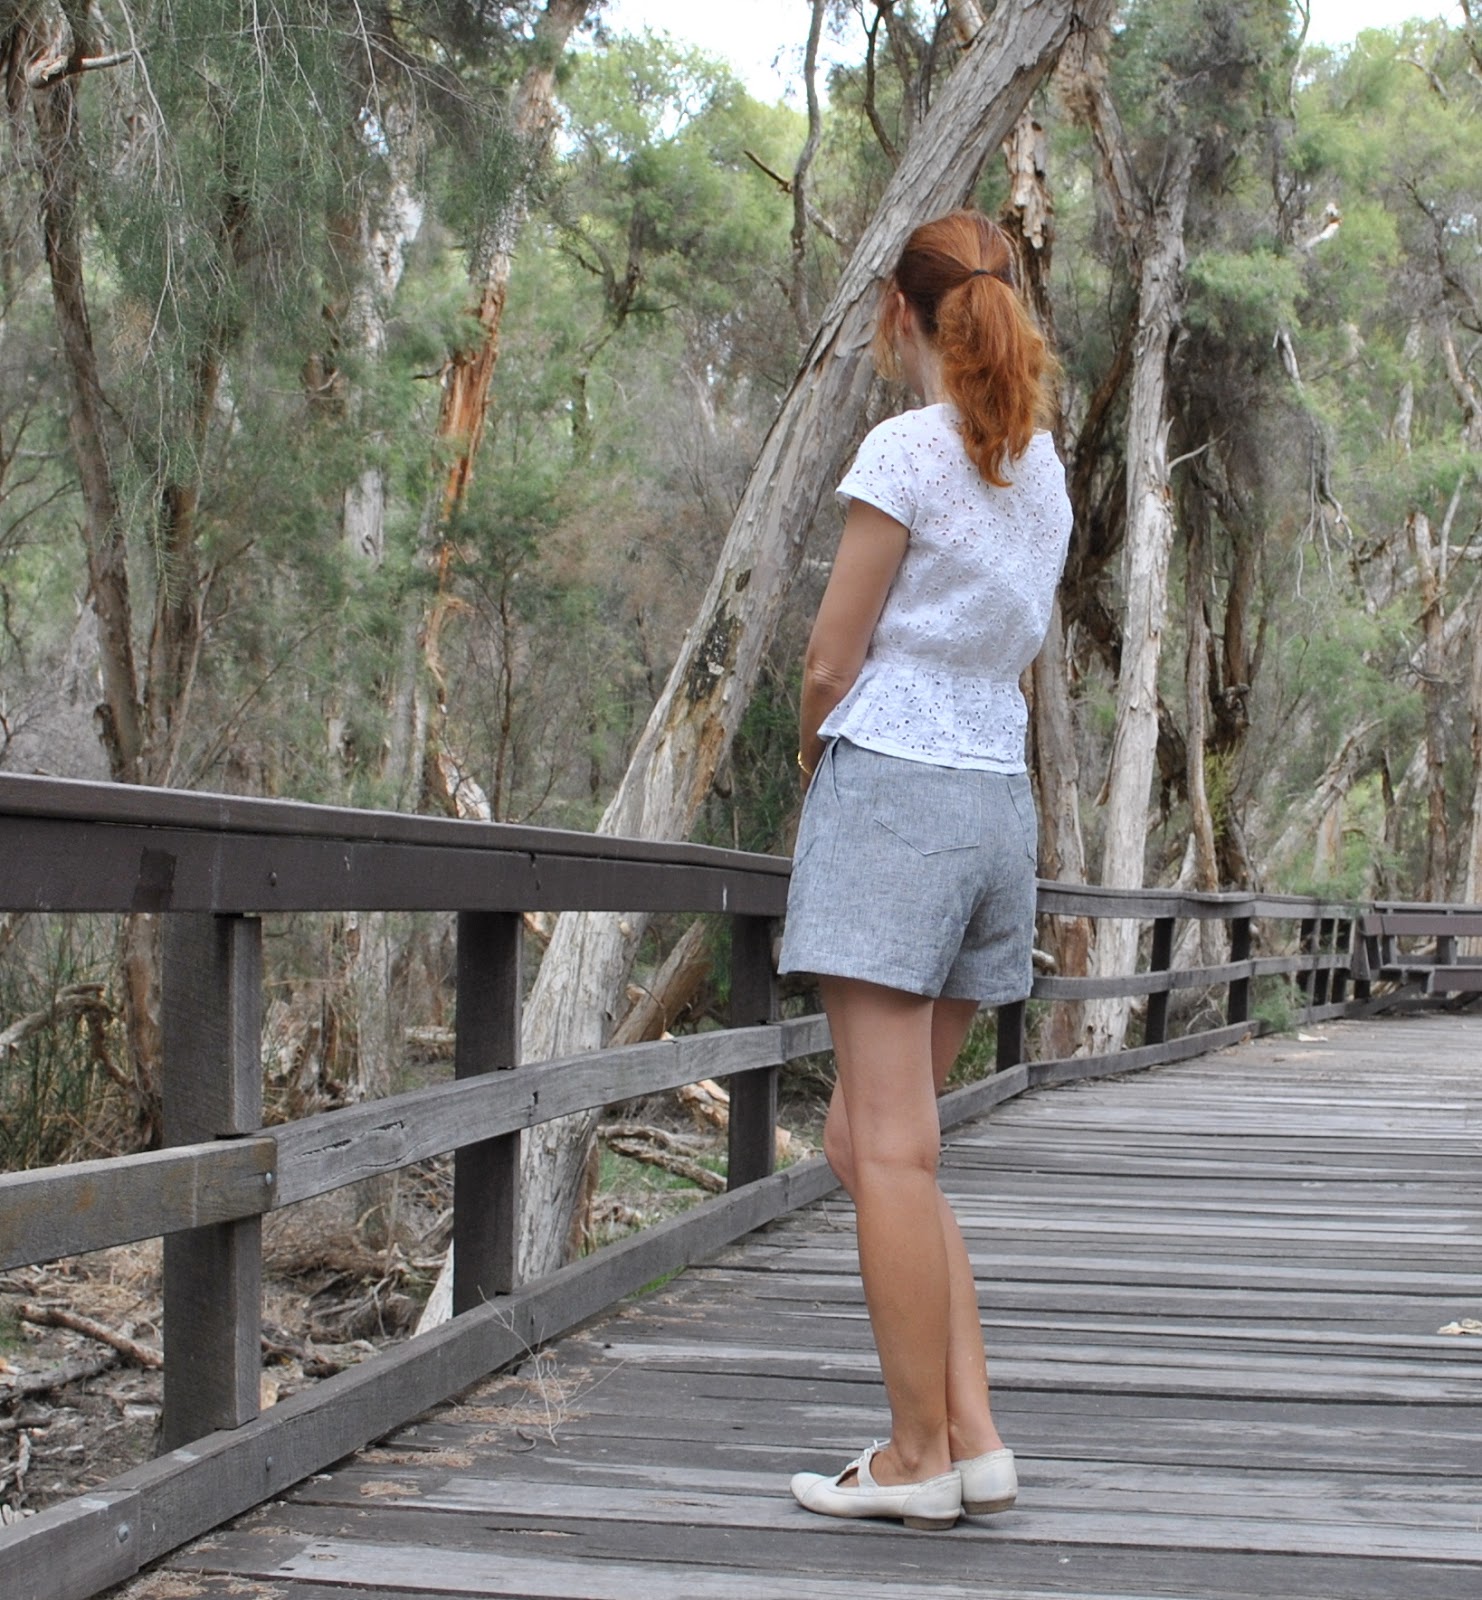
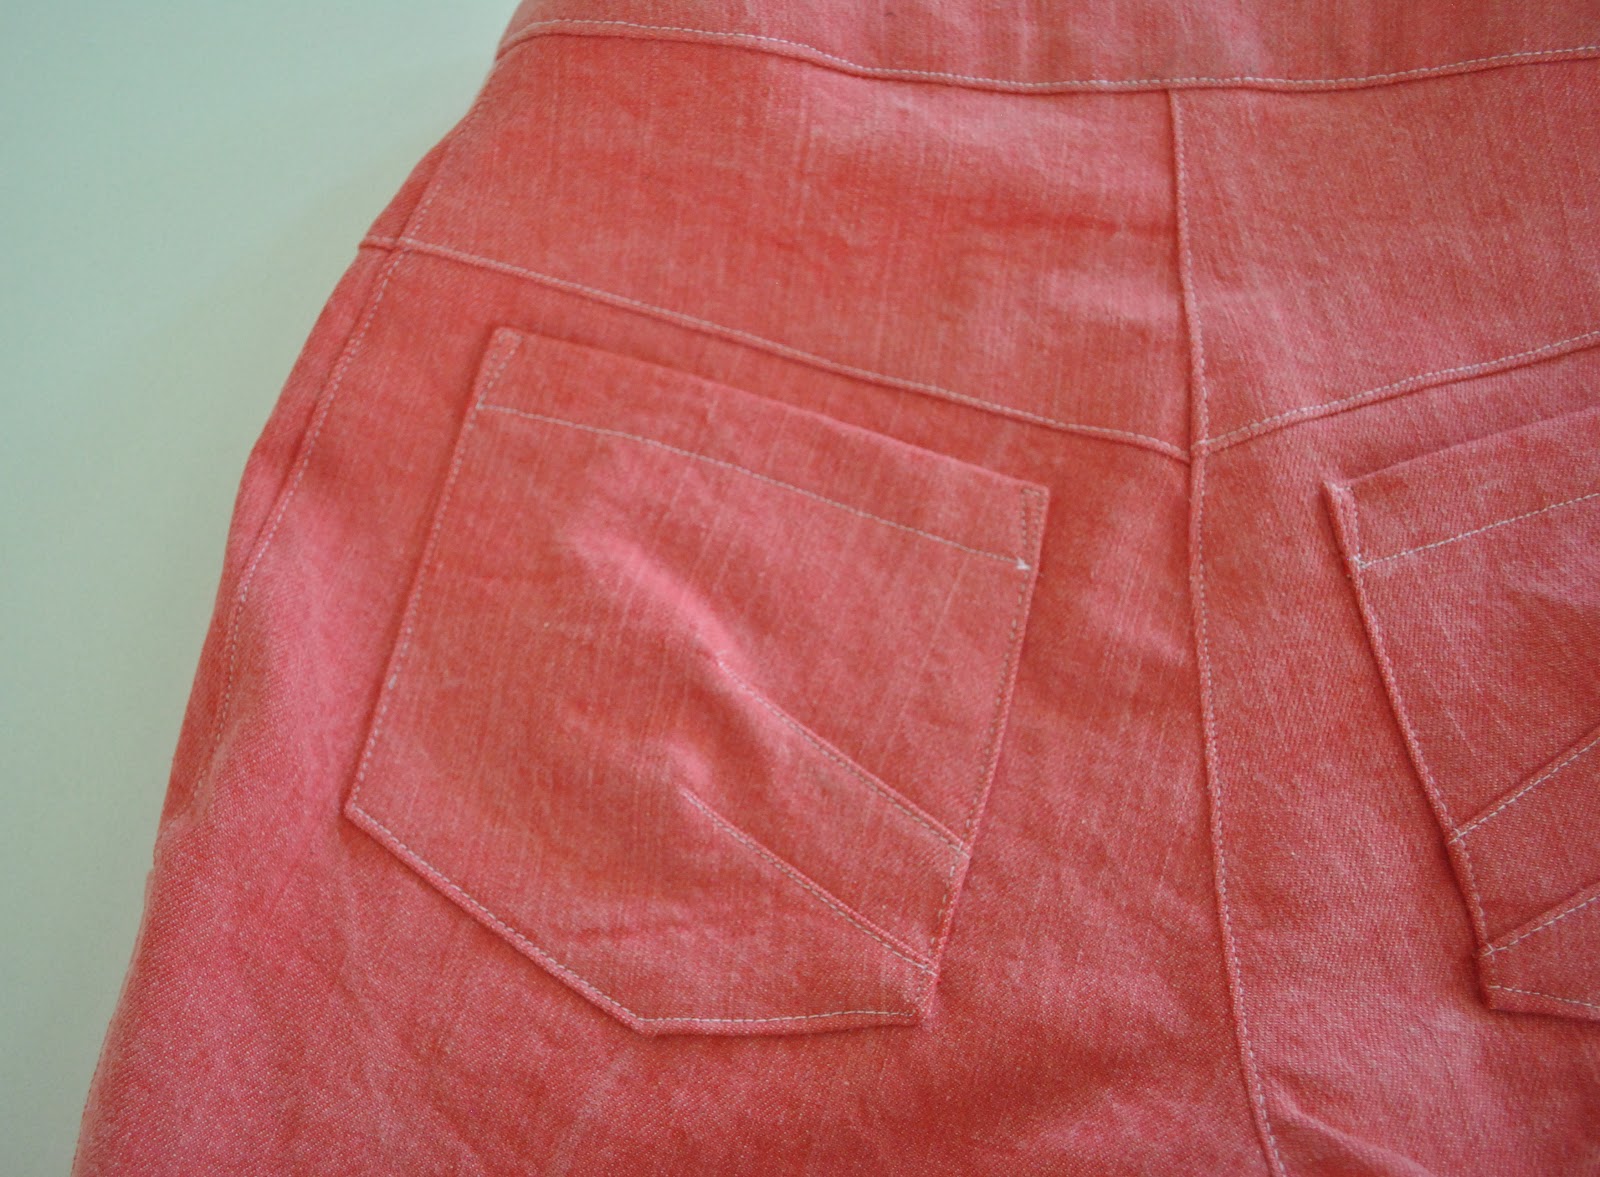
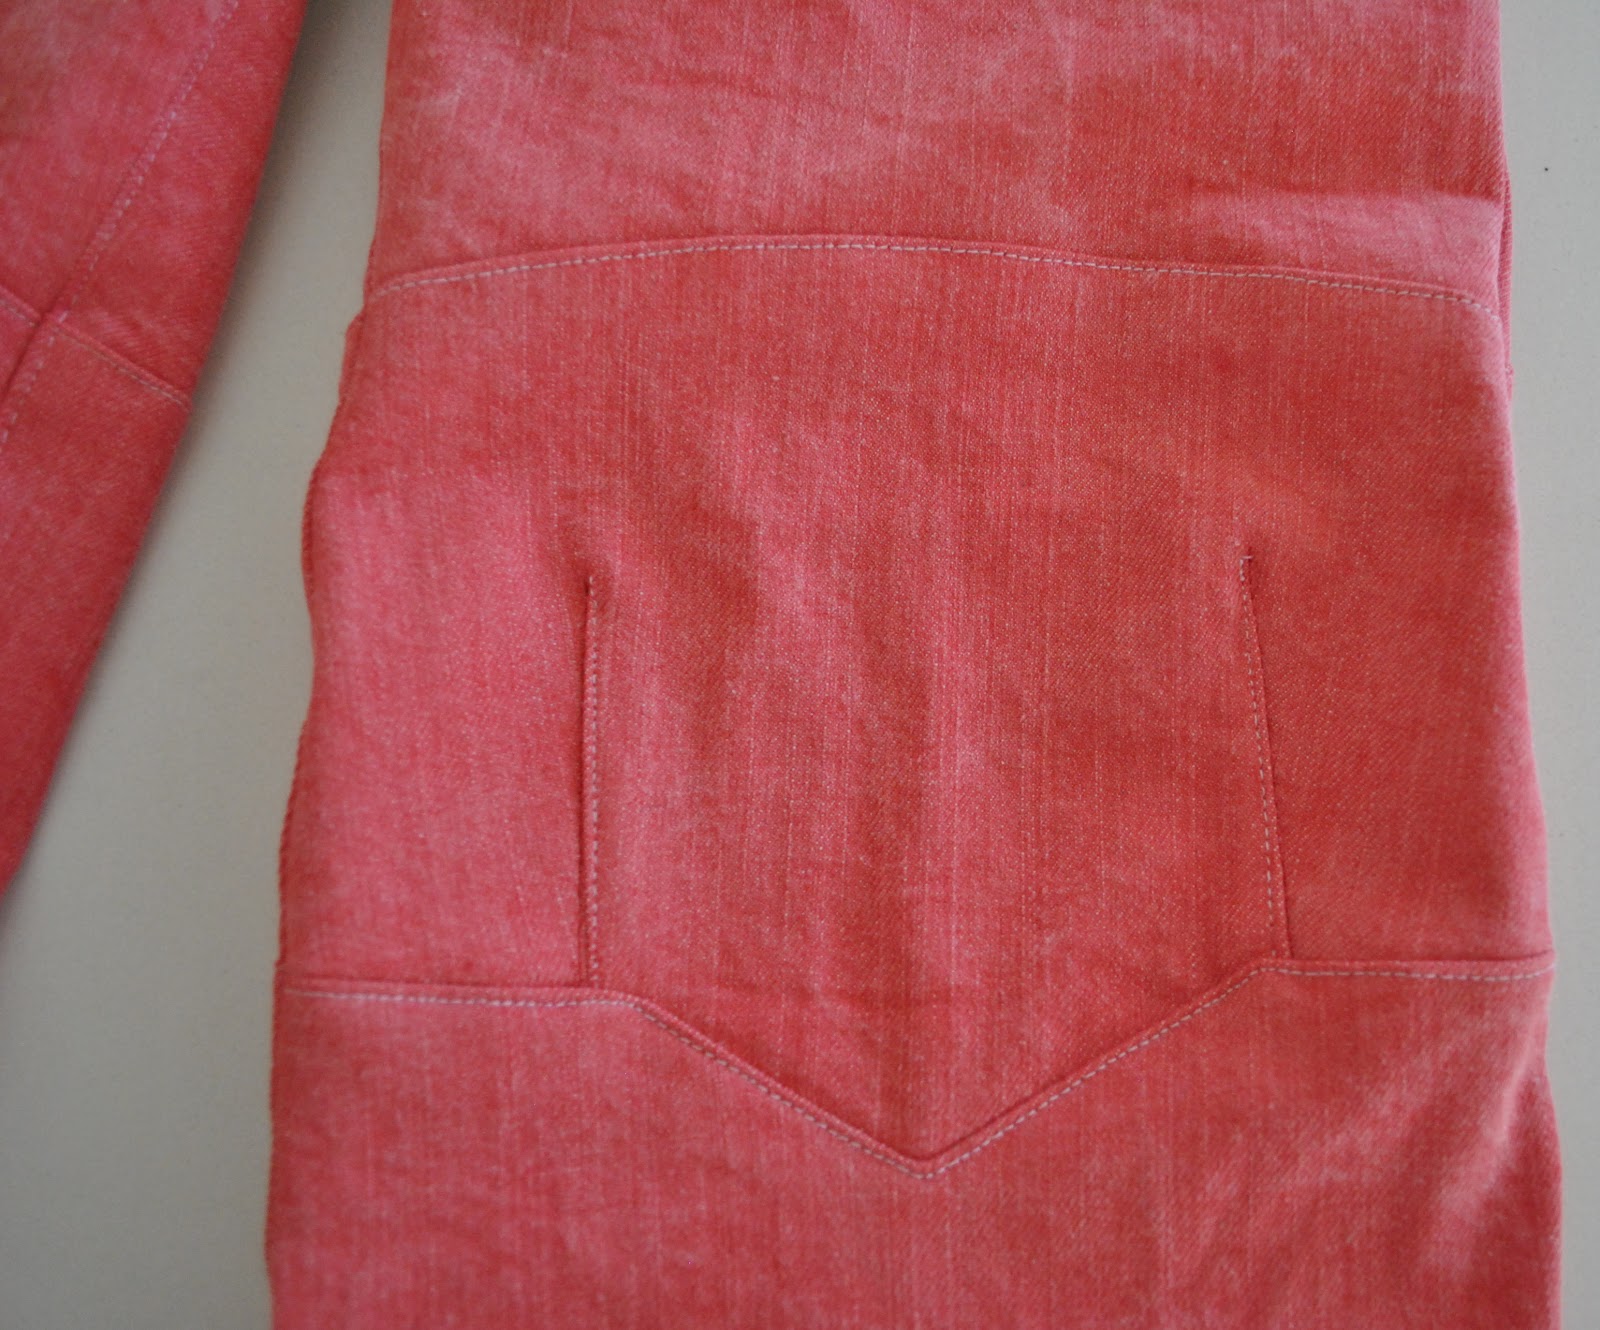
I left off the pocket flaps on the rear patch pockets, and after eyeballing the placement of those cute darted patch pockets decided to situate them on opposite butt cheeks than how they had been illustrated in the pattern. I don’t know if this is visually more slimming or not, methinks this could be merely a self-delusion 🙂
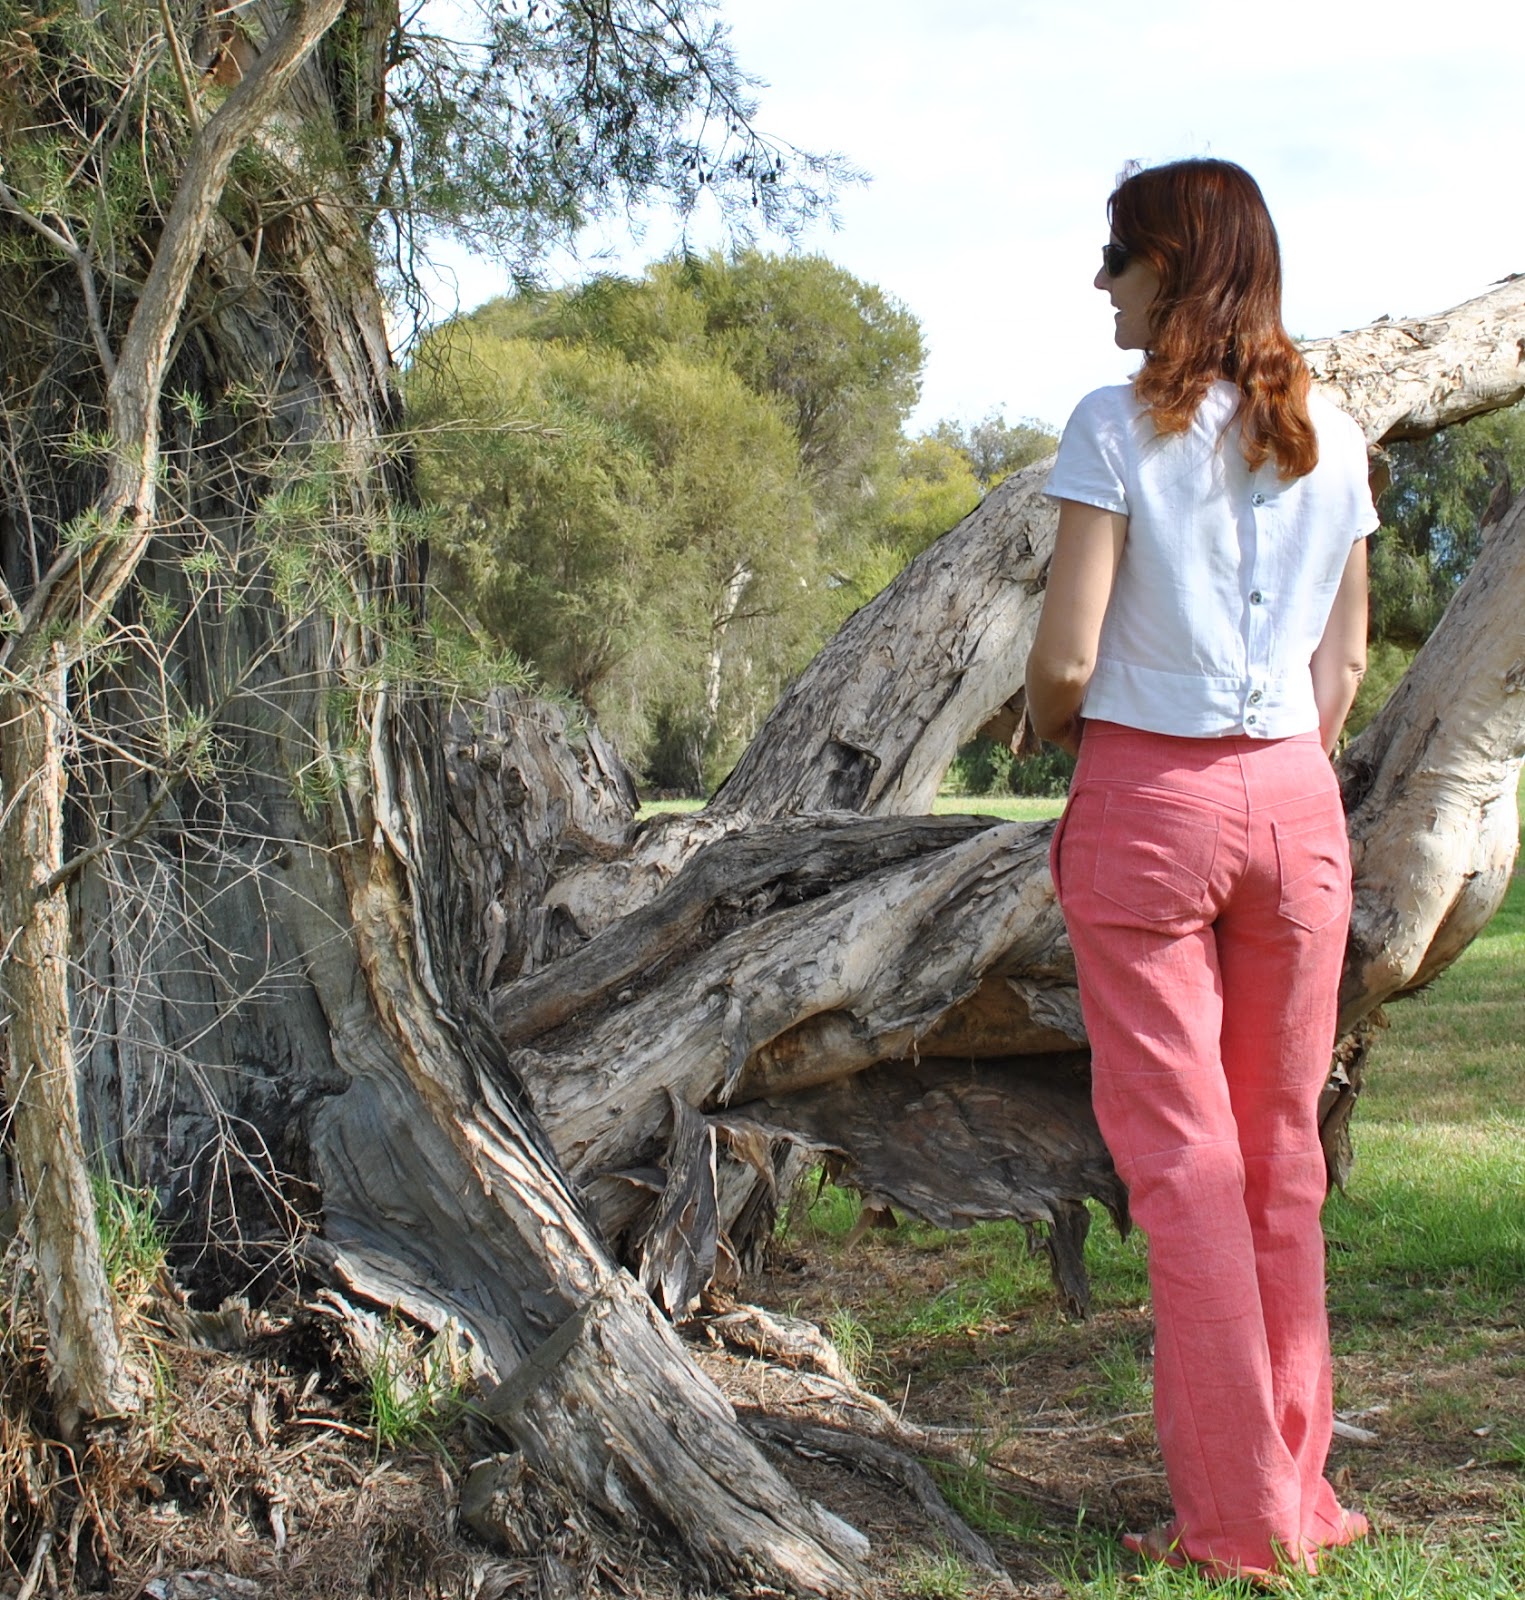
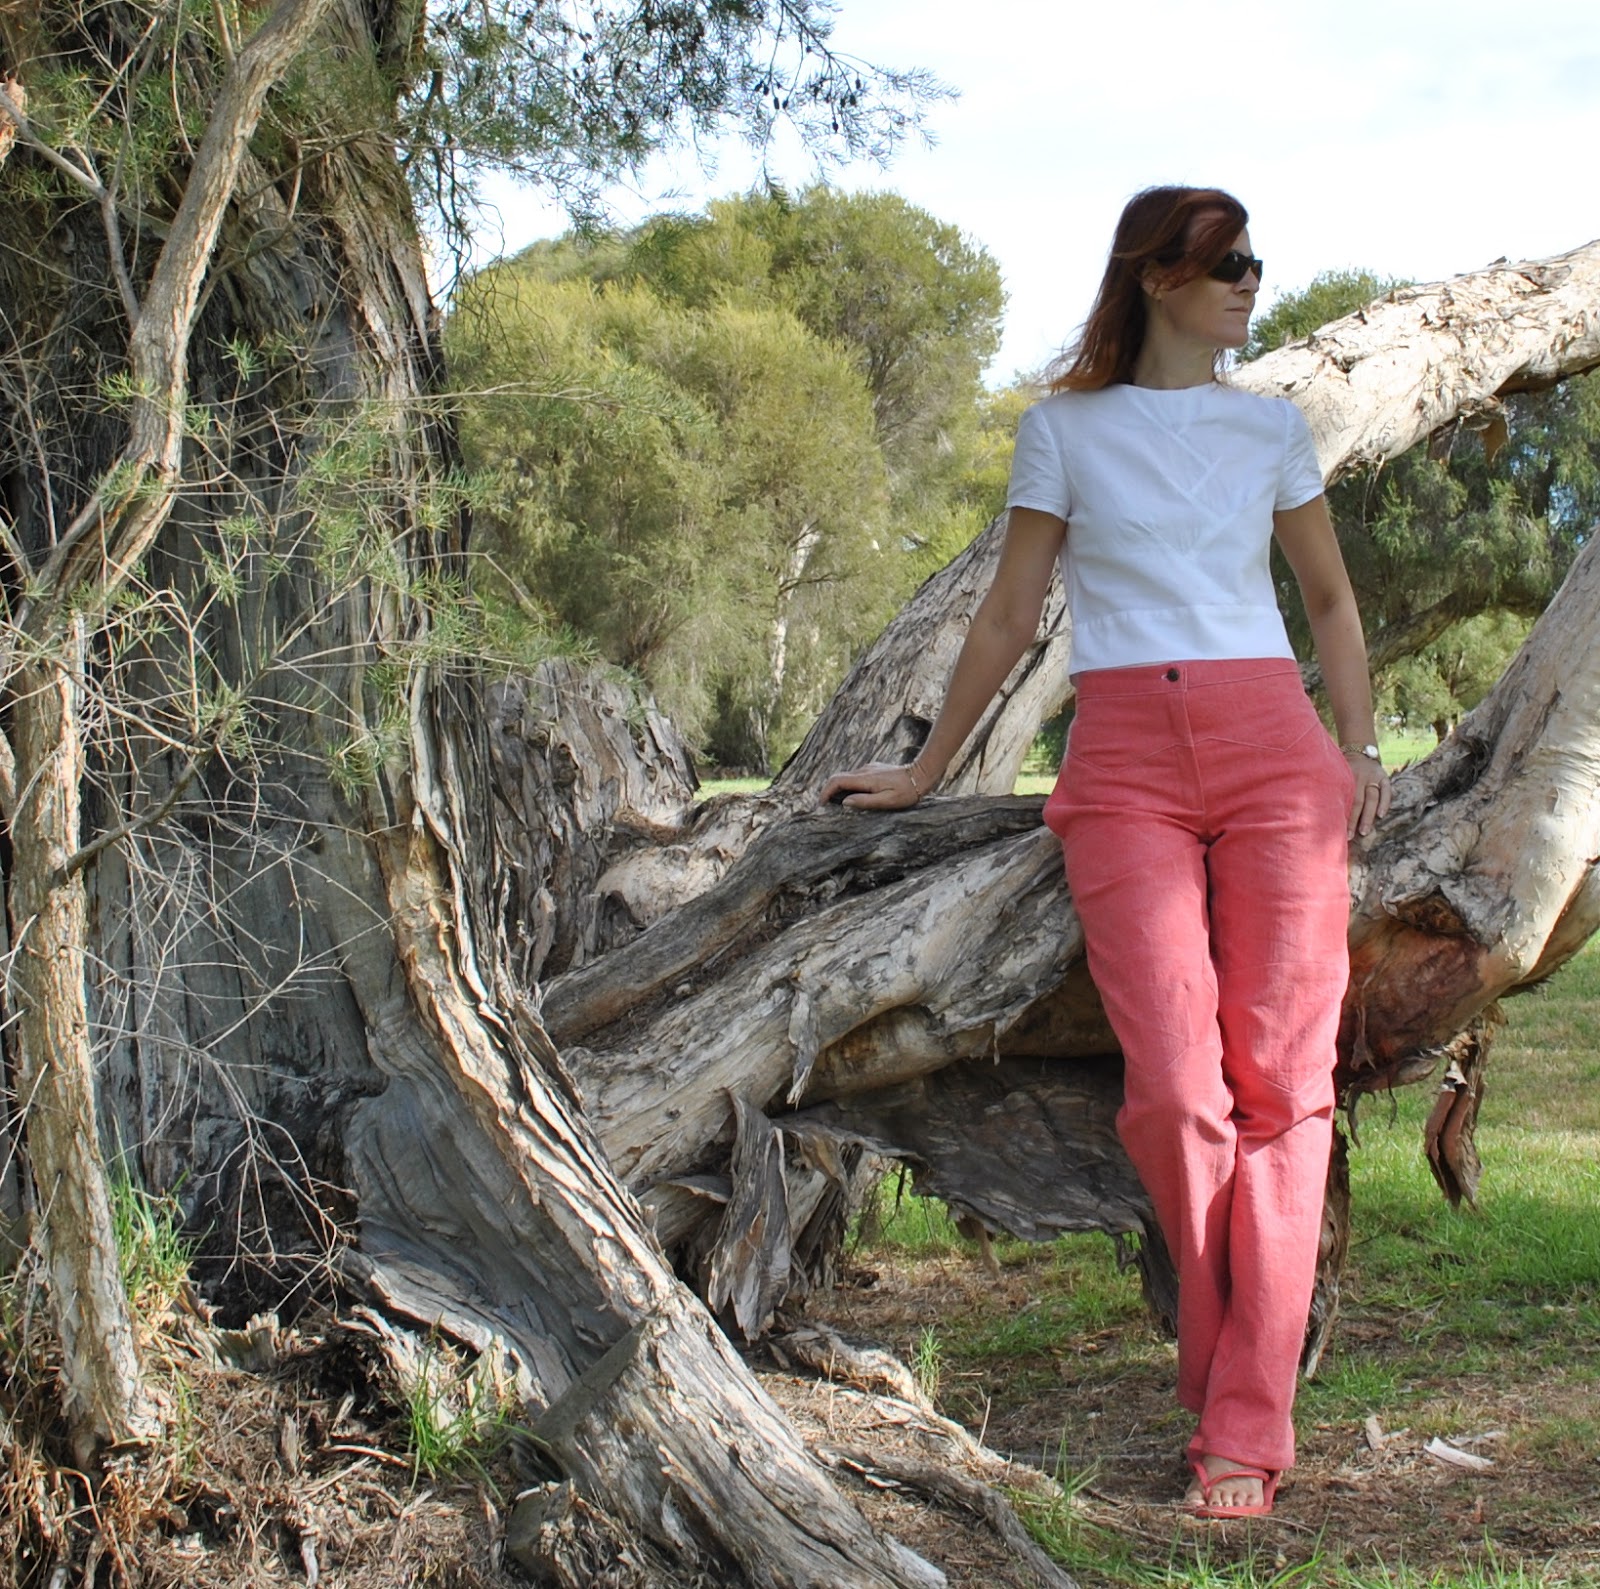
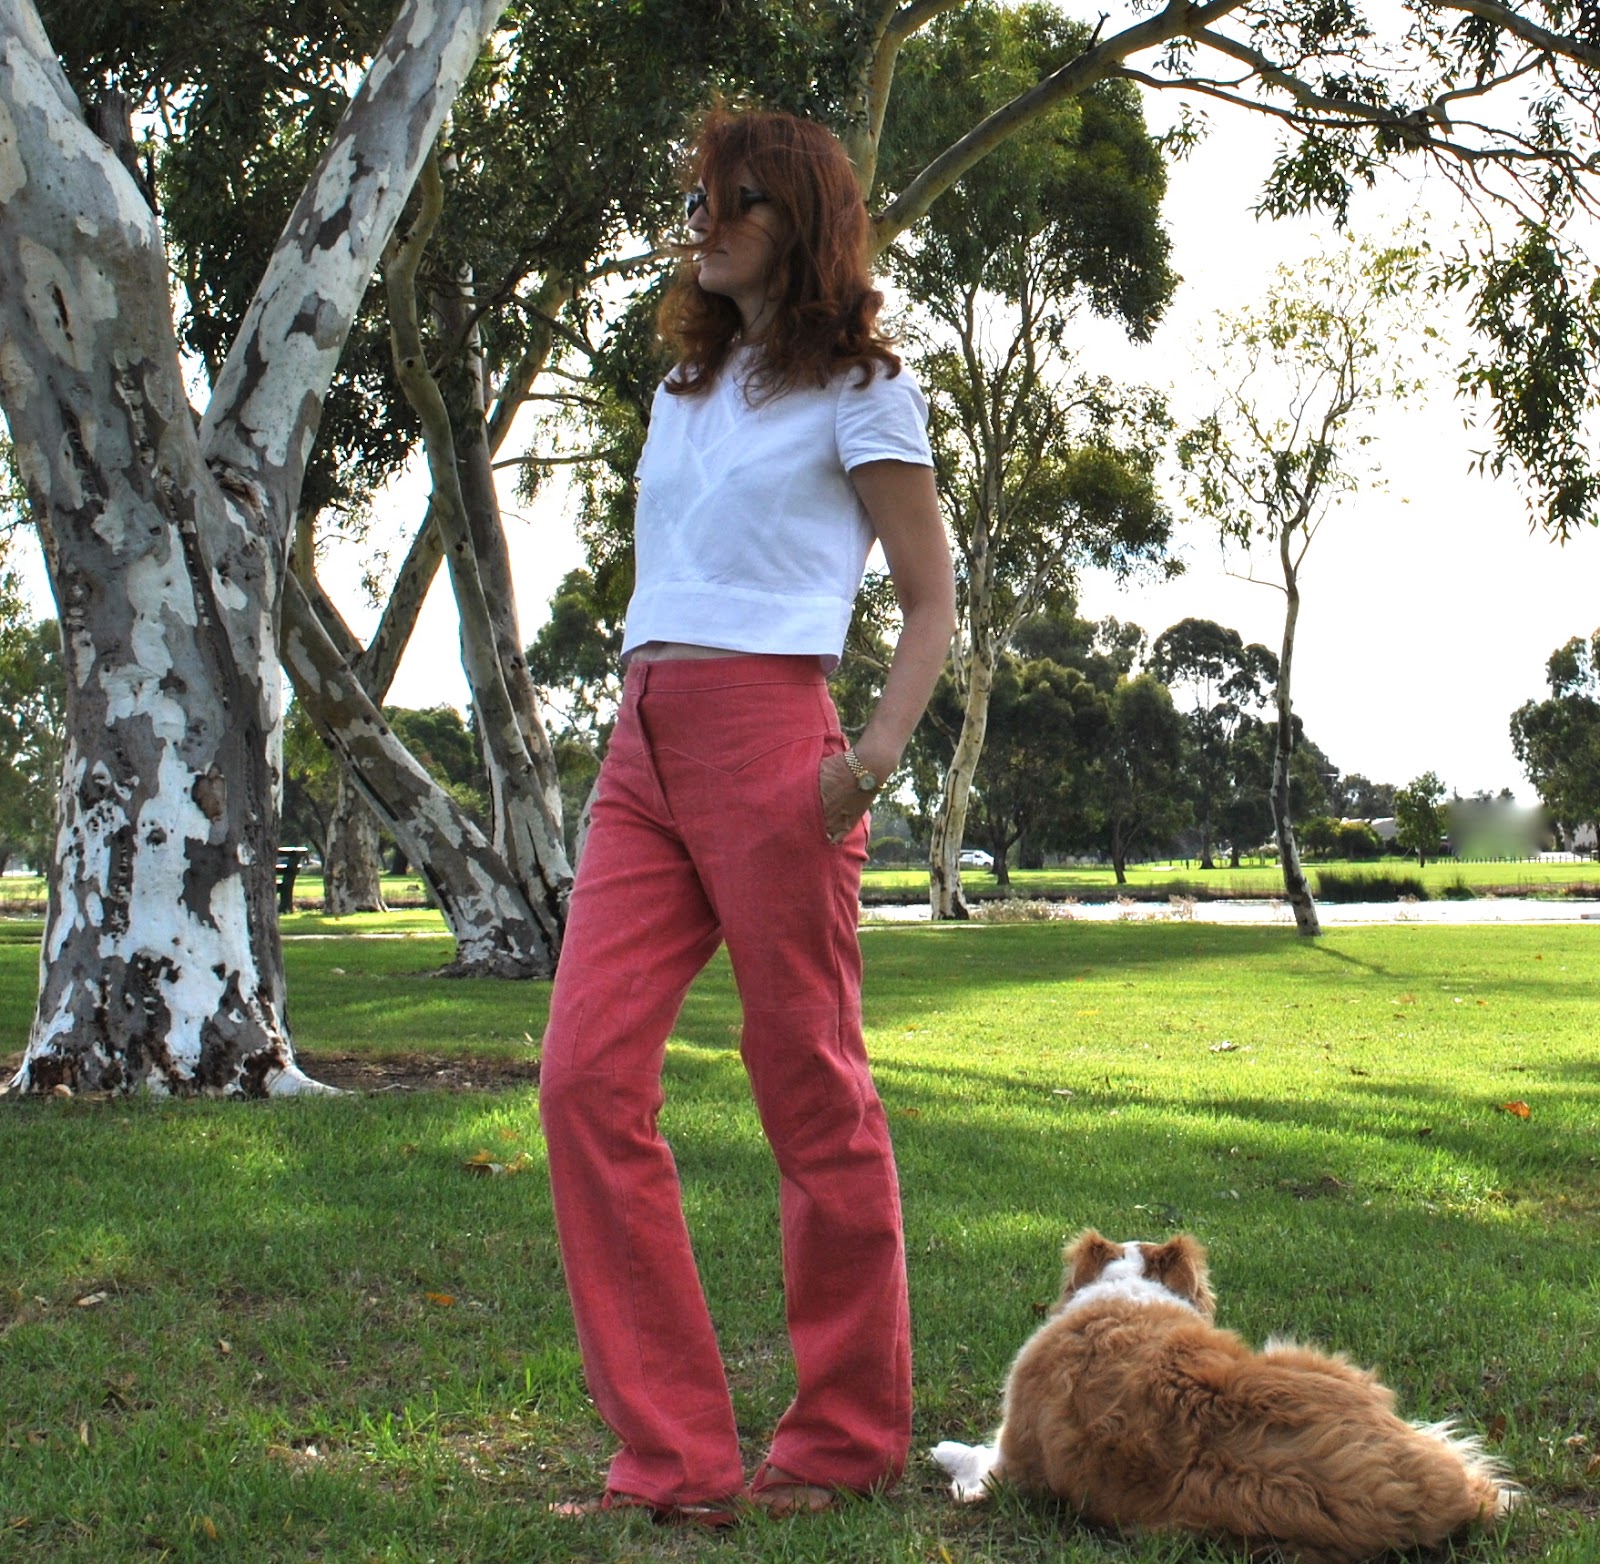
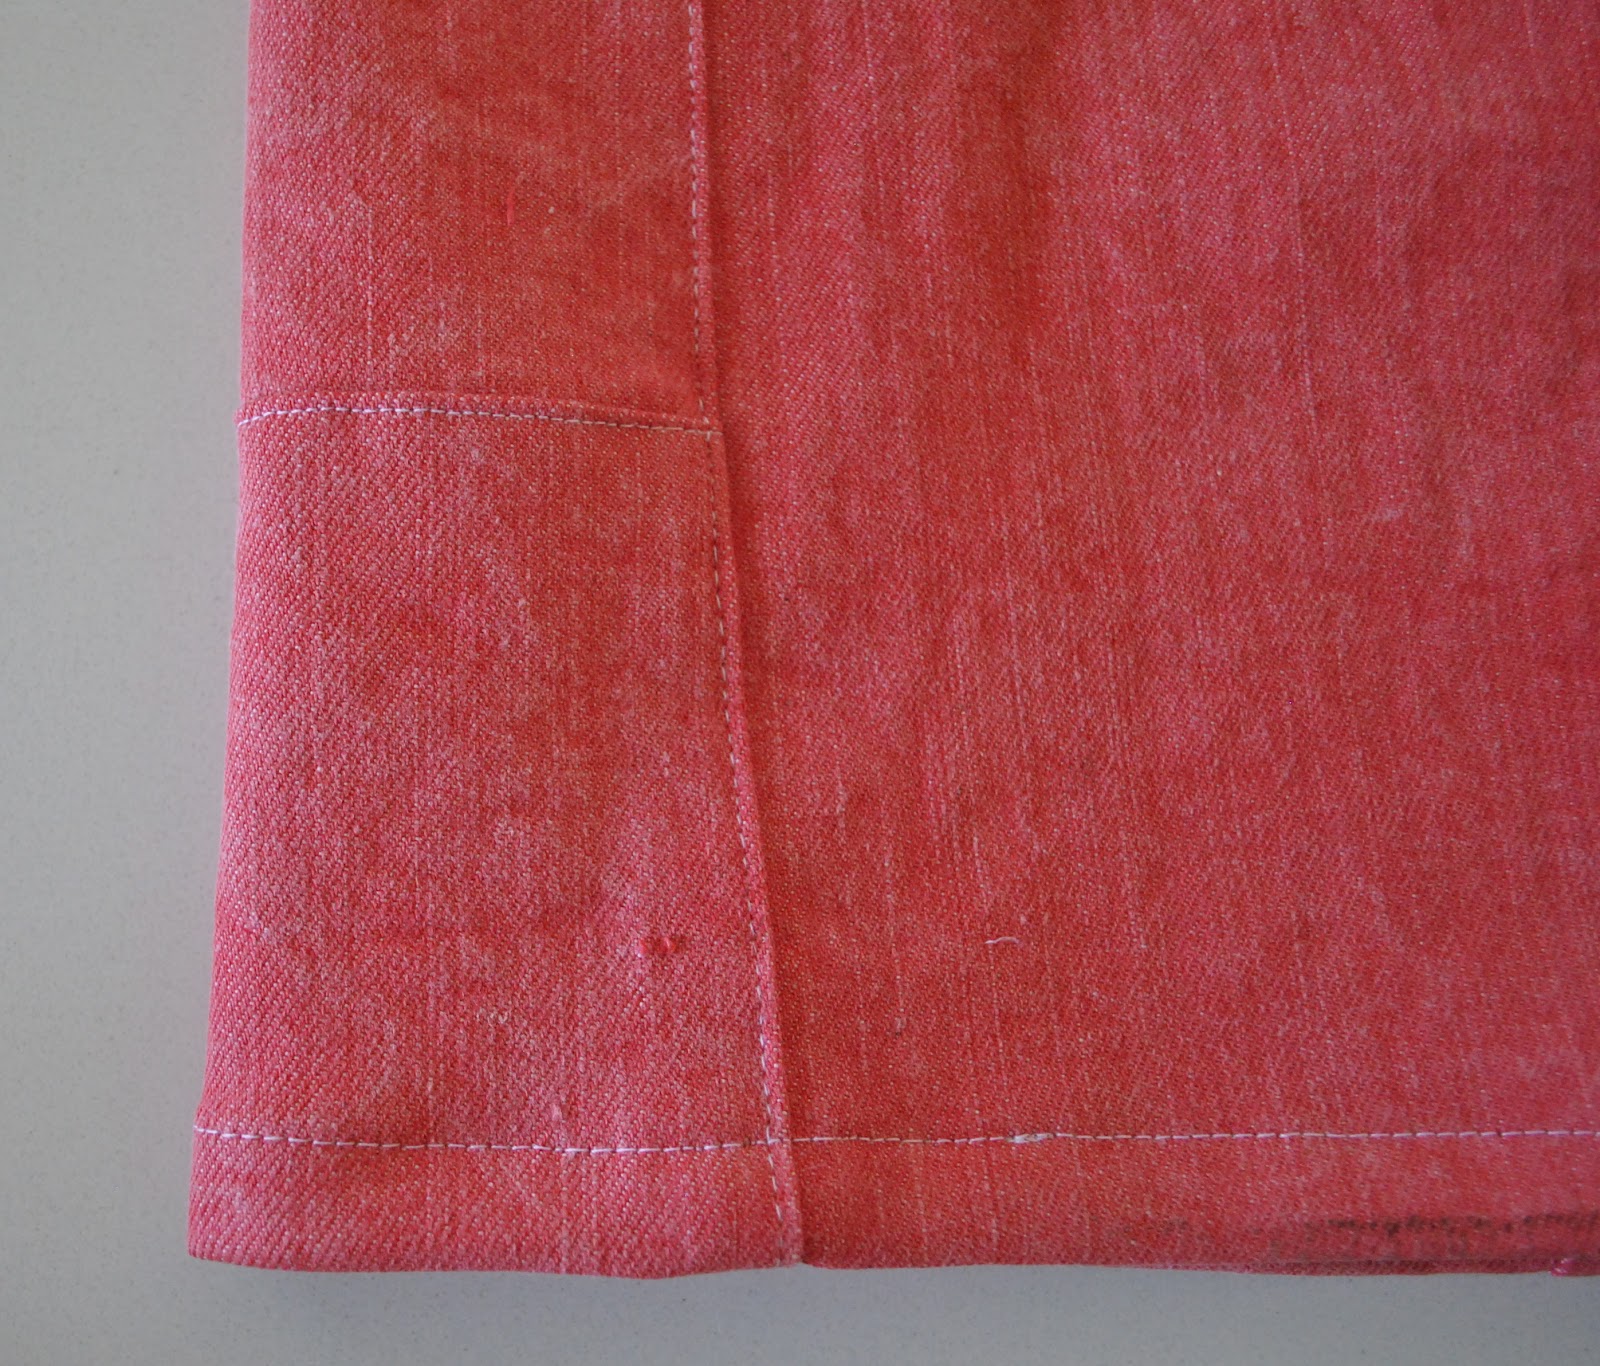
I did not taper the lower leg pieces, but cut the side edges straight to get more of a cargo/bootleg silhouette, which I think suits my figure. Also, The back lower leg pieces were cut, pieced and top-stitched near the lower hem. No, that was not because I did not have enough length, I did this on purpose. I liked it this way 🙂
da knees…

I added quite a bit of length to the lower leg piece, a standard precaution for me when cutting out. I’m wearing them with flatties here but I like the option of wearing heels if I want…. also, I am on the tall side. However, this is where I came a bit of a cropper, and I cannot believe I did not foresee a now blindingly obvious beginner’s trap: of course I should have added some length to that upper leg piece, as well as to the lower leg piece! Doh! The upper leg piece turned out to be on the short side and so the knee piece is situated rather weirdly high on my leg… I’m pretty cross with myself about this, I’ve become so blase about adding length I stupidly did not think it through and break it down into the individual pattern components, like I darn well should have. Lesson learned. One is never incapable of making a fundamental boo-boo with a new design.
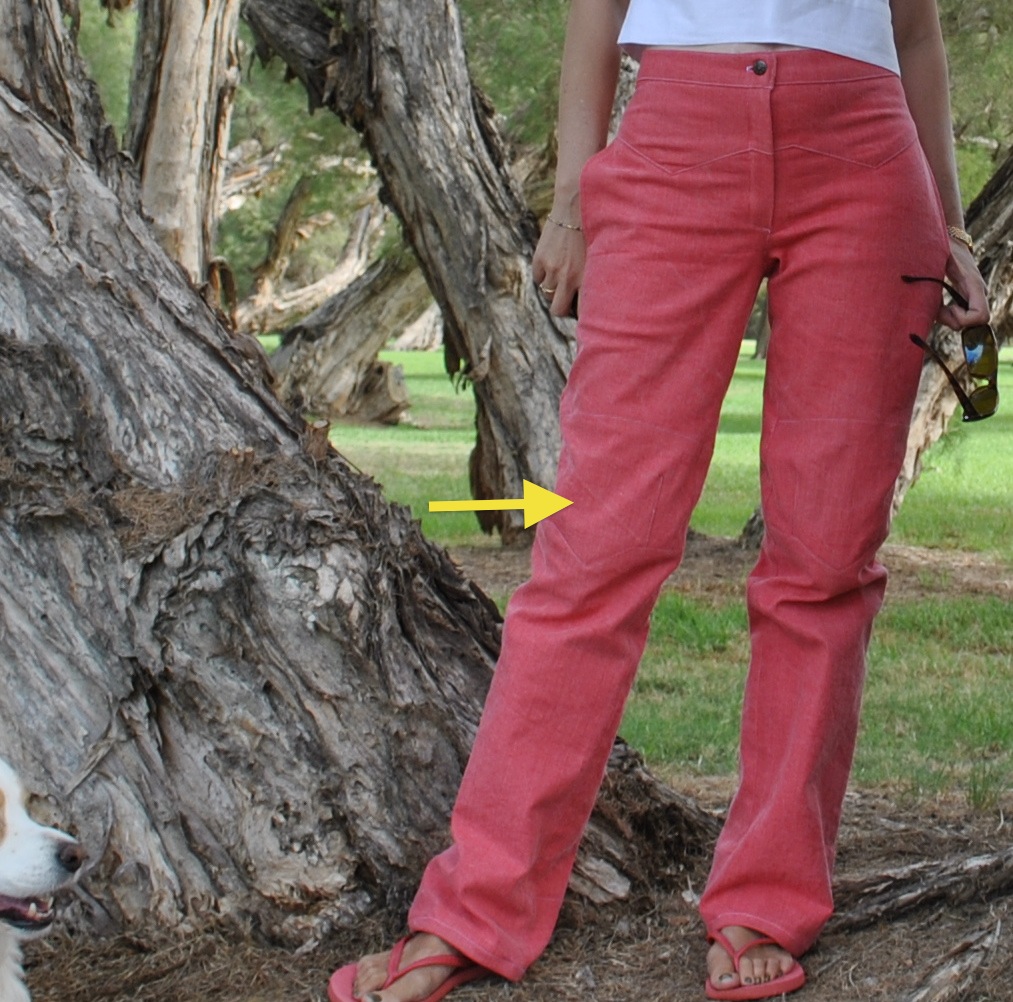
But I am not going to beat myself up over it, and certainly this little detail is not going to stop me from wearing the heck out of my fab new jeans. Look at that yummy colour! Plus, I decided after looking at these pics that the high-ish knee patch is not hugely obvious nor detrimental to the overall appearance.
Details:
Jeans; Au Bonheur des Petites Mains PLH08002, strawberry pink non-stretch cotton denim
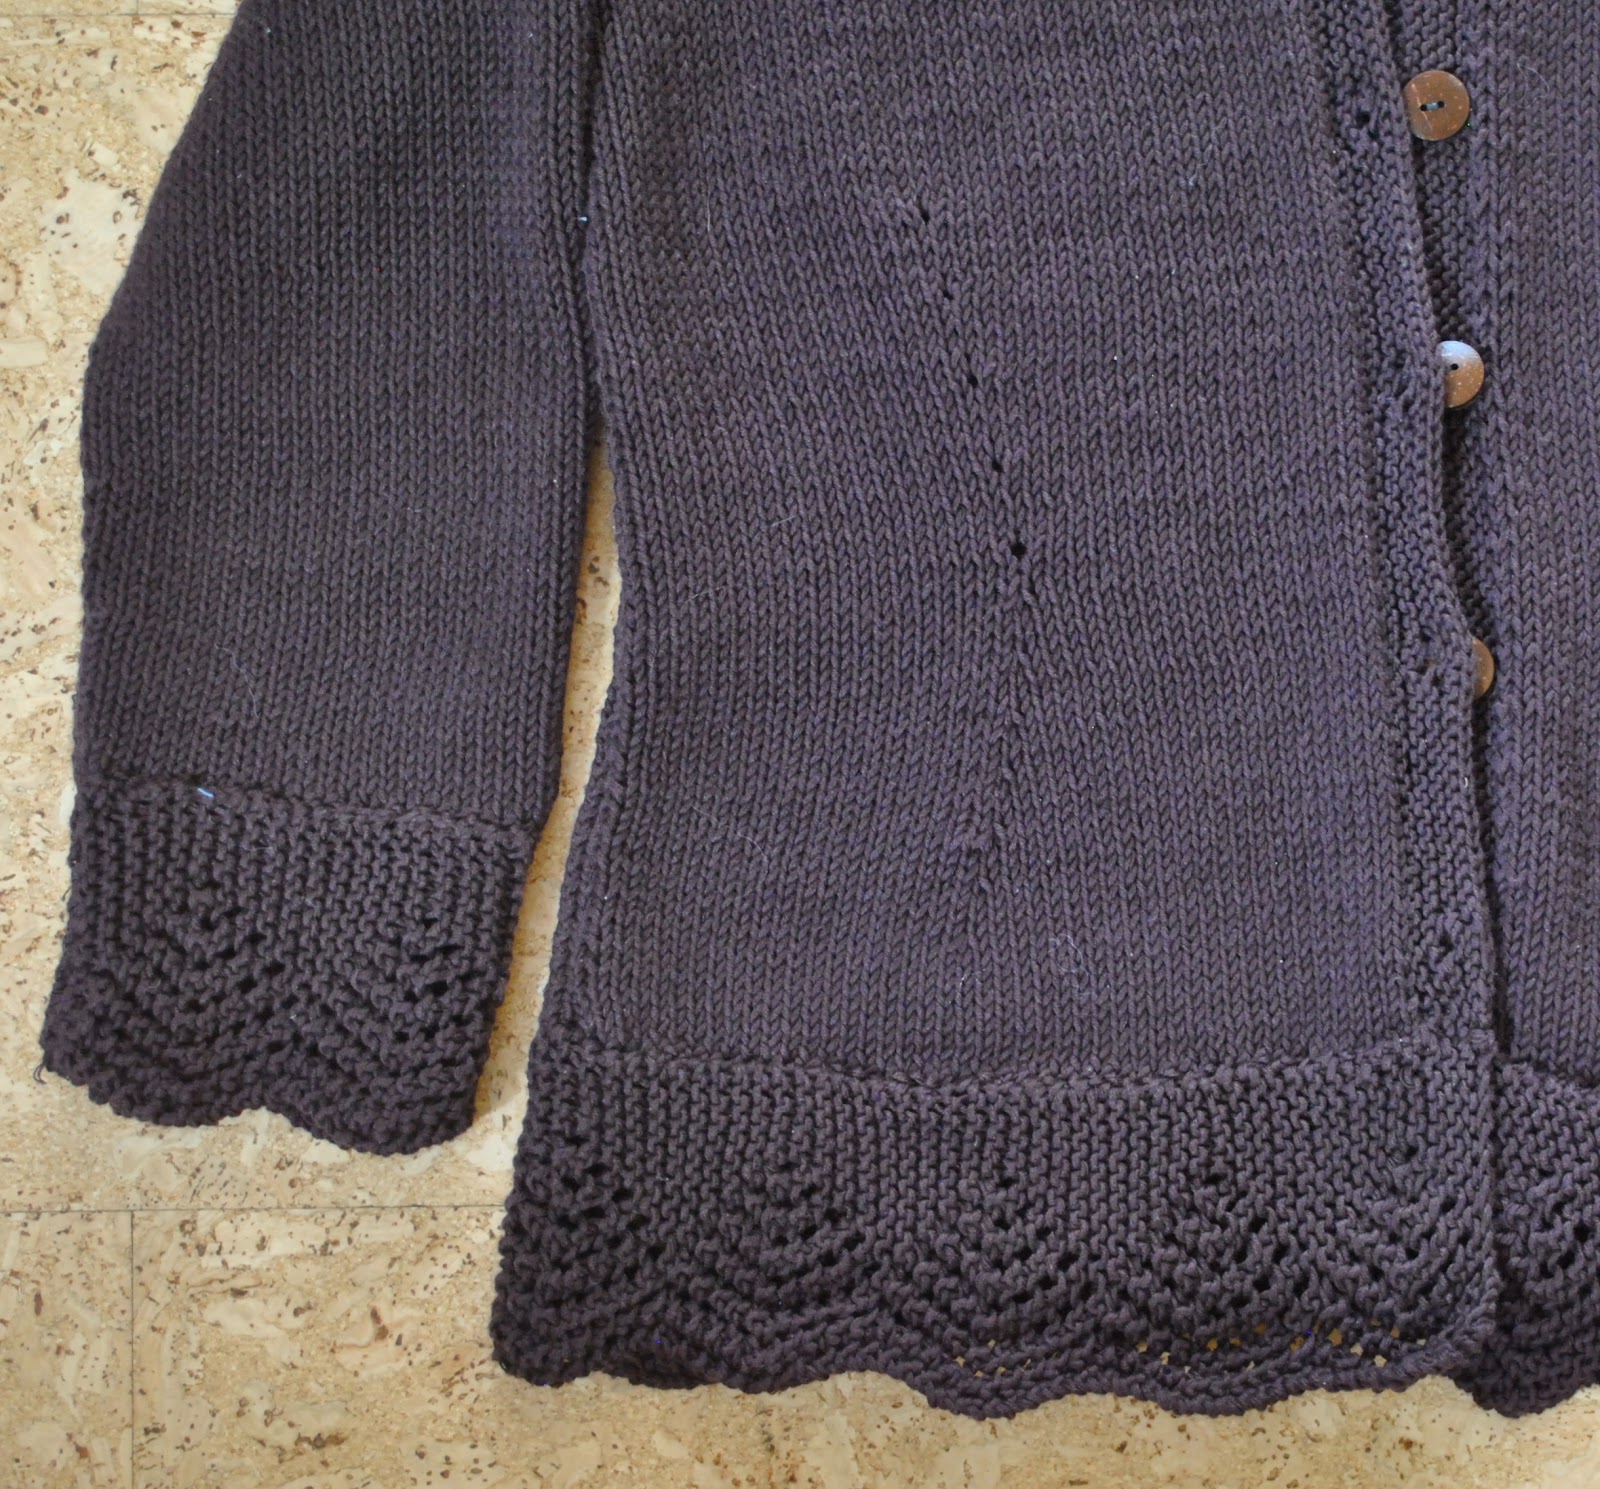
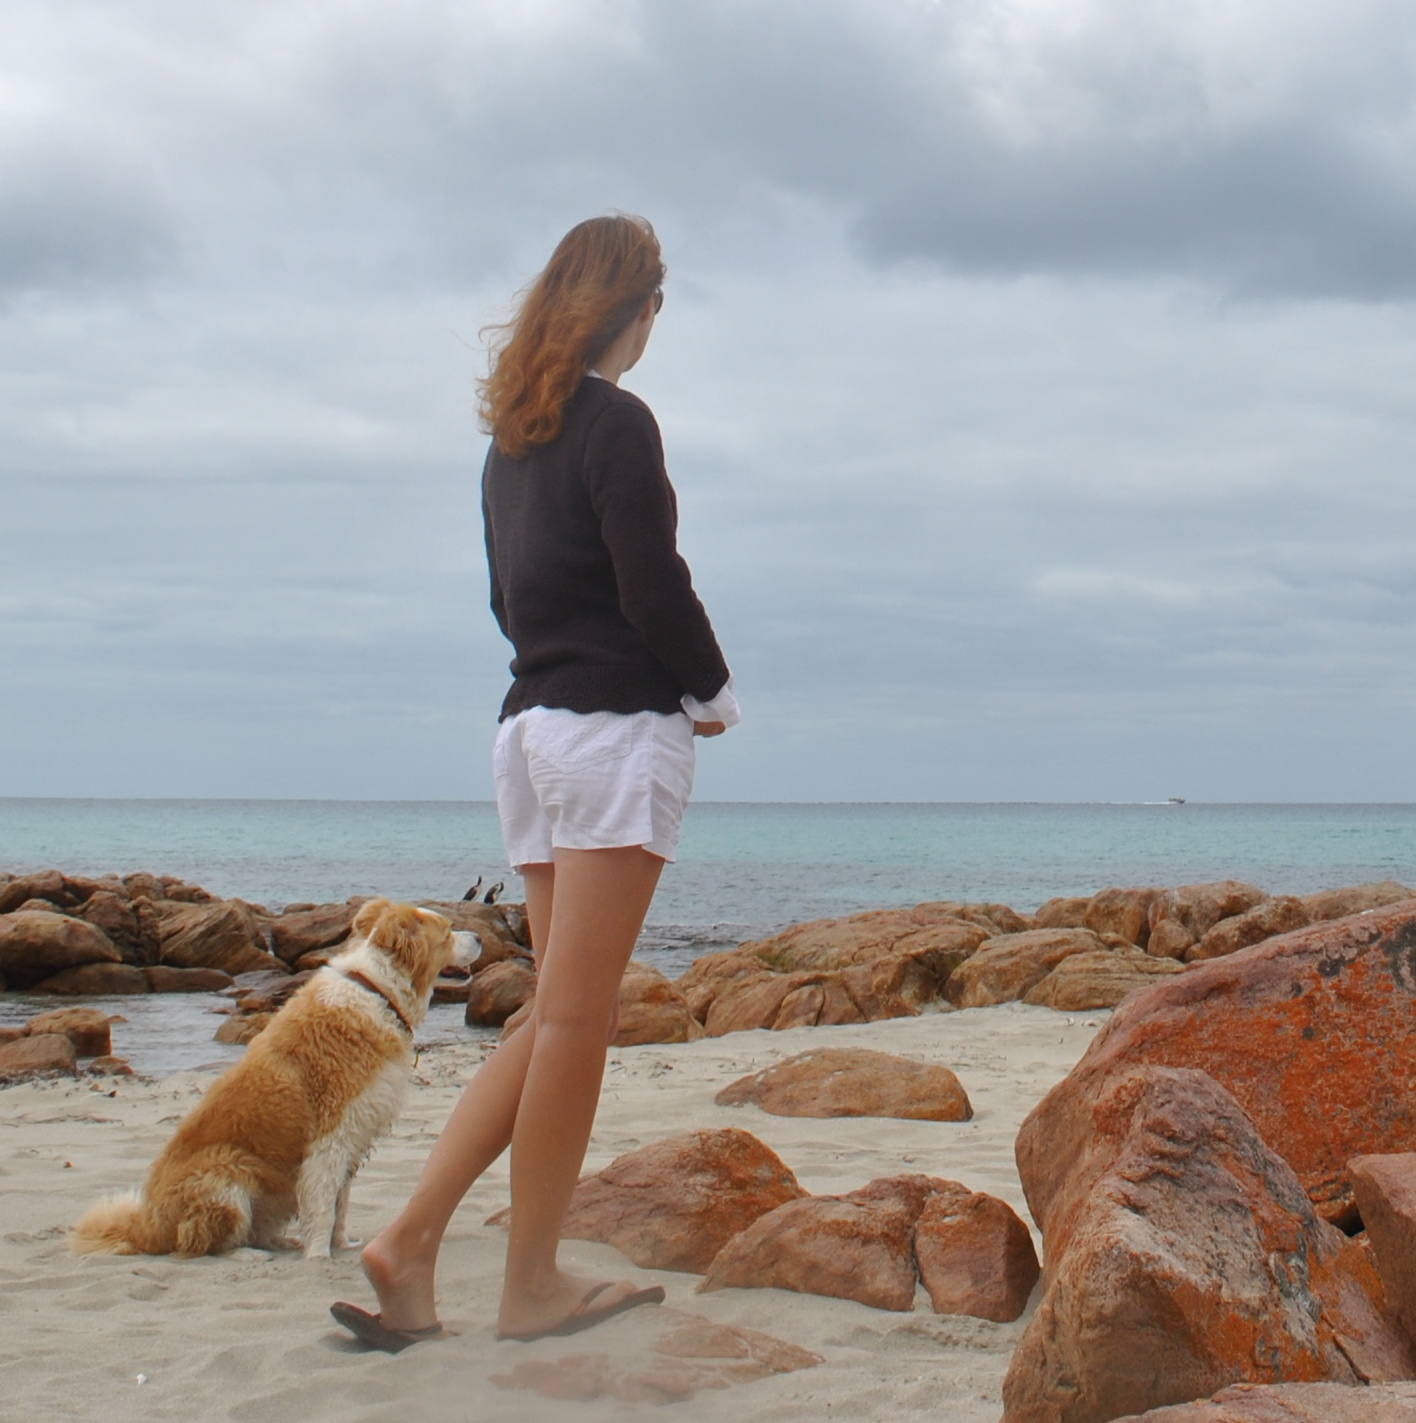
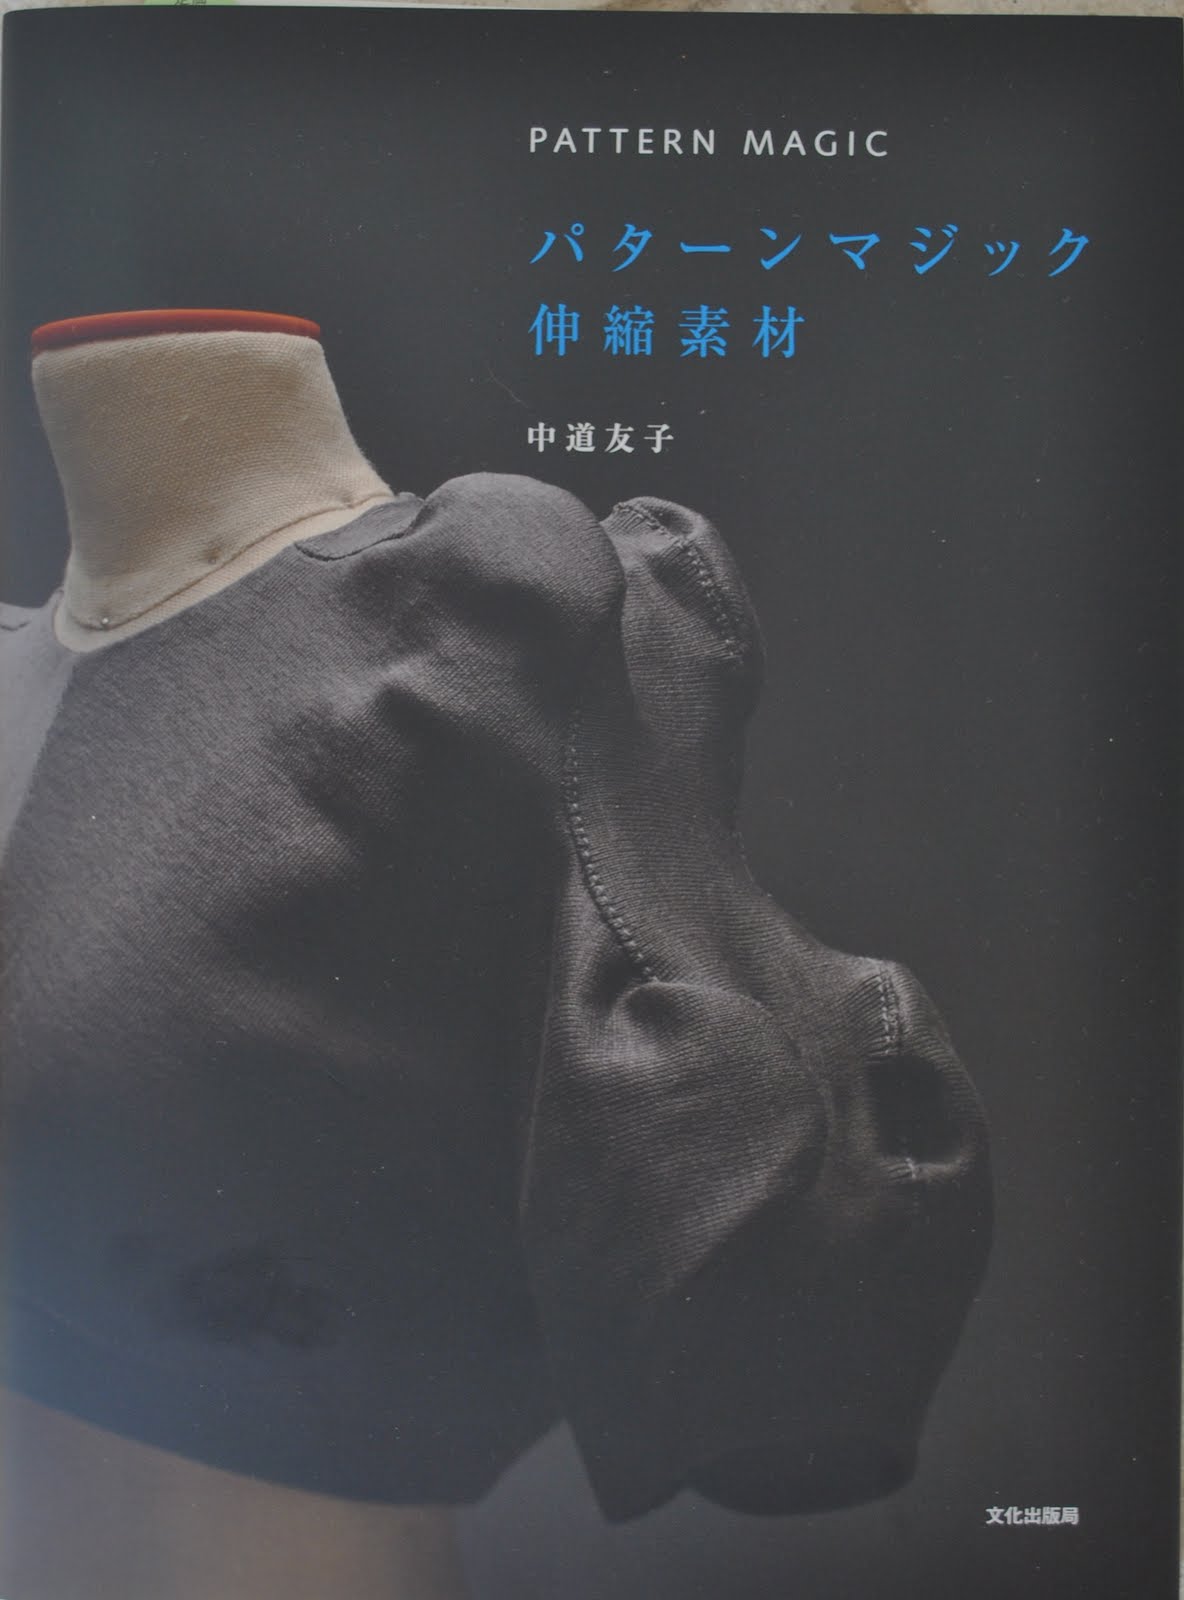
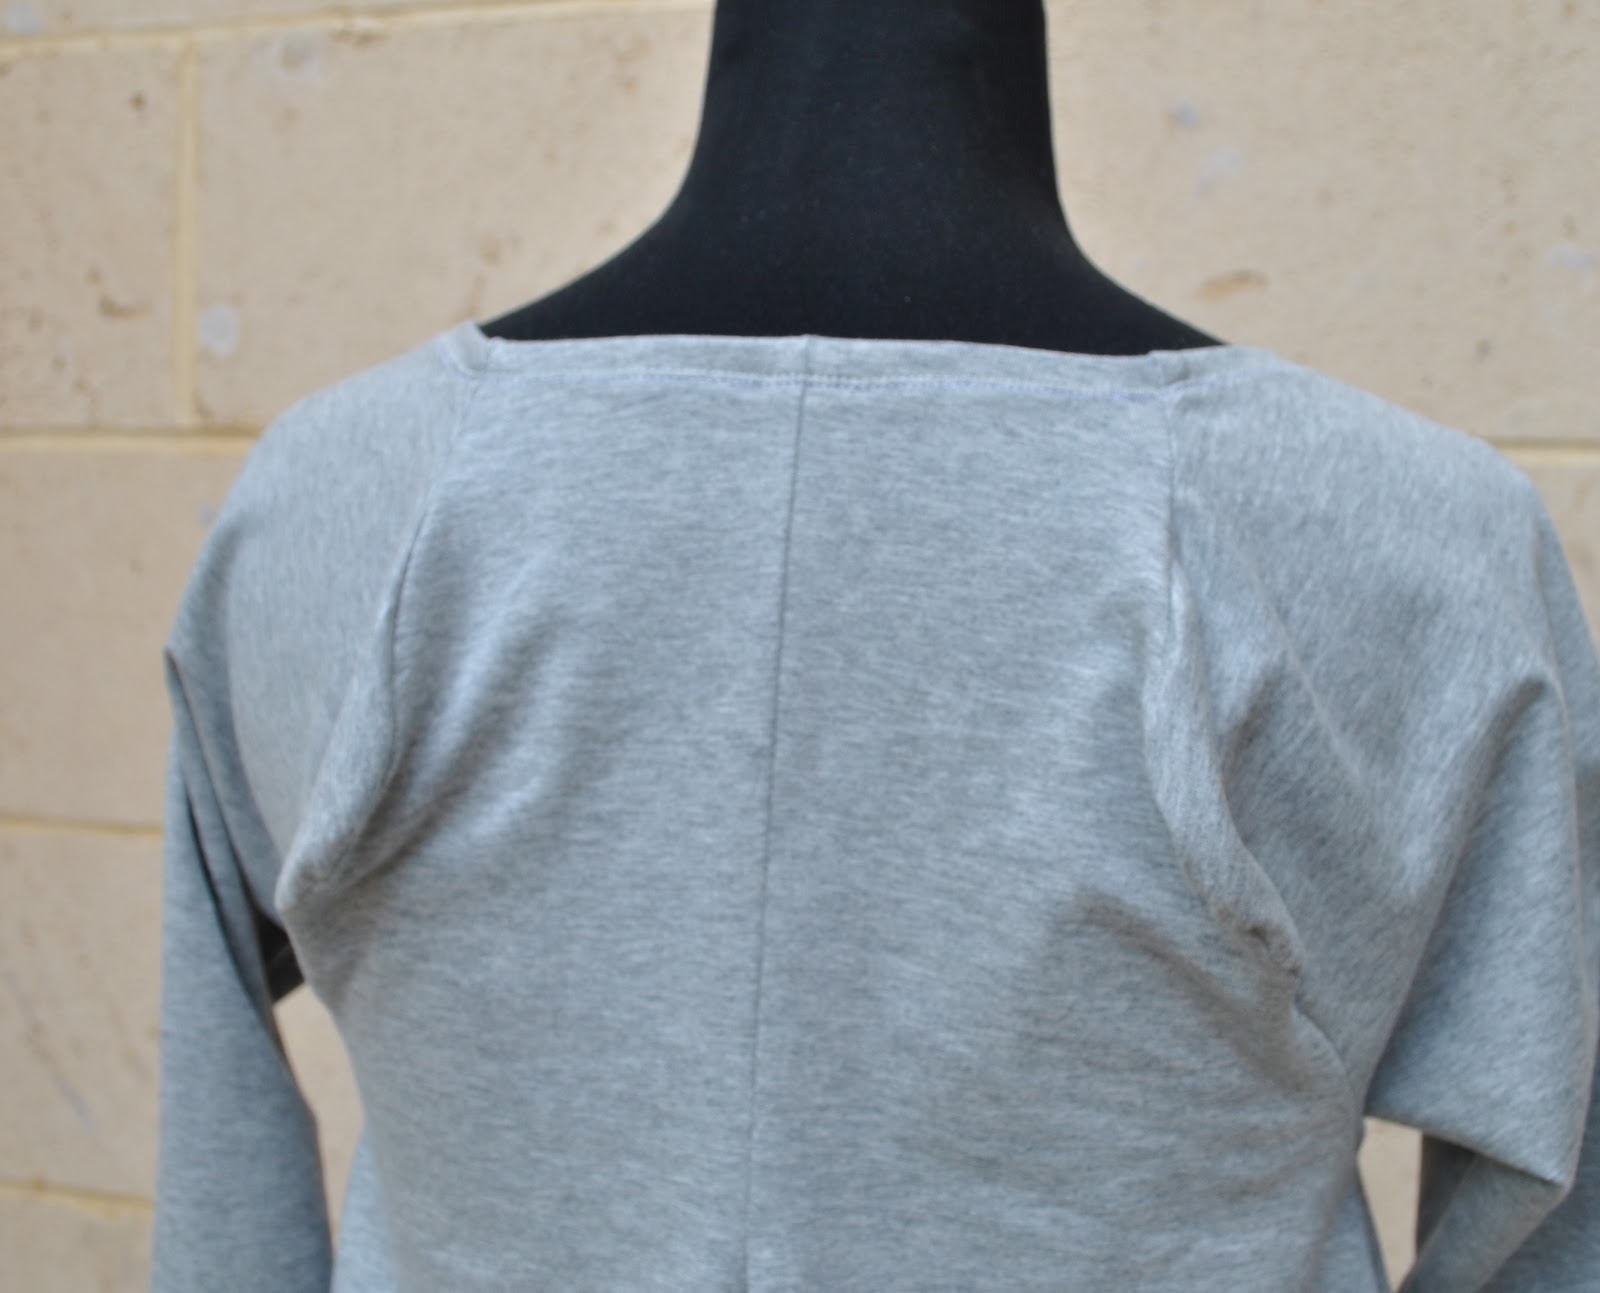
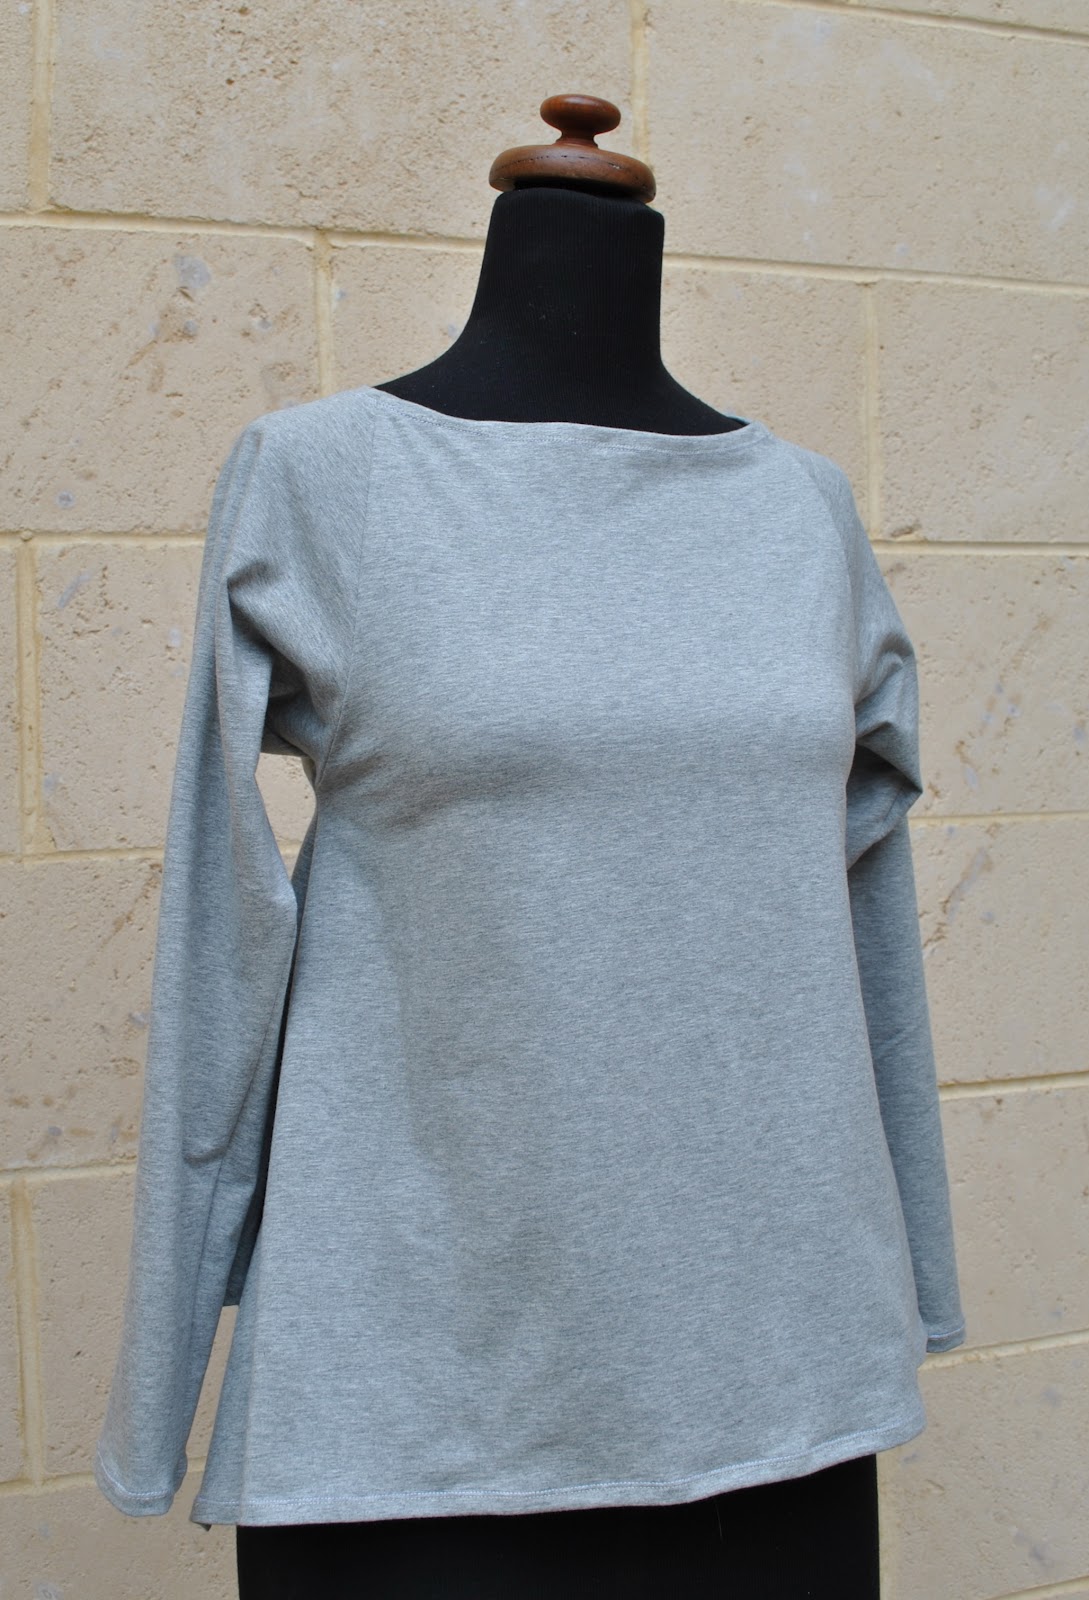
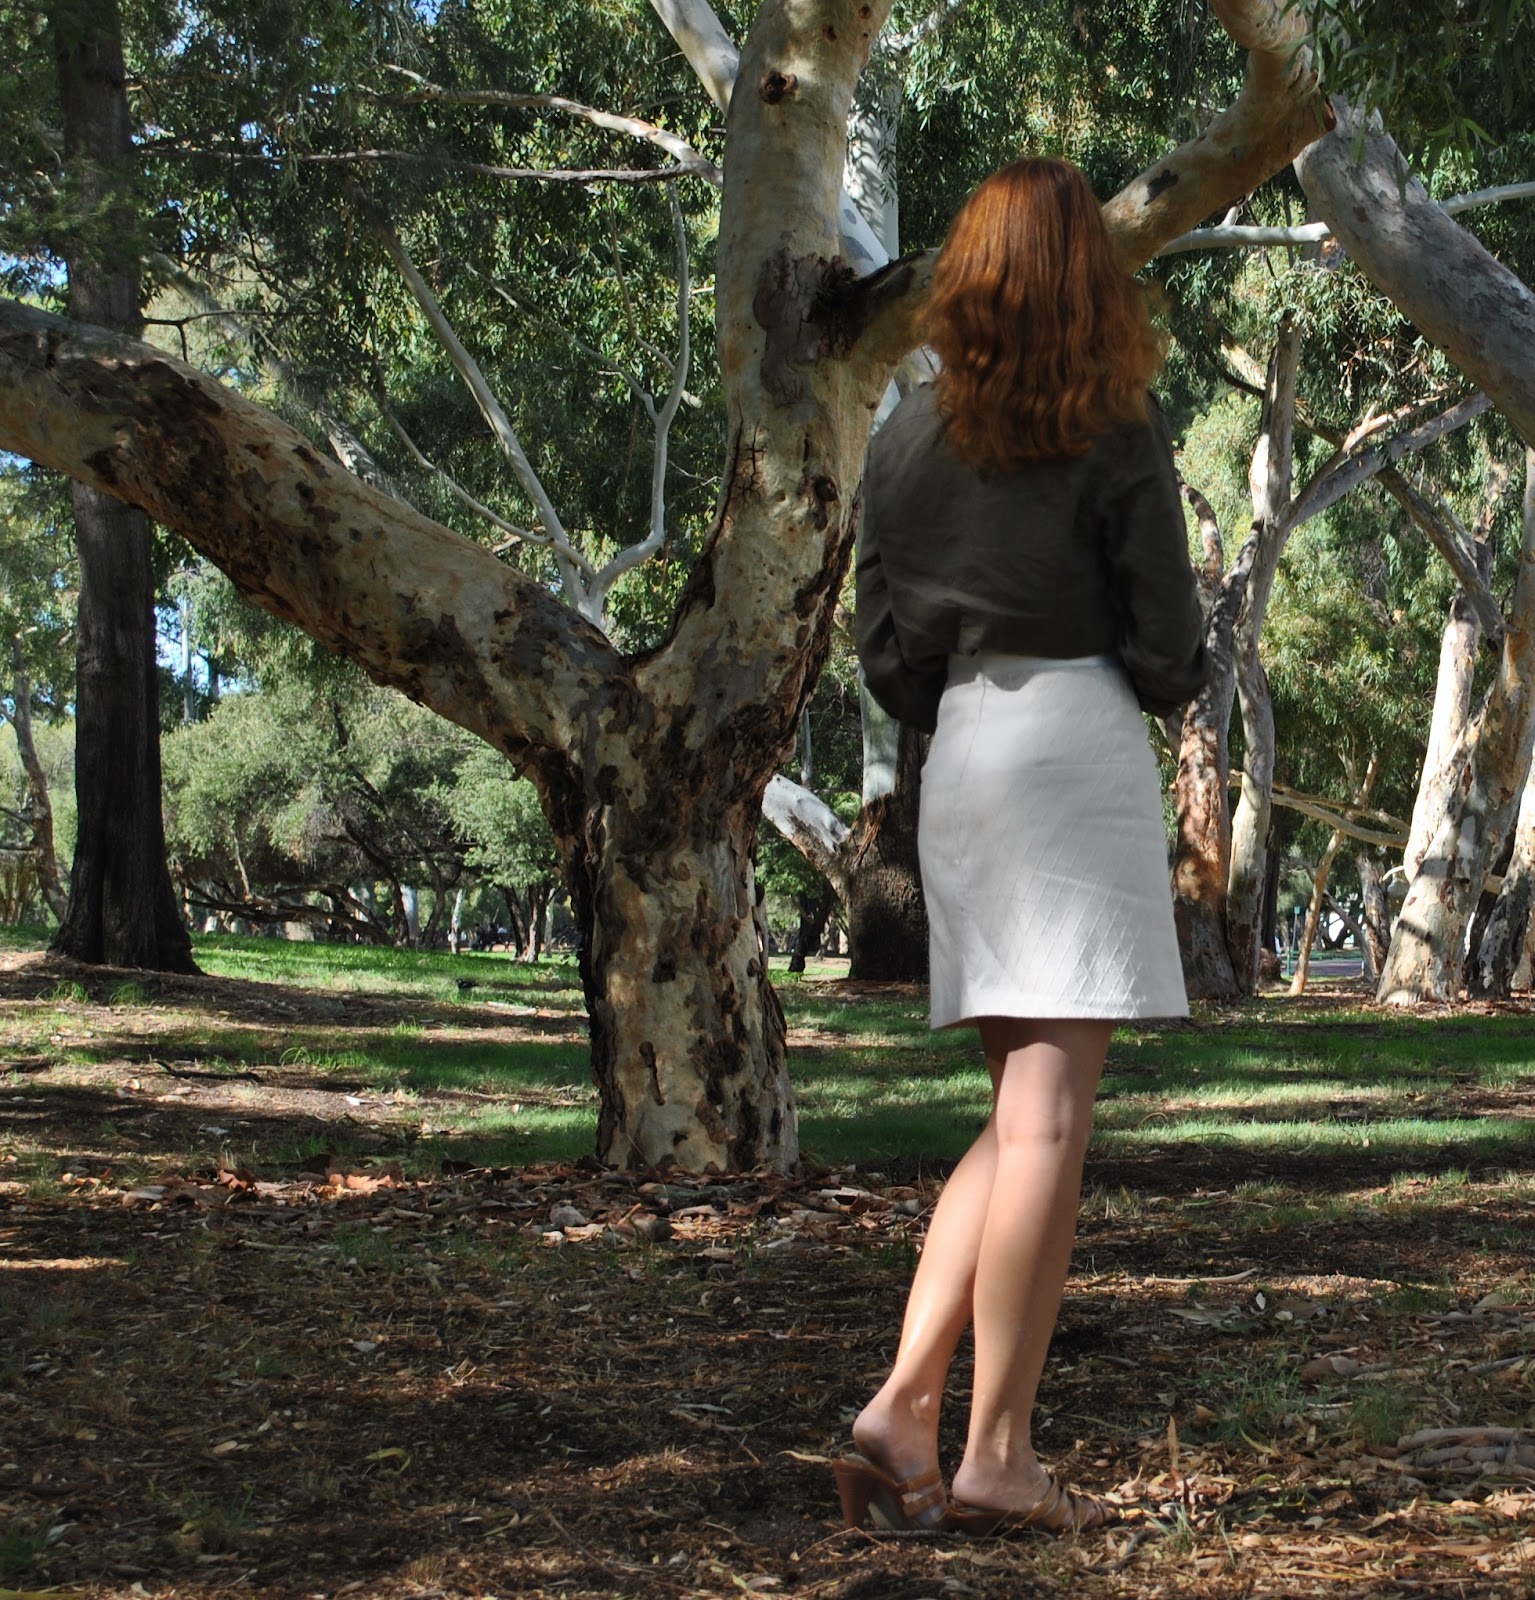
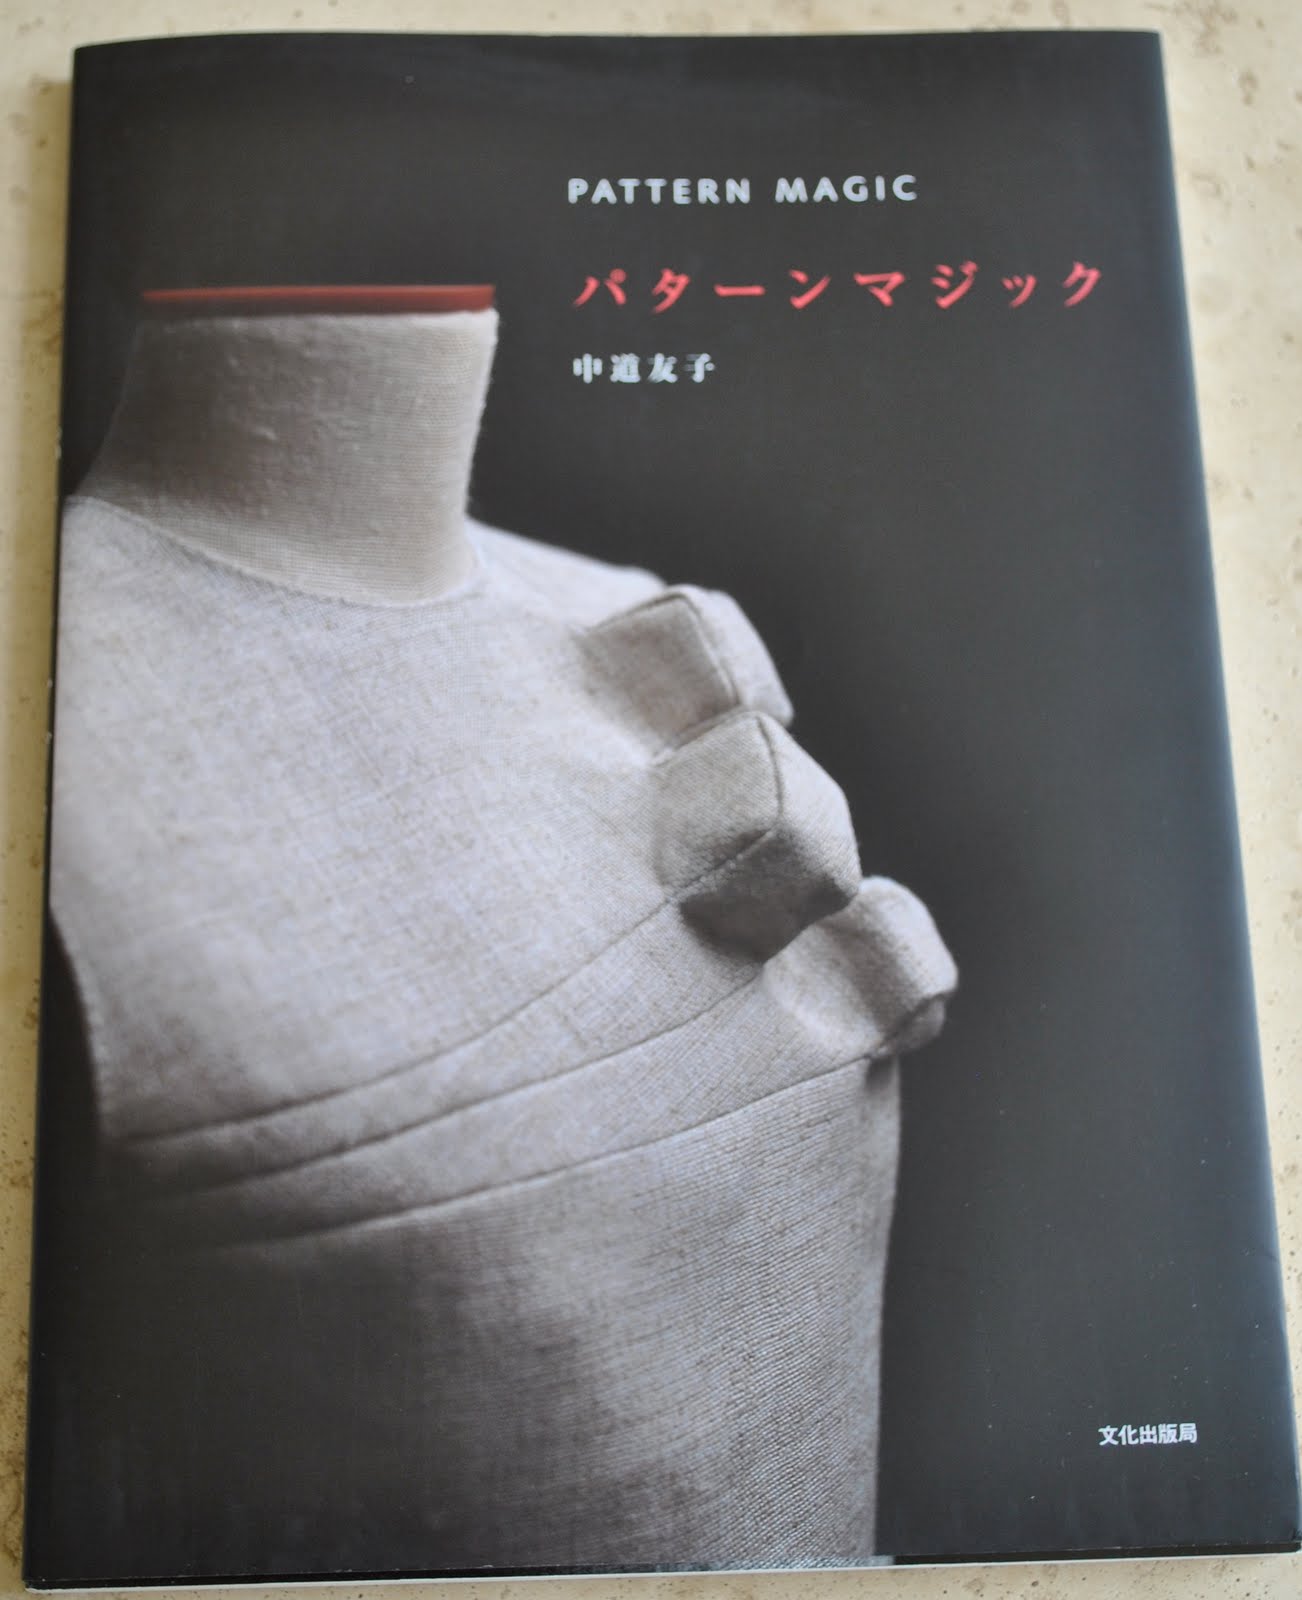
Top; drafted from the Japanese pattern book Pattern Magic by Tomoko Nakamichi, white linen, details here
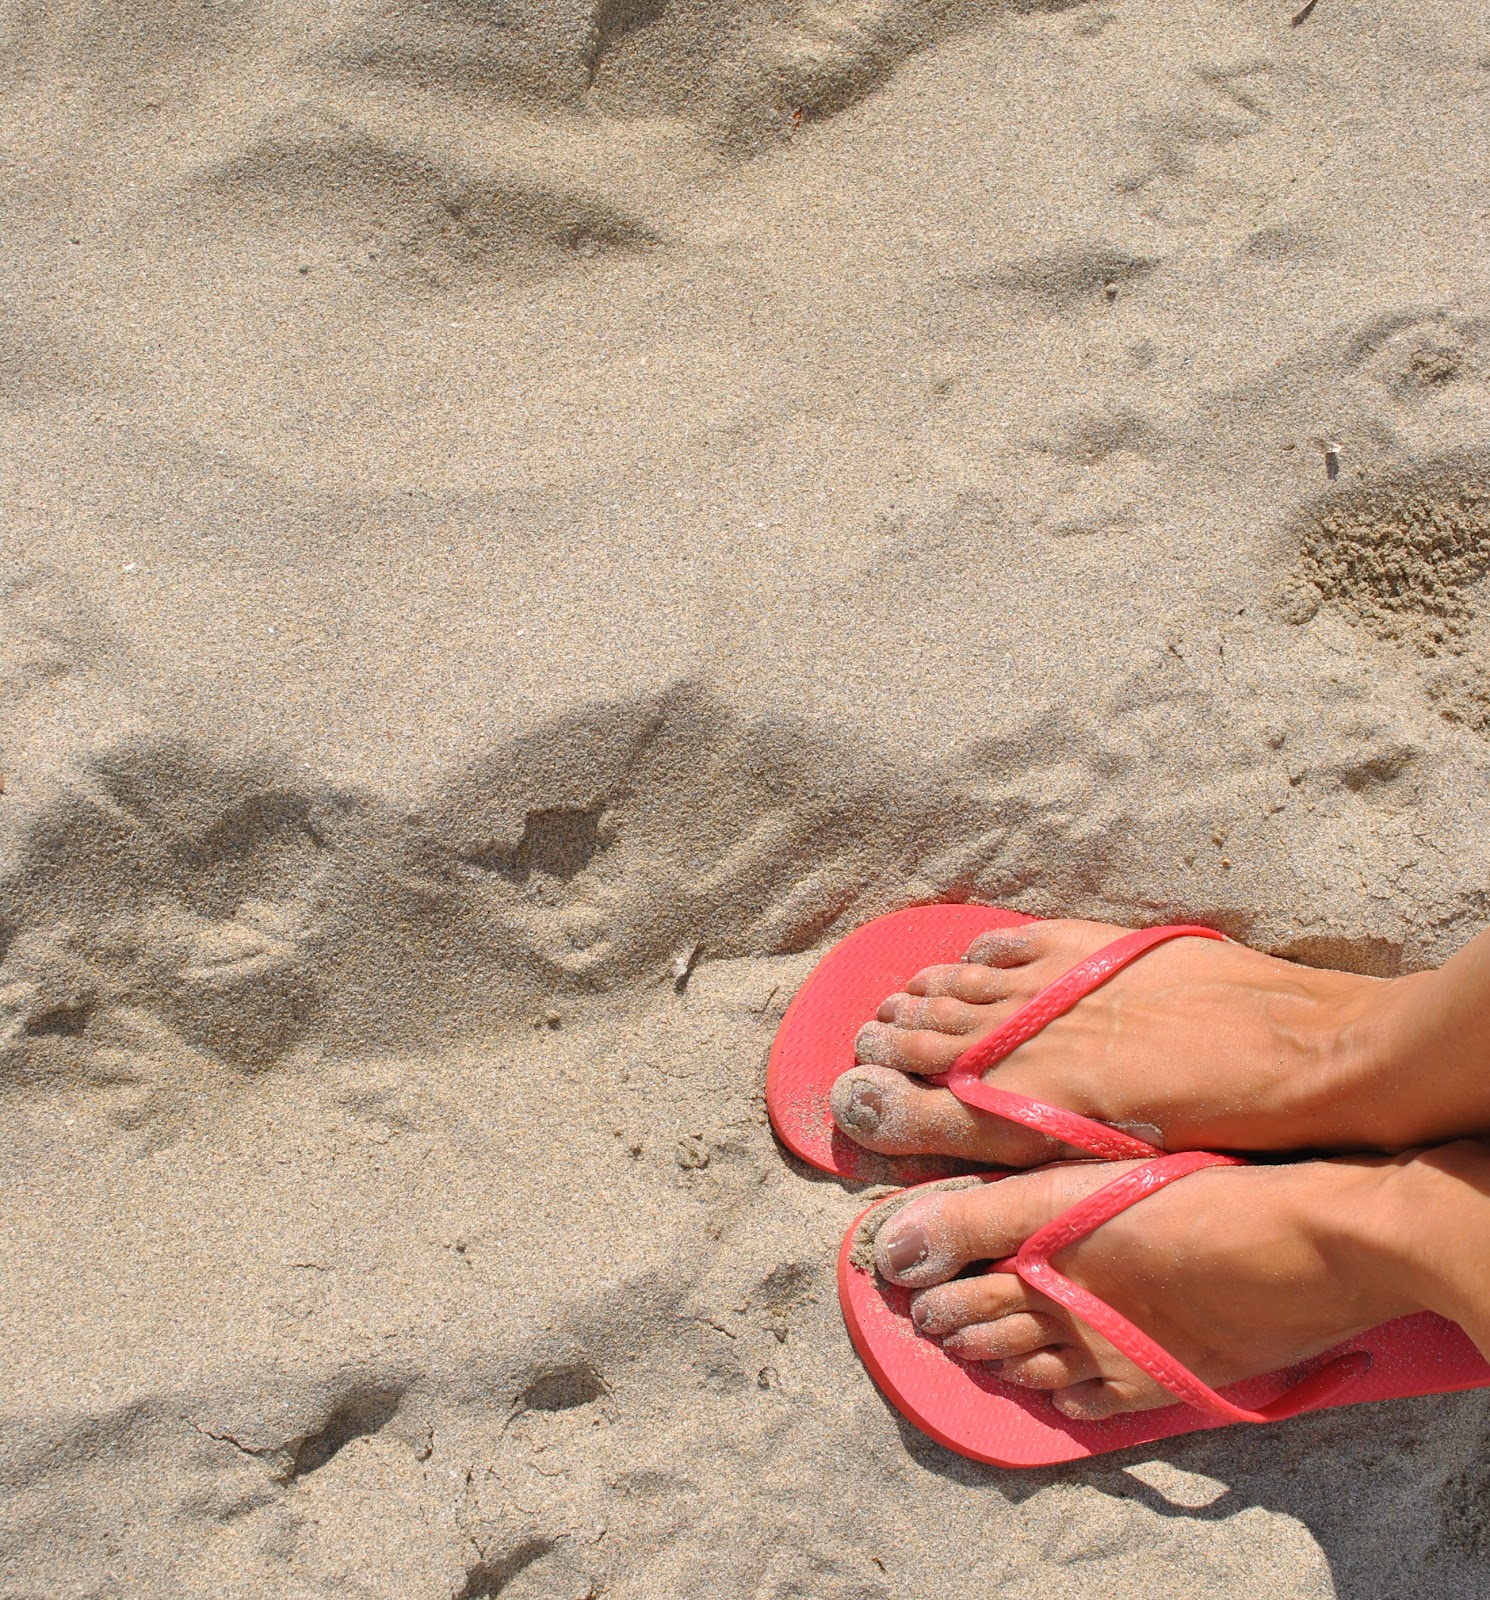
Thongs; KMart
Pattern Description:
Jeans, with funky unique seaming, topstitching and styling details
Pattern Sizing:
38
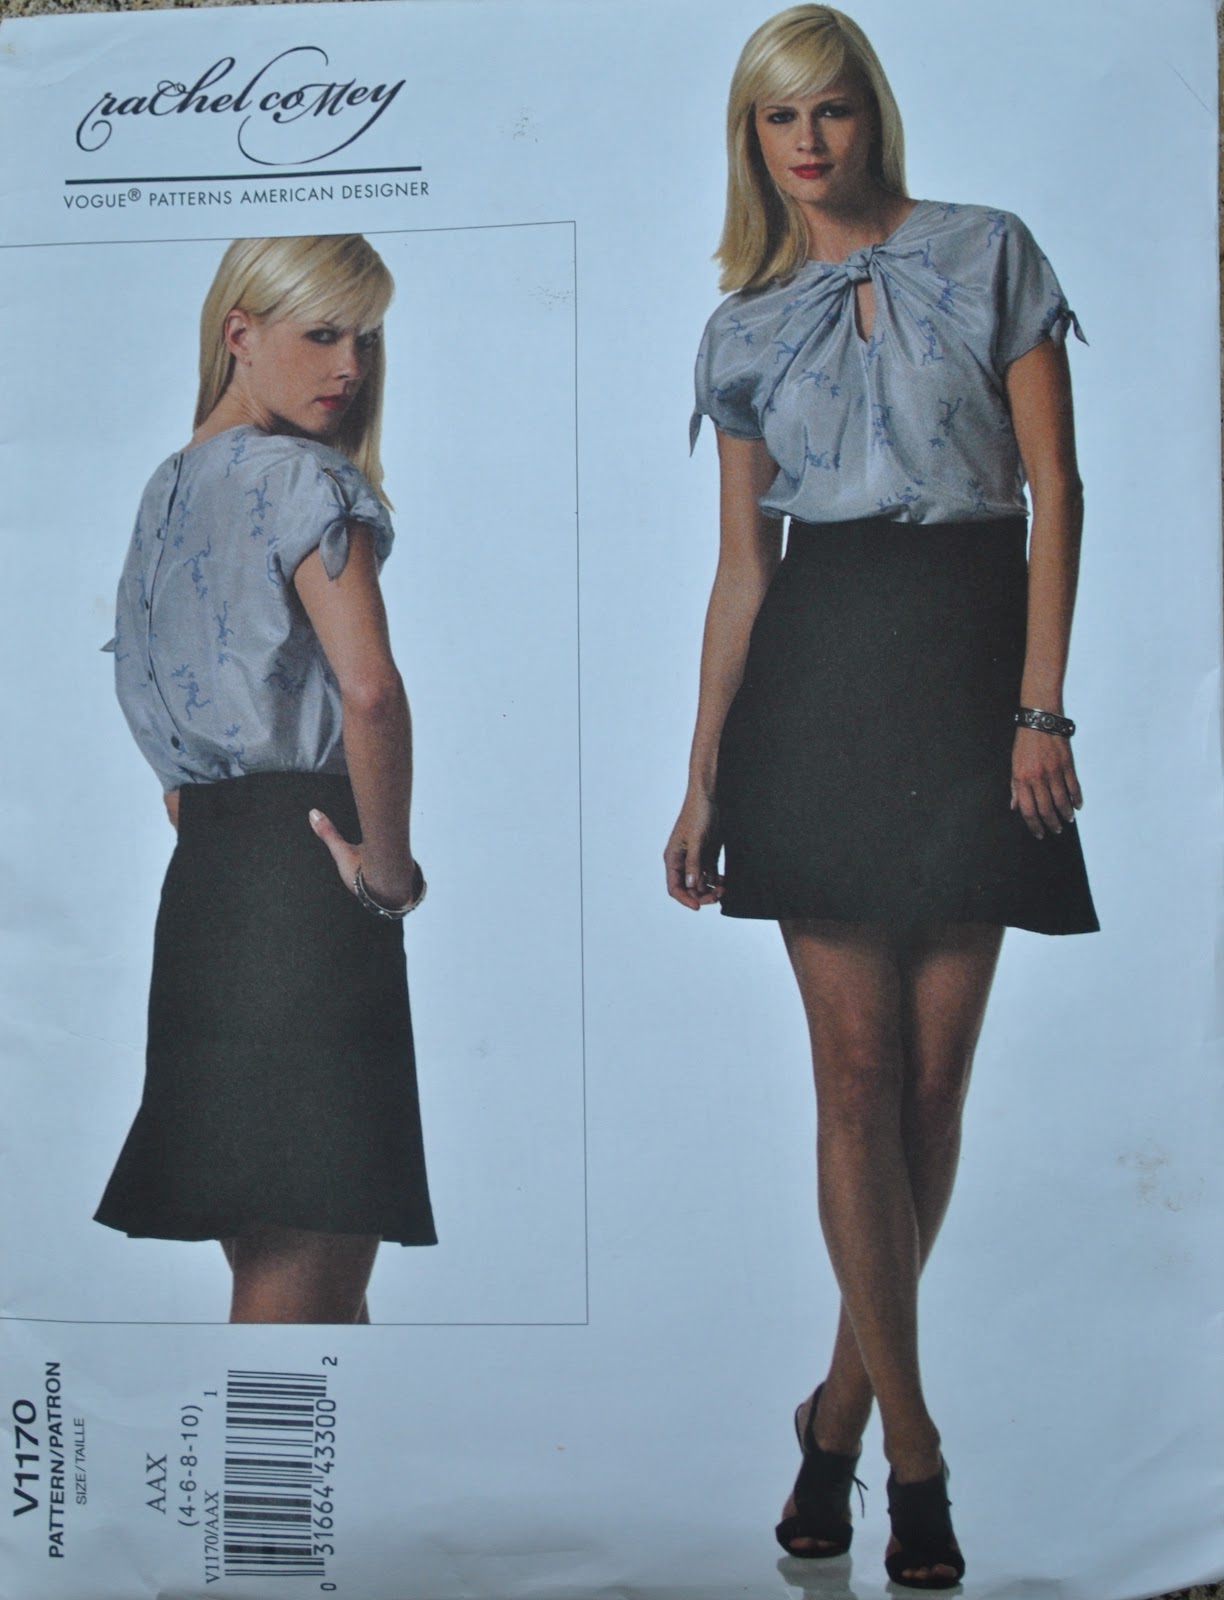
Did it look like the photo/drawing on the pattern envelope once you had finished sewing it?
Pretty much. I made a few minor modifications
Were the instructions easy to follow?
They were in French. After applying google translate, which substitutes interesting English alternatives to what are probably commonly used sewing terms in France; much hilarity ensued!
Seriously though, the instructions assume the seamster has made jeans before and has a pretty good general knowledge of sewing already, so do not go into details… they are really pretty scant. So I ended up not using them; just piecing together in the same order of construction I have always made jeans.
What did you particularly like or dislike about the pattern?
The fit is perfection. I love love love the funky styling and the interesting seaming. If I did want to make up an “ordinary” pair of jeans it will be easy to adapt this pattern, with its great fit, to a more conventional style.
The side pockets on the hip are my favourite in jeans so far, since they enable one to mooch about with the hands shoved down deep in the pockets. Aah, sheer heaven.
There is nothing I do not like about this pattern.
Fabric Used:
thickish cotton denim
Pattern alterations or any design changes you made:
Cut the lower legs straight down rather than tapered to get more of a cargo silhouette, since I think this suits my figure better.
Sewed the pockets as a bag with a lightweight cotton facing, so it is not attached to the jeans front with topstitching as per the pattern.
Left off the rear pocket flaps, and some of the top-stitching details, although I will definitely use the suggested top-stitching as a feature in a future pair.
Cut the lower legs longer, but next time I will add length to the upper legs as well, since the legs are of three pieces. The knee piece ended up a little high on my leg :S
Would you sew it again? Would you recommend it to others?
I definitely will be using this pattern again; it is destined to become my go-to pattern for non-stretch denim jeans.
Conclusion:
I adore these jeans! and will be wearing them to the ground.