Tag Archives: Diy

Chain and tassel necklace; a tutorial

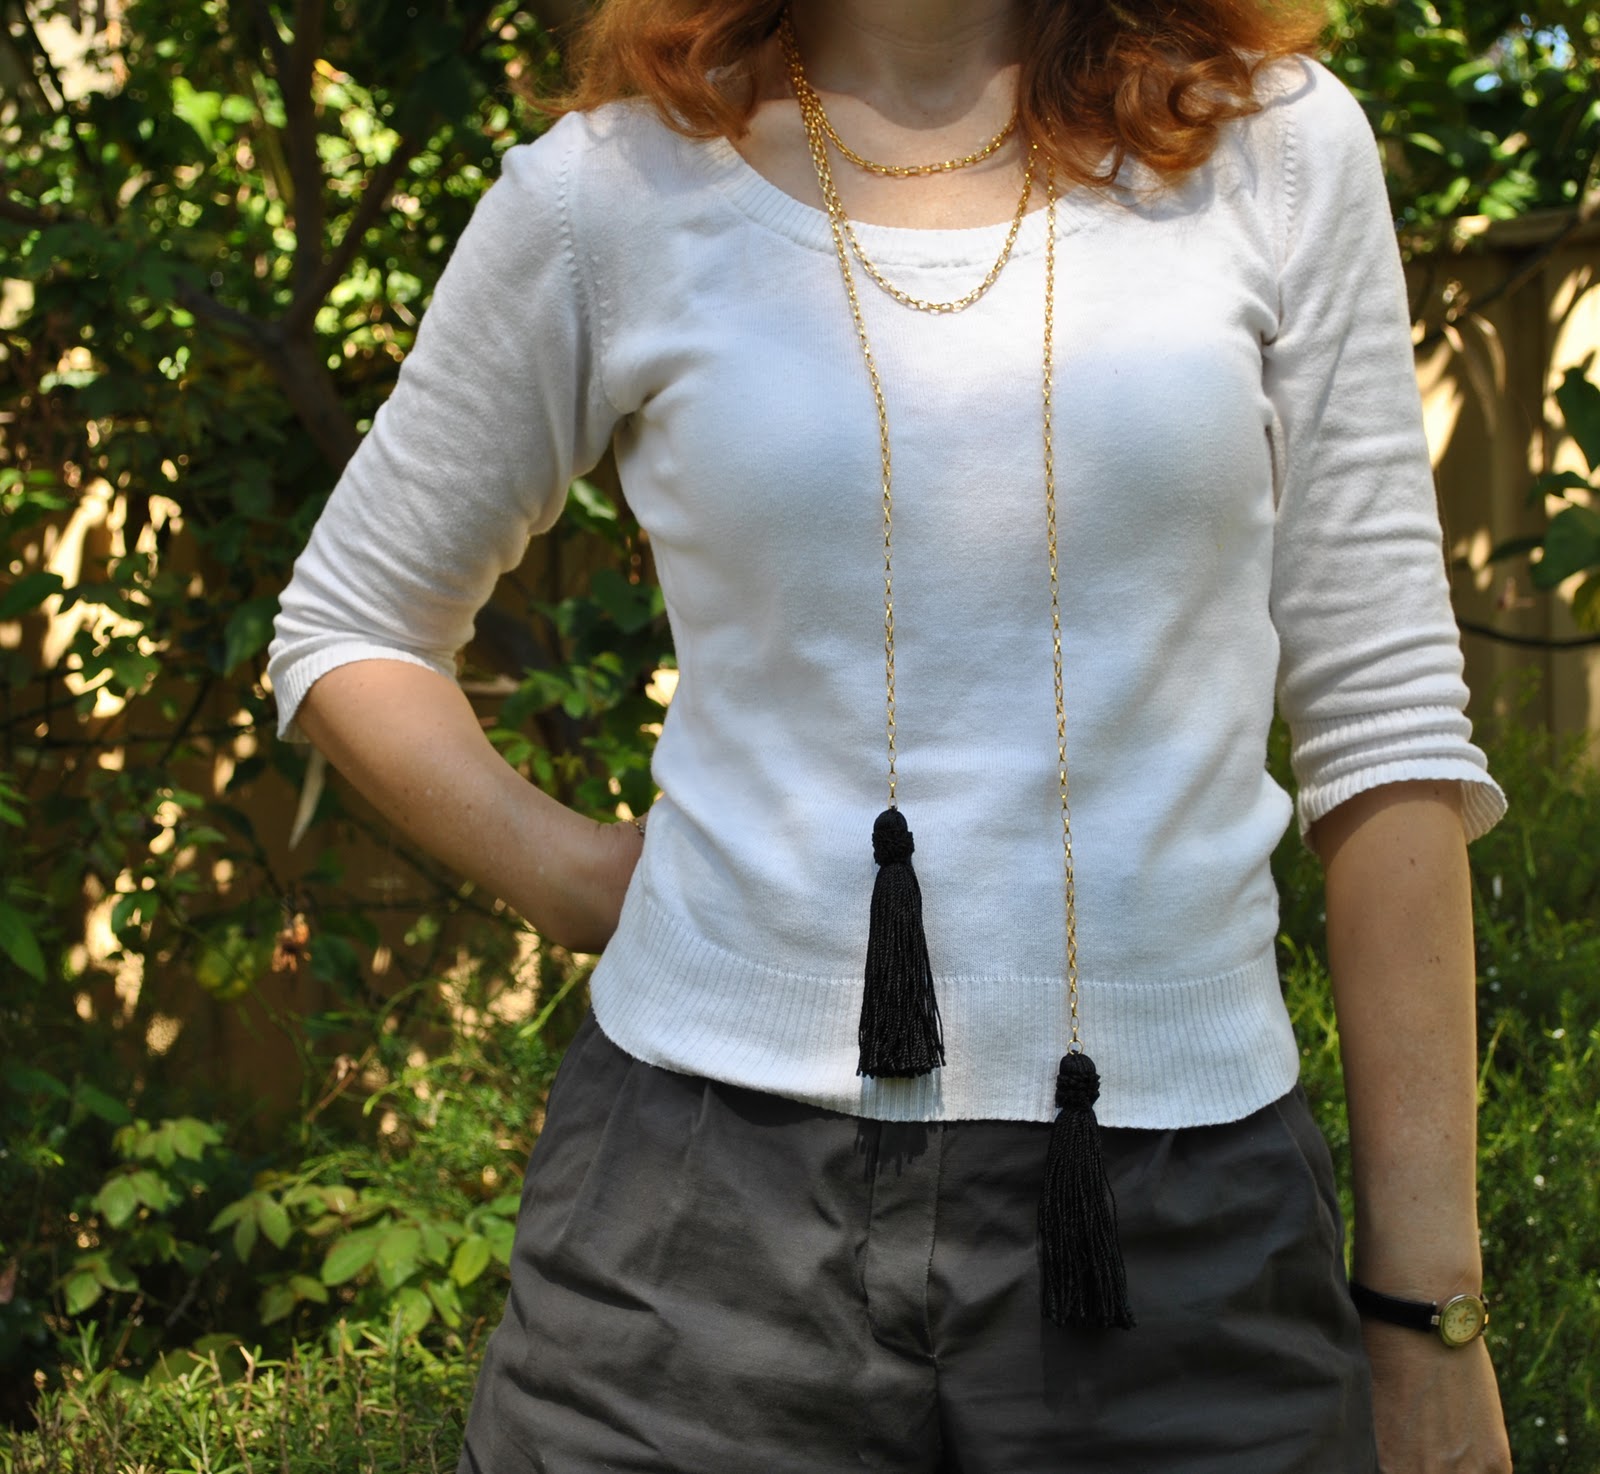
As soon as I saw it I loved this chain and tassel accessory made by the enormously creative and beautiful Maegan, who in turn was inspired by a Blugirl original, and I wanted to have a go at making my own…  Maegan made hers as a lariat, which would be a much more versatile accessory; but I made mine as a fixed necklace. This is because I knew in my lifestyle a lariat would probably end up either tripping me up, strangling me, or slipping off entirely without my noticing…
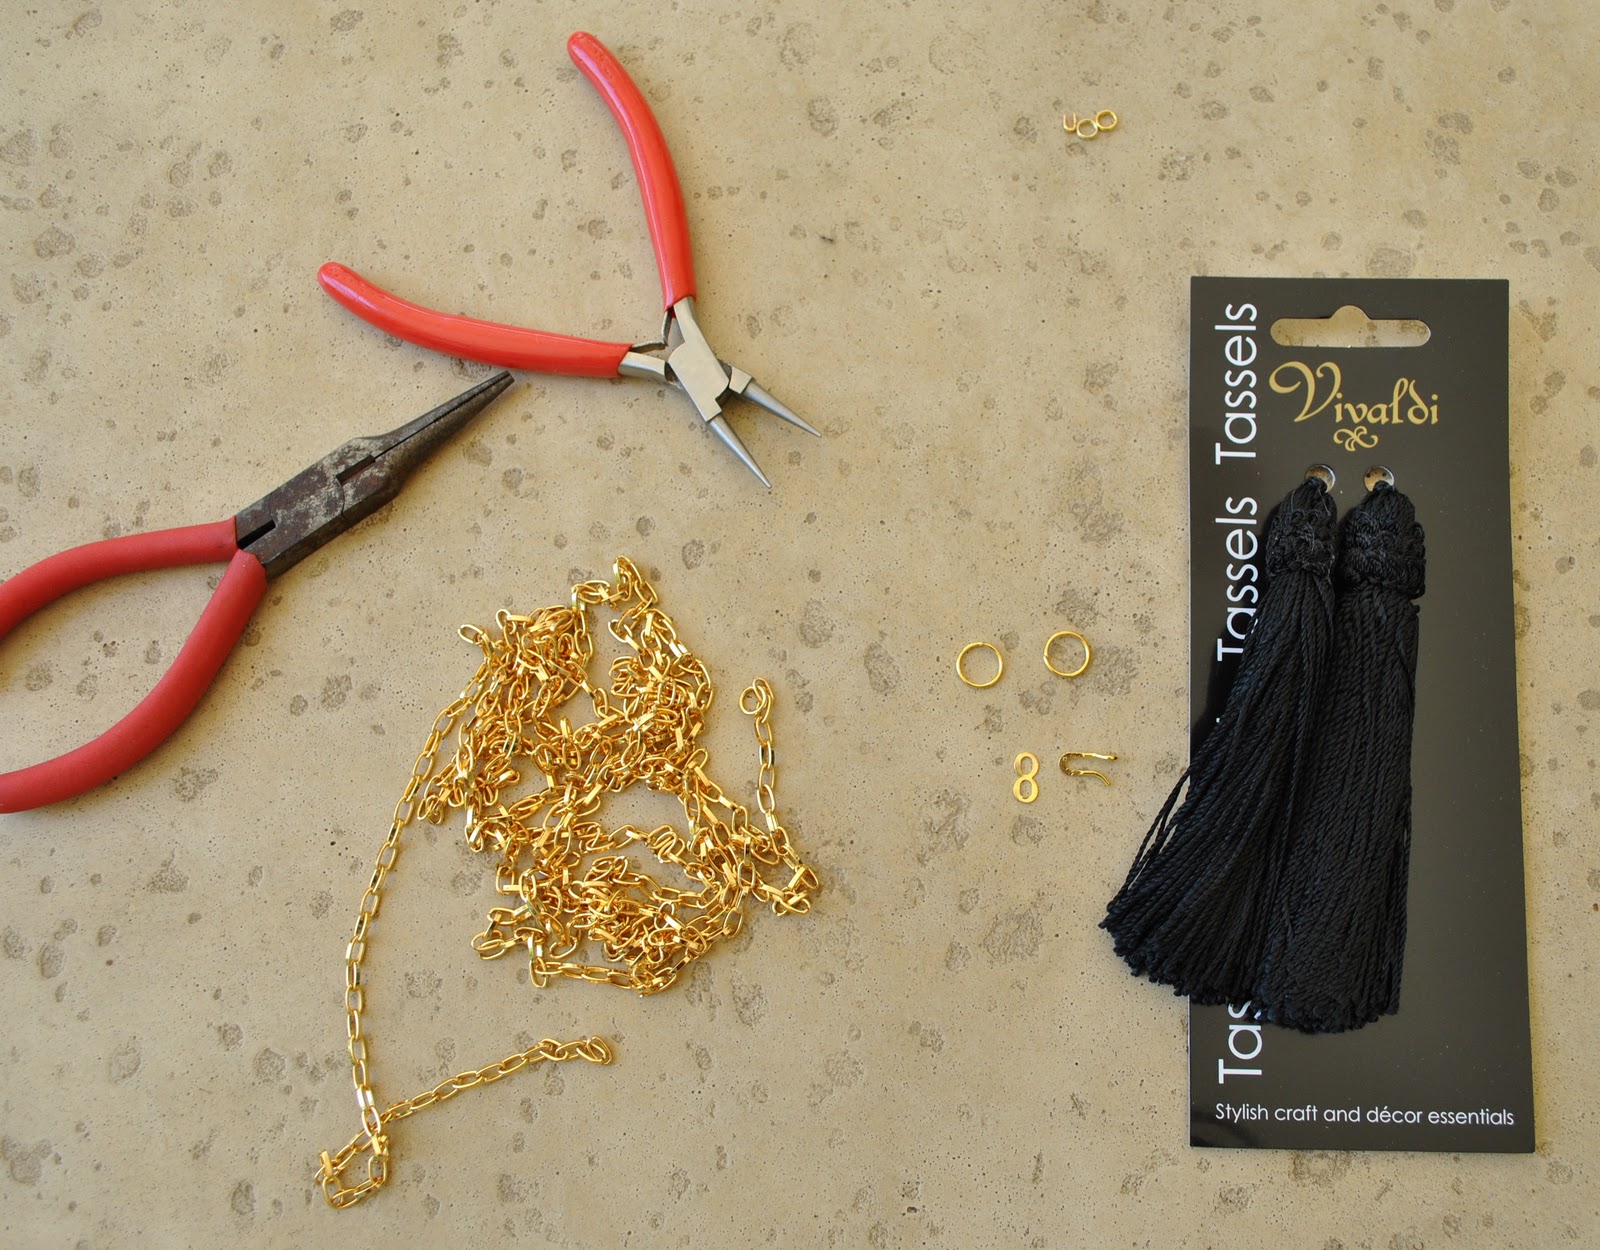
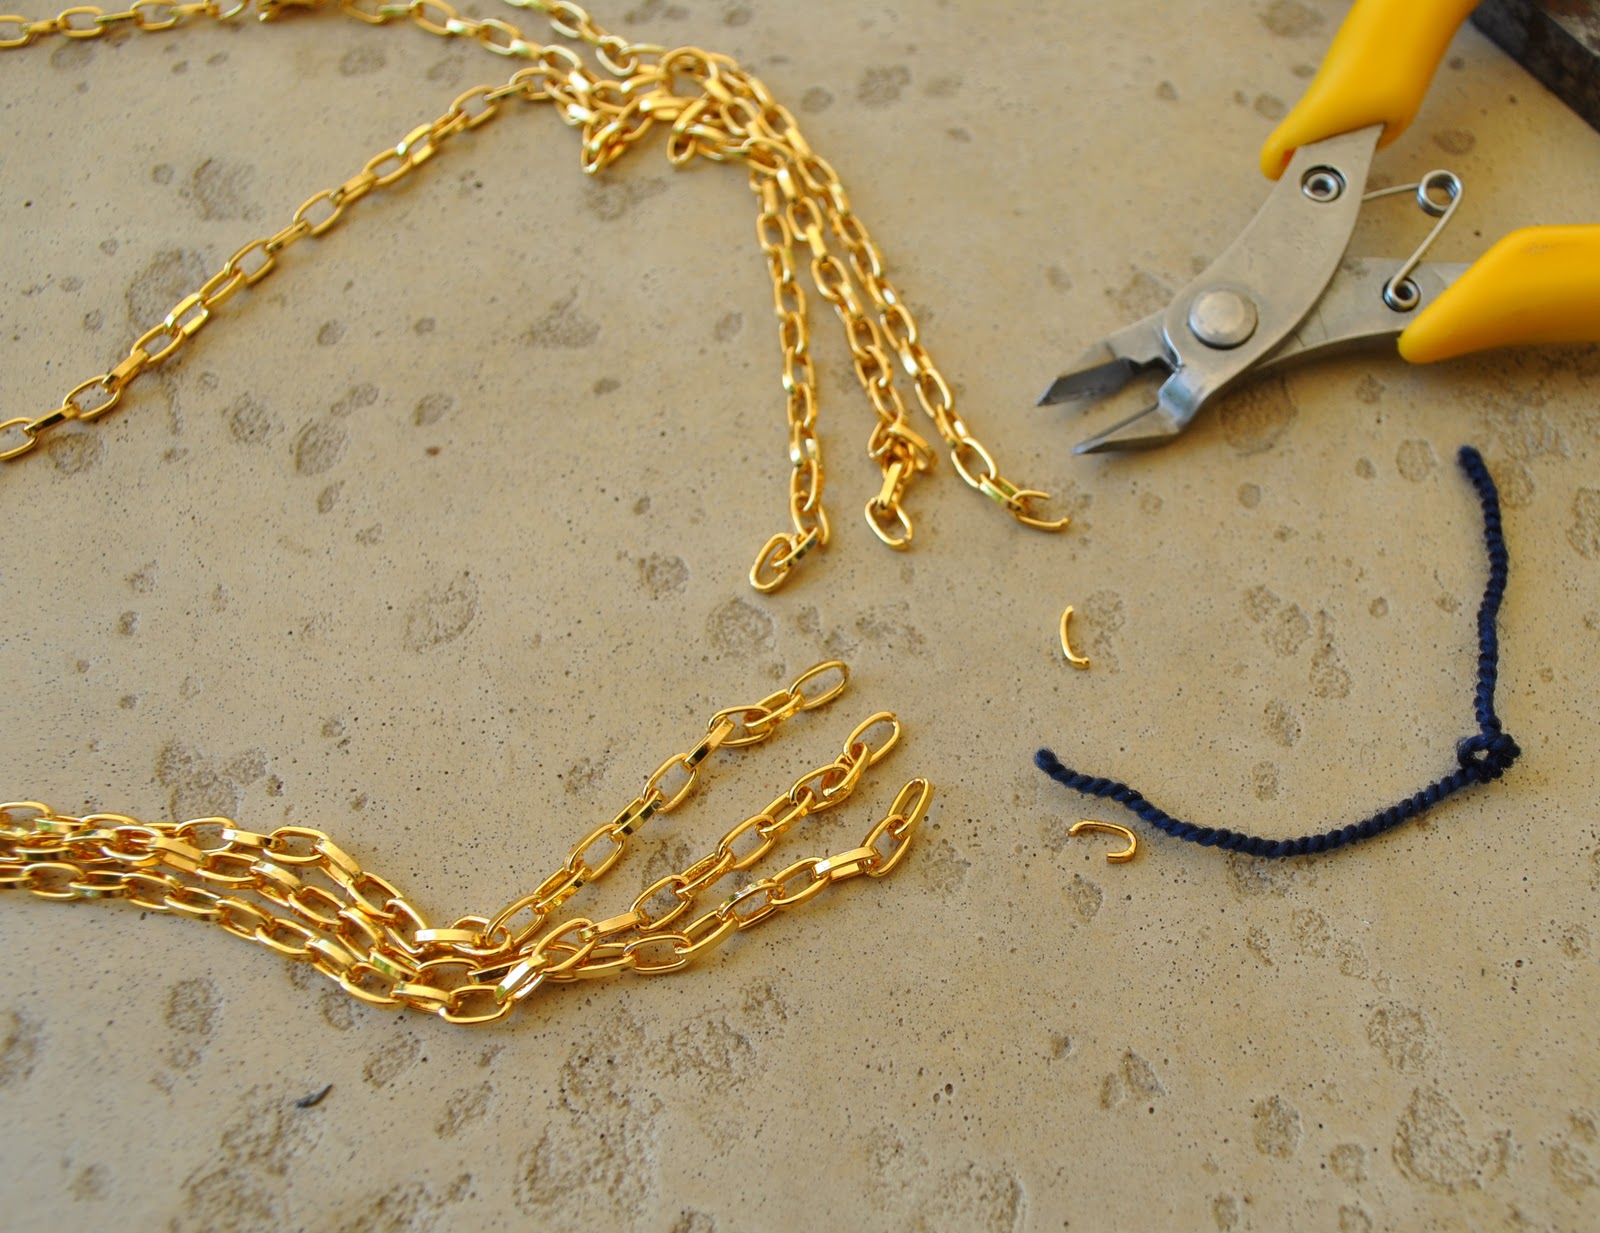
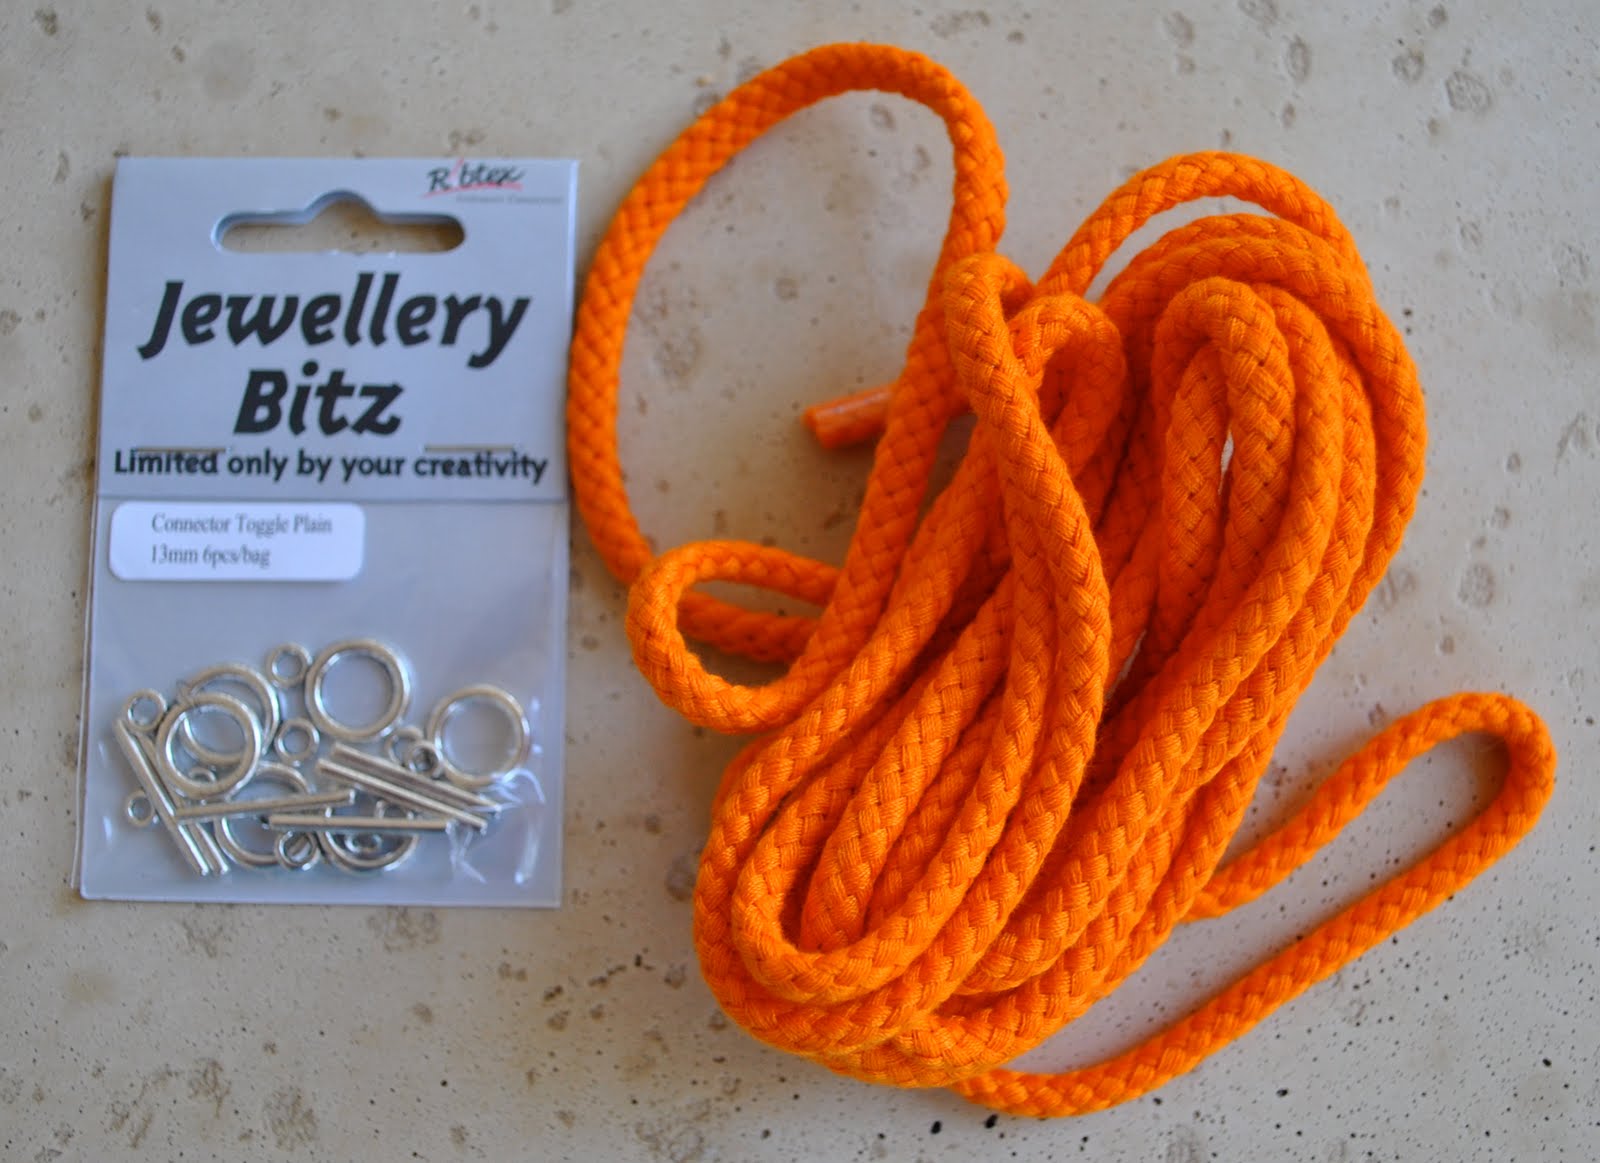
so I bought 2 packs of 1m (40 inches) of gold chain and two black upholstery tassels, medium size.  I already had some 10mm jump rings and a necklace hook and loop.  If you are at all into making your own accessories like this it is very handy to also have some pliers and a wire cutter small enough to work with these little fiddly bits.

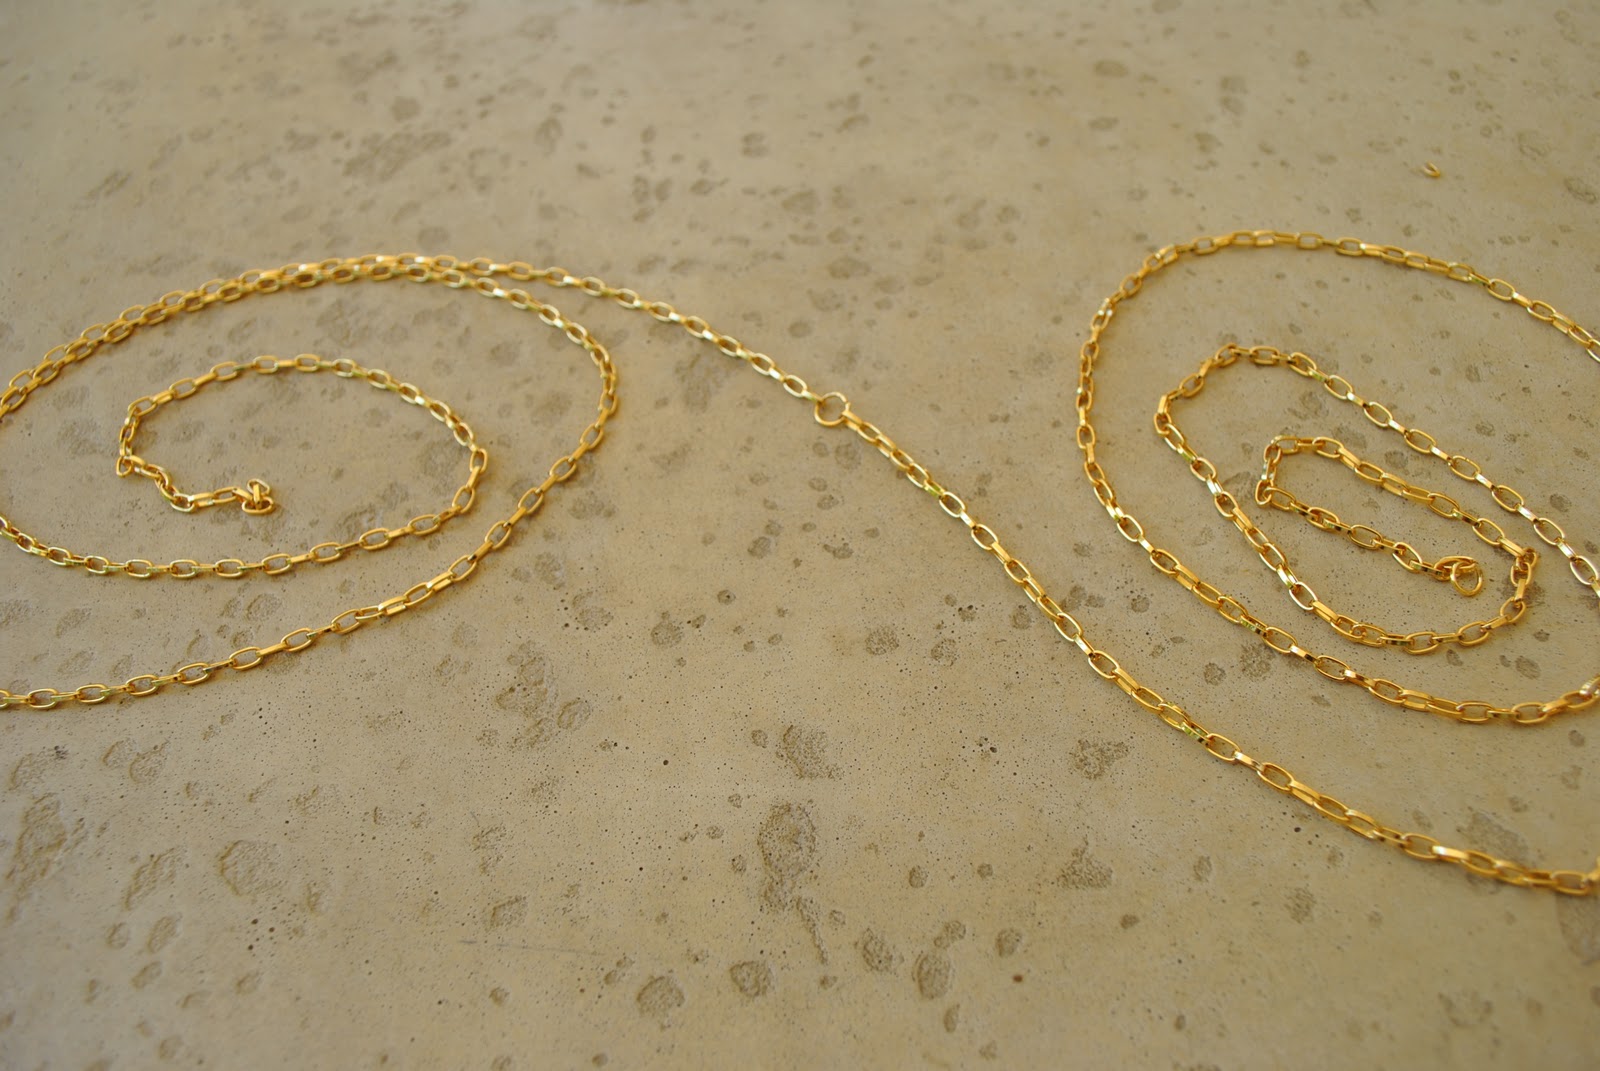
The chains I bought conveniently had jumps rings attached to each end already, so I just used one of these to join them together to make one long 2m (80inches) chain.

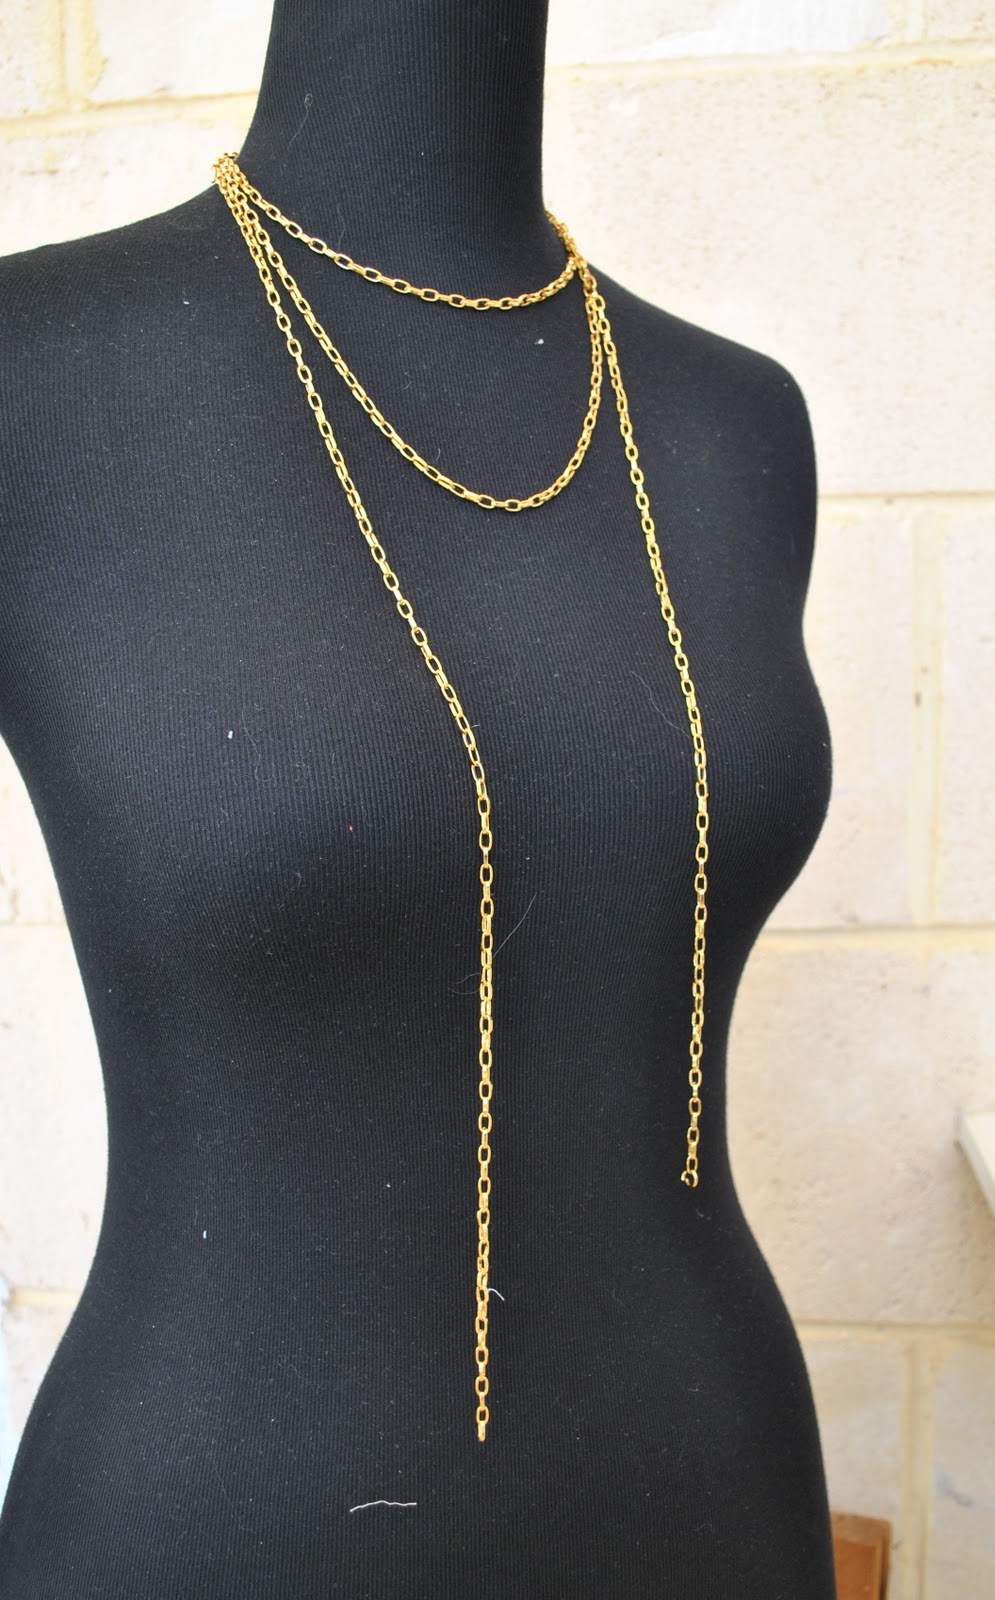
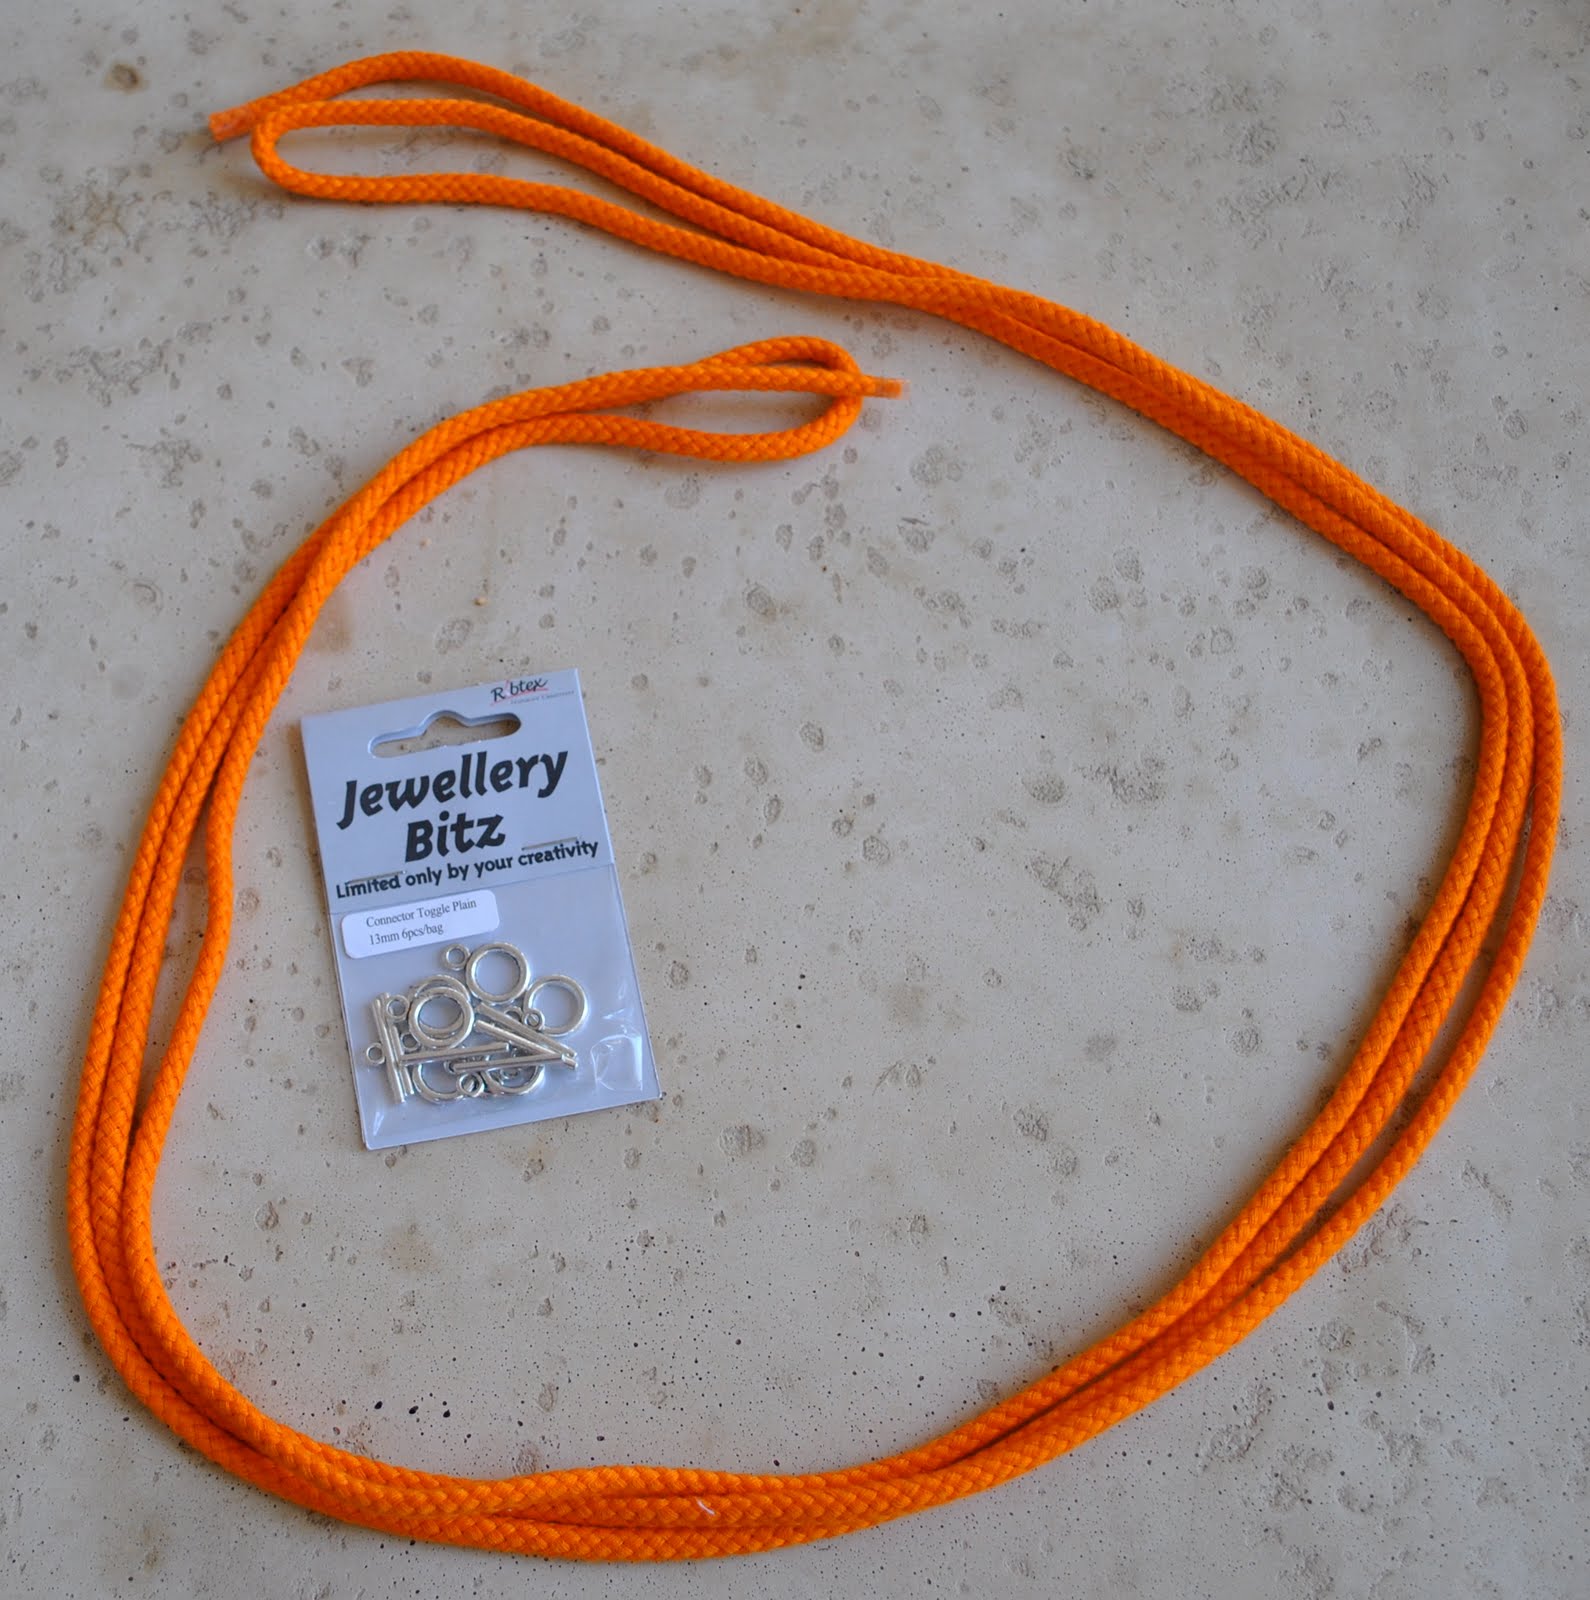
Arrange the chain to your satisfaction.  I went with three loops around the neck and left the ends hanging down in uneven lengths.

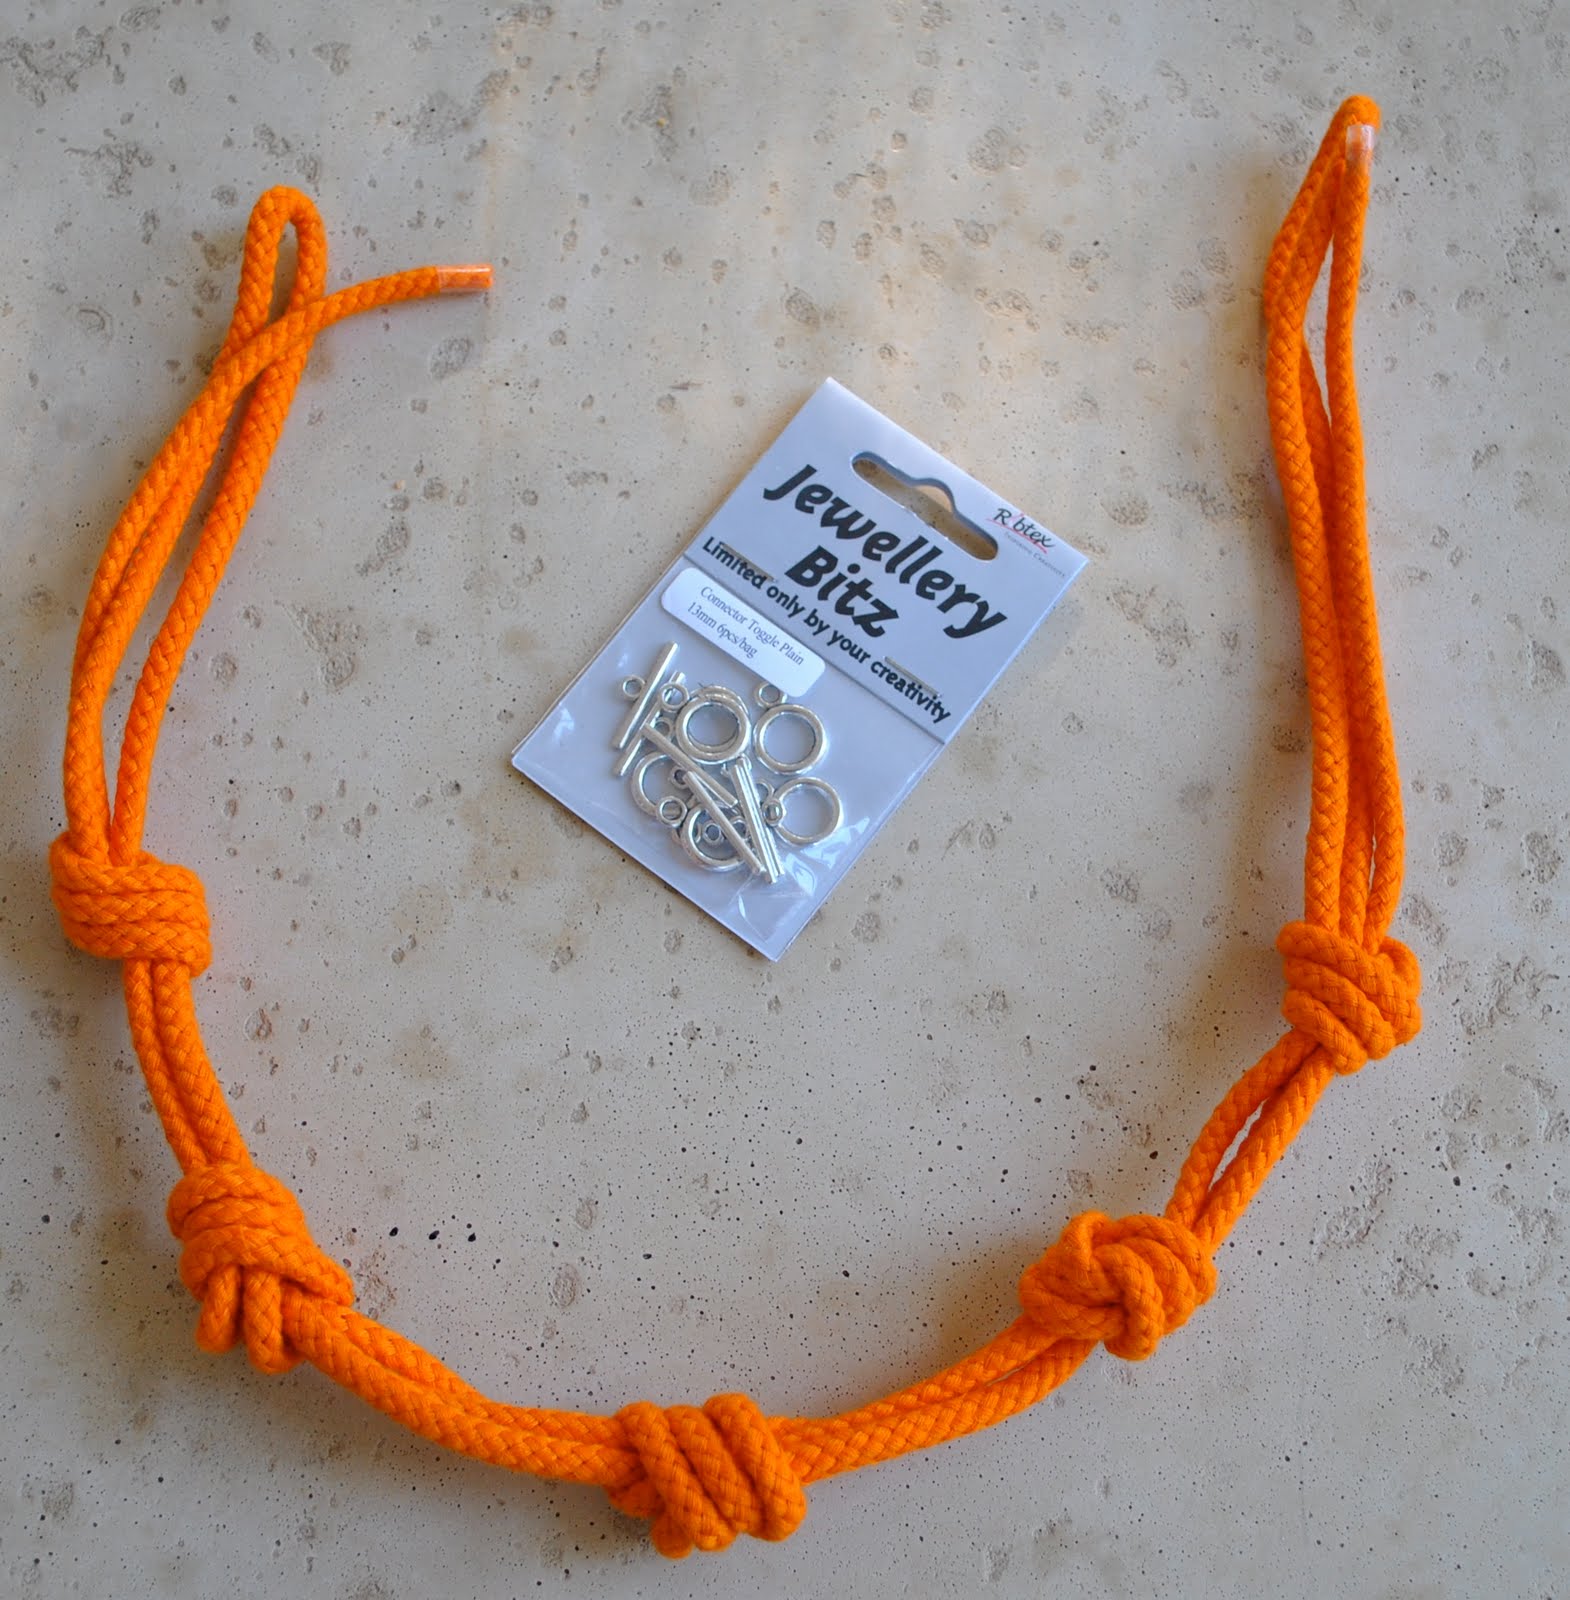
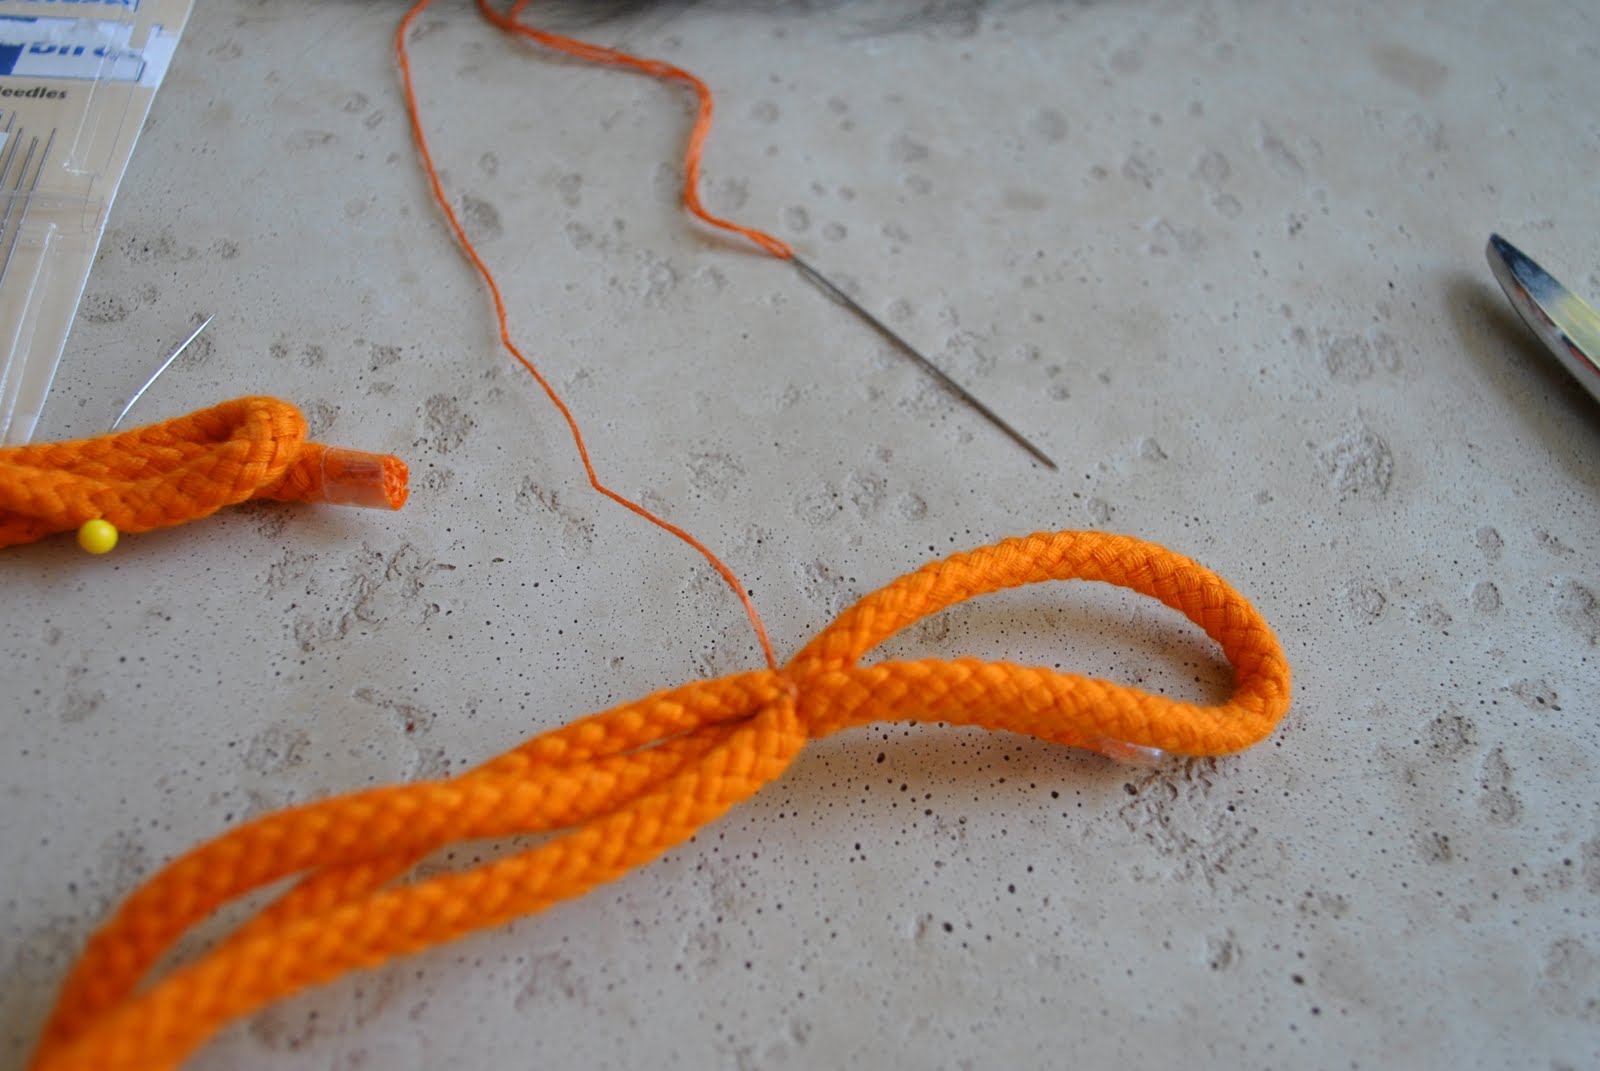
At the back of the neck, find the three links that are as close to centre back as possible and string a bit of scrap yarn through them all. Tie this in a loose knot.

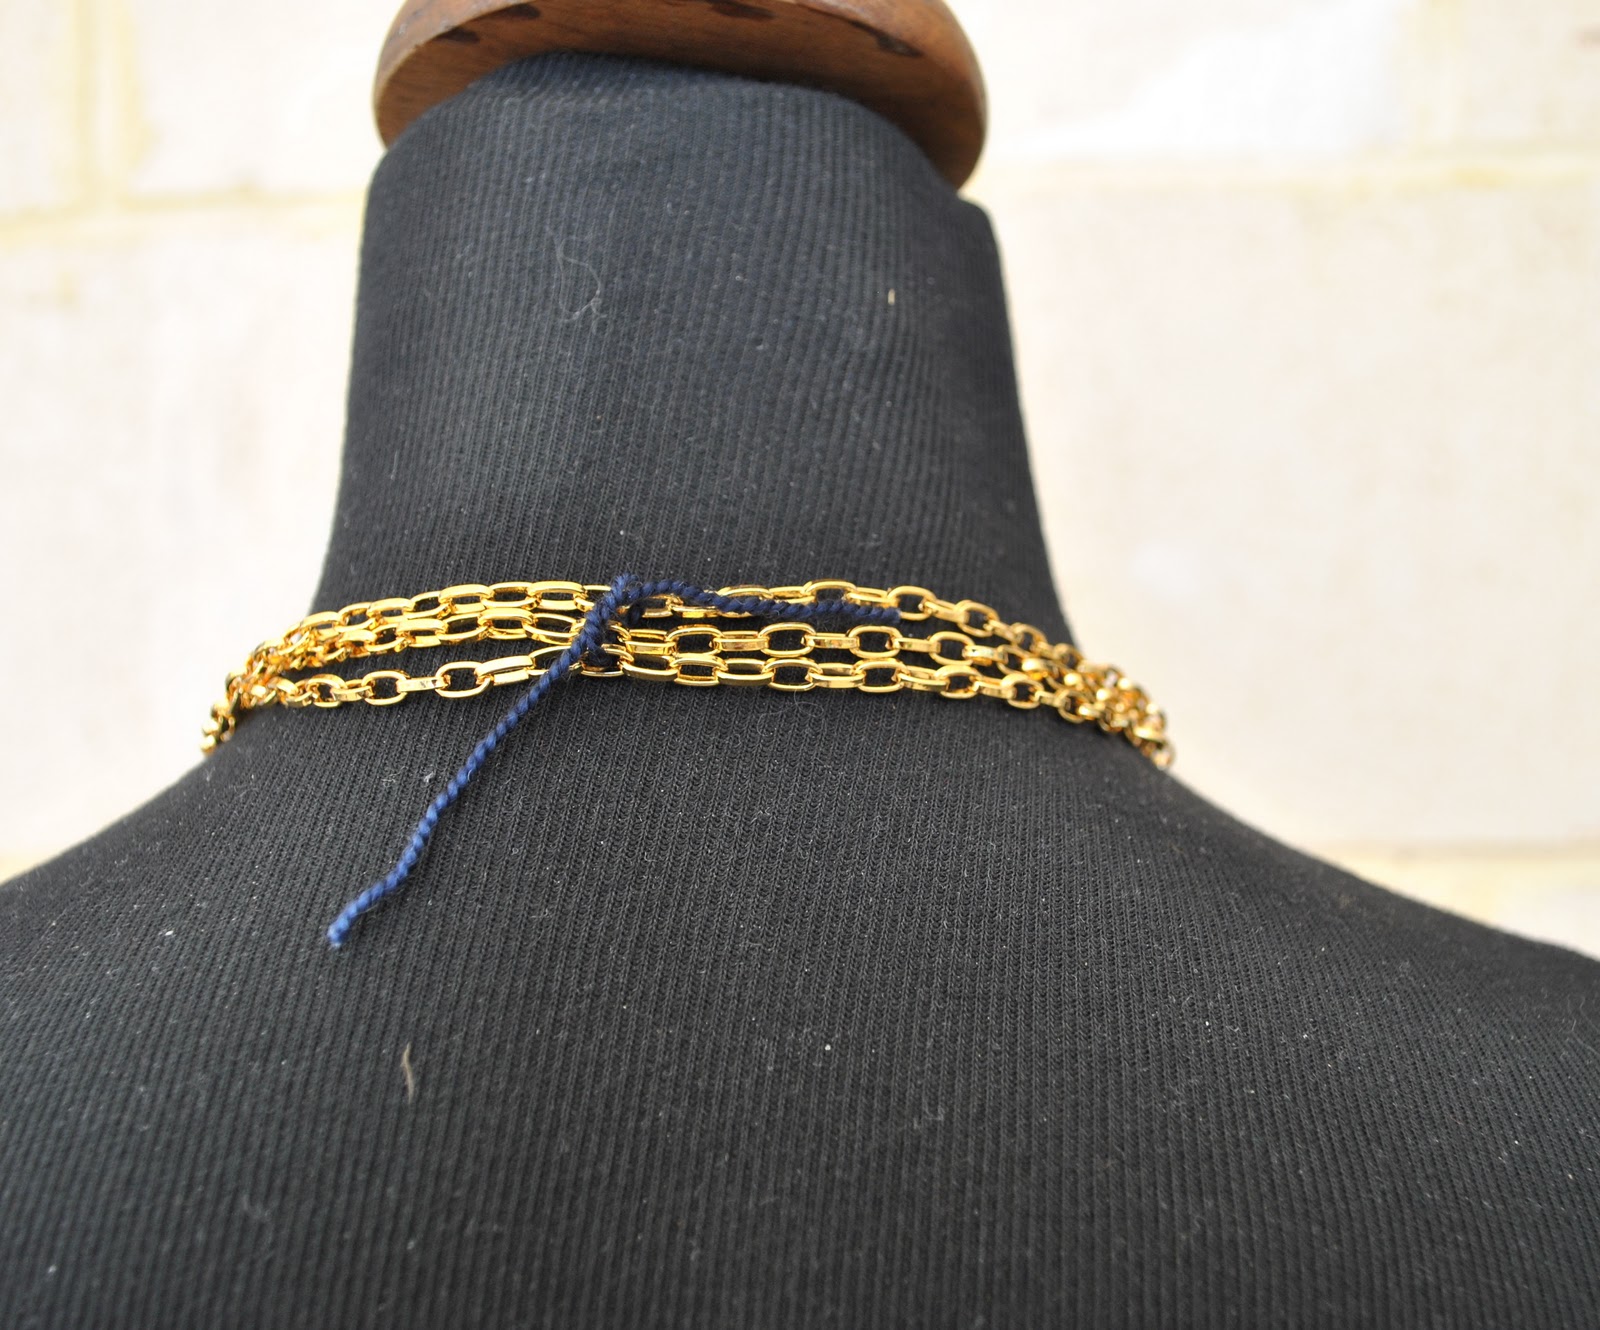
Laying the chain down on a flat surface, cut through these three centre back links using wire cutters.

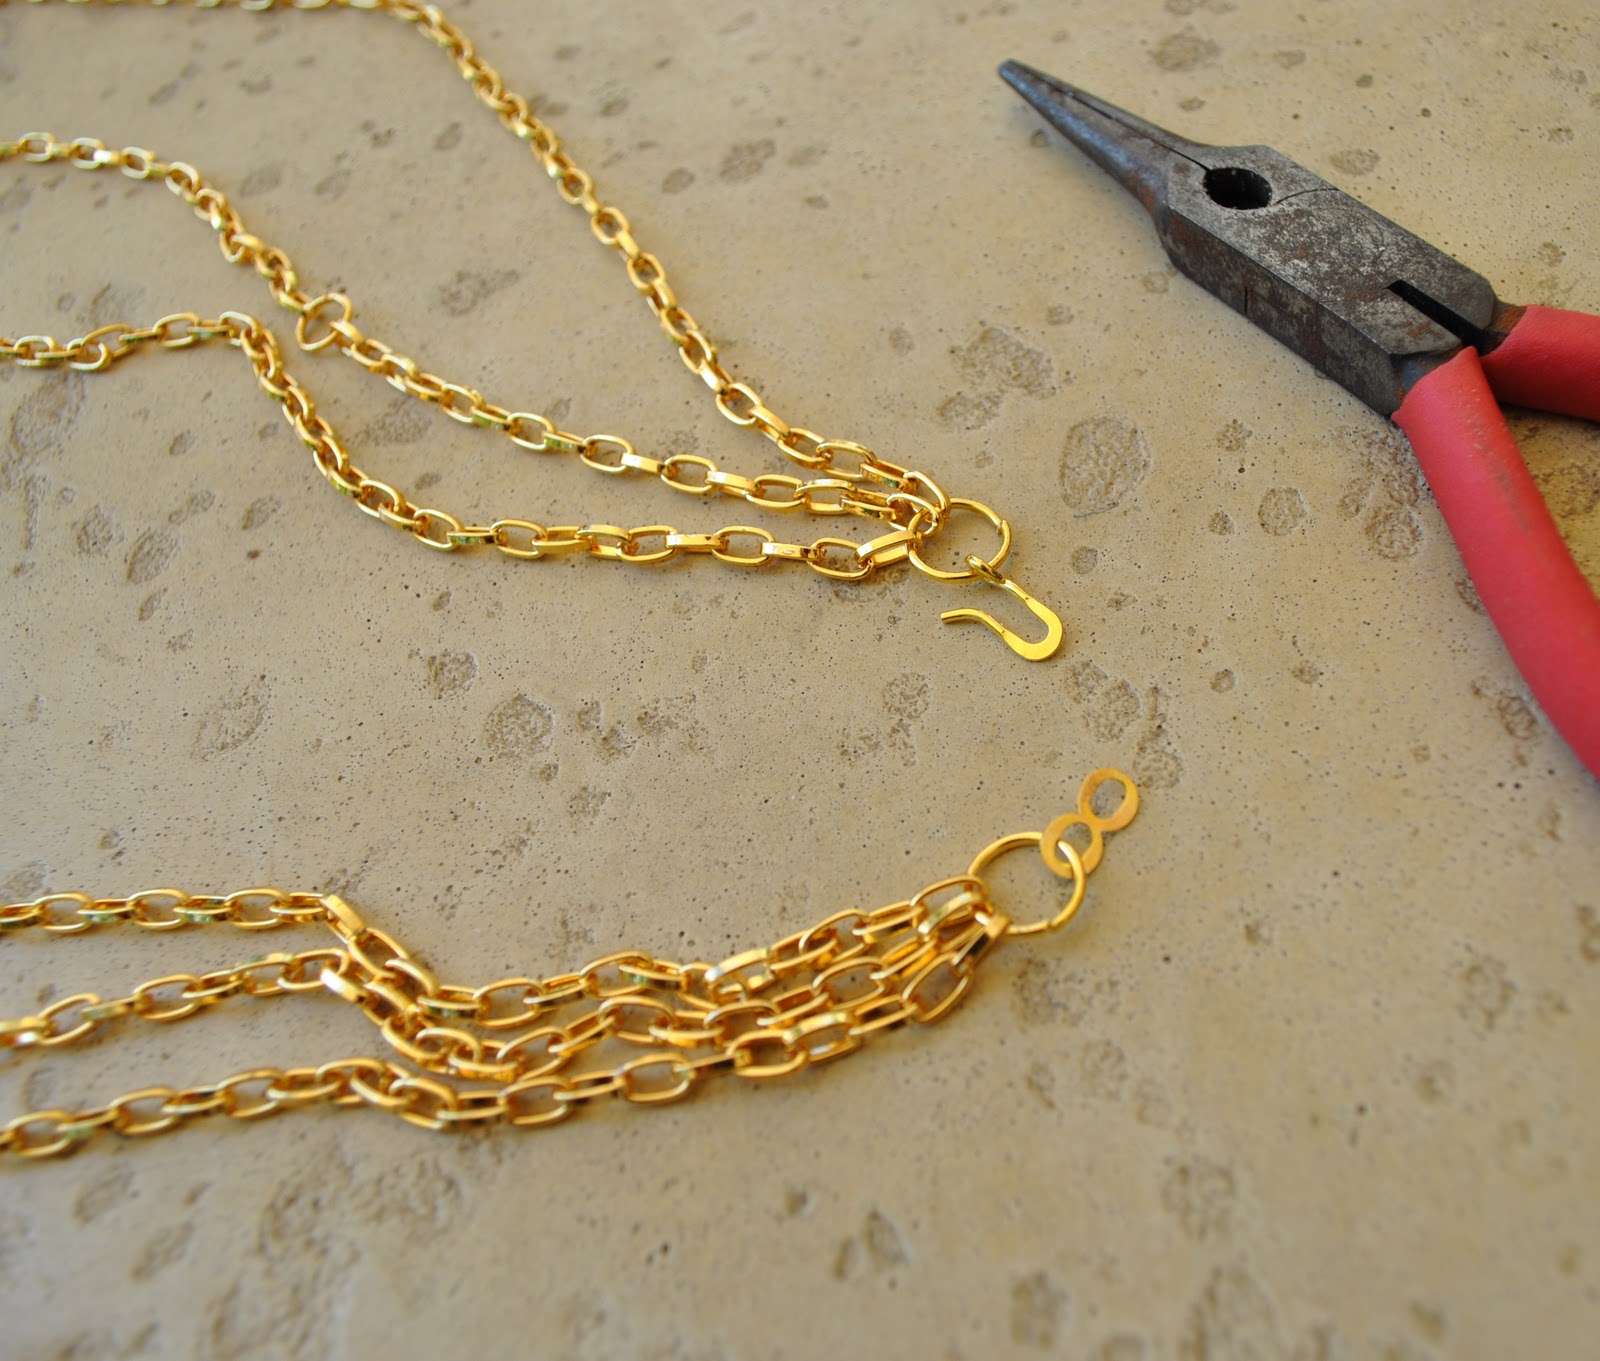
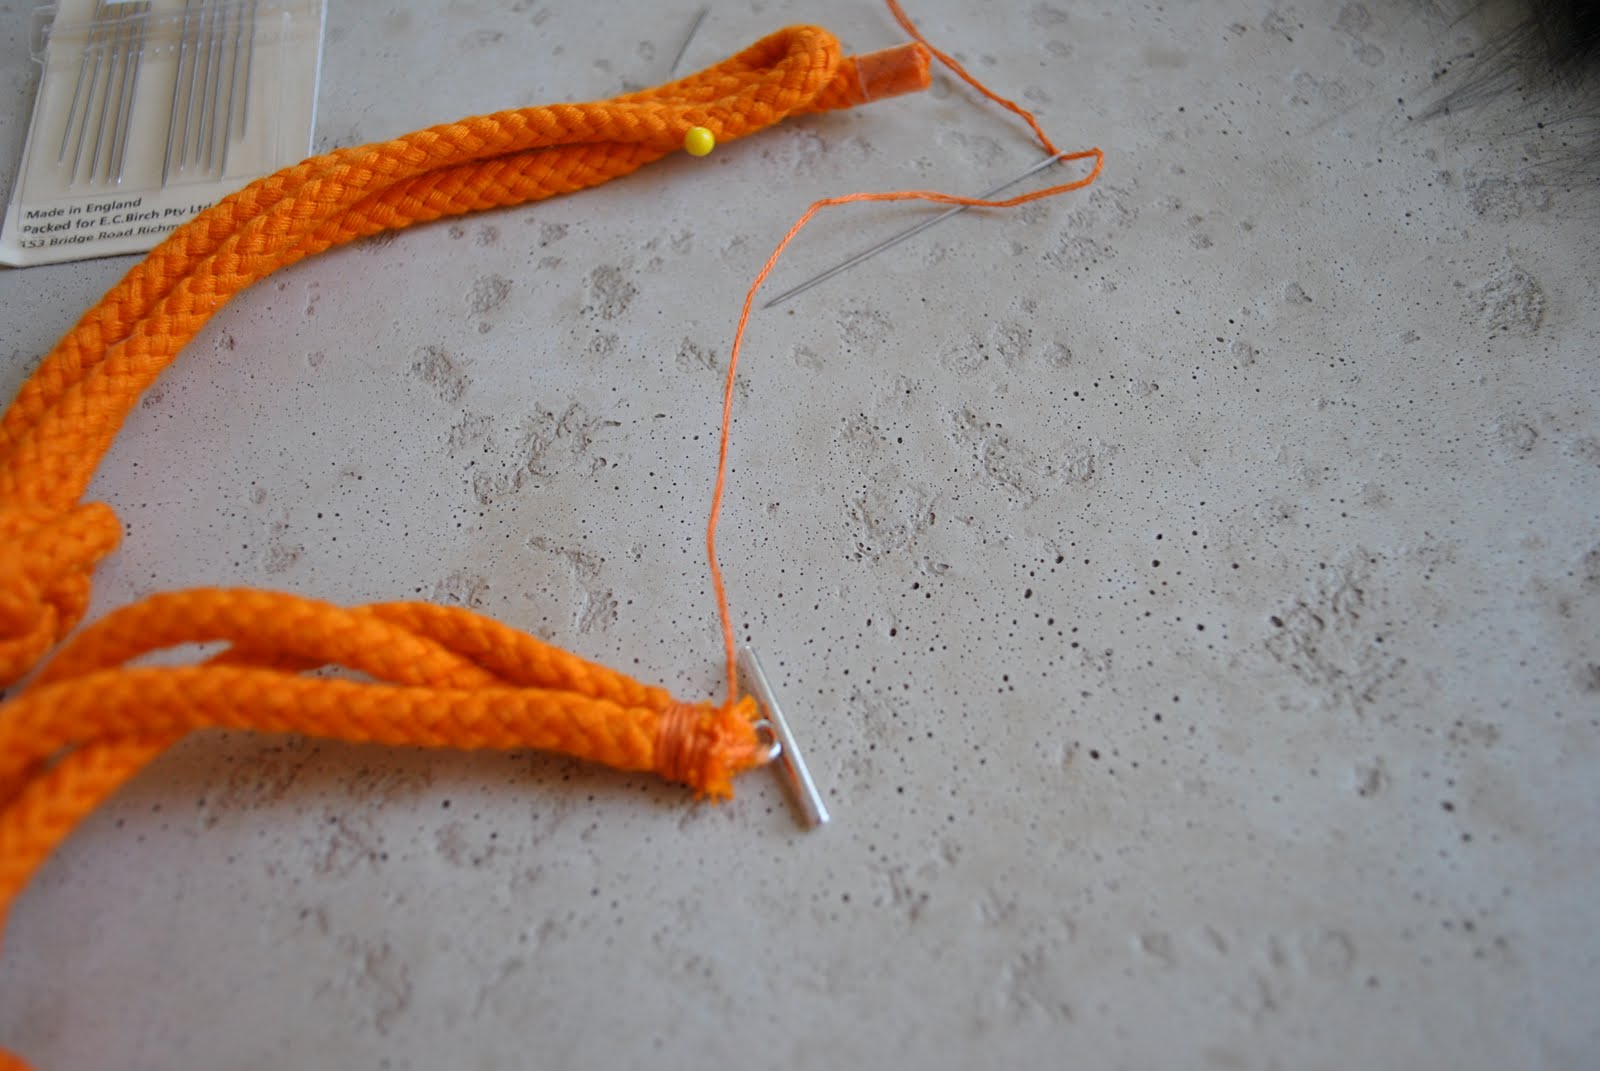
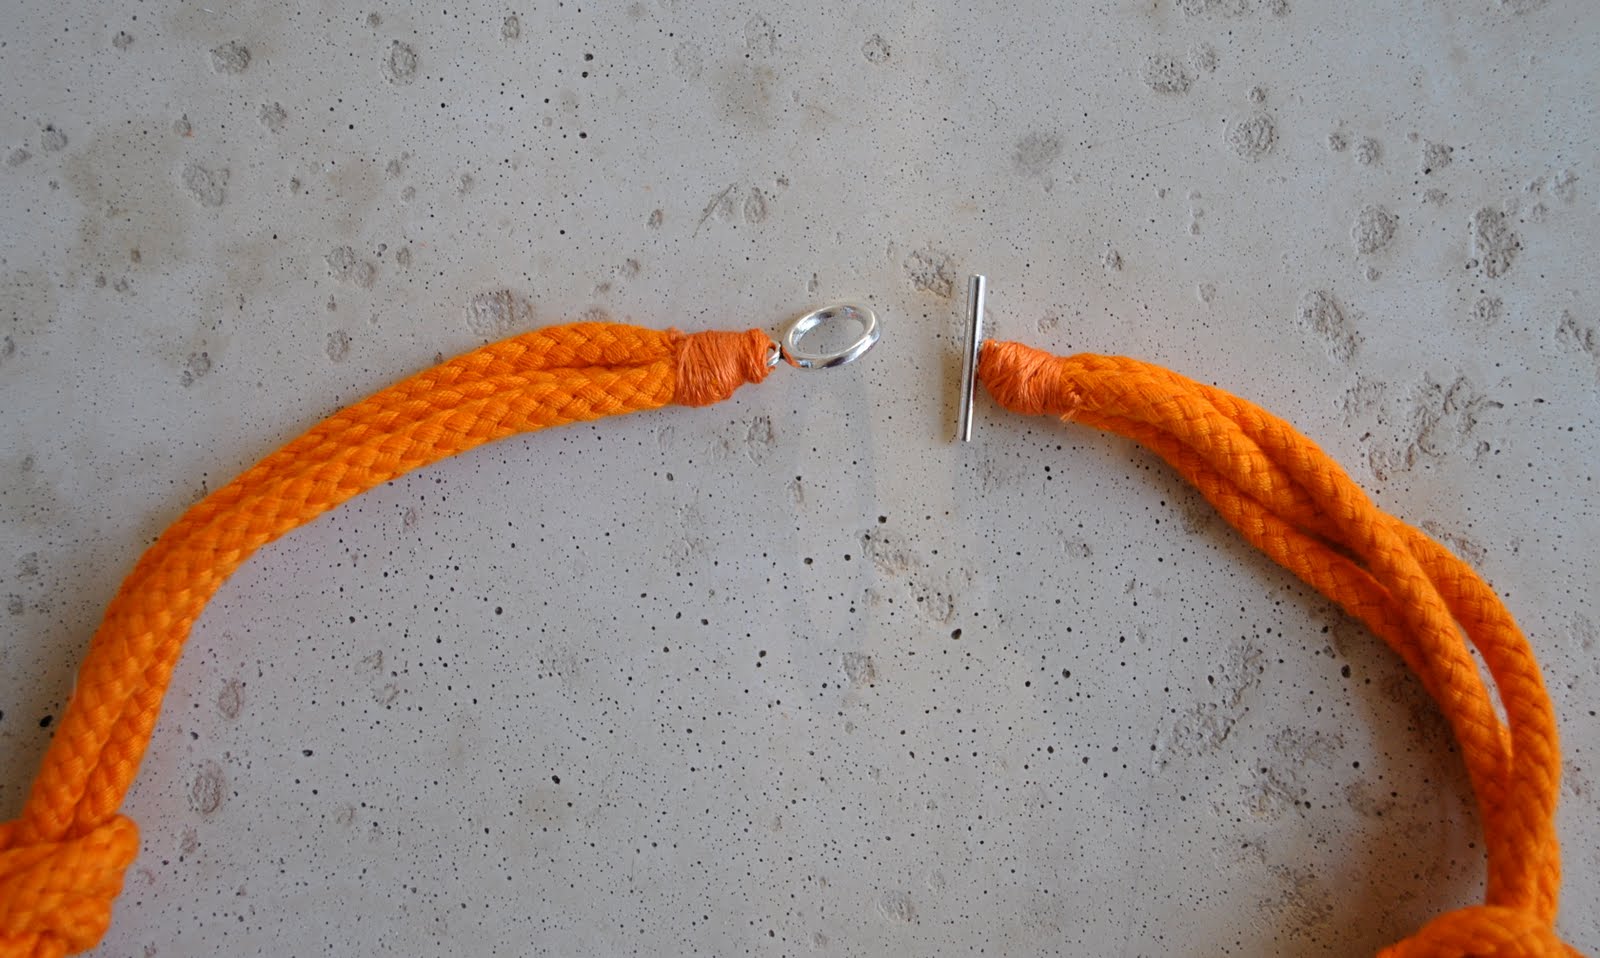
Loop the two jump rings through all three chains, and add the hook and loop closure.

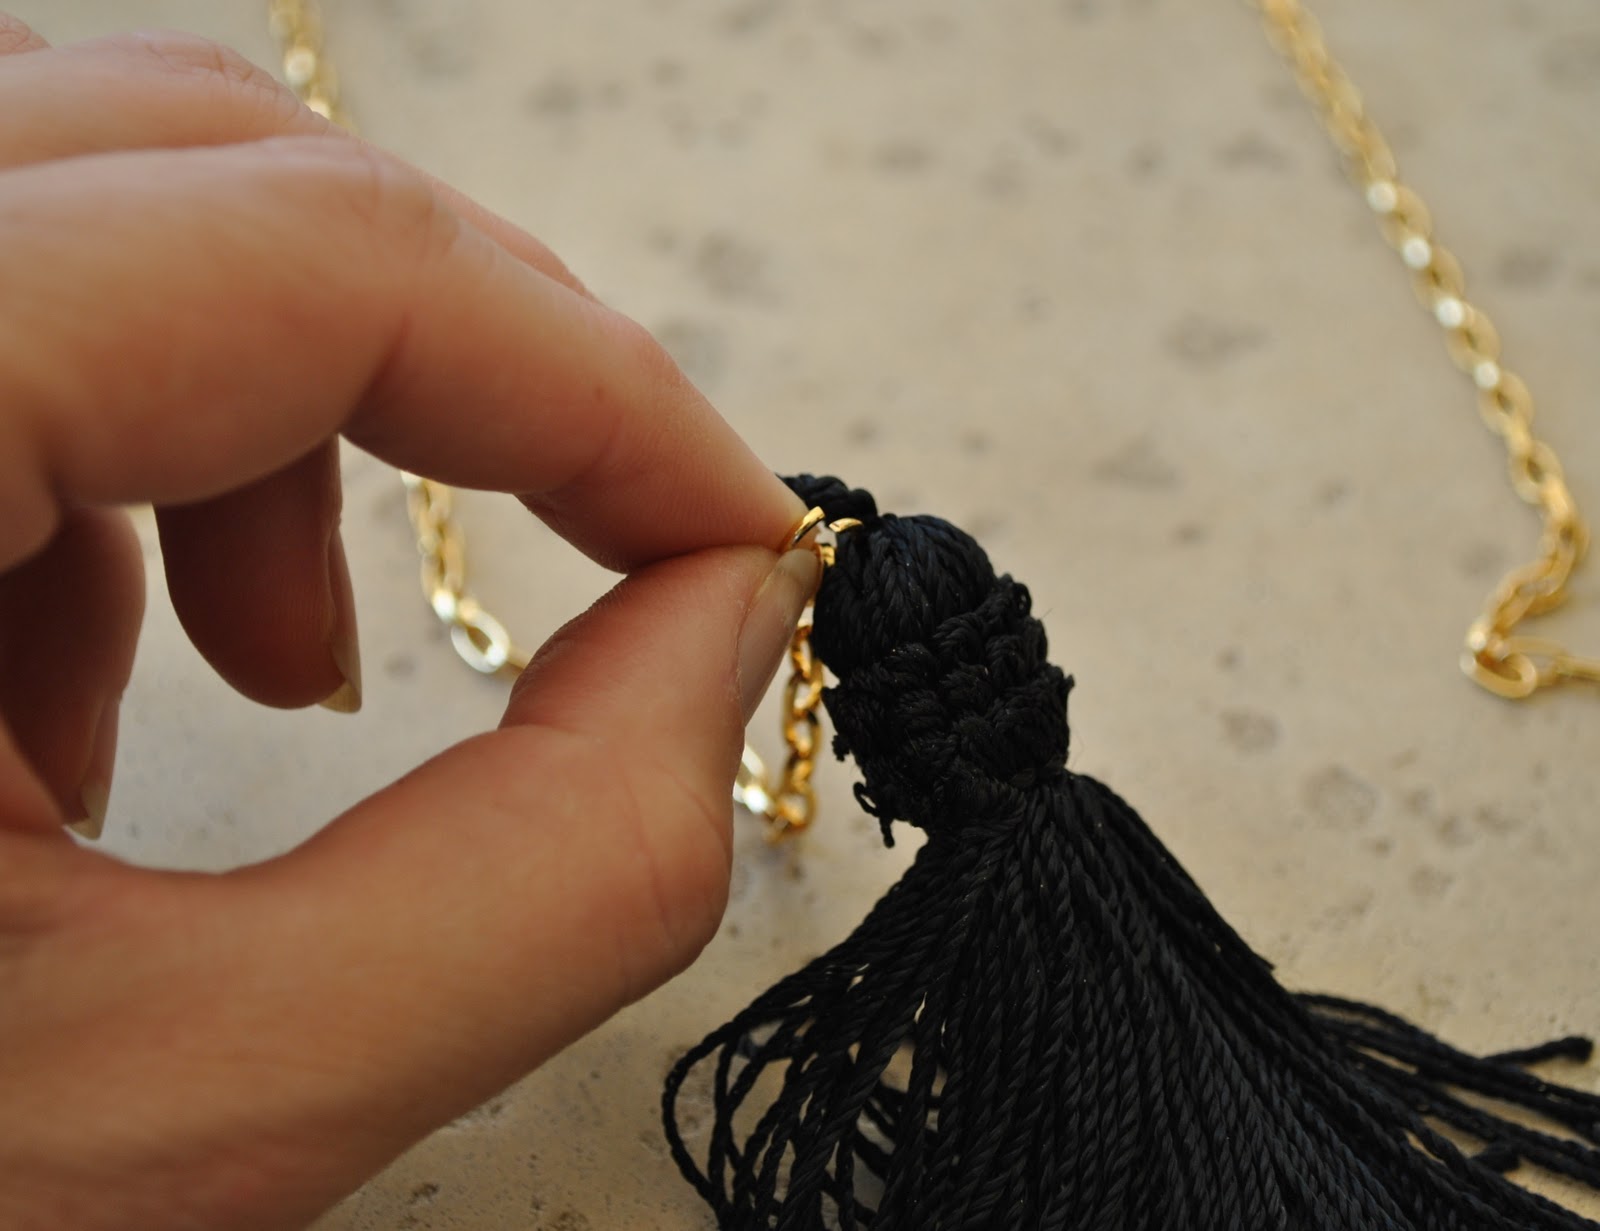
Prise open the last ring on each chain end and thread onto it the top loop of the tassel, close the ring securely.

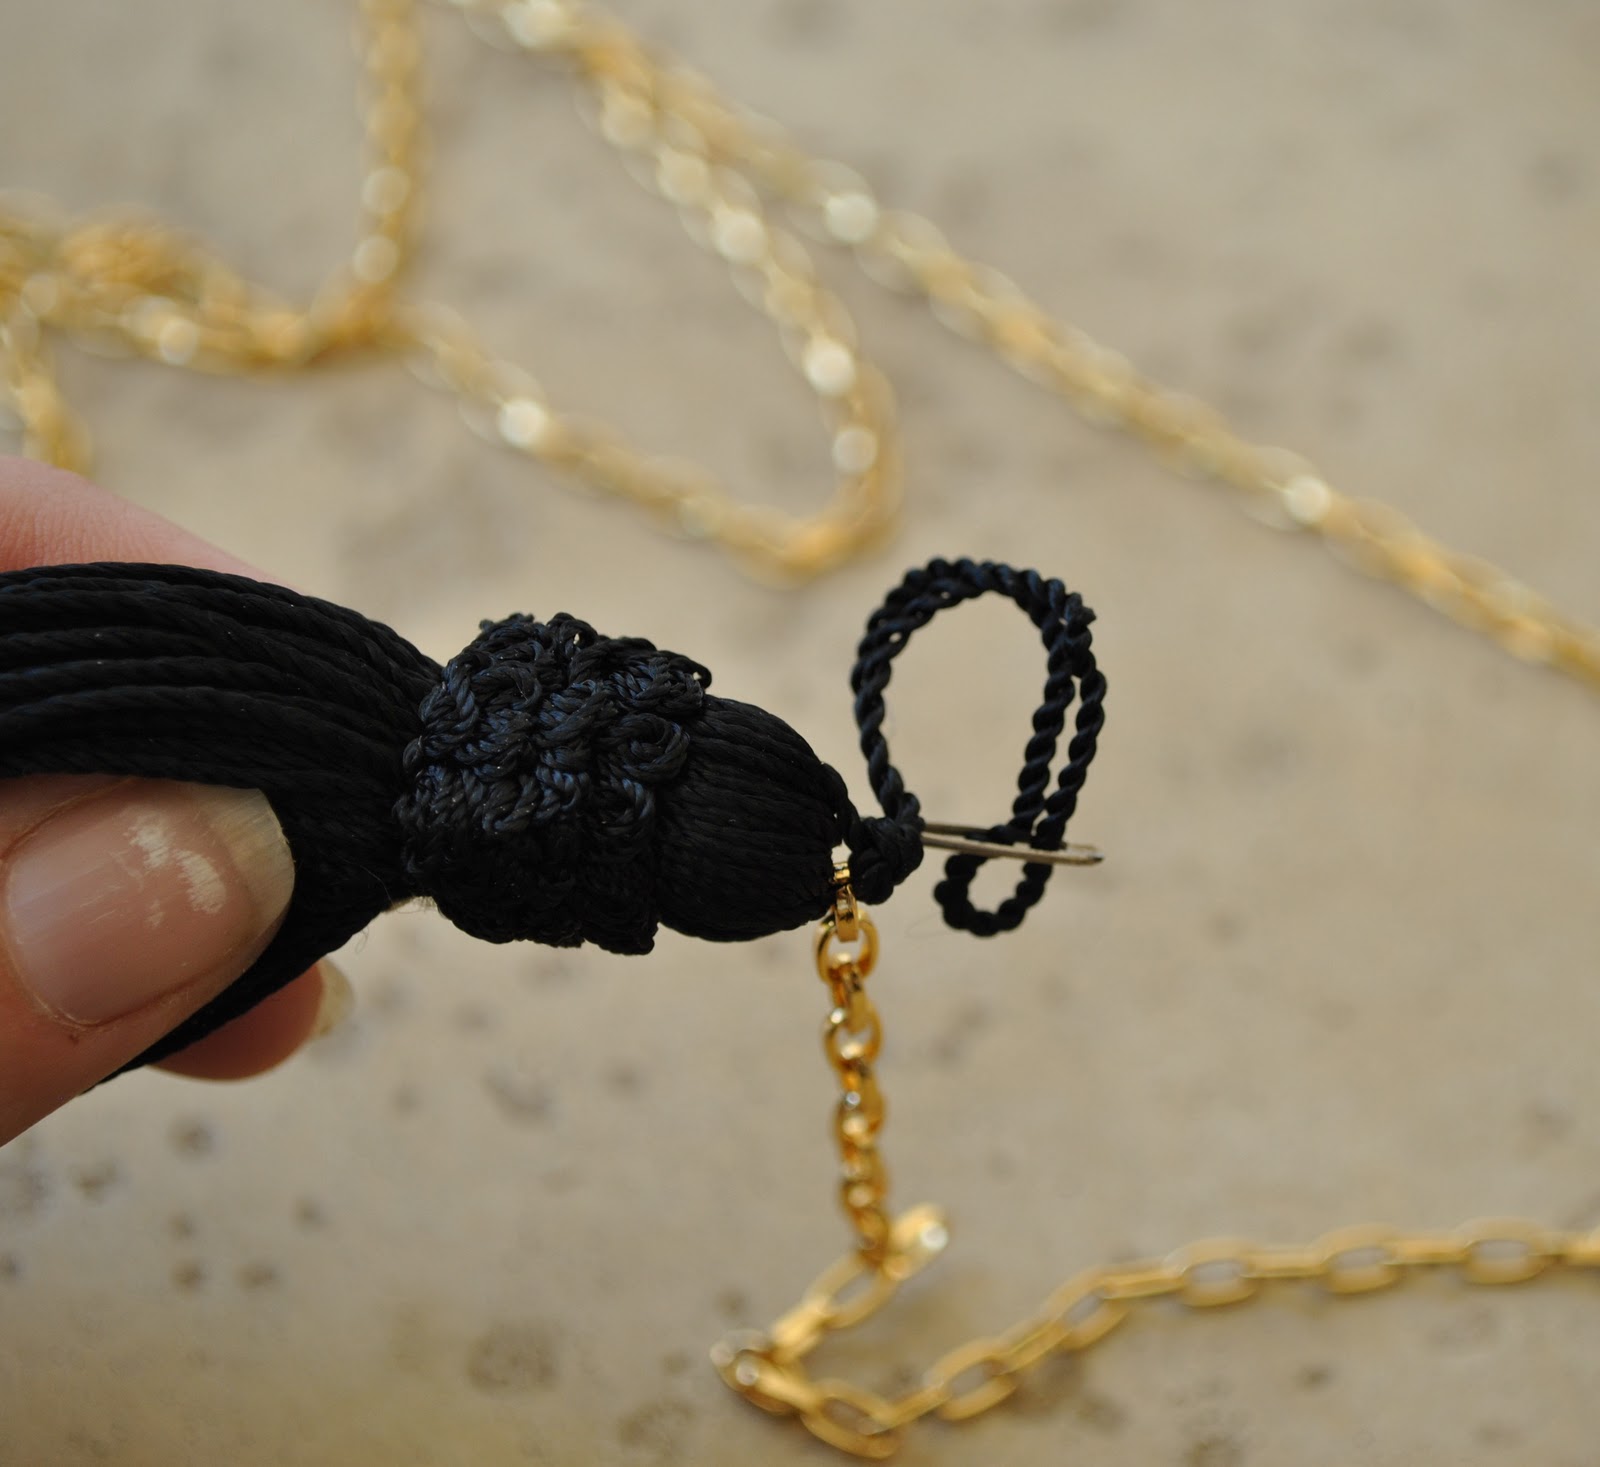
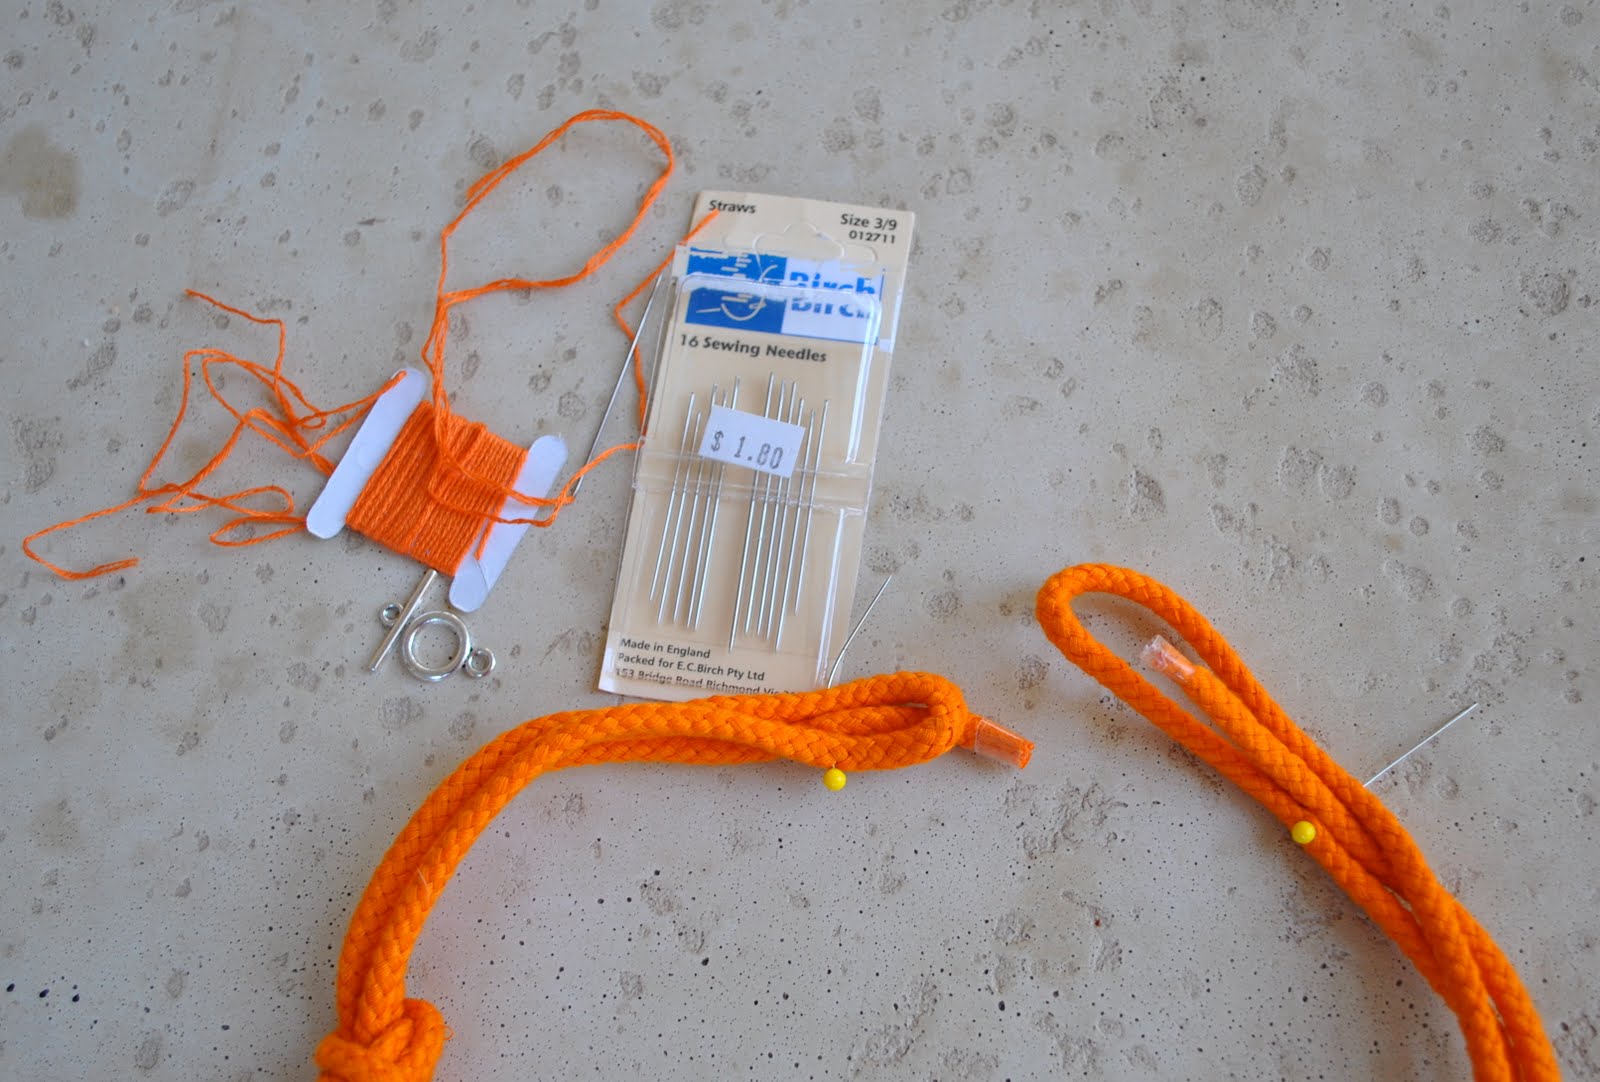
Use a wool needle to pull the top loop of the tassel back through the “top-knot” and out into the middle of the fringe-y bits, to hide it inside.

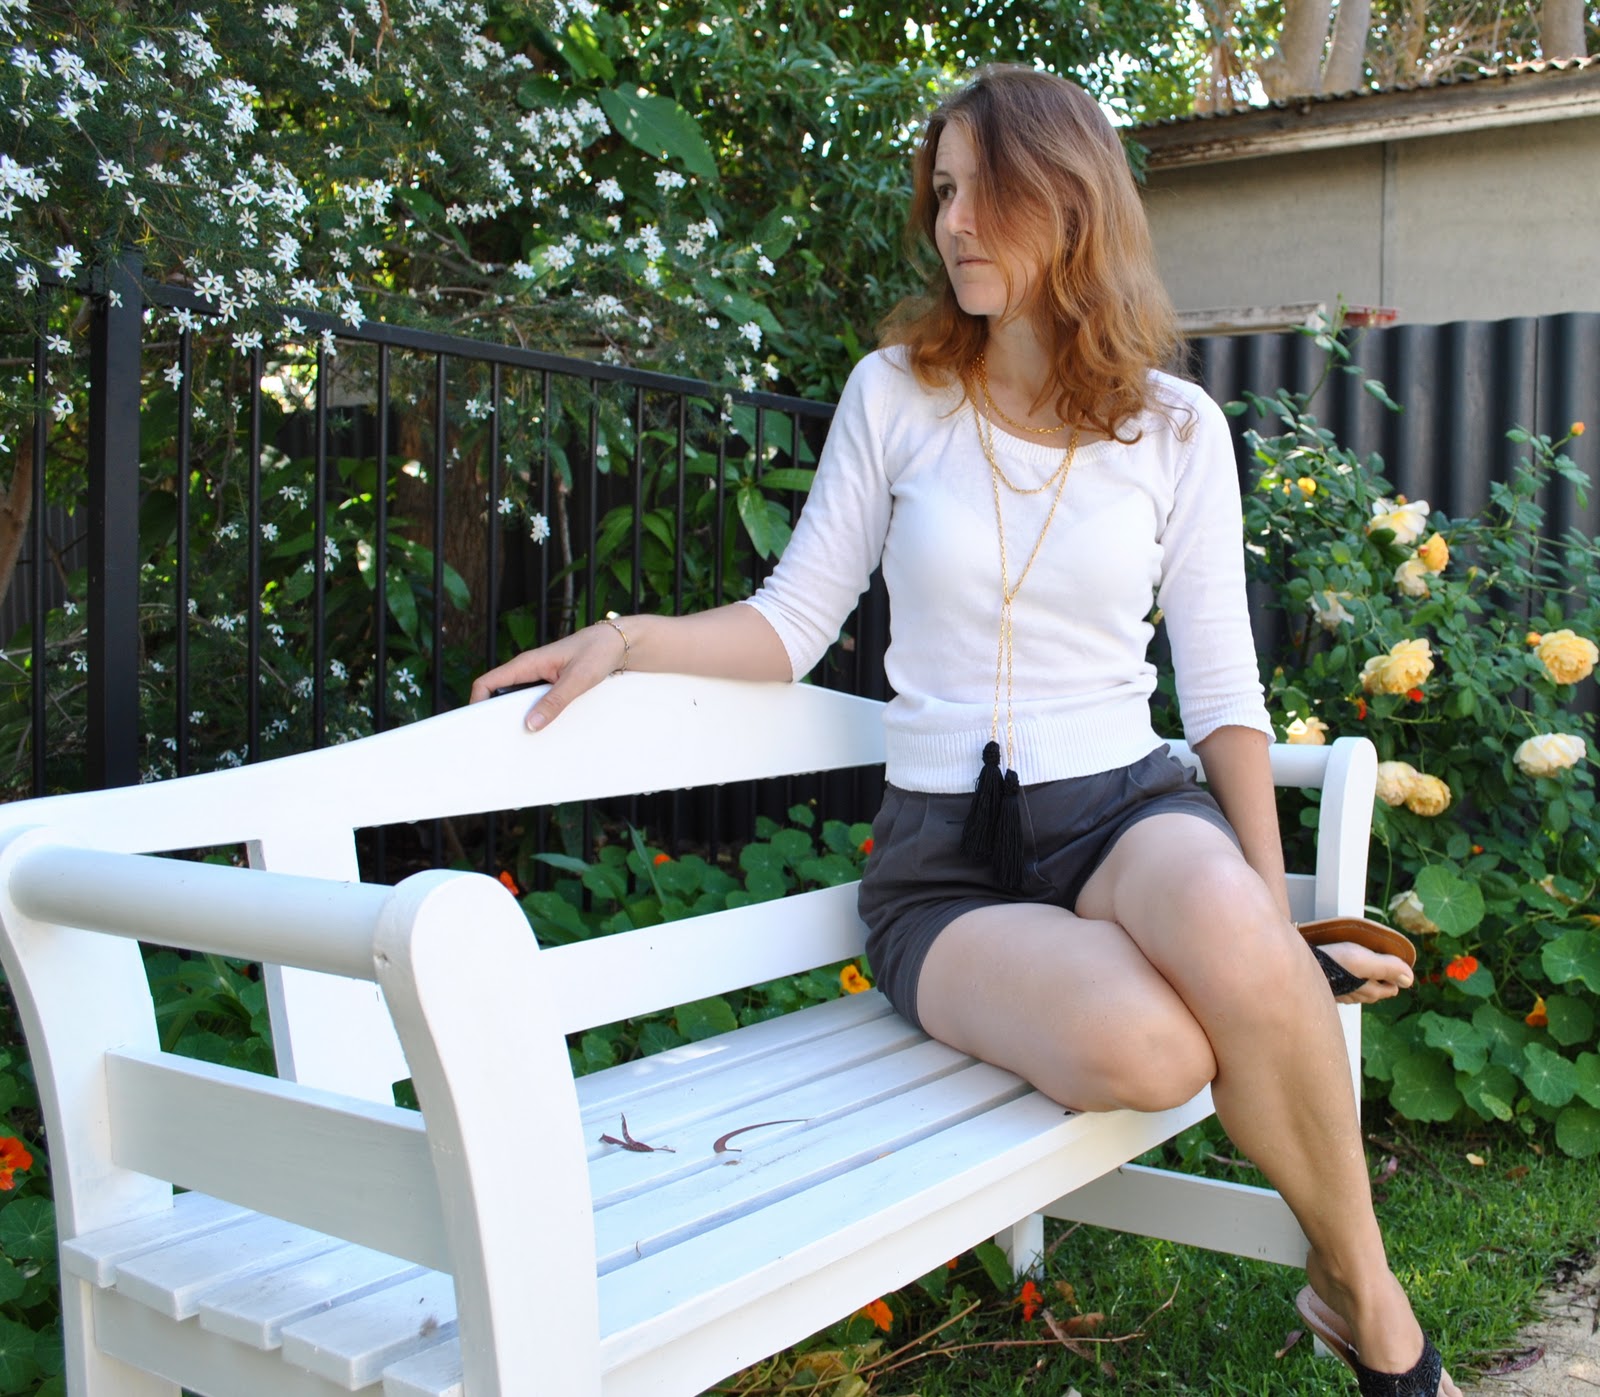
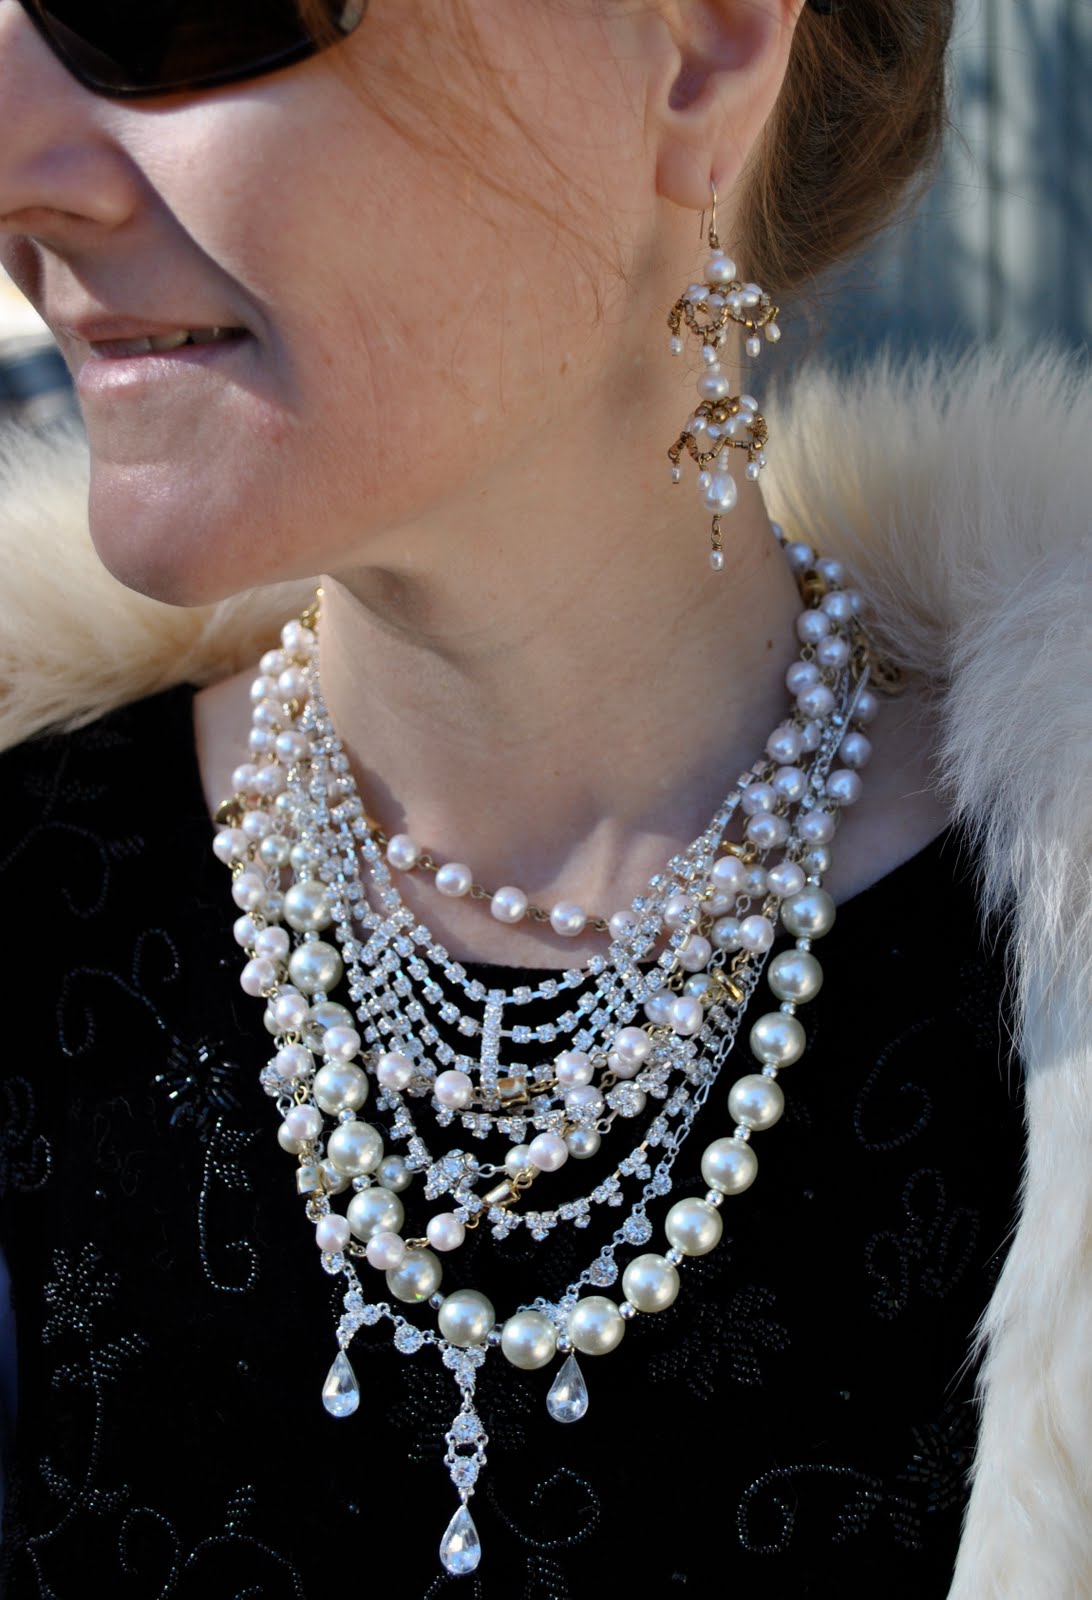
It can be worn with the ends hanging down loose or loosely tied up which is less swing-ey and sway-ey when you walk about as briskly as I do.  But I think I like it hanging loose better.  What do you think?

Details:
Top; Tempt
Shorts; Burda 7723, with slight modifications
Beaded thongs (flipflops); some little shop in South Africa

pinterestmail

Casino Royale party, with DIY necklace

Remember back in April I went to a fashion parade and mentioned a stunningly over-the-top necklace?  I had initially thought of a DIY but my jewellery making skills are not fabulous.  So I went back to the store with some friends a while back and had a closer look at the necklace; with a vague view of suggesting it to Craig as a future birthday gift and discovered it was a Tom Binn’s design and was selling for $1695, well NOT GOING TO HAPPEN!!  With my usual stingeiness selfless concern for the family finances (he he!) I decided to persist with the DIY after all.  And remembered this tutorial by the amazing Maegan, whose blog is heaps inspiring, she is very beautiful, stylish and creative too…  so every time I’ve been to op shops and secondhand stores I’ve checked out the jewellery selection, but I’ve come to the conclusion Australians just do not get rid of half-way nice jewellery at all but only truly junk jewellery…  so eventually I ended up in Diva where I bought five cheap new necklaces, and also supplemented with one I already had.  And here is the result!
Last night Craig and I went to a Casino Royale party and I decided the event was ripe for excessive bling and luxury and wearing the new necklace…   And I love my new necklace and it got lots of compliments!  And I want to work on it some more and make it even more OTT!
Below is the outfit I wore to the party; glam, no?  We certainly had heaps of fun…  All the guys were in tuxedos and all the girls were super blingy and I wasn’t the only one in a fur…  This fur coat was given to me by a friend of my sister-in-law’s who had inherited it from a great aunt and who wanted to get rid of it, can you believe it?!…  I wouldn’t wear new fur, but PETA-supporters rest assured this is a very old fur coat, older than all of us…
This kinda drab black velvet dress I’m wearing?  I did get this in an op shop with a view to altering it but haven’t got around to it yet and this is the “before” look.  It’s on my to-do list…

Details:
Dress; from an op shop
Fur coat; old old old, given to me
Shoes; Nina, from David Jones
Necklace; made by me from six other necklaces
Earrings; Sophie Kyron

pinterestmail

Knotted rope necklace; a tutorial

Even though we are technically well into autumn, with a forecast of 32C today it’s still feeling a lot like summer.  Not counting last week’s storm, that is.  The past week has been absolutely glorious.  So everyone is still dressing in summer type gear.  When you live here, that often means beachy inspired stuff. Beachside fashion is huge in Australia.  Particularly with teenagers.  I have no wish to go around looking like a teenager, but some beach and surf gear can be quite sophisticated and still fun.  The March issue of Vogue was all surf inspired, and I caught sight of this necklace.  You may be able to read the price of this thing printed there in the middle.  Yes, $110.  Hooley dooley!

This piece is interesting, colourful and ripe for a DIY.  Right up my alley.  Actually, confession, I bought the bits and pieces for this DIY about three weeks ago, and am just only getting around to it now, my experience at making my Chanel style chain belt put me off jewellery making for a while… but I needn’t have stressed as this was a breeze.
I bought 3m of brightly coloured cotton rope and some end bits.  This cost me about $10.  Not pictured here, but you also need a needle, scissors and matching thread.  I used embroidery thread, but that’s because I inherited a lifetime supply of this from my great-aunt and my grandmother, any thread would do.

Fold the rope into three equal lengths.

Simply knot the rope in five evenly spaced knots.  I spent a bit of time getting them exactly even but I’m a bit obsessive that way, and it would probably look just as good a bit more randomly spaced…

Measure around your neck where you want the necklace to hang and mark each of the ends with a pin.

Using your matching thread sew a few firm stitches through all layers to secure them together.

Cut the ends off, and sew on an end piece, using loose stitches so it stands away a bit from your rope end.

Finish off by winding the thread tightly around the rope ends to bind down any loose ends poking out, and secure the ends.

Voila and ready to wear!  Even though I attached jewellery ends to the necklace I find I can still slip it over my head pretty easily without having to undo the catch.
I like the funky, casual, different look of this necklace; its not your average kind of accessory (and so the perfect accessory for me) and cost a lot less than the original.  Win!

pinterestmail
Switch to mobile version
↓