Tag Archives: Lingerie

Seafoam and sand set

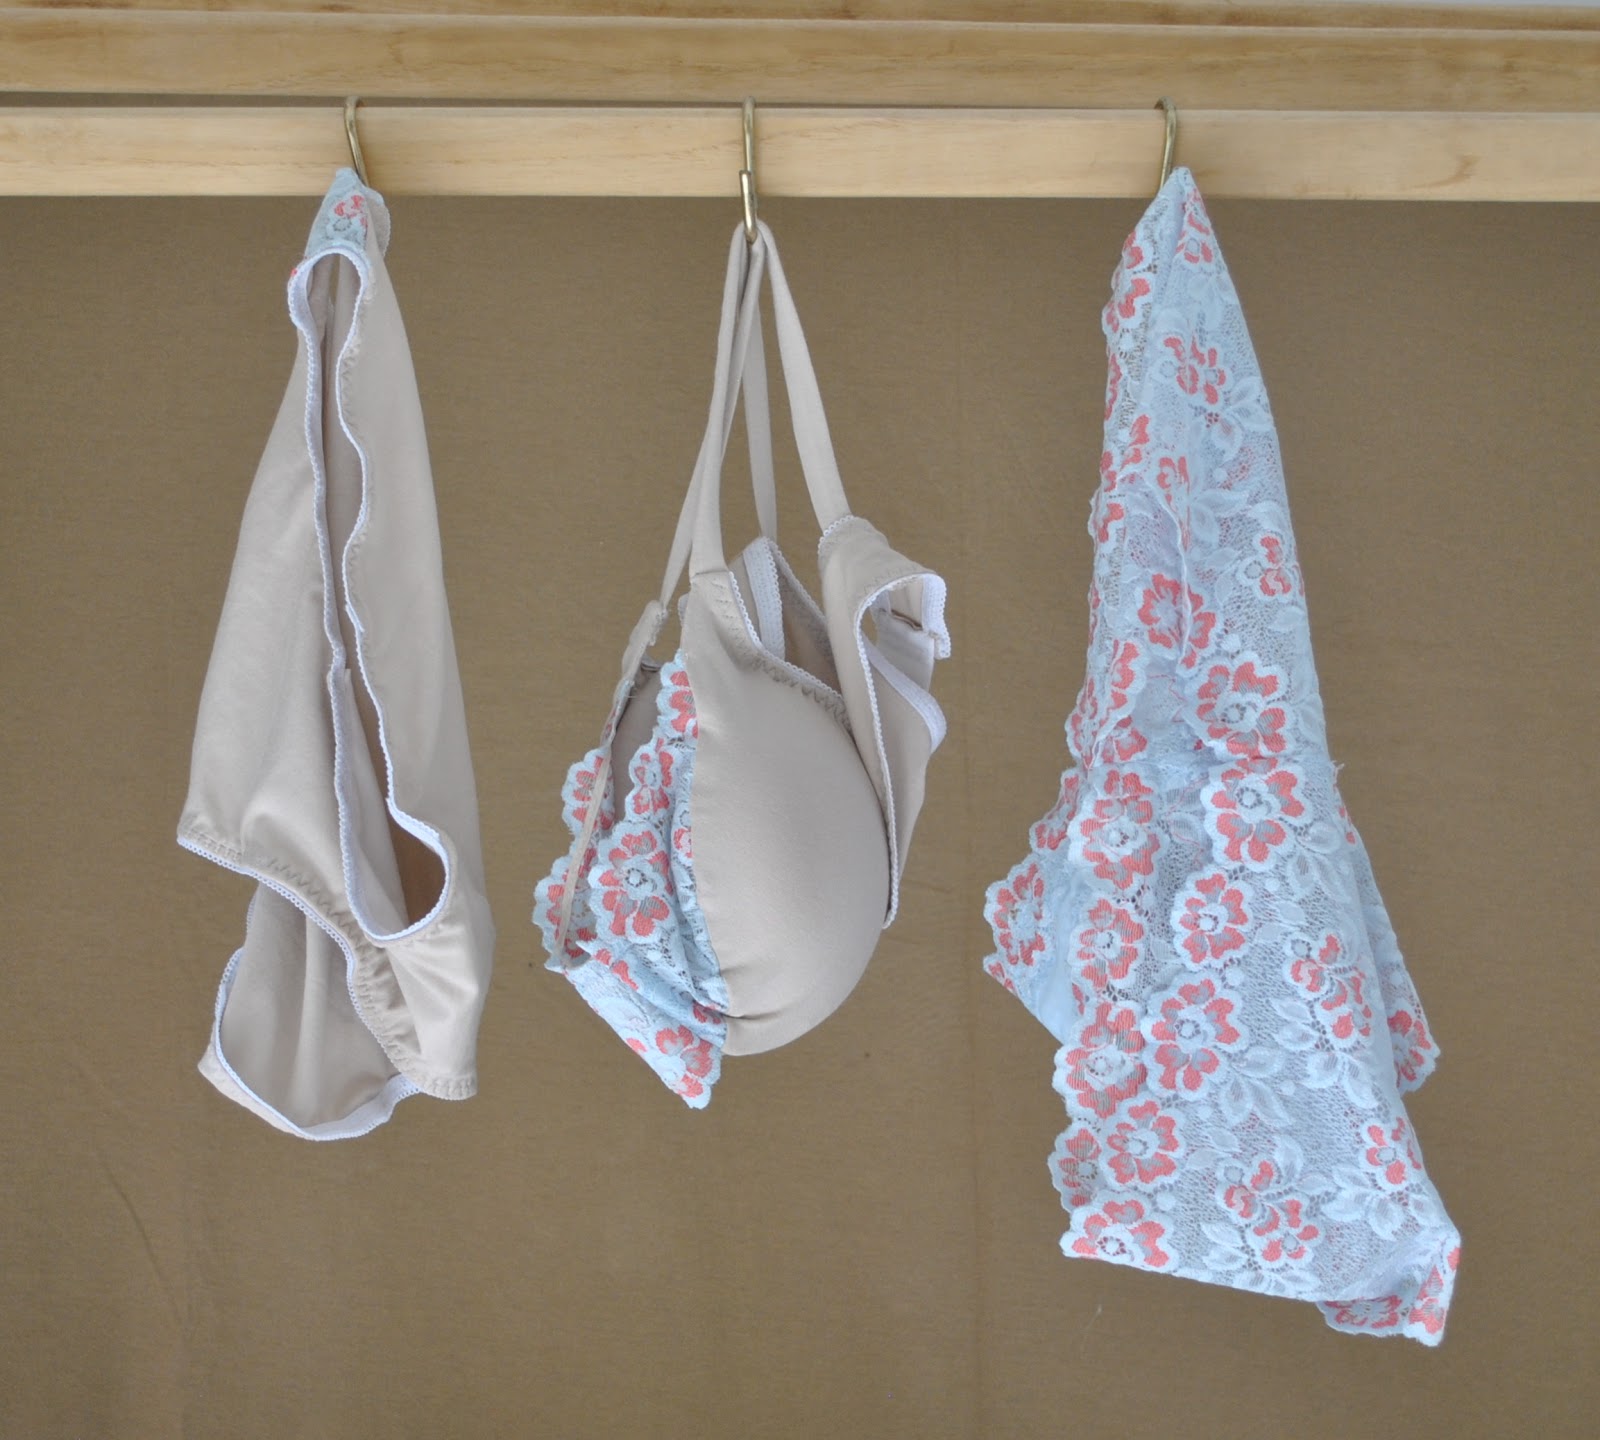
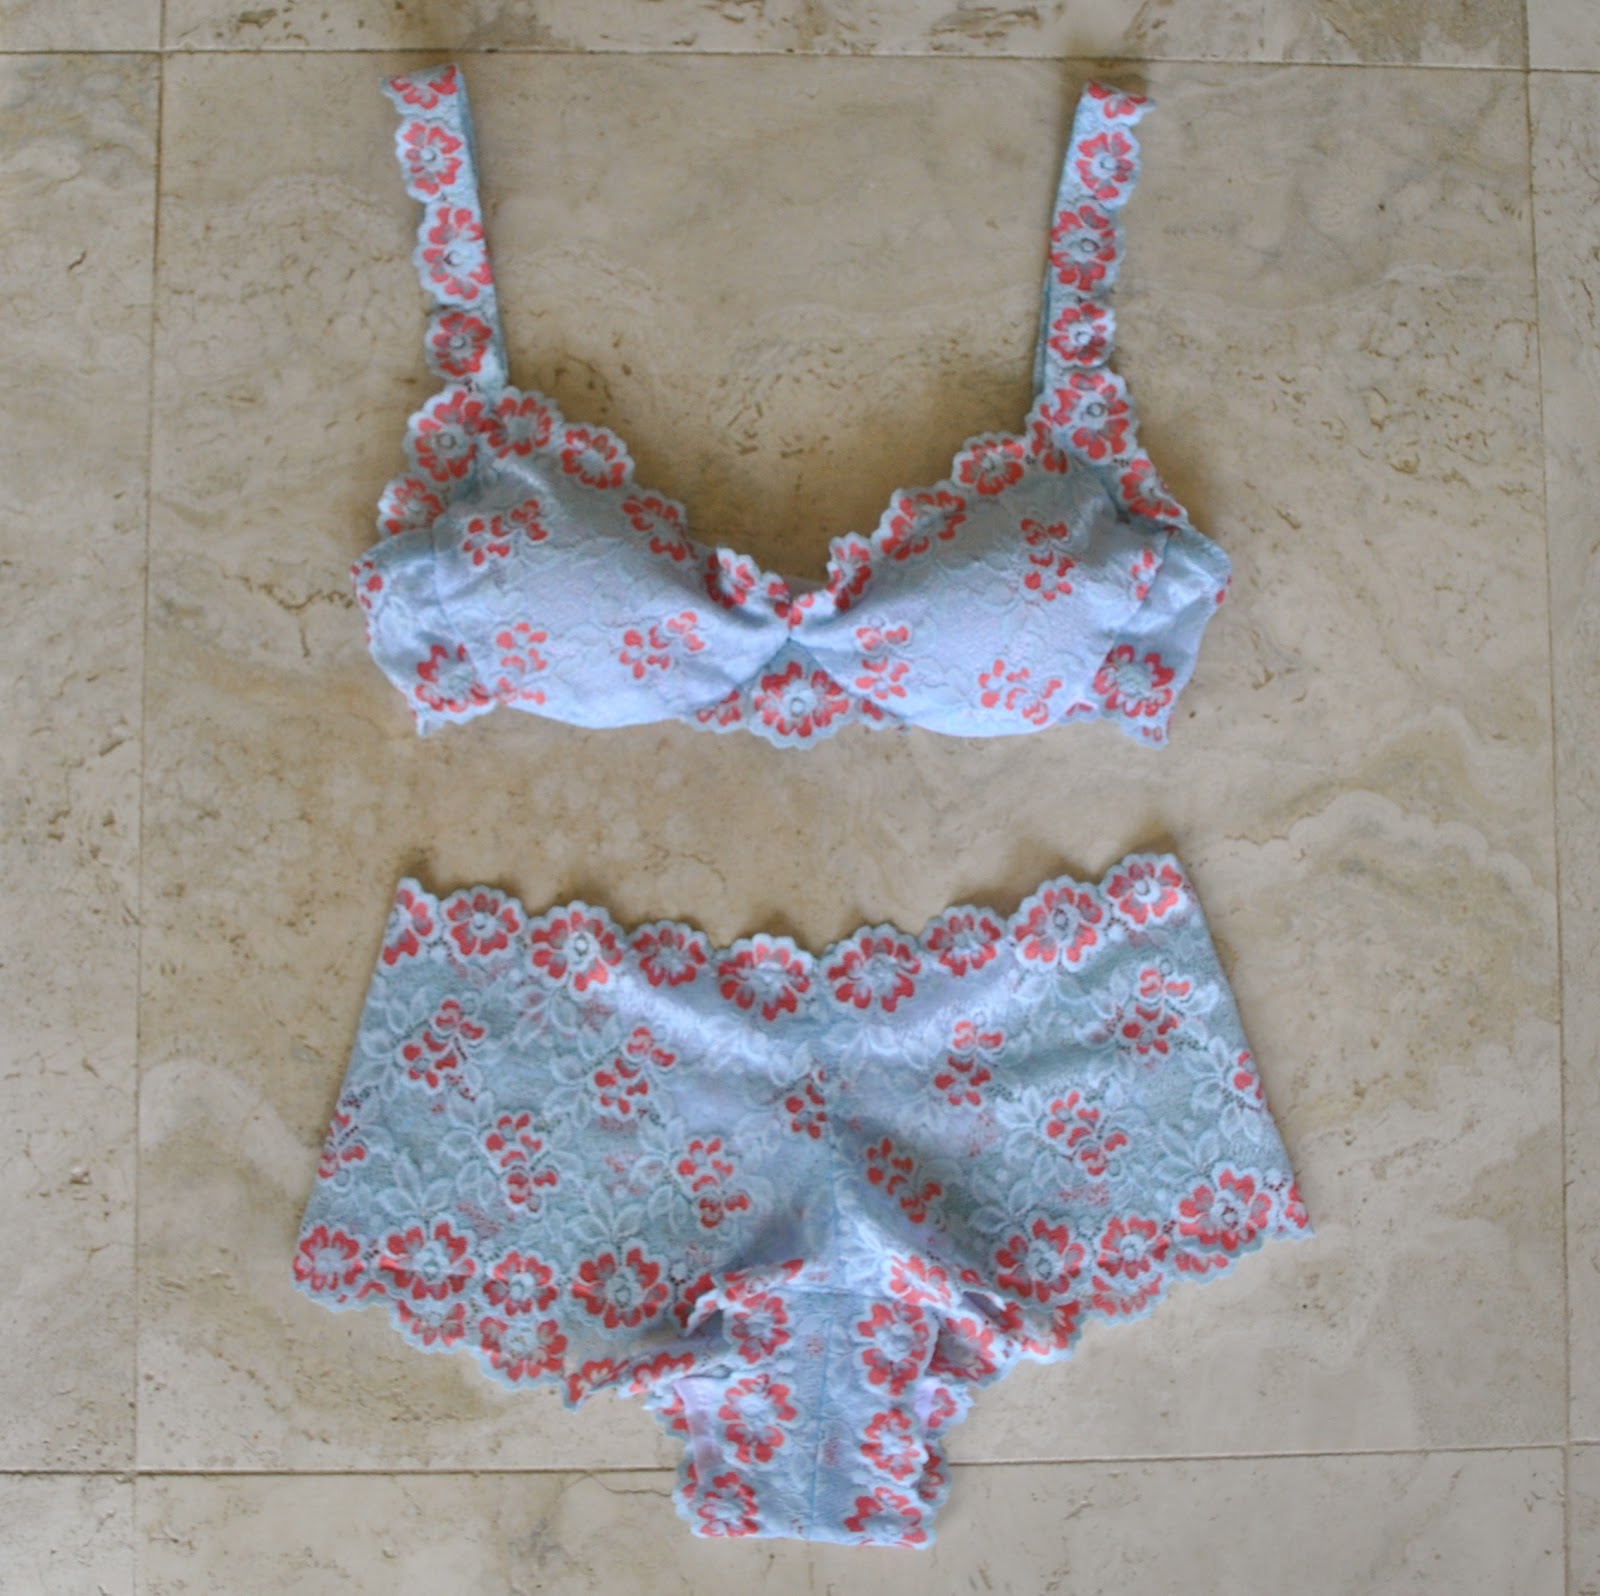
Remember my self-drafted bra?  Well this was bound to happen.  Once I had started producing some bras with nice, properly finished interiors; the days of that far-from-perfect bra were numbered.  When I learnt how things were supposed to be done, thanks to KwikSew 3300; those cobbled-together insides became painful to my eyes…
So, ta da!  I’ve made a new(ish) set.  
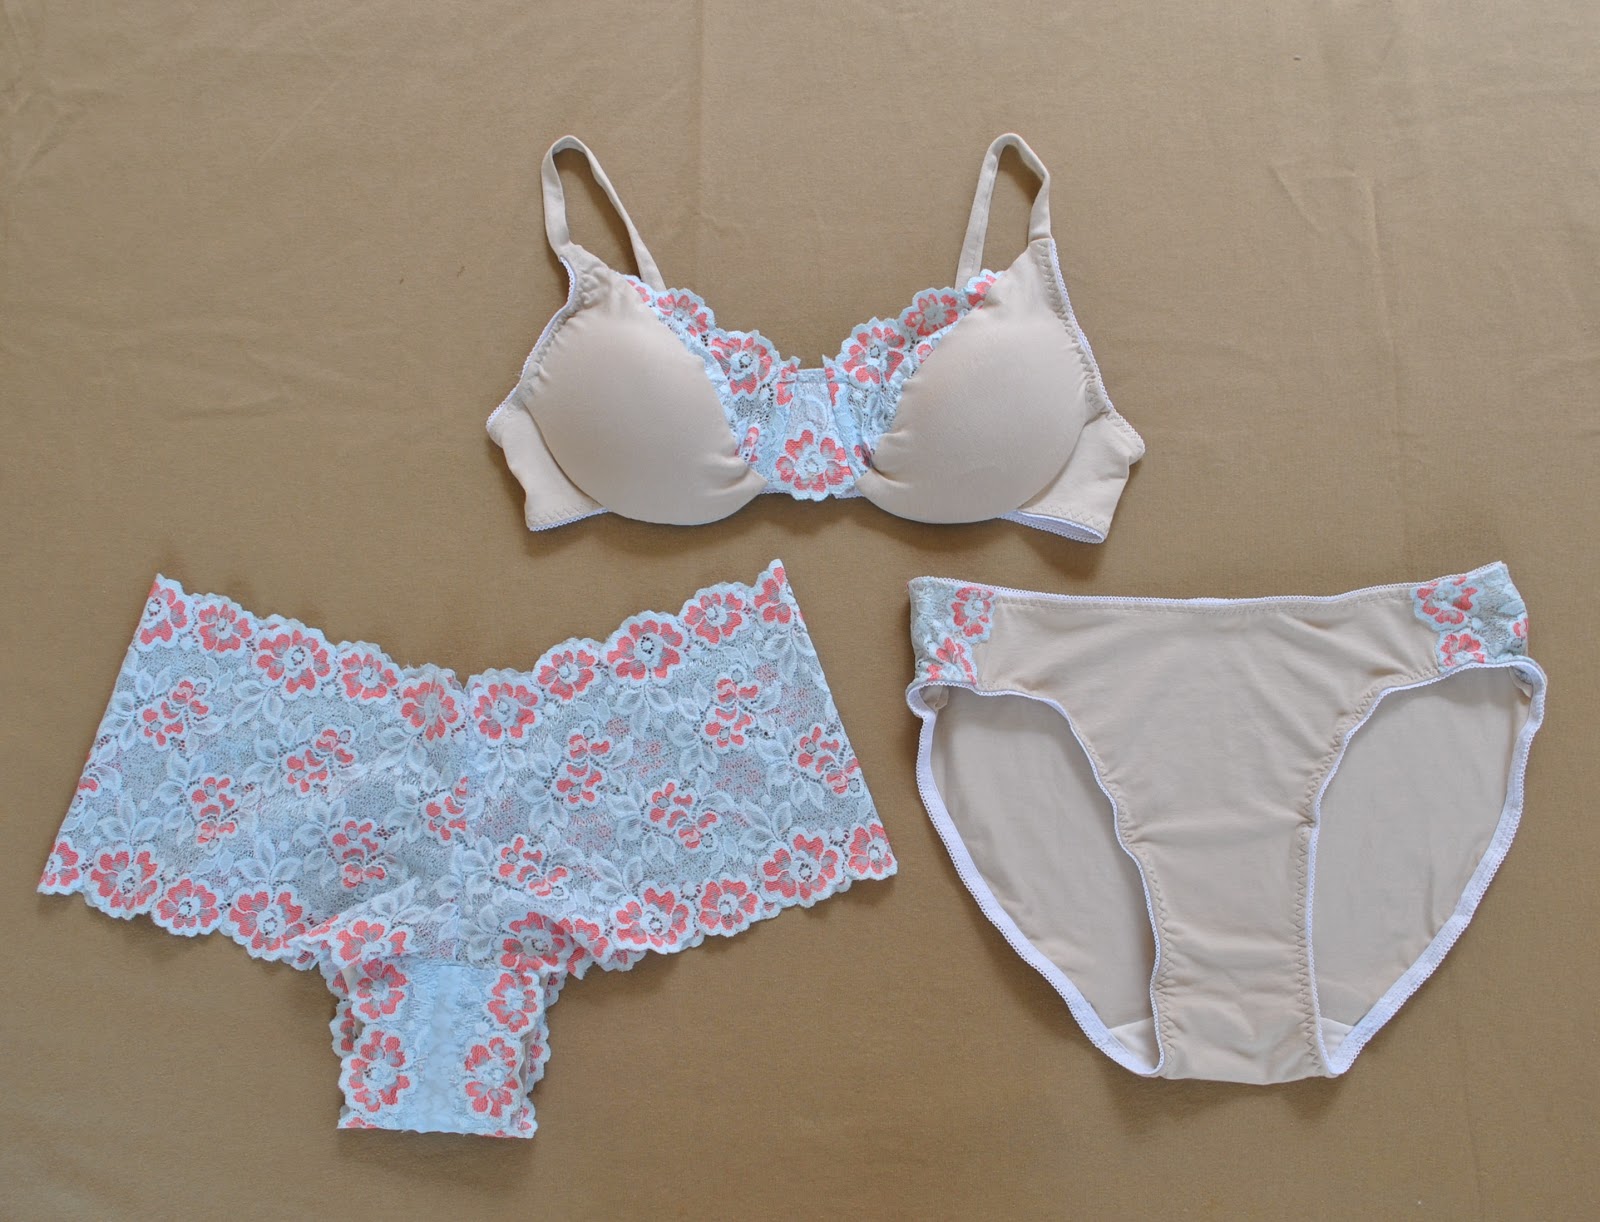
Y’know what?  I absolutely LOVE the fact that the two undies both match the bra, but are not identical to each other!  You can tell that they all go together, like one happy family; but each has its own personality.  Like; they are sisters, but not twins.
Will definitely do this again  ðŸ™‚
I took apart the old bra, and re-used as much of the lace as I could, as well as the half-sized padded bra cups and the hook and eye closure.  I bought new underwires since the previous ones were too short for this pattern.   
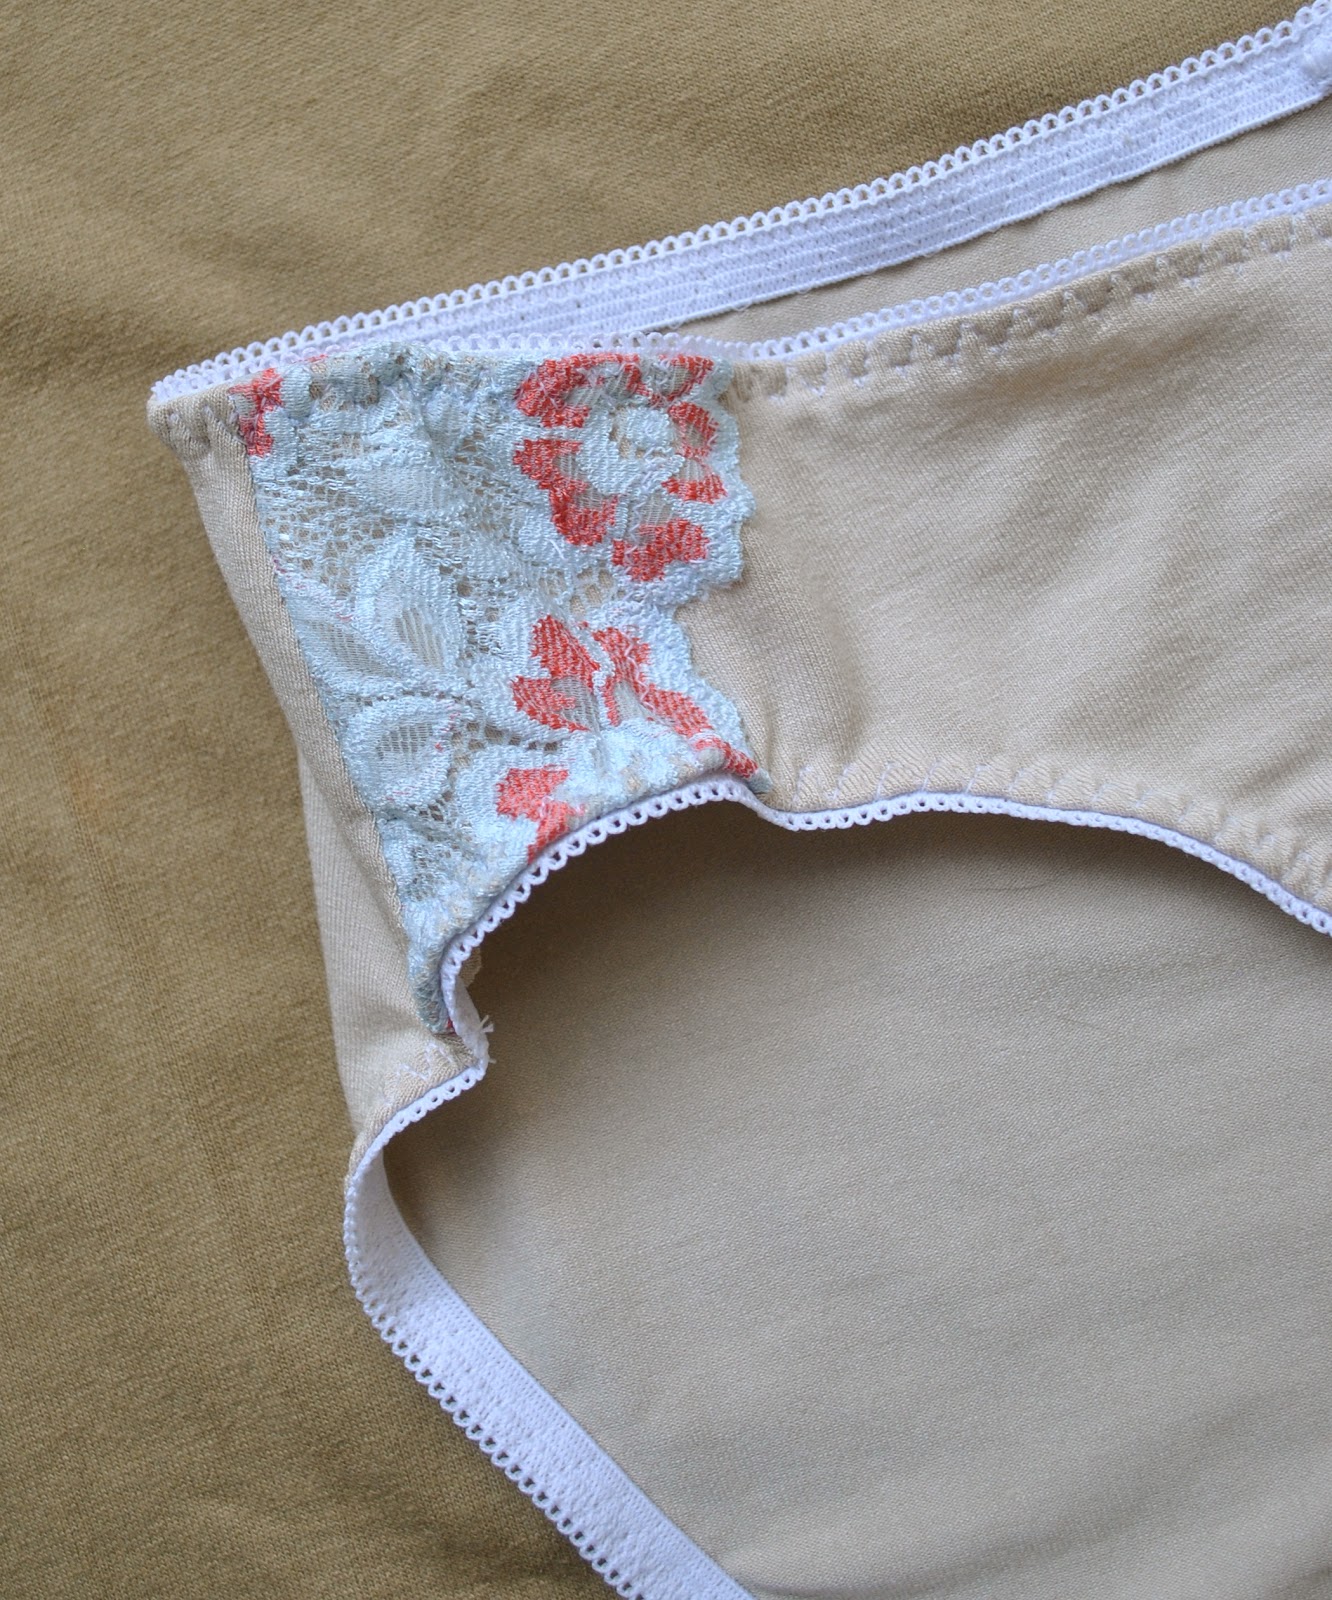
For the supplementary fabric I used some lovely soft sand-coloured bamboo jersey leftover from my scrumpled leggings, and had just enough to cut out another pair of undies, using McCalls 2772.  I added little scraps of the lace in at the sides of the new knickers before sewing on the elastic; to tie them in with the rest of the set.
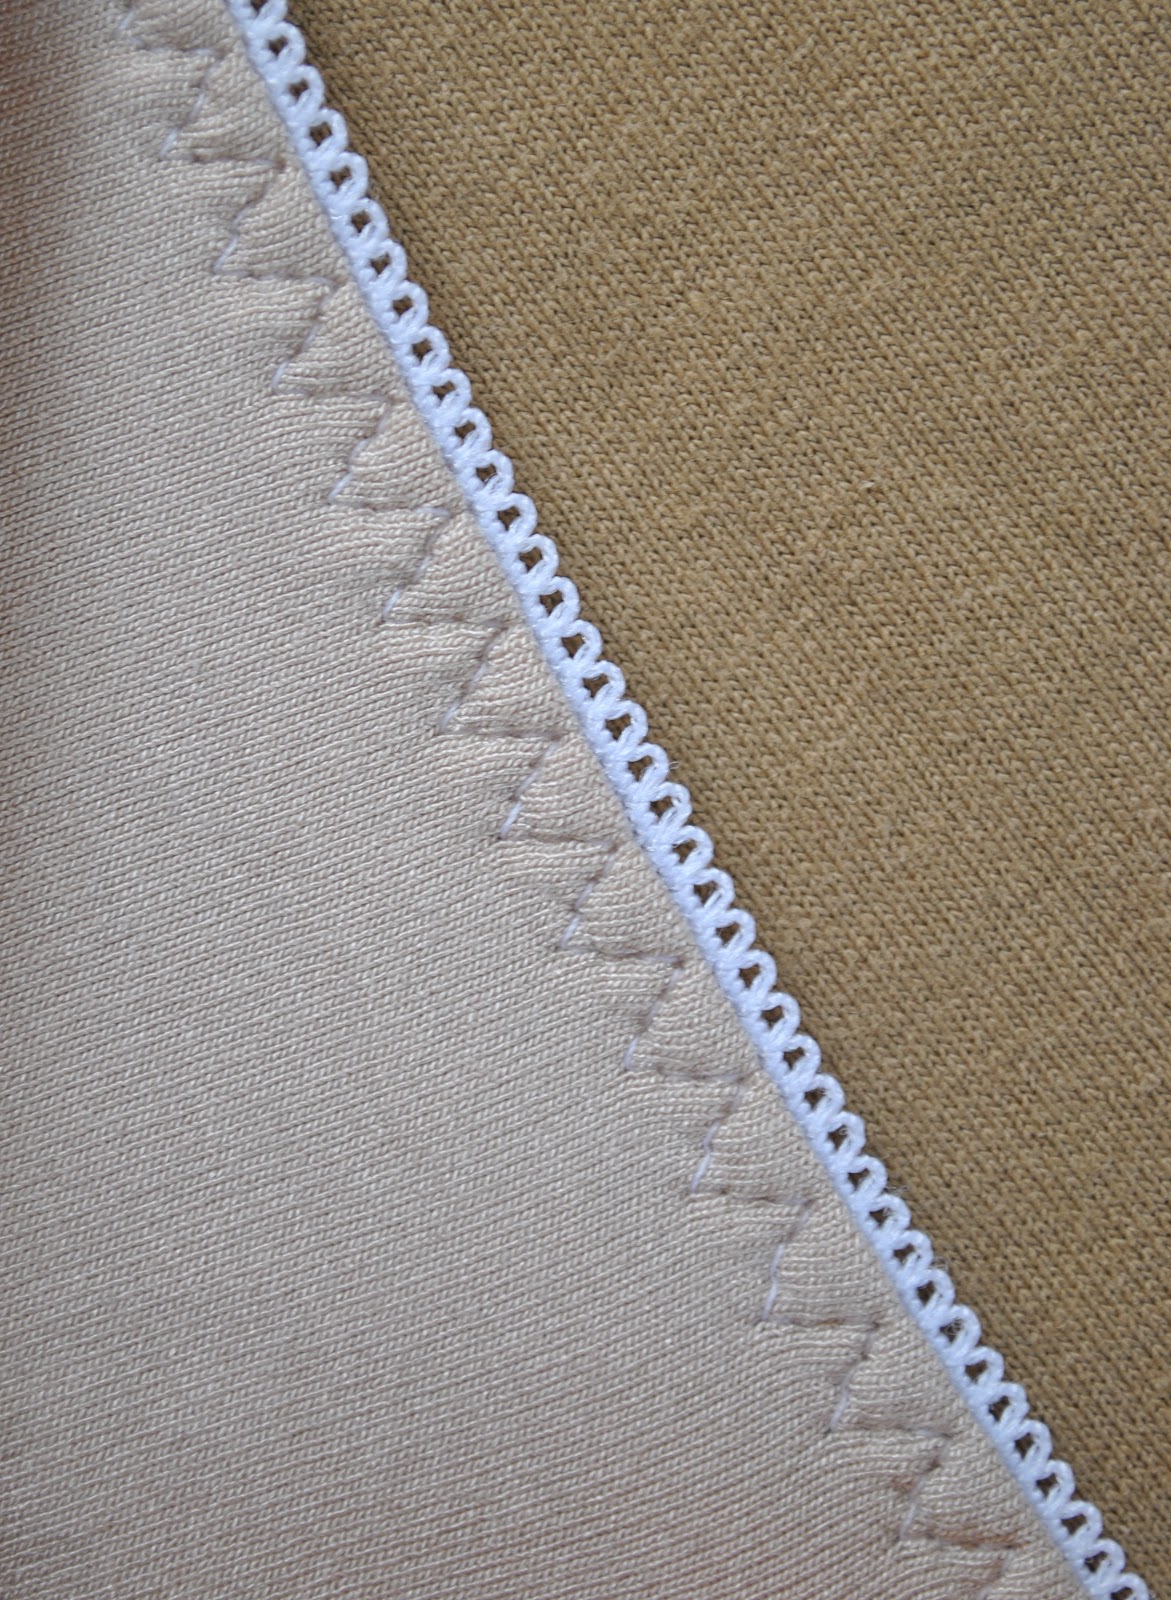
Both the fabrics are originally from Fabulous Fabrics.
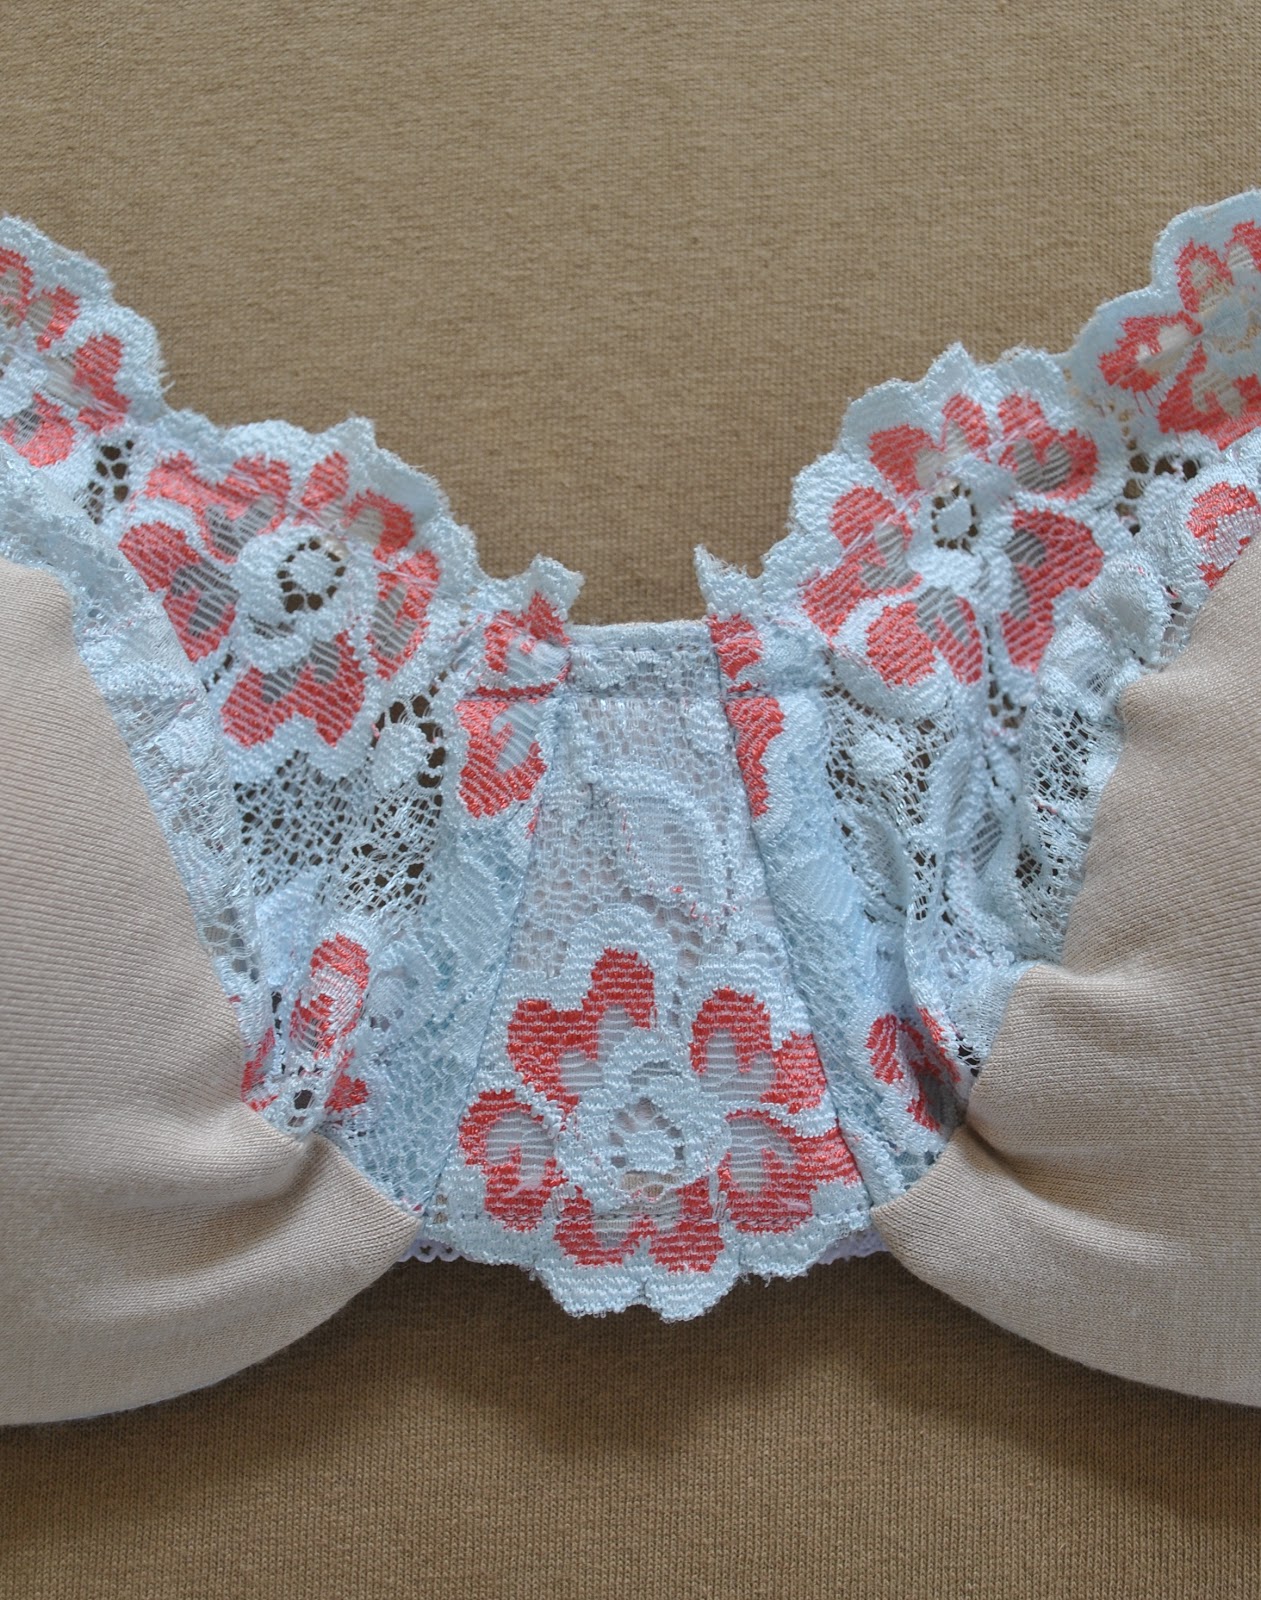
Y’all know how I like complete and matching sets in my lingerie drawer ….   hey, we all have our quirks right?  Mine is to have matching lingerie sets; and the two matching knickers per bra combo is pretty much mandatory to my continued sense of balance and order in the world.  I’m quite particular in that way 🙂
Now this set matches my criteria.  
And it is finished nicely.  
I am at peace.

the nitty gritty…
For the first time I made view A of KwikSew 3300 (my review of this pattern here), with the lace upper cup and a stretch knit lower cup, and once again altered the pattern slightly to allow me to sandwich the padded half-cups inside the lower cup pieces.  I used a bit of skinny ribbon for the stabiliser on the lace upper cup.  It has no give, and the piece doesn’t fit the top of the bra exactly; so I found it necessary to first baste this, easing the lace to fit, then to stitch over my basting stitches.
The underwire casing was made from ice-blue shot cotton, leftover from this top.
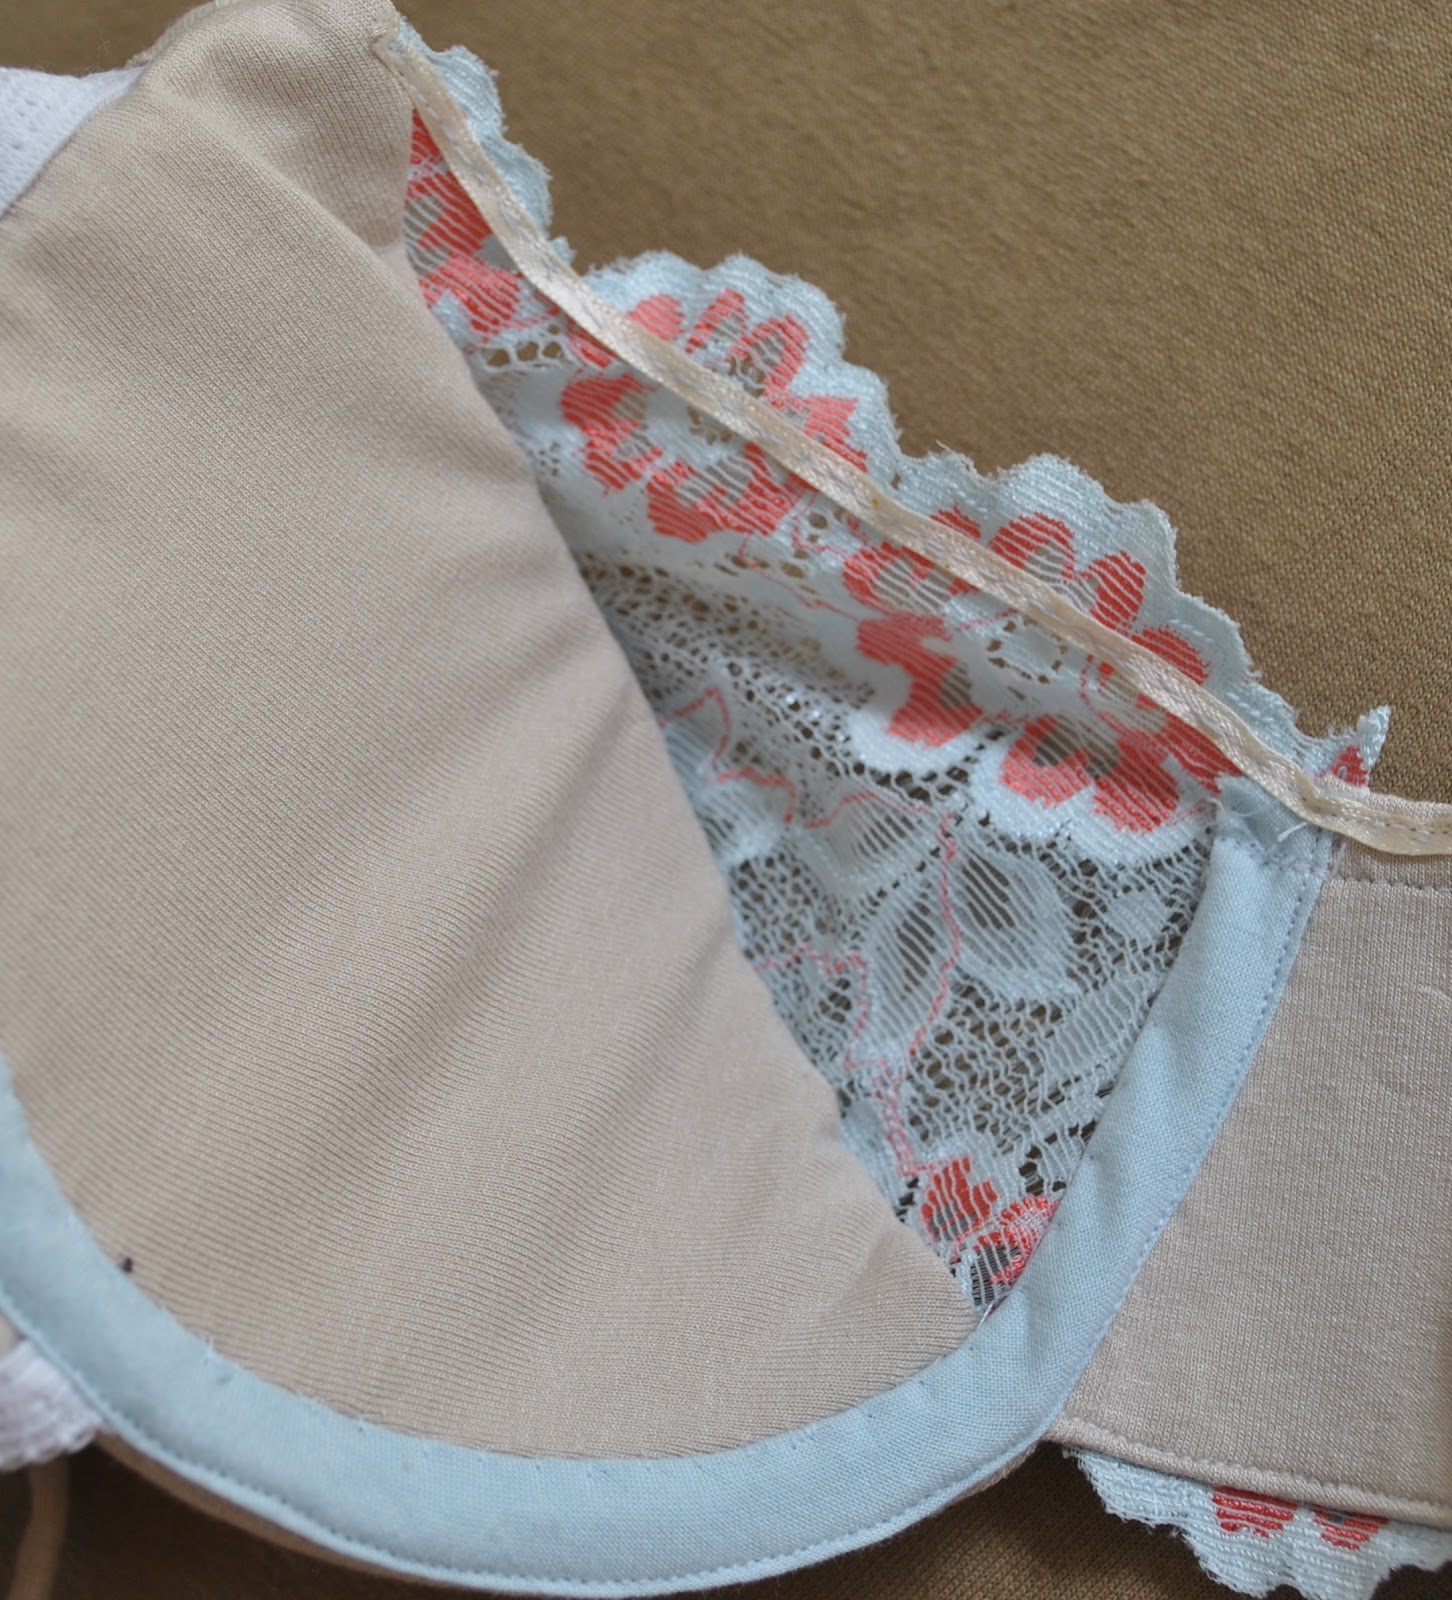
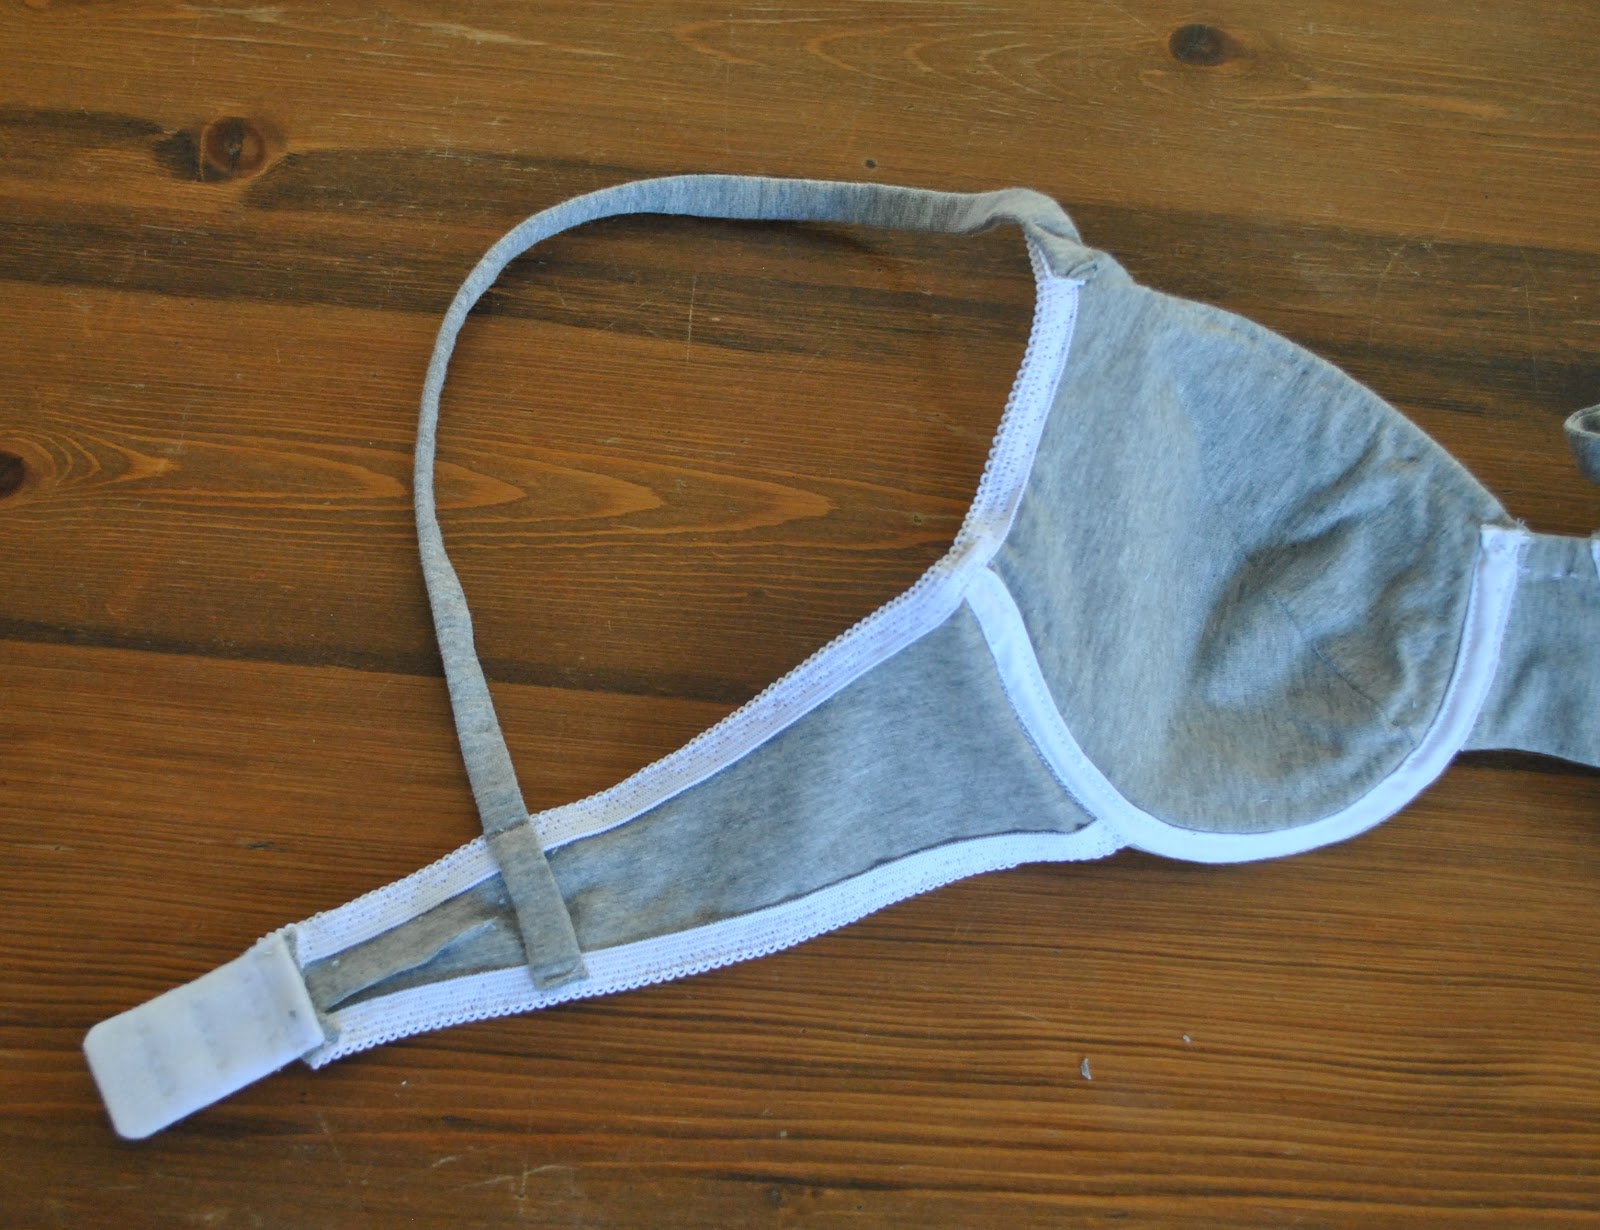
The jersey lining of the lower cup “looks” funny; a bit bobbly and boinging out like a trampoline over the concave inside of the moulded cup, but obviously the soft stretch fabric moulds to your body when you are wearing it.  I can’t think of any way to force it to follow the curve; short of gluing it or quilting it down to the cup.  And there’s no way I’m going to go to those lengths when it actually fits and feels fine when it’s on!

Now for the Tanga lace panties; although they look virtually identical to how they did previously…well, I hope they do!… these too have been taken apart and altered…
Why?
This is kinda hard for me, since I absolutely hate to bag a pattern, particularly an independent little pattern from someone kind enough to put a free downloadable pattern up on the internet, from the goodness of their heart, for everybody to enjoy.  Such a generous gesture does not deserve a bagging.  But the pattern, as it was, did not totally work for me…. why? because the crotch has a front-to-back central seam, combined with NO elasticated leghole edges to help keep the crotch edges… er, out, and apart from each other.  It doesn’t take much imagination to extrapolate; and see that that makes for an enormously uncomfortable pair of knickers, that necessitates one having to find plenty of inconspicuous moments in one’s day to hoink that wretched crotch seam out from where it has no business being.  The liner is one-piece, but is too flimsy to make a heck of a lot of difference, unfortunately.
Moral of the story; beware of knickers with a central crotch seam.
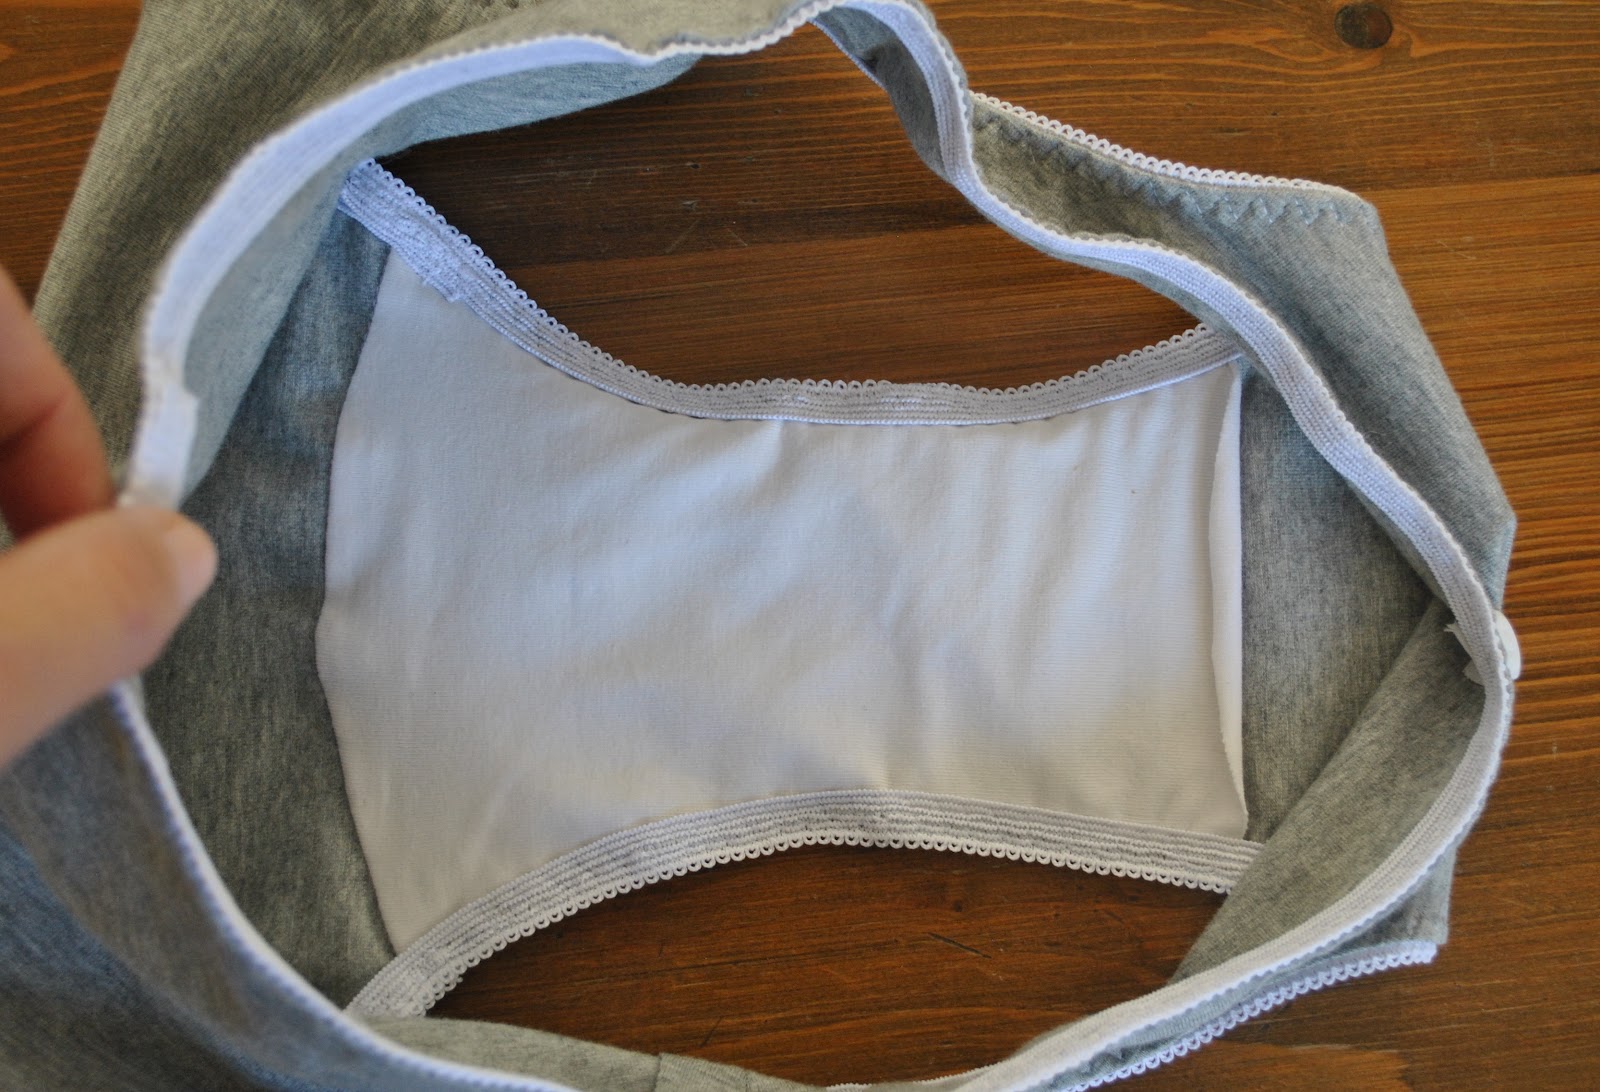
So I removed the old crotch and constructed a new one.  I used the one-piece liner pattern piece to cut a new knit liner, and also for a new, stretch elastic crotch.  I salvaged some more of the decorative stretch lace border from the old bra, cut two pieces to fit the length of the inside lace edge on the crotch which translates to about 1cm short of the outer edge measurement and sewed it along, stretching it along the outer edge to fit, gathering the side edges in a touch.
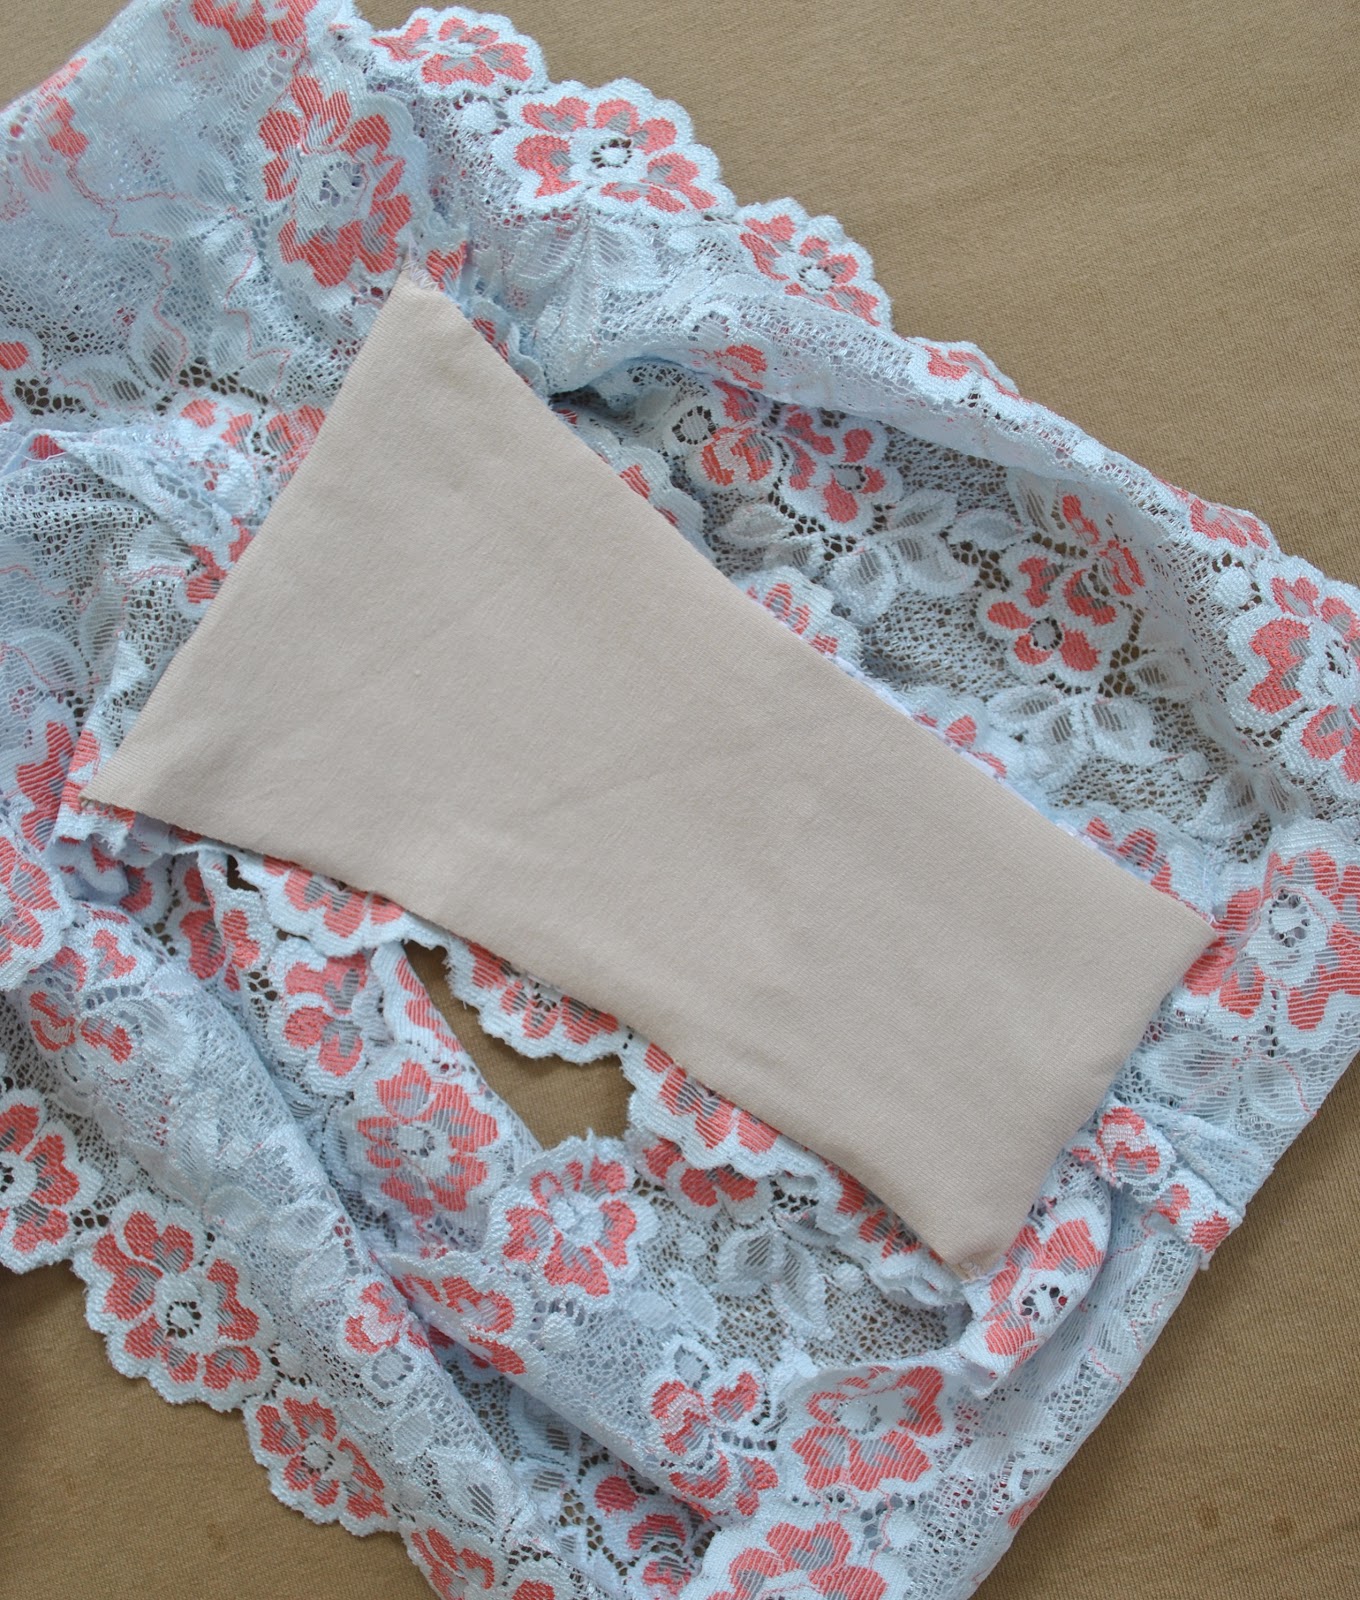
I didn’t have enough of the original lace to cut a new crotch piece or I would have used it!  I had to improvise, using white stretch lace with a over-layer of pale blue poly chiffon; the latter cut a bit bigger all round and sewn on loosely to account for the fact that it does not have stretch in itself.  I think it blends in ok.  Would you even notice that the fabric was different without this close-up shot?
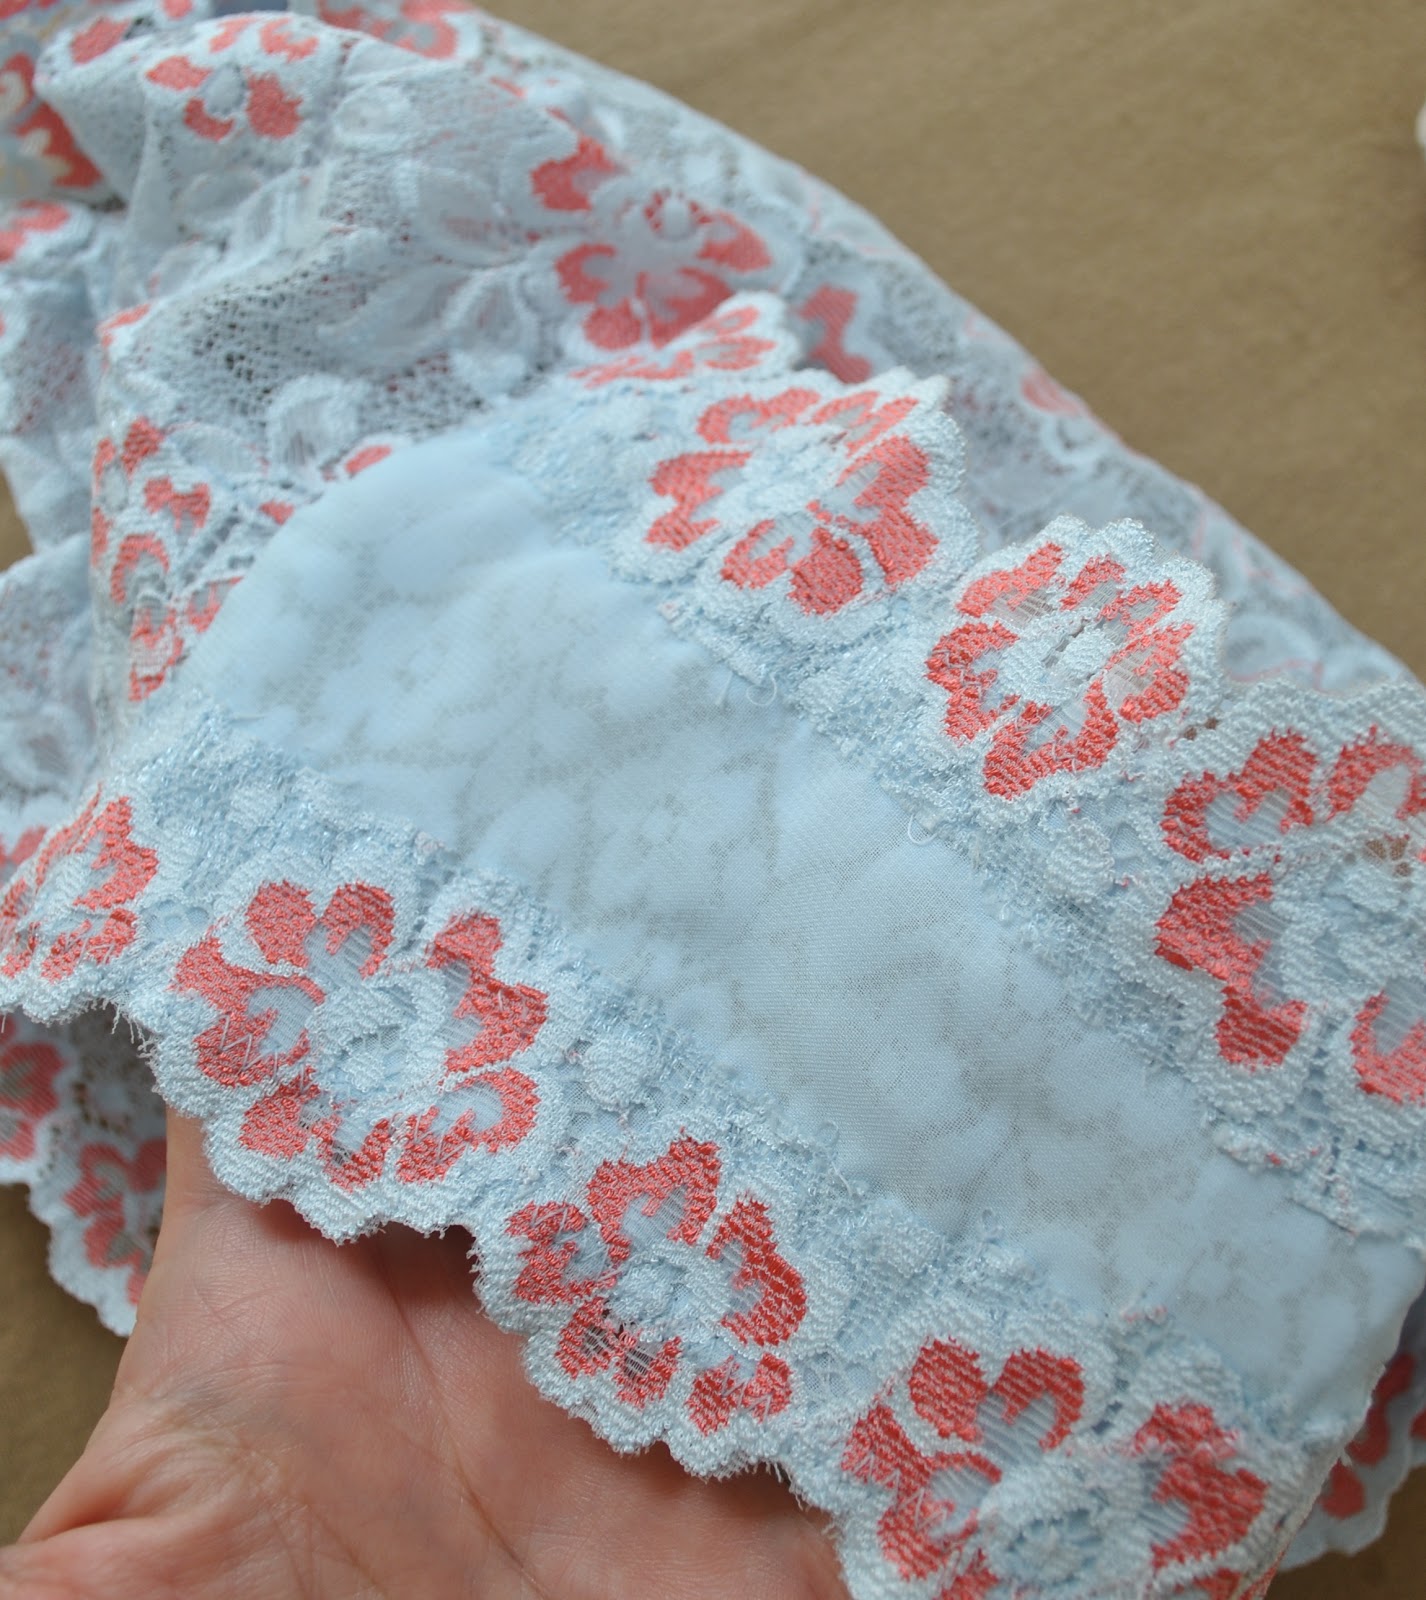
And y’know what?
Success!!
Using the liner piece to cut a one-piece crotch, and sewing border strips of stretch lace on at the sides to pull them in a bit…. it’s a very tiny adjustment to the ultra-cute lace Tanga knicker pattern, but one that renders them a heck of a lot more comfortable imo.  In future versions I will definitely be doing this again!  ðŸ™‚

pinterestmail

a Stellar set


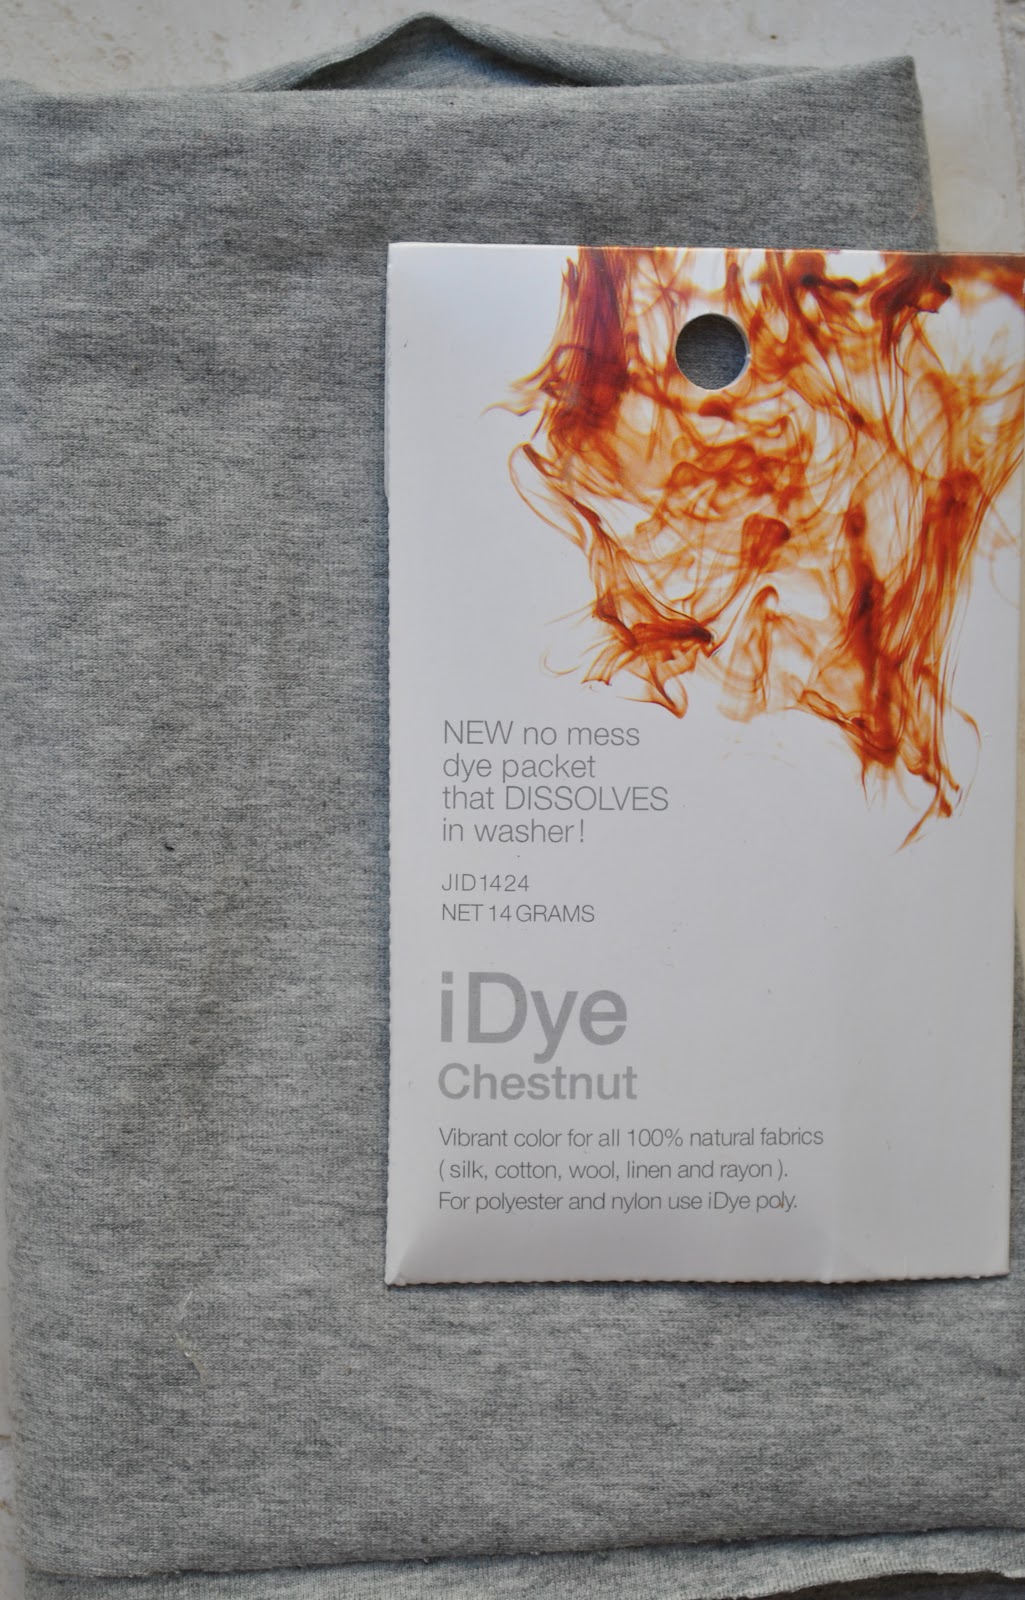
Remember I mentioned I had done a little dyeing recently??   I still had scraps of leftovers of pale grey marle cotton jersey from KnitWit: leftover now from this Pattern Magic top, this set of lingerie, and this hoodie for Tim… I had enough for another set of lingerie, but to have two sets the same colour?? boring!

So I checked out the dye supplies… previously, before I started to make all my own clothes, I owned a Tshirt that was grey over-dyed with orange in a splotchy random way.  I always loved loved LOVED that Tshirt, and wanted to aim for something like…
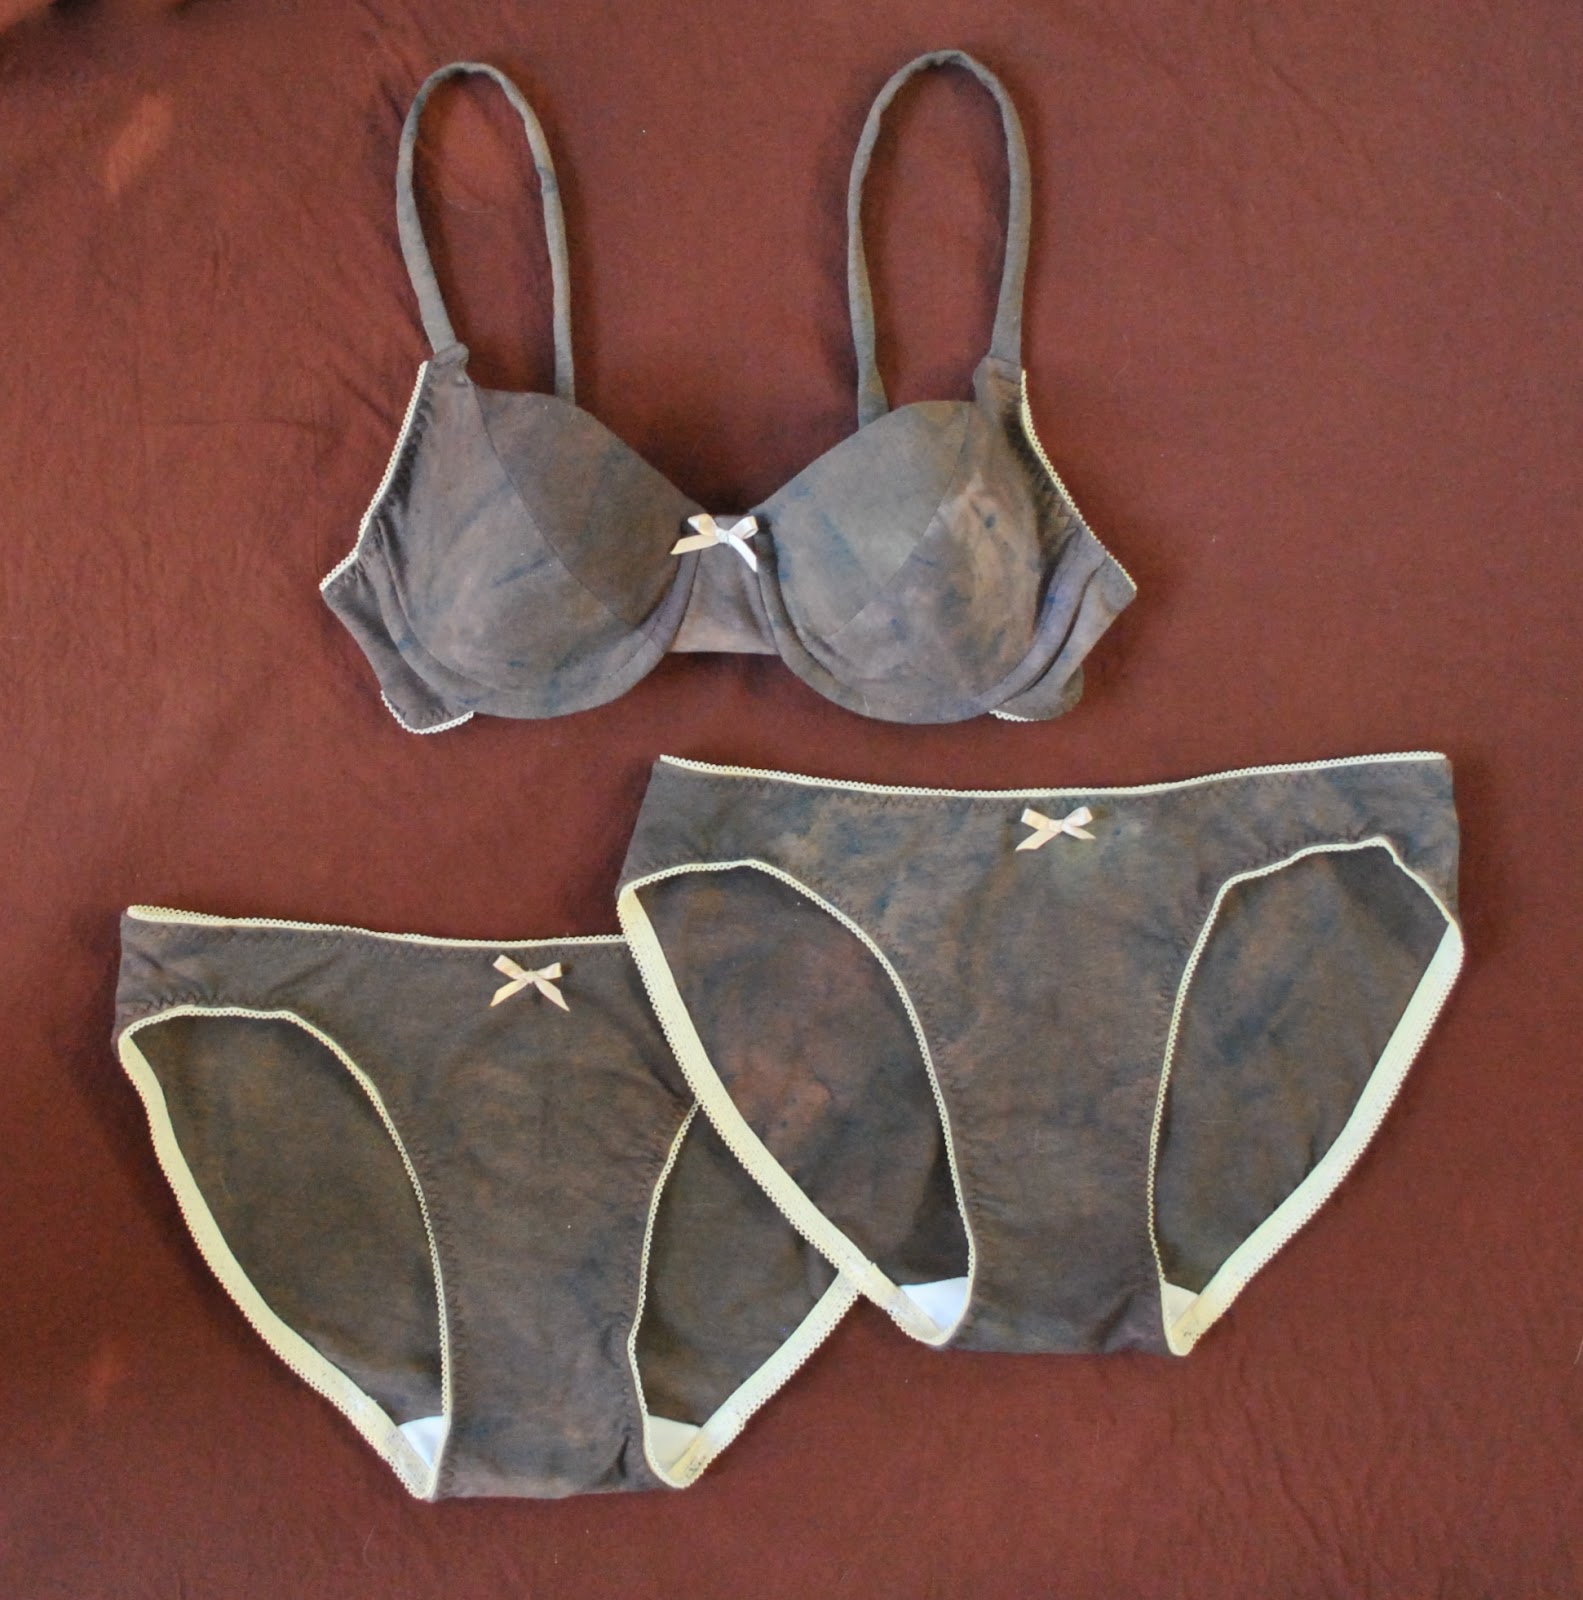
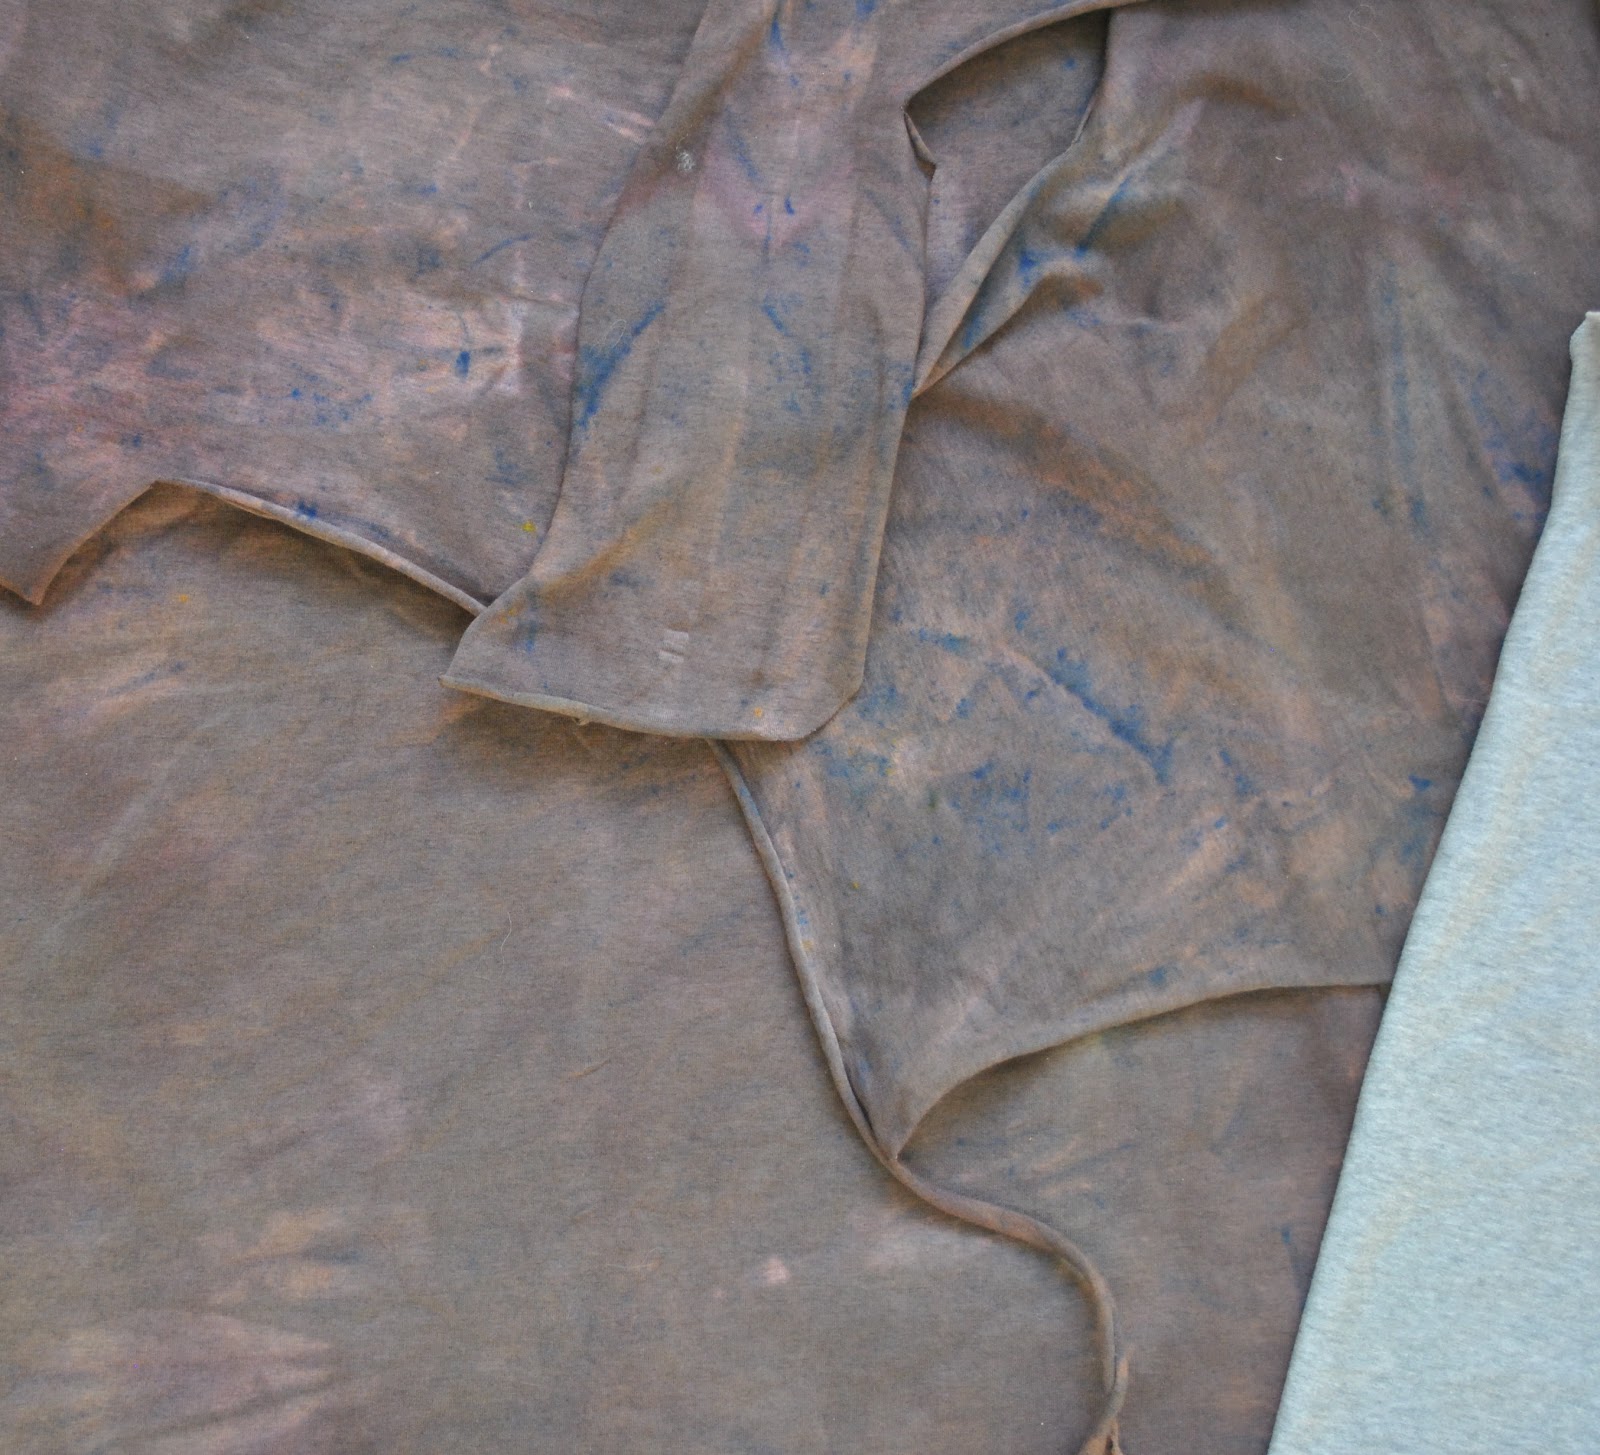
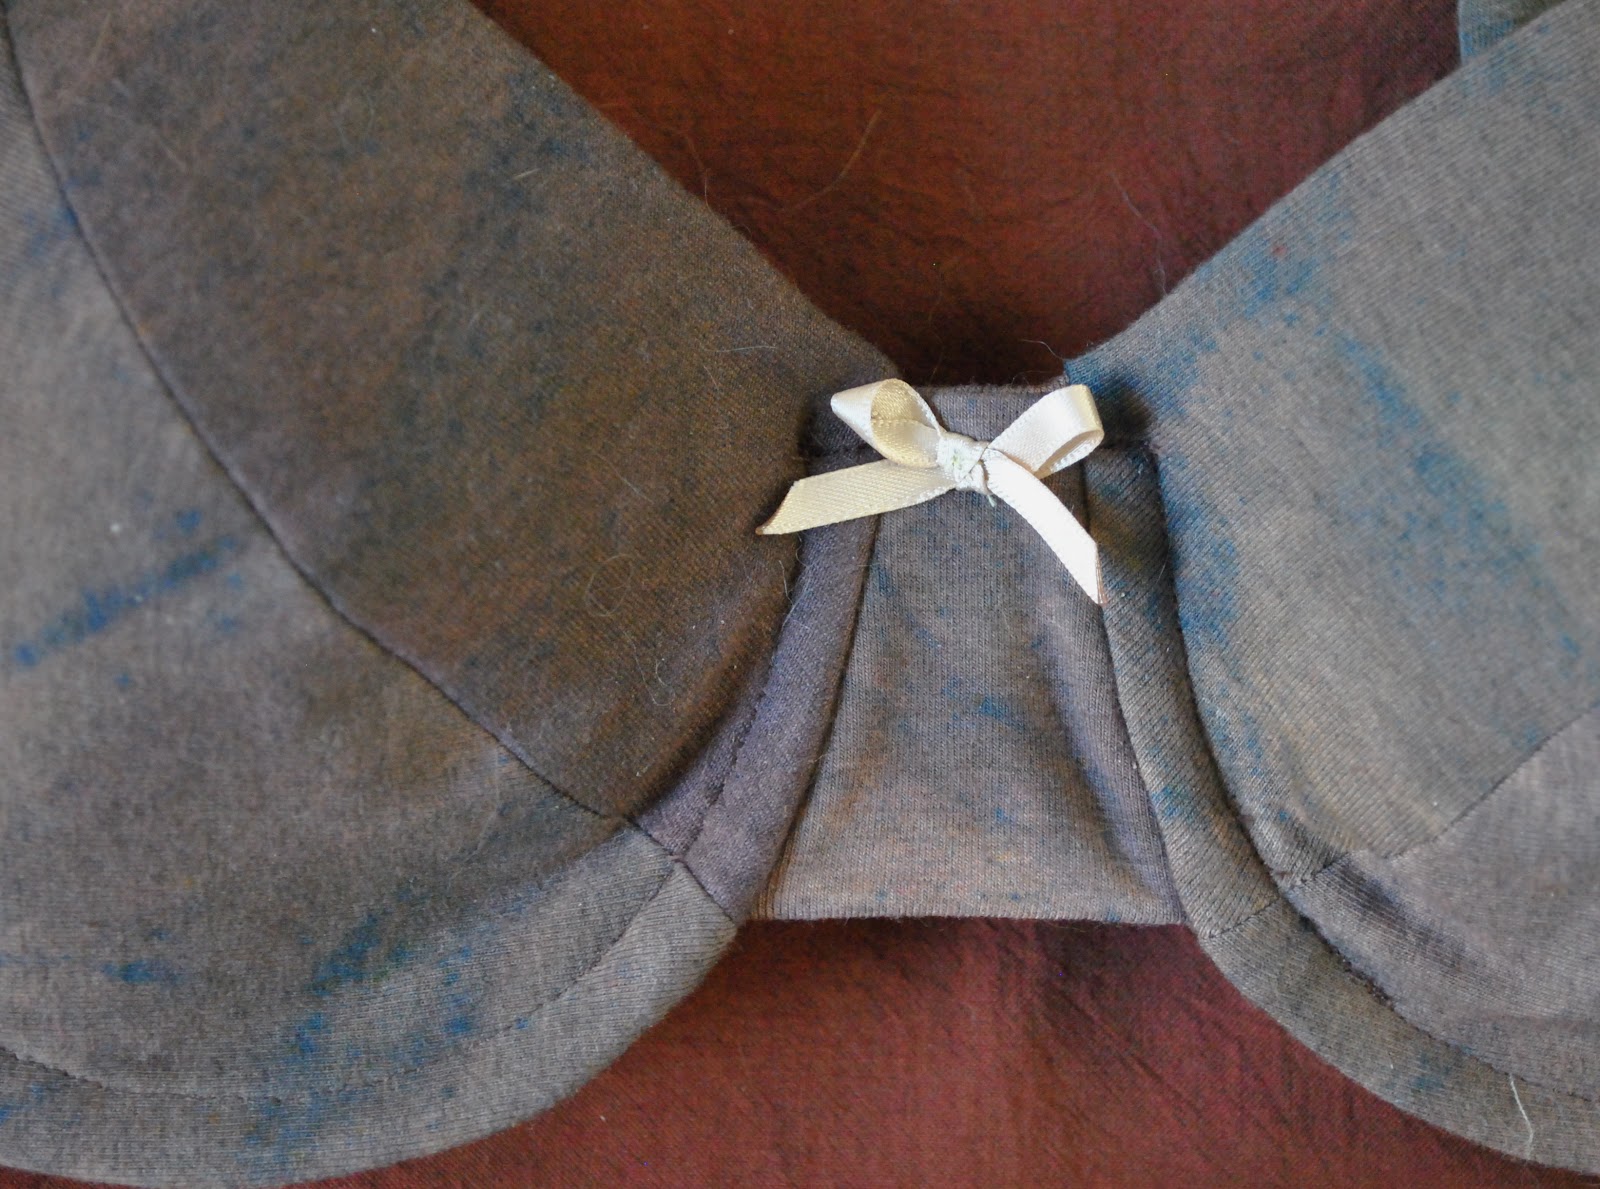
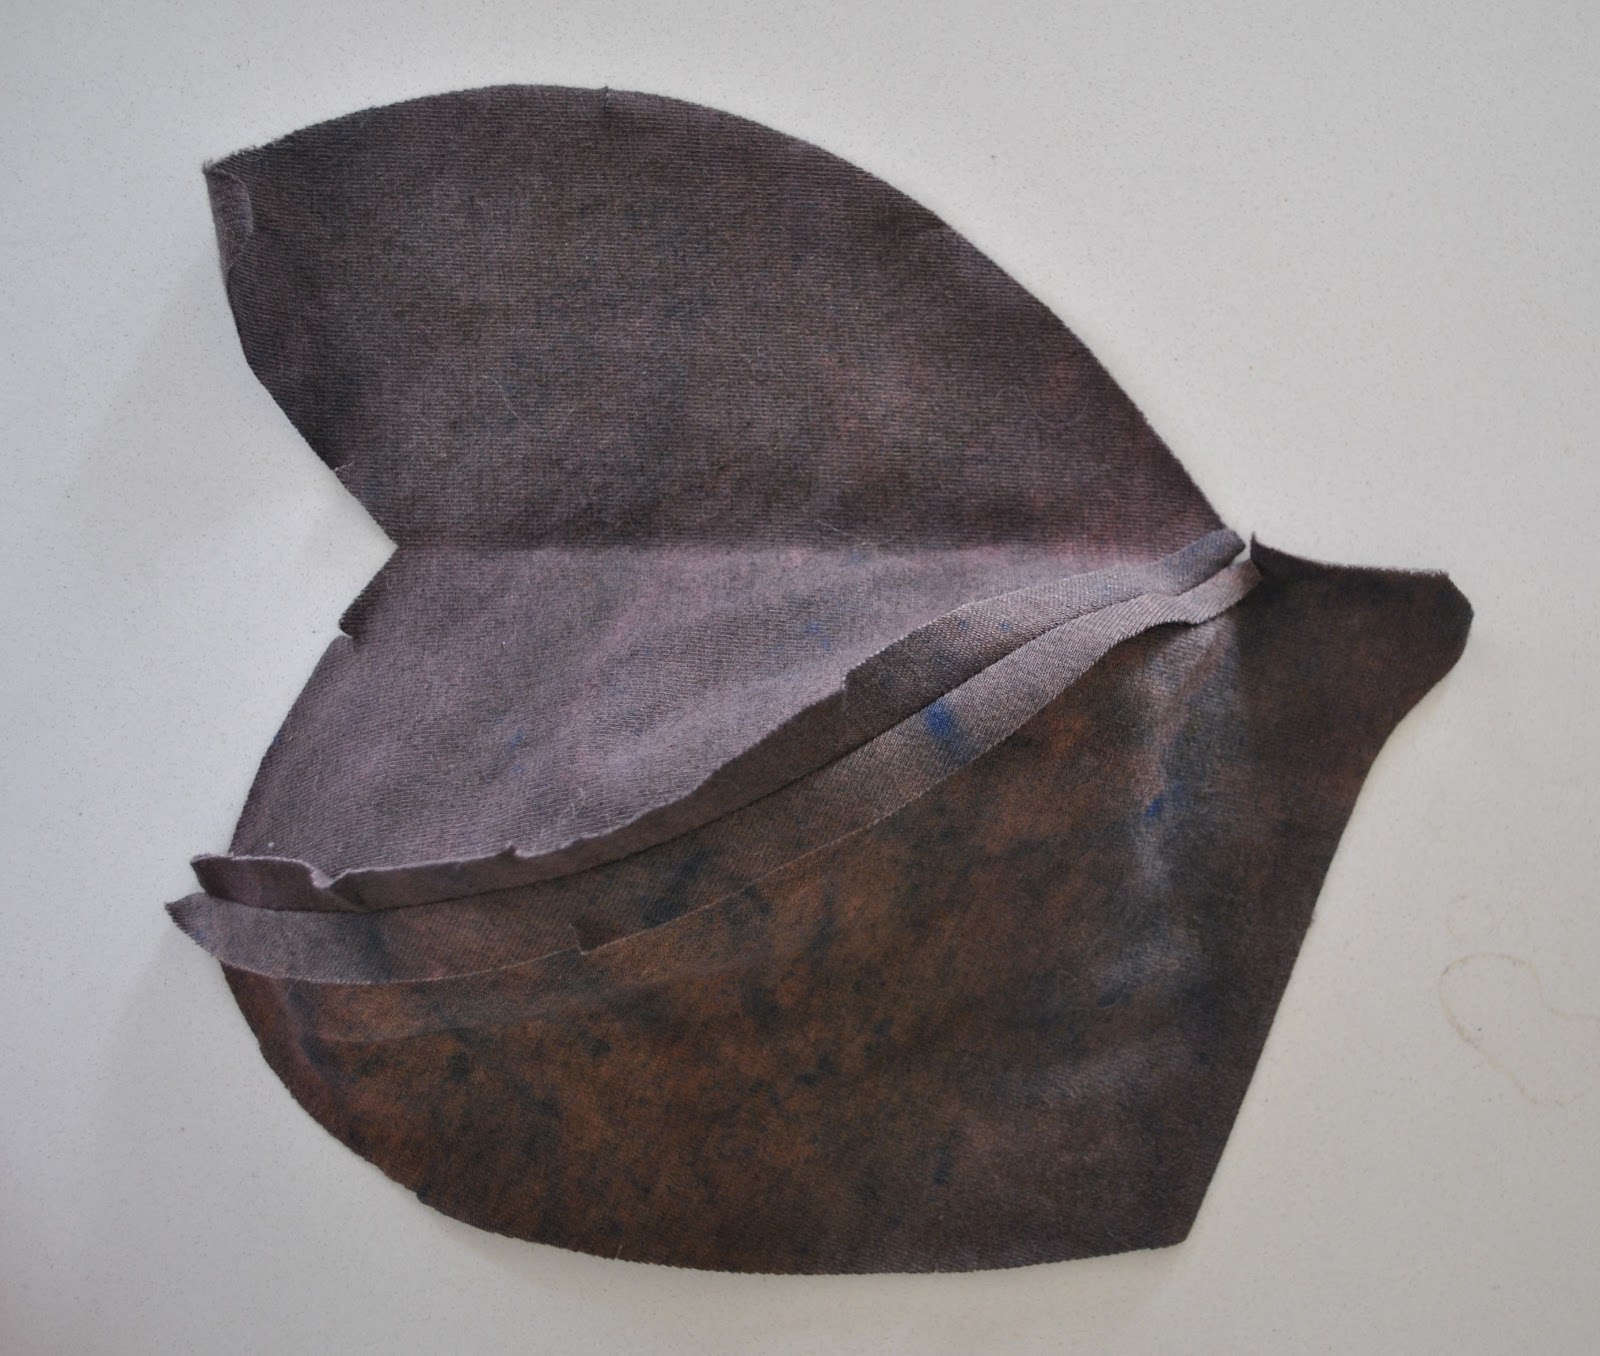
And was thrilled to achieve a Galaxy!  The dye settled in nebula-like swirls of purple, grey, apricot and chocolate; with surprising indigo streaks and “stars” … it was even better than I could have hoped for.  I have no clue what caused those fantastic blue bits and sure didn’t expect it from an chestnut dye but whatever chemical reaction took place, it was serendipitous  ðŸ™‚
I then soaked the dyed fabric in a strong salt solution to “set” it, and then held my breath and did a machine wash, and thankfully it remained just as gloriously galactic as when it first emerged from the dye-bath.
How did I achieve this little bit of outer space in fabric form??  I threw the dyeing rule-book out the window!  ðŸ˜€  I used 1/4 tspn of iDye in Chestnut, and with no pre-washing or pre-soaking, plunged my dry fabric within.  (gasp)  So my nebula was born from whatever sizing was still in the fabric, along with the dryness of the medium (ie. NOT pre-soaking the fabric)
btw, I would only recommend doing this with fabric you don’t particularly care about one way or another, obviously!    My tute for how I usually dye to get an even colour, is here.

To make my lingerie set, I used again KwikSew 3300 for the bra, with my usual adaption to incorporate a moulded cup insert (my review of this pattern here); and McCalls 2772 for the two pairs of matching undies.  I chose a lingerie elastic in a shade called “skin tone” but I like to think of it as “pale moon-yellow”.  Going on with that outer-space theme there.
And just saying…   using words like “skin tone” as colour-descriptive is problematic to me.  “Nude” is another one I do not use.  I mean, whose skin tone are they referring to?
But anyhoo, I just loved the contrast of pale yellow against the swirling purples and browns, and I made little pointy bows in a matching satin ribbon for the decoration.  I think it turned out kinda punky and funky and fun.

I made a slight alteration in cutting out the bra this time; I cut the top piece and its facing on a fold.  So they are one piece, thus eliminating a seam.  Goodness knows why I didn’t think of this before, it made a much nicer and smoother finish.

pinterestmail

the Wicked Witch of the East set

A new set!
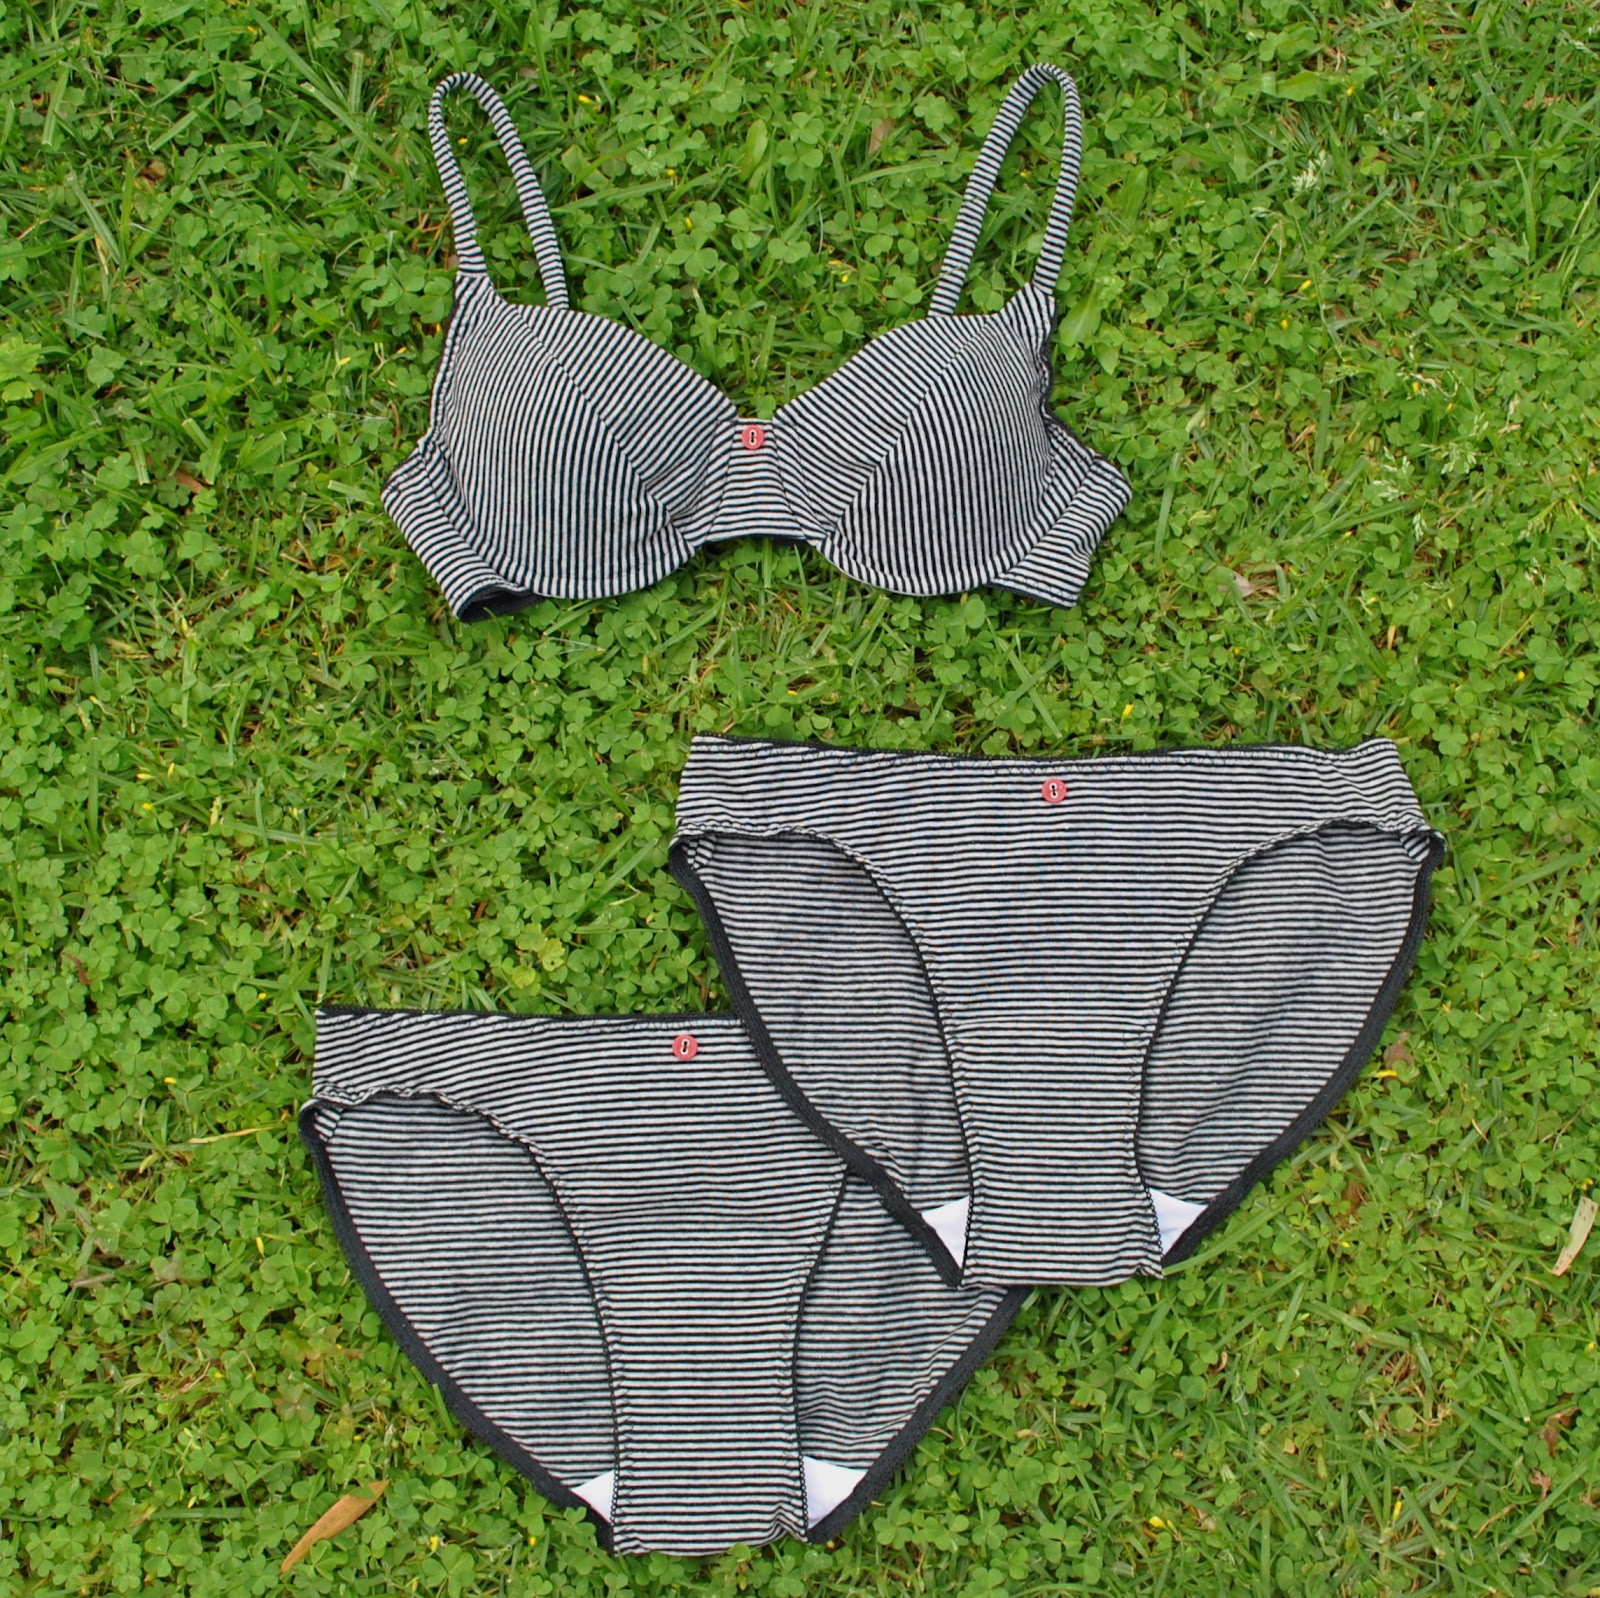
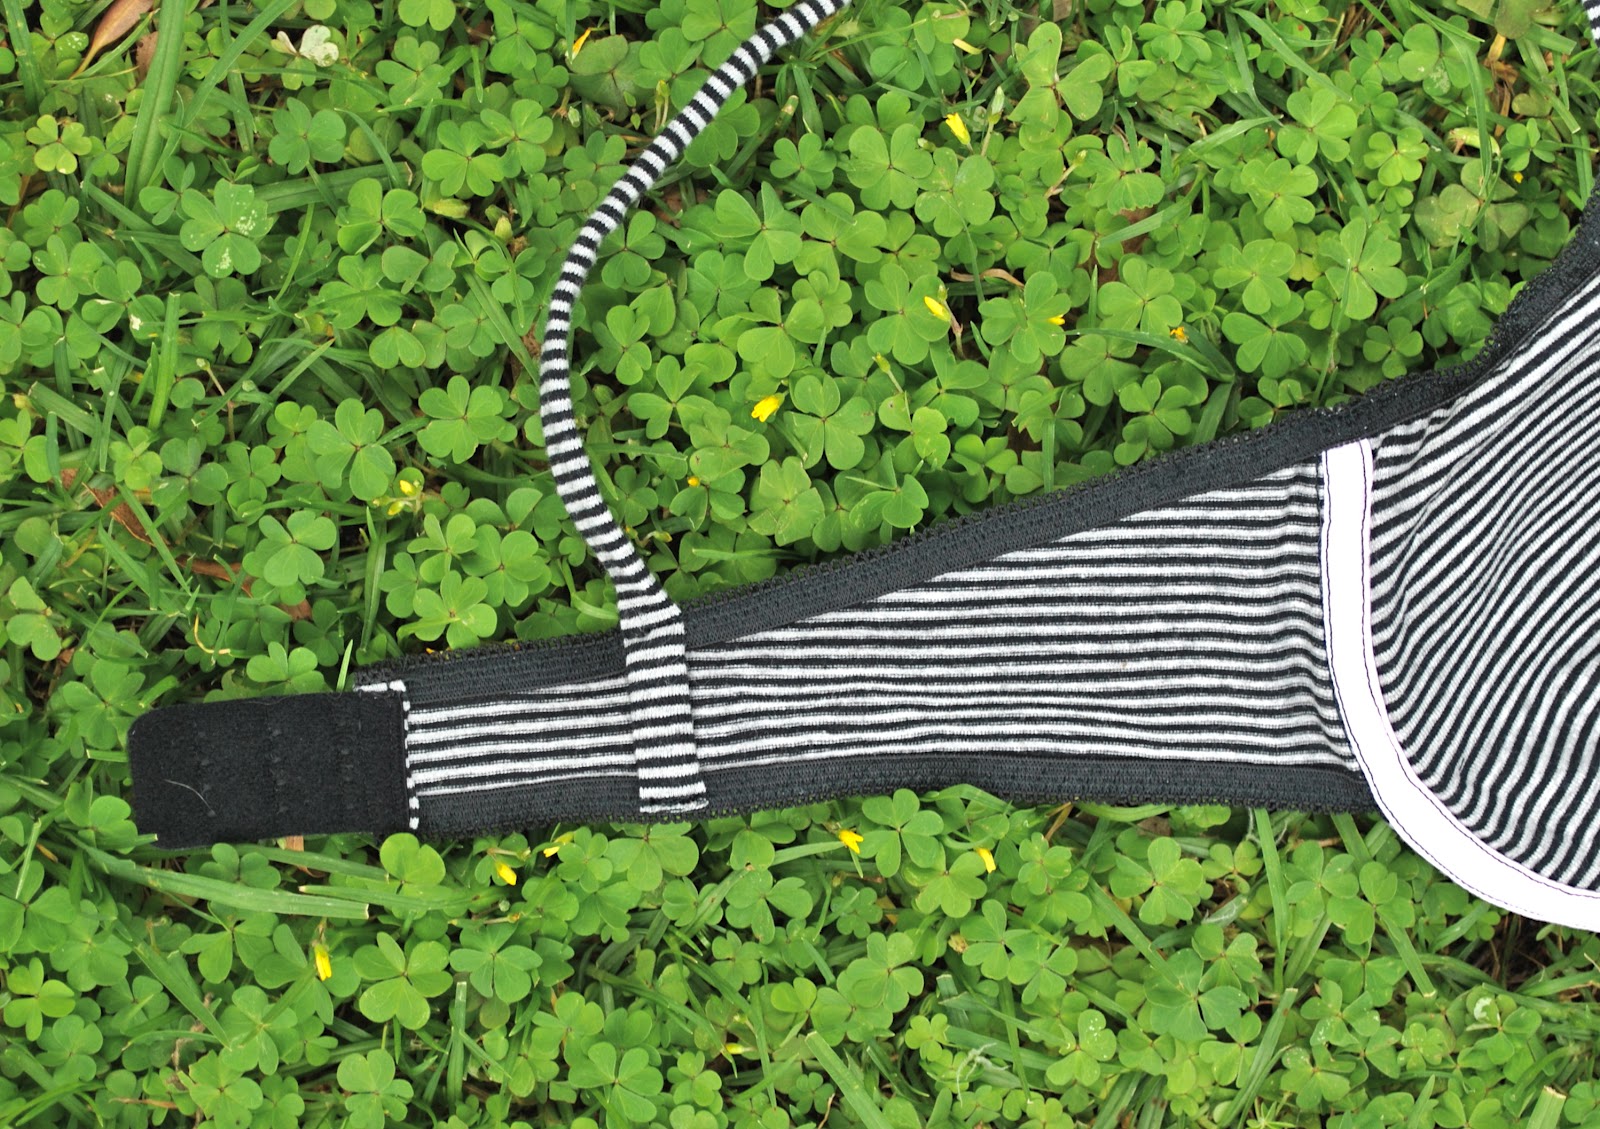
I have made a new lingerie set using the very last leftovers from Craig’s hoodie; a lovely soft grey-and-black pinstriped cotton jersey originally from Spotlight.  The bra pattern is KwikSew 3300 (my review of this pattern here) and the undies are McCalls 2772… surprise! my old favourites.  The bikini pattern pieces are starting to get a tad fragile now and I really should trace them off; they have yet to see a lot more use  ðŸ™‚
I used black underwear elastic, and a black bra closure to match.  The liners were cut from an old Tshirt.  Recycling, y’know! (pats self smugly on back)
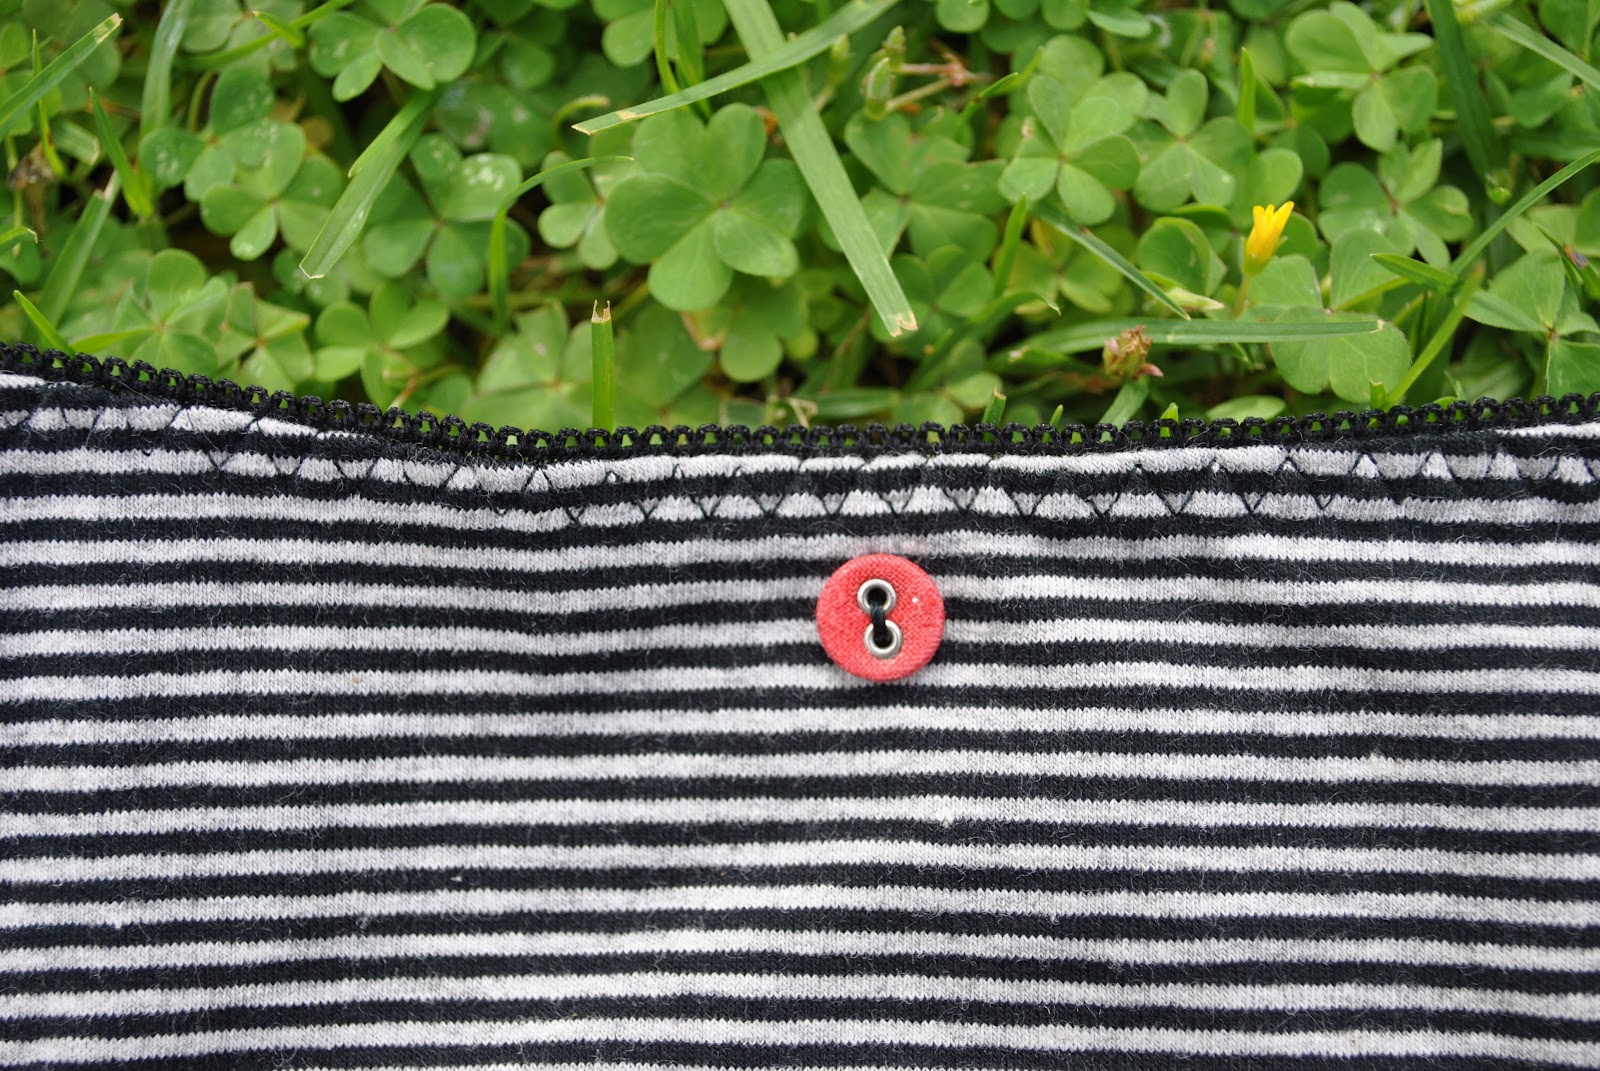
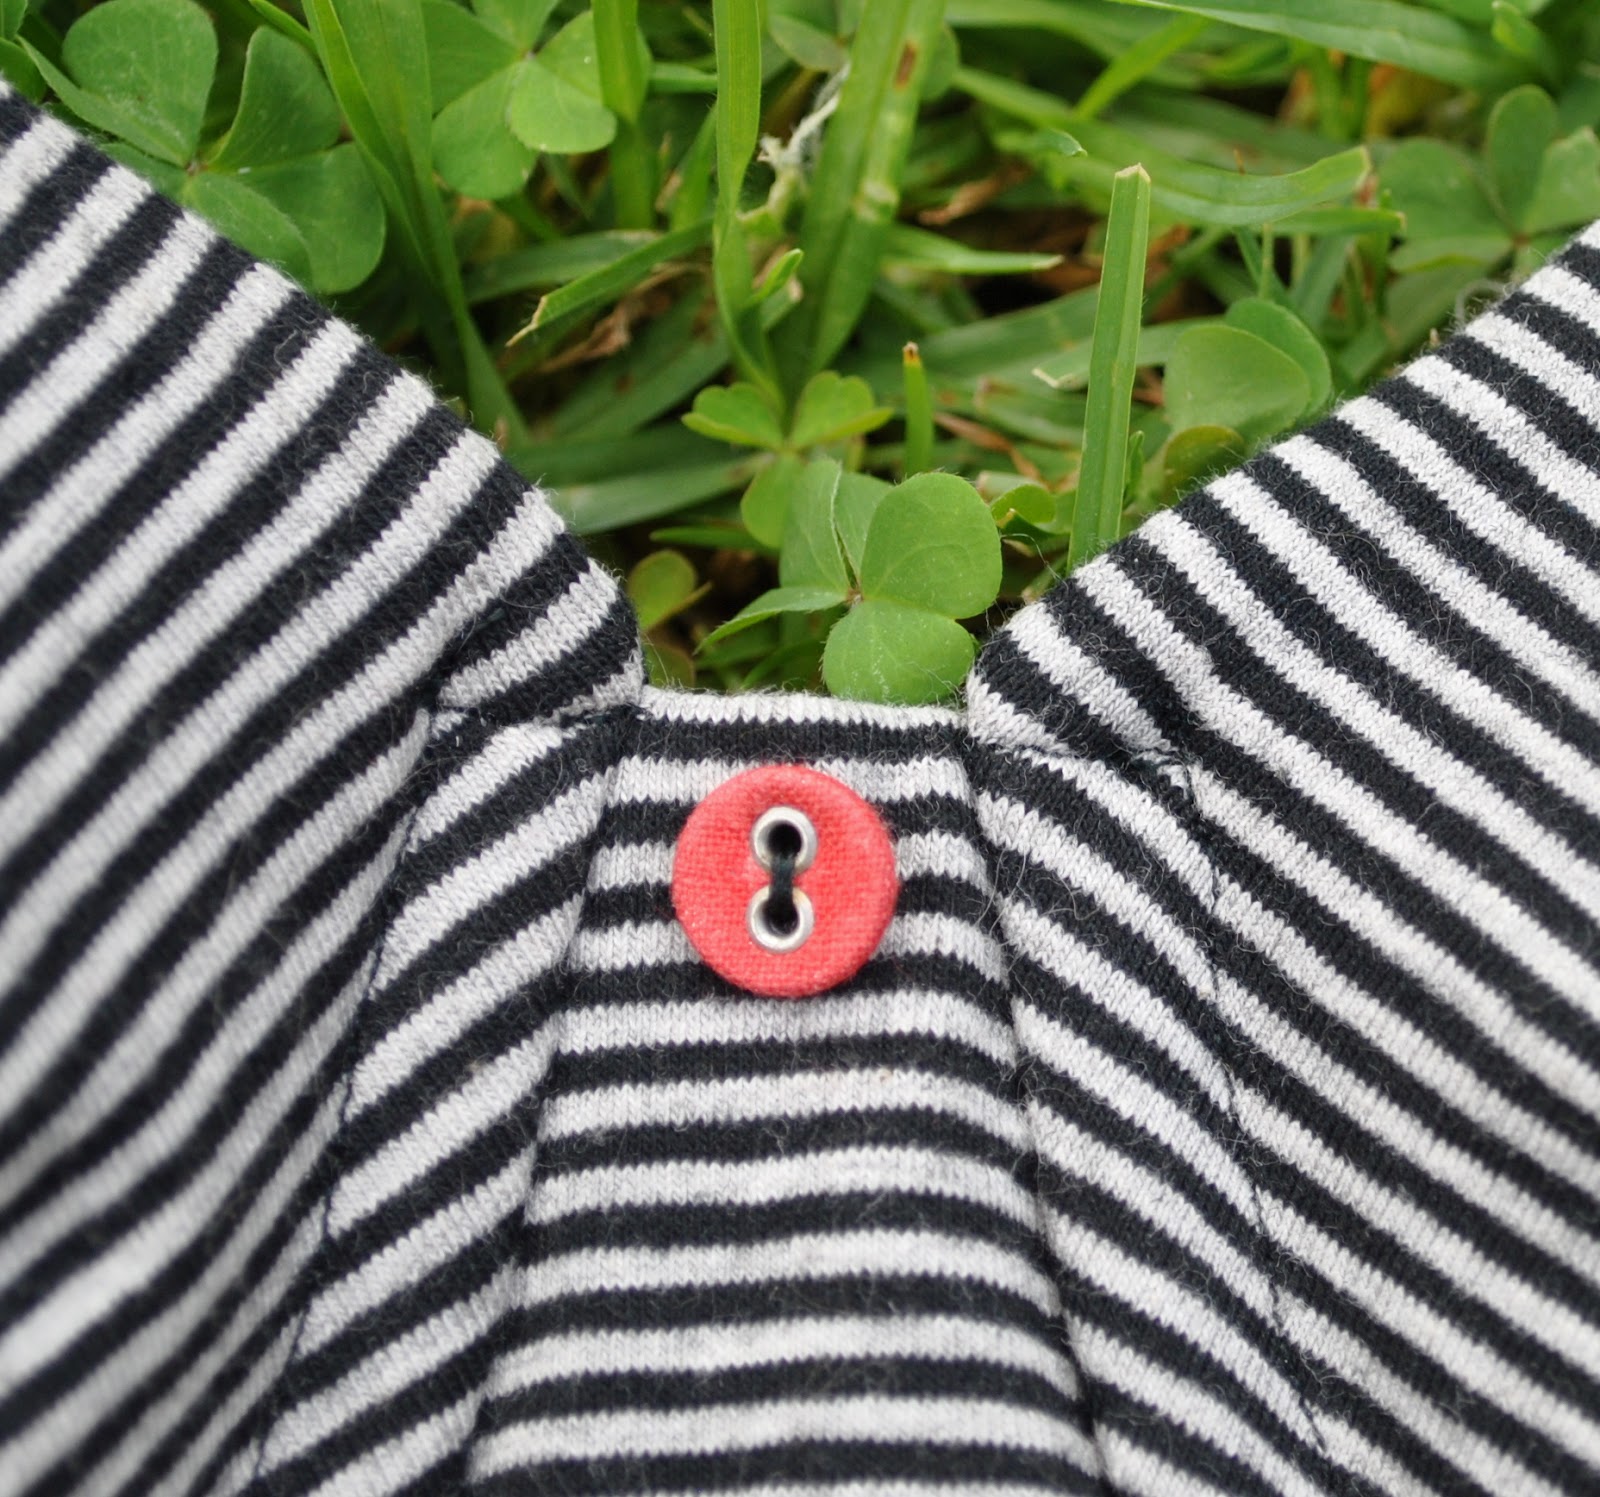
When I had finished sewing the set I pondered what to use for decoration; anything black would disappear into the fabric, likewise something grey.  Frilly bits and bobs seemed unsuited to the utilitarian no-nonsense vibe of striped cotton jersey.  I doubtfully plucked these cute little red buttons from my stash and held them against the set.  These had been salvaged from off an old pair of PJ’s.  Once they were there, on; they immediately brought to my mind the Wicked Witch of the East, from the Wizard of Oz.  You know, the sister of the Wicked Witch of the West, on whose head Dorothy’s house dropped from the sky?

Hehehe….  I reckon she would have worn a set just like this, don’t you?!
pinterestmail

Bees on white cotton

(to be sung to the tune of Knights in White Satin, of course  ðŸ˜‰  )
I was quite taken with the grub roses kbenco has been embroidering onto her knits, and was inspired to follow suit…  so for my latest lingerie set I delved deep into my memory banks and dredged up a few rusty ol embroidery skills…  
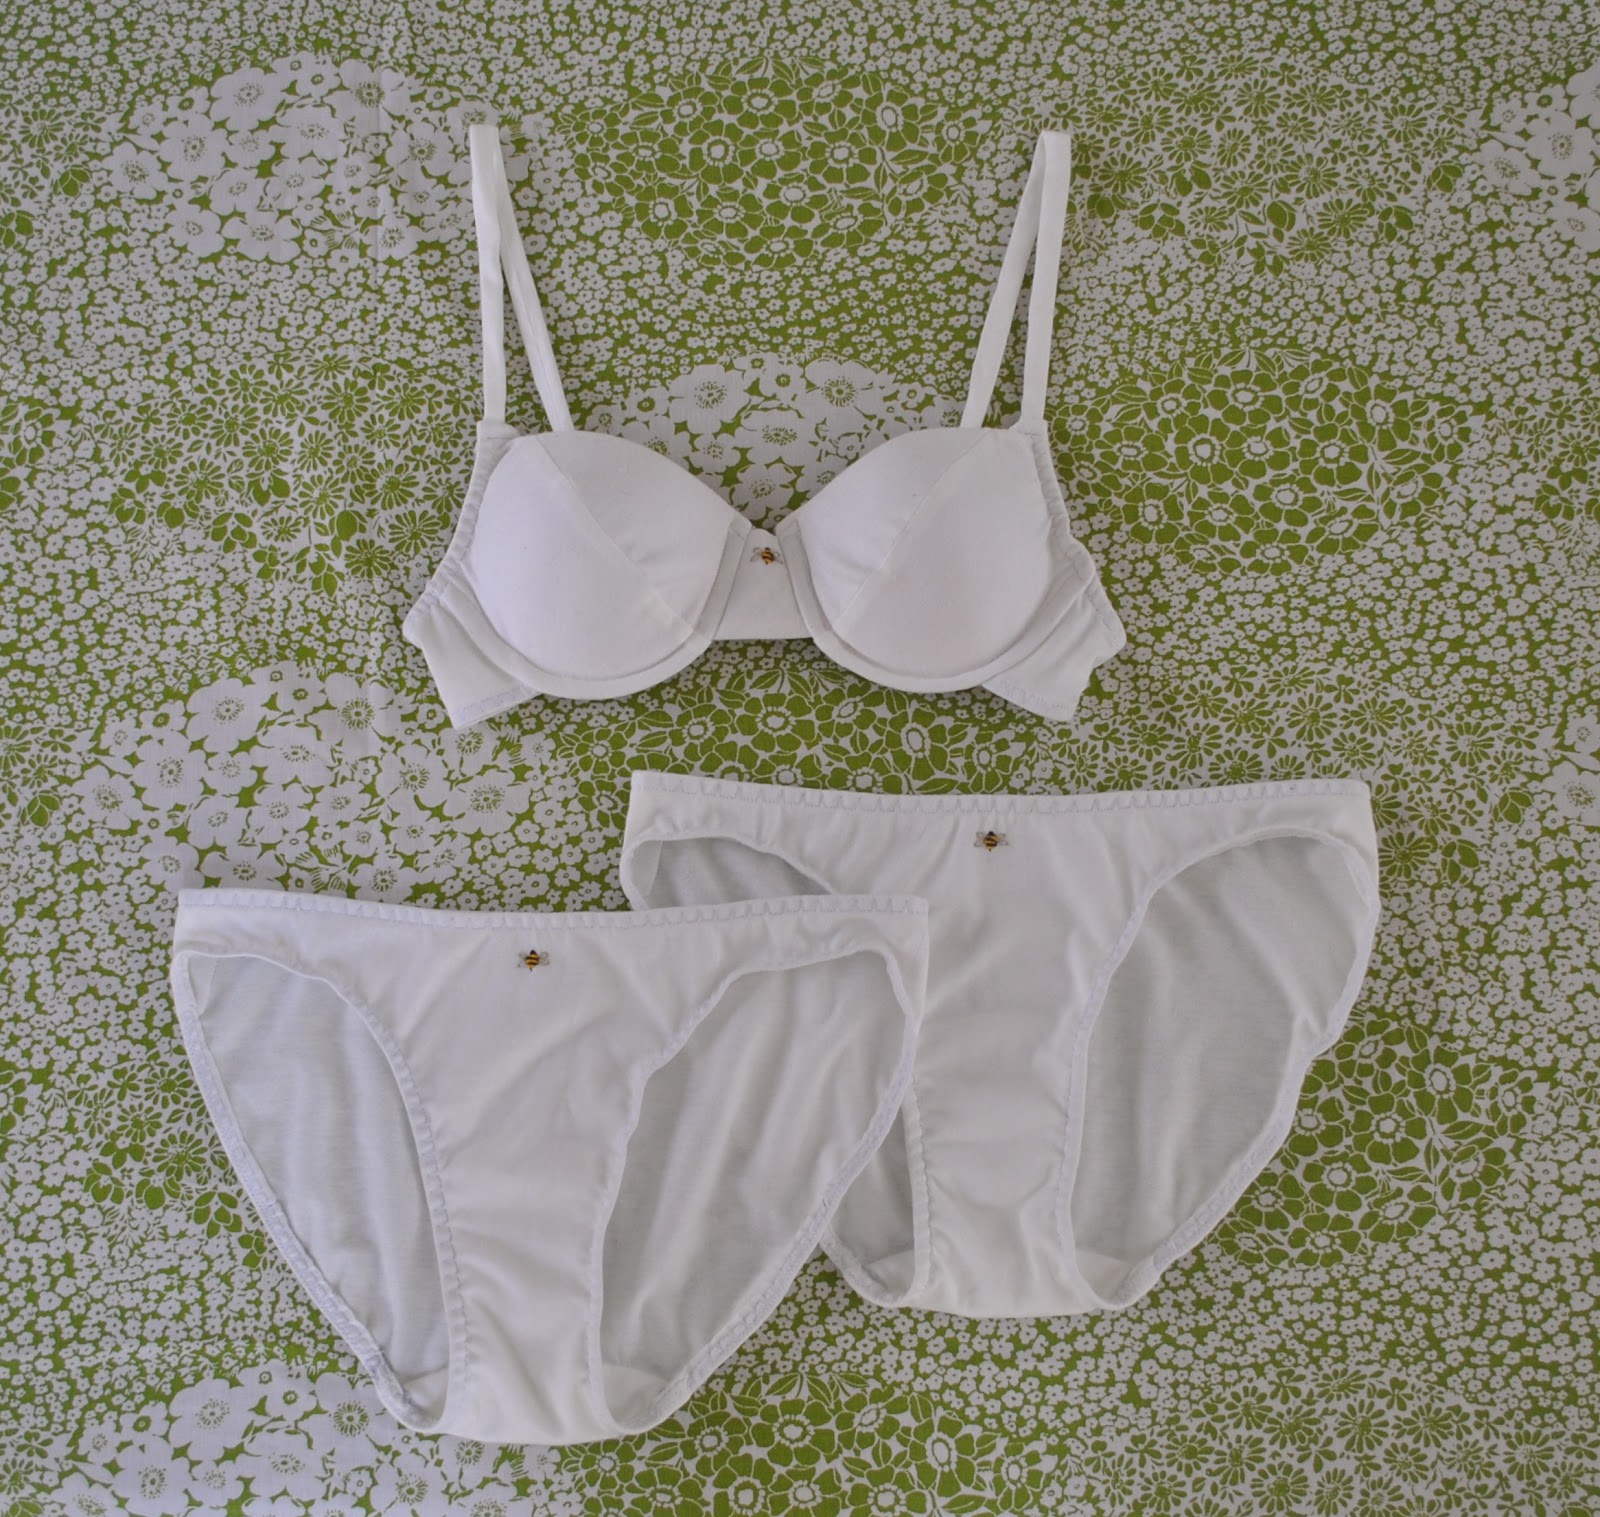
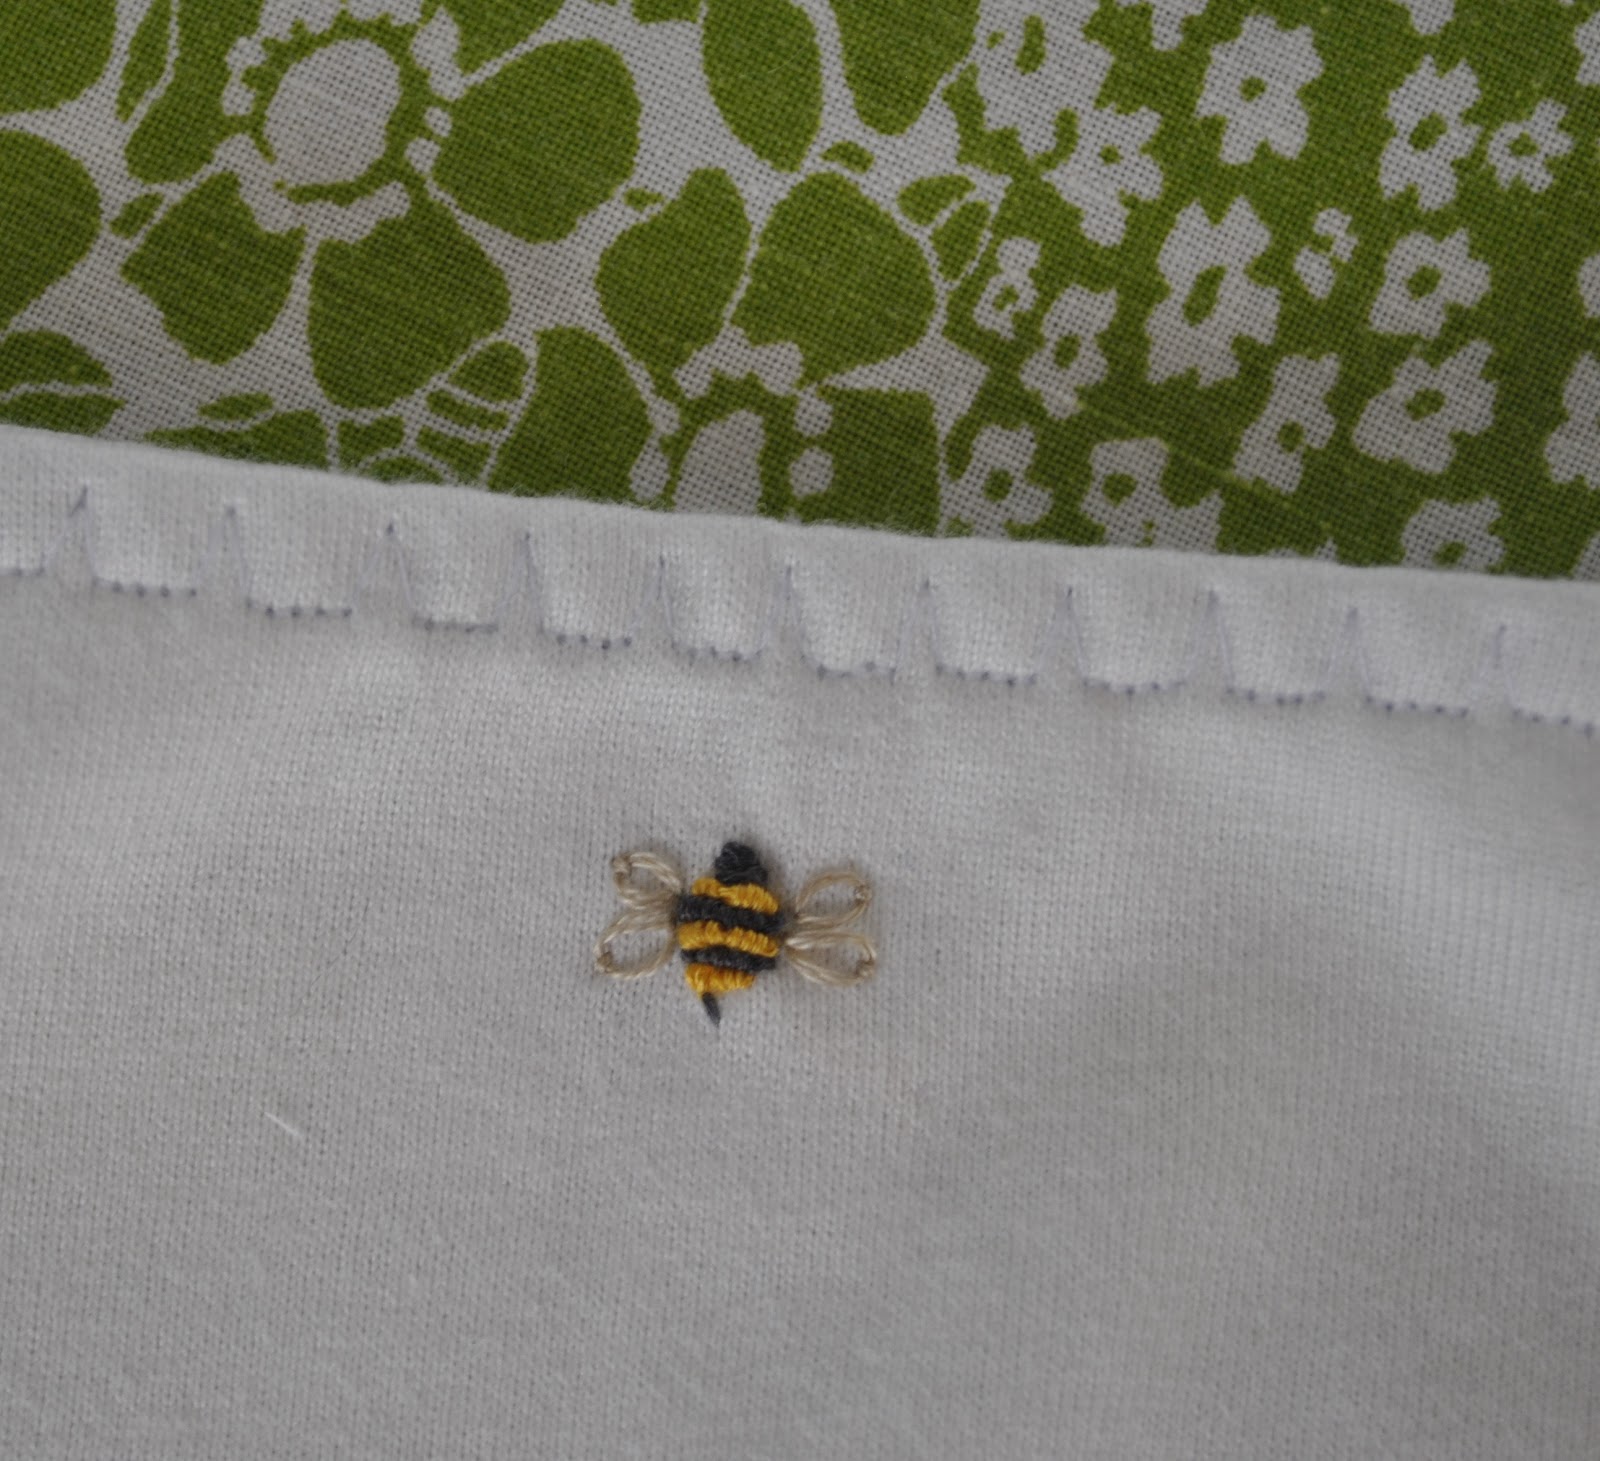
There is a single fat little bumblebee on each item.
Tres cute, no?!

The bra pattern is KwikSew 3300 (my review of this pattern here), and the two pairs of matching undies are made using my swimwear pattern, McCalls 2772 view E.  Yup, exactly the same as my previous set.

I used a soft ivory cotton knit from Spotlight.  It is absolutely lovely stuff, but I have only the smallest issue, in that the fabric only stretches one way, so while it all fits just fine it is ever so slightly less easy and comfy than my grey jersey set.   I positioned the pieces so the stretch went where it counts, but I definitely feel a bit more firmly held in place, so to speak.  Maybe that’s a good thing…. 🙂

The fabric is quite soft and spongy, almost with a brushed quality; so to embroider my bees onto those fronts of the undies with just that single layer of the fabric, I ironed a small square of iron-on interfacing onto the back where I wanted my bees positioned.  Then I embroidered the bees, and then ironed a second small square of iron-on interfacing over the back for a neat finished look, ironing carefully so as not to squash the embroidery too much.  I realise the second squares will probably disappear in the wash some day, that iron-on stuff is notoriously prone to unsticking pretty quick.  But it will be fine for a while and I can always iron on a new patch.  The bra joiner bit, having a piece of woven cotton as interfacing sandwiched between the two layers of knit, was easy to embroider on just as is.
For the top-stitching I tried out another of my machine’s decorative stitches… I like how those jagged spikes sorta references a row of bee’s stings.  It’s funny, I use these decorative stitches on my machine like, barely once in a blue moon? and now I’ve used them twice in the past month!  A record!
Oh, and in response to an email question from Sue…  thank you for the interest Sue!  I do all my sewing on these two machines, and in the picture of my Janome in that post you might just be able to make out the small selection of embroidery stitches I have on my machine.  It’s not a fancy machine at all, but it has served me very well for me for many many years and has everything I could want in a sewing machine  ðŸ™‚
pinterestmail

Grey jersey set

I’ve made another lingerie set  ðŸ™‚
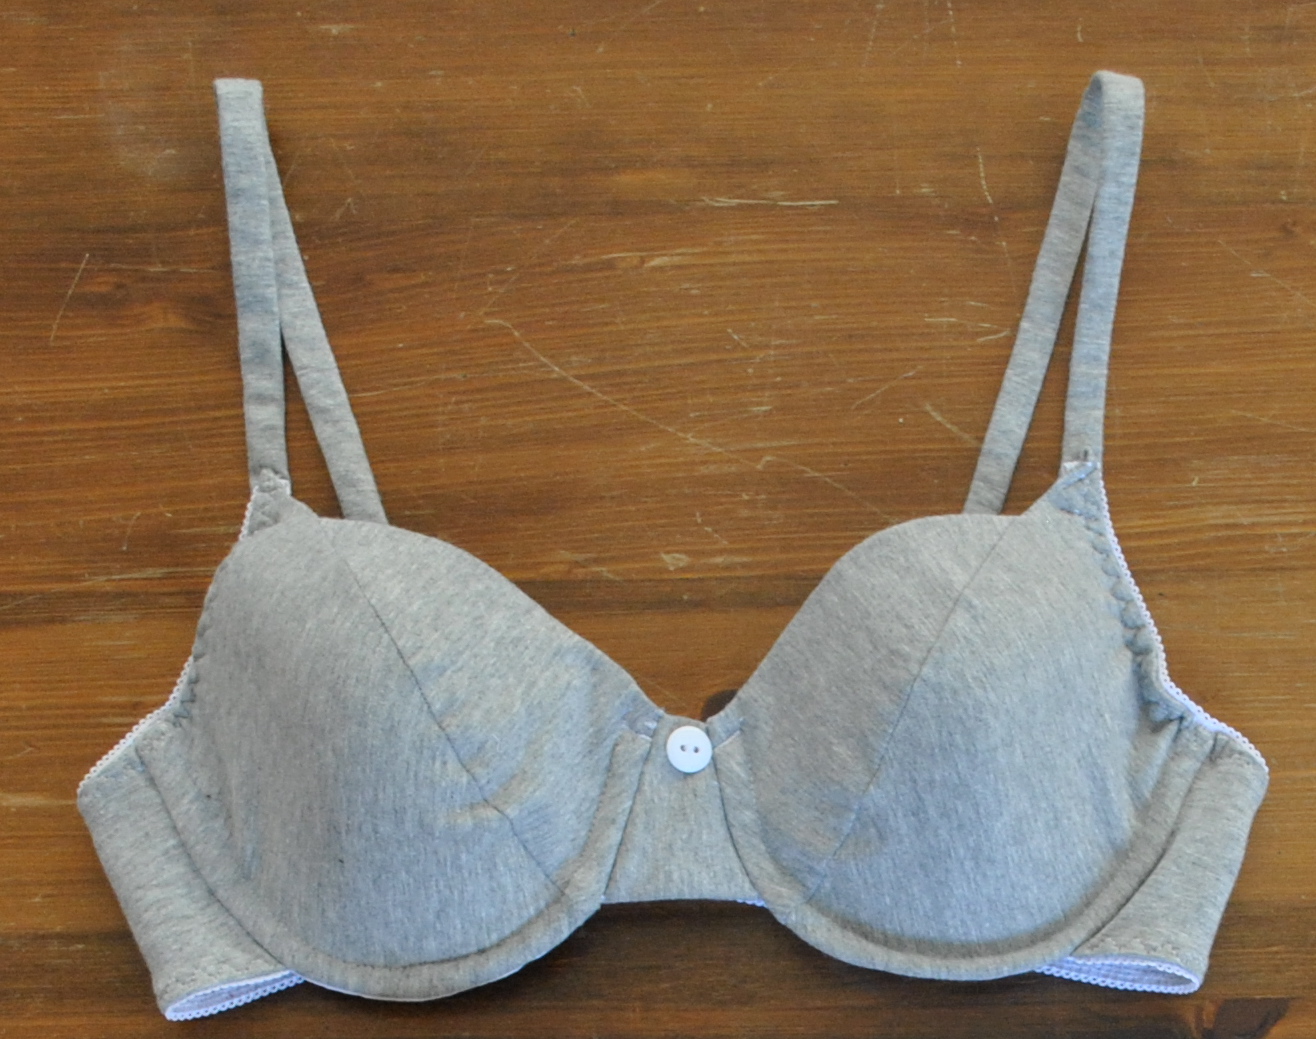
And I used this terrific bra pattern!   Kwik Sew 3300.  I browsed through the veeery few patterns there are on offer and chose this one as the cutest, and the closest in appearance to the sort I like to wear.  I am happiest in a streamlined little bra, with underwires, and cup inserts or at least a thin layer of padding.  Personally I cannot wear ones that have just one single layer of flimsy fabric, or just lace.
This pattern does not cater for a cup insert, so I sewed the pieces such that I could put some in…  I trimmed the inserts to fit inside the cups exactly and put them in just before attaching the underarm and back elastic edging.  Incidentally, I found (by sitting on the floor of Spotlight with my half-finished bra, comparing it to all the cup inserts…)  that the Birch’s size 16 cup insert fits the 34A cup of this pattern pretty well! it has the perfect depth and just needs a small slice trimmed off each side.  Win!   To stop the inserts from folding up inside or becoming twisted up through washing I invisibly pick-stitched each to the cup lining, around the whole perimeter at about 5mm in from the edge of the insert.
For the two pairs of matching undies I used a swimwear pattern I’ve had for a while; McCalls 2772.  I’ve made five pairs of bathers from this pattern over the years, the latest two pairs here and here, so I know it is a perfect fit for me. 
These panties are made up using the pattern pieces for view E bikini bottom.

I see no problems with using a bikini pattern to make undies, in fact I think it makes good economic sense, since you are kinda getting two for the price of one, no?  All the bra and undies patterns I looked at had either bra or undies, and very few had bra and undies together in one pattern… and the one or two that did unfortunately were not the style I was looking for…  The swimwear pattern I used is not available anymore but I noticed this one, McCalls 5400 … and this is a great pattern since you are getting bathers and undies all rolled in one pattern!

The best thing about lingerie sets of course, is that they use the teensiest lengths of fabric!  I love this cotton jersey knit, in a warm light yellowy-grey marle, than makes me think of gym gear and sweatshirts.  This fabric is partially leftovers from my Pattern Magic 3 Clipped Wings Top and I just had to buy a little extra, which then enabled me to cut out two pairs of knickers.  This worked out well, because I think two pairs of undies per bra is a good ratio to live with.  The panty liners I cut from an old Tshirt.
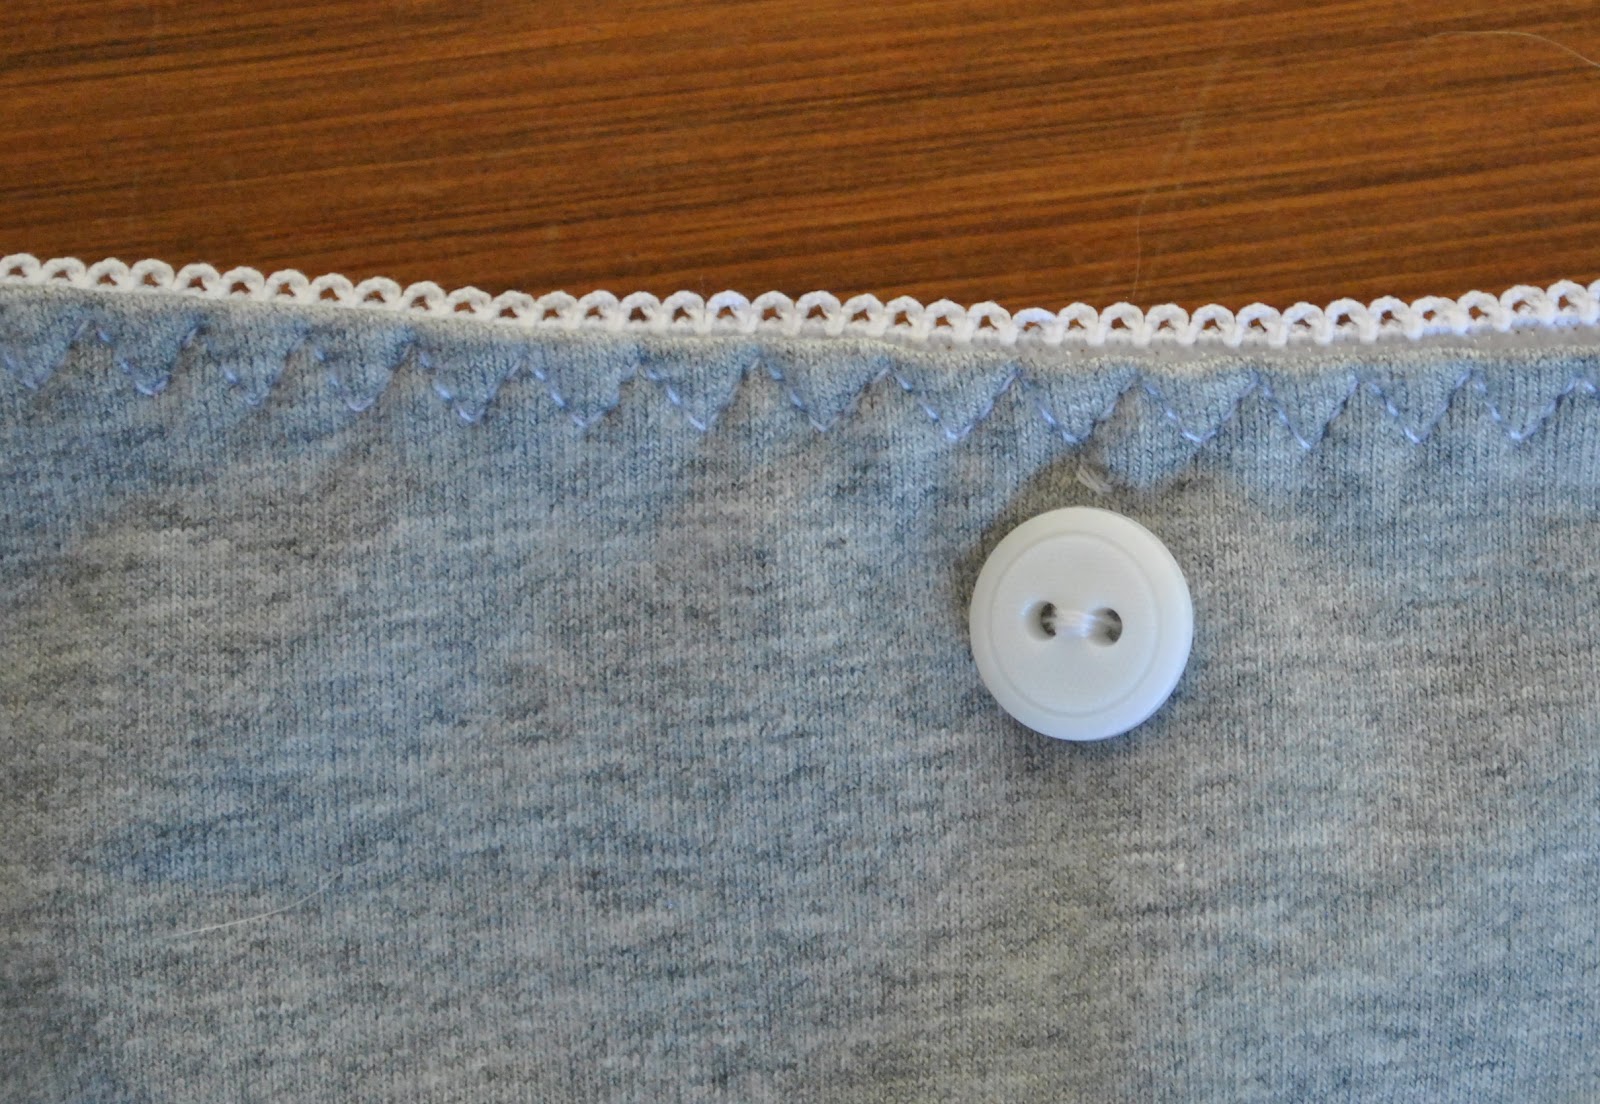
The decorative stitching for the picot edged elastic looks so pretty, yes?  This is the suggested finishing method for the bra, and I am so pleased at how attractive those triple-stitch zig-zags look.
I sewed a white button decoratively on each item.  I think the plainness of the humble button, its innocence and lack of pretension, better suits the sporty fabric and simple style of this set than anything frilly or feminine.   
Y’know what the fun bit is…? I am really looking forward to choosing interesting fabrics and trims for future sets… I think I’m staring down the barrel of a new sewing addiction!

Before y’know it, I’m going to be churning out beauties like these….

haha!  Just kidding!! ;D


Pattern
Description:
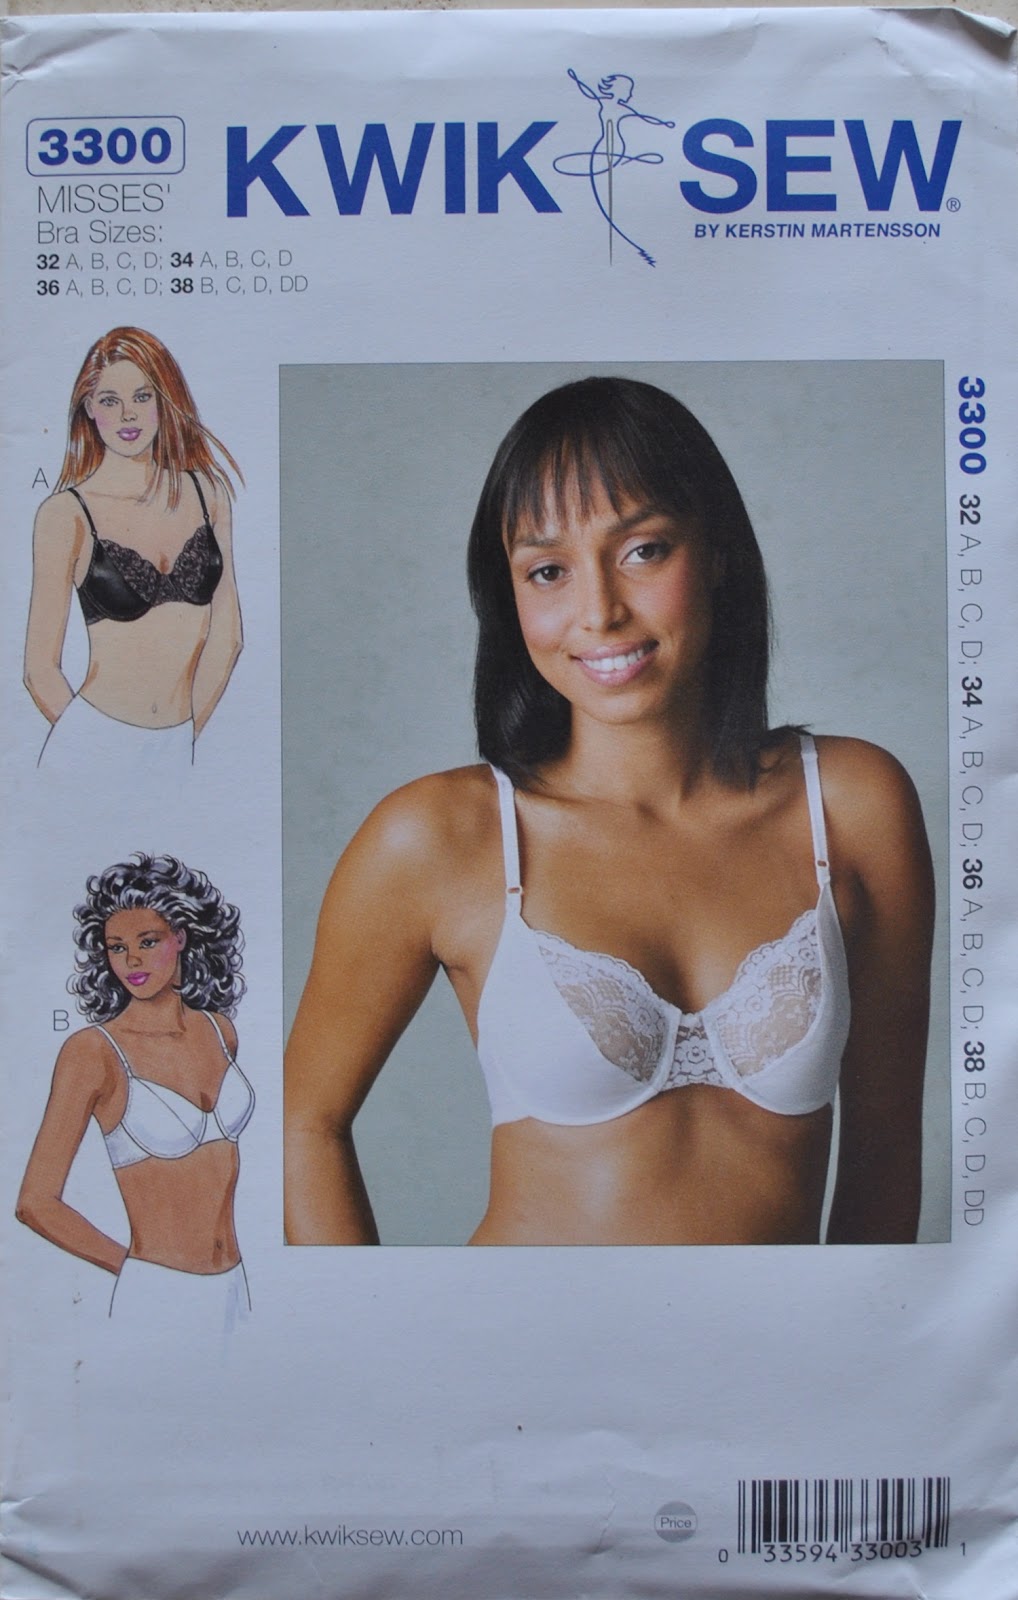
Underwire bra has back from power net, edges finished with elastic, and shoulder straps from tricot.  View A cups are made from lace and tricot, and view B cups are made from tricot.
Pattern Sizing:
Sizes 32, 34 and 36 with cup sizes A, B, C, D; and size 38 with cup sizes B, C, D, DD
Did it look like the photo/drawing on the pattern envelope once you had finished sewing it?
in essence, yes
Were the instructions easy to follow?
Yes!  The instructions are fantastic, very clear and straightforward.  The method for attaching the picot elastic along the edges turned out really pretty, I love it!  I used the same method for the two pairs of matching knickers too.
What
did you particularly like or dislike about the pattern?
This is a fantastic pattern!  I wasn’t sure about my size to start with; there are no clear directions about selecting your correct size; just directing you to “select pattern size by your purchased bra size”  In Australia our sizes are 10, 12, 14 etc, so I wasn’t sure what this actually translated to in European sizing.  I found a conversion chart here.
The pattern sheet is really well set out, with all the pieces for each size clustered together in separate sections.  Brilliant!  Much easier for tracing out your own size.  Which I actually did, for once  ðŸ™‚
The pattern doesn’t make provision for cup inserts, and I prefer to have cup inserts; but it wasn’t difficult to work out how to put them in.
Fabric
Used:
Cotton jersey knit, underwear elastic, small scrap of cotton for the underwire casing.
Pattern
alterations or any design changes you made:
I didn’t need to make any alterations to the pattern, it is so well drafted! but I did put in cup inserts, a personal preference, and omitted the lingerie rings and strap adjusters for the straps.  I don’t think adjustable straps are necessary on a bra that has to fit only me. I just make them the right length to start with!   And if they do stretch out eventually over time it is pretty easy to unpick them at the back and shorten them a little bit.
Would
you sew it again? Would you recommend it to others?
Yes, and yes!
Conclusion:
An absolutely fantastic pattern!  I was worried that making a bra with underwires and cup inserts would be fiddly and difficult, but I breezed through this project! because the beautifully drafted pattern pieces went together so well and the clear instructions made it easy, and dare I say, fun?  I’m really looking forward to my next set now.  I cannot wait to check out my fabric stash for small scraps of interesting fabric to use  ðŸ™‚
pinterestmail

Smalls

Hehe, I was thinking of calling this post “My First Bra”, but apart from making it sound like the breathless diary entry of a sweet young teen  (ahem) I have actually made two bras before; both years and years (and years) ago, neither of which are around any more for me to post about.  But this is the first in my blogging life; so , er, yeah…
I’ve kept to my Wardrobe Refashion pledge of 3? years ago to make all my own clothes, but always exempted myself from underwear; reasoning that I was doing enough in the handmade department already and that I could allow myself a small break here and there.  Also, up until a few years ago Bonds were still manufacturing undies in Australia, and I was OK with supporting a local business by buying them.  But then they went to the dark side, and started moving all their manufacturing to China.  When the last Bonds factory in Australia closed down a few years ago I knew my days as a Bond girl were numbered (wipes a sentimental tear from the old eye)  I liked being able to say I was a Bond girl!  And now my current smalls collection is… well, lets just say it is an absolute wonder my husband still finds me attractive.
One of my favourite bloggers Novita makes the most exquisite lingerie sets you have ever seen, each more lovely than the last; and her latest Red Lace Set finally tipped me over the edge and I decided that I just had to start making my own too.  I rushed out to Fabulous Fabrics for some pretty lace and bra bits…
The knickers pattern is Tanga, a free downloadable pattern from Burdastyle.  I had seen this on their site before, but the wonky mis-matched lace scallops in the blue sample pictured with the pattern were so distressing I never took it any further.  Novita’s set is beautifully constructed and so perfectly pretty, I woke up to the fact that this is actually a darn cute little pattern after all!
They are super-easy, and take all of about ten minutes to make from go to whoa; even if you do take an extra few seconds to match all the lace motifs…  ðŸ˜‰  which of course I did.
Because I am a woman of a certain age and my lace is partially see through; I extended the panty liner piece up to make more of a full lining at the front of the knickers.
My bra pattern is self-drafted, with the help of an old bra.  This was, ahem, not super-easy  ðŸ˜€  I looked at a commercial pattern but decided in my usual foolishly gung-ho, can-do manner; how hard could it be?  Well, it turns out, it is quite hard to put together a self-drafted, well-fitting bra after all!
My bra looks pretty from the outside, but the insides are far from perfect.  It would not bear up to close inspection!  Unlike the first two bras I made years ago which were fairly basic, I tried to get all fancy with this one, lining and underlining it, with moulded cups and underwires in their own separate channels.  Putting it all together was a jigsaw puzzle!  So I have decided to buy a pattern for any future efforts, if anything just for the instructions on the correct and proper assembly!!
One “easy” feature I incorporated: it doesn’t have adjustable straps, because honestly; I feel like that feature is only on RTW bras because they have to fit the different over-the-shoulder lengths of many different sized women.  Since the bra has to fit only me, I decided that to have self-lace covered elastic straps would be fine.  And it is.  I did this for my first two bras too, and they were always perfectly fine.  When the elastic does eventually stretch out a bit through wear, I just unpicked the straps at the back, shortened them a tad, and re-sewed them back into position, easy peasy.
The bra also has a purchased hook and eye closure at the back.
So; after struggling through fitting and assembling this thing and half expecting it to turn out hideous; I was pleasantly surprised when I had the final try-on and discovered it to be beautifully easy to wear, soft and yet still supportive, fits perfectly; the most comfortable bra I own.  A very unexpected win!
Seriously; I have no idea how that happened.
So I will definitely be getting a proper pattern for next time.

pinterestmail
Switch to mobile version
↓