 hello! Recently my lovely niece J married her long-time man and so of course I had to make a new dress for myself for the occasion… I was vaguely toying with the idea of shopping for fabric before I remembered two things: 1. as everyone in our family knows, J’s favourite colour is famously yellow, and 2. I have a piece of very yellow, and happily wedding worthy fabric in my stash already!

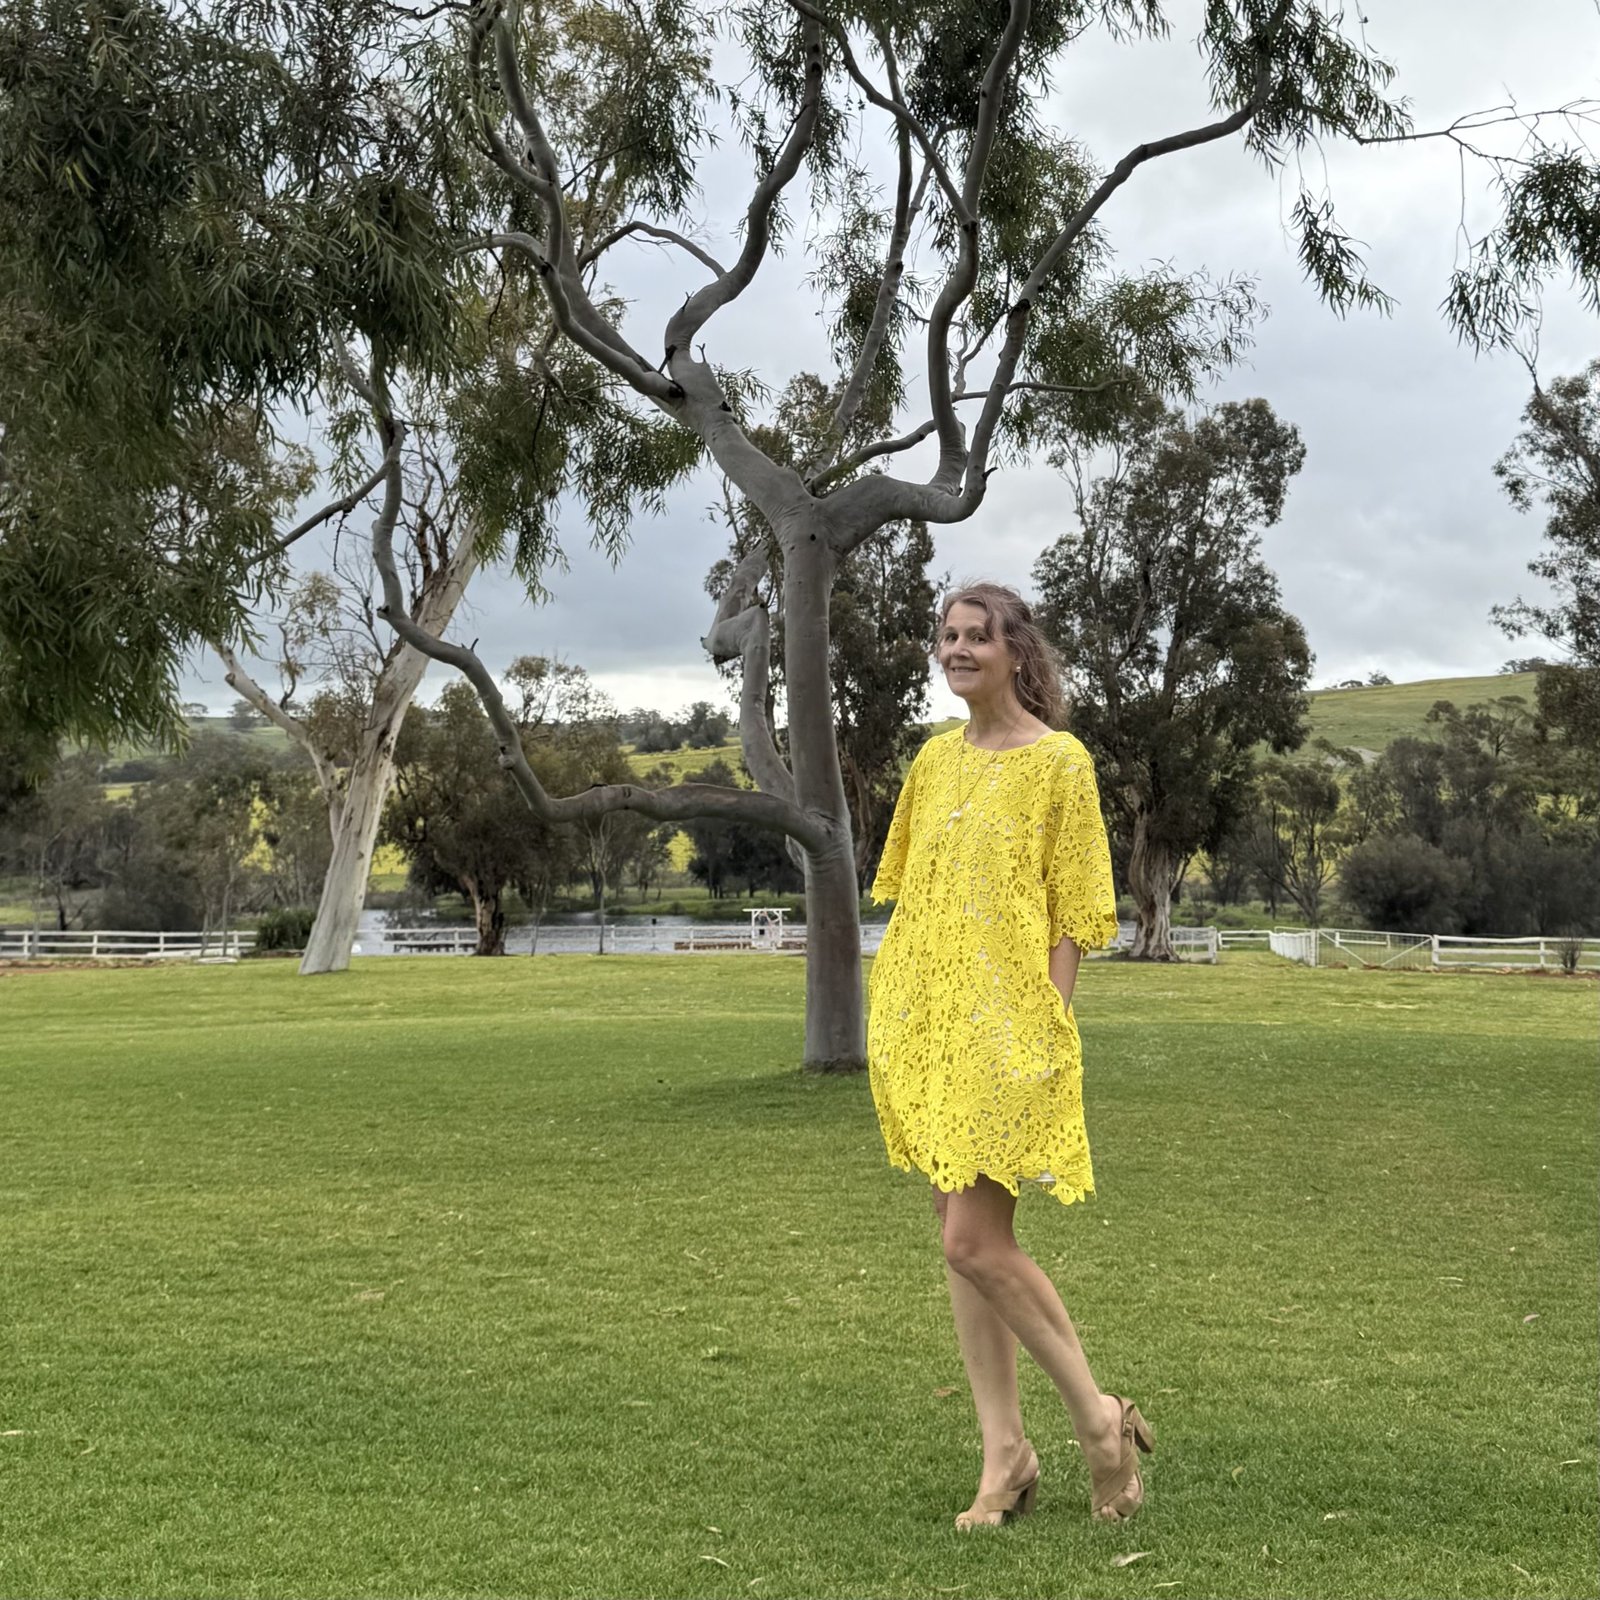
I bought this neon-bright yellow guipure lace from Mood Fabrics in New York City back in 2019, when I was over there with my friend Yoshimi… we met with other sewing ladies and they took us on a fabulous fabric shopping spree! Such fun. I wrote about it on my blog here… Originally I had envisioned making a little mini skirt from the lace but when the fabric was rolled out on the counter it turned out there was a pretty large chunk of the border cut out, so the salesperson basically threw that part of the fabric in for free. Meaning, I ended up with a lot longer length than I had needed. And obviously I couldn’t waste the extra bit by making that little mini, so it sat, awaiting some other project that could make use of it.Et voila!
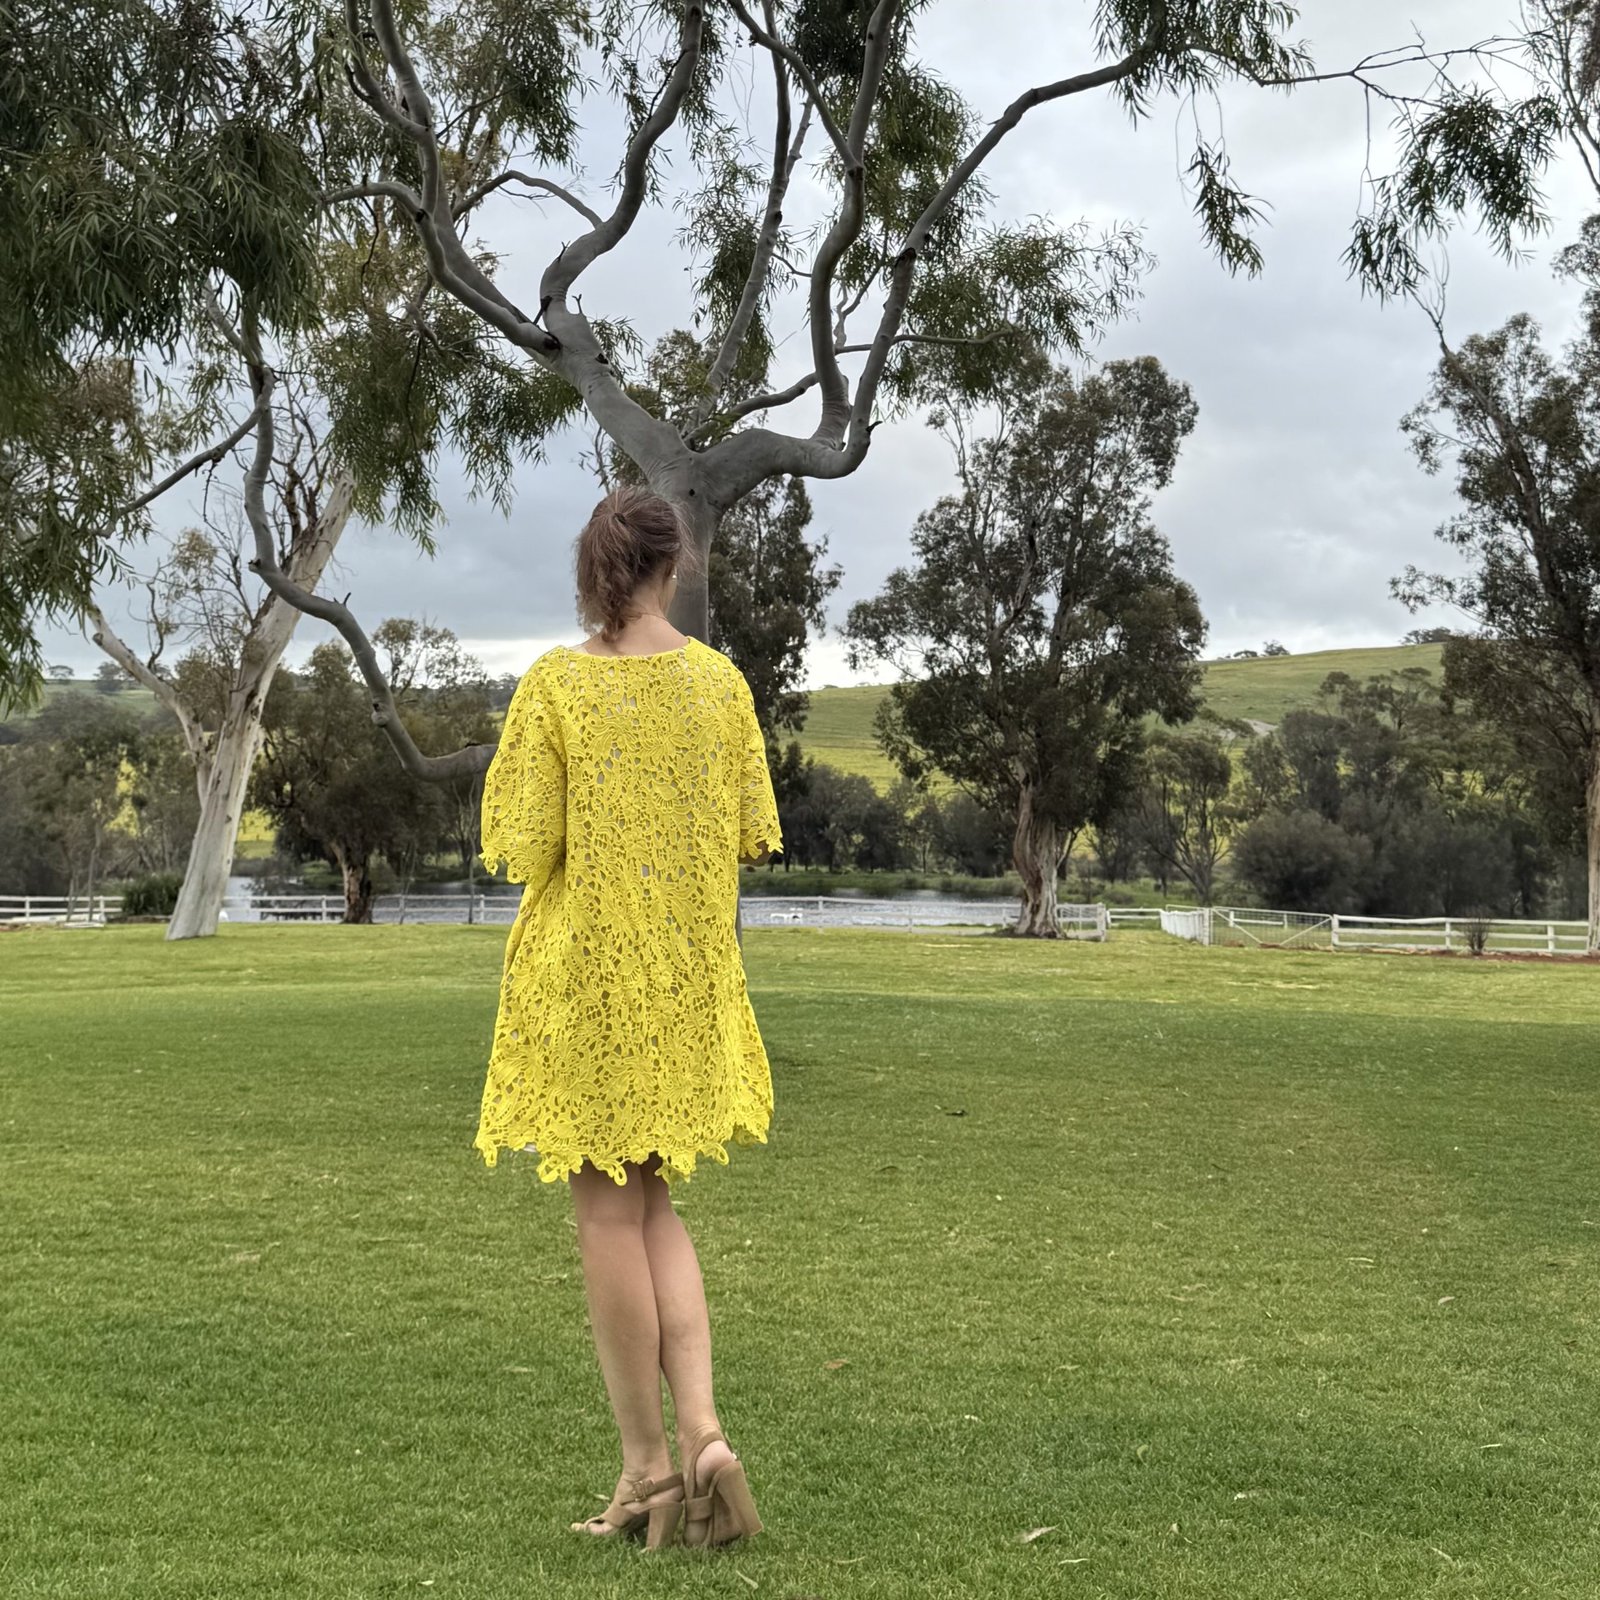
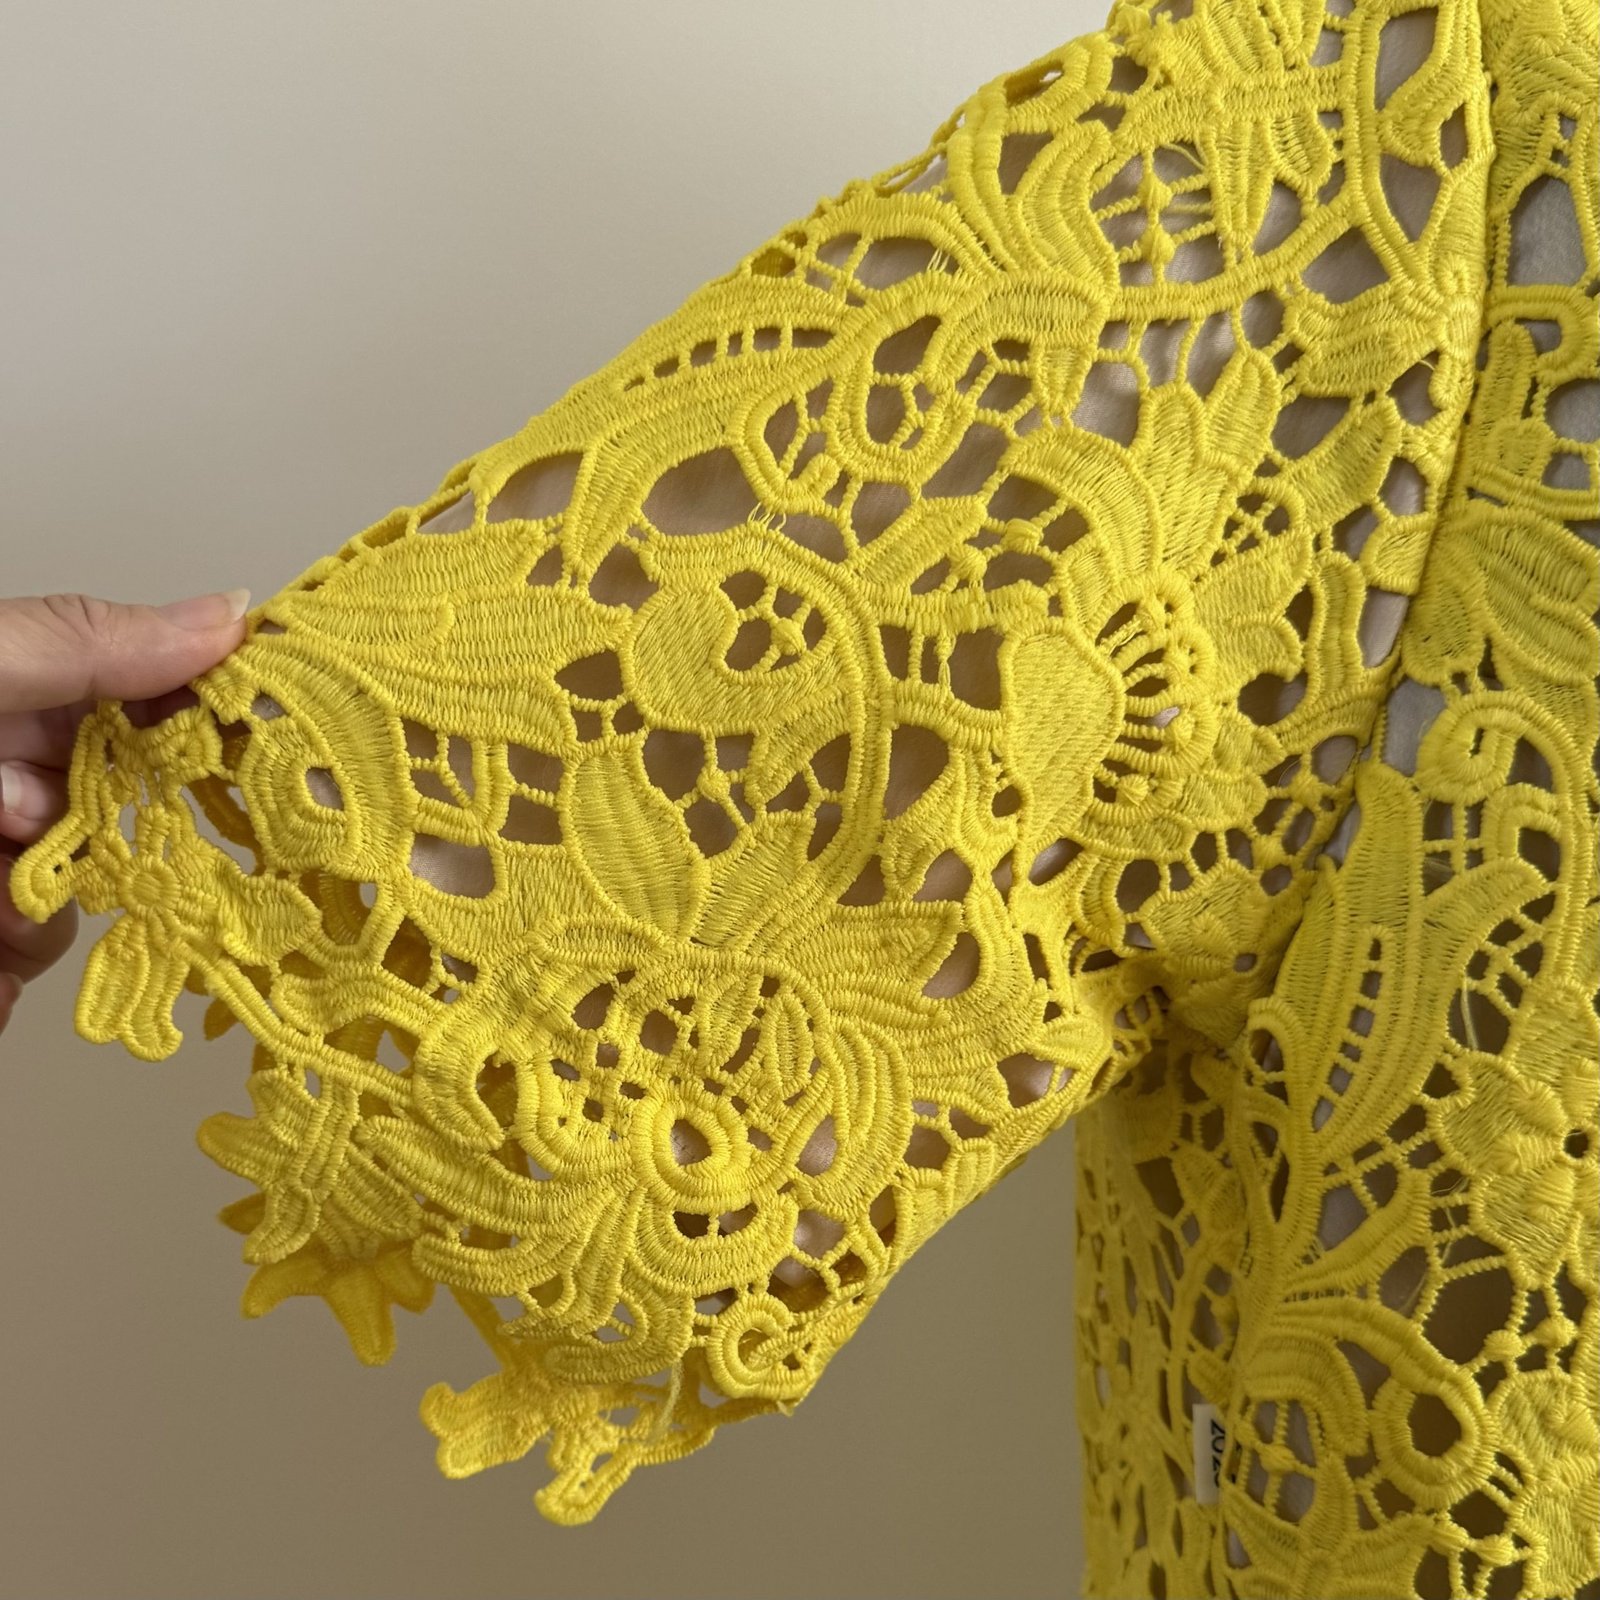
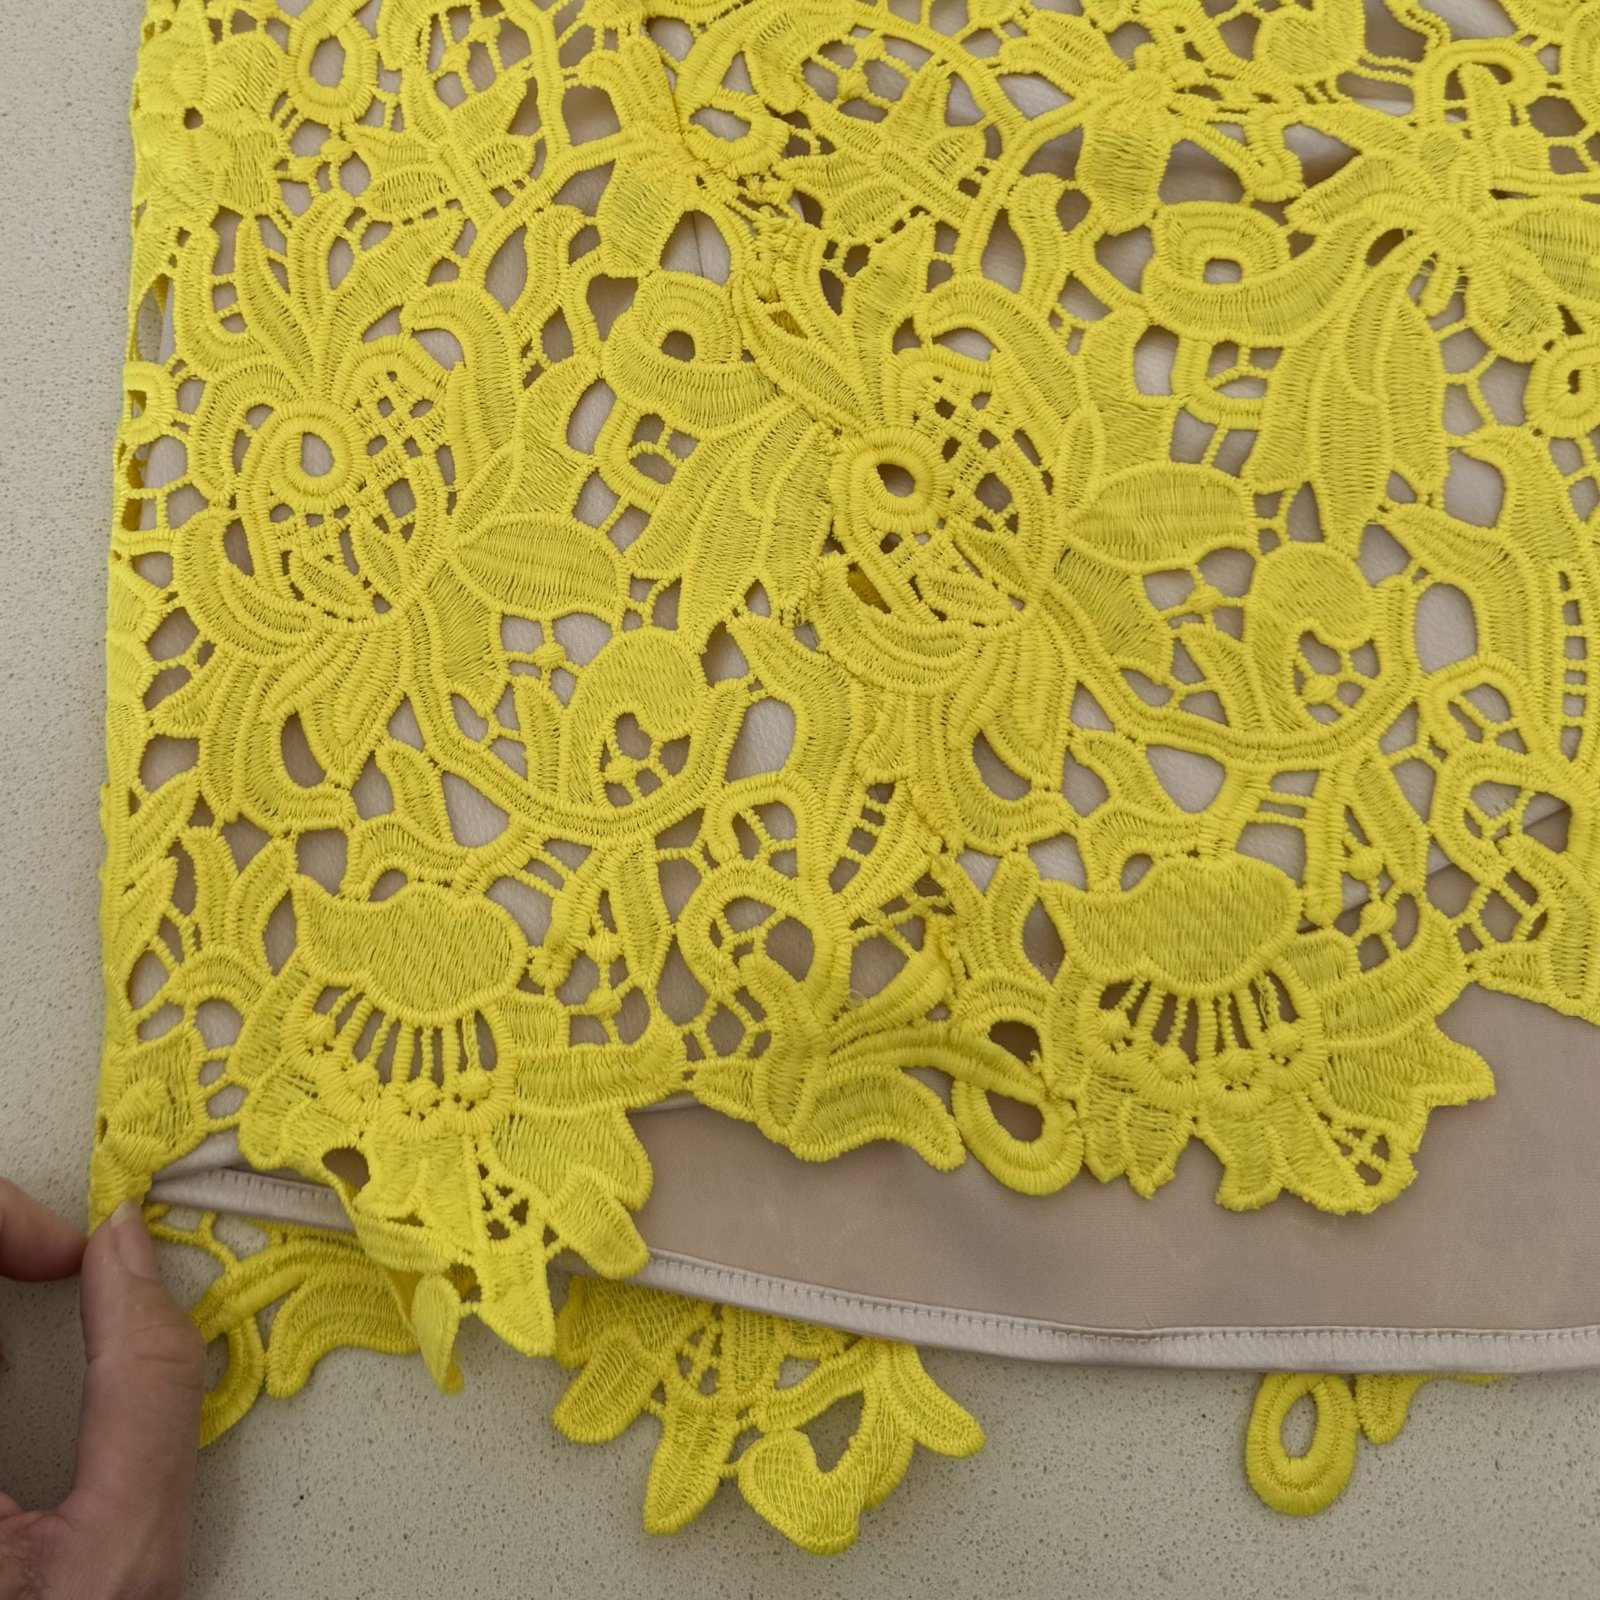
I used the Closet Core Ceilo pattern with a few small modifications… namely; spicing the back yoke and back pieces together to eliminate that seam, including inseam pockets in the side seams, and I also cut it to be a bit more flared. Oh, and I also traced a size up – or maybe two? can’t remember now – for that fashionable oversized look. The hemline, which is of course the natural border of the lace, was determined by how much length I could get, and I also managed to get the sleeves on a border. It only took a little bit of pattern Tetris but I’m thrilled that I achieved what is one of my primary aims with any sewing project, which is to have minimal leftovers!
My dress is underlined completely with a pinkish/coffee coloured silk chartreuse that I bought from Fabulous Fabrics originally. I basted the lace and silk layers together within the seam allowance all around except for the side seams below the pockets, and then overlocked the edges before continuing to treat the two layers as one. The side seams below the pockets I stitched the layers separately and actually the lace is arranged so there’s not a “seam” in this part, but the lace motifs are arranged and hand stitched carefully so you can’t see a seam here.
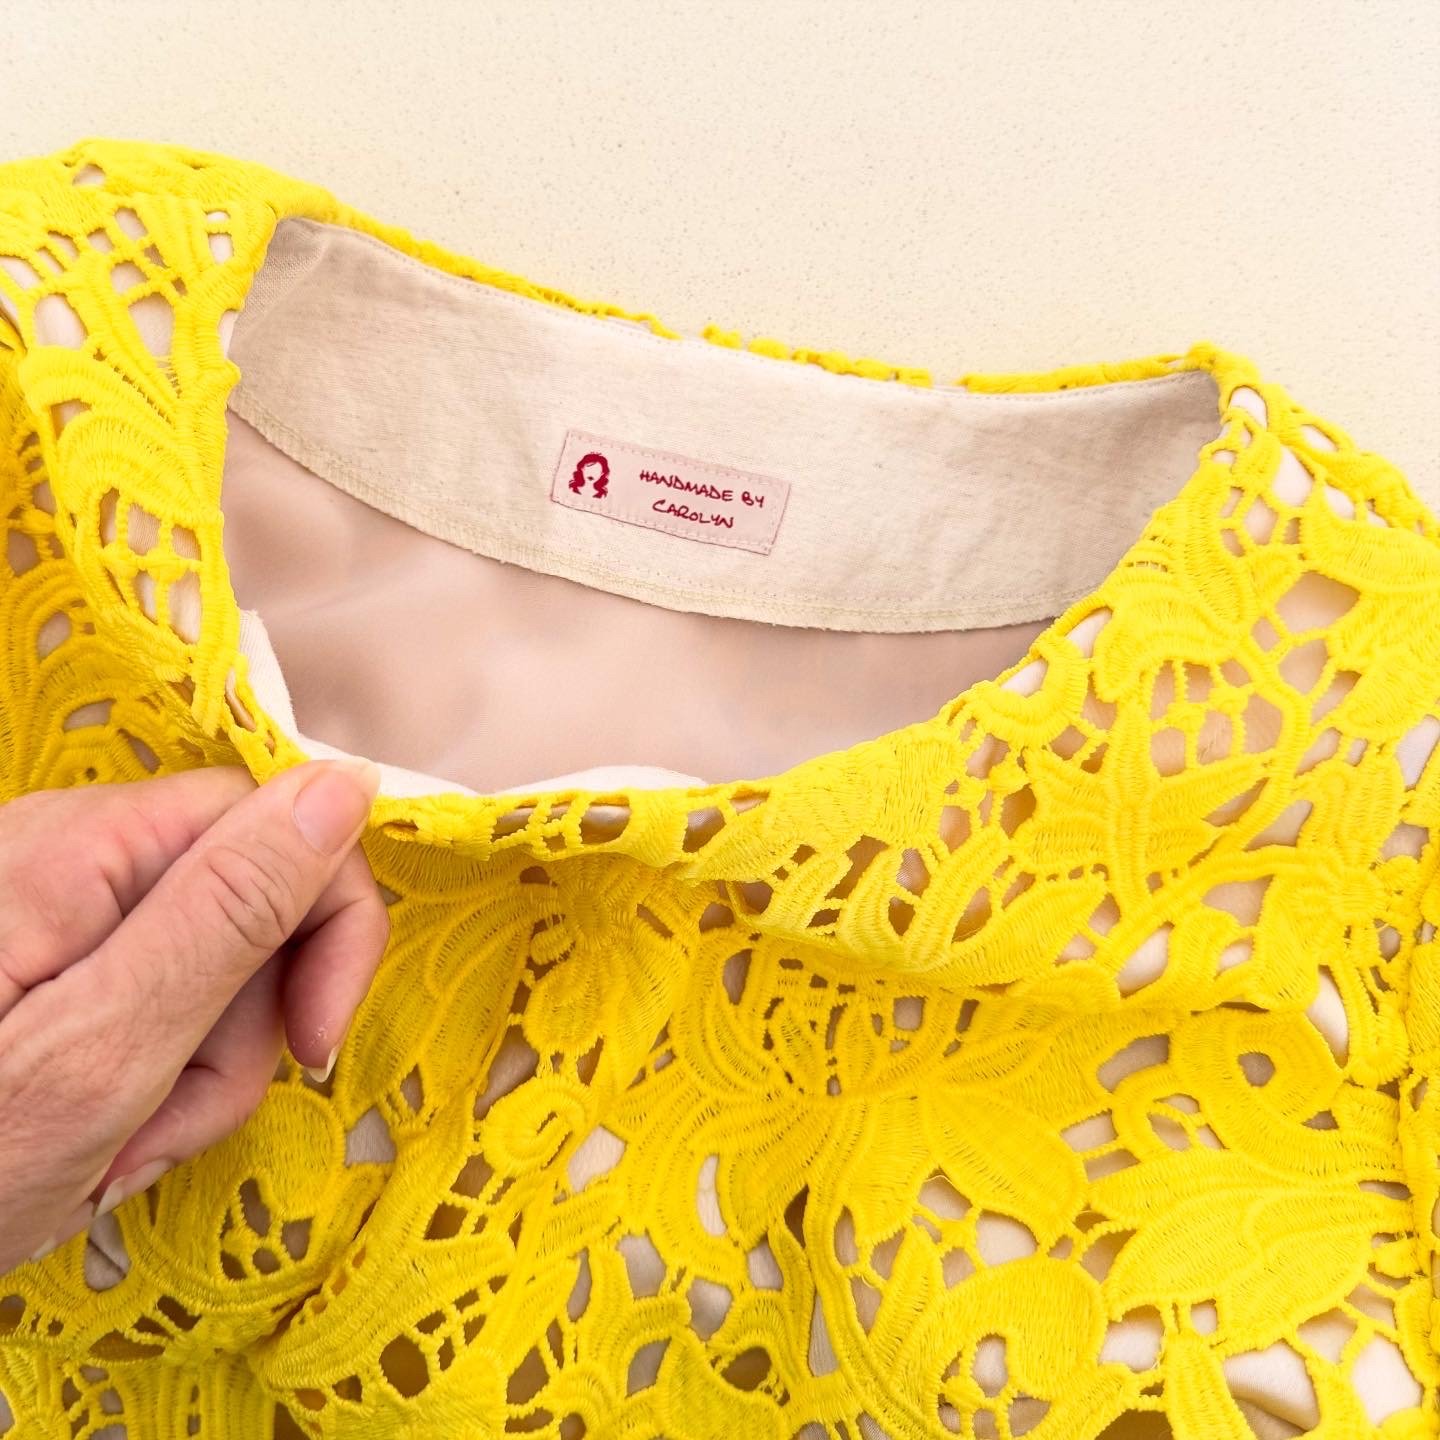
 I cut the pockets and neckline facings from a natural cotton linen that I’ve had in the stash for years, saved specifically for this same sort of purpose.
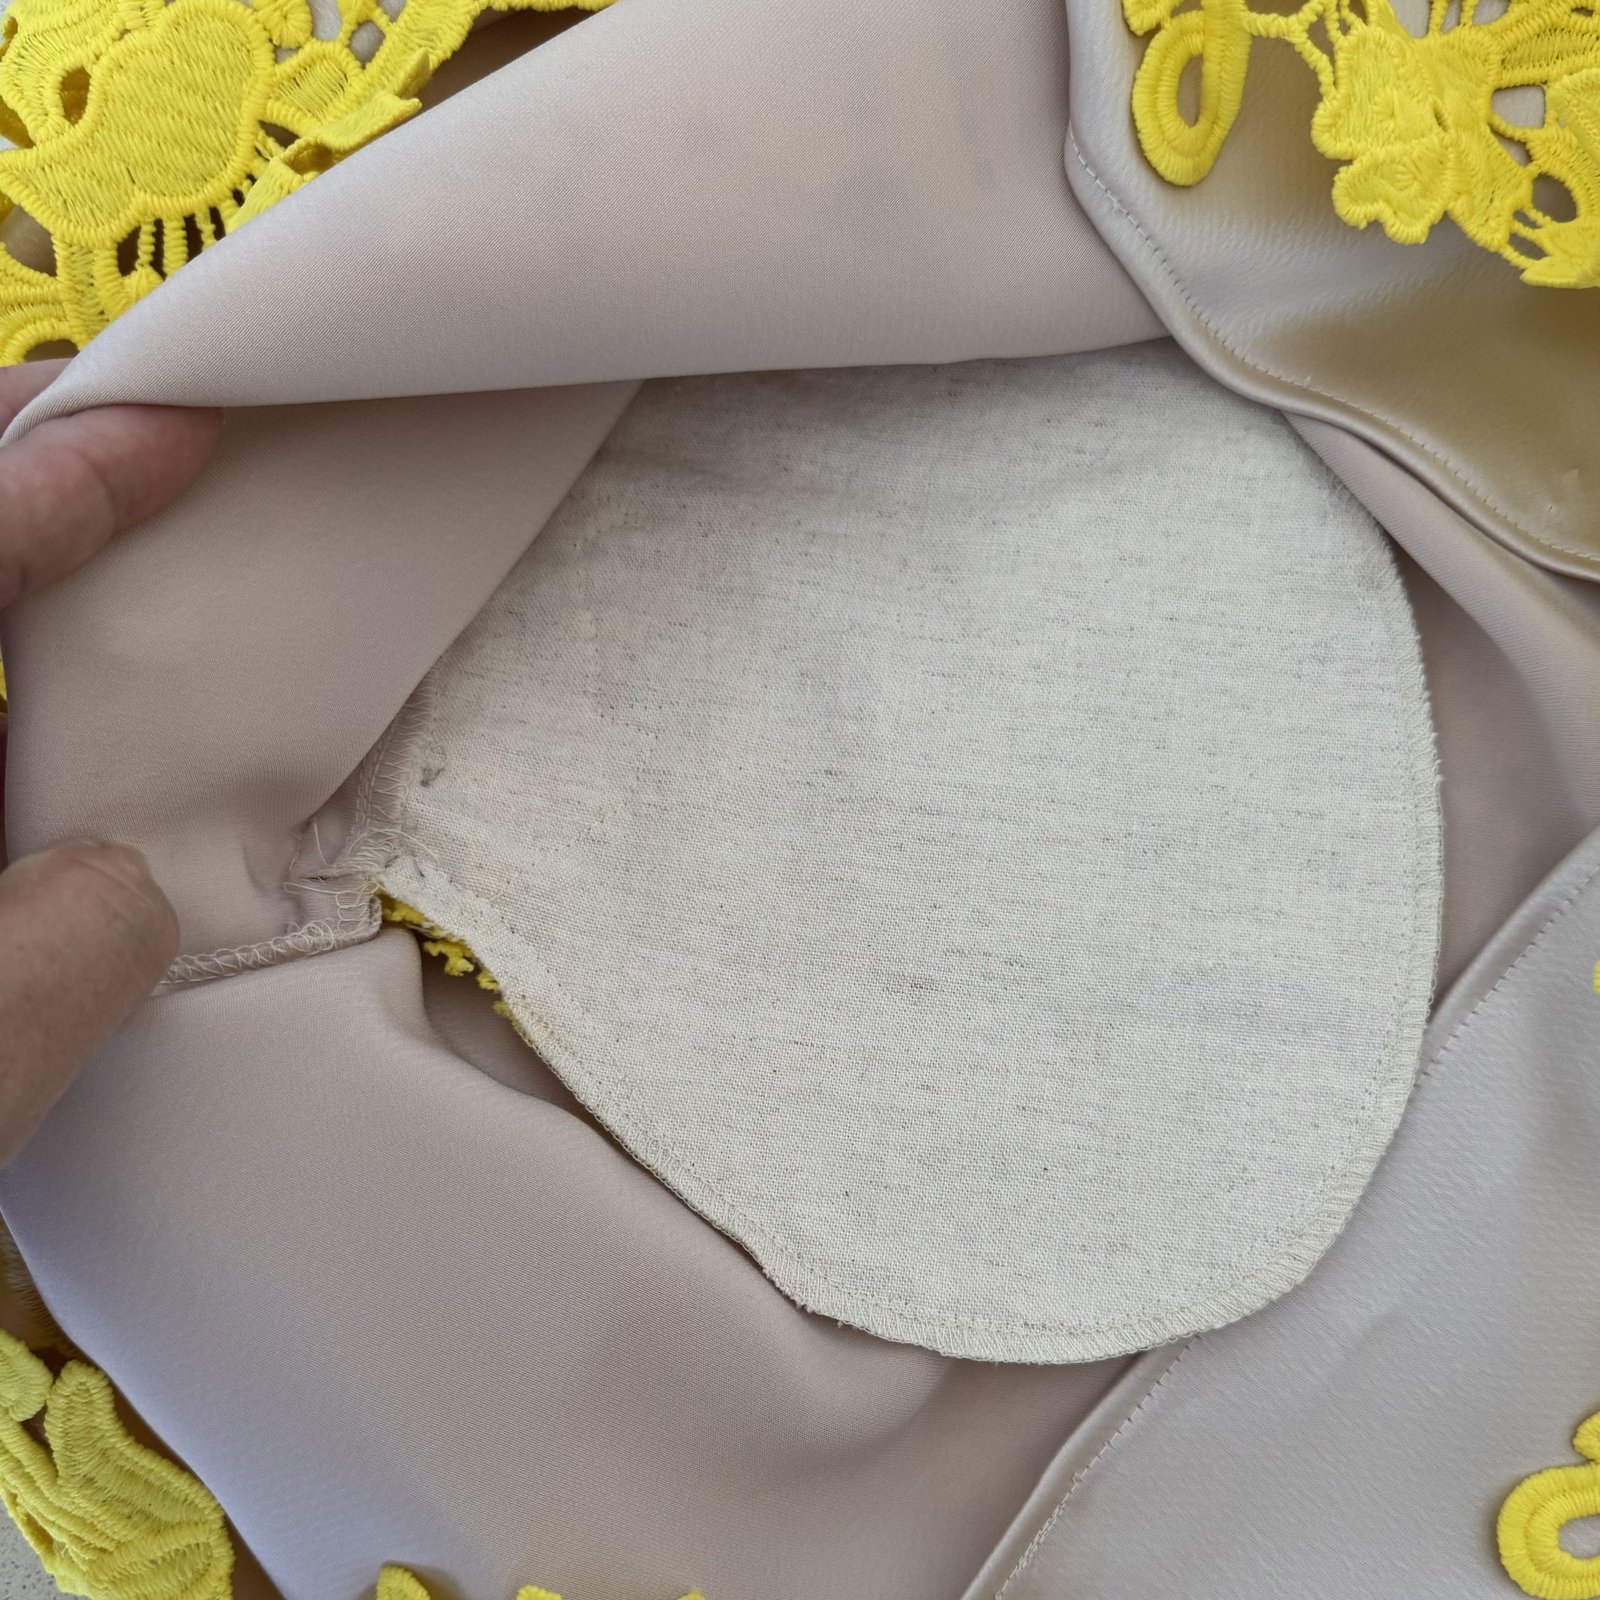
I chose this because the silk charmeuse wasn’t going to be stable enough in these areas – actually the lace is very heavy, far heavier than it looks! I cut the lace front and back to have side seam extensions along the pocket area and stitched it down carefully to the pockets inside. So, when you’re wearing the dress the lace appears to go all the way inside the pockets, no flash of offensive beige to be seen, so it looks really nice. 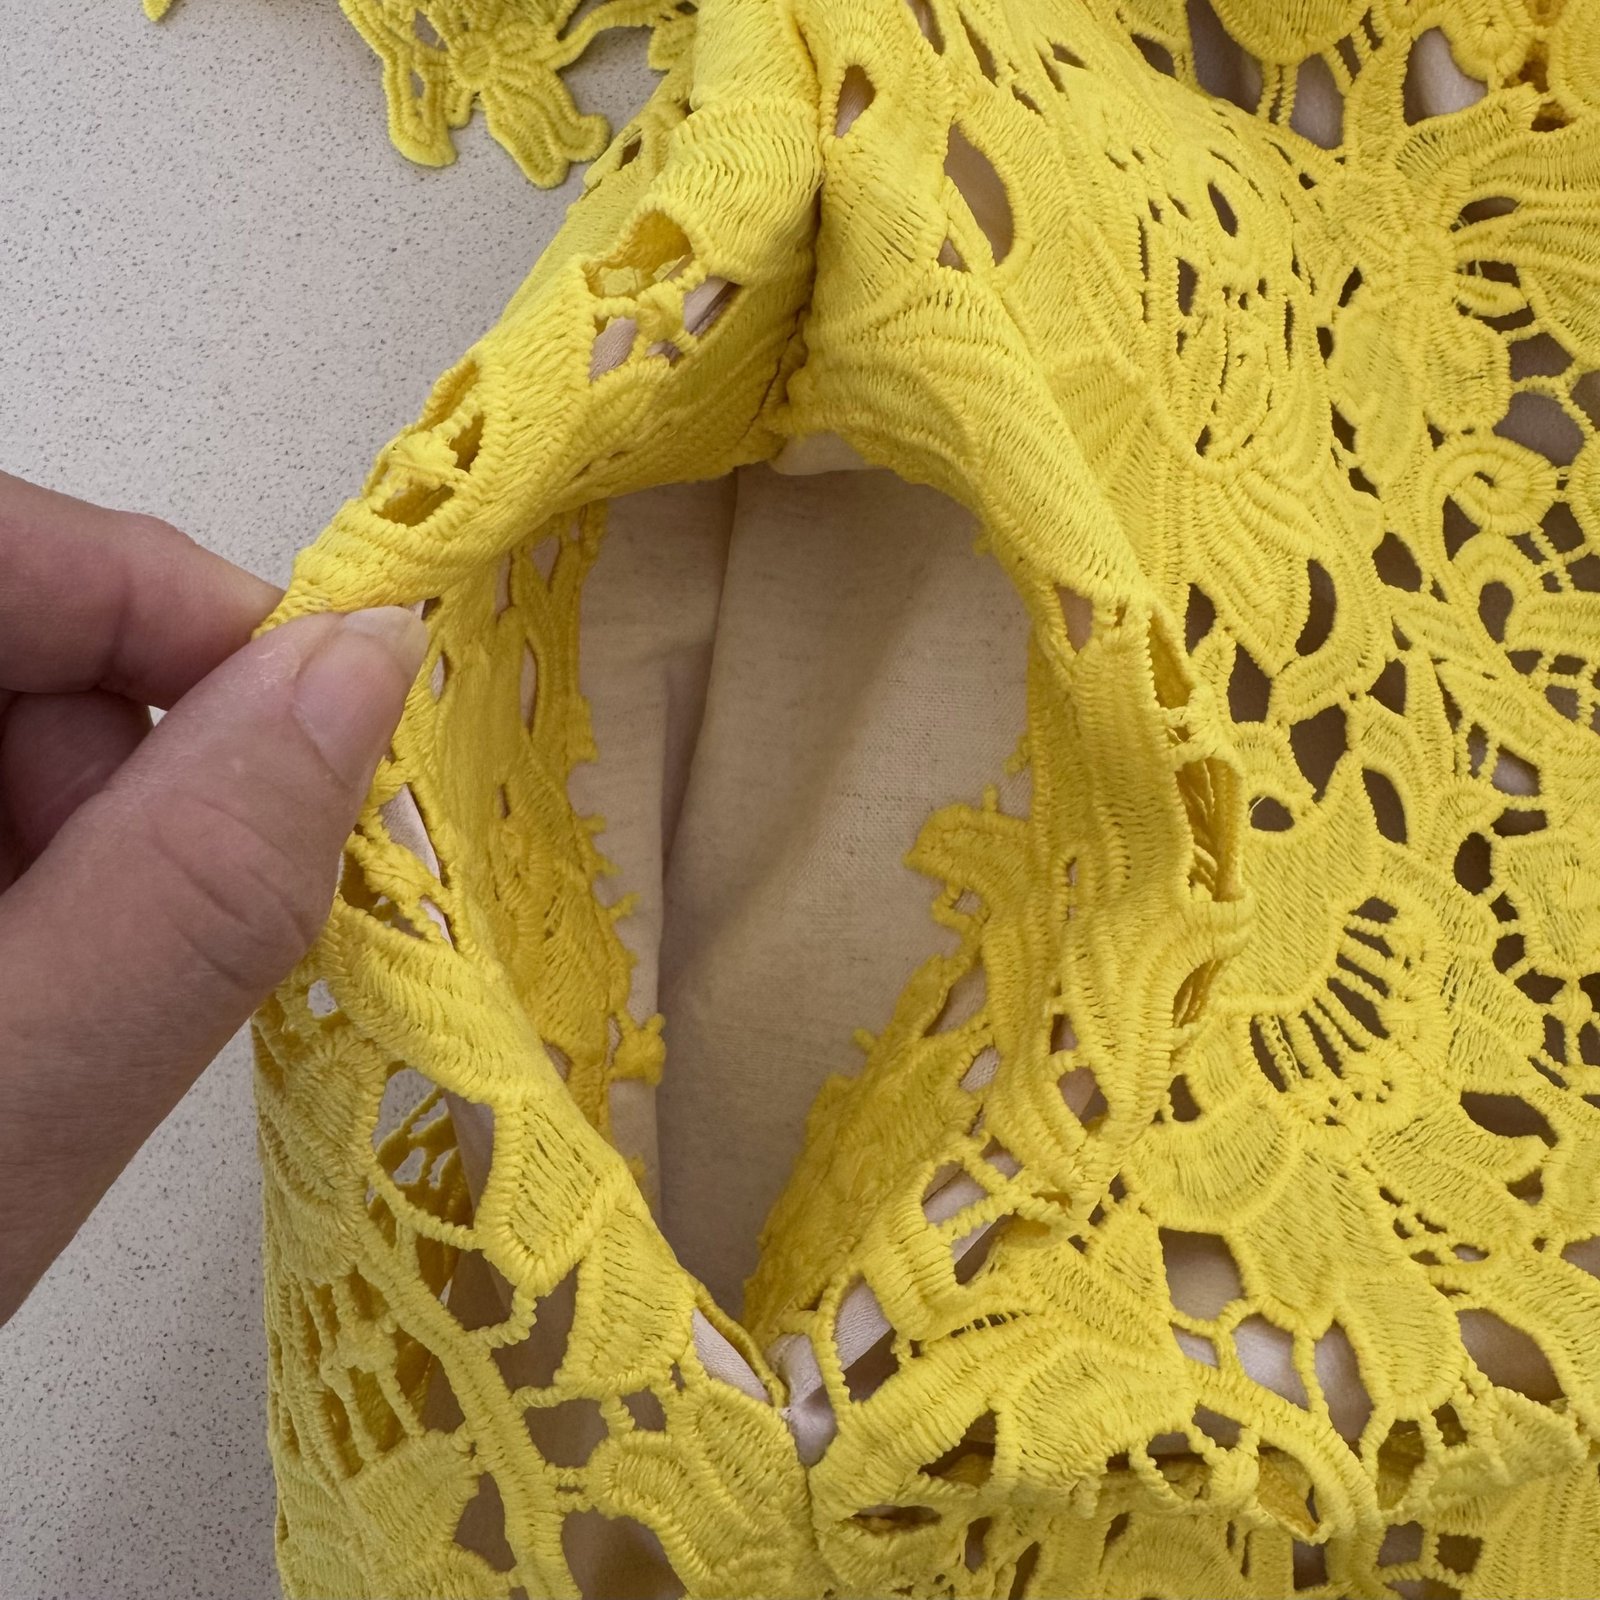
The seams allowances around the neckline, especially the shoulder seam area here are seriously bulky, and I trimmed, clipped and understitched aggressively to get everything to sit nice and flat! I also went back later and stitched the facing to the silk underlining as far around and as close as I could get to the shoulder seams.
 I’m including a picture of the happy couple because, although I did not make the dress, I did alter it to fit her and also did some minor repairs. This took three separate fittings and I took precisely zero photos of the process or anything. My only excuse is that I was also working on my own dress and stressing a little bit that I wasn’t going to get it all done on time.

Thanks to its oversized and loose nature, my dress was so comfy to wear and to dance in, and I was so happy about that! and just saying, I only wore these high heeled sandals for the ceremony and photos. For the reception on the same property I went to our car and switched over to my white sandshoes with little socks, brought for this very purpose. Much warmer, and fabulously comfortable for dancing! I also wore my new pink wool Sienna jacket for the cooler temperatures that came as evening fell too, but no pictures of that I’m afraid. Anyway, I hope I can get more use our of this dress, which actually turned out more lovely than I thought. 🙂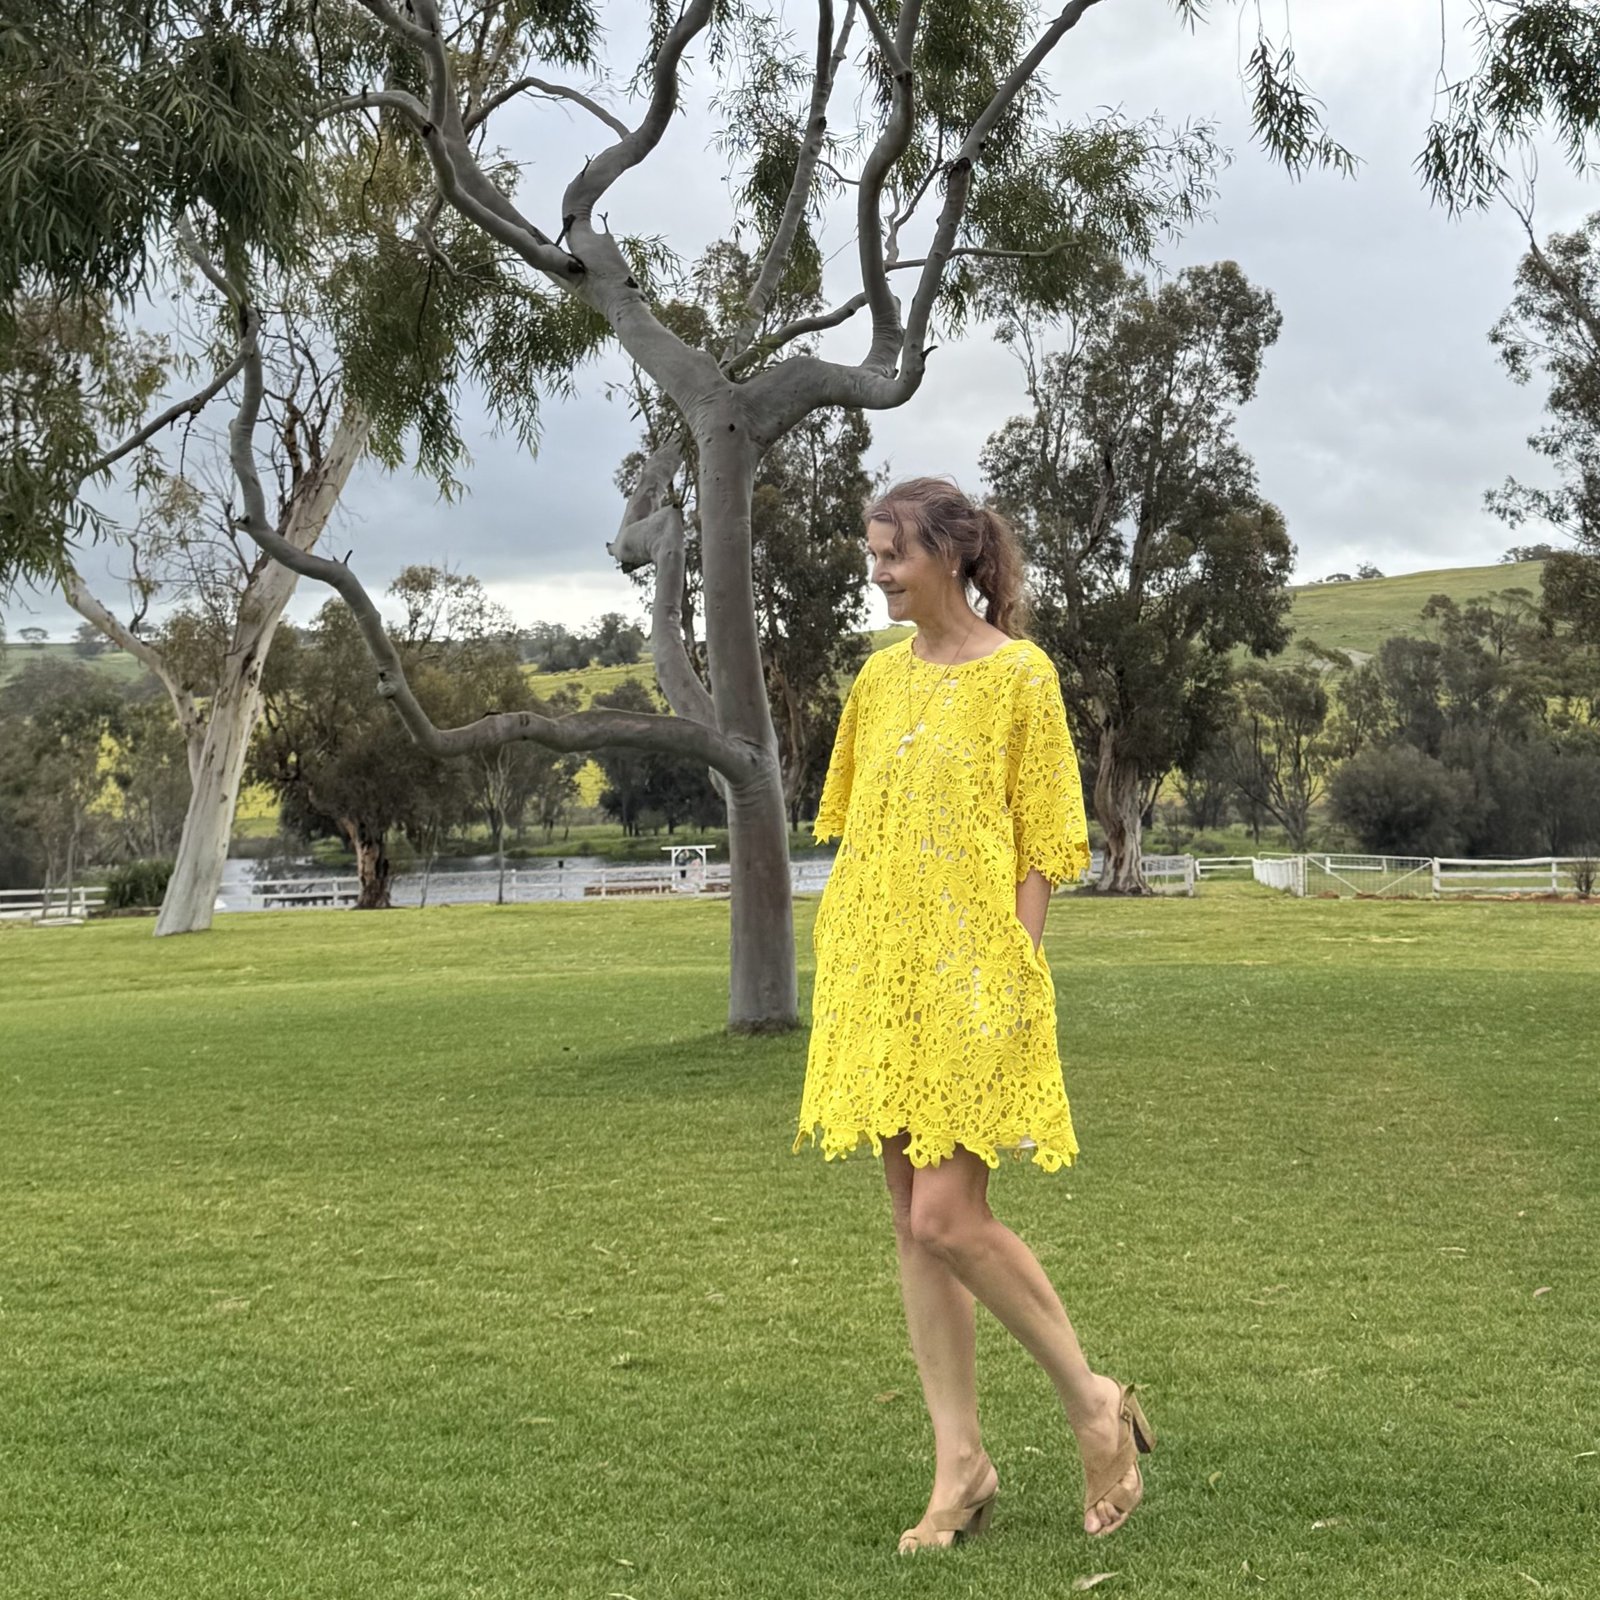

 hello! I’ve made a new/old blouse for myself… I’ve always enjoyed the challenge of using old textiles PLUS I’ve also always loved patchwork and mixed-prints in clothing so obviously this new blouse is certain to become a favourite! why? because the fabric is salvaged from three well-loved old shirts of my husband’s… I really liked each of these shirts when he was wearing them, so when he decided they were too worn to be worn any more (hehe) I packed them away to be refashioned one day.


 I’m wearing my new shirt in the above pictures with


 hello! I’ve made some new things recently… firstly, some new winter pyjamas. 🙂


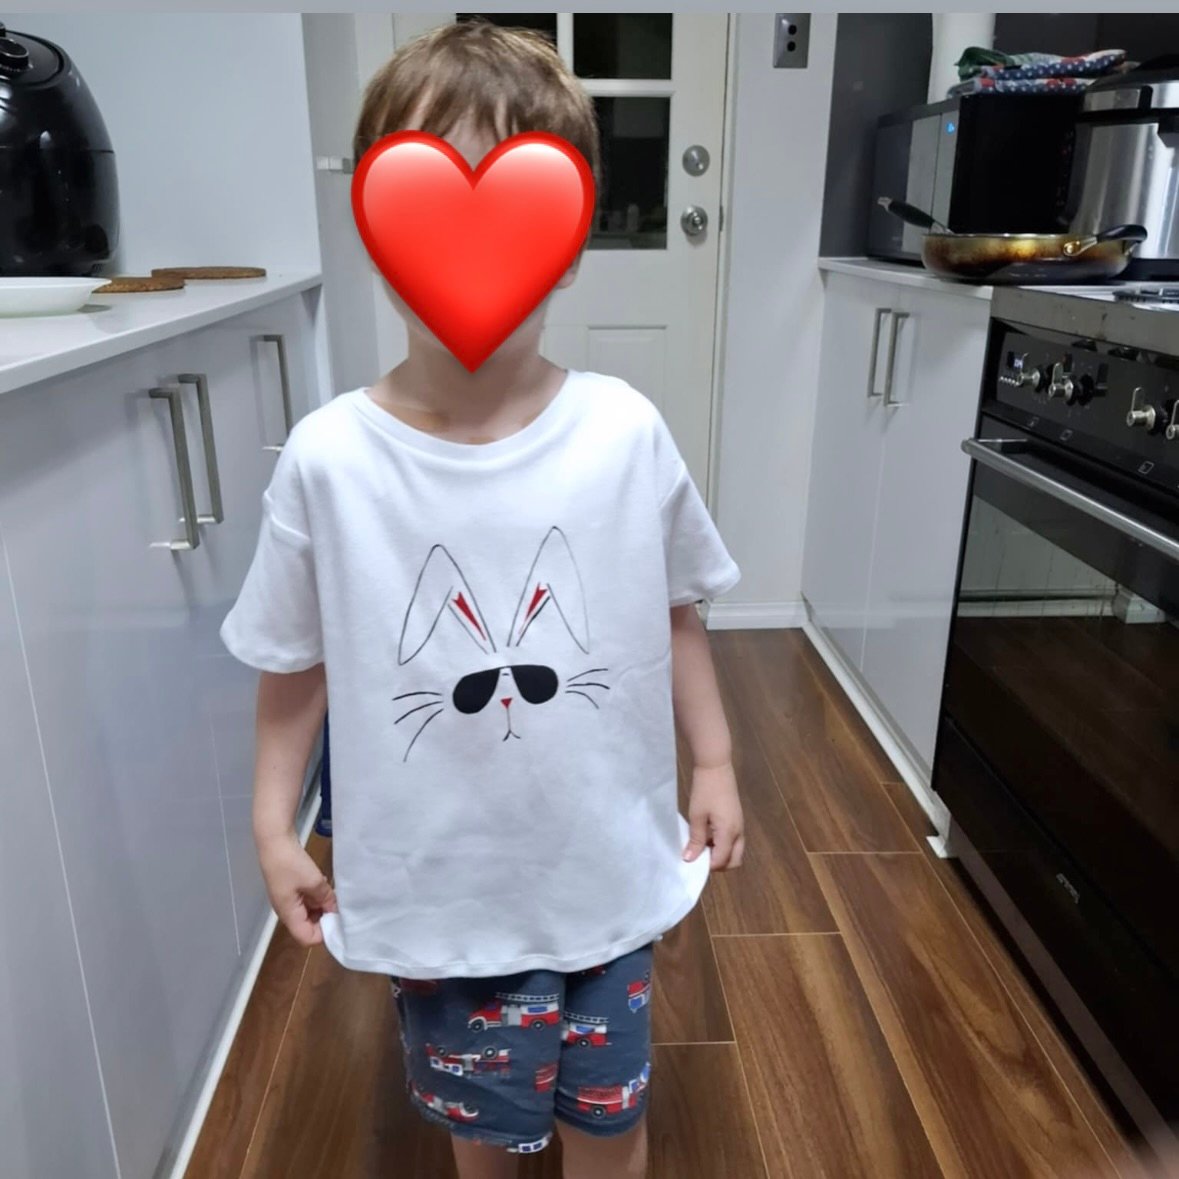
 Hello! For the Easter just gone by I wanted to give something to my three little grandsons… chocolate has been ruled out by the parents and so I had to think of something else. I decided upon this! As a teen, my eldest Tim used to have a pink T-shirt with a “cool bunny” printed on it which he absolutely loved. It was actually a very different print from this one, but with this in mind I googled “cool bunny” and something like this was one of the millions that came up. I thought it was really cute!
 I hand-drew the design on tracing paper in lead pencil, then transferred the designs to equally sized pieces of wrapping paper.


 First print done!
 Second print!


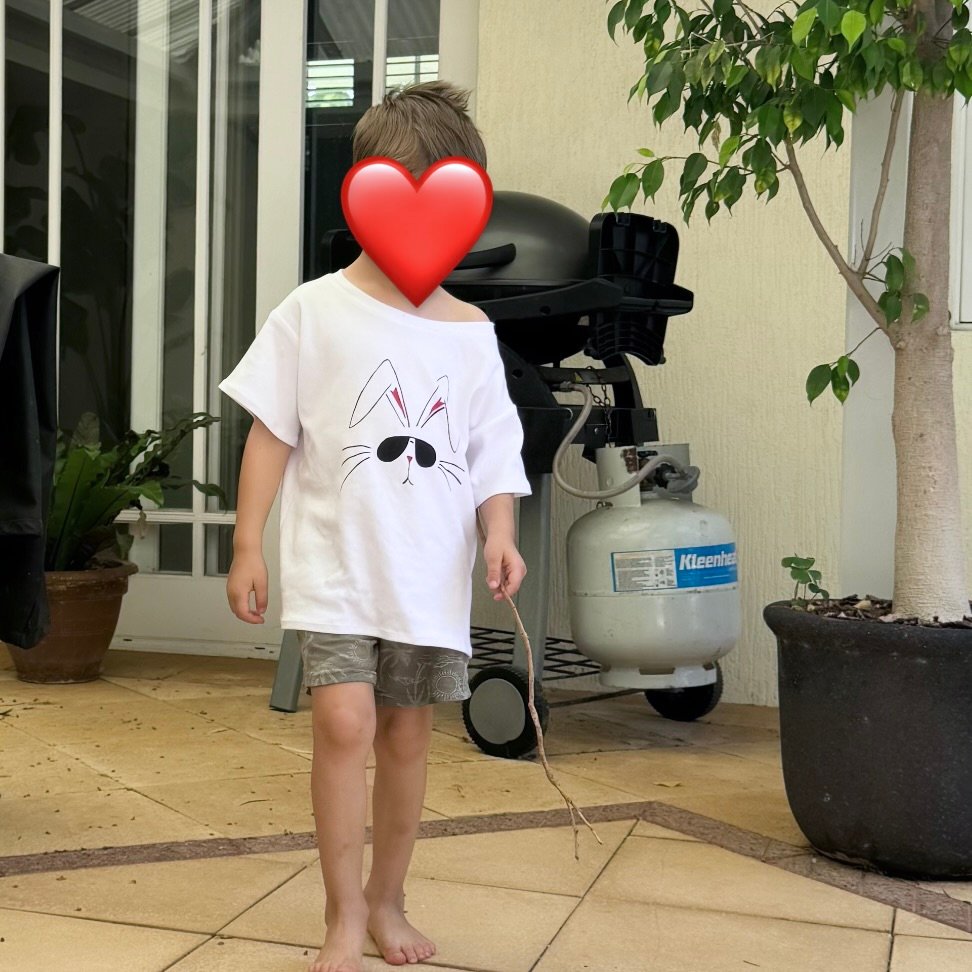
 and this one did not. If you can’t see it straight away, just look at the red, inside-the-ears bit, and you can see how skewiff it is compared the the others. I’ve still got this fabric, and may use it for something else in the future.
 Heat set the prints, and then I sewed up the T-shirts.

 hello!
 Unfortunately there wasn’t enough to do every single seam and edge like I have done in previous examples of this method but I just did as many of the more prominent bodice seams before I ran out of it.
 I know I’ve used this pattern quite frequently but it really is such a beautiful dress design that I don’t see myself every tiring of it any time soon. Of course I really should branch out more and I’m resolving to try more new patterns this year and not fall back so often on the old favourites. In the meantime though, some of my recent as yet unblogged projects have failed this resolution already whoops.
 I wore this along with my

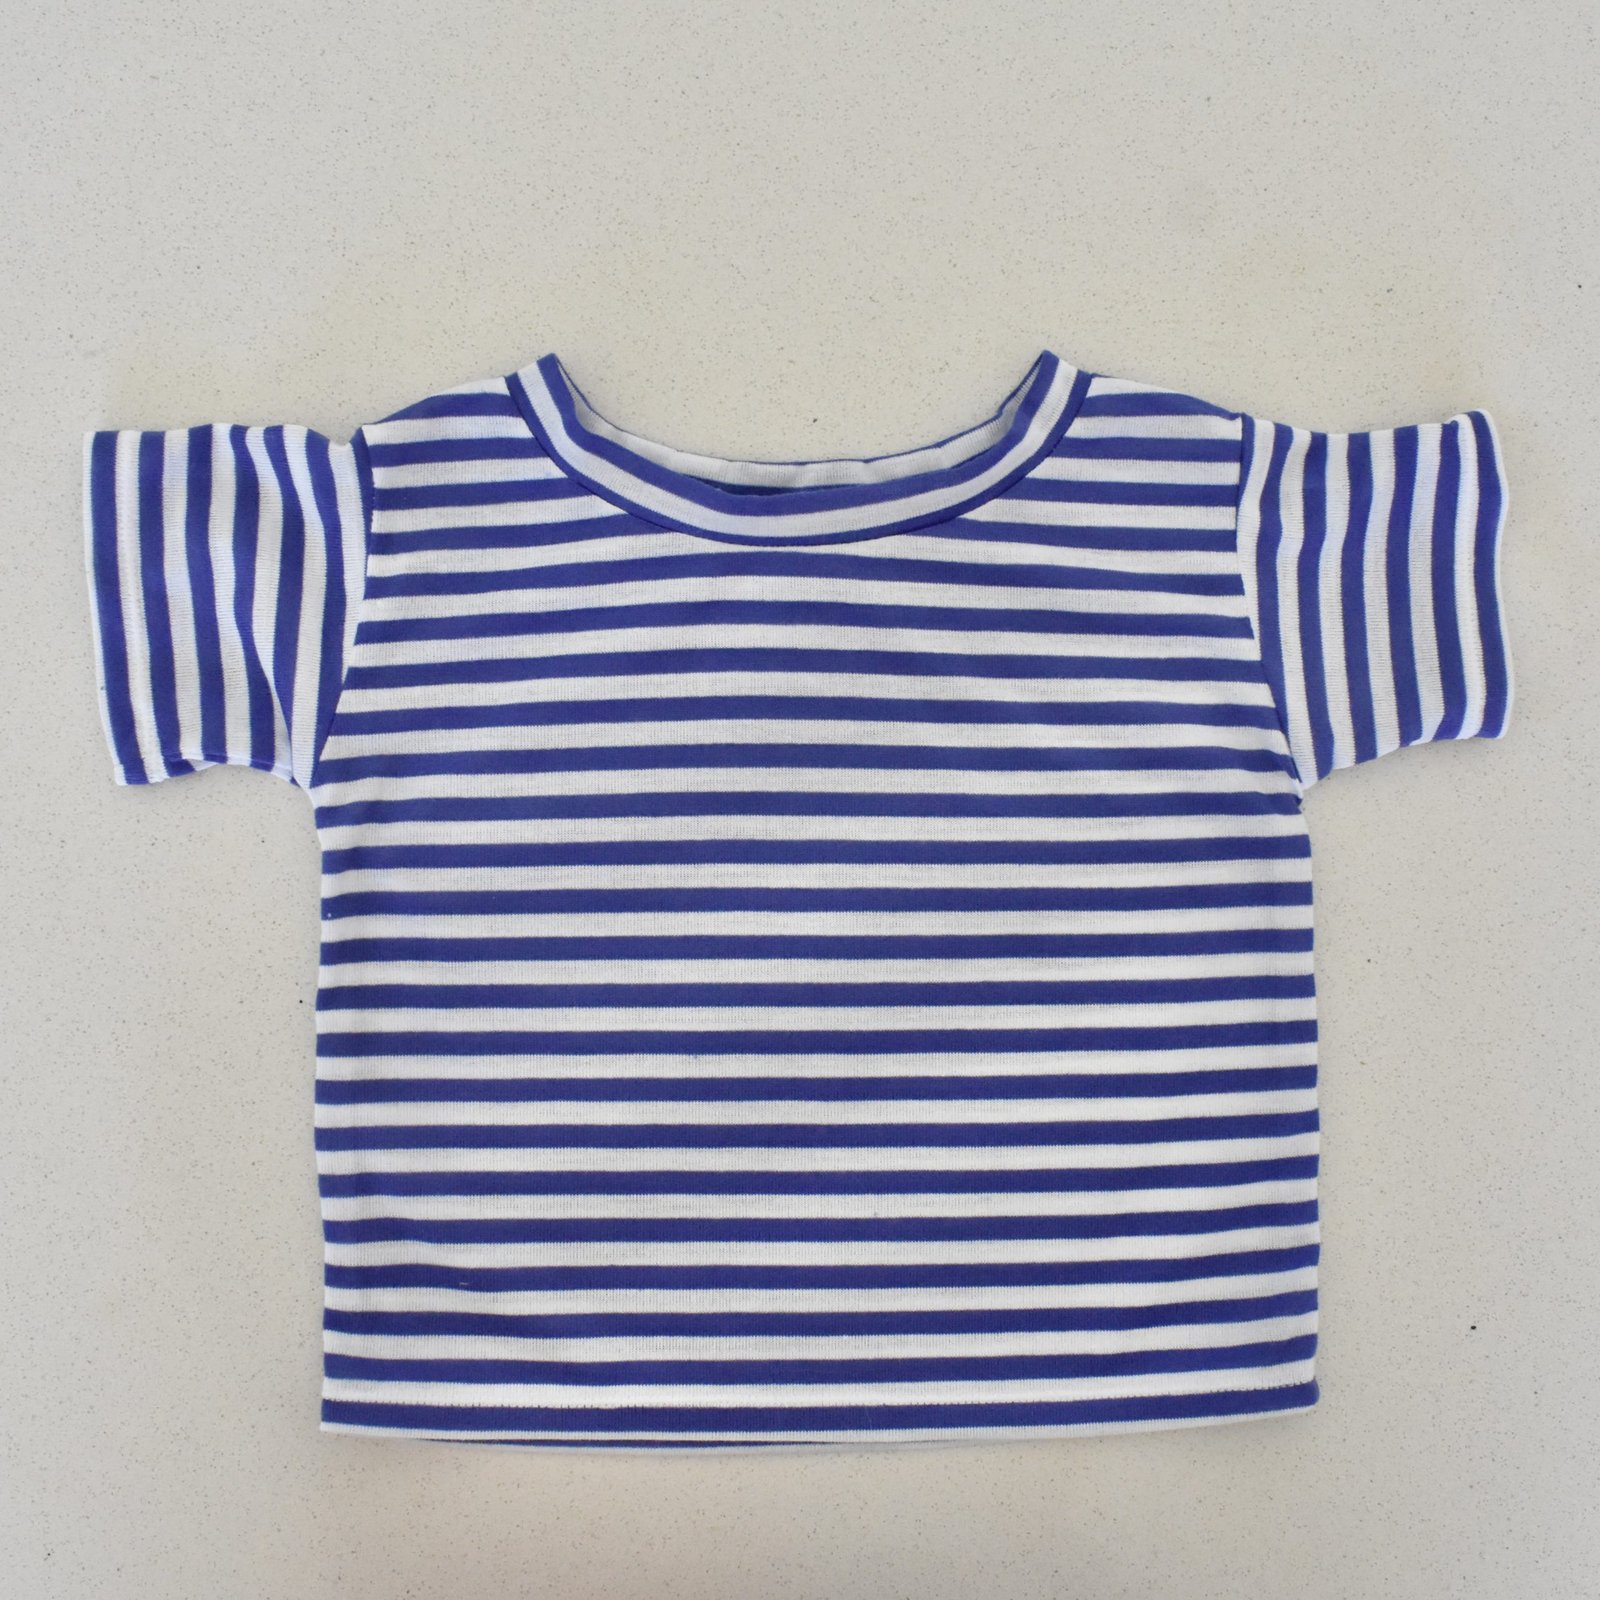


 rhetorical question, don’t mind me. I actually love stripes, even though when I do sew with them I feel inextricably compelled to pin each and every stripe. It’s ok. A small amount of suffering is acceptable when it leads to nice things.


 hurrah! I’ve just finished my knitted project for December, aka the last monthly knit for the year! and possibly the last made thing for the year, depends whether I can get my already cut-out thing done in the next day or so. 🙂
 I have to admit I was quite excited about this one, but it was definitely the most time consuming of the knitted projects for the year, just because it’s the biggest that I started from scratch… I had quite a diverse collection of random whites/creams and blacks/charcoal and decided to attempt the classic black and white stripes. There was quite a lot more of the whites than black so the white stripes are a shade wider than the black ones. Also the sleeve and bottom hem sections are in the white colour way too. There is just a very tiny amount of leftovers, nothing to speak of really, which makes me pretty happy.
 As previously I made the design up myself, it’s a topdown, knitted-in-one piece, just like
  Speaking of the rib finish, I tried something new I’d seen on instagram, and I’m truly sorry I cannot for the life of me remember who it was who posted it so I can’t give credit for the idea. Basically, they said that rib is often uneven in appearance and that’s due to the difference in the way the wool goes around the needle in knit and purl stitches. They suggested the following; for knit stitches, knit through the back of the loop… and for purl stitches, wrap the wool clockwise around the needle – which is the opposite from normal. Apparently it uses a little less wool, anyway I gave it a go and I think the rib does look a little bit neater than my usual efforts.
 I’m really happy with this one! the classic white/black stripes will be so easy to wear and I’m looking forward to giving it lots of outings in winter. I was a little worried about the bobbly cream coloured wool – are the bobbles going to be too hideous?! scary! but in the end they’re not twee to an unbearable extent and I’m ok to just let them be.


 I didn’t take a picture of the “before” yarns, but actually this project changed shape and form several times during the making and new yarns got added in as I went along. I’m pretty happy though… because there were about 11 balls/part balls of yarn in all to start with, and now they are all GONE from Le Stash. I’m particularly pleased with the “turquoise” stripes on the sleeves, which are actually four strands of two different colours of an extremely fine mohair yarn that I had no idea what on earth I could use for anything at all. The four of them held and knitted together as one turned out to be a reasonably good thickness to actually use.

 I used our own Carolyn & Cassie Pinjarra pattern, the high necked top version. I cut a size bigger than my usual for a loose fit, and cut a hoodie piece to fit the neckline length. I also added a few inches of length to the bottom edge, again for that loose look. It was a pretty easy hack of our own pattern! so easy that I wondered for a little bit whether we should draft the hood up and add it to the pattern.


