Tag Archives: Lingerie

A pale set

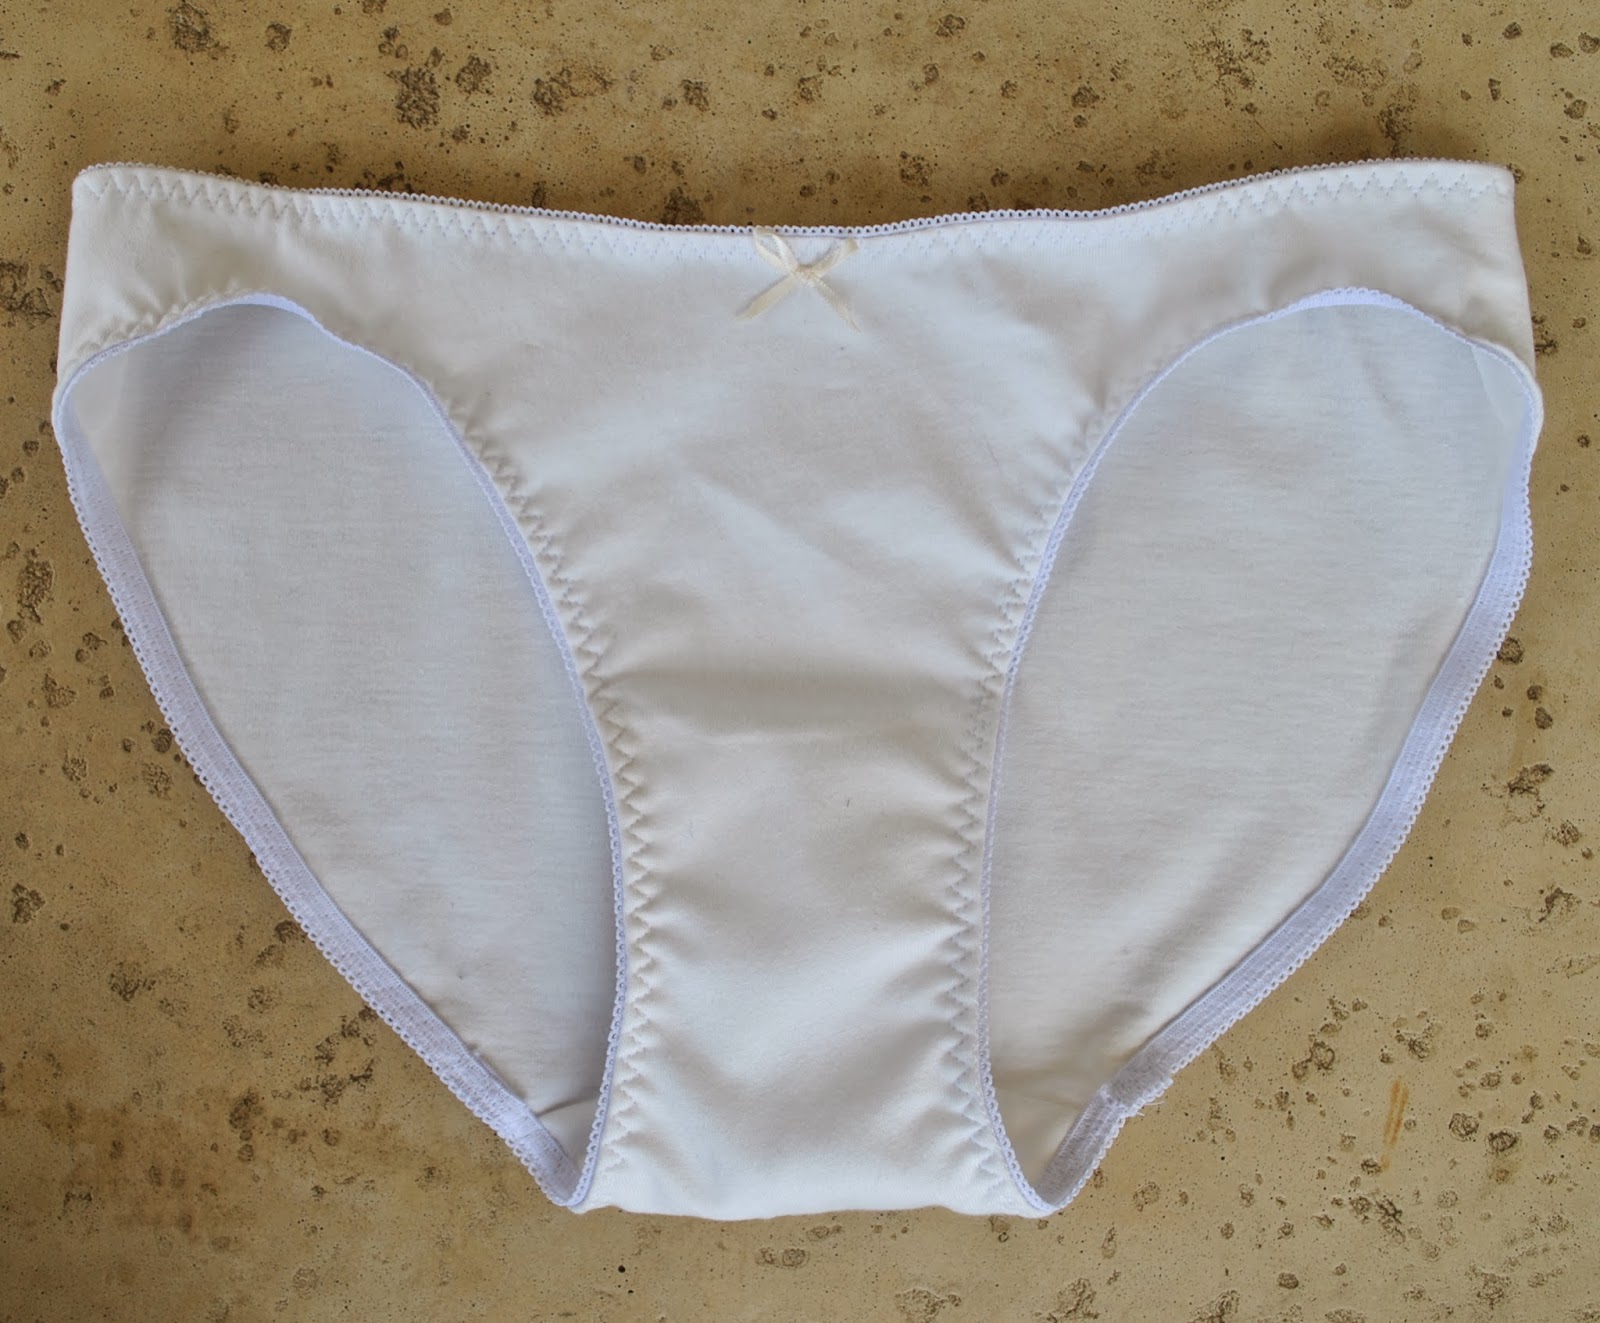
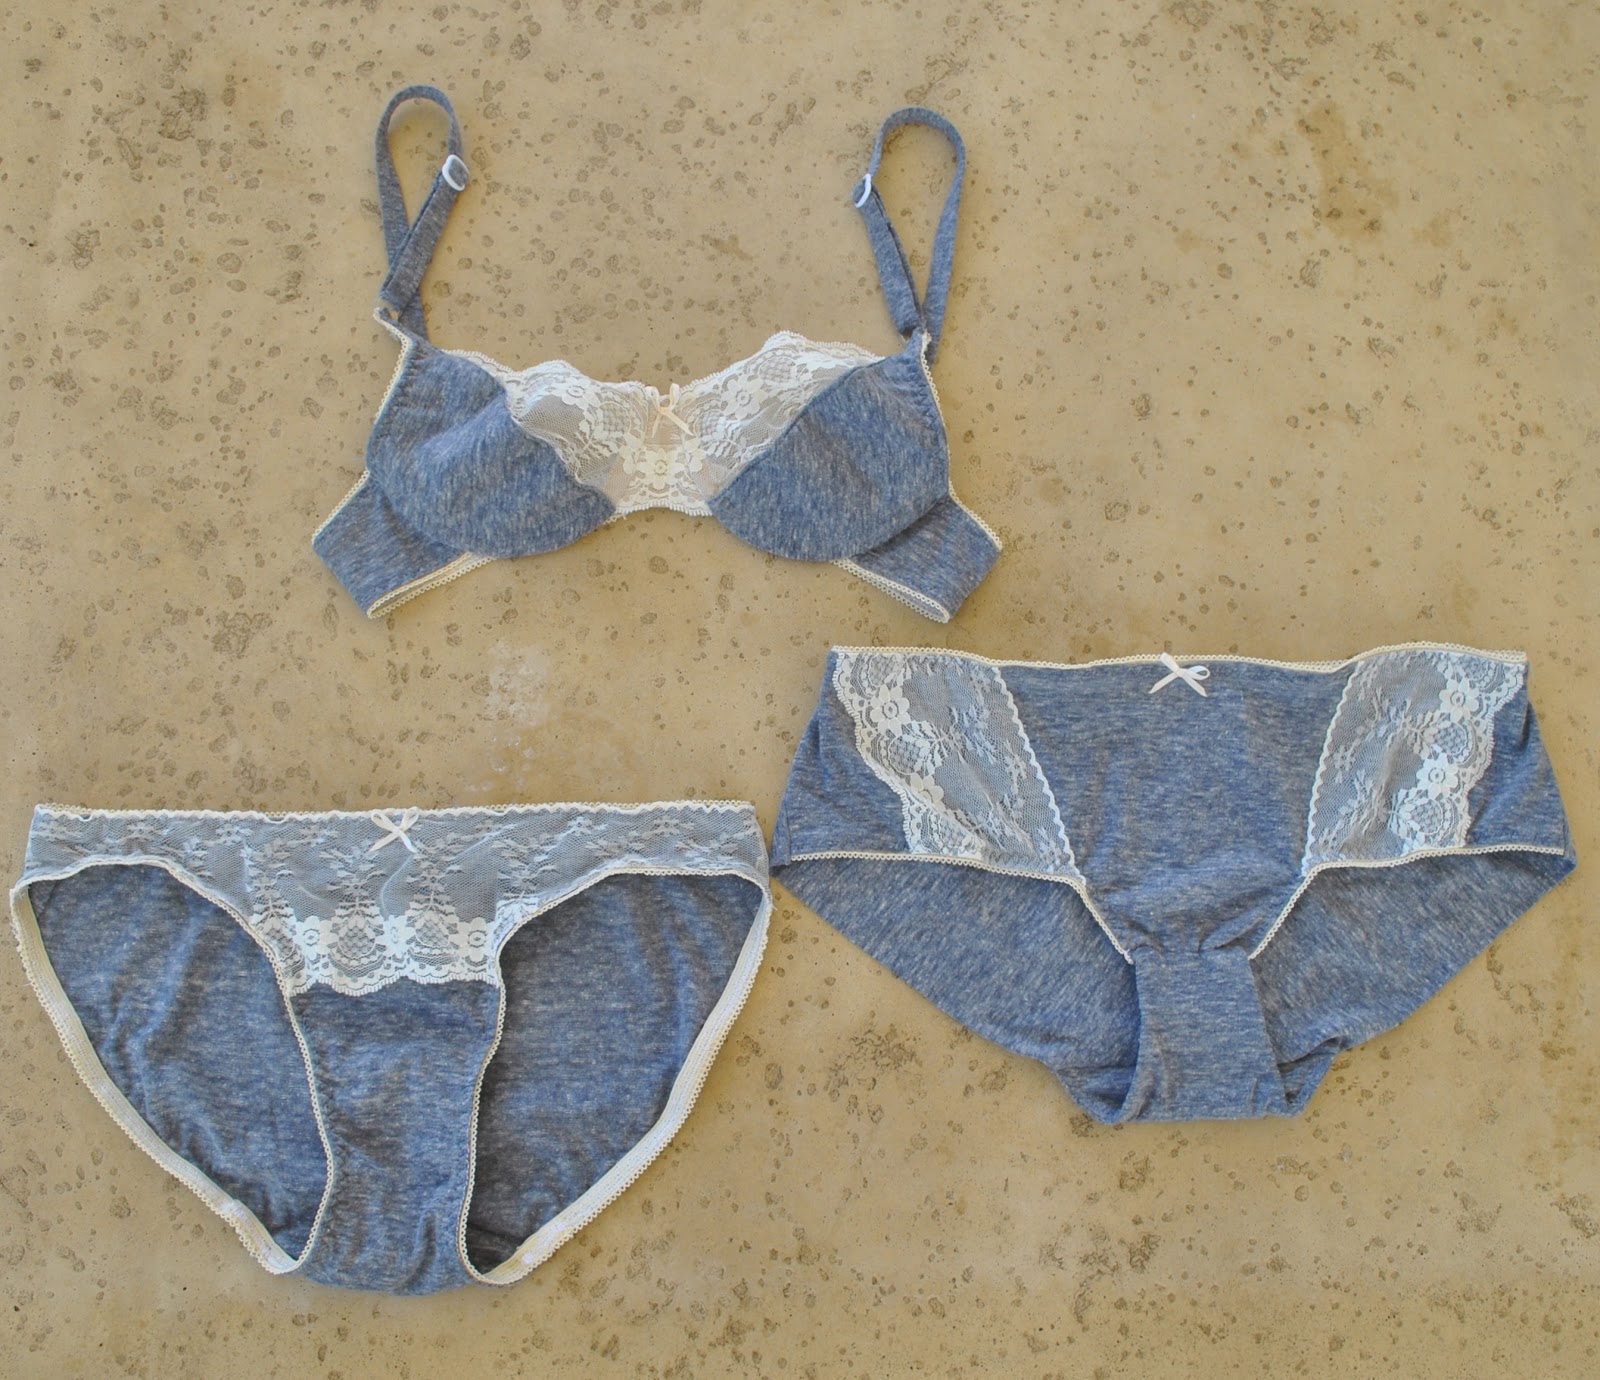
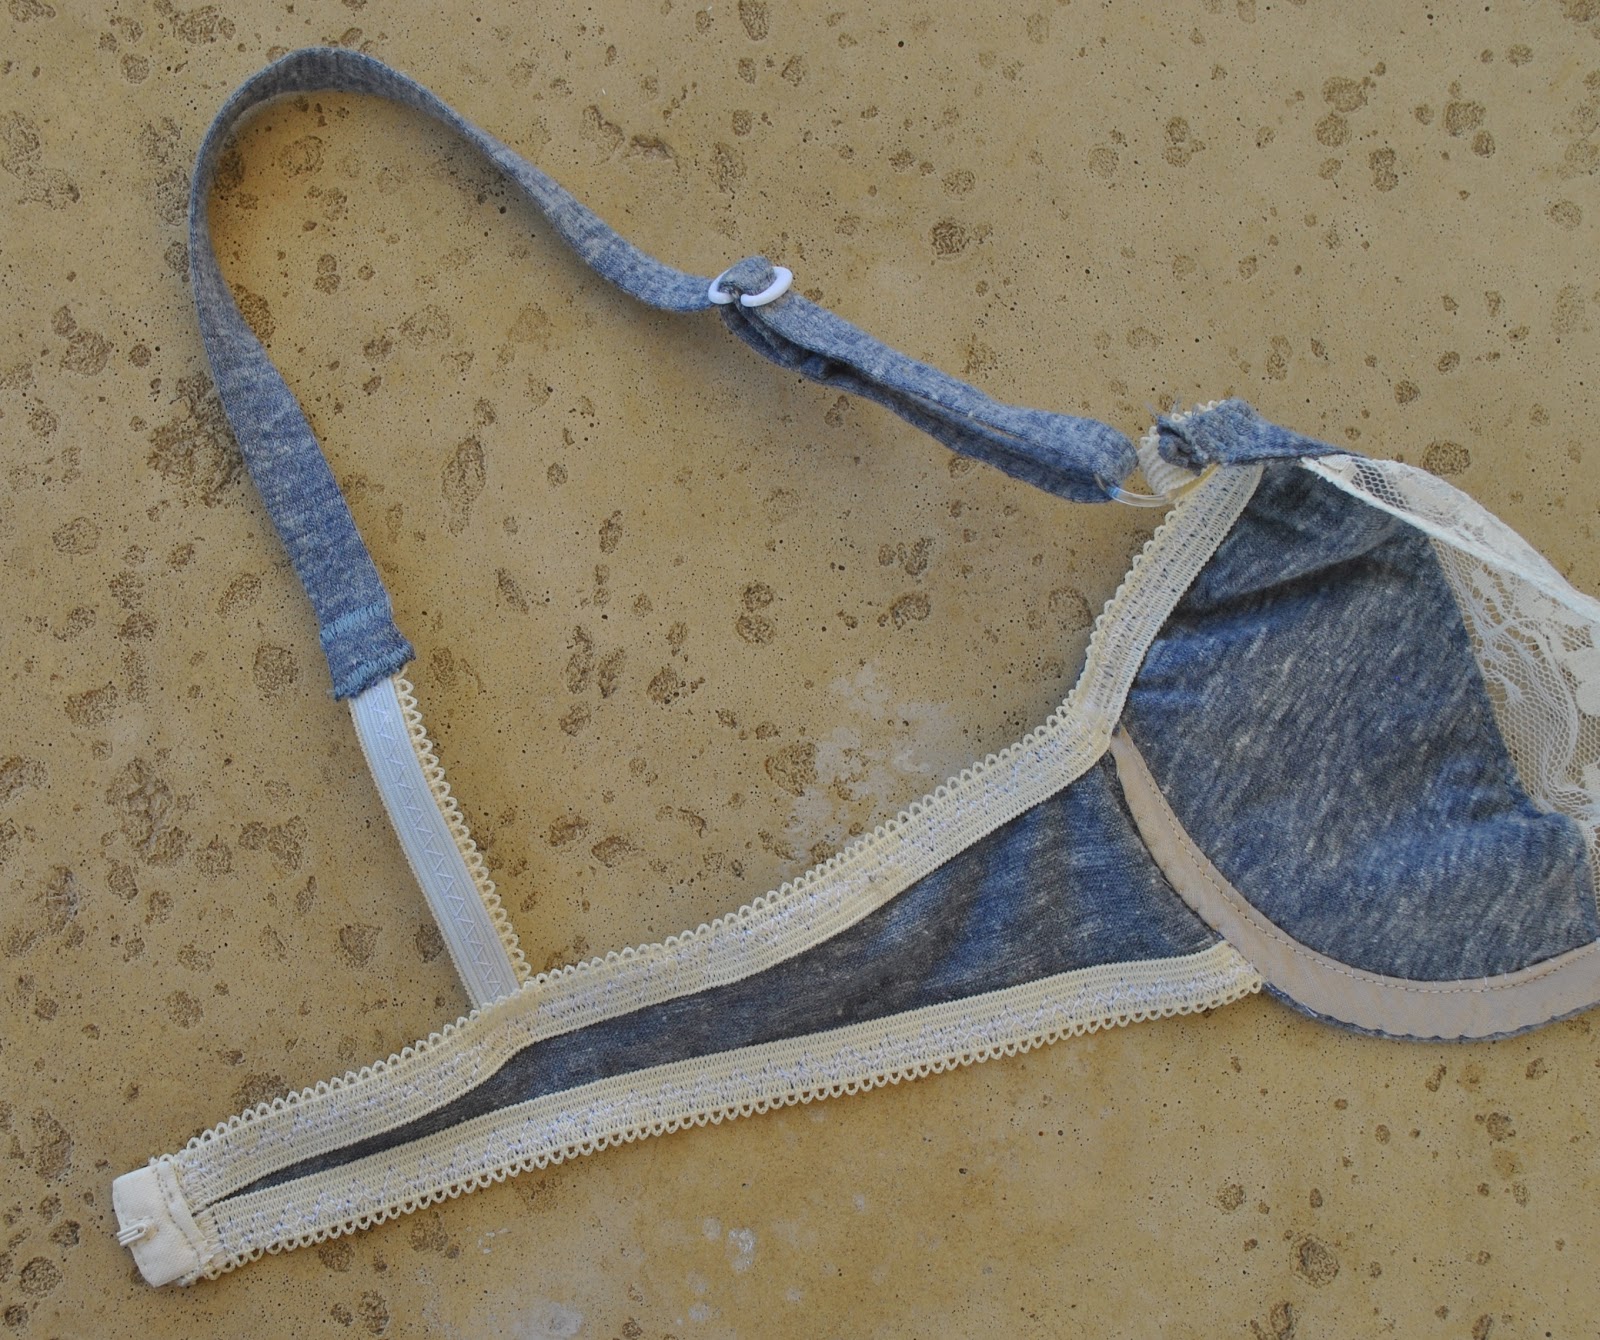
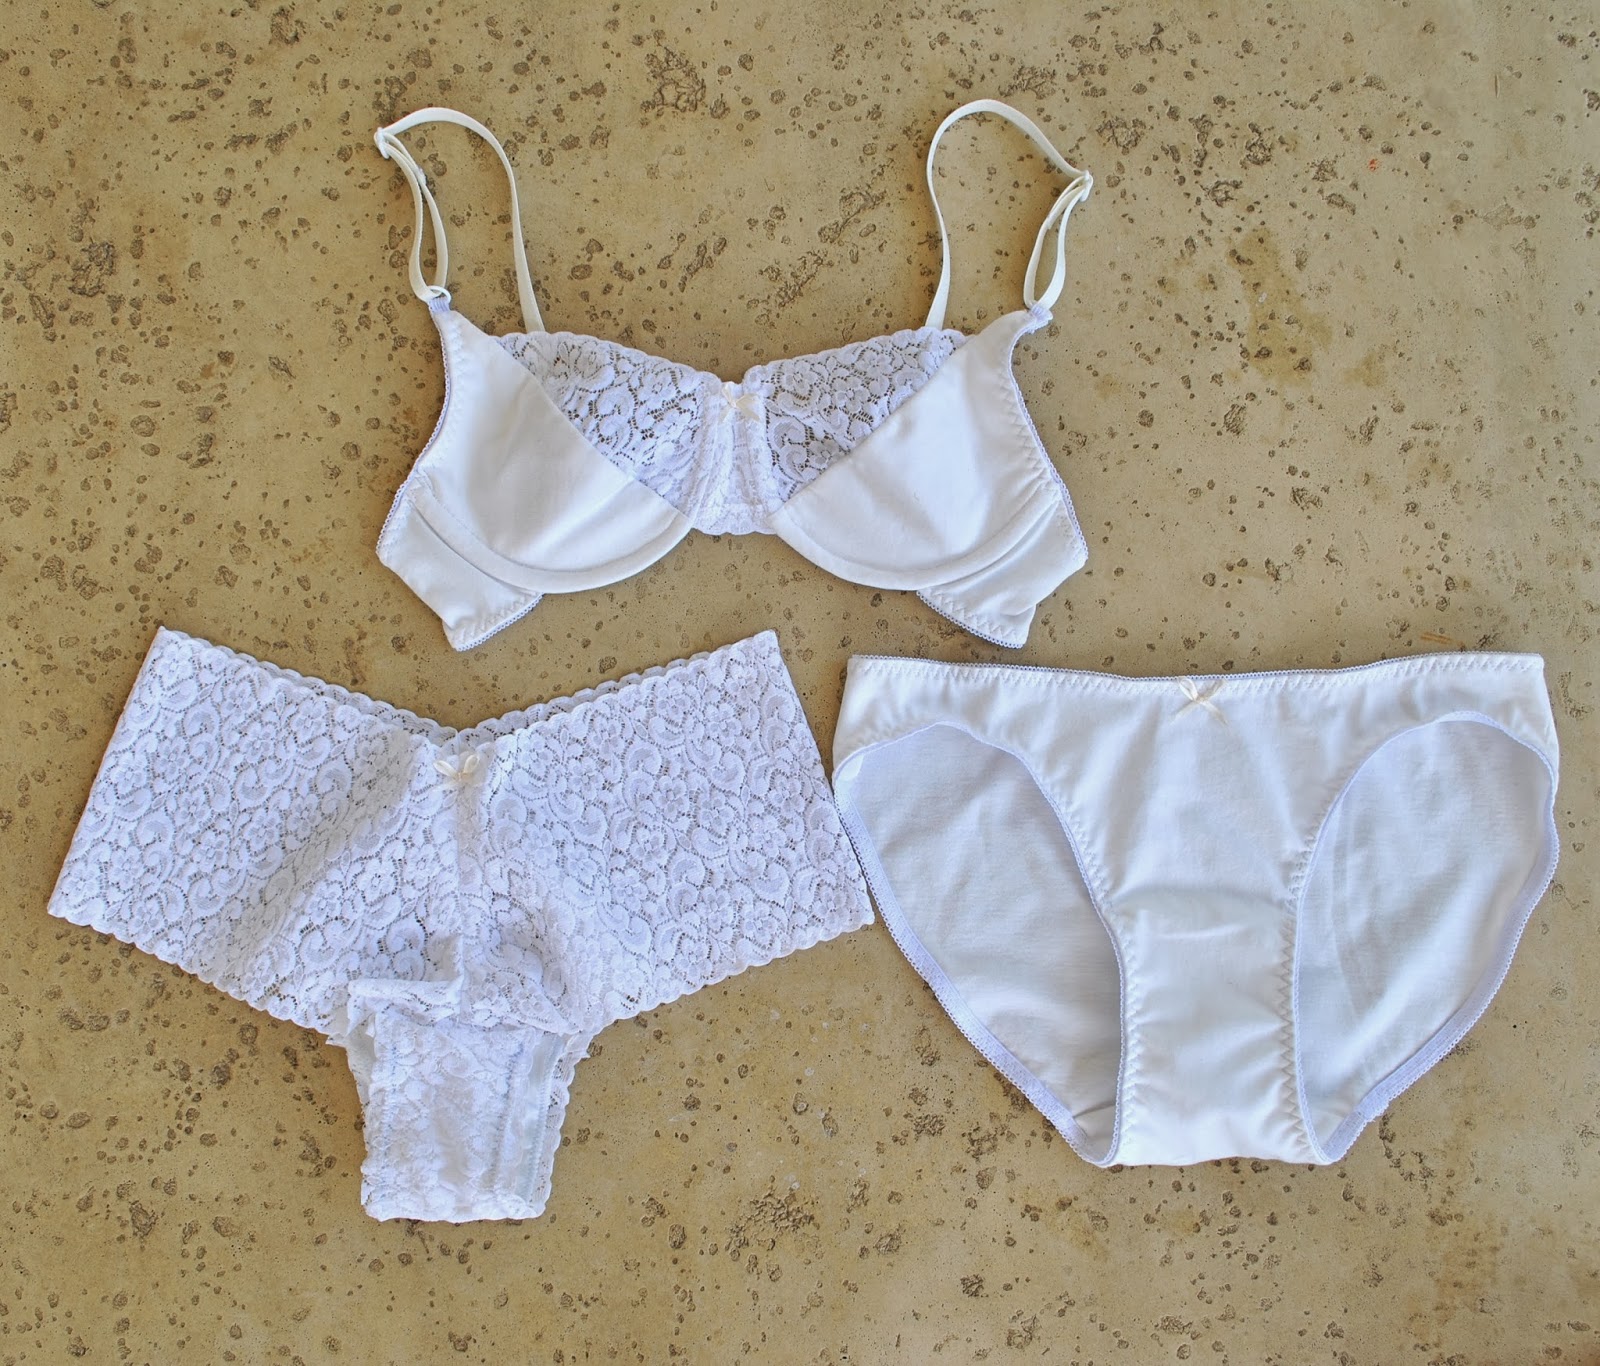
I’ve made another new set of lingerie…  fairly plain and simple and prosaic but that’s ok since plain, simple and prosaic are my middle names.  Three more of my middle names, that is.  I have lots of de facto middle names, deployed in this blog selectively and when it suits my purposes to describe the various facets of my personality and how it applies to my wardrobe. 
*eye roll at self-craziness*
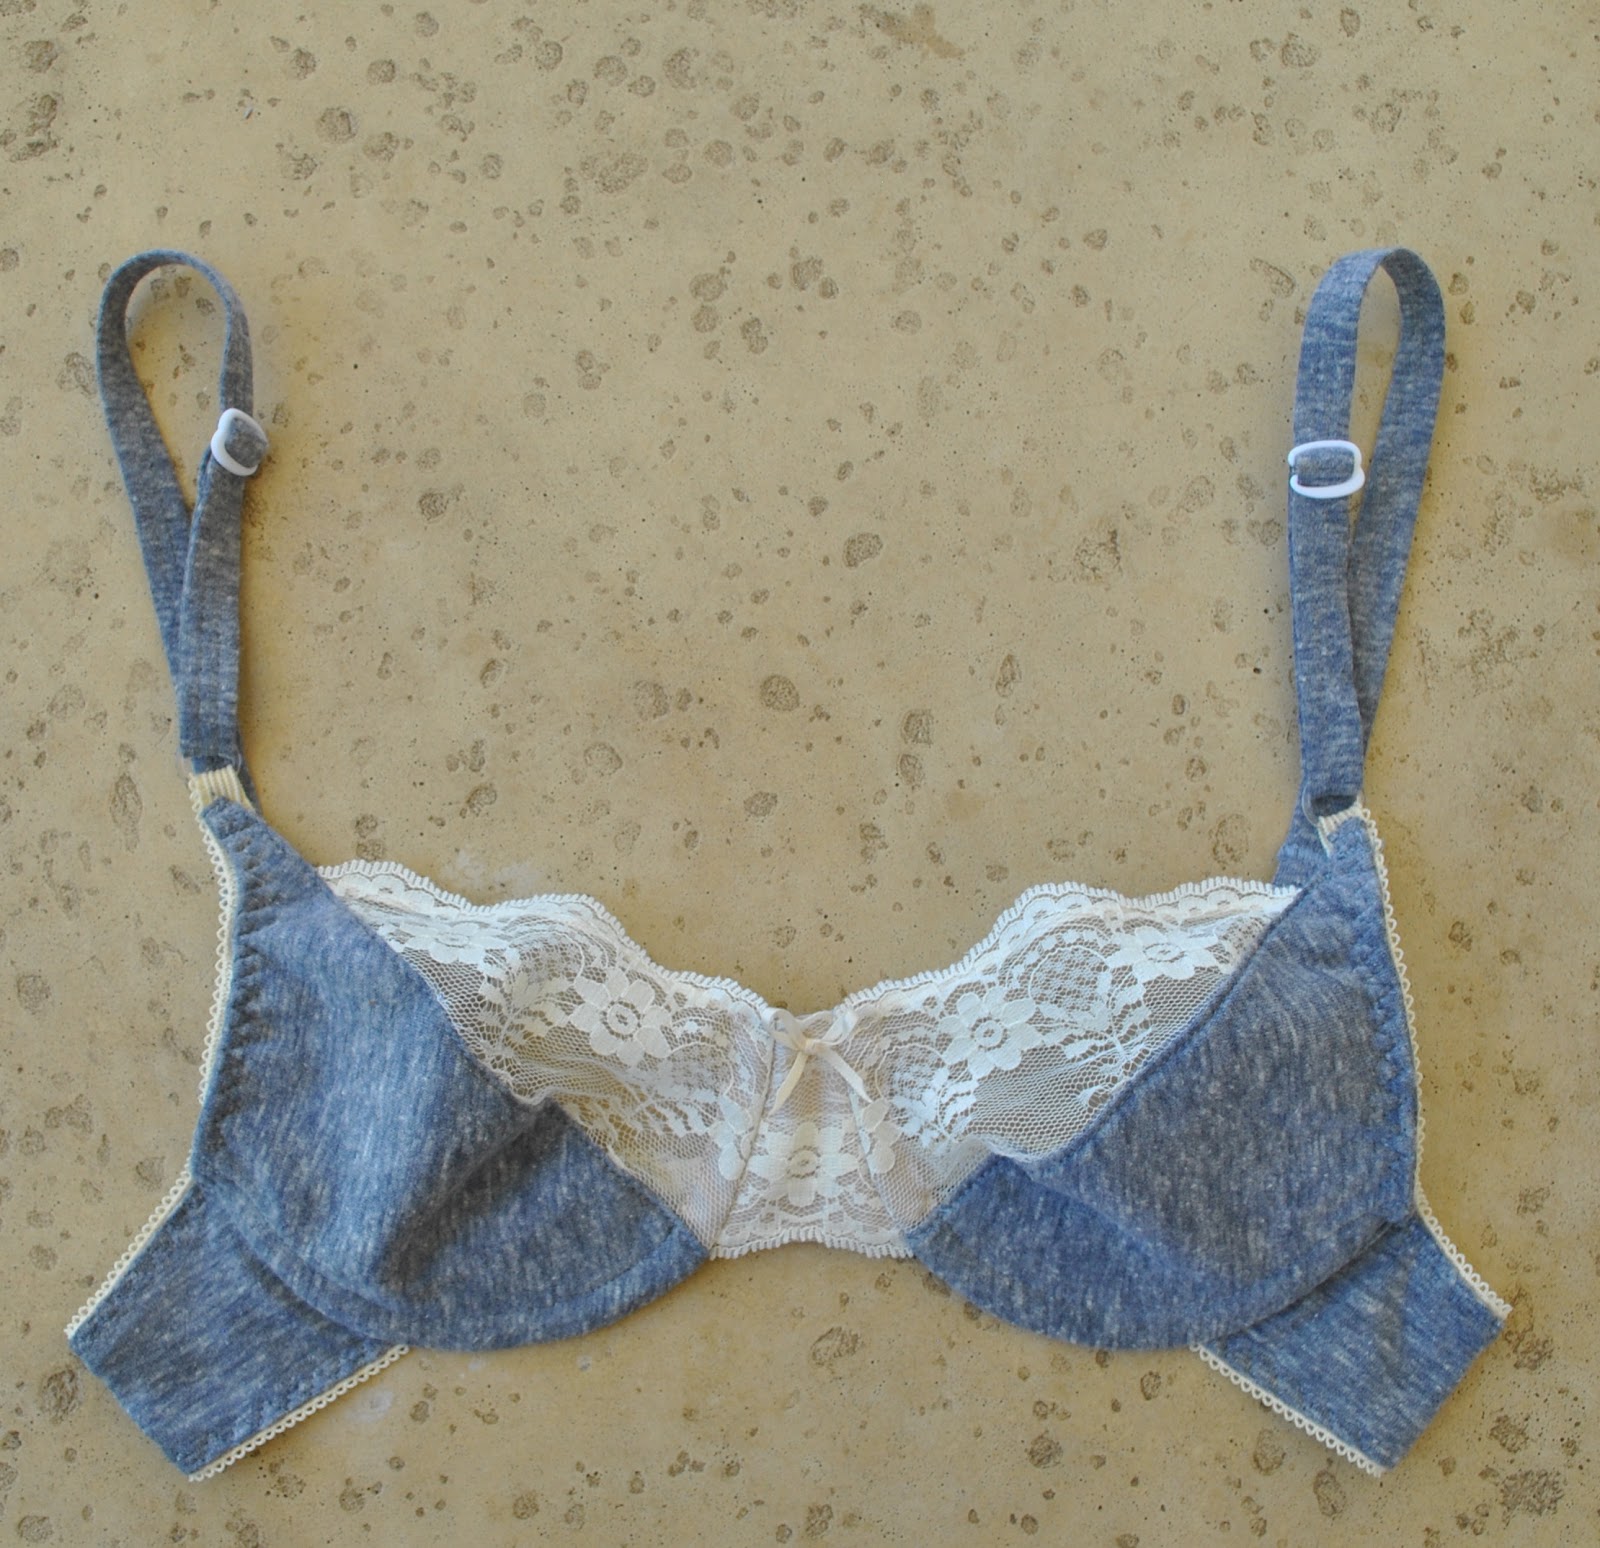
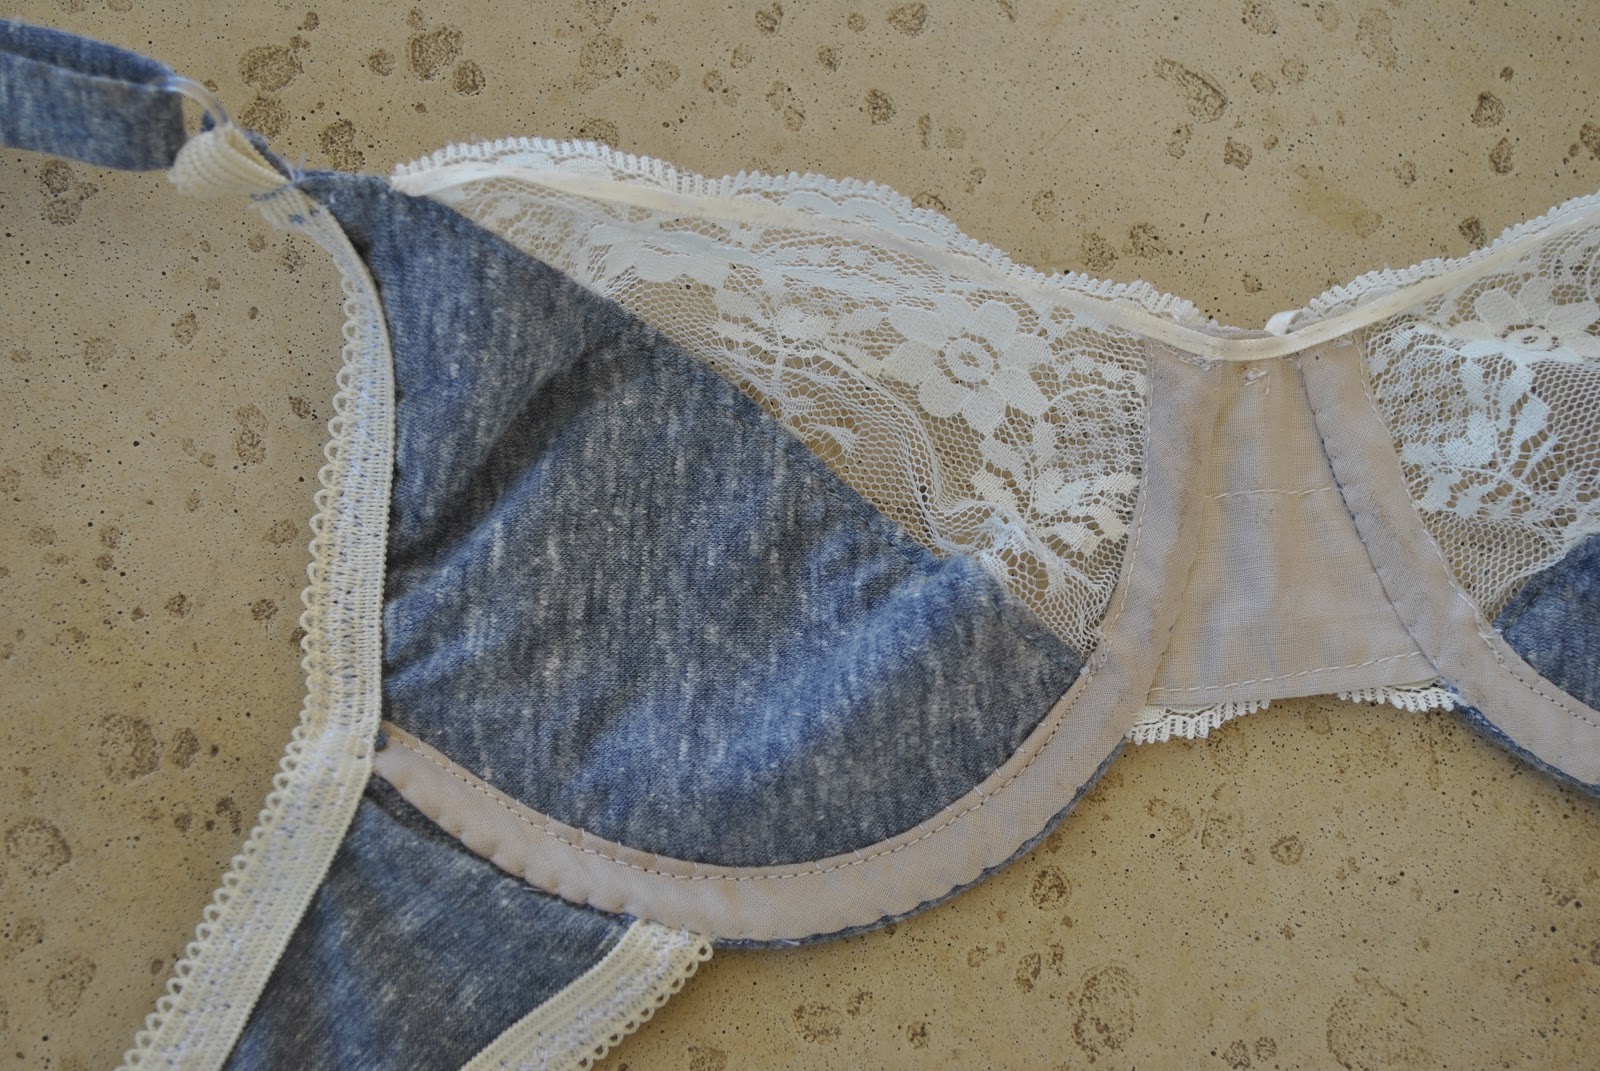
The bra has no foam insert, thus the sad, limp, popped-balloon kind of a look it has in its picture above…  It does have an extra, underlining layer of cotton jersey in the lower bra cup which gives it a nice thickness.  But no padding = no visual appeal, I do admit that.   Droopy and deflated  🙁  It looks heaps better on an actual body.
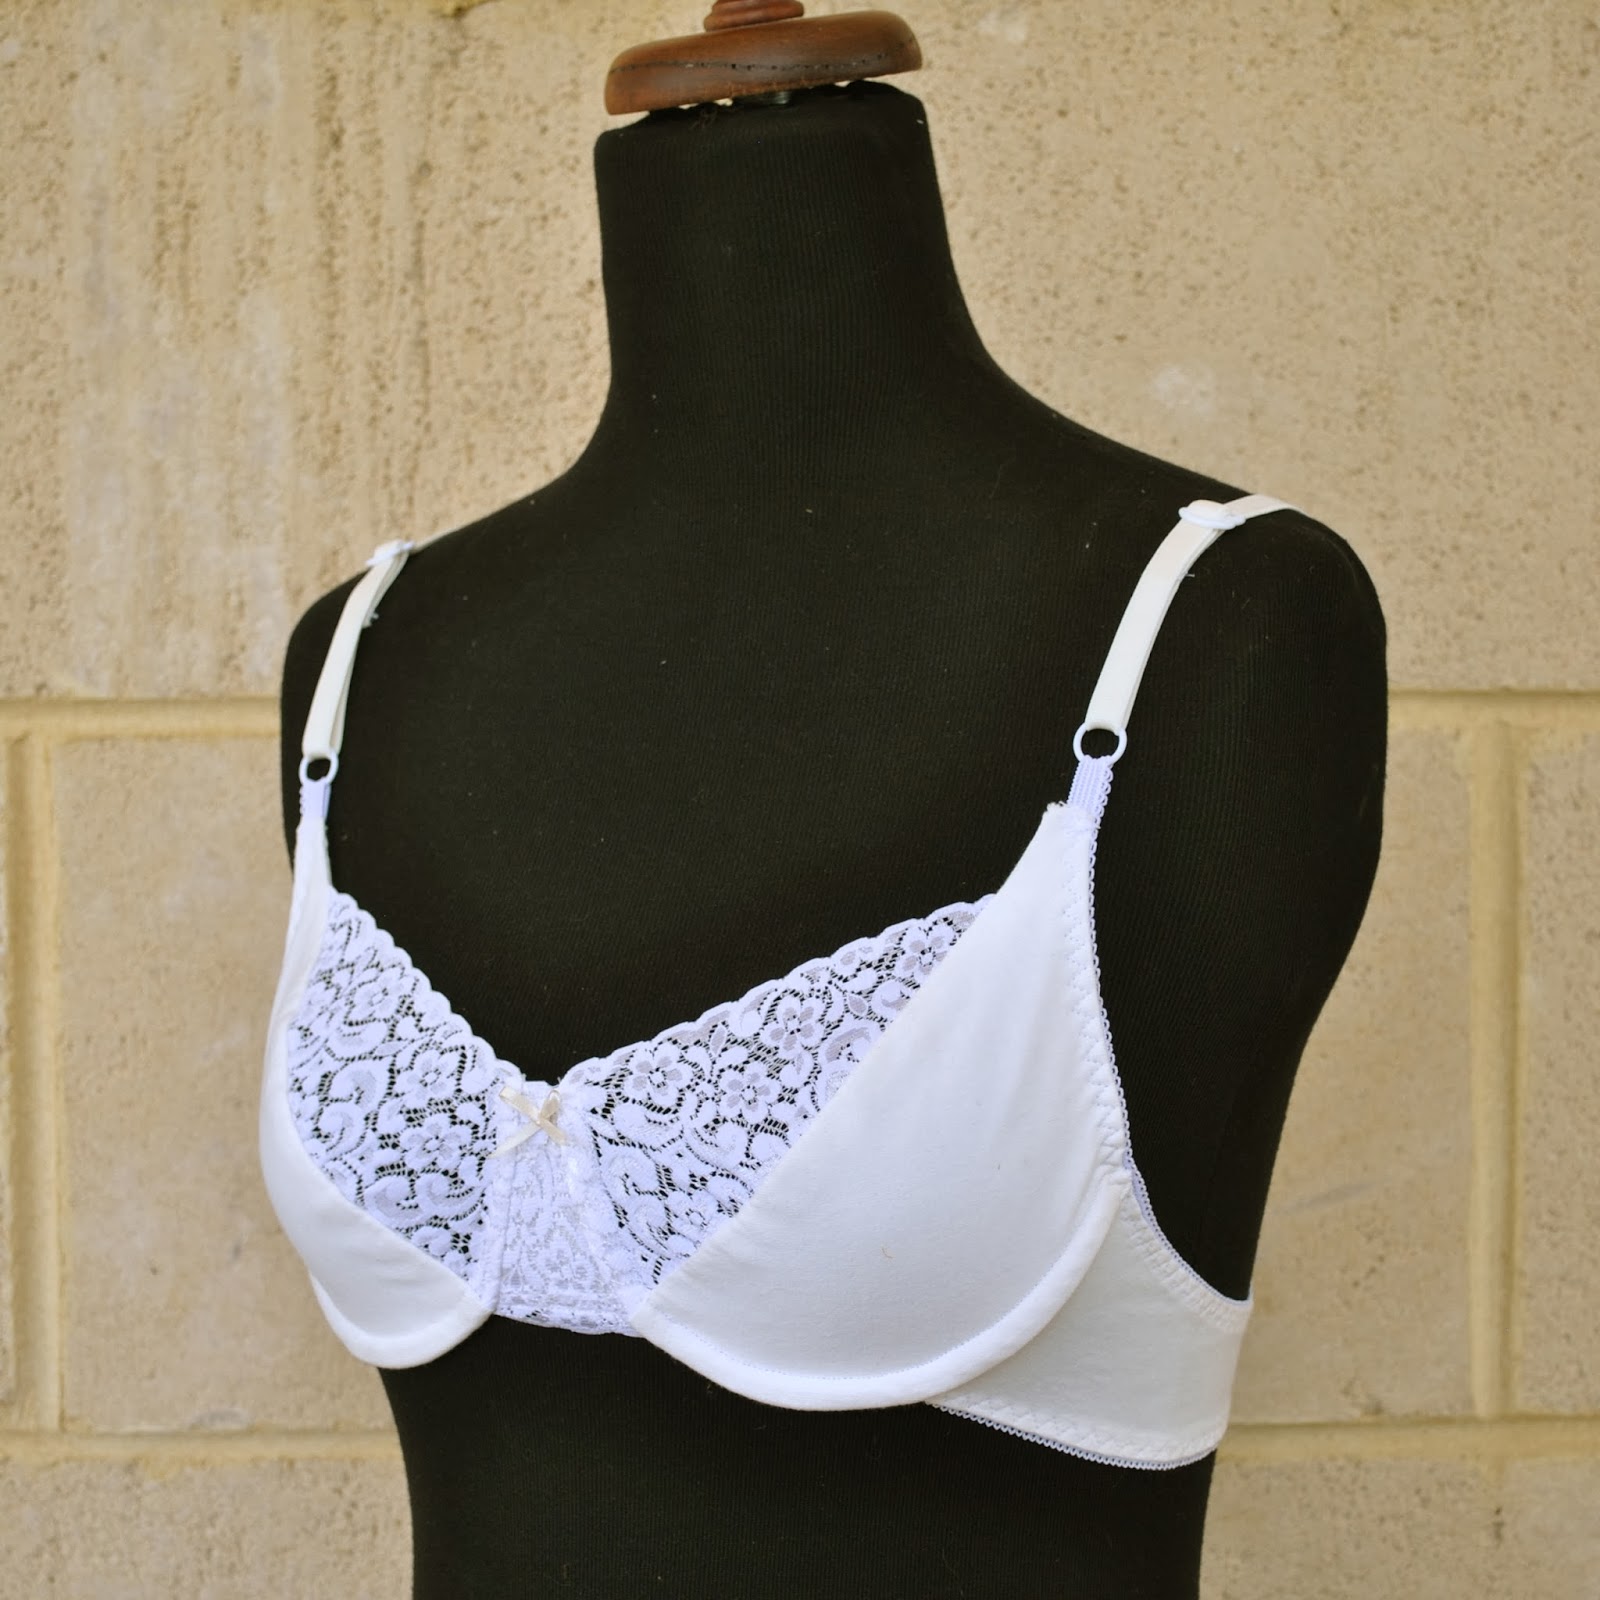
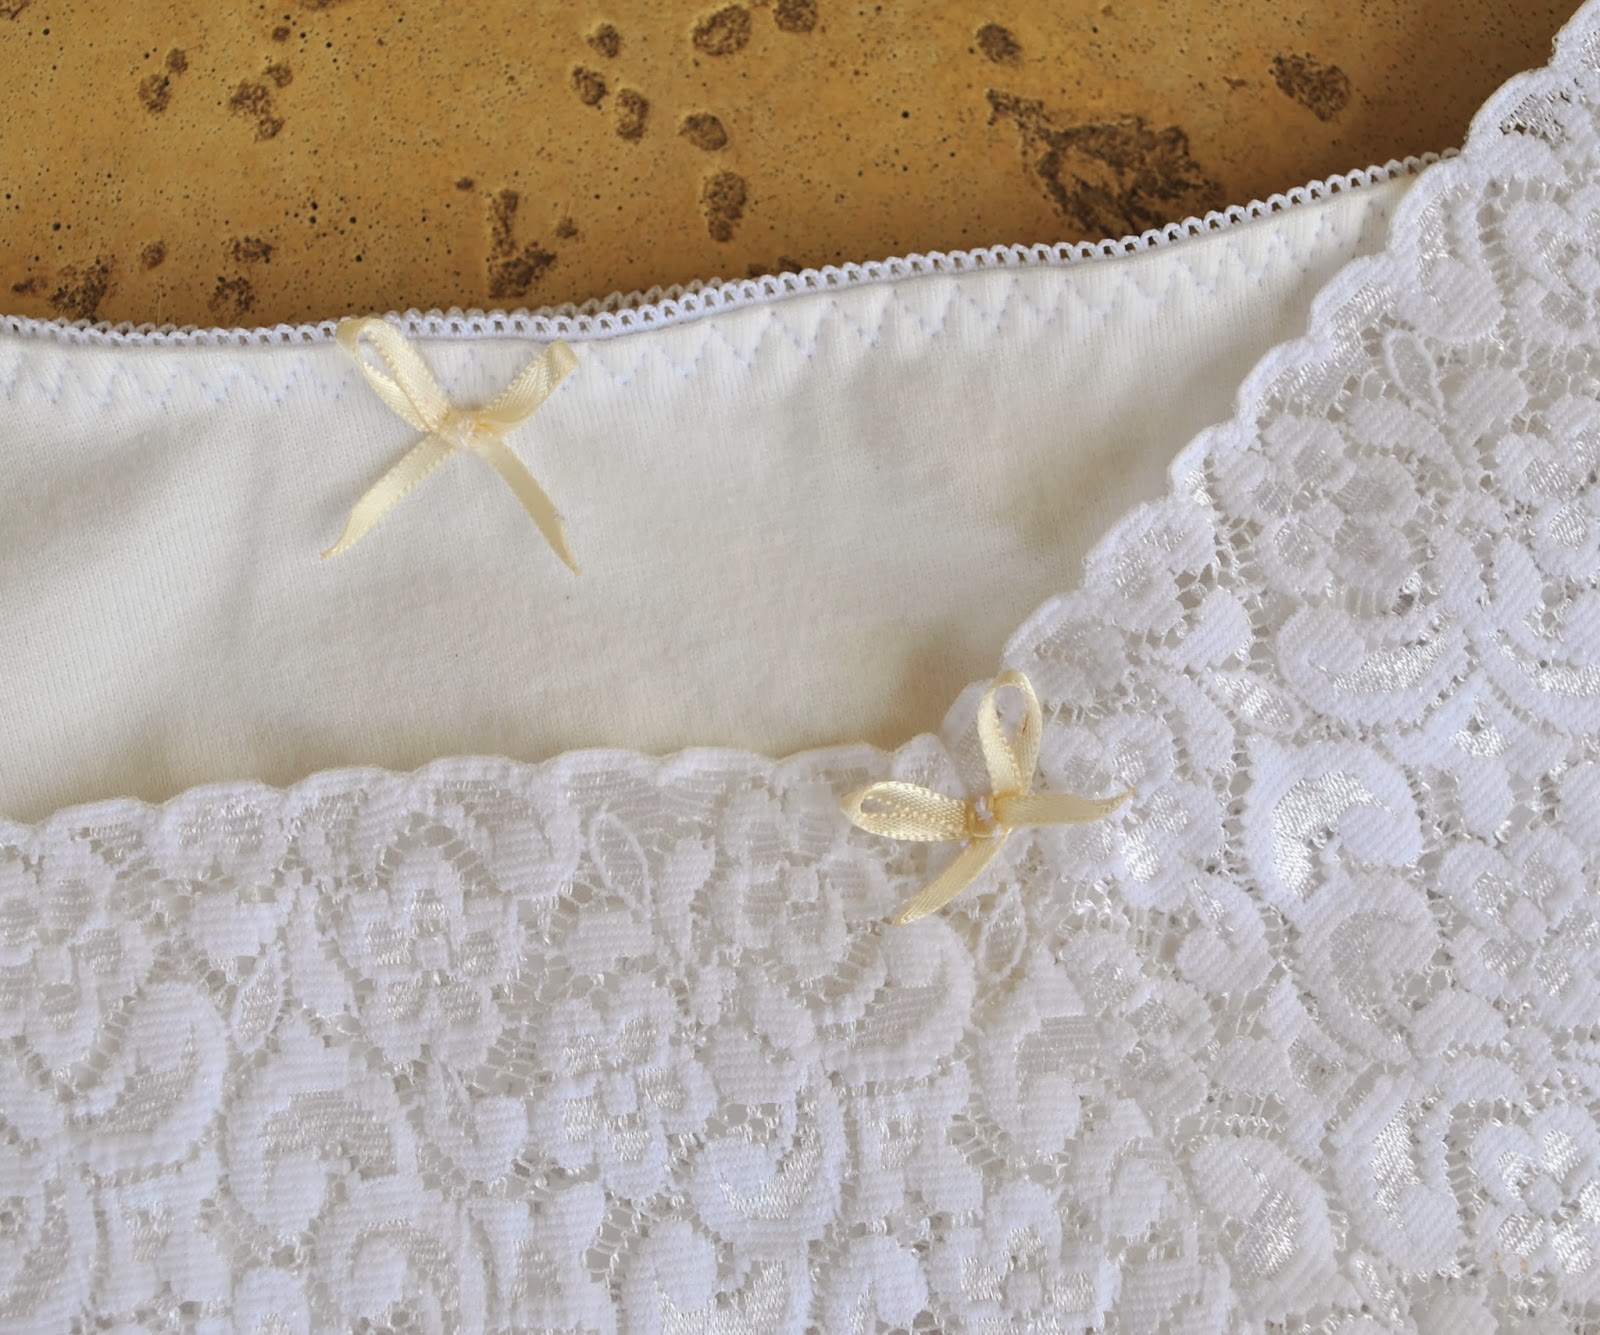
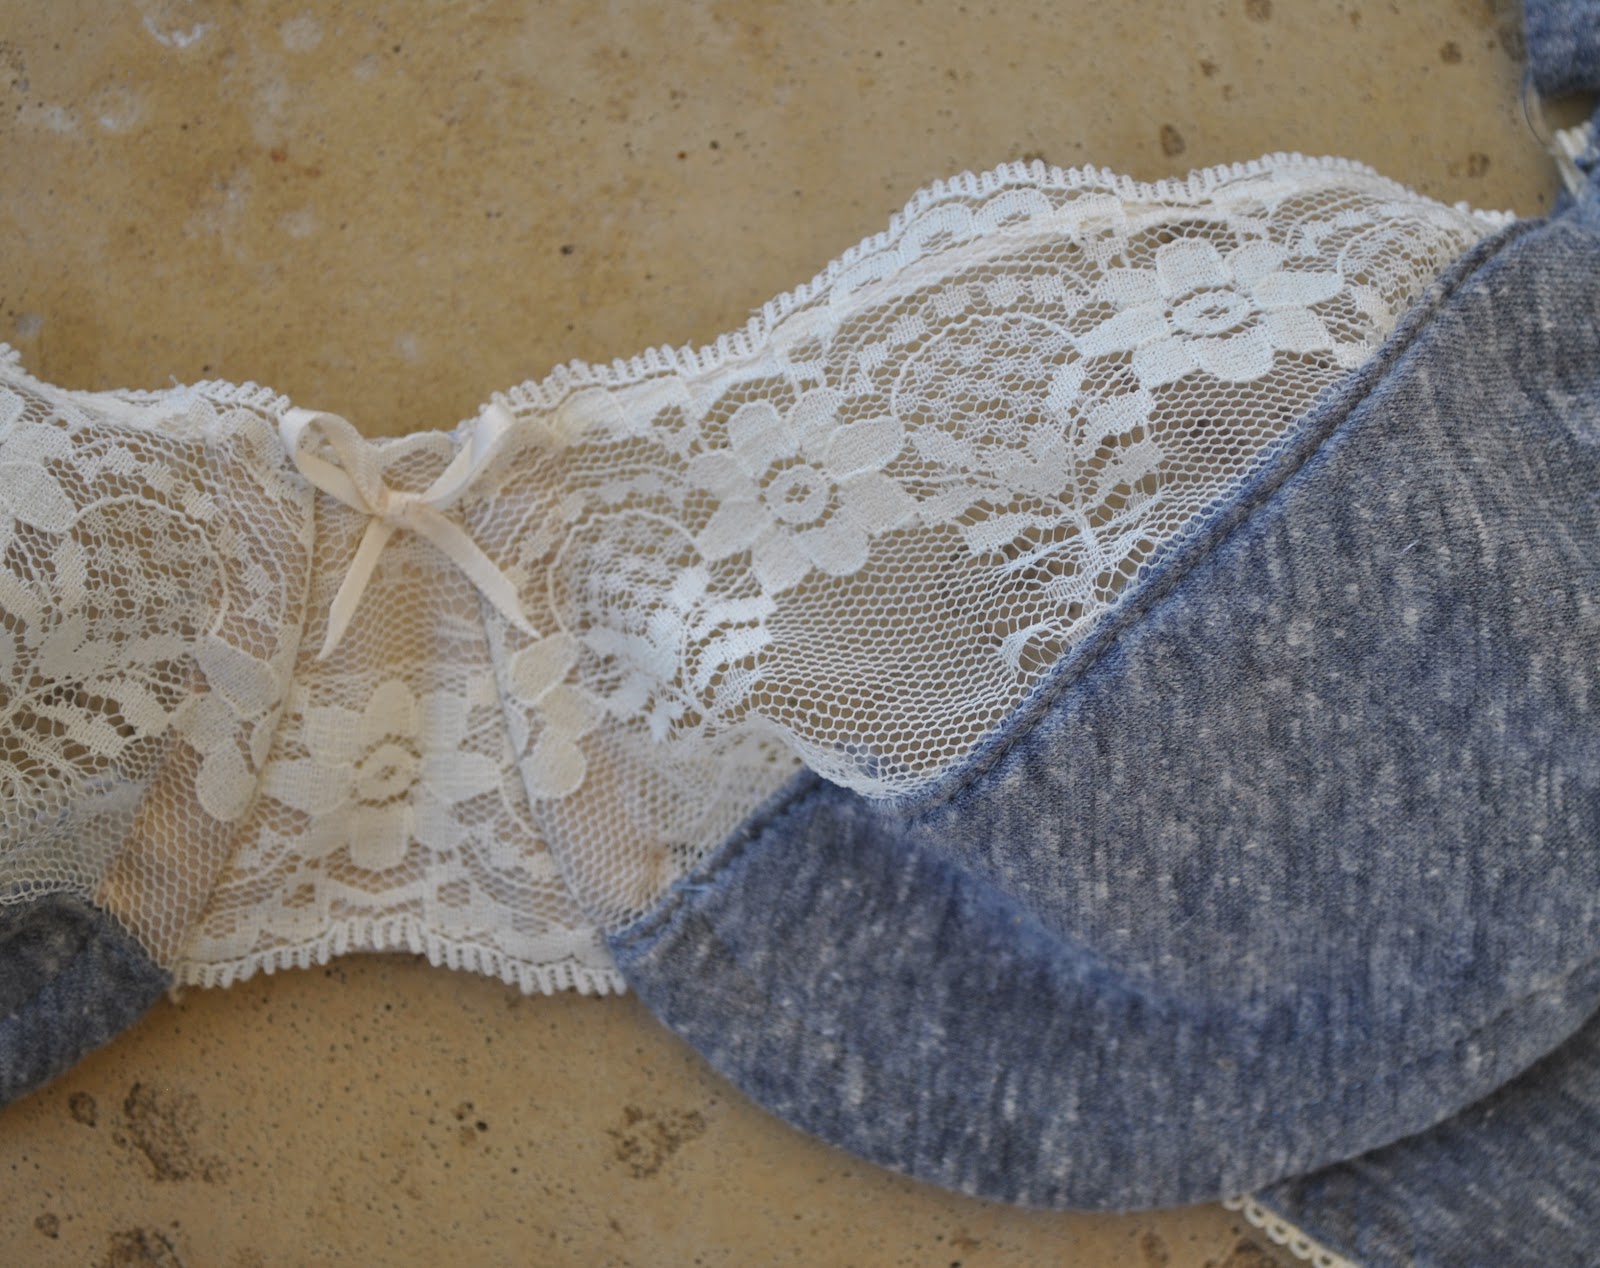
The fabrics have all been in my stash for yonks; an ivory coloured cotton jersey (Spotlight) that I’ve also used for all my white Tshirts and a white stretch lace (Fabulous Fabrics).   Also, white lingerie elastic and decorative mini-bows made using creamy-peach coloured ribbon.  Unlike my previous lingerie set which was all yellow-y, the presence of pure white here enabled me to use the bright white rings and sliders on the straps of the bra.  It’s a pain that Spotlight has such limited colour range; maybe I should get global and go internet-notion-shopping for other colours.  Maybe…
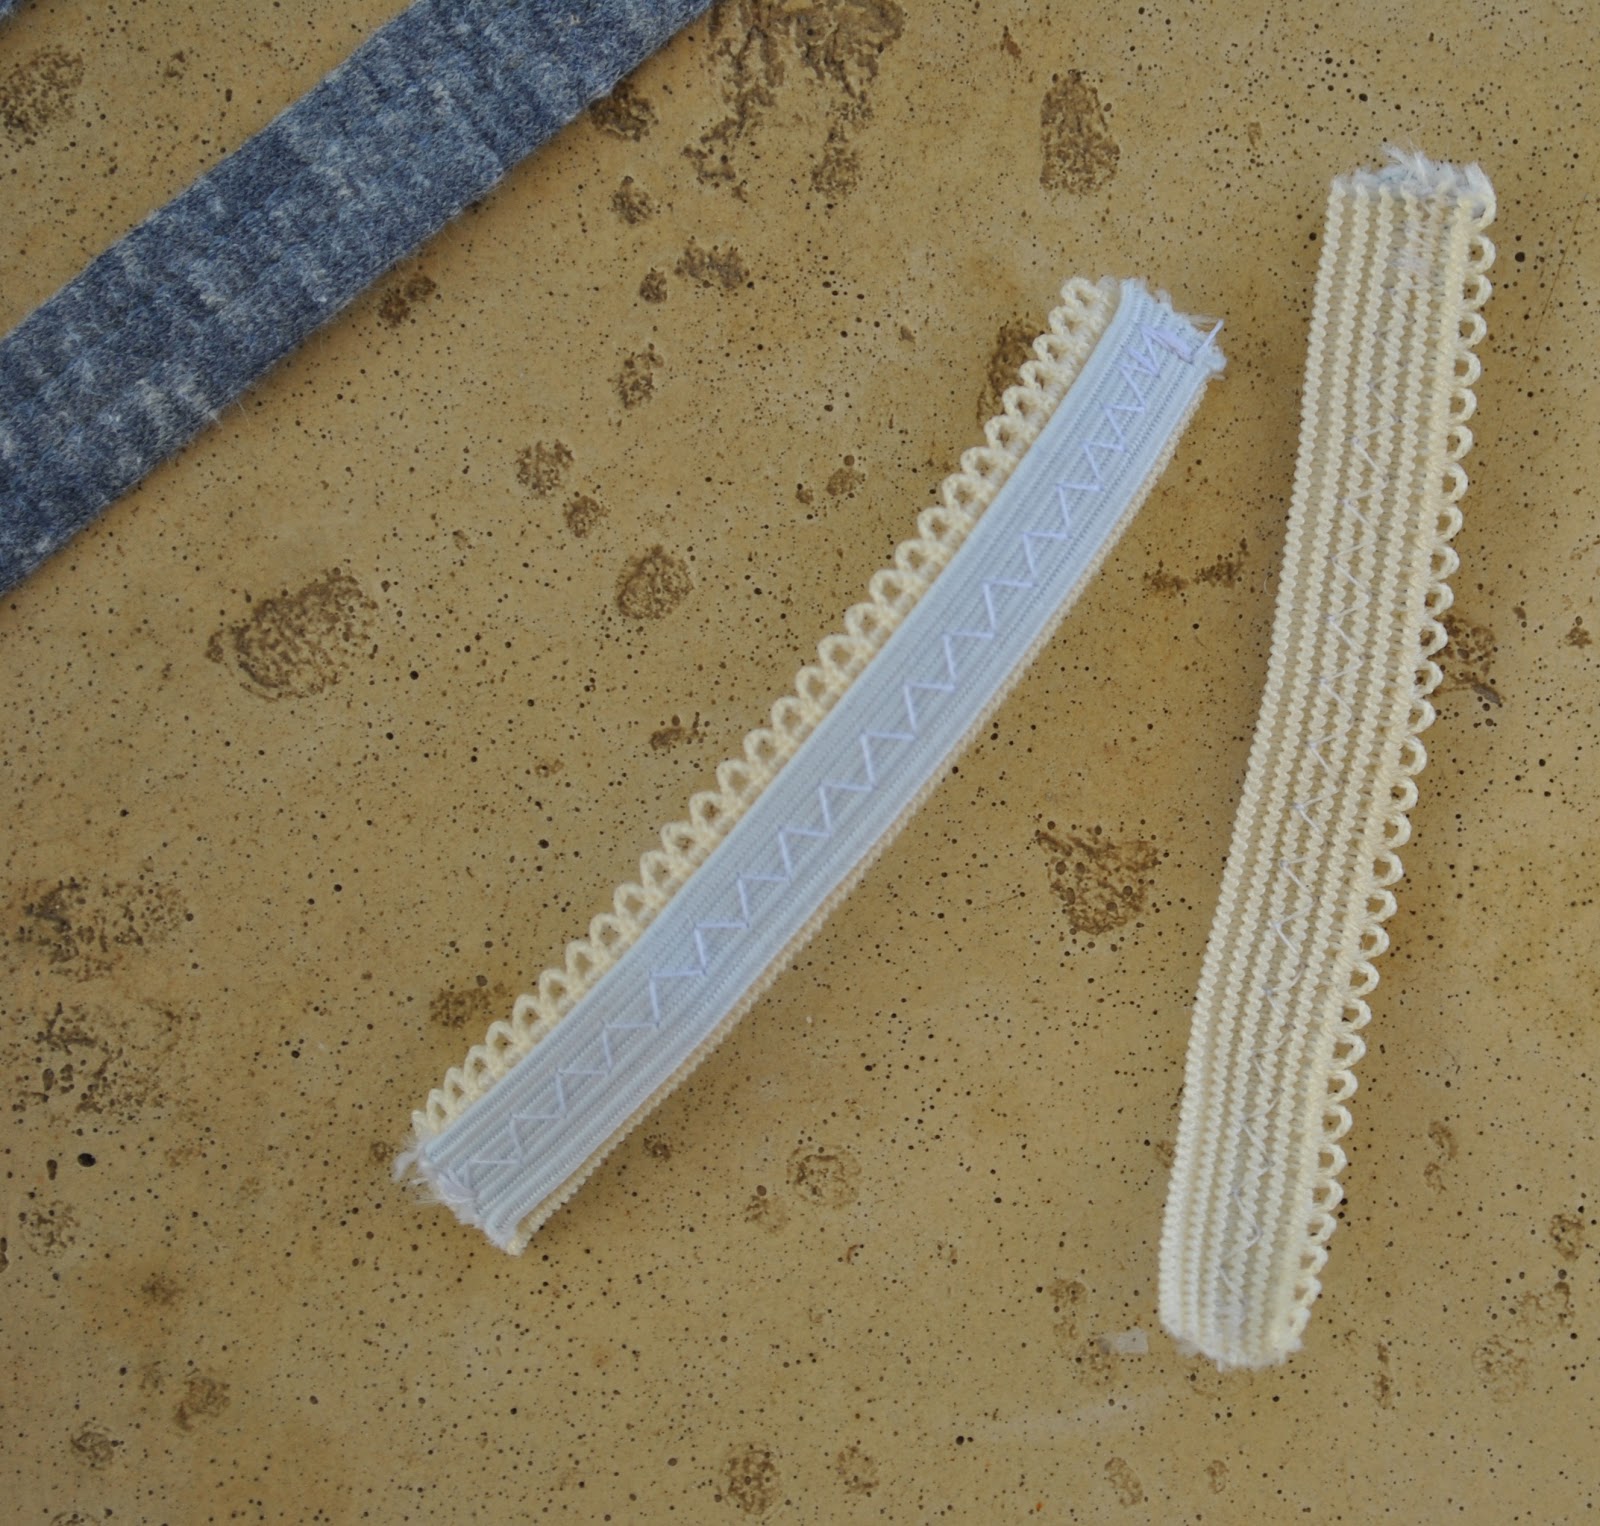
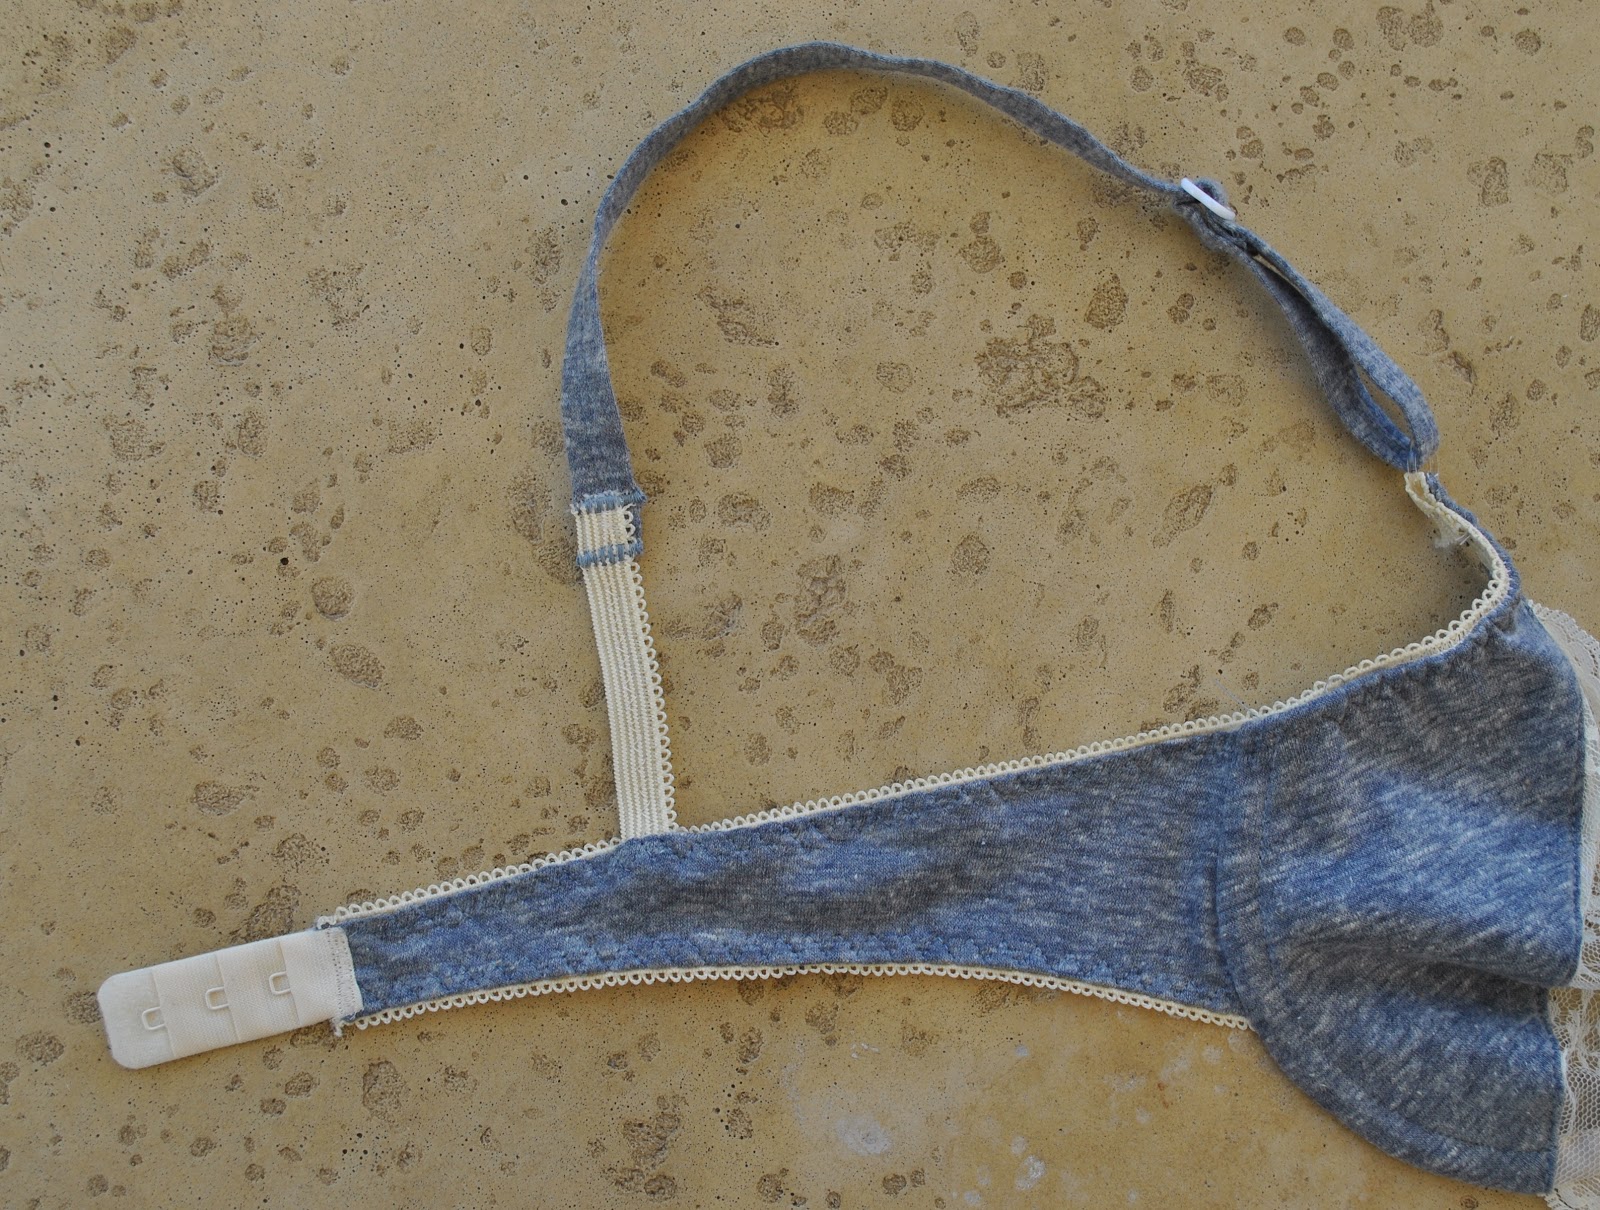
I made the straps using this very pro-looking ivory lingerie strap elastic.  I spotted it in Homecraft Textiles, and bought some to try it out.  
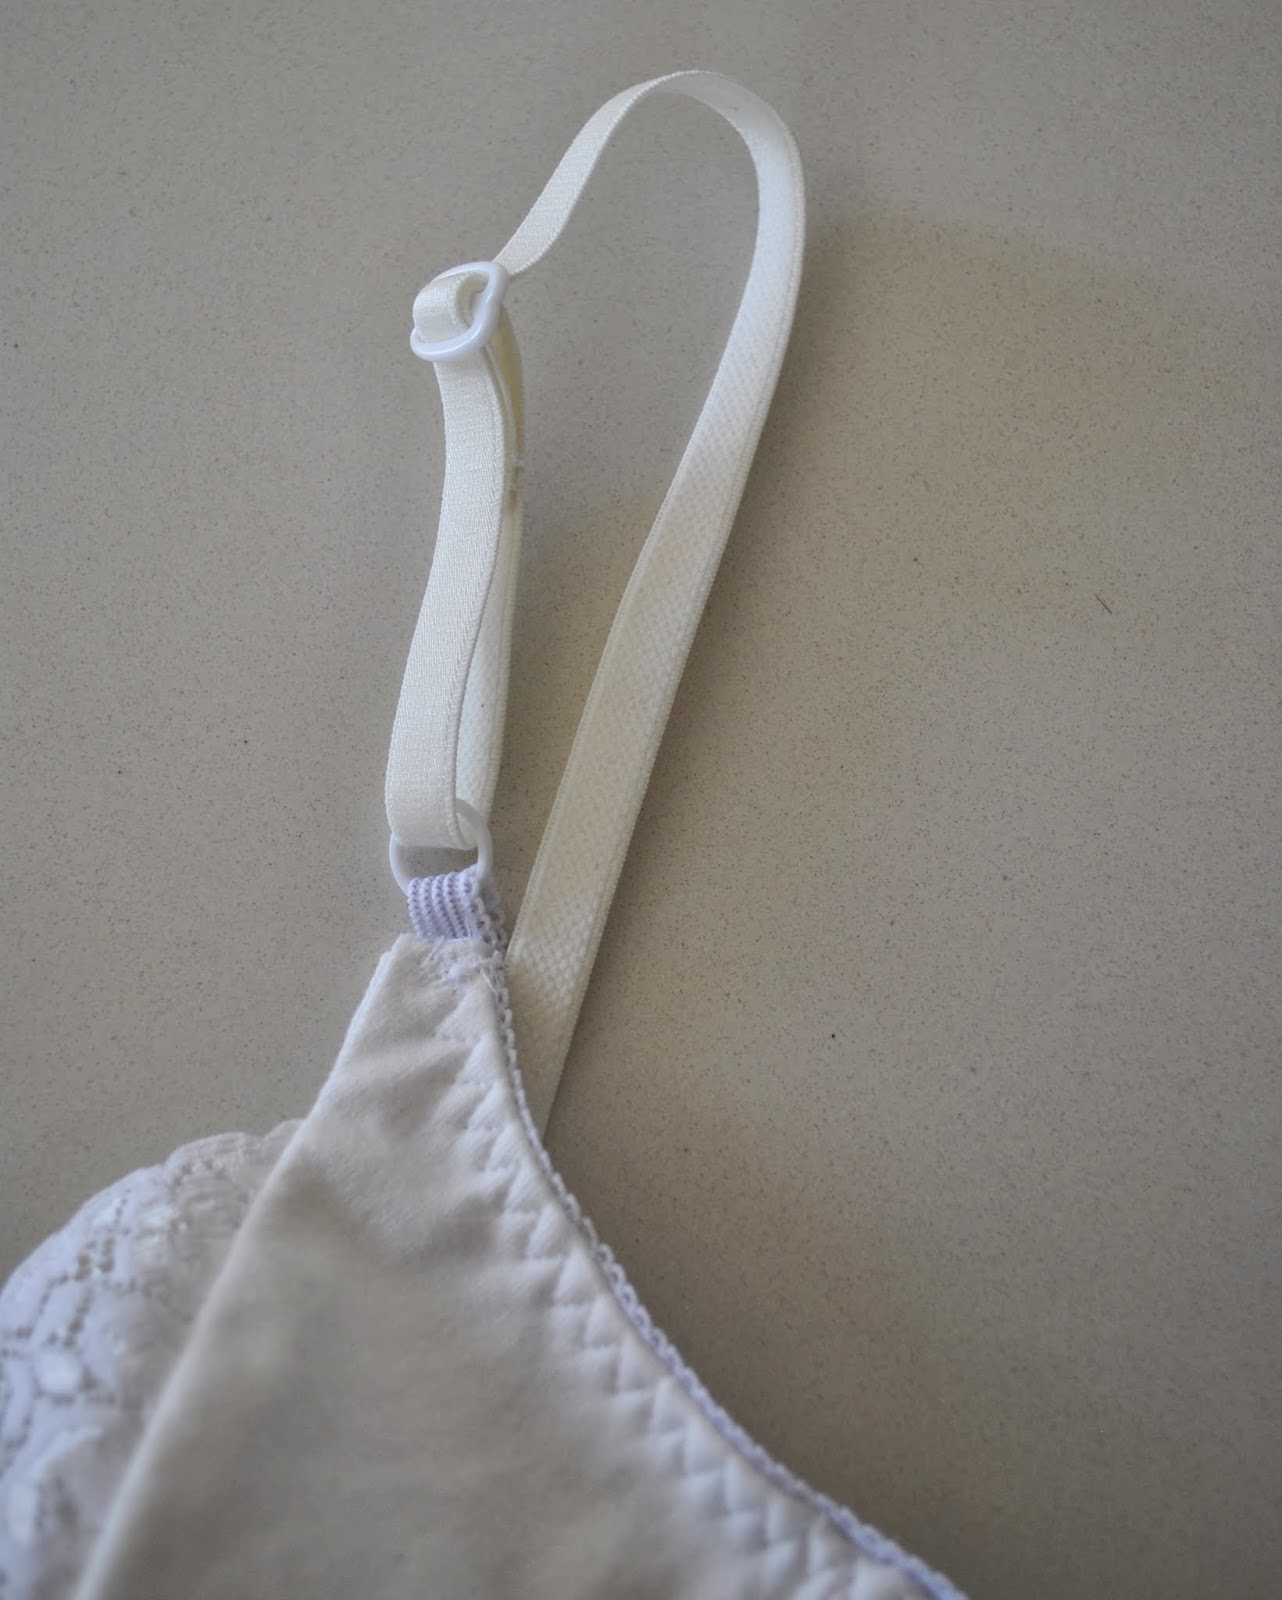
yo, looks like a REAL bra!!

Pros; it looks real clean and neat, and gives the bra more of a professional RTW look, plus it is very strong and sturdy and feels like it will last for aaaaages, even possibly outlive the bra itself and be re-cycled for future bras too.   
Cons; looks definitely “lingerie-y” if it was to peep out under a top, whereas I think a turned-out fabric strap looks like a little camisole and doesn’t scream “BRA!!!” quite so loudly.  Plus it’s more expensive to buy notions like this as opposed to making your own straps from the same fabric as your bra. Oh well, I bought enough to make one more bra, sometime down the track.
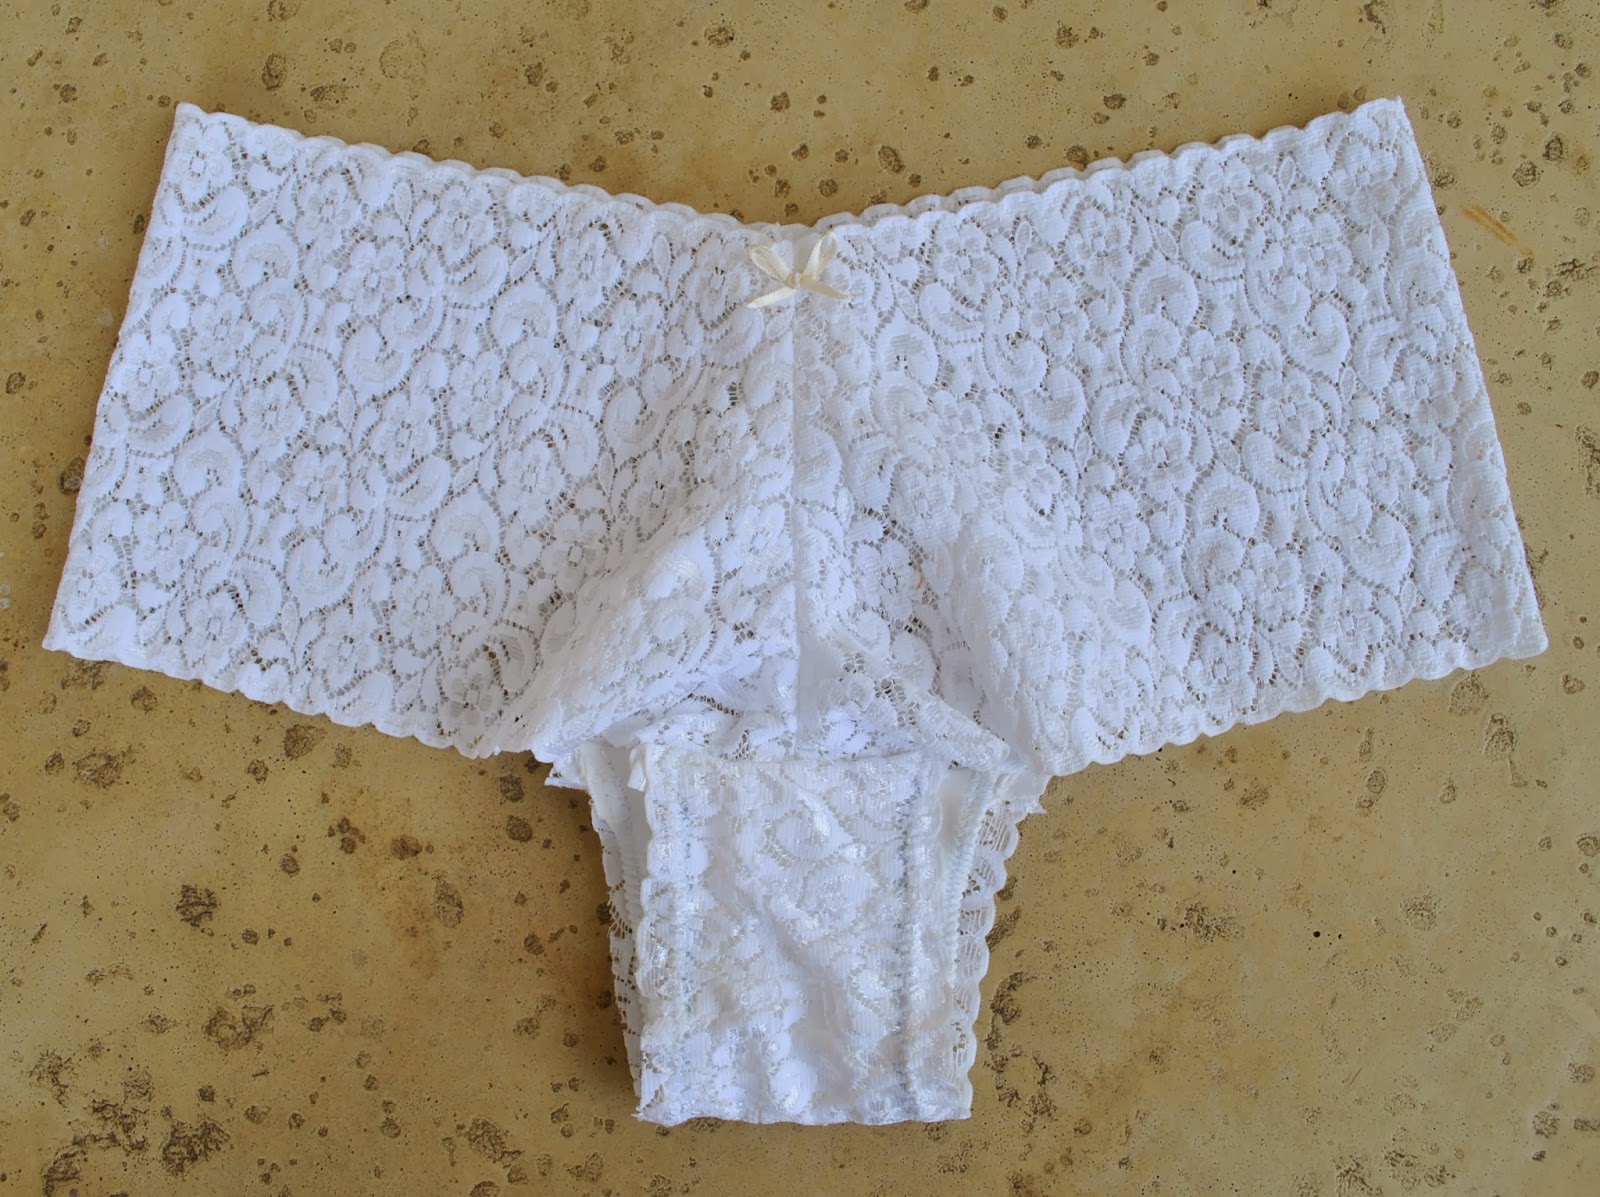
I bought the white stretch lace to fix up these undies, and there was so little left on the roll at the time I just bought the rest.  Fortunately, that happened to be just enough for the bra upper cup pieces and another pair of Tanga knickers.  These knickers are the easiest thing in the world to make and they look super cute on, but I hated that awful seamed crotch in my first pair and ended up re-constructing the whole crotch…  for this second pair I eliminated that crotch seam right from the word go.  I cut both the lace crotch and the cotton jersey panty liner using the panty liner pattern piece.  I cut two strips of regular elastic 10% shorter than the length of the crotch edge, laid them inside the edges of the panty liner, turned under to encase and pinned to the inside of the crotch piece and then zigzagged all layers together, stretching the elastic to fit.  This makes for a very comfy pair of knickers, with no.. er, wedgy issue  🙂
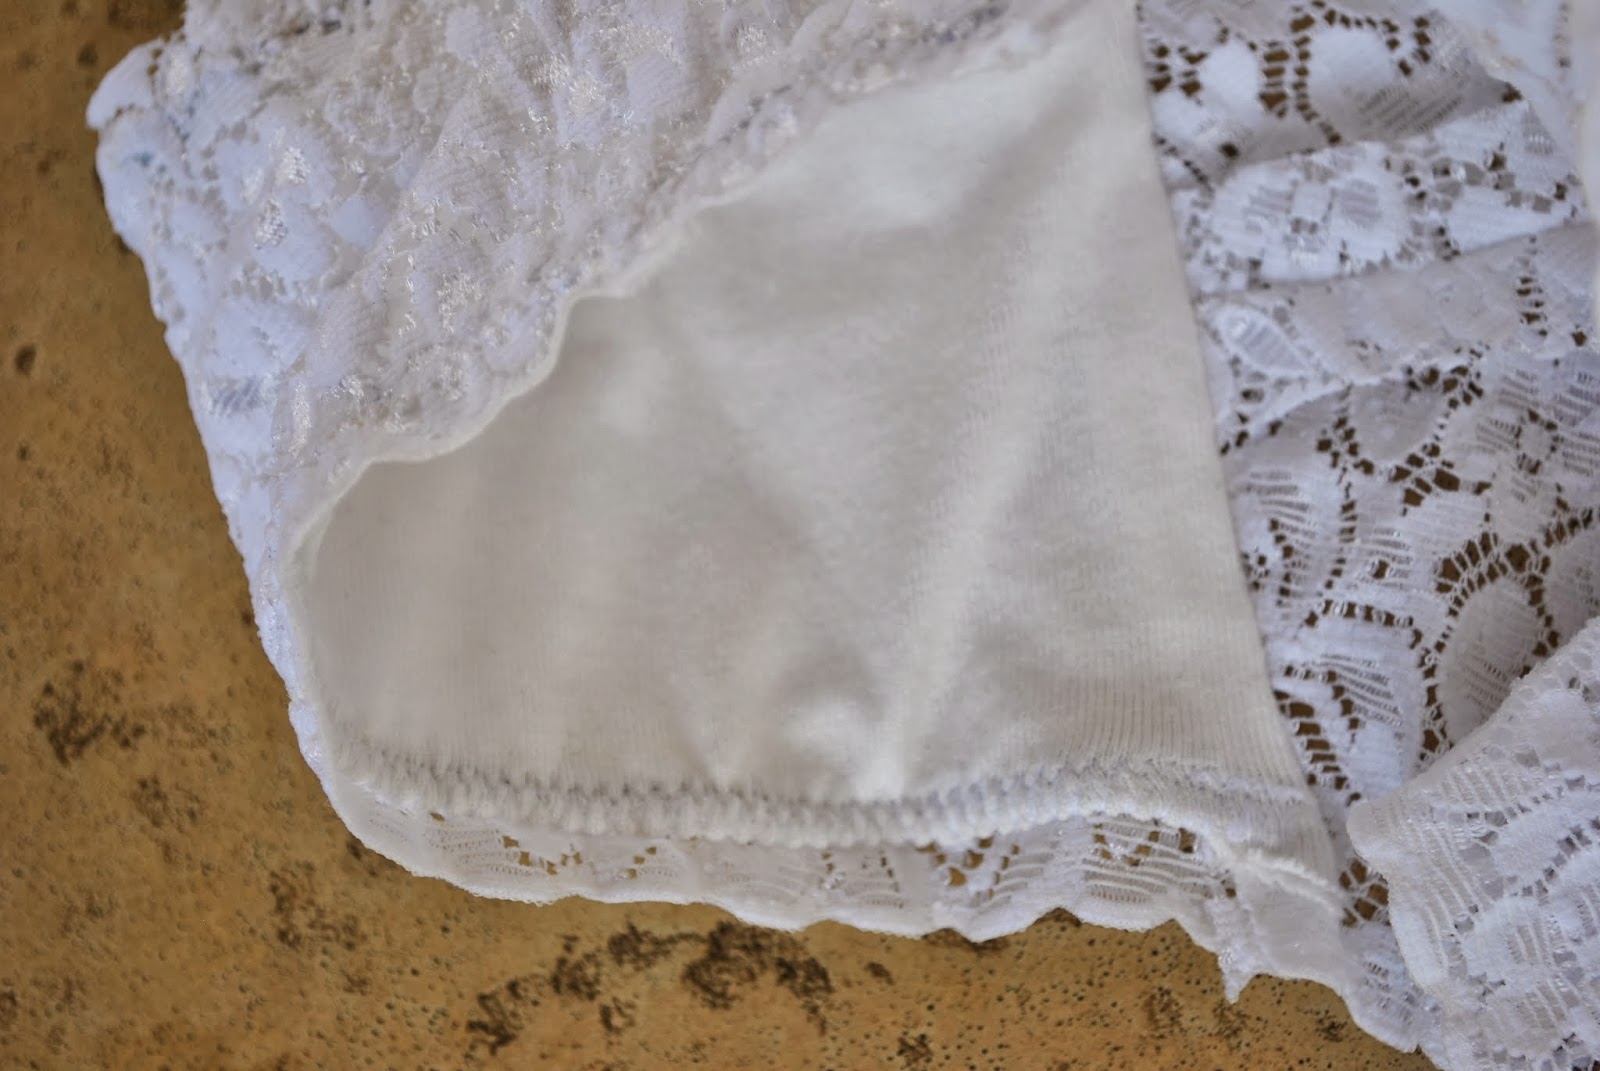
don’t worry, these are as yet pristine and unworn

The other pair of matching knickers is the bikini bottoms of McCalls 2772, in the same ivory cotton jersey as the bra.  I really like my lingerie sets to co-ordinate together in some way, and it tickles me even more when the two pairs of undies in a set are different from each other but both still recognisably match the bra, somehow.  The mix of cream, white and ivory in this set is very peaceful and calm, and very pleasing to my eye.  And I expect it will be nicely unobtrusive under my pale summer wardrobe.
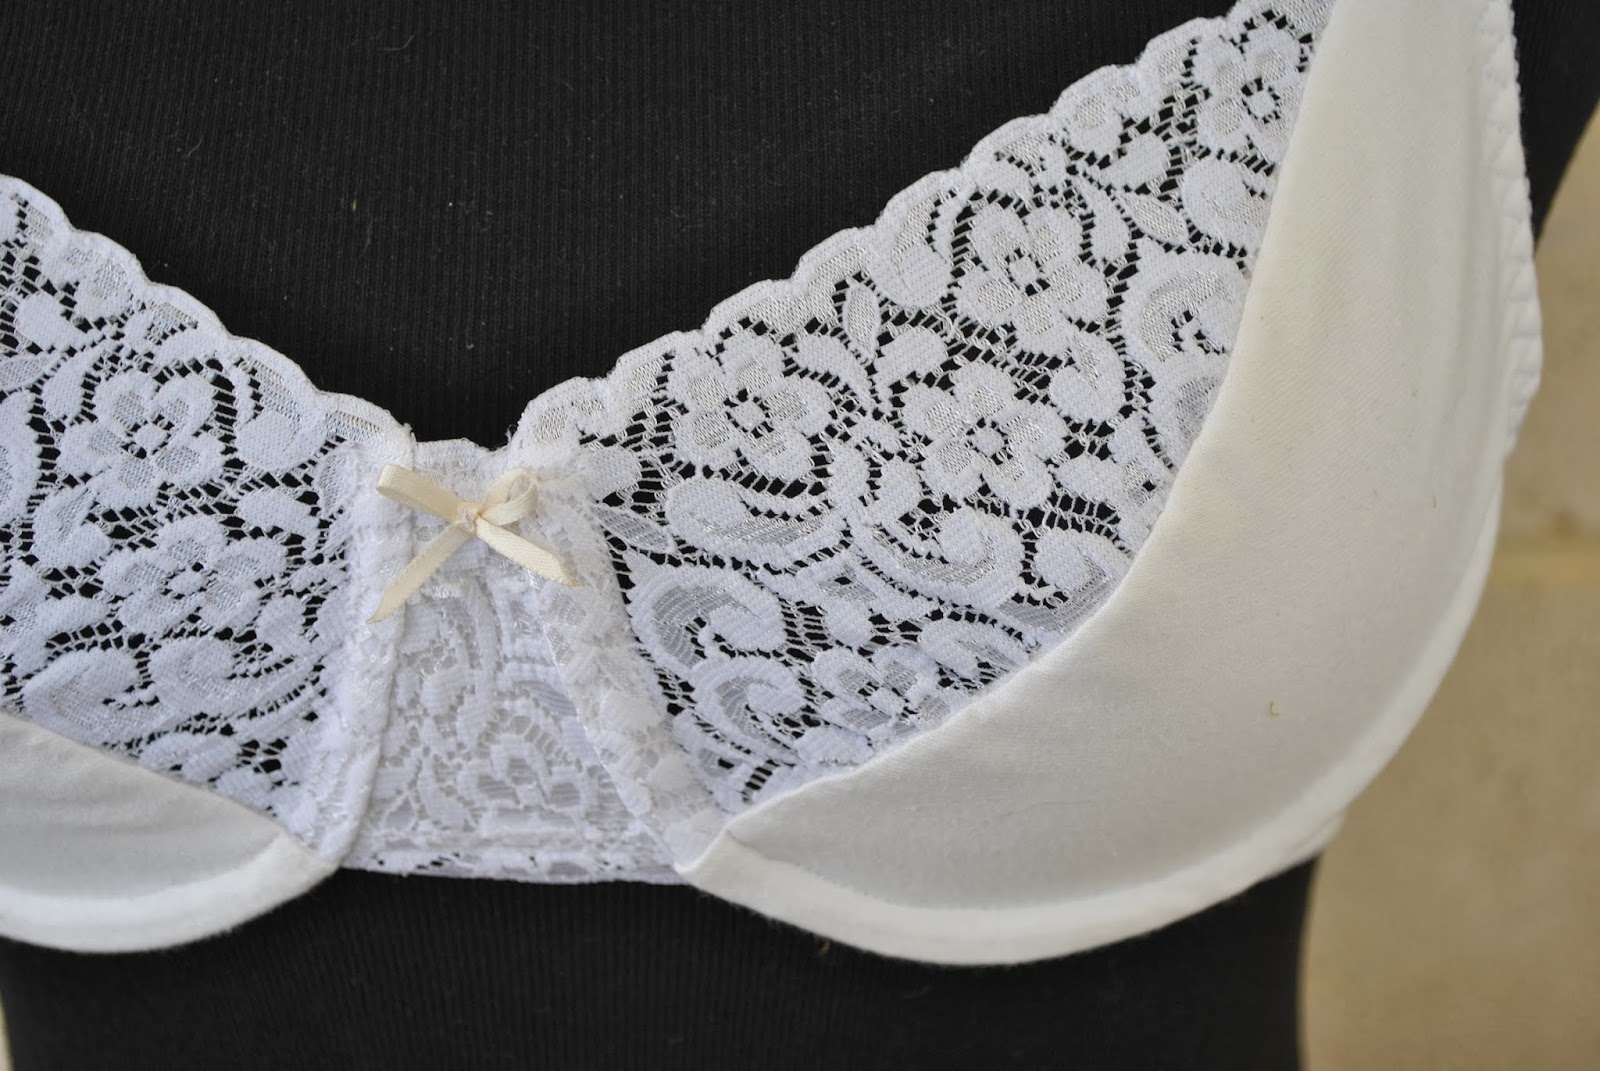
Details:
Bra; KwikSew 3300, cotton jersey and stretch lace, my review of this pattern here
Lace knickers; Tanga knickers, a free downloadable pattern here, modified to have no crotch seam
Jersey knickers; the bikini bottoms of McCalls 2772 with lingerie elastic attached as for knickers.
pinterestmail

Scorpio

… the sign of the scorpion.
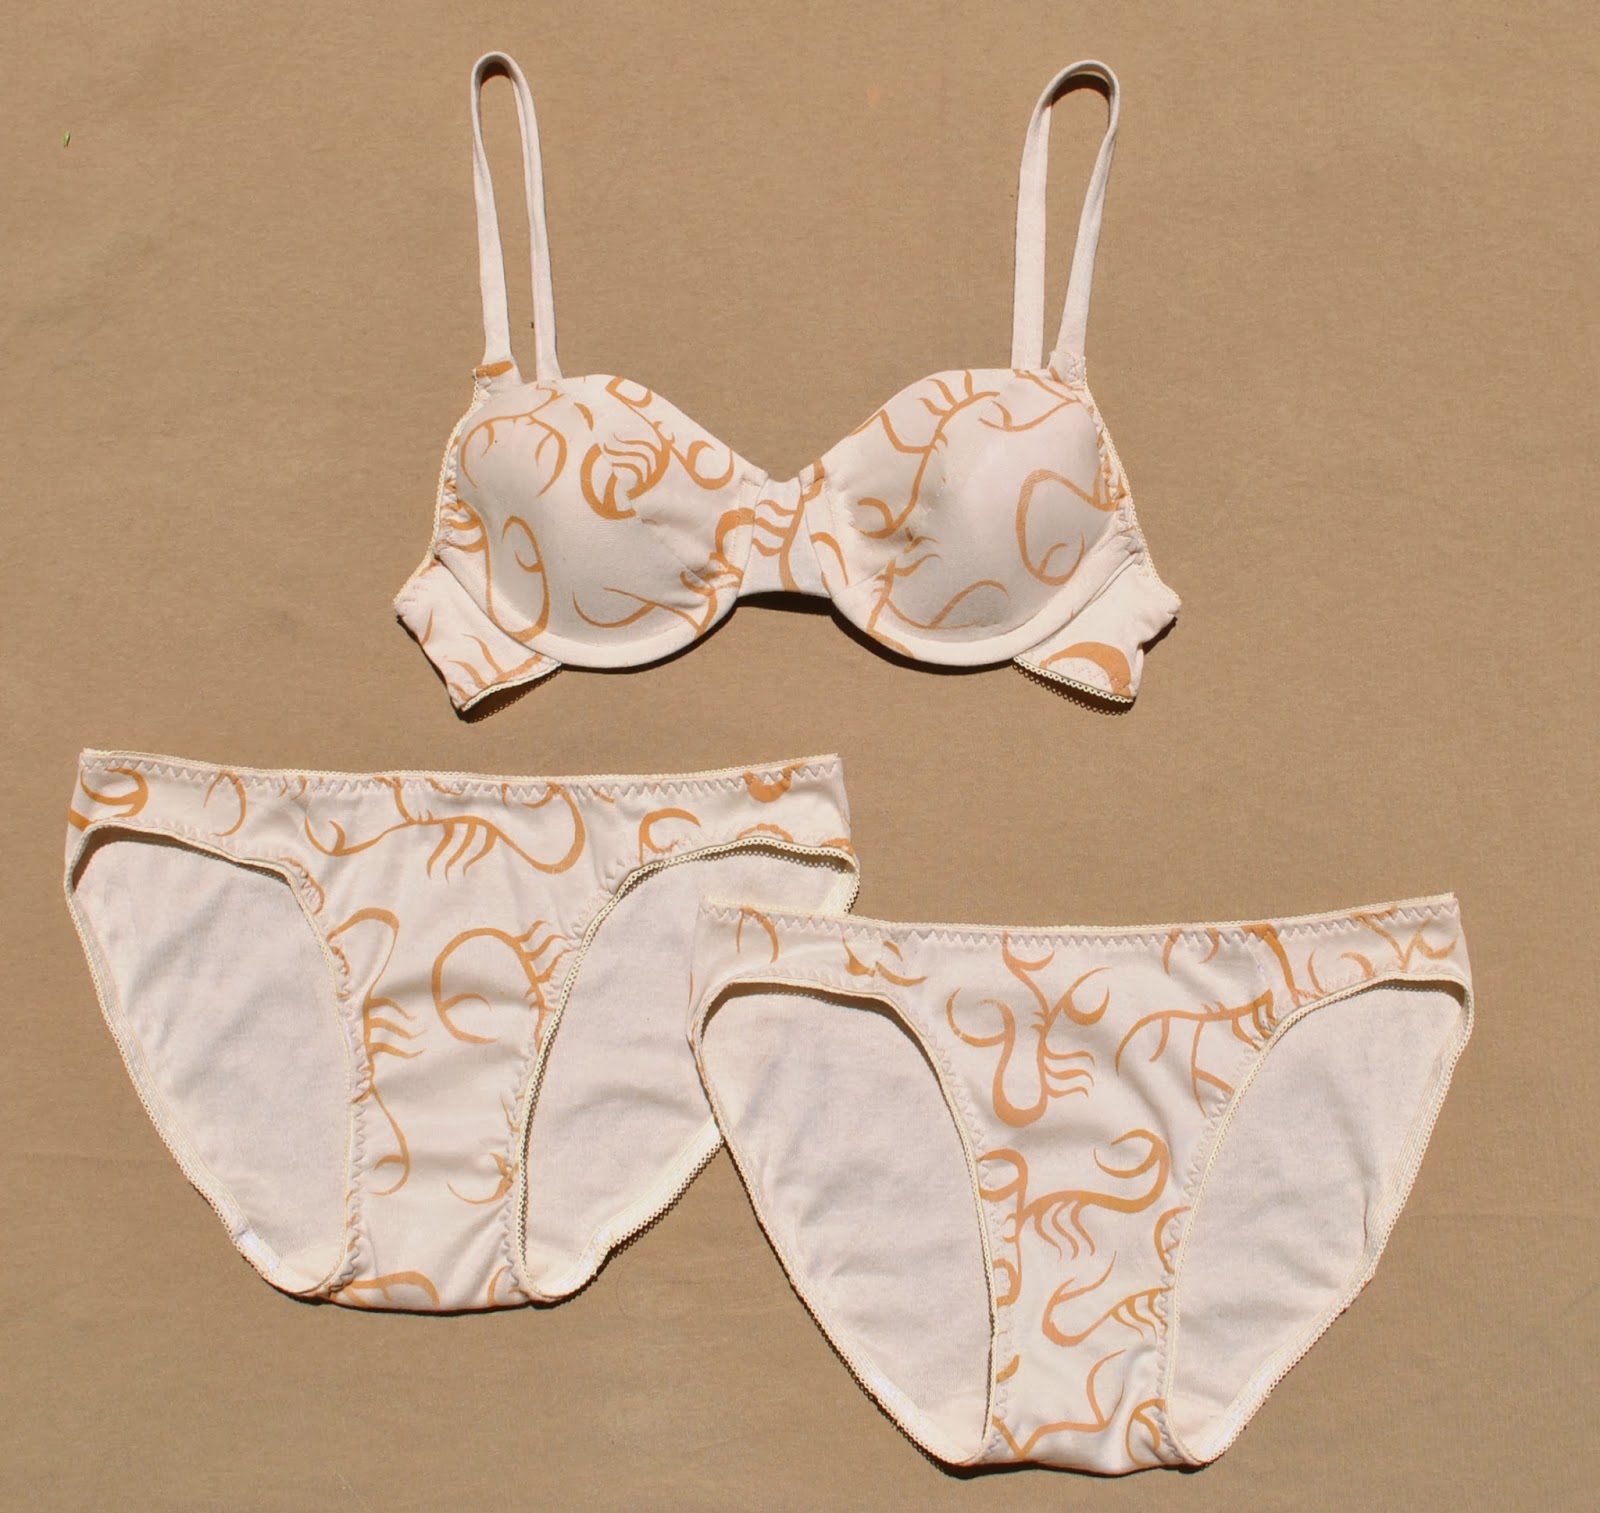
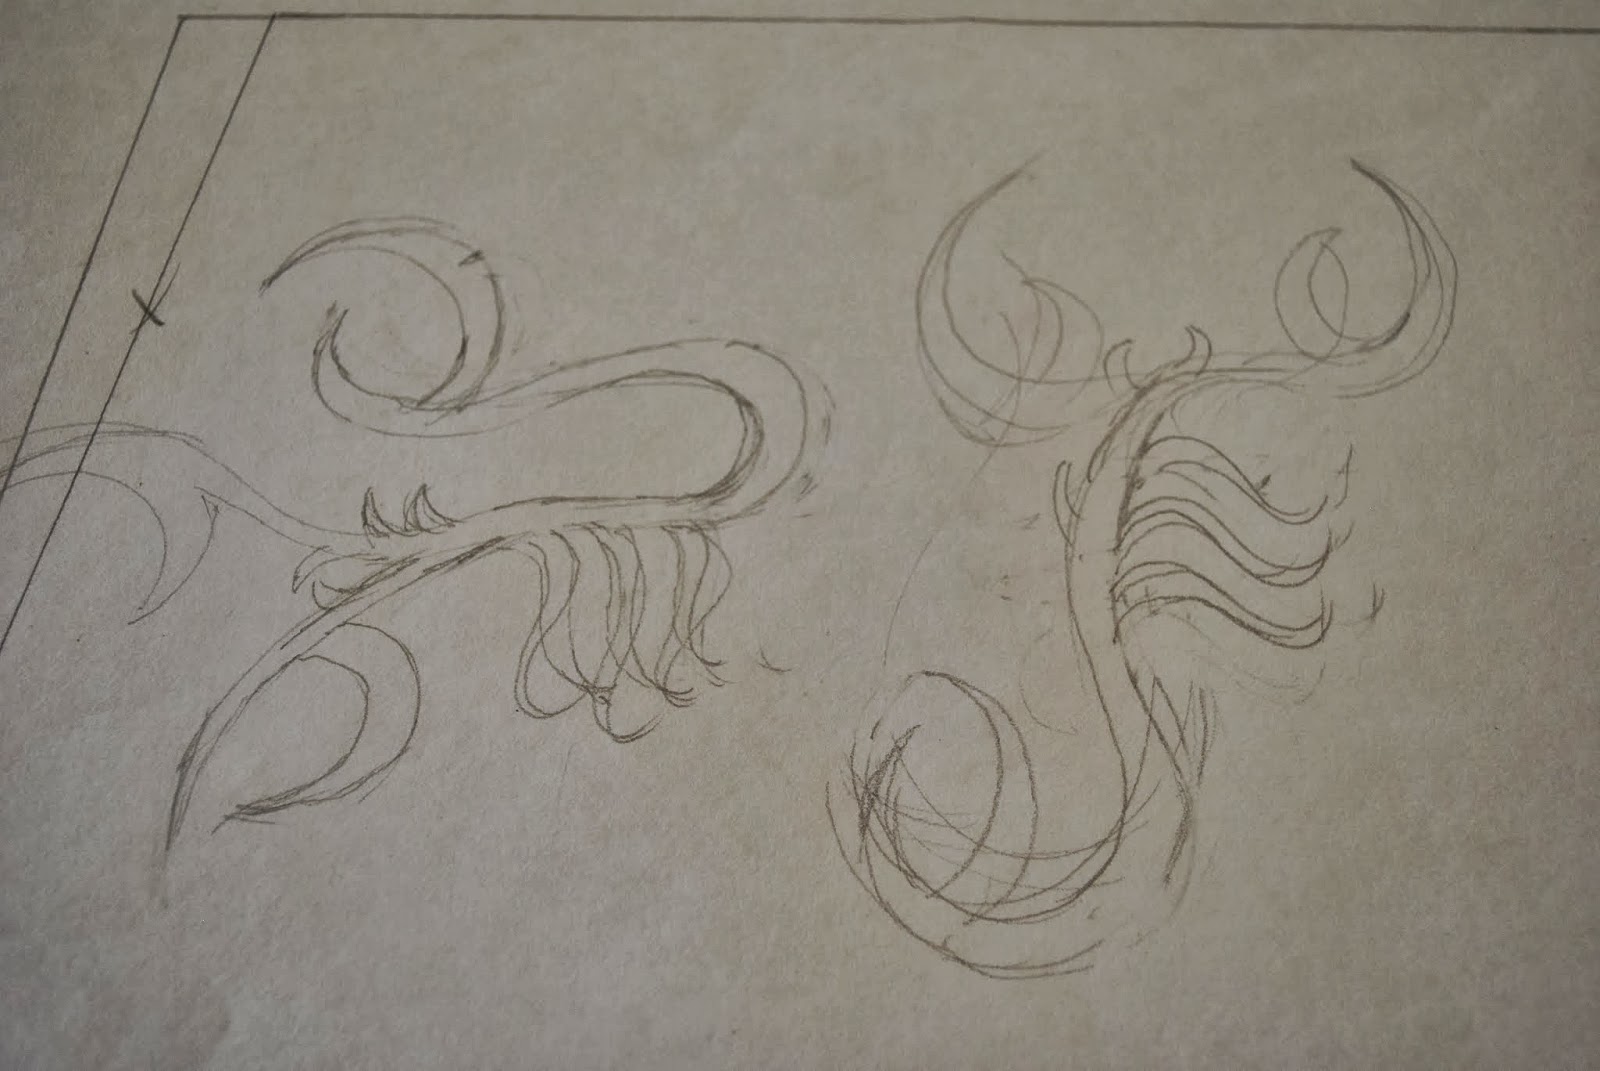
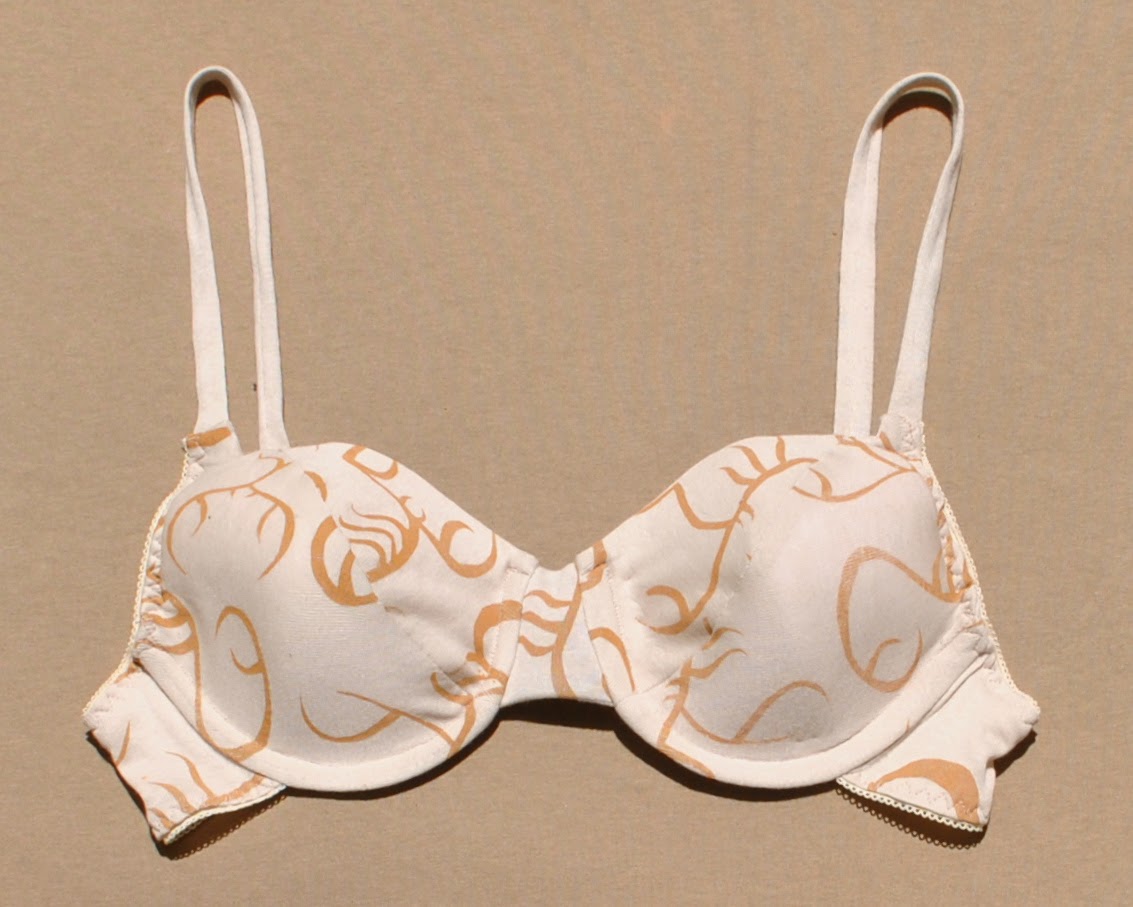
Scorpio was always going to be the difficult one.  I literally had zero idea what to do, right up until about last week.  Googling scorpion images I did see some rather cool designs for scorpion tattoos that I quite liked.  Which led to doodling stylised scorpions and thinking that I could do some printing, and then the practical wardrobe consideration that some of my older lingerie sets are starting to get to the end of their life, underwires starting to work loose, picot edging on some pieces starting to unravel…  Boom, decision made.
I forgot to take many pictures of my design process … but these are two of my preliminary sketches for my scorpions.  My final design had seven writhing scorpions, which I applied to the fabric first one way and then the other, to lose any obvious repeatability in the print.  Ahem, probably a completely unnecessary thing to do considering the tiny pattern pieces in lingerie!
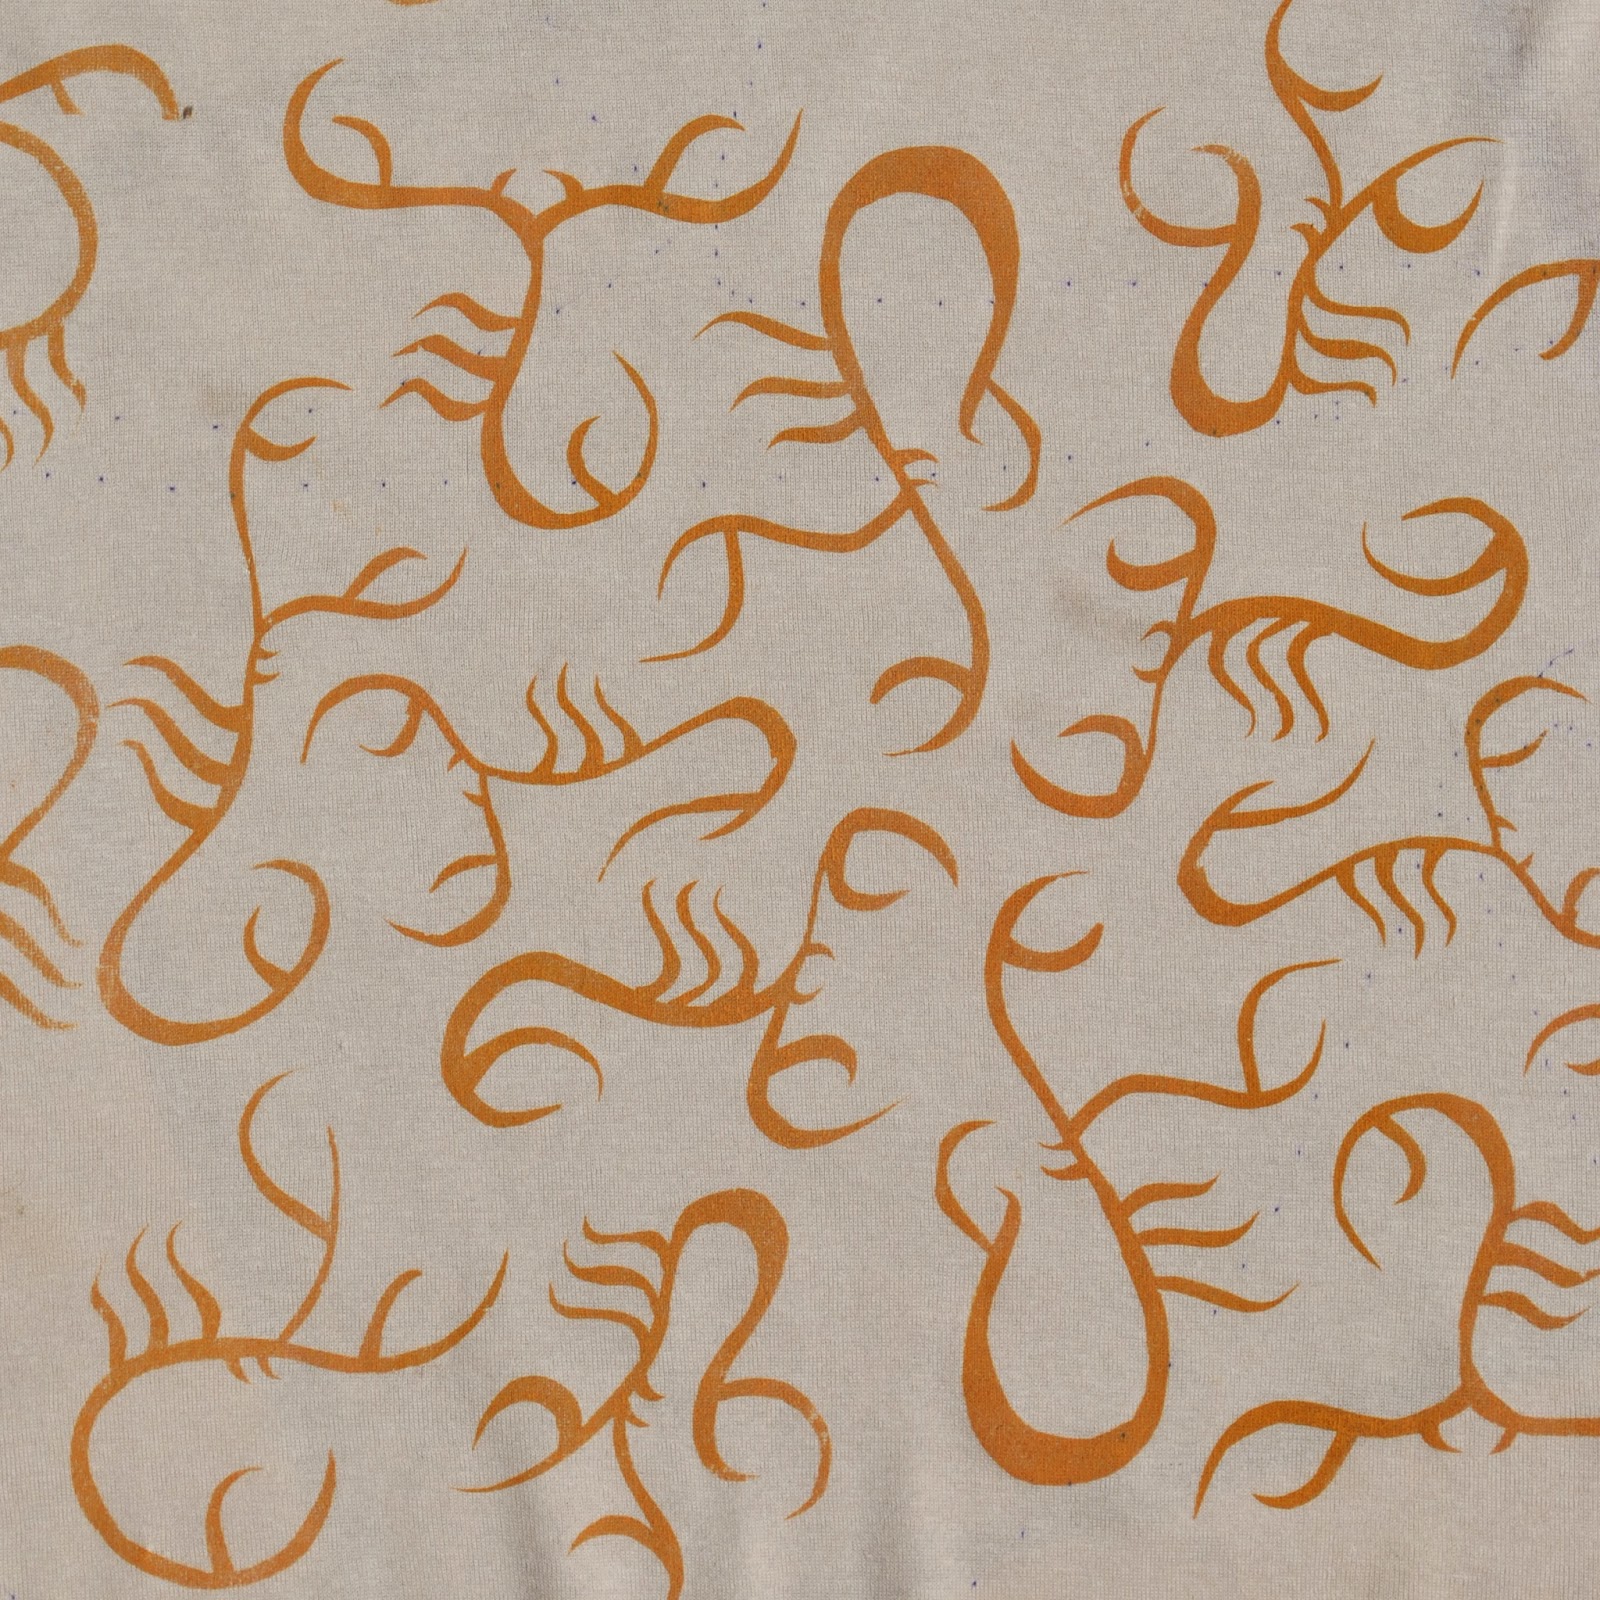
The fabric is a sandy coloured cotton jersey, bought as a huge roll at the Morrison remnant sale last year.  The set used but a teensy portion of this!  I wanted the scorpions’ colour to be sort of variegated, not flat; so I used two colours, an apricot-y pink and a yellow-y mustard, put down on the screen in unmixed blobs.  The marbling turned out to be real subtle.  You can just see it if you squint a bit  😉

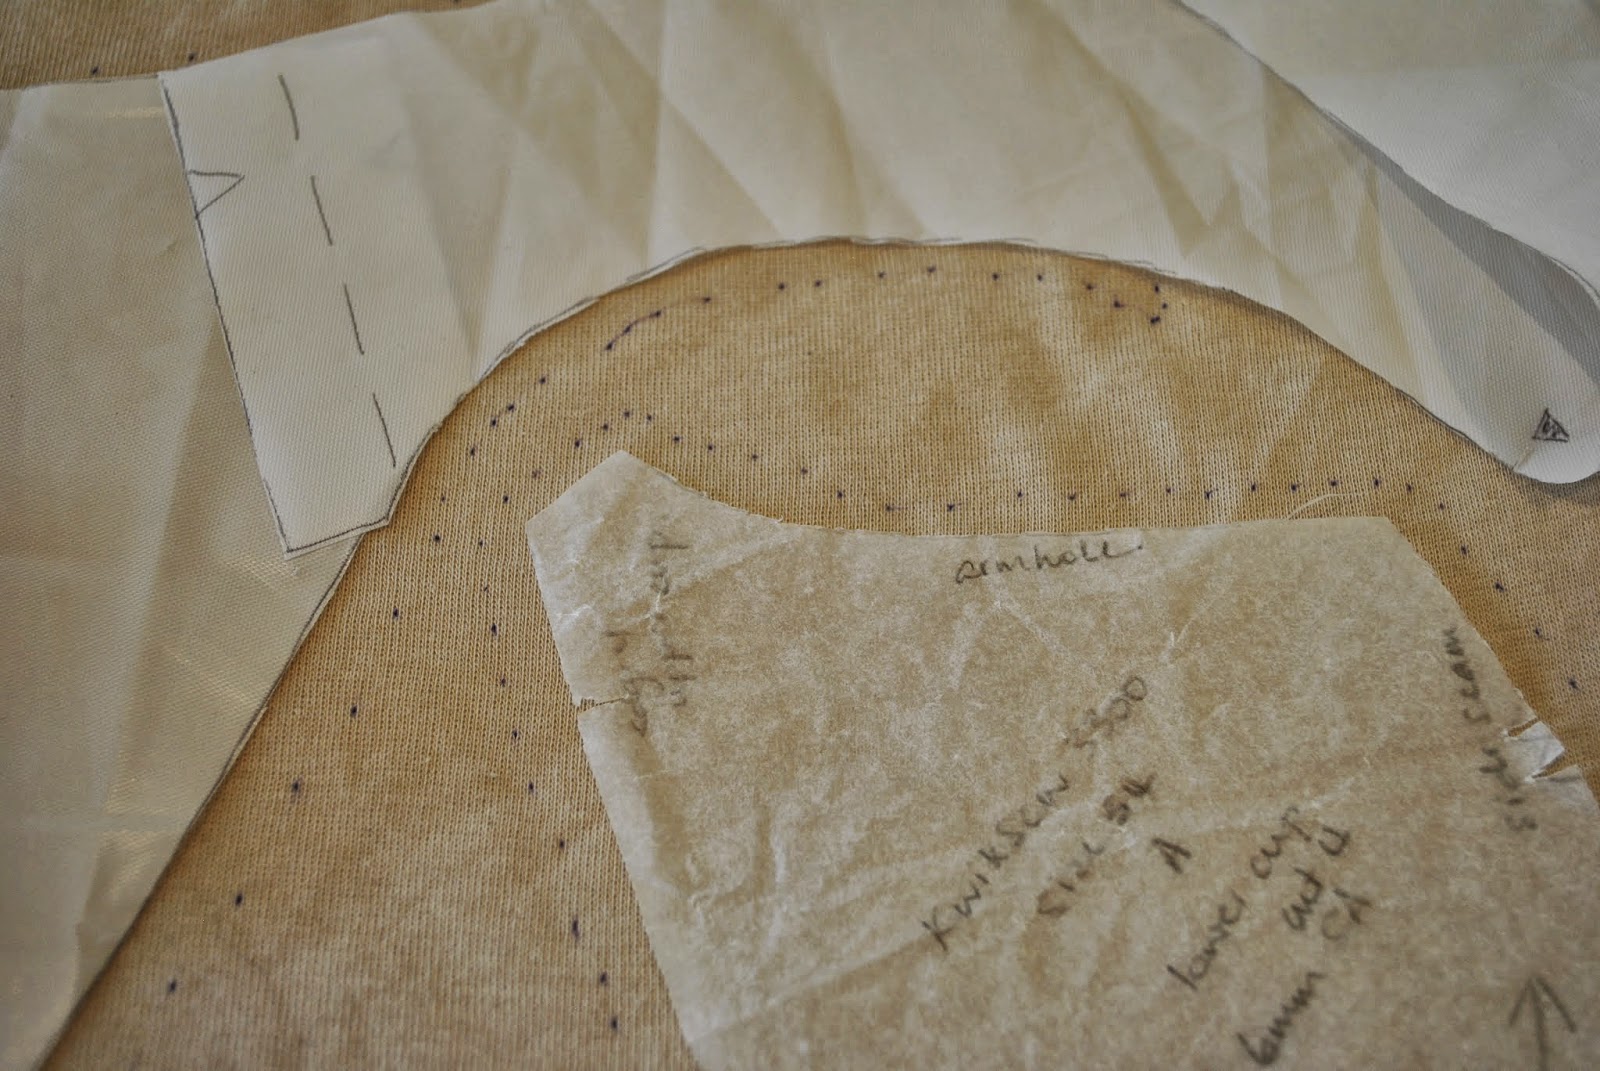
To economise my print, I first laid out my pattern pieces in the most fabric economical layout I could, and roughly marked each piece out by dotting about a centimetre outside the cutting lines of each, using a purple water soluble pen.  This was to ensure that I covered each pattern piece with my print fully, as well during the printing process I cut out some pieces and printed them separately to achieve better placement of the print.
Patterns: the bra is KwikSew 3300, modified to have a foam cup insert as described here.  I left the straps plain and unprinted because I’ve got a couple of bra-strap-revealing summery tops, so a nice unobtrusive beige strap is just the ticket.  I left off the sliders because the only ones I could get were brilliantly snowy white. which would have looked awful.  So I just went with a plain strap, with a length of the lingerie elastic sewn between the back and the strap providing the wearing ease.  Both pairs of matching undies are the bikini portion of McCalls 2772, a pattern I’ve used a lot for undies.  I used unprinted self fabric for the panty liners but it blends in so perfectly you can’t even see them in the picture above!

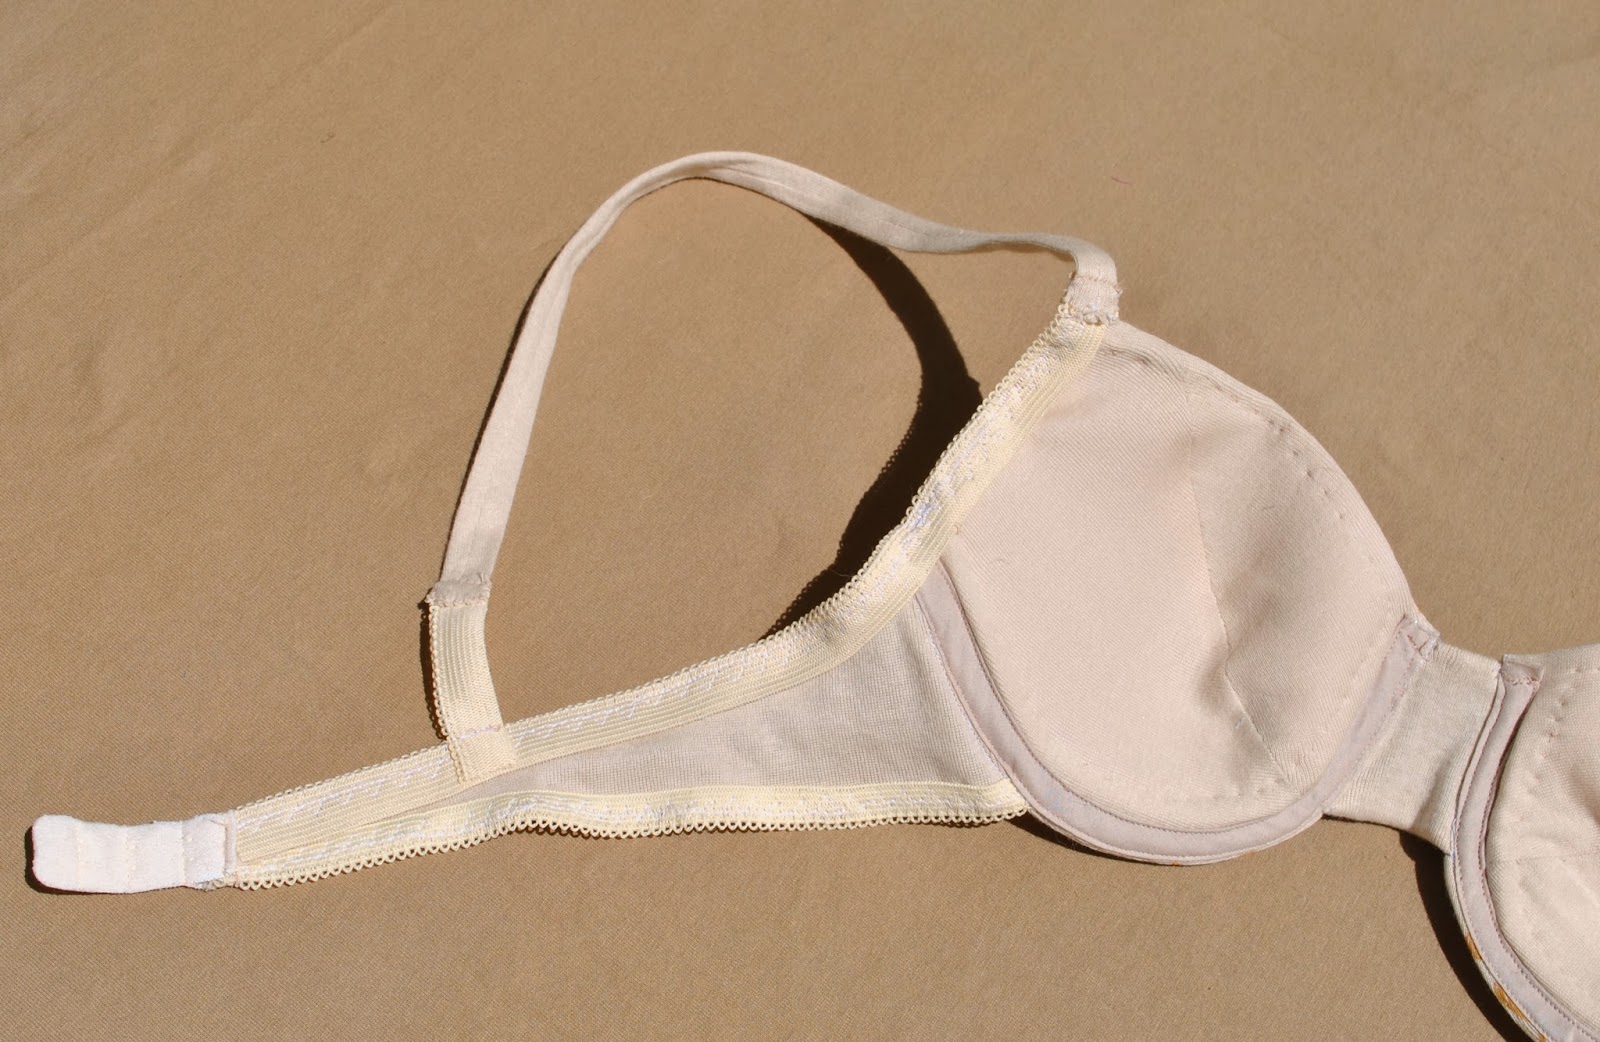
I usually use 1cm lingerie elastic on my lingerie.. and when I went to get some more of the pale yellow, Spotlight only had the 1.5cm width; aaagh!… so I had to use this wider stuff on the upper sections of the bra.  Oh well (shrug) you can only see that it’s wider on the inside!
You can probably also see the hand pick-stitching around the perimeter, my version of under-stitching that secures the bra lining to the foam cup.  I don’t know if this stitching is necessary or not?but I just don’t like the idea of the foam cup not attached to anything, possibly floating about in the wash.  I stitch it all together, just in case.
I did make some teeny mini-bows using orange-y mustard coloured ribbon, and trialled sewing them on the set as decoration, but took them off.  That scorpion print is plenty busy enough already!

pinterestmail

Thoughts on hem lengths; linings and slips

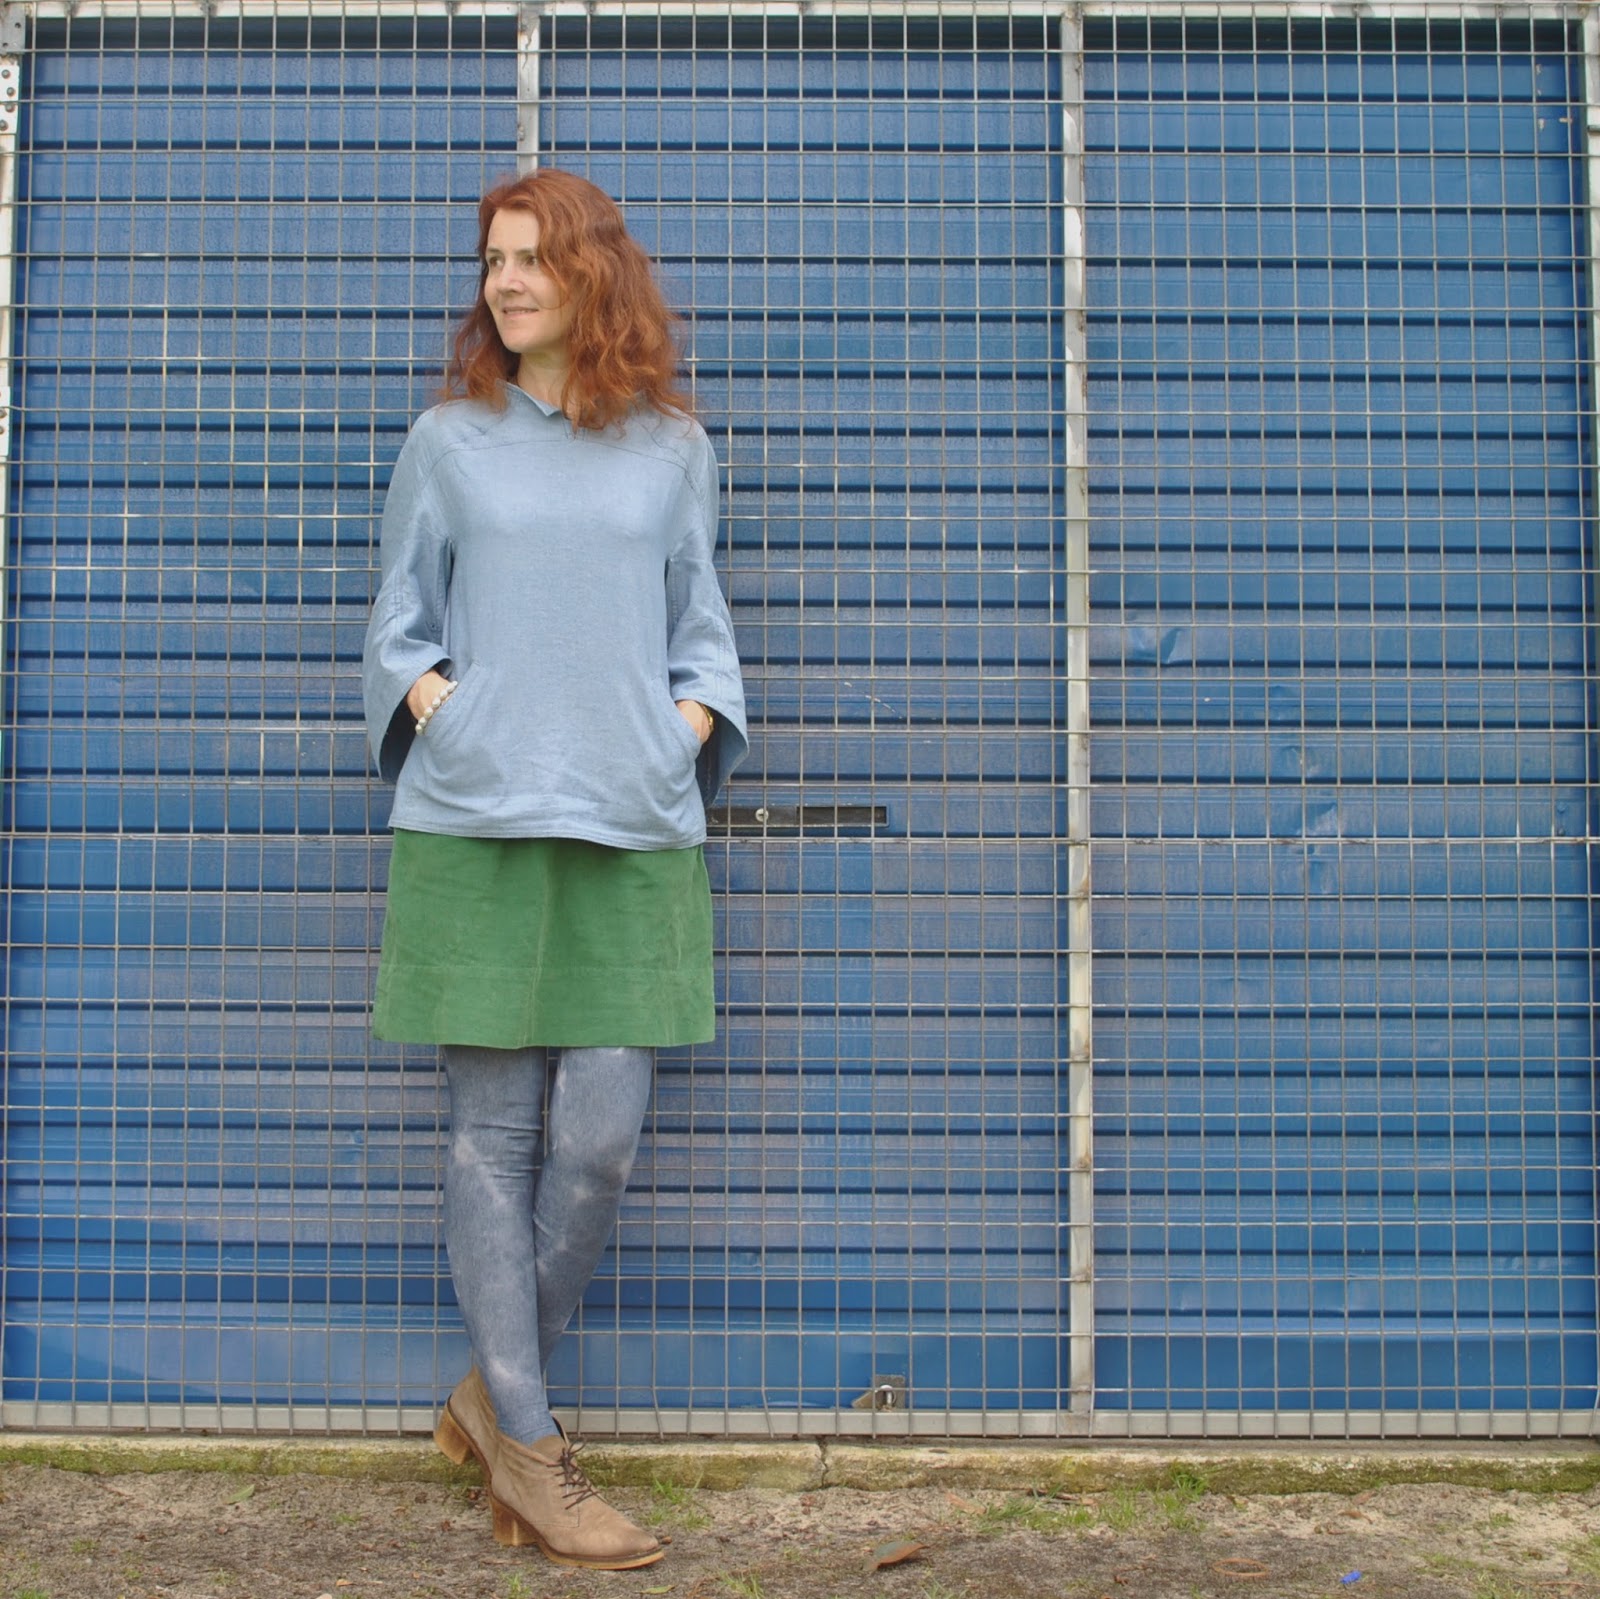
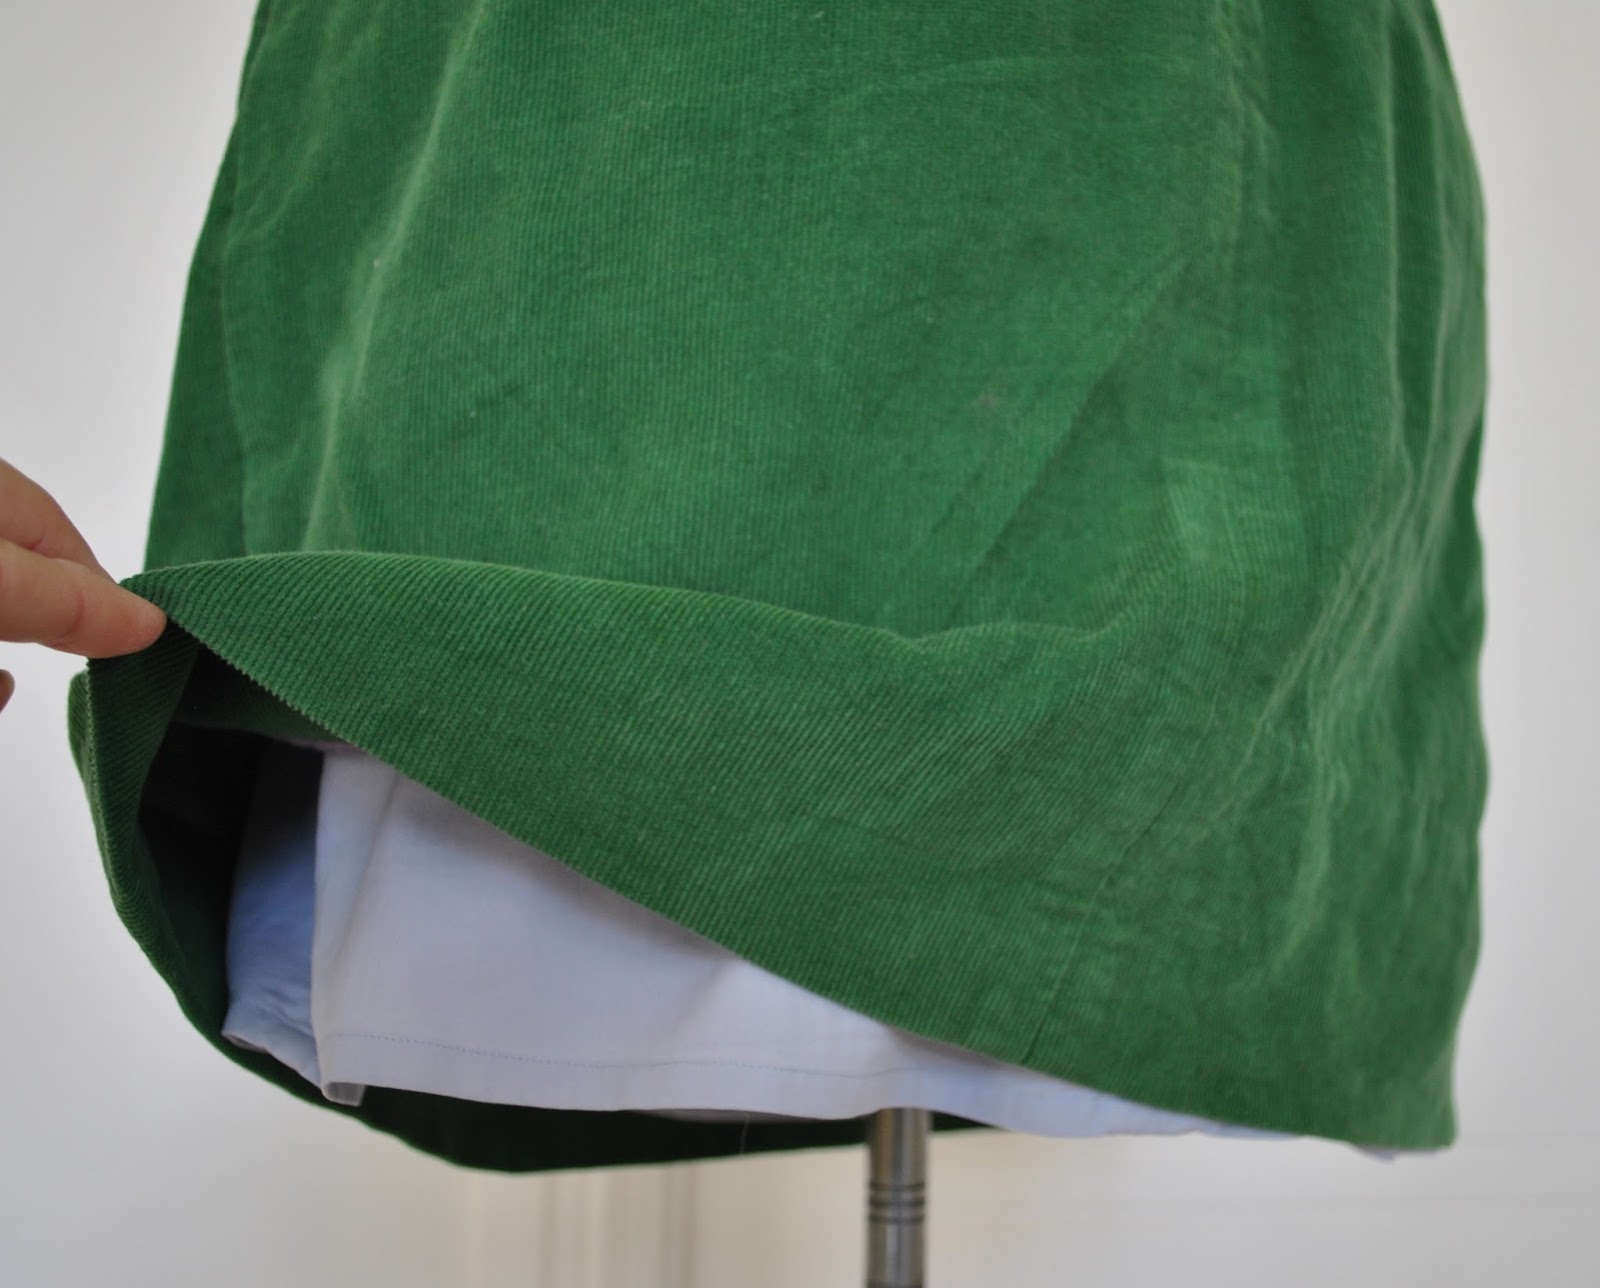
One of my wardrobe renovations performed lately was to shorten this skirt by a good several inches; a super quickie reno, but one that nevertheless completely transformed this skirt for me from something that almost caused me to shudder whenever I happened to catch sight of myself in a shop window reflection, to something that I have been wearing with a lot more pleasure and more confidence in how it fits nicely in with my style now.  Although I made it to wear this winter, it didn’t really “go” stylistically with any of the tops and cardigans, heck not even any of the shoes and boots that are the mainstays of my current winter wardrobe.  When I trialled pinning it up a few inches; hey presto, problem instantly solved.
I do have this theory that when it comes to skirts we all have a personal Ideal Hem Length; that is good for YOU, and it could be a bad idea to mess around with it too much.  For me, I think I prefer winter skirts to be EITHER about 10cm (4″) above the knee, OR quite long at midi-length, like roughly 20cm (8″) above the ankle.  These are lengths that just look better with all my tops, all my shoes and that suit my personal style.  Obviously I reserve the right to change my mind about that one, at any moment, according to any and all fleeting fashion whims.
Good thing I can sew for myself, hmmm?  😉

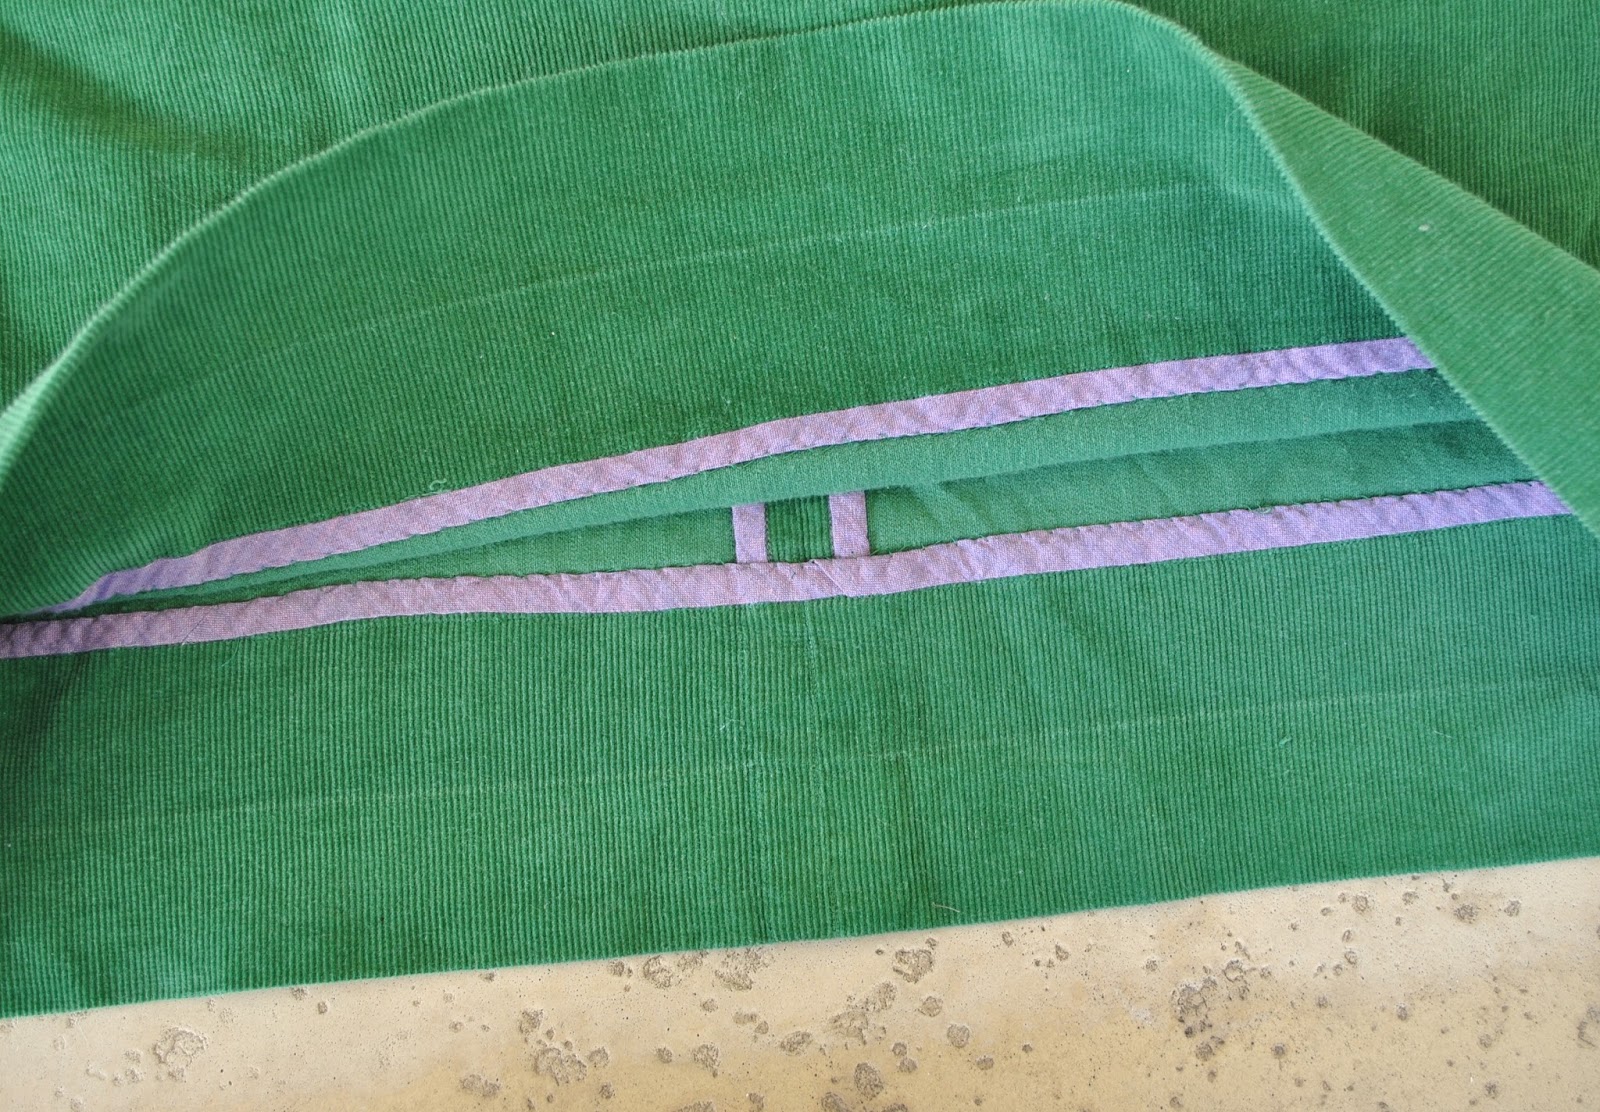
I had already finished the lower raw edge with violet bias binding, so to unpick and re-stitch it up a coupla inches higher was an ultra quick renovation…  and the extra length is still there, should my wardrobe tastes migrate to embrace the aesthetics of different hem length.

now that’s a nice deep hem!

And now to another topic, slightly related…

Kathleen wrote a comment bringing up the topic of skirts; specifically, to line or not to line? That is the question! which I thought worthy of further exposition.

In the photo above I am actually wearing a full slip underneath my outfit, not that you can see it, which is the point really!

I line the majority of my skirts but not all of them, and it is always something to consider, how do you choose which gets lined and which does not?
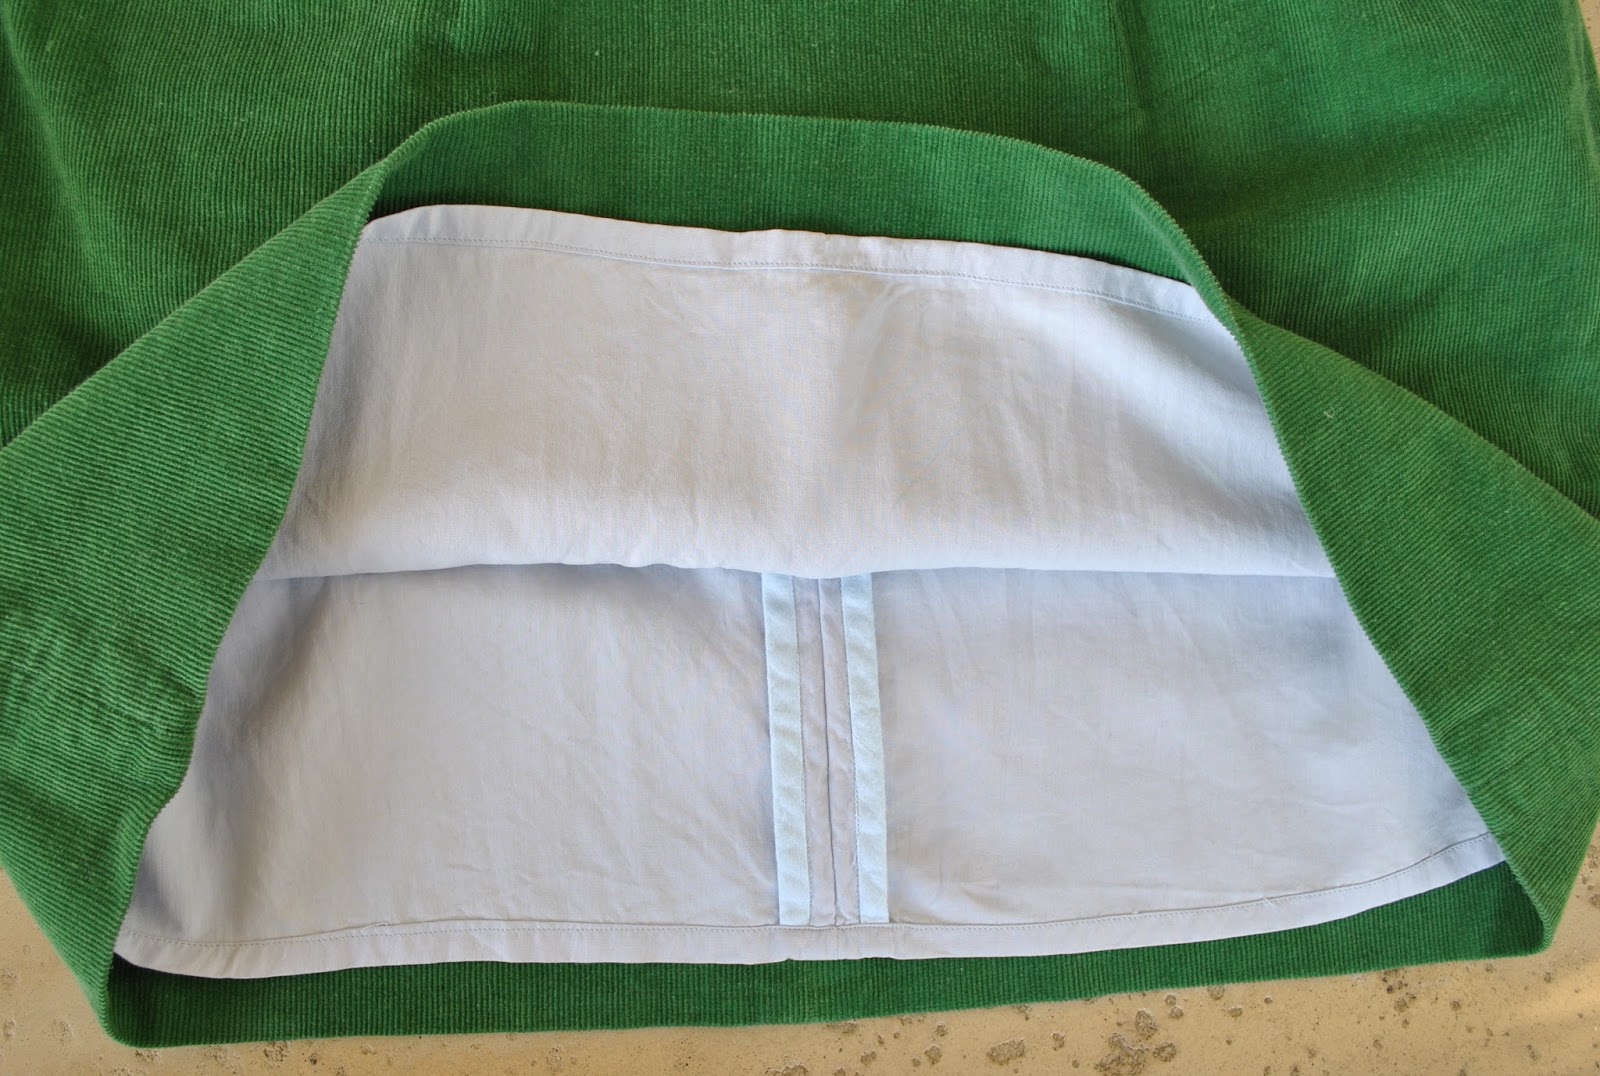
I’m sure we’re all familiar with the horrible experience of your unlined skirt slowly and inexorably riding up your stockinged legs, as if driven by some strange evil impulse of its own… which is why a lining is a good idea.  But for many of us in hot climates a lining can be a pesky thing that clings hideously to your sweaty legs for most of the year.  So what do you do if you want a bit more versatility, for your skirts to see more active duty, to be an all-seasons item as it were?

The answer is of course, a separate slip or petticoat.

I chose to make this skirt without a lining because I wanted it to be transitional thing, to wear on both winter-y days and warmer bare-legged days too.  And on cold days when tights are on, as above, I have a few slips, or petticoats that I can wear underneath, that do the same duty as a lining.  In the outfit above, I am wearing a pale blue silk petticoat, chosen because the colour went with the rest of my outfit, not that you are supposed to see it! but still, just in case  🙂 I like my colours to “go”.  So when re-hemming the skirt I was careful to hem it to a length that I could still wear my petticoats underneath it.

It’s always really good to have several petticoats or slips on hand from which to choose.  I have eight full slips or petticoats in total, half of which could pass as little summer dresses if worn with extras: this pale blue one, a pale pink one, a beige one (easily my most useful one), a cream broderie anglaise one and a black one, shown long here but I have since re-hemmed it quite a bit shorter, and also three long and full-skirted ones, in yellow, pink and a white Metalicus one.  I don’t have any half-slips… but then until I started listing them for this post I didn’t realise just how many petticoats I actually had and maybe I have an abundance already!
So, in summary: To Line, or to Slip? that is the (paraphrased) question…

Later edit: for those looking for a pattern; the lovely and clever Sherry of pattern scissors cloth (I miss her!) designed and uploaded the Ruby slip, a pattern for a simple bias cut slip with the option for a lace bodice, and also generously provided extensive and super helpful instructions.  Available for free download here  

Details:
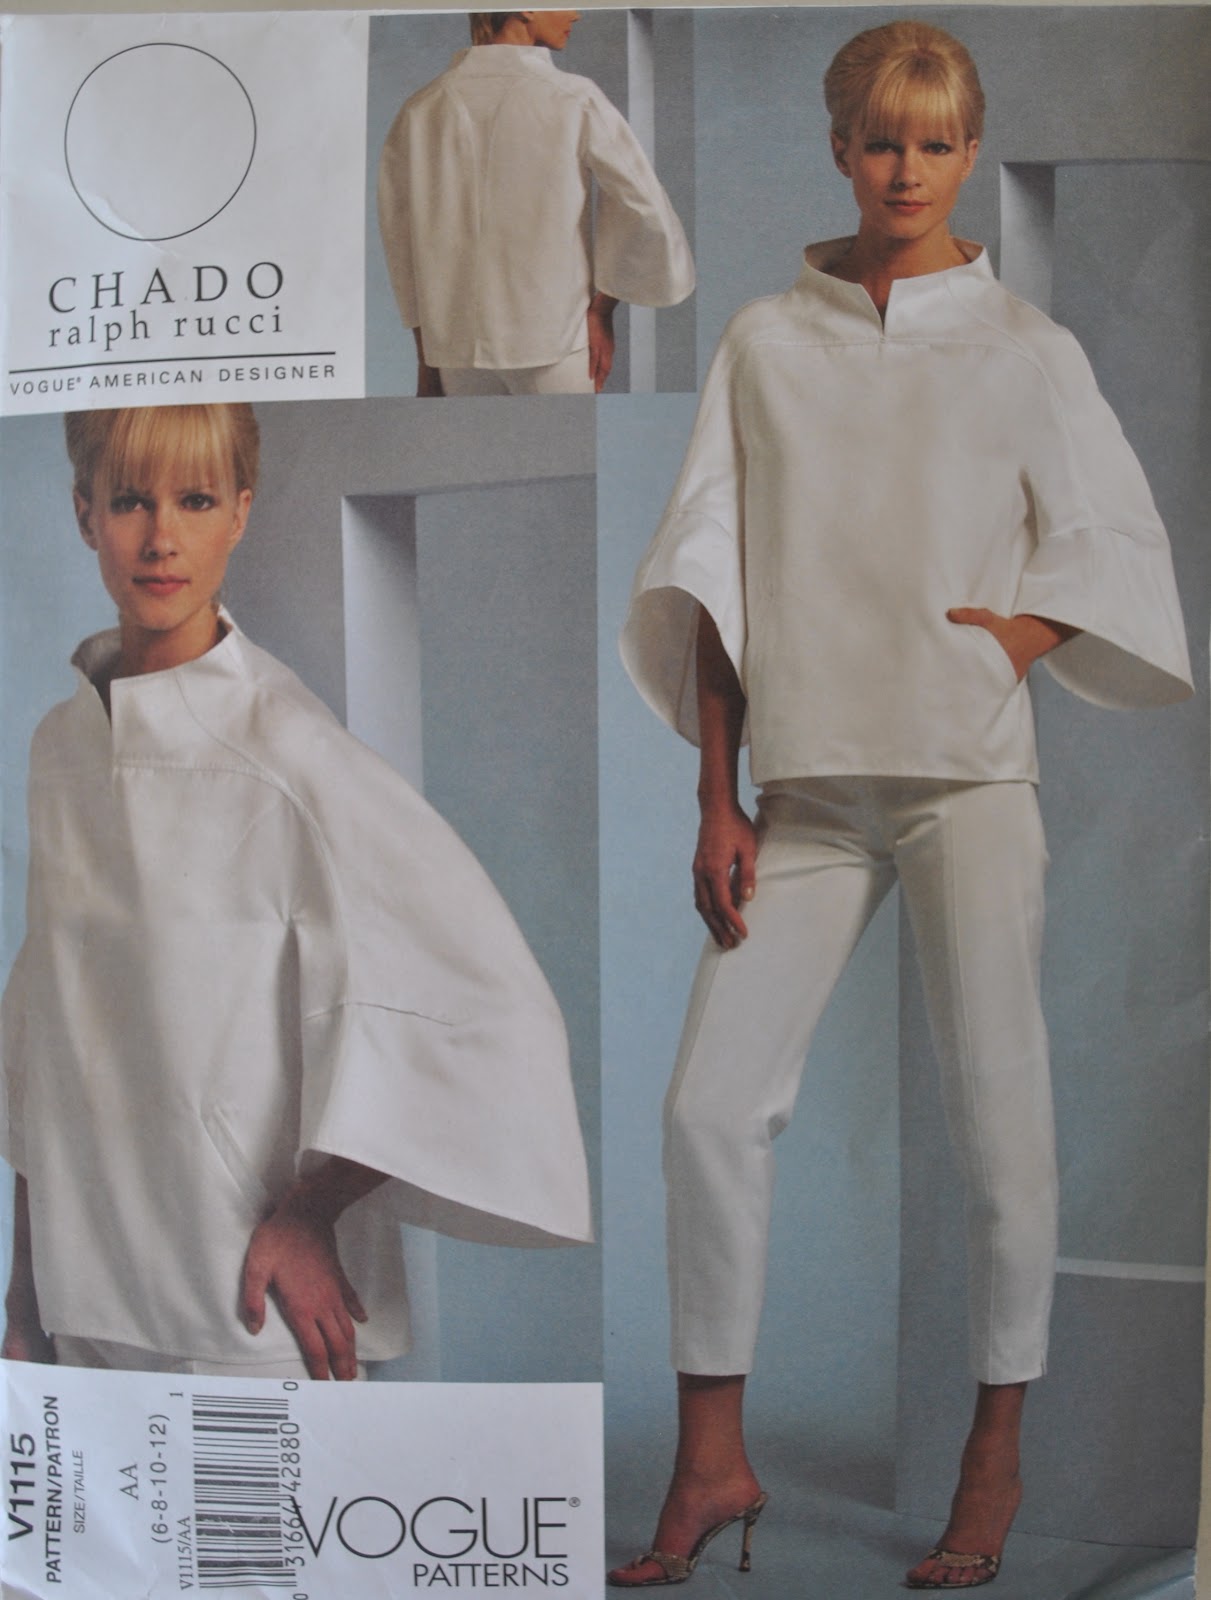
Top; Vogue 1115, blue denim details and my review of this pattern here
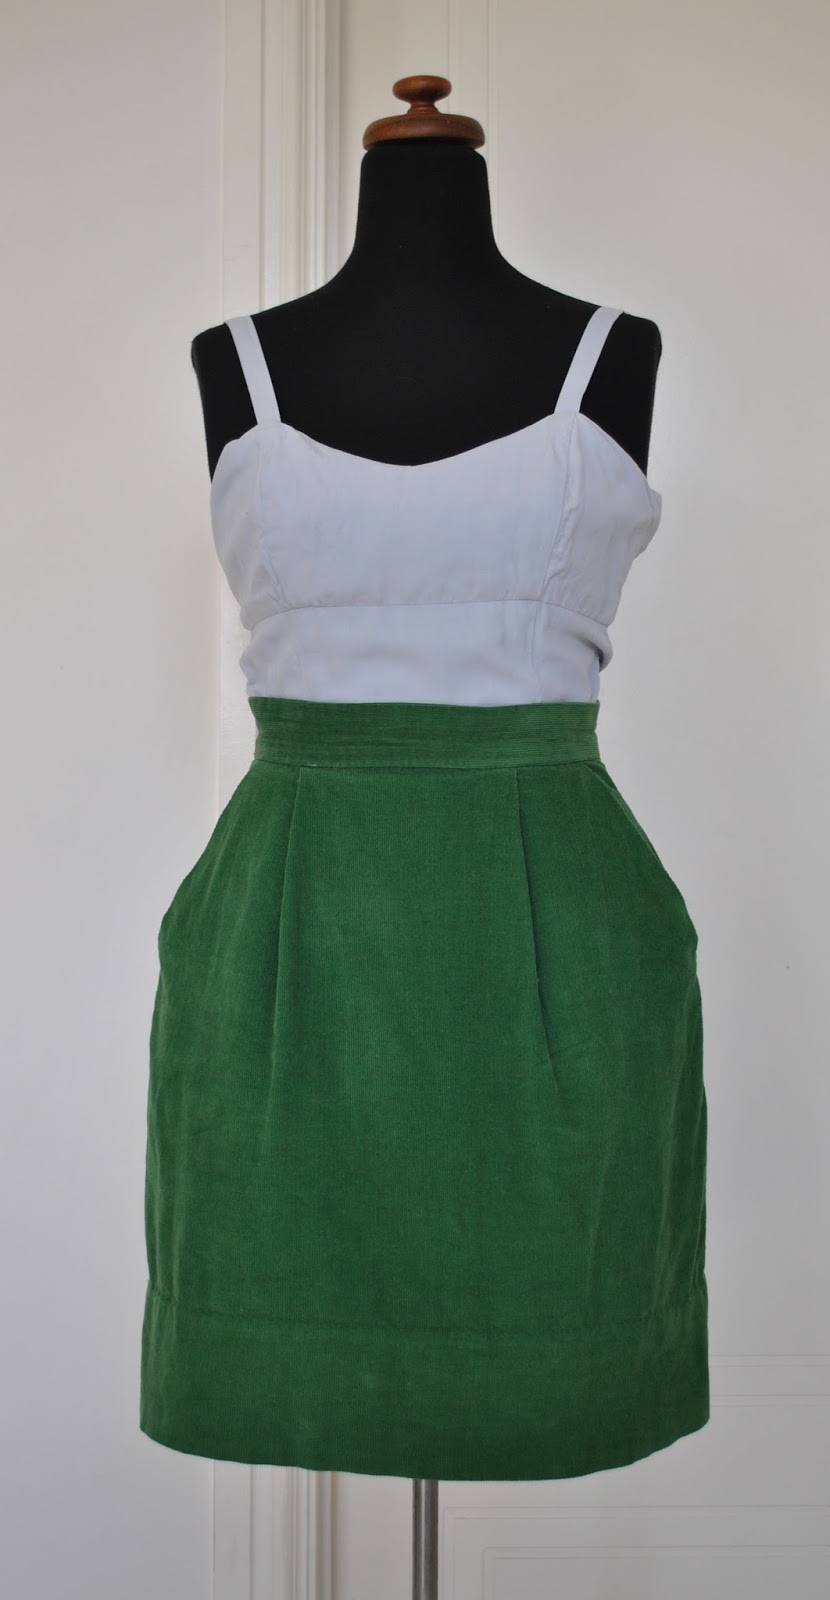
Skirt; Vogue 8363 heavily modified, green cotton corduroy, more details here and my review of this pattern here
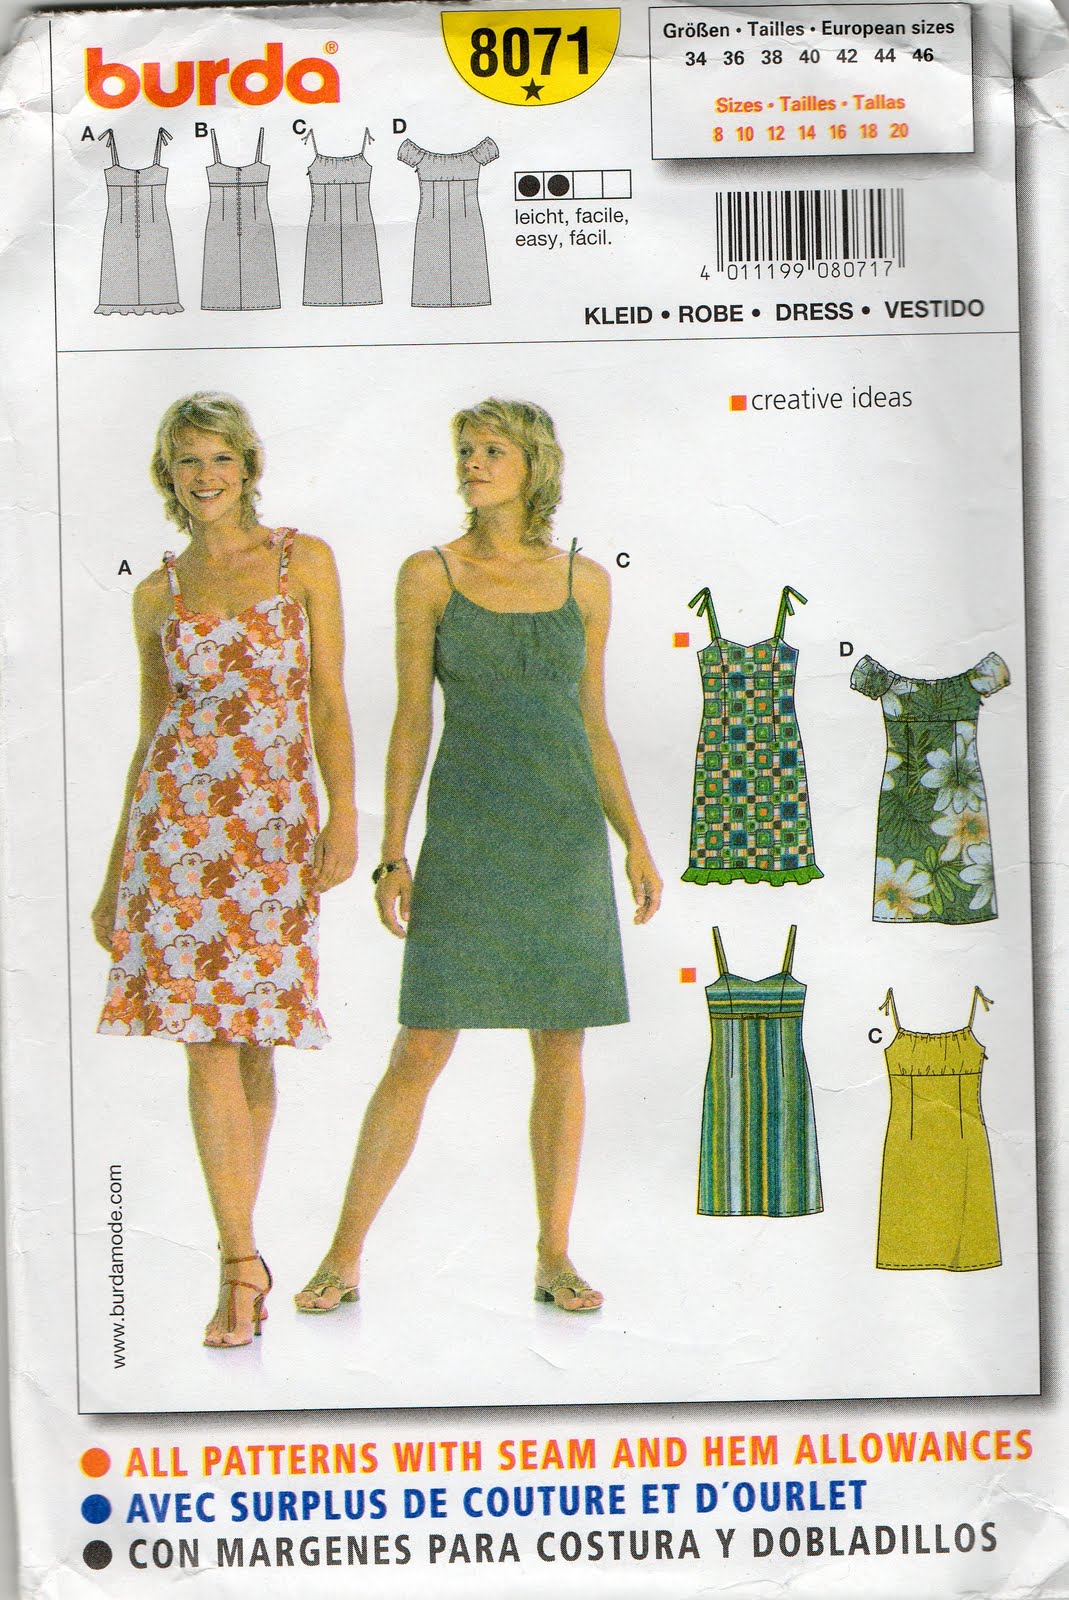
Petticoat; Burda 8071, pale blue silk, details here
Tights; self-drafted, blue denim-look jersey, details here
Shoes, Francesco Morichetti, from Zomp shoes
pinterestmail

Poppies lingerie set

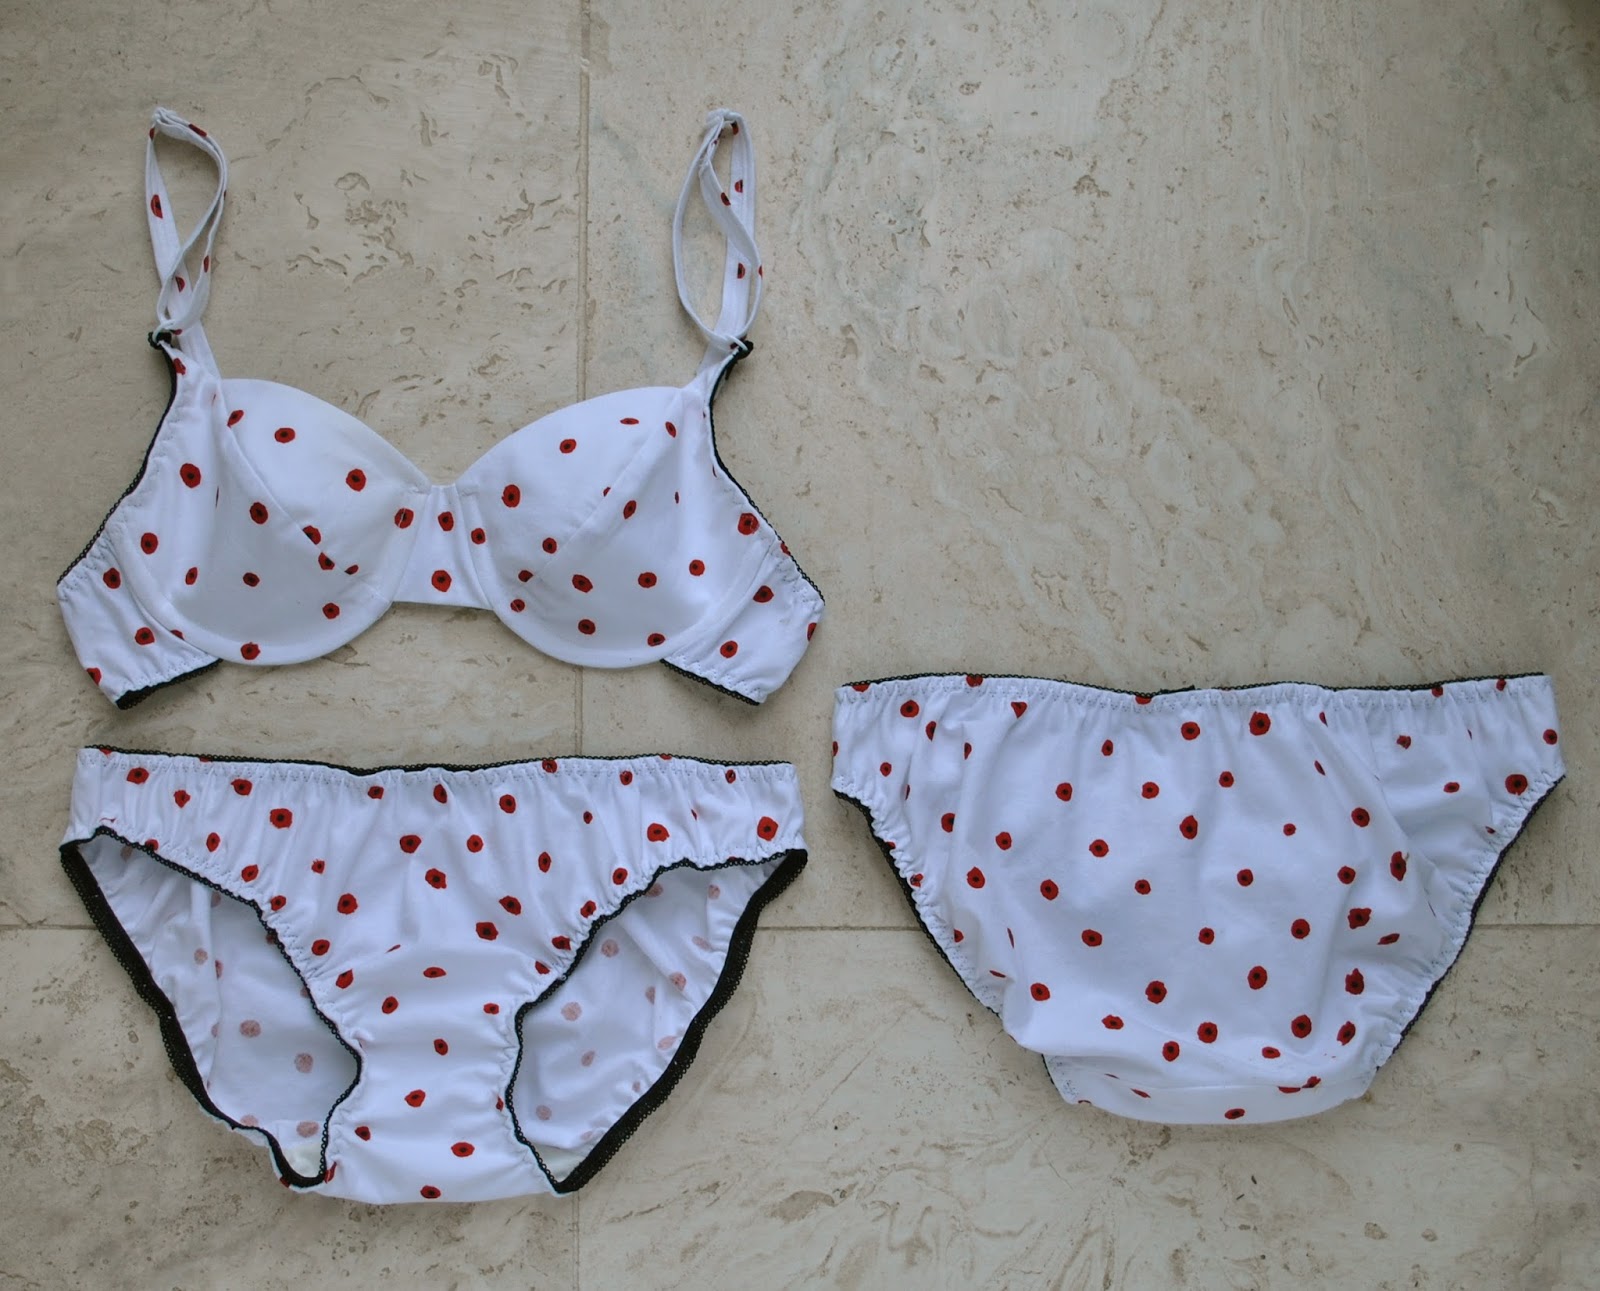
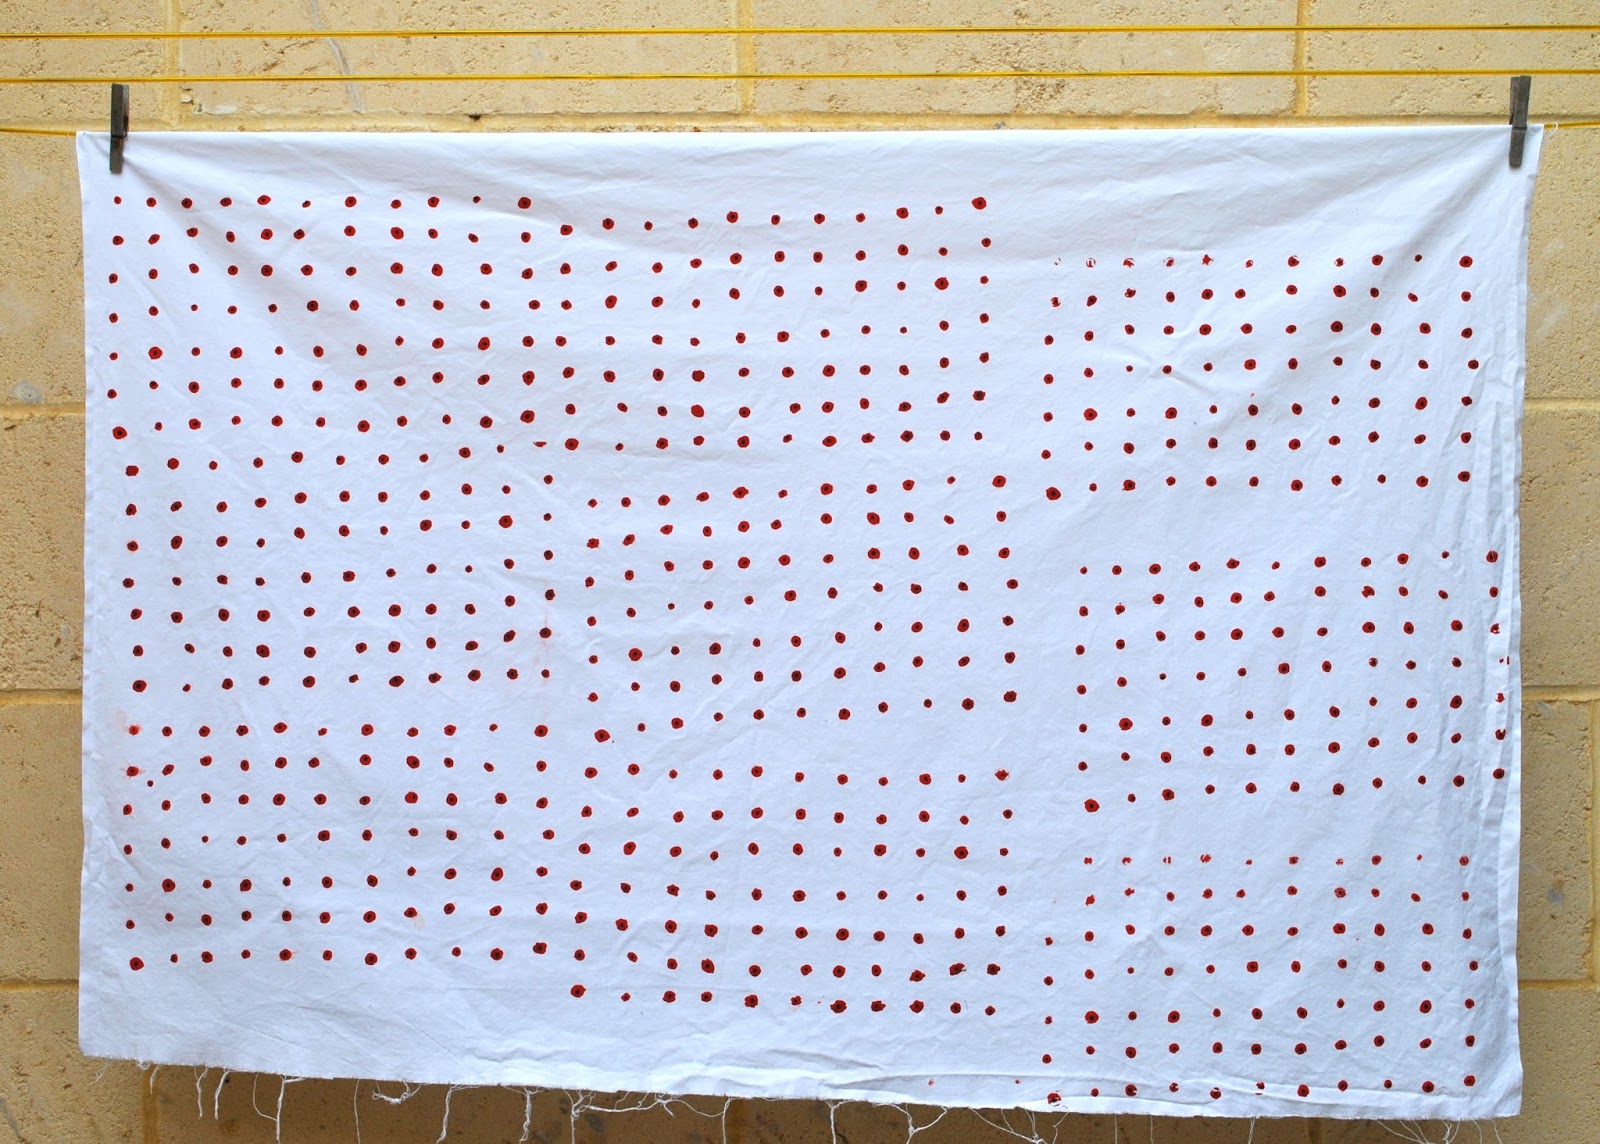
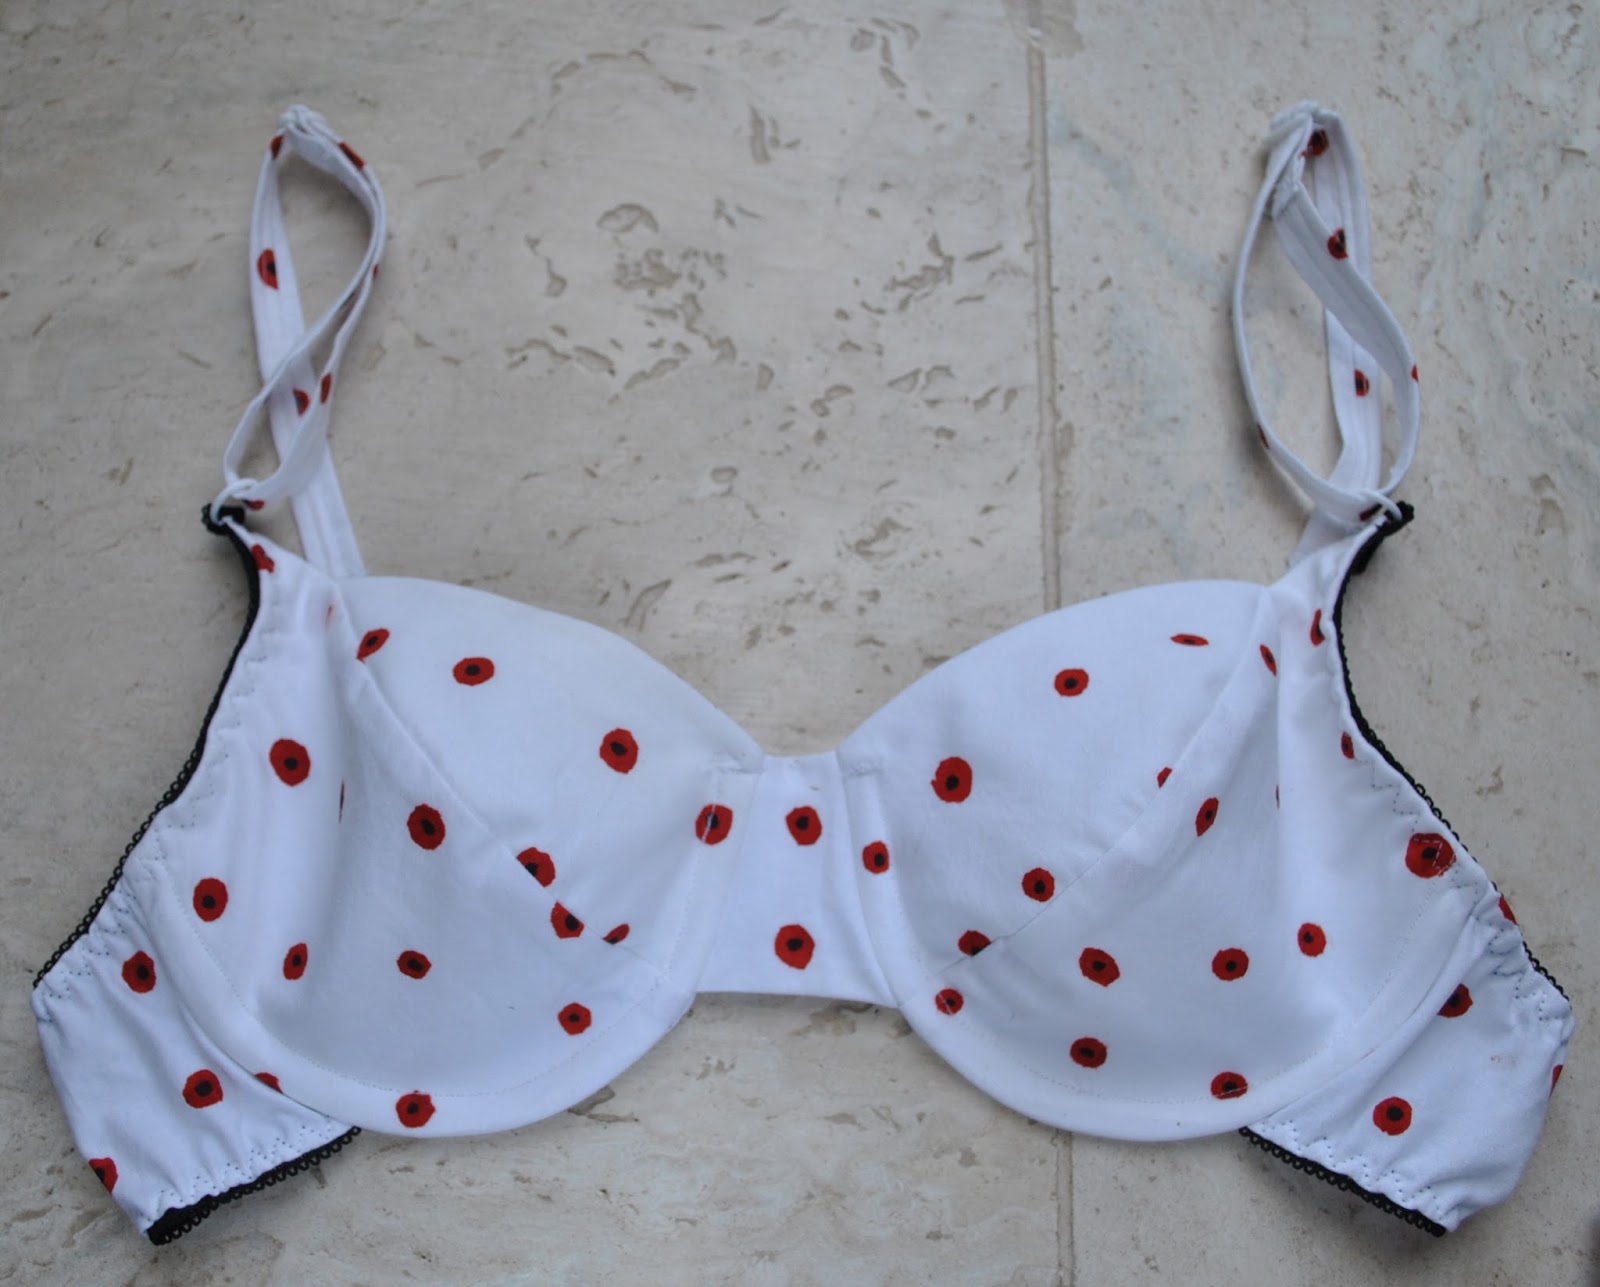
My first screen-printing effort obviously lent itself best to something comprised of smaller pieces that could be cut to avoid the more glaring imperfections in the print, ahem!  A set of lingerie sounded like a plan  🙂  My poppies print was pretty bad really, but it still felt precious to me just because I’m a silly sentimental thing.  There was extensive contemplation of, and moving around, the pattern pieces on the fabric before I braved snipping!  And bias placement is such a fabric hog.  I considered disobeying and naughtily cutting the undies on the grain but didn’t want to court disaster.  I cut the bigger undies pieces from my later, more successful print placements (at upper left of my fabric length) and cut the smaller bra pieces from the in between scraps and from my first, badly placed prints (at lower right) and mirror-matched as much as possible the print placement on front pieces and back pieces of the bra.

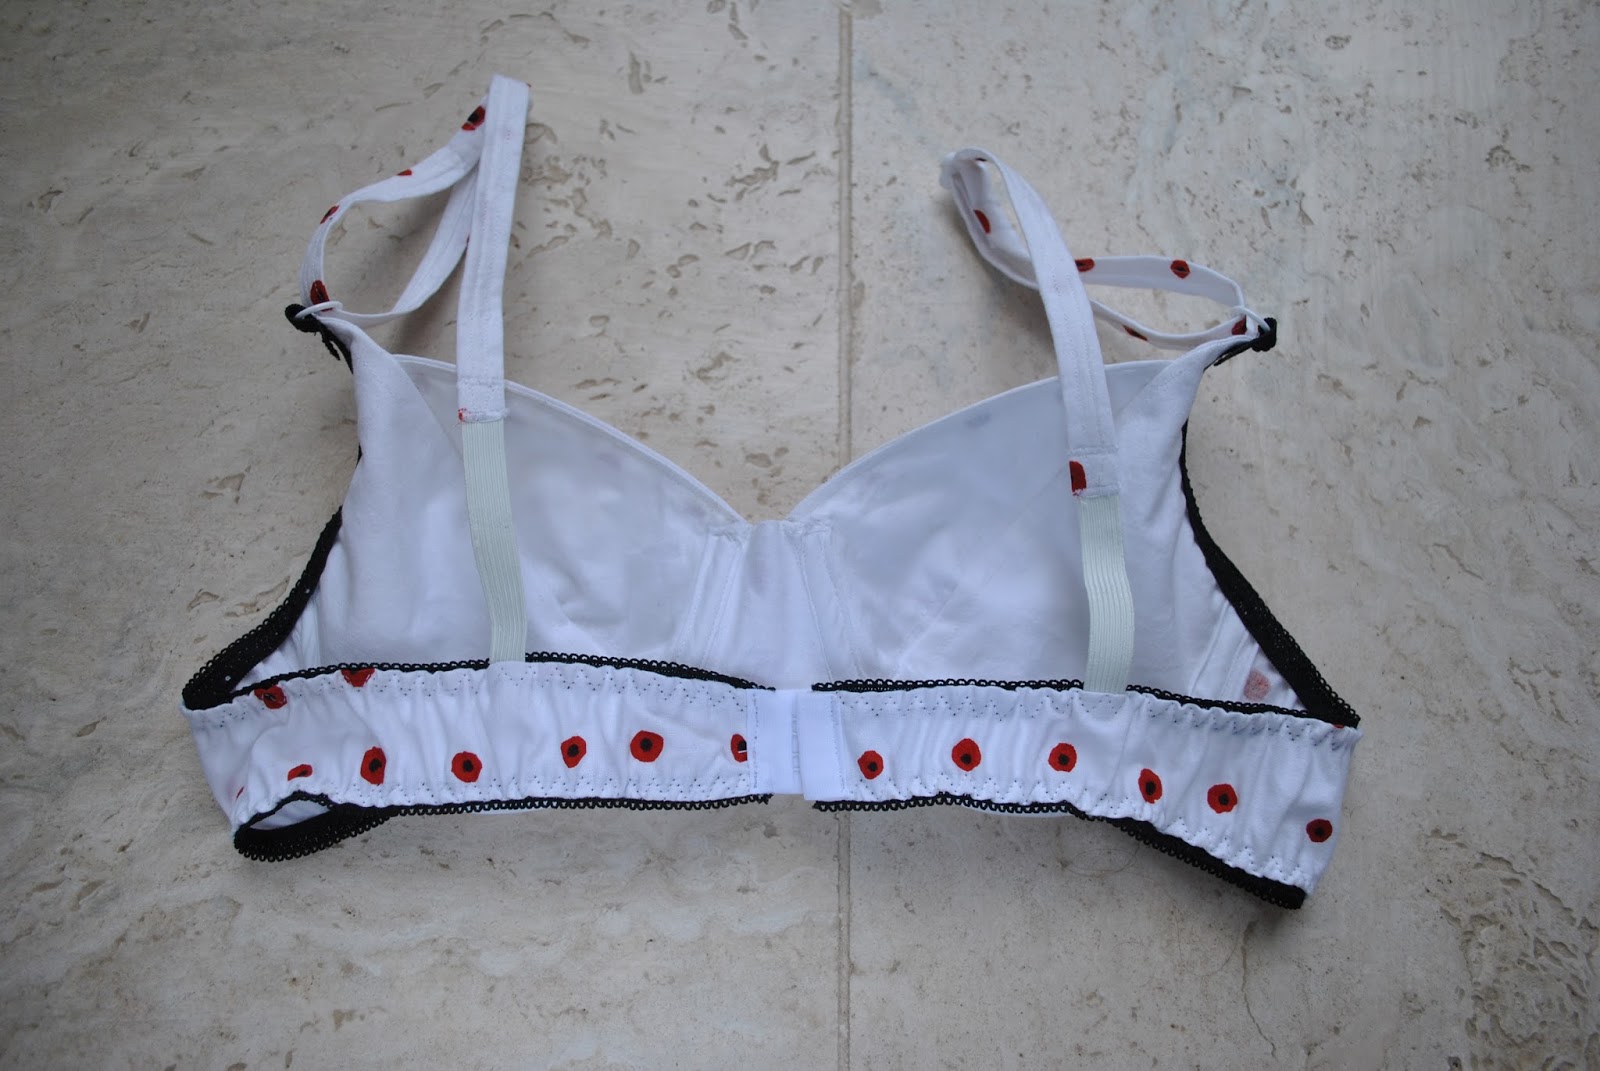
The bra pattern is KwikSew 3300 with modifications to account for using a woven fabric as opposed to a stretch knit (as described here)  This time I cut the back pieces to be 6cm longer at centre back, and narrower to fit the purchased hook and eye clasp.  This is my eighth time making this bra pattern up so obviously I love it!  It is one of the original designs of the late Kerstin Martensson, Swedish founder of KwikSew and a talented pattern maker.  The style is very much to my taste, which is why I chose it of course! and over time I’ve fine-tuned the fit by shaving off a little bit here and there,: so it fits me really well.

The bra lining pieces were cut from the white unprinted bits around the edge, and the bra underlining and undies liners from ivory jersey knit.  I chose black lingerie elastic to match the black centres of the poppies, and fortunately my Spotlight currently has lingerie rings andsliders both in white, so they match each other.  Woot!  I stocked up!!

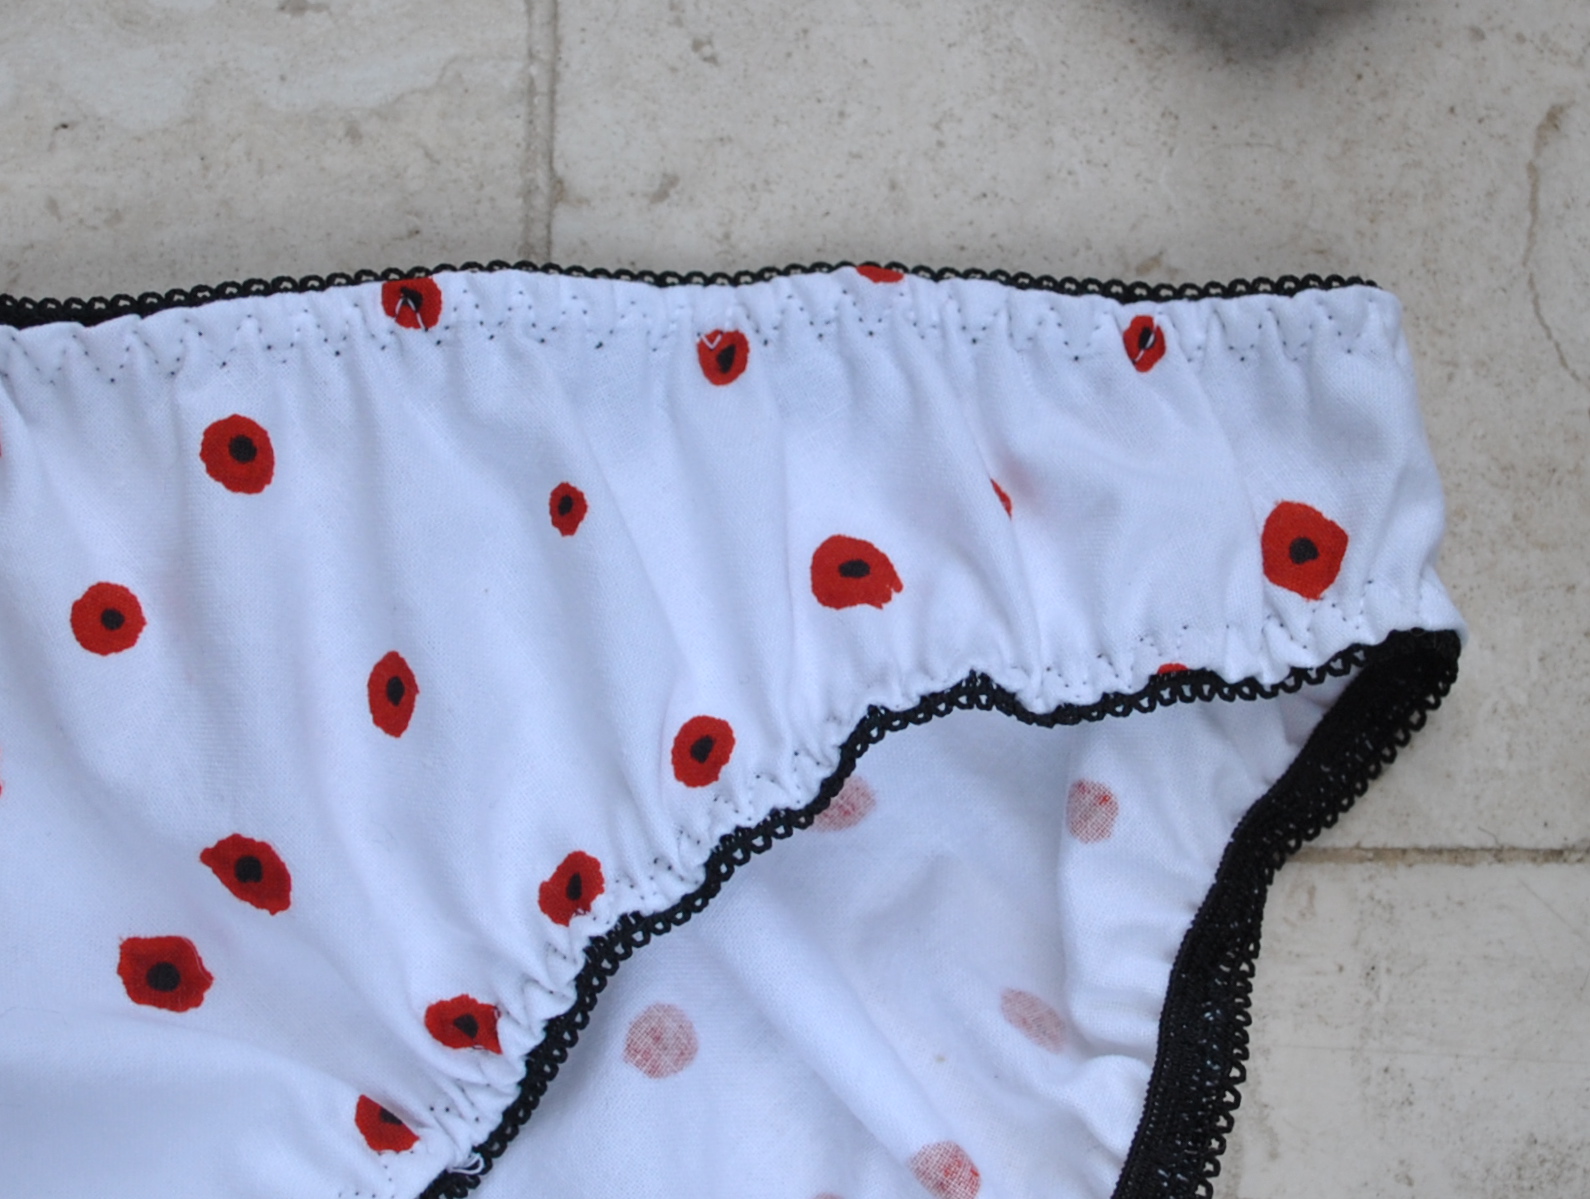
The two pairs of matching knickers are based onThe Makers Journal Tried & True, the third and fourth times I’ve used it, and I’ve altered this pattern too to suit my personal tastes.  The first time I made it pretty much to pattern, the second and subsequent times I have made it to have a more substantial liner (as illustrated here), to be less high-rise, to scoop in at the front leg more, and to scoop out at the back leg more to give more bottom coverage.  These are small alterations but even 1cm makes quite a difference when you’re wearing them.  The closest I have made to the original pattern is the pair pictured on the far right in this post here.

Details:
Bra; KwikSew 3300 modified for woven fabric as specified here, screen-printed white cotton, my review of this pattern here
Matching undies; The Makers Journal Tried & True, modified, my review of this pattern here

pinterestmail

Liberty and crochet set


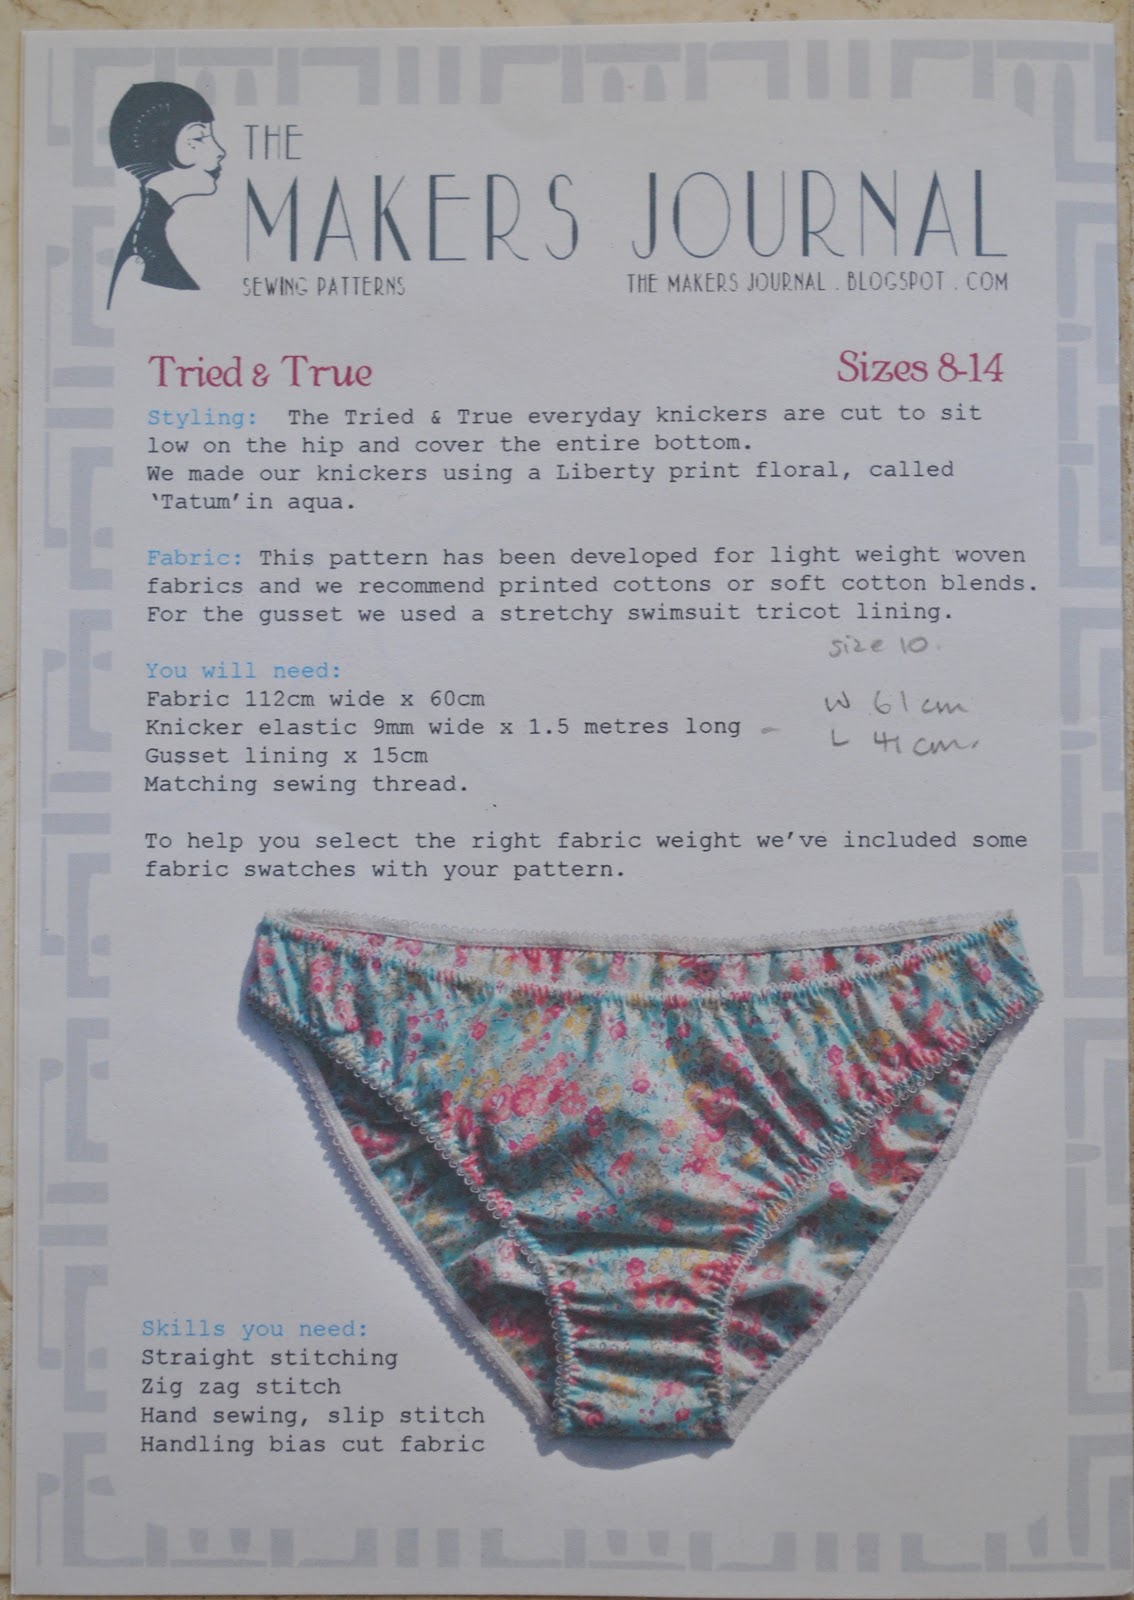
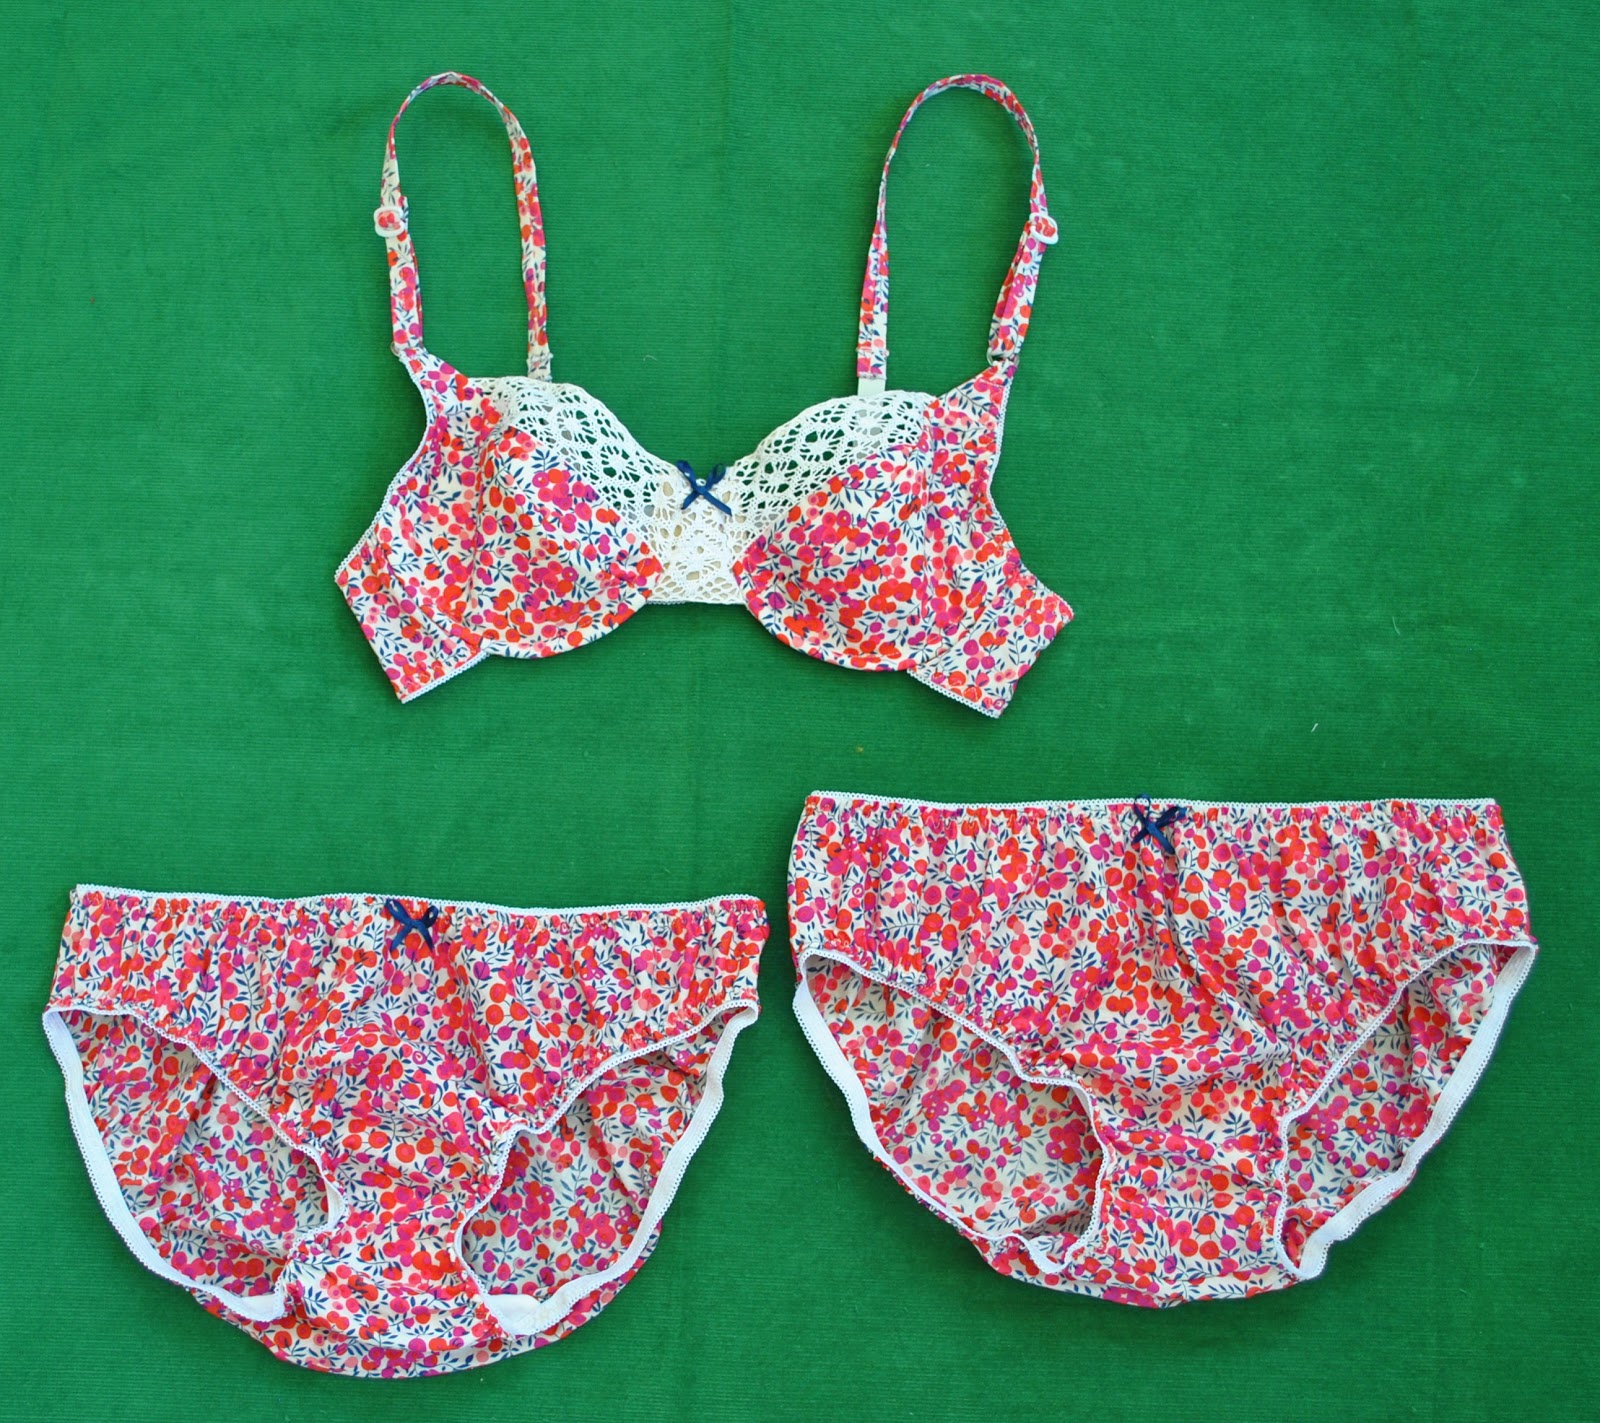
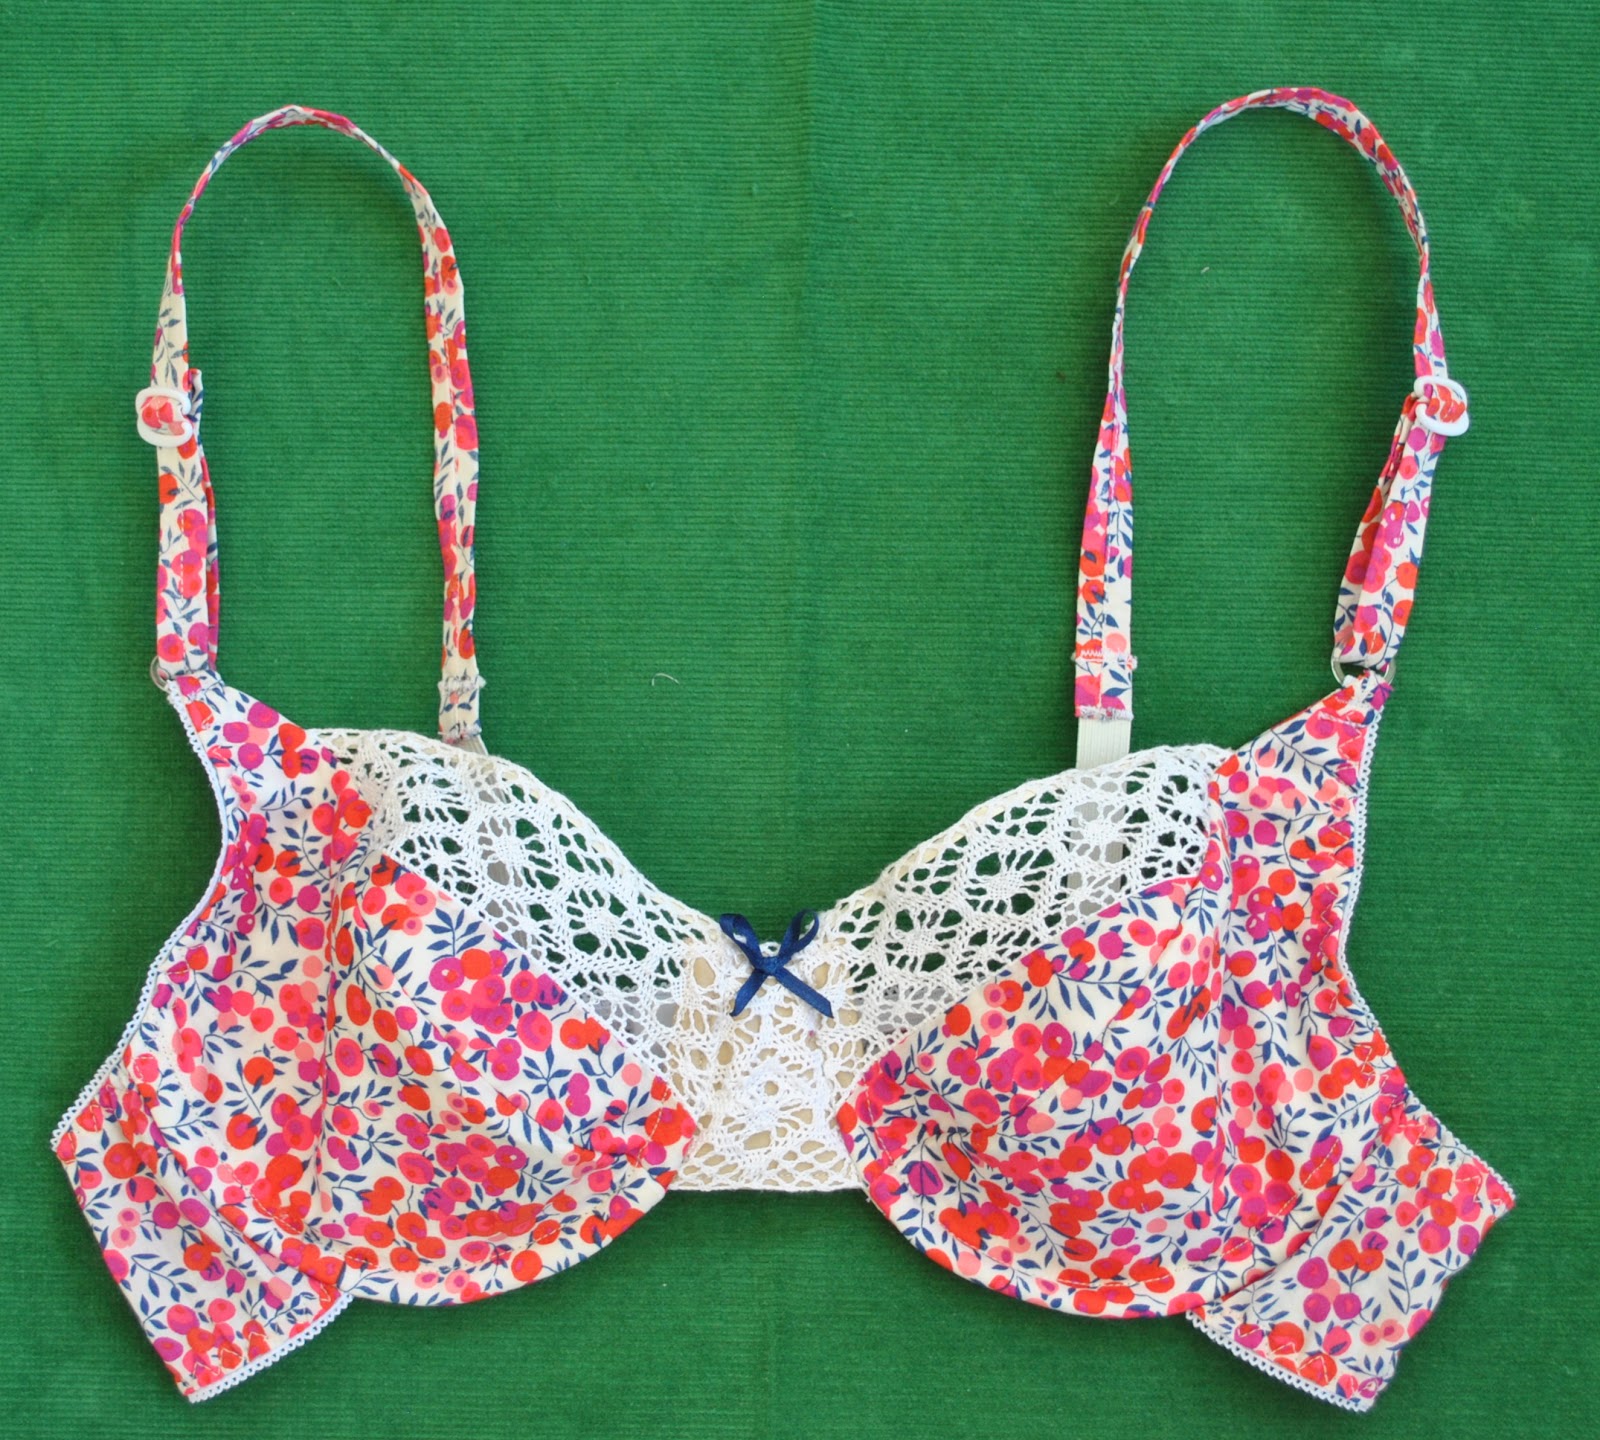
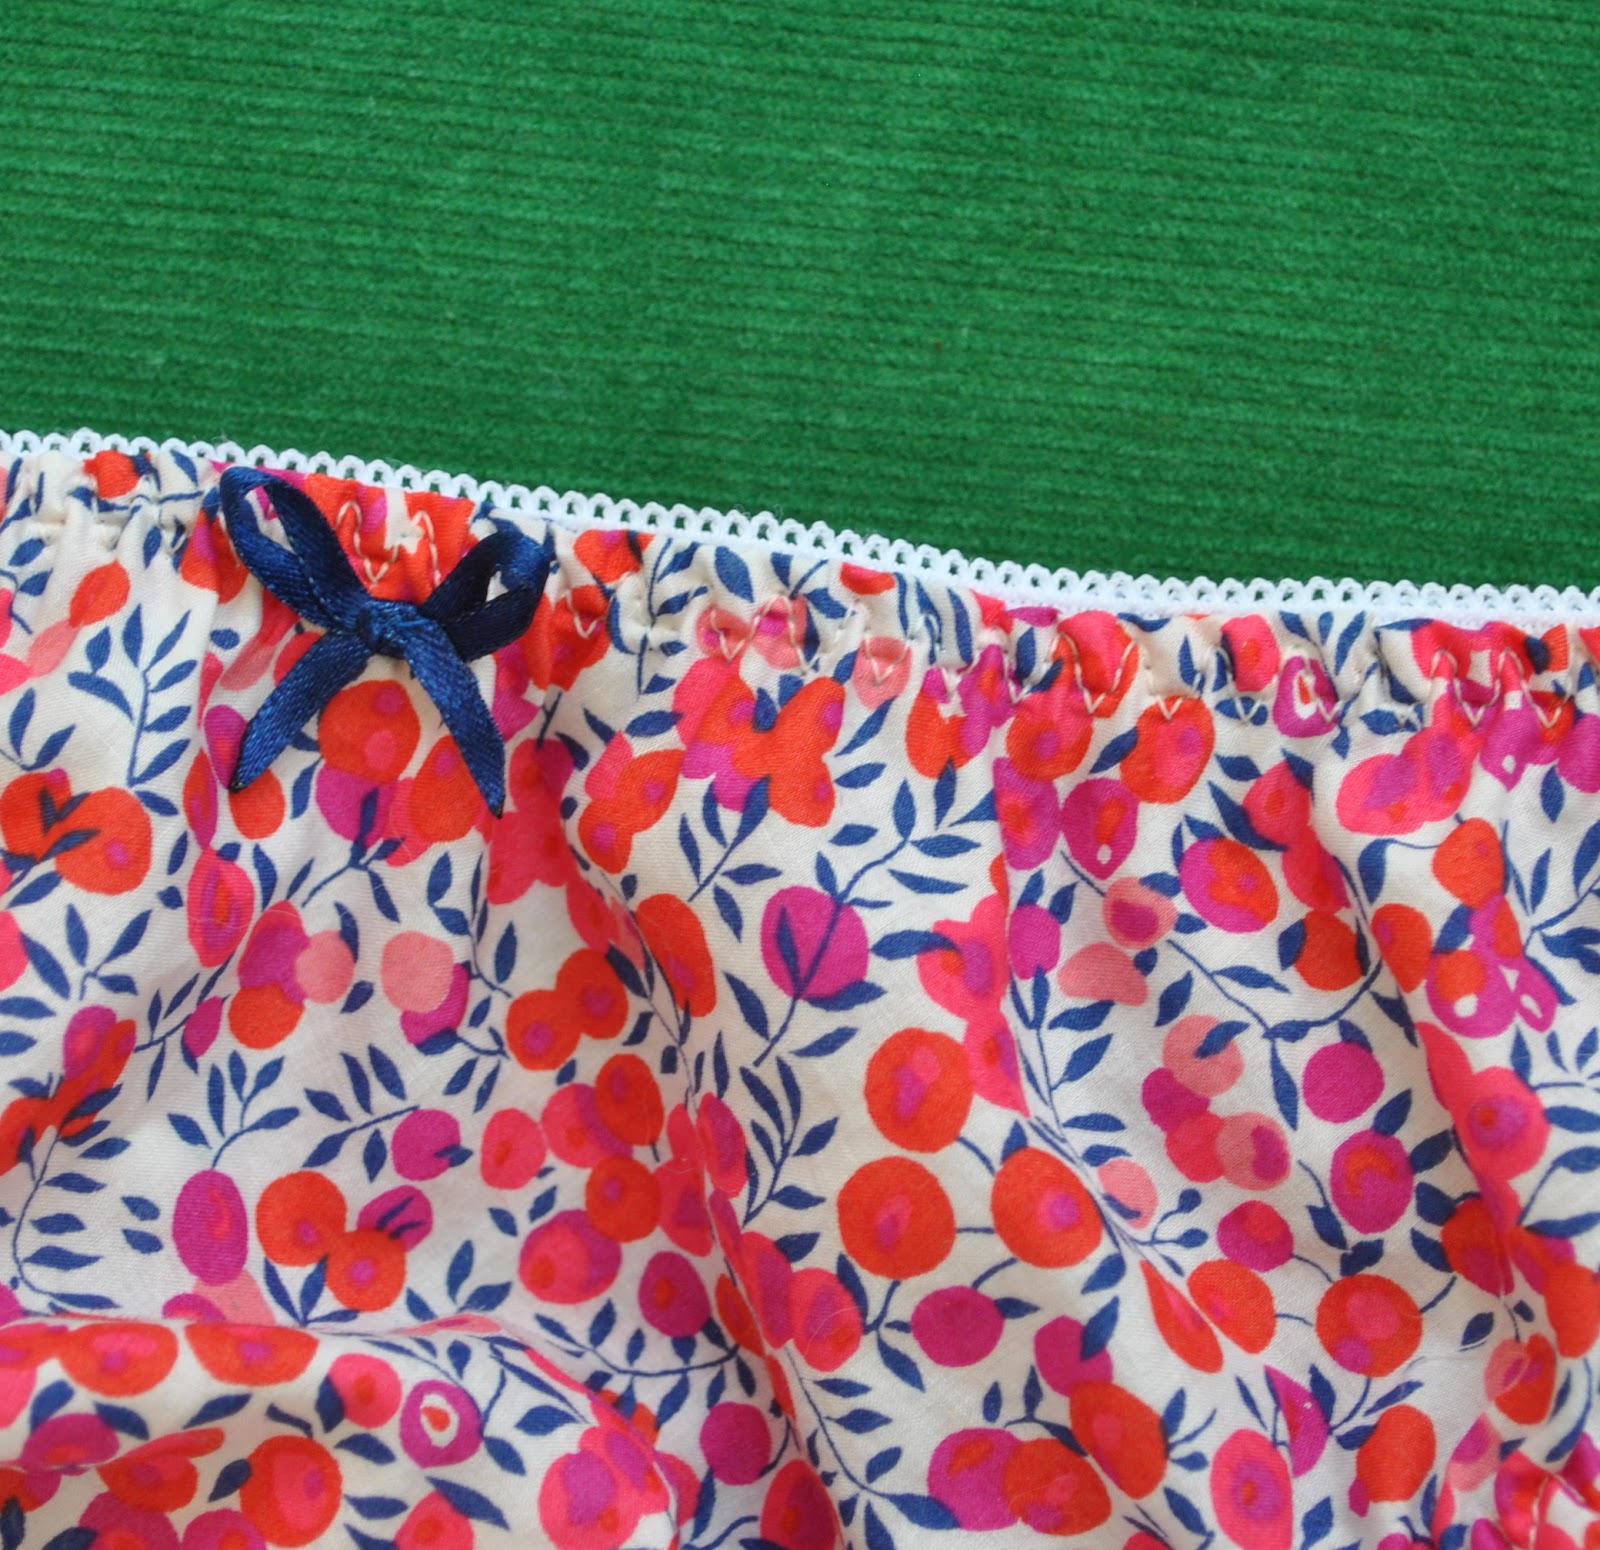
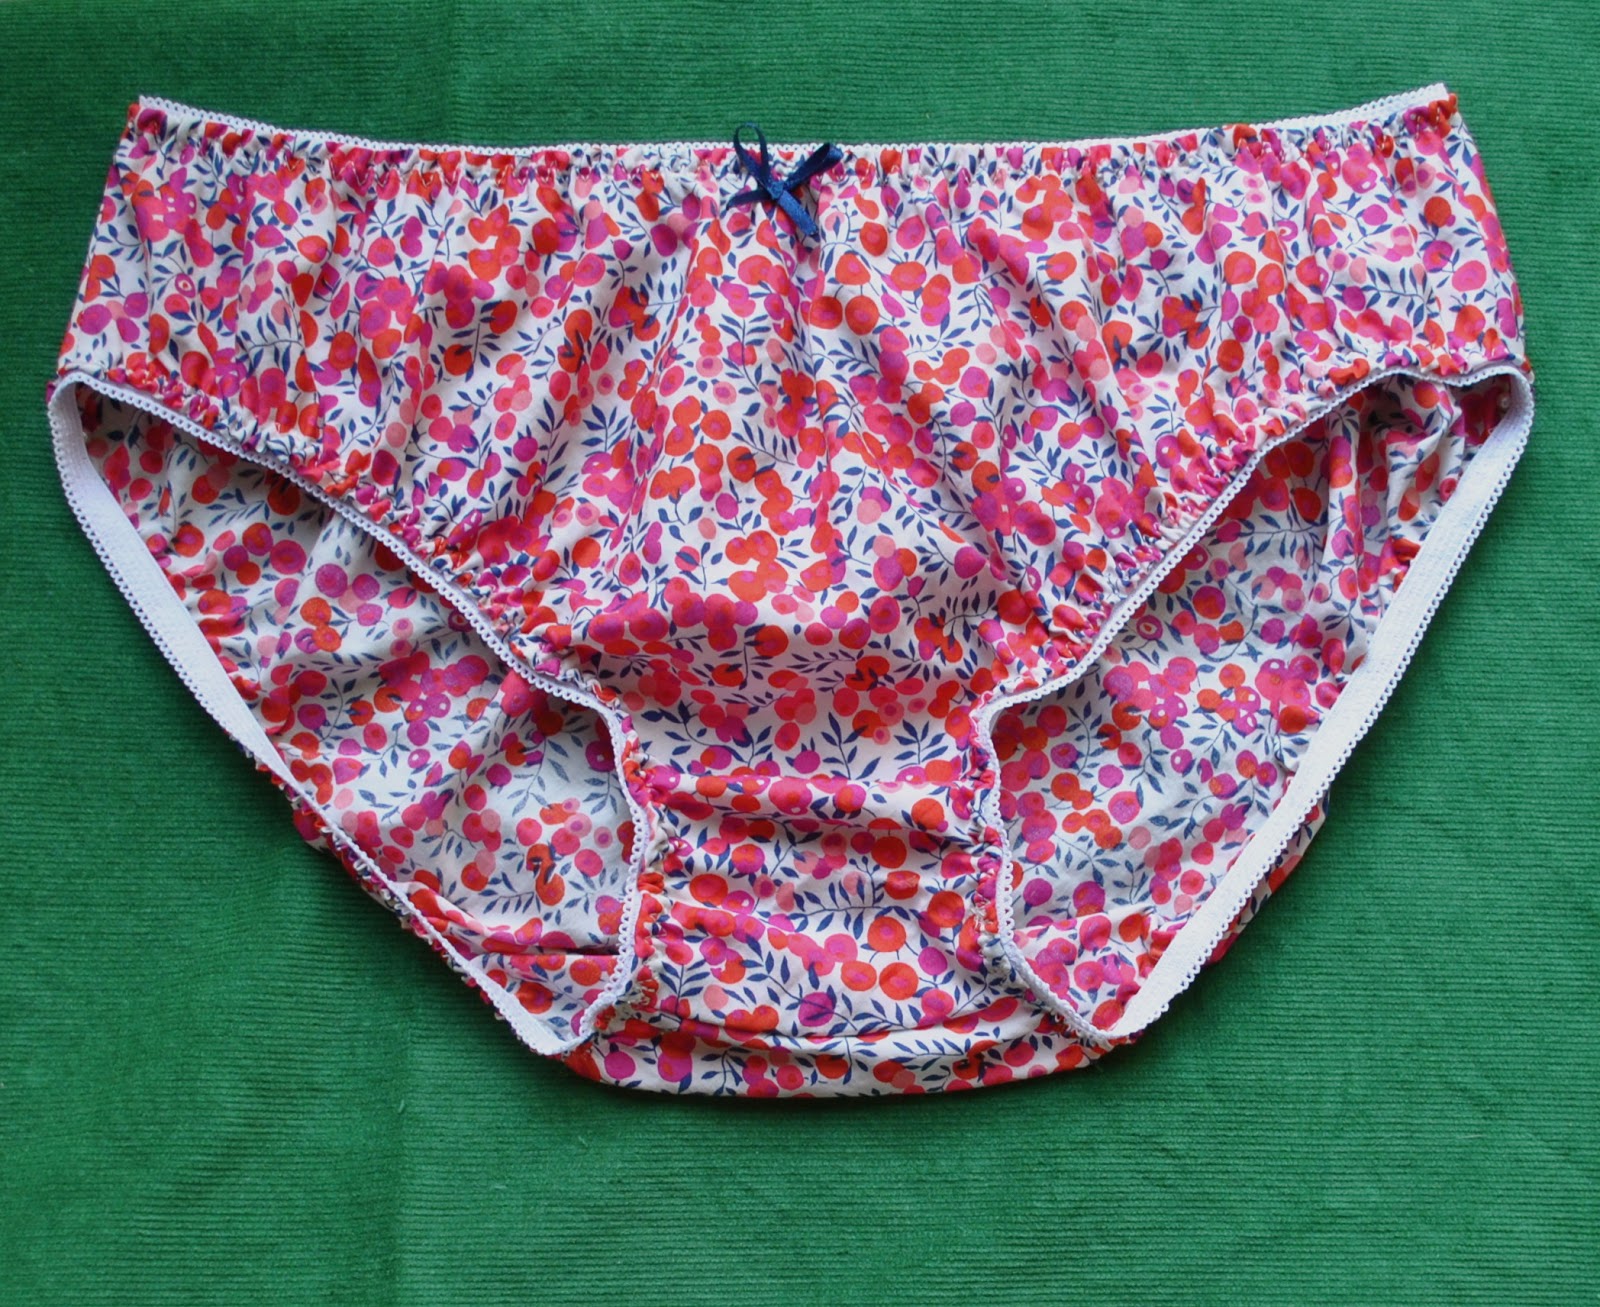
This is my new lingerie set, made in Wiltshire Liberty tana lawn, colour Cranberry.  I bought the fabric from Tessuti’s in Melbourne whilst we were there last year, along with the Maker’s Journal Tried & True knickers pattern.  This pattern is also available directly from the designer here.
The bra is a slightly modified version of KwikSew 3300; modified to take into account the fact that I’ve used a non stretchy woven fabric.
I’ve been dying to have a go making Liberty lingerie ever since I spotted the knickers pattern but have been nervous to adapt my bra pattern, at least until I had a bit more lingerie experience under my belt.
btw, readers might like to know that 60cm of Liberty lawn easily makes one 34A bra plus two pairs of size 10 knickers.  And there are scraps aplenty left over to make adorable little pot pourri pouches and things like that, if like me, you are not the type to throw away even the smallest scraps of fabrics as precious as Liberty.

I’ver written a review of the pattern below… but all you need to know is that I absolutely love these knickers!  They might look a bit bunchy and granny-like when pictured off-the-body, but seriously; these are the very definition of cute when they are on and particularly if you have chosen a fresh pretty print like this.  And, surprisingly for un-stretchy undies; very very comfy.
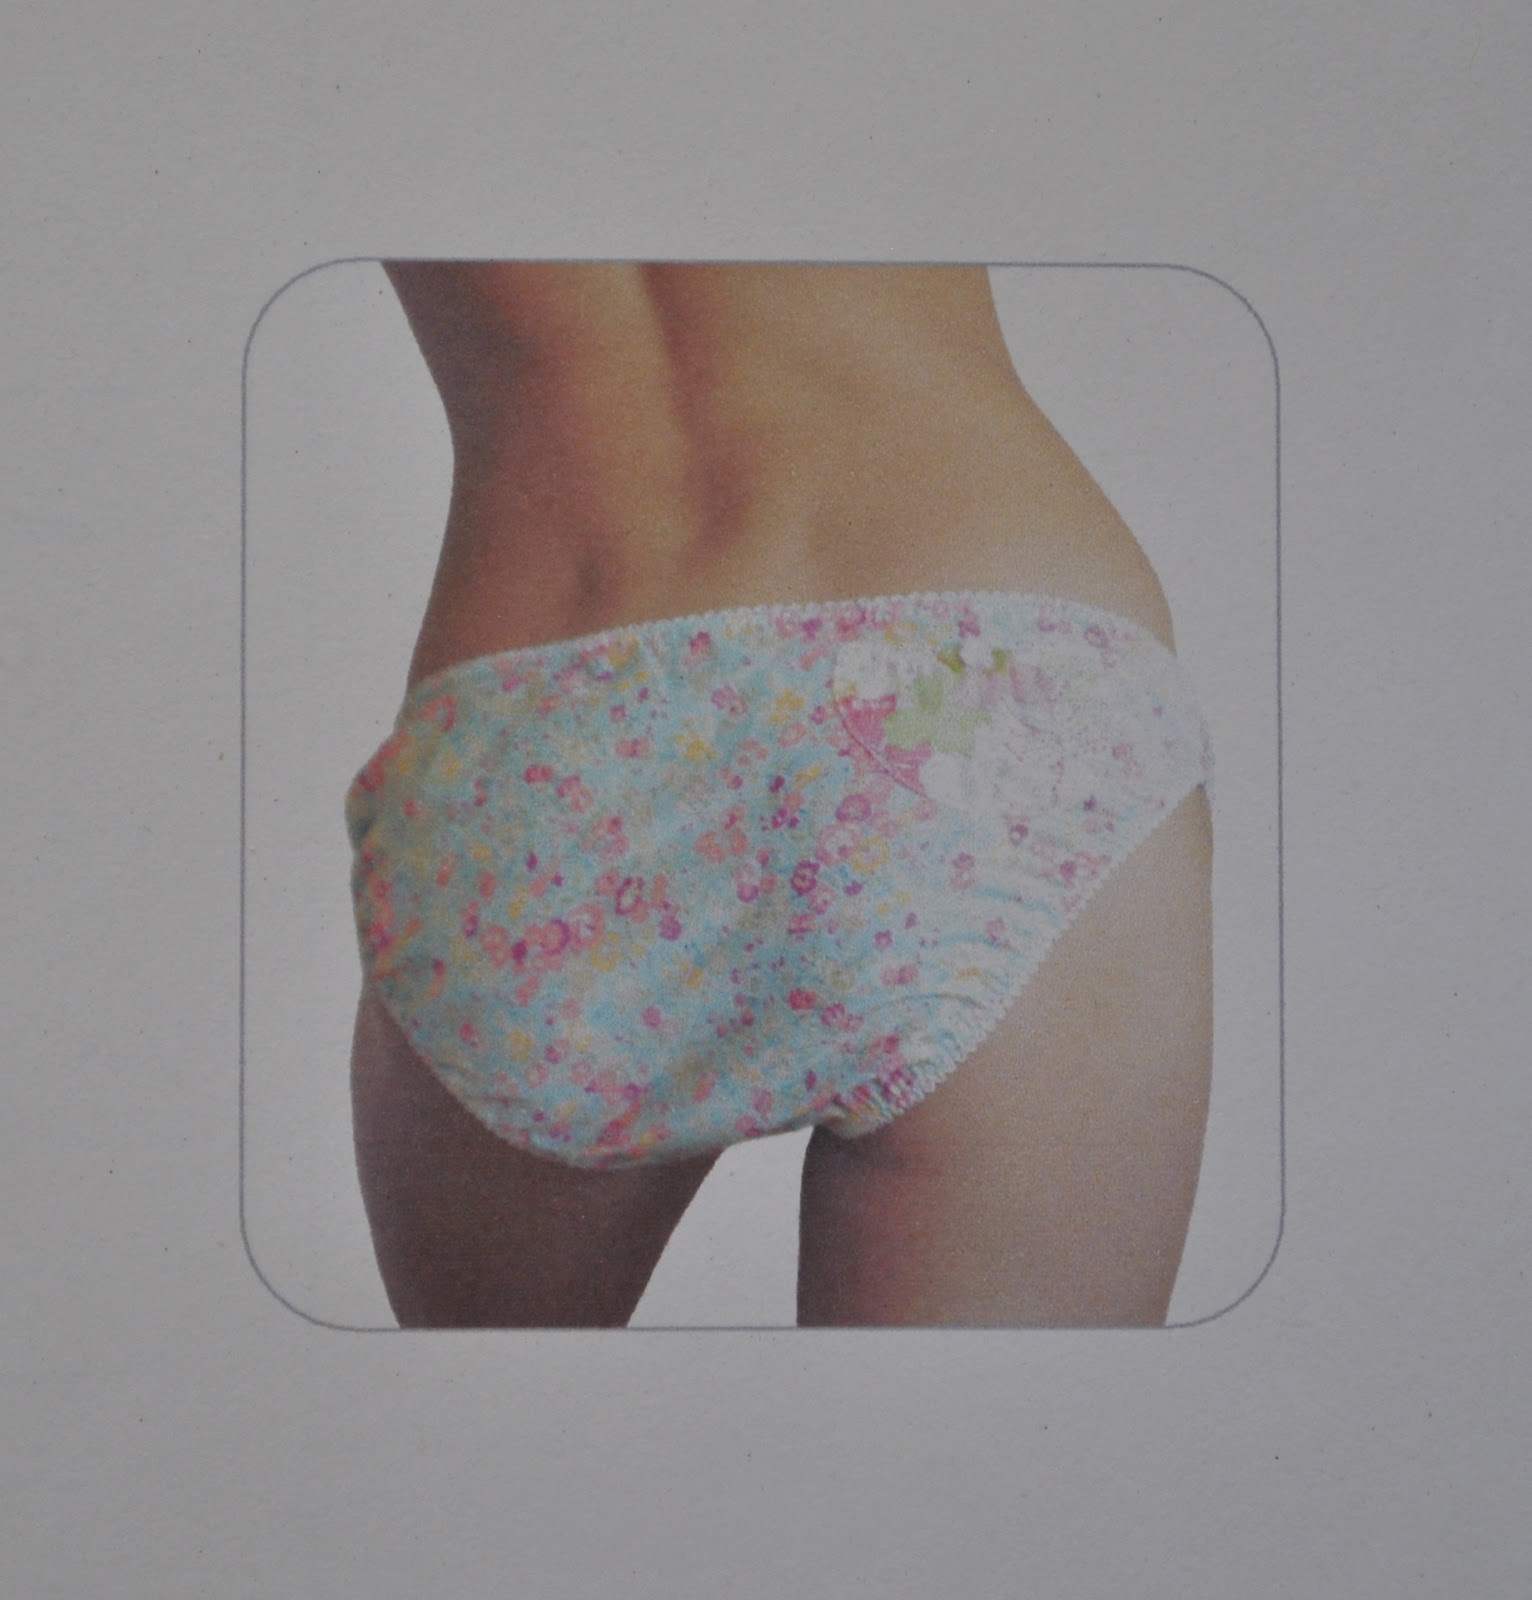
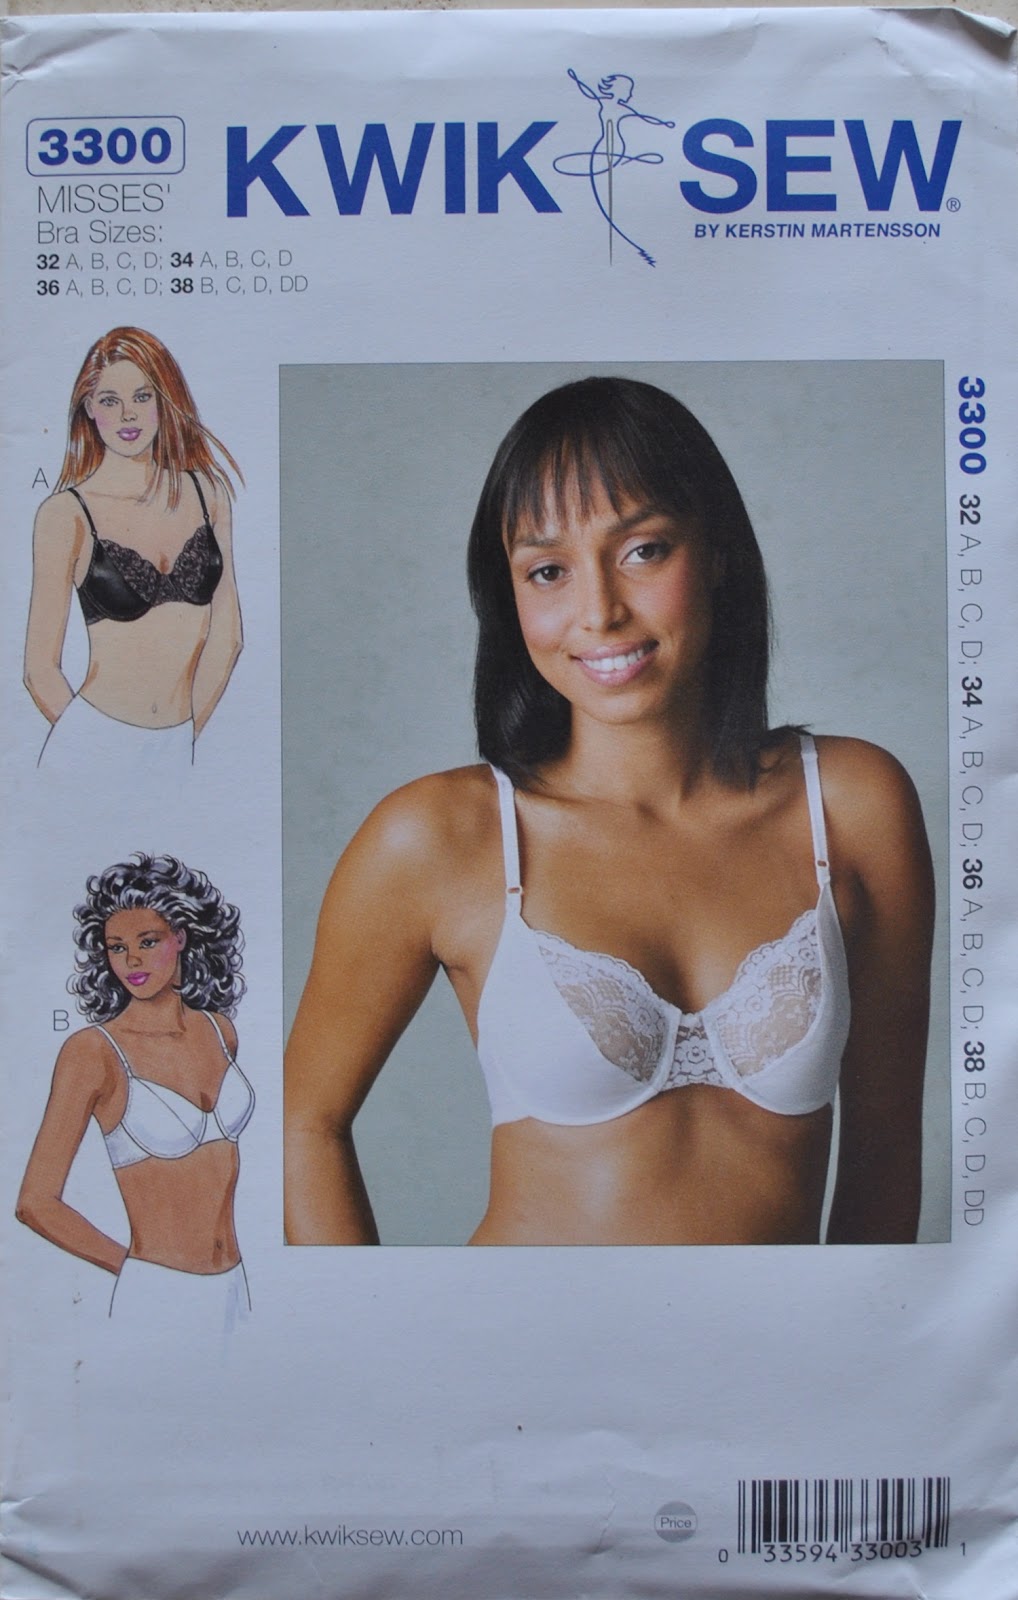
This piccie below is not of me but is the model pictured on the pattern envelope.  But naturally my derriere looks just like this too …

 ;D
They are super easy to make.
I did make a knickers muslin.  Anyone who knows me will realise how slightly earth-shattering this is… but well. we are talking about Liberty here.  Hello??  This stuff is expensive.  Beautiful, but expensive!  But hey, you’re worth it, right?
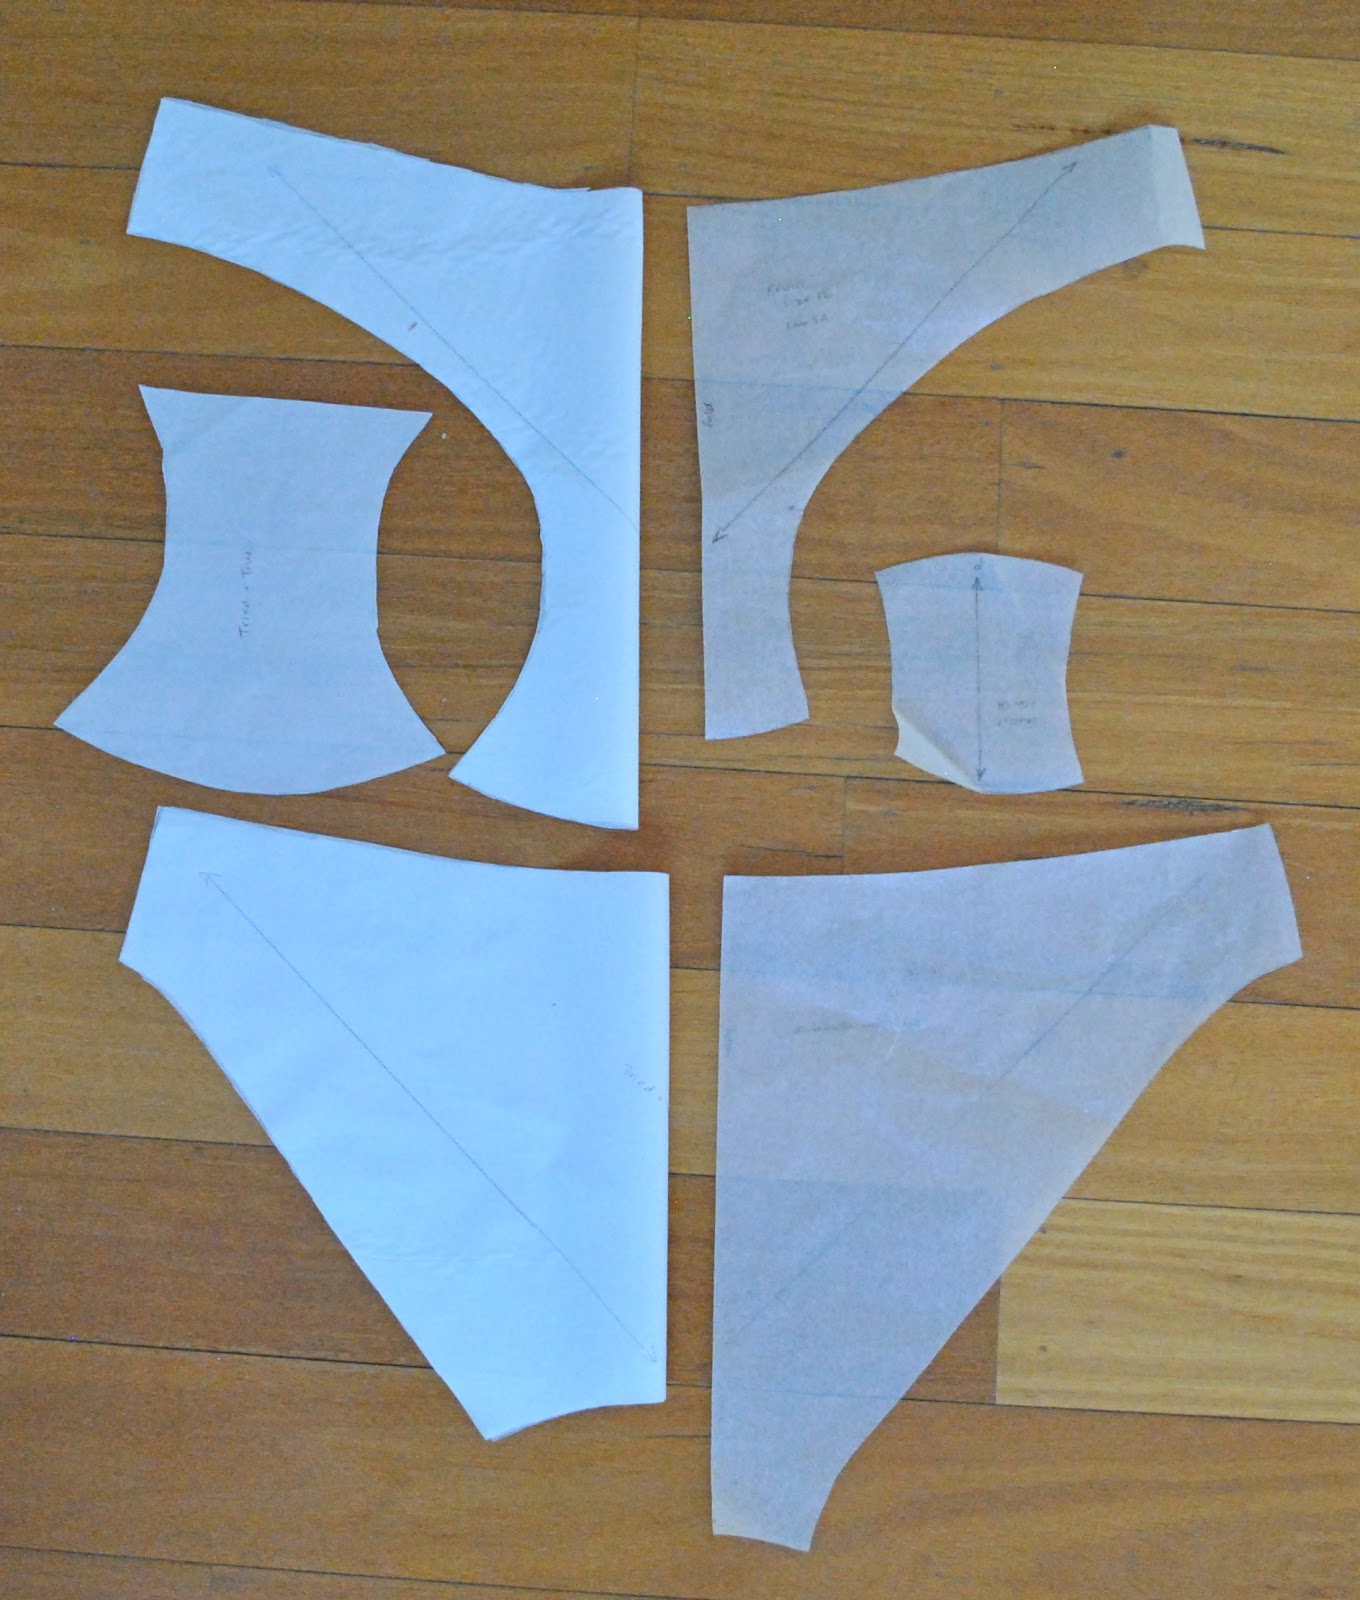
I made teeny adjustments to the pattern to fine-tune fit.  I also re-drafted the front and the back to have a longer crotch from the front, and accordingly reduced the crotch length in the back.  This allowed me to install a much more substantial panty liner.  That’s just a personal preference not necessarily a critique of the pattern.

Above: at left; the amended pattern with altered crotch position and a longer panty liner: at right is the original pattern.  With fair dinkum miniature panty liner.  btw; trace the pattern then flip over to trace the other half to get a full back and full front, I did this for my amended pattern and it is much easier to get an efficient layout on the bias!

The bra:
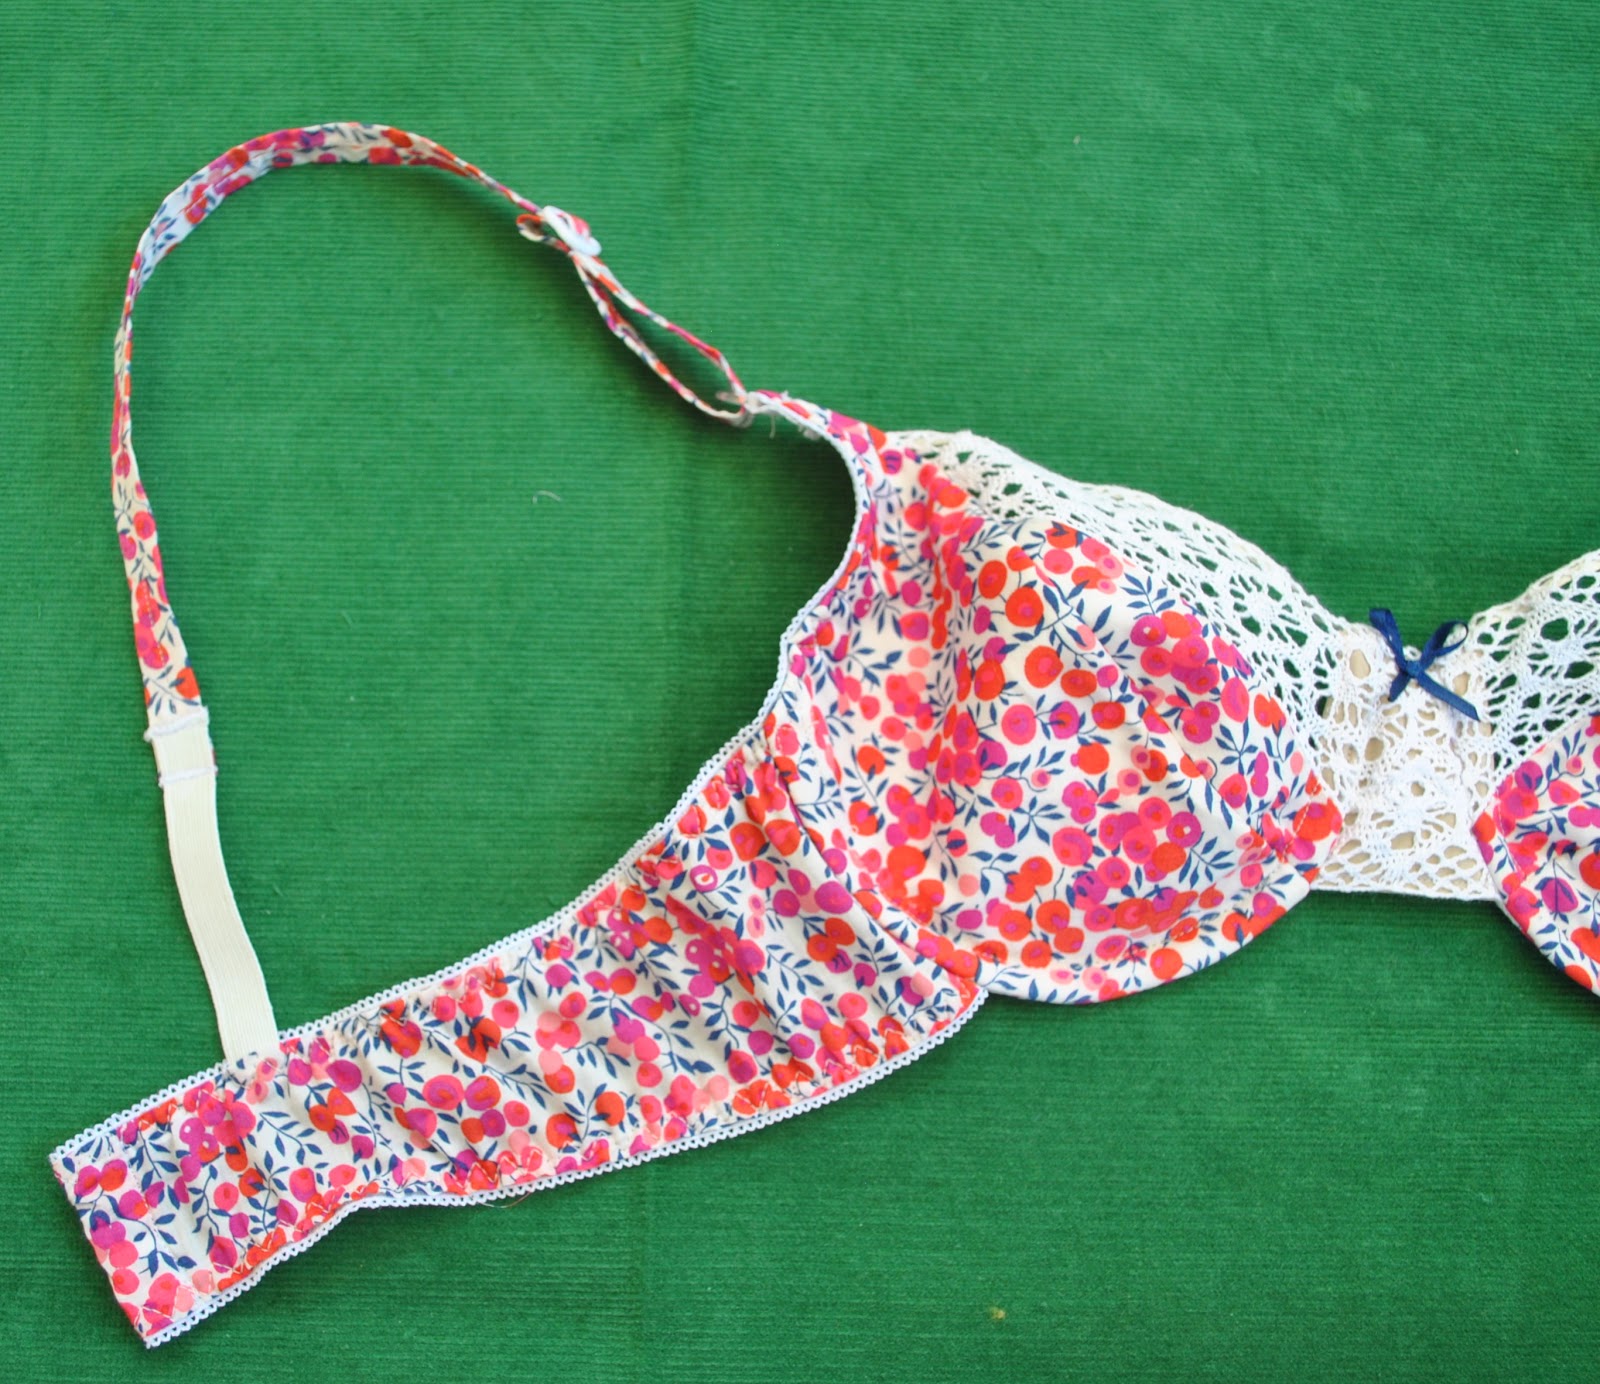
It’s actually pretty easy to adapt the KwikSew pattern to work in non-stretch fabrics too!  An underwired, cotton voile muslin worn for an hour about the house taught me that the stretch factor in a bra is best situated nearly all around at the back and only a small proportion of wearing ease is necessary at the front.  I found I like the front of my bras to be quite firm and structural, and using non stretch fabric here works well… but you do need some stretch and wearing ease at the back.  So I made a modified 34A and lengthened the back bands by roughly 4cm each at the centre back; and used the same lengths of lingerie elastic as recommended in the pattern, pinned in quarters, then gently stretched to fit whilst sewing to the lawn.

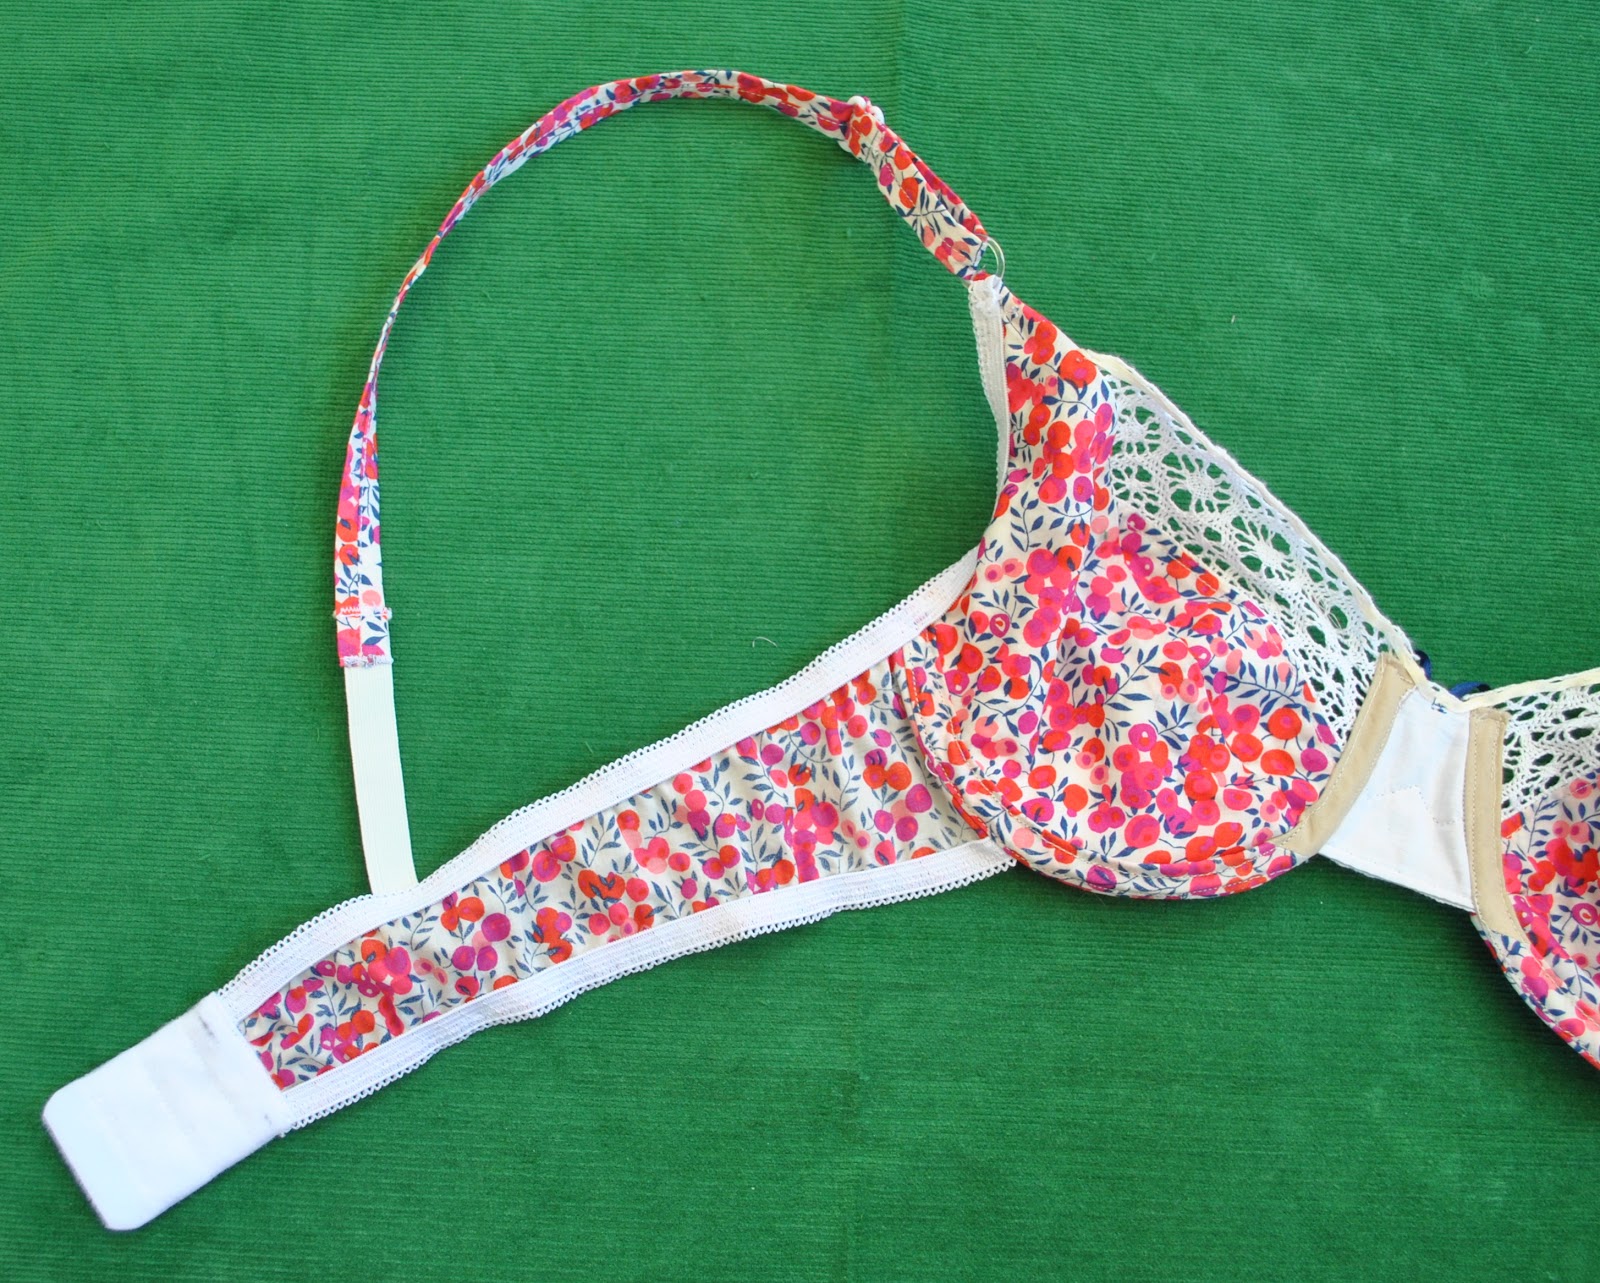
Above; the lengthened bands with the same lengths of lingerie elastic as stipulated for a stretch band… see, it doesn’t look too oddly puckered.  While I am wearing it, the bands have a gently gathered appearance; obviously some gathering is necessary to avoid putting strain on this delicate fabric.

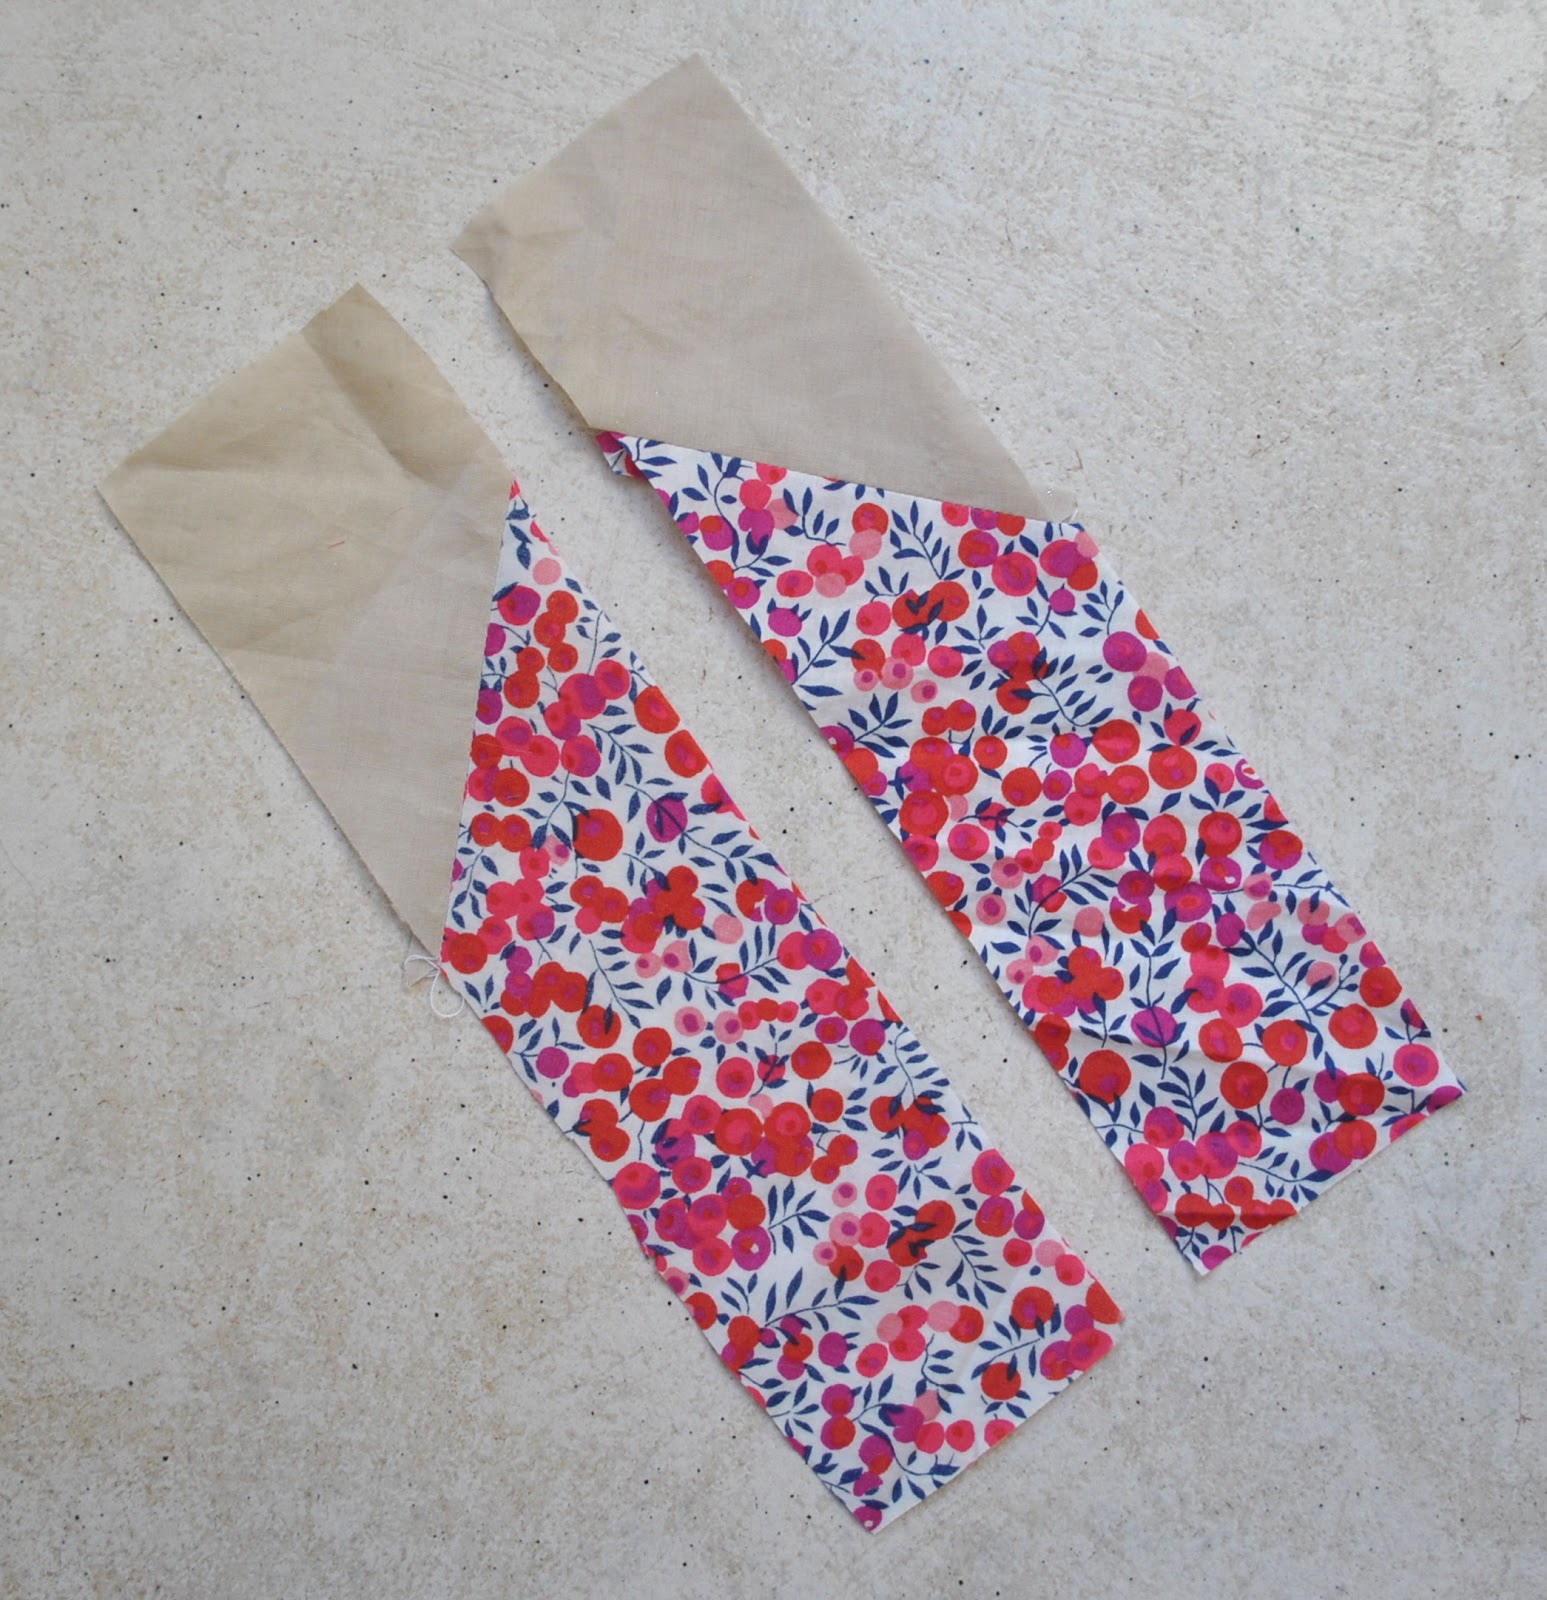
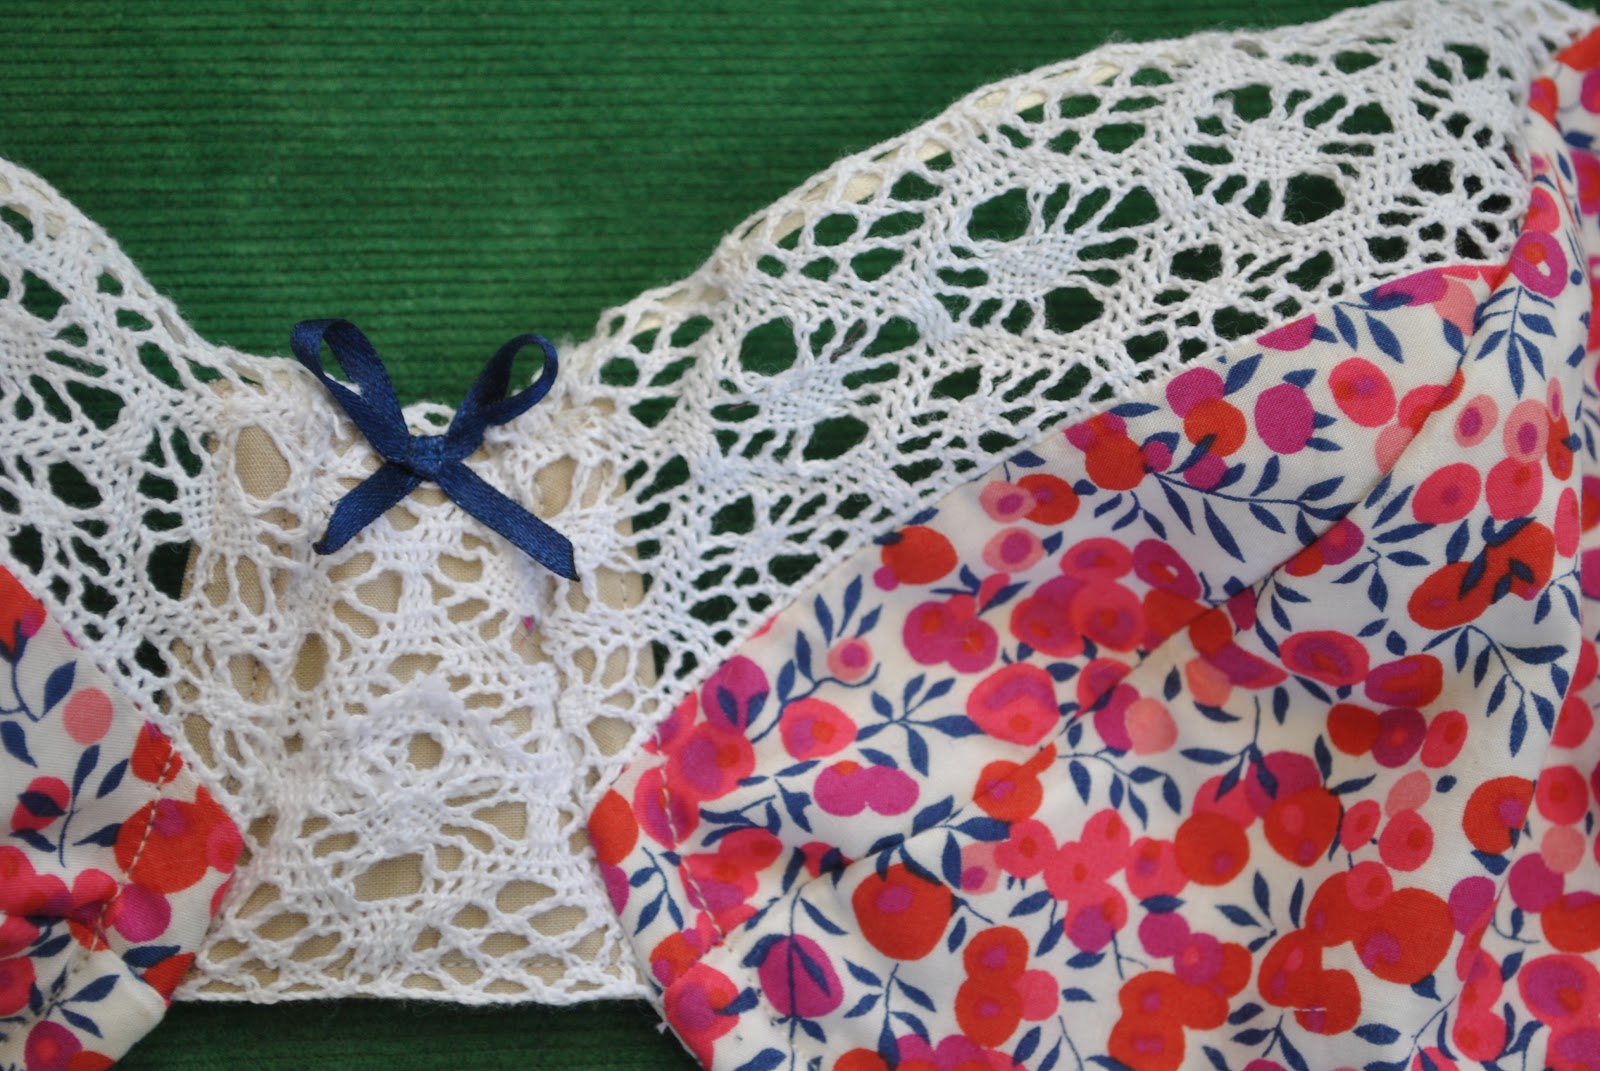
I wanted the fronts to have something white and lacey and not be all solid Liberty, so found some crocheted lace, another long term resident in my lace box.  I backed the lace centre front piece with beige voile leftover from this top, which is kinda invisible against my skin.  The obsessive in me demanded that I construct my underwire casings like so…

so that on the insides of the bra the underwire casing is camouflaged as much as possible
 and there is no bright Liberty peeking through the lace from the right side of the bra whilst it is being worn.

A layer of white cotton jersey knit of a low stretch factor is sandwiched between the Liberty cups and facings; for a small degree of padding.  The edges of the padding pieces are abutted hard up to the stitching lines and hand-basted to the stitching, before machine stitching inside the edge, to the seam allowances.  This ensures the thicker jersey edges abut each other but with no overlapping which would create “ridges”, and no gaps which would create a “ditch”.
The shoulder straps are stabilised with iron-on interfacing and topstitched down the centre lengthways, and the stretch factor is provided by satin stitching a length of ordinary braided elastic to the back lower ends.
I chose a narrow, navy blue satin ribbon to make little decorative bows for the set.  This picks up the tiny navy blue touches in this very pretty print.

So; the theme for February’s stash-busting is Love!  I’m thinking this luvverly, sorta Valentine-y set fits the bill quite well, don’t you??

Details:
Bra; KwikSew 3300, Liberty tana lawn and cotton crochet, my review of this pattern here
Knickers; The Maker’s Journal Tried & True knickers; Liberty tana lawn

Pattern
Description:

This pattern is by The Maker’s Journal.
Everyday knickers; cut to sit low on the hip and cover the entire bottom.  This pattern has been developed for lightweight woven fabrics.
Pattern
Sizing:

Australian sizes 8-14 (hips 88cm-108cm); I cut the size 10
Did
it look like the photo/drawing on the pattern envelope once you had finished
sewing it?

Pretty much.
Were
the instructions easy to follow?

The instructions are a bit simplistic; if you know how to attach knicker elastic already then you will be fine.
What
did you particularly like or dislike about the pattern?

The fact that this pattern is for woven fabrics is marvellous, opening a whole new world of lingerie in Liberty.  I love that they are regular bikini knickers; and do not look baggy like bloomers or boxer shorts.  They look like real knickers.  As well, these are really very very cute!!
The panty liner piece was too tiny for my tastes, and I modified the pattern to allow a more substantial one.
The required lengths of elastic for legs and waist are not provided with the pattern and you have to visit the company blog to find out how to calculate this information.  Basically; it’s the measurement of the openings, minus a third.

Kinda oddly, the instructions did contain directions on how to attach a patch pocket onto your knickers.  Yep.  It outlines how to sew a patch pocket to your undies, but nothing on the measurements of knicker elastic, and how to attach the same.  Hmmm, interesting priorities there…

Fabric
Used:

Liberty tana lawn, cotton jersey for the gusset

Pattern
alterations or any design changes you made:
I lengthened the crotch on the lower front and accordingly shortened the crotch on the back.  This allowed me to install a much more substantial panty liner.

Would
you sew it again? Would you recommend it to others?

Definitely, I will be sewing this one again and again and again!  I do
recommend this pattern to others.  Just bear in mind that the elastic measurements are not provided and you have to MYO  (measure your own)  
Conclusion:
I love it!!   I will use this pattern over and over again; no doubt about that.  I do love Liberty prints, but the cost of them here is prohibitive.  Being able to run up a pretty lingerie set in this very lovely stuff is the perfect way to add a touch of Liberty prettiness to your life, in a very wearable and useful form; without breaking the bank.  I’m happy!
pinterestmail

Blue marle jersey and creamy lace set


I’m very happy with this latest set, I just feel like I am getting happier with each one!
The bra is made using KwikSew 3300 (my review of this pattern here), the undies with lace across the top are my old faithful McCalls 2772, and the other pair with the two diagonal strips of lace are from a pattern copied from a rtw pair.
The latter is very cute, it fits somewhere between a bikini and a boy-leg style, a hybrid of the two.  The construction was a bit more involved than the McCalls bikini but it’s nice to have some variety.  I really liked how the back leg edge is on the fold, a bit different and a really interesting feature.
The set is made from a blue marle cotton-mix jersey (leftovers from this hoodie) and a lovely creamy lace, with creamy yellow lingerie elastic throughout and cream satin ribbon bows for decoration.  The lower bra cup is lined with a thick-ish, stable, non-stretchy knit (leftovers from this skirt), and the bra centre piece and underwire casings were made with lightweight beige cotton voile (leftovers from this top)
The bra sewalong organised by Amy has been absolutely brilliant! If you are new to sewing lingerie I highly recommend checking out her detailed posts on construction.  Her passion for lingerie is sincere and very inspiring!  I’ve been keeping up with everyone’s fitting stories on the Flickr group, and the advice and tips given have been invaluable.

The nitty gritty about my bra; this will be of interest to my fellow lingerie nerds only….

This is the sixth time I have made up the KwikSew pattern, and the first time as a 32A and without a moulded cup insert.
I lined the lower cups with a thick-ish, stable, non-stretchy knit; overlapped with and then sewn to the seam allowances..  This gives a bit more needed oomph to that flimsy blue jersey fabric..
The straps: usually I go with a plain, non-adjustable bra strap relying on the stretch inherent in the fabric to provide the ease factor….  (did someone just say “slacker!“?)  this time I followed the instructions and interfaced the straps, then satin-stitched a piece of elastic to the lower back ends to allow for the stretch.  Here’s where things get creative…. my elastic options (and well, everything else too) are kind of limited here in Perth but I do still want to stubbornly but loyally support my local shops.  My lace is a lovely ivory creamy colour so I chose the “skin tone” lingerie elastic to go with it.  But the lingerie elastic is not very heavy duty on its own and I worried it would not stand up to strains of bra strap duty.  So I zig-zagged a strip of more heavy-duty, braided 8mm white elastic to the back.  This provides hidden strength, and the colour from the right side still matches everything else in the set.
The straps are adjustable… and if there is one thing I’m super disappointed about it is that the only sliders I could get are pure white… not happy, Jan!  To my eye they stand out like a sore thumb.
For the same reason (limited colour choices) I had to choose a one-hooked, hook and eye closure; this being the only size available in cream.  I’m actually fine with that, not being of a figure type that needs heavy-duty support in the chestal region, ahem.  At least the colour matches!  I just trimmed the back pieces to fit.
I cut the centre piece backing and the underwire casings from small scraps of beige voile, and yes, I did obsessively switch between blue, beige and white thread so that the stitching matches the fabric.

I used cream-coloured satin ribbon to stabilise the lace upper cups, the same ribbon that I used for the decorative bows on all three items.

pinterestmail

Sweet nothings

Recently I received the Very Inspiring Blog award from pdiddly, janessewandtell and also from EmSewCrazy, thank you so much Pauline, Jane and Emily!

But I just had to laugh a little bit…  my 2012 round-up post attracted a comment, Anonymous of course, that read something like this…

Congratulations.  I think your blog is the most up your own ass (sic) blog I’ve ever come across.

My typical knee jerk reaction is to spam those mean-spirited comments, only now I wish I hadn’t because in retrospect it’s kind of hilarious, isn’t it?  Maybe I should make up a button and all.  Except I have absolutely zero skills in the button-making department.  Would anyone like to receive that blog award?  😀

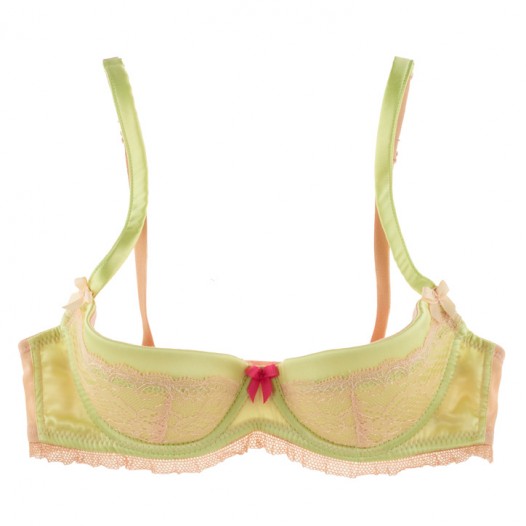
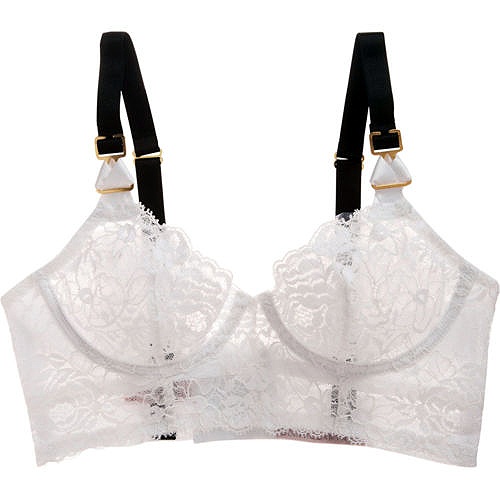
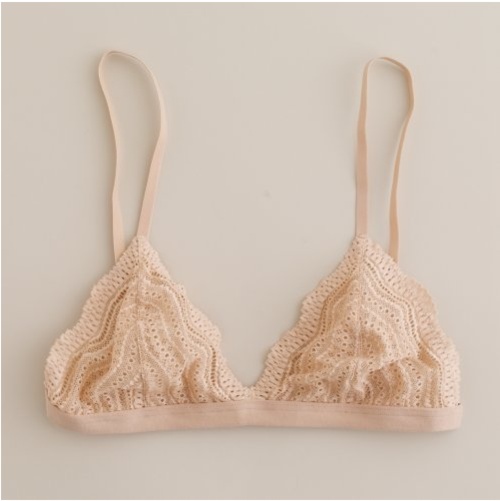
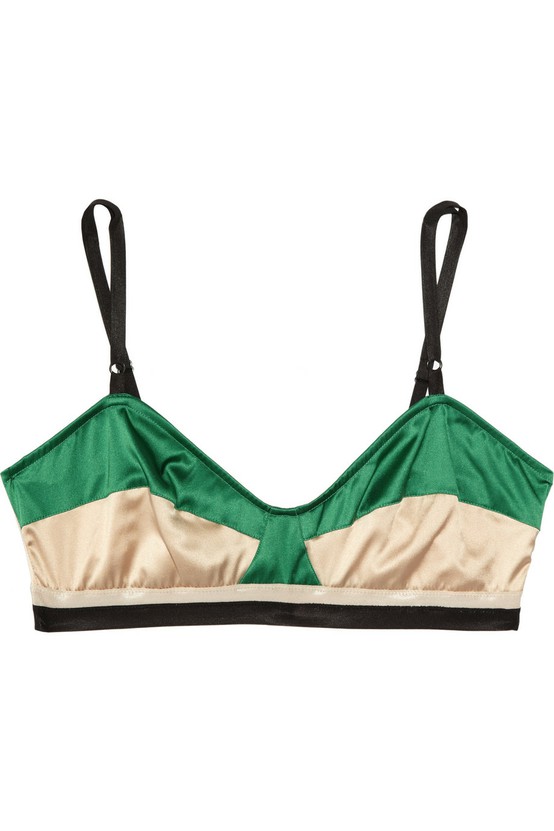
Anyways; inspiration, inspiration… now I do know you’re supposed to write stuff about yourself here, but: well since I am taking part in the cloth habit Bra-sewalong masterminded by Amy at the mo’ my brain is stuffed full to overflowing with thoughts of lingerie! and I thought I would share with you some of my current favourite inspirations instead… some colourful and funky, some cute, some eclectic, some ethereally beautiful, all have something to give one some great ideas, yes?

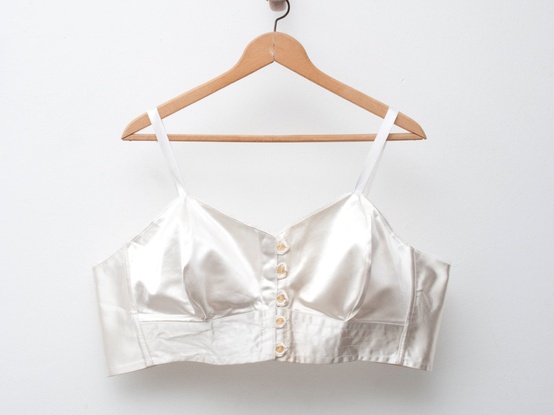
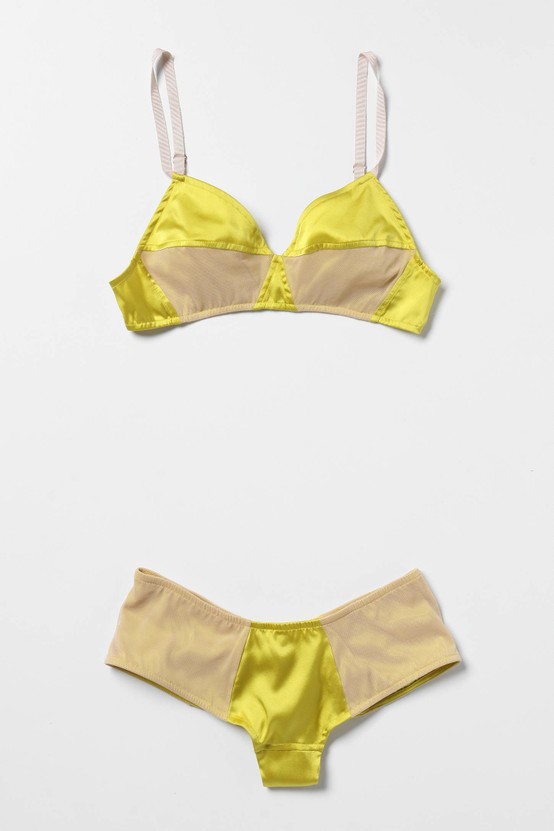
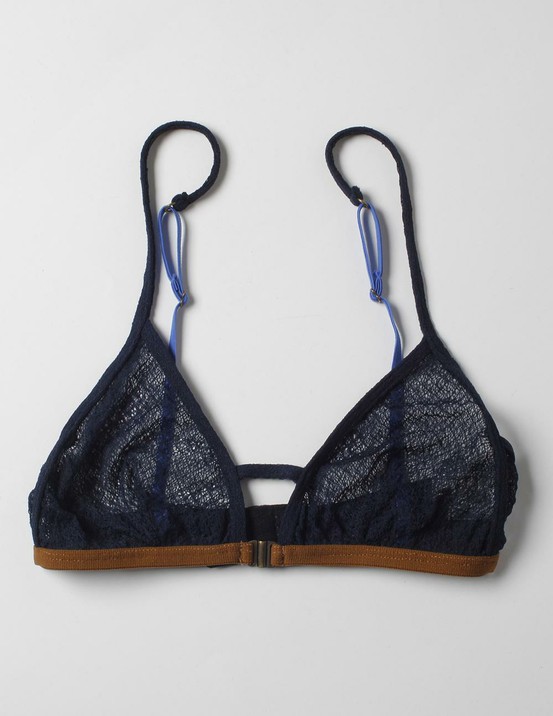
Orange – custom tailored lingerie; source
Mimi Holliday, source
VPL source
Stella McCartney, source
source not found
Marni source
source not found
anthropologie, source
Roseanna, source not found
If you haven’t yet; do these lovelies inspire you to attempt your own lingerie??
I am passing the Very Inspiring blogger award onto:
I have been making some weird looking things… not very inspiring stuff I’m afraid.
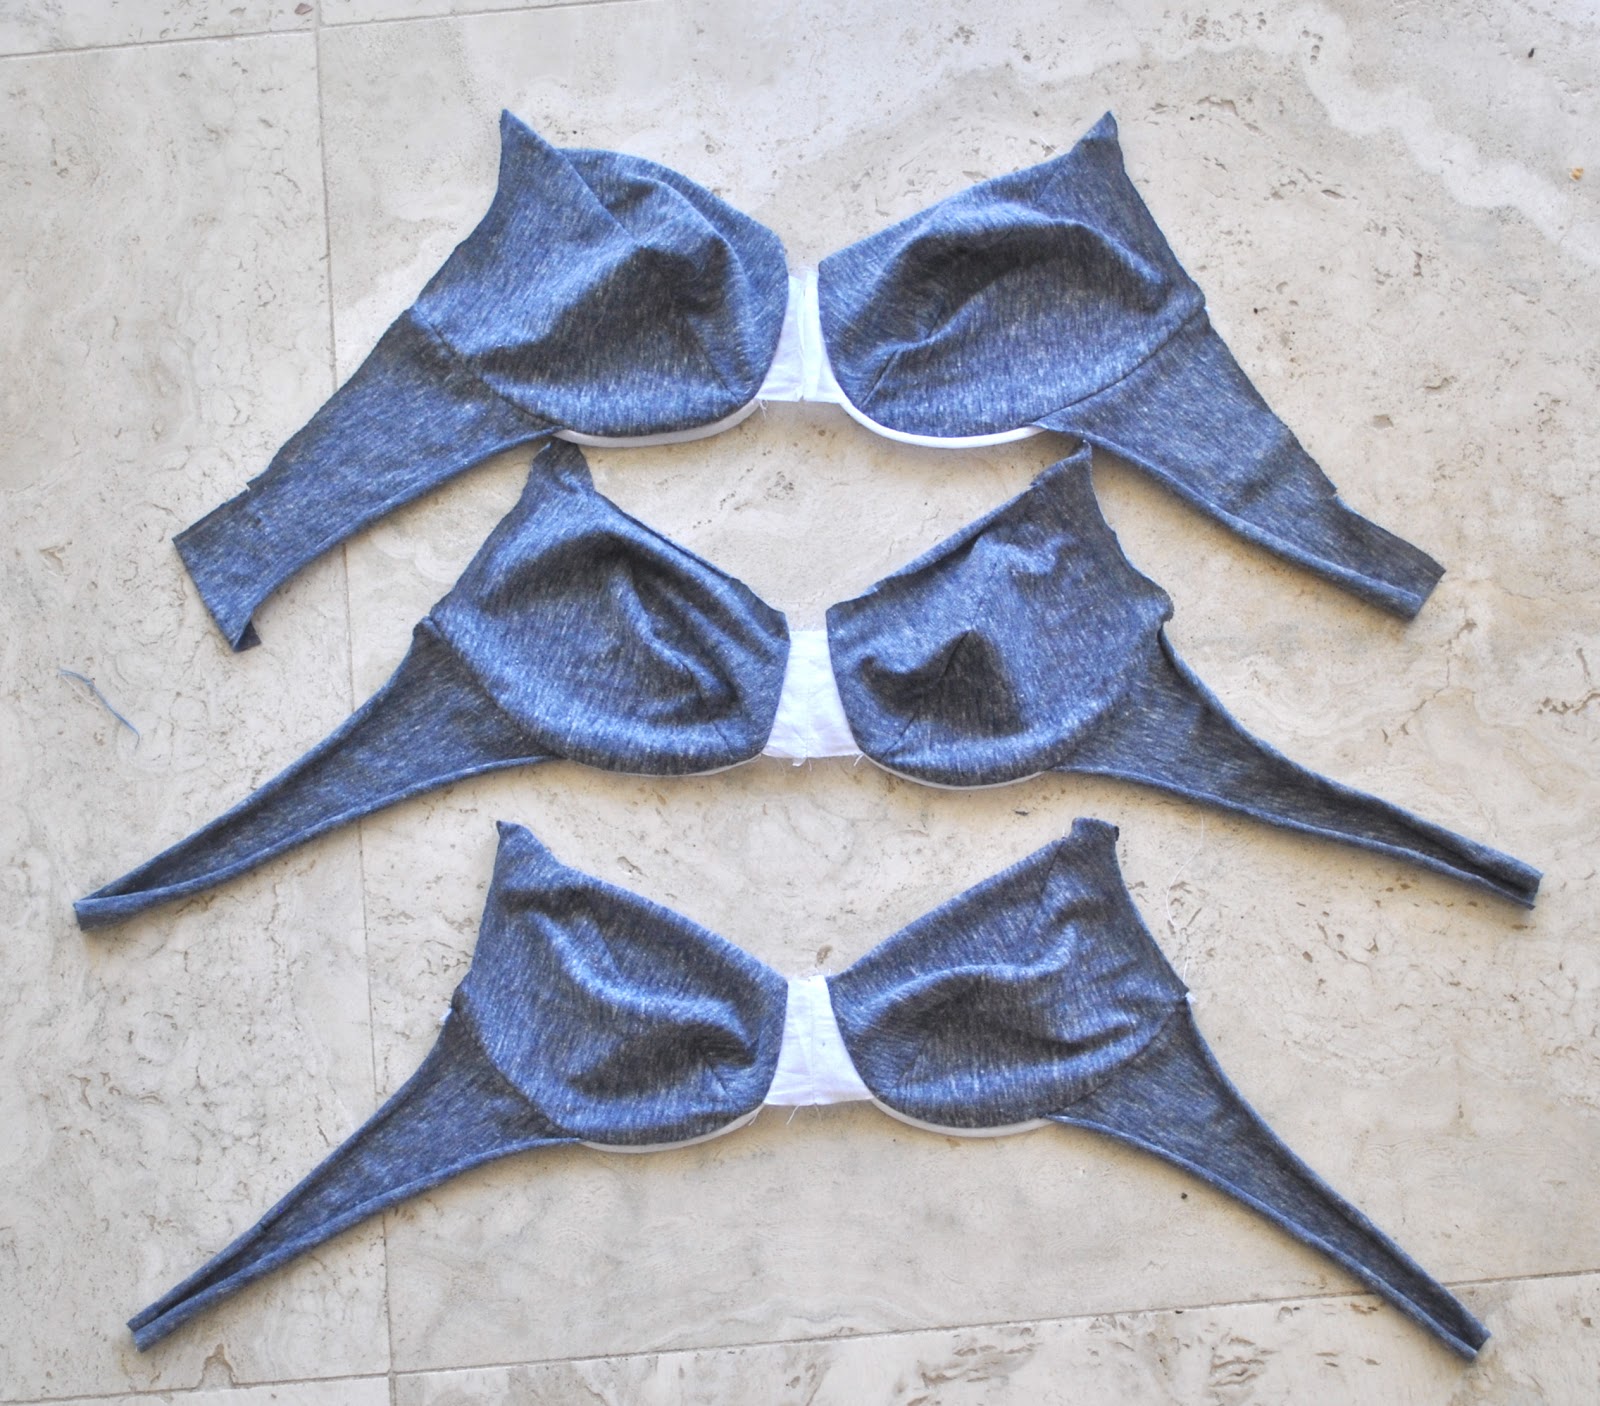
This is my meagre progress in the sew-along so far  😉 3 tester bras.  At least I think I have correctly identified my size at last.  
Because of one rather weird result I got in one online bra-size calculator, which I didn’t want to just dismiss summarily without giving it the smallest benefit of the doubt; I also made up a 32C tester, the top bra pictured above.  Well, it was utterly ridiculous on me.  I quietly left that one out of the Flickr group!!  The other two are 34A (what I thought I was) and 32A (what I am).
And I have made my two pairs of matching undies already… they are now sitting on my sewing bench just awaiting their bra!
pinterestmail

Bra sew-along….

… woops, better late than never!
With all my crazy pre-Christmas sewing, followed by the stiflingly hot post-Christmas coma period, I totes forgot to post that I am taking part in Amy’s Bra Sew-along, over at cloth habit….
Join us!
Now, I have made a few bras for myself already but I’m ashamed to say that the most perfunctory of measuring sessions was employed before I decided on same size I’ve been buying for years and years and years and years (“and years”, recurring) since I’ve always felt perfectly comfortable in them…. yes, I know, lame excuse and how lazy, right?  So I have a selection of nice and comfy 12A’s (34A) in my drawer….   Well, in the spirit of “gettin’ serious” about mastering the perfect bra I did three separate measuring sessions in each of the following 85b International bra size calculator, the Berlei bra size calculator, and the Victoria’s Secret How to Measure page… that’s nine measuring sessions; and in each case came up with 10A (32A).  Hmmm.  No wonder my bras were lovely and comfy if they’re all a tad too big!
So for the sew-along, I am going to be brave, and try out the smaller size…
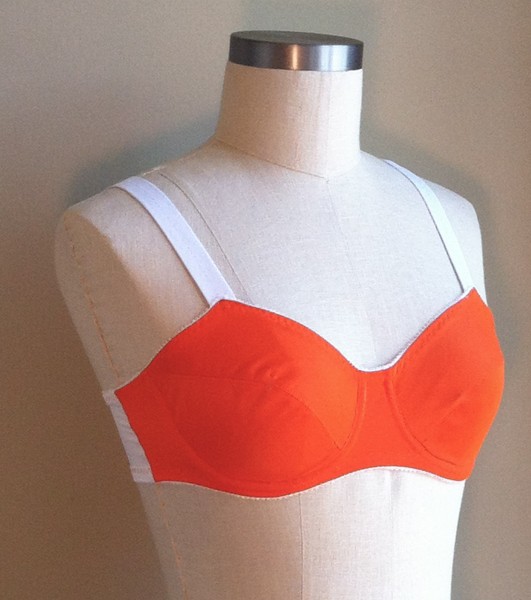
I will be using KwikSew 3300

pinterestmail
Switch to mobile version
↓