Tag Archives: Petticoat

A tale of a purple dress

Once upon a time, an avid seamstress took a trip far far away to Melbourne.  There she visited the fabled Tessuti’s and spenteth up big on fabric.  Including a piece of slippery dippery shot rayon-y stuff in a wonderful plummy-chocolate-y sort of a colour.  The rich and gorgeous colour of a ripe eggplant.  The fabric was borne home, lovingly folded and put carefully away and just taken out every now and again for speculative draping over the seamstress’ faithful dummy Bessie, before being re-folded and tucked away again, awaiting the Perfect Project.
The months marched by.
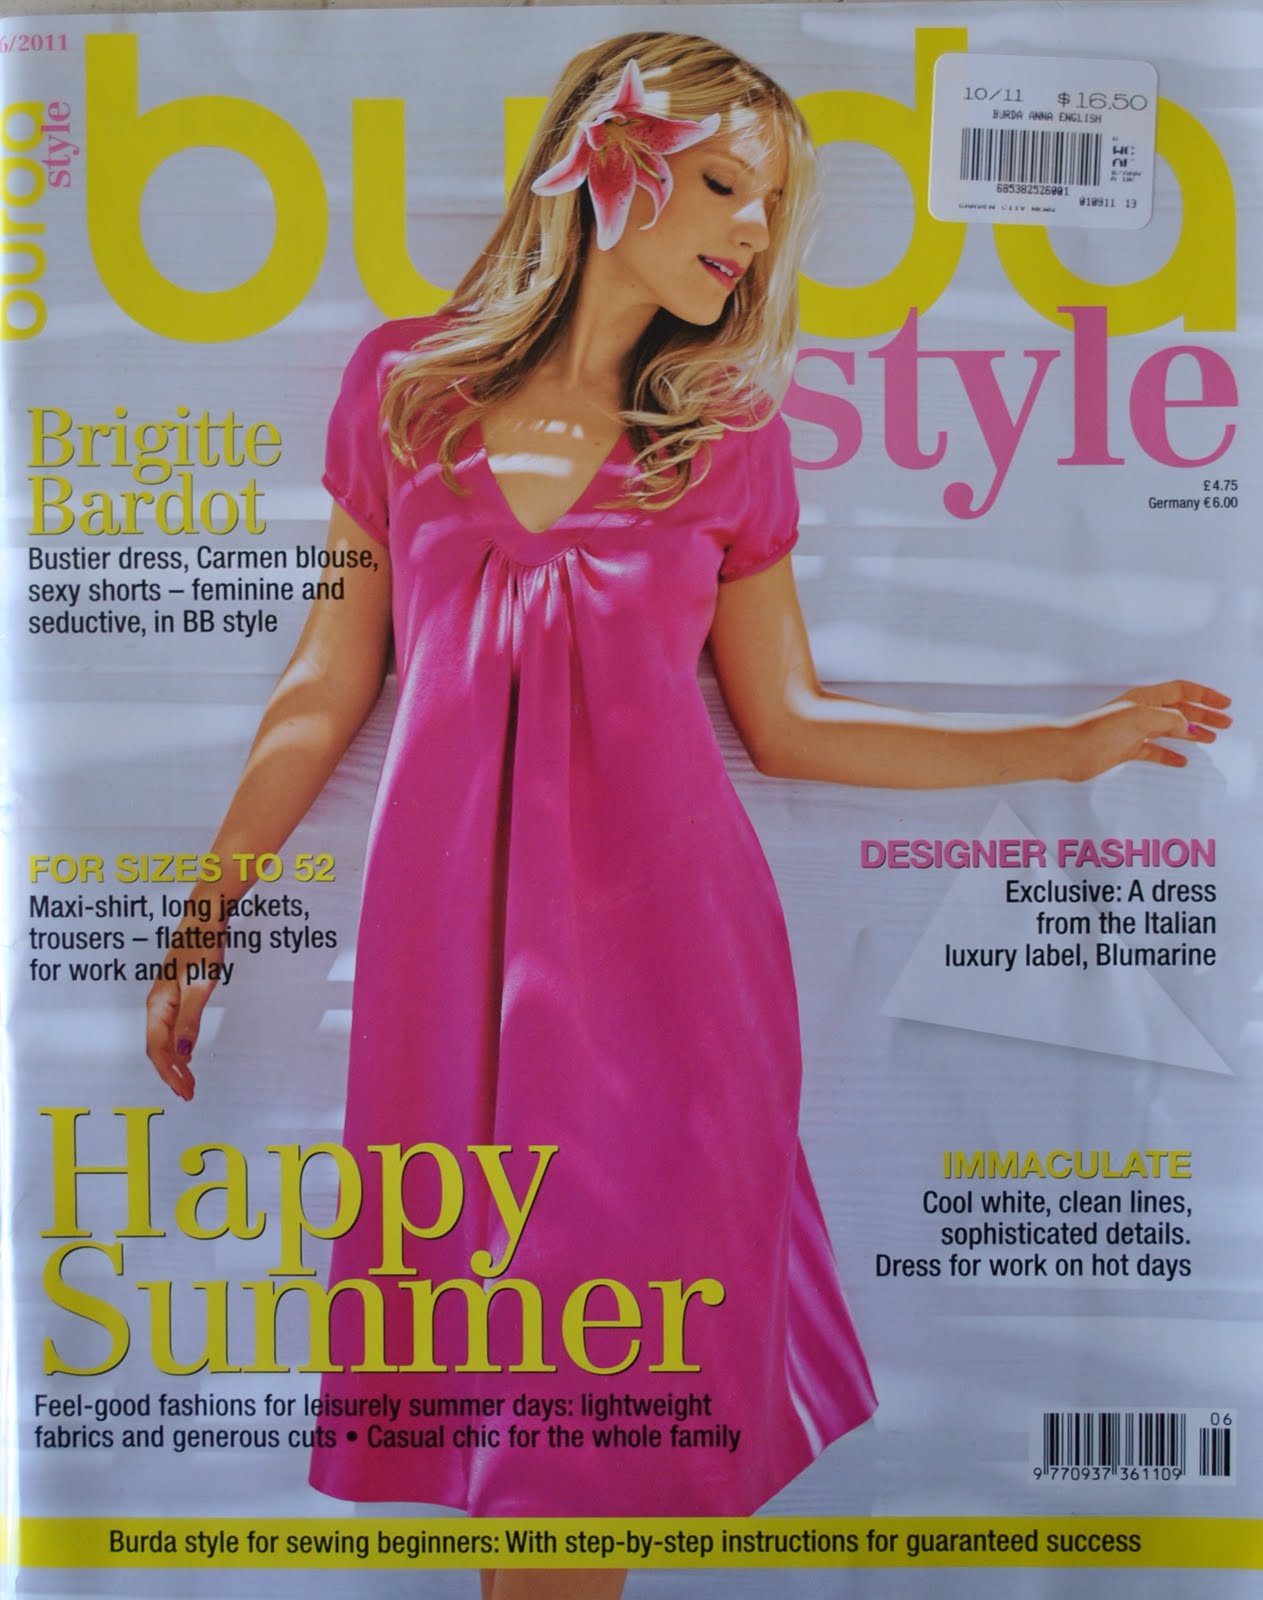
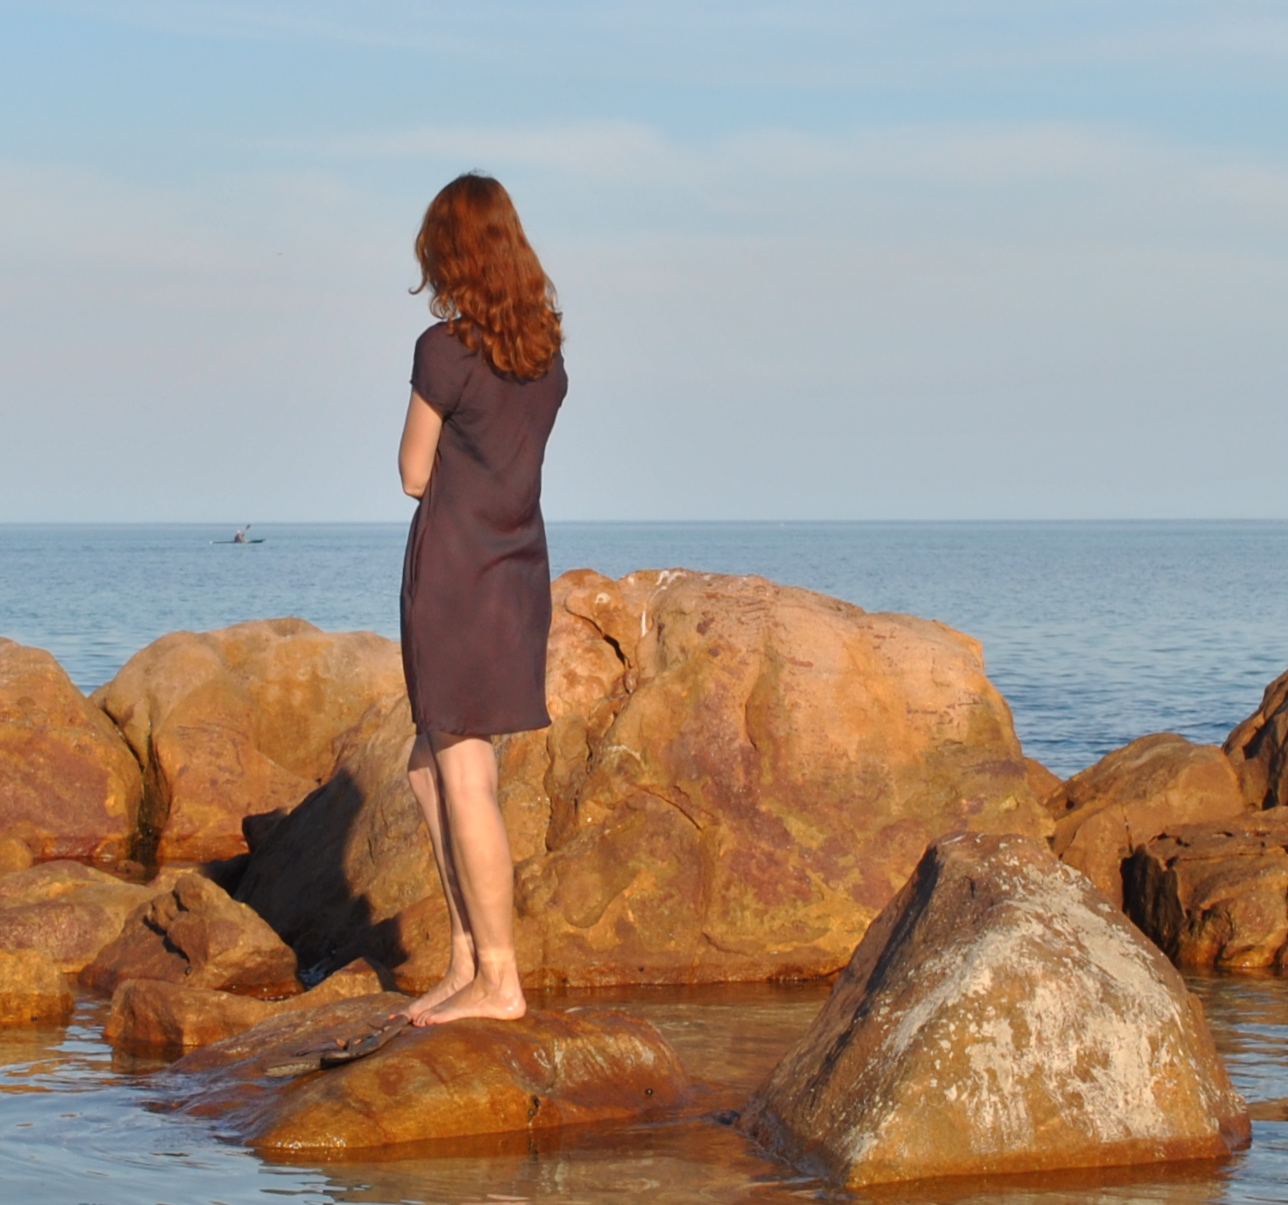
The lovely fabric was still sitting there, taunting the seamstress, Perfect Project-less, and fast becoming that dreaded stuff; Fabric That is Too Good To Sew Up.  The seamstress realized this and took it out again, determined to make something utterly fabulous with it.  She cast about, more seriously this time, for the Perfect Project.  The beguiling dress 102 on the cover of 06/2011 Burdastyle magazine caught her eye, again… actually the very reason she bought this magazine.  It was a promising looking number for summer; loose and elegant, and just the thing for flowy slippery dippery sort of fabrics.  The seamstress did all her prep, and then bravely sliced into the precious fabric.  She made up her dress, pinned up the hem, and hung it up for the requisite couple of days (being an old hand, she knew all the rules regarding bias-cut)  Then she put it on.  Lo, and the mirror reflected back to her a frump.  A complete and utter frump.
The seamstress realized that her delicious and expensive fabric the colour of an eggplant had magical powers and had transformed her into one… just like when Cinderella was transformed into a pumpkin (oh OK OK, that was the coach not Cinders… but you getteth the idea)
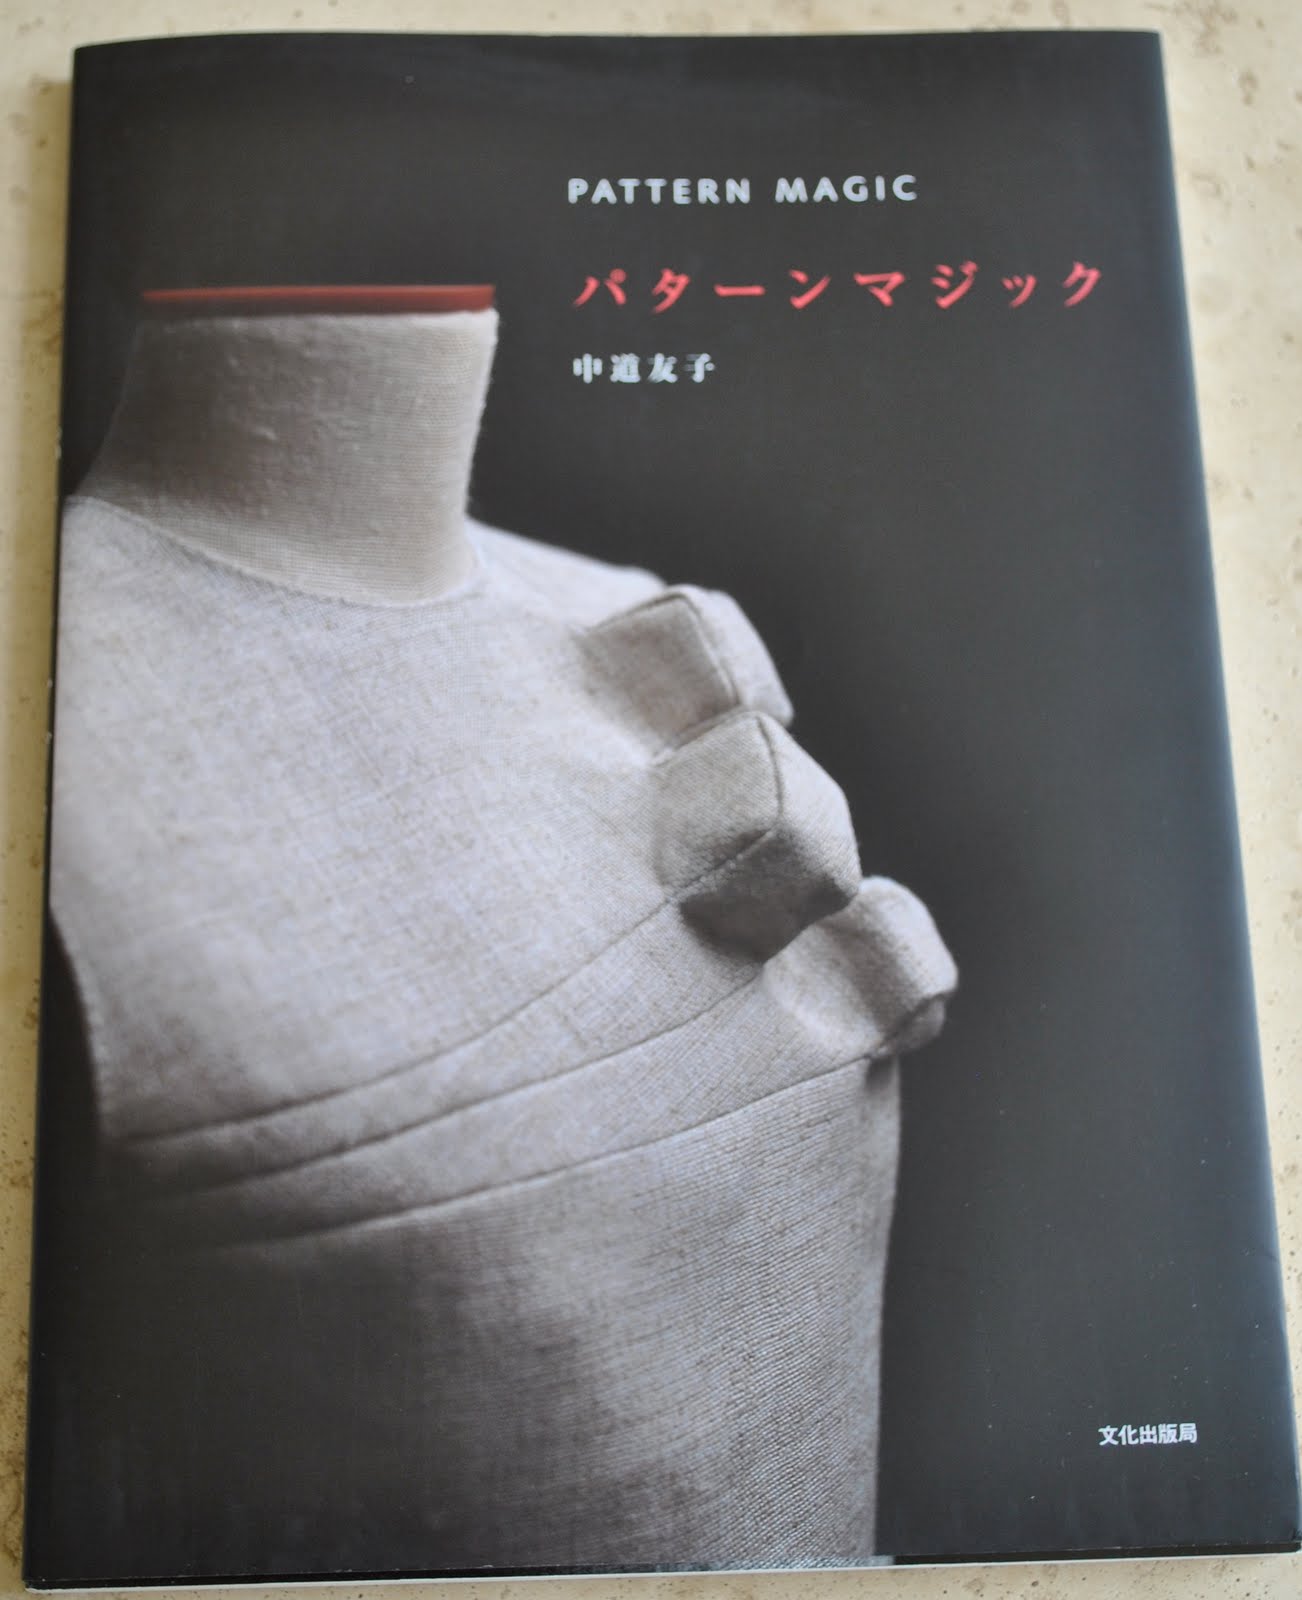
Bitterly disappointed, she took it off and hung it out of sight for a few days; busied herself with easier projects, like making Pattern Magic stuff out of scraps.  Then took out the Eggplant costume again (for this is how she now thought of it)  Studied it.  Had a brainwave, and chopped off 14cm.  Pinned the hem, hung it up for the next few days again, blah blah.  Tried it on.  Lo, and the shorter length had worked wonders!  Gone was the bulbous look!  The seamstress felt victorious.  Hand-stitched a narrow hem.  And wore the dress out.  And catching sight of herself in a shop window, noticed in a certain light a sheerness to the dress, the shadow of underwear showing through, that had not previously been apparent in the bathroom mirror…  
Doh! 
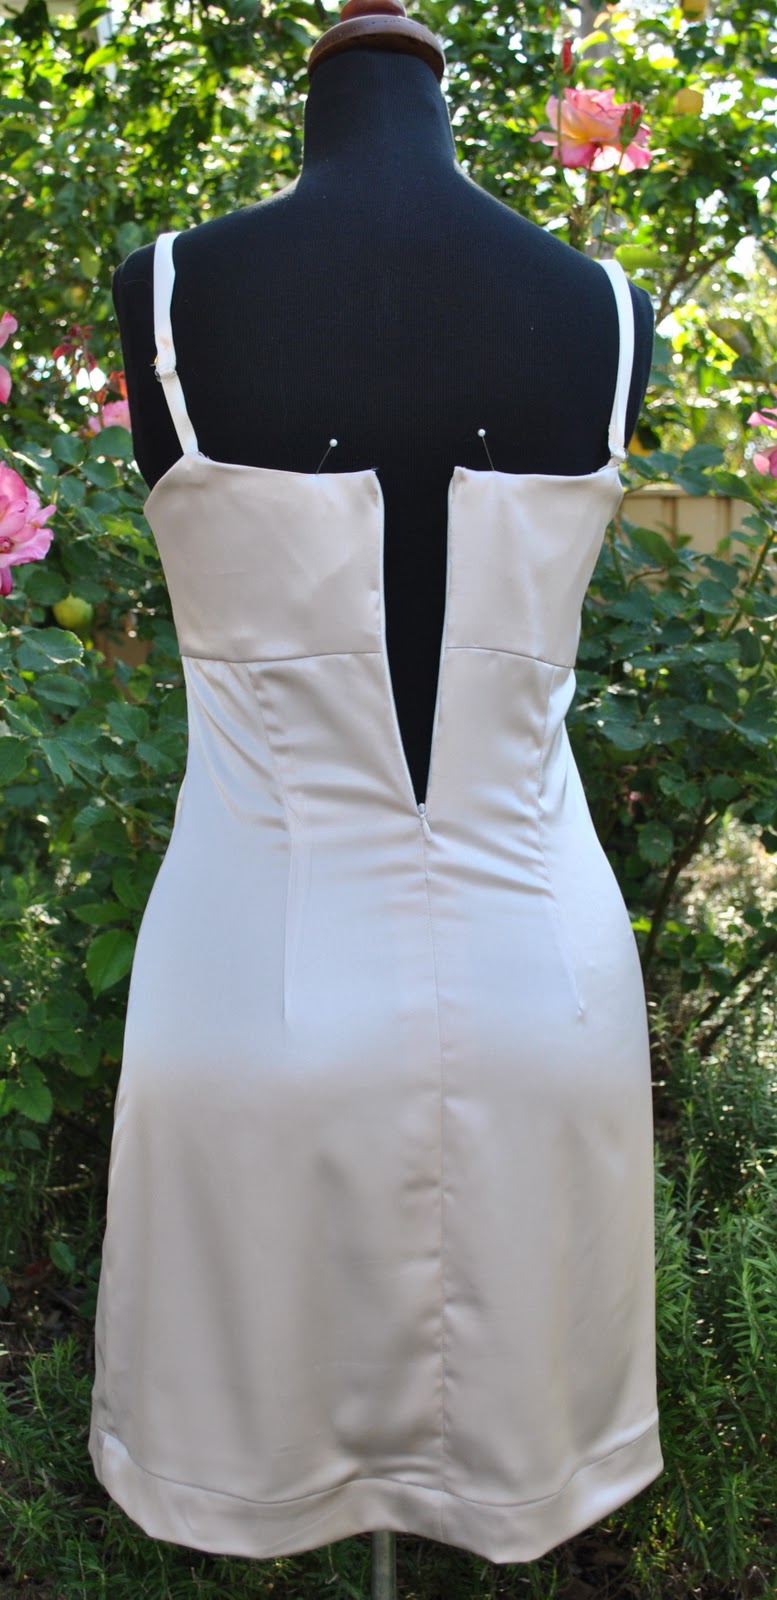
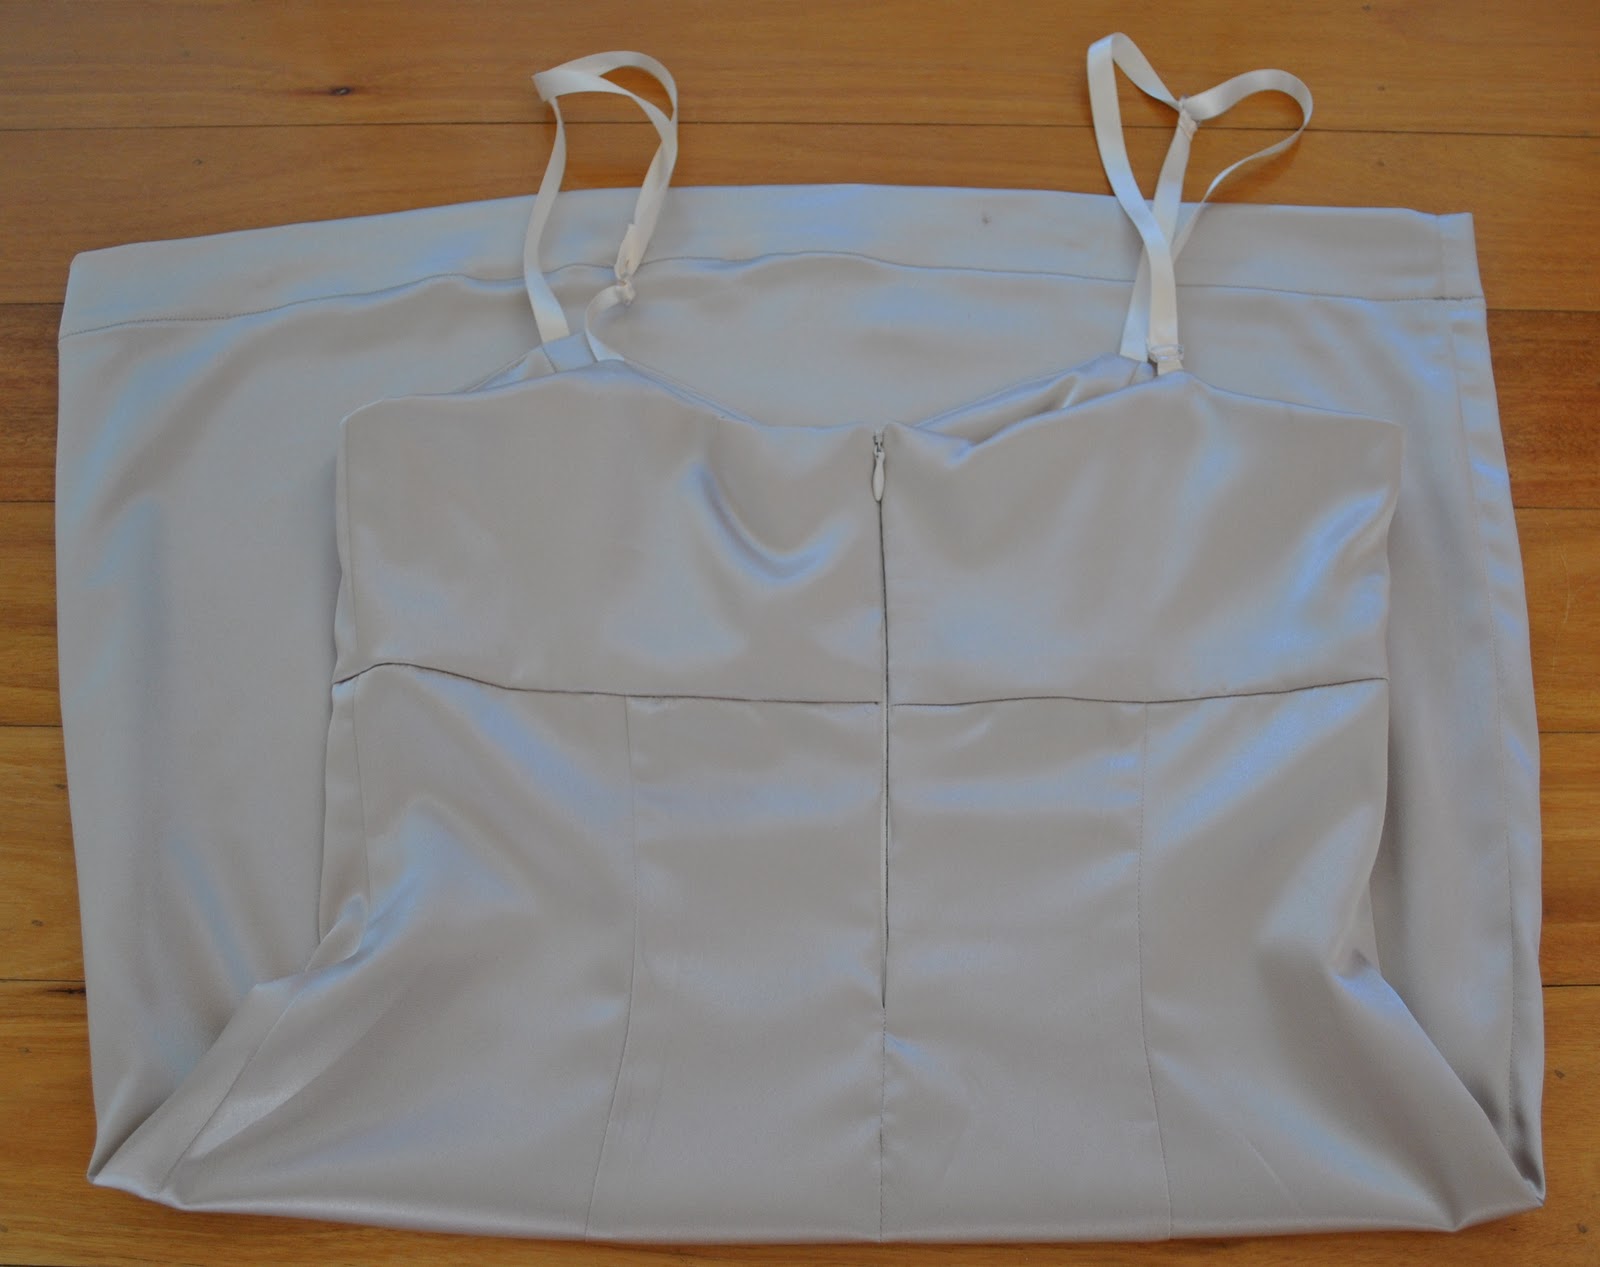
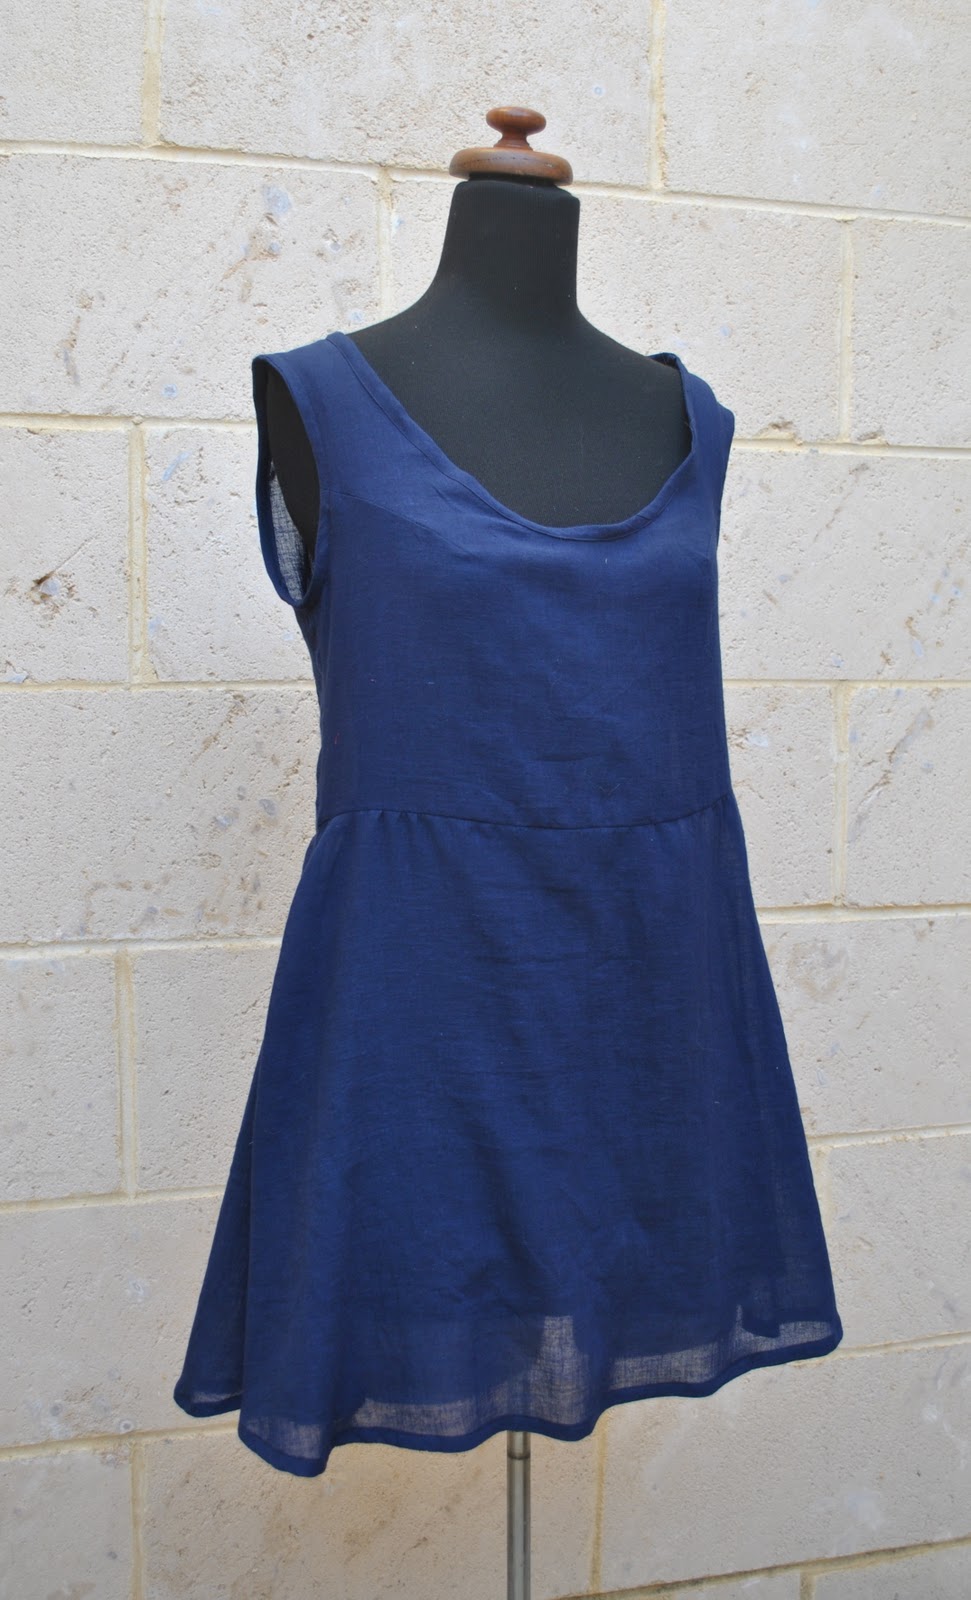
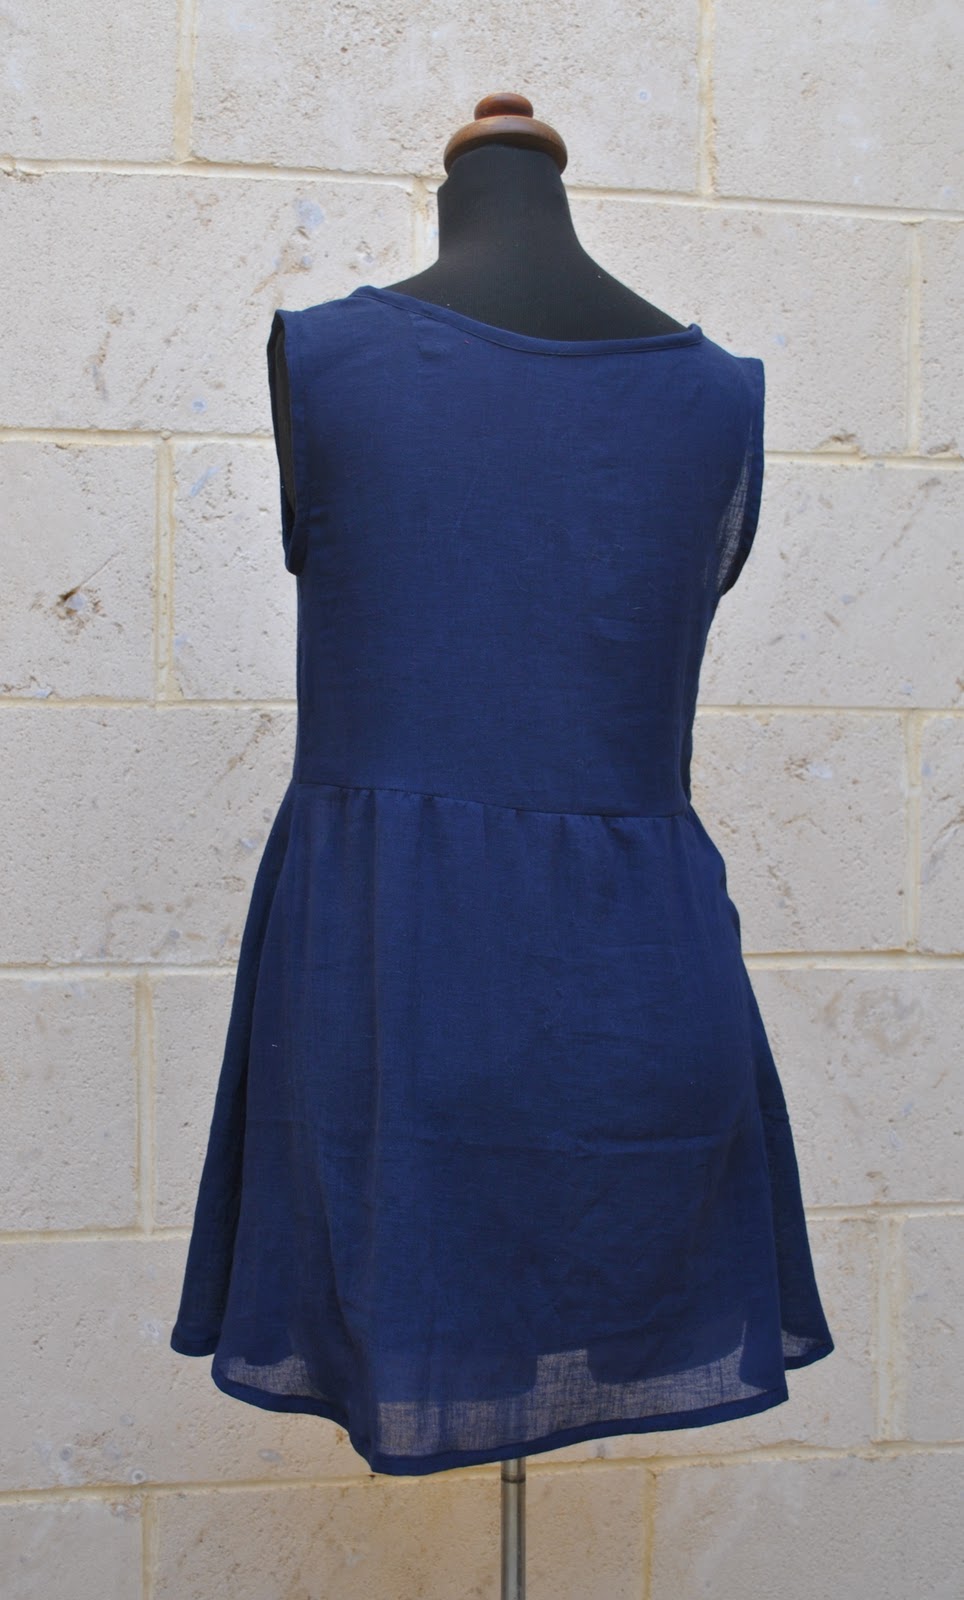
She despaired, but briefly; rallied and then quickly made a little slip-on petticoat.  It was thrown together somewhat, but finally the gods were smiling on the seamstress because the petticoat was perfect. 
And they all lived happily ever after.

Details:
Dress; Burdastyle magazine 06/2011, dress 102, purple shot rayon
Petticoat; self-drafted, from lightweight navy blue polycotton (the last leftover bit after making this)

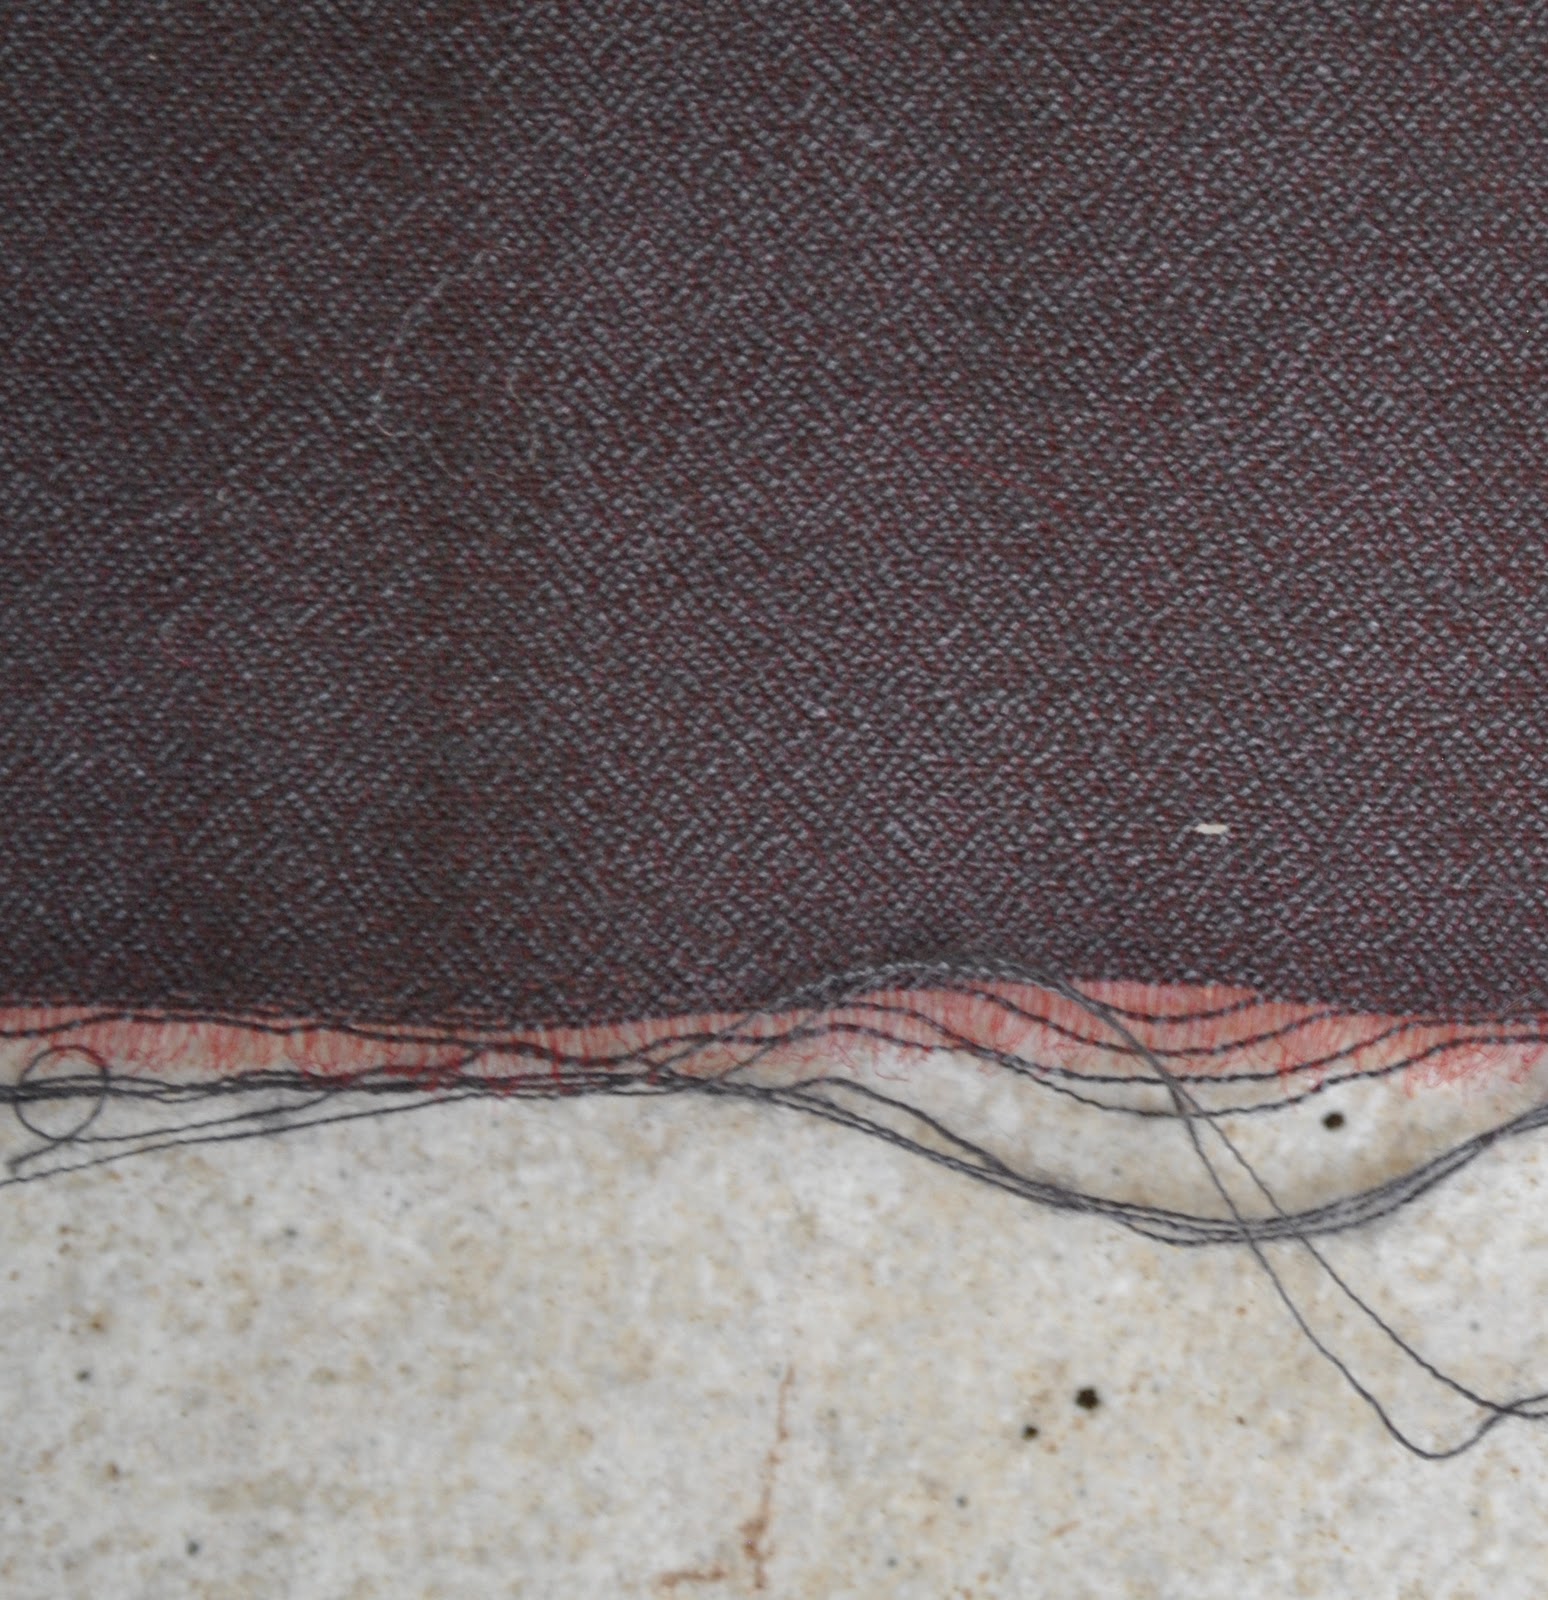
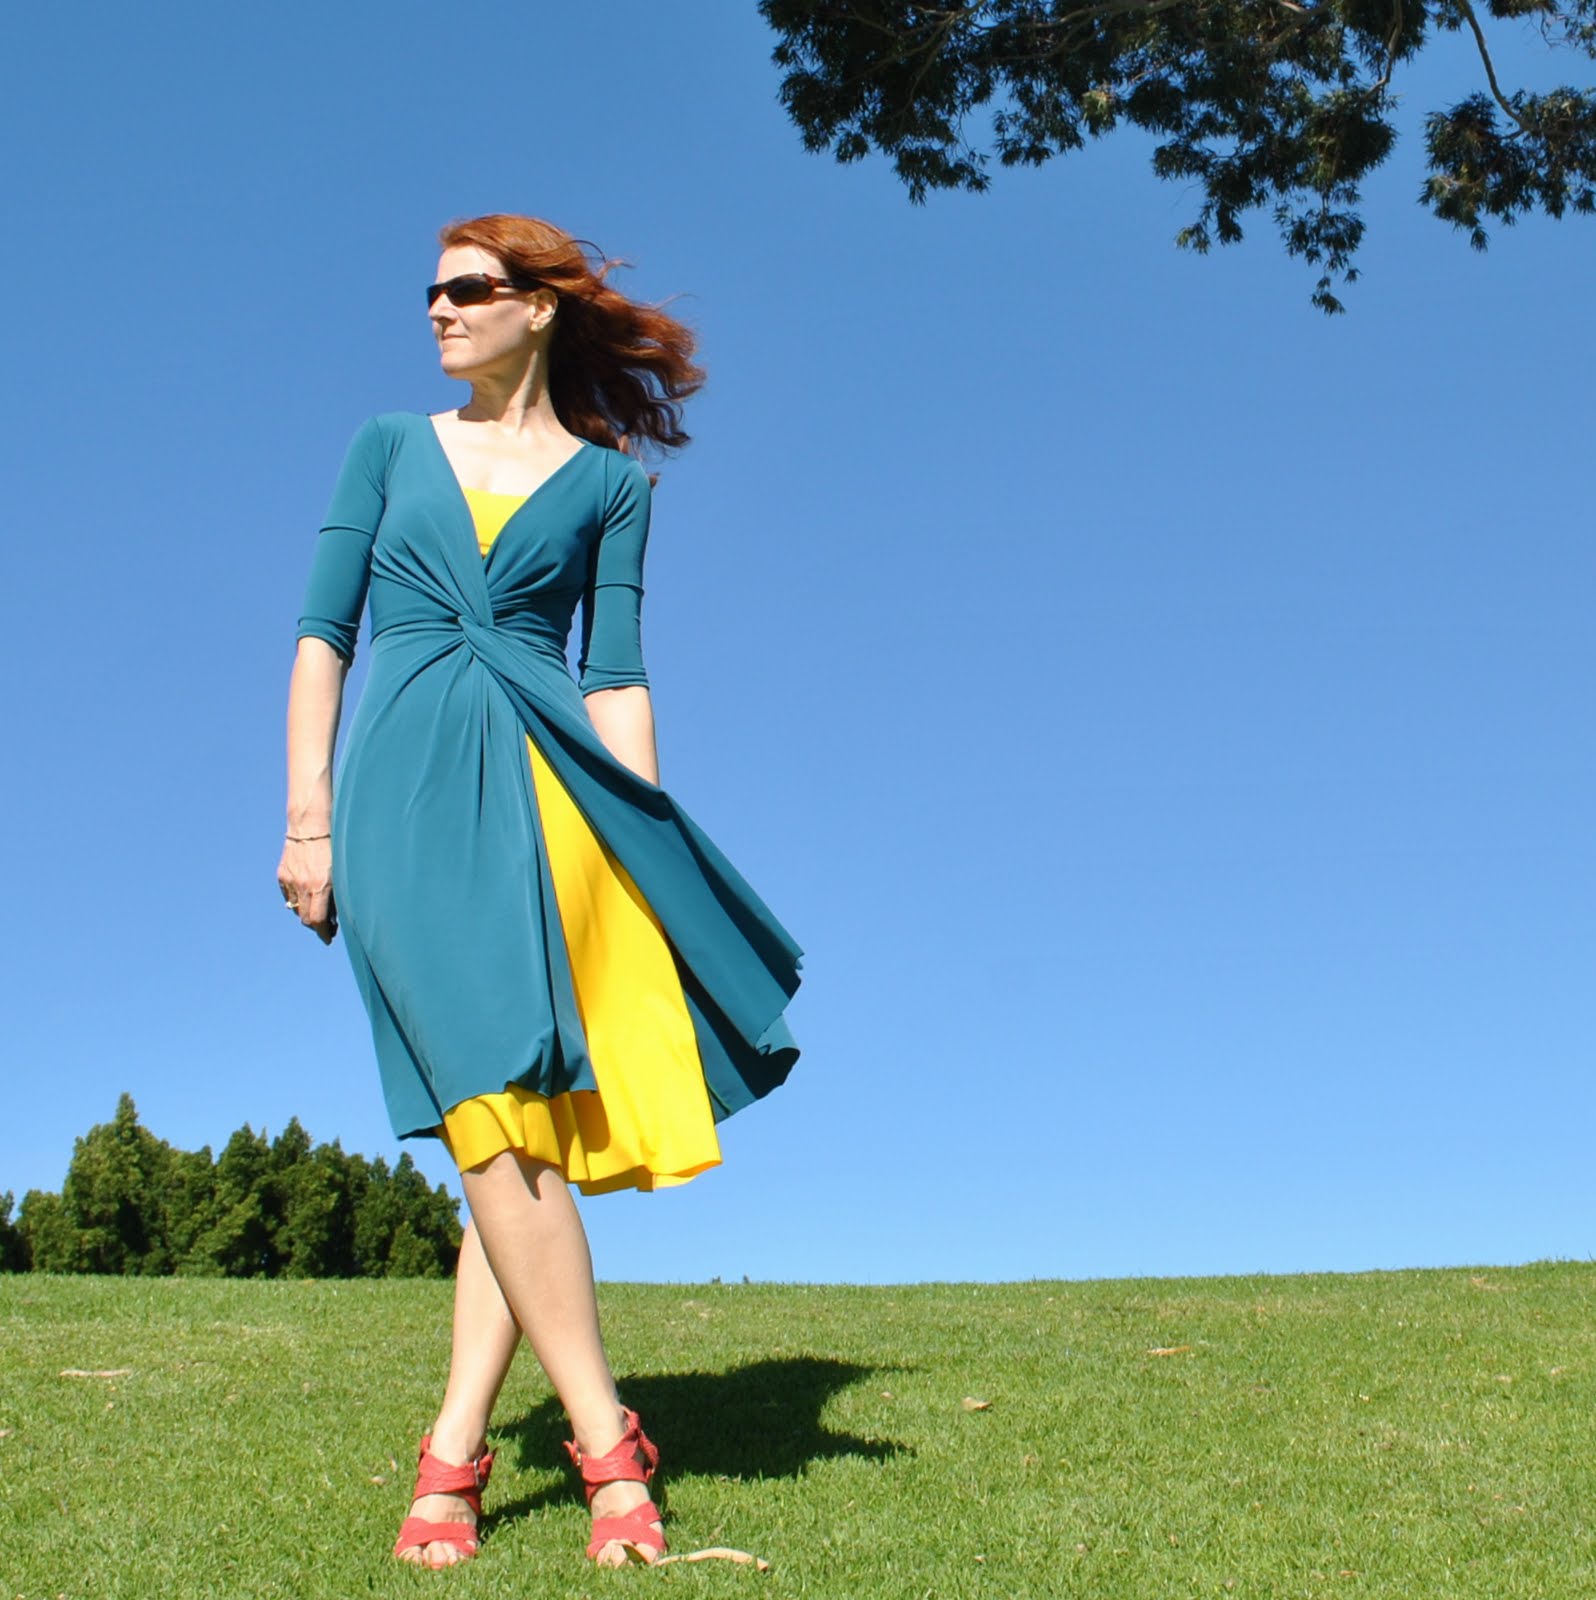
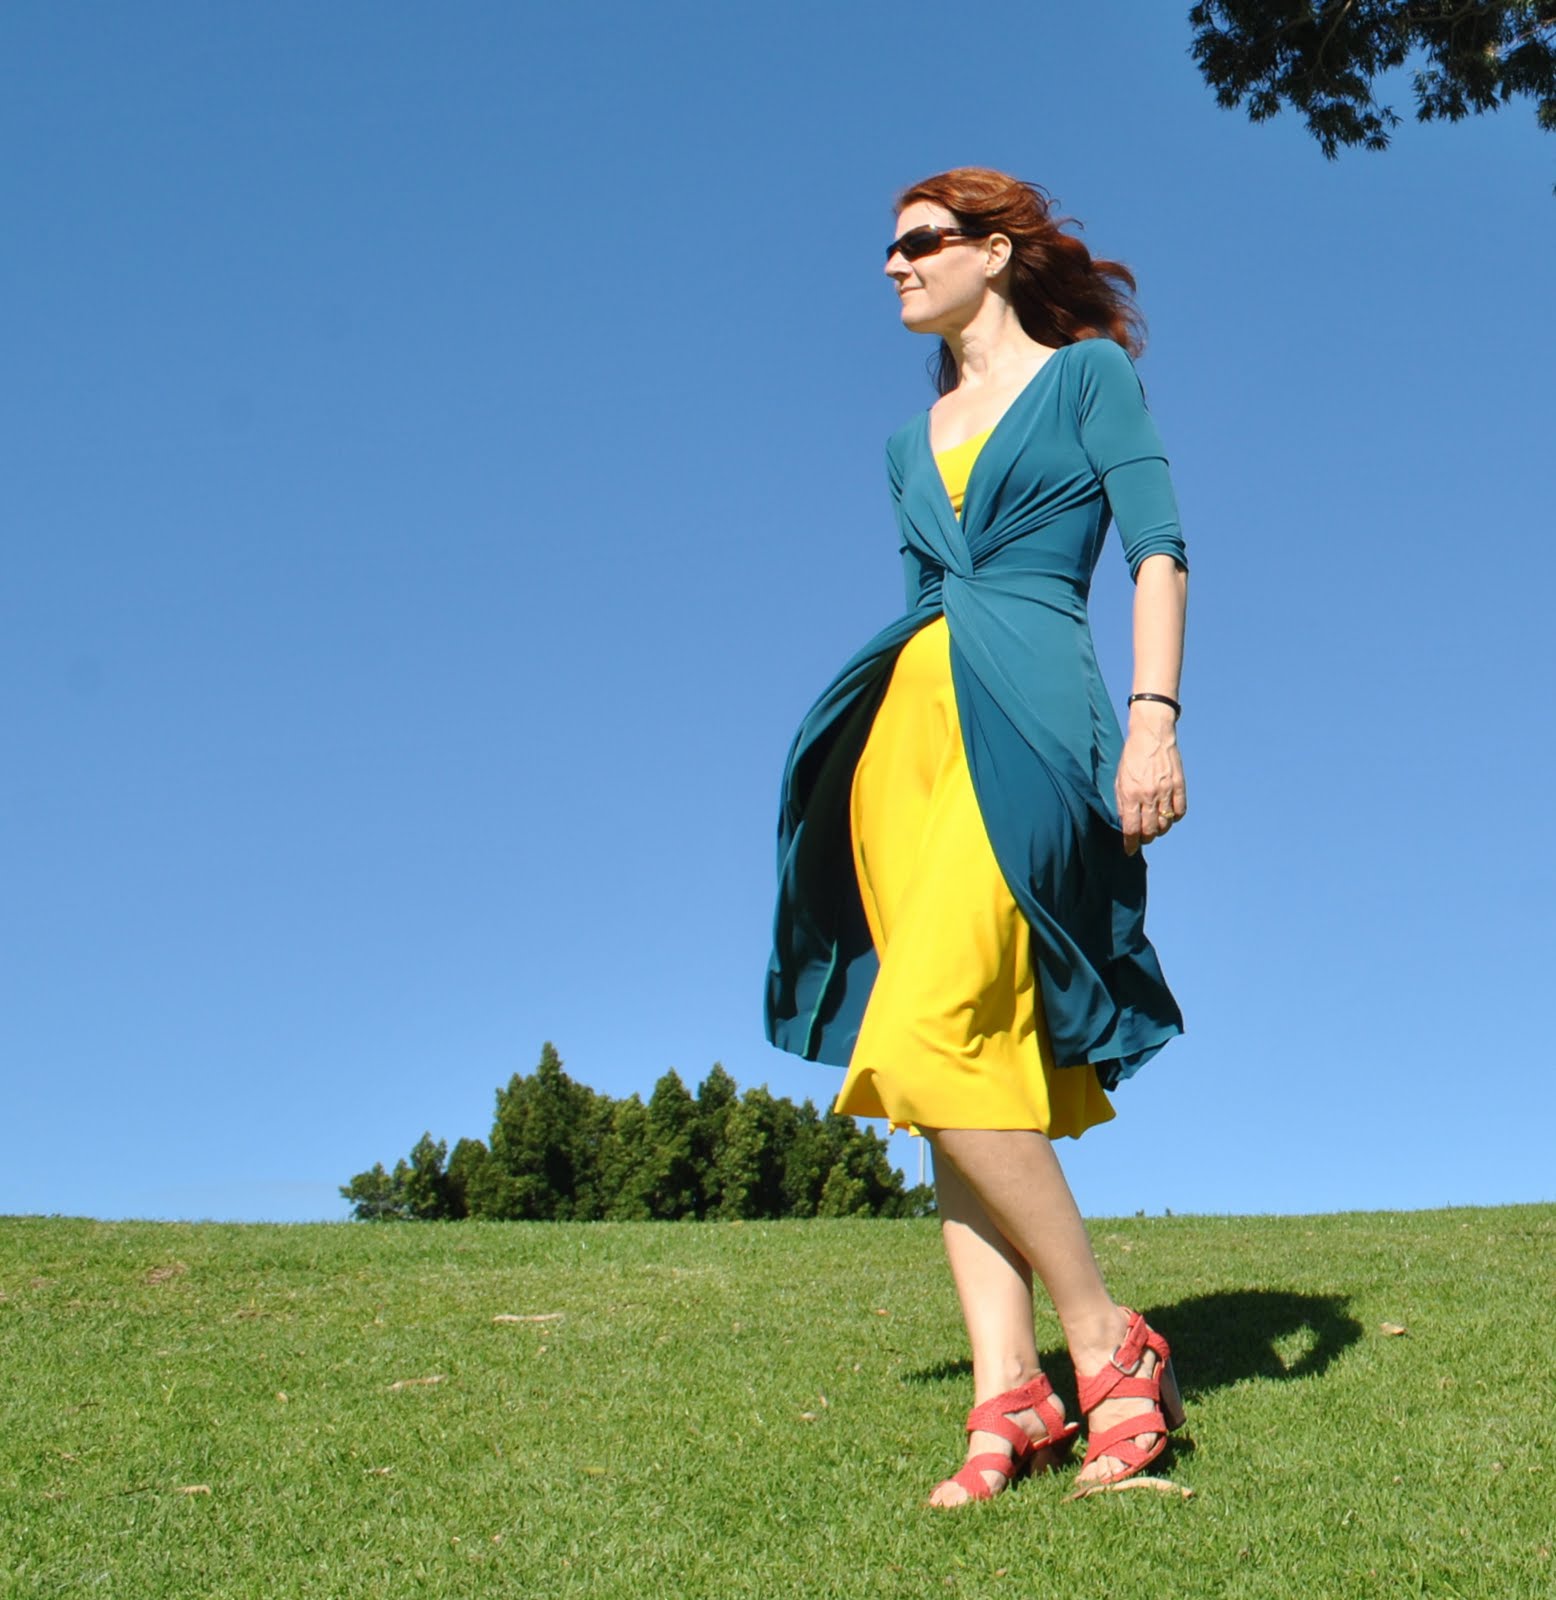
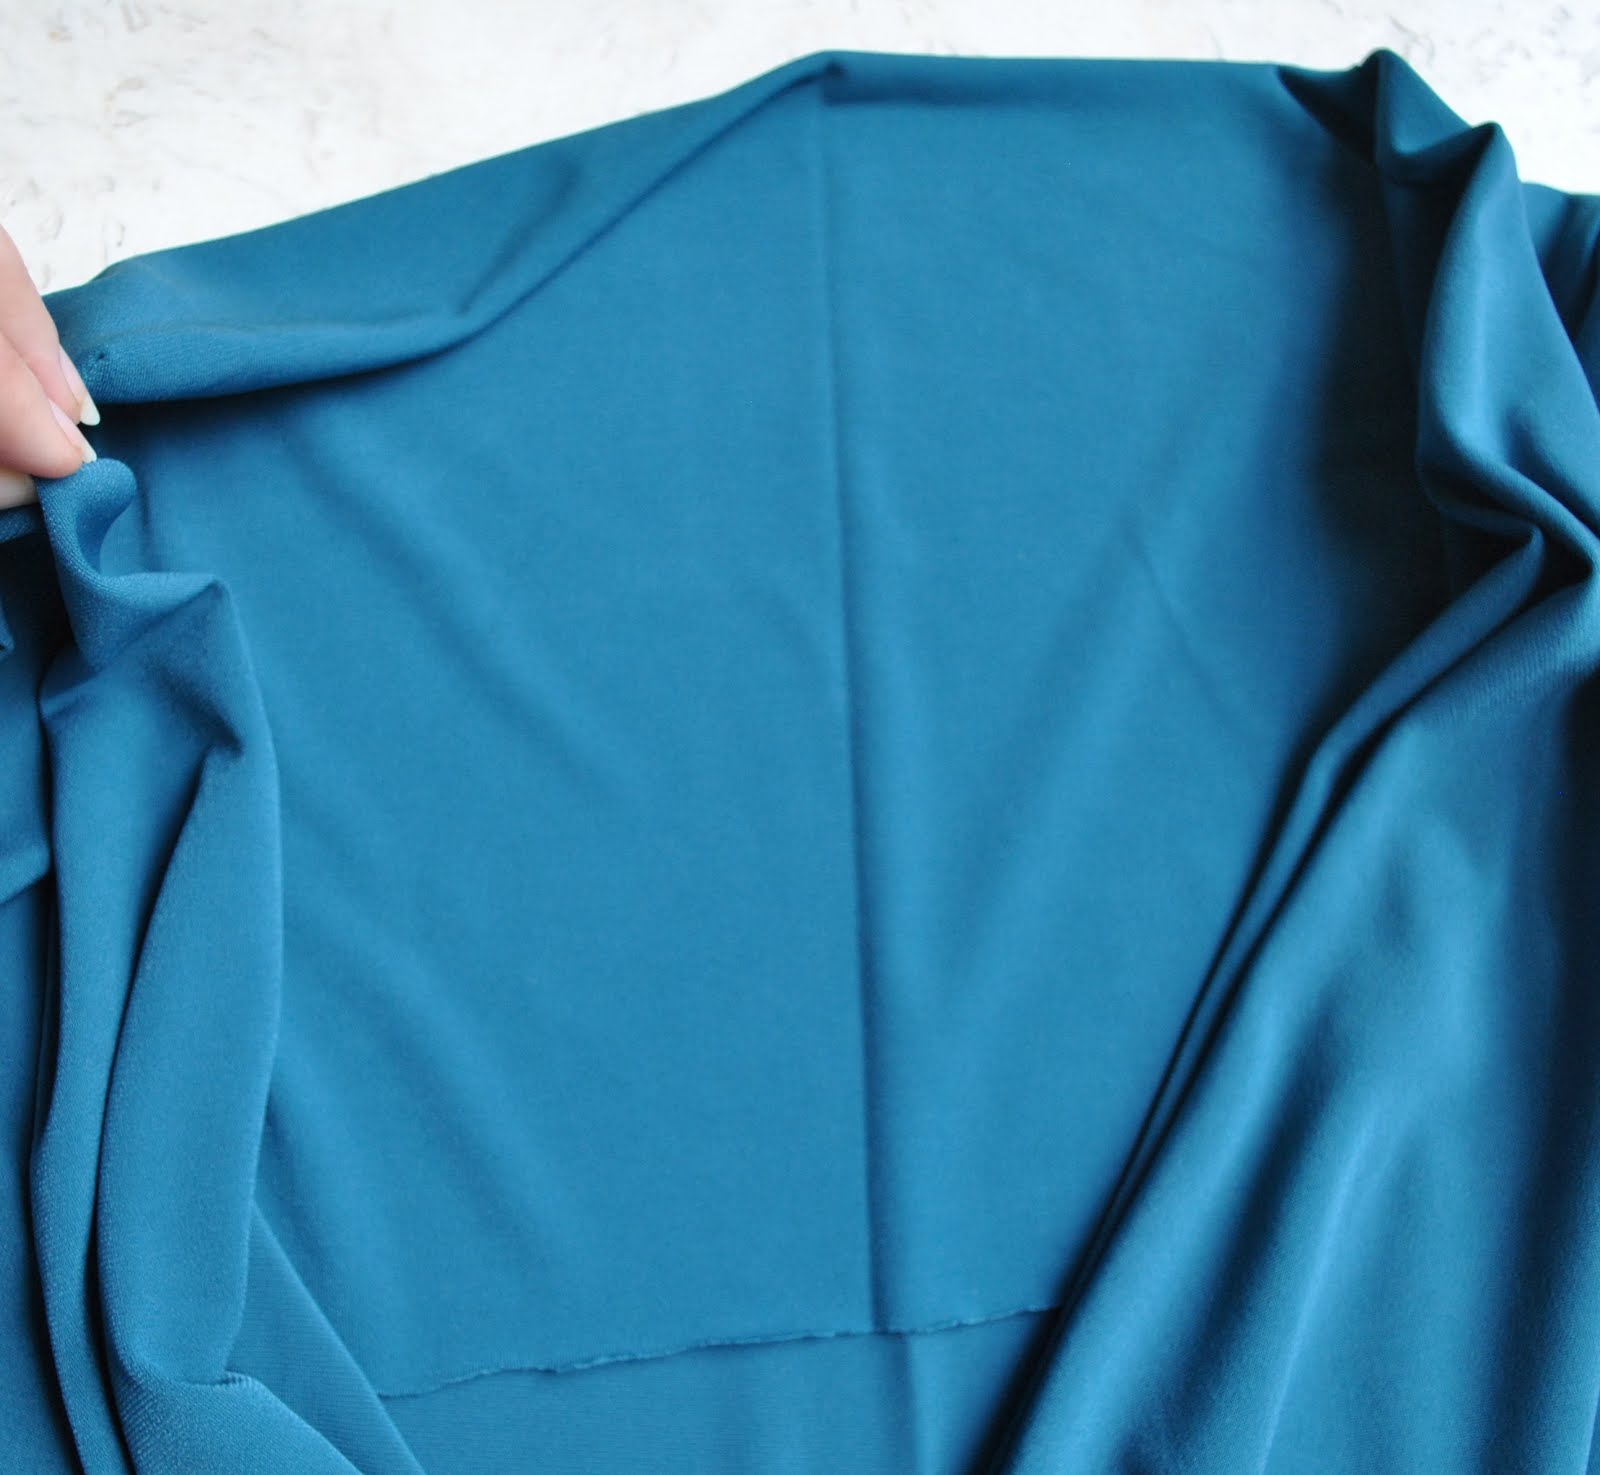
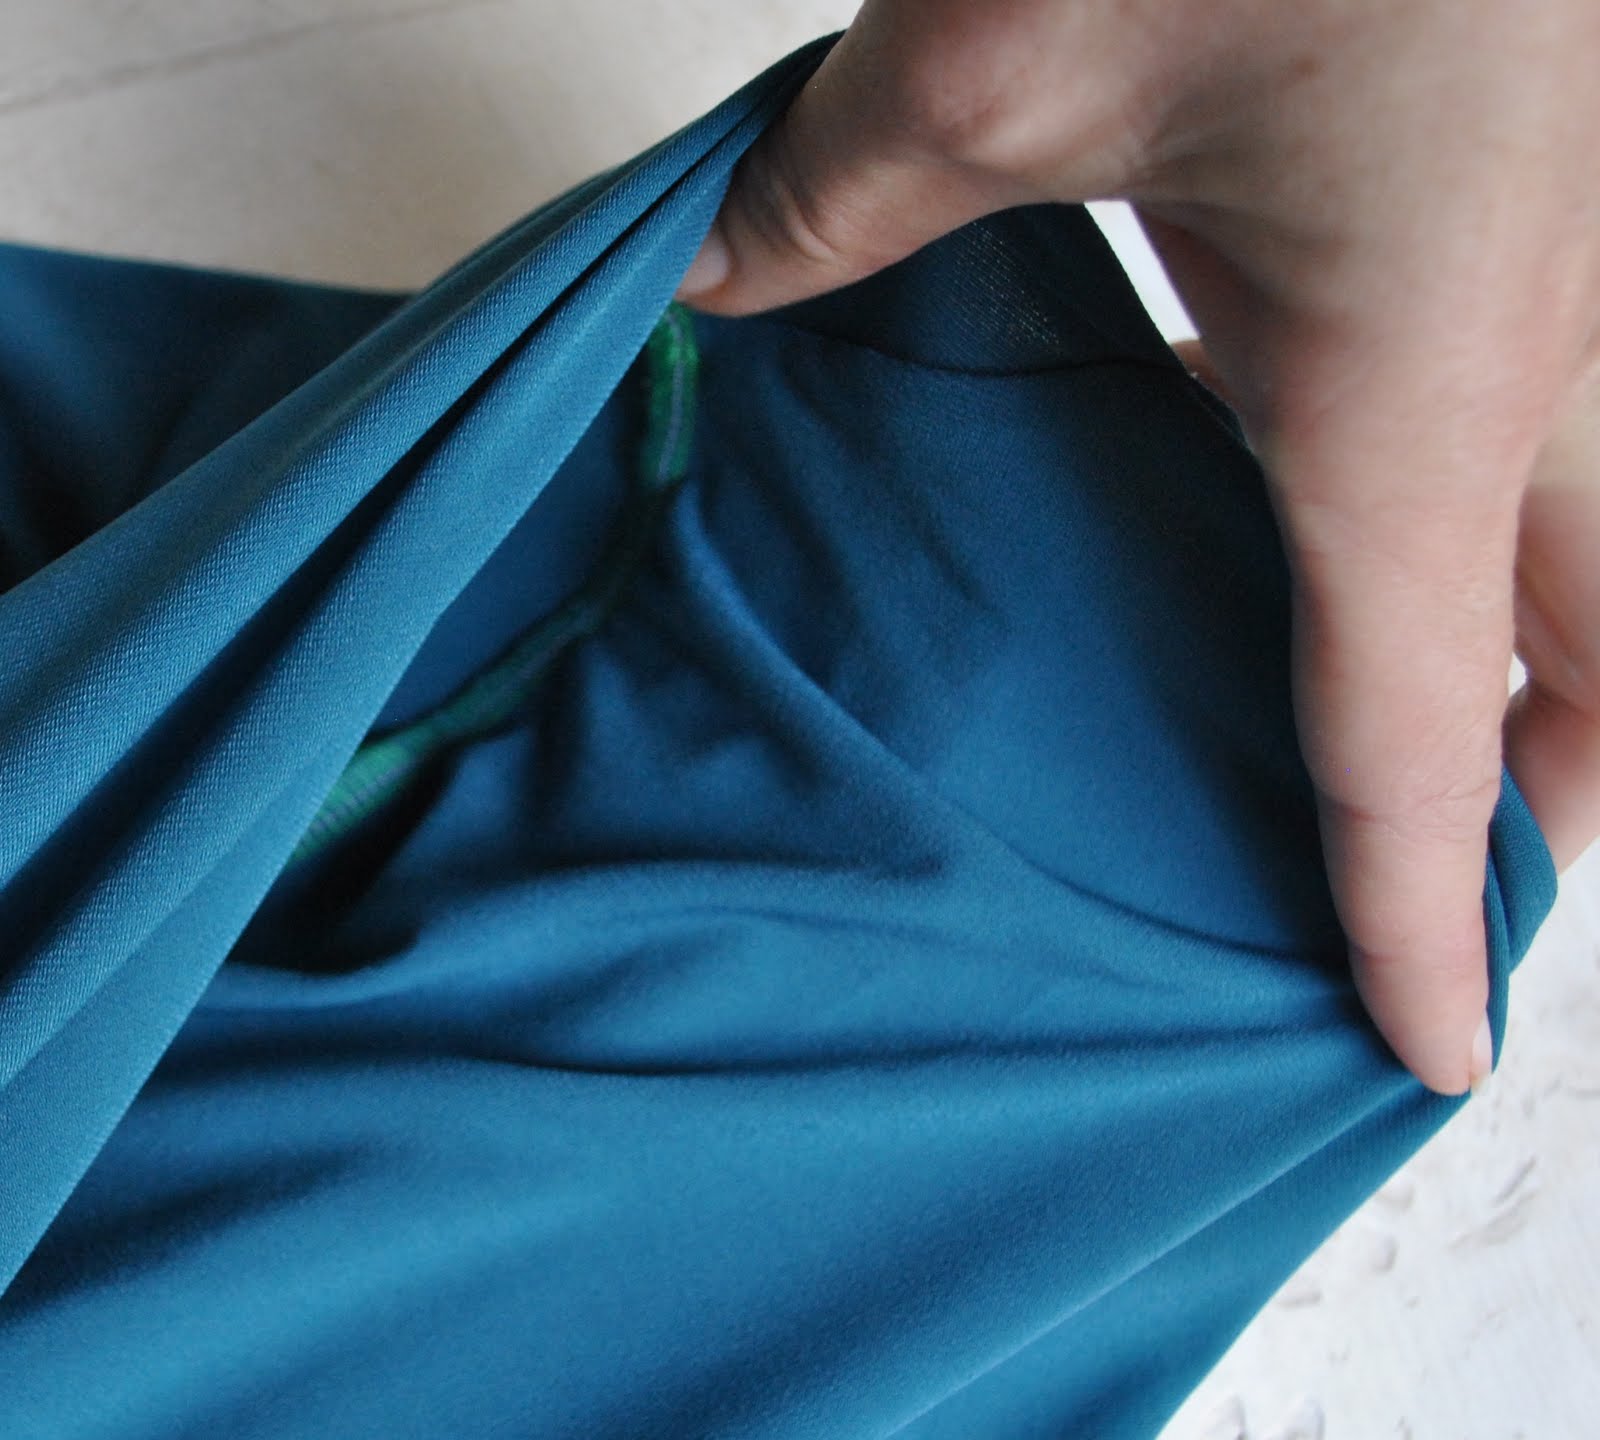
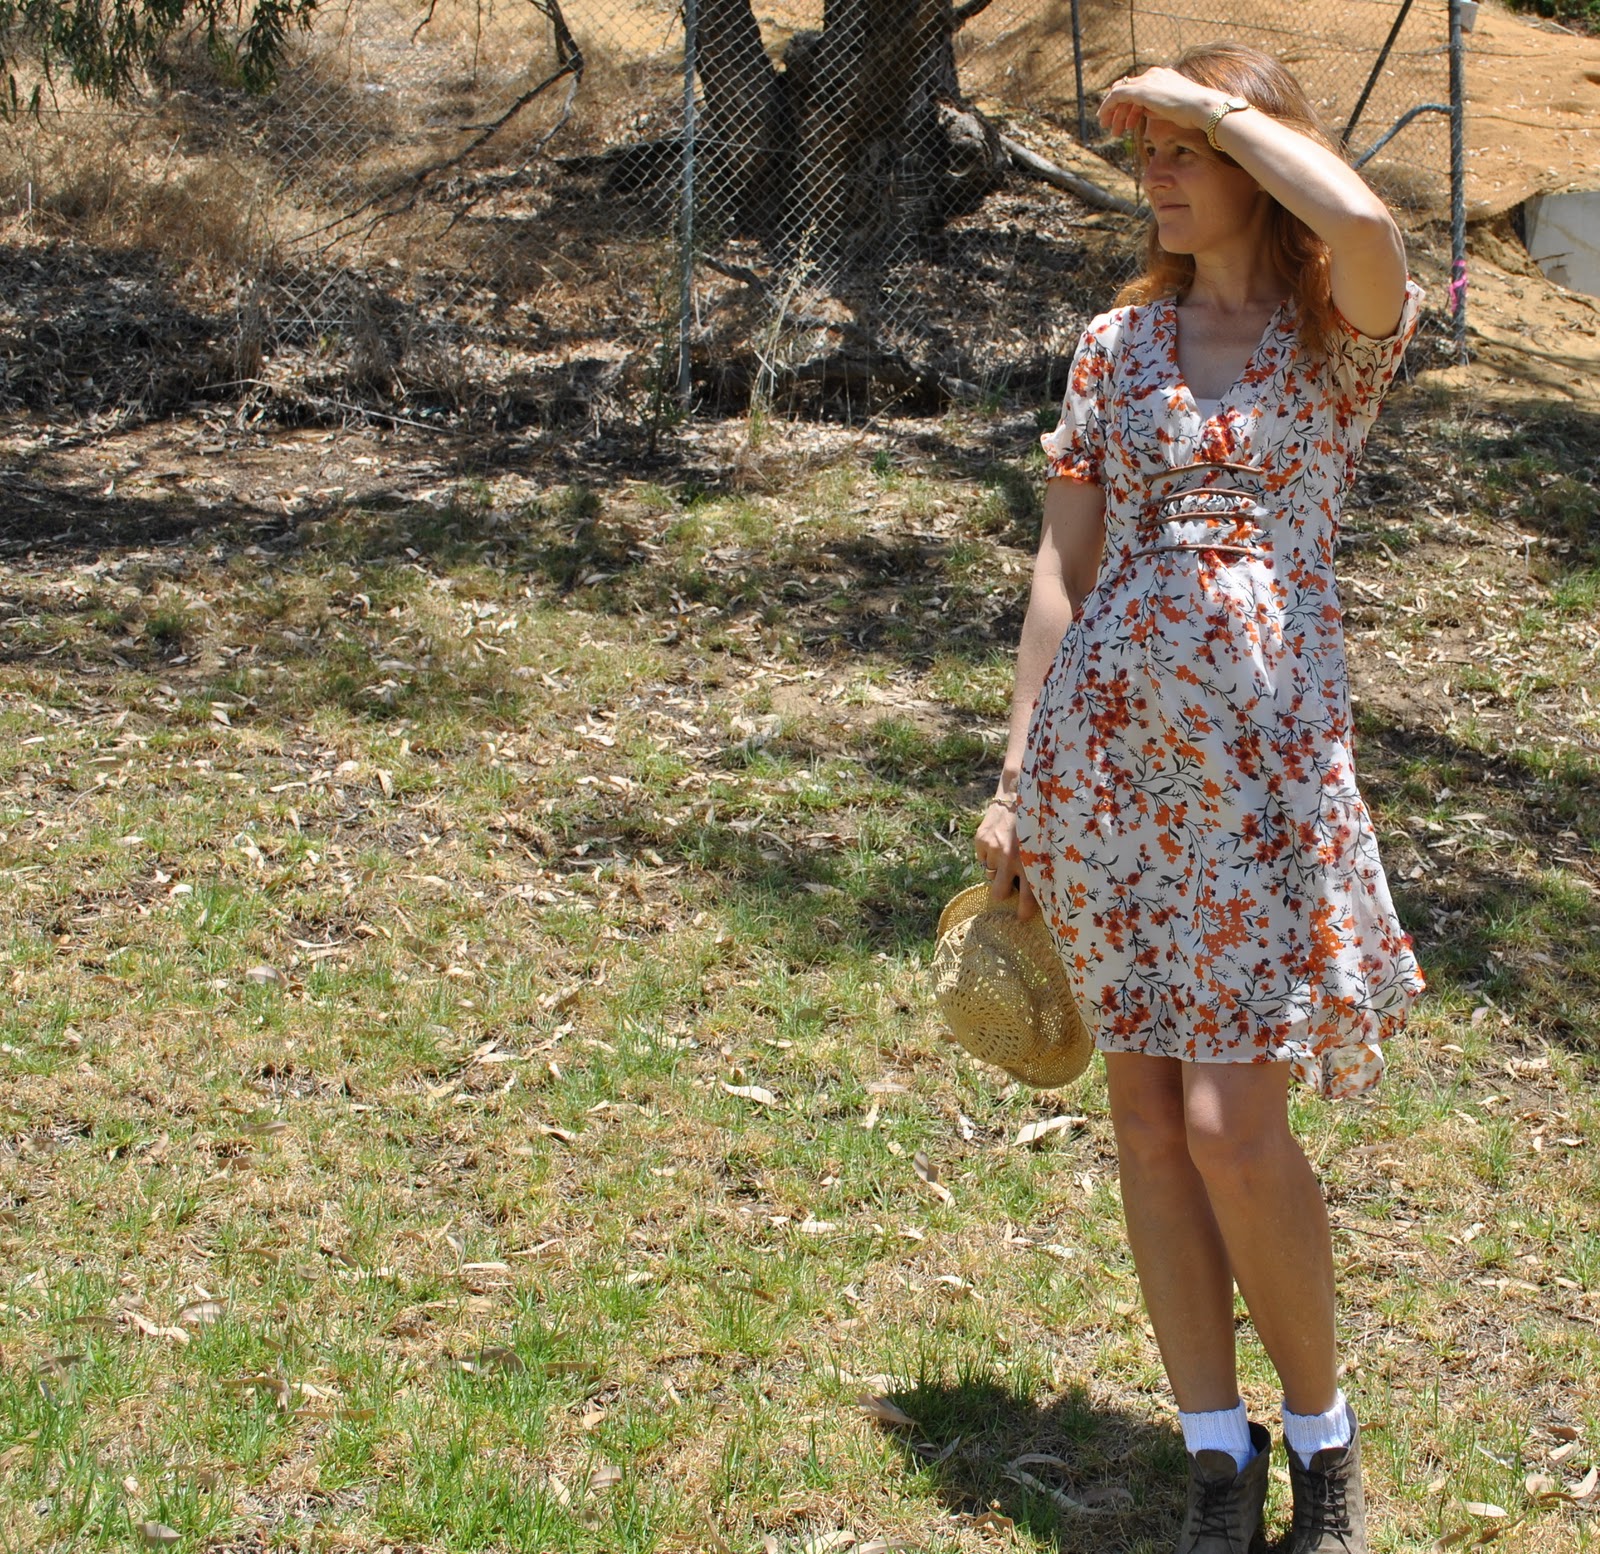
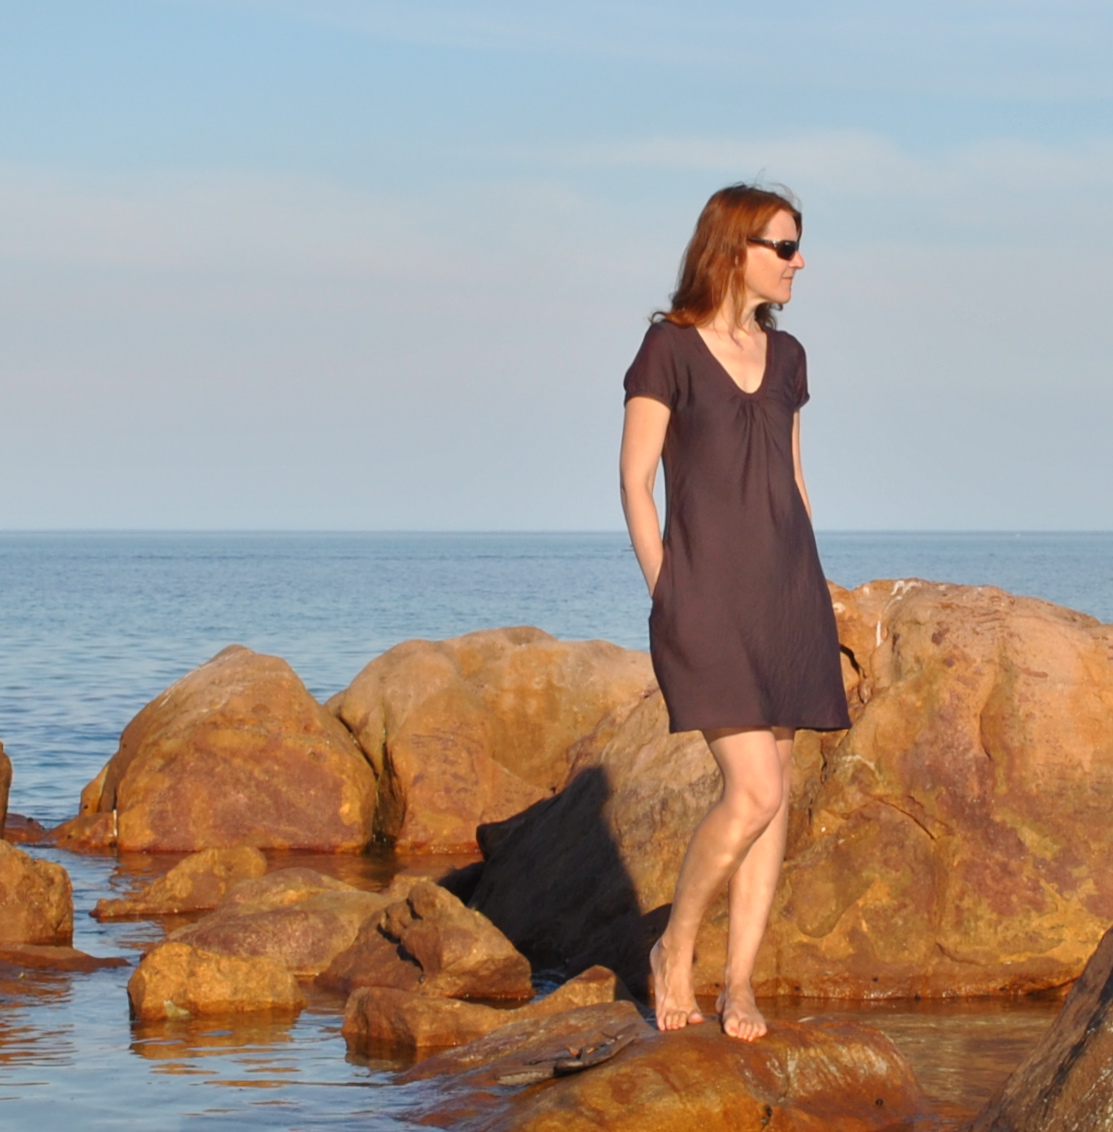
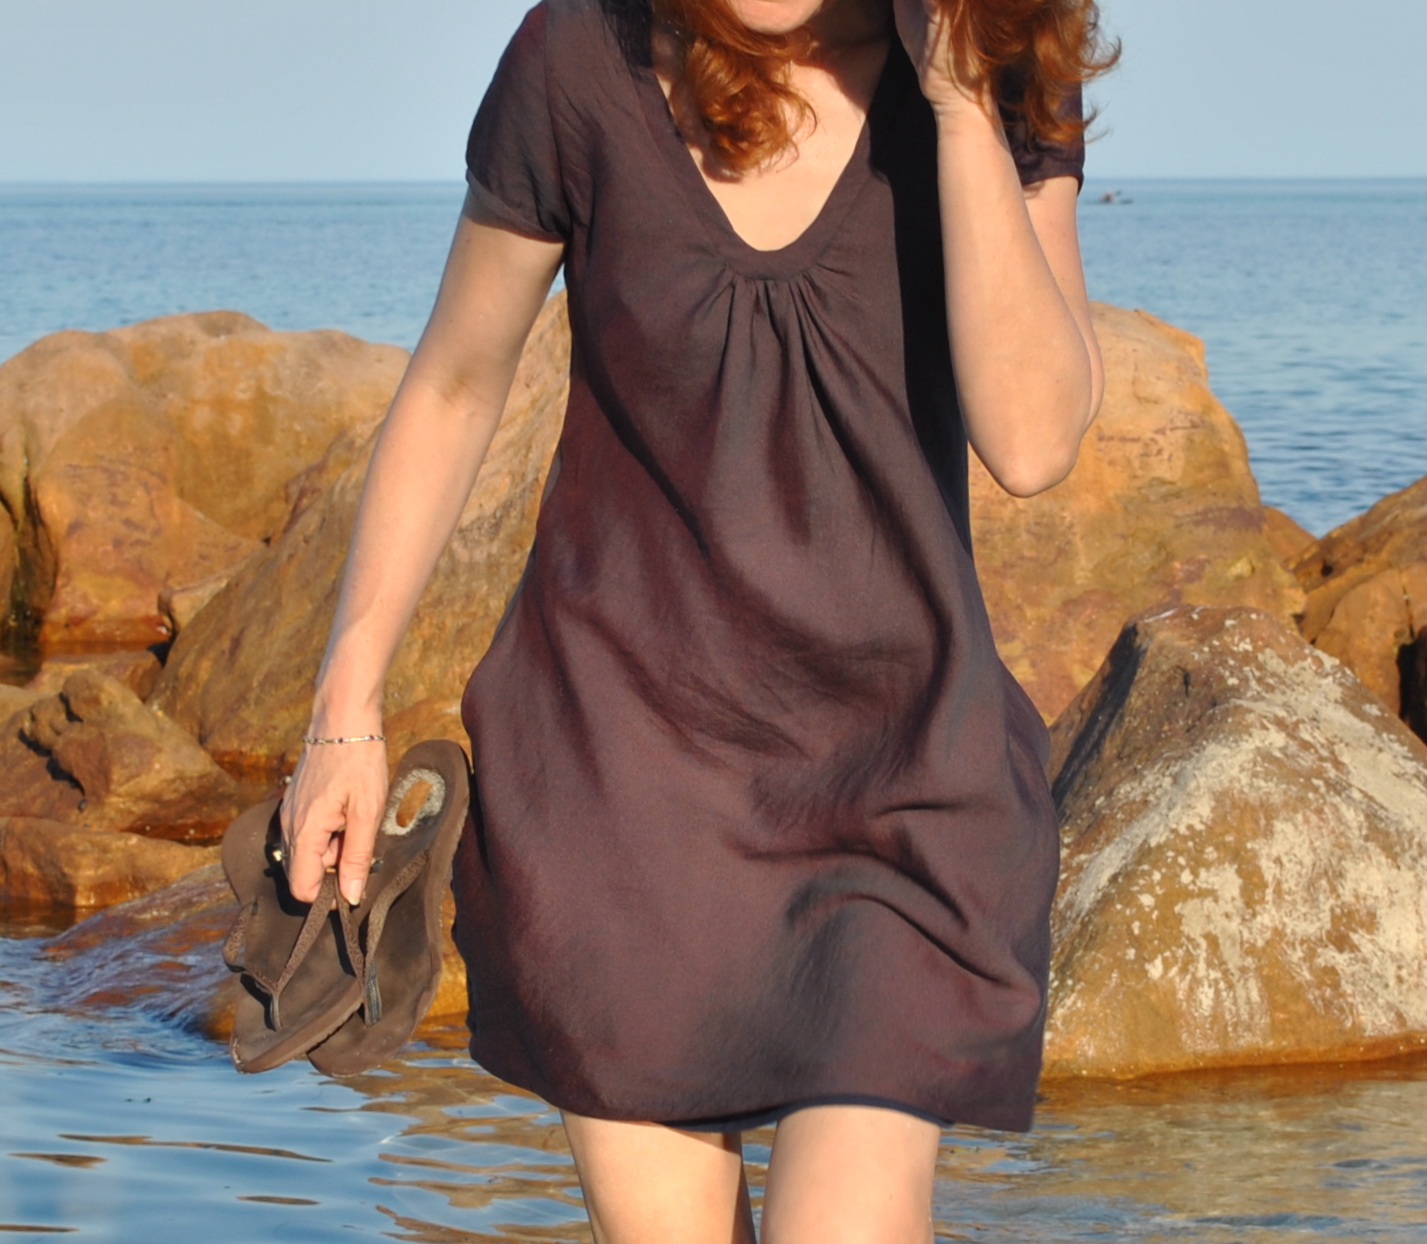
The fabric is shot rayon; with a red warp and a dark blue/grey weft, giving it an overall browny-purple hue.  Craig took this last candid photo which illustrates quite well how the fabric takes on different colours in the light (a hallmark of shot fabrics)

Pattern Description:
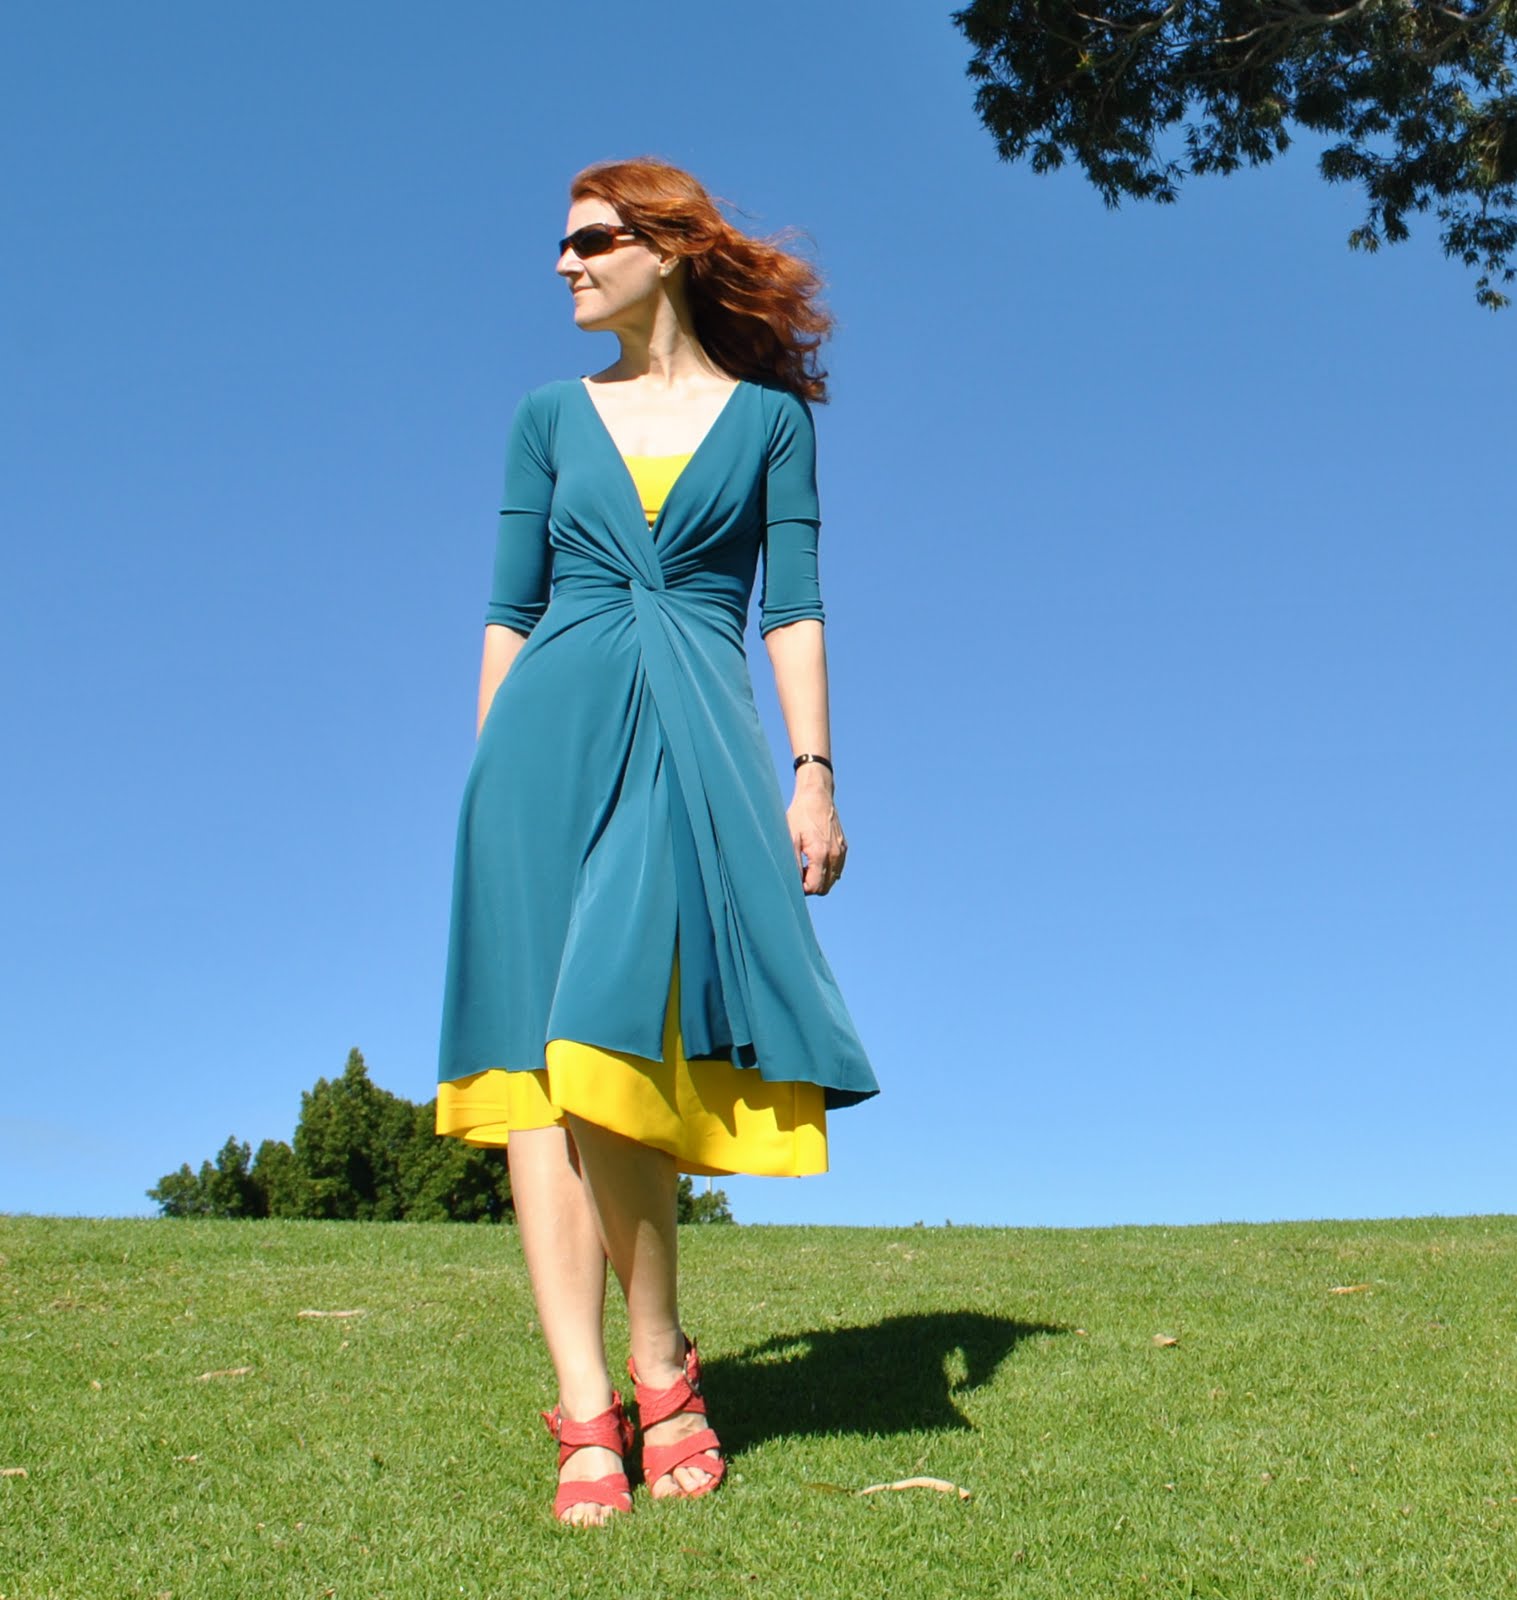
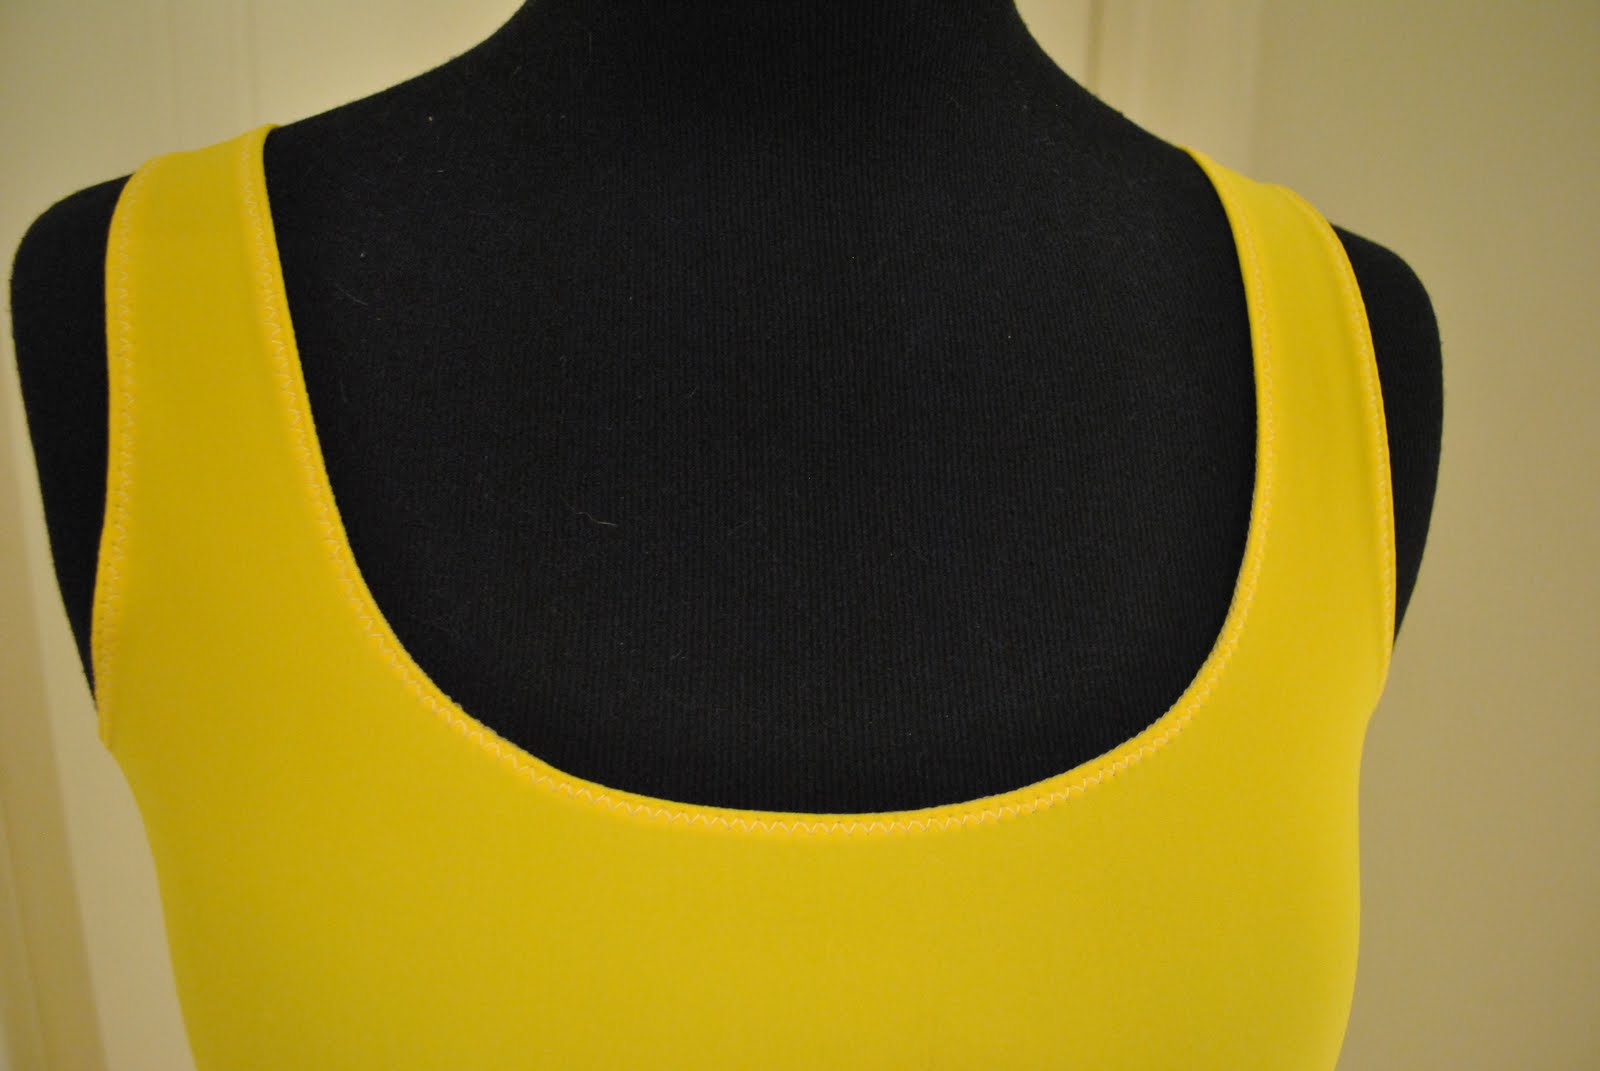
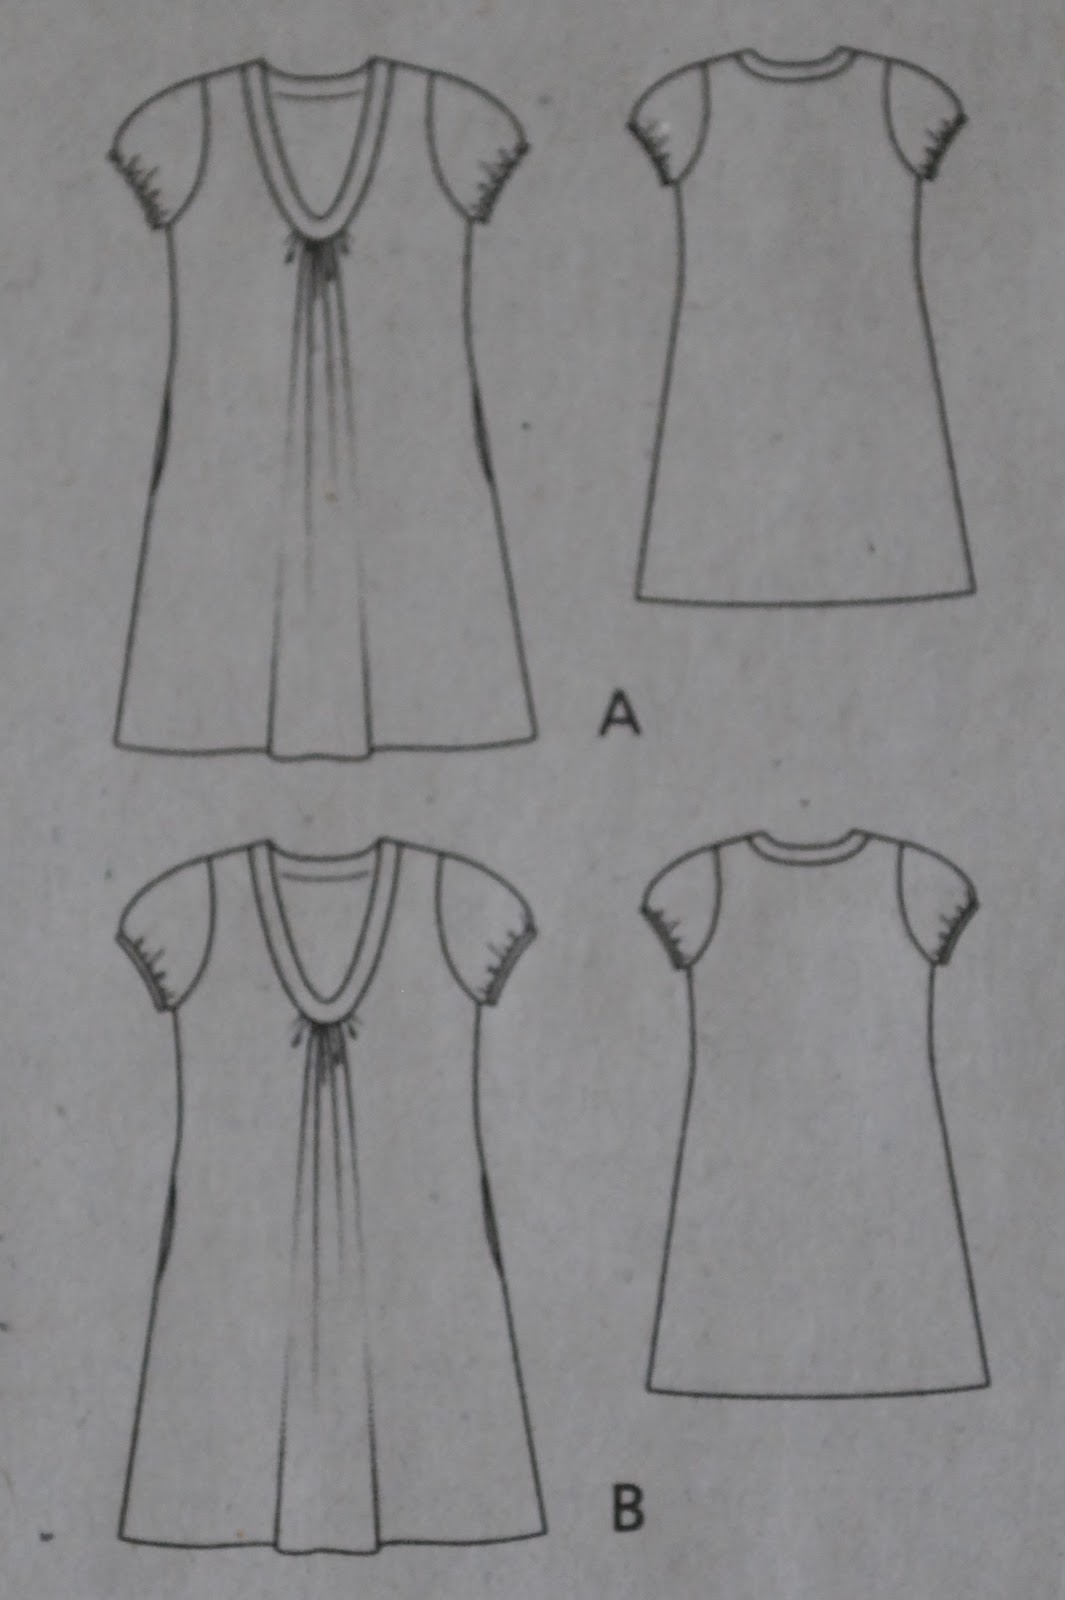
Flared bias-cut dress with an oval neckline which according to the magazine description “accents an alluring décolleté “ (hehehe)  Small gathered cap sleeves, inseam side pockets, no closure necessary.
Pattern Sizing:
European 36-44; I made the size 38
Did it look like the photo/drawing on the pattern envelope once you had finished sewing it?
Yes, except that mine is 14cm shorter.
Were the instructions easy to follow?
Not too convoluted, by Burdastyle standards.
What did you particularly like or dislike about the pattern?
I really love the neckline of this dress, the cute overall shape of the bodice part of the dress and the fact it will be wonderfully cool and comfortable this summer.
Unfortunately the pattern is a little… odd-looking in its finished form  :S  I think this might well be due to the bias cut, which when combined with that gathered neckline; well I should have foreseen how huge this would make the front of the dress look. I am not fond of the maternity look, been there done that and at my age I’m well past all that!!  However, looking closely at the dress I thought the baby bump effect was created partly by the length of the dress, and that the weight of the fabric caused the front to curve back inwards towards your body, in a sort of “bulbous” effect.  I took 14cm off the length and I think this drastically improved the shape of the dress.  The removal of this extra weight of fabric allowed the hemline to sit up and flip out more fully, giving more of an A-line rather than an eggplant silhouette.
Fabric Used:
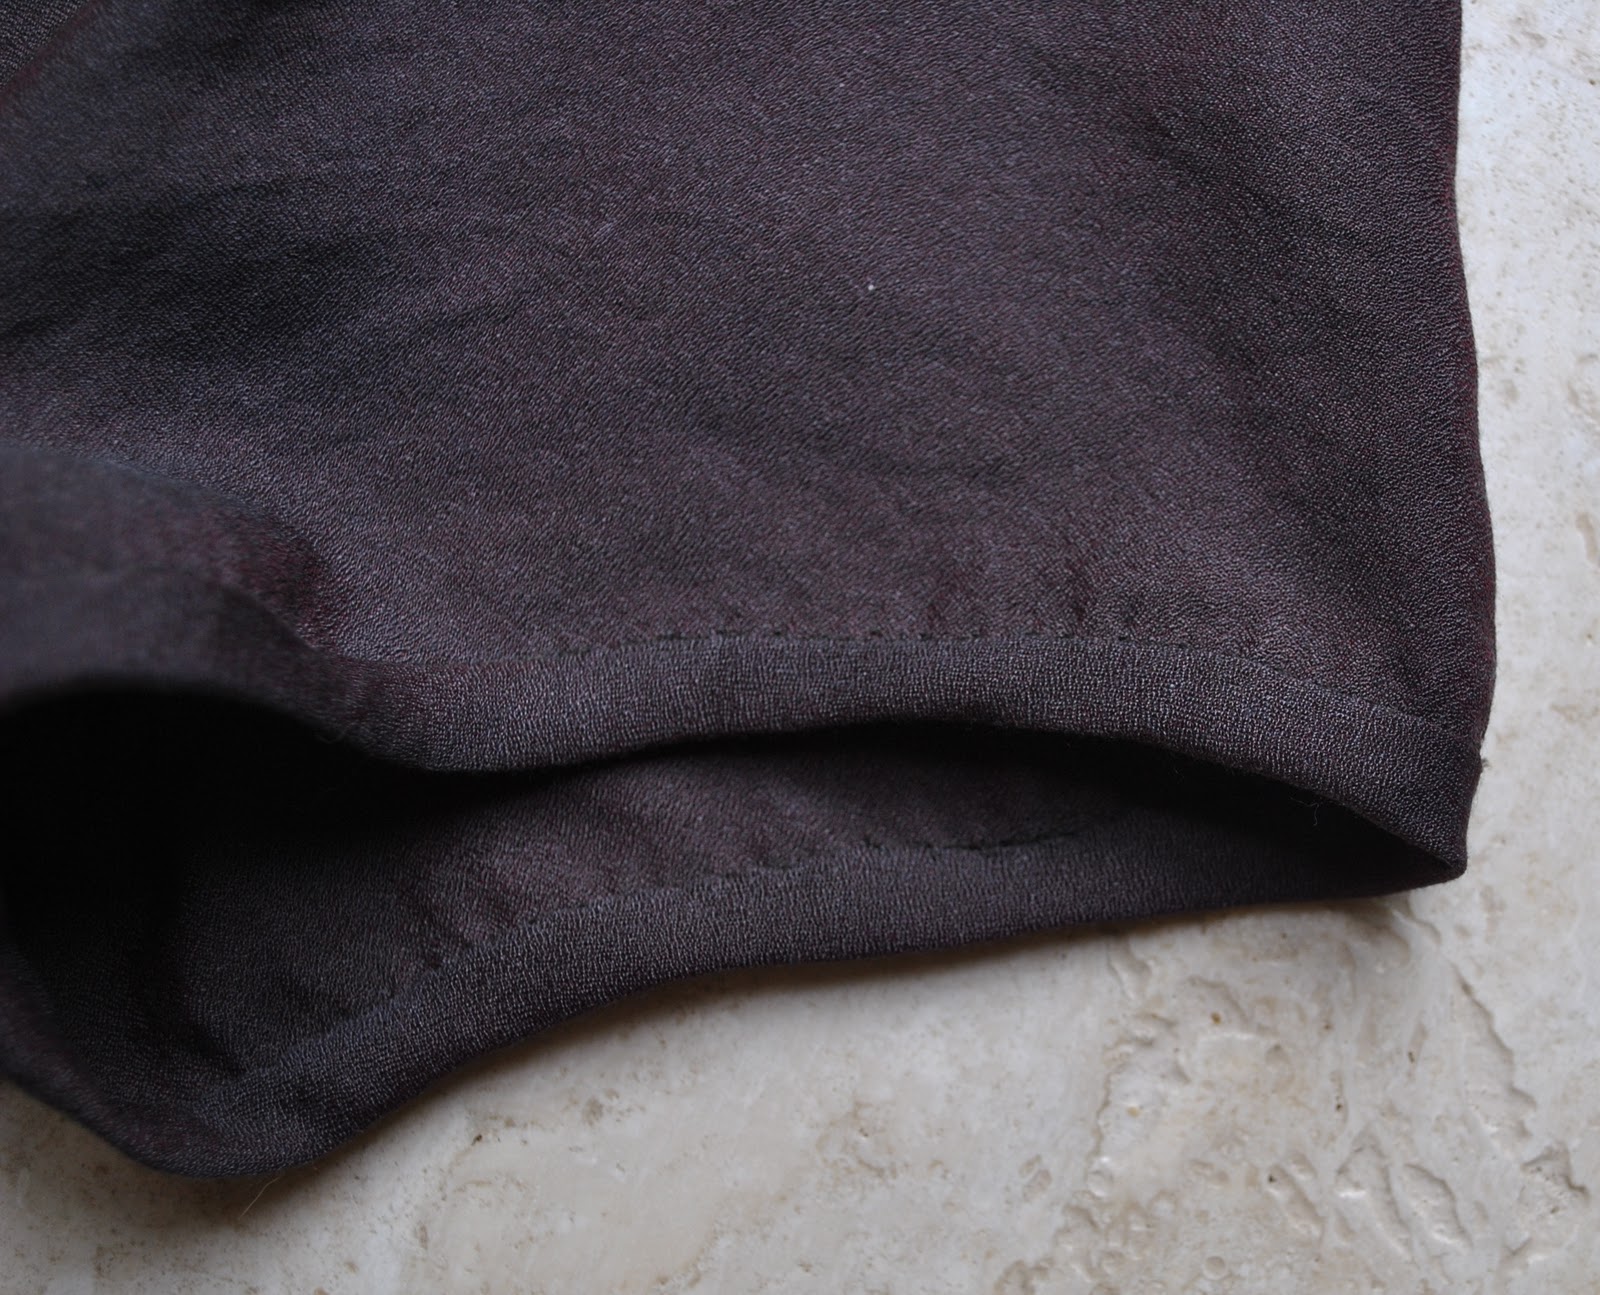
Lightweight shot rayon, with a very slippery silky feel to it
Pattern alterations or any design changes you made:
Contrary to the instructions I sewed the pocket pieces to the dress before sewing up the side seams.  Why would you sew up the side seams before attaching the pockets anyway?  That doesn’t make sense to me at all.
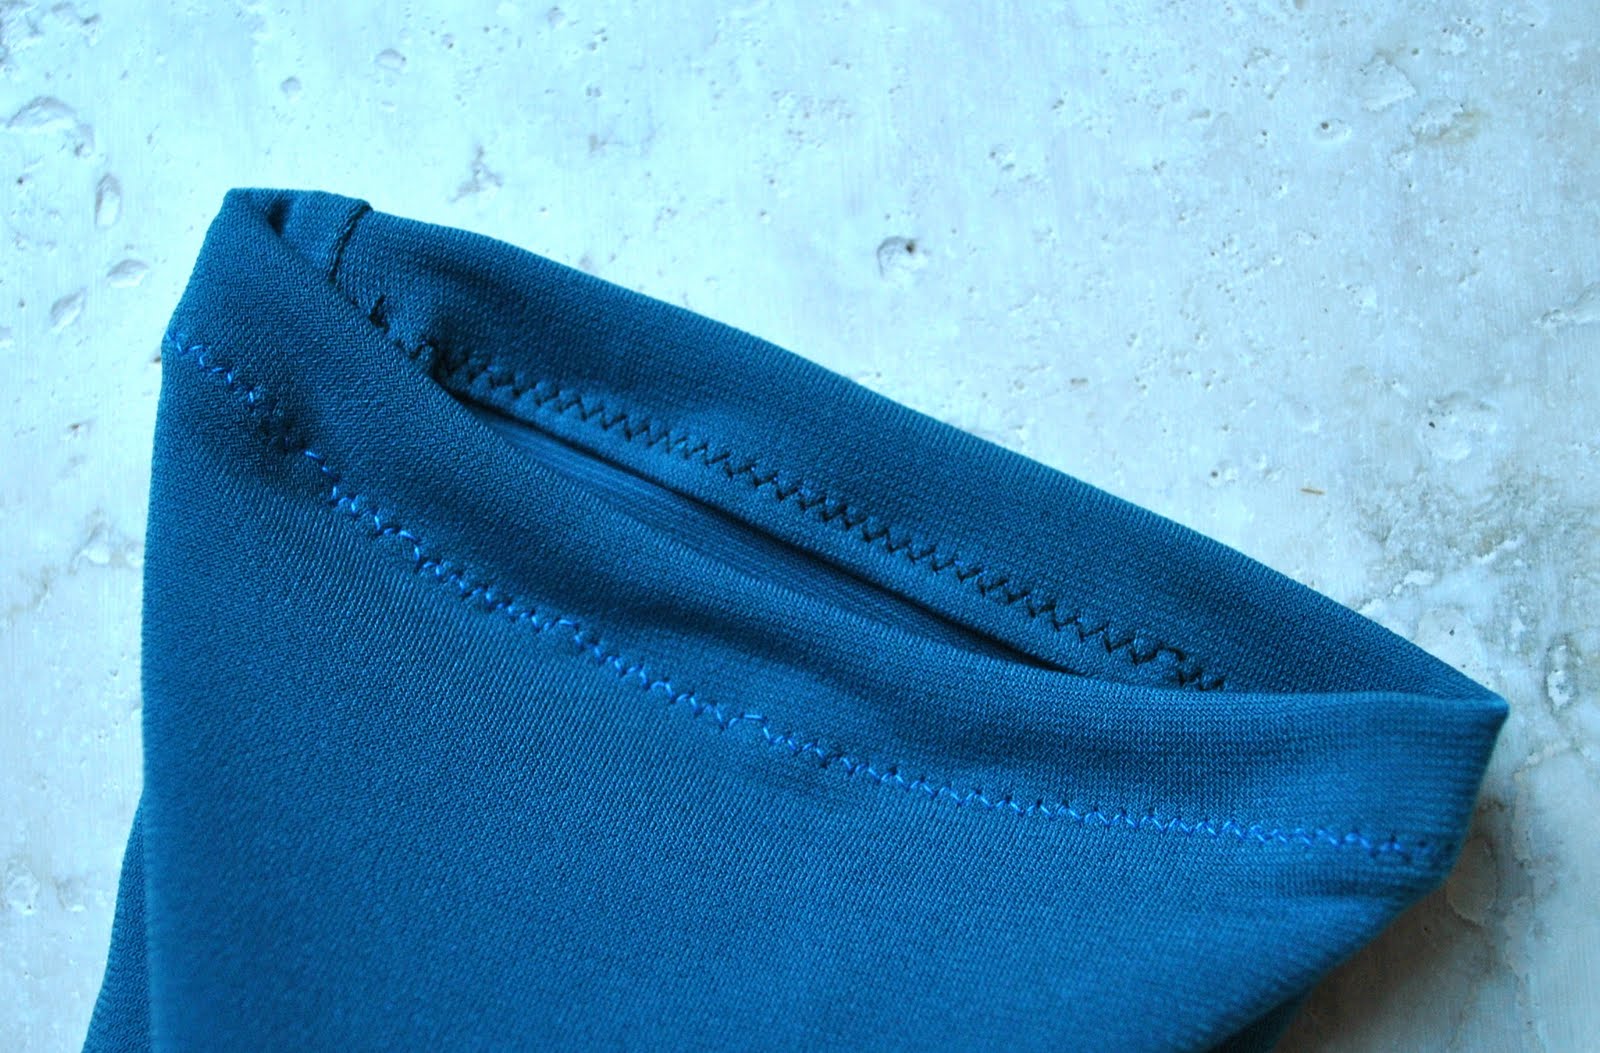
The instructions tell you to attach the sleeve binding before sewing up the side sleeve seams… I sewed the side seams of the dress, then sleeve seams and then set in the sleeves; then I attached the binding to the lower edge of the sleeves and slipstitched it over by hand.  Just a personal preference…
The “bigness” of the dress combined with a quite long length added up to an unfortunate overall frumpiness… so I ended up taking 14cm off the length and this improved the silhouette of the dress enormously, imo.
Would you sew it again? Would you recommend it to others?
I’m curious as to whether this would look better in a straight-cut; and I might just try this out sometime…  Otherwise it might be worth reducing the width of the neckline (and thus some of the excess fabric from out of the front of the dress) to see if this reduces the unfortunate “baby bump” effect.
Would I recommend this to others? well, this would definitely make a fabulous maternity dress!
 Conclusion:
My first reaction to the unhemmed dress at the longer length was disappointment, but taking off that crucial 14cm in length and I am happy!  I really like this at the shorter length.  But I wouldn’t make this again, at least without trying a few adjustments, like taking away at least a bit of that excess fabric around the middle…
This might work better in a lightweight cotton or something else not as slippery and slithery as the fabric I chose.  Bias cut rayon is not much fun to work with.
pinterestmail

Pattern Magic linked-front dress

A new dress…!
This is drafted from the Japanese pattern book Pattern Magic, by Tomoko Nakamichi.  Since mine is the Japanese version I don’t know its translated name, but it is the design on p49.  There is a bit of a story behind this thing…
confession time:
This is the second version of this dress I have made; the first was an unmitigated disaster.  I was planning a three quarter length version using white chiffon (polyester-y stuff, so it was cheap, thank heavens) which I decided needed underlining as well as lining, because the seams would have shown through the fabric otherwise.  I won’t bore you with the whole saga, just cut straight to the climax which was me heaving the whole thing in the bin during a bad case of sewing-rage one night.  I don’t want to talk about it because it is still a painful memory… and if you’re wondering… (wails) yeees! I do regret chucking it out!  After only a short bit of mulling it over, I realised how I could have solved the problem I was having and now wish I had not been so hasty, but as fate would have it the bin was picked up by the rubbish truck the very next morning while I was still in the “never want to even look at it again” mood.  Oh well.  C’est la vie.  I suspect I would have had plenty more issues with it to be honest, so maybe all was for the best…
This version is completely different.  I’ve had this teal silk jersey in my stash from about eighteen months ago, and I envisioned a quick, stretchy, Metalicus-like, pull-over dress with a full-ish skirt; no zips, no underling, no lining required.  Far less fuss!
I made a petticoat to go underneath, why?  Partly because the design has an extremely low neckline.  And also; well the dress in indoor or calm weather circumstances looks like the above, but in a stiff breeze like today…

Lol!  And just so you know, stiff breezes are veeeerry common where I live, and especially during spring.  Yaas, just one of the reasons why hairstyles here are very much au naturel…  The design is completely open at the front, and whilst it would be a simple matter to sew up the front skirt seam I decided I like the idea of the contrasting colour to be a strong part of the final look.
Now, I’ve mentioned this before, but it is worth saying again; Pattern Magic is not for the fainthearted who need step-by-step instructions.  You need to have pretty solid sewing knowledge on how to construct and finish a garment before you have a go at these designs.  The designs as they are in the book give no clue about things like facings, closures, tips on construction, even details like sleeves (to sleeve or not to sleeve, that is the question) are often left up to the individual seamstress/seamster.  So for the sake of clarity I will give some details below as to how I finished off this garment… so you can skip this if you want.

Details:
Dress; drafted from Pattern Magic by Tomoko Nakamichi, teal silk jersey
Petticoat; my own design, of yellow swimwear fabric (polyester? spandex?)
Sandals; Pedro Miralles, from Soletta shoes

I drafted and cut the front neckline edge facings as part of the fronts, and folded them to the inside of the dress so the shoulder edges sat wrong sides together…
I also drafted and cut the back bodice partly on a horizontal fold, with the fold at the back neckline… so the facing of the back bodice is part of the back bodice also.  It finishes about halfway down the back bodice.  This saved having to finish off the back neckline, and also allowed me to enclose the front shoulder edges within the back shoulder edges in a nice clean close-in seam… see, the neckline has no seaming showing!  (self high five)

I felt pretty chuffed when this bit worked out OK.
I drafted a sleeve using a Tshirt I already had; that green internal stitching you see above is the sleeve set-in.  The only topstitching on this garment are the sleeve hems.  These were simply twice folding in 1cm and topstitching with a zig-zag stitch.  The bobbin thread is black while the topstitching thread is blue; and yah, I’m okay with that.

The petticoat is self-drafted, based partly on Tshirts I already had, as well as pinning and fitting to myself.  The bright yellow stretch fabric I used for the petticoat is actually swimwear fabric; so theoretically, on a hot day I can just flop in the pool in it!   It is a lot thicker than the turquoise silk jersey.  After experimenting with a few finishings for the neckline and armhole edges, I eventually settled for serging the edges to stabilise and then folding to the inside once and topstitching slowly with a wide zig-zag stitch, being careful not to stretch the fabric at all.  All the other seams are overlocked.
The lower hems on both dress and petticoat are not finished because these fabrics will not unravel or fray.  I just cut the fabric as straight and as smoothly as possible.

pinterestmail

Sunday, and thoughts on black

Me-Made-March, Day 6
I’ve decided to try wearing clothes I hadn’t worn during Self-Stitched September, to mix it up for that group a bit.  That means going through the wardrobe and pulling out things that haven’t seen active duty for a while… this black dress was originally part of an evening-y ensemble, that included a black lace overdress, which I cut up for something else at some point.  Since then I’ve worn it as a petticoat occasionally, but not for much else.  However, I should wear it more because it is a perfectly good dress by itself.  The fabric is a thick glossy synthetic satin which does feel quite nice and ripply/flowy to wear.  It’s real easy-care, just toss it in the machine.  Er, actually come to think of it, I just toss everything in the machine…   
I added some leftover black lace at the front of the bodice, so it wasn’t too plain.  The straps are just out of skinny little satin ribbon, which combined with this type of fabric and the style makes the whole thing feel a bit lingerie-y, so it really needs a cardigan over the top, for public viewing.  I think maybe I don’t wear it much because black isn’t really my thing.  Putting a little neutral beige cardi over it is “me-ifying” it somewhat.
Why don’t I wear much black?… is something I think about sometimes.  You see it everywhere.  Lots of people wear a lot of black, a lot.  And I don’t much.  I associate black with funerals, and goths, and depression.  That’s when I put it on myself.  Paradoxically, when I see someone else wearing black, I often think they look quite smart.  With-it, cool and out-there.  Not always, sometimes I mentally wish serial all-black wearers would be a bit more imaginative, but usually black is a colour I like.  On others.  Just not on me.  Weird, huh?
A big plus about black; it’s real easy to mix and match, and you can always find shoes to go with your outfit.  When you’re into colours it’s a darn sight more challenging!

Details:
Dress; an adapted version of NewLook 6035? (I think?? it’s been a while since I made this thing…) black synthetic satin and lace
Cardigan; my own design, coffee and white net, grosgrain ribbon

pinterestmail

Floral floaty dress

Finished!
In sequinned and embroidered silk chiffon from the Alannah Hill outlet in Melbourne, and using Vogue 1152 again.  This second time in making up this pattern I followed the pattern faithfully.  Except to add about 5cm in length because I felt like my previous version is on the short side.  And I hemmed with a handrolled, handstitched hem, so the dress is technically just a leettle bit longer than intended because of this too.  I went with the original styling because I figured that the floppy sheer fabric would droop quite satisfactorily and thus work better for this “loose-fitting” pattern.  And it does, too.
Note to self; when the pattern envelope says “loose-fitting”, pay attention.
For the piping I used the tiniest scrap of some leftover fabric that my daughter dyed in a shibori method, as part of a school project.  And because I didn’t have any piping cord handy, I substituted boot shoelace; just as effective, imo.
Because the fabric is er, like, completely sheer and I don’t wish to make a spectacle of myself, I am wearing it over the champagne silk petticoat, made here using Burda 8071; and it couldn’t be a more perfect fit, cut or colour to work with this dress also.  A very useful petticoat, indeed!!
To read my review of this pattern and the previous alterations to the denim version, go here.

Details:
Dress; Vogue 1152, sequinned and embroidered silk chiffon
petticoat; Burda 8071, champagne silk satin
Socks; knitted by me, white cotton
Shoes; Francesco Morichetti

pinterestmail

An essential petticoat


The first time I wore this new cocktail dress was at a standing cocktail function; and all was hunky dory.  Felt a million bucks and the dress was perfect.  The second time I wore it was to a sit-down lunch and fashion parade at a fancy restaurant here, and a vitally important design flaw in this dress immediately made itself apparent.  I won’t embarrass anyone with any pictures, but the above picture with my new petticoat worn under the dress should give you some idea of the problem I faced… luckily I was out just with my own husband who could see the humour in the situation, and also luckily there was the tablecloth as well as a huge white serviette draped over my lap the whole time I was seated…!
This cocktail dress is really lovely and I am super happy with it, but I should have foreseen this.  I actually couldn’t believe it myself that I had simply not sat down in the dress up until that point and realised…!  The pattern is really a coat-dress, and has closure only at the waistband, and one button a little further down at about hip height on the inside flap.  Naturally there was going to be gape-age…!
So I bought some silk satin and made a petticoat, using an old standby sundress pattern Burda 8071.  I do already have a selection of petticoats, but since this one would undoubtedly slip into view when wearing this dress, I wanted it to match and blend in perfectly, and obviously be of a perfect length. For this reason I spent some time getting the hem length exactly right.  The petticoat sits just 2cm shorter than the dress.  The shoulder straps are of satin ribbon, and are adjustable.  Though unfortunately the only lingerie fittings I could find are these from Spotlight, which are just not very good… if I could find another range somewhere I would definitely swap them over.  Anyone know of a good supplier of lingerie fittings?
Viewing the petticoat modelled here by Bessie, you can see how much bigger than me she is.  The petticoat actually fits me perfectly, but I can barely squeeze it over Bessie’s hips, and as for doing up the zip, well no way Jose.  Even here it is stretched as tight as.  Having her is wonderful and certainly makes my sewing life much easier, but fine-tuning the fit of a garment is always something I have to do on myself, obviously!

Details:
Dress; Vogue 1155, bronze-y gold silk taffeta
Petticoat; Burda 8071, beige silk satin
Shoes; Misano, from Labels boutique

pinterestmail
Switch to mobile version
↓