Tag Archives: Sewing Machines

my sewing/creative space

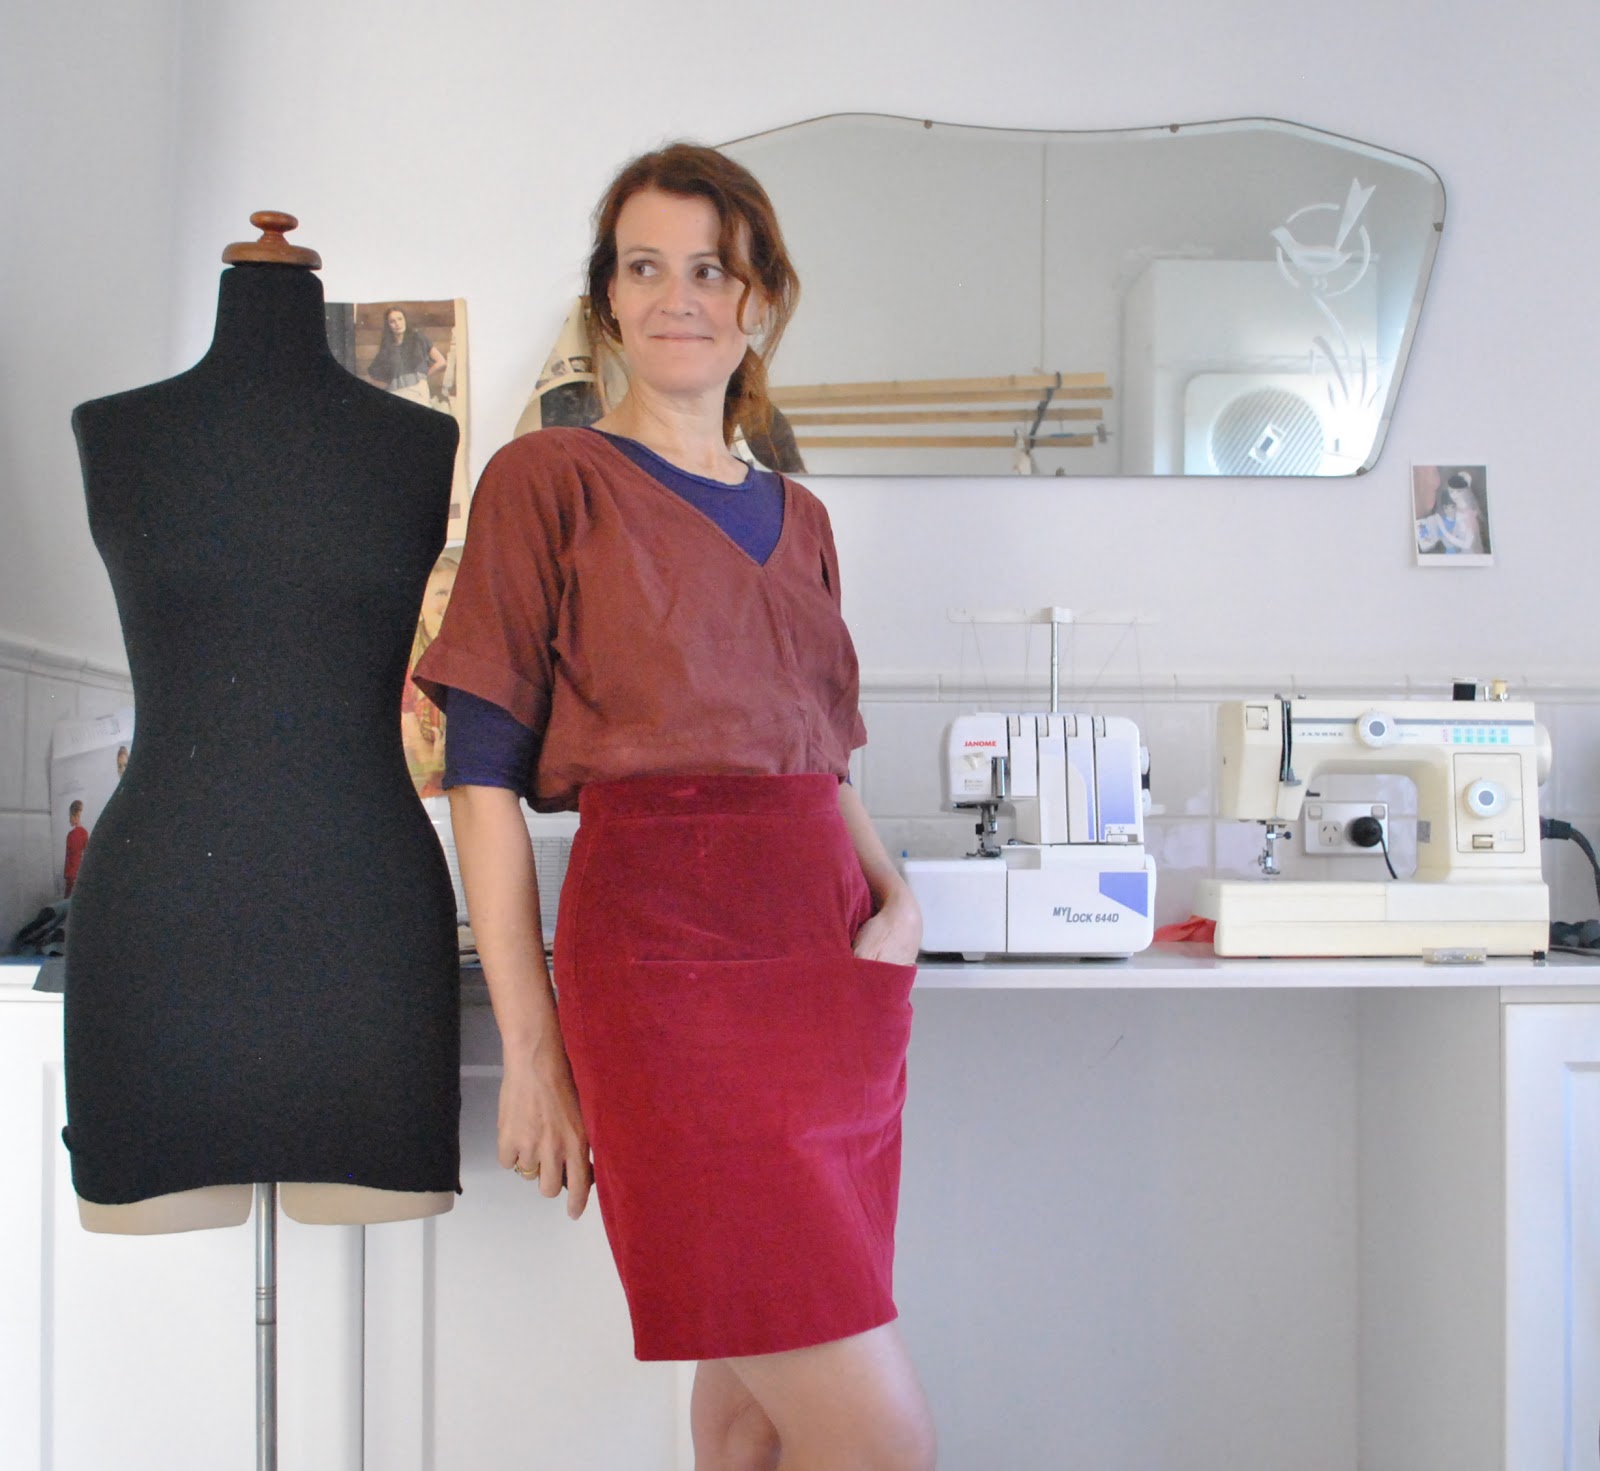
Today’s photo mini-challenge is your sewing/creative space, and even though I did try to think of some creative and interesting way of interpreting the challenge I failed, sorry, and have just had to go down the boring path of the literal.  Anyway, here we are.
I’ve kinda held off introducing my sewing area in the past, because I’m afraid my little workhorse of a sewing space is not very pretty, there are no decorative bits and pieces lined up gorgeously around, or anything remotely aesthetically pleasing at all.  I sure don’t expect this to get “pinned” as an inspirational space to create in, haha!   But I shouldn’t be ashamed of it really; it’s done me pretty good so far!
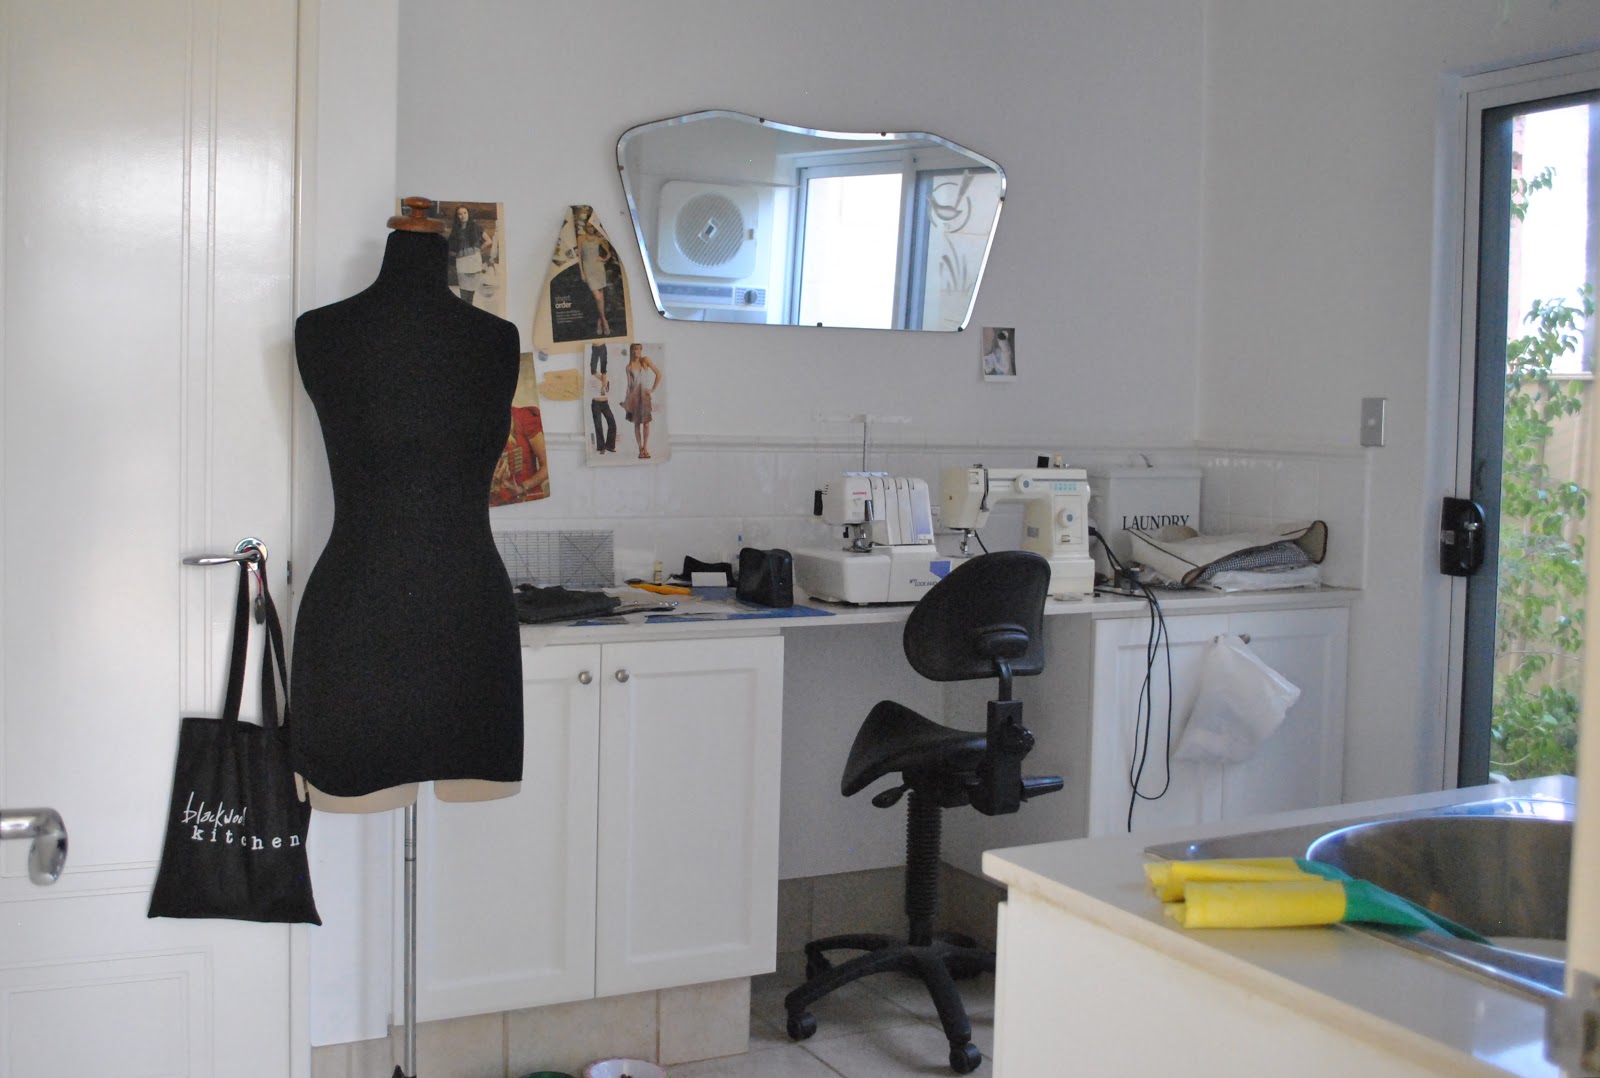
It’s a small space; everything in it has a permanent home where it has to live if it is not being used right then and there.  I have to be super vigilant about tidying up constantly as I am sewing or it can easily get too cluttered to be functional.
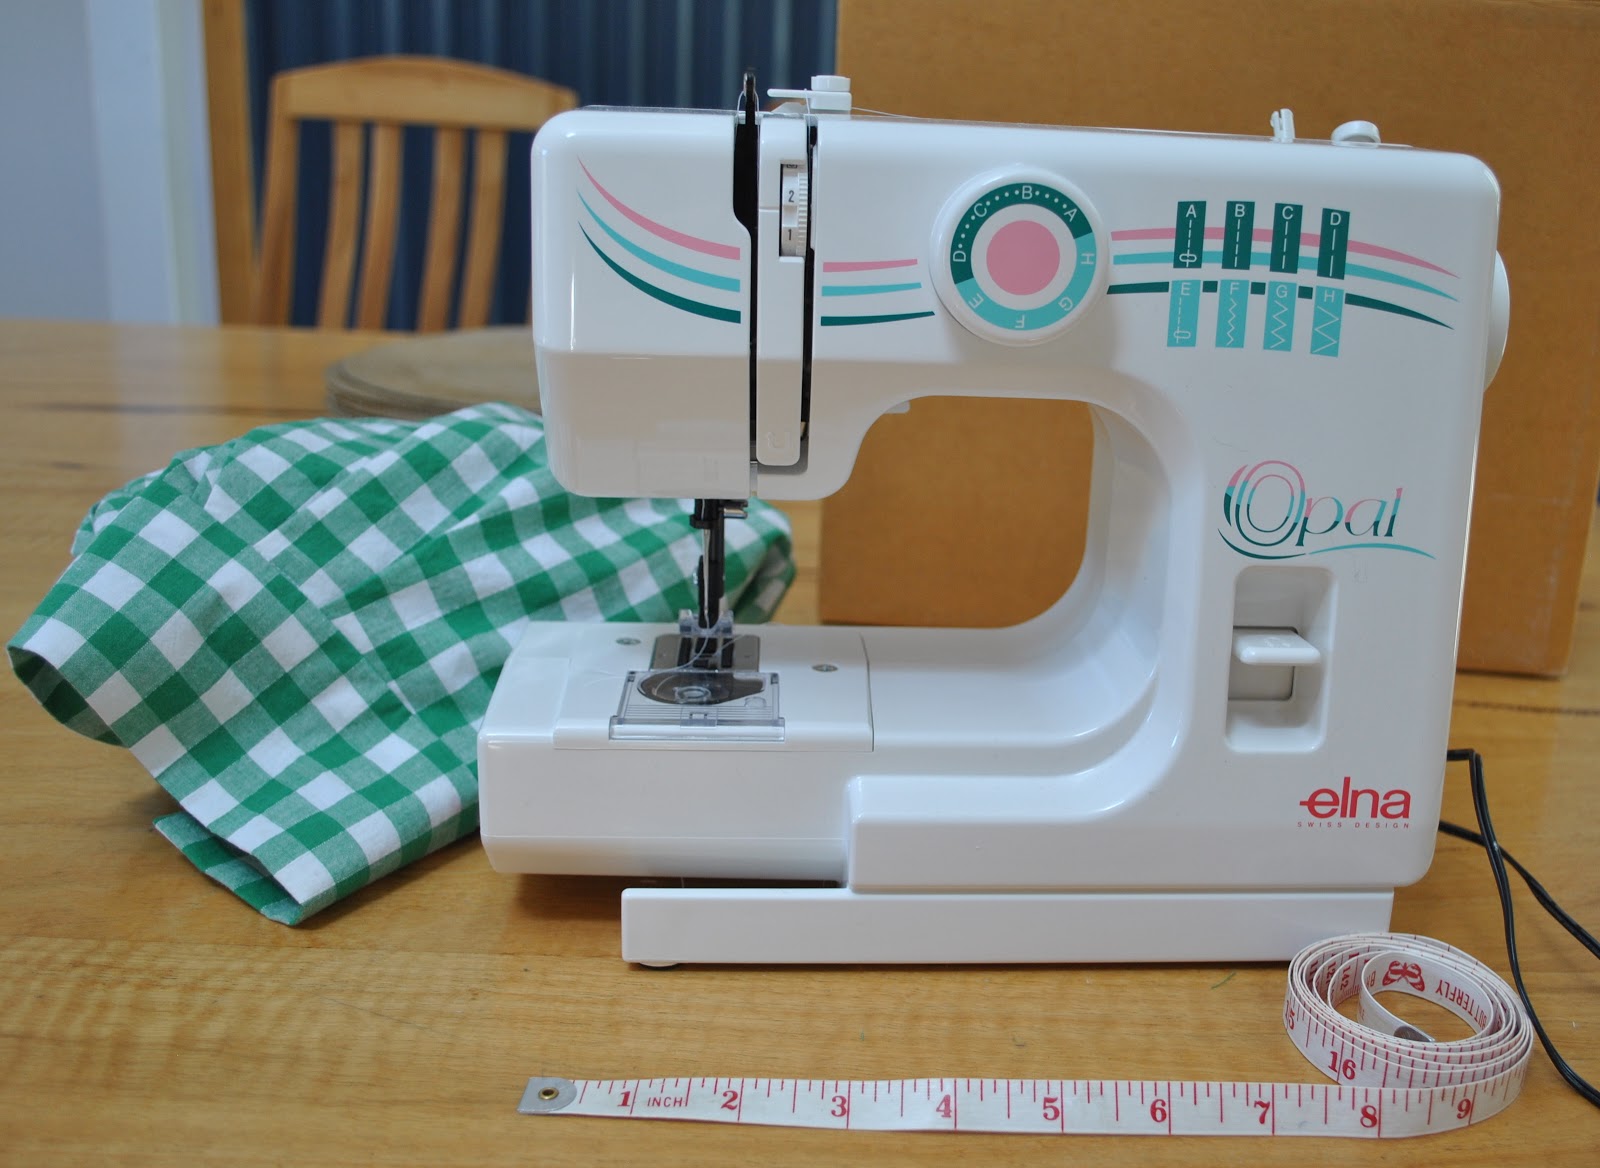
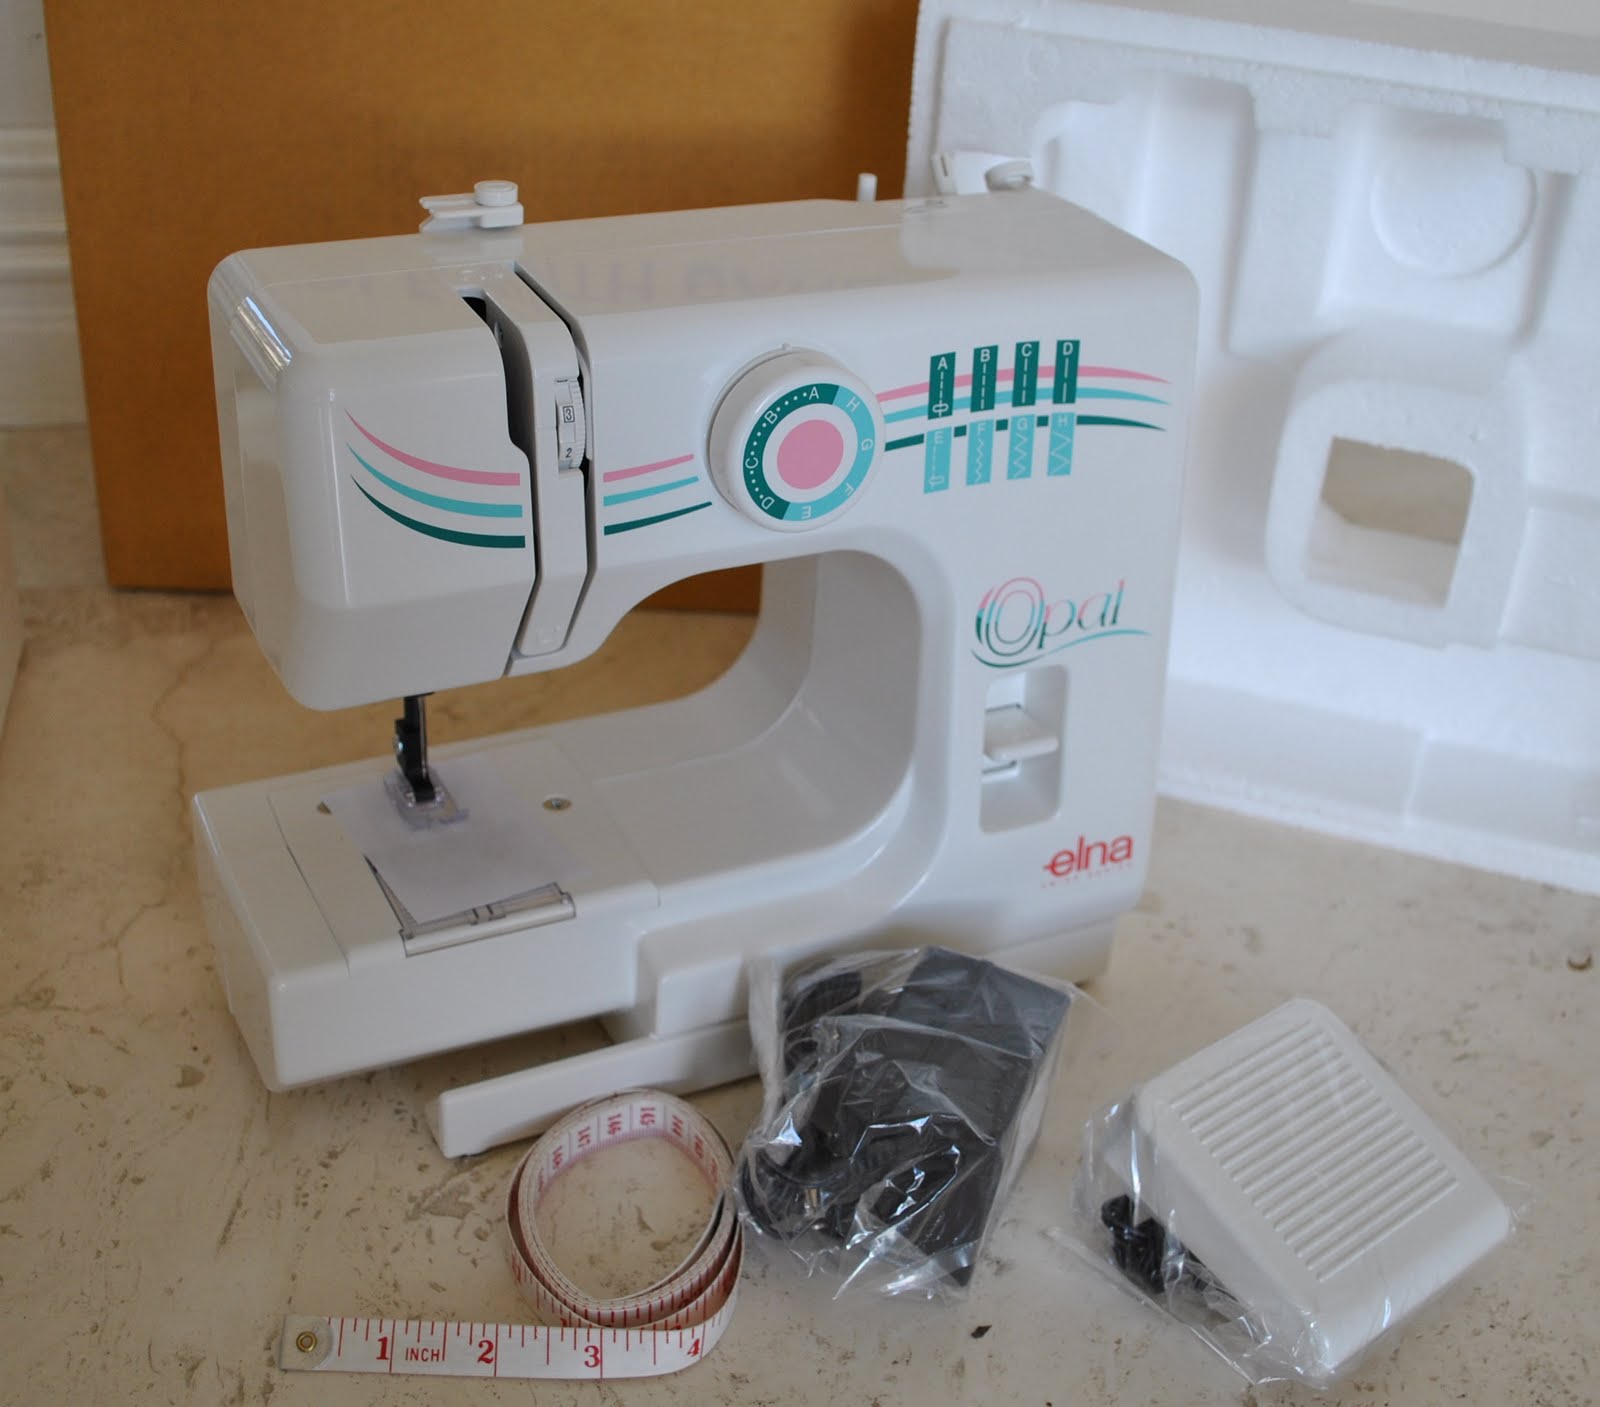
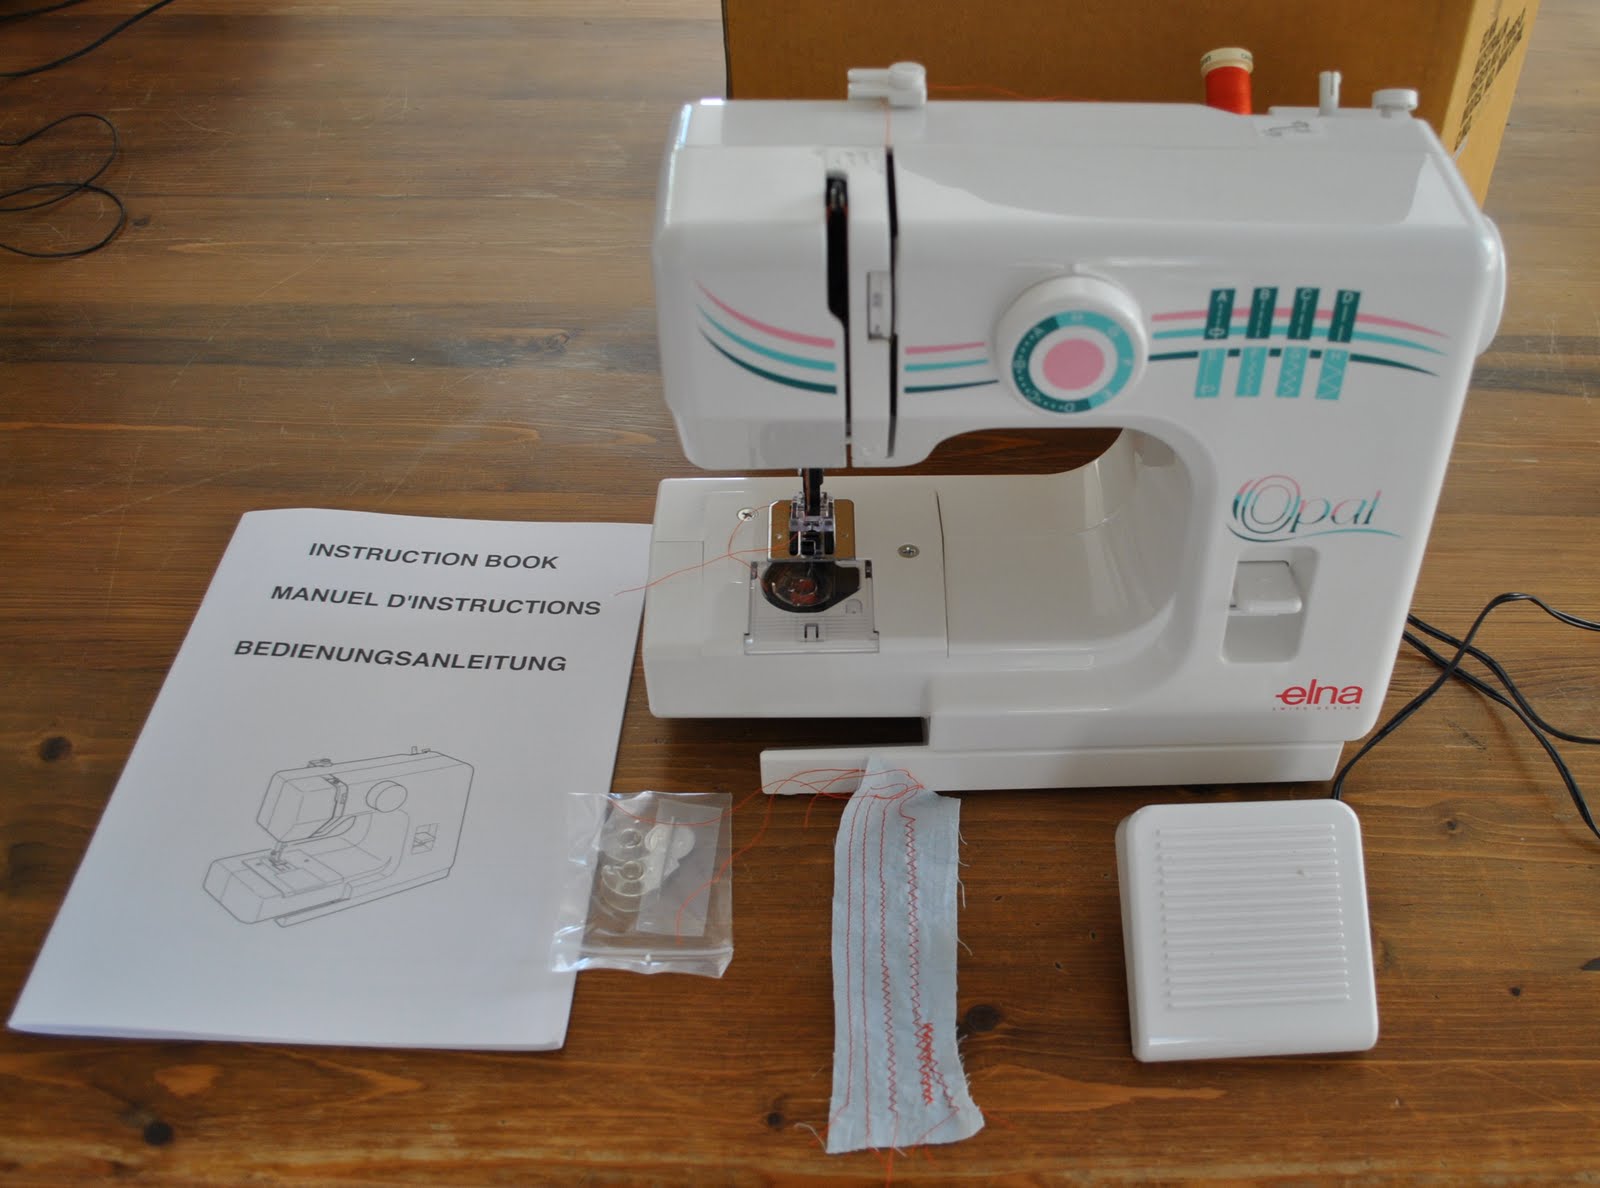
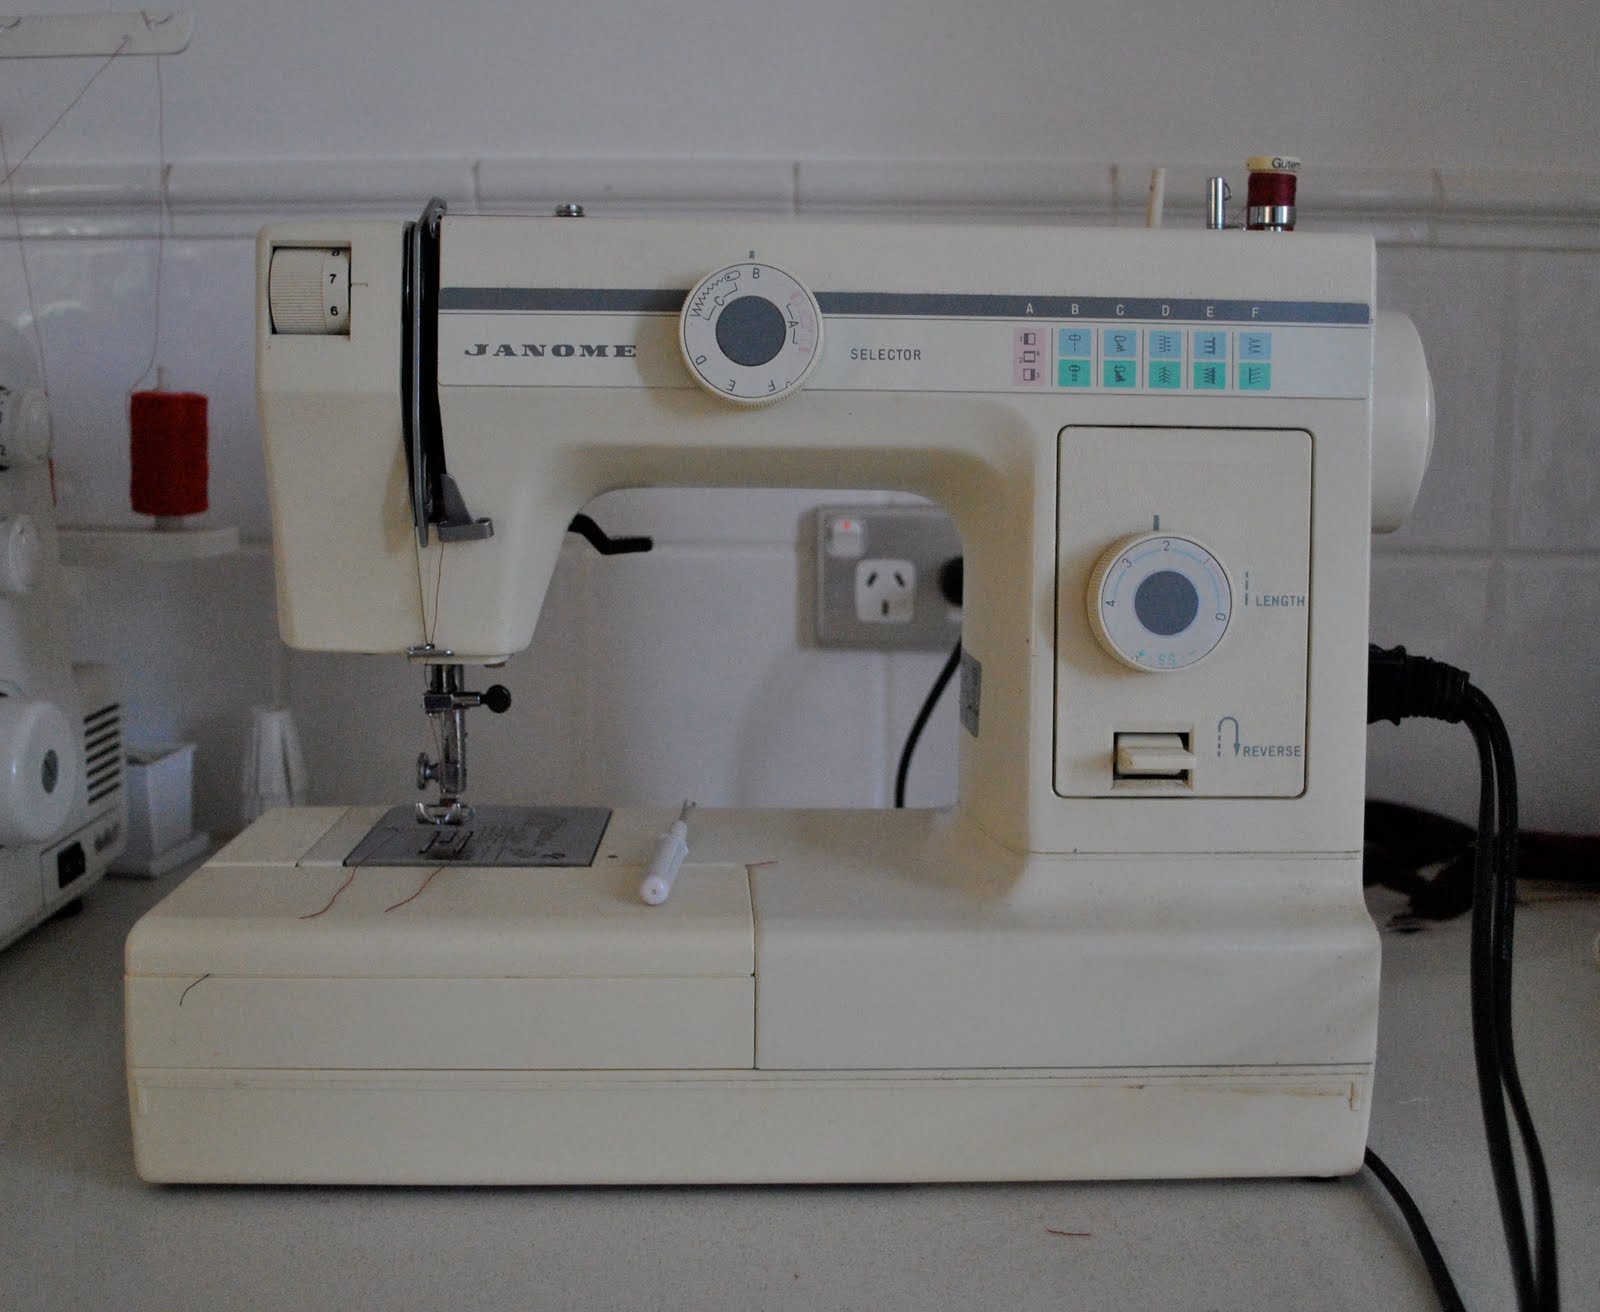
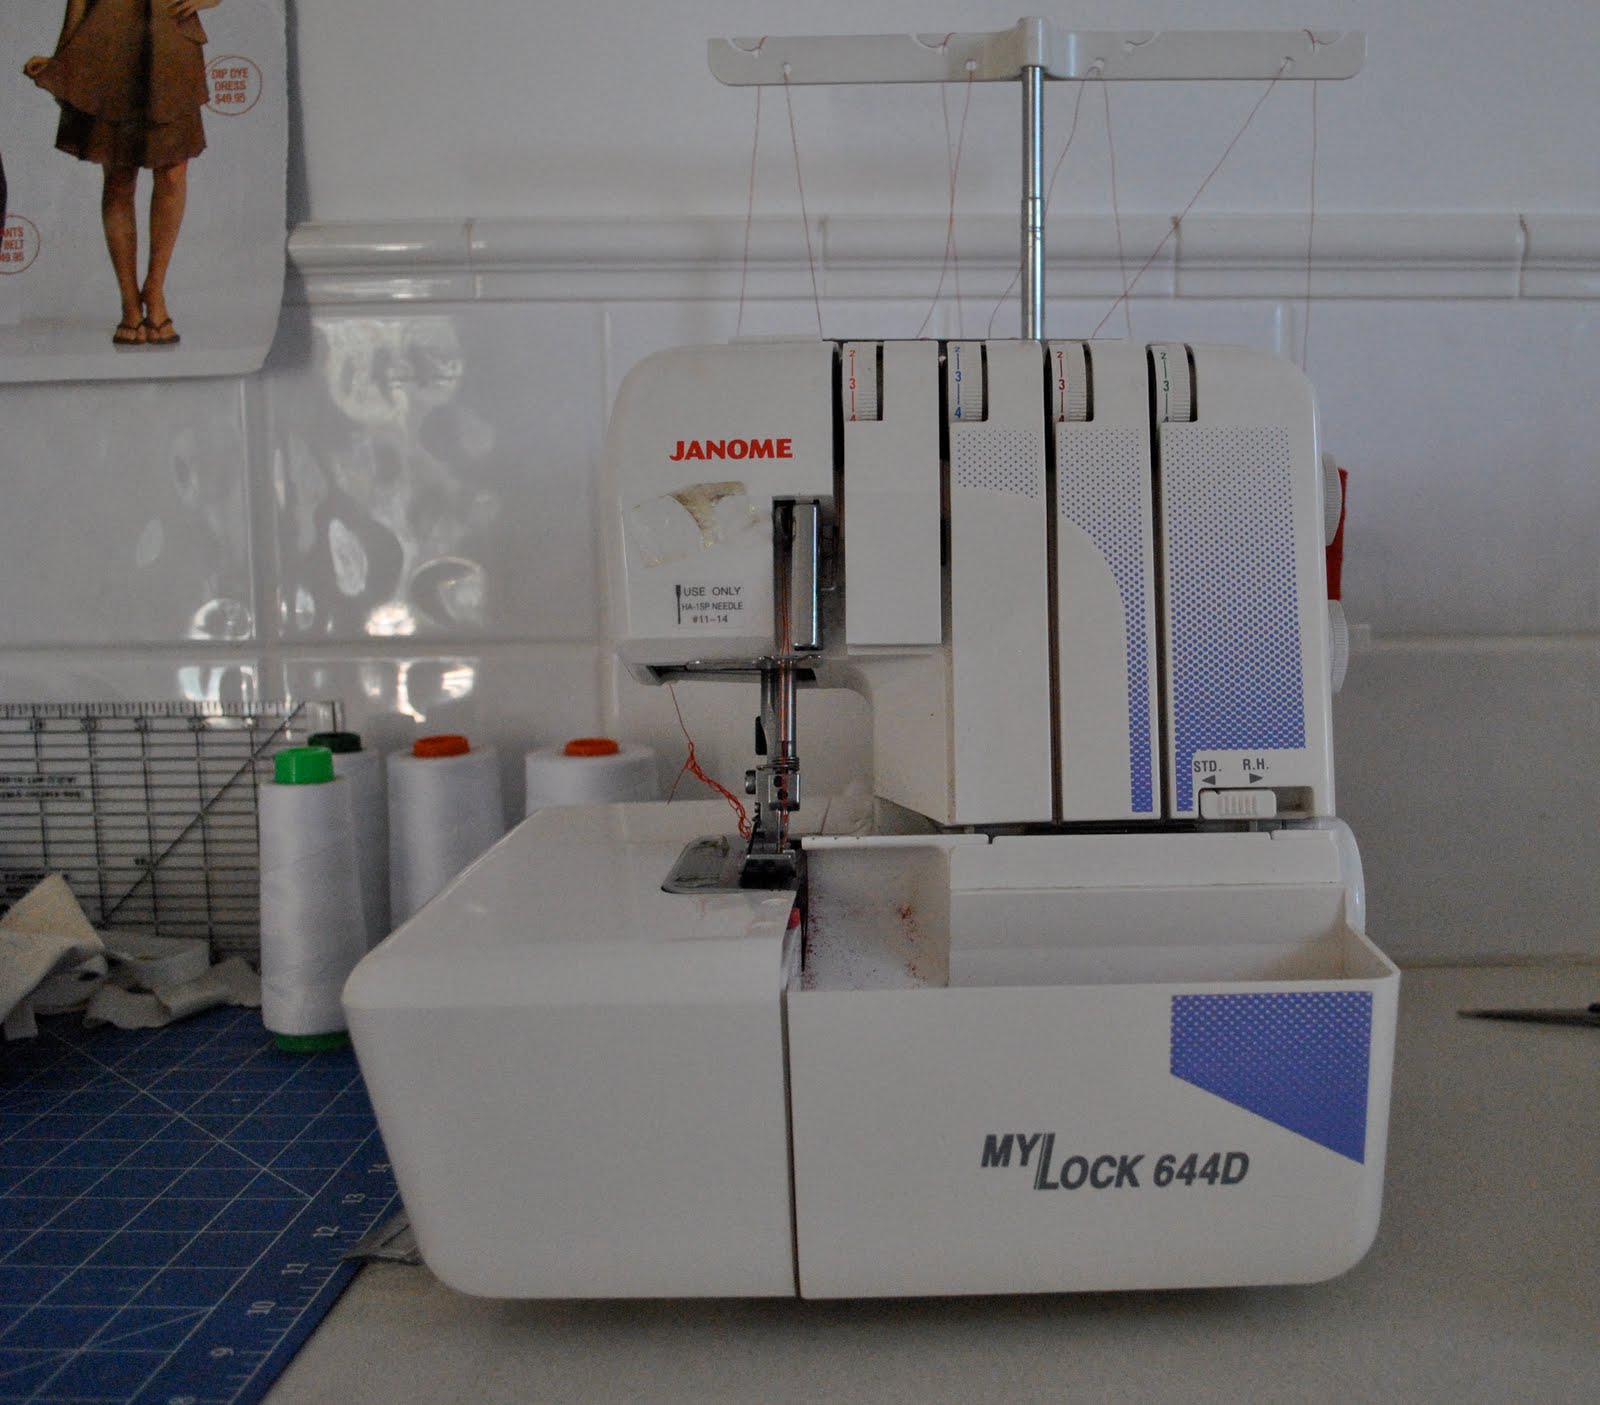
Everything pivots around a bench in the laundry, which has the middle underbench cupboard left out so that my knees have somewhere to go when I sit at it.  My sewing machine and overlocker (both described in more detail in this post) perch beside each other on top.  The black bag hanging on the door handle is my knitting bag.

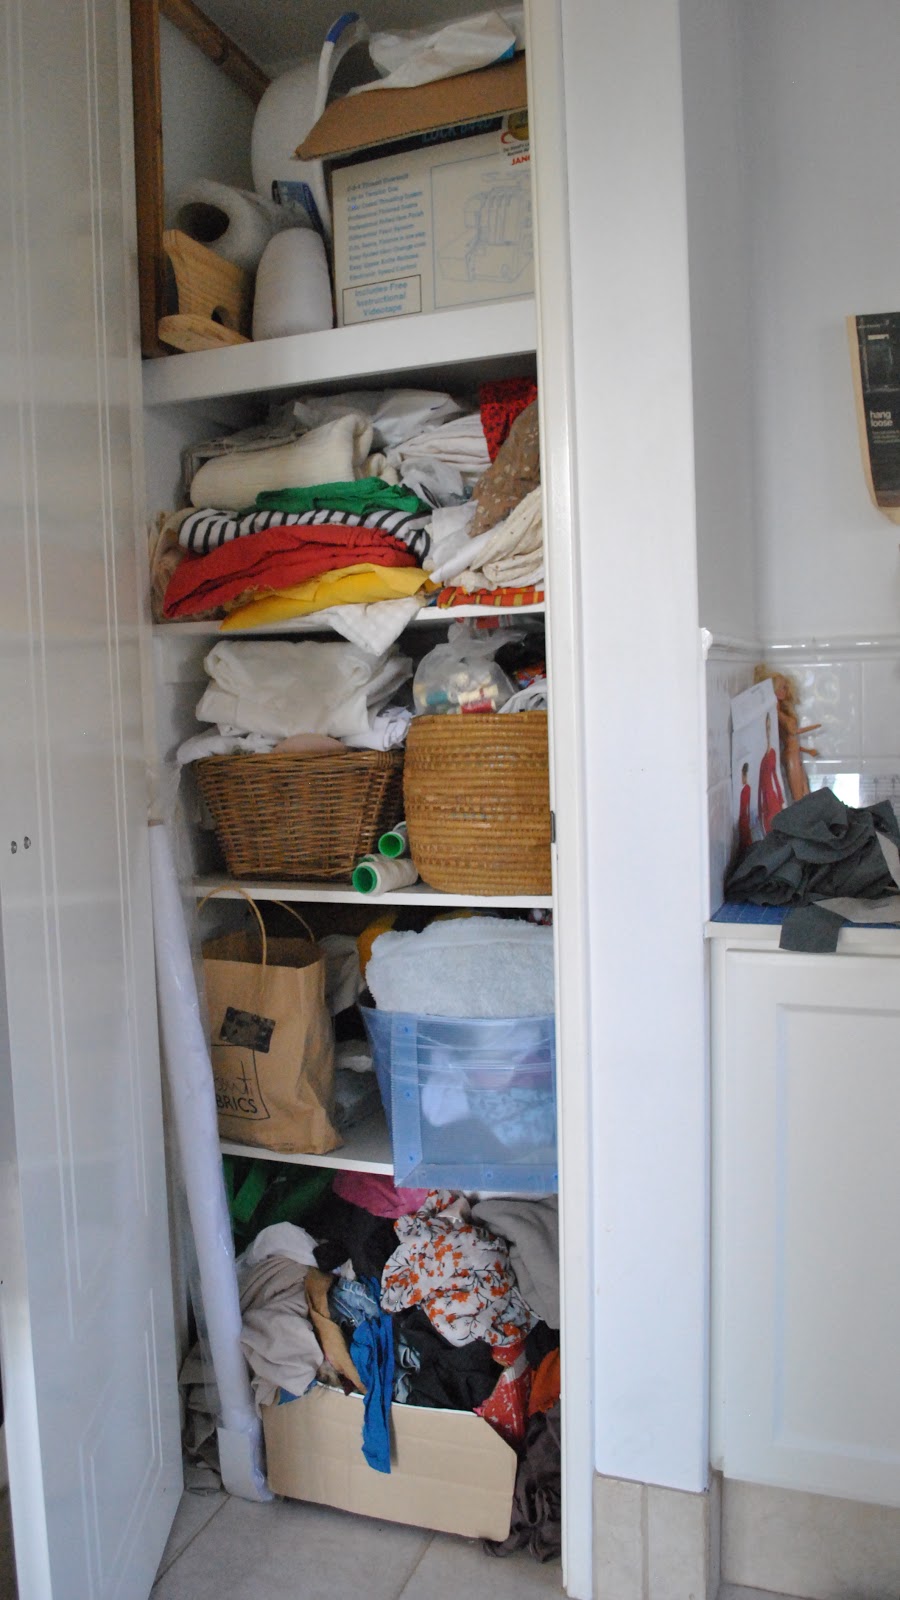
The cupboard to the left stores most of my “current” fabric, along with interfacing, knitting and embroidery patterns, cleaning rags and my haberdashery basket…
the underbench cupboard just to the right of that stores all my sewing patterns, books and magazines…

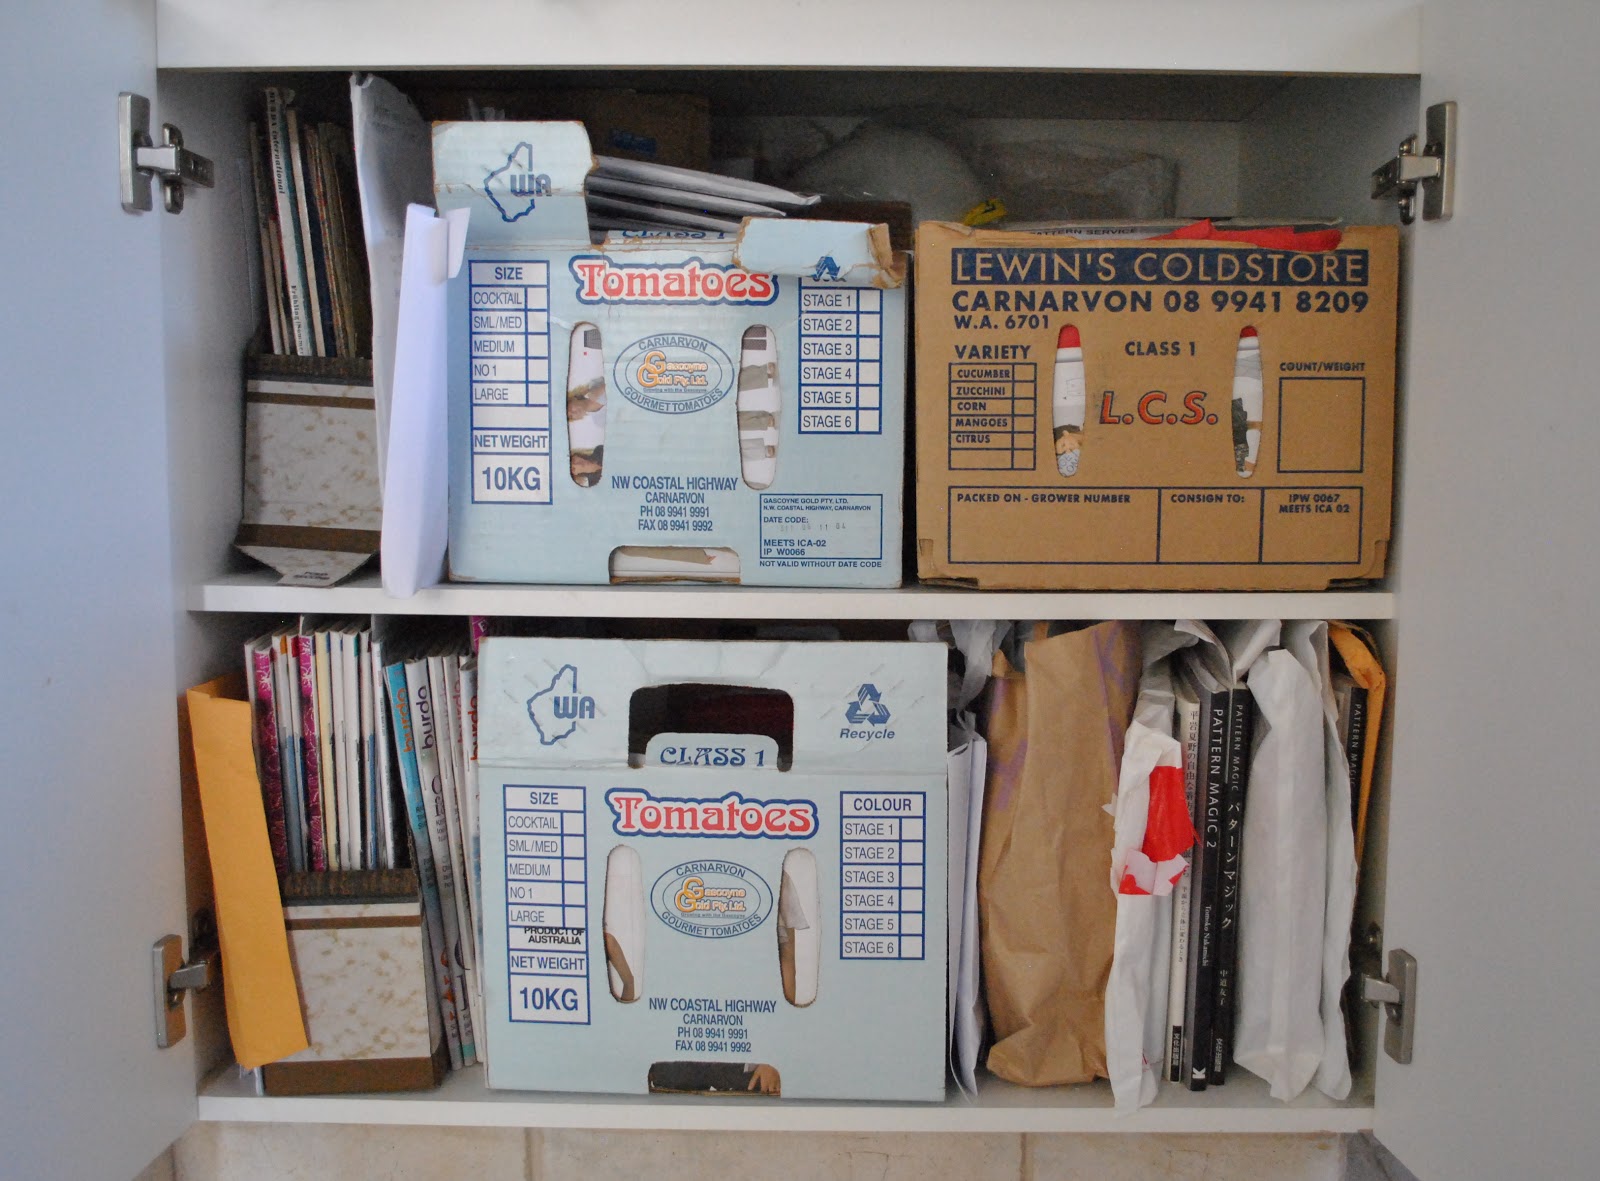
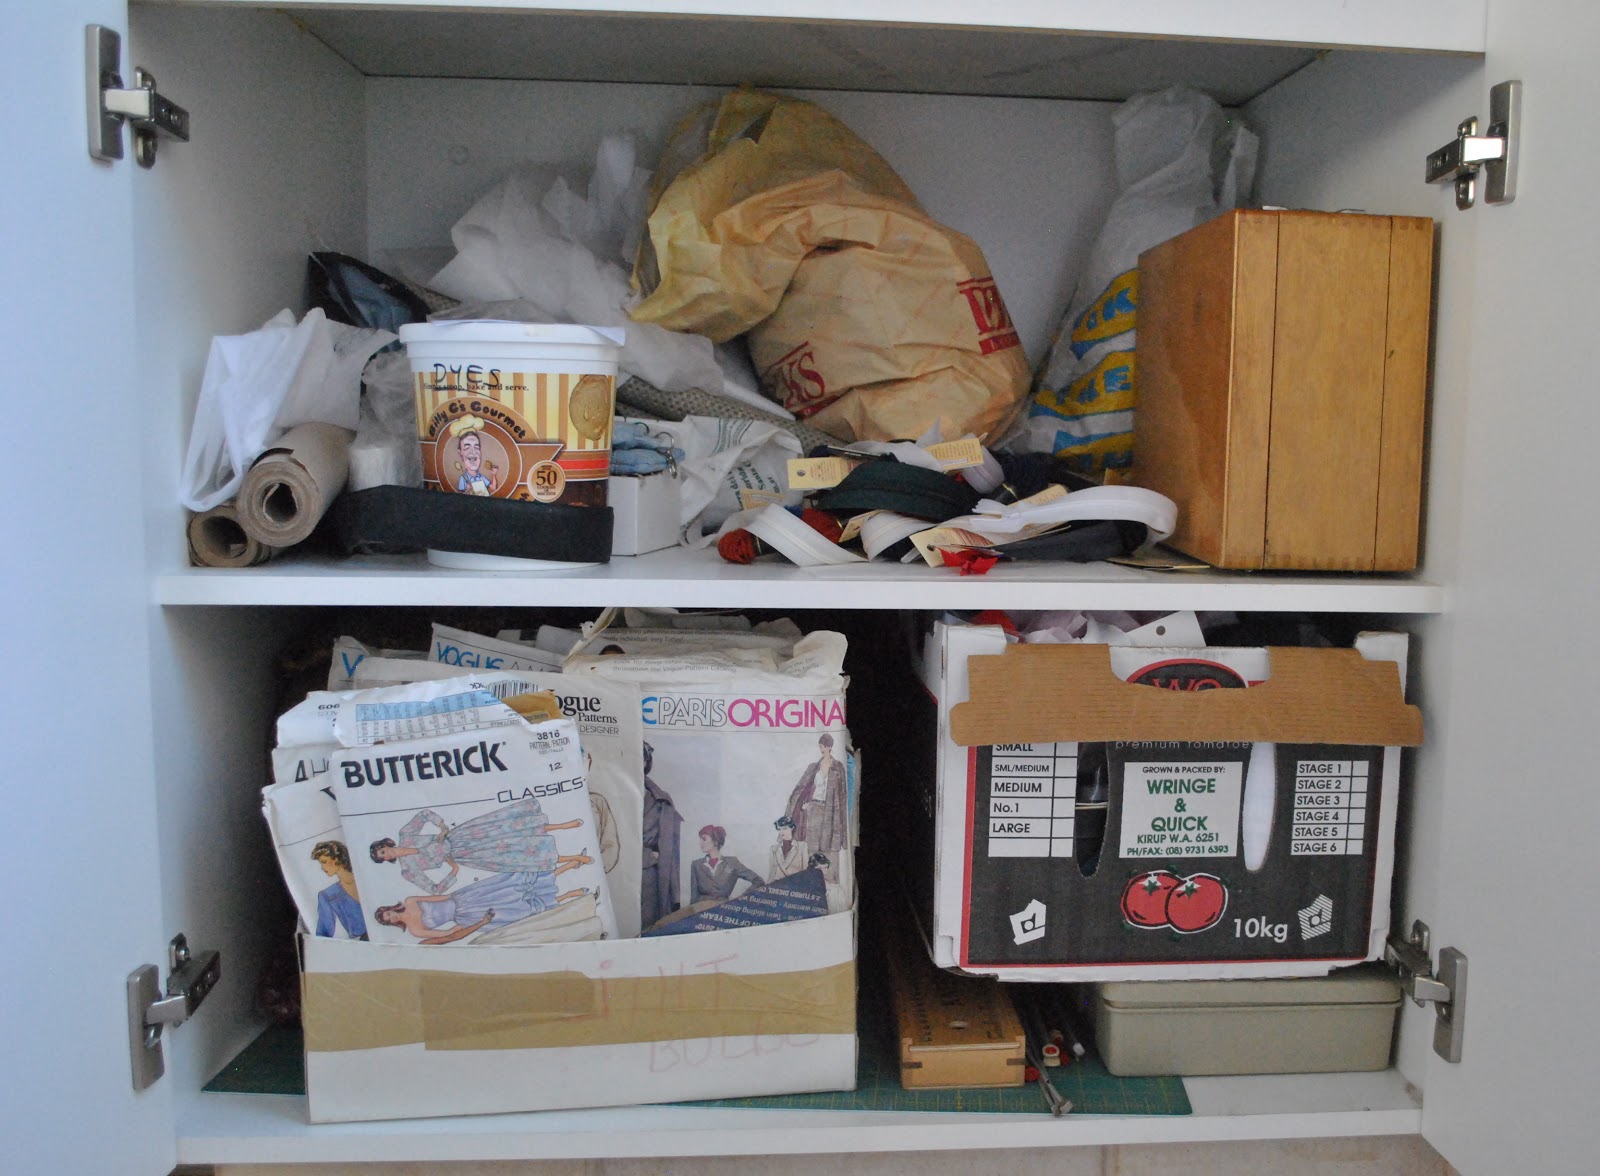
and the underbench cupboard to the right of the room stores old patterns that I’ve inherited, zips, dyes, trims, embroidery threads and all my knitting wool and knitting needles.

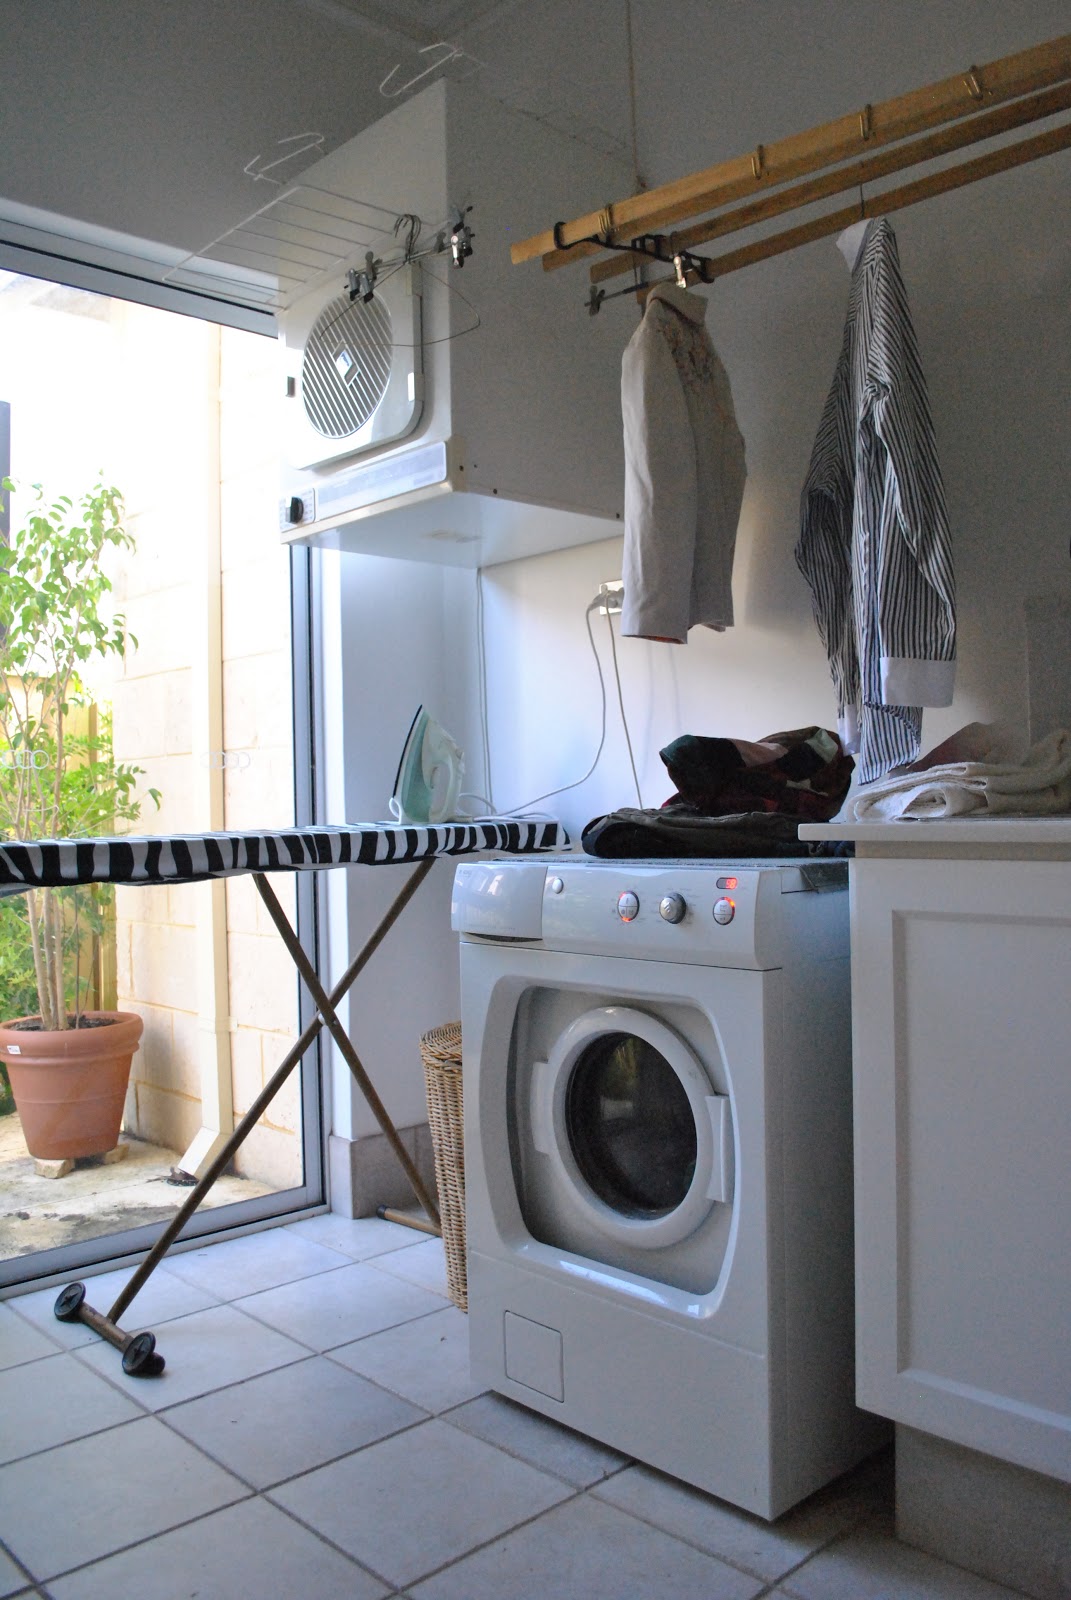
On the opposite side of the room, a short roll away in my un-pretty, but ergonomic office chair, is the ironing board and laundry stuff.  I do most of my pinning and basting sitting at the ironing board there.  To get that above picture of myself in my sewing room, I perched the camera on top of the washing tub bench to the right there, hard up against the wall.   
Sometimes I read on other sewing blogs, about the music people “sew to”.  The usual audio backdrop to my creating is not some awesomely cool mixtape, but instead the hypnotically soothing swoosh of the washing machine.
My cutting table/tracing table is the lounge room floor, the kitchen bench for small things, or the dining room table when it isn’t being occupied already with my children’s studying paraphernalia.
Not shown, partly because it is too dark to photograph and partly (mostly) because it too closely resembles a rubbish tip and I want to retain some shred of self-respect here, is the part of my stash that lives in the cupboard under the stairs; namely a few more rolls of fabric plus a small mountain of plastic bags stuffed with old garments and scraps and remnants.  It’s definitely not lovely, except maybe to a fellow fabric enthusiast.  But I do know every single last piece that is in there, and often venture in, bravely, like Indiana Jones into that cave, to track down that little treasured leftover scrap of cotton that I know is just the perfect weight and shade to make bias binding and pocket lining for the latest garment, whatever…
Hmmm, you know how that goes, right?

min 13C, max 21C, weather-wise a bit of everything!

Details:
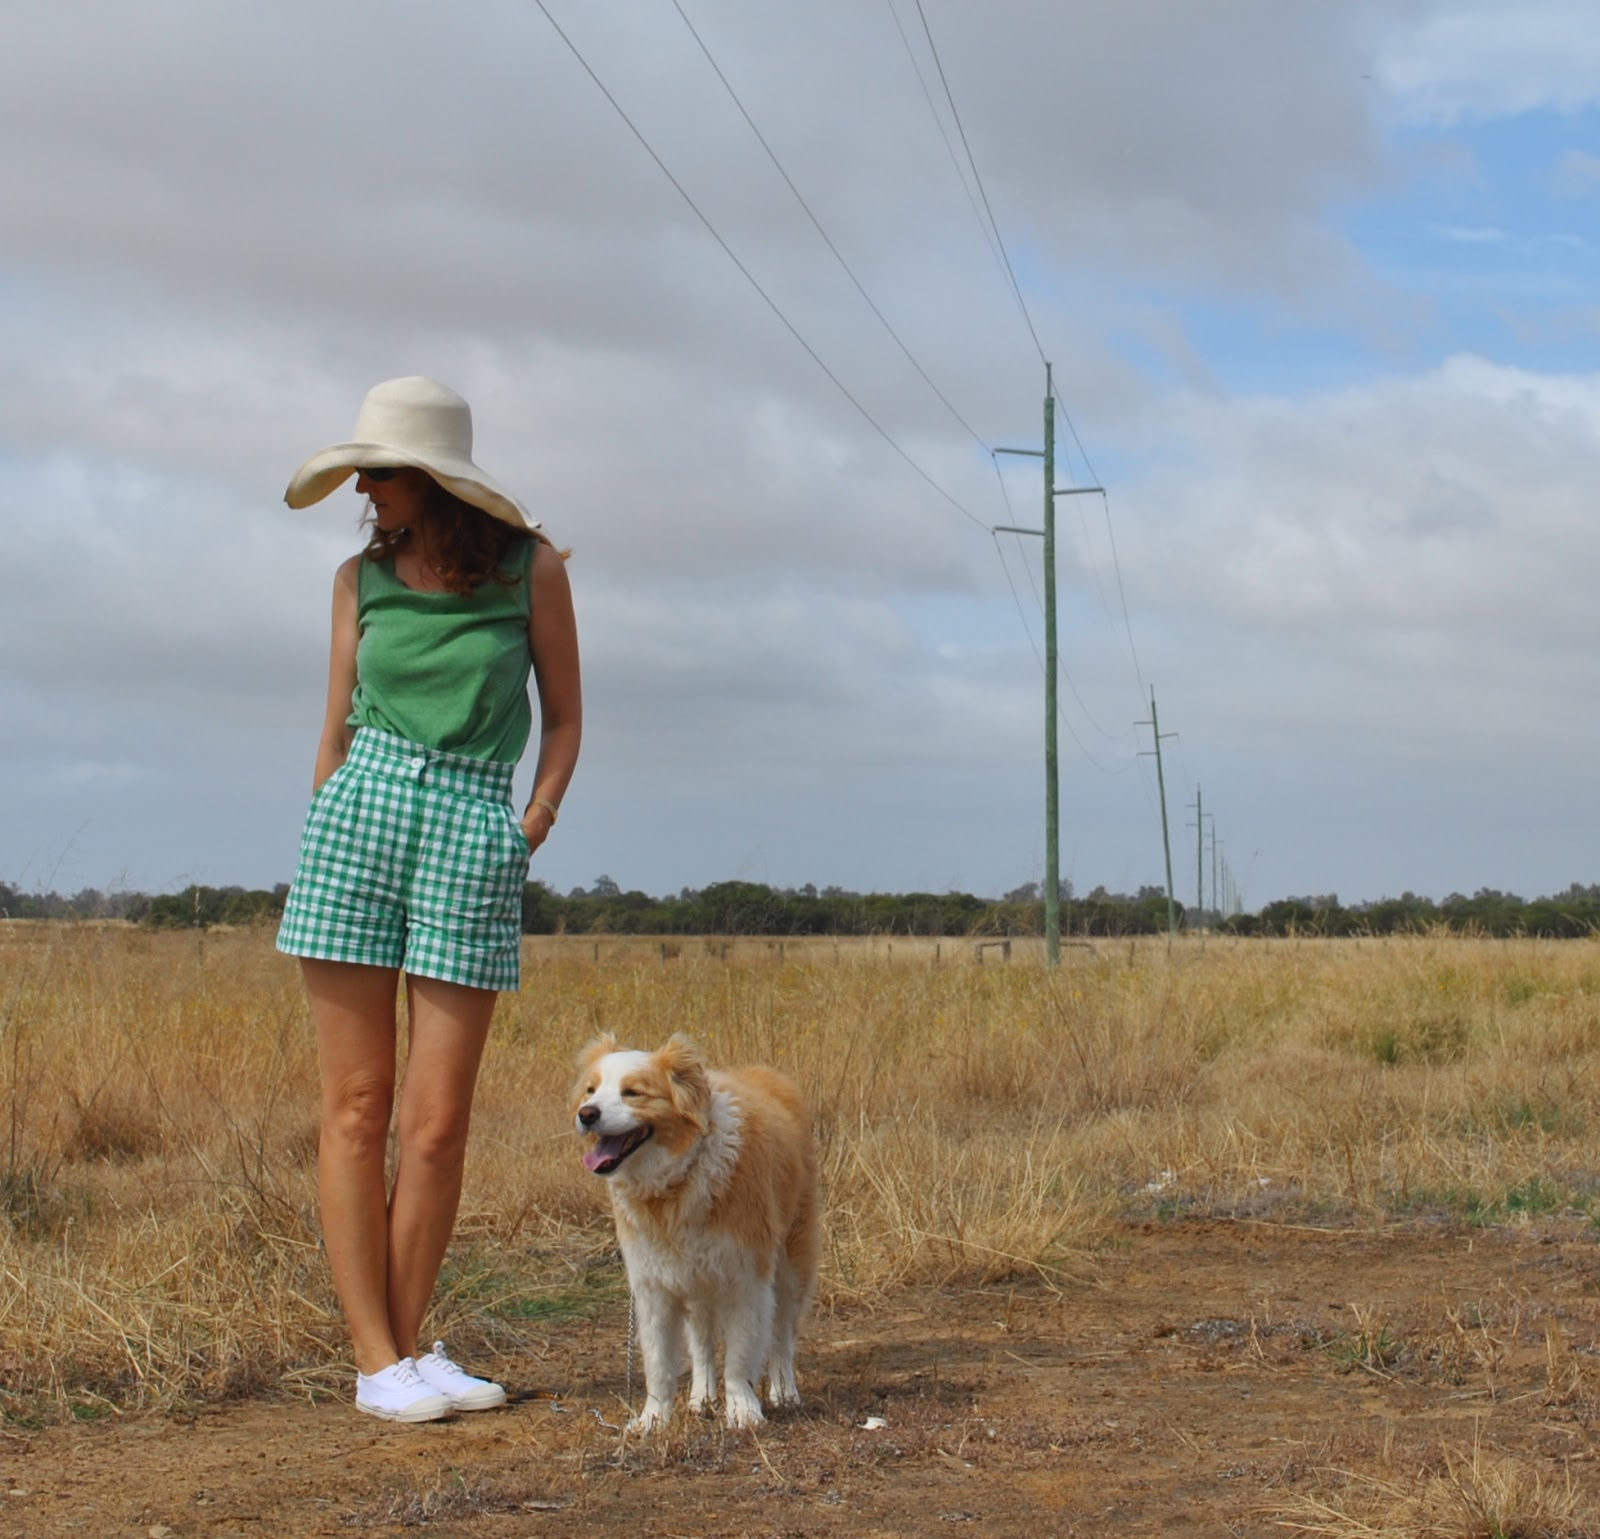
Tshirt; self-drafted, blue jersey dyed red, details here
Top; Vogue 1247, orange cotton dyed brown, details here
Skirt; Vogue 1247, red velveteen dip-dyed brown, details here
Sandals;  c/o Misano

Today in my family’s MMM13; Craig is wearing this shirt and Tim is wearing this jacket

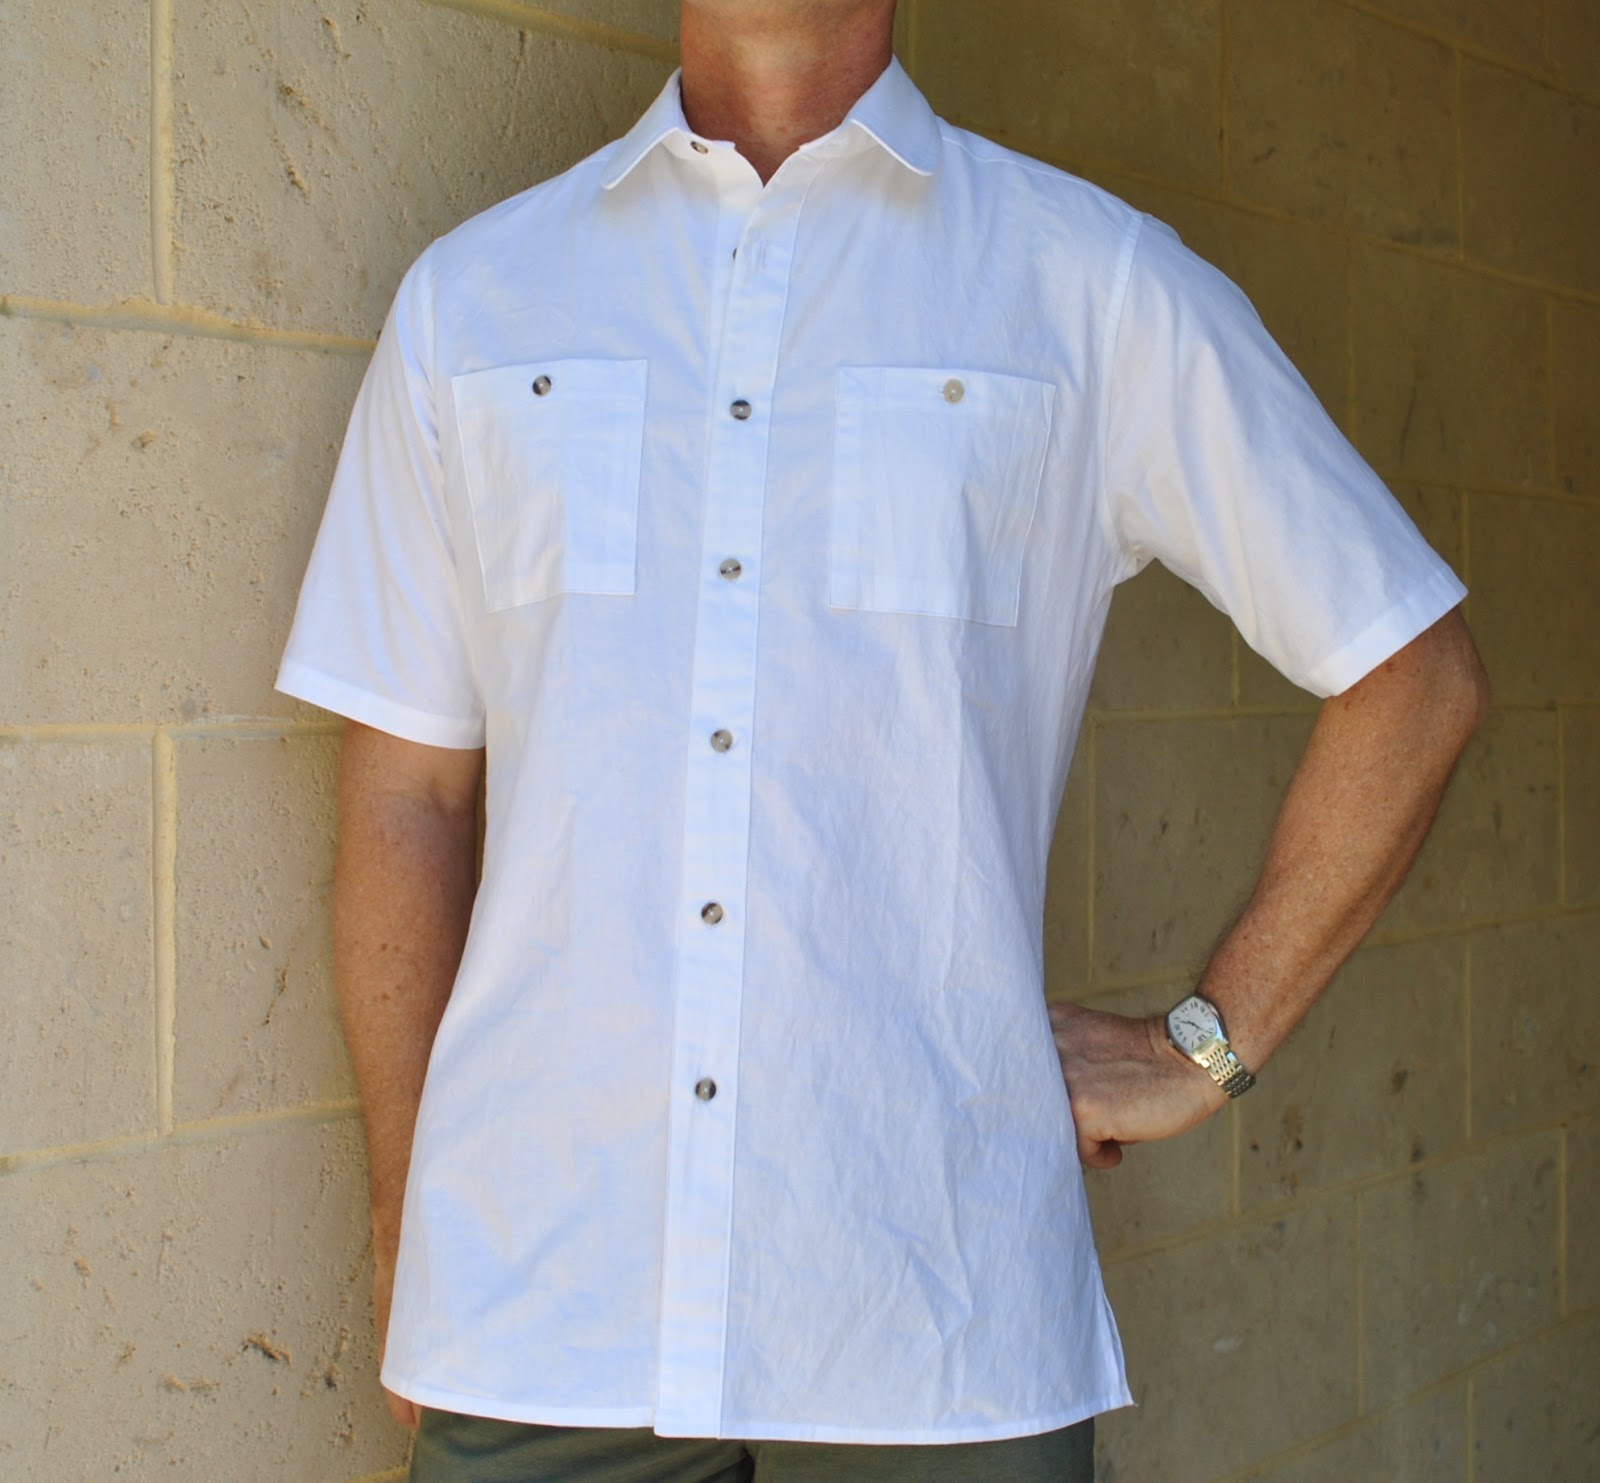
Craig’s shirt; Burda 7767 modified, white cotton, details here
Tim’s jacket; Burda 7767 modified, grey corduroy, details here, and my tutorial for making that interesting lined combined welt/patch pocket on the front here

pinterestmail

Check-mate

… because I’ve made something in a check, and I’m accompanied by my best-est mate  ðŸ™‚  The former, a rarity; the latter, far less so!
So, the searing-est of searing hot scorchers are but just around the corner, and like a war-wife stocking her air-raid shelter before the blitz, I am laying in supplies… I have made a new pair of shorts using Burda 7723, altered by lengthening and flaring the legs slightly, and adding a zip placket.
This is the eighth thing I’ve made using this pattern… yeah, so I’ve come to the conclusion that this pattern is one totally cruddy pattern which does not work for me at all… hehe, joking!  Just seeing if you were paying attention.  Obviously, this has been one of my favourite and most used patterns.
The green gingham was given to me by my friend C from her late mother’s stash.  I can tell it is a really old old fabric, a cotton gingham of a solidly satisfying quality you just don’t see very often anymore.  Seriously, I don’t want to come across all “oh-all-modern-stuff-is-crap-compared-to-the-good-old-days” since I think that is not true at all: but; a Case in Isolation…  like the proverbial man; good gingham is hard to find now.  This is a very good gingham; crisp, strong, thick and tightly woven.  The white has slightly yellowed to a pale-ly creamy ivory through age, but as this suits my colouring I consider it a plus.
Now.
There is actually something  rather special about my new shorts….  ðŸ™‚
this is the very first garment fully made on my baby sewing machine; my tiny elna Opal, that lives in our beach house!  YES!  

I have used it for hemming curtains, but I really wanted to make a proper and complete “something” entirely using this weeny little machine while we were at the beach house, so took down everything I thought I might need.  Of course, I get started and quickly realise I did NOT have everything that I needed!  I remembered after the fact that I usually finish off a few internal raw edges in this pattern on my overlocker, which of course I did not have with me.  However, I did have a piece of white voile with me, which I had taken down just in case, like for pocket lining or something.  I did not use it for pocket lining, but it was sliced into bias strips and I finished off all the raw edges inside my new shorts with HongKong seaming.  This is a kinda high-end finish I would not normally bother with in a casual pair of shorts, so my overlocker’s absence really forced me to lift my game here!

Also, I also belatedly realised that my baby machine does not have a zip foot, meaning I had to insert the zip using its one and only foot, a regular wide one.  So the front fly top-stitching around the zip turned out a wee bit wonky… but that’s OK.  Seeing those sweetly crooked stitches on my machine’s very first garment is like looking at my child’s very first piece of kindergarten art.  
Likewise, the baby machine does not do buttonholes, that I can work out anyway: so instead I handstitched a keyhole buttonhole using embroidery thread in a tight blanket stitch.  Another example of a maybe higher quality finish than I would otherwise have employed!  Maybe I should make more things while I am away from my “real” sewing machines  ðŸ˜€

Just for fun, and “why not?” I added strips of bias-cut gingham in the pocket opening edges.  I was planning to put some welt pockets in the back with bias-cut welts too; but the unheard of happened, and disaster struck… I ran out of thread!  
(heard in Perth, all the way from Dunsborough)  “Noooooooooooooooooooooooooooo!”

Oh well.  It’s not like one ever uses rear pockets… they’re just for show and I guess there’s already plenty of visual interest happening with the check and all.  But once something is in my head and I haven’t been able to see it through; it’s Unfinished Business and niggles at me.  Hate that.  Maybe I’ll bring these shorts down again the next time and put those welt pockets in… maybe.  We’ll see.  ðŸ™‚

Details:
Shorts; Burda 7723, green cotton gingham; my review of this pattern here
Top; the ponytail top from Pattern Magic 3 by Tomoko Nakamichi, green jersey, details here
Shoes; bensimon, from seed
Hat; Country Road

pinterestmail

A new arrival…

…an addition to the “family”

soooo cute, no?!

I just couldn’t resist, when my mother told me these were on sale in Spotlight, and she reminisced about how a lot of ladies used to have these miniature sewing machines back when I was growing up, and how useful they were for taking along to sewing bees and for hemming hanging curtains, and for real diehards who dream of doing a spot of sewing when going on holiday, or in a caravan … no?  Is that just me, then?
I just love the idea of having such a portable machine; so handy…
The tape measure has been positioned there in front of it so you can see just how tiny it is.  It is soooo light; weighing in at 2.15 kg, that’s 4.6lb for those who haven’t caught up yet, hehe ;D 

It’s called the Mini Opal, and it doesn’t have many stitches available.  It only does straight stitch and zig-zag stitch.  But realistically how often do you use any other?  Just the buttonhole stitches are missing from my usual requirements, so might just have to brush up on hand-worked buttonholes…  I’ve given it a trial run and am happy to say it works very well for such a low tech little machine.
The bit of fabric stationed in front shows the full repertoire of stitches it offers; straight stitch in 4 different stitch lengths, a straight stitch positioned to the left of the presser foot, and zig-zag stitch in 3 different widths.  Oh, and it reverses too…
So I don’t have to just dream about sewing when I go down to the beach-house, but I will station this little thing permanently down there, and then if I want to then I can.
For less than 100 buckeroonies, I’m happy!
(oh, btw, just in case anyone is wondering; I bought it myself and no I am not being endorsed in any way for writing this.  But happily it was on special!)

pinterestmail

Introducing my other children

Sandi asked me in a comment recently about sewing machines and which functions I thought were useful ones for dressmakers to have, so I thought this would be a good time to introduce my work-horses.
Firstly, my ordinary machine.  I’ve had this little beauty for about twenty years now and it’s been wonderful all this time.  It’s a very basic Janome machine, that is capable of forward stitching and zig-zag and has a reverse toggle.  Yup, that’s about it!!  Of course it does buttonholes too, but that is just a manipulation of the zig-zag stitch….  It also has six fancy stitches, which are on the far right of the green and blue labels on the top right.  I’ve used these stitches only once or twice in the whole time I’ve had it.  I’ve done all my adult sewing on this machine.  I really like it because, being so basic, I can service it myself, and have managed to carry out a few minor repairs once in a while too.  The most complex thing I’ve done is change its drive belt.  It has no computer and so no fancy automatic functions, but this suits me to a T.  My mother has a wonderful computer driven machine, and the one time I used it it’s automatic “needle up”/”needle down” function both startled me every time it did it, and frustrated me too.  Plus, she always seems to be having to take it in to get “looked at”. because some timing thing is out or some such trivial disfunction, which renders it unusable.  So annoying.  This would drive me round the bend if it was my machine.  
The one “modern” application I’ve seen on new machines that I think would be pretty useful is the automatic buttonhole maker.  I’ve seen shirts made using this function and the buttonholes are works of art, while my efforts fit into the category “the best I can do”.  After years of practice though at least I think I can say my buttonholes are now consistent, if not as perfect as the computer produced ones.  Meh.  Other than that, I’ve never felt the need for more than the basics offered by this machine.  It’s sewn its way through countless garments for me, countless clothes for my children through every stage of their lives, er, three shirts for my husband (poor man!), quilts, handicrafts, the curtains for two entire houses…  I couldn’t be happier with my little beast.

And here is my overlocker.  If my ordinary machine is the golden child in this family, then my poor overlocker is the problem child.  The Cain.  The evil sister.  
I got another Janome, and the big plus with them both being Janomes is that I can use the same foot pedal for both machines, I just switch the power cord from one machine to the other and bob’s your uncle.  Handy.  I have a love/hate relationship with this machine.  When all is going swimmingly then we are happy and harmonious together, completing our project.  If my overlocker is having a bad day, say has taken a dislike to the fabric I’m using, or has been threaded in a way that some tiny weeny little thing is not quite right then it can rapidly become the machine from hell.  Sometimes it can be the tiniest thing, one thread de-threads itself, overlocker throws a tantrum, and the re-threading can take ages, and use metres of thread.  I really only use the basic 4-thread serge, and the rolled hem function.  I don’t trust my sanity to try anything trickier on this thing…
There is a note in my overlocker instruction book that has me puzzled.  For oiling of the overlocker, it recommends once a week for normal use, and once in ten hours in continuous use.  (double take) Huh?  Every ten hours?  I’m wondering if this is some manual-writer’s idea of a joke.  I can imagine a few nerdy Janome technicians hunched giggling over their computers, “Ha ha ha, I’ve got a good one, let’s recommend re-oiling every ten hours, hehehe!!”  I mean seriously.  And what is “normal” use anyway (ah, the age-old question…!)  I only use my overlocker about once a week, anyway.

What machines do others use?

pinterestmail
Switch to mobile version
↓