One of the easiest ways to add a little something extra to a plain man’s button-up shirt is to put on a few arrowhead button tabs. My husband is a very classic dresser and prefers his shirts without embellishments such as these, but for my two boys a few tabs are just about mandatory! A very plain casual shirt is tres frumpy, boring and old-fashioned from a young man’s point of view, so it is worth going to the small effort of putting a few on your shirts if you want your guys to love them. I have to admit to being partial to the look of them on the men’s shirts I have made for me too, because I think that to overplay the masculinity of a menswear shirt that I am wearing myself will paradoxically enhance my own femininity. Makes sense? Well, I think so…
Another plus is that you are using up scrappy little offcuts that would otherwise be thrown away.
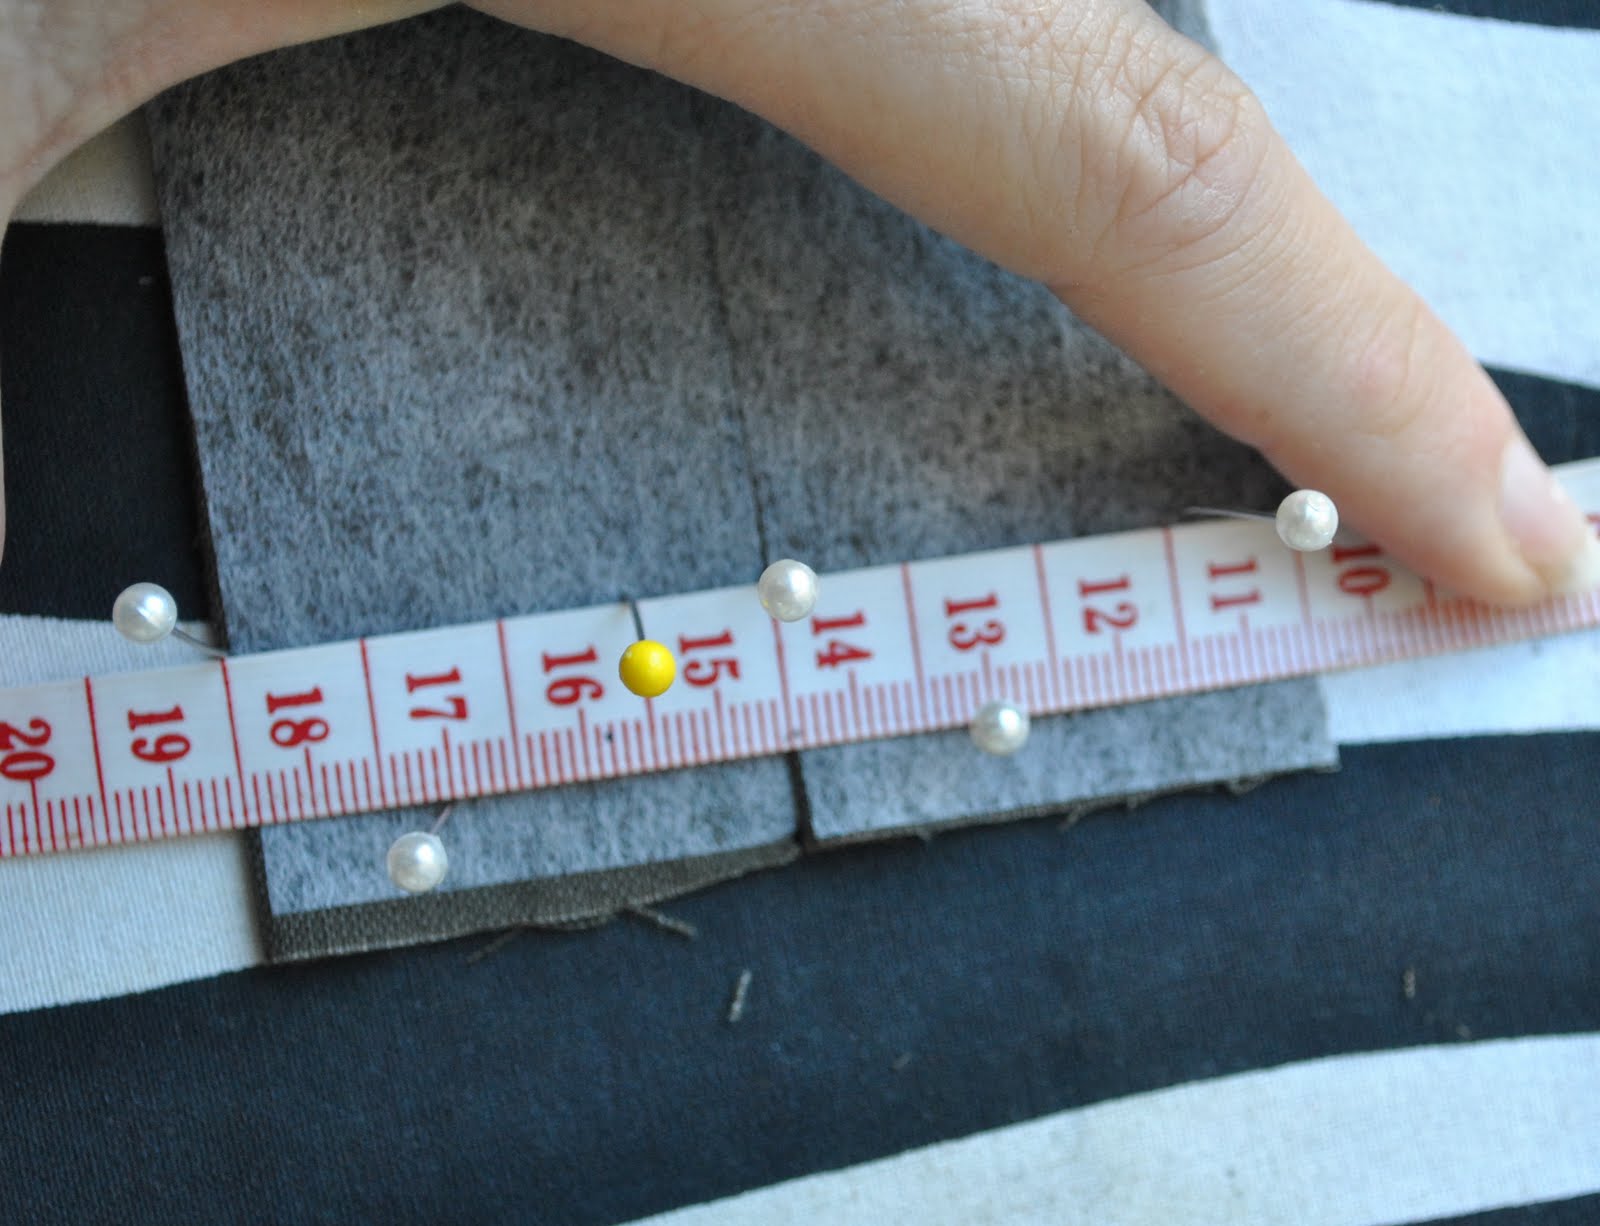
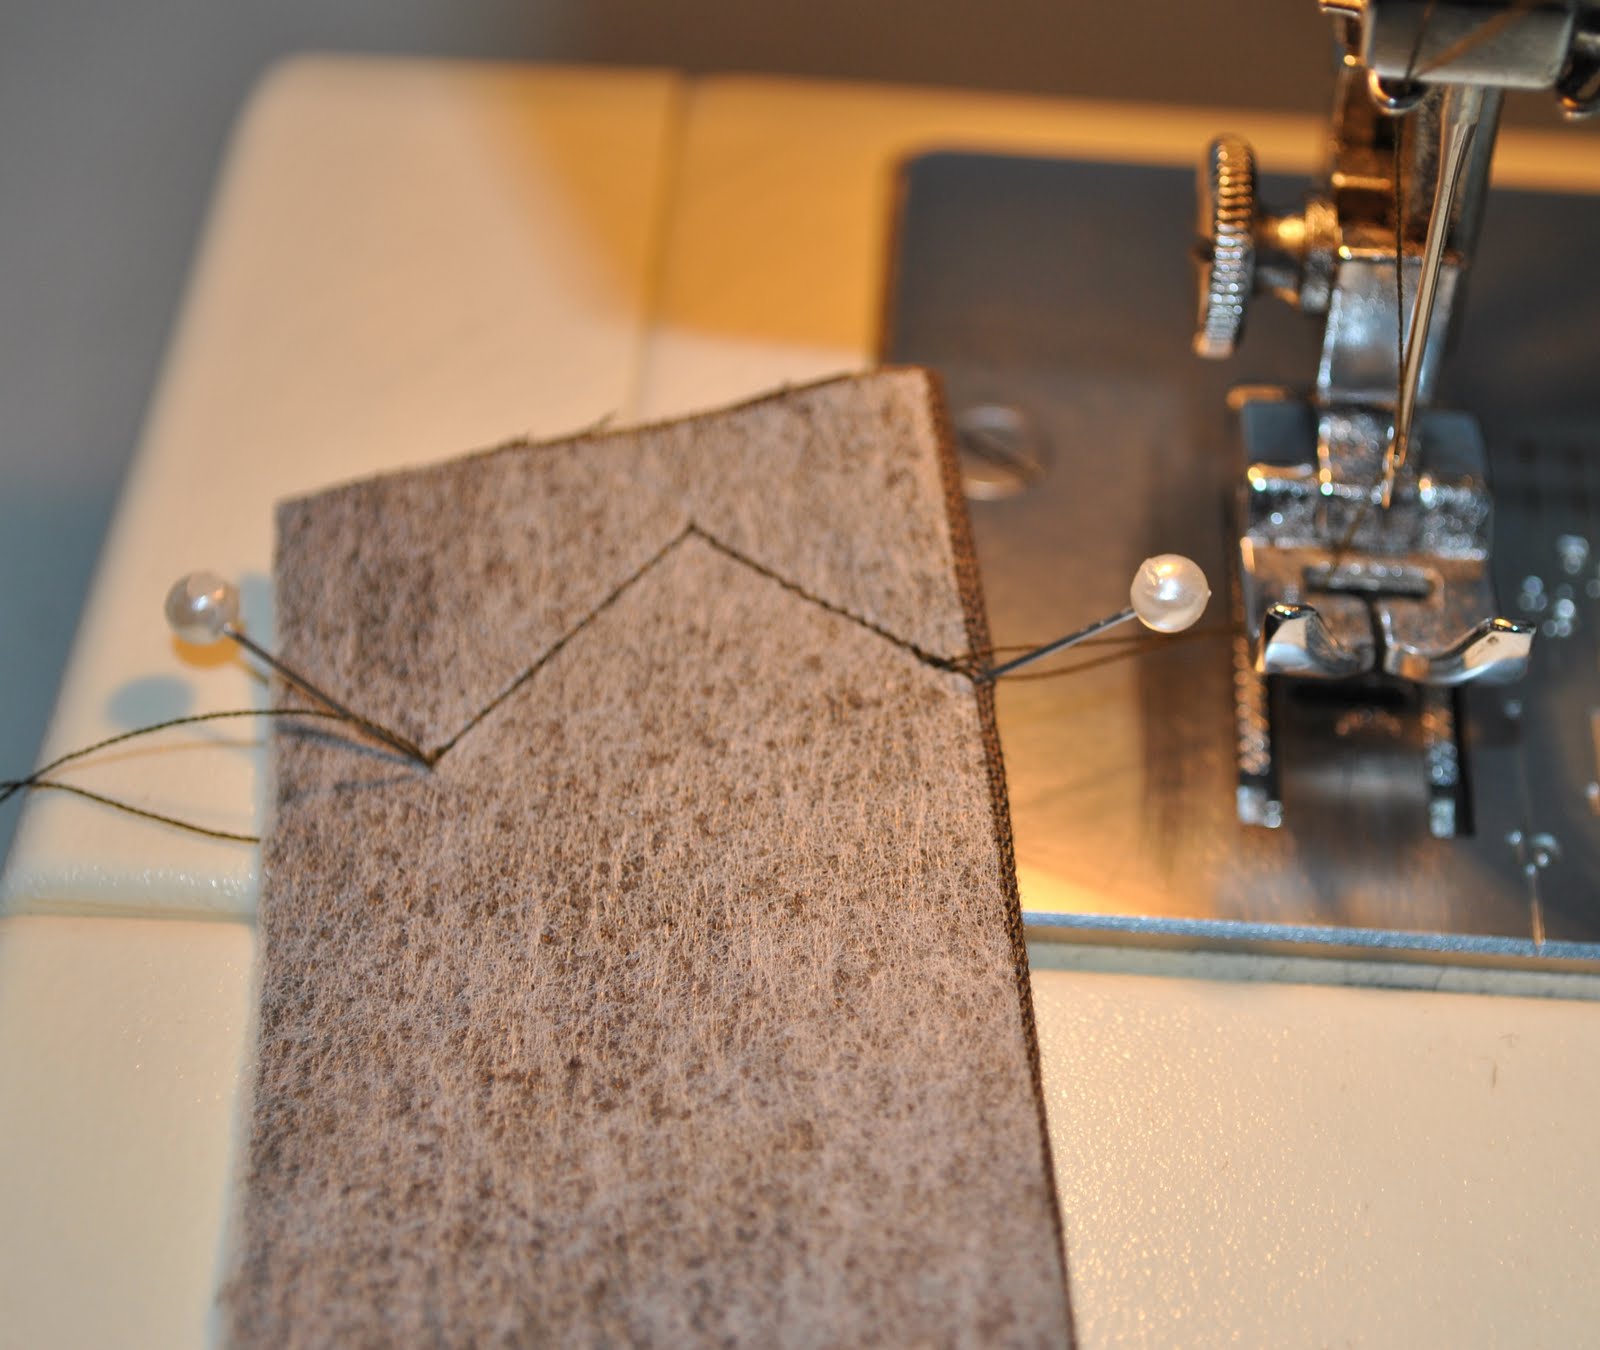
In my lazy and/or more hurried projects I have been known to wing the arrowhead tabs and hope for the best, but obviously the best results are gained from careful measurement. Cut both tabs together to ensure they are identical in size, and apply interfacing. (Later edit: In this case, I have folded the tabs right sides together, and the fold forms one of the long sides of the tab.) Then measure and mark out the arrowhead part as exactly as possible with pins…
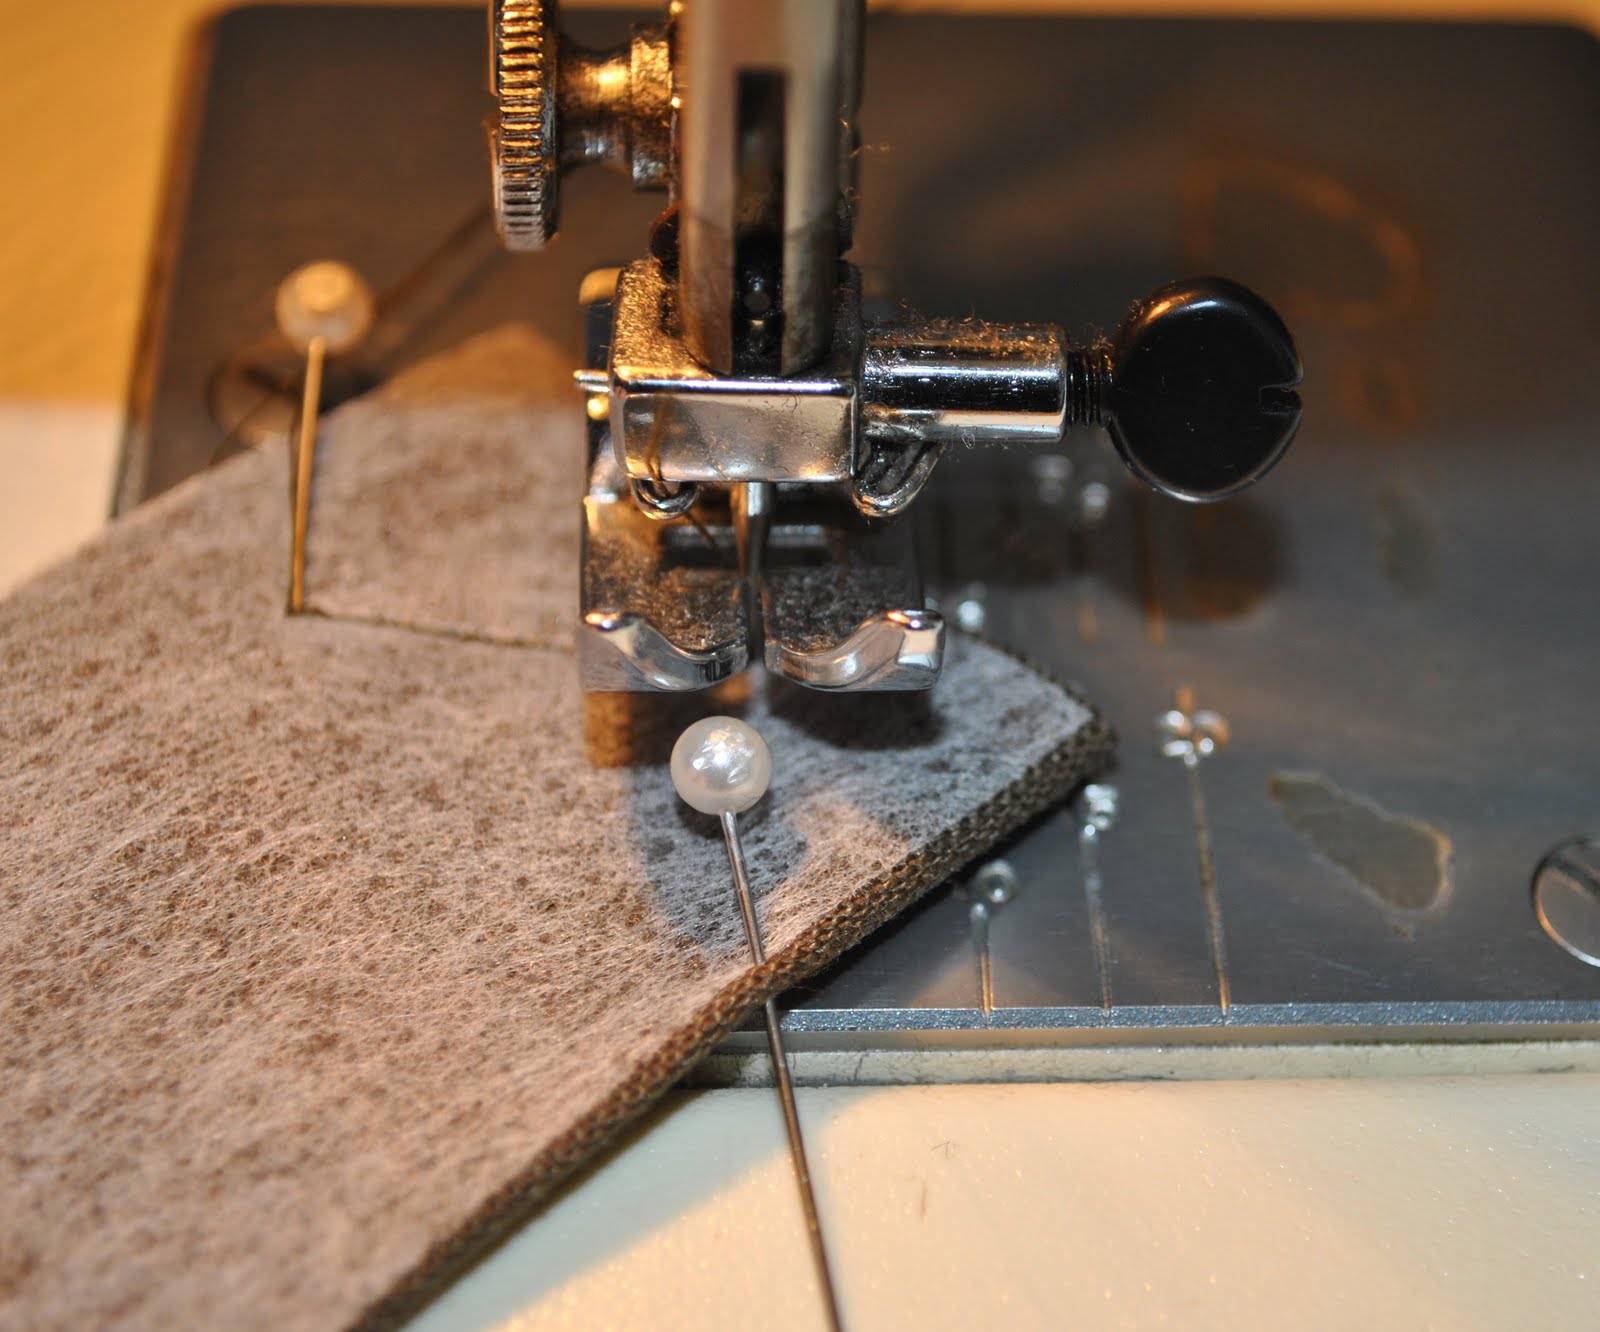
Start by manually inserting the needle right into that first pin mark. Secure the end by going forward and back one or two stitches and then carefully sew in a straight line to the second pin. Ensure the needle ends up exactly in second pin position; it may take lifting the presser foot and moving the tab slightly to really make sure the needle goes down in exactly the position you have marked…
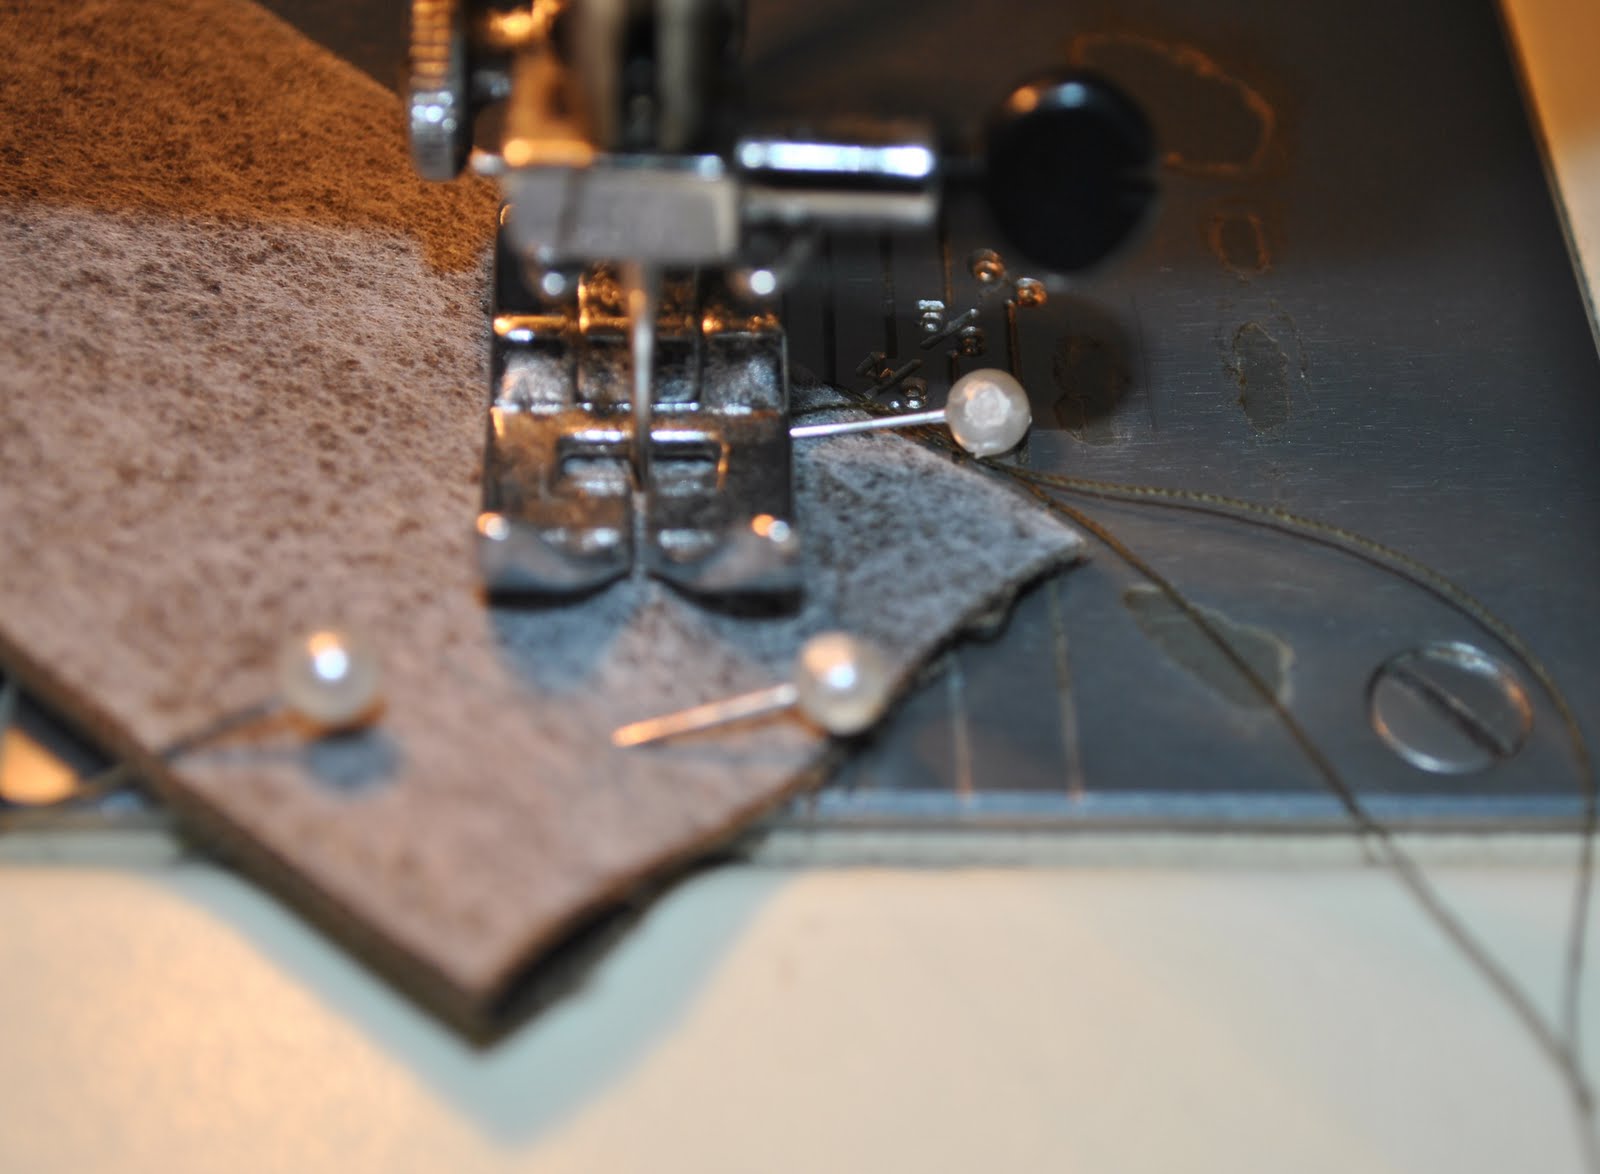
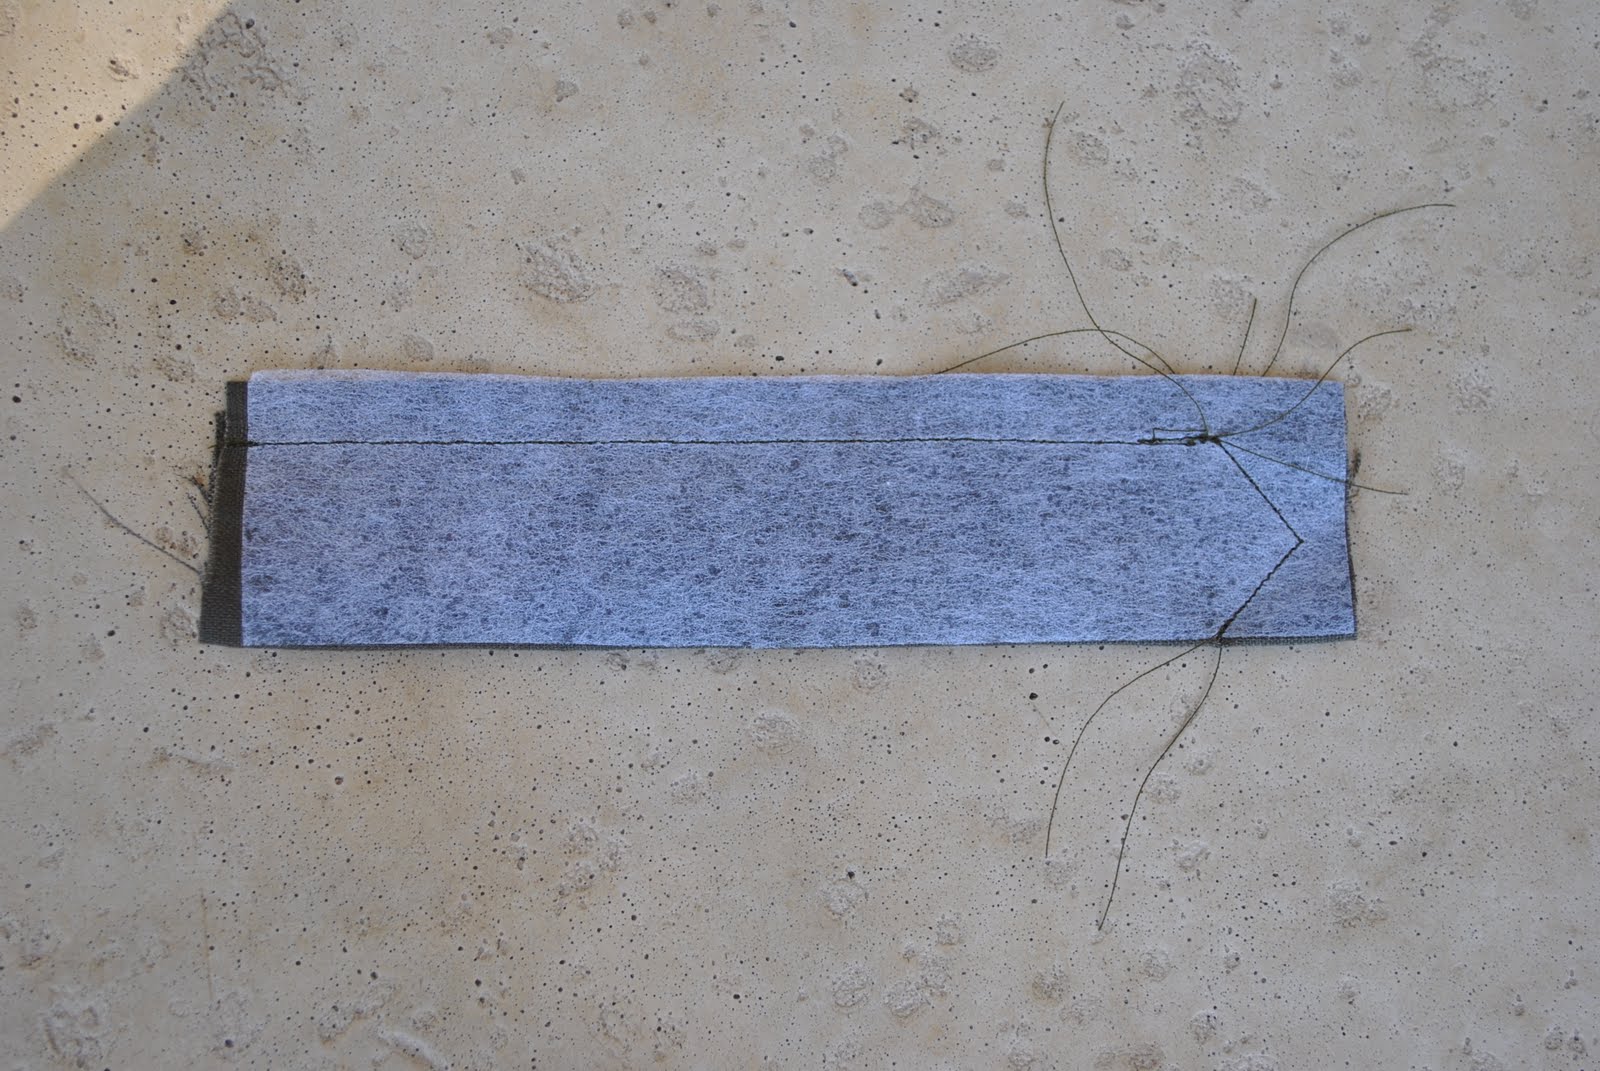
With the needle at its lowest point (to ensure that it has picked up the bobbin thread down below, and so that the stitch is completed) lift the presser foot and reorient the tab so you will be stitching down to the third pin position. Lower the presser foot and stitch down to the third pin, again ensuring that you are finishing as exactly as possible into the third pinhole. Secure the end by one or two careful backwards and forwards stitching.
Now sew the long straight edge. (Later edit: That long lower edge with no stitching is the fold…)
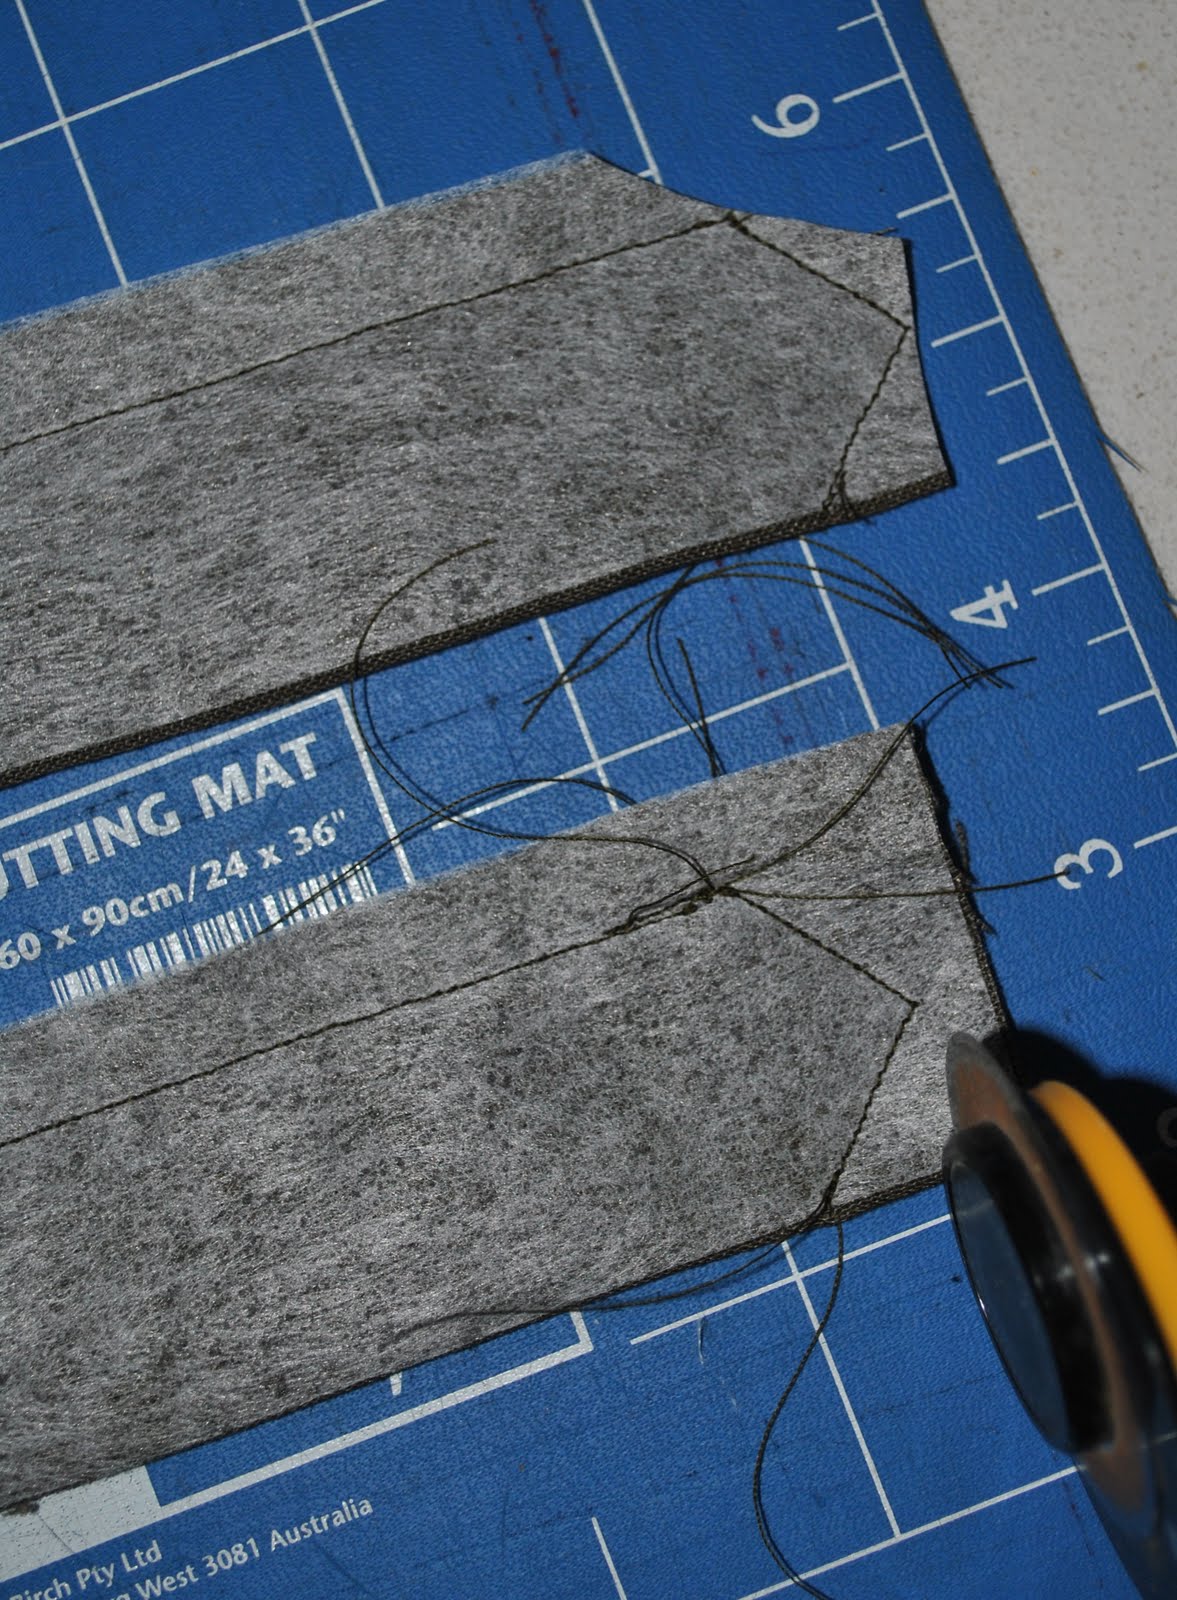
Clip the seam allowances, as close to the corners as possible, but obviously without cutting through your stitching!
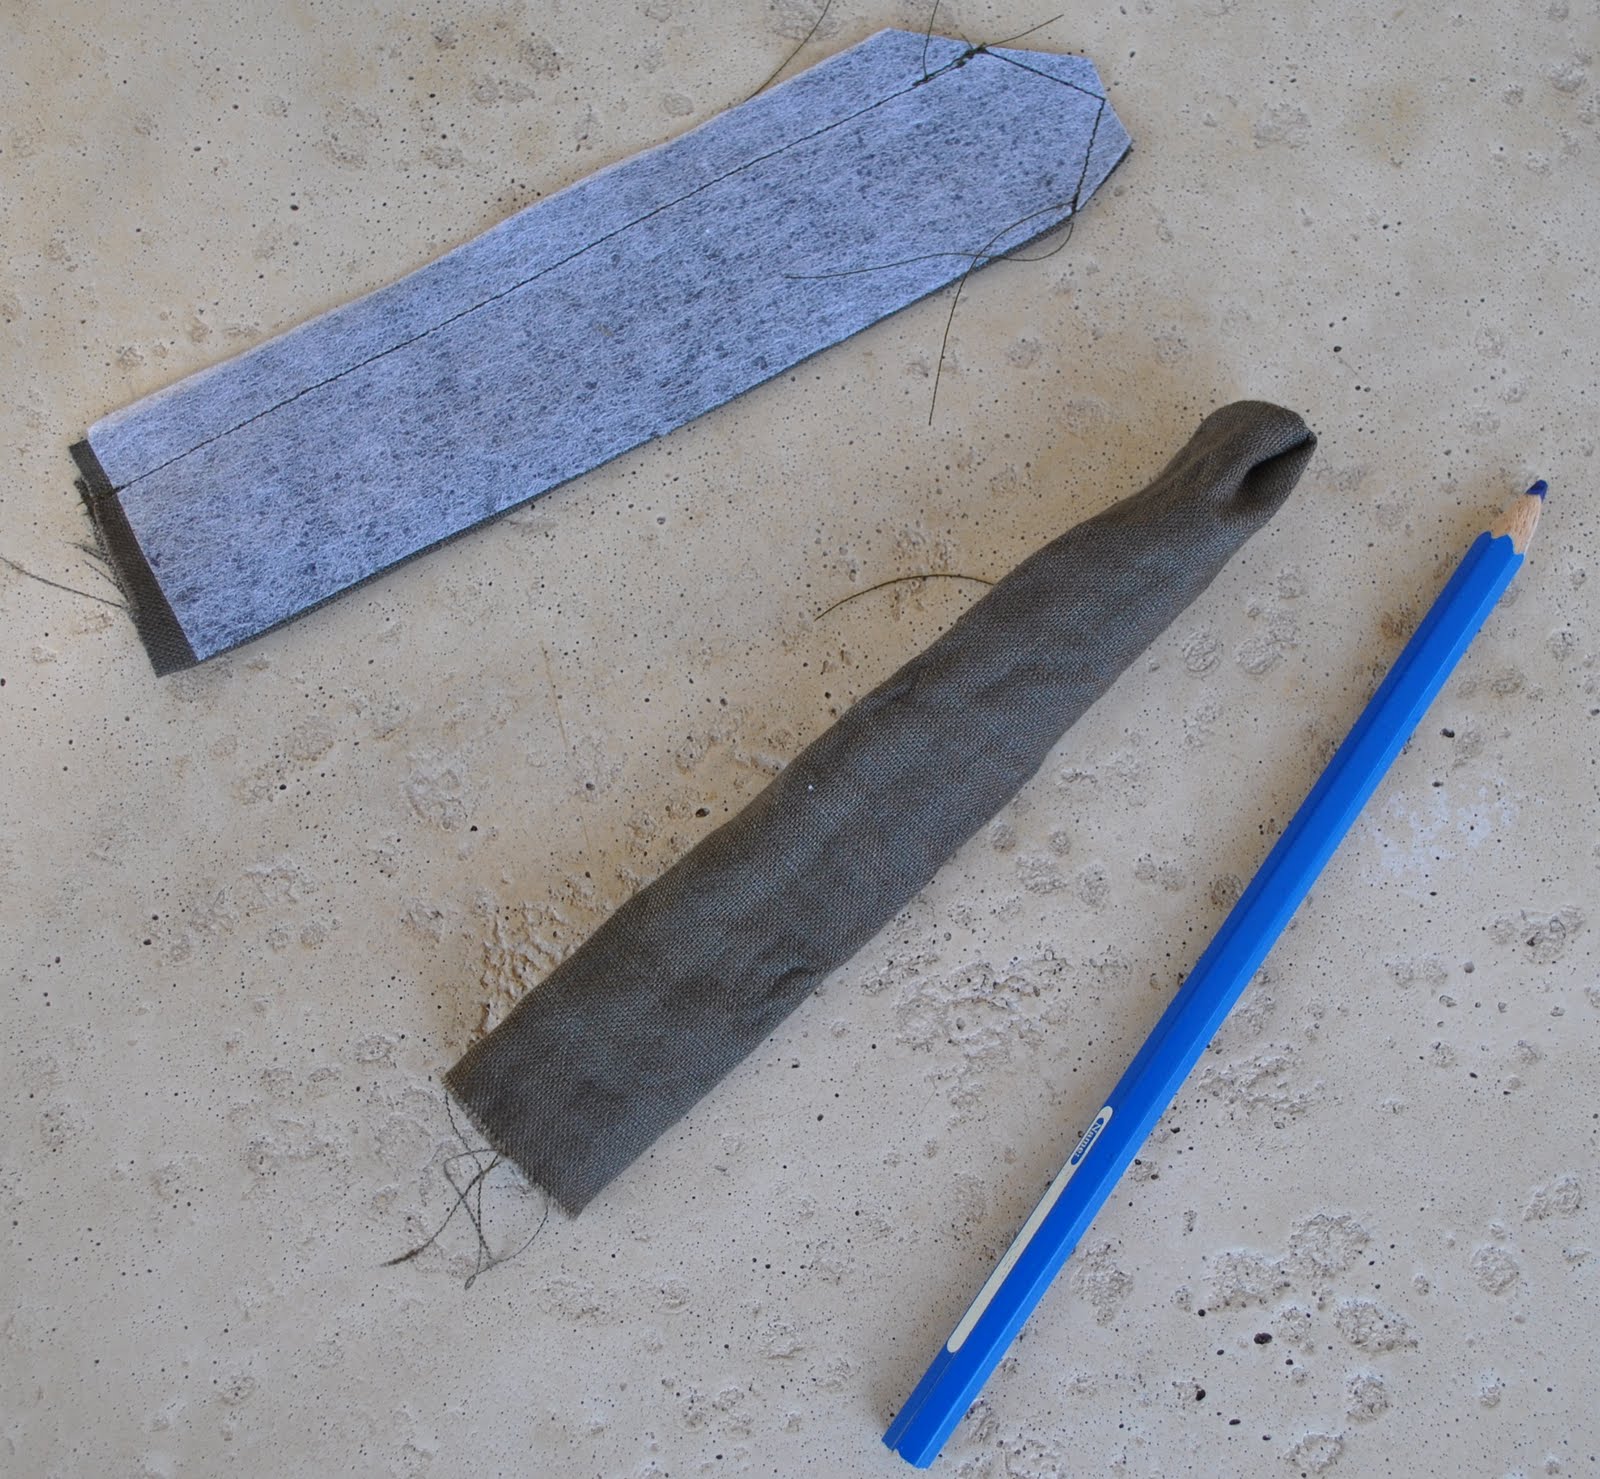
Turn the tabs right side out through that short open end. I know there are proper tools for turning (which probably cost a bomb) but I use a not-too-sharp pencil for this job, and wiggle it carefully into the corners teasing them out, but not allowing it to burst through the stitches!
Press and topstitch the tabs. Sometimes when one is topstitching close to the edge of a tab and you turn a corner, your feed dogs may have trouble “catching” the tab and getting started on the next straight bit. This will be because you are stitching so close to the edge that there is no fabric underneath the presser foot, making contact with the feed dogs. In this case I find it handy to use the second tab and just slip it behind the tab you are topstitching; over the feed dogs. Just its presence there will allow your tab to slide smoothly along, no matter how close to the edge you are stitching.
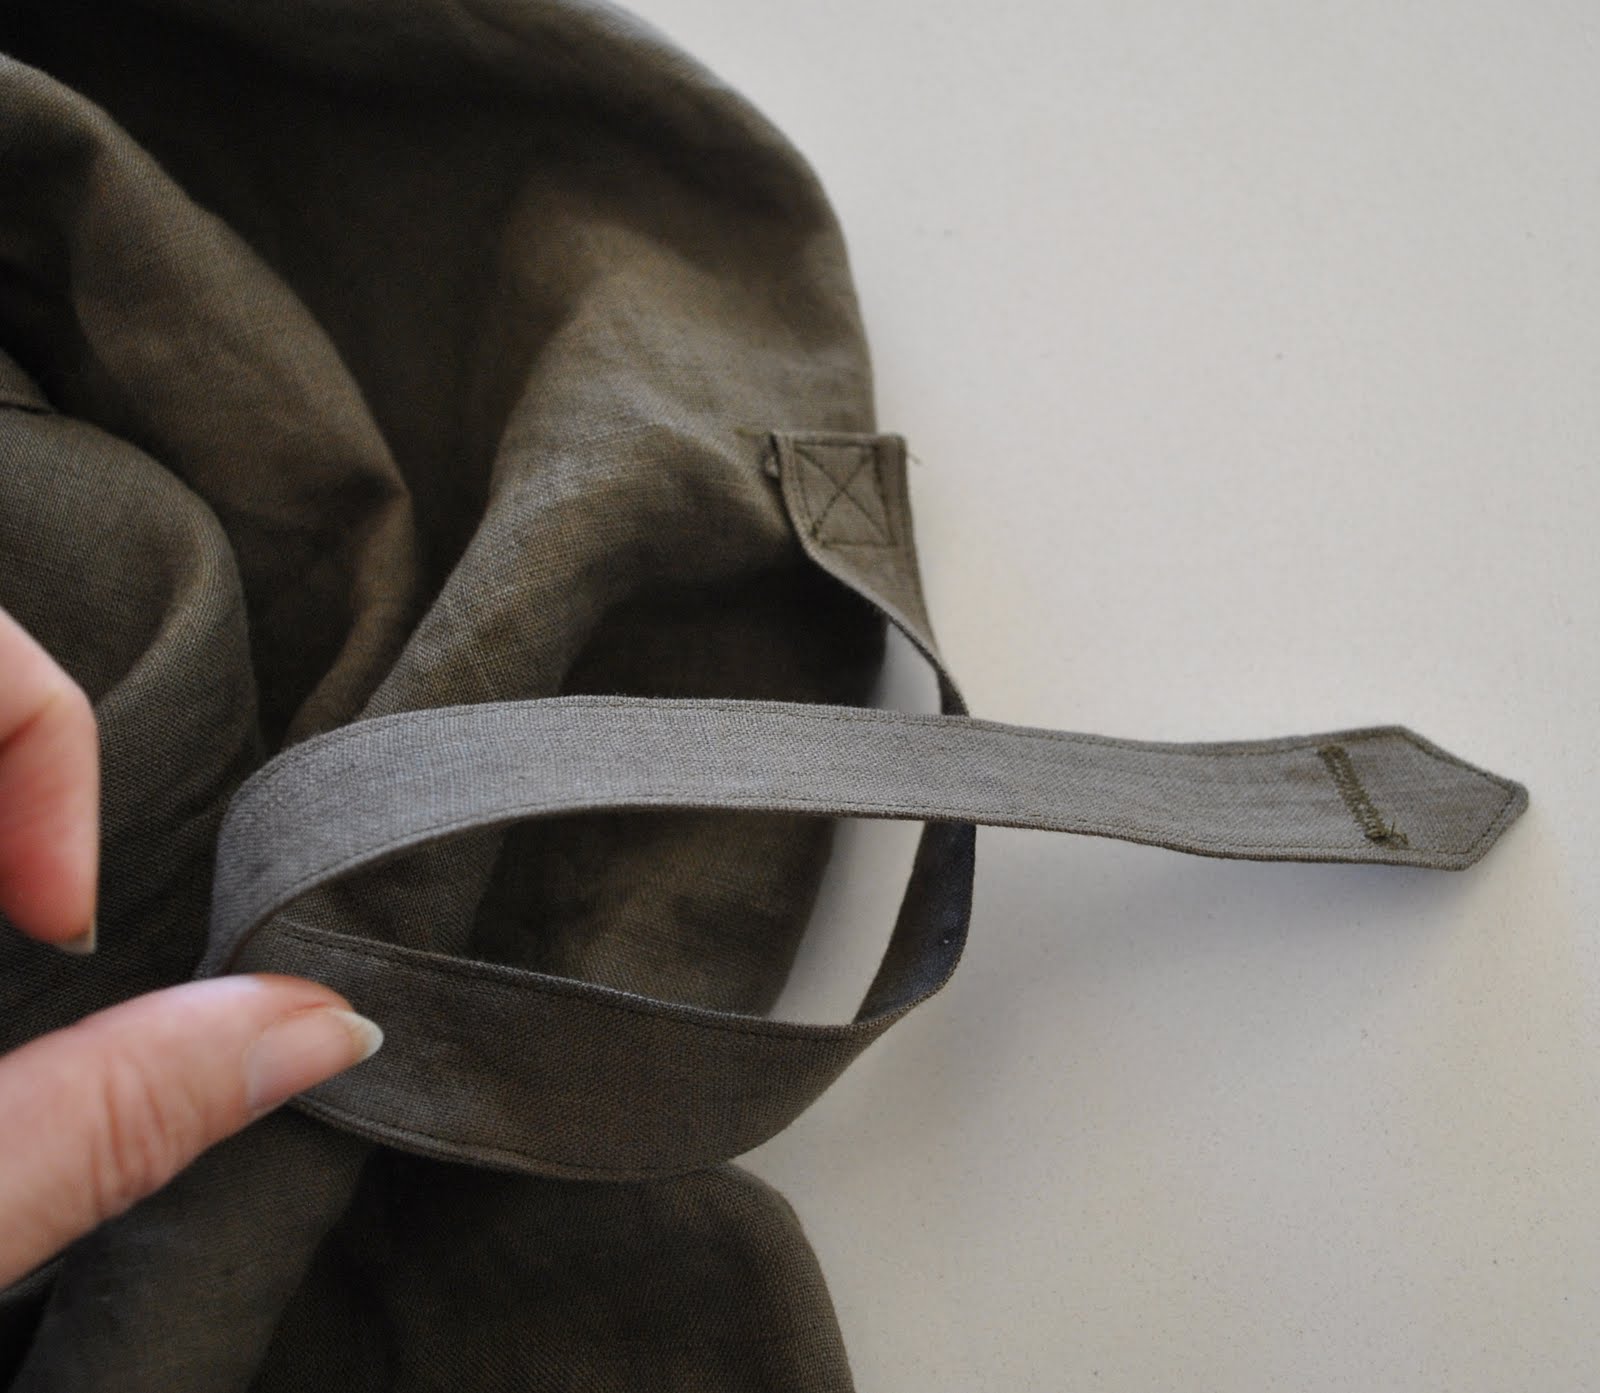
On my army shirt I added a decorative strip to hold down the shoulder tabs, this was just zig-zagged firmly into position on the double thickness yoke area. If your shirt pattern has only a single yoke piece you will need to reinforce this area underneath with a little strip of bias cut fabric; and also for the tab’s button when you sew it on. In fact, if your pattern only stipulates a single thickness of fabric for the yoke I recommend you cut out two and sew them on together for more stability; as this area is subject to a lot of fabric strain in a man’s shirt.
For the sleeve tabs; you can make your tabs as long or as short as you please, this is an individual preference and depends on how long you want your sleeves to sit when rolled or pushed up. Whatever you choose, the tab is sewn, wrong sides together to the inside of the sleeve. Obviously it is easier to do this before you sew up the sleeve seam! I like to sew a nice firm little cross within a square for a stable strong base to sew the button on.