
My example shows a skirt pocket with a 16cm length opening edge bordered by 1cm width welts, although obviously all measurements can easily be altered to give any width of welt or pocket desired.

Apply a strip of iron-on interfacing to the wrong side of the garment, where welt pockets are to be situated.

Fold bias cut welt strips wrong sides together and press, pin to the stitching line of the garment edge; with folded edges to the outside. Mark the upper and lower points of the long edge stitching line. It is essential that the upper and lower markings on each welt be as square as possible and give exactly the same length on each side; in this example, the stitching lines are 14cm long.

Stitch, starting from exactly the upper marking on each welt and finishing exactly at the lower marking. It is most important that your stitching be an even width from the outer folded edge of the welt, rather than the cut edges.

Snip the seam allowances of the garment from the raw edge in to the first and last stitches of the previous stitching, taking care to not cut into the welt.
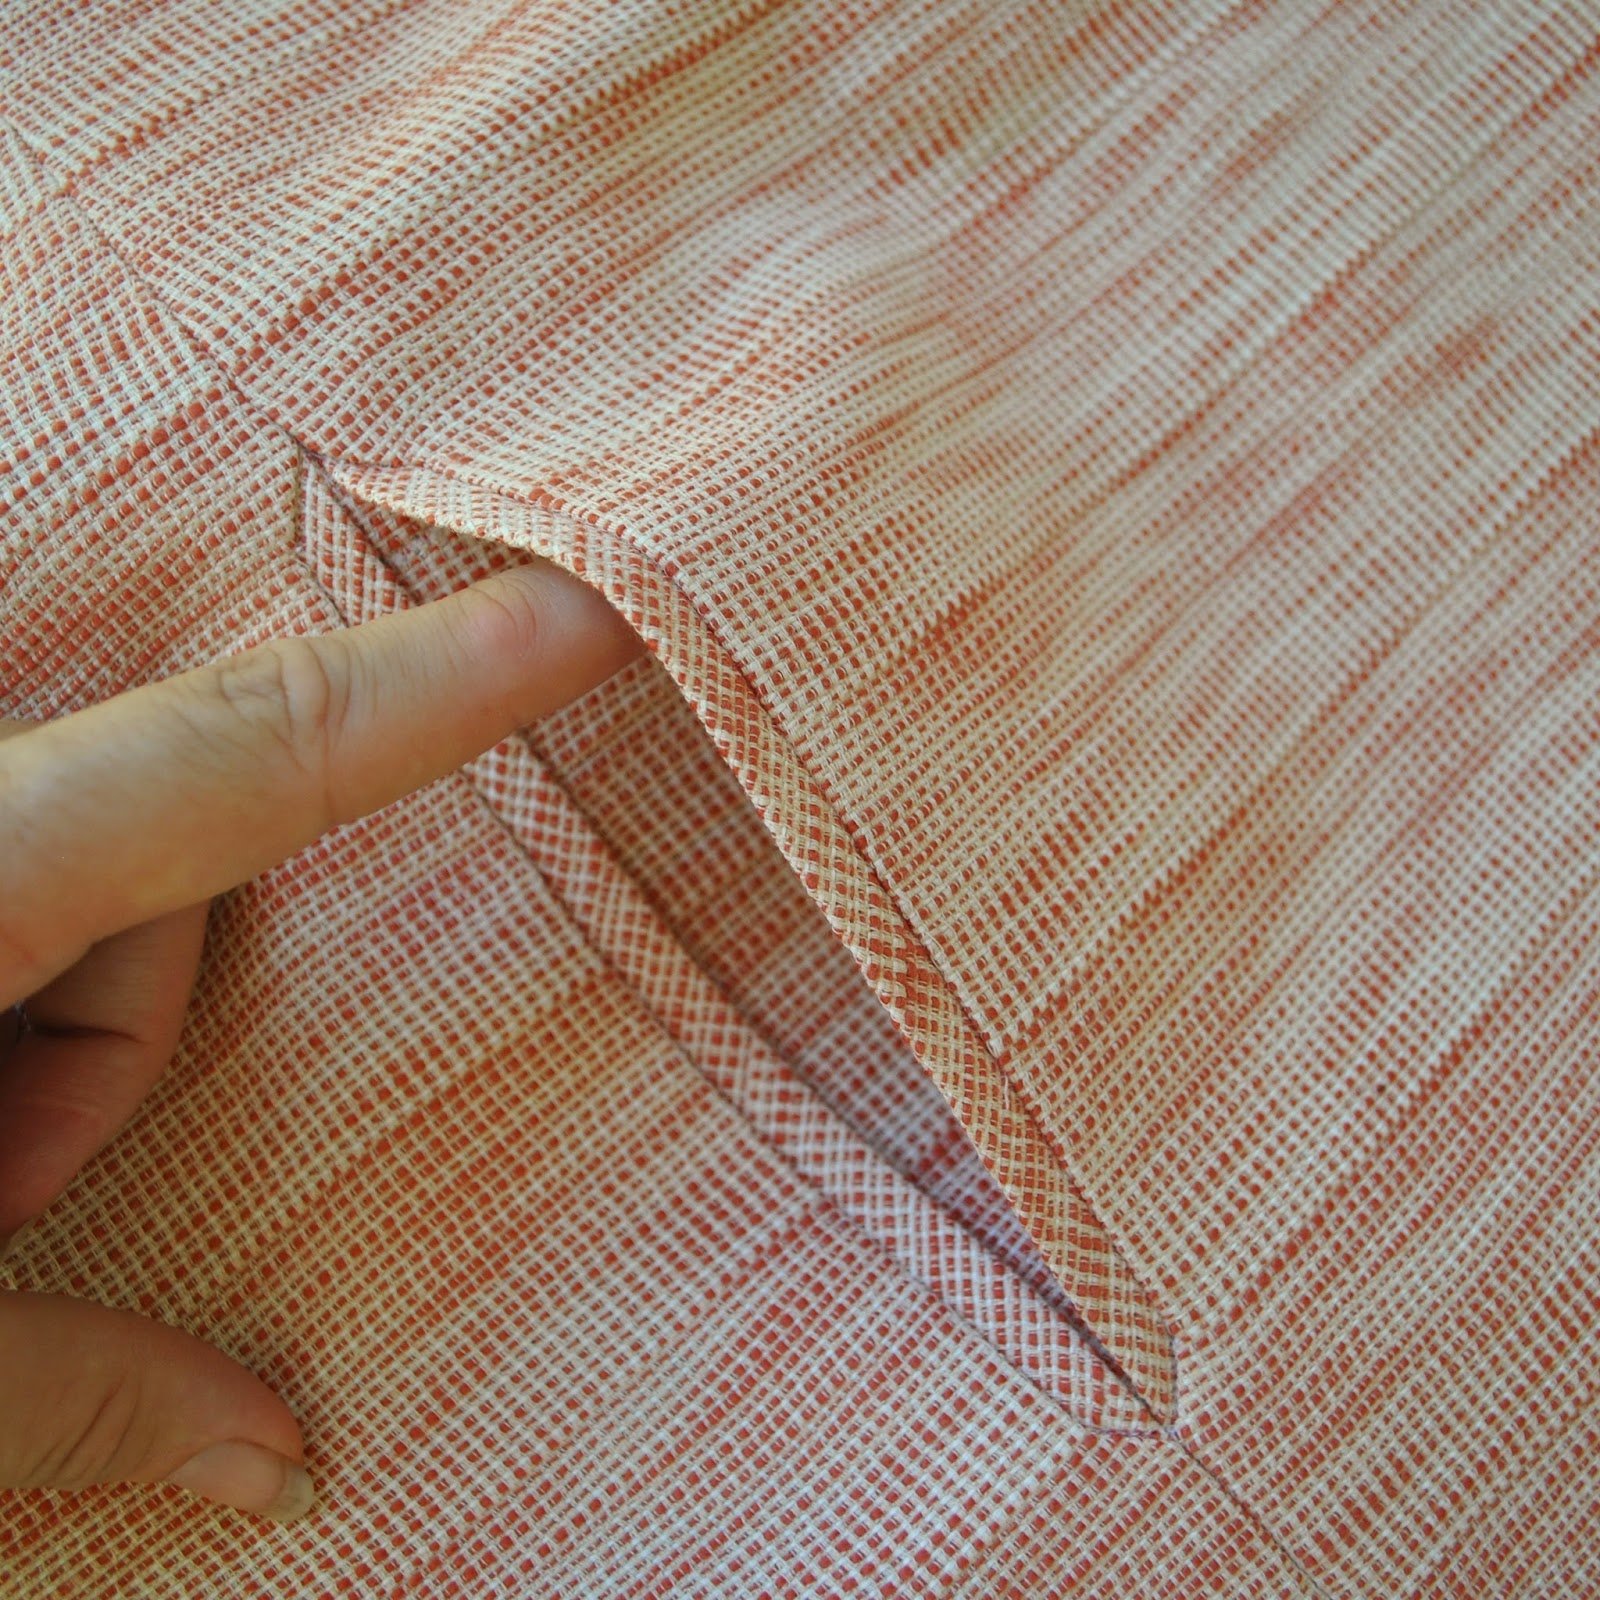
Turn the seam allowances of the welt inside the garment and press.


Mark on the folded edge of the welt the upper and lower tips of the arrowhead, in this example 1cm out from each stitching line for a 16cm finished pocket opening.

Turn out the garment over the welt again, with the snipped seam allowance splayed over the welt and raw edges squared. Pin through from the previous marking to determine where the short seam will end, secure seam allowance to welt with another pin.

Stitch from the snip point diagonally out to the marked top point.

Turn welt back out, press; stitch the remainder of the garment seam from the upper/lower points of the welt out; press open.

Pocket pieces; in this case I pieced the wider pocket piece with a strip of the self-fabric at the opening edge; this is the under pocket piece that will sit under my hand in situ.

From inside; open out the welt again and pin the relevant pocket pieces right sides together to the seam allowances of the welts. Stitch pocket pieces to the welt SA from underneath the welts ie. with interfacing uppermost. This is to ensure that your stitching goes directly and exactly over the previous welt stitching line.

Stitch the pocket pieces together and finish edges.

From the right side of the garment, stitch in the ditch through all layers along the two short diagonal edges of the arrowhead.

And, ta da! finished!

Once again – amazing tutorial. Thank you Carolyn. Love this skirt!
Thanks for this, I loved this feature. Will use this on the next plain skirt I make.
So cool. Thanks
Fab. Too much for my tired tired brain to take in but I still know it's FAB. Thankyou.
Brilliant, thanks so much. I'm going to give it a go this weekend!
What a lovely look! thanks for this little tutorial.
This is great! I am going to Pin this tutorial. Thanks for sharing 🙂
Thank you for the detailed tutorial 🙂
Mastery in action – thanks!
Carolyn, you do the best tutorials! Thank you so much for the time you put into them. I can promise you that they are not in vain! The pictures, the detailed descriptions… wonderful for those of us still striving to improve our skills. I hope to try it soon, although right now I'm starting a pair of your namesake pajamas. 🙂
Thank you for this tuto !
This looks so fantastic. Definitely gonna save this one for another day 🙂 Thanks
The best!!
Carolyn,
Thank you for this wonderful tutorial! You inspire me to challenge myself to try new skills. I really appreciate your focus on dressmaker details!
Warm regards,
Ruth L
I bow down to you Carolyn, you are the goddess of useful sewing tutorials.
I can see using this technique in contrasting colors. Thank you for such great photos!
Thanks for sharing such a great detail. Can't wait to try it.
Another amazing tutorial, thank you so much as I can see where I would have gone wrong already with the Burda directions.
Great tute. Thanks for taking the time to photo and publish.
Thank you for this tutorial.
I adore this – they look just so lovely. Thanks!
Beautiful finish and great photos and explanation. Thank you for taking the time.
Hello Carolyn!
Please can I check something? It looks like to achieve the 1cm finished welt width, you make 1.5cm wide welts then lay these on the stitching line with a 0.5cm overlap, is that correct? Fingers crossed I’m on the right track 🙂
Or if not would you mind confirming the right seam allowance and widths you used? I think they look the perfect size and I’d love to add these to a dress I’m working on.
Amy; my finished welt width is 1cm, + approx 0.6cm seam allowances; to get this you need to double this width when cutting, meaning, cut the two welts to be at least 3.5cm in width. For me; this seam allowance corresponds to the width of my machine’s presser foot, so it is a convenient one to use!
Also, it’s always best to bear in mind that by folding the welt, some width can be lost in the folding, particularly if the fabric is a little thick; so if it is then cut the welts a little wider. The important measurement really is the desired width of the finished welt; and to keep this distance from the outer folded edge of the welt consistent and even when stitching it down, at the sacrifice of the seam allowance if need be. I hope this helps 🙂
Wow, good instructions to Carolyn, you also write well. Greetings from the Atlanta area in May of 2019. About that welt, I’ve seen high end trousers using that for the side pocket trim. Now….have you considered or do you have a YouTube video of how it’s done. I guess I could drag out my machine and give it a go but ugh! I’m going back to the top of the page to see what else you’ve done and thanks for this lovely thing you’ve done.