
btw this fabric here is fulfilling a long held dream of mine…. a Marimekko dress!! print is Pieni Unikko 2, 100% cotton, available here… yes, you can get Marimekko fabric in Australia! More details on the dress in a future post to come… 🙂
Also, sorry for the unwieldy title but it’s the most accurate way of describing this technique, I reckon…
Anyway, recently I was putting in some inseam side pockets but I wanted to have a contrasting coloured strip set into the seam and carrying on seamlessly to incorporate a neatly bound edge to the pocket opening also… how to do it? well here is my method…
This is illustrated for a dress but works equally well in a skirt, trousers or shorts as well, obviously. 
You have your dress (or skirt/trouser/shorts) front and back, the under pocket piece cut from the fashion fabric and a pocket liner piece cut from either lining fabric or the fashion fabric, and 1 1/2″ (4cm) bias cut fabric in a contrasting colour for the inset strip/pocket edging. btw the measurements given here are for a garment cut with 1/2″ (1.2cm) seam allowances and will resulting in a 1/4″(6mm) wide contrasting strip, but the measurements can be varied accordingly for different dimensions as desired.
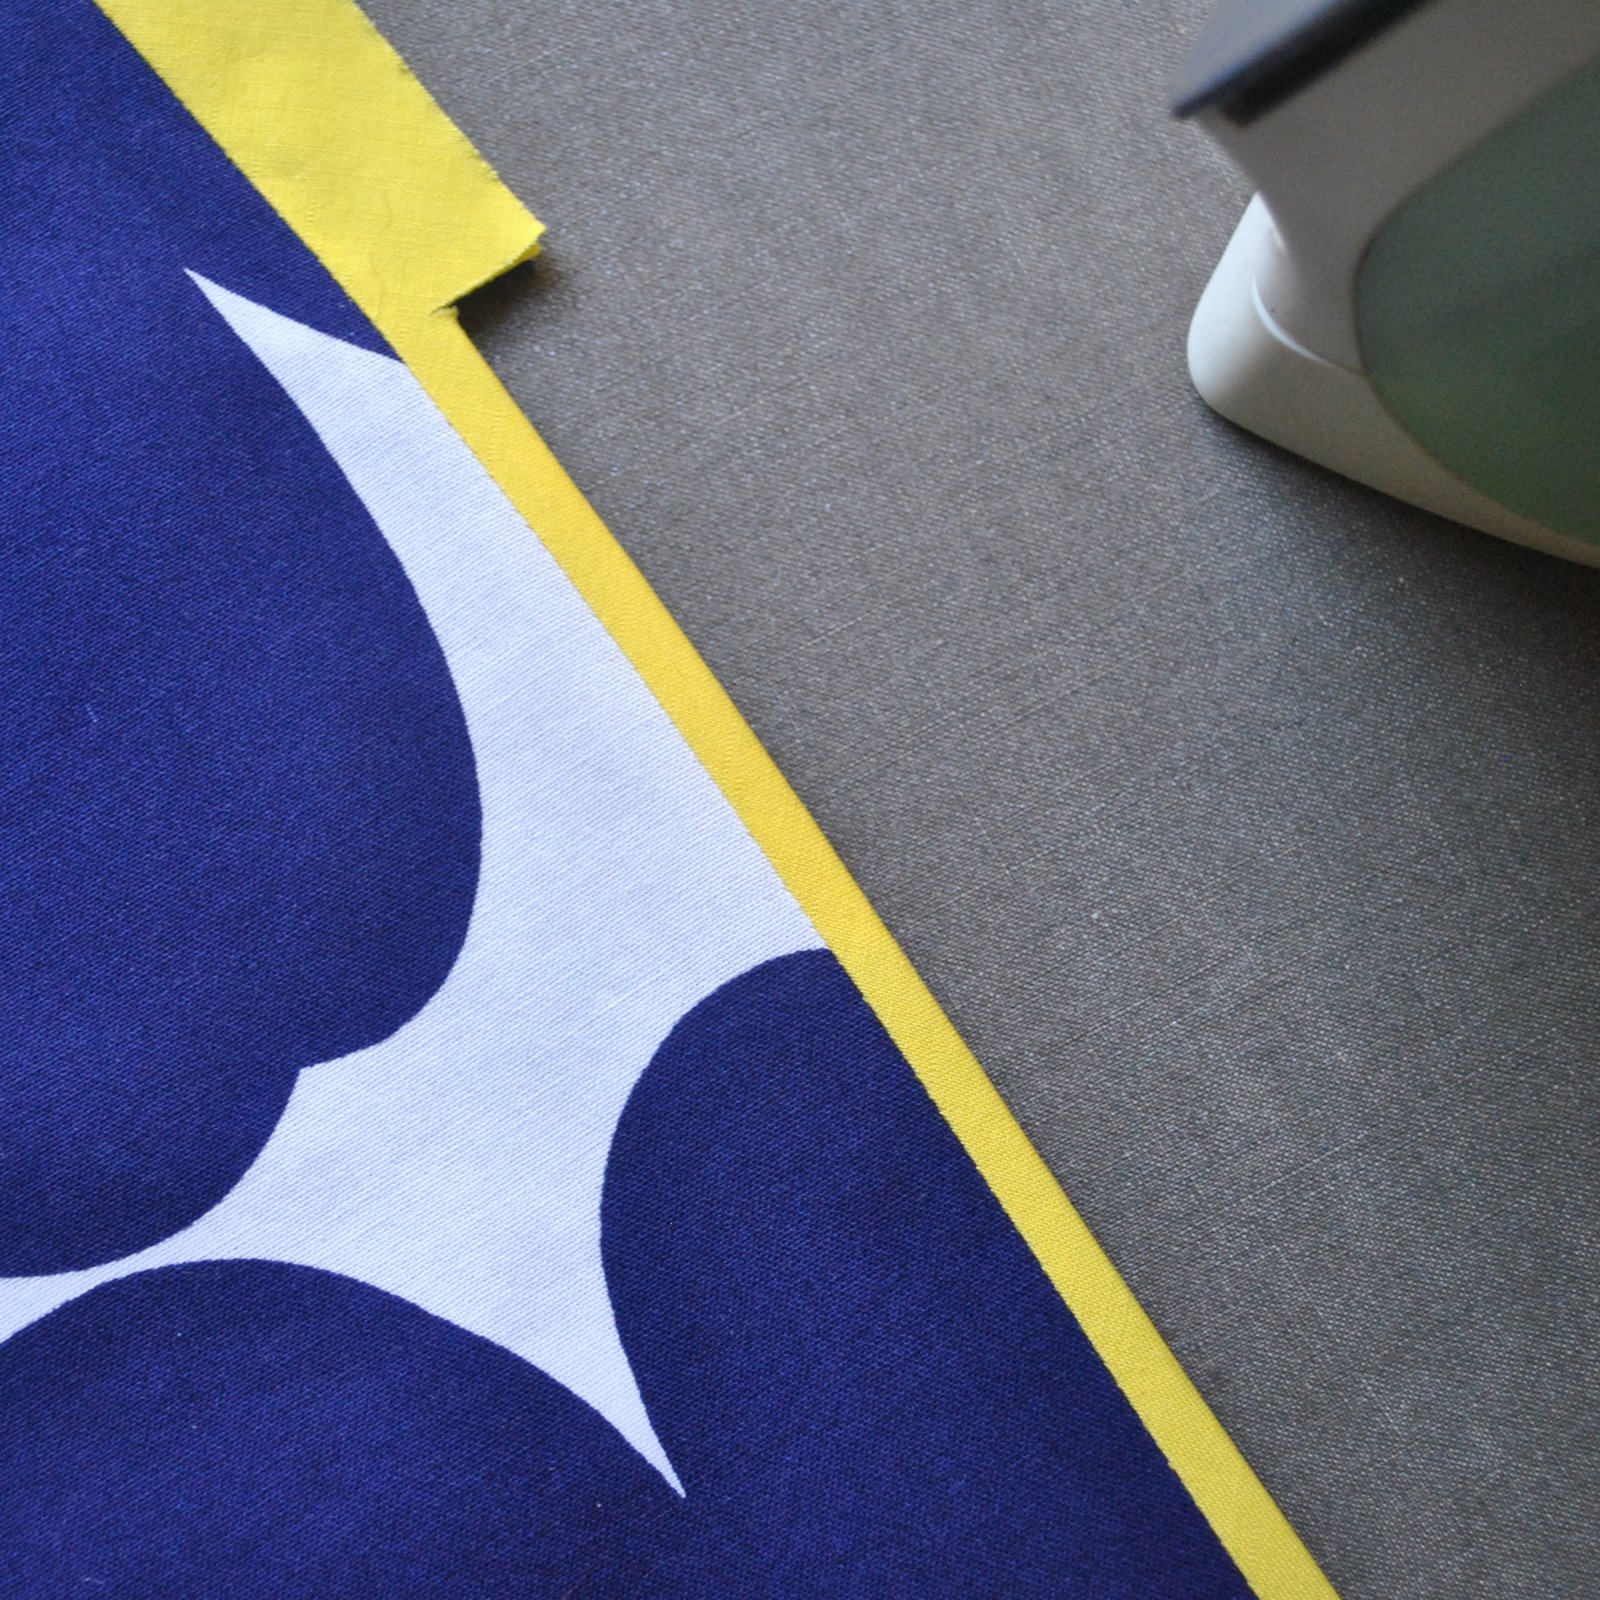
Stitch the bias strip to the skirt front, using a 6/8″ (2cm) seam allowance. Press the strip to the side edge.

From the underside, make two 1/2″ (1.3cm) snips (seam allowance width) through all layers at the top and bottom opening edge of the pocket. Take care to not snip all the way to the previous stitching, but ONLY the width of the seam allowance.

Stitch the lining pocket piece to the bias strip in a narrow 1/4″(6mm) seam allowance.
 Press the pocket lining out, then turn it under the front piece and press, forming the 1/4″ (6mm) wide bound edge of the pocket.

Use a matching thread and stitch in the ditch along the joining seam from the right side through all layers, securing the pocket lining to the front.

Underneath, pin the pocket piece to the pocket lining piece around all inner edges, stitch, Finish the edge as desired… I chose to finish the edges in a HongKong seam using the same yellow voile.

 from the right side (with some irrelevant (white) basting along the side edge… not really necessary for this method)

Pin the back piece to the front piece at the side seams, marking the pocket opening points exactly with a pin. Have the front piece uppermost, so you can use the previous, bias attachment seam as a guide while stitching; this is so you can ensure your contrasting bias strip comes out as a nice perfectly even width all the way down the side seam. Stitch side seams in a 1/2″ (1.3mm) seam, passing exactly through those pin-marked points. Reinforce the pocket opening edges with a few backward and forward passes with the machine at these points. Take great care to keep the pocket opening edge free between the two layers.

And done! When you turn it out, you will have a nice side-edge strip, which seamlessly goes on to edge your side inseam pocket. Nice, yes?
As always, if you find this a useful and/or helpful tutorial, please do leave a comment saying so… 🙂

That is so neat and stylish. Thanks. Jo x
Beautifully done…thank you for the step by step instruction. I will use the technique on my next pants.
Thank you for this. I might just have to have a go at it, it looks so brilliant.
Perfectly executed, Carolyn, thanks for the tutorial. Looking forward to see the whole dress!
Love the dress and thanks for the tutorial and inspiration.
Carolyn, you do have the best tutorials! I was so excited to see another one today. This is definitely bookmarked and I will try it quite soon on a little pair of shorts for my daughter. You are so clever – I have honestly never seen this technique demonstrated anywhere else. And, I must say, your stitching is so precise and your garments beautifully fitting. Sigh… I would love to just watch you sew for a few days, I’m sure I’d learn so much!
Thank you for the instructions on how to do the inset strip!! I have been wondering for quite some time!
Elegant pocket, detailed instructions. Thank you!
This is so beautifully done and very elegant. Please post more tutorials – your instructions are so thorough and easy to understand. I’m definitely going to attempt this in the future.
Love the look of this!! And always appreciate your tutorials and learn from each and every one. Already pinned this one to Pinterest for future reference. 🙂
I am looking forward to giving the technique a try. Thanks for sharing.
So gorgeous! As I was reading through your tutorial and looking at your great photos I was recalling how much you love to topstitch 🙂 You must have been in heaven making this beautiful dress. The lines are so beautifully set off with the bias in bright yellow. Love it as always.
Thanks for this Carolyn! It’s a technique I know I will utilize in a future make.
So, so excited to see the dress reveal. I’m crushing on this print! LOVE!
I do love it! I have tried a bias strip as a slot seam but like this so much better. Such a smooth transition to pocket. My head is making plans for this!
Stunning dress! Thank you for introducing me to Marimekko fabric and to Yulki’s store. I can see a visit to Bellerive on my next trip to Tasmania.
I love this. Thanks so much for the tutorial! I can’t wait to try this out when the right project comes along.
Very useful, love the idea and the dress as well.
Gah!! I love it already!!
Thanks! Very clear and the finished version looks great.
Thanks so much for this tutorial, I’ll definitely be trying it at some stage. Can’t wait to see the completed dress, it looks incredible.
your sewing is so sharp! lovely tutorial, I had been mulling something similar in my head last night (not with pockets) as I have gotten caught up in the denim upcycling….. and was thinking of links/strips of gross grain inset into seams to avoid joining lines of bumps….. so seeing your post today feels like perfect timing. Looking forward to seeing what you made, the fabric is stunning
First time commenting! What a great tutorial! Thanks for taking the time! Perfect timing as well because it’ll come in handy for an upcoming project.
Beautiful fabric and dress. Thank you for the detailed tutorial.
Wonderful tutorial, very clear and easy to follow! And a gorgeous finished result, I’ll definitely try it !
Yes this post is very nice and its product is really very awesome. Thanks to this post and sharing best design or information.
That looks very ingenious, cool technique!
Such a spectacular dress. Is the pattern still available? ❤️
thank you, Louise!, and yes, click here to go to the pattern