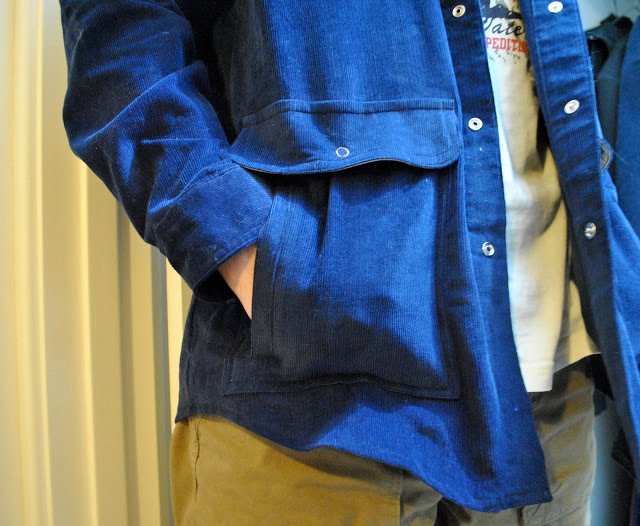
I’ve just put these pockets on a shirt/jacket I’ve made for Sam for his birthday, and I’m super pleased with how they turned out. So wanted to share them.
I kind of got the idea from similar pocket I saw on a young mens’ leather jacket in the surf shop. Seriously, the surf shop is a gold mine for wonderful ideas! They somehow take hideous fabrics and unpromising shapes, and manage to make cool stuff that teenagers just love…
I’m pretty thrilled with these pockets, because they are a double pocket, like two pockets in one. One is a welt pocket, and the other is a patch pocket, but both are part of the same pocket!
The shirt/jacket is of corduroy, a thin, non-stretchy navy blue corduroy, a colour that really suits him. (yes, because I used corduroy I spent the entire process obsessively stroking all the fabric pieces to make sure they were all facing with the nap the right way at every step!!) The contrasting lining fabric is a thin beige cotton that has a subtle tiny plaid woven into it.
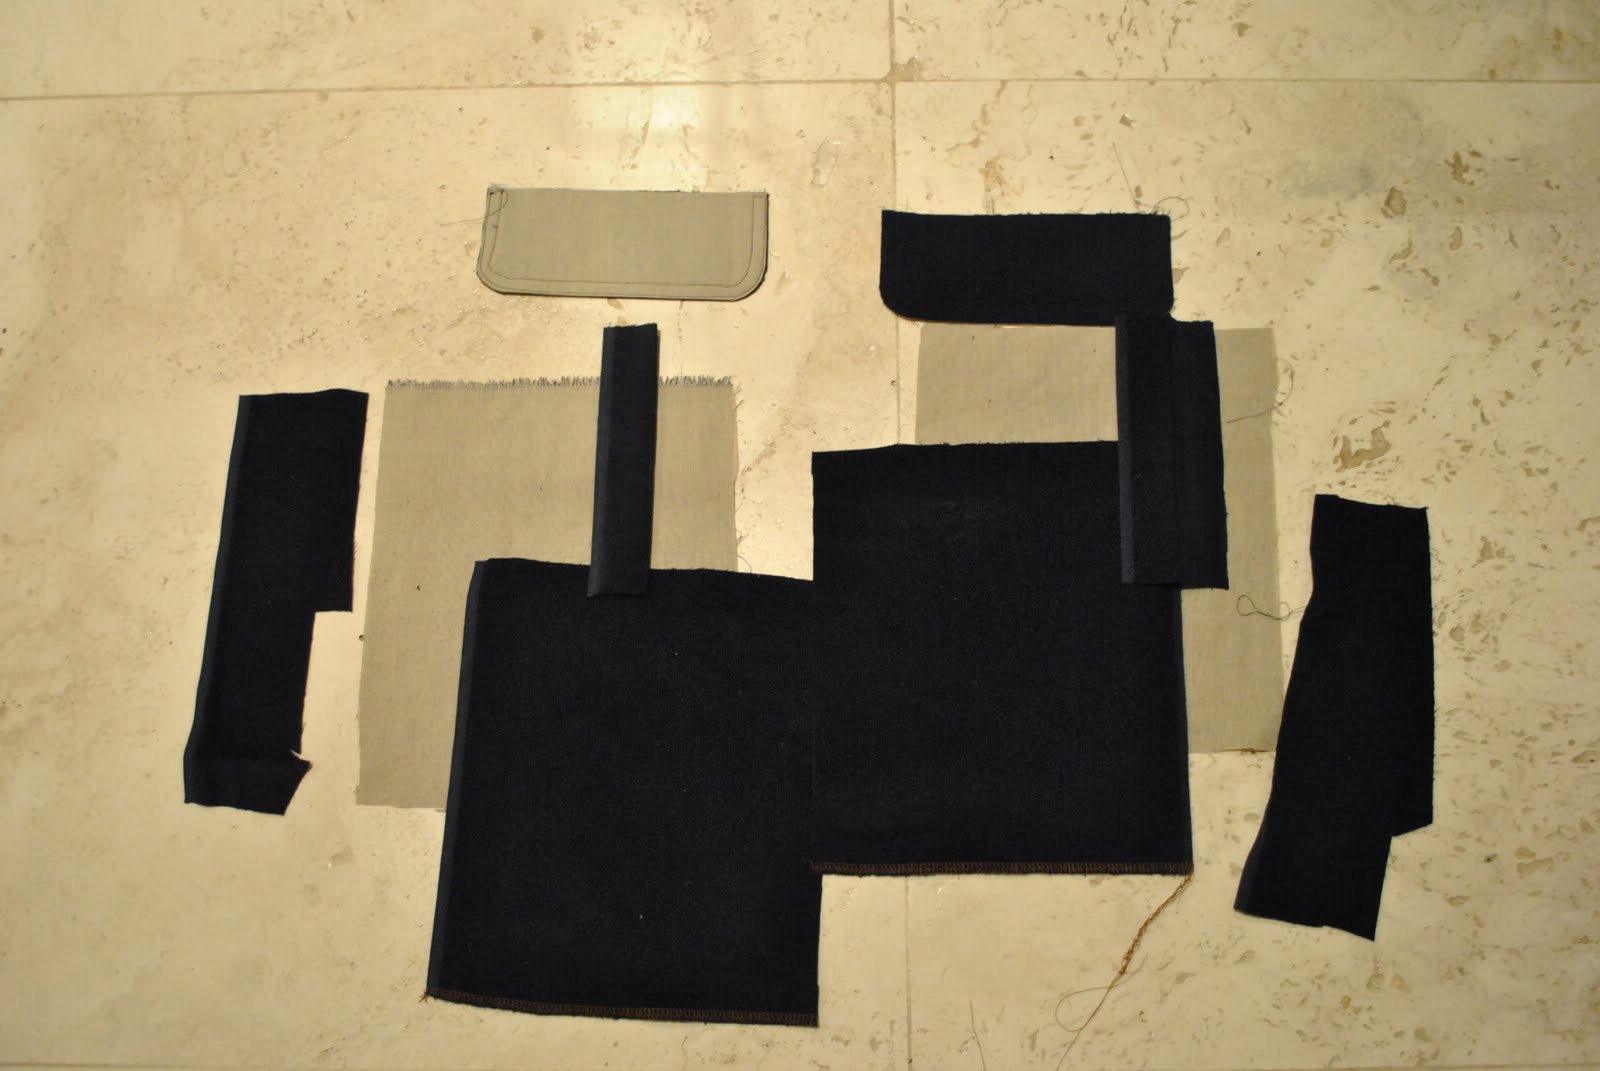
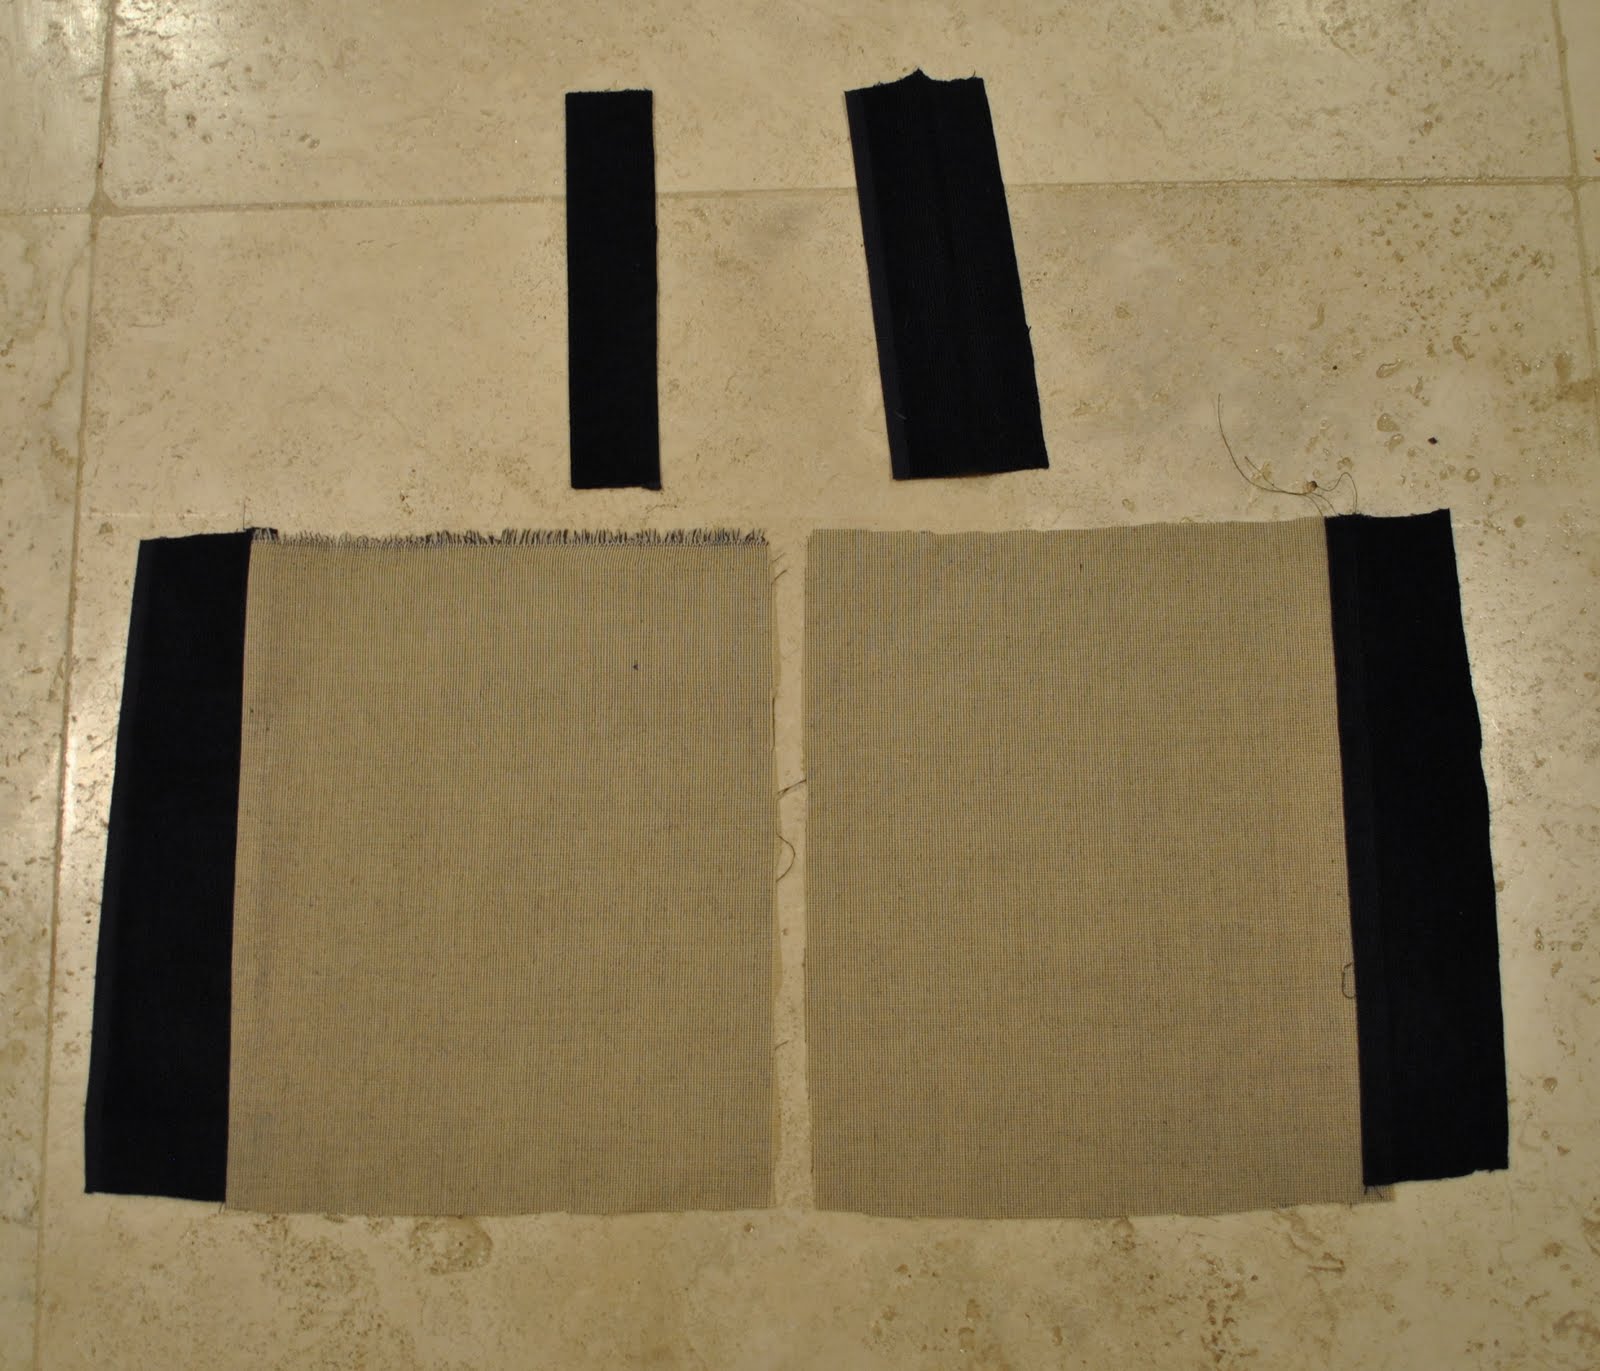
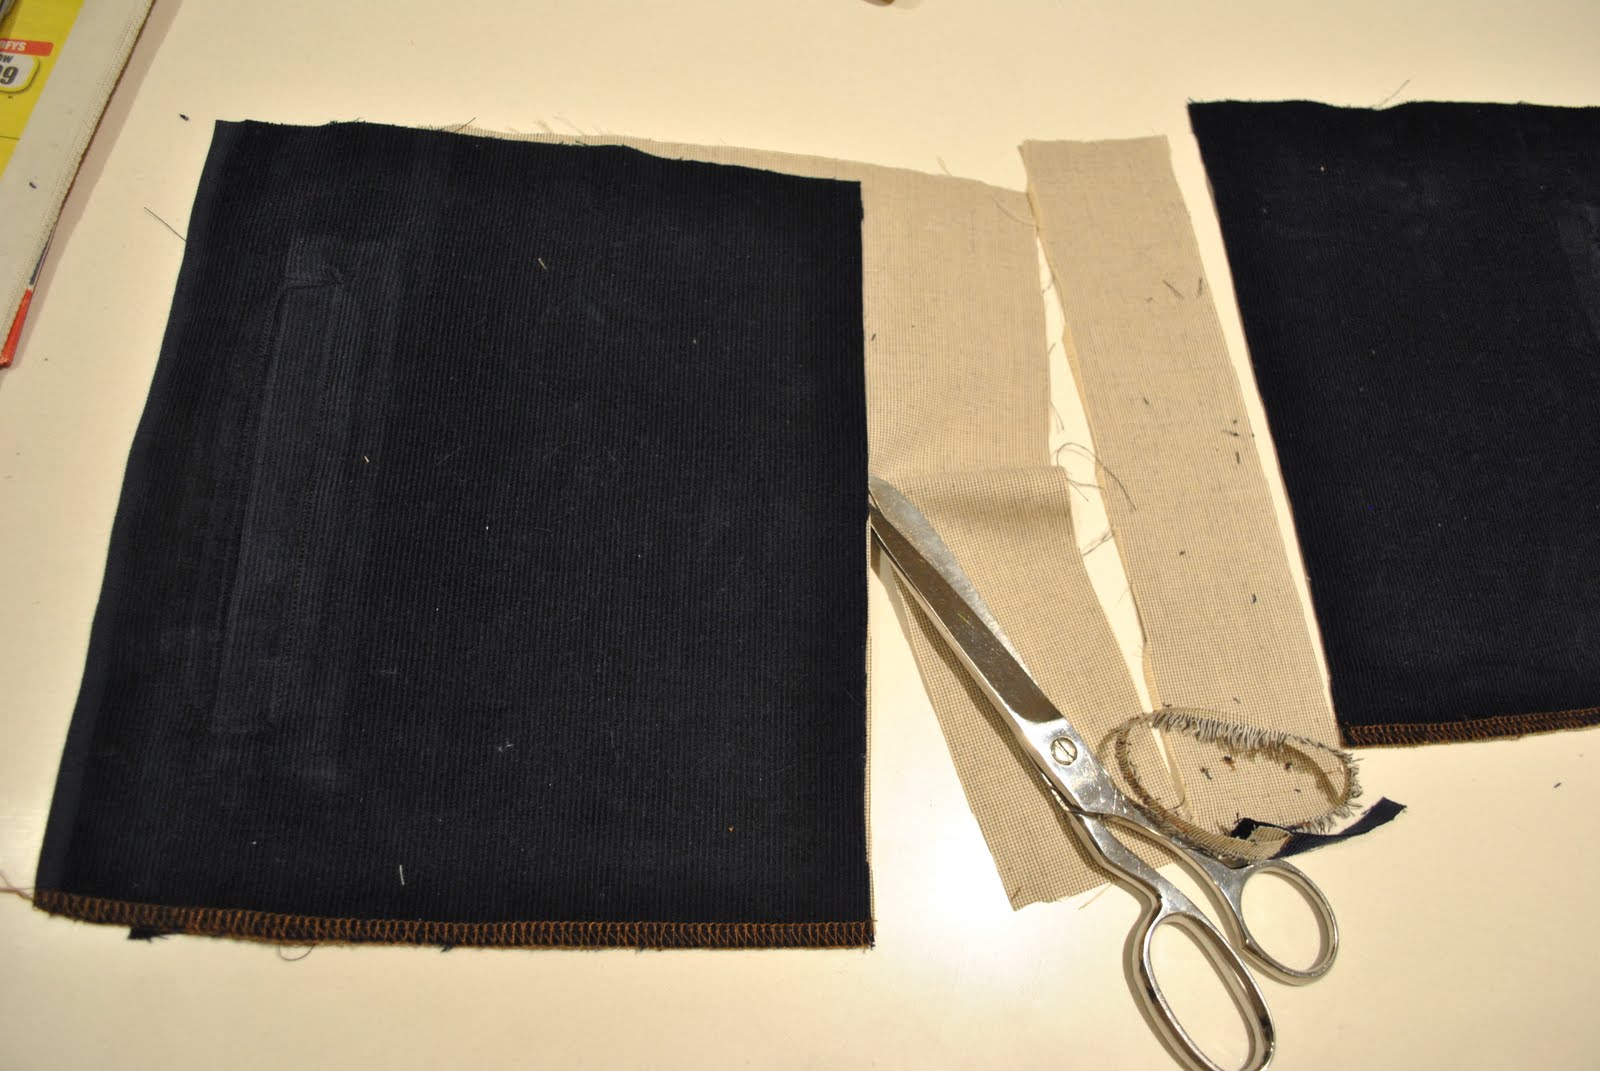
Firstly I took a rough measurement of my son’s handspan, and cut out two pocket pieces, and welt pieces. For the lining of the pocket cut two each of pieces of the fashion fabric and of the lining fabric, which will be joined together; the fashion fabric section to go under the welt, so that when he has his hands in his pocket the inside looks just like the rest of the jacket, but the main of the lining to be of a thin contrasting cotton so as not to add too much bulk to the pocket (this is illustrated in the next step). Also cut and construct two pocket flaps, mine have slightly curved lower edges.

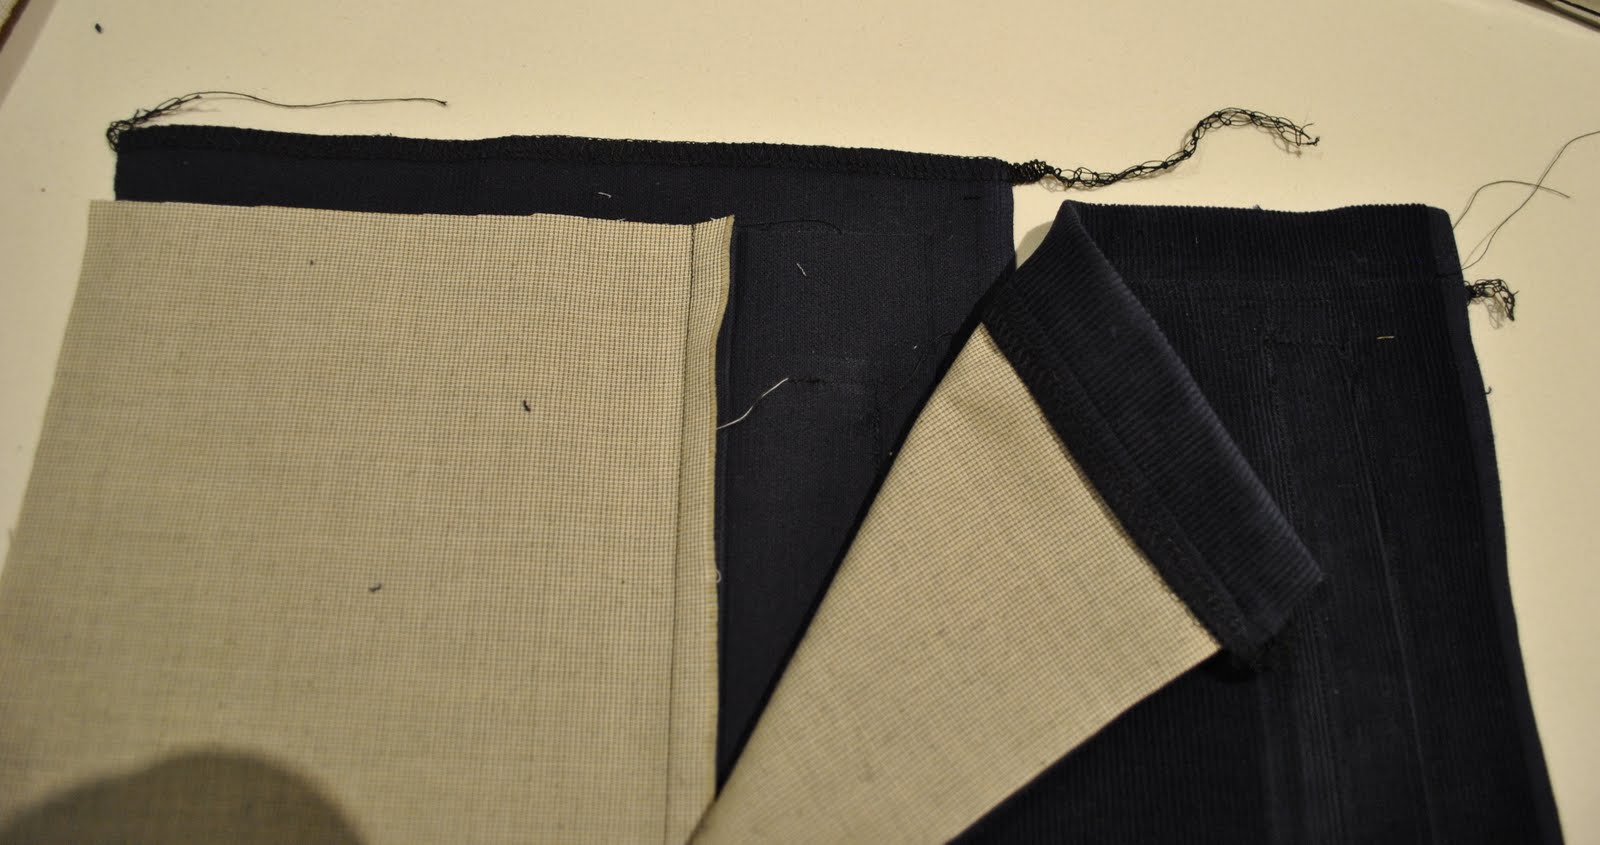
Join the two pocket lining fabrics together, and iron the welt flaps in half along their long side.
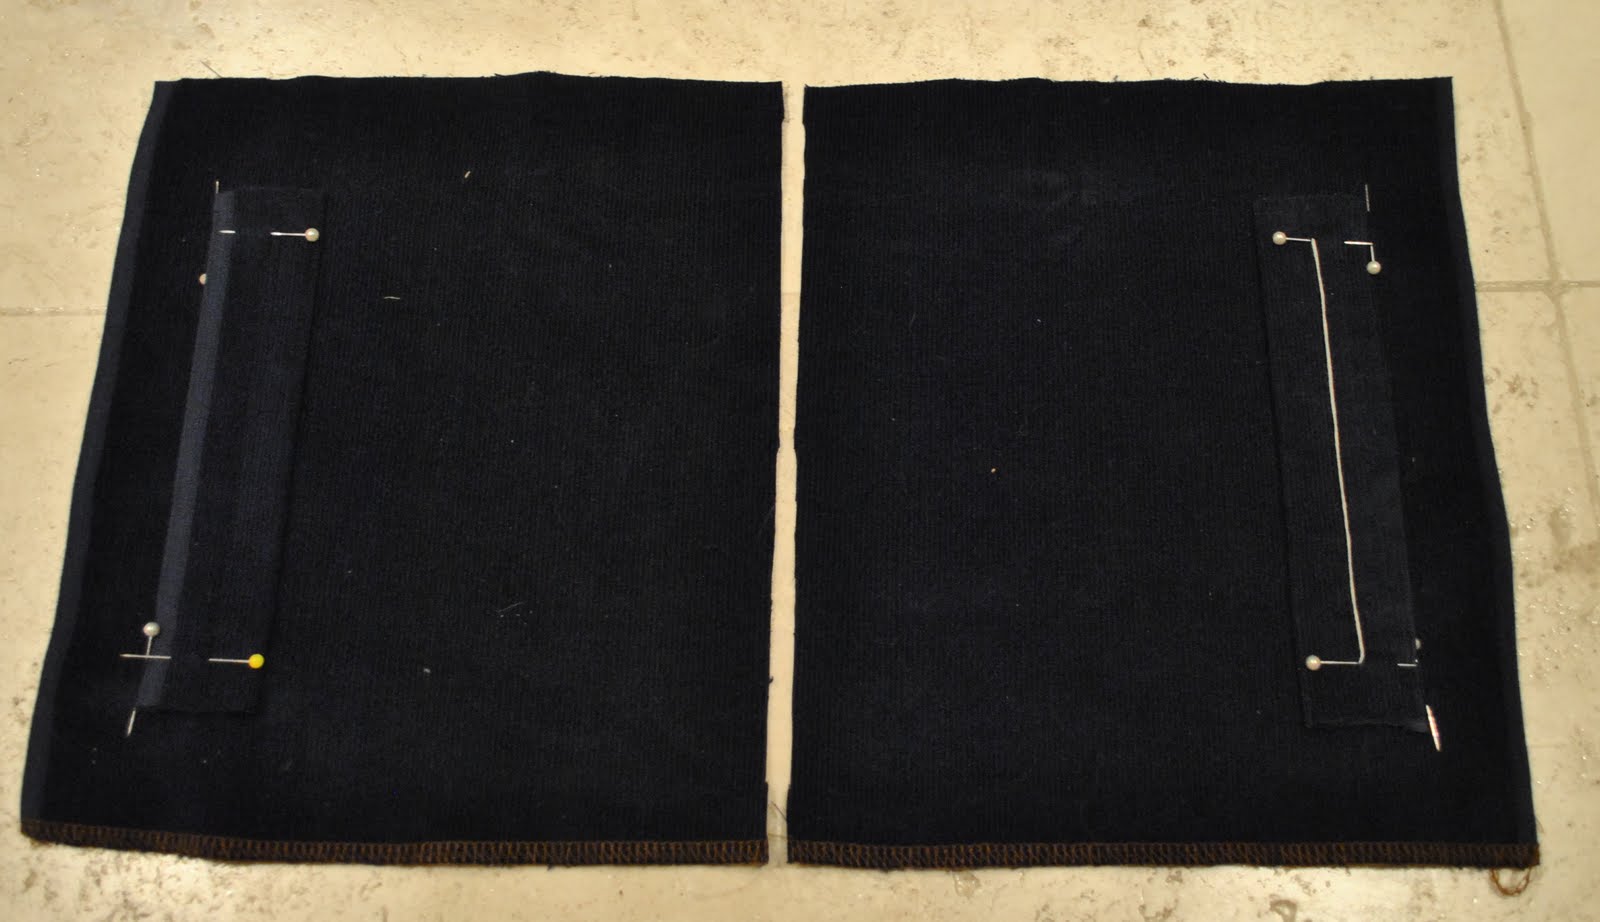
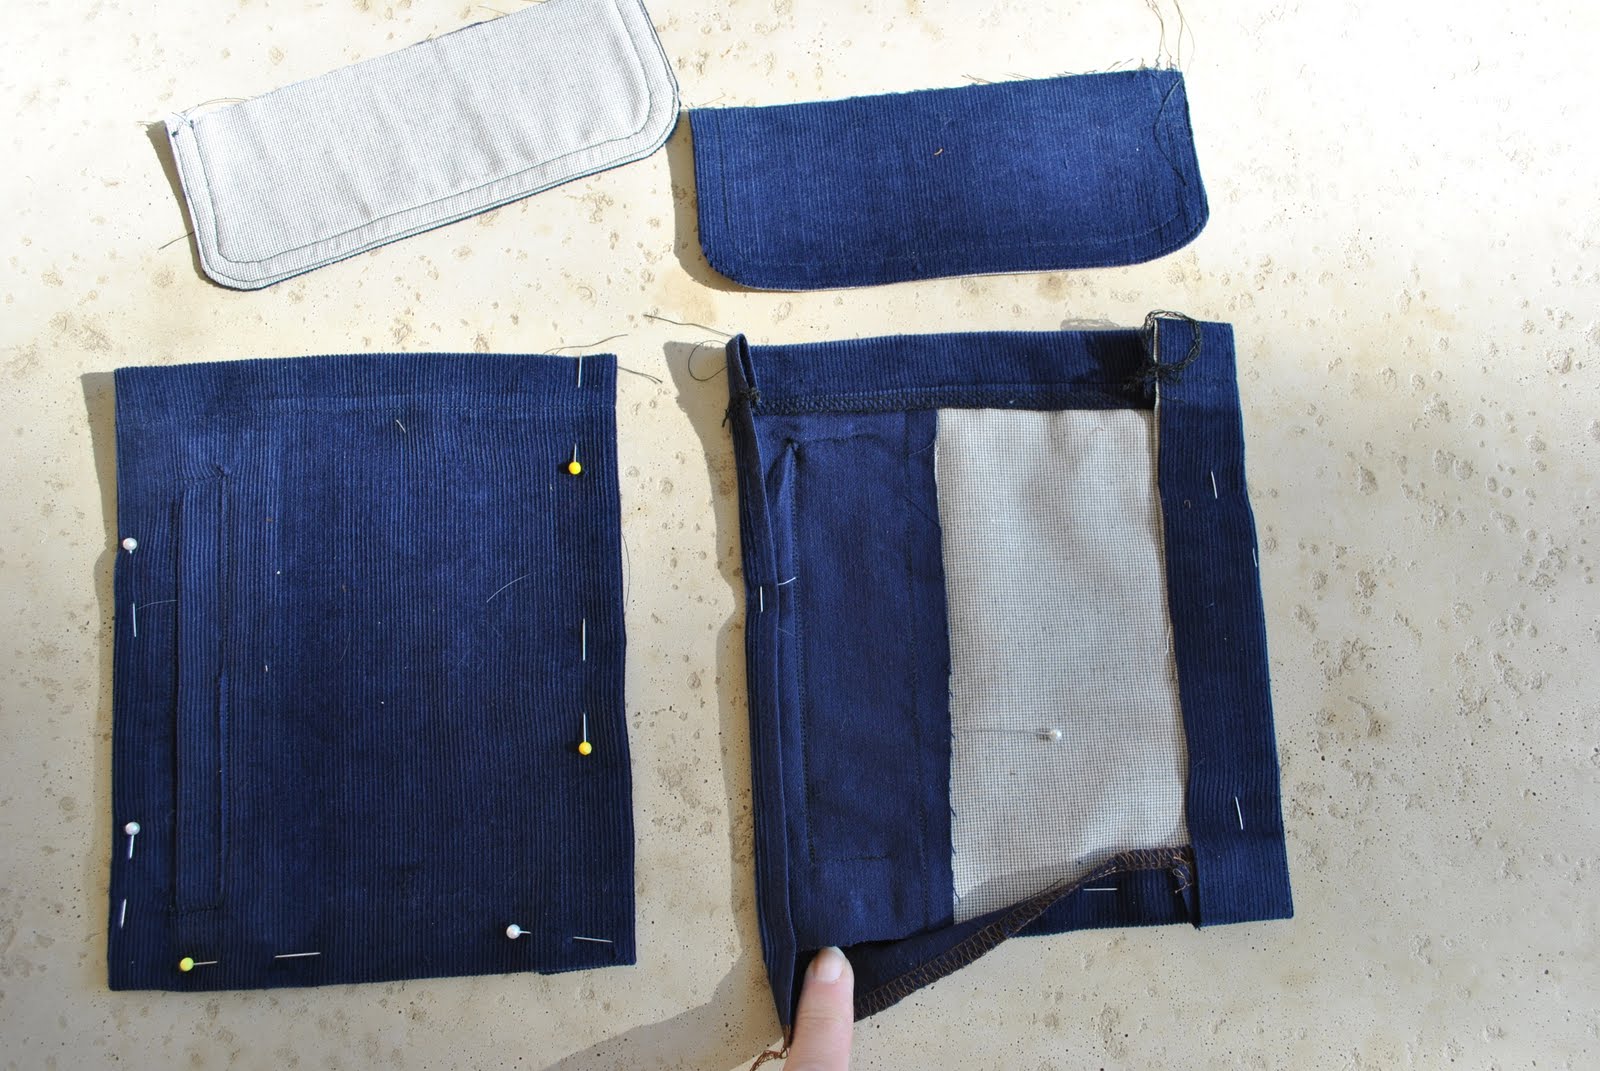
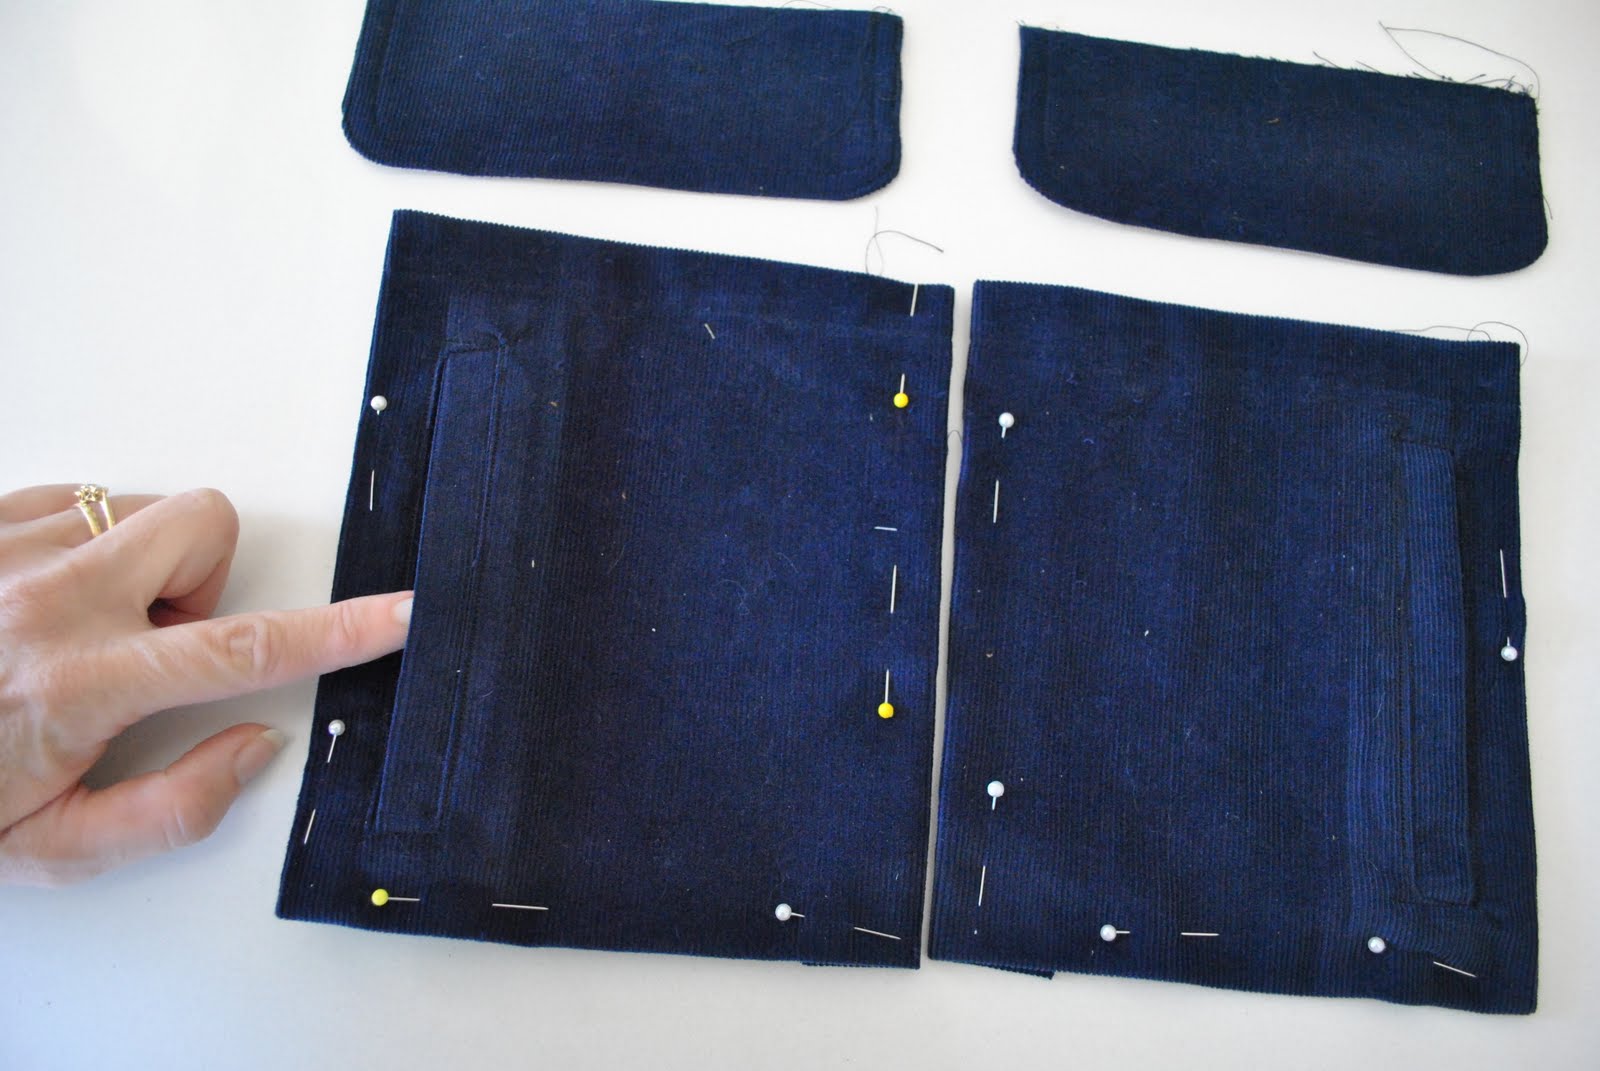
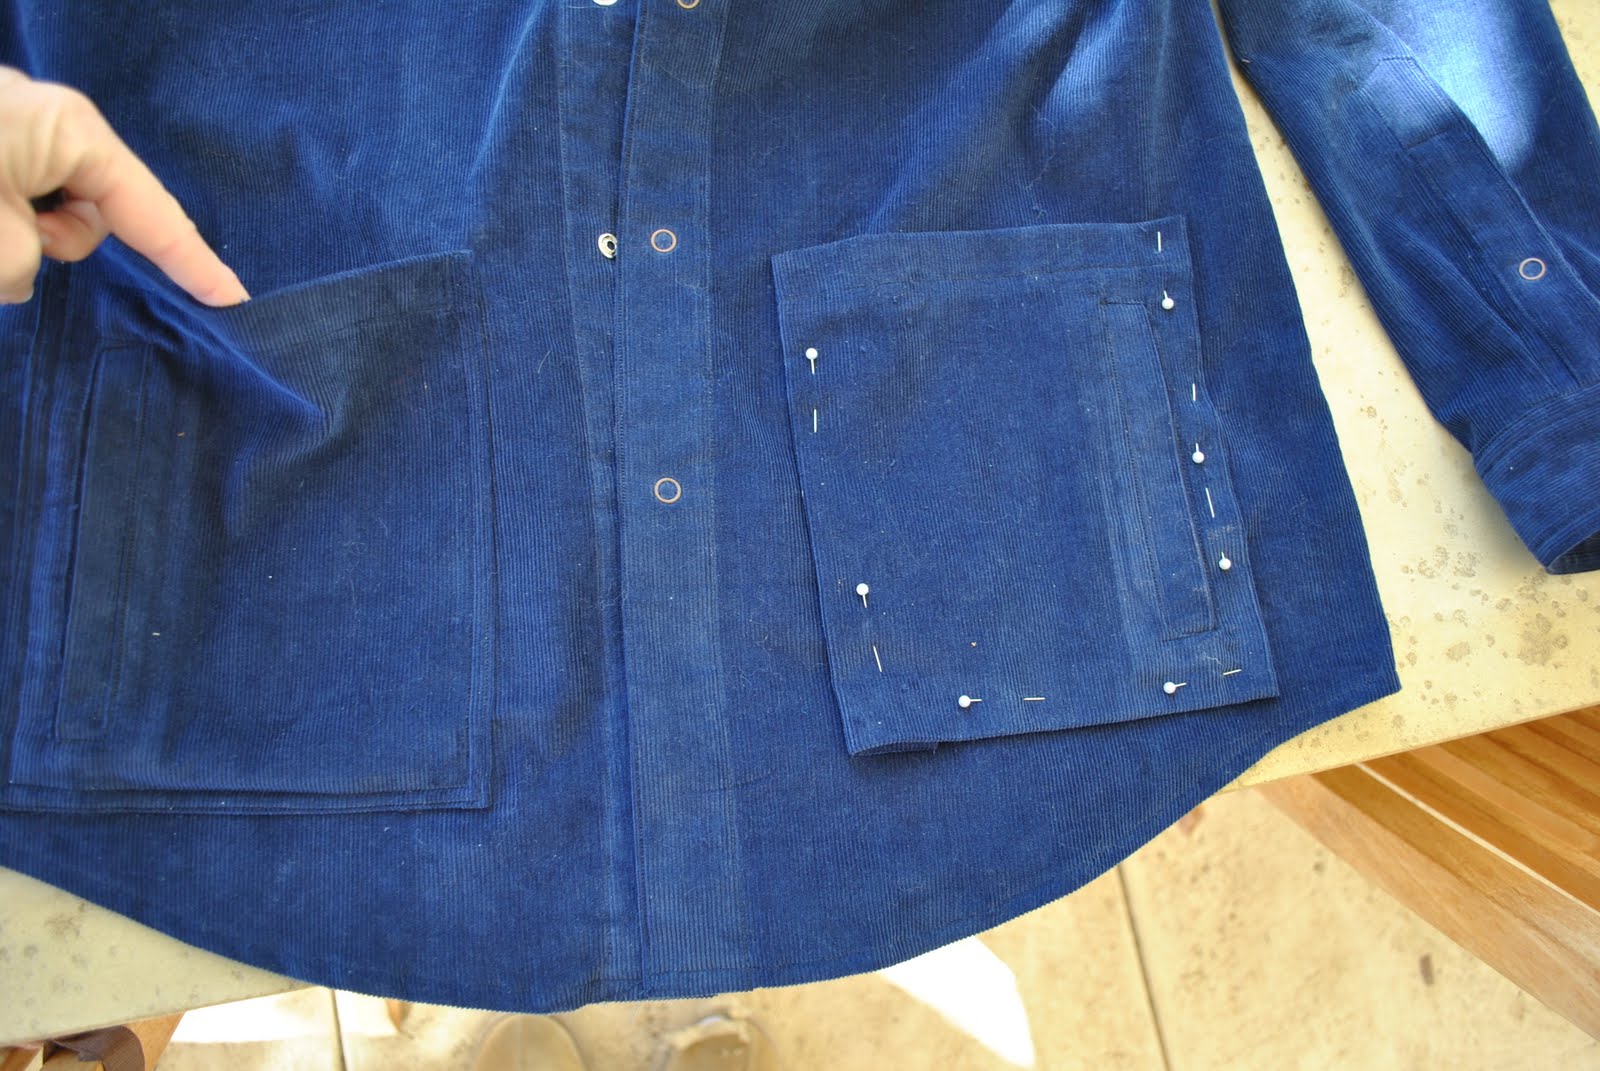
On your fashion fabric pocket piece, mark where the welts are going to sit with pins. The welts will sit vertically at the outside edges of the pockets, so the wearer can shove their hands inside easily.
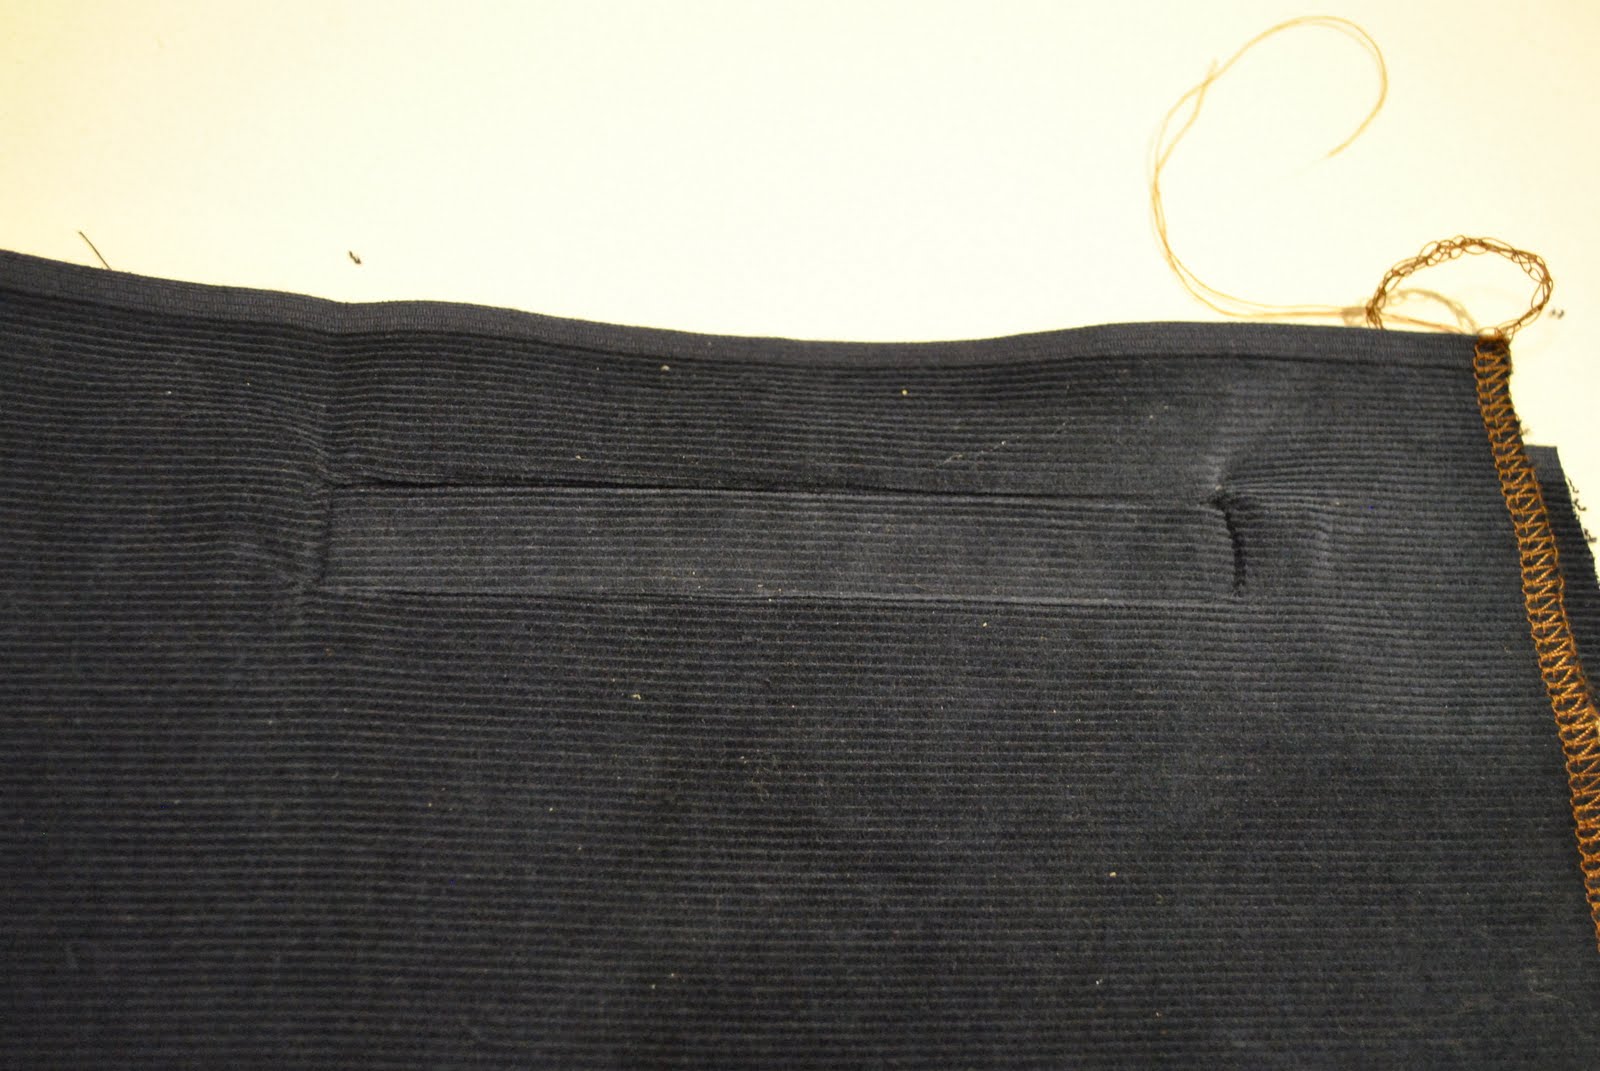
Pin the unfolded edges of the welt so that the stitching line sits on the inner line (in the picture, the stitching line of the pocket welt on the right is marked with a white thread). Stitch.
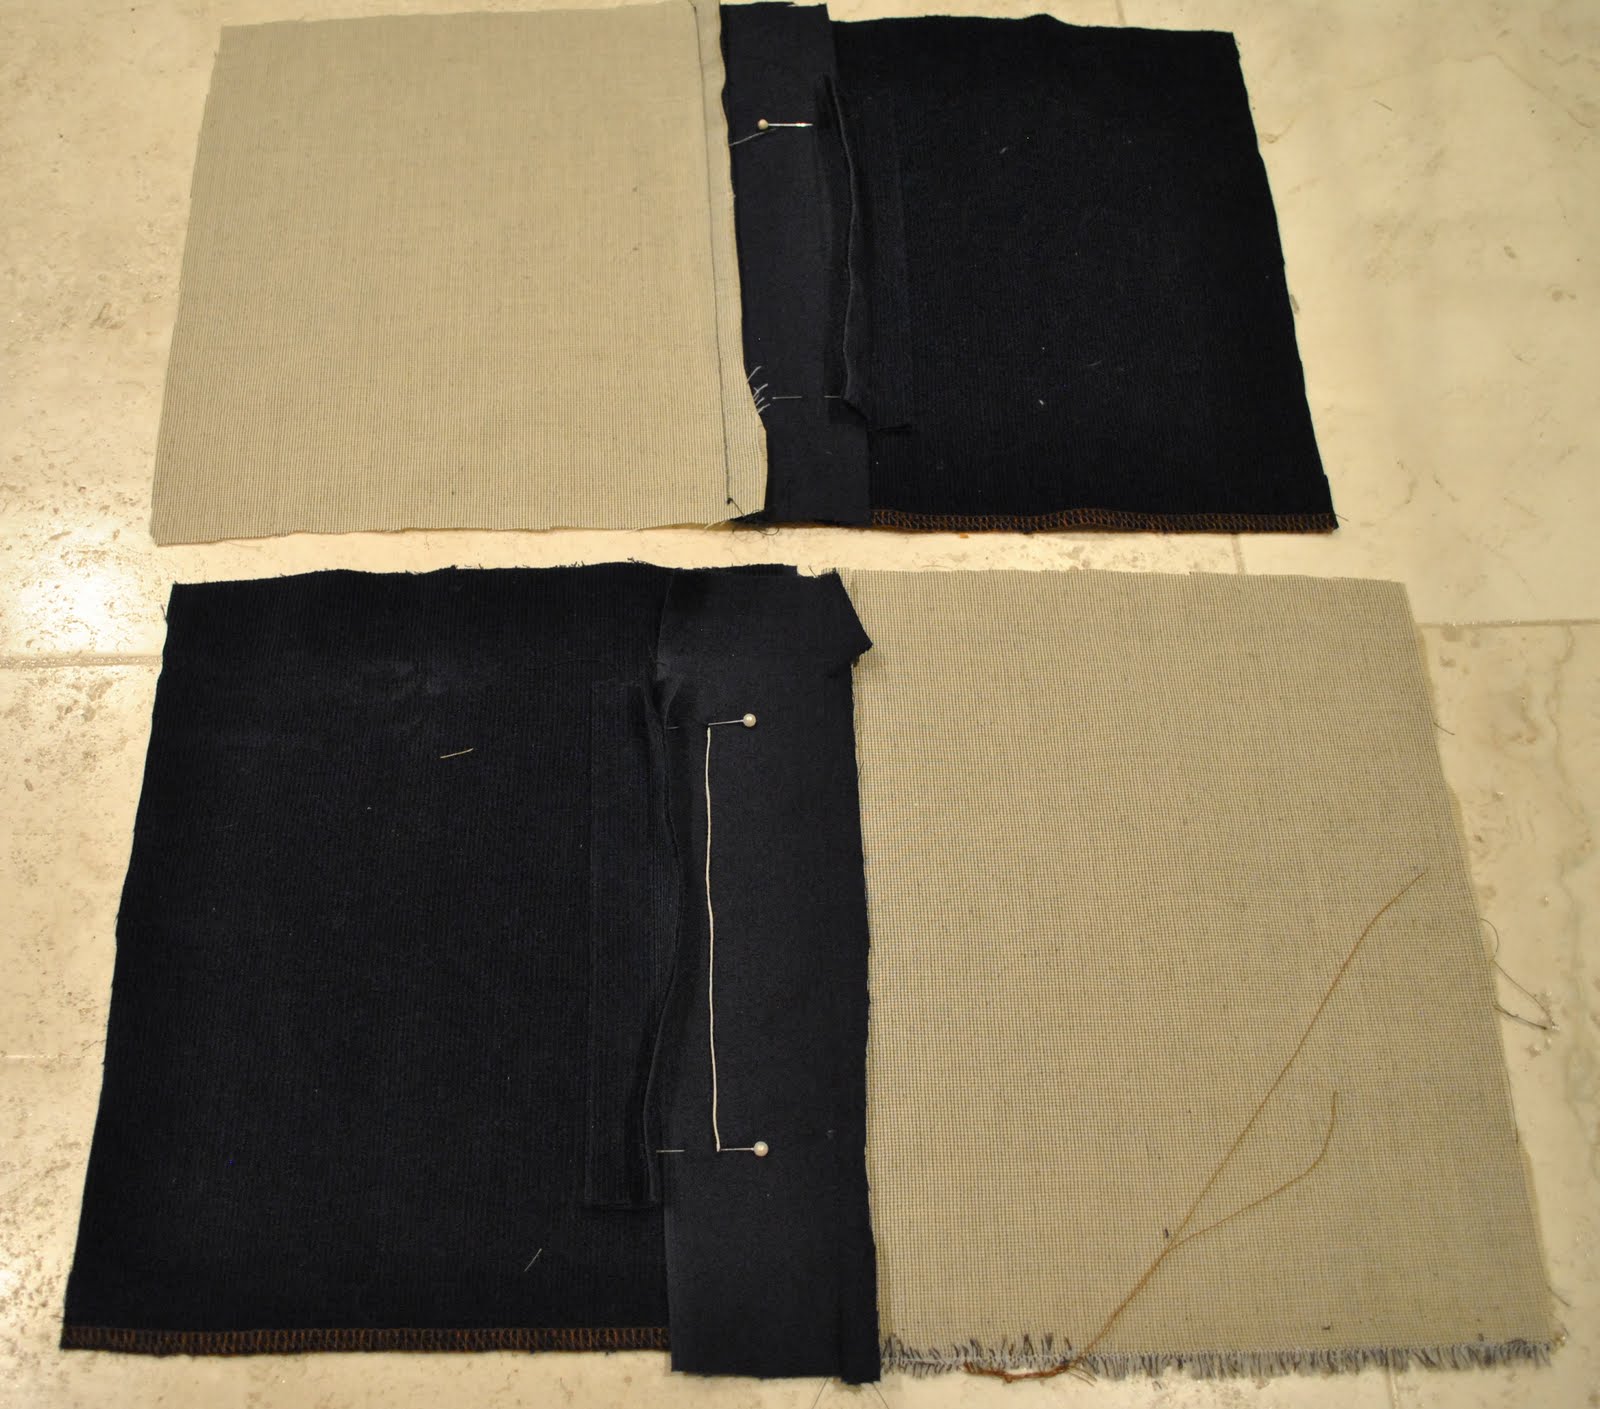
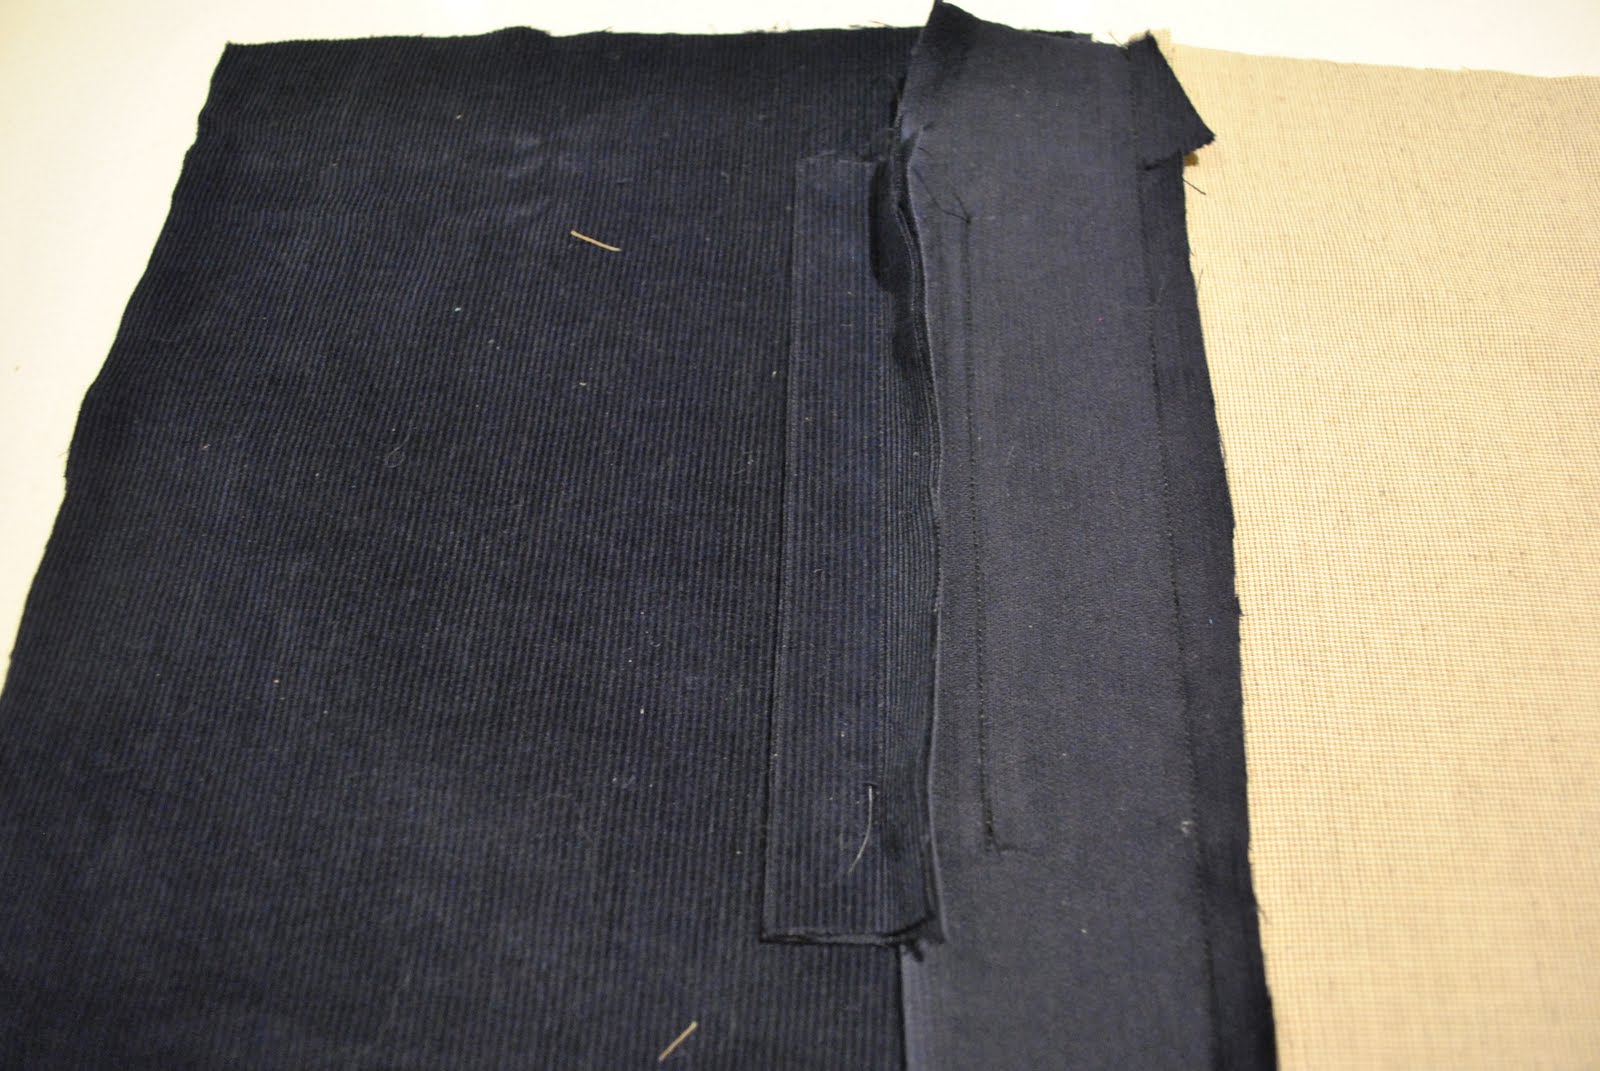
Now, lay the edge of the pocket lining, pieced together in the third picture above, so the raw edge of the fashion fabric edge is against middle of the welt gap, or “box”. Stitch along the other long edge of the welt “box”. Marked with the white thread on the lower of the pockets in this picture)
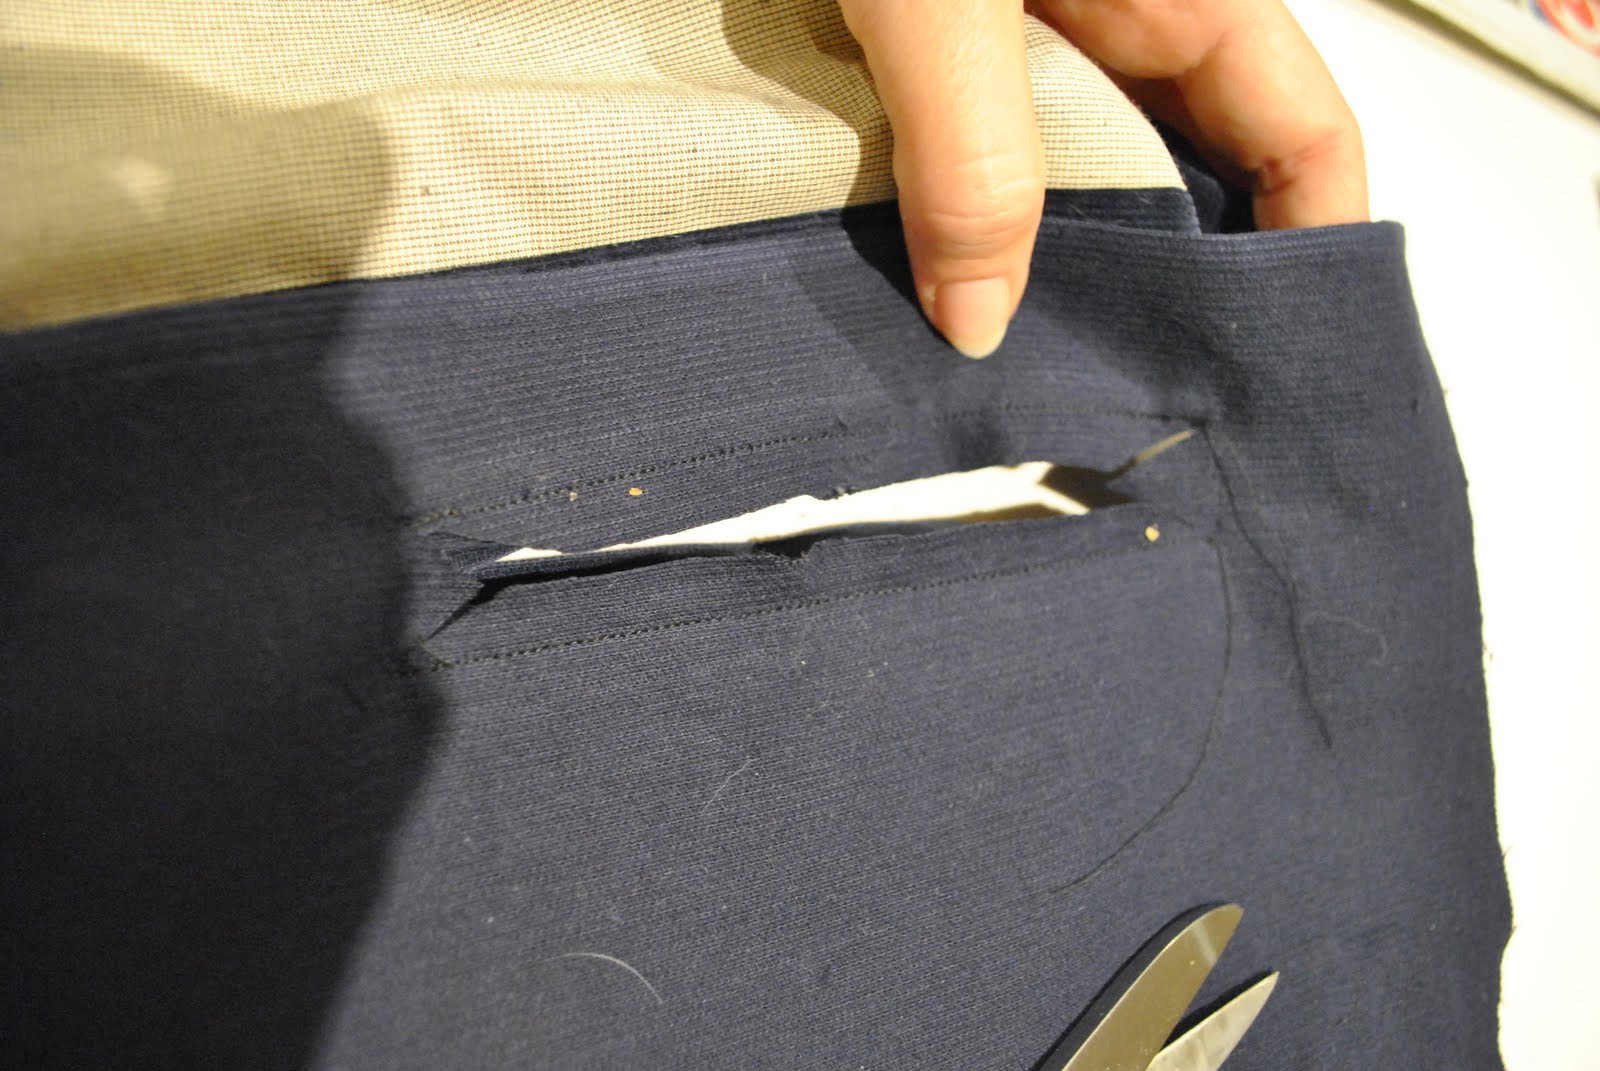
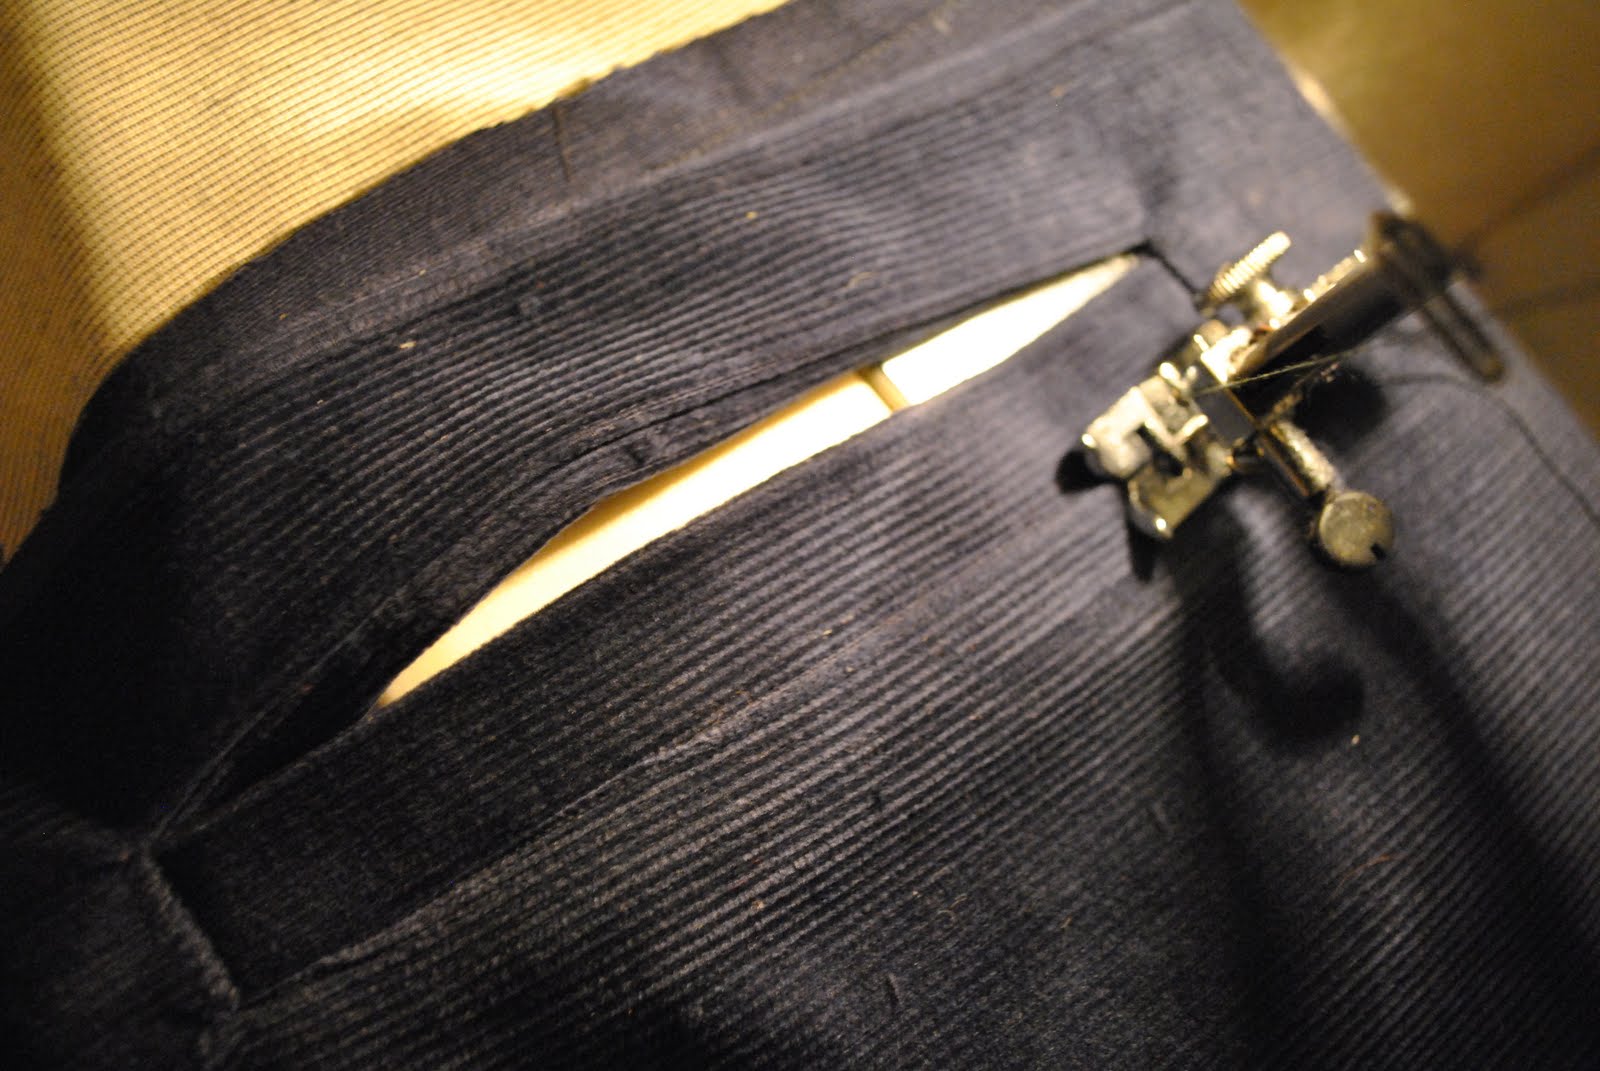
Slash open the welt to within 1.5cm of the short edges of the “box”, and from here out to each corner of the “box”. To get nice even welts it’s pretty important to be super accurate about this bit. And also that you are only snipping one layer of fabric, and not cutting into either the welts nor the pocket lining piece!
Pull through the pocket lining piece, and lay it underneath the pocket piece.
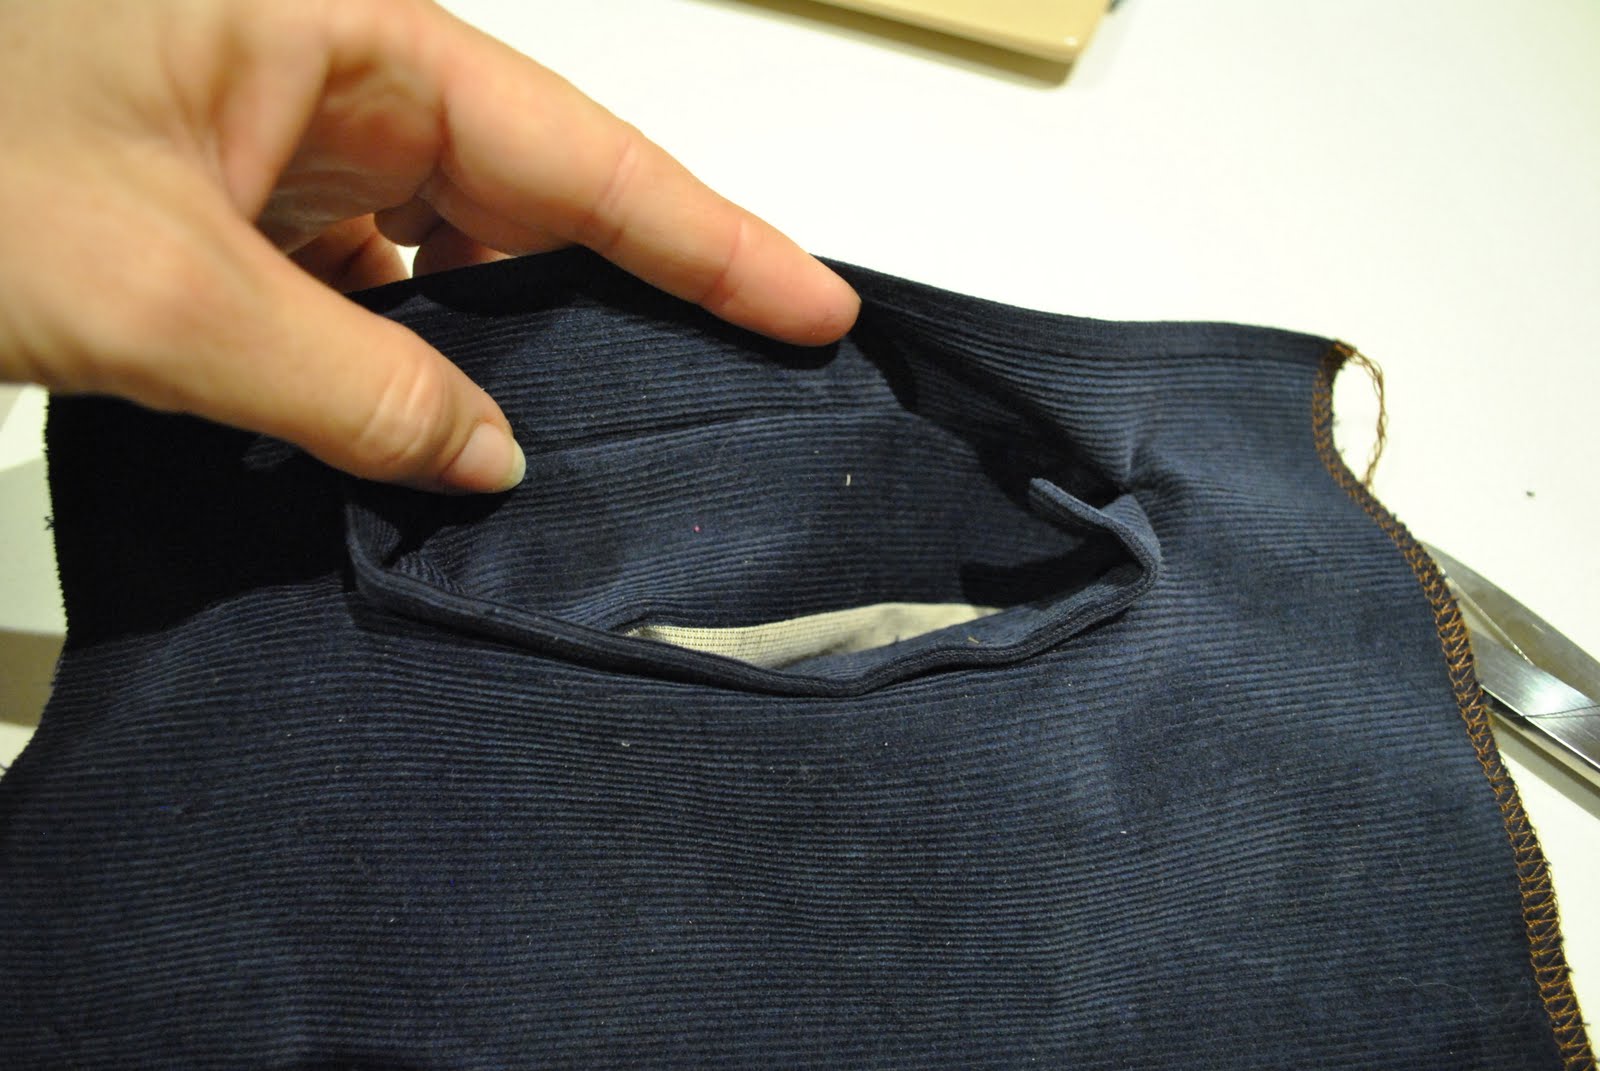
Pull the welt edges underneath also, and flip it up so it is sitting up covering up that “box” gap, like a postal flap.
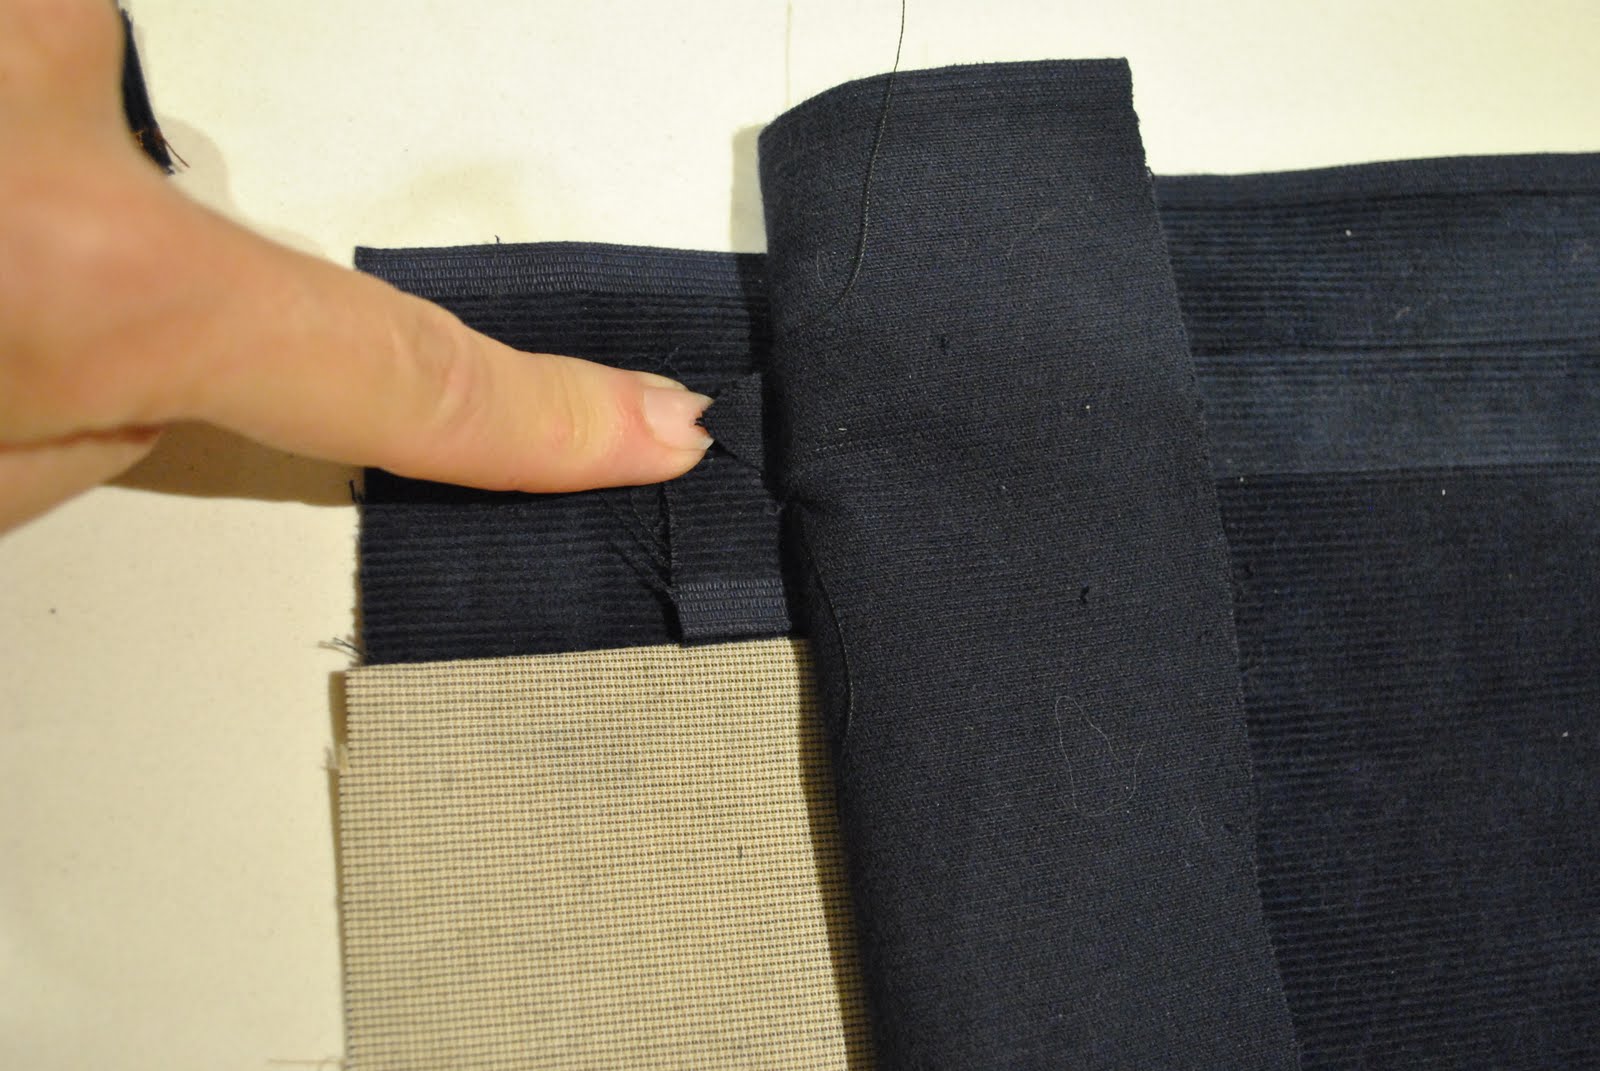
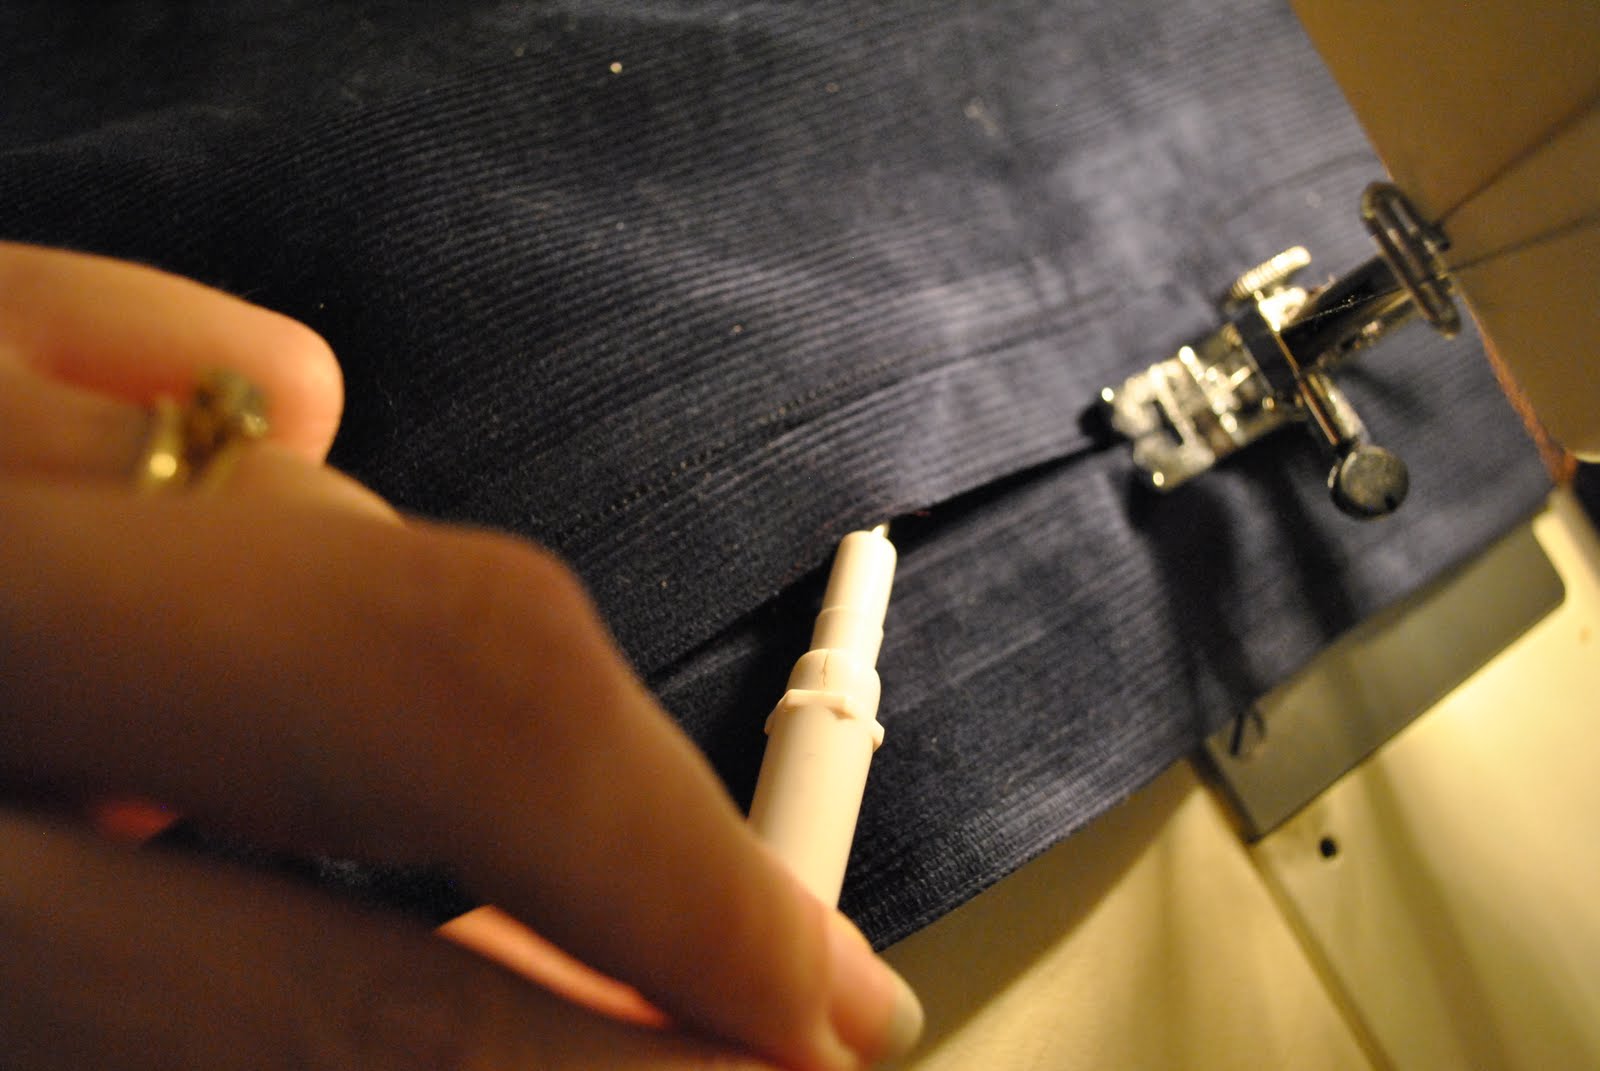
Pull under the little triangular wedges at each short side of the “box”. For a regular welt pocket the next step would be to just sew the final edge of the triangle down to the pocket lining right above where my finger is pointing… but there are a few more steps to finish this particular pocket…
Because this is a shirt/jacket for a teenager, I opted to topstitch around the welt. Just remember to flip the pocket lining up and out of the way when you topstitch the attached edge of the welt, so you don’t sew the pocket closed by mistake!
That is the welt part of the pocket finished!
Now for the patch part of the pocket…
Trim away any excess fabric from the pocket lining to fit the pocket piece.
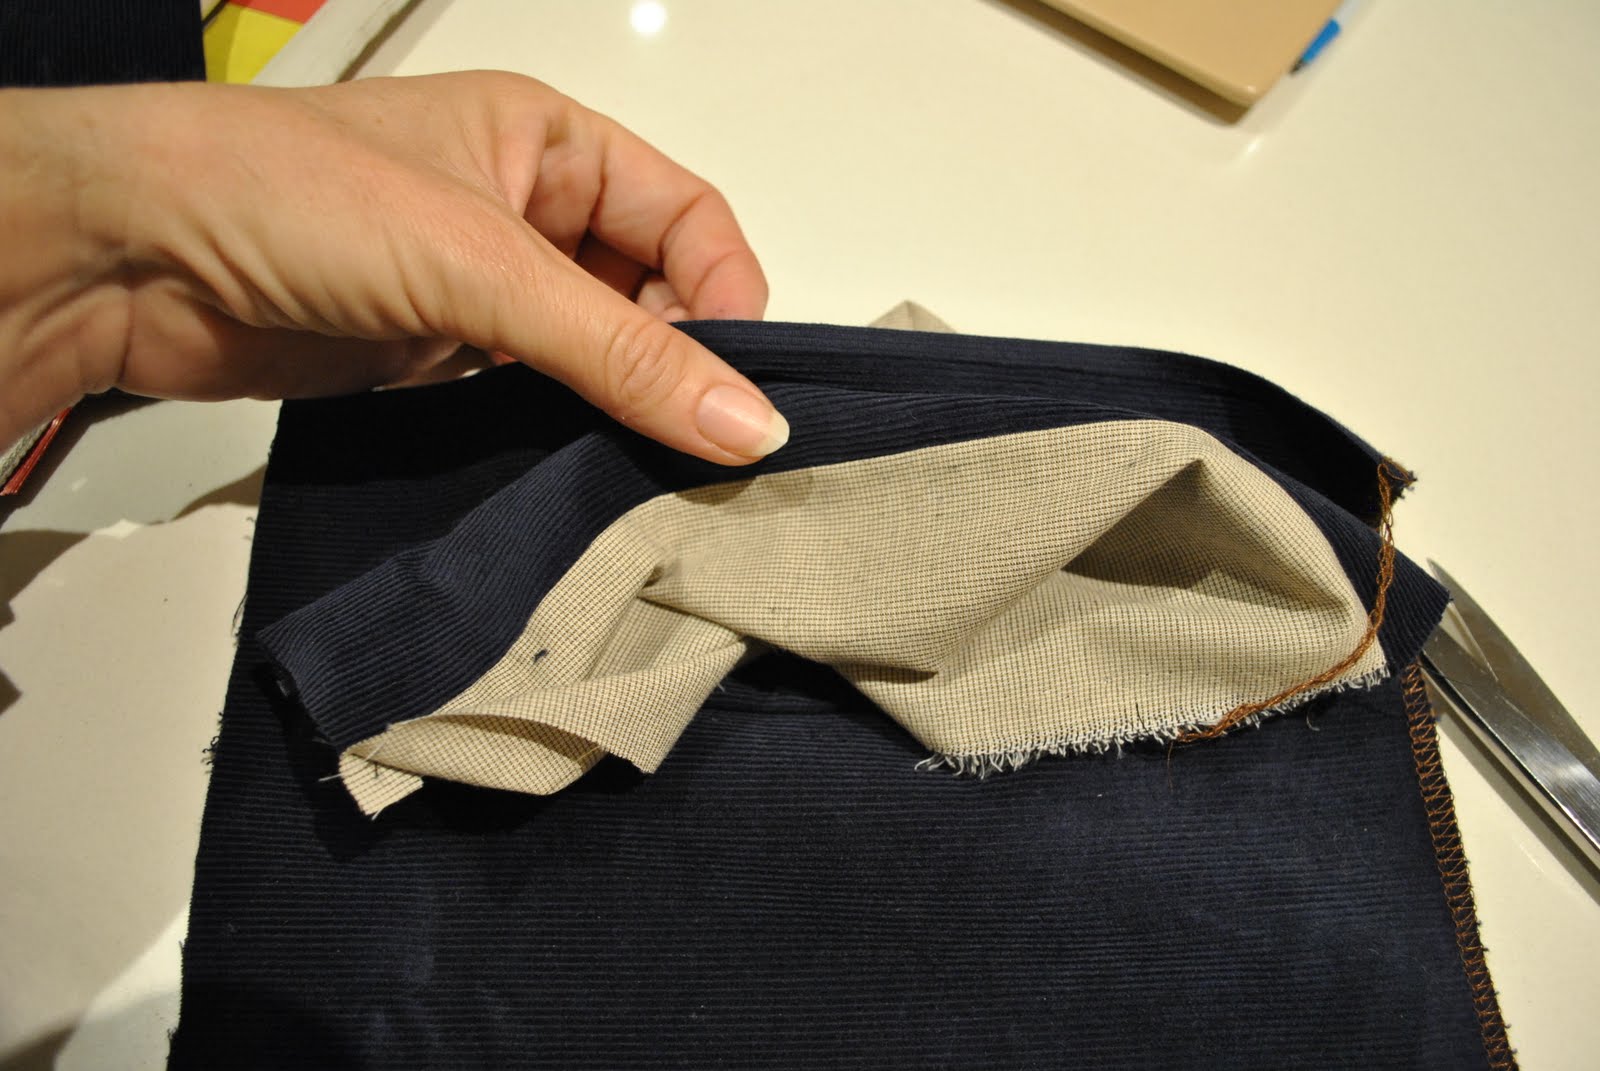
Trim away the fashion fabric portion of the pocket lining to fall within the seam allowances of the pocket piece. This is just to avoid too many bulky layers in the seam allowances of the patch pocket. Finish the upper edge of the pocket, fold and press it to the inside,and stitch down in place.
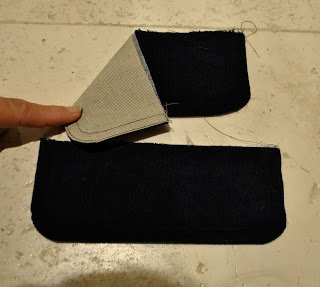
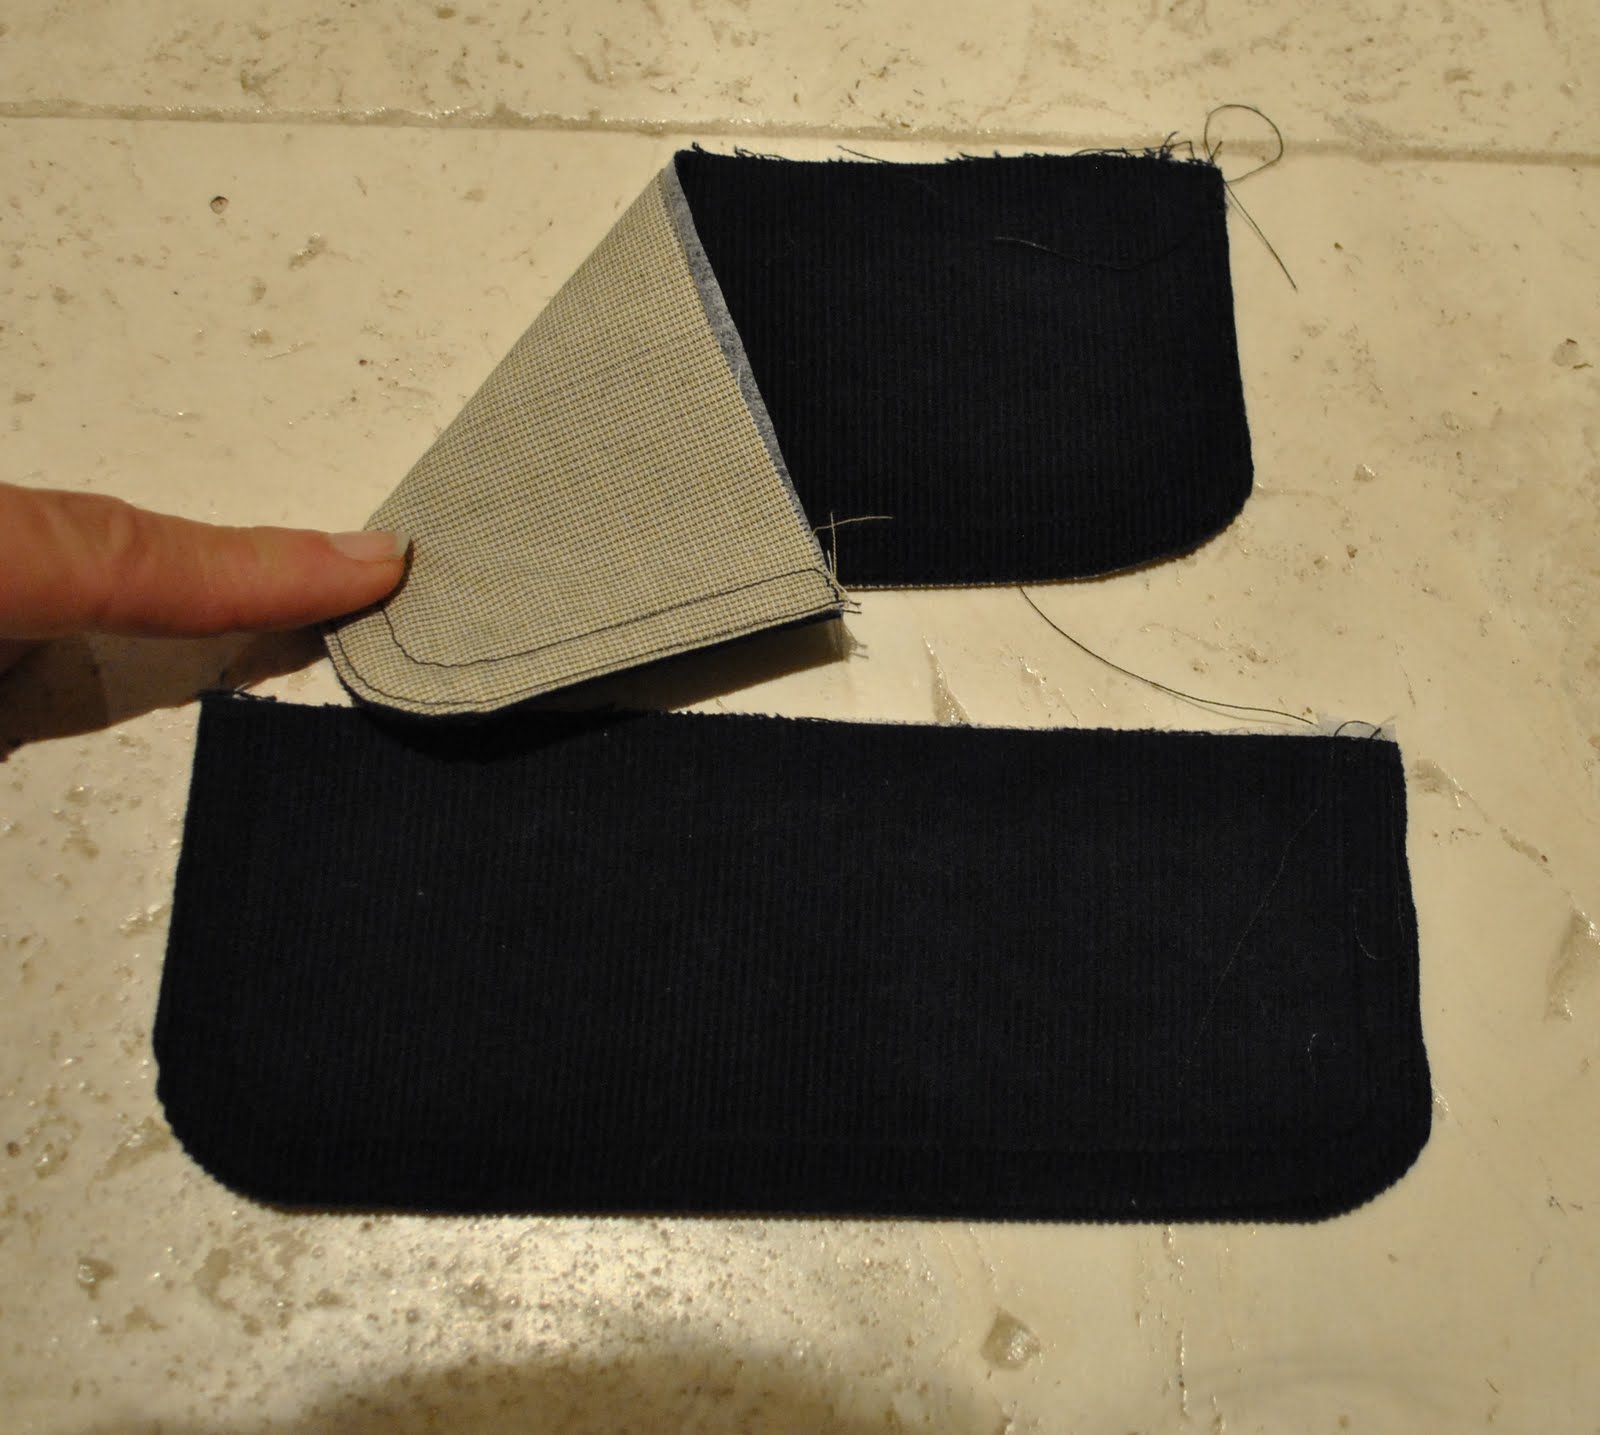
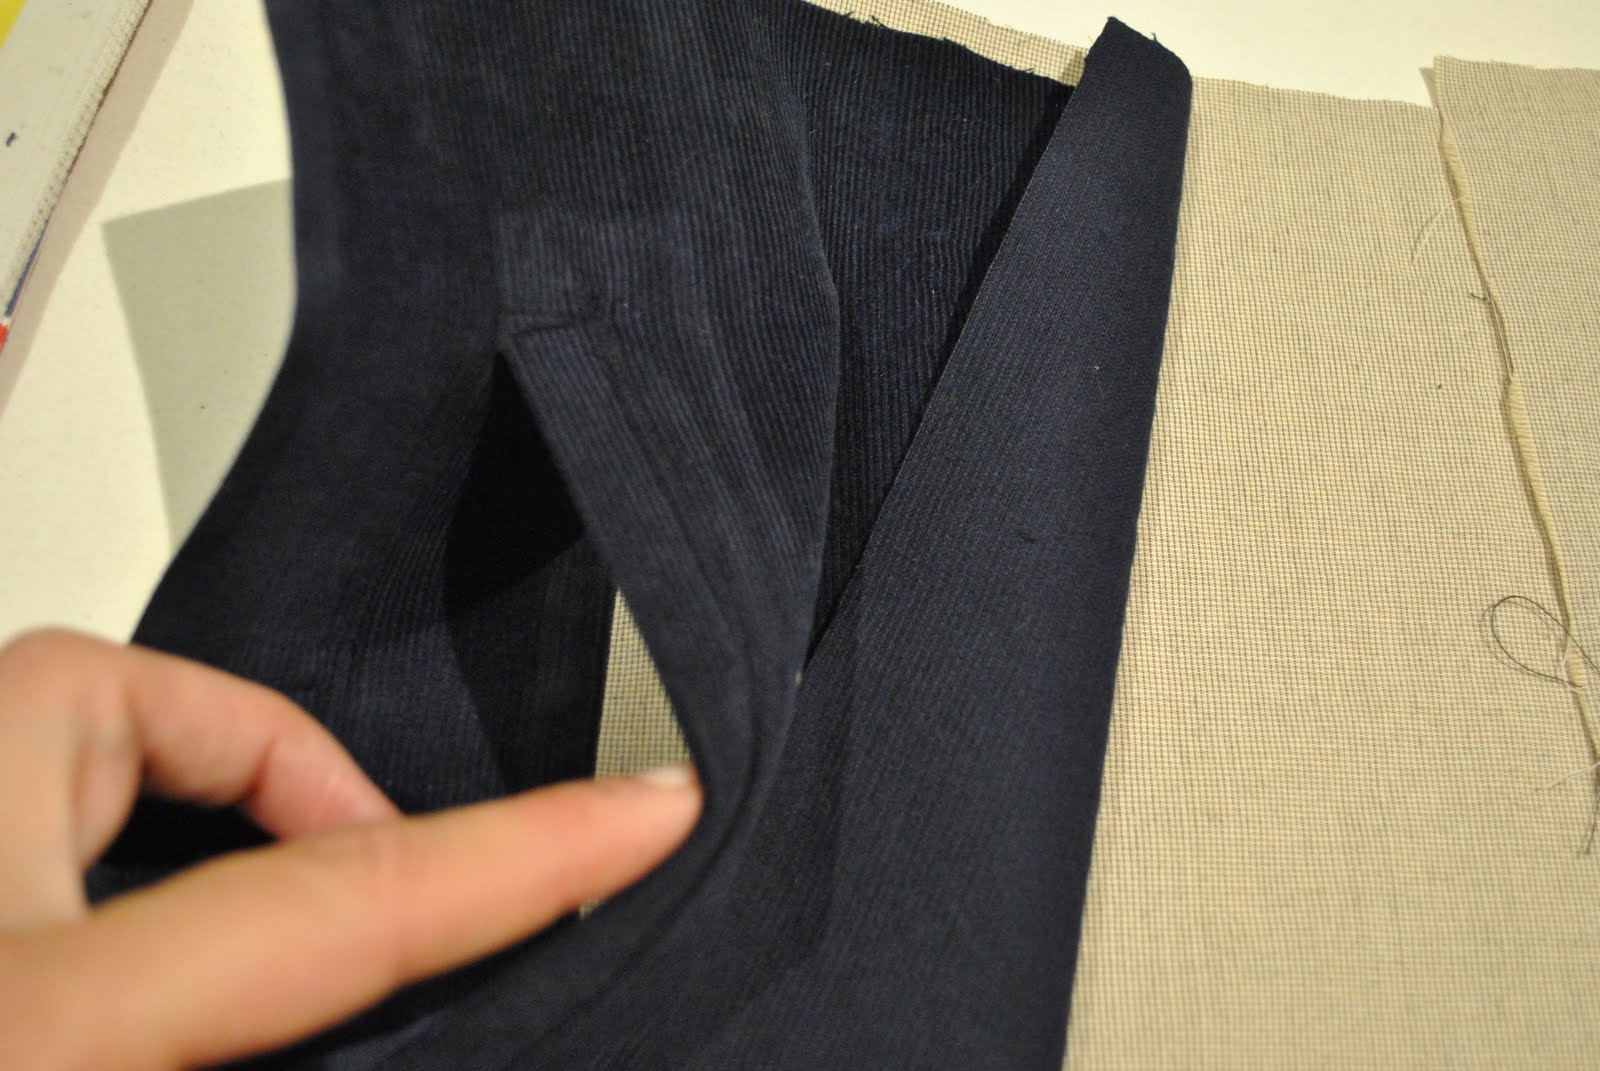
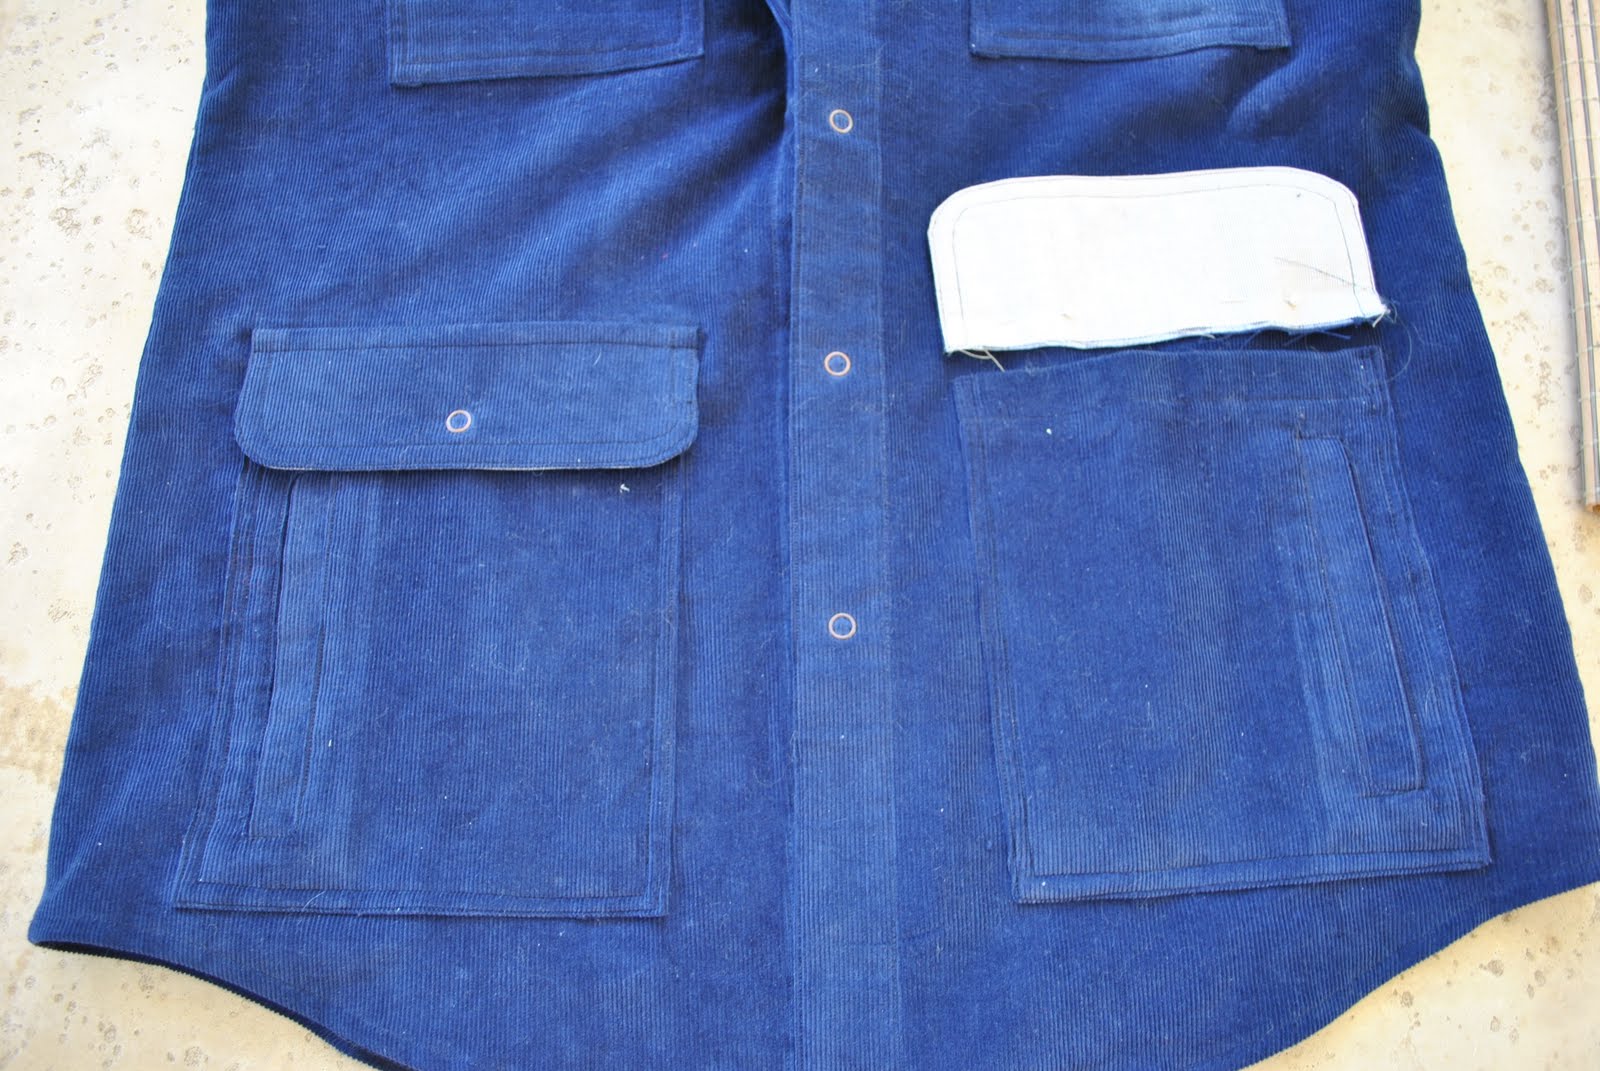
Fold in the seam allowances of the remaining three edges of the pocket to the back, measured to fit the pocket flaps you made earlier, and press and pin in place. The pocket on the right is flipped over, showing how the fashion fabric has been trimmed to fit within the seam allowances. See how the welt pocket is all contained and enclosed in itself, and will be a separate pocket from the patch pocket? Kinda nifty, no?
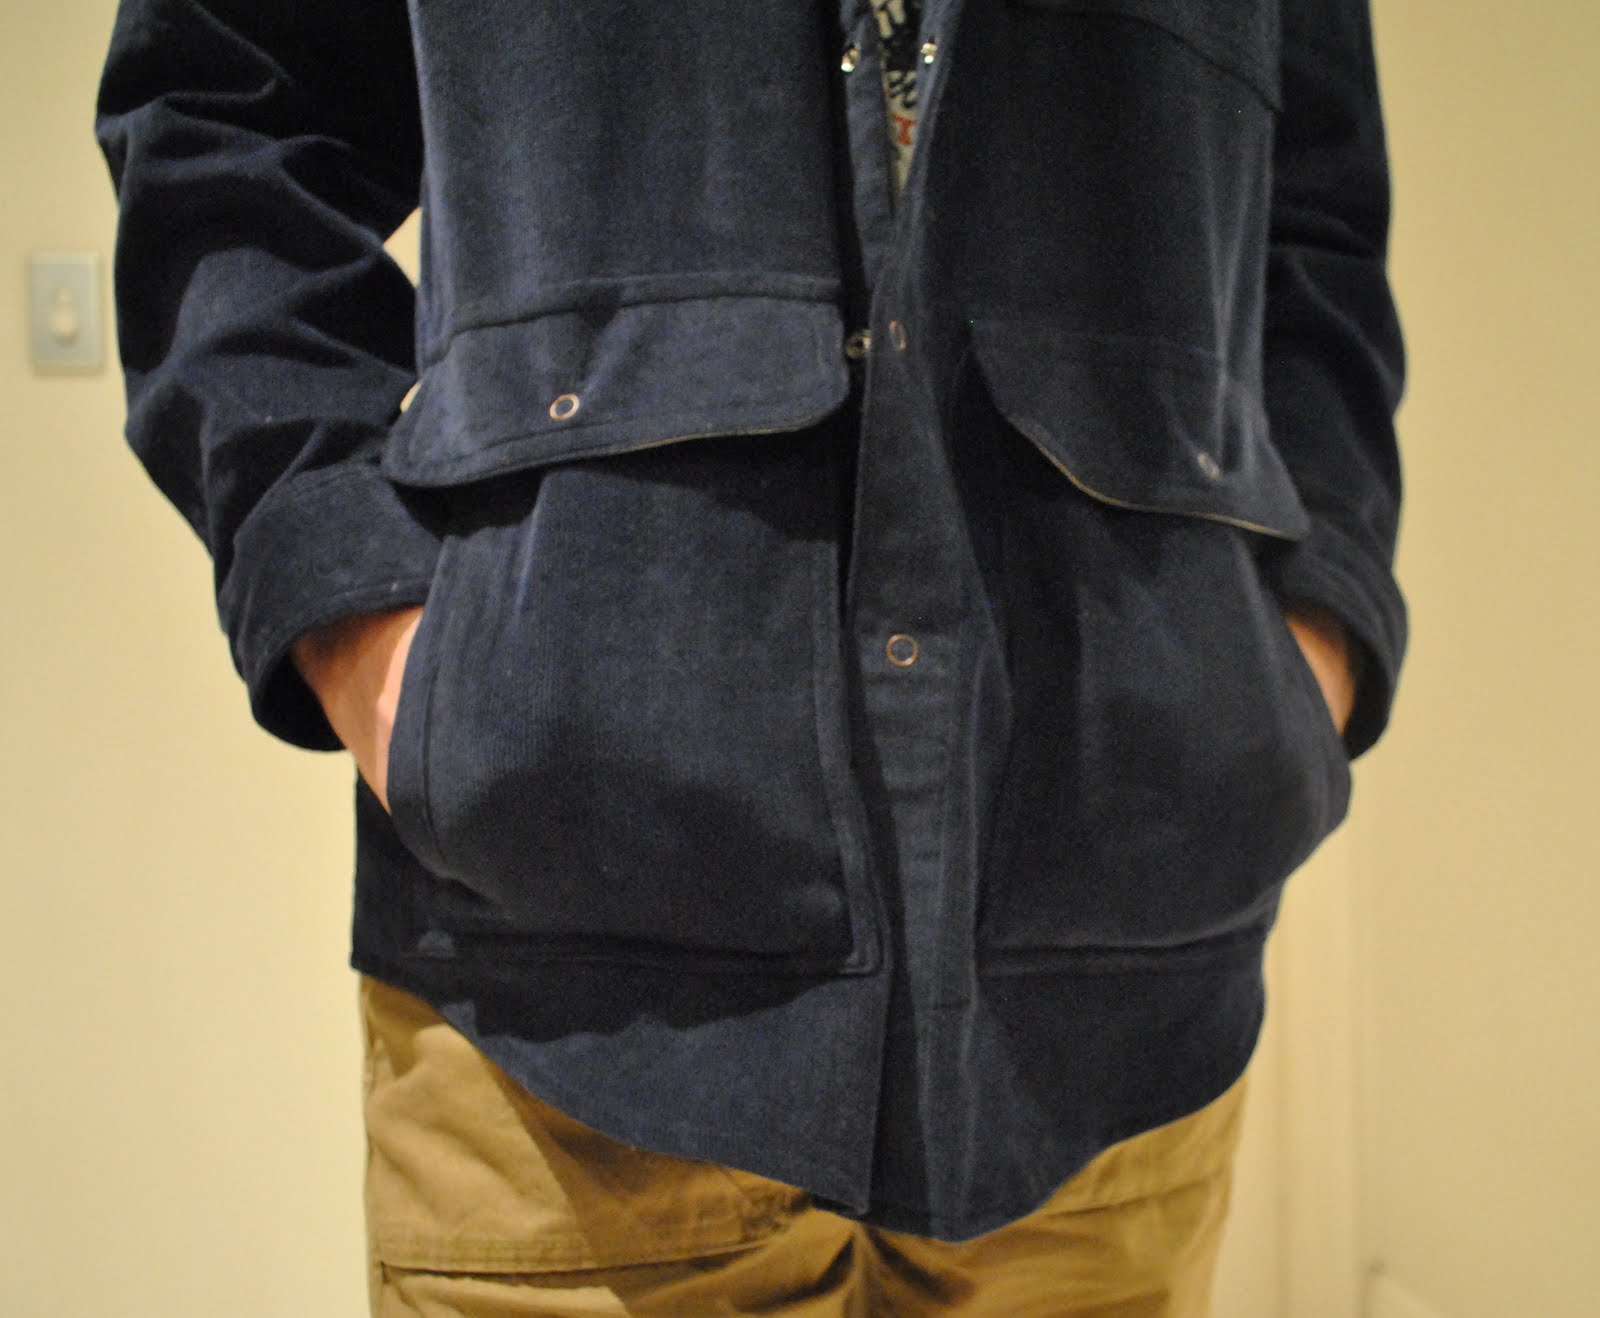
Sew the patch pockets on to the front of the shirt/jacket, and sew the flaps in place over the top edge.
Hammer a snap in place on the pocket flap and pocket; et voila! Two pockets; per pocket!!


what a nifty idea — and a very helpful tutorial, thanks!
Love this idea! Thank you, Carolyn!
What an interesting pocket! Thanks for the tutorial.
OH, I like those! Thanks so much for that tutorial!
Cool! Two for one.
ooooh i love this! now i need to make pockets like this on something…
I have a jacket with pockets like these, instead of a welt they have a zipper which is kind of cool. Very nice jacket, looks great. and I obsessively stroke the corduroy or velvet when working on it to make sure the nap is all the same 🙂
Brilliant!
Ooh, I love the pockets! Boys' clothing design seems so much more limited than girls' (why?), so cool pockets are definitely the way to go.
And corduroy for jackets? My favorite. I can see one in my future…
completely awesome pocket(s) and i love the very complete instructions. i'm all distracted now, thinking about what i could make that could use these pockets….hmmmm…….Thank You!!steph
Wow, love this pocket and am so grateful for your terrific directions. What a great way to jazz up a simple jacket.
I had a jacket once with pockets like this. I loved it when we were on vacation, although looking for something I knew I had placed in a pocket…was sometimes challenging.
Very cool! You always have such awesome ideas…
Thank you for sharing how to do this! My partner has a jacket he loves with these pockets, and I've been wanting to make another like it for a while. This is very helpful.
Thanks for this. I'm just starting to venture into menswear and am having trouble finding patterns that are visually interesting. I can use this to reinvent a basic shirt pattern.
Fantastic idea and I will have to keep this in mind for the surfer/skier in my life.