You can leave your hat on…

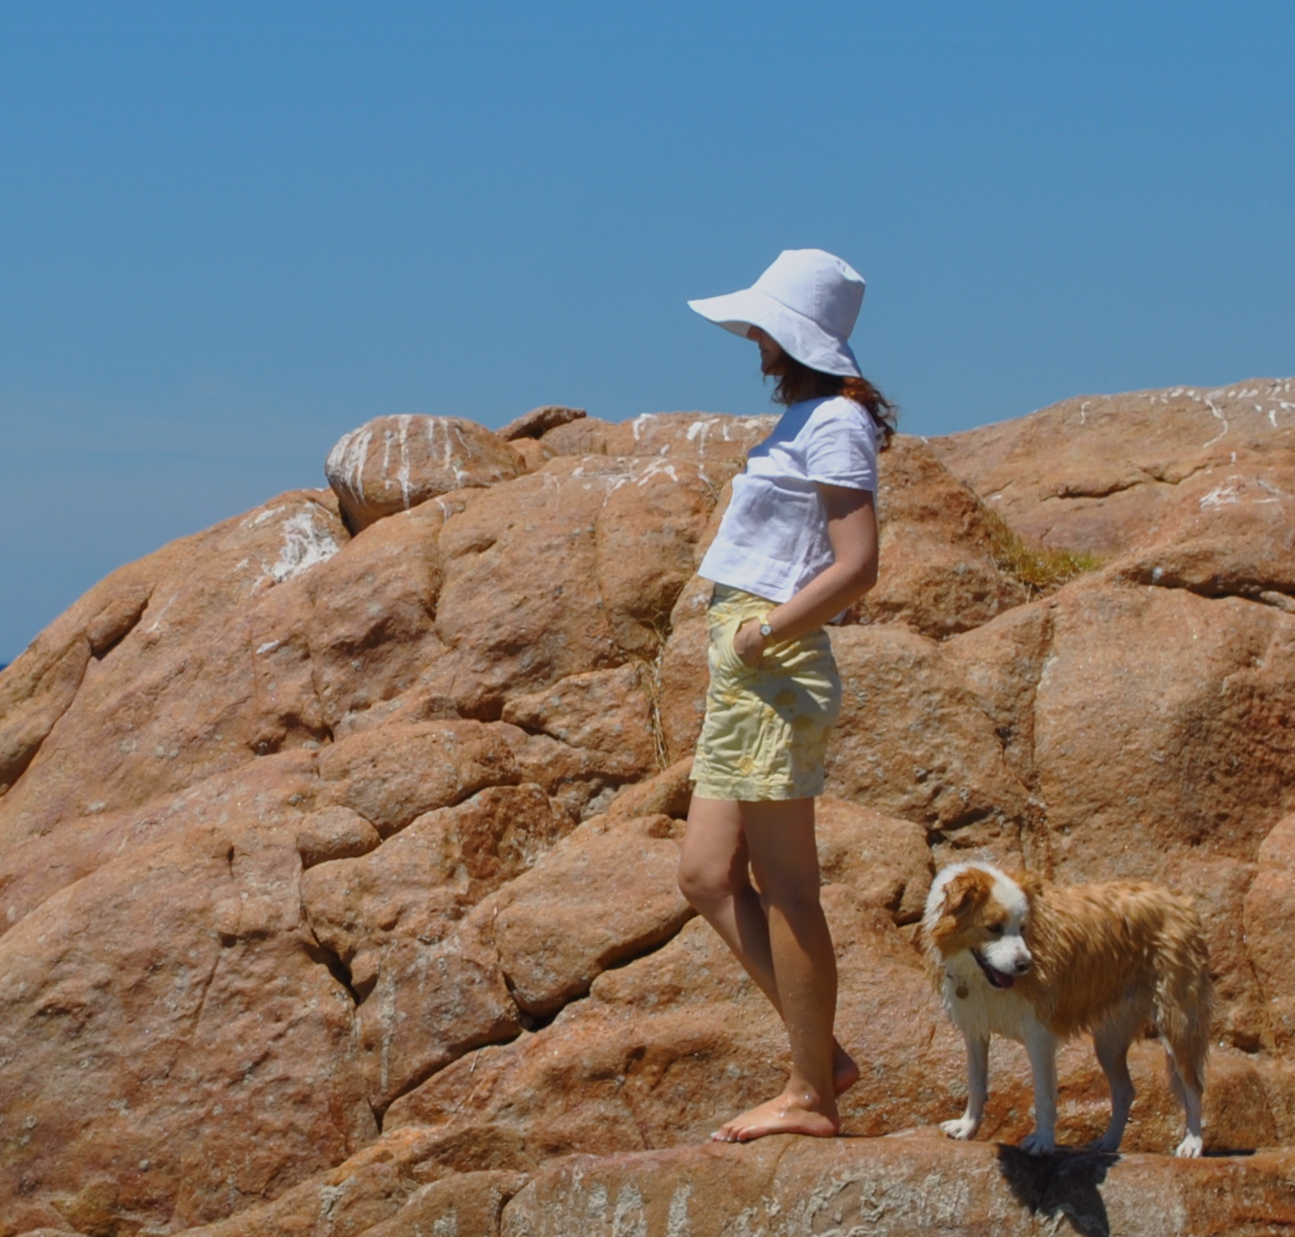
I’ve made a hat.
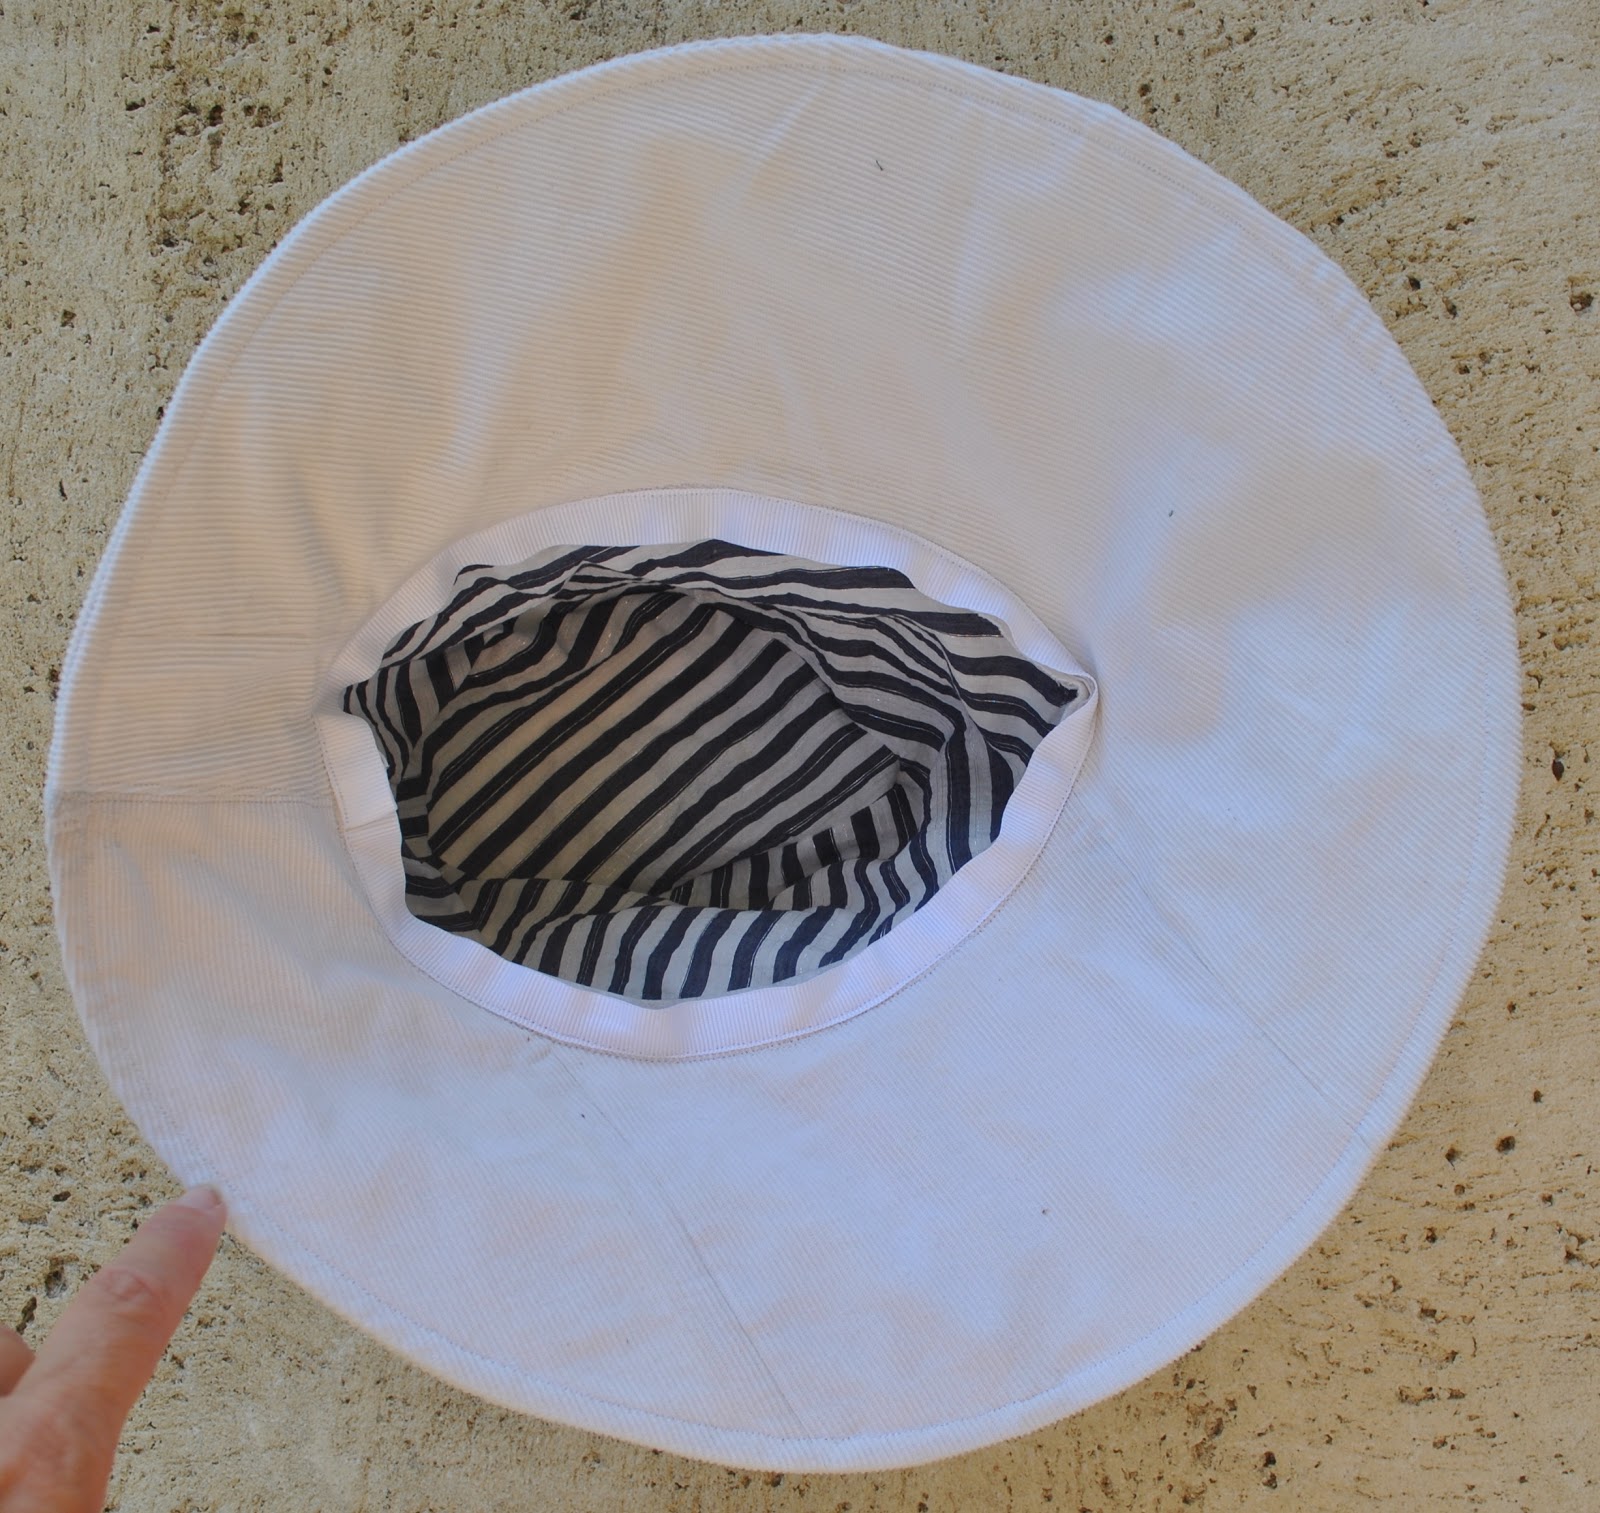
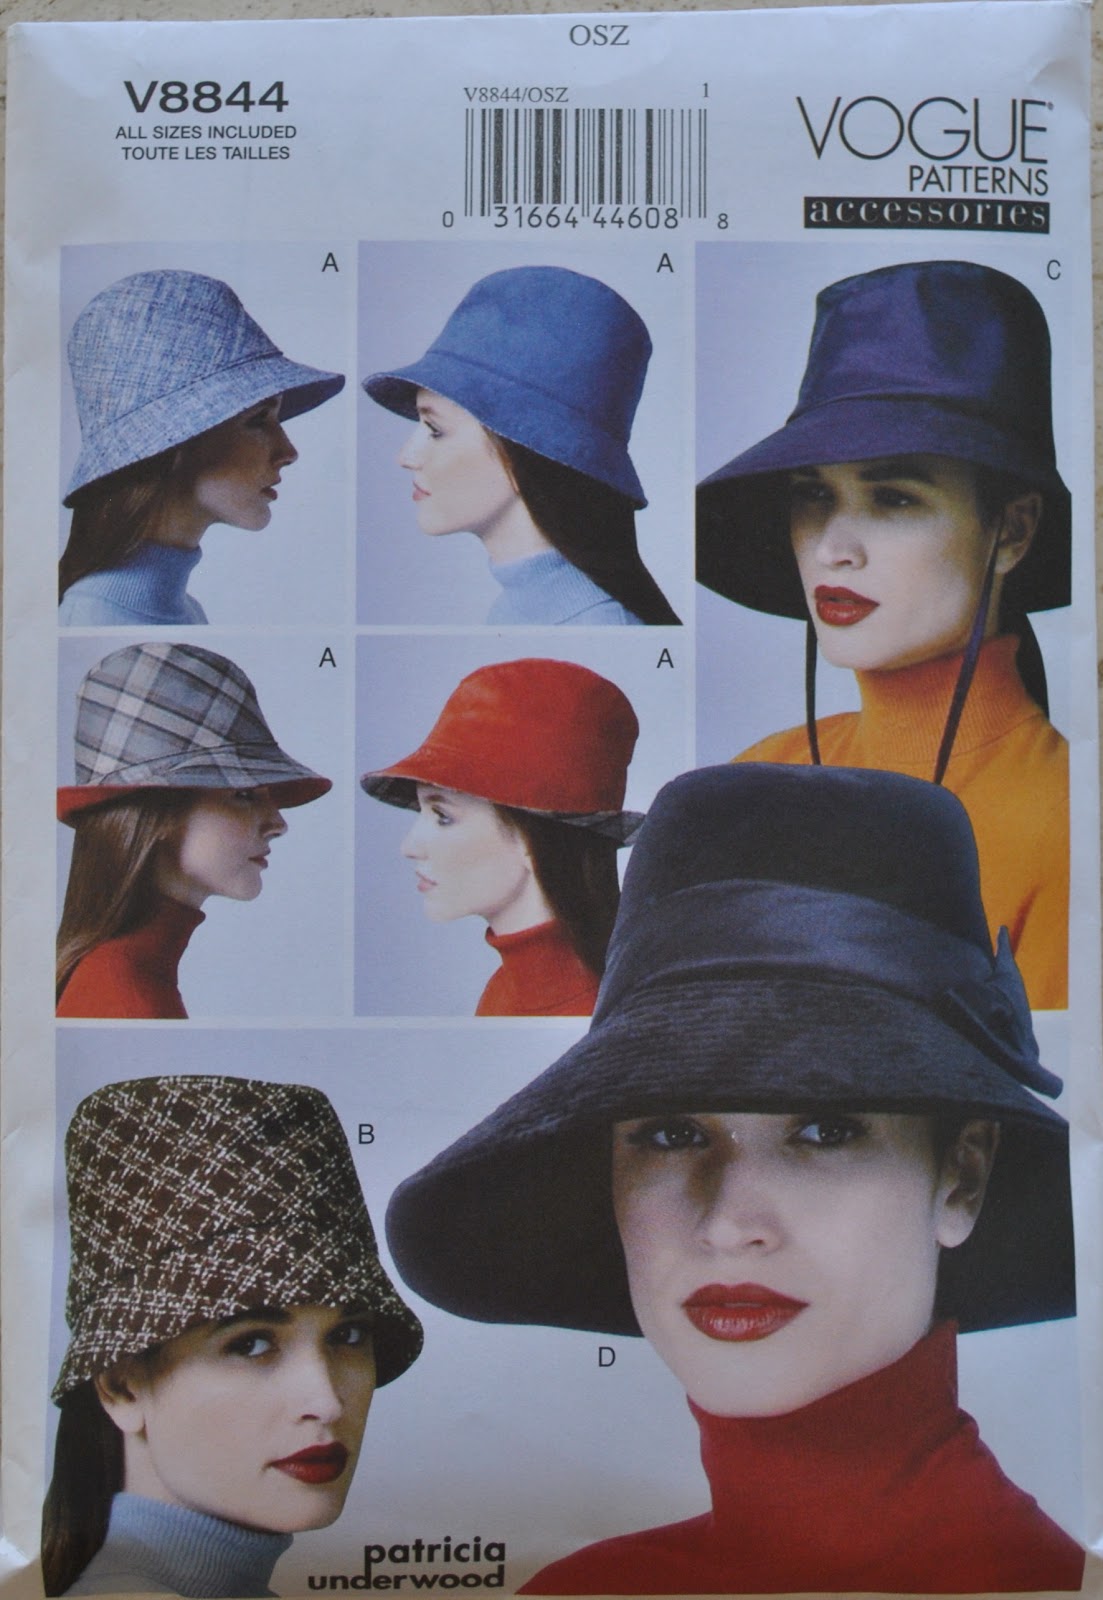
I used Vogue 8844, and the fabric is a soft ivory
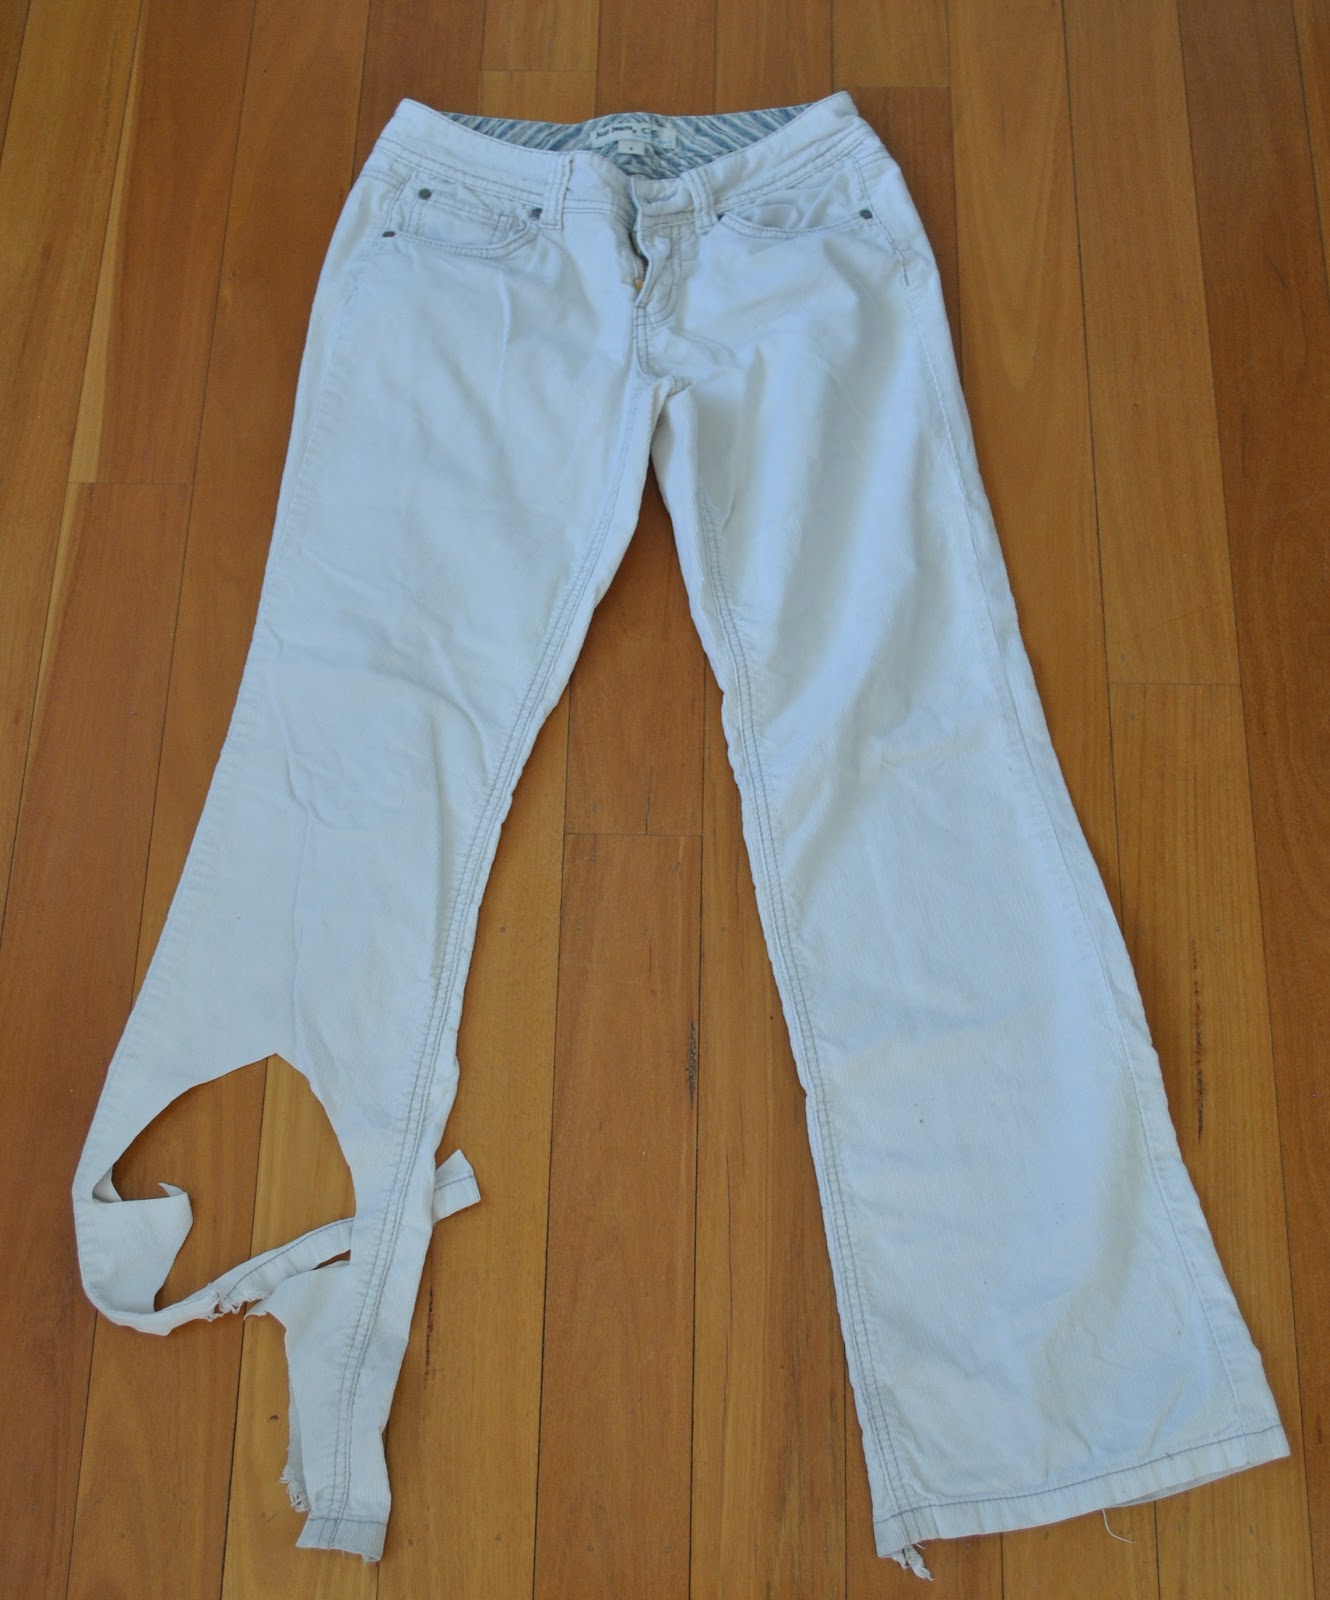
corduroy, harvested from a pair of Cassie’s old worn-out jeans that has been
living in my good sammies pile for the past four or five years.   As evidenced by that half gone
leg there, these jeans were also the source of the White parliament, pictured here…
The hat is lined with blue and ivory striped stuff
leftover from Sam’s stripe-y shirt, and the inner seam finished with white grosgrain
ribbon.  
You know that very stiff, heavyweight,
iron-on interfacing? that is useful about once in a blue moon?  I’ve had a huge length sitting
untouched in my stash for many many years.  Well, I guess we must have had a blue moon since I managed
to use a bit in this project.  The
hat pieces are all interfaced with this stuff.

I felt pretty good about getting all of the hat
pieces cut out from the jeans. 
Most of the pattern pieces were too big to cut out in one piece, on the
grain and with the nap of the corduroy (they all are, btw… self pat on the
back)  So I had to do a bit of
piecing.  You can see some of the
seams in this picture, but I’m OK with those seams.  I feel too smugly virtuous about re-using old textiles to
feel bad about a few extra seams in a thing!  Eco-smugness; don’t you just hate that biz  😉
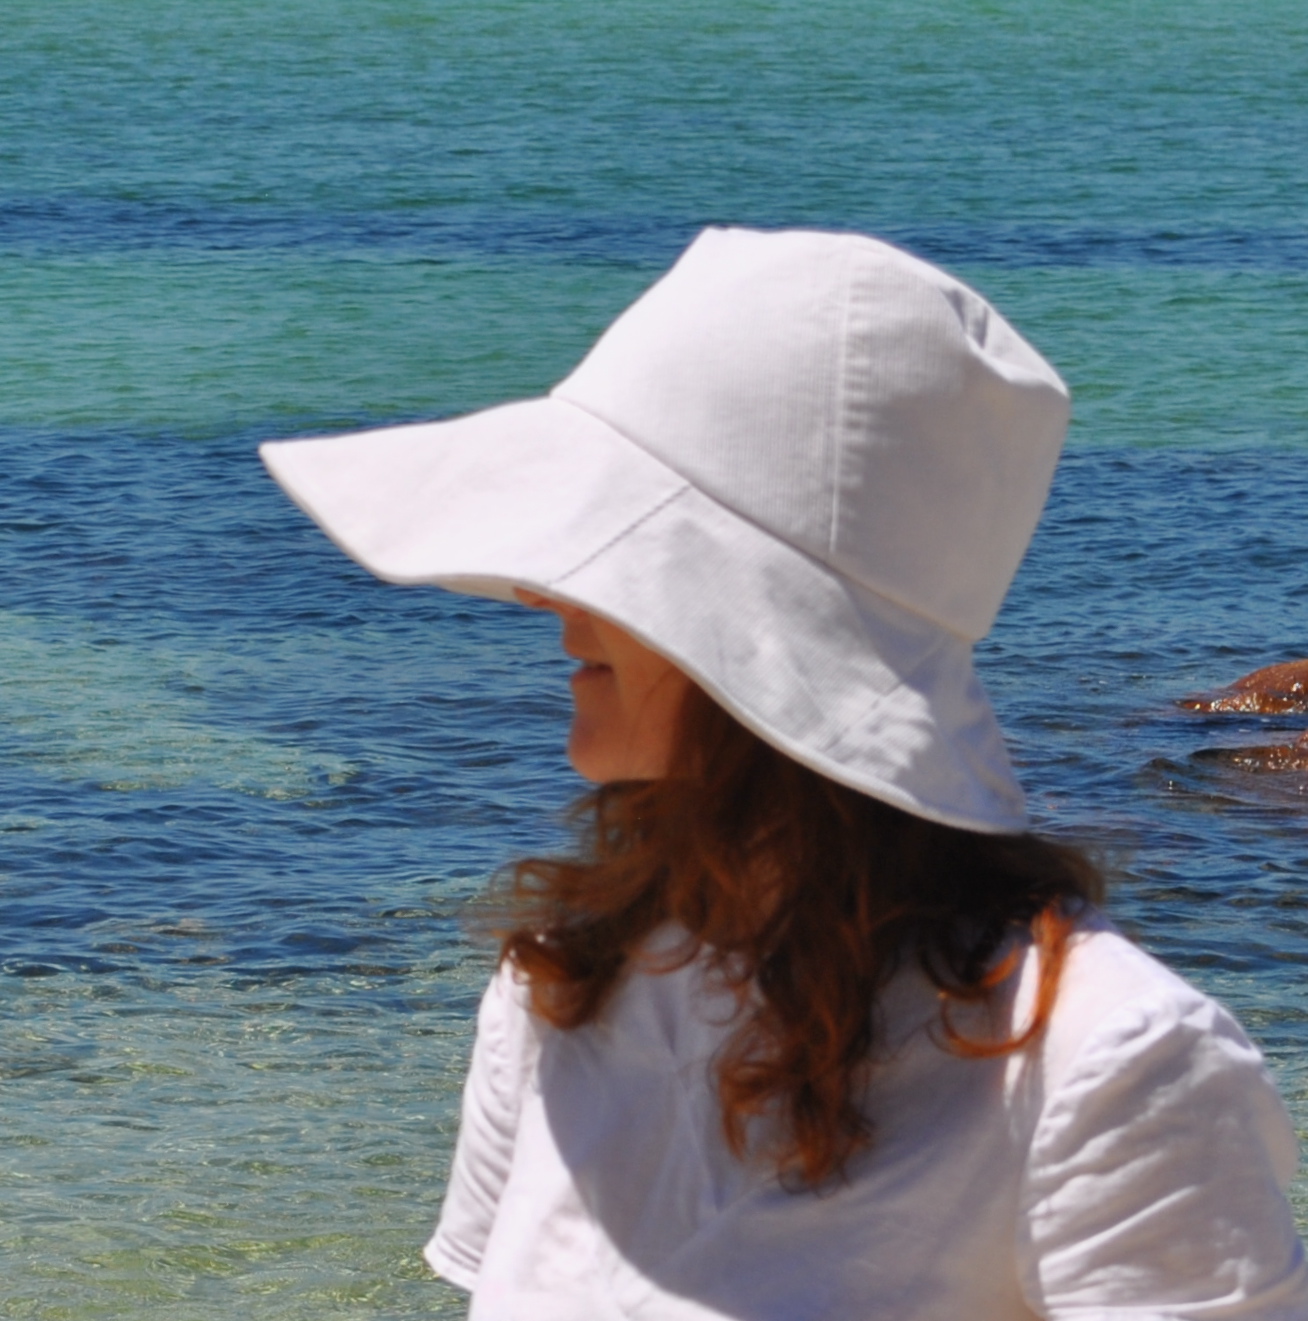
I
wondered about the sizes, which is partially
why I decided to use a re-cycled textile for my first time making this pattern…
not the main reason, I am firmly
committed to mindfully re-using old textiles when I can.  But anyway, about the sizing;
My
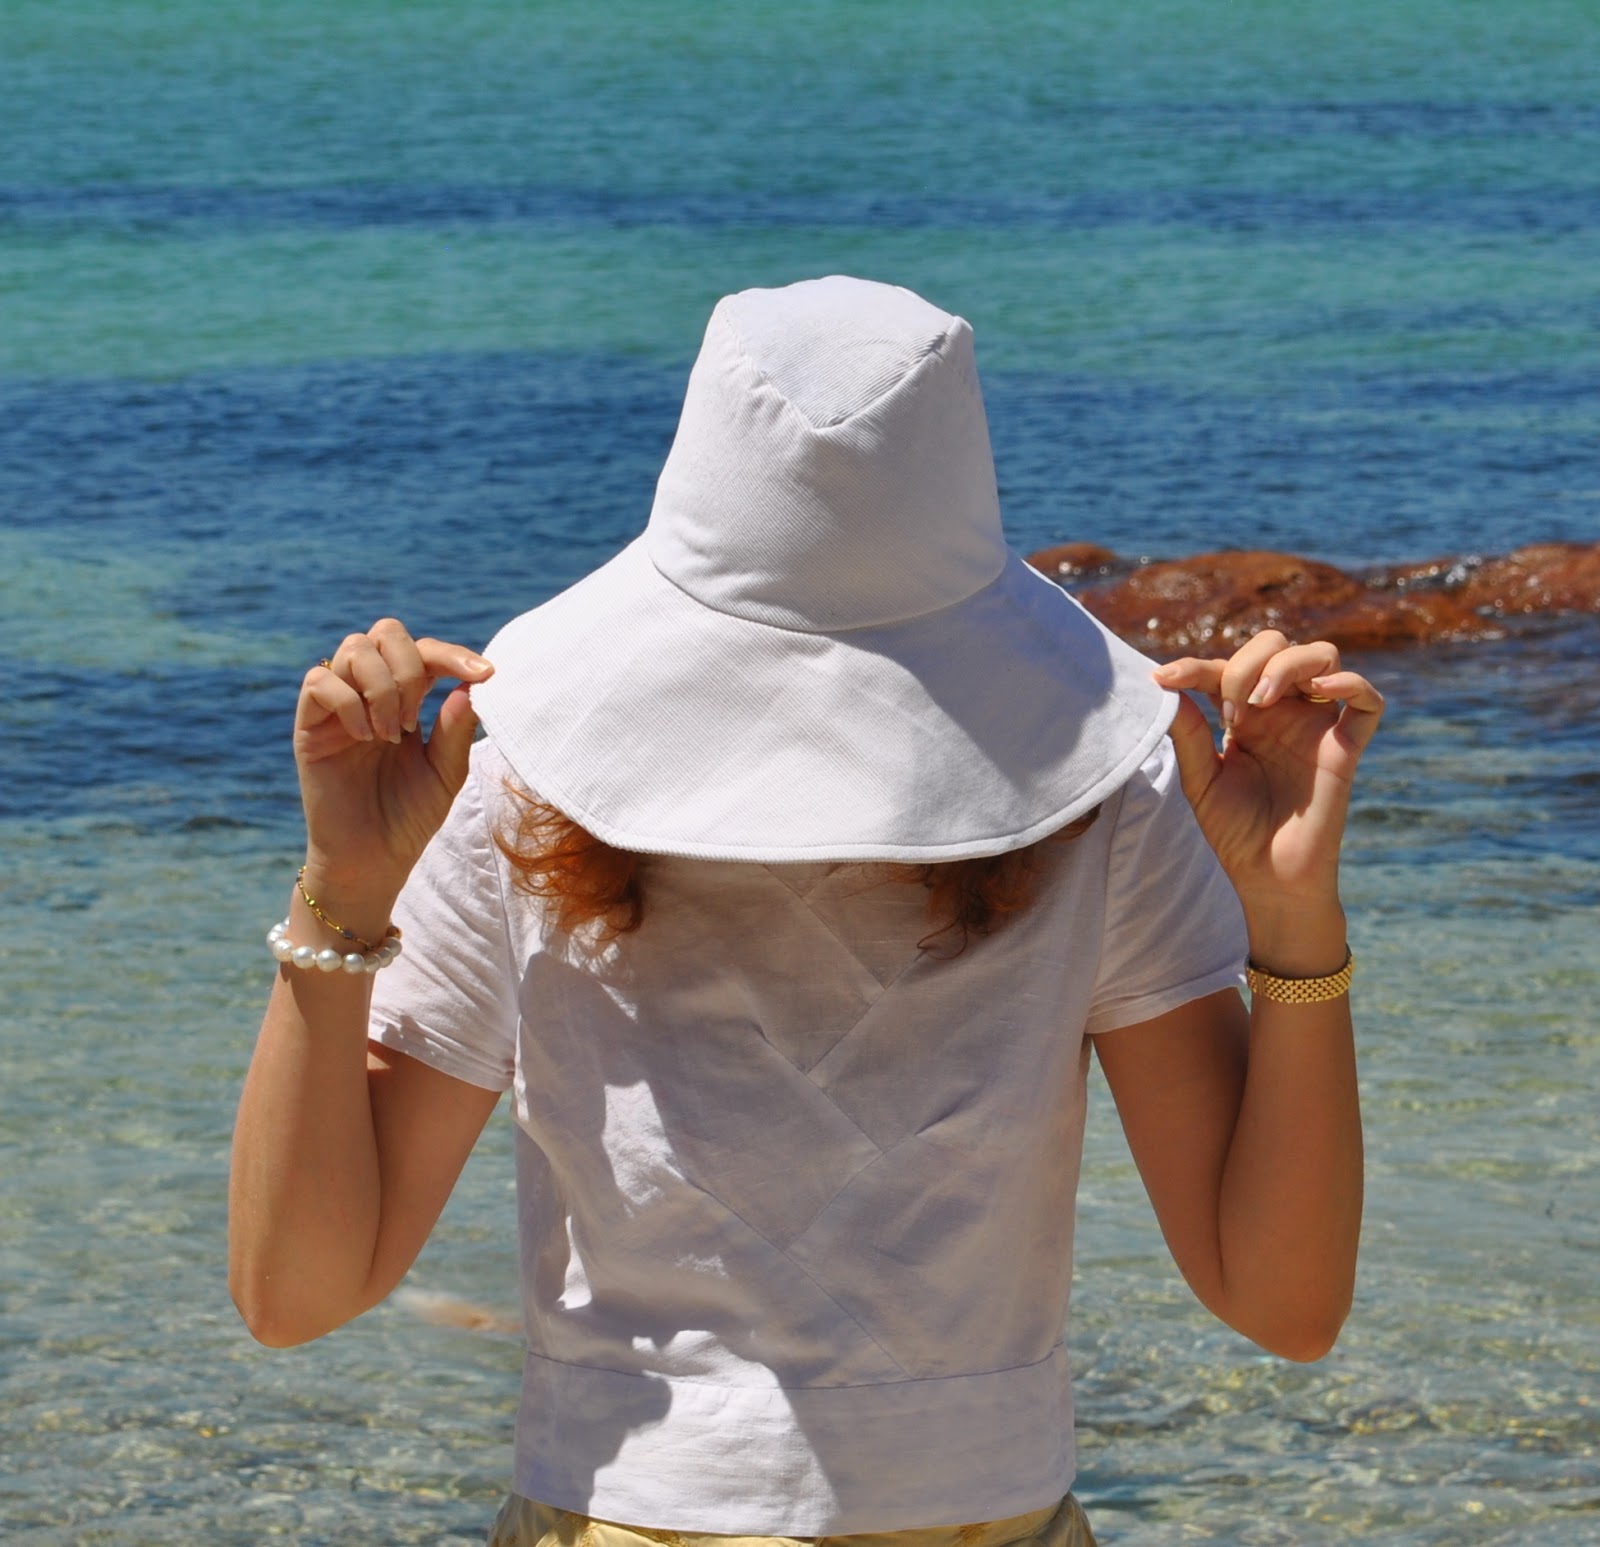
head measurement almost exactly corresponded to the S, so I made this
size.  And I couldn’t be more
thrilled with the fit, it cups my scone snugly and is neither tight nor
loose.  There was a brisk-ish breeze
on the beach the day I wore my hat for the first time and photographed it here,
and it stayed firmly and comfortably in place.  I never felt it was in danger of flying away!
The sizing
in this pattern works, y’all!!!

incidentally there is a just-there dog in the below picture  😉
Some advice for those wishing to re-purpose those
long skinny jeans leg pieces into a new sewing project requiring wider pieces?  I recommend doing all the piecing for
each component, using your pattern piece as a rough guide as to where and how
much to add on, and leaving at least
a few centimetres leeway around all the edges.  Stick religiously to cutting the joining edges and sewing
seams along the grainline of the fabric AND ensure fabric nap is consistent.   After sewing pieces together, lay the patchworked piece down flat
and only then accurately cut out the
pattern piece.  This way is much
easier than accurately cutting out little part-pieces and then trying to join
them together to fit the pattern piece. 
J
Details:
Hat; Vogue 8844, ivory corduroy
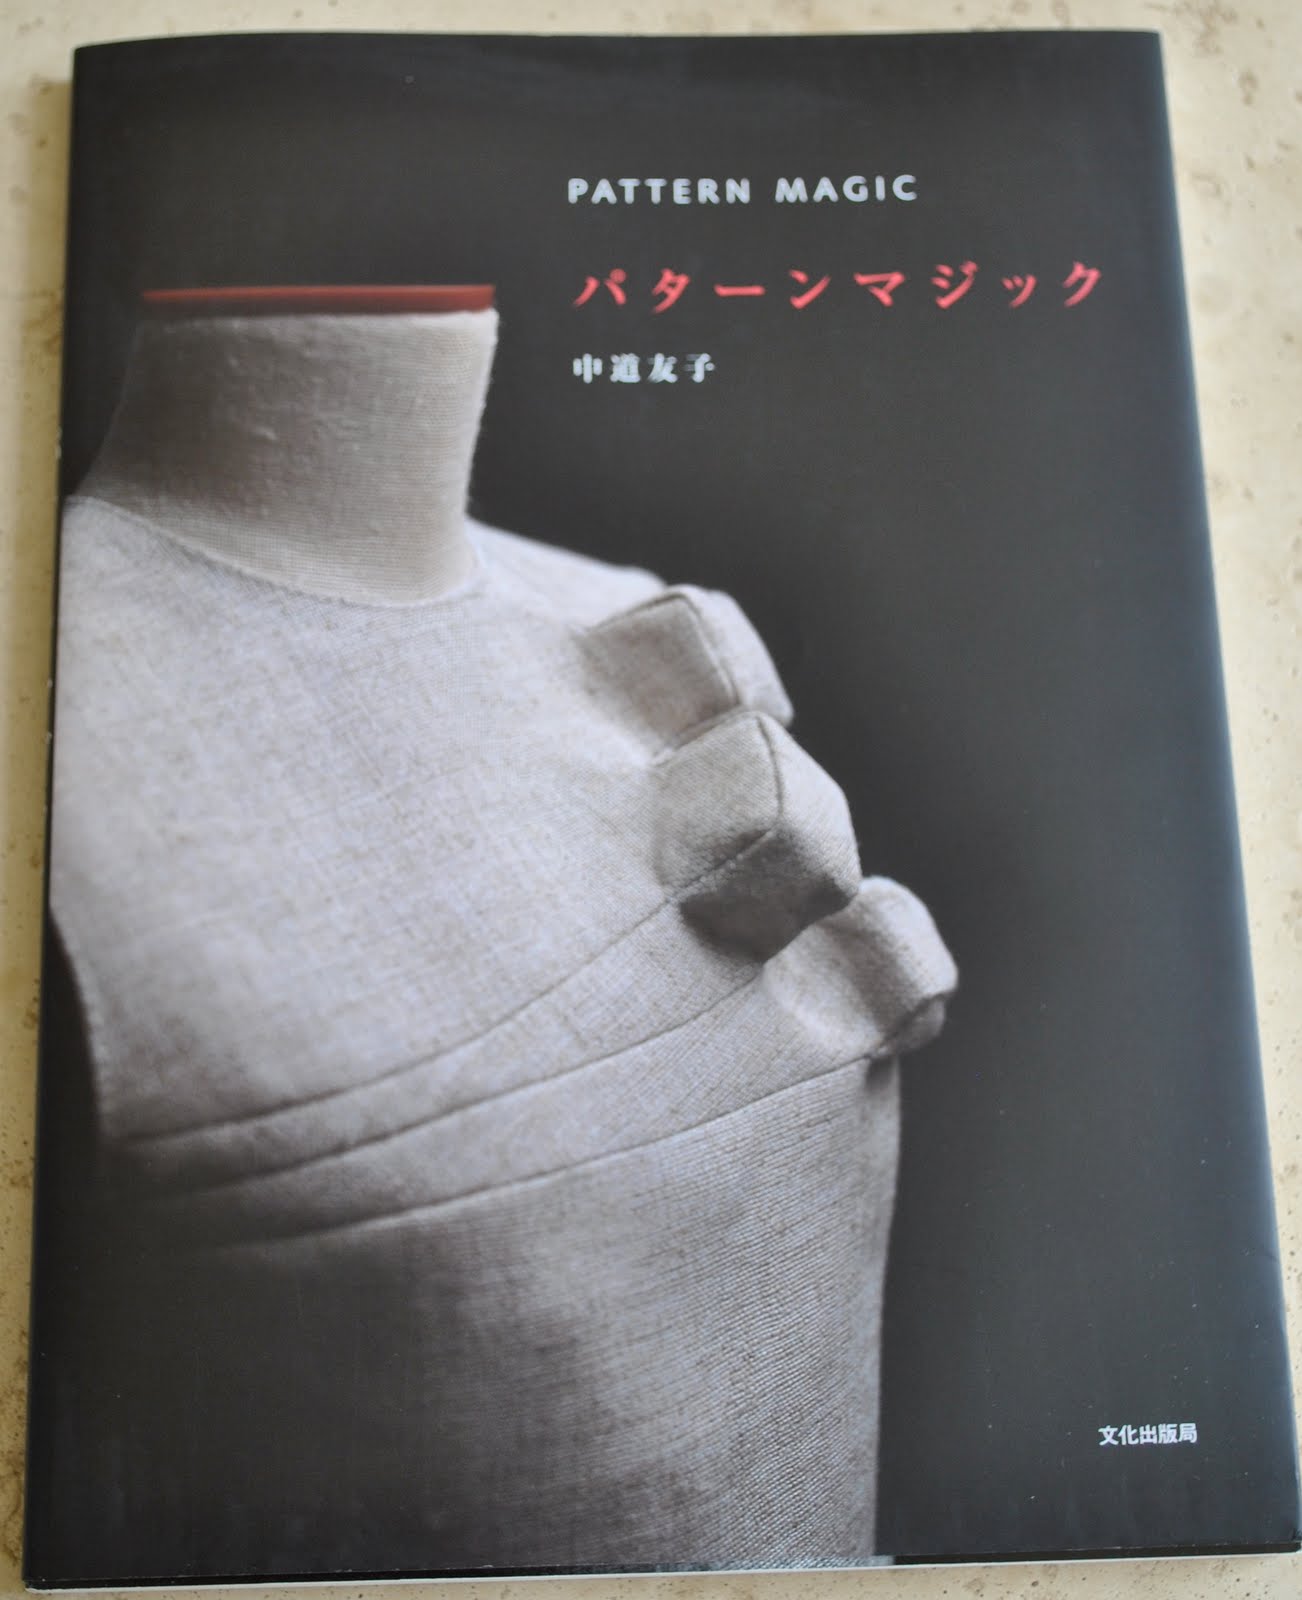
Top; the bamboo shoot top, Pattern Magic by Tomoko
Nakamichi, white linen, details here
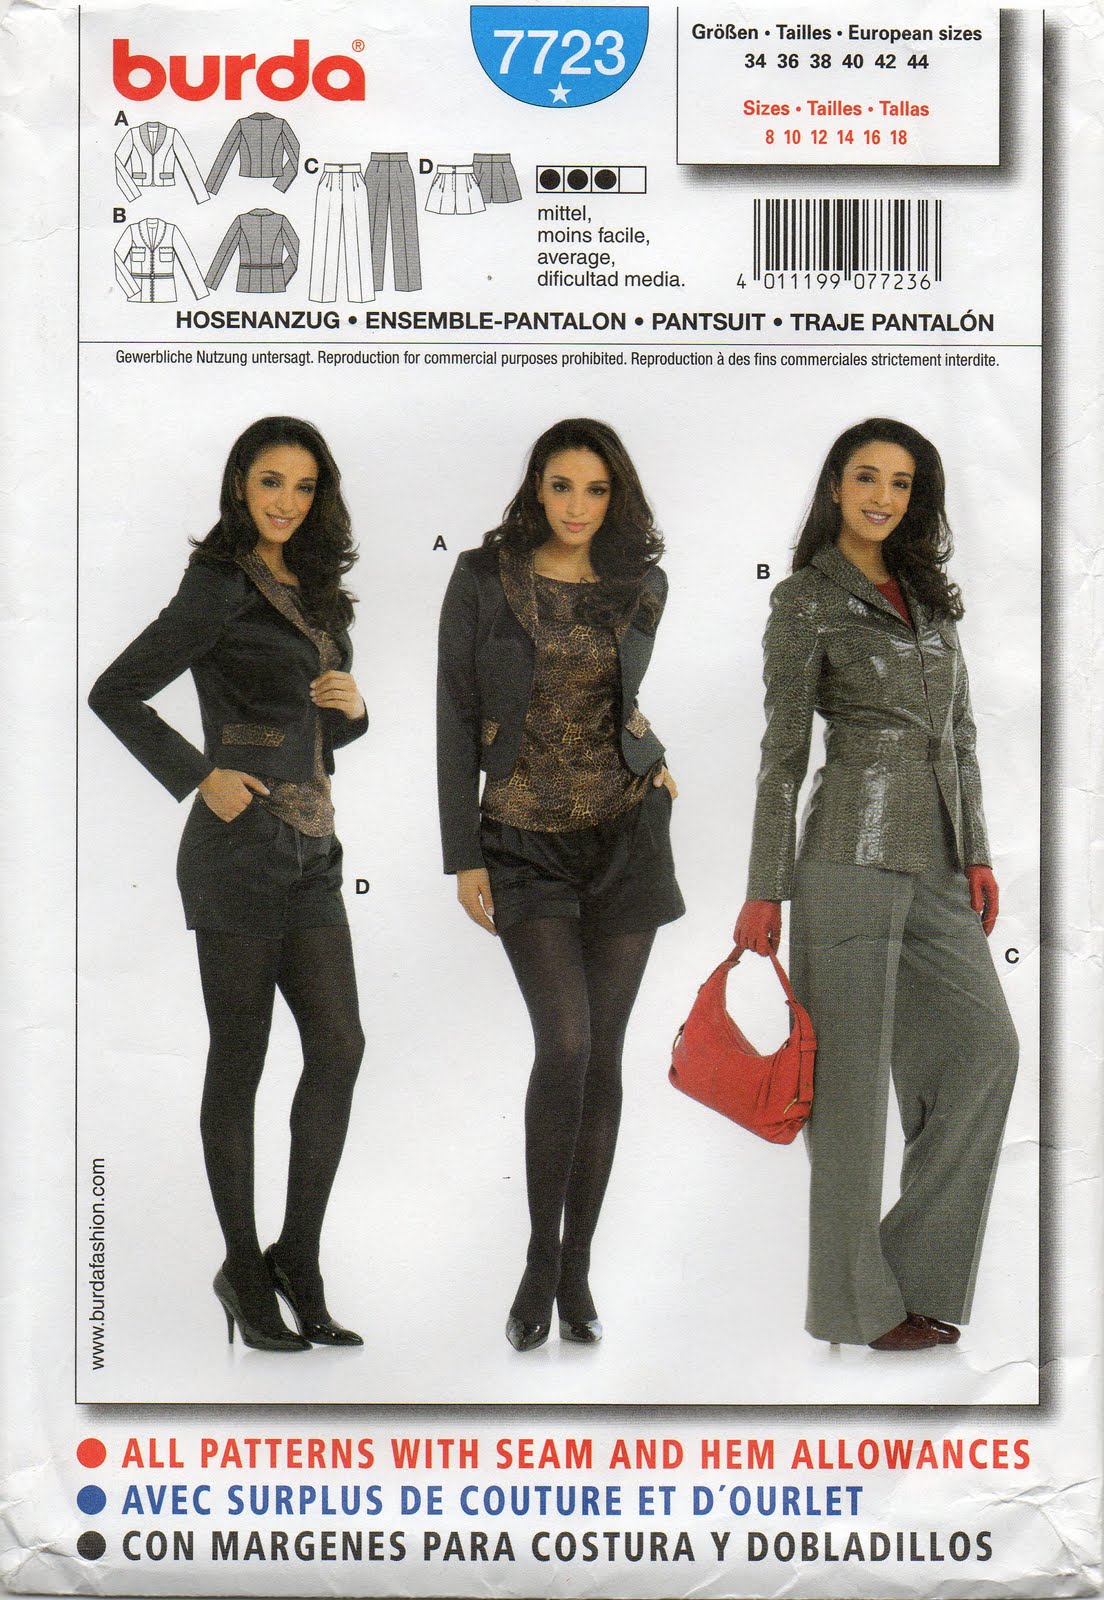
Shorts; Burda 7723 slightly modified, embroidered
yellow cotton, details here
Pattern
Description:
Four
lined hats, each offered in XS, S, M and L.  A; contrast lining, D; contrast band and bow.
Pattern
Sizing:
XS 52cm
(20.5 in), S 55cm (21.5 in); M 57cm (22.5 in); L 60cm (23.5 in)  I made the S.
Did
it look like the photo/drawing on the pattern envelope once you had finished
sewing it?
Yes. I
made view C, leaving off the chin straps.
Were
the instructions easy to follow?
Yes
What
did you particularly like or dislike about the pattern?
It is
a nice stylish hat, easy to make.  The
slightly shaped top and crown lend a chic, vaguely Indiana Jones-ish air to the
hat.
Really,
there is absolutely nothing to dislike about this pattern; it’s a hat, and it
works!
Fabric
Used:
Cotton
corduroy
Pattern
alterations or any design changes you made:
None.  But if a wider brimmed hat was desired;
it would be a cinch to just add a few centimeters on to the outer edge of the
brim curve to achieve this.
Would
you sew it again? Would you recommend it to others?
I
expect so, and yes  🙂
Conclusion:
This
is a great basic pattern which I think will be very useful. I made mine in
ivory corduroy for a summery-looking, wide-brimmed sunhat, but as illustrated
on the pattern envelope it would work equally well made up in tweed or a richly coloured
velvet or some other winter appropriate fabric to make a smart version for
winter.  
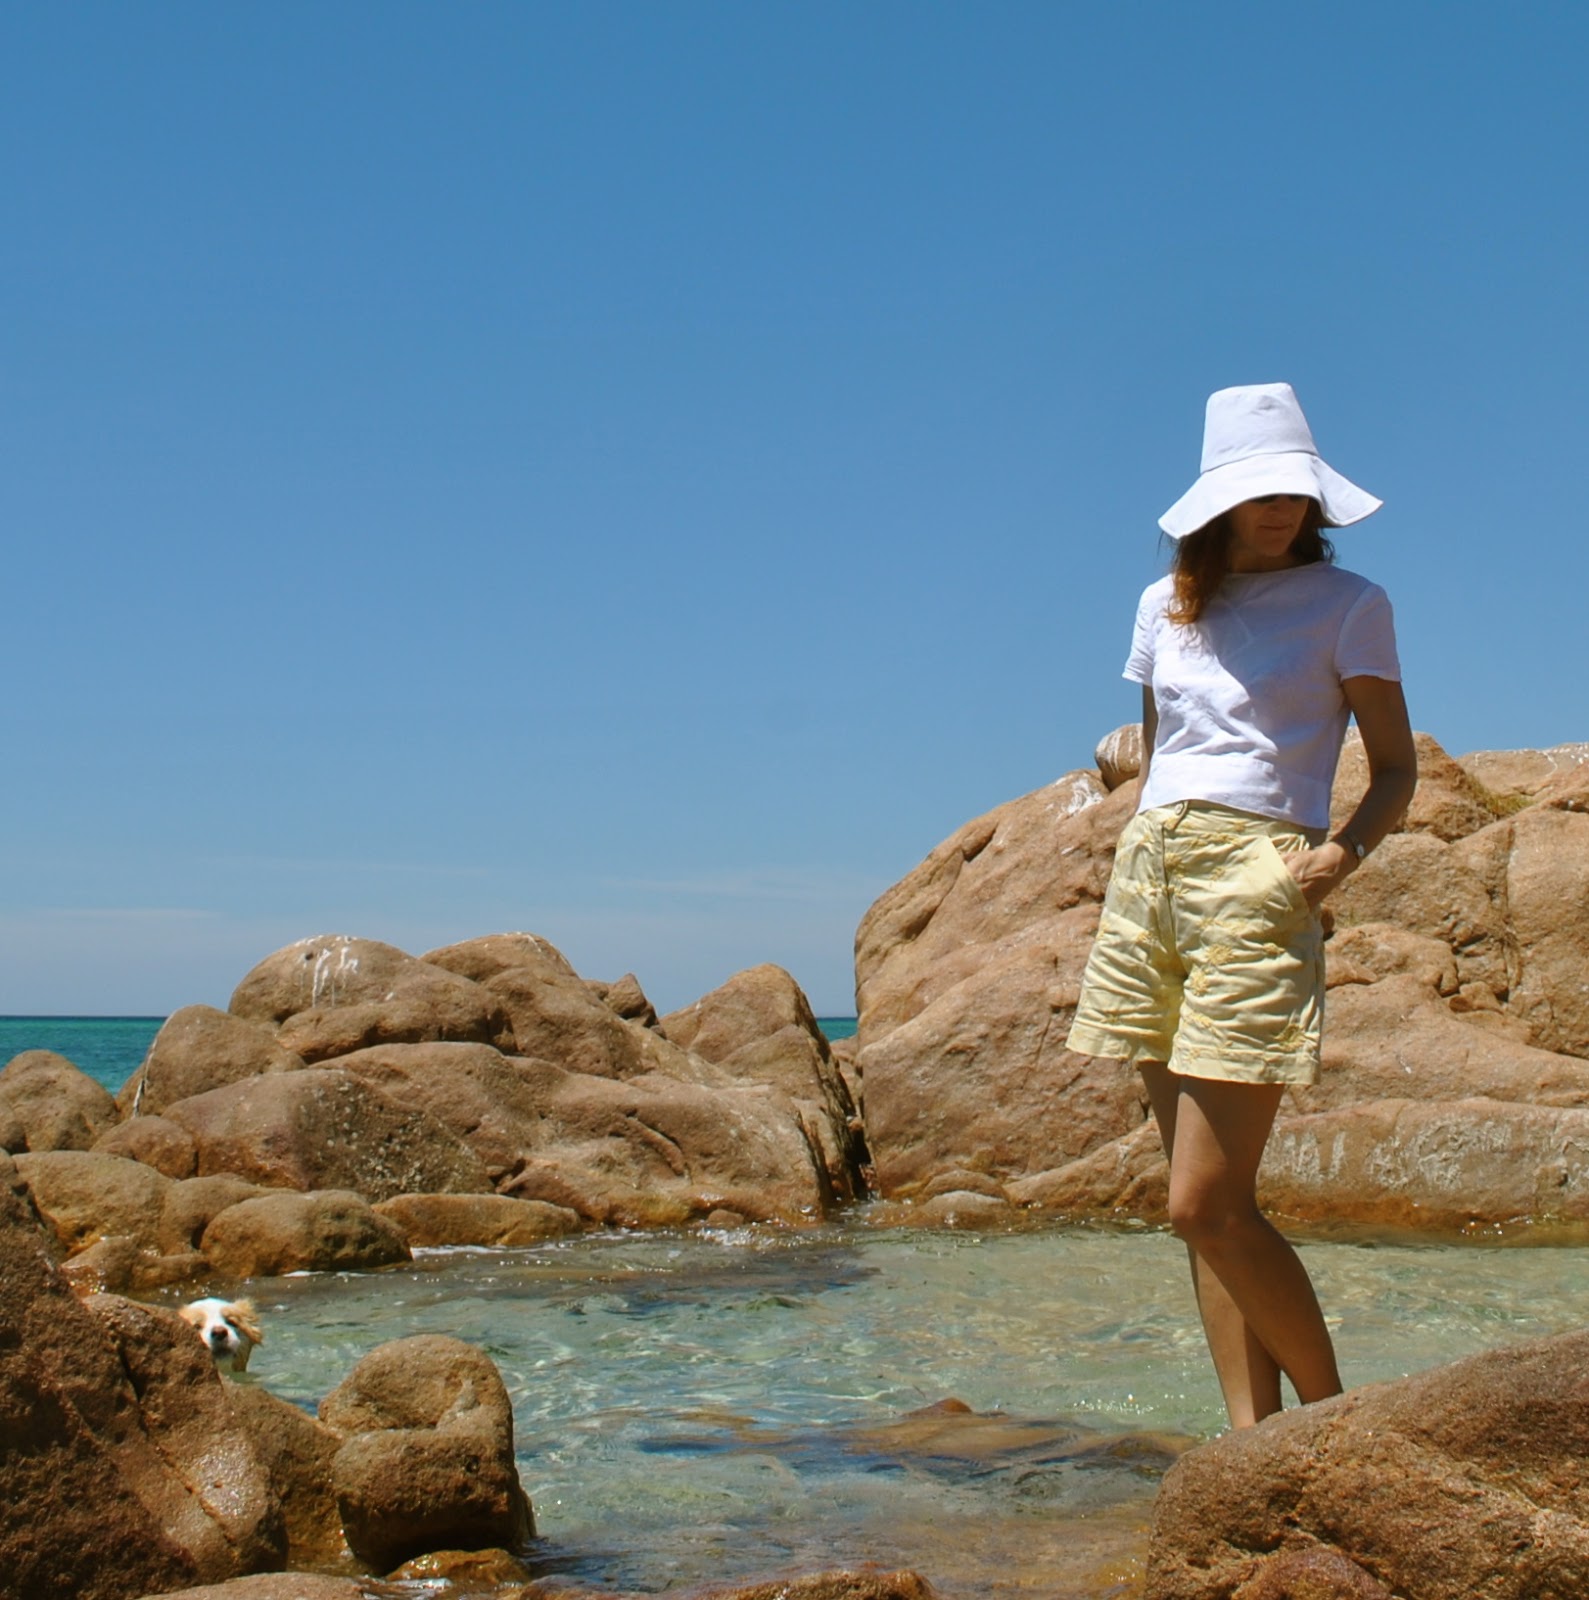
let’s play spot the dog again
pinterestmail

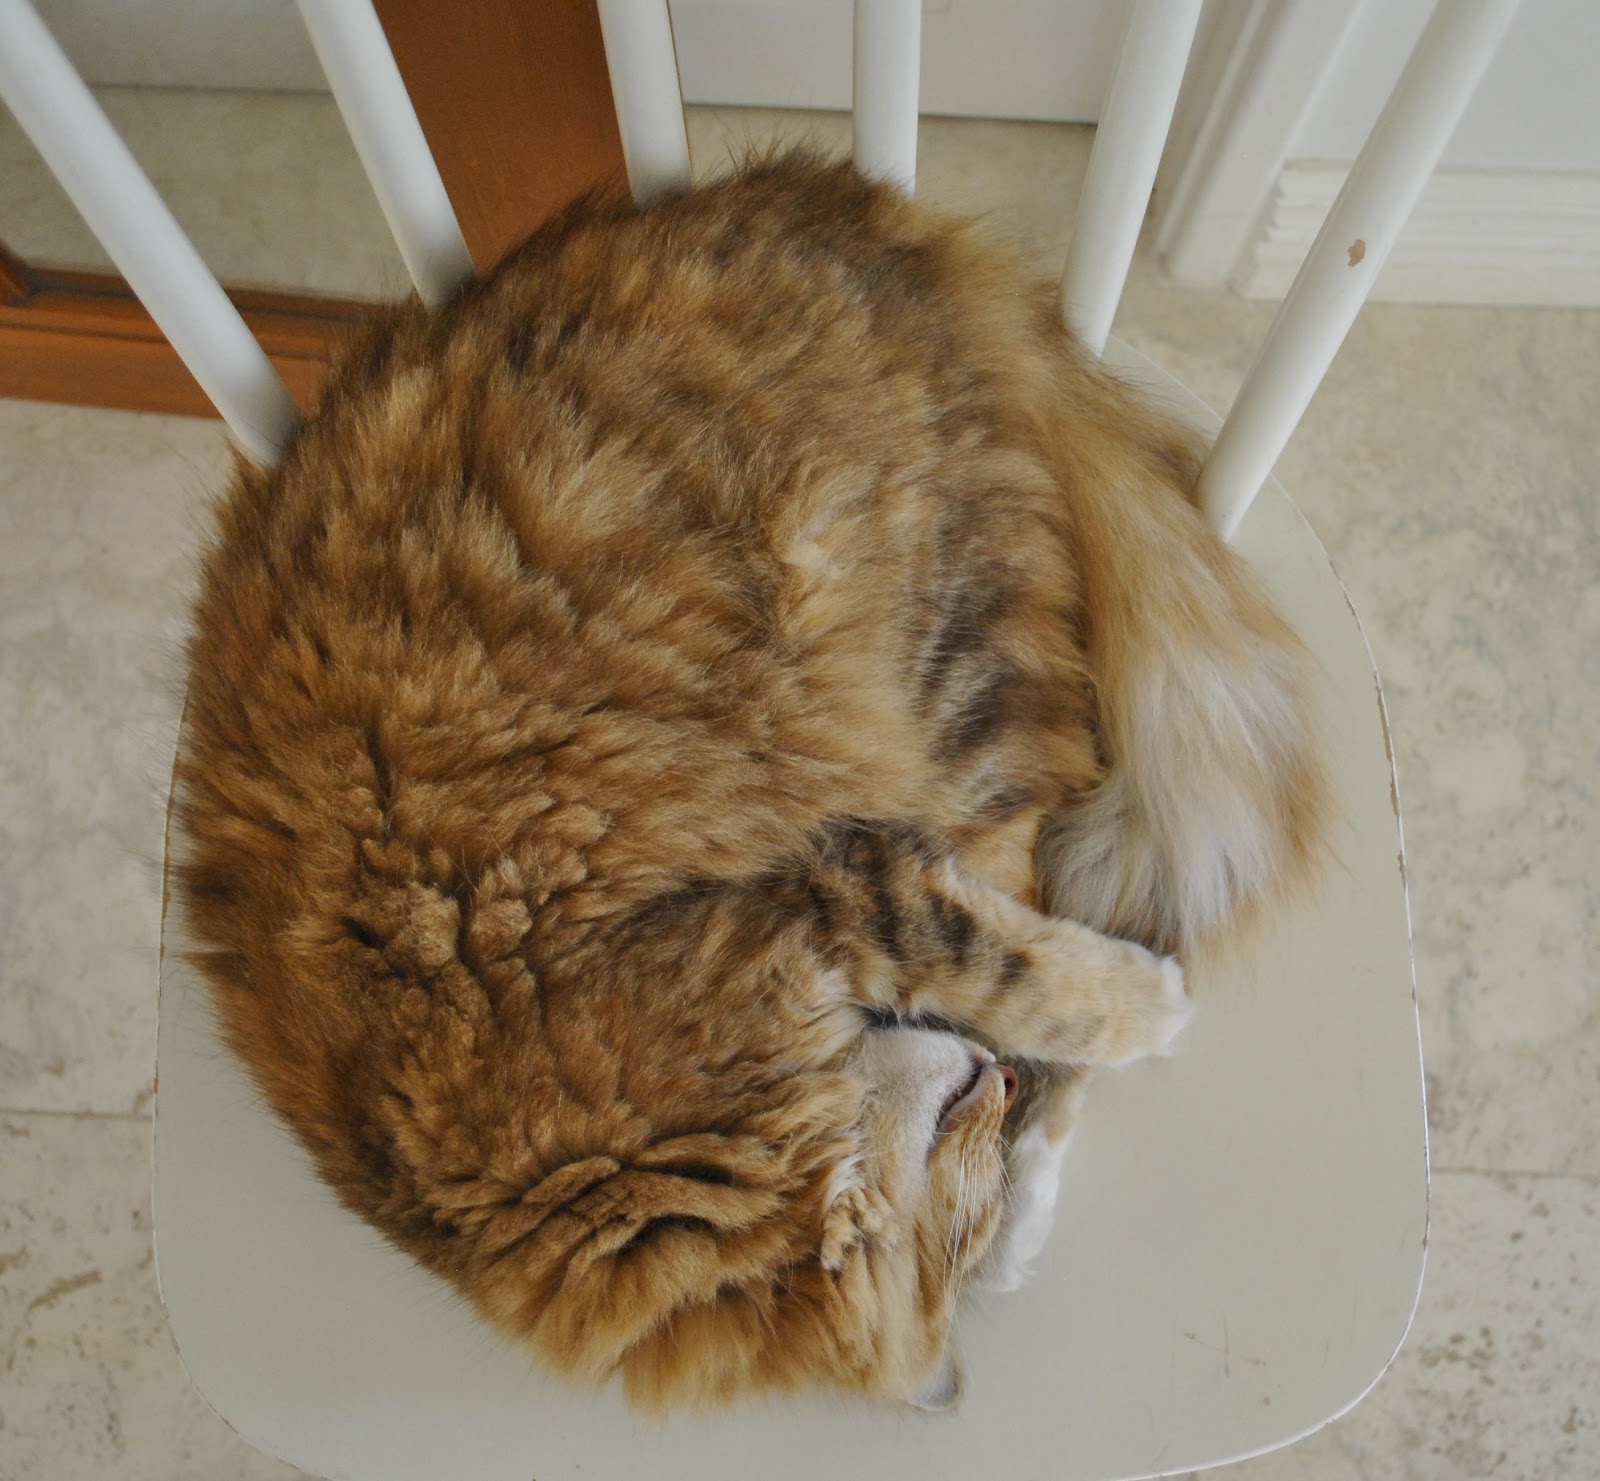
One Week One Cat

Monday’s cat …
Tuesday’s cat….
Wednesday…
Thursday…
Friday…
Saturday…
and finally; Sunday’s cat
A natural to the modelling business, yes?
This is an ode to One Week One Pattern; brainchild of Tilly and the Buttons 
pinterestmail

Paper dolls

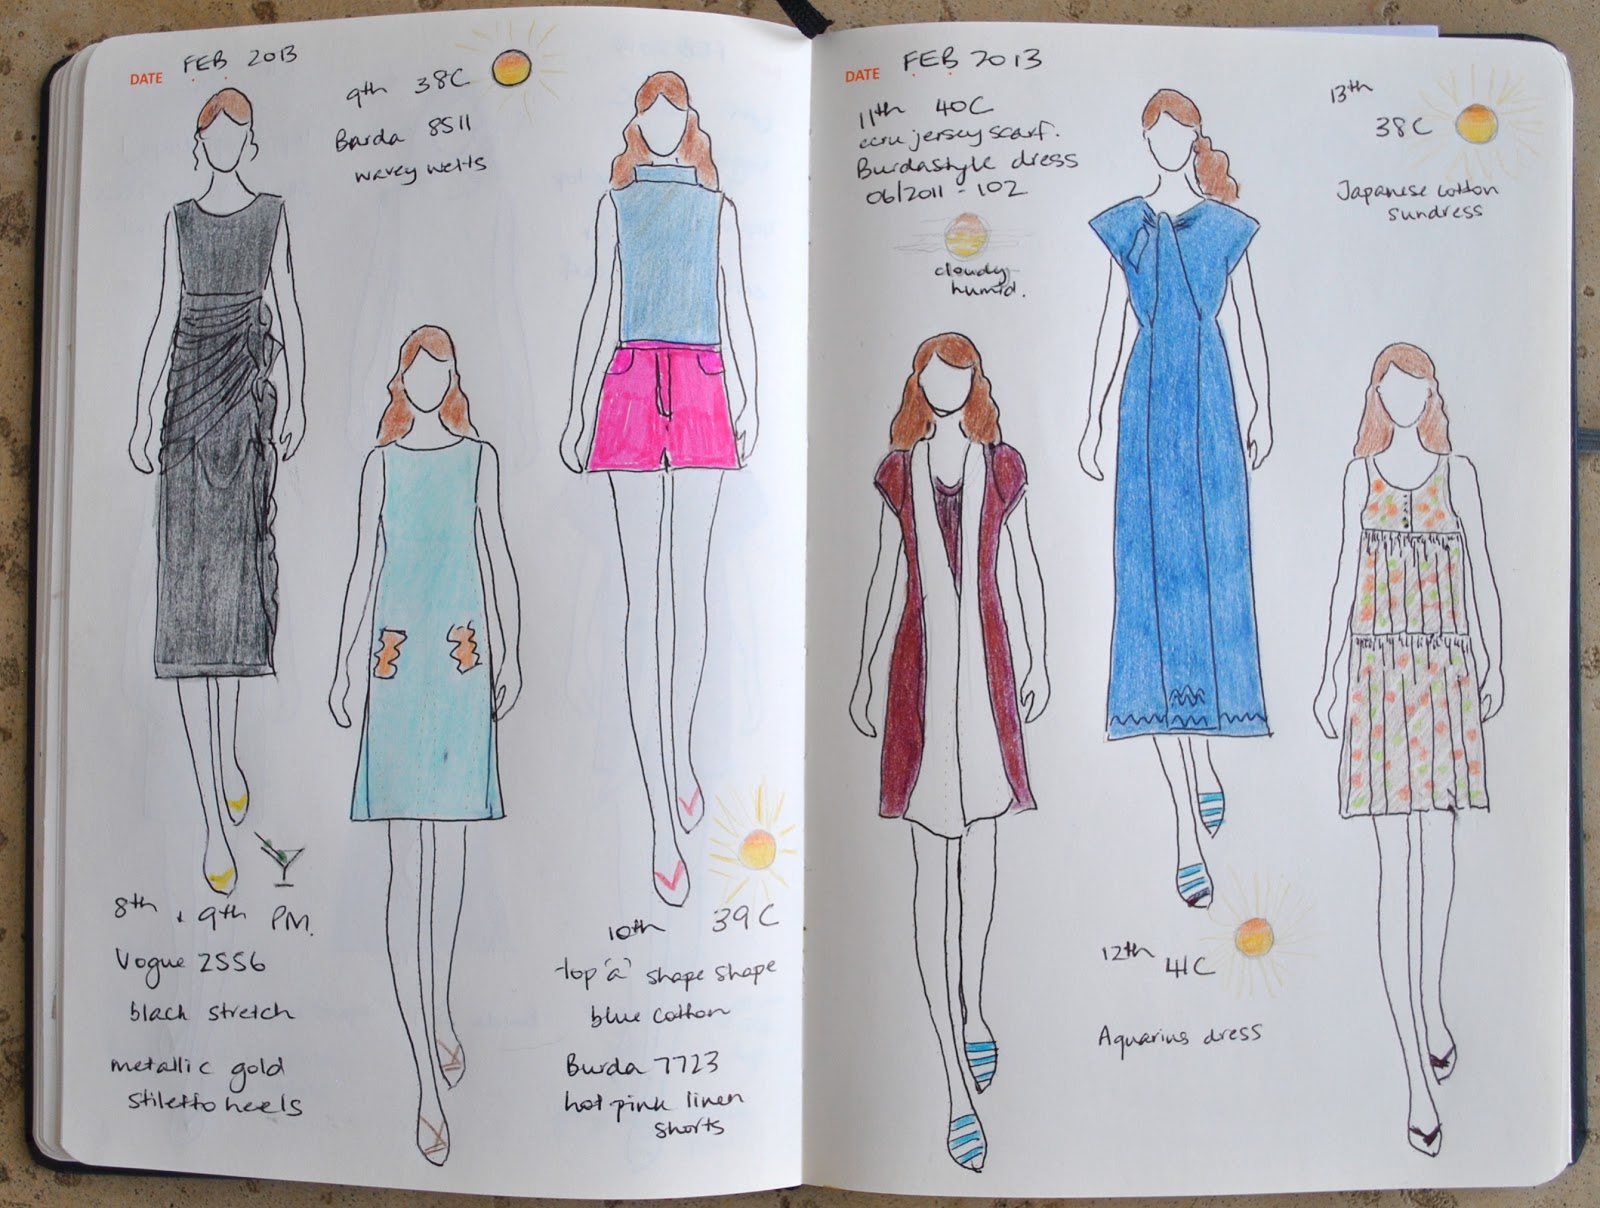
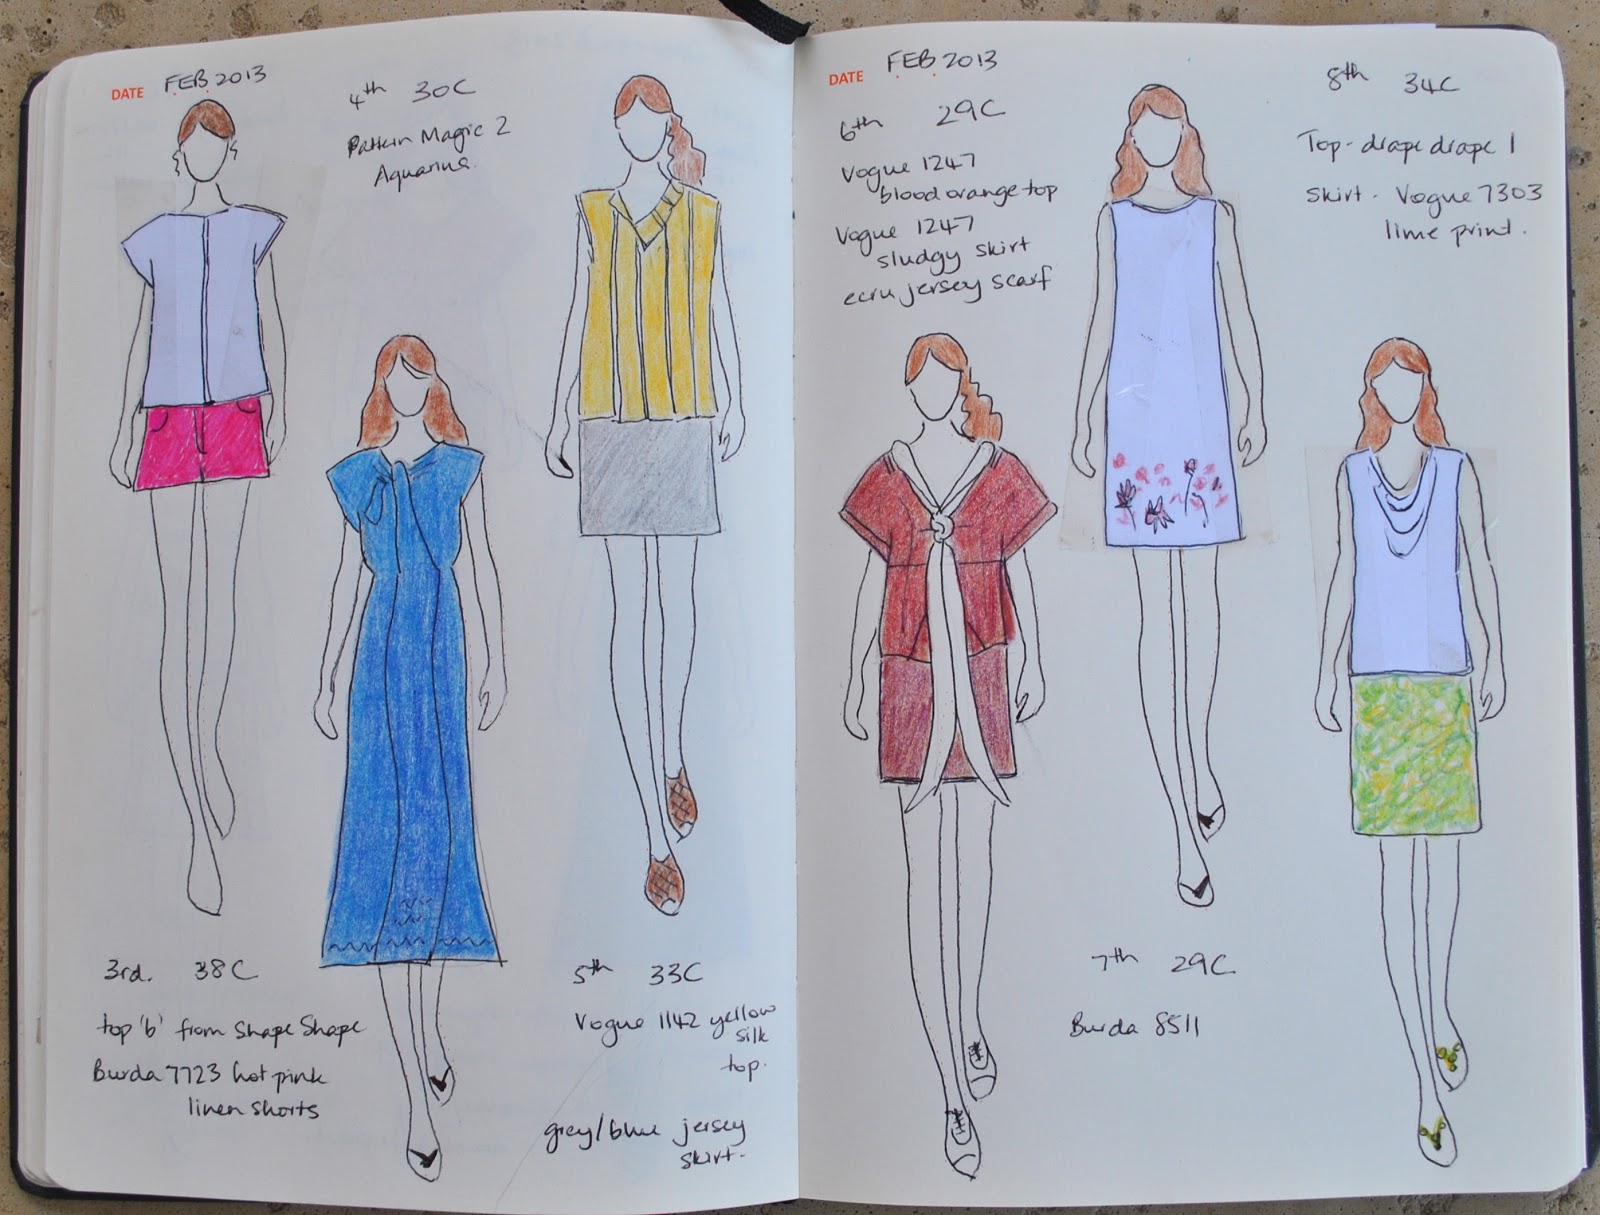
8th – 13th February
(if you’re new, I’ve pledged to wear only clothes handmade by me this year and to sketch my daily outfits in my Fashionary.  I’m calling this the paper doll project)

Black Issey Miyake dress, gold stilettos
aqua dress with wave-y welted pockets
blue top, hot pink shorts
purple-brown dress, ecru scarf
blue dress
Japanese print dress

I apologise if it seems like everything is way too repetitive with my paper dolls’ daily outfits.  The fact is that I am not a fashion blogger; I’m making all my own clothes and so my wardrobe is really not all that chocka with stuff.  I am going to be repeating myself, on a regular basis.  But y’know what?? I’m absolutely fine with that.  It matters far more to me that I have a small number of garments to suit any particular combination of expected activities and weather conditions and man, it’s been hot!!!… and that I love and value each of those garments highly enough to reach for them over and over.

And then, there are the special occasion pieces, which by their very definition are not meant to be frequently worn.
I included above a black Issey Miyake dress that was worn twice during the week, for evening wear.  Firstly, our family went to a swish-o restaurant to celebrate my daughter’s birthday on Friday (thank you to the commenters who wished her a happy birthday!), and secondly, we hosted a big party for her at home last Saturday.  The party was formal; rellies* all arrived dressed to the nines, all the girls in gorgeous little cocktail dresses and towering stilettos, all the boys in suits.  Cassie looked lovely in a dress I had made about six years ago and all my boys wore shirts made by me (happiness!)  Of course the hors d’oeuvres wielding, drinks topper-upperering, cake bearer (moi) had to look presentable too… so I frocked up in my serious LBD and gold stilettos, hair up in a chic, messy bun.
The party went like a blast!!  lots of laughter and chatter, cool jazz music and dancing, funny speeches and good food.  The cleanup was fabulously easy.  Our children are at the age where their friends are quite civilised now.   I had to laugh; the following day, Craig said to me; “… and no one threw up so it was a good party”  I was like “ohhh, we have such low expectations!”

*transl. “rellies” = relatives

pinterestmail

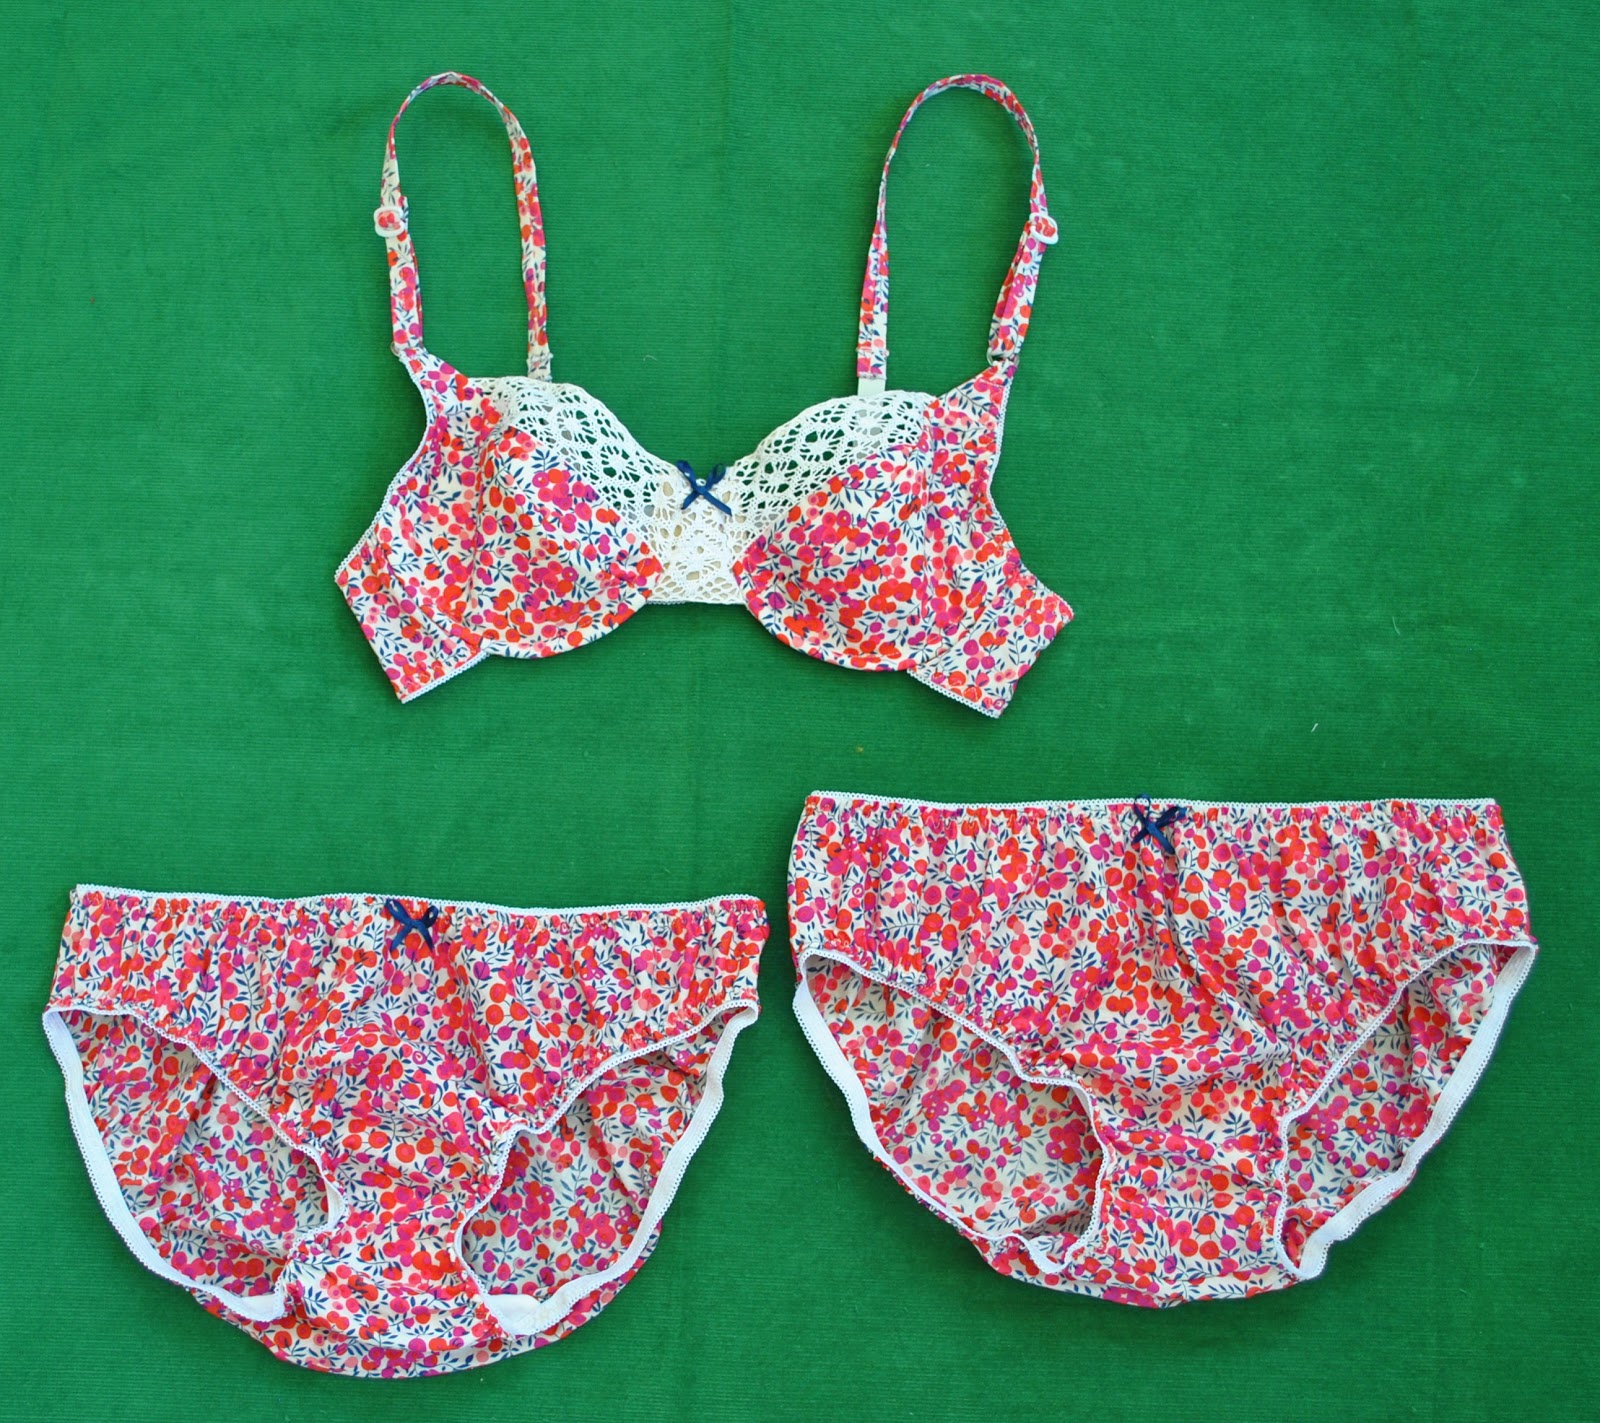
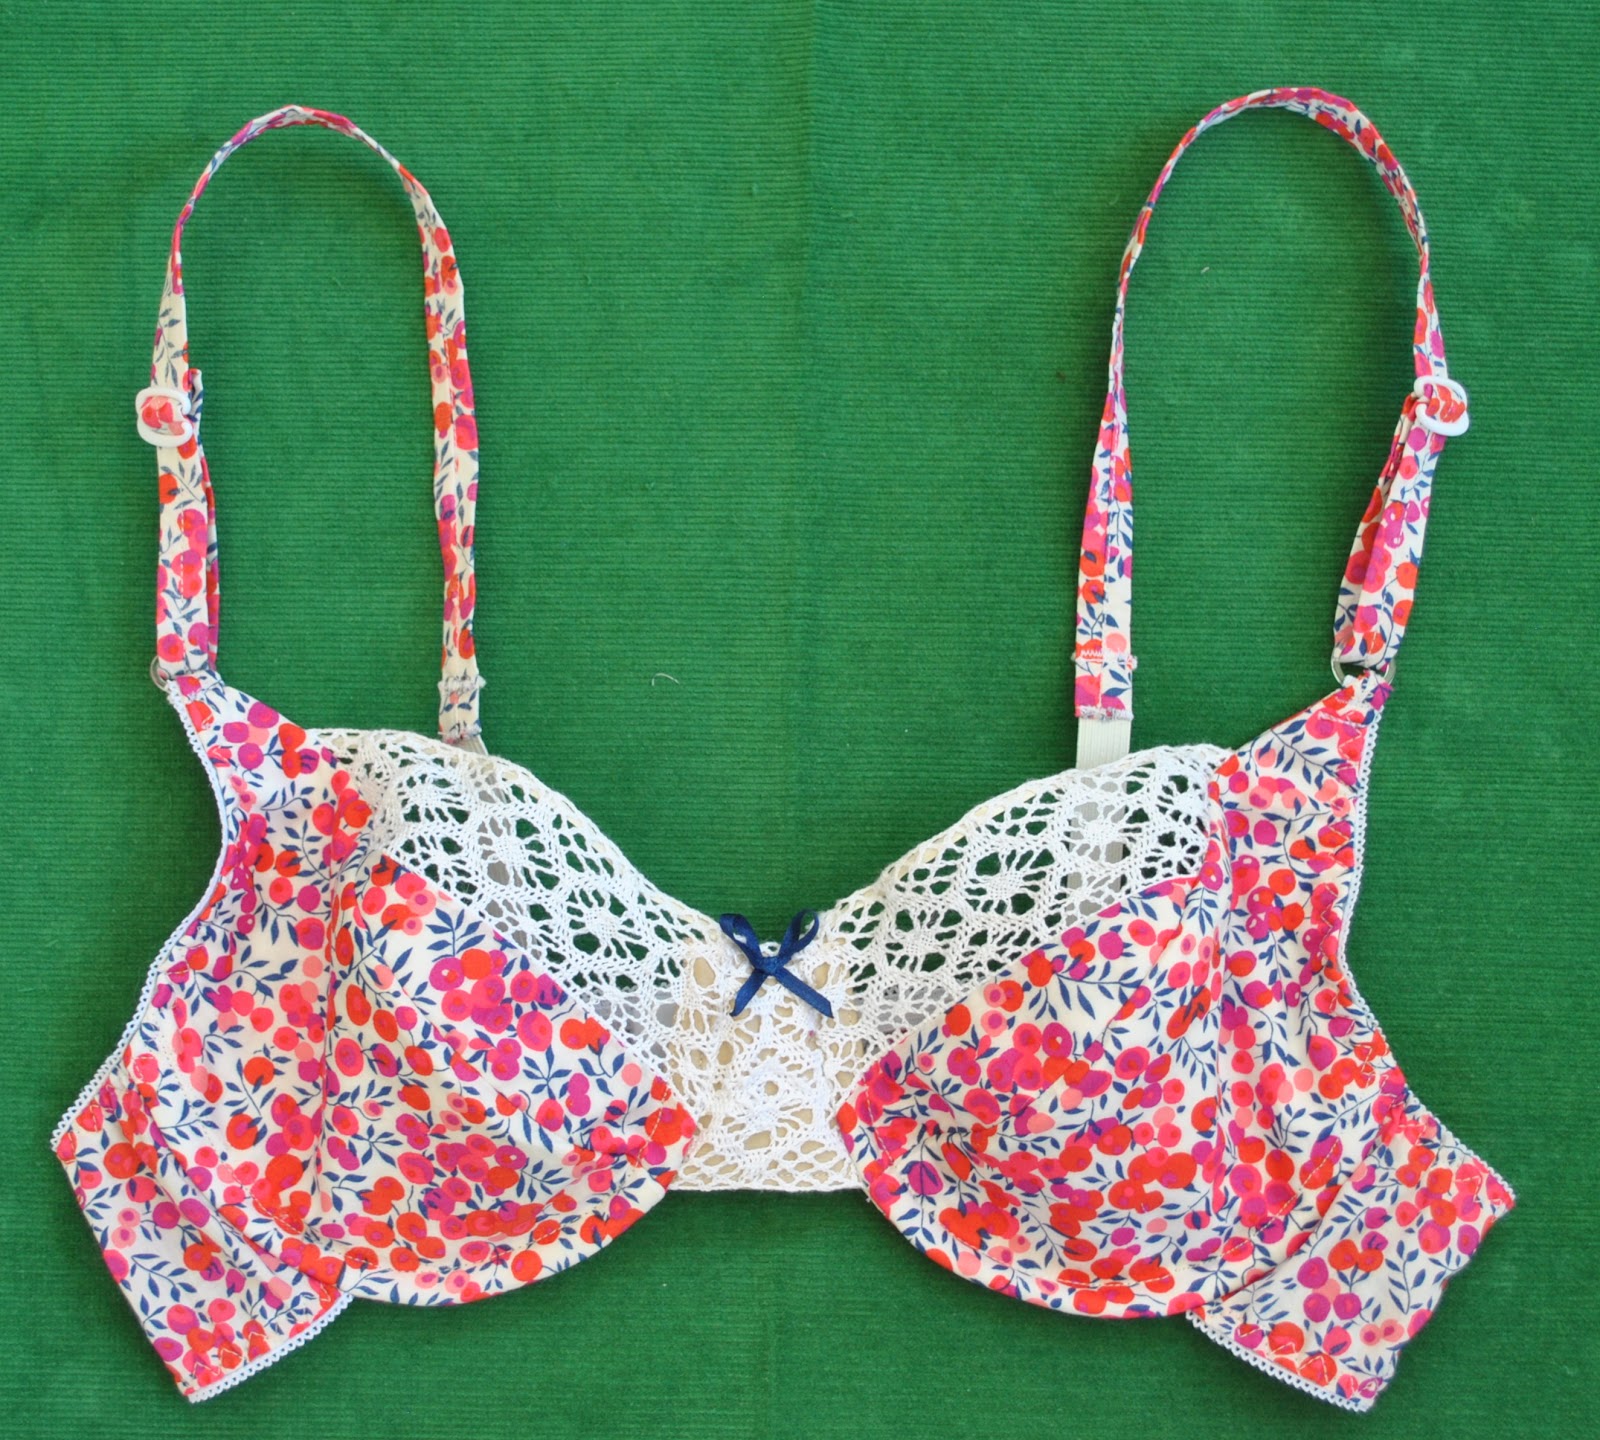
Liberty and crochet set


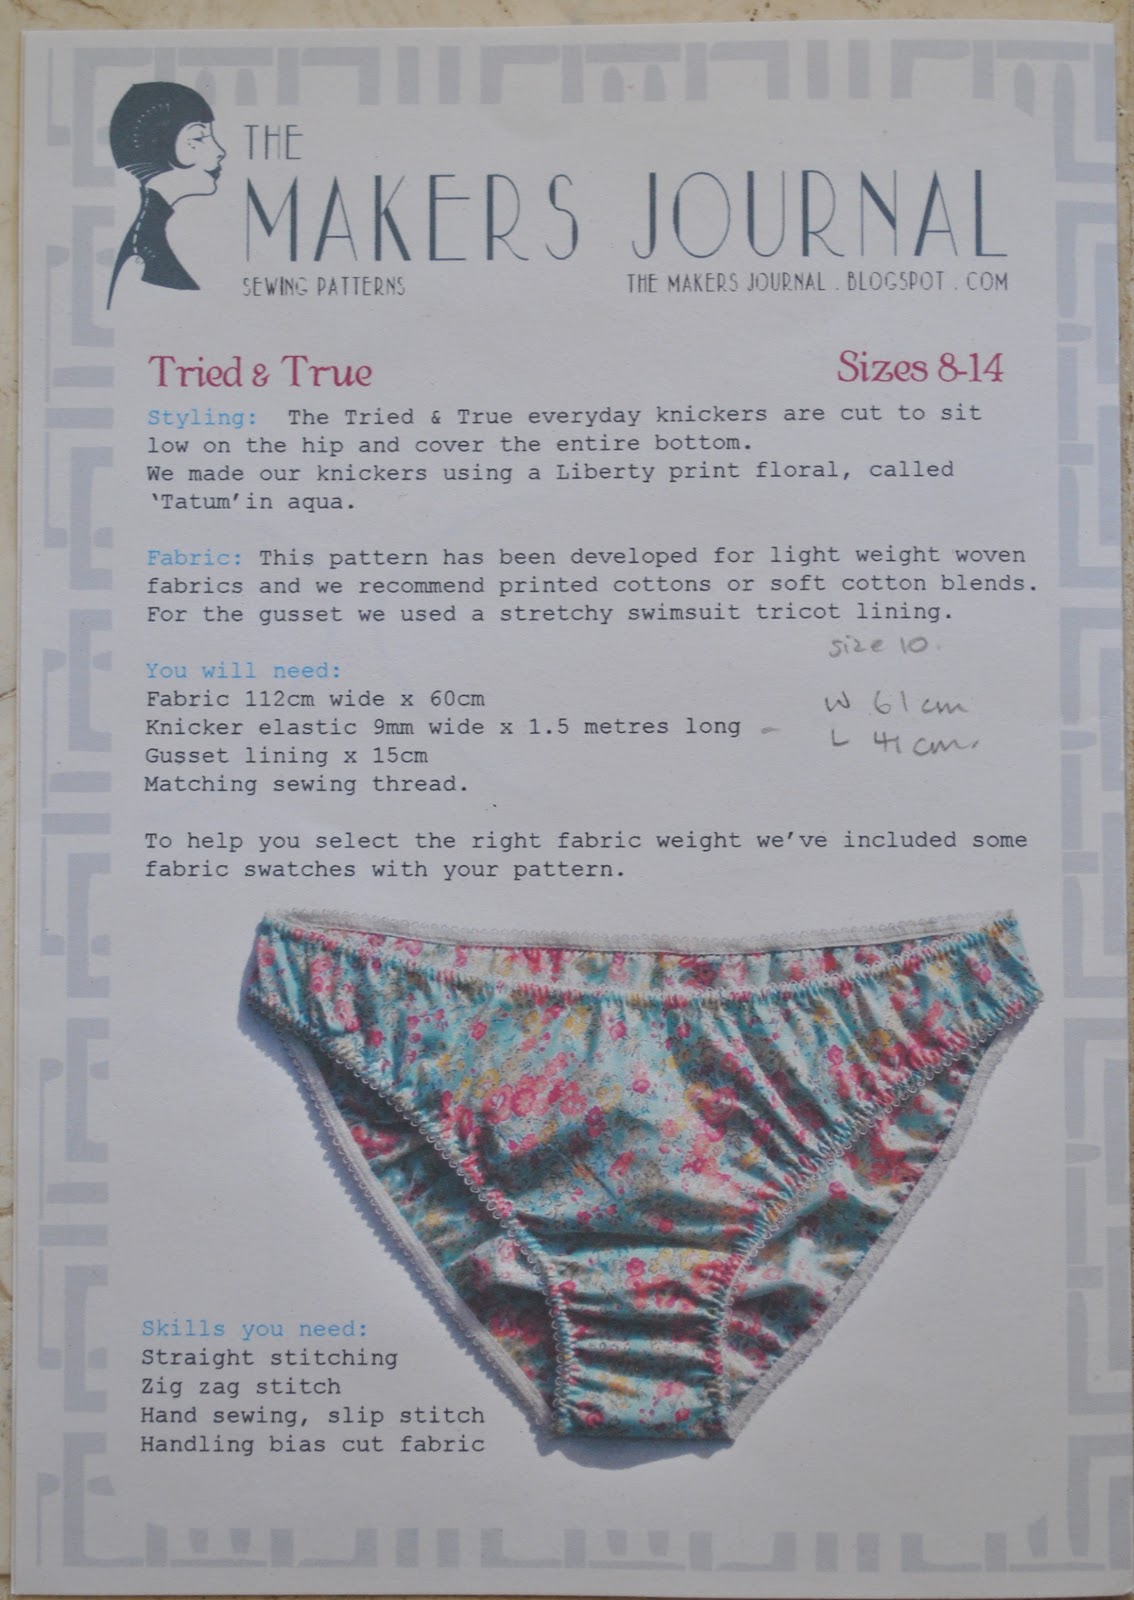
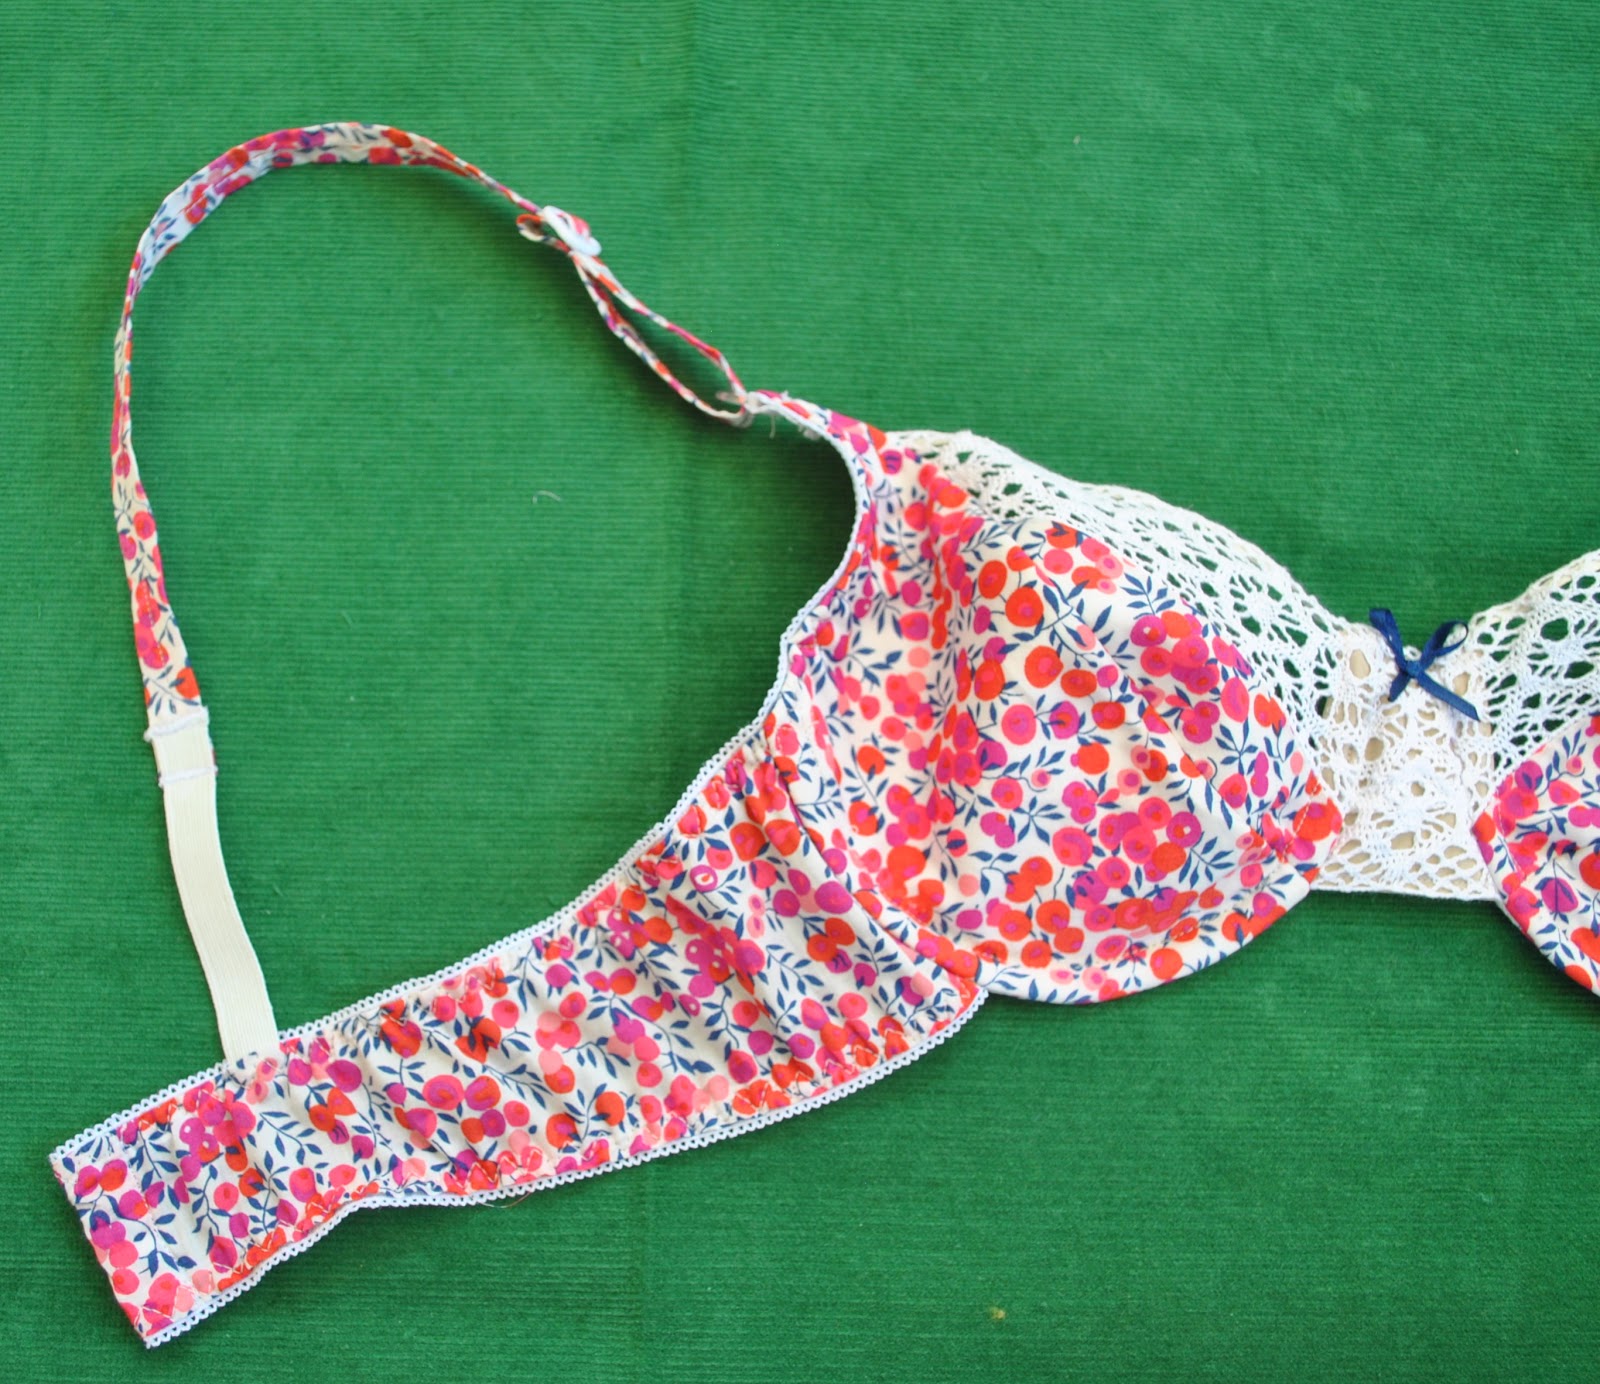
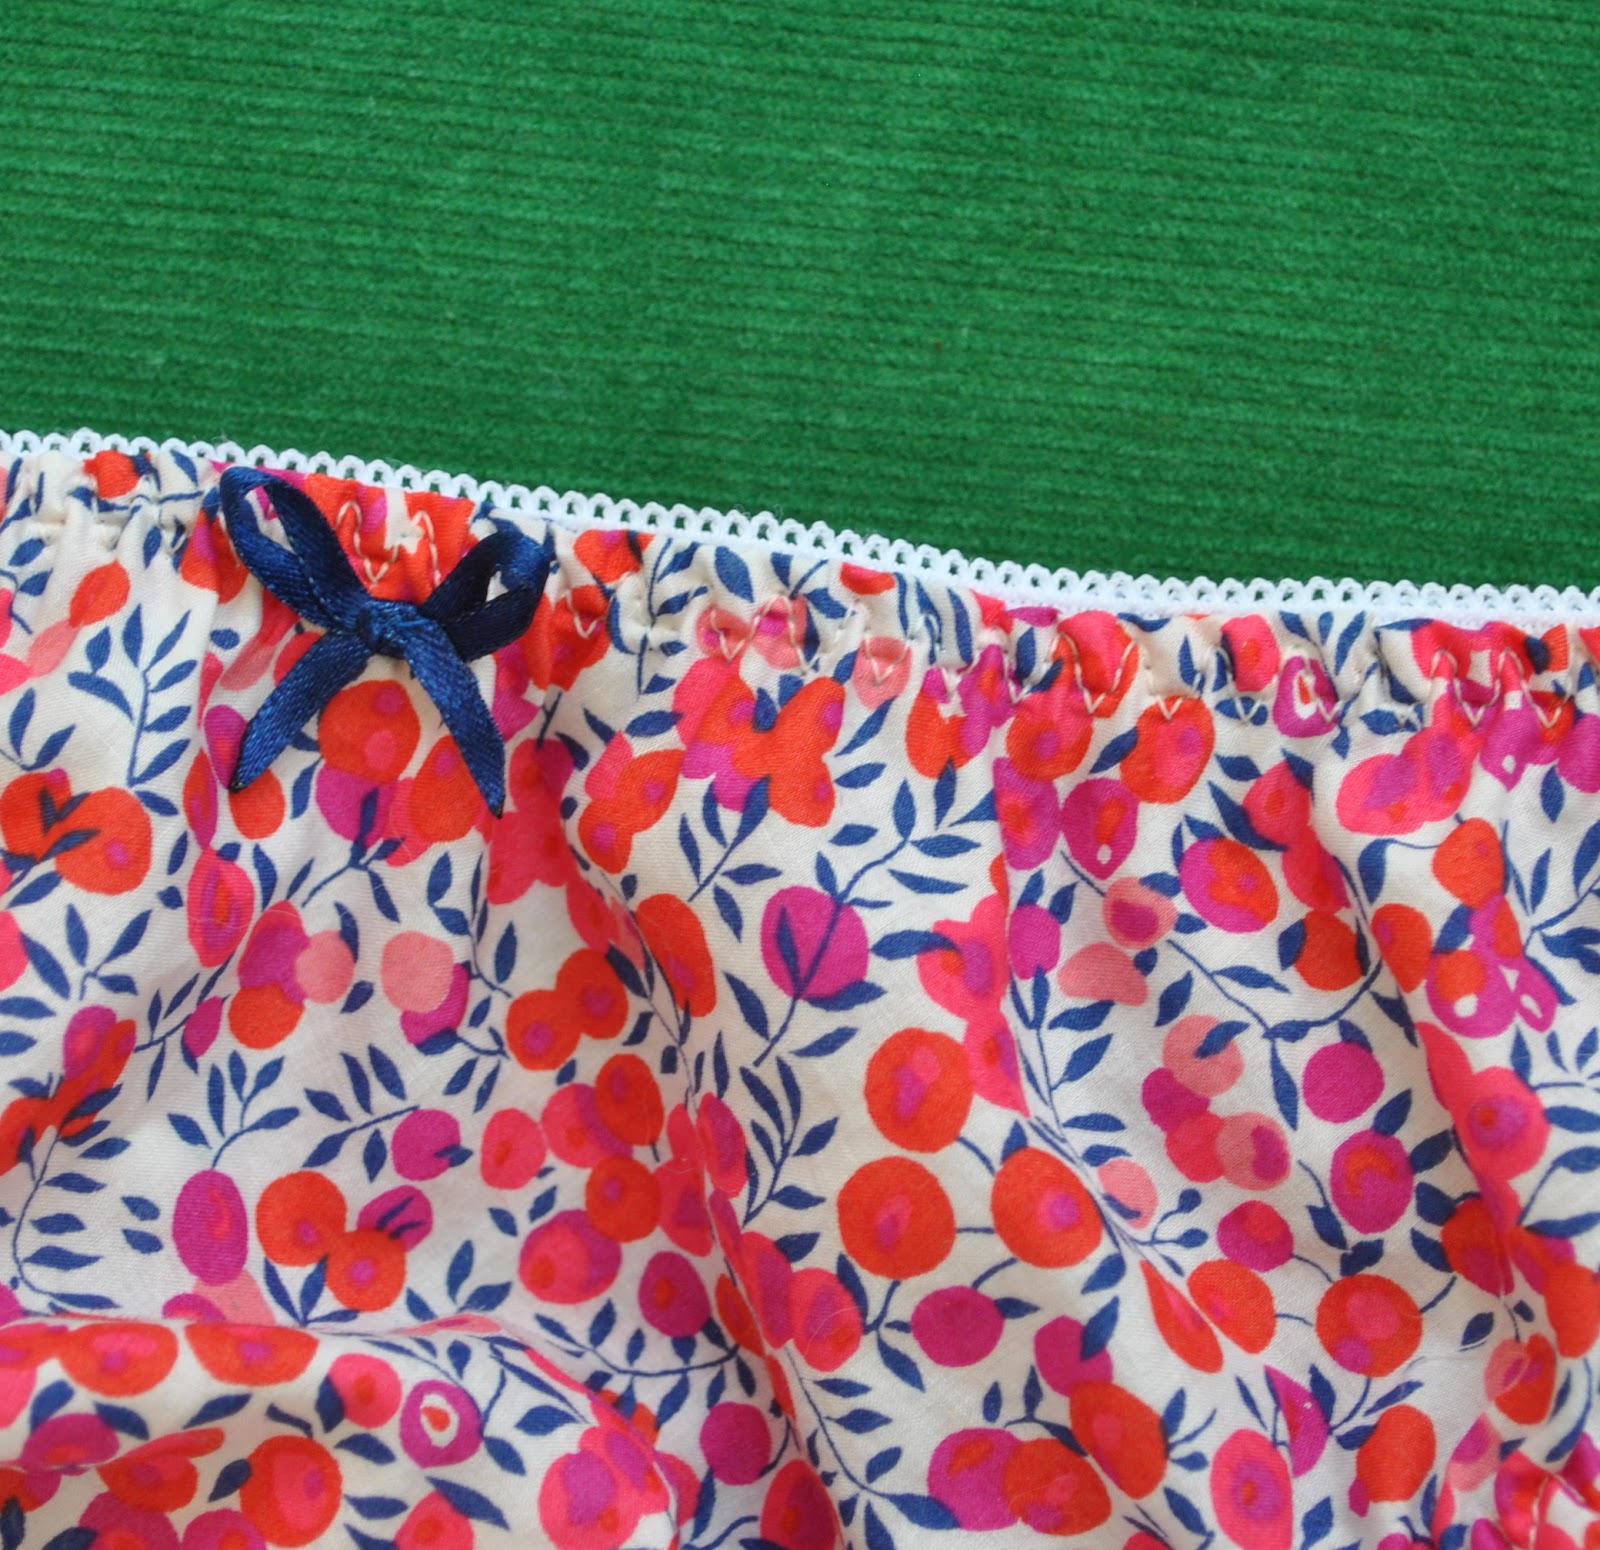
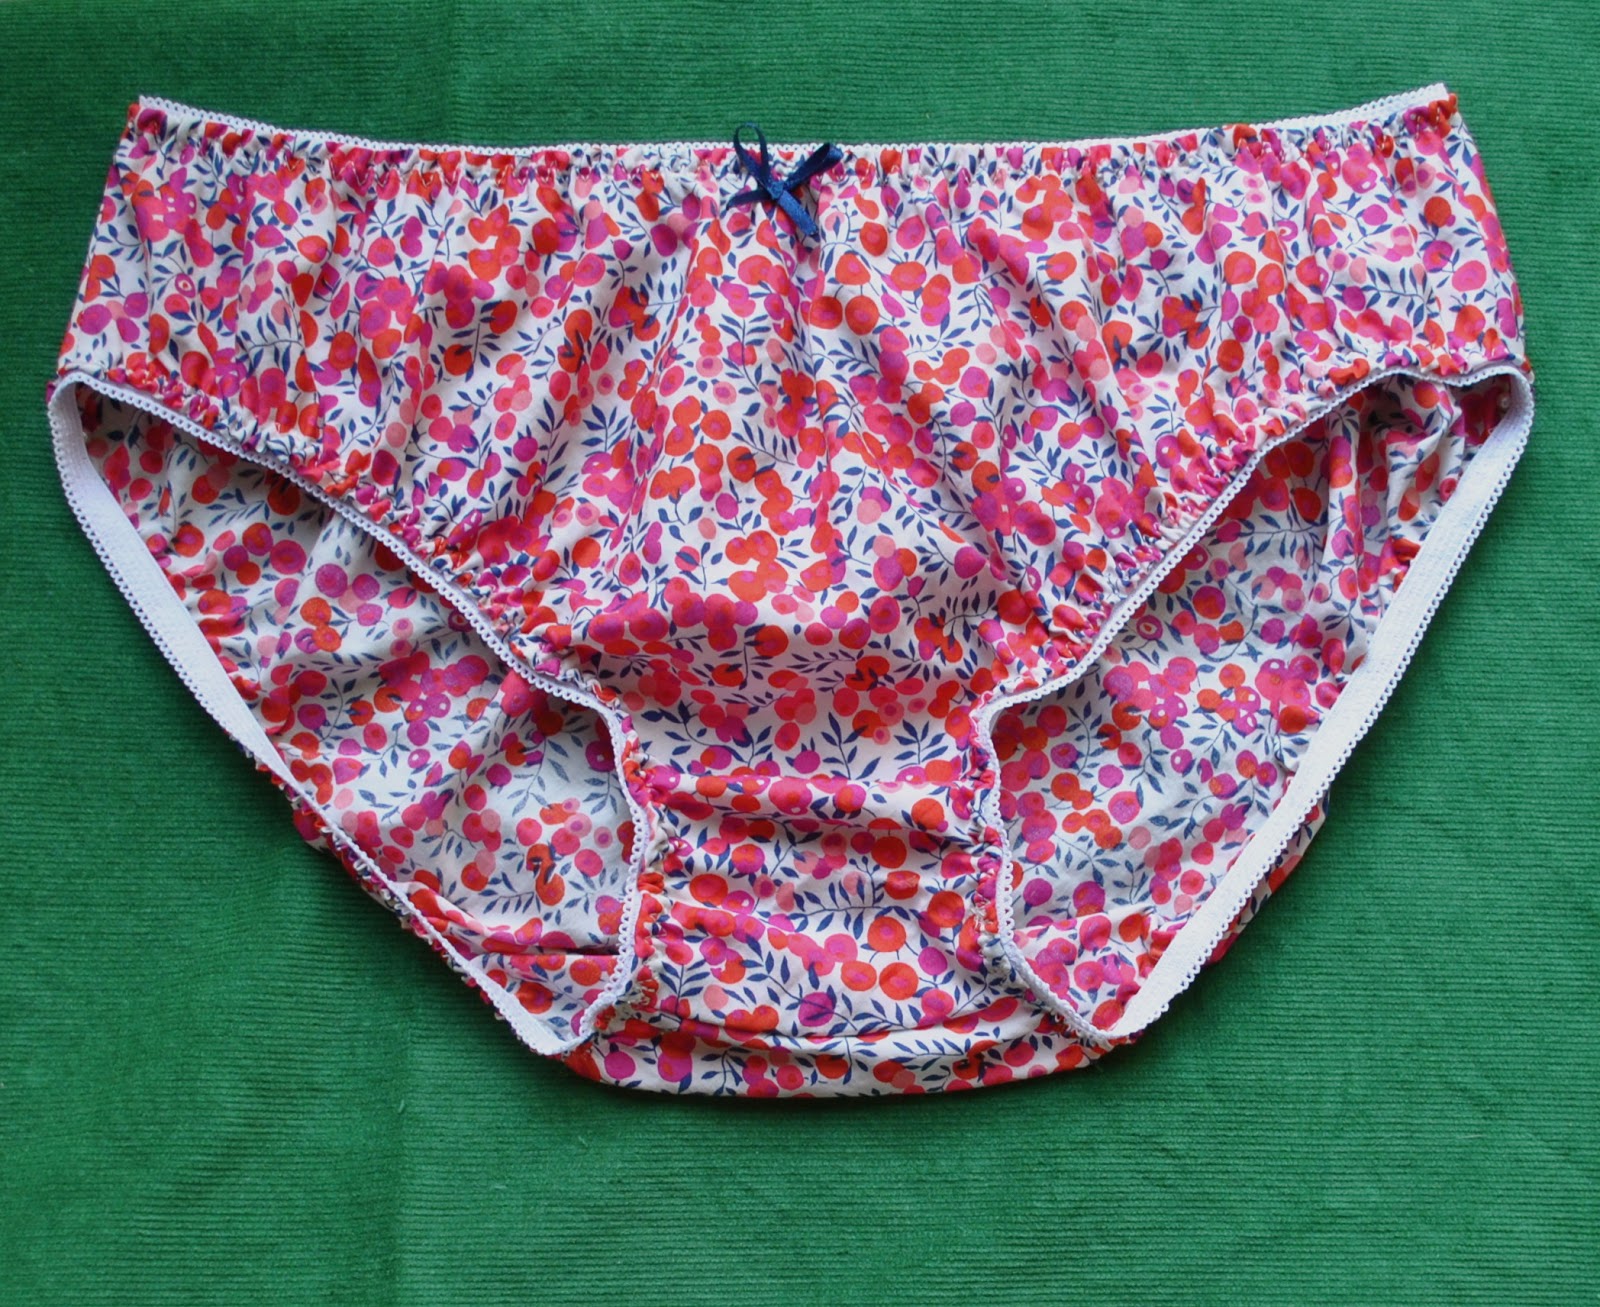
This is my new lingerie set, made in Wiltshire Liberty tana lawn, colour Cranberry.  I bought the fabric from Tessuti’s in Melbourne whilst we were there last year, along with the Maker’s Journal Tried & True knickers pattern.  This pattern is also available directly from the designer here.
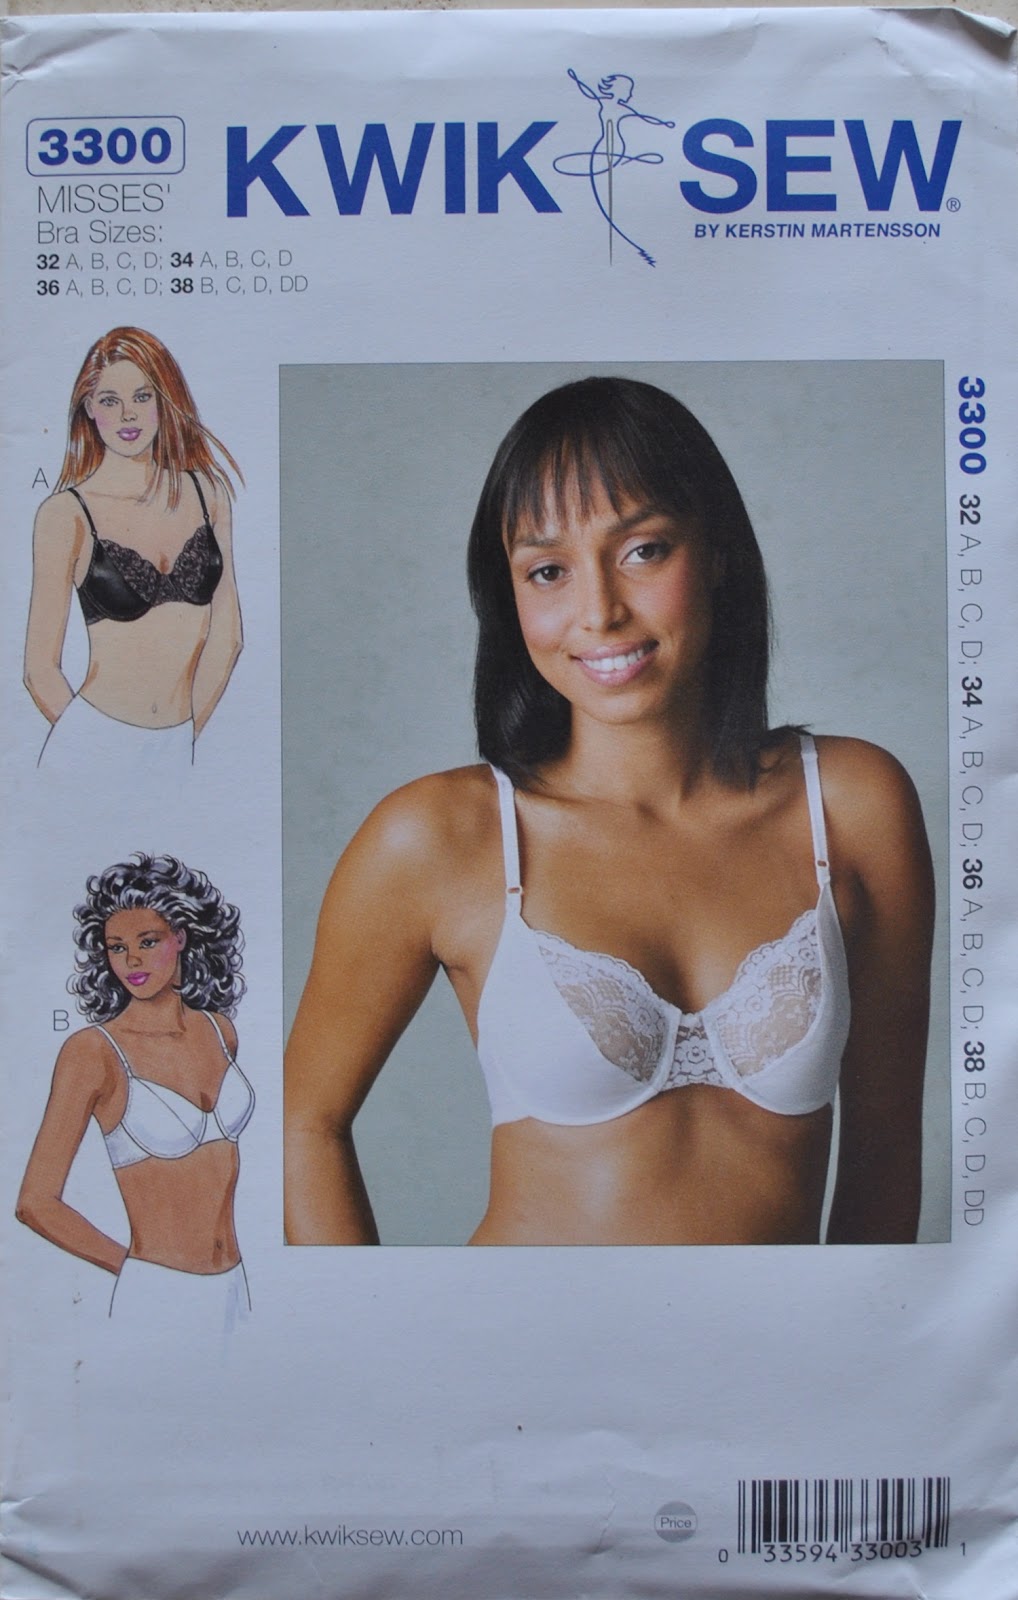
The bra is a slightly modified version of KwikSew 3300; modified to take into account the fact that I’ve used a non stretchy woven fabric.
I’ve been dying to have a go making Liberty lingerie ever since I spotted the knickers pattern but have been nervous to adapt my bra pattern, at least until I had a bit more lingerie experience under my belt.
btw, readers might like to know that 60cm of Liberty lawn easily makes one 34A bra plus two pairs of size 10 knickers.  And there are scraps aplenty left over to make adorable little pot pourri pouches and things like that, if like me, you are not the type to throw away even the smallest scraps of fabrics as precious as Liberty.

I’ver written a review of the pattern below… but all you need to know is that I absolutely love these knickers!  They might look a bit bunchy and granny-like when pictured off-the-body, but seriously; these are the very definition of cute when they are on and particularly if you have chosen a fresh pretty print like this.  And, surprisingly for un-stretchy undies; very very comfy.
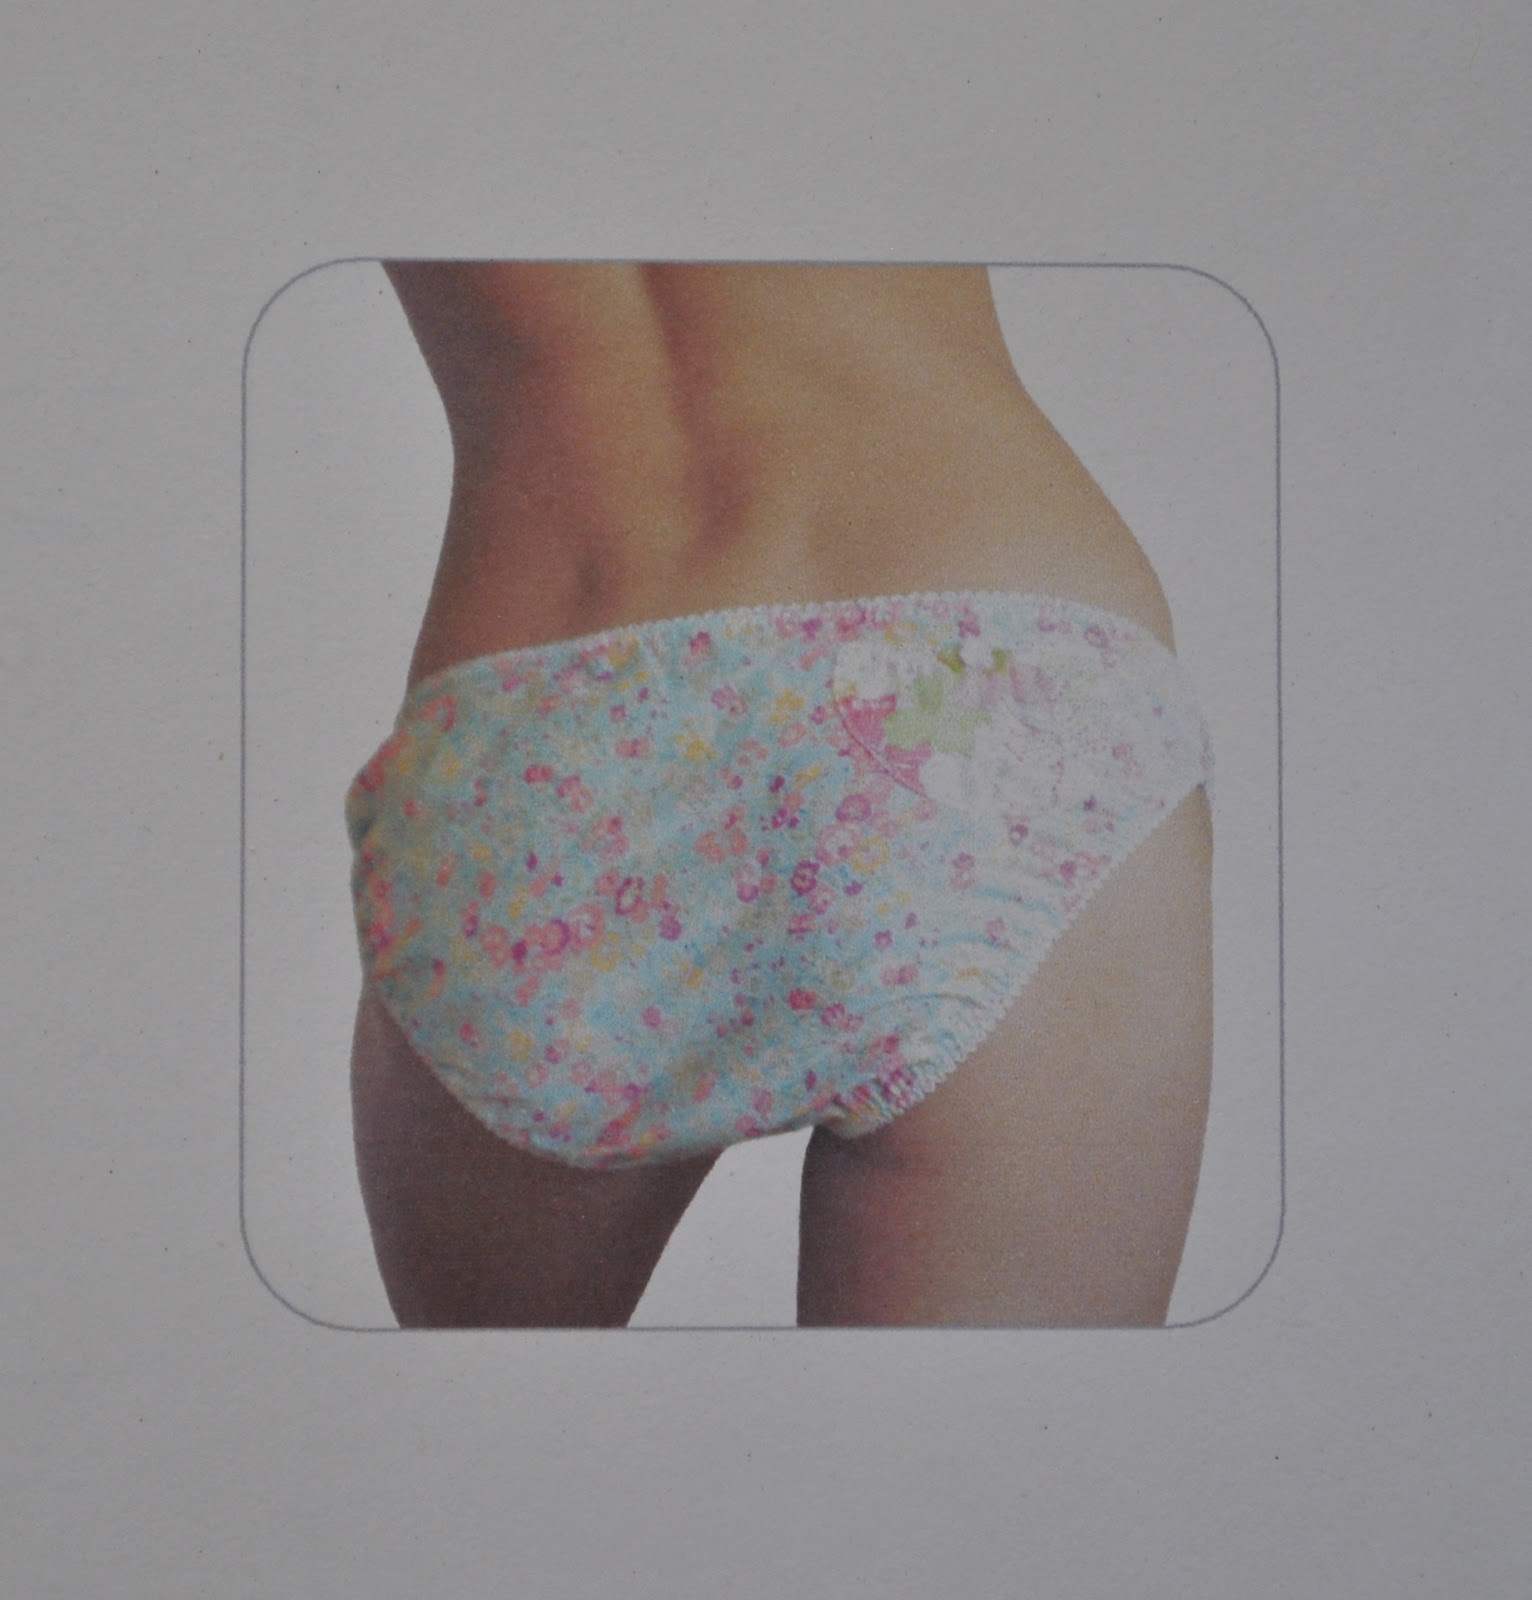
This piccie below is not of me but is the model pictured on the pattern envelope.  But naturally my derriere looks just like this too …

 ;D
They are super easy to make.
I did make a knickers muslin.  Anyone who knows me will realise how slightly earth-shattering this is… but well. we are talking about Liberty here.  Hello??  This stuff is expensive.  Beautiful, but expensive!  But hey, you’re worth it, right?
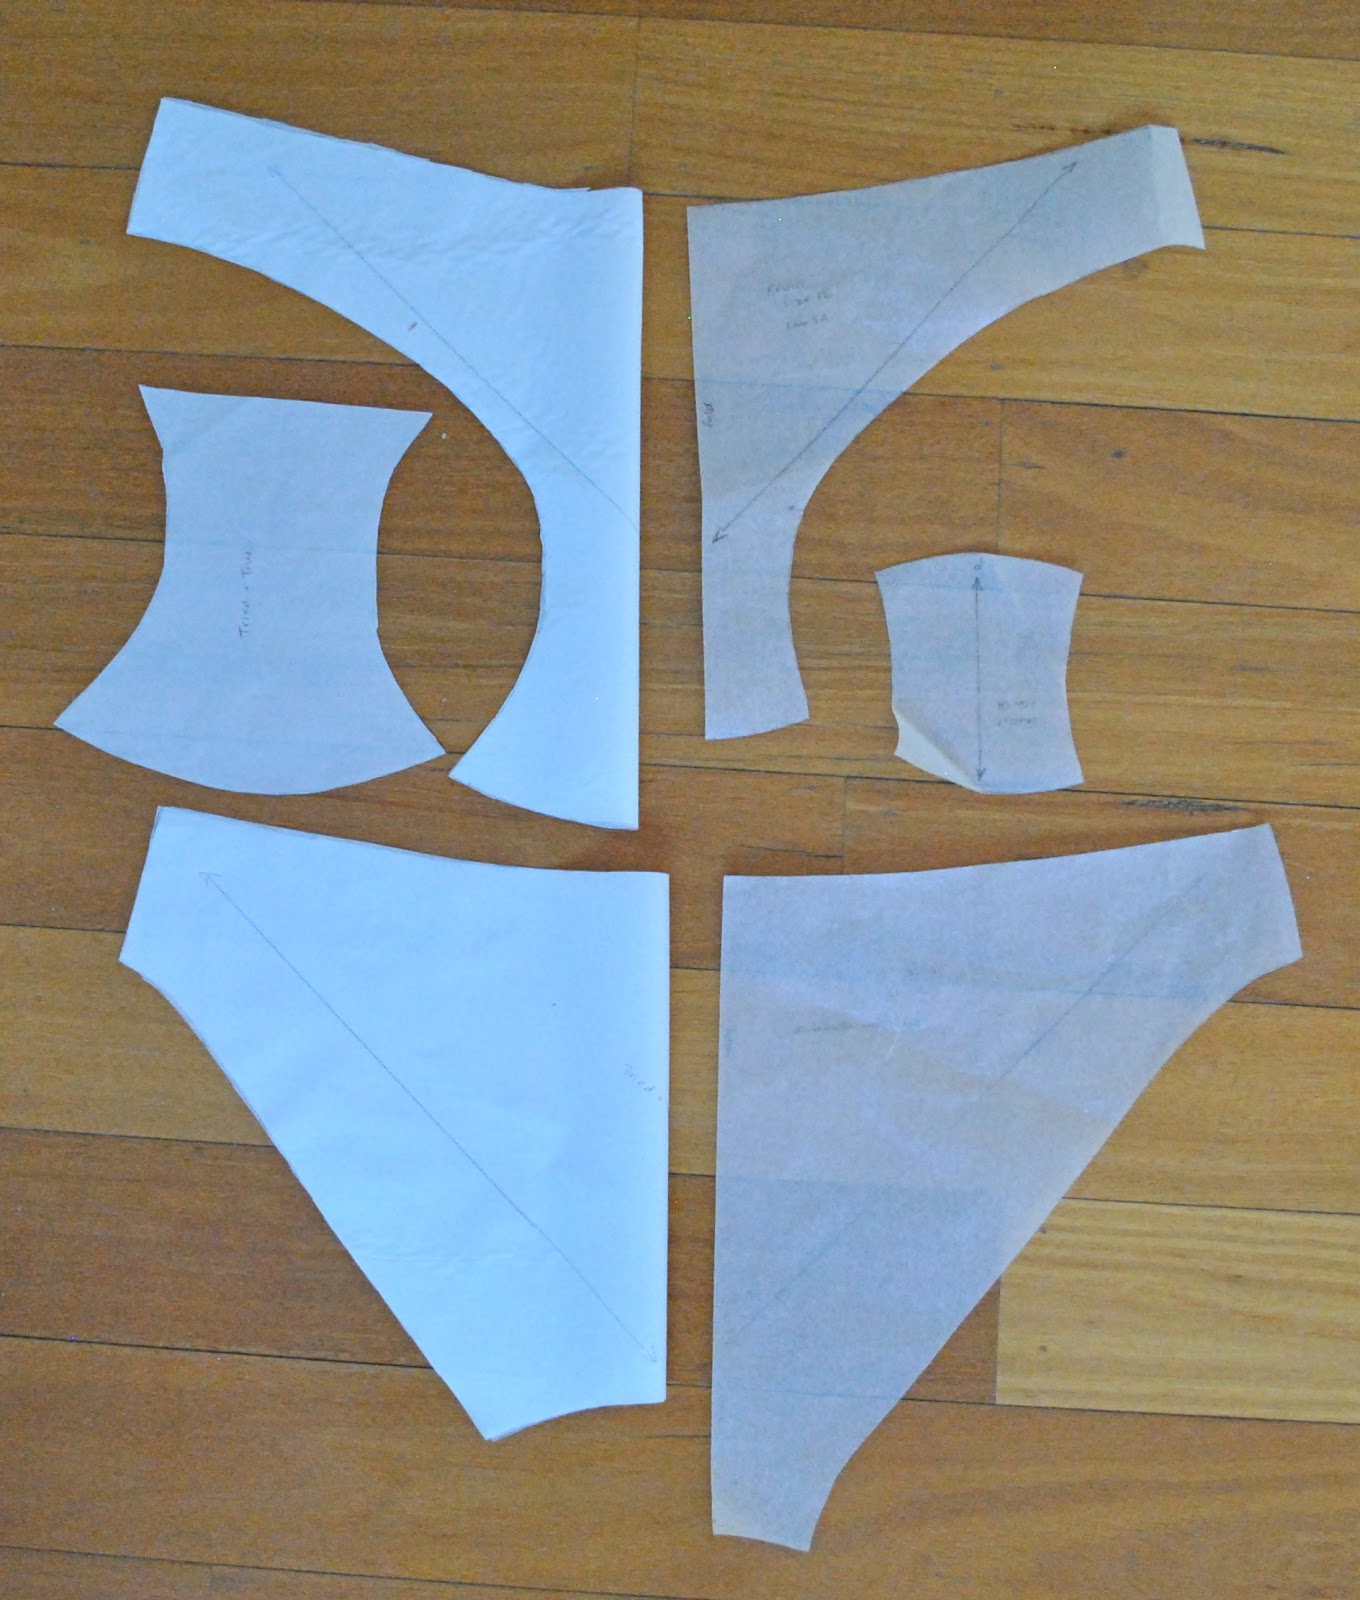
I made teeny adjustments to the pattern to fine-tune fit.  I also re-drafted the front and the back to have a longer crotch from the front, and accordingly reduced the crotch length in the back.  This allowed me to install a much more substantial panty liner.  That’s just a personal preference not necessarily a critique of the pattern.

Above: at left; the amended pattern with altered crotch position and a longer panty liner: at right is the original pattern.  With fair dinkum miniature panty liner.  btw; trace the pattern then flip over to trace the other half to get a full back and full front, I did this for my amended pattern and it is much easier to get an efficient layout on the bias!

The bra:
It’s actually pretty easy to adapt the KwikSew pattern to work in non-stretch fabrics too!  An underwired, cotton voile muslin worn for an hour about the house taught me that the stretch factor in a bra is best situated nearly all around at the back and only a small proportion of wearing ease is necessary at the front.  I found I like the front of my bras to be quite firm and structural, and using non stretch fabric here works well… but you do need some stretch and wearing ease at the back.  So I made a modified 34A and lengthened the back bands by roughly 4cm each at the centre back; and used the same lengths of lingerie elastic as recommended in the pattern, pinned in quarters, then gently stretched to fit whilst sewing to the lawn.

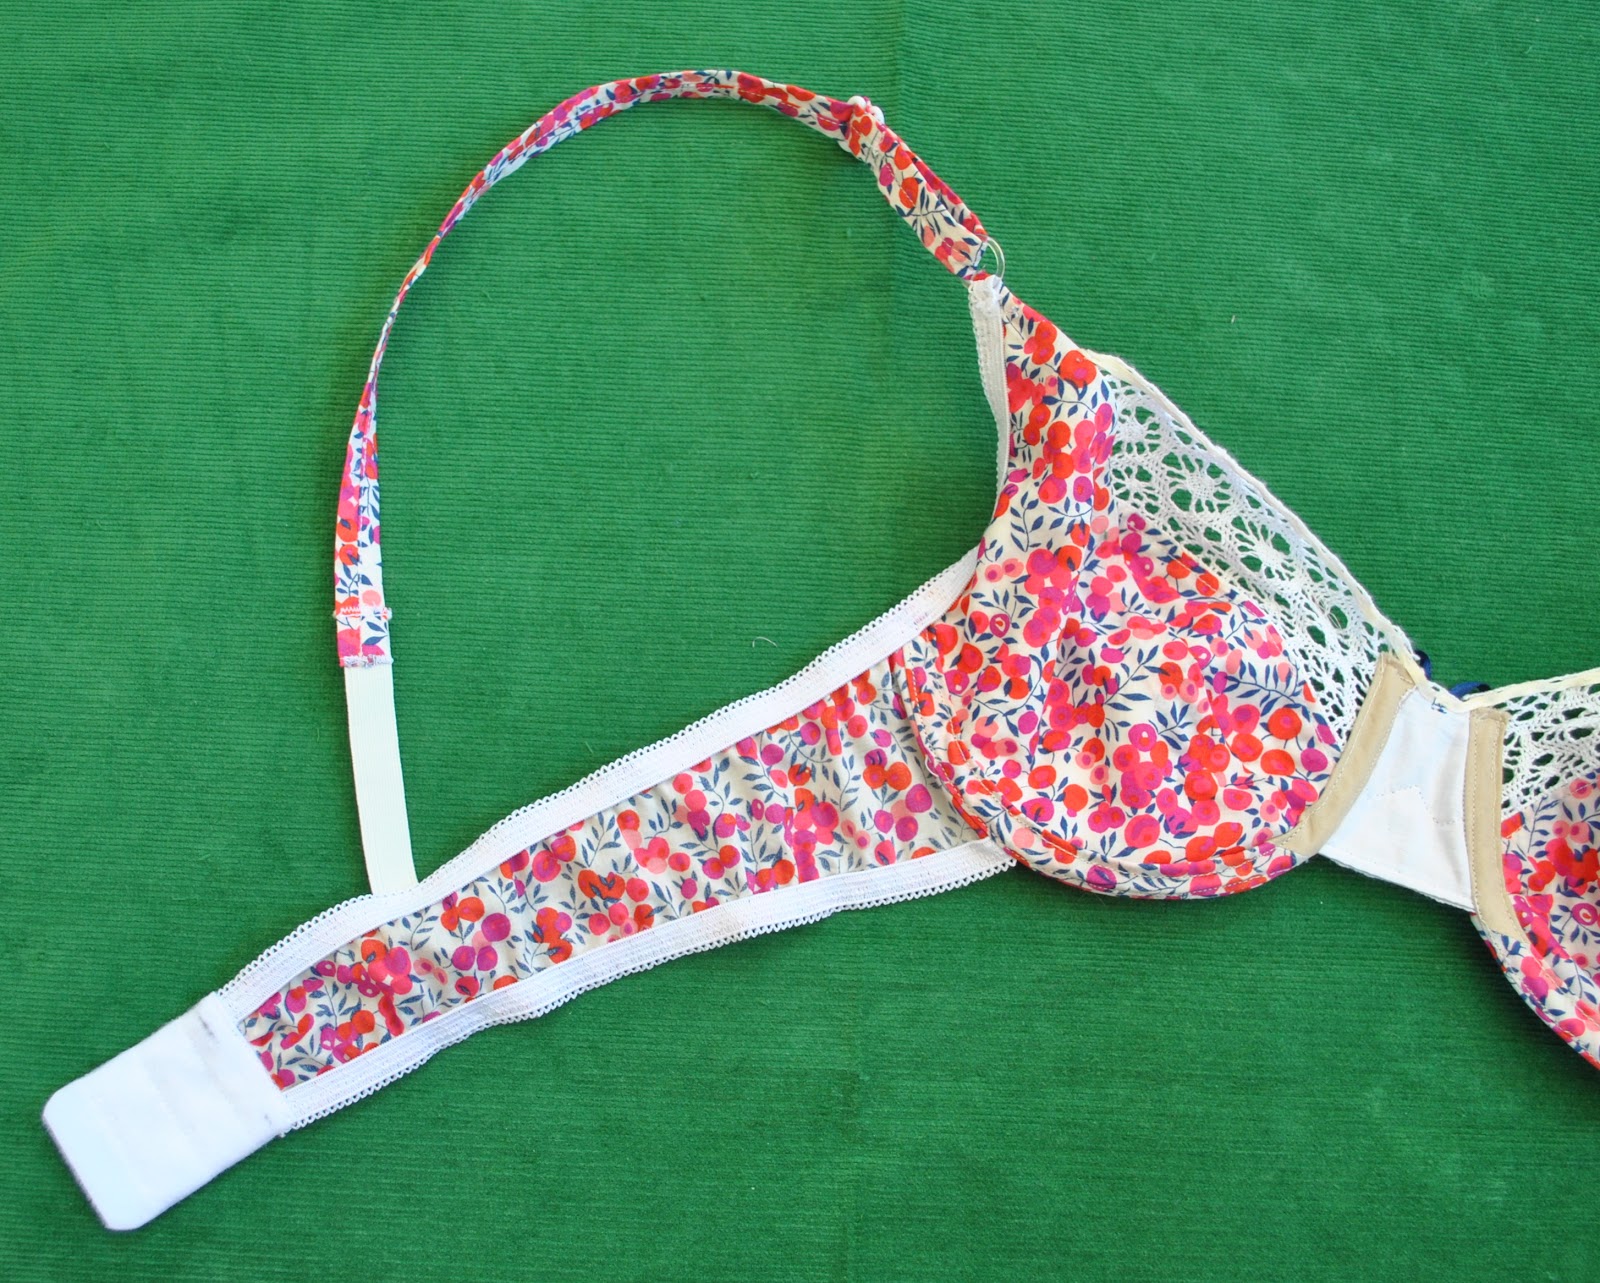
Above; the lengthened bands with the same lengths of lingerie elastic as stipulated for a stretch band… see, it doesn’t look too oddly puckered.  While I am wearing it, the bands have a gently gathered appearance; obviously some gathering is necessary to avoid putting strain on this delicate fabric.

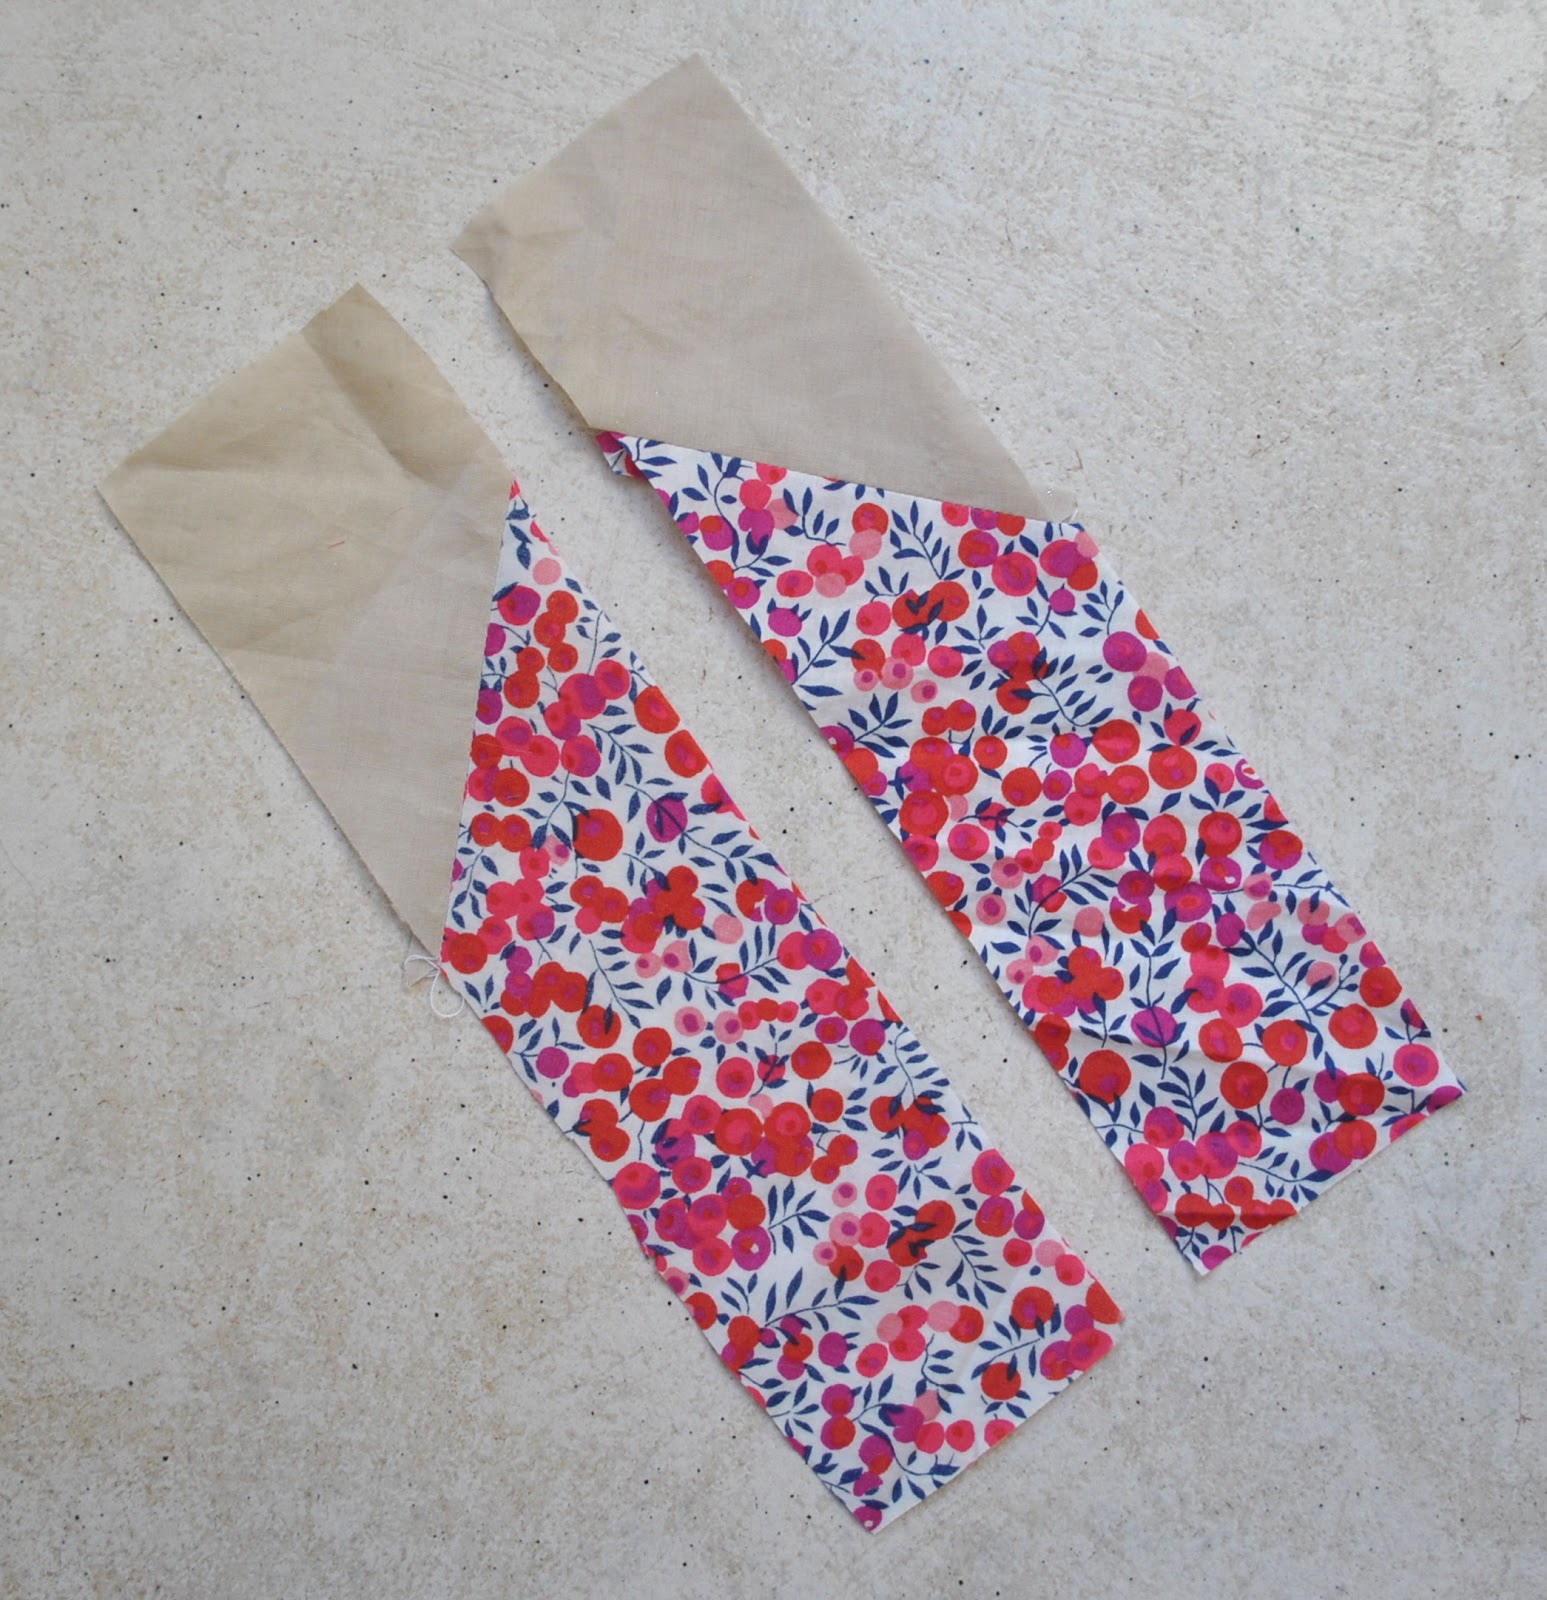
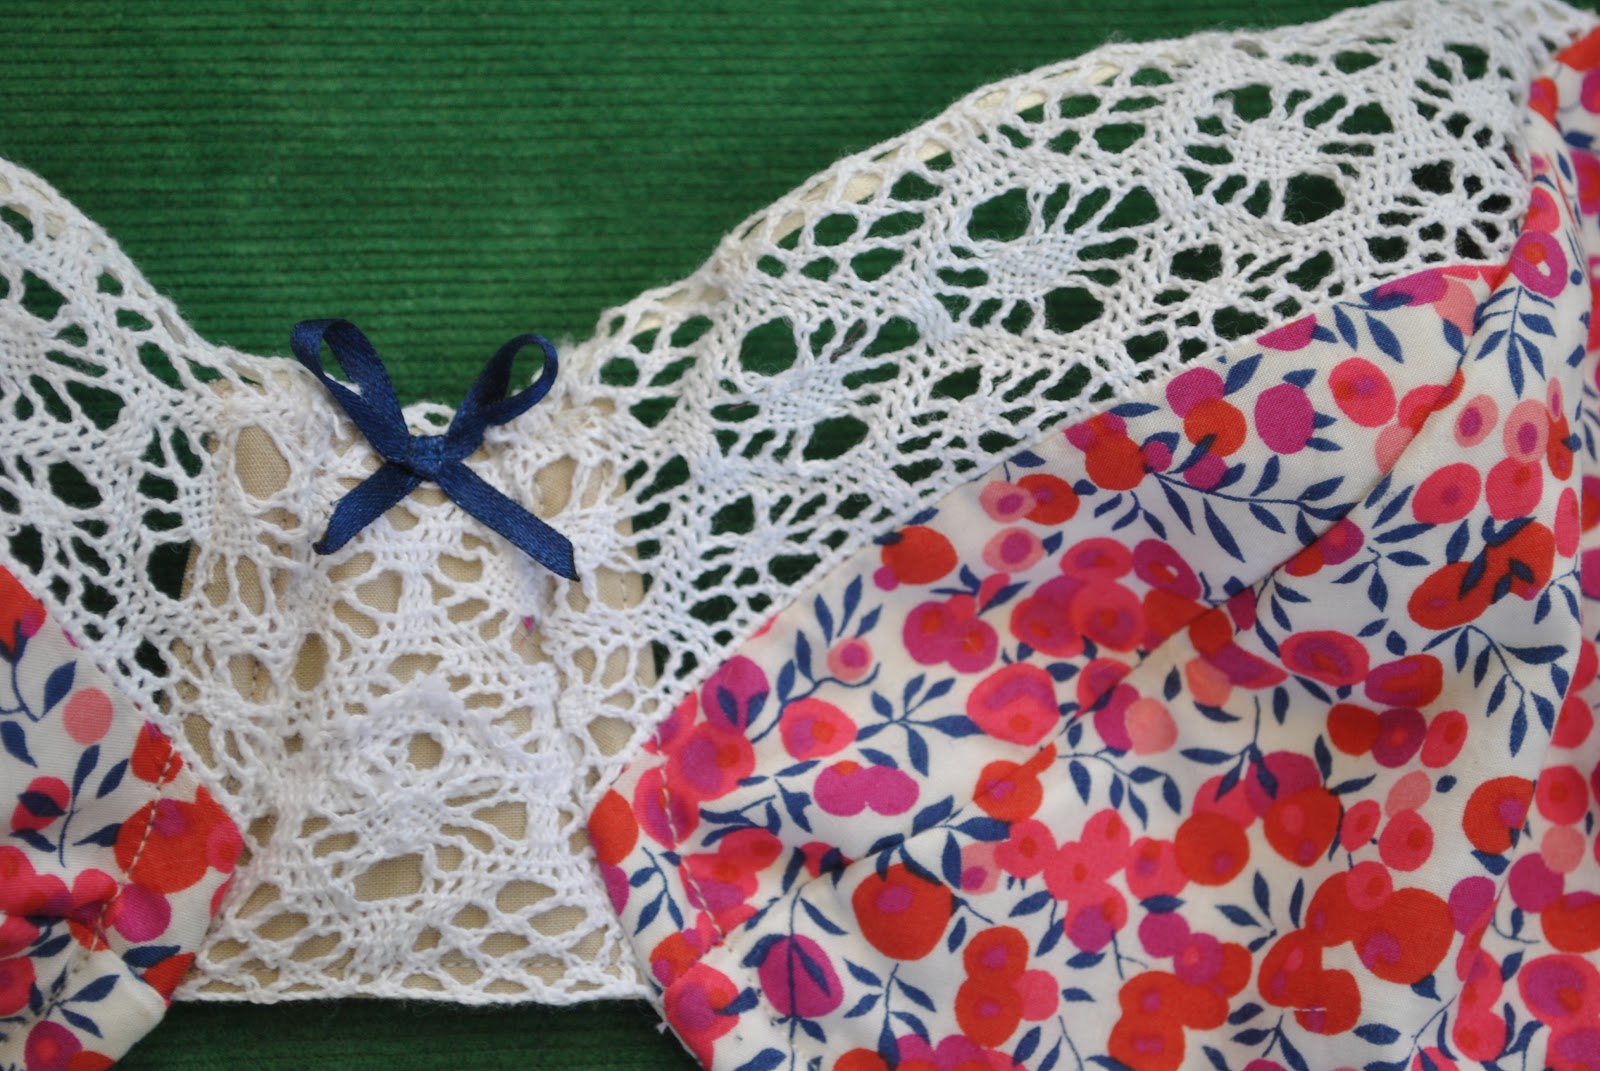
I wanted the fronts to have something white and lacey and not be all solid Liberty, so found some crocheted lace, another long term resident in my lace box.  I backed the lace centre front piece with beige voile leftover from this top, which is kinda invisible against my skin.  The obsessive in me demanded that I construct my underwire casings like so…

so that on the insides of the bra the underwire casing is camouflaged as much as possible
 and there is no bright Liberty peeking through the lace from the right side of the bra whilst it is being worn.

A layer of white cotton jersey knit of a low stretch factor is sandwiched between the Liberty cups and facings; for a small degree of padding.  The edges of the padding pieces are abutted hard up to the stitching lines and hand-basted to the stitching, before machine stitching inside the edge, to the seam allowances.  This ensures the thicker jersey edges abut each other but with no overlapping which would create “ridges”, and no gaps which would create a “ditch”.
The shoulder straps are stabilised with iron-on interfacing and topstitched down the centre lengthways, and the stretch factor is provided by satin stitching a length of ordinary braided elastic to the back lower ends.
I chose a narrow, navy blue satin ribbon to make little decorative bows for the set.  This picks up the tiny navy blue touches in this very pretty print.

So; the theme for February’s stash-busting is Love!  I’m thinking this luvverly, sorta Valentine-y set fits the bill quite well, don’t you??

Details:
Bra; KwikSew 3300, Liberty tana lawn and cotton crochet, my review of this pattern here
Knickers; The Maker’s Journal Tried & True knickers; Liberty tana lawn

Pattern
Description:

This pattern is by The Maker’s Journal.
Everyday knickers; cut to sit low on the hip and cover the entire bottom.  This pattern has been developed for lightweight woven fabrics.
Pattern
Sizing:

Australian sizes 8-14 (hips 88cm-108cm); I cut the size 10
Did
it look like the photo/drawing on the pattern envelope once you had finished
sewing it?

Pretty much.
Were
the instructions easy to follow?

The instructions are a bit simplistic; if you know how to attach knicker elastic already then you will be fine.
What
did you particularly like or dislike about the pattern?

The fact that this pattern is for woven fabrics is marvellous, opening a whole new world of lingerie in Liberty.  I love that they are regular bikini knickers; and do not look baggy like bloomers or boxer shorts.  They look like real knickers.  As well, these are really very very cute!!
The panty liner piece was too tiny for my tastes, and I modified the pattern to allow a more substantial one.
The required lengths of elastic for legs and waist are not provided with the pattern and you have to visit the company blog to find out how to calculate this information.  Basically; it’s the measurement of the openings, minus a third.

Kinda oddly, the instructions did contain directions on how to attach a patch pocket onto your knickers.  Yep.  It outlines how to sew a patch pocket to your undies, but nothing on the measurements of knicker elastic, and how to attach the same.  Hmmm, interesting priorities there…

Fabric
Used:

Liberty tana lawn, cotton jersey for the gusset

Pattern
alterations or any design changes you made:
I lengthened the crotch on the lower front and accordingly shortened the crotch on the back.  This allowed me to install a much more substantial panty liner.

Would
you sew it again? Would you recommend it to others?

Definitely, I will be sewing this one again and again and again!  I do
recommend this pattern to others.  Just bear in mind that the elastic measurements are not provided and you have to MYO  (measure your own)  
Conclusion:
I love it!!   I will use this pattern over and over again; no doubt about that.  I do love Liberty prints, but the cost of them here is prohibitive.  Being able to run up a pretty lingerie set in this very lovely stuff is the perfect way to add a touch of Liberty prettiness to your life, in a very wearable and useful form; without breaking the bank.  I’m happy!
pinterestmail

Clarissa

Remember I mentioned I had bought something rather exciting, which I was dying to show off here??
Well, here she is!
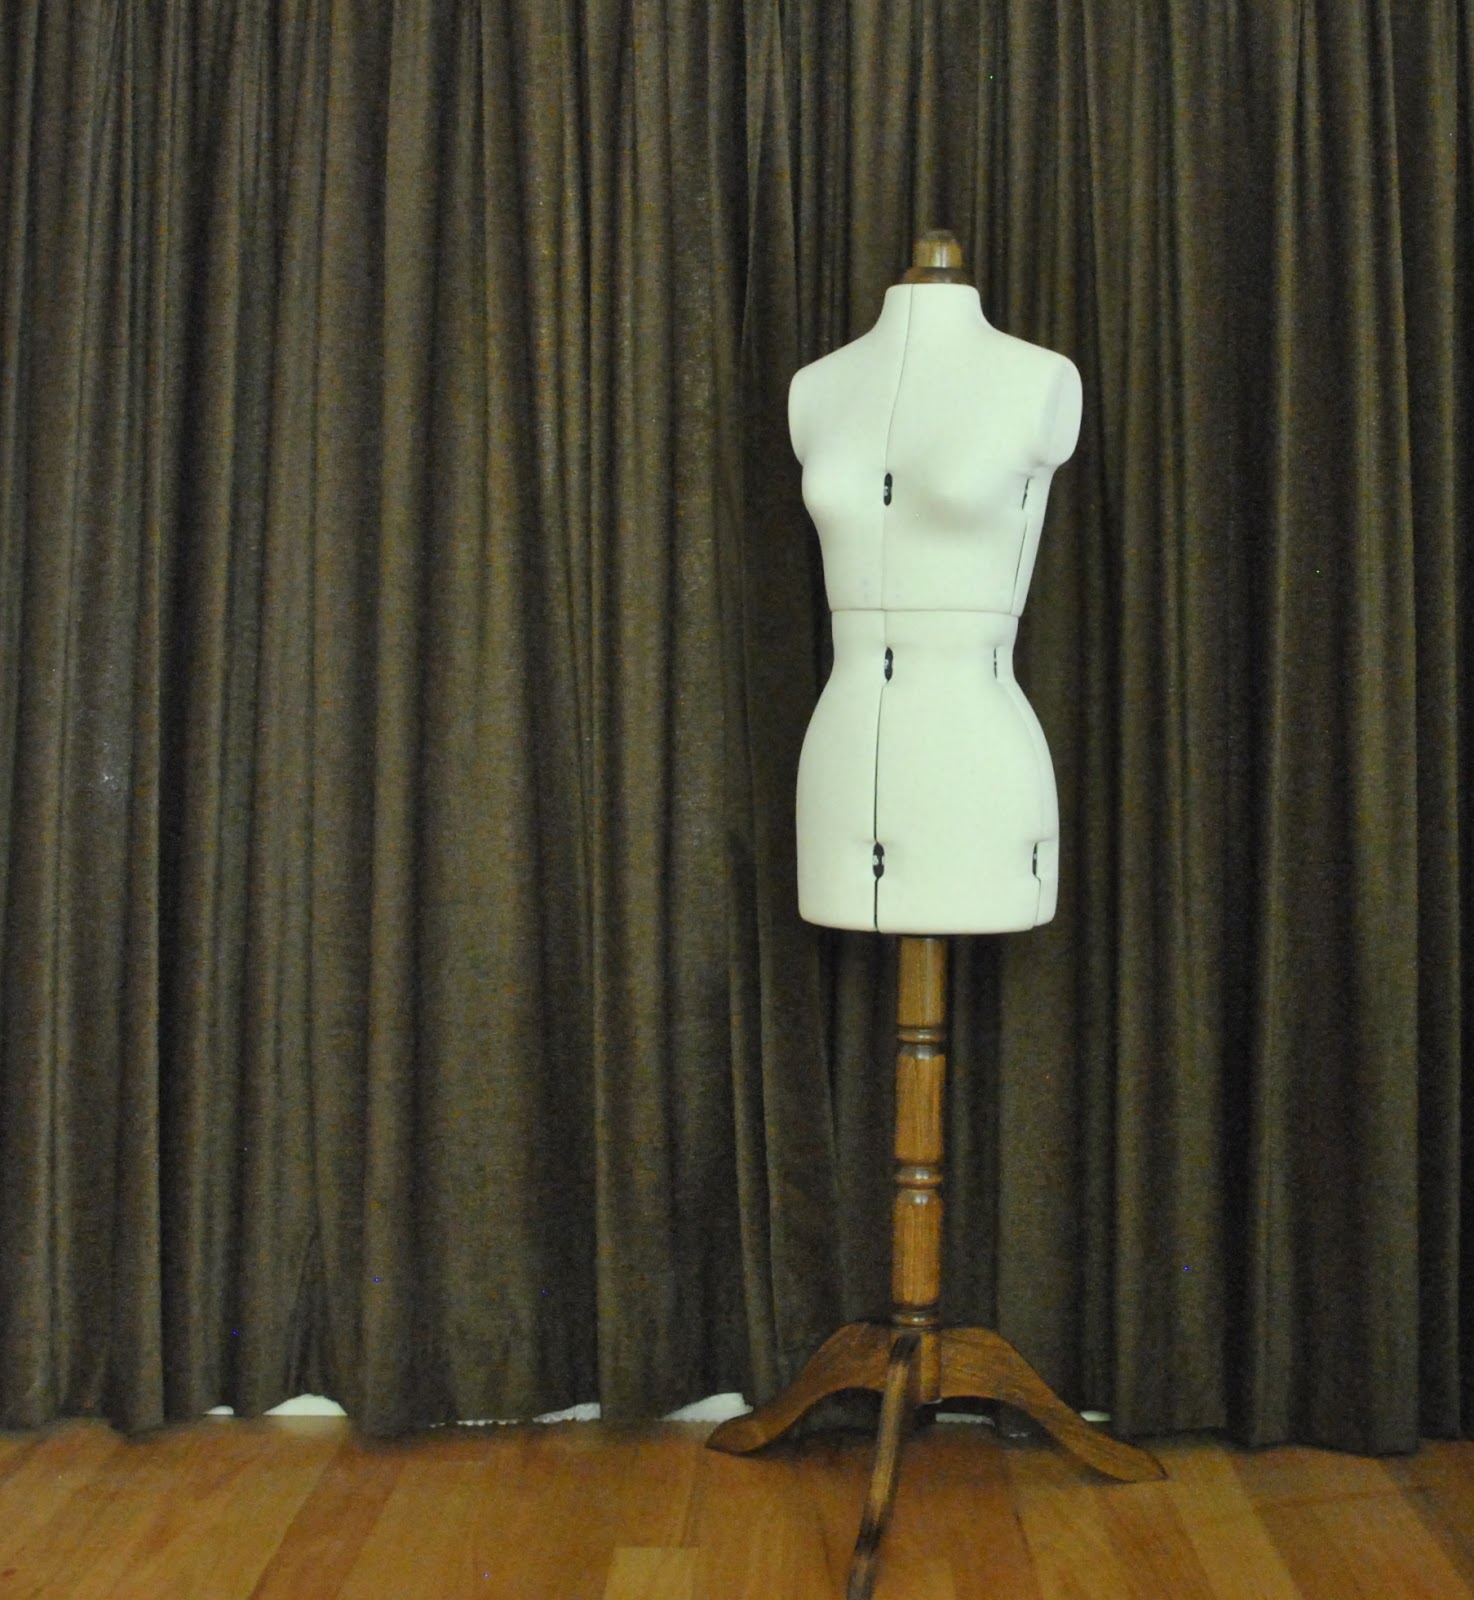
Yesterday was Cassie’s birthday, and I knew that she has coveted a dressmaker’s dummy for a while.  Actually I have been searching in a lukewarm sort of a way for a few years; ever since her birthday two years ago actually (eek!)….  poor Cassie!  Well, this birthday is an important one so I got serious at last.  And I didn’t want to settle for something tacky; I wanted to get her really nice one; solid, well made, classy, attractive; one to last a lifetime.  In my opinion, a good dress form is just about indispensable to the serious seamster.  And even if you’re not, they can just look nice standing in the corner displaying a funky dress or scarf or necklace too!
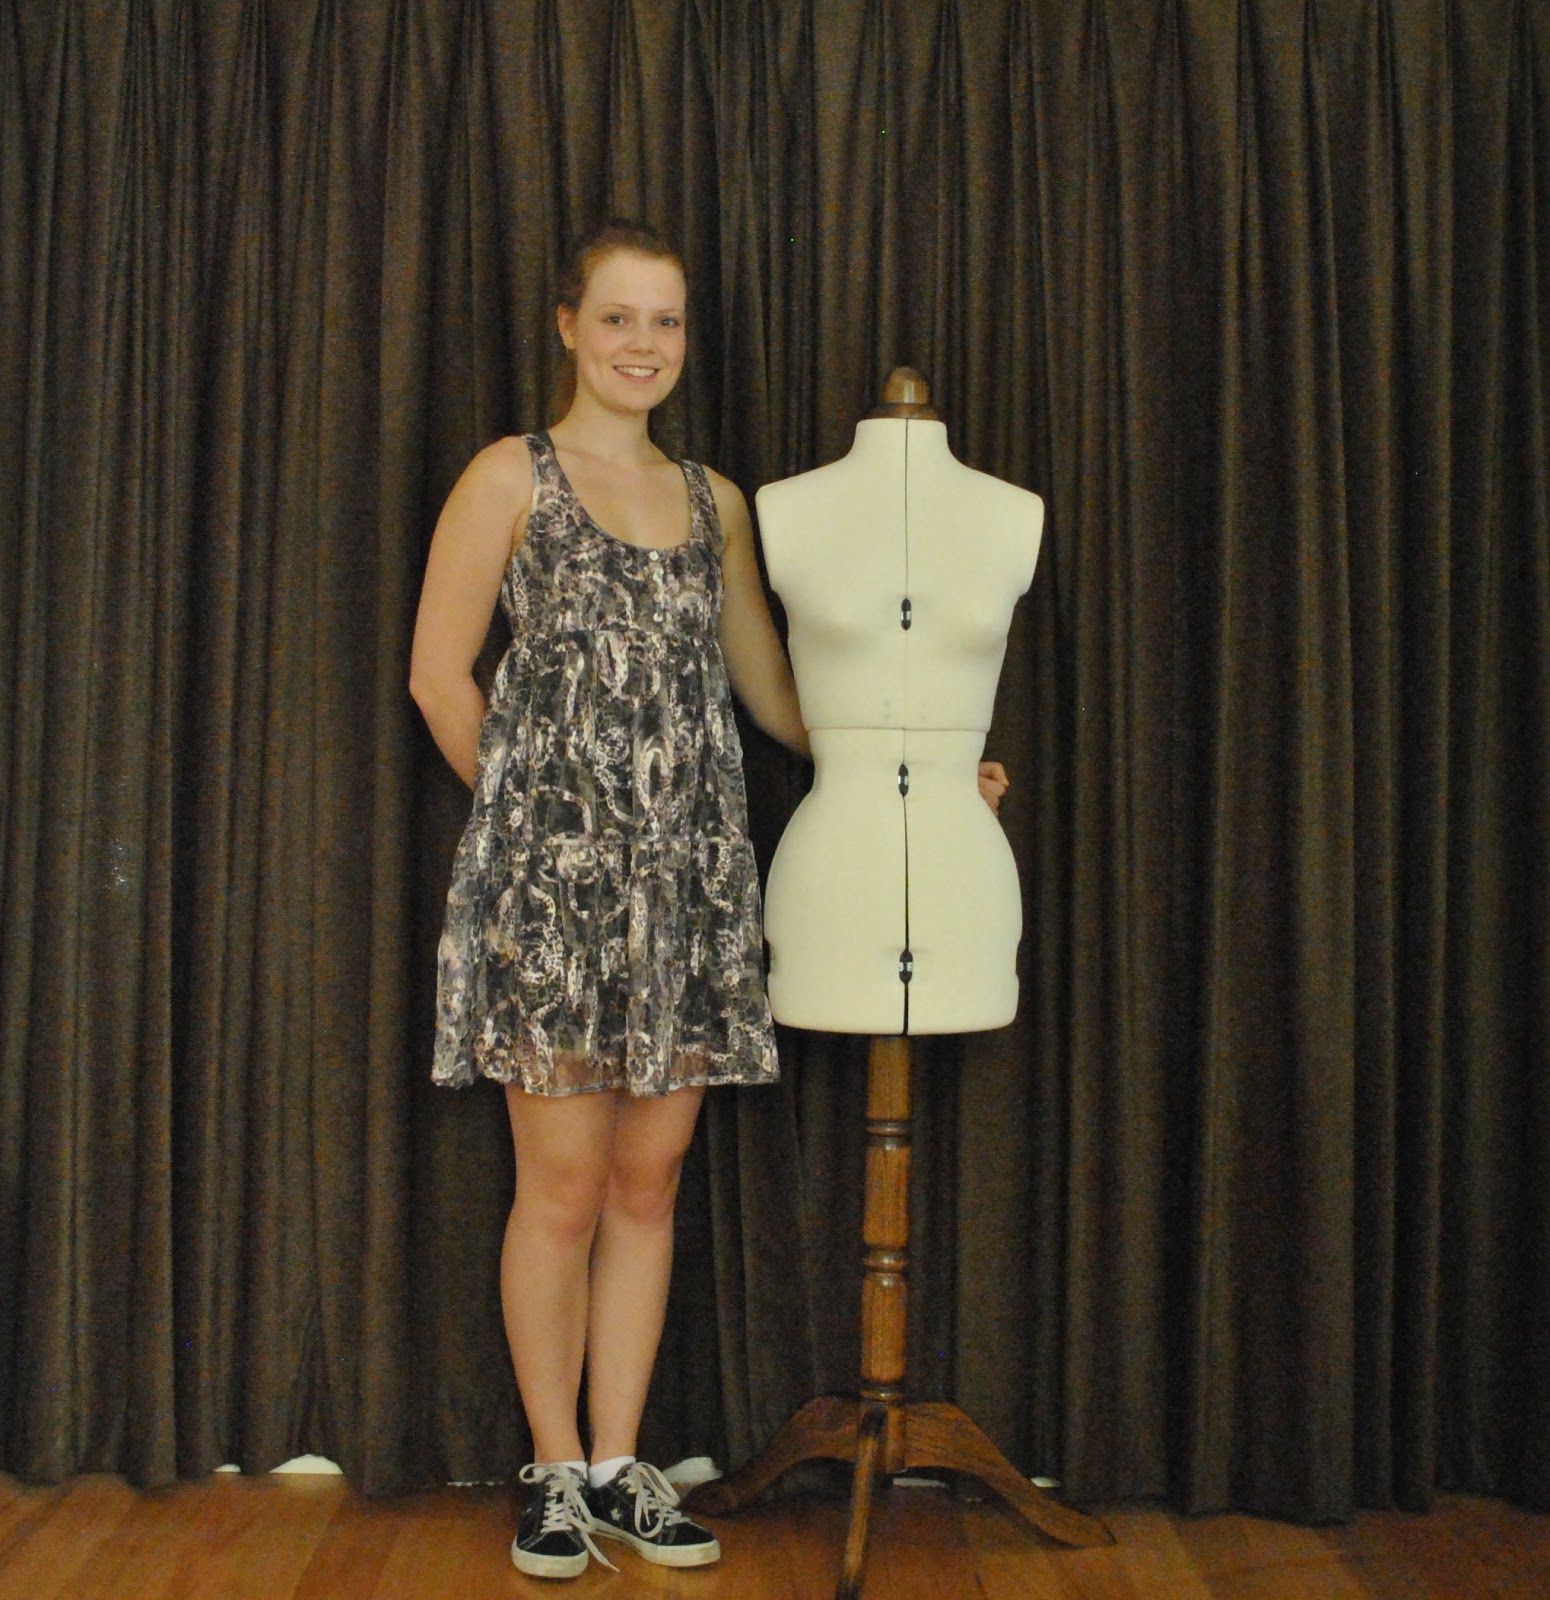
Cassie has named her Clarissa.  She is the small Lady Valet,  from Wm. C. Jackson and Co; an Australian company.  She is height and width adjustable.  Isn’t she gorgeous?!
 It couldn’t have been easier, I put in an order, paid, and a box turned up a week later on my doorstep.  No fuss, no hassles whatsoever.
Well, no hassles if you don’t count that it took me a few years to find her, that is!
My first port of call was to check out Dummies WA, the local business that made my own beautiful, solid-as-a-rock Bessie, who has appeared here on my blog loads of times.  But her maker has retired and the business is no more  :((
I looked briefly at the ones in Spotlight, but they only had some very ugly, very flimsy models, covered in dreadful bright red nylon.  Aesthetics are important to me; and of course you can make a stretch knit cover to hide a hideous colour; in fact I will probably make a cover for Clarissa too.  But flimsiness cannot be fixed!
So I ventured online.. scary stuff.  I’m nervous about purchasing something big and expensive online.  I prefer to buy local, deal with a real person, and have the thing right there and then; but I couldn’t!
There were some really good European and British companies, which did not seem to post to Australia.  And probably would have been astronomical if they had.  I found a few really beautiful Japanese ones, but I couldn’t work out how to translate the websites.
So I was pretty relieved when I stumbled upon this one.  She seemed perfect in her picture online, and she is!
Cassie is thoroughly stoked; therefore so am I  🙂
Incidentally, Cassie is wearing here her own version of the Burdastyle 05/2010 sundress 114.  I made another version of this same pattern for her here, and one for myself here.

Please note: this is not an endorsement; although I am a very happy customer! and I did not receive any freebies or discounts.
Later edit: below, a better picture of Cassie’s dress.  I forgot I had taken this one, from last Christmas 🙂
pinterestmail

the paper doll project

3rd February – 8th February
(if you’re new, I’ve pledged to wear only clothes handmade by me this year and to sketch my daily outfits in my Fashionary.  I’m calling this the paper doll project)


A thought:
would it be helpful for me to list the garments with links to the construction posts and real life photos?

pinterestmail

Burda 7767; a Rogue’s Gallery

A quick head-count and I realised I’ve made enough more of these shirts to put together another Rogue’s Gallery of Burda 7767’s…
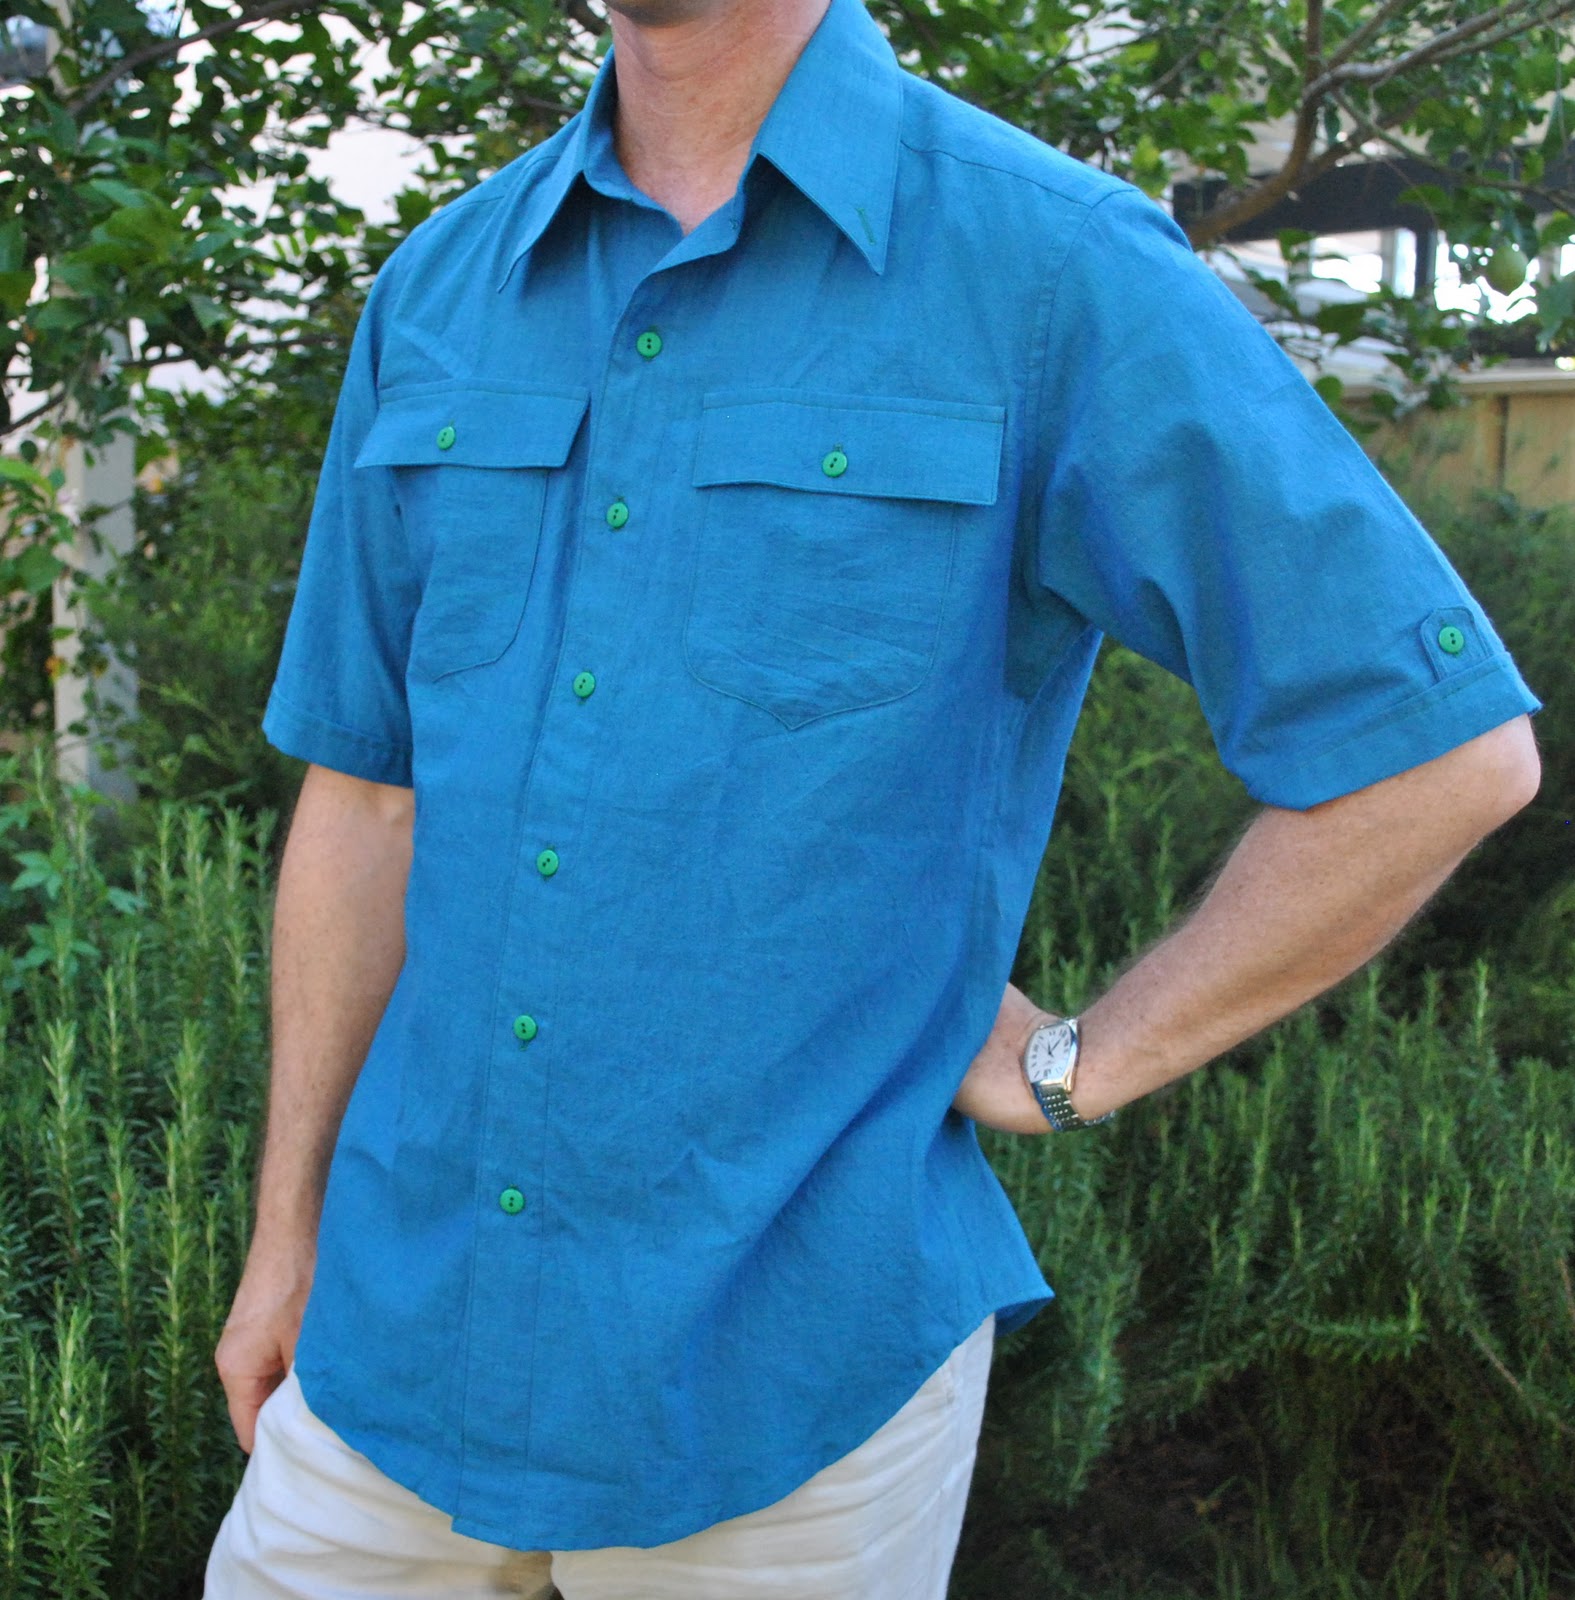
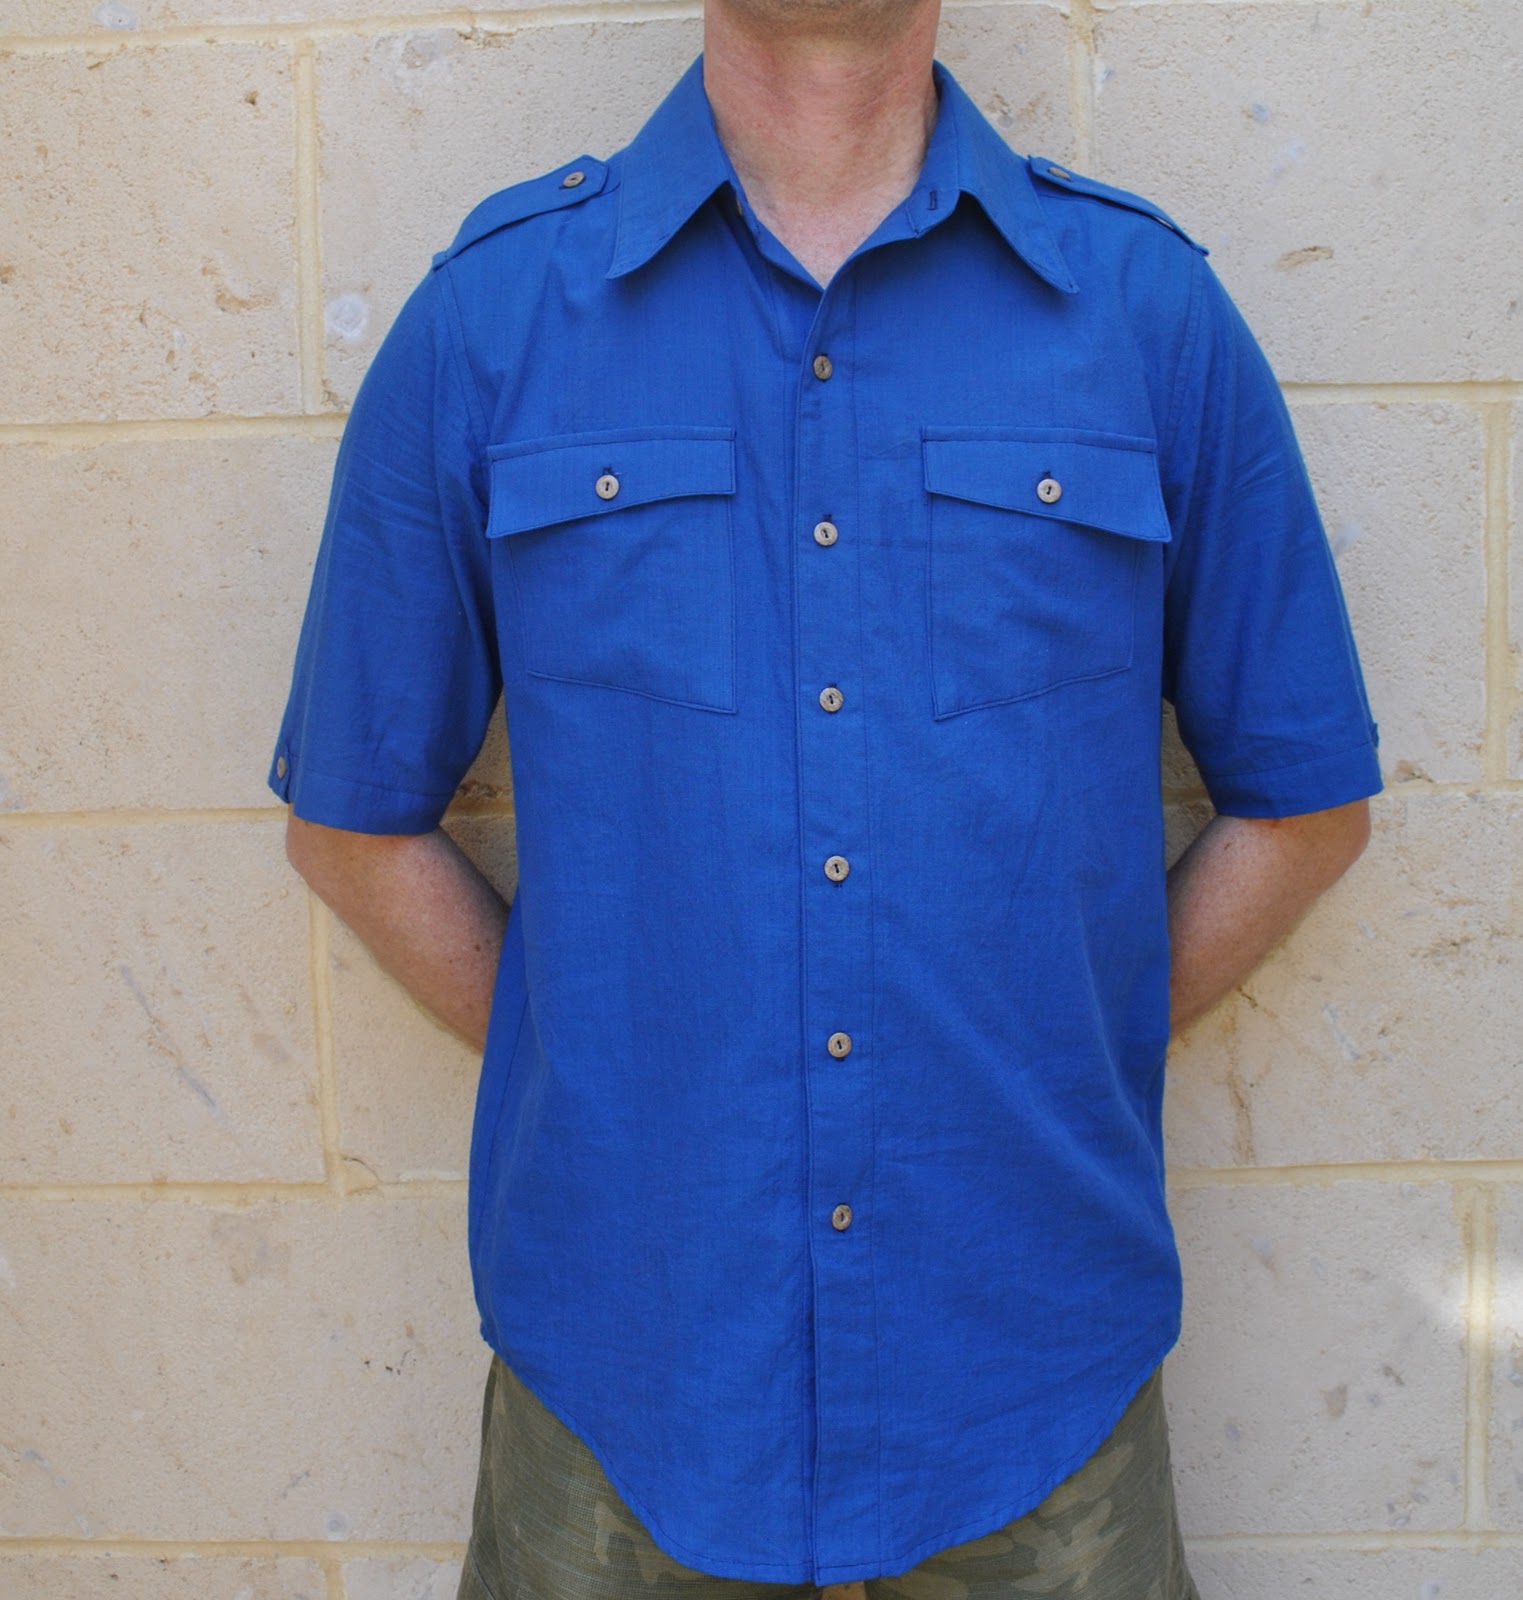
This is hands down my most used pattern evah… I have used it 27 times!!  My first Burda 7767 Rogue’s Gallery contained 14 shirts and now this new gallery features another 13 shirts.  Will there be more…? of course!
It is so easy to add little bits and bobs to this most classic of patterns to create a variety of shirts each with their own distinct character…  each shirt is linked to the original construction post, and my variations to the basic pattern are listed after the link.  My original review of this pattern is here.

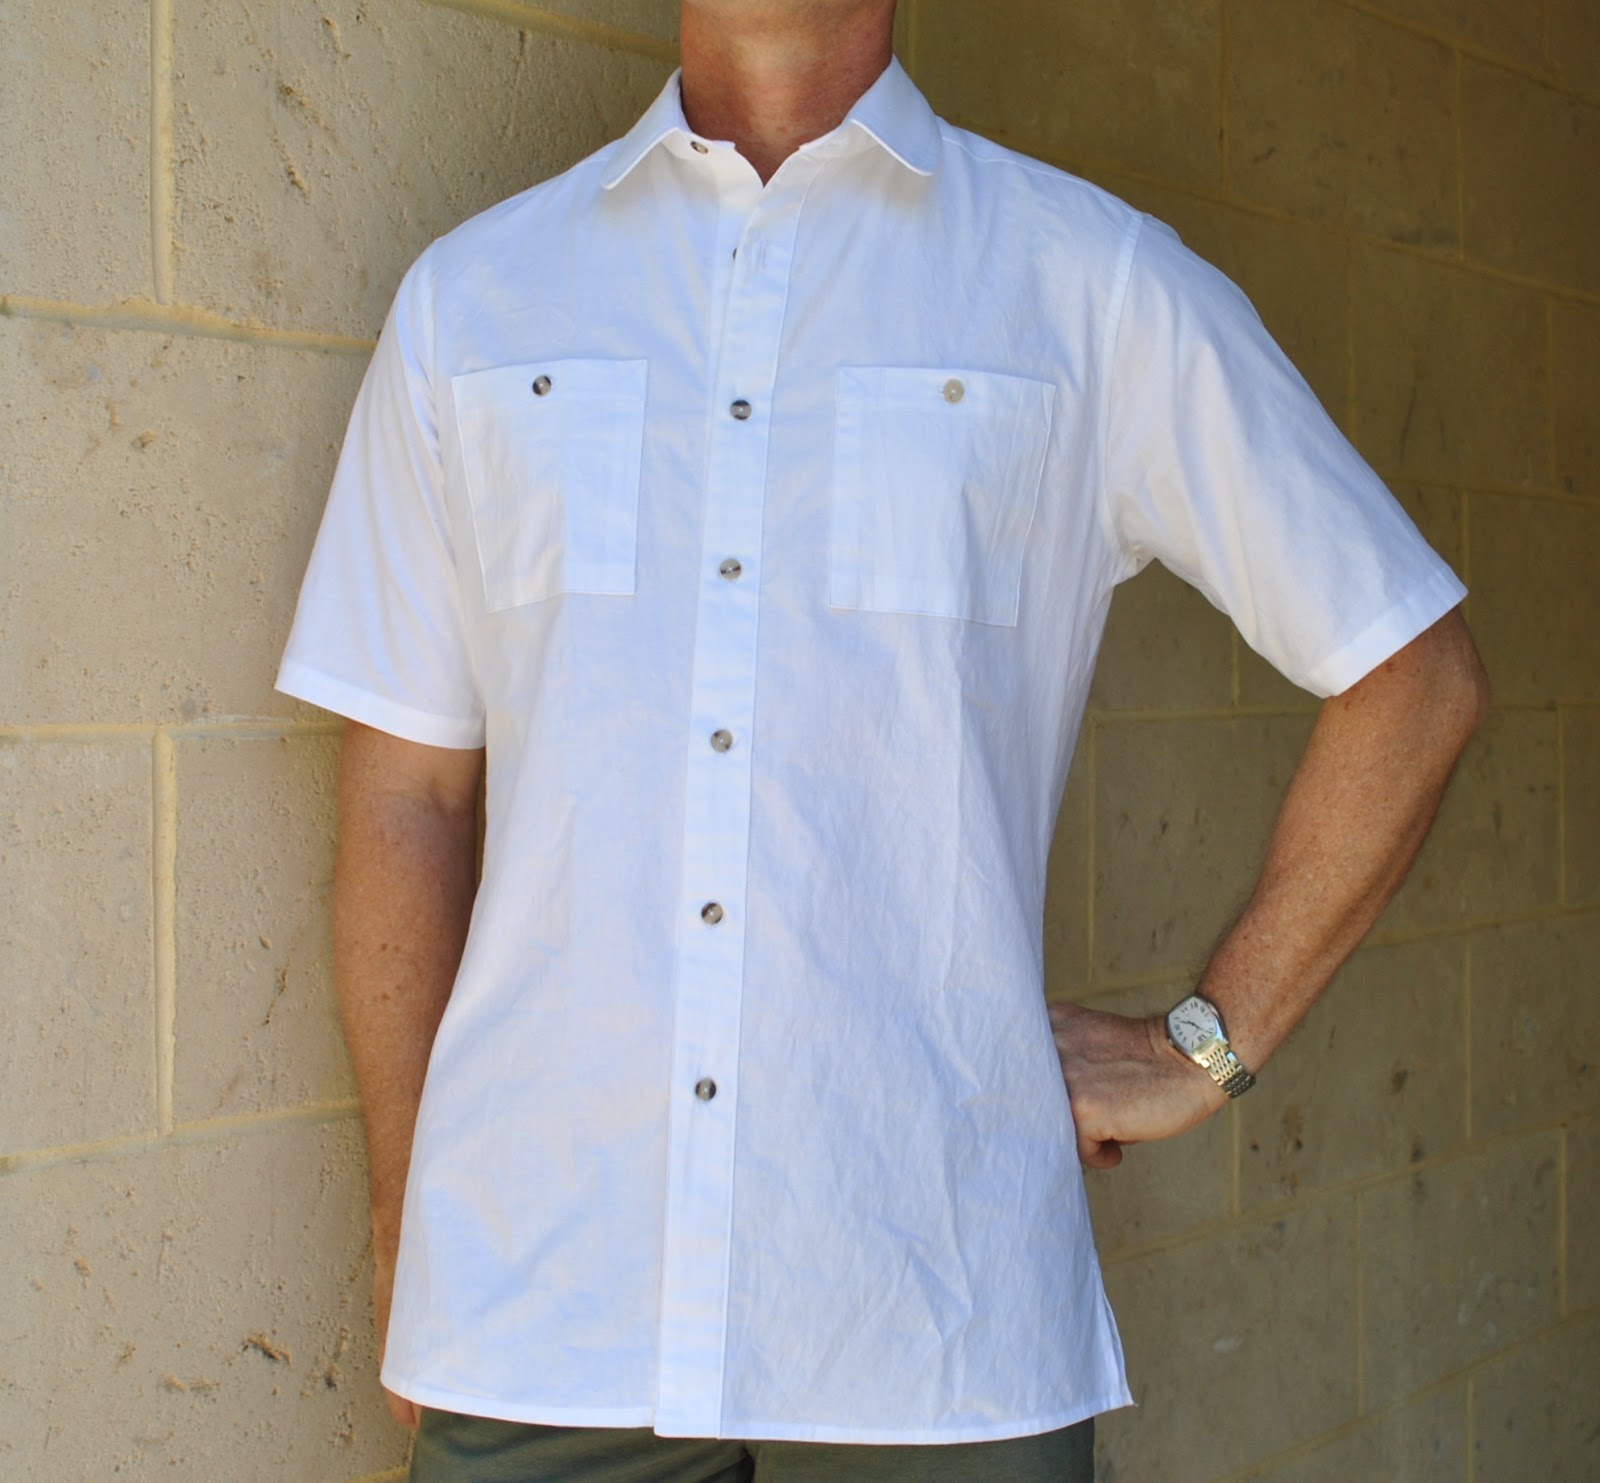
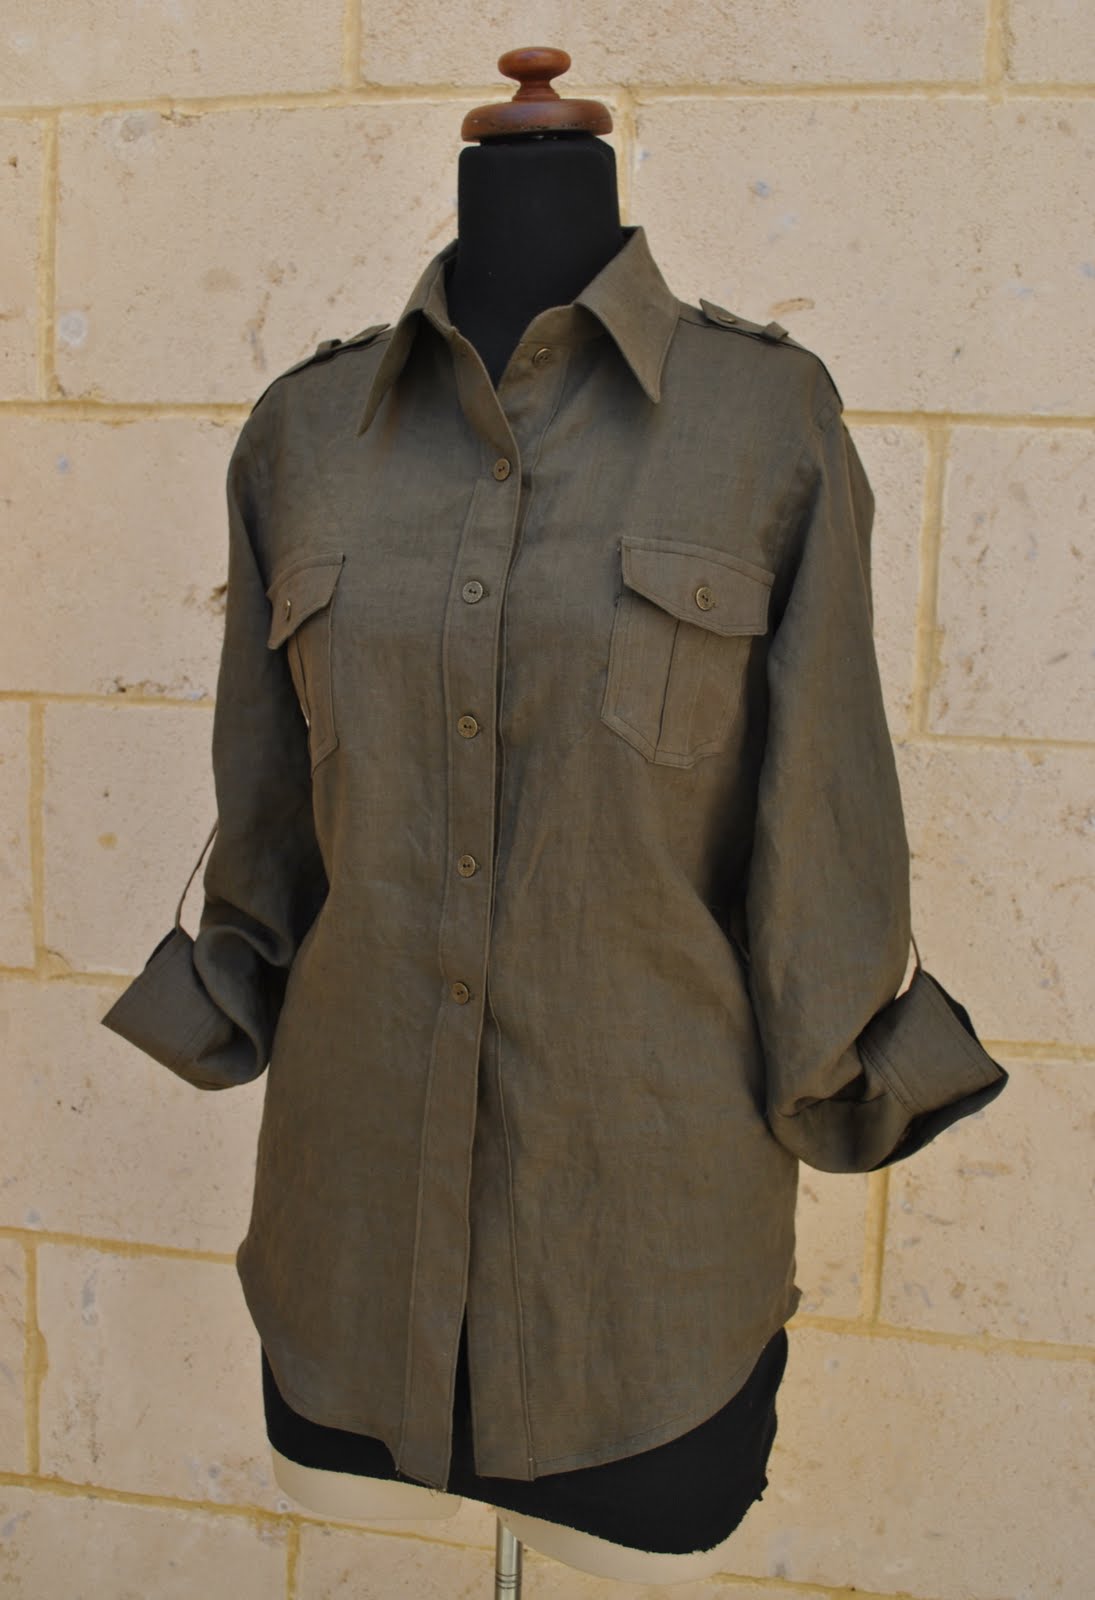
version fifteen: a linen army style shirt for me.  Added epaulettes, two bellows breast pockets with flaps, sleeve tabs, folded-out button band, curved hemline.

version sixteen: linen shirt for Craig.  Curved edge breast pockets with curved edge flaps, double buttons on cuffs and pocket flaps, curved hemline
version seventeen: cotton shirt for Dad.  Short sleeves, curved edge pockets with curved edge pocket flaps, curved hemline.
version eighteen: cotton shirt for Craig.  Short sleeves, cuffed sleeves with shaped tabs, shield-shaped pockets with oversized rectangular flaps, curved hemline.
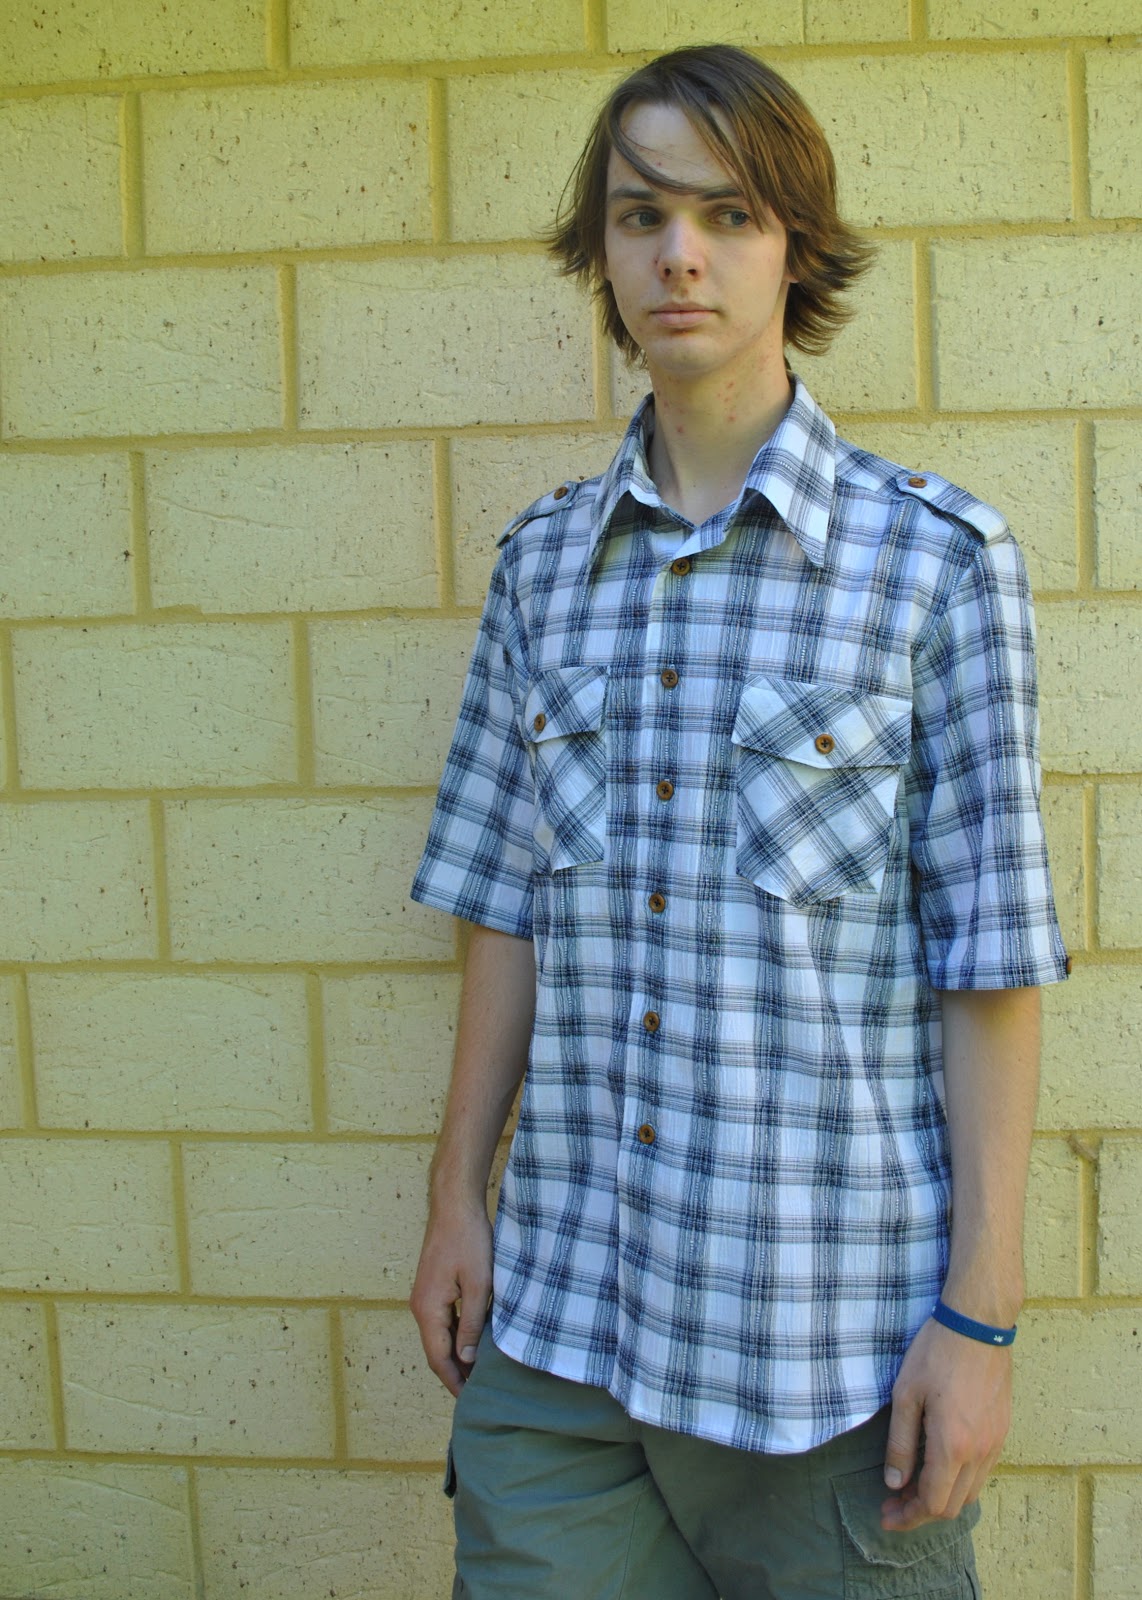
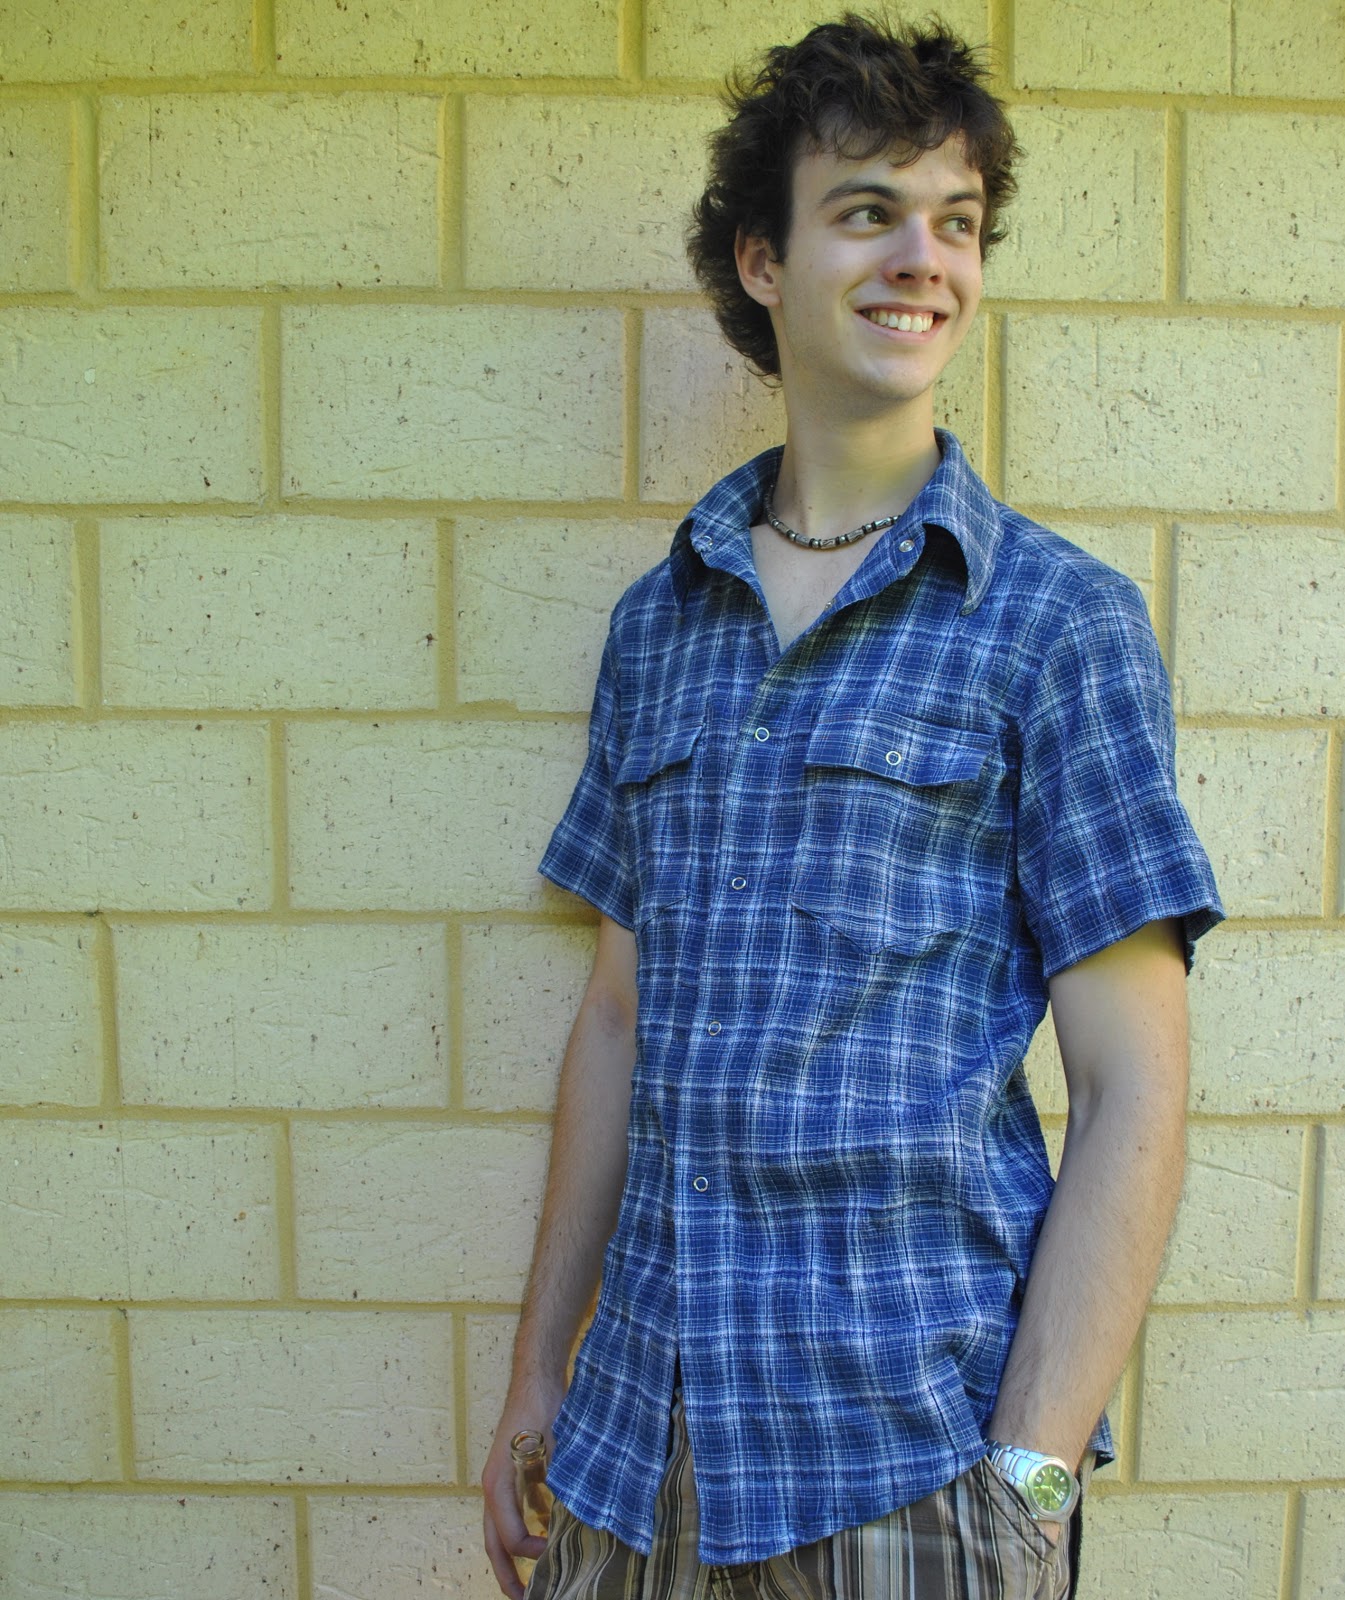
version nineteen: crinkly shirt for Sam.  Epaulettes, bias-cut pockets, bias pocket flaps, curved hemline.
version twenty: slightly stretchy, crinkly shirt for Tim.  Short sleeves, breast pockets and flaps, curved hemline, closely fitted to the body.
version twenty-one: cotton shirt for Craig.  Shorts sleeves, curved hemline, epaulettes, slanted breast pockets with slanted pocket flaps, tabs on sleeves
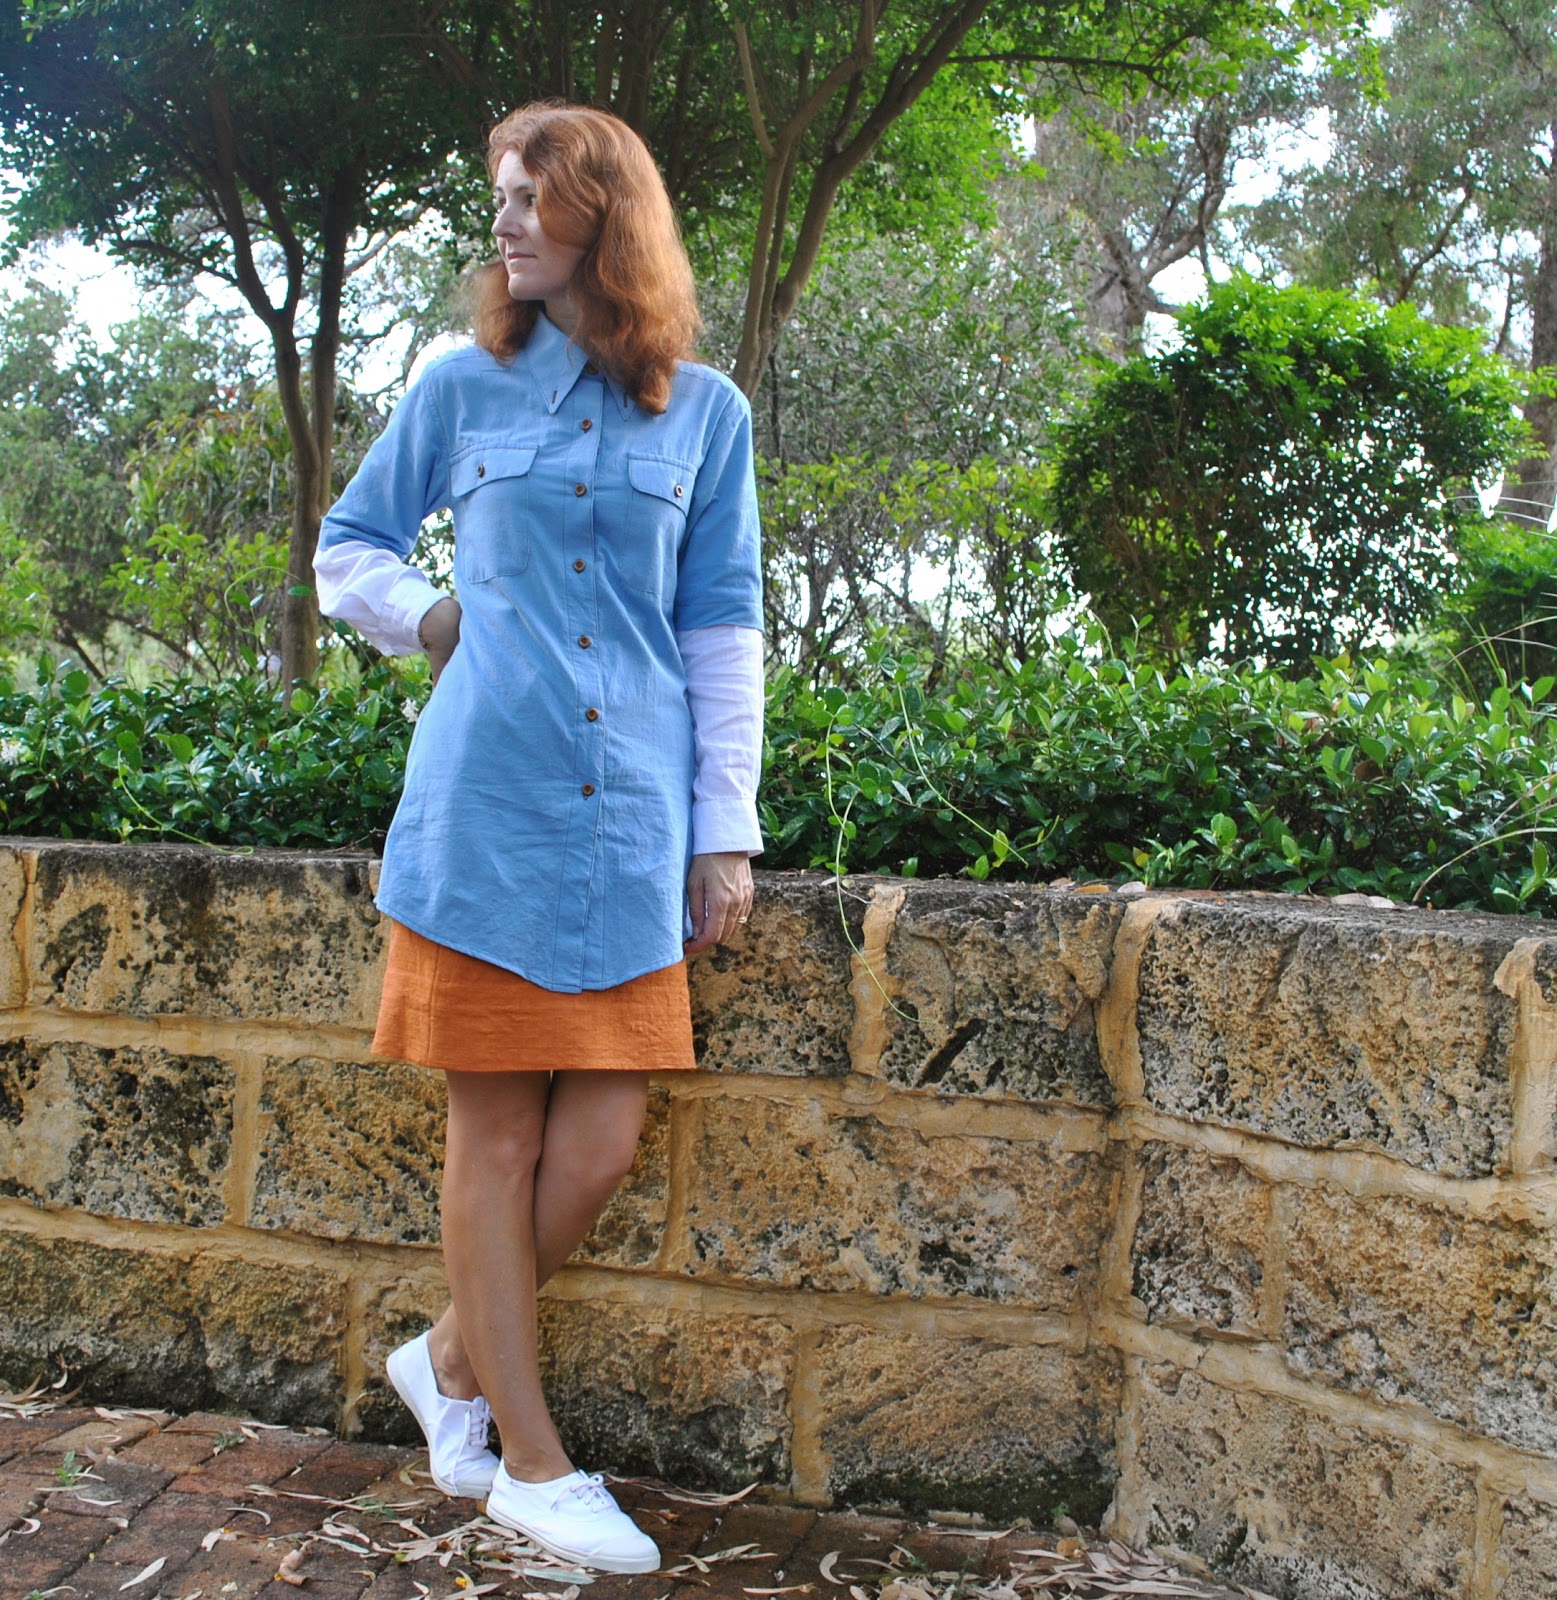
version twenty-two: cotton shirt for me, now belonging to Cassie and worn as a dress.  Super long length, a curved hemline, and with double, layered sleeves;  a long sleeve linen sleeve underneath a short cotton sleeve.  Square pockets with arrowhead pocket flaps and a button-down collar.
version twenty-three: a linen shirt for Dad.  Bellows breast pockets with arrowhead pocket flaps.  Curved hemline.
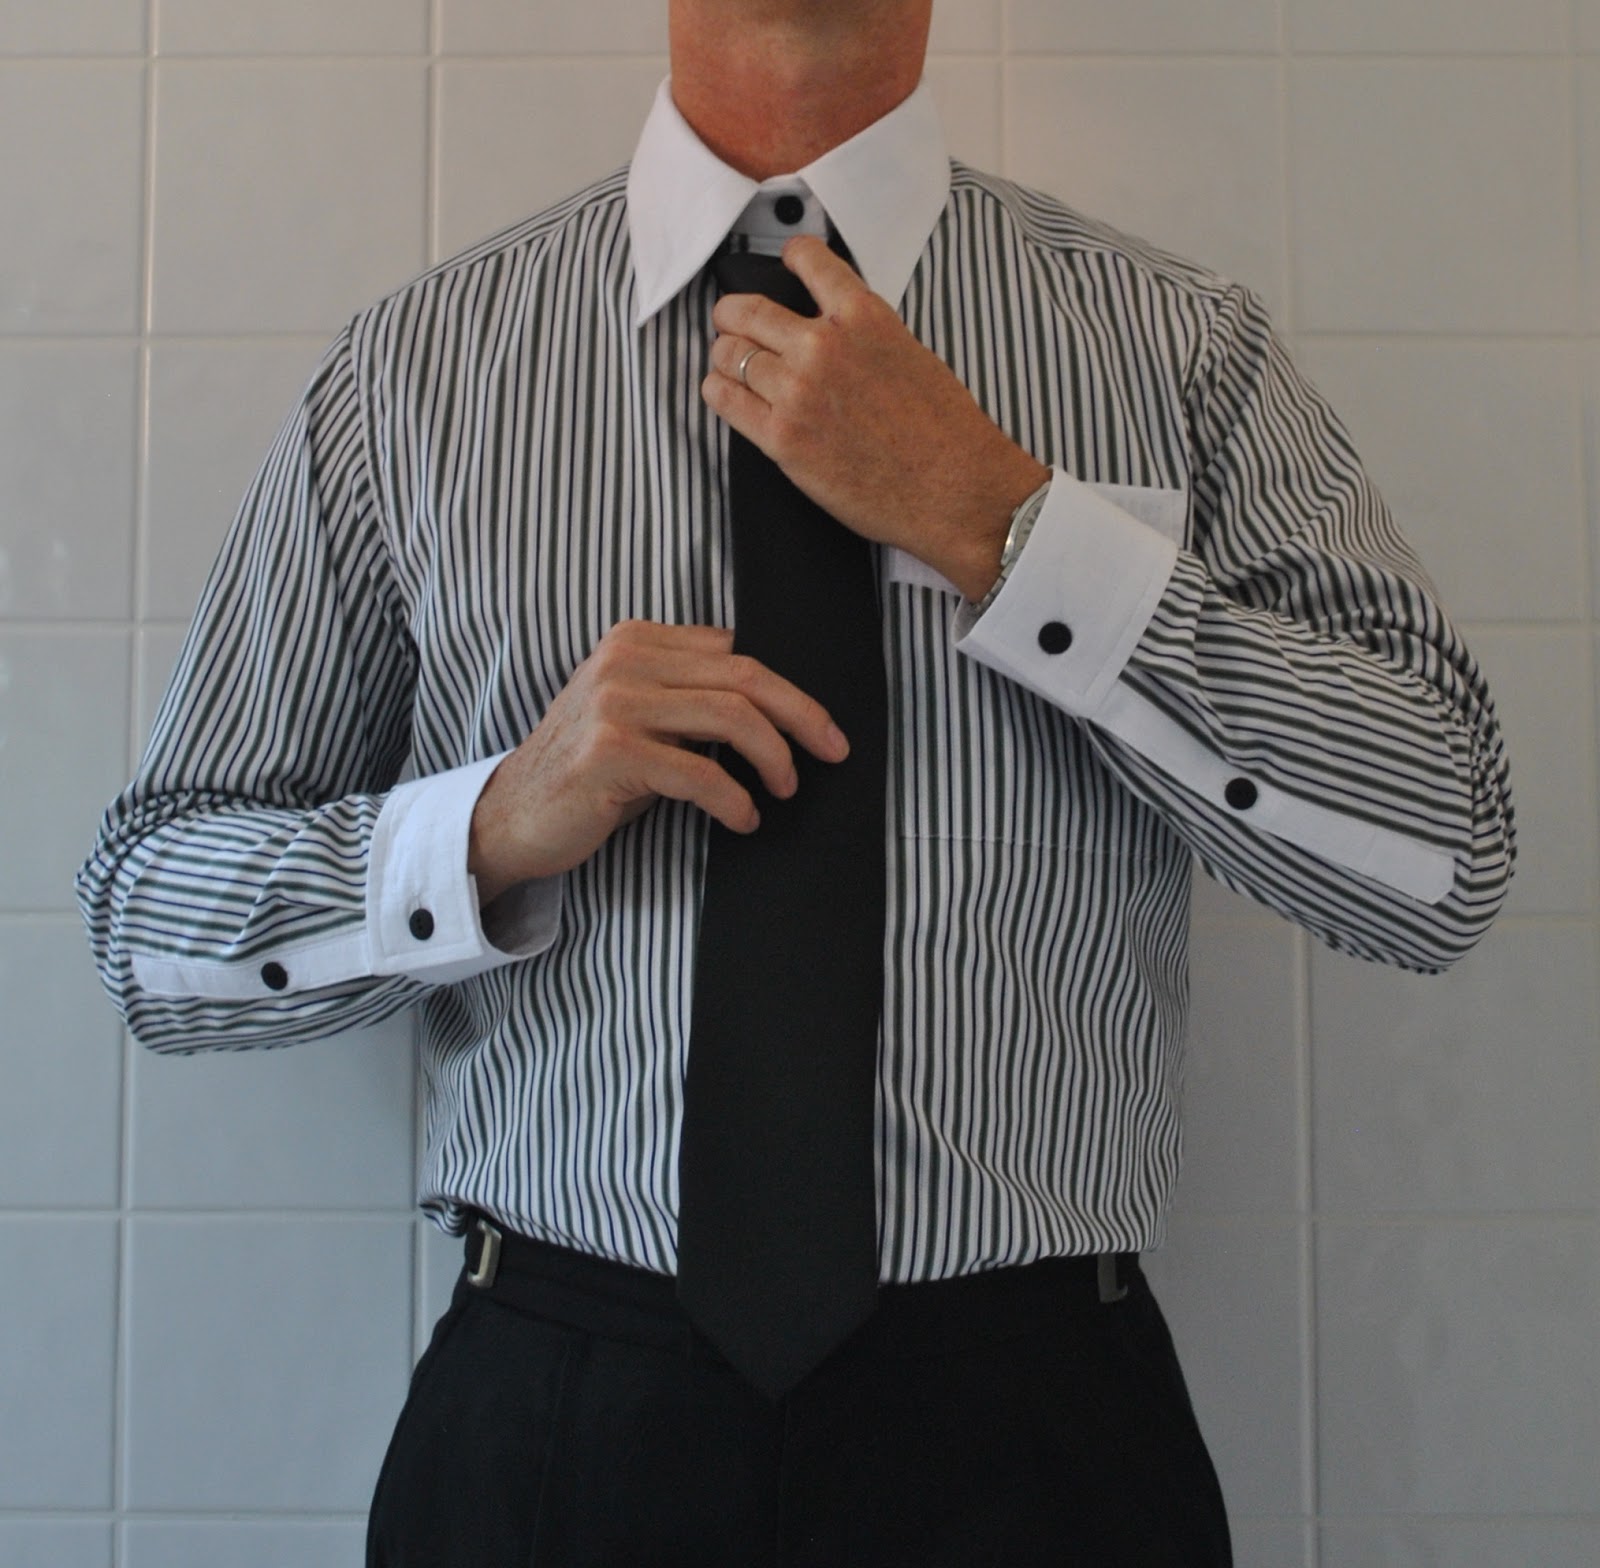
version twenty-four: a business shirt for Craig.  Contrasting white collar, collar stand, cuffs, sleeve placket, pocket panel and button bands.  Curved hemline.
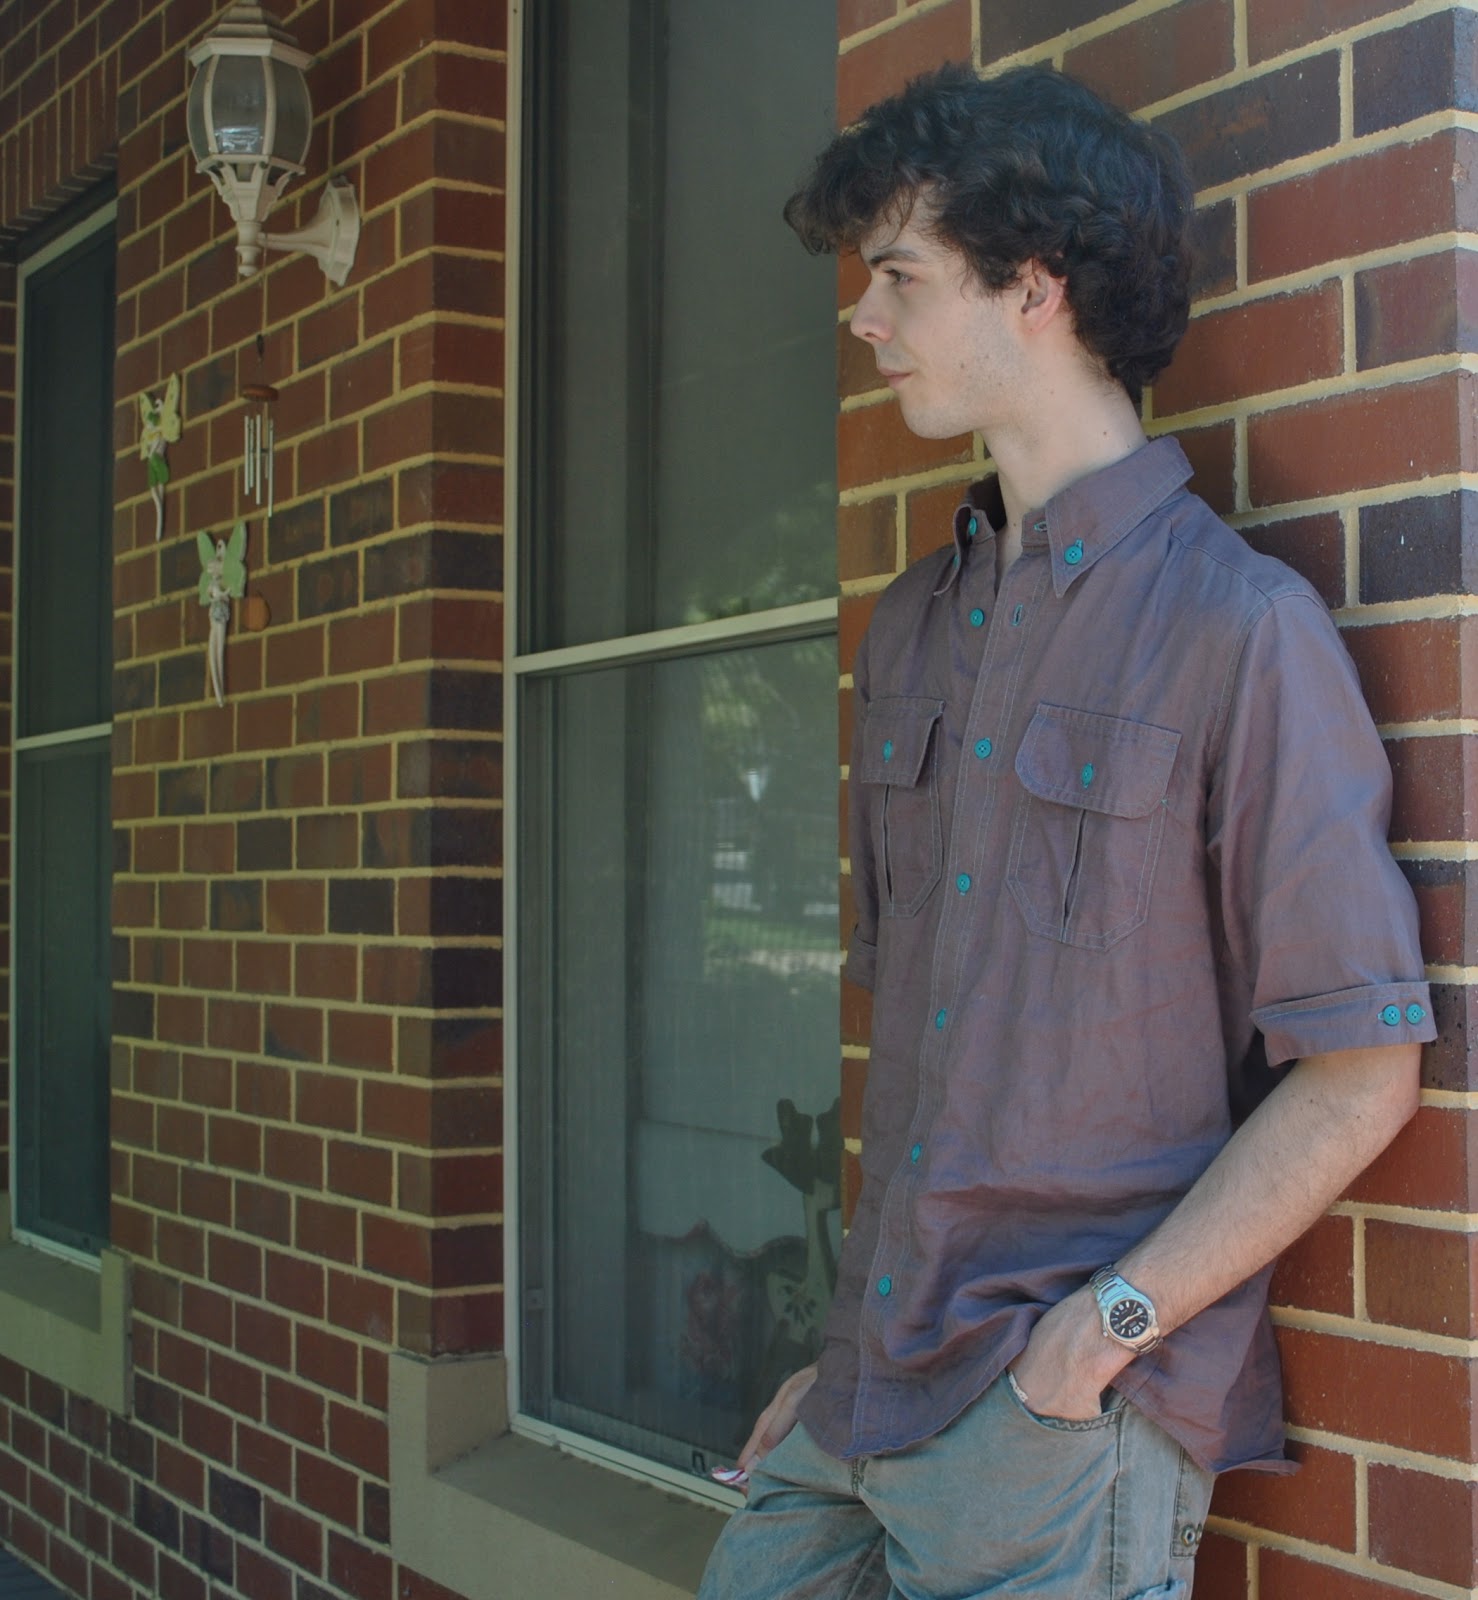
version twenty-five: a linen shirt for Tim.  Short sleeves, curved hemline, button down collar, bellows breast pockets with curved pocket flaps, cuffed sleeves with featured buttons
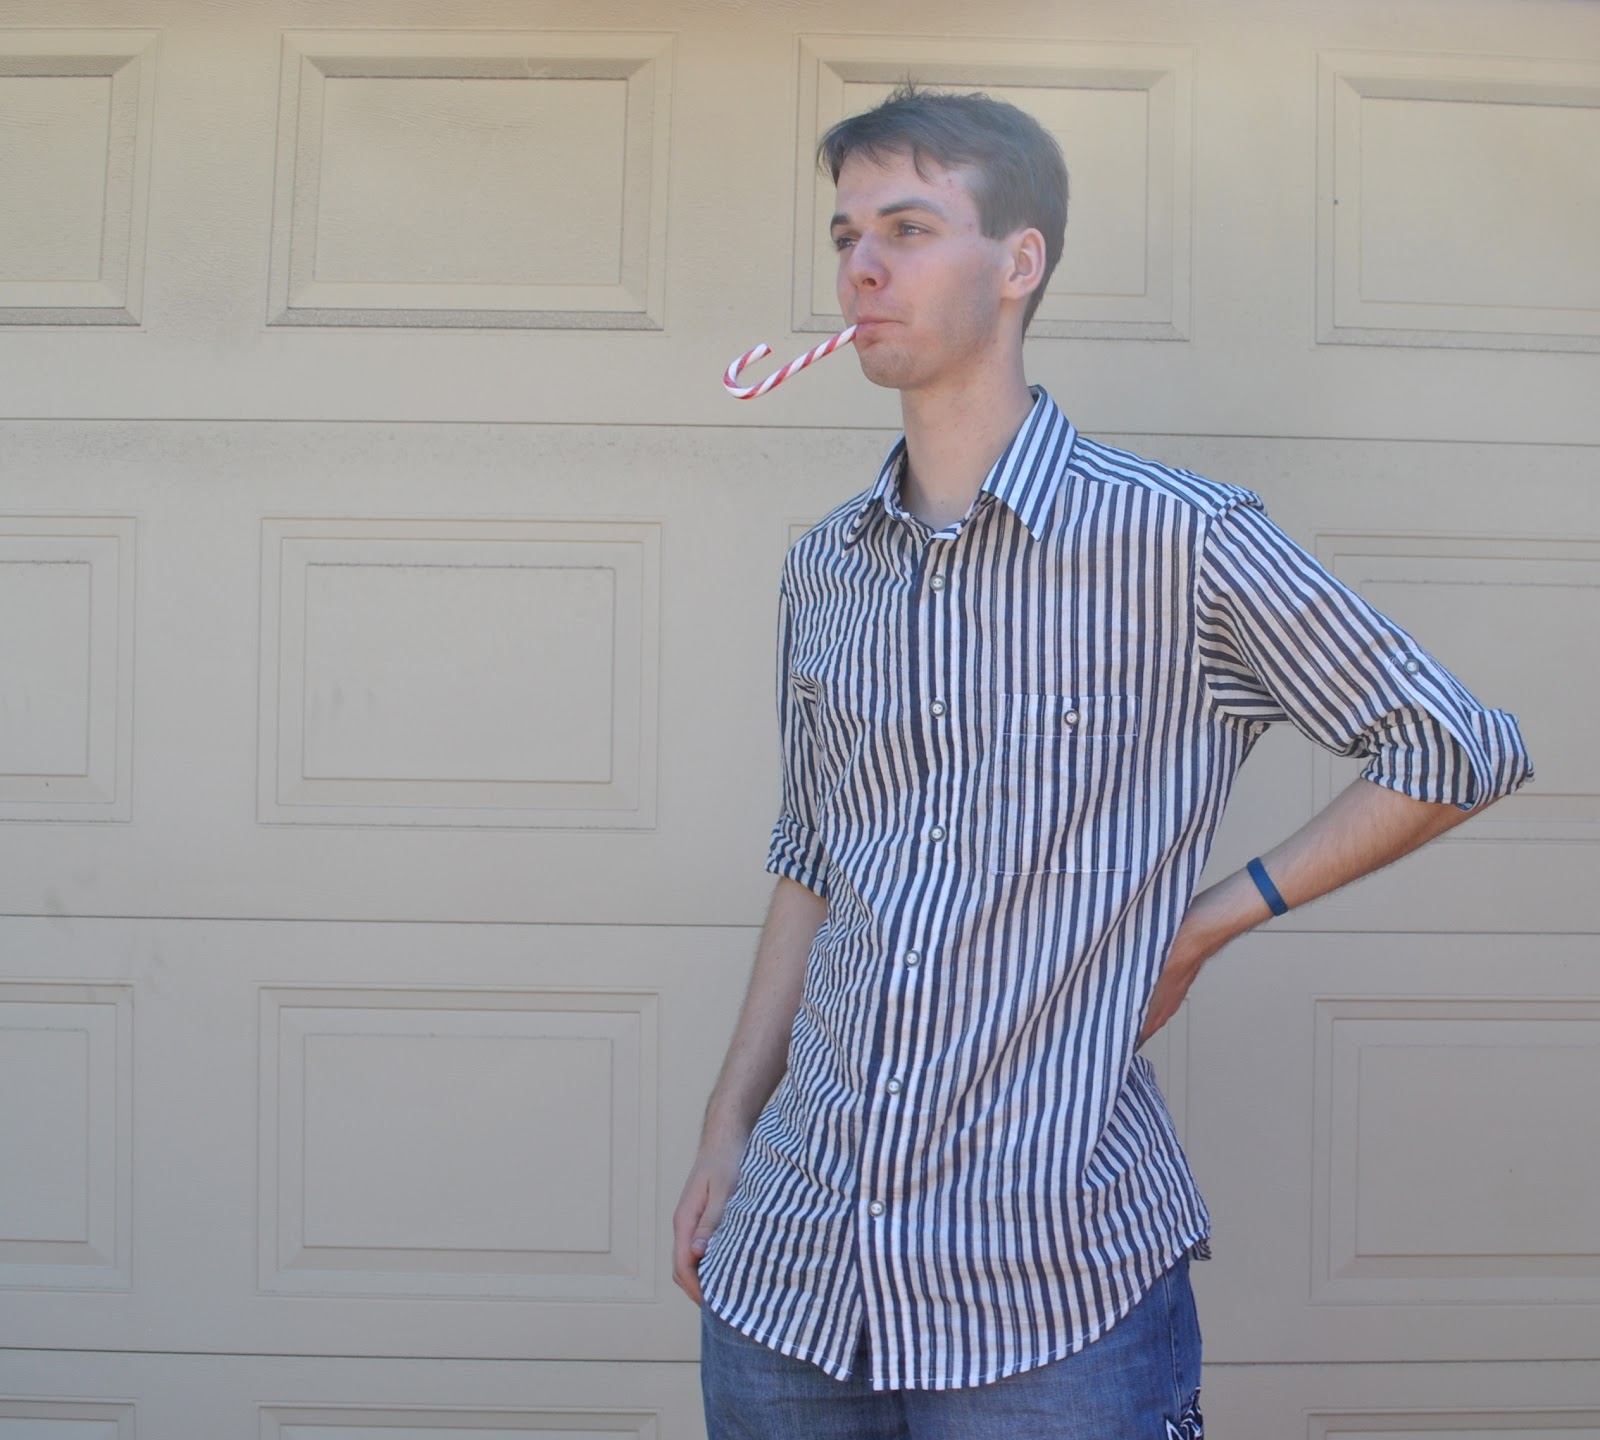
version twenty-six: a crinkly shirt for Sam.  Sleeve tabs, curved hemline
version twenty-seven: a cotton shirt for Craig.  Short sleeves, club collar and split side seams.  Square breast pockets
Trivial fact; that post with the Burda 7767 review and also featuring me wearing an outfit I now consider to be rather hideous; holds the bronze medal in page views on my blog.  This is completely amazing to me.  I have no idea why people would find and randomly hit upon that post!
pinterestmail

Shell-pink pleats, please!

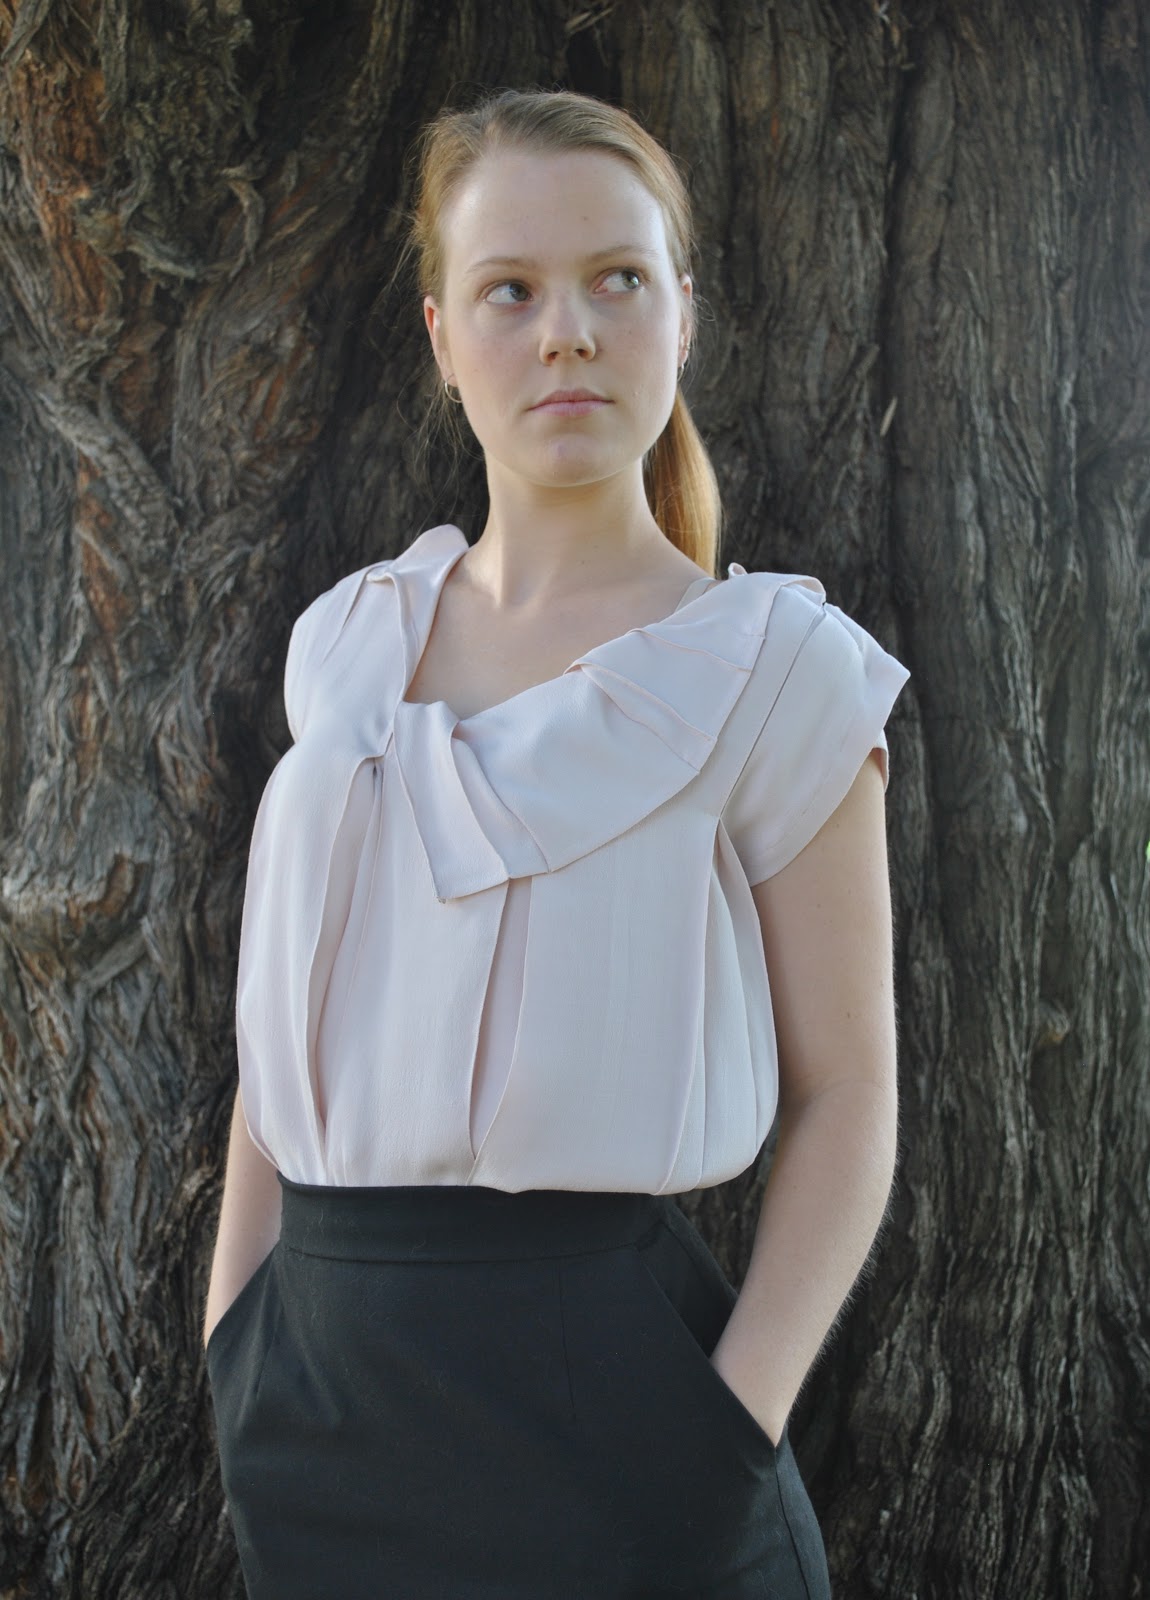
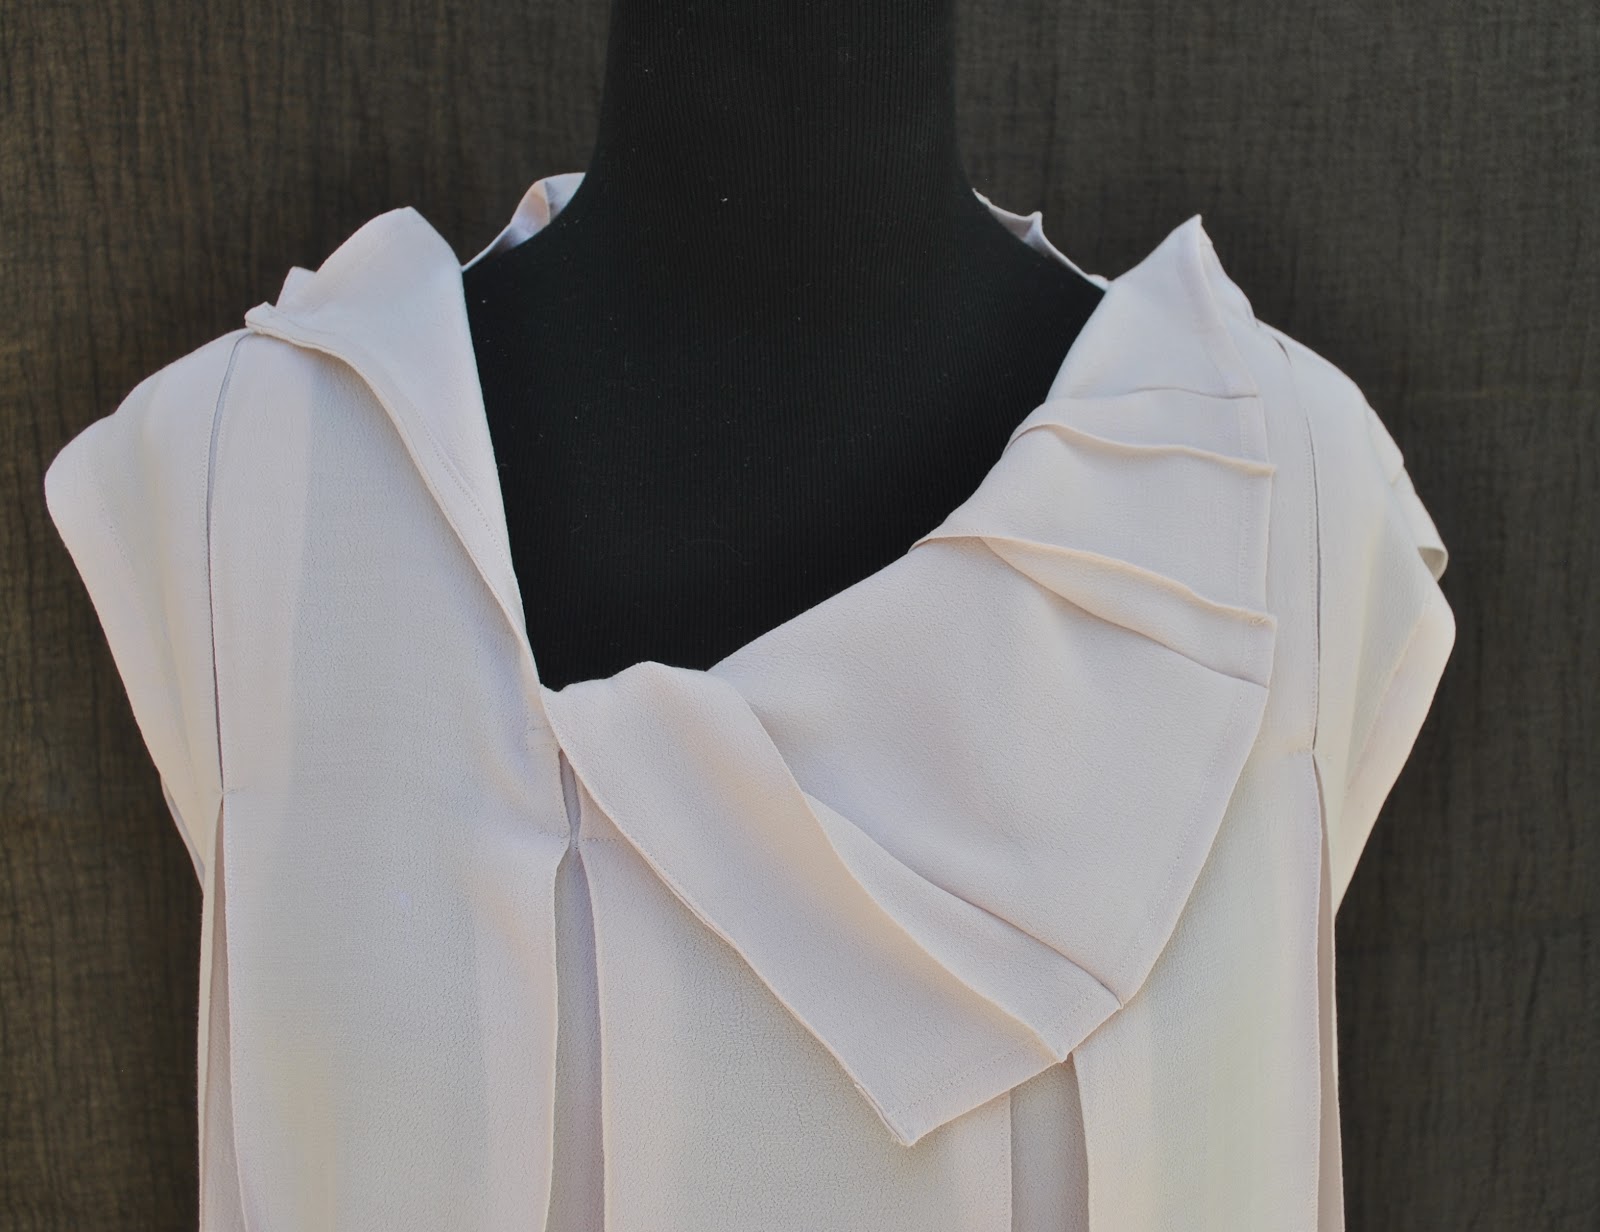
I have made a little top for Cassie to wear to work.  Or wherever she pleases, of course  🙂
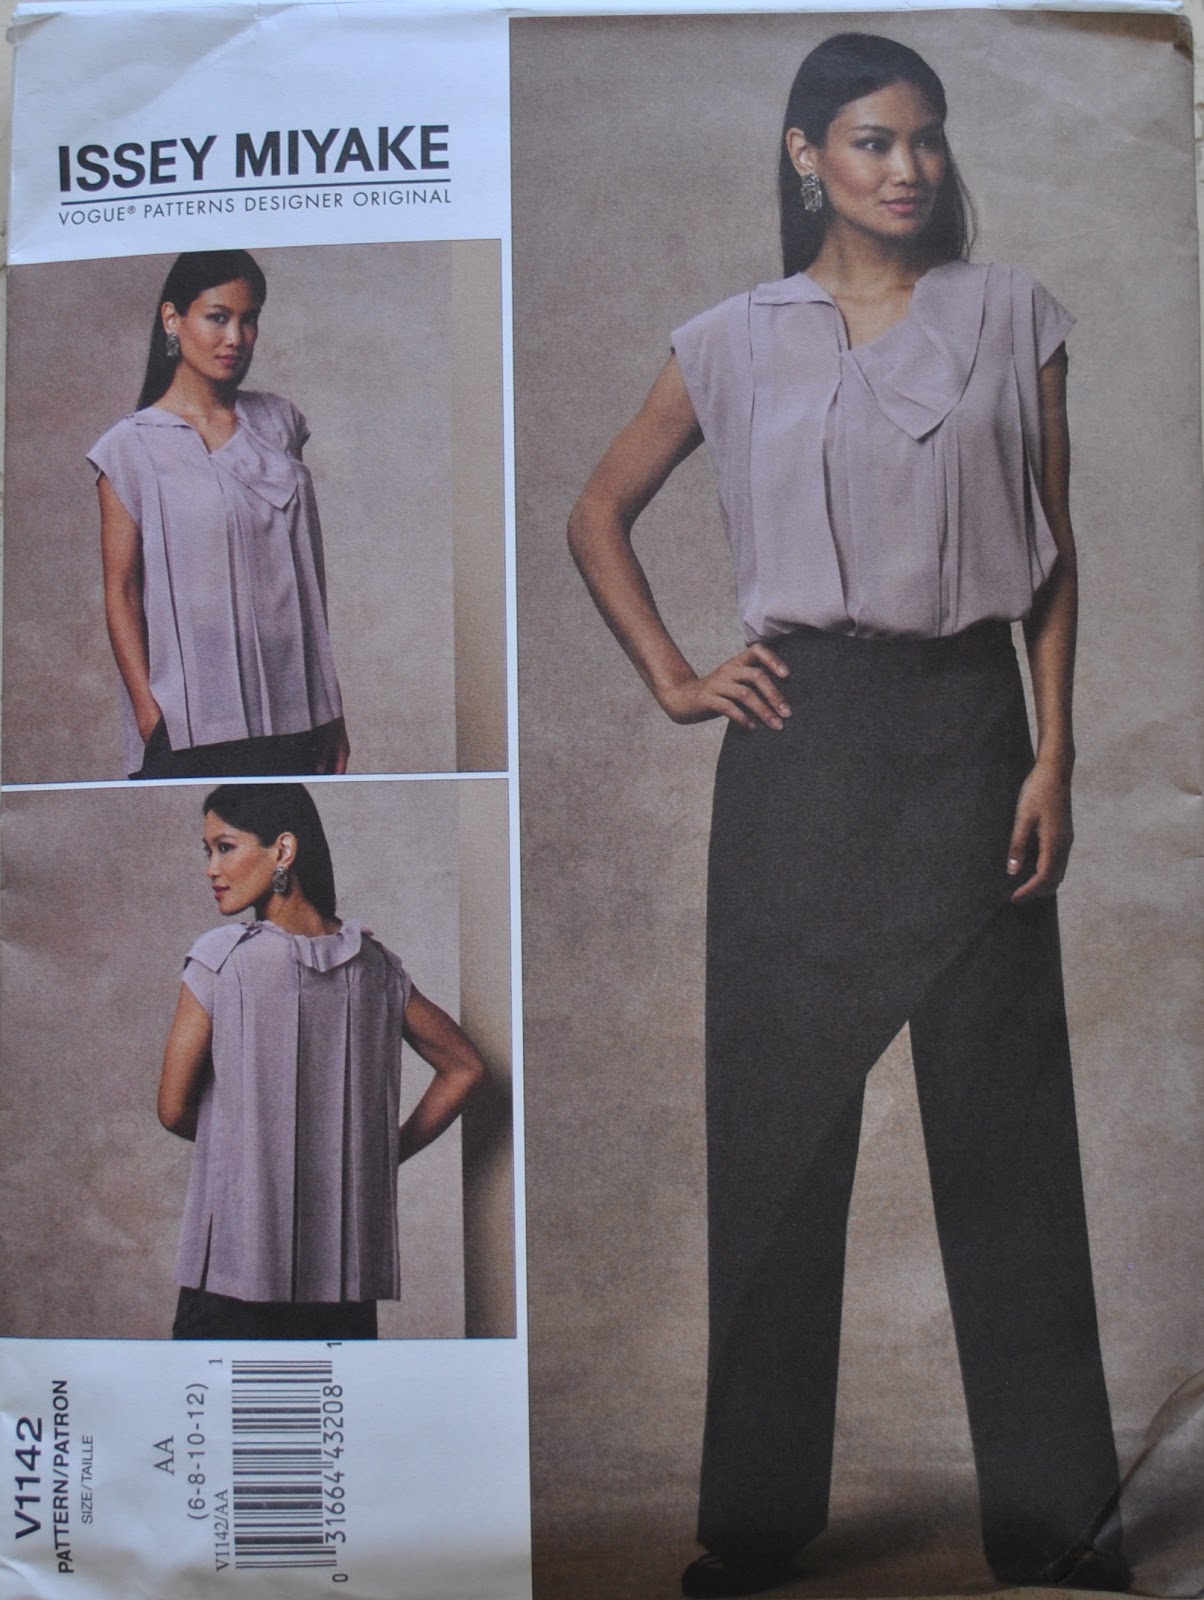
This is Vogue 1142, which I made in yellow silk for myself last month.  Cassie admired it so I offered to make one for her.  She enthusiastically accepted.  A daughter loving the clothes I make?? gets me fired up with the zest to sew unselfishly straightaway.
I didn’t have anything suitable in my stash so I visited Fabulous Fabrics and bought a piece of lovely shell-pink viscose crepe.  I think the soft delicate colour is a beautiful compliment to her pale peaches-and-cream complexion.  Plus: viscose = wash-and-wear of course, so another ideal addition to her professional working wardrobe!
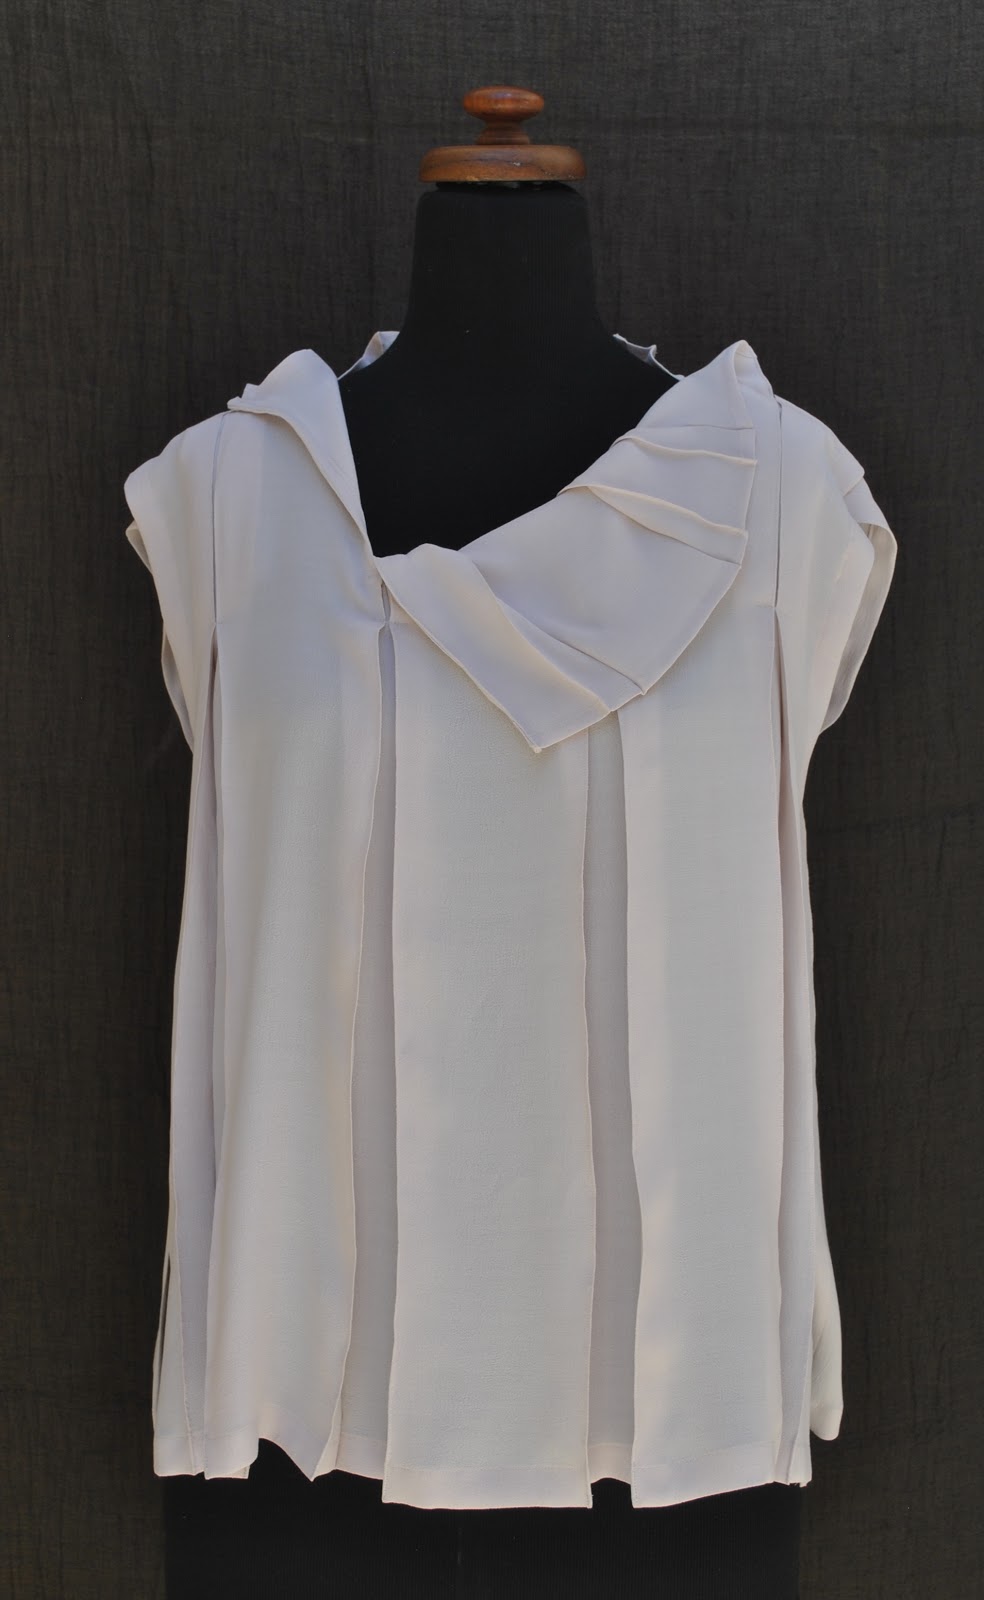
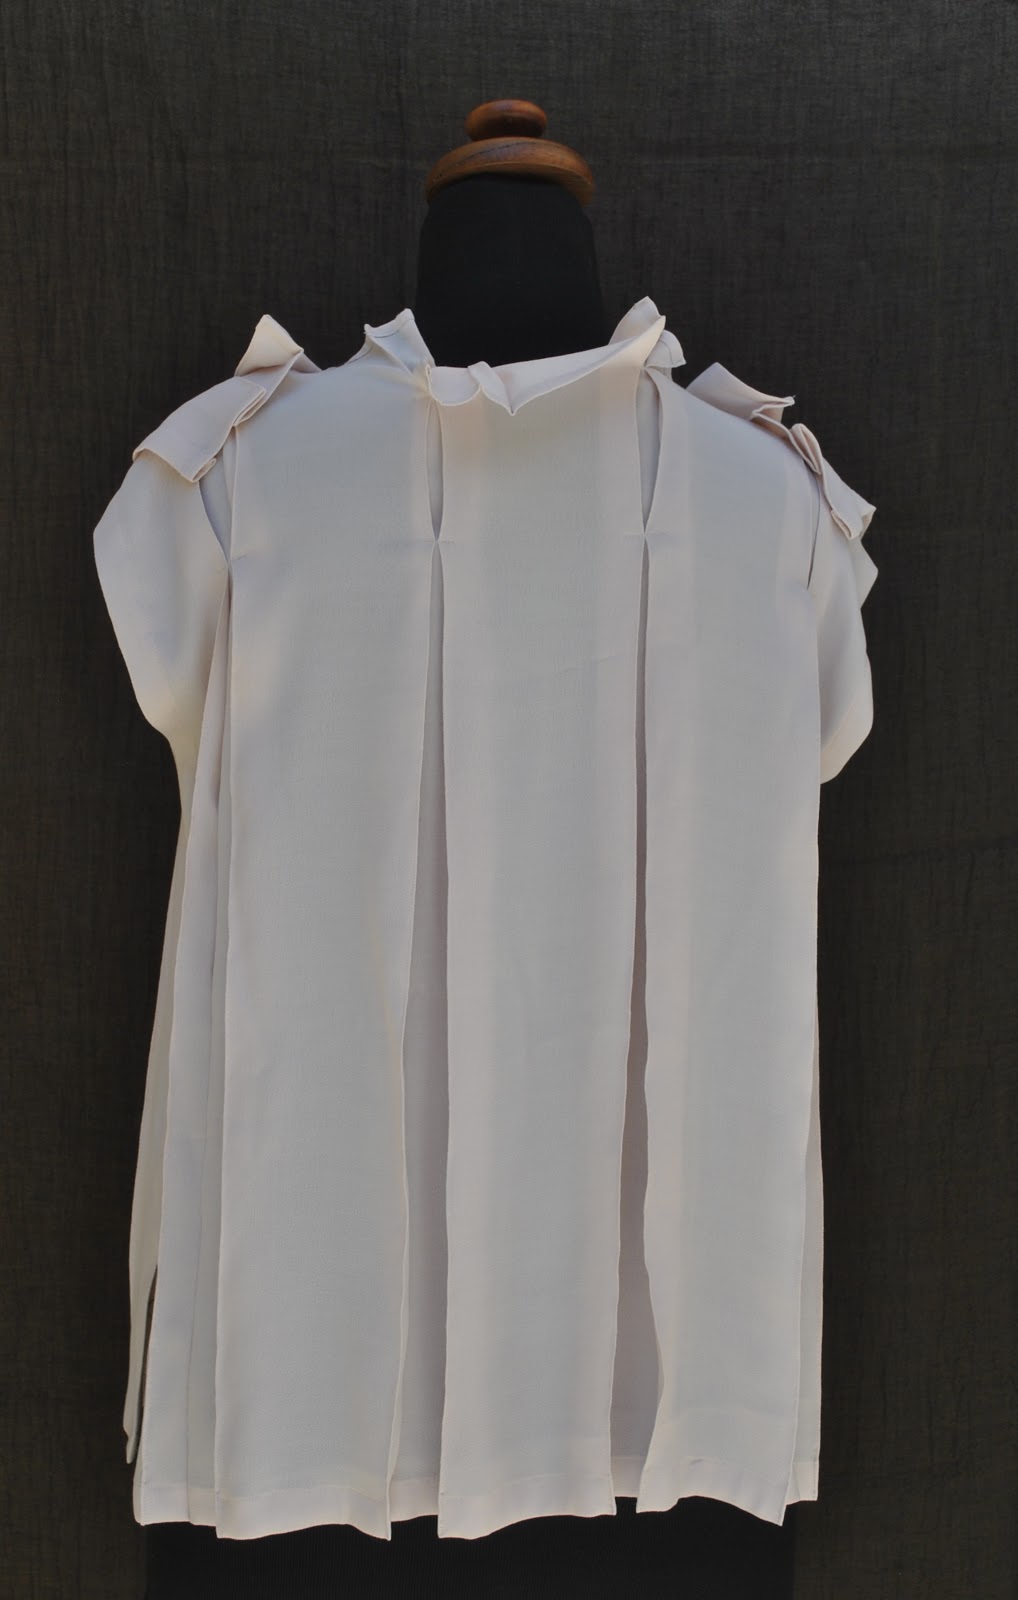
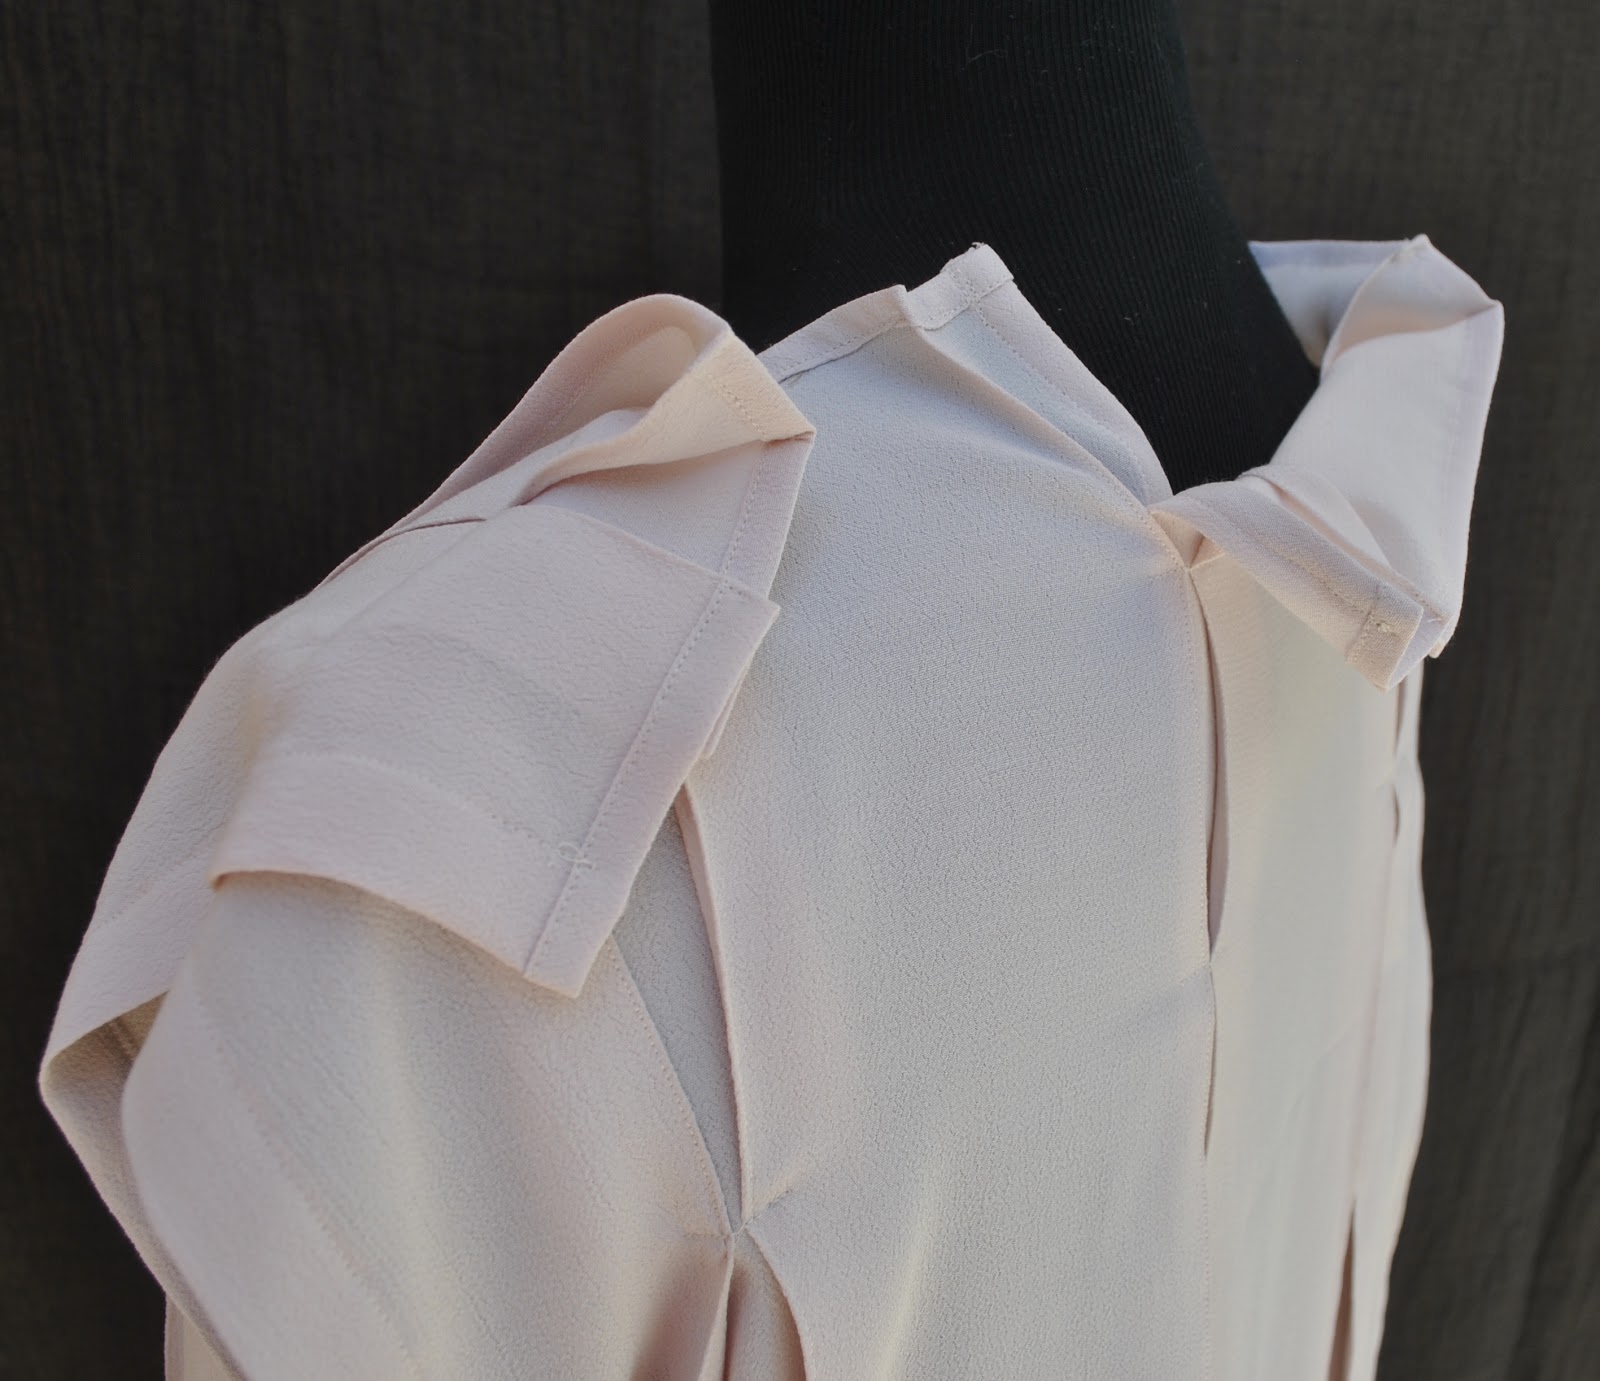
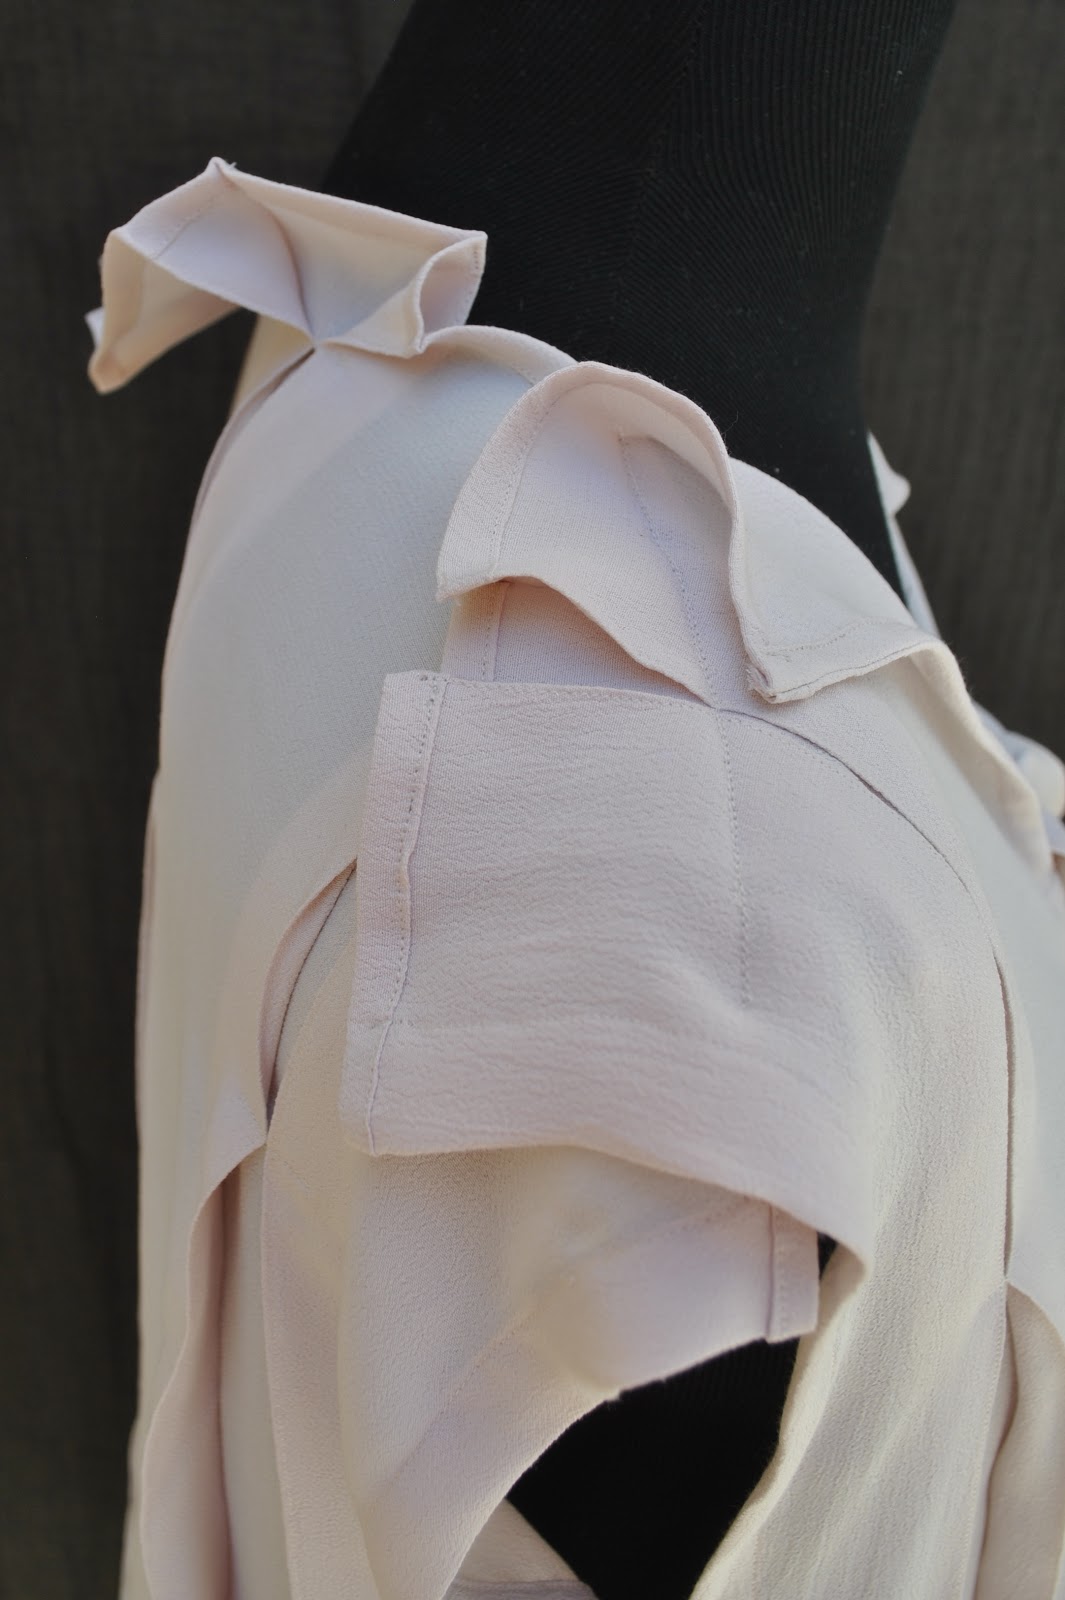
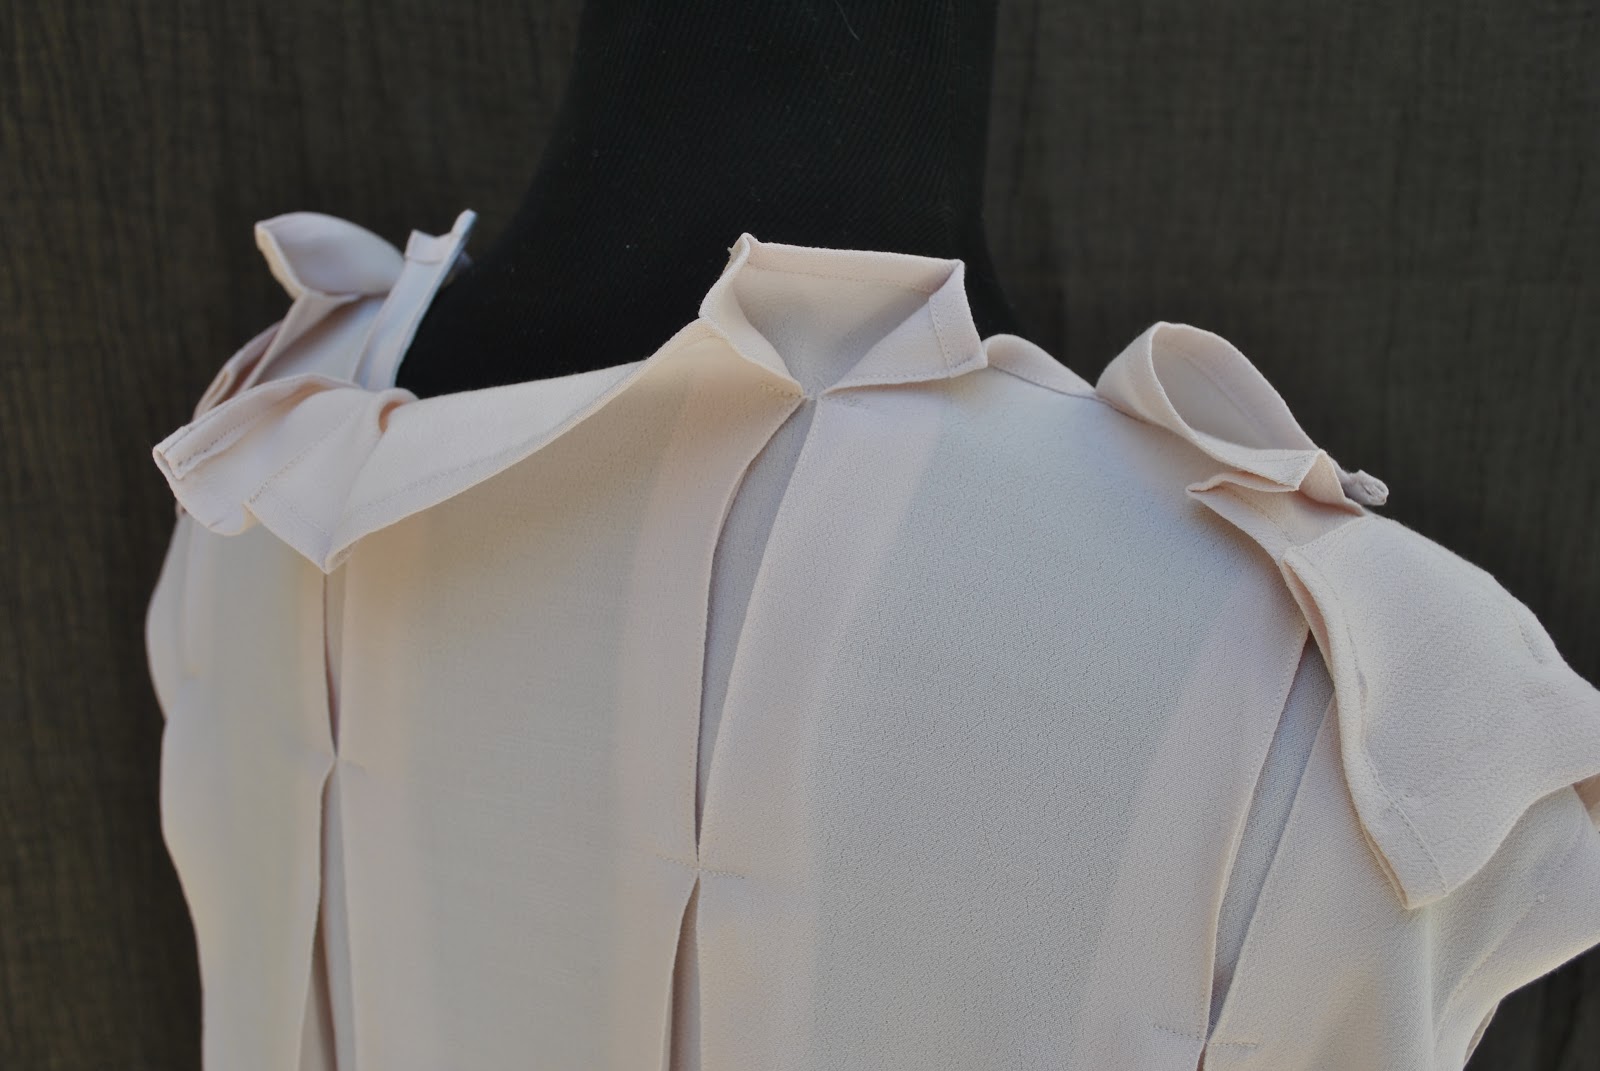
As in for my first version; I edge-stitched each pleat in place.  The 100% viscose crepe is quite crisp and stiff compared to the thin silk I used previously; and it presses and pleats like a dream.  I think those sharp regular pleats look absolutely wonderful in this more crisp fabric.  I’ve taken lots of photos of those pleats and that artfully and prettily crinkled neckline because whilst I do love the slight floppiness of my own top I really really love how crisp, sharp and sculptural the pleats look in this fabric.  It looks quite formal and business appropriate.

A little tip for working with this pattern: this time, as soon as I had edge-stitched the outer sets of pleats on each of the front and back I immediately pinned the pleats in place and stay-stitched along the shoulder stitching line.  This makes it much easier to handle the big pieces, and having that stay-stitching makes sewing the shoulders together a bit easier too.

Also; this must be like the easiest pattern in the world to grade for size.  Seriously!

Oh, you might be wondering if Cassie has barely had a single thing to wear since she got her job and I’ve contributed only one measly skirt to her working wardrobe?? well of course she has not gone without all this time!  She does have one very nice pencil skirt that she has made for herself (un-blogged), and I have made a little woollen pencil skirt for her previously.  Both suitable for the office and she has been rotating between the three skirts.  And since I pledged to wear only my own handmade clothes this year, there is a nice little selection of shop-bought cardigans and random Metalicus items that she has joyfully transferred to her own wardrobe.  At least my RTW clothes are not going to waste  🙂

Details:
Top; Vogue 1142, shell-pink viscose, my review of this pattern here
Skirt; Vogue 8363, black wool mix, details here and my review of this pattern here

pinterestmail
Switch to mobile version
↓