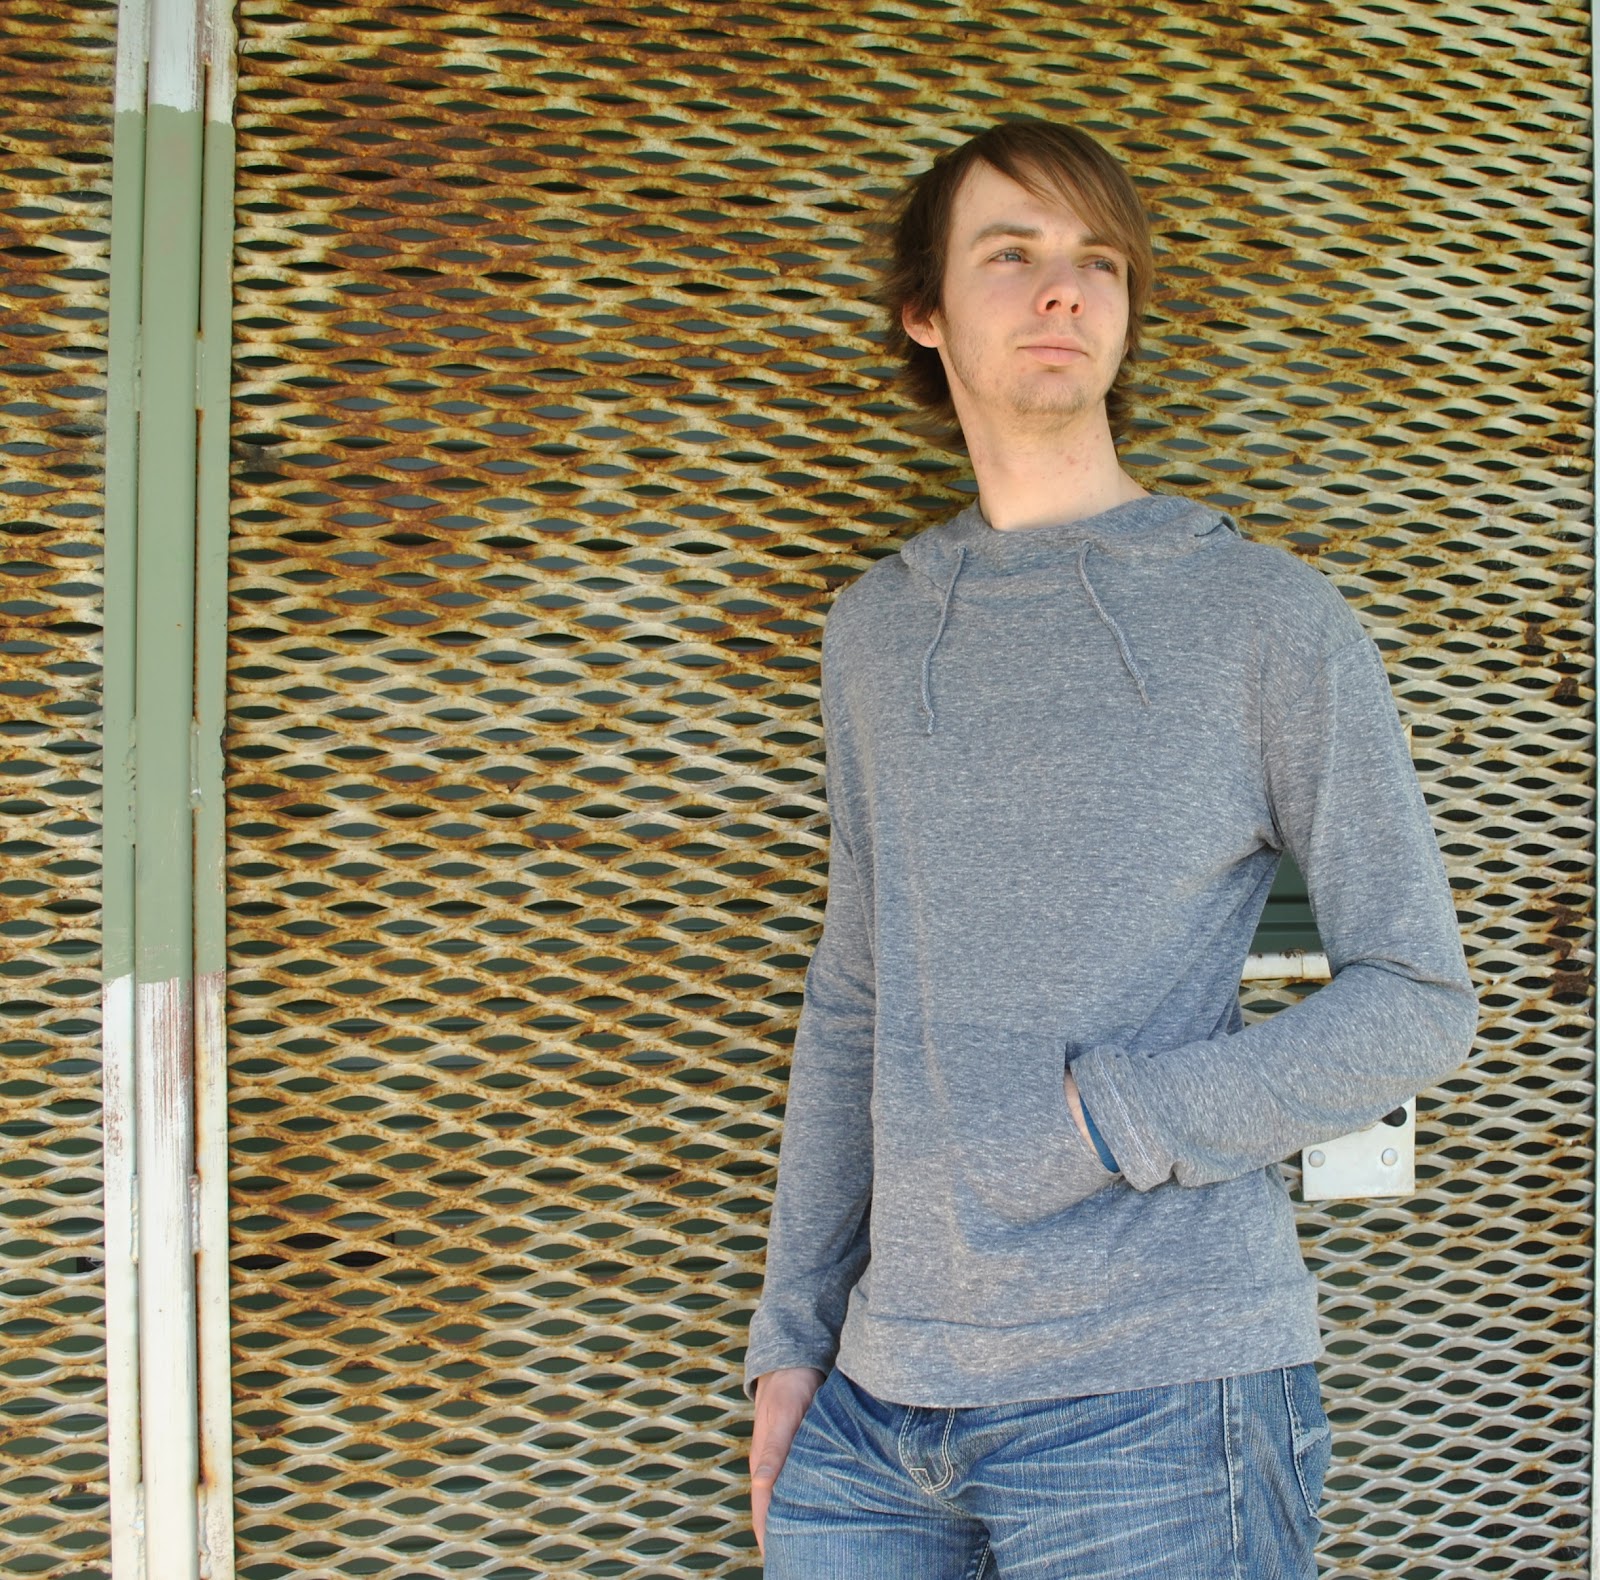
I have made a hoodie; this one for Sam.
Sam is my quiet one; he never asks for anything, on the contrary he will firmly and testily deny that he ever needs new clothes or any new belongings at all. But one of the fabrics in my stash was this beautifully soft jersey; a very fine quality knit in a shade of cool grey/blue that I think really is perfect for Sam’s fair colouring. So I set about making him something new anyway.
The fabric is part of a fabulous stash I bought at the Morrison remnants sale. This particular “remnant” was about 5-6m and cost $15. I know, right?! That Morrison yearly sale is well worth checking out!!
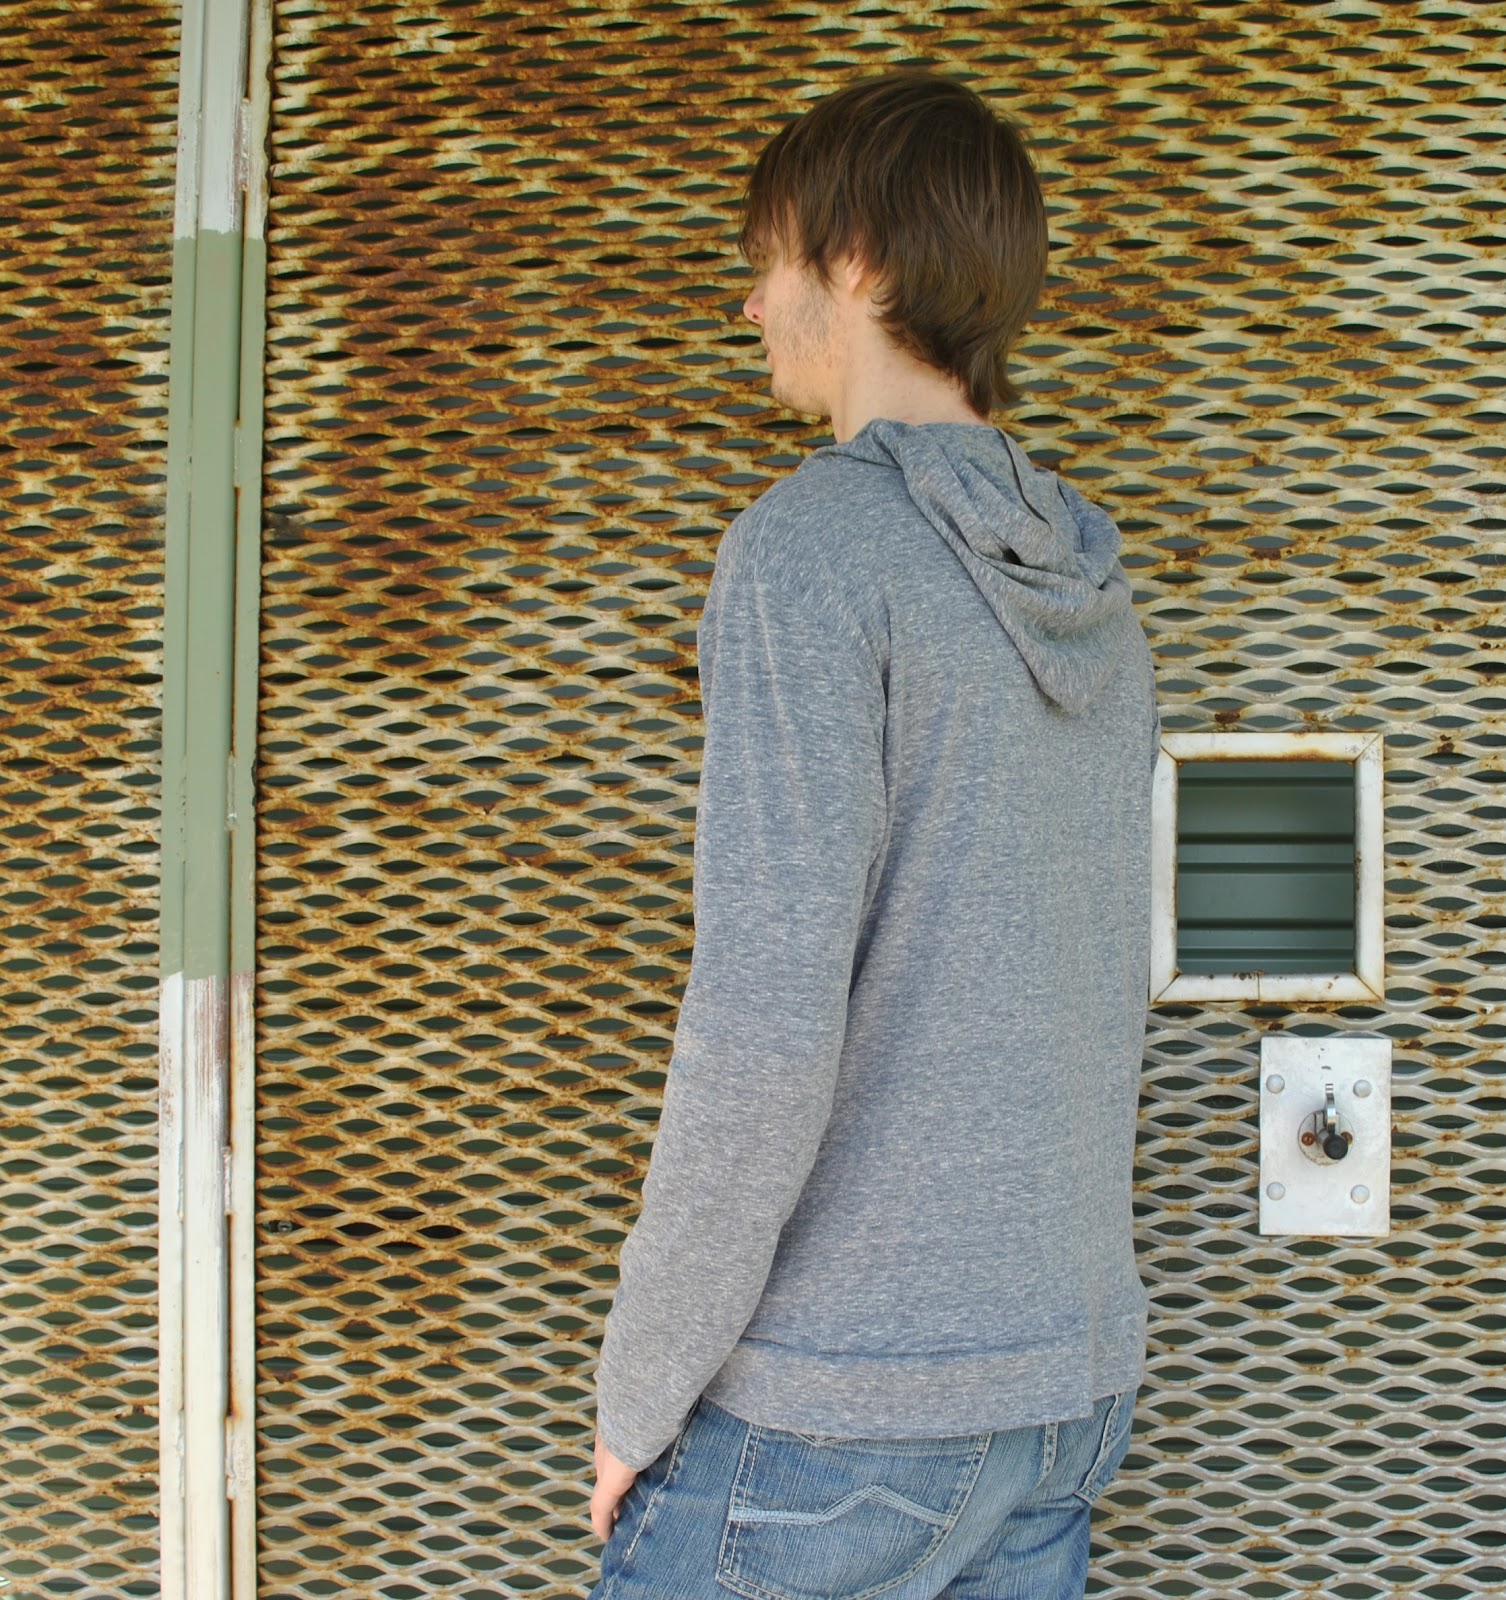
For a pattern, I used the same old hoodie of Craig’s that I used to draft his new hoodie, altered slightly to custom fit Sam. Namely, I narrowed the body and shoulders, and raised the height of the hood. The hood on the original Tshirt is a bit short, not really sized to be actually worn comfortably over a man’s head. However I know Sam probably will want to wear it up every once in a while, so made it a touch taller than the original.
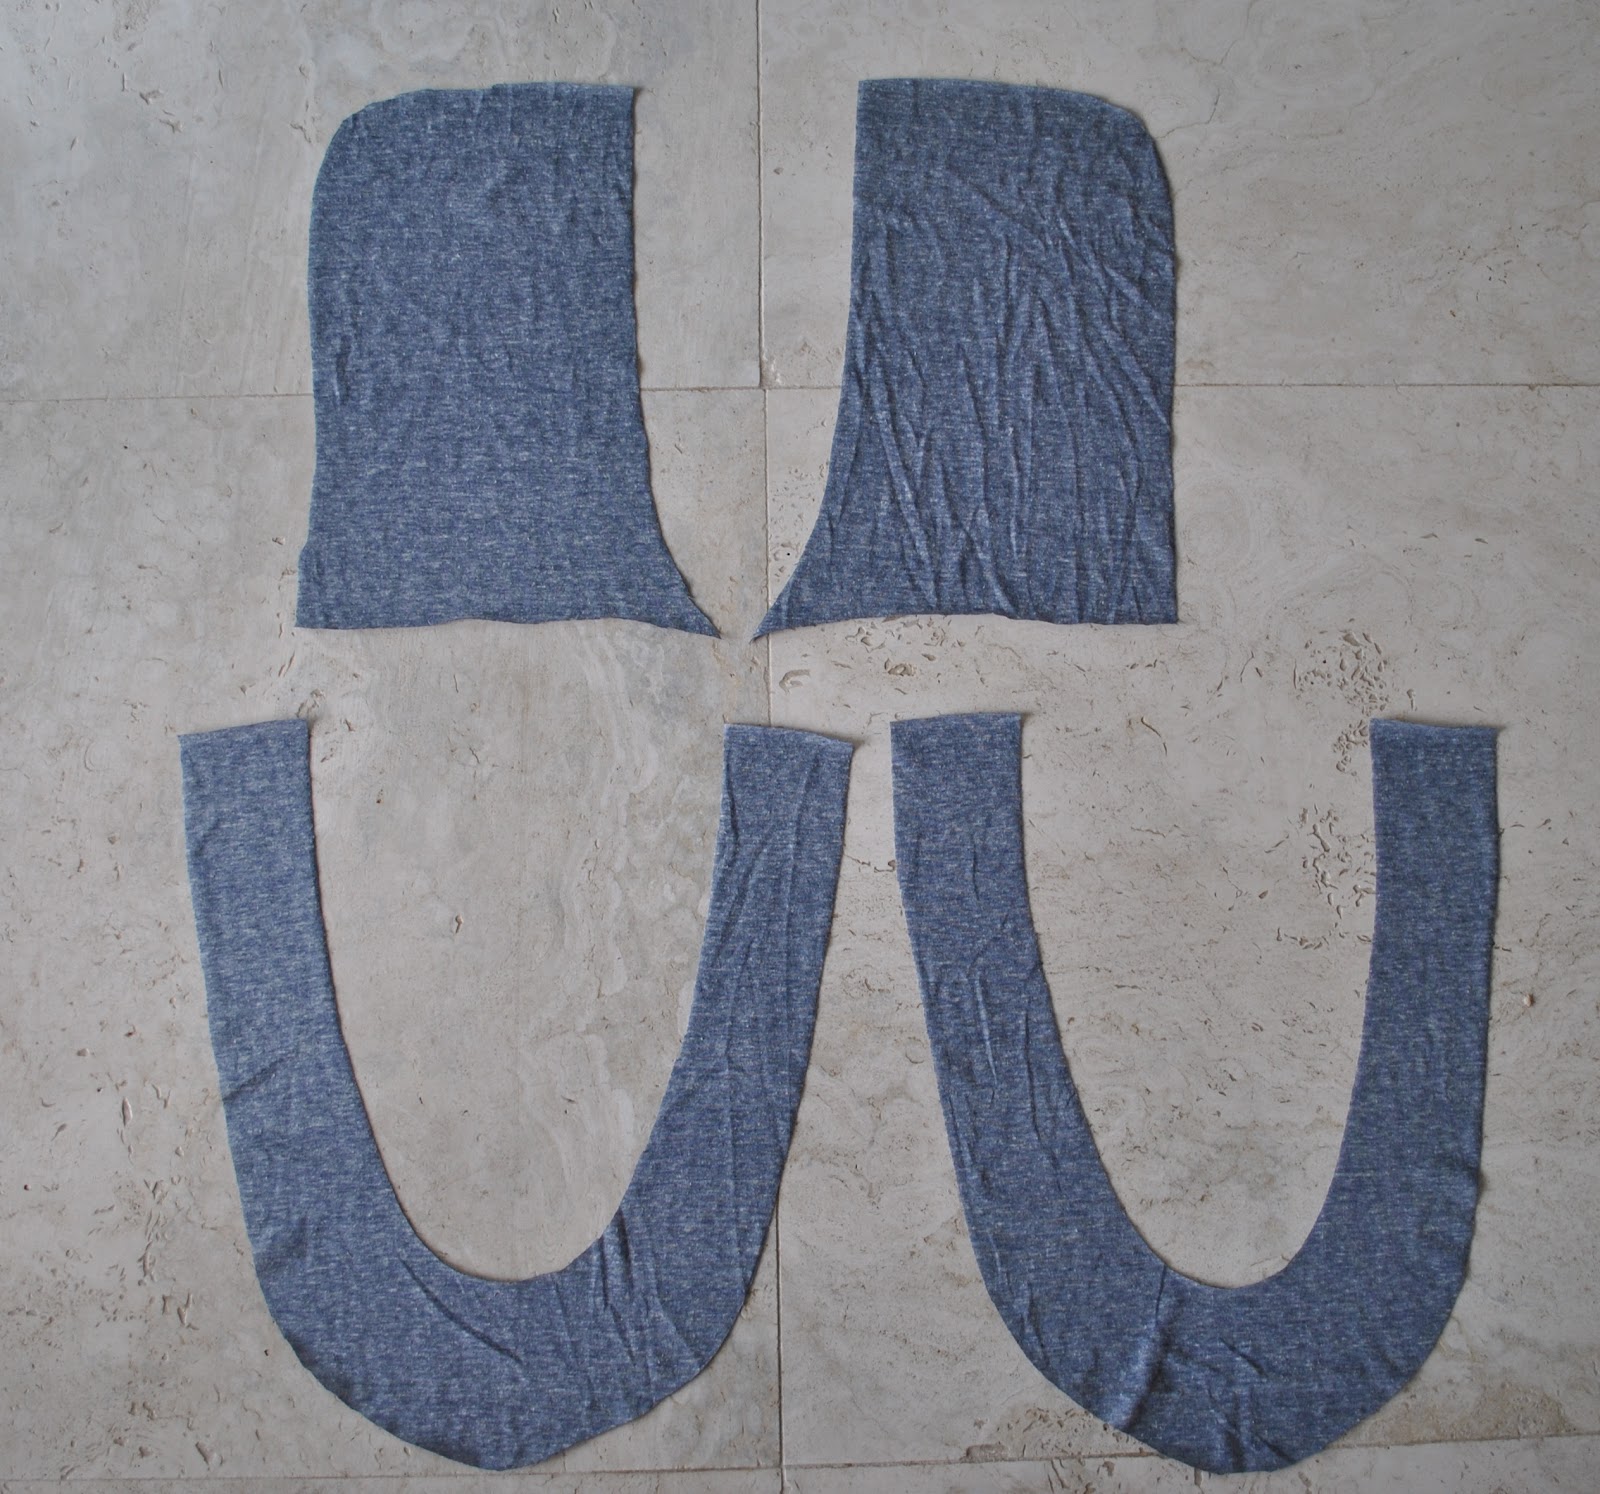
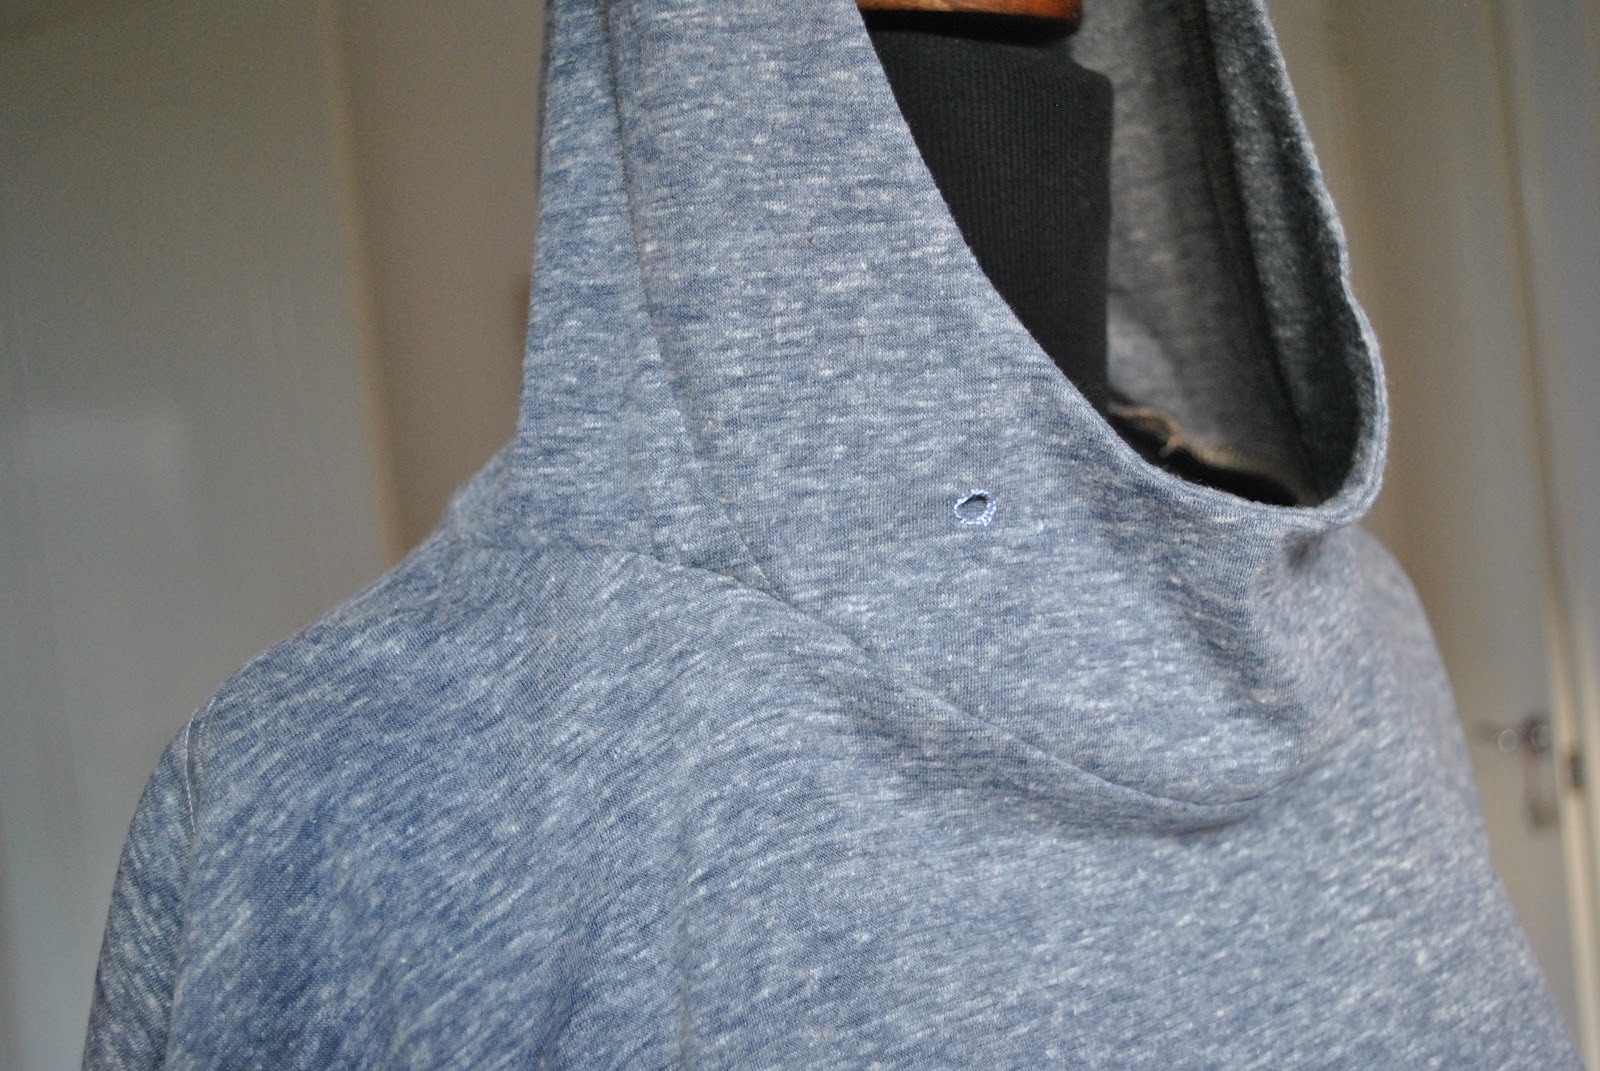
kbenco and Rachel both expressed an interest in seeing more specifics of that interesting combined collar/hoodie, thank you for the request, ladies! So I took a few snaps to illustrate how it all goes together…
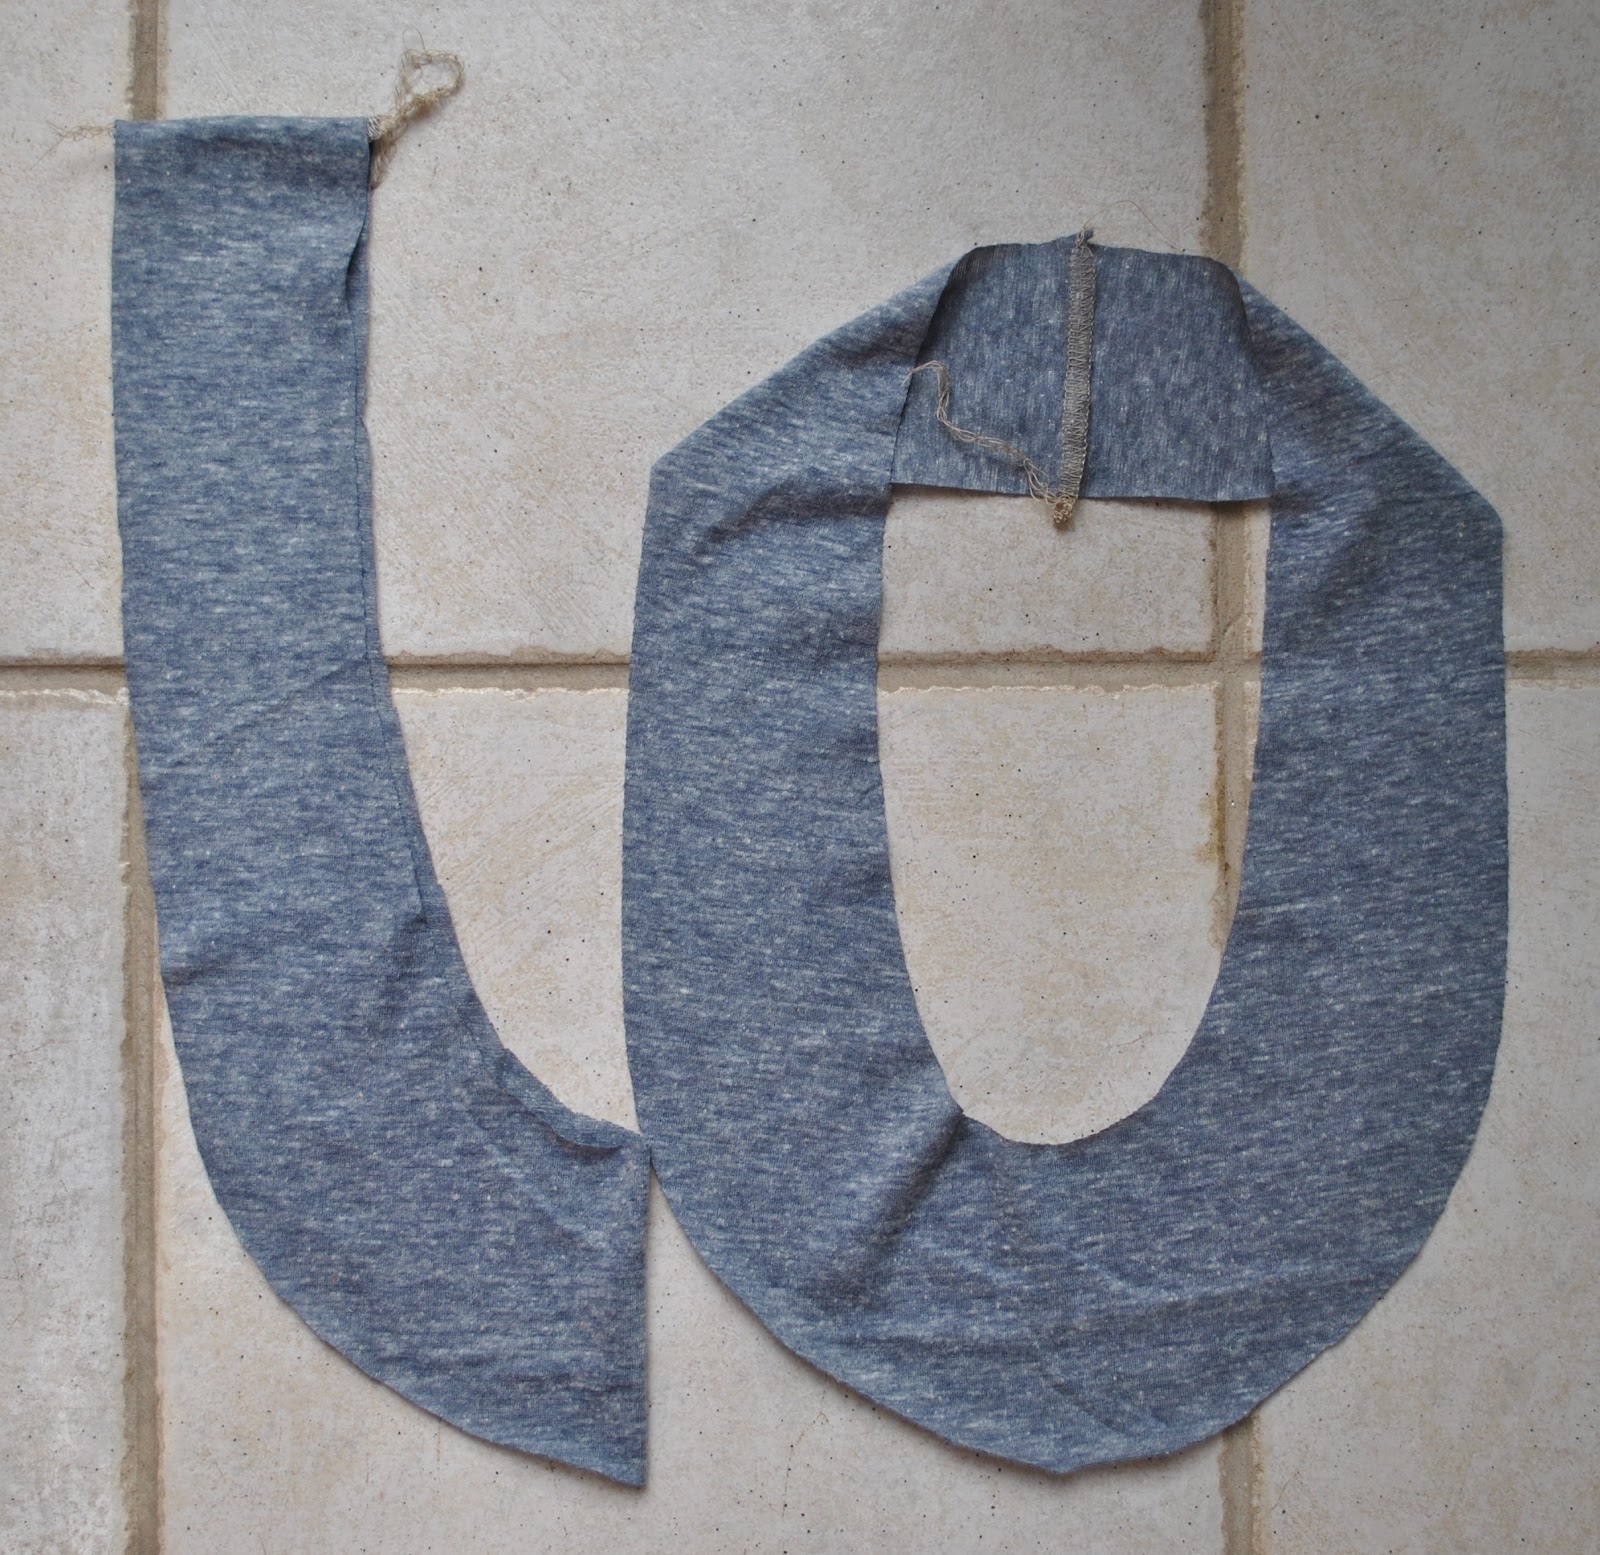
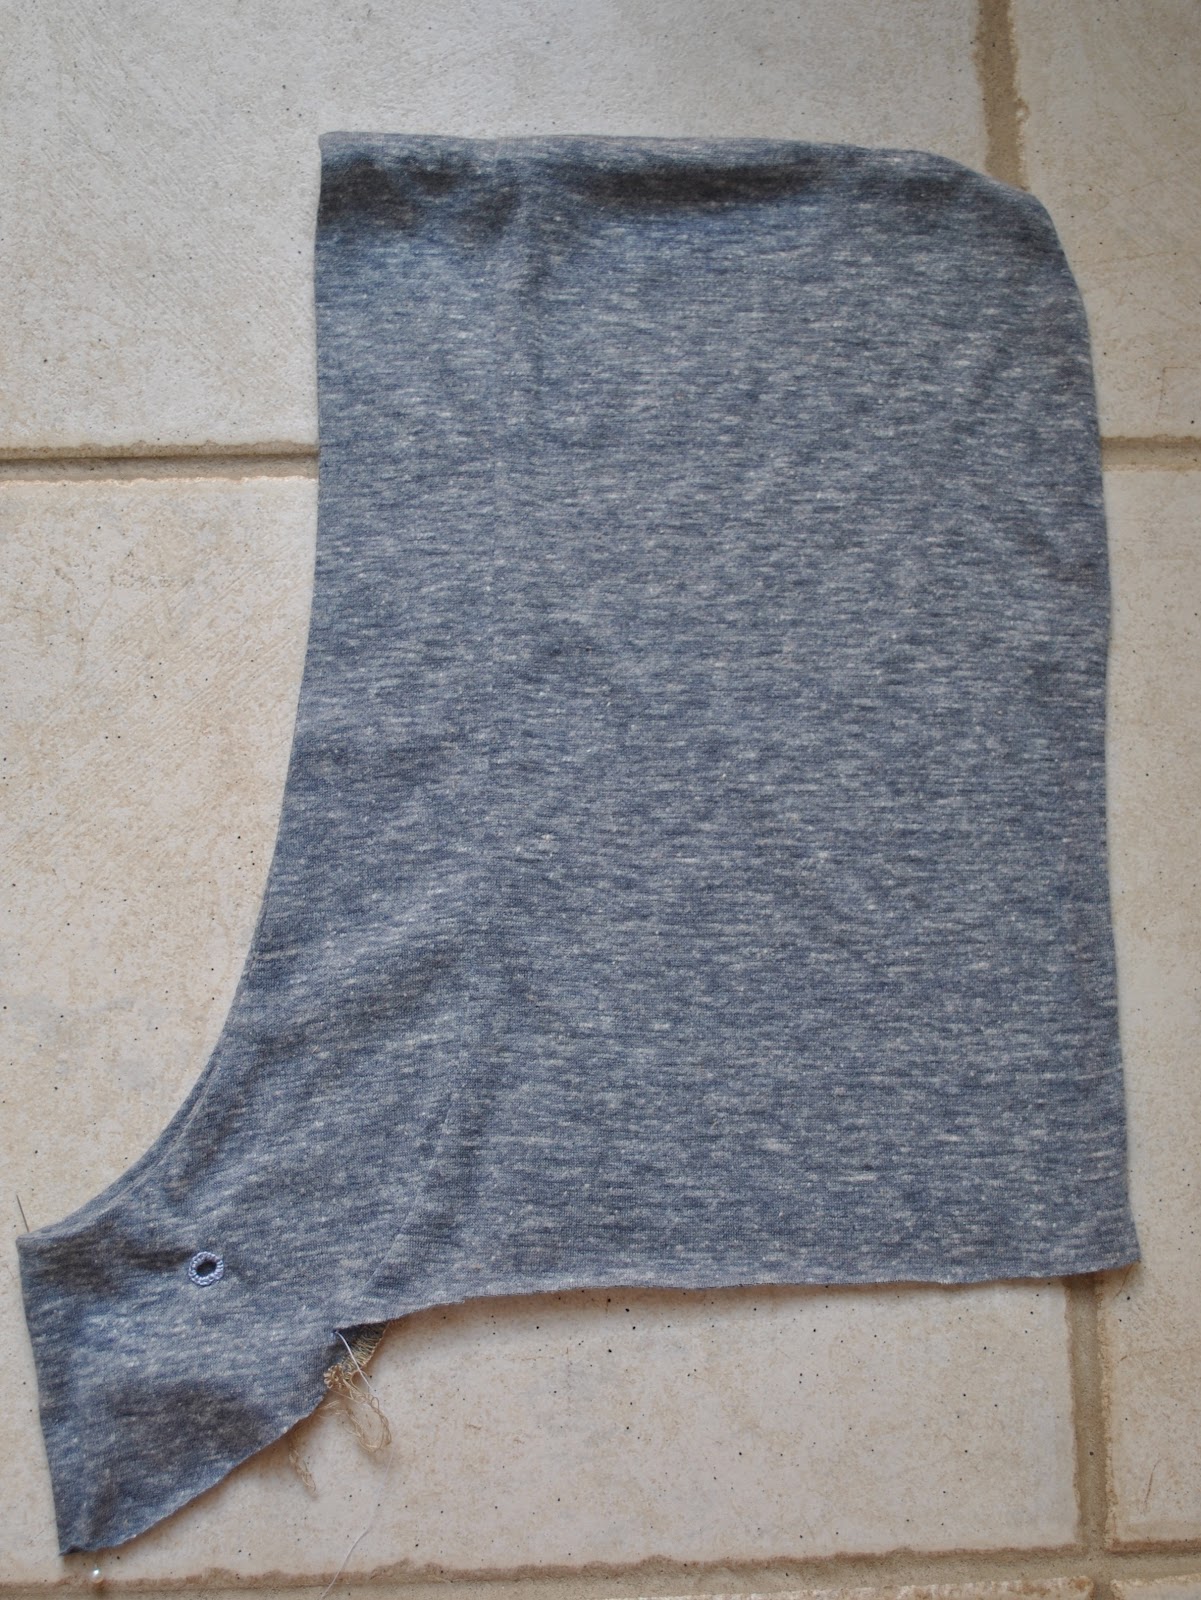
The hood is composed of two shapes; a hood piece cut less wide than normal, and a U-shaped collar piece, slightly wider at the bottom of the U than at the edges, that forms a combined hood edging and collar.
Sew the two hood pieces right sides together just like normal.
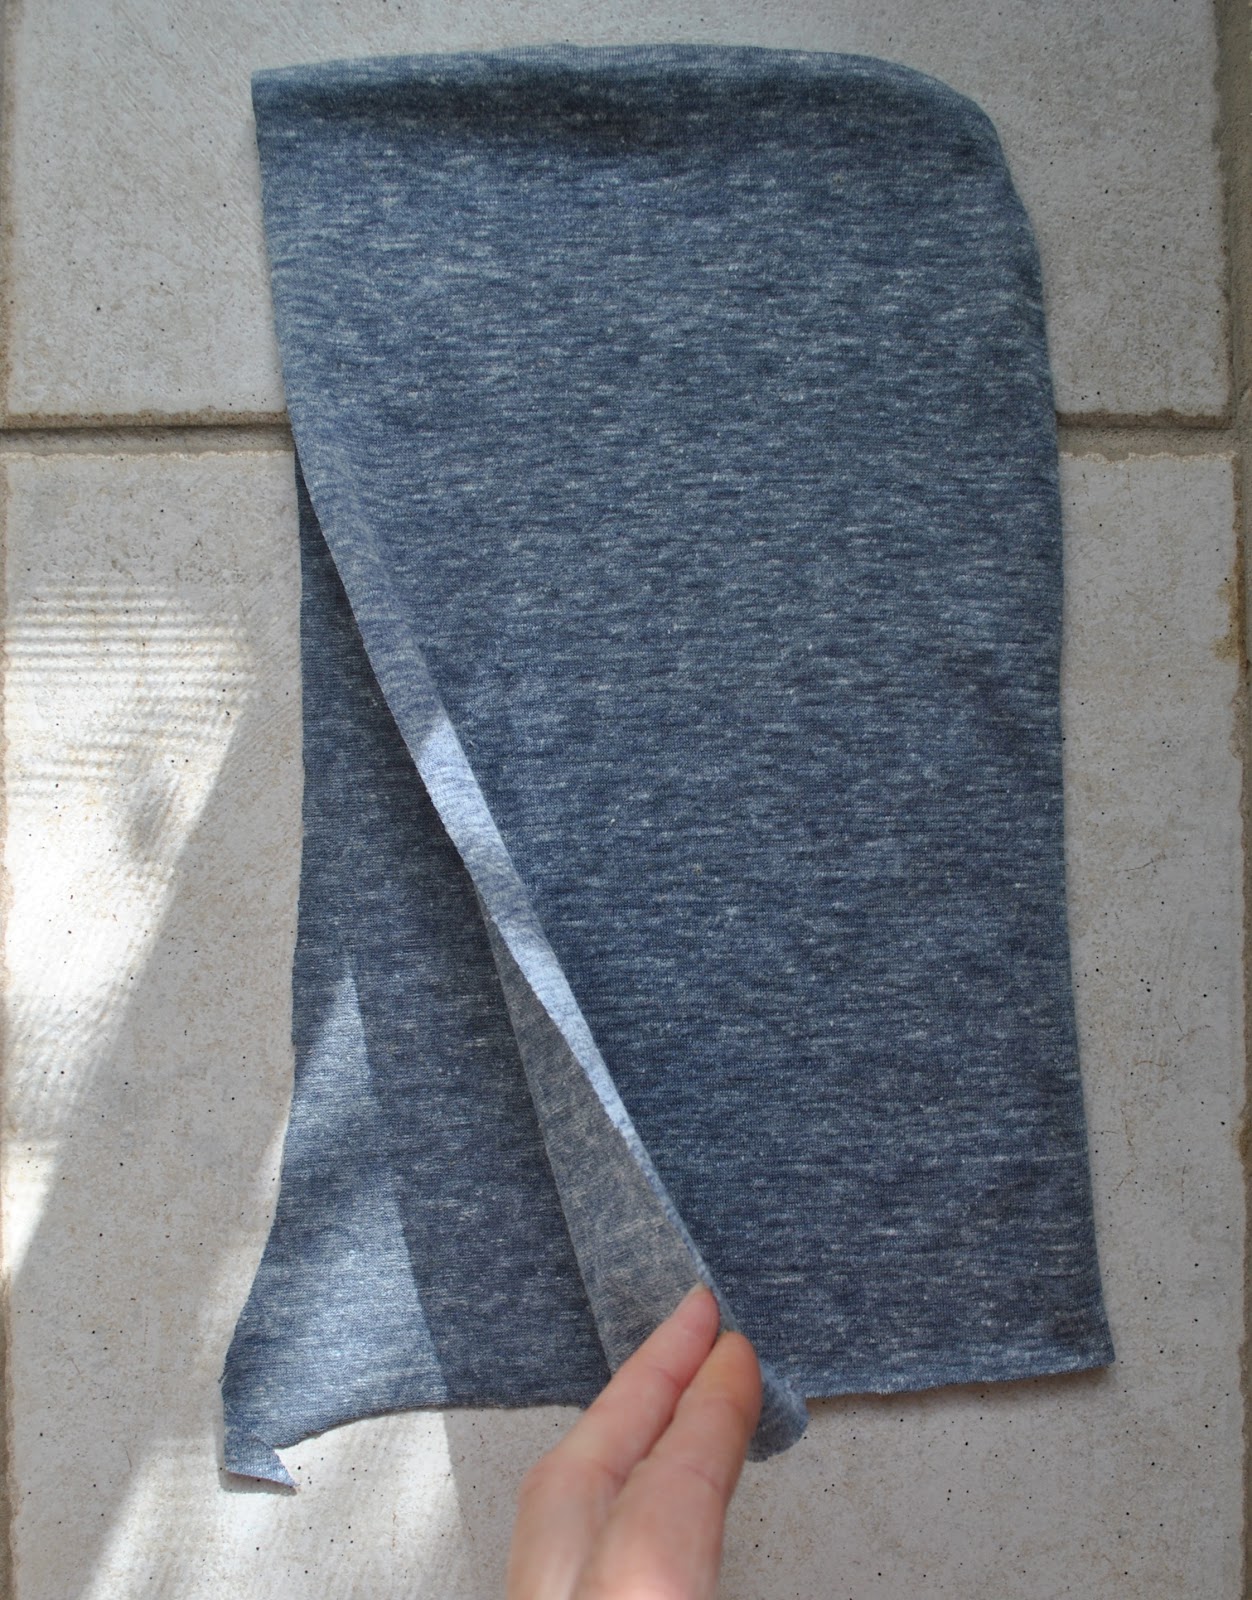
Sew the two short ends of the U-shape together, right sides together, on each piece.
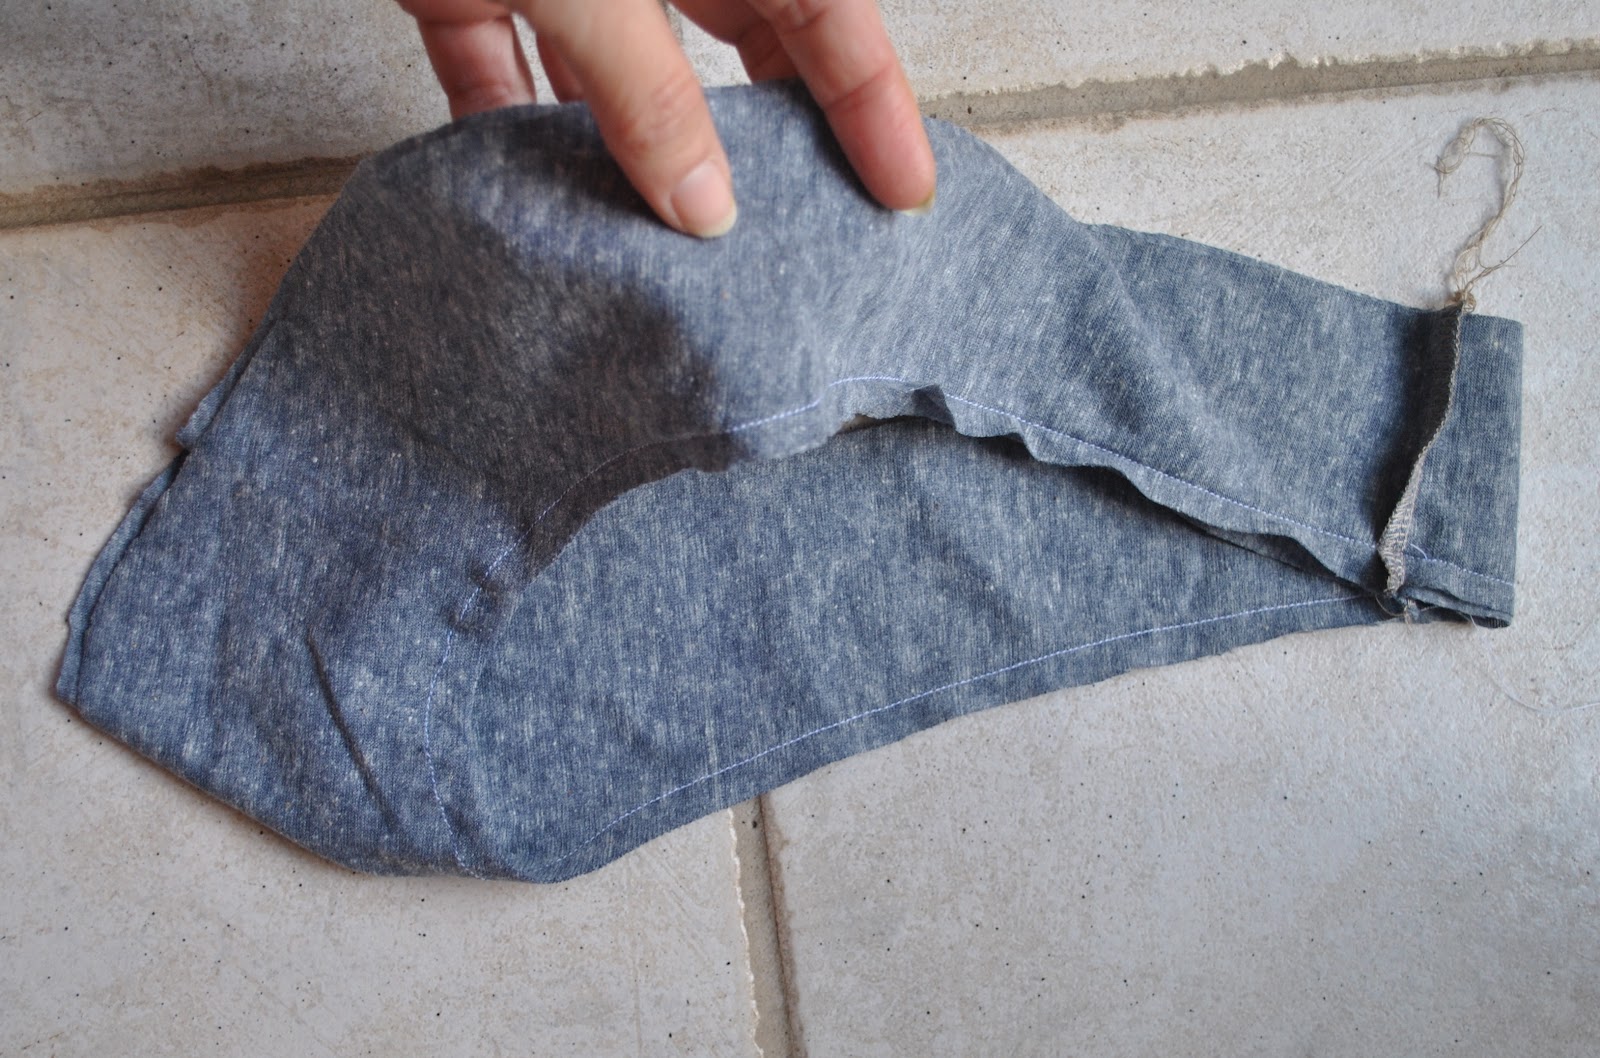
Lay these two pieces together, right sides together, and sew together around the entire inner shorter edge of the curve. Turn out and press. One layer is the outer collar; the other the facing.
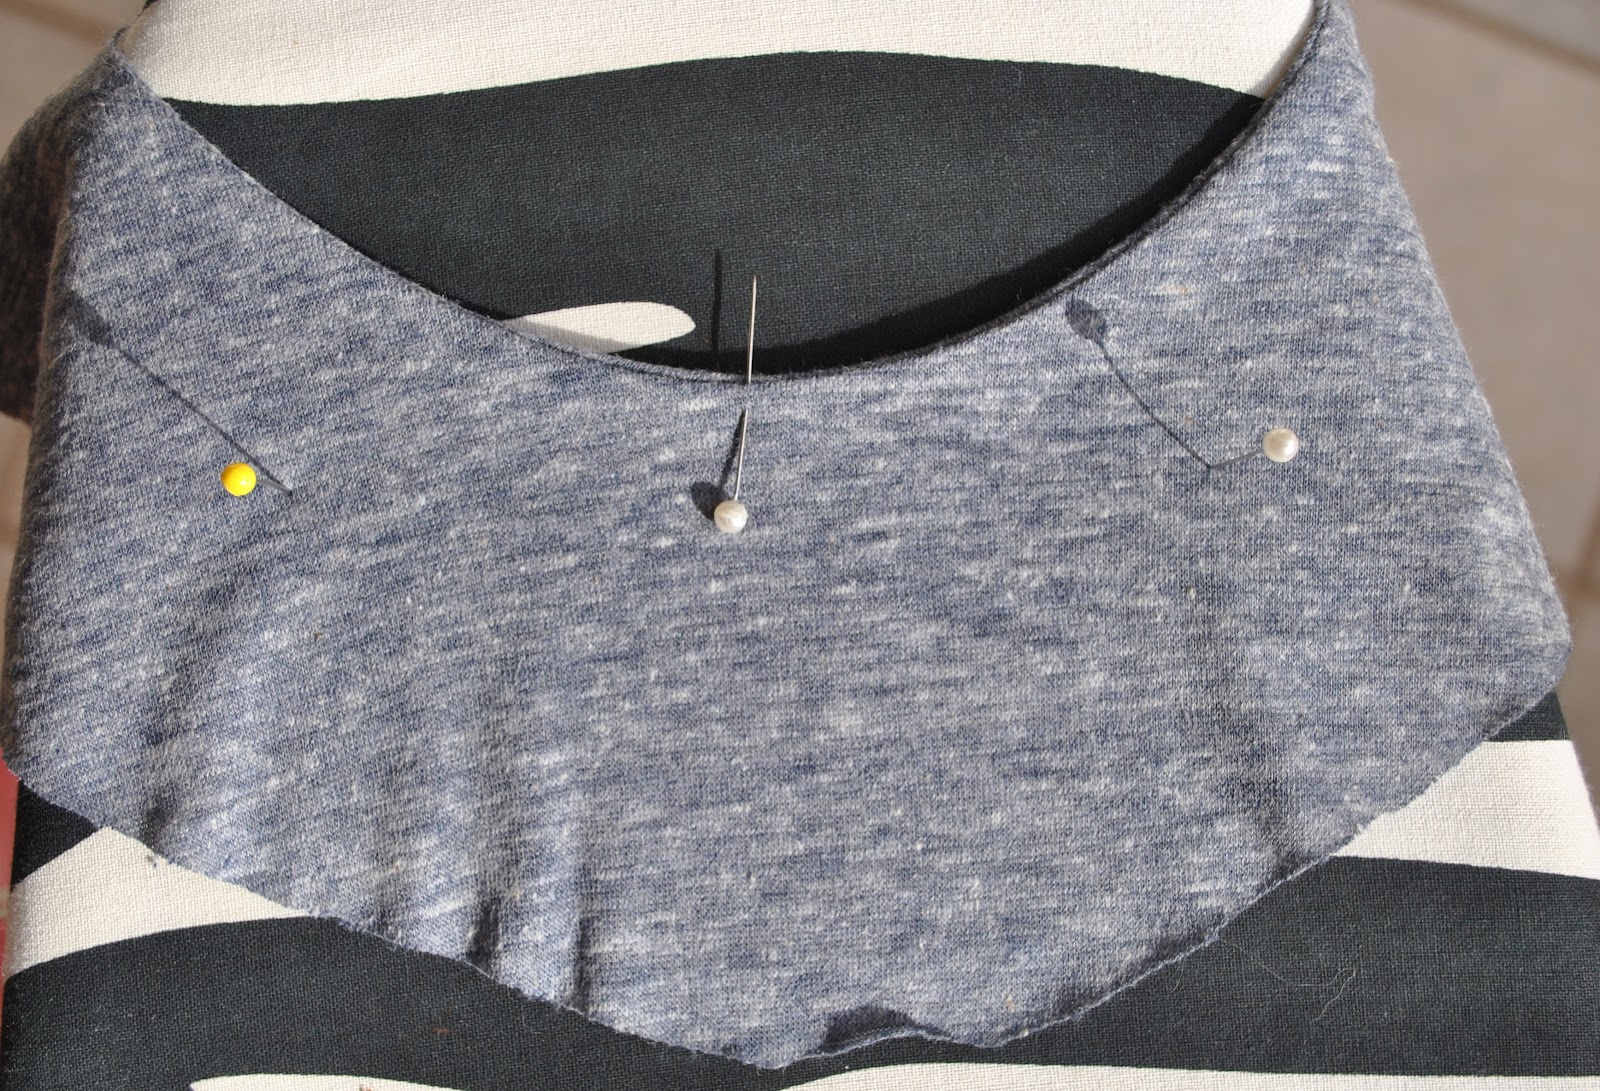
Measure and mark for the holes for the drawstring in the collar; mine are situated 1cm below the lowest point of the inner curve, and 12cm apart.
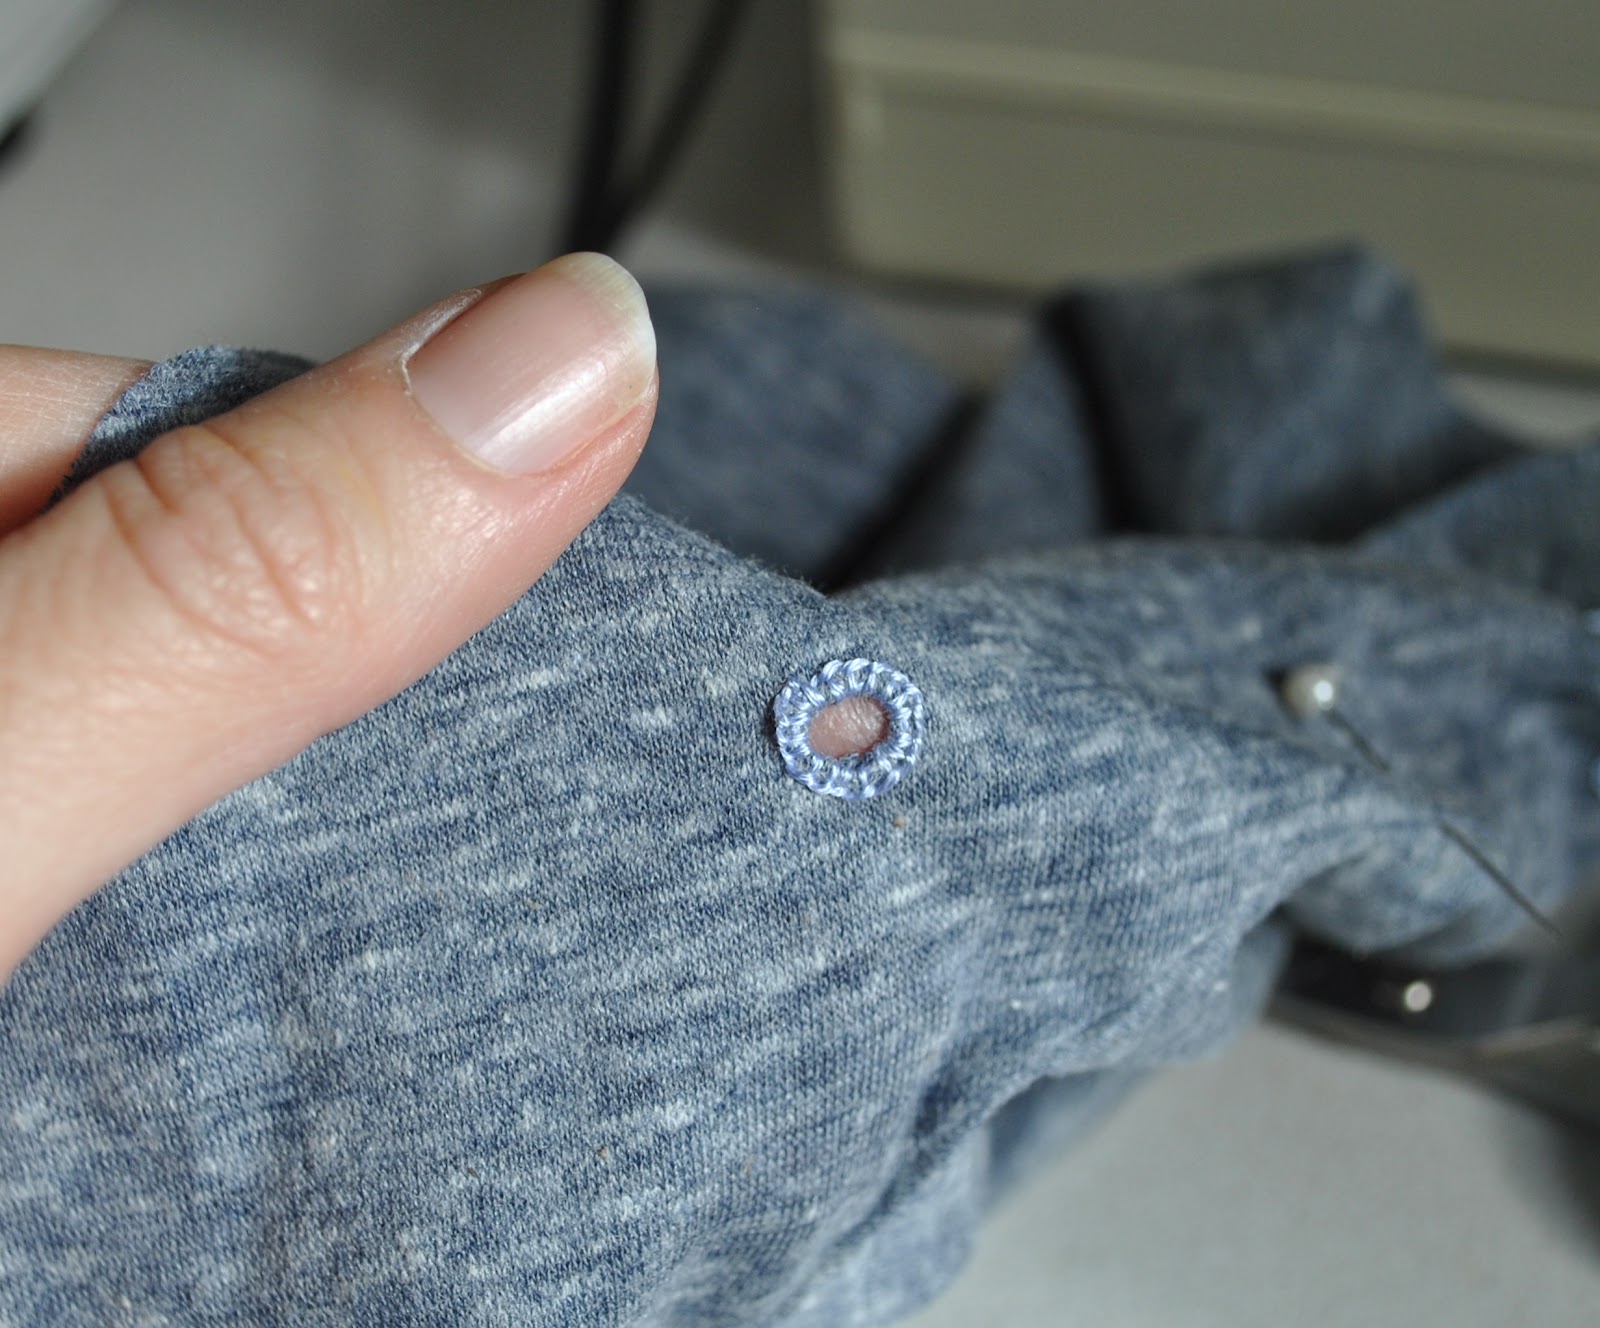
You can make life easy for yourself and hammer in some eyelets, but if you are me and like to make challenges for yourself where none need exist; embroider some nice little eyelets using embroidery thread…
Only in the outer collar layer of course! snip a tiny X for the drawstring hole. Leave the inner (facing) layer un-snipped!!
With a double strand of embroidery thread, sew a running stitch circle around the snipped X
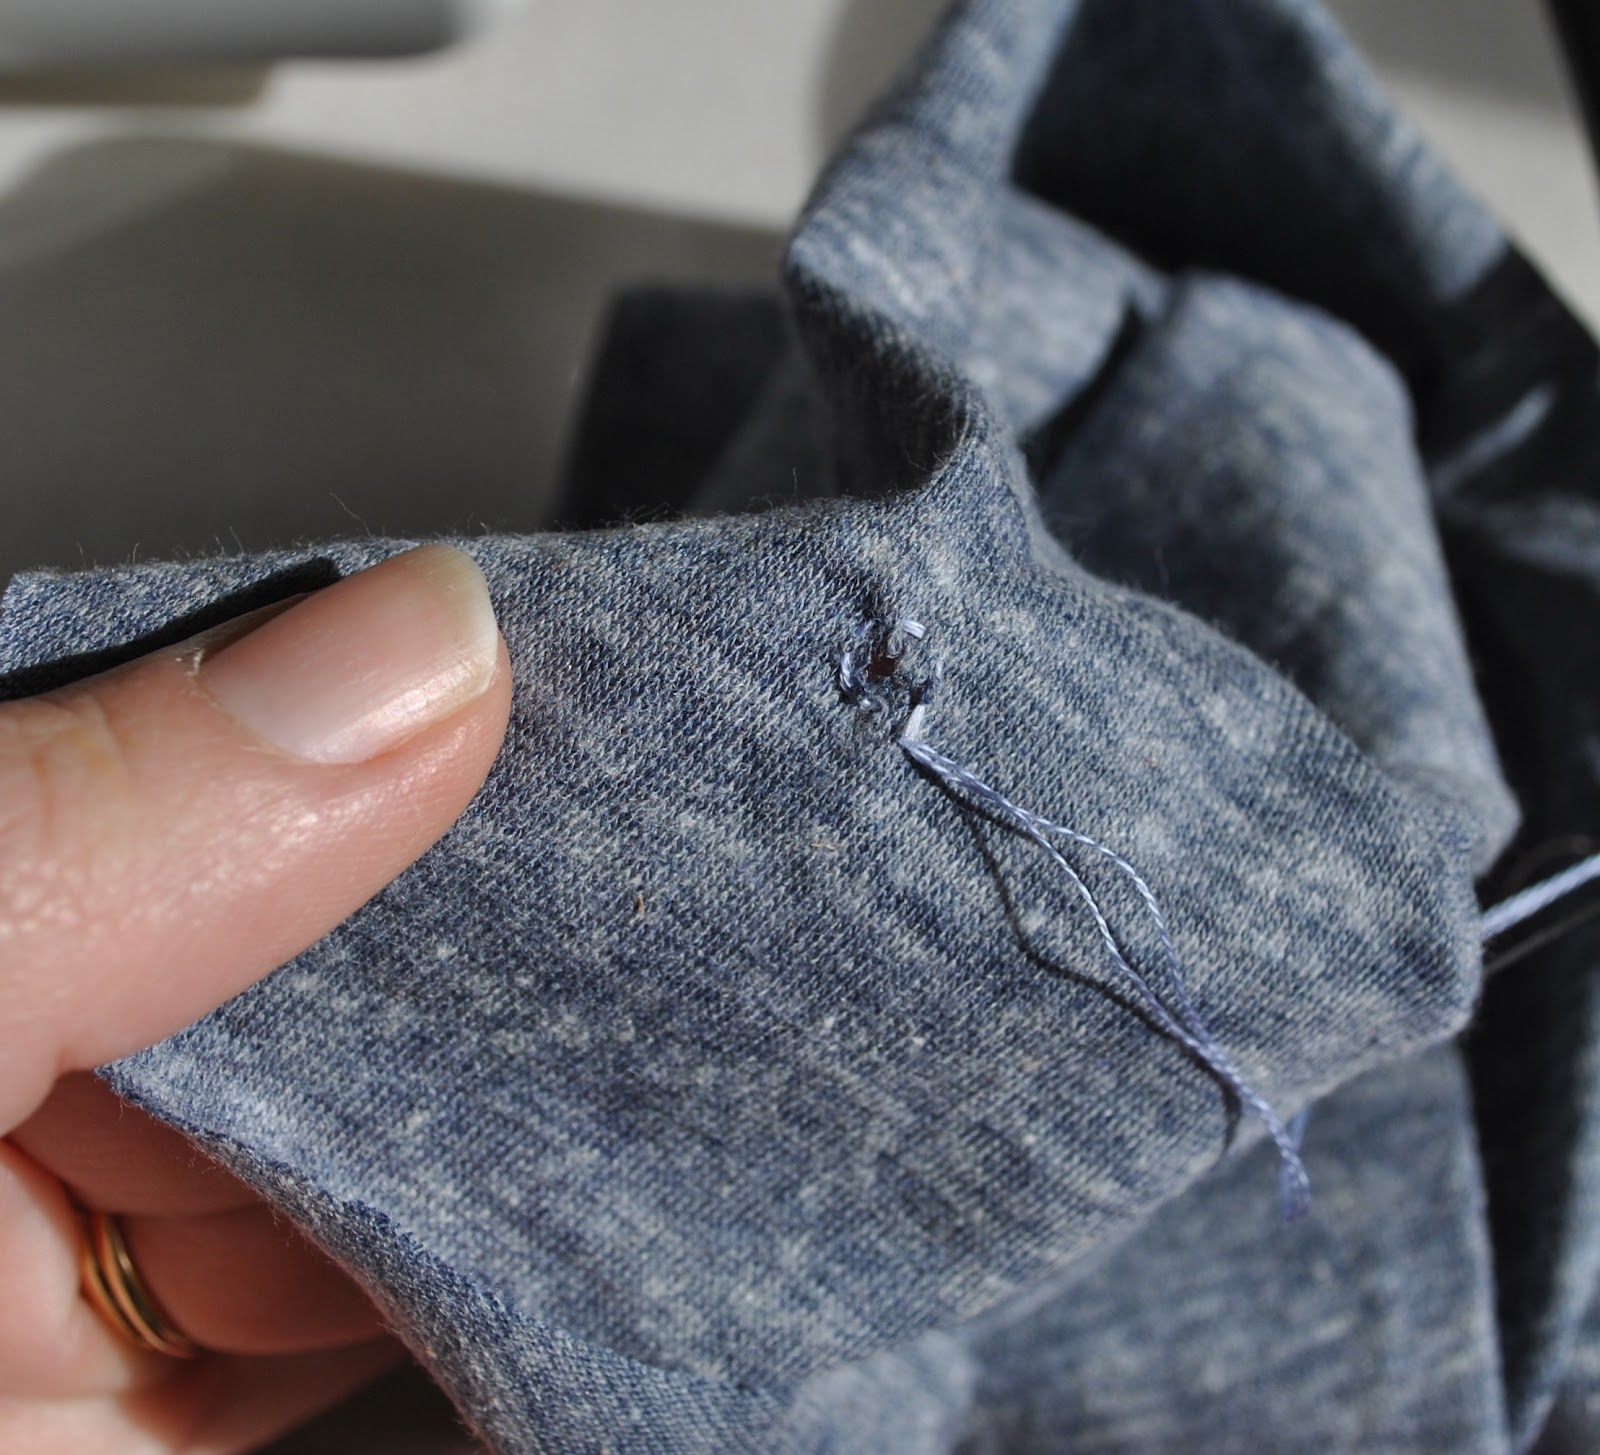
Back where you started, commence embroidering tight blanket stitches, situated hard up against each other, around the hole. When completed, run the thread around underneath the stitching at the back to finish off.
The drawstring is simply a 1m long, skinny strip of the fabric, with the long raw ends folded in on themselves, and topstitched down from the centre out to each end with a wide zig-zag stitch. The original had fancy cover-stitching to finish it off, not having a cover-stitch machine this is my best it’ll-do. And a perfectly fine and dandy option too, in my opinion! Thread it through the collar and up around the hood edging with a safety pin, and tie each end off with a little knot to stop it slipping back through the hole.

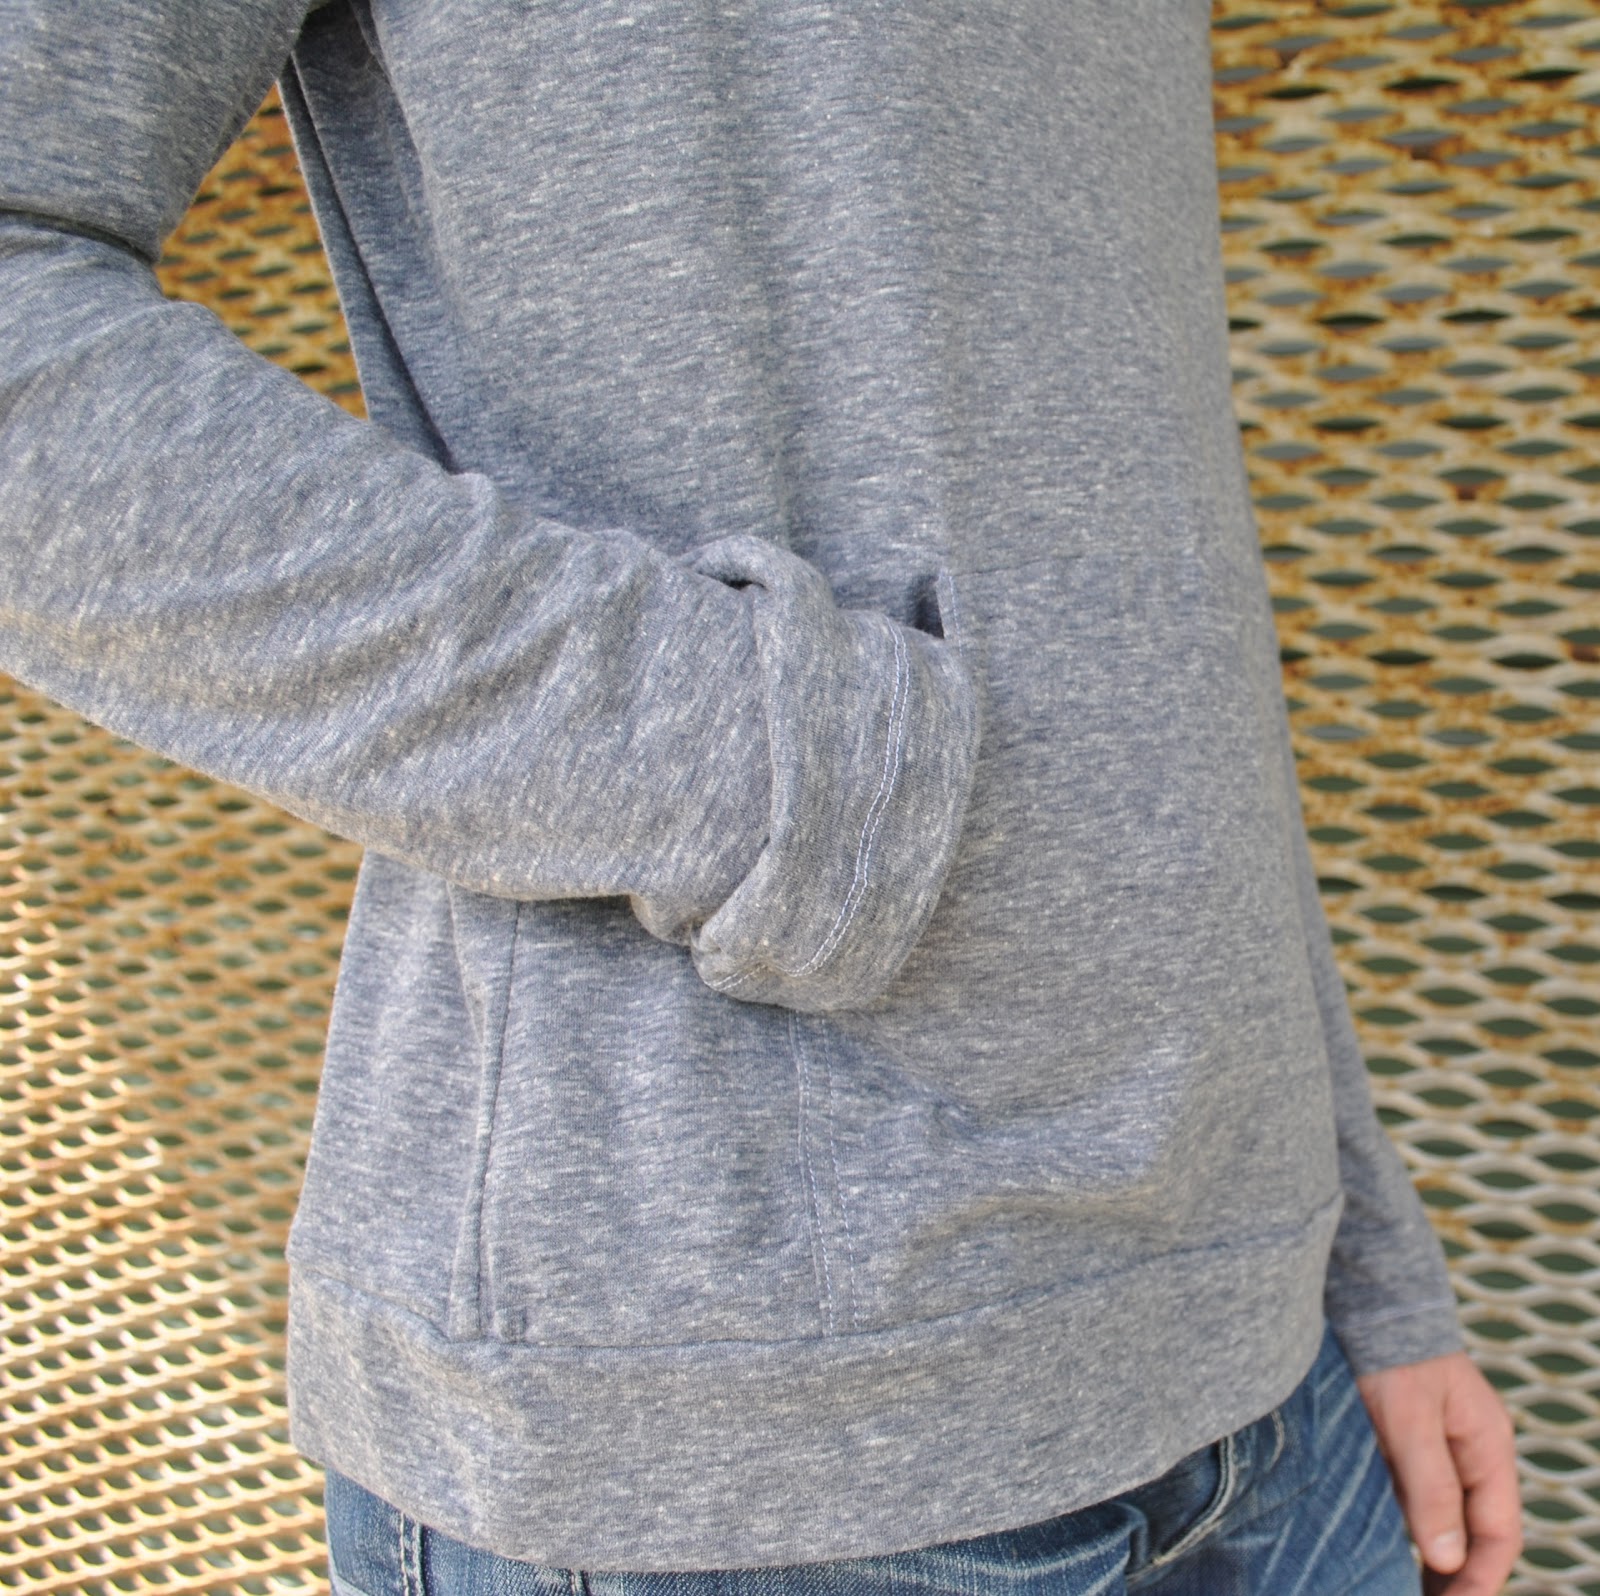
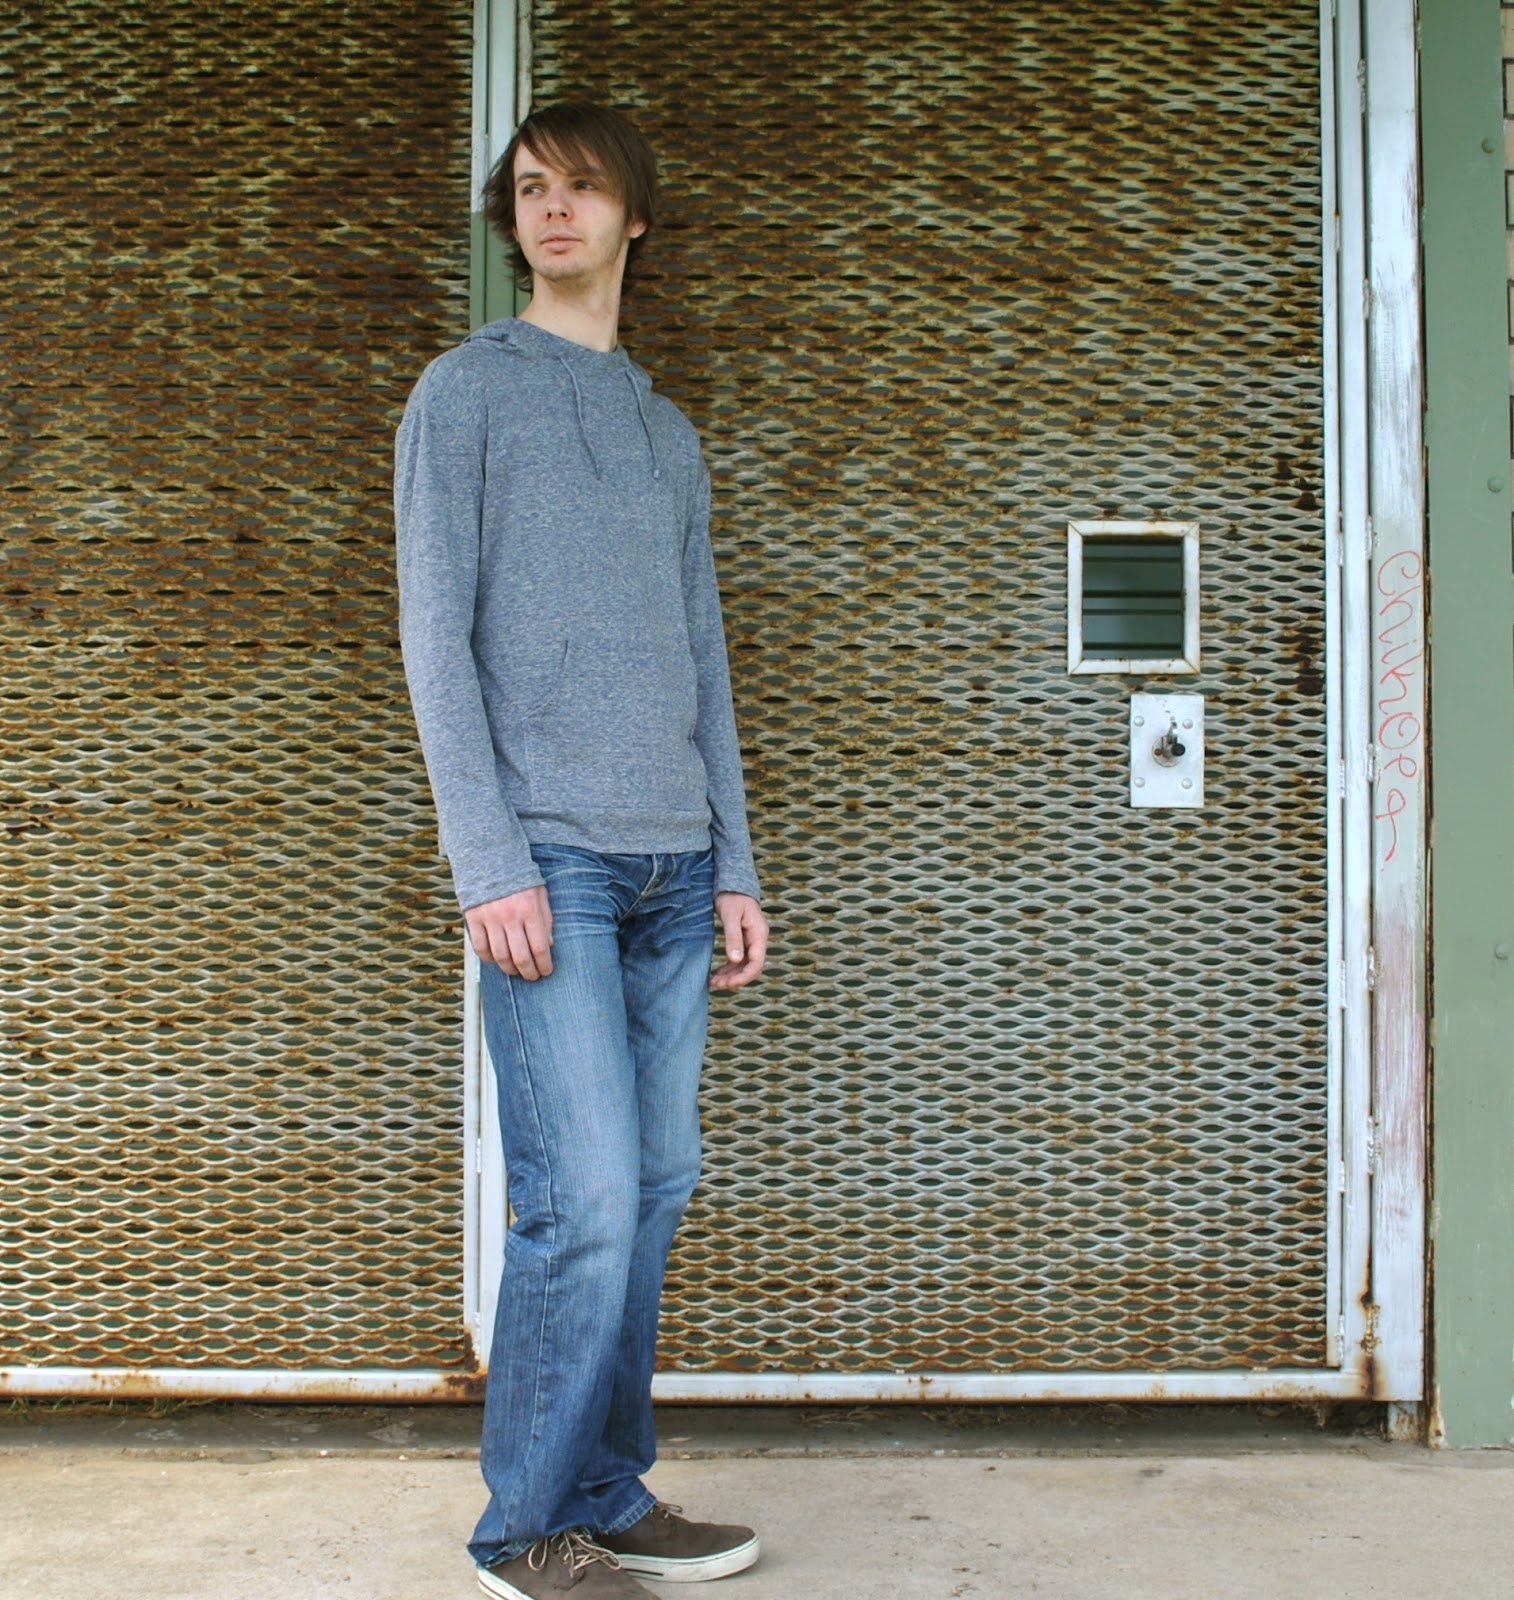
The hoodie has a kangaroo pocket and a wide self-band at the lower edge. The sleeves are hemmed using a twin needle.
Once it was finished and Sam put it on; he quietly, briefly, but spontaneously, mentioned that he liked it. I count that as a fairly enthusiastic expression of approval of the new hoodie.


