Tag Archives: Daily Outfit

A tale of a purple dress

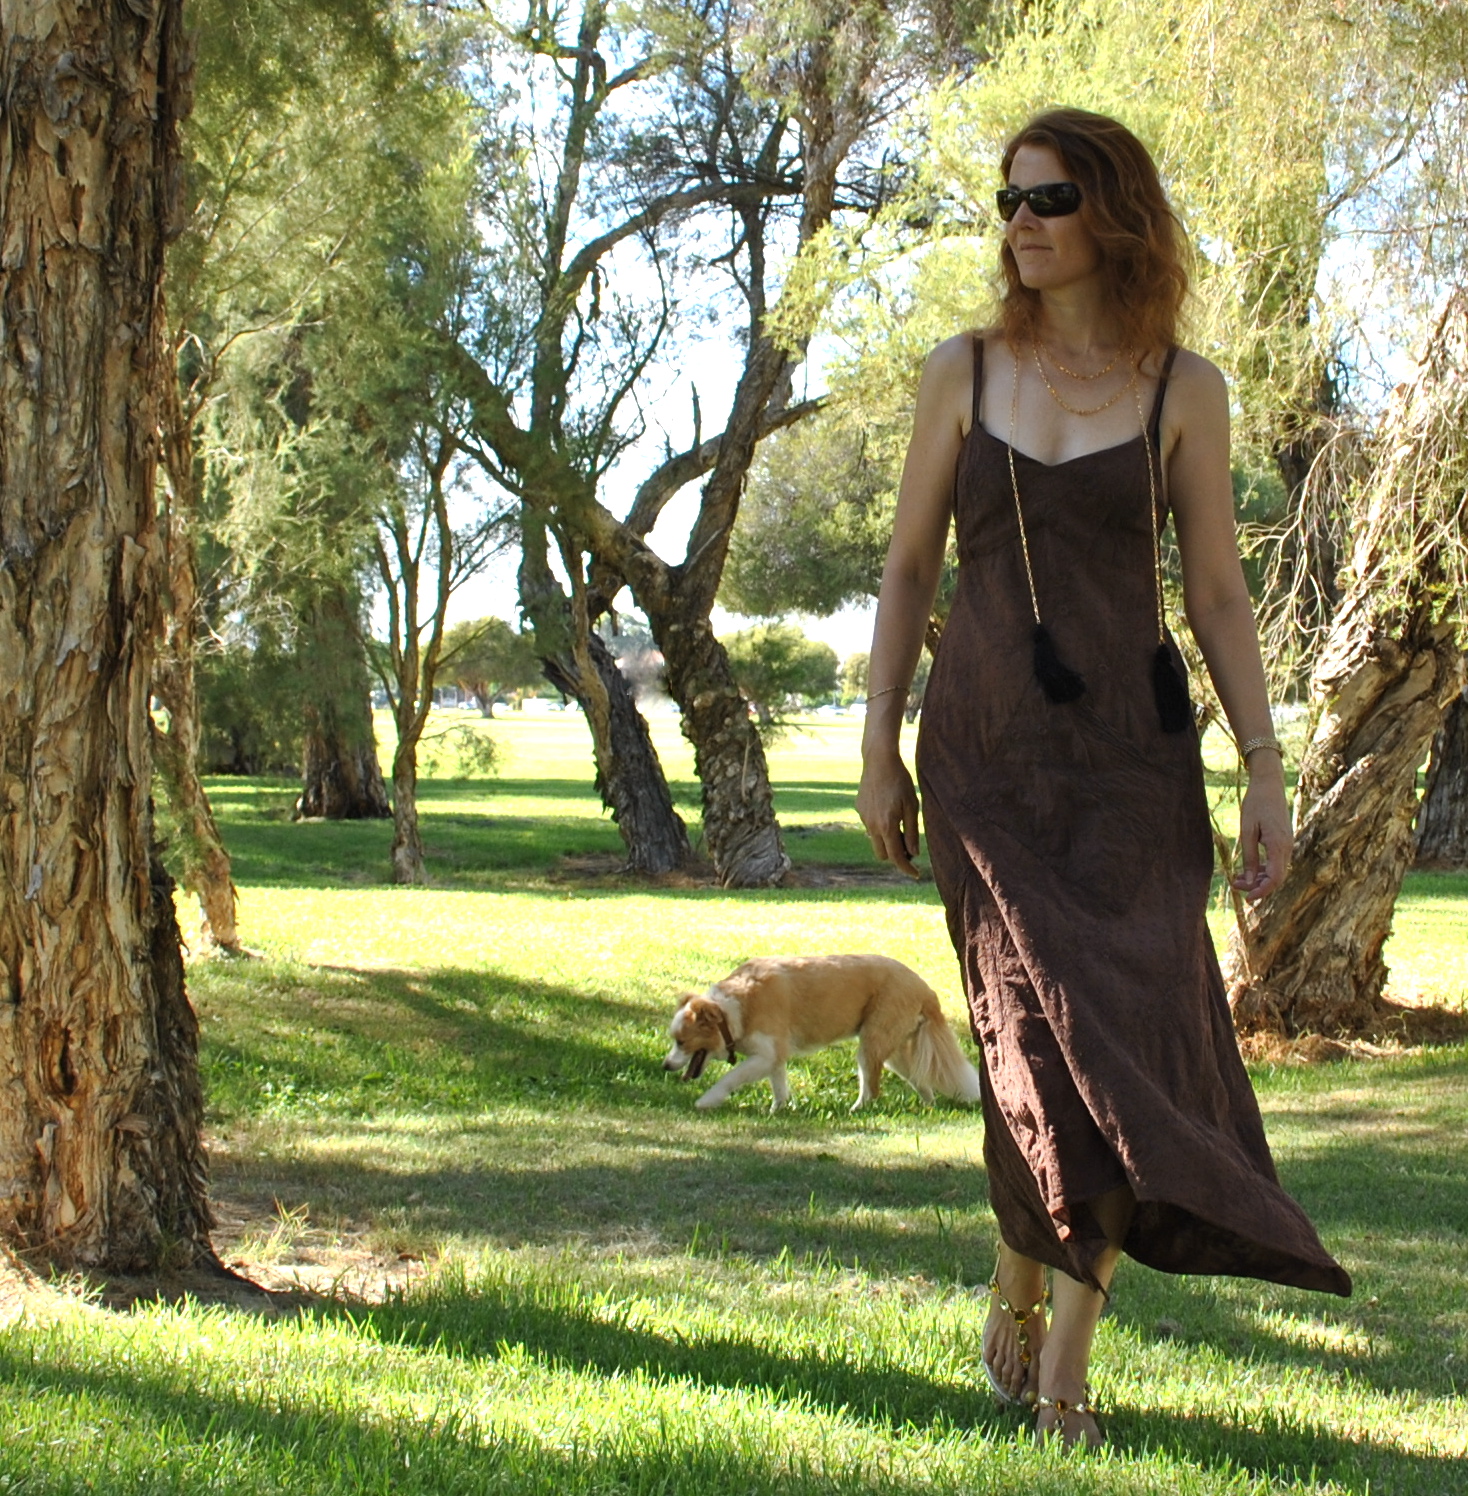
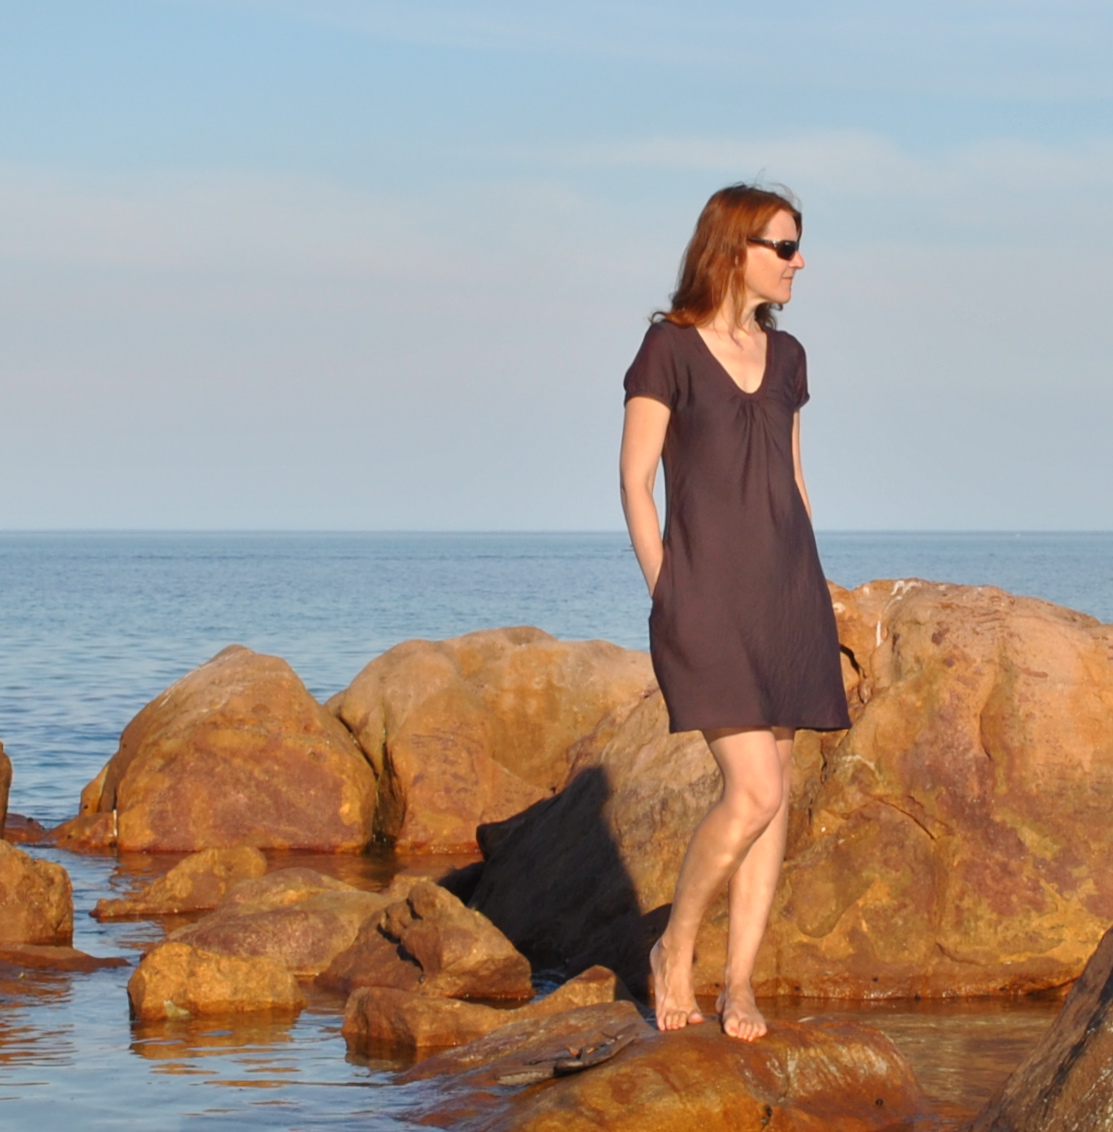
Once upon a time, an avid seamstress took a trip far far away to Melbourne.  There she visited the fabled Tessuti’s and spenteth up big on fabric.  Including a piece of slippery dippery shot rayon-y stuff in a wonderful plummy-chocolate-y sort of a colour.  The rich and gorgeous colour of a ripe eggplant.  The fabric was borne home, lovingly folded and put carefully away and just taken out every now and again for speculative draping over the seamstress’ faithful dummy Bessie, before being re-folded and tucked away again, awaiting the Perfect Project.
The months marched by.
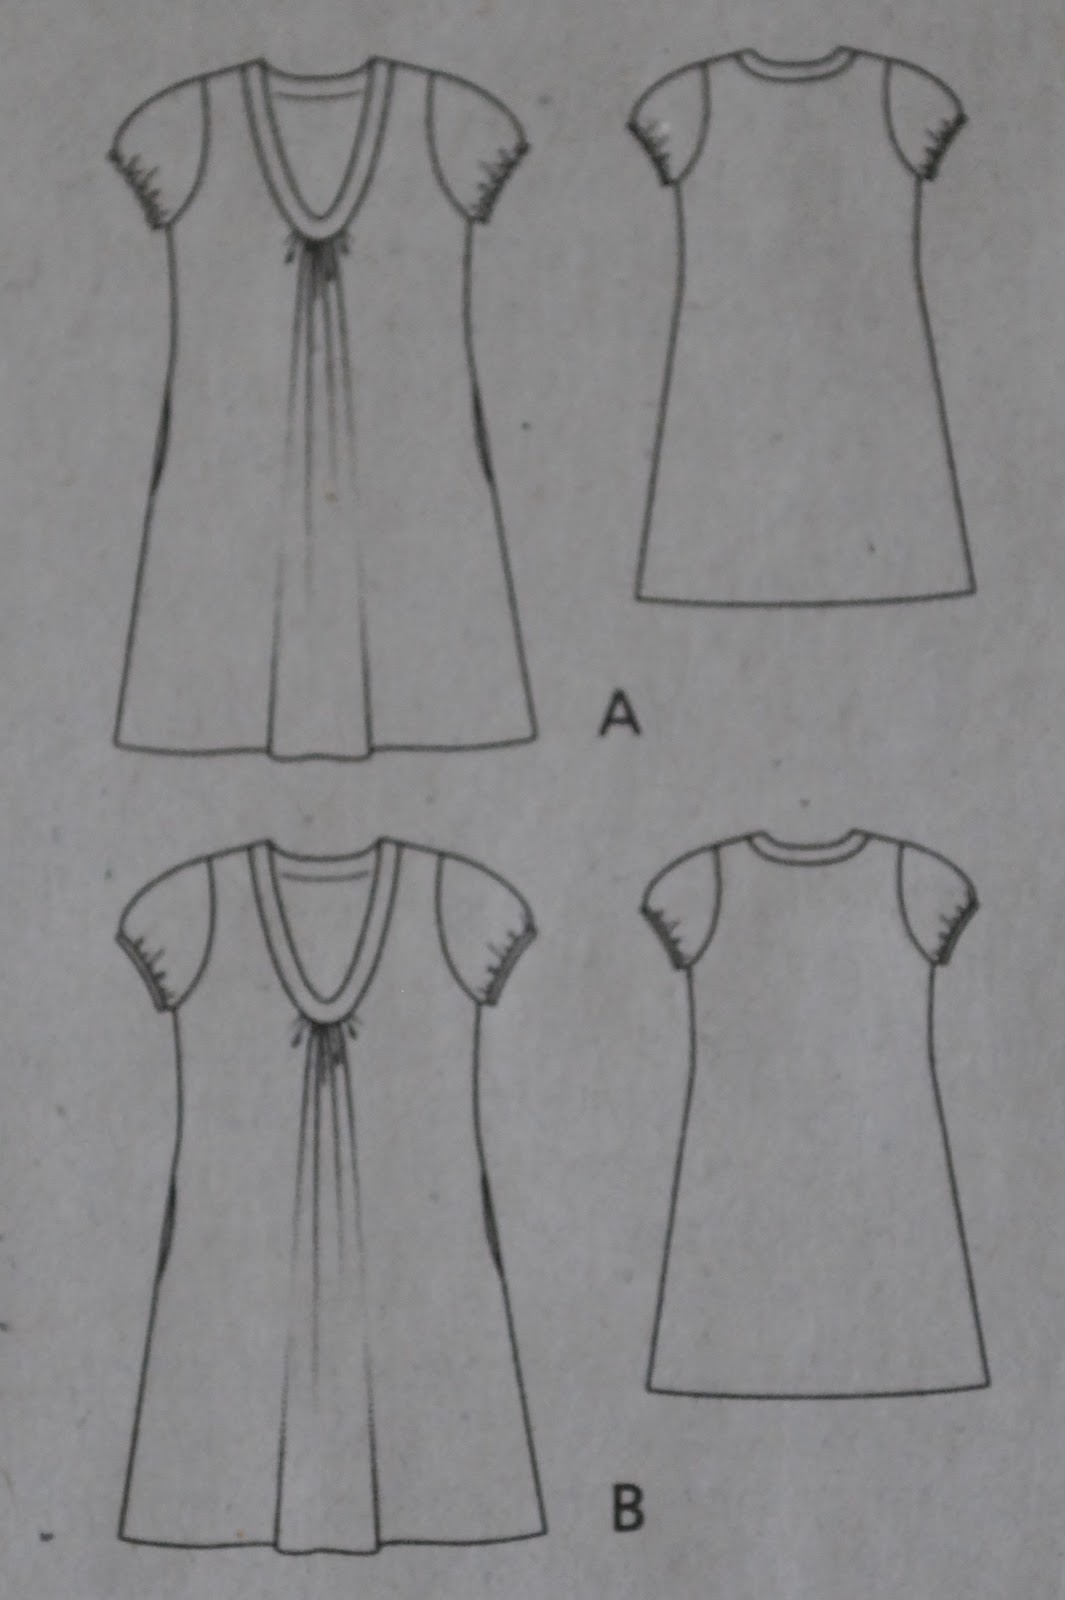
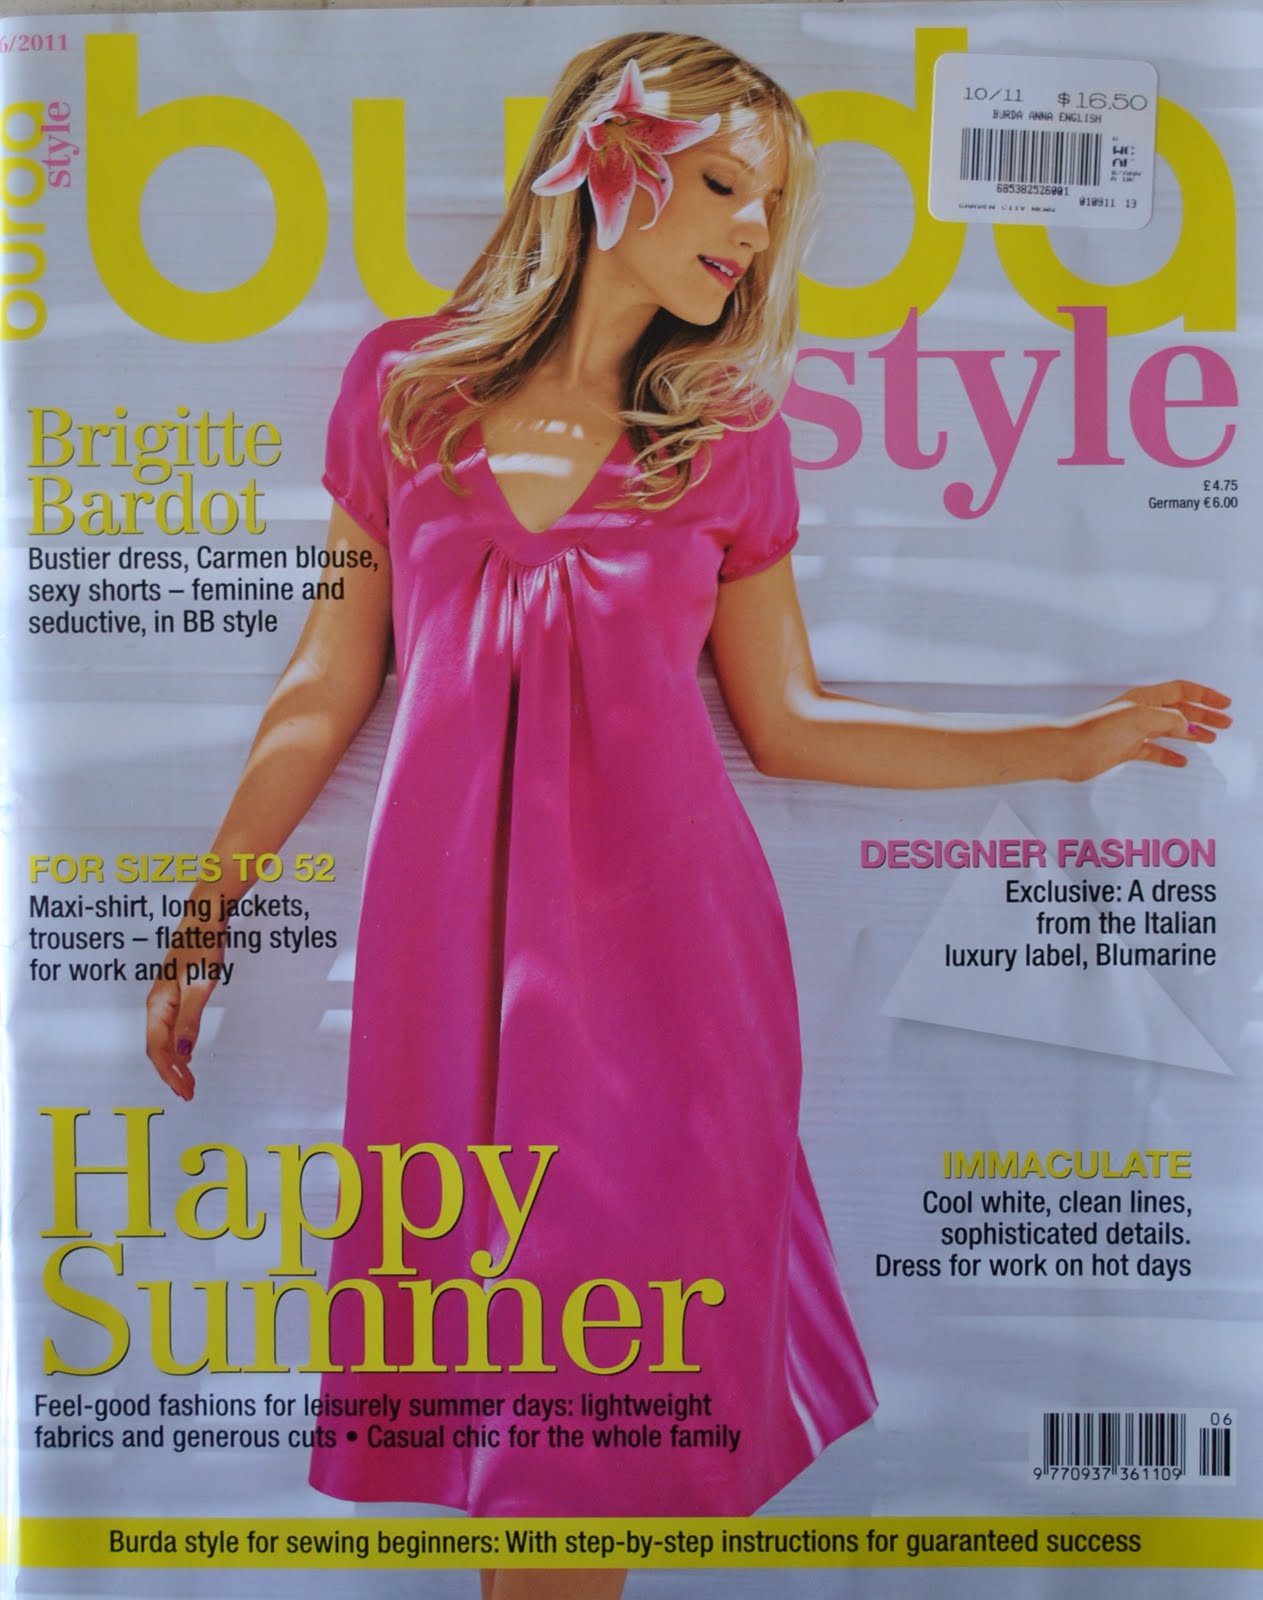
The lovely fabric was still sitting there, taunting the seamstress, Perfect Project-less, and fast becoming that dreaded stuff; Fabric That is Too Good To Sew Up.  The seamstress realized this and took it out again, determined to make something utterly fabulous with it.  She cast about, more seriously this time, for the Perfect Project.  The beguiling dress 102 on the cover of 06/2011 Burdastyle magazine caught her eye, again… actually the very reason she bought this magazine.  It was a promising looking number for summer; loose and elegant, and just the thing for flowy slippery dippery sort of fabrics.  The seamstress did all her prep, and then bravely sliced into the precious fabric.  She made up her dress, pinned up the hem, and hung it up for the requisite couple of days (being an old hand, she knew all the rules regarding bias-cut)  Then she put it on.  Lo, and the mirror reflected back to her a frump.  A complete and utter frump.
The seamstress realized that her delicious and expensive fabric the colour of an eggplant had magical powers and had transformed her into one… just like when Cinderella was transformed into a pumpkin (oh OK OK, that was the coach not Cinders… but you getteth the idea)
Bitterly disappointed, she took it off and hung it out of sight for a few days; busied herself with easier projects, like making Pattern Magic stuff out of scraps.  Then took out the Eggplant costume again (for this is how she now thought of it)  Studied it.  Had a brainwave, and chopped off 14cm.  Pinned the hem, hung it up for the next few days again, blah blah.  Tried it on.  Lo, and the shorter length had worked wonders!  Gone was the bulbous look!  The seamstress felt victorious.  Hand-stitched a narrow hem.  And wore the dress out.  And catching sight of herself in a shop window, noticed in a certain light a sheerness to the dress, the shadow of underwear showing through, that had not previously been apparent in the bathroom mirror…  
Doh! 
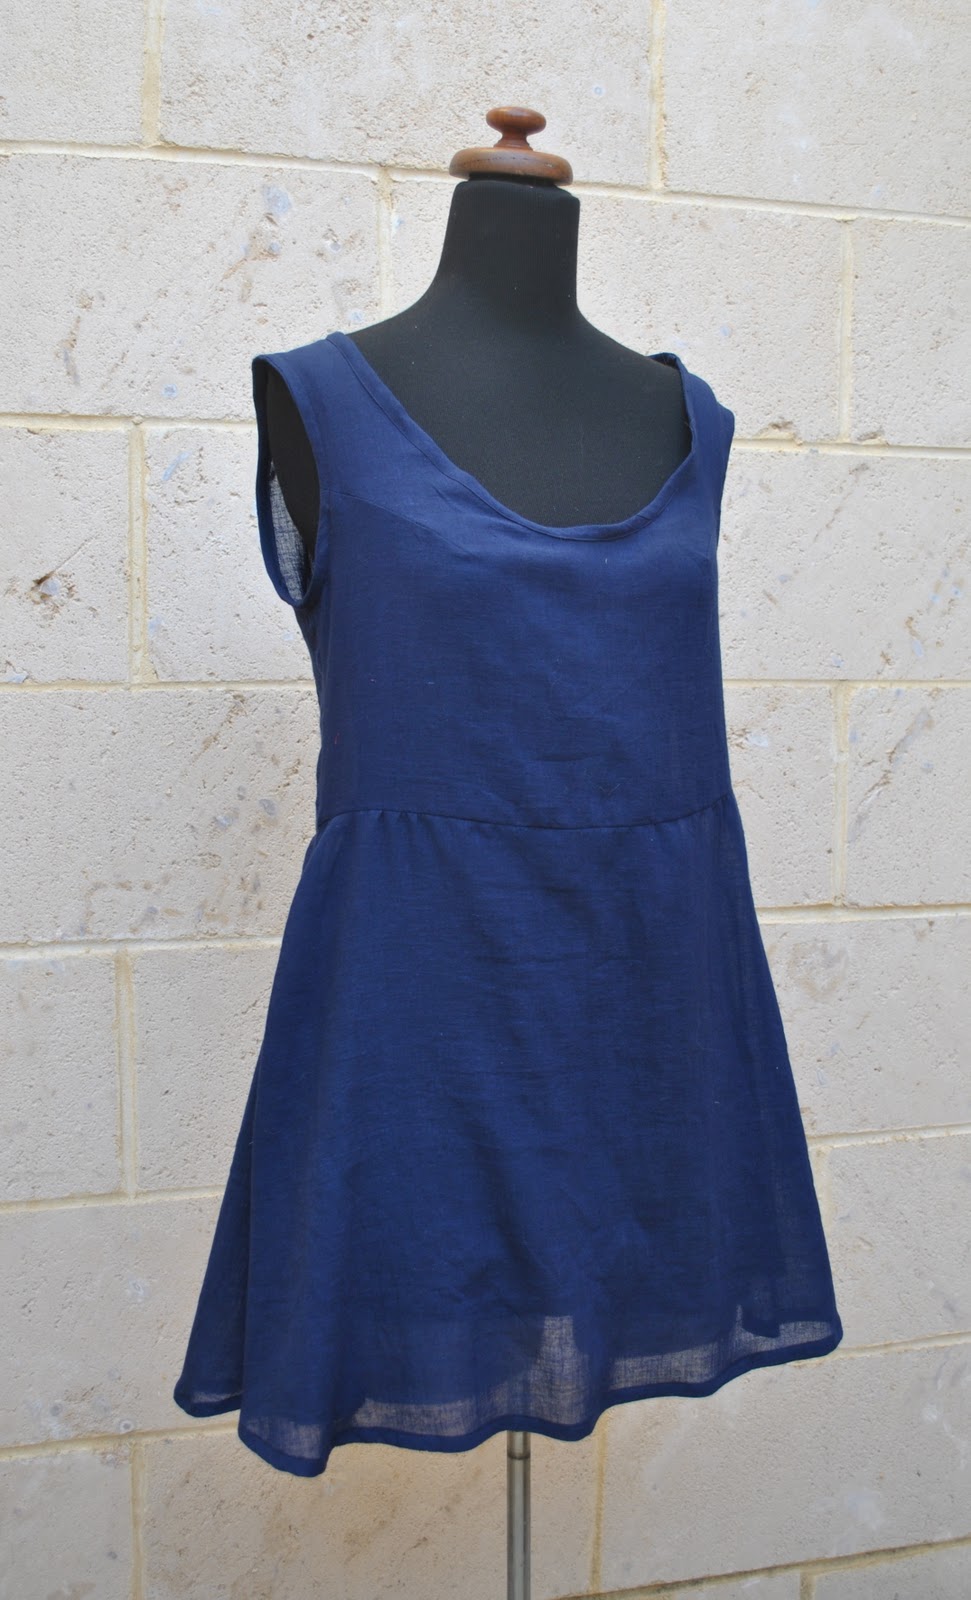
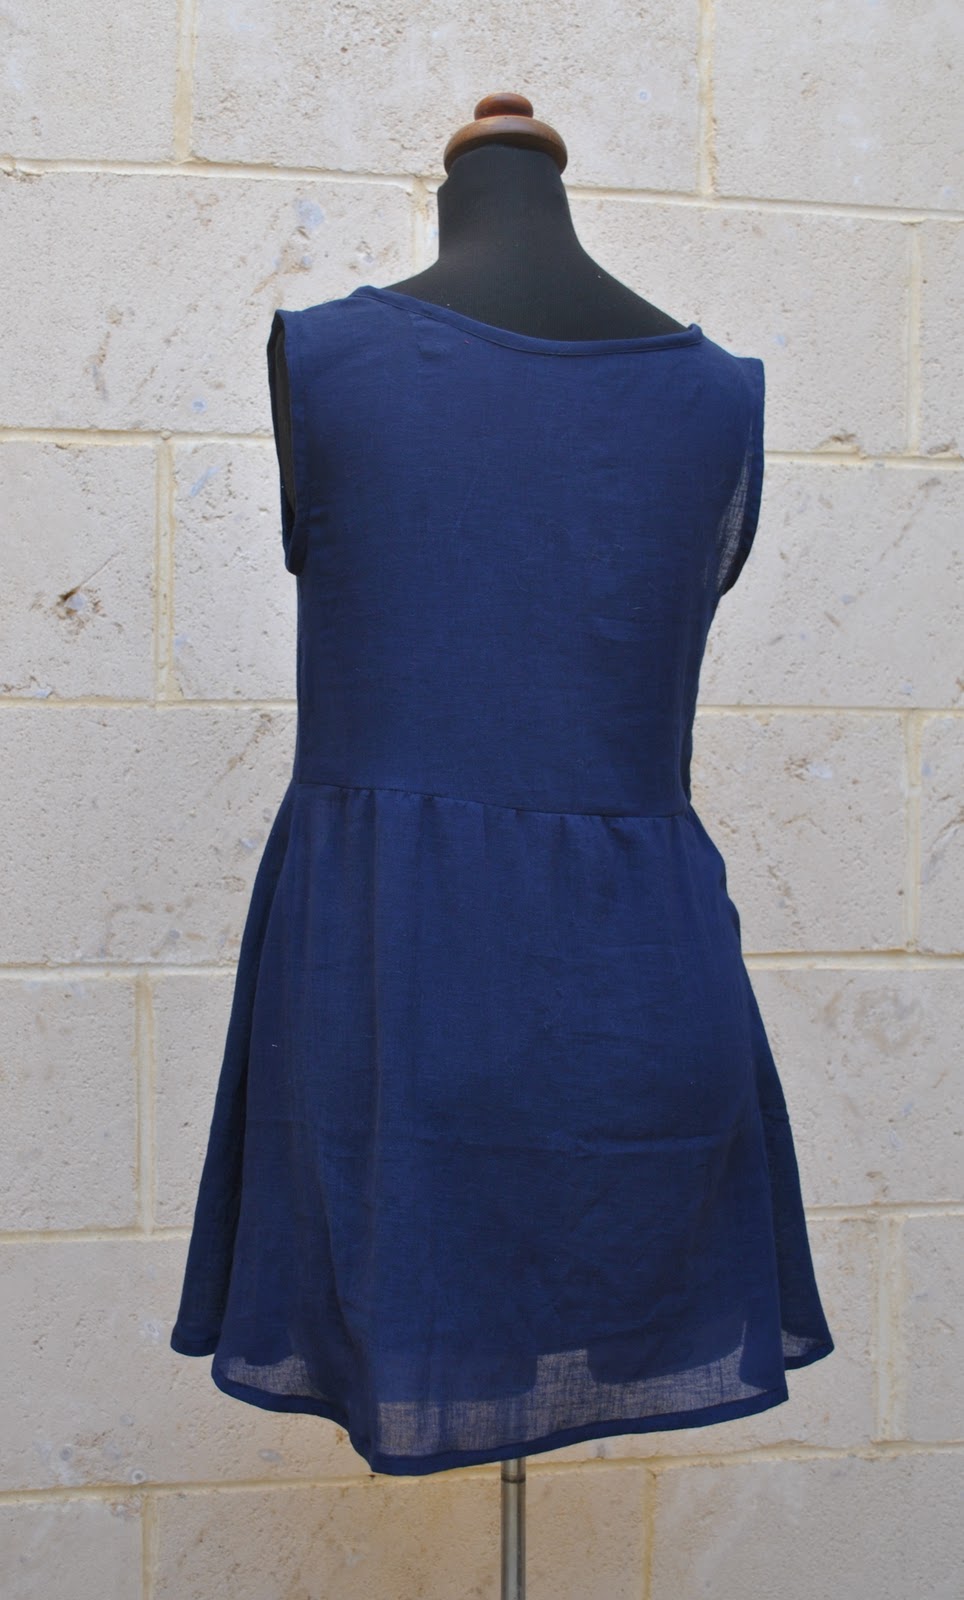
She despaired, but briefly; rallied and then quickly made a little slip-on petticoat.  It was thrown together somewhat, but finally the gods were smiling on the seamstress because the petticoat was perfect. 
And they all lived happily ever after.
Details:
Dress; Burdastyle magazine 06/2011, dress 102, purple shot rayon
Petticoat; self-drafted, from lightweight navy blue polycotton (the last leftover bit after making this)

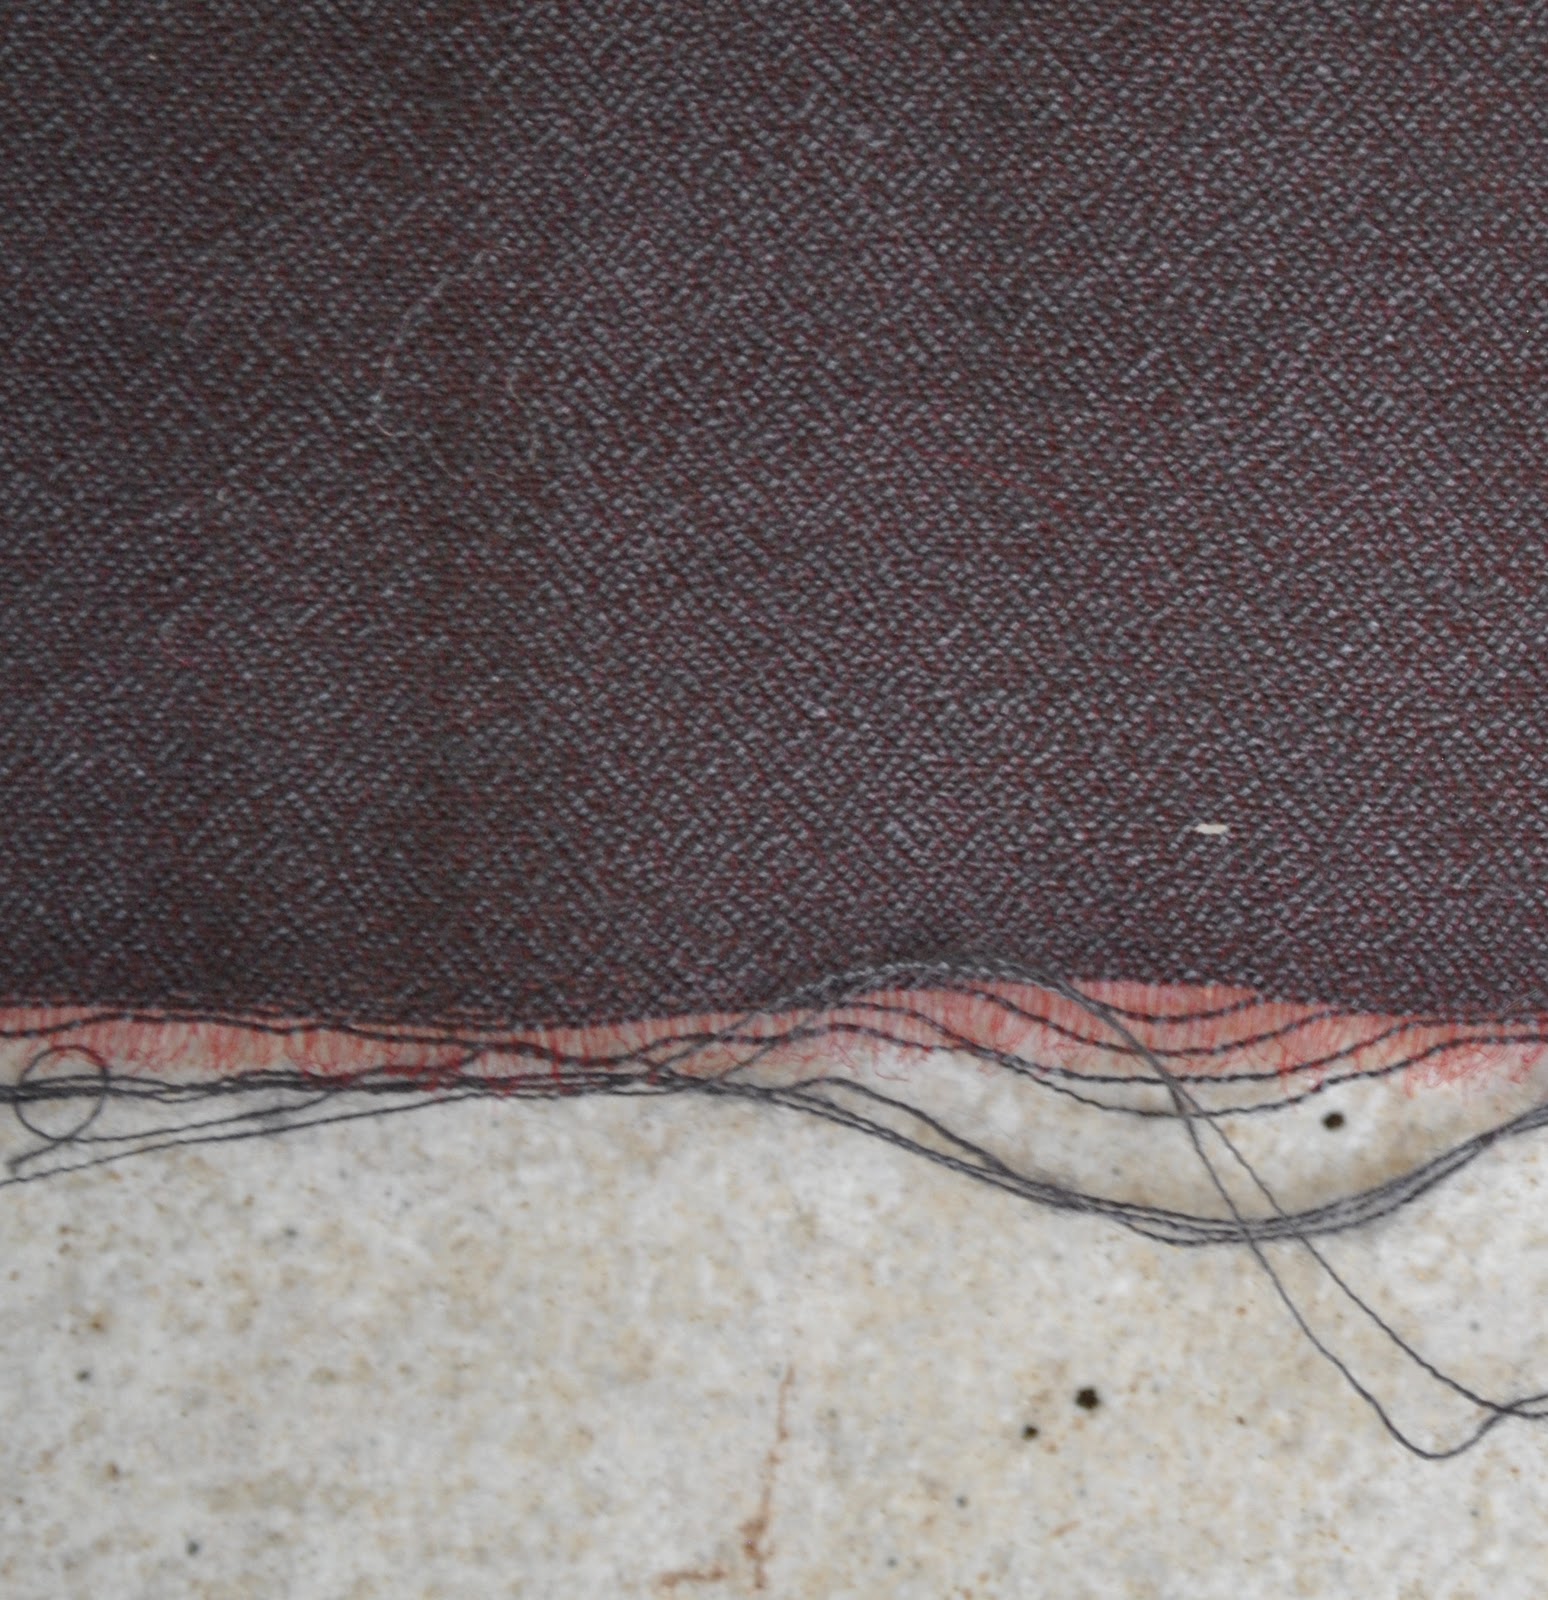
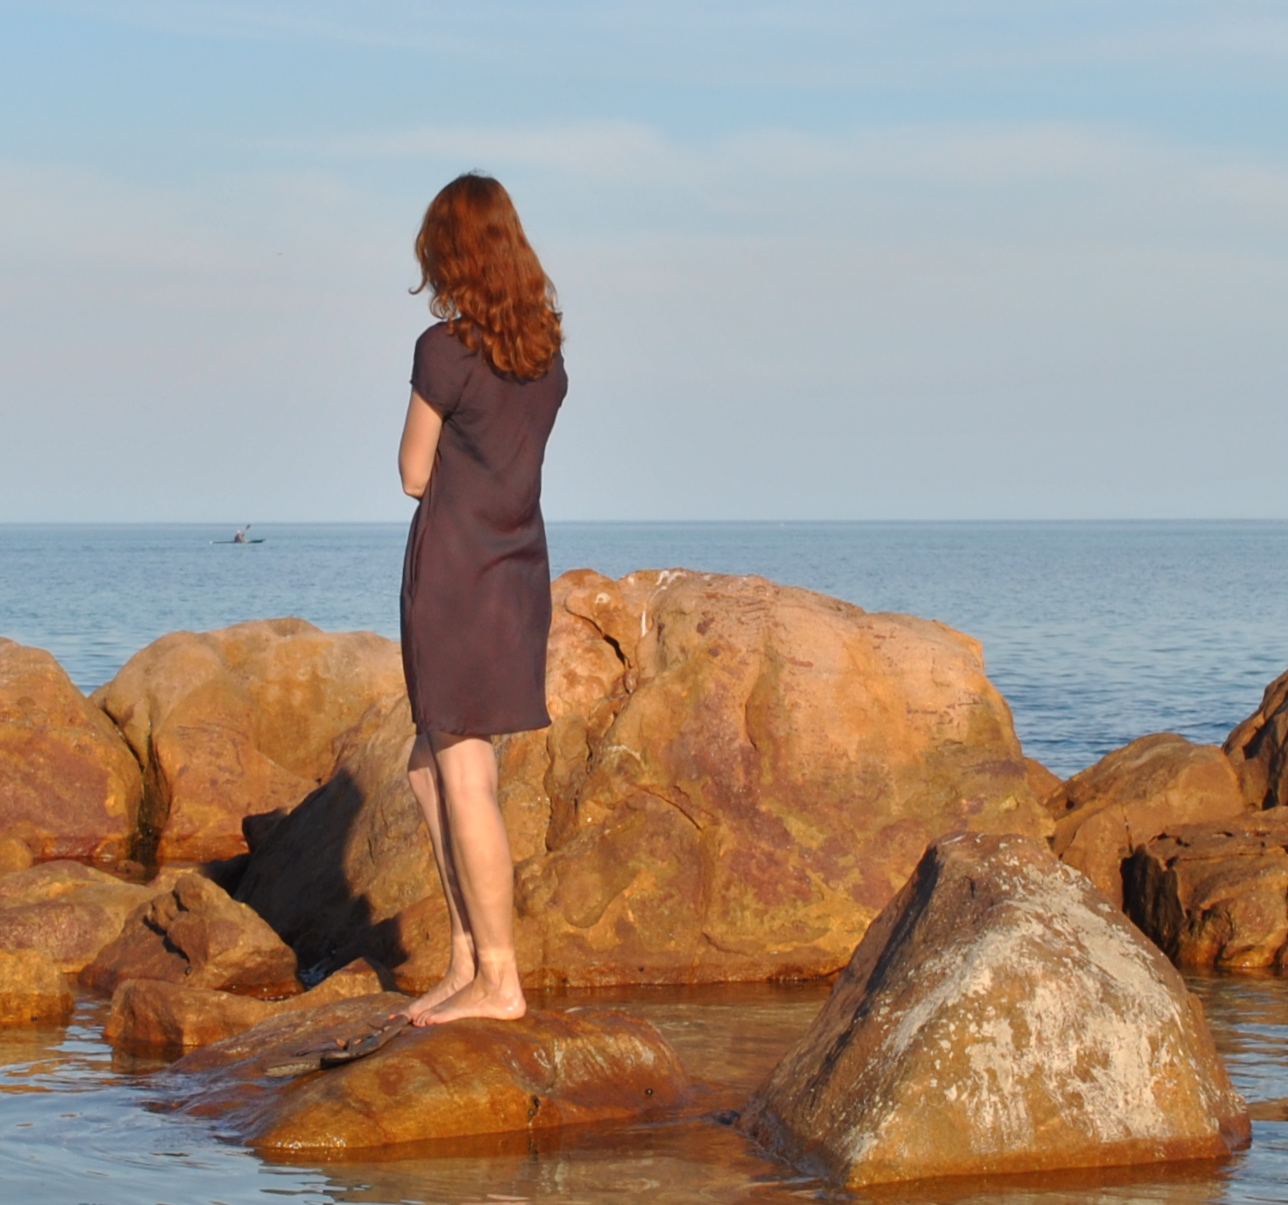
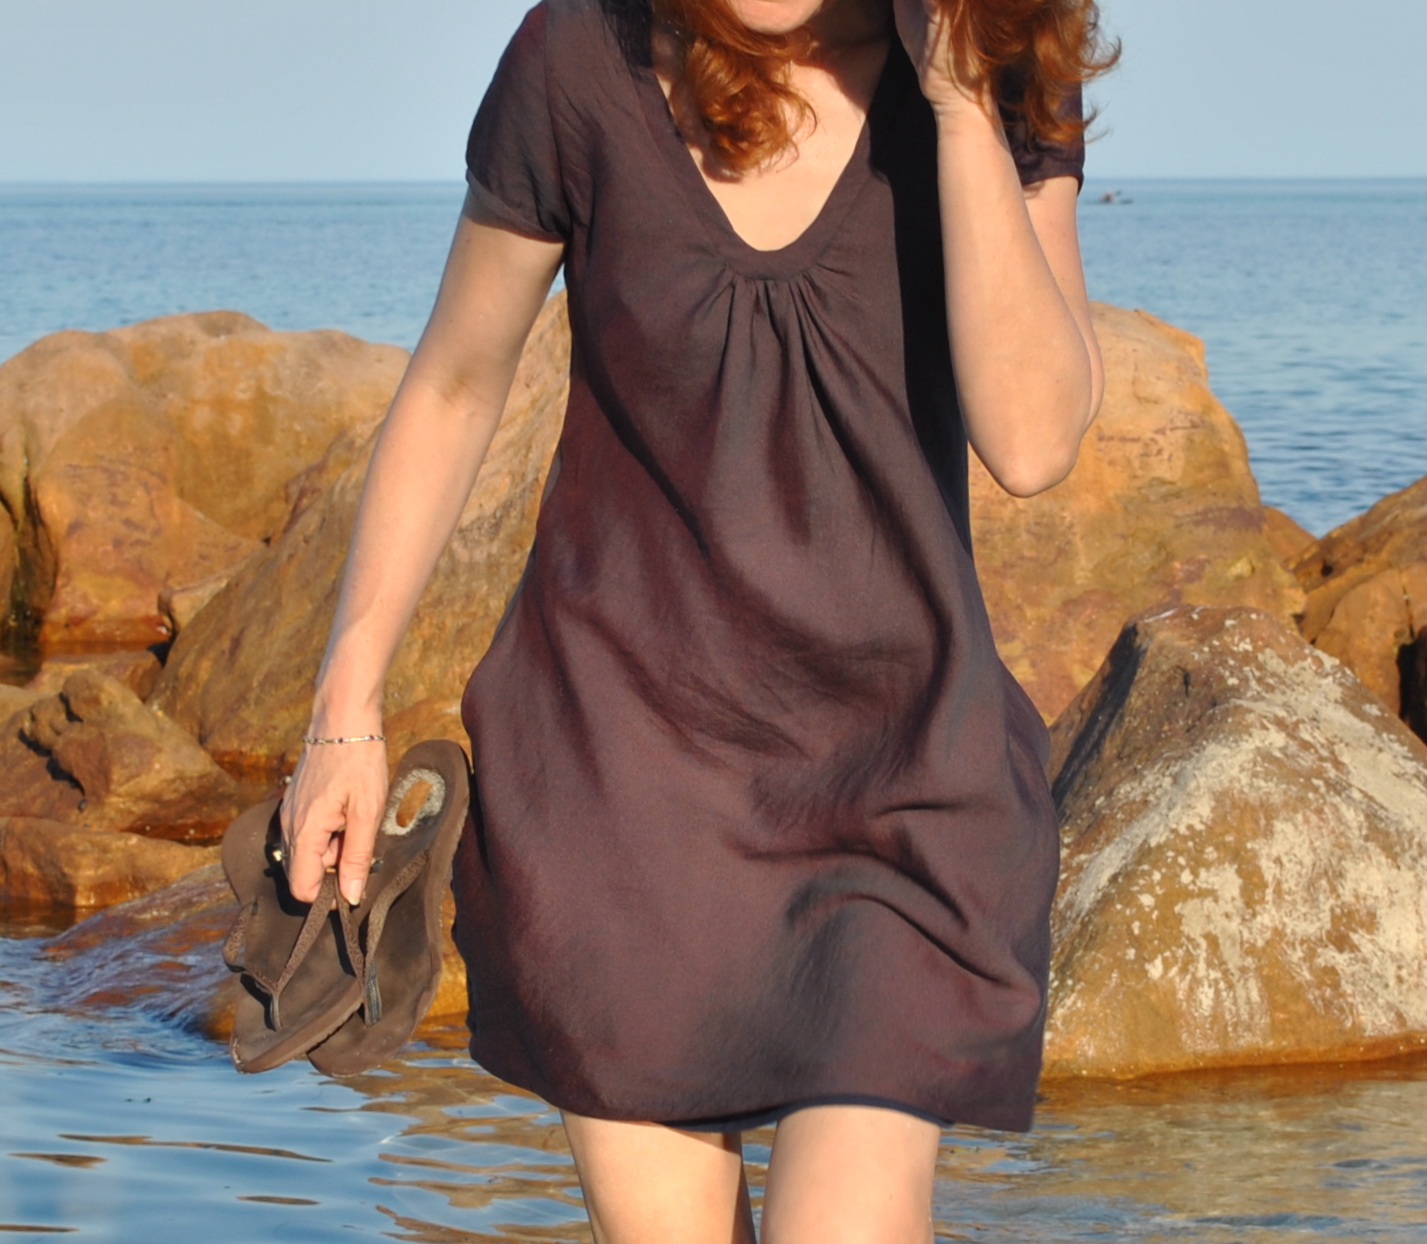
The fabric is shot rayon; with a red warp and a dark blue/grey weft, giving it an overall browny-purple hue.  Craig took this last candid photo which illustrates quite well how the fabric takes on different colours in the light (a hallmark of shot fabrics)
Pattern Description:
Flared bias-cut dress with an oval neckline which according to the magazine description “accents an alluring décolleté “ (hehehe)  Small gathered cap sleeves, inseam side pockets, no closure necessary.
Pattern Sizing:
European 36-44; I made the size 38
Did it look like the photo/drawing on the pattern envelope once you had finished sewing it?
Yes, except that mine is 14cm shorter.
Were the instructions easy to follow?
Not too convoluted, by Burdastyle standards.
What did you particularly like or dislike about the pattern?
I really love the neckline of this dress, the cute overall shape of the bodice part of the dress and the fact it will be wonderfully cool and comfortable this summer.
Unfortunately the pattern is a little… odd-looking in its finished form  :S  I think this might well be due to the bias cut, which when combined with that gathered neckline; well I should have foreseen how huge this would make the front of the dress look. I am not fond of the maternity look, been there done that and at my age I’m well past all that!!  However, looking closely at the dress I thought the baby bump effect was created partly by the length of the dress, and that the weight of the fabric caused the front to curve back inwards towards your body, in a sort of “bulbous” effect.  I took 14cm off the length and I think this drastically improved the shape of the dress.  The removal of this extra weight of fabric allowed the hemline to sit up and flip out more fully, giving more of an A-line rather than an eggplant silhouette.
Fabric Used:
Lightweight shot rayon, with a very slippery silky feel to it
Pattern alterations or any design changes you made:
Contrary to the instructions I sewed the pocket pieces to the dress before sewing up the side seams.  Why would you sew up the side seams before attaching the pockets anyway?  That doesn’t make sense to me at all.
The instructions tell you to attach the sleeve binding before sewing up the side sleeve seams… I sewed the side seams of the dress, then sleeve seams and then set in the sleeves; then I attached the binding to the lower edge of the sleeves and slipstitched it over by hand.  Just a personal preference…
The “bigness” of the dress combined with a quite long length added up to an unfortunate overall frumpiness… so I ended up taking 14cm off the length and this improved the silhouette of the dress enormously, imo.
Would you sew it again? Would you recommend it to others?
I’m curious as to whether this would look better in a straight-cut; and I might just try this out sometime…  Otherwise it might be worth reducing the width of the neckline (and thus some of the excess fabric from out of the front of the dress) to see if this reduces the unfortunate “baby bump” effect.
Would I recommend this to others? well, this would definitely make a fabulous maternity dress!
 Conclusion:
My first reaction to the unhemmed dress at the longer length was disappointment, but taking off that crucial 14cm in length and I am happy!  I really like this at the shorter length.  But I wouldn’t make this again, at least without trying a few adjustments, like taking away at least a bit of that excess fabric around the middle…
This might work better in a lightweight cotton or something else not as slippery and slithery as the fabric I chose.  Bias cut rayon is not much fun to work with.
pinterestmail

Dreaming, of chocolate

Y’know how you see some patterns, and you’re like, oh so easy!! but you go ahead and buy or trace-out or copy-as-exactly-as-possible anyway?  
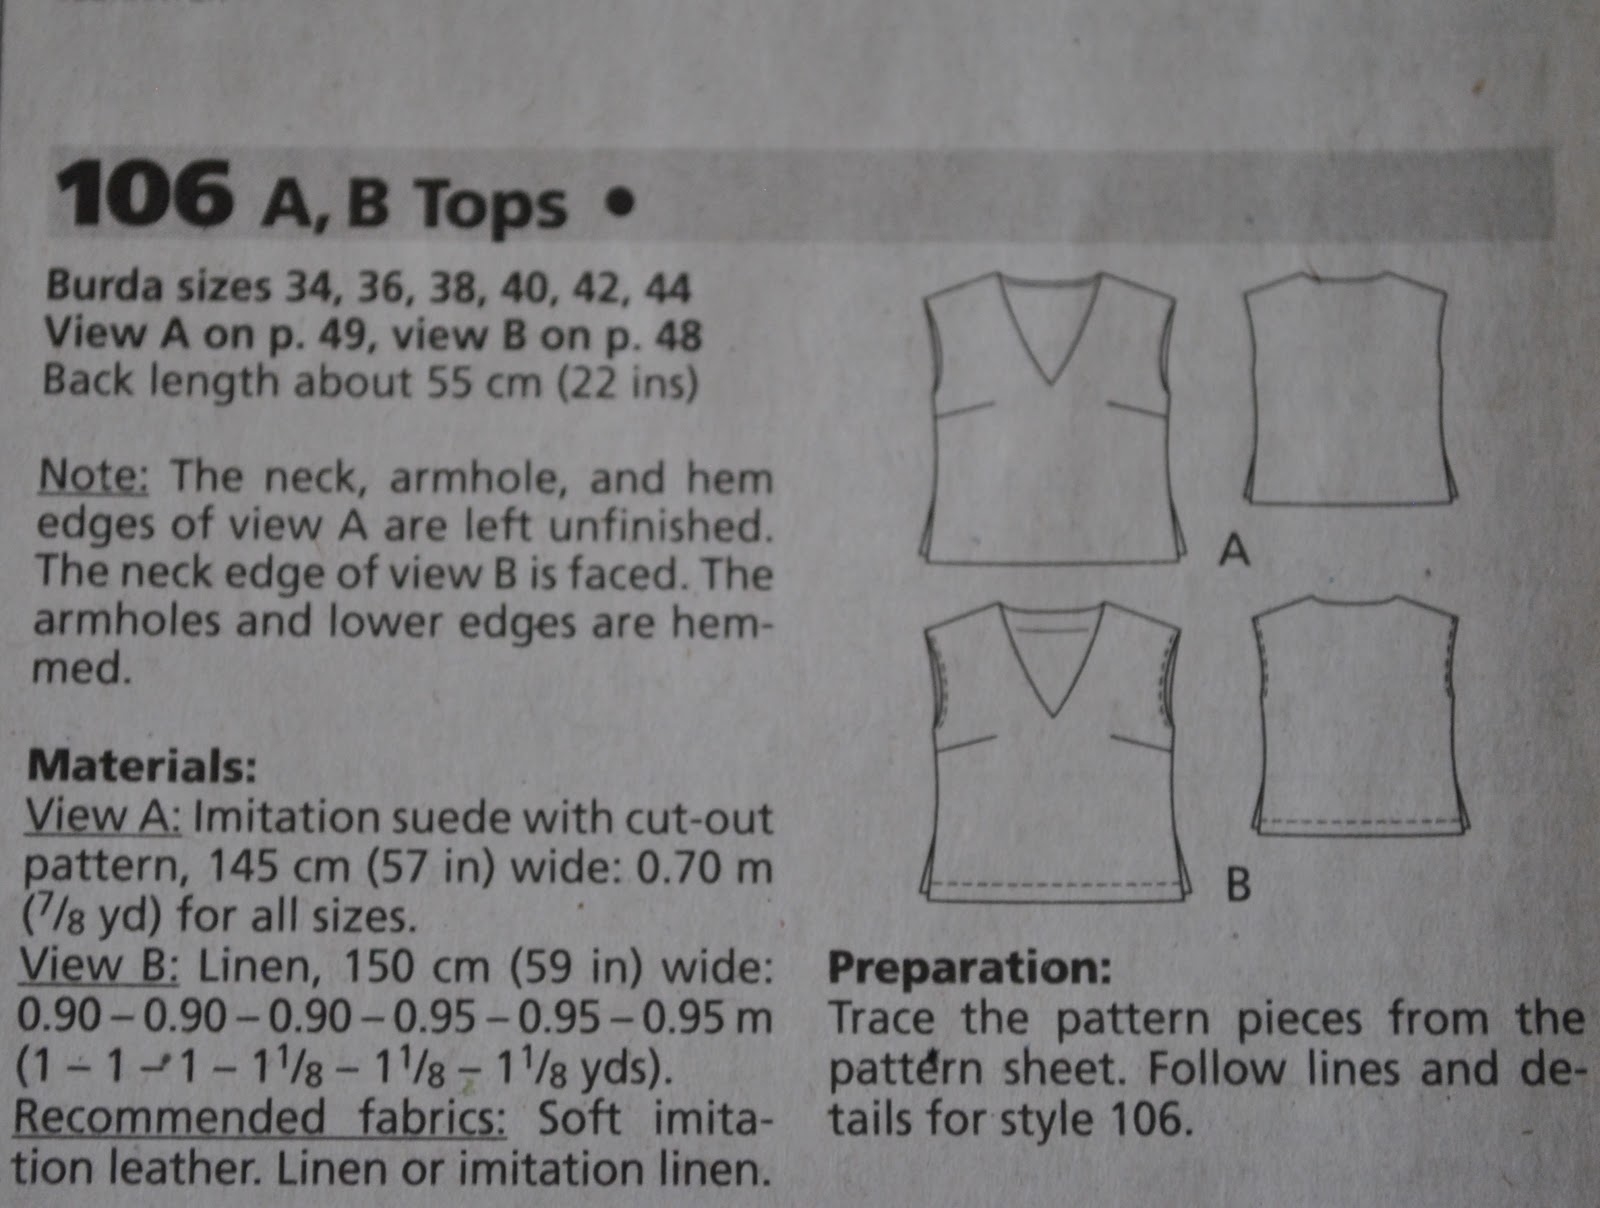
That’s how I felt with this Tshirt pattern; top 106 from Burdastyle magazine 06/2011.  I just liked the shape of it, exactly as it appeared in the magazine; the subtle kimono sleeve, the boxy looseness of it.  So I hauled out the ol’ tracing stuff and spread out the sheets and traced out this very very basic Tshirt/dress (you can make it a bit longer, and surprise! it is a dress! in true Burda magazine style, they elongate top patterns and give it a different number, making out it is a whole new pattern) even though all the while wondering that there was really nothing to it and maybe I was wasting my time and my tracing plastic.  And my final thought; there really is nothing to it!  Too easy!
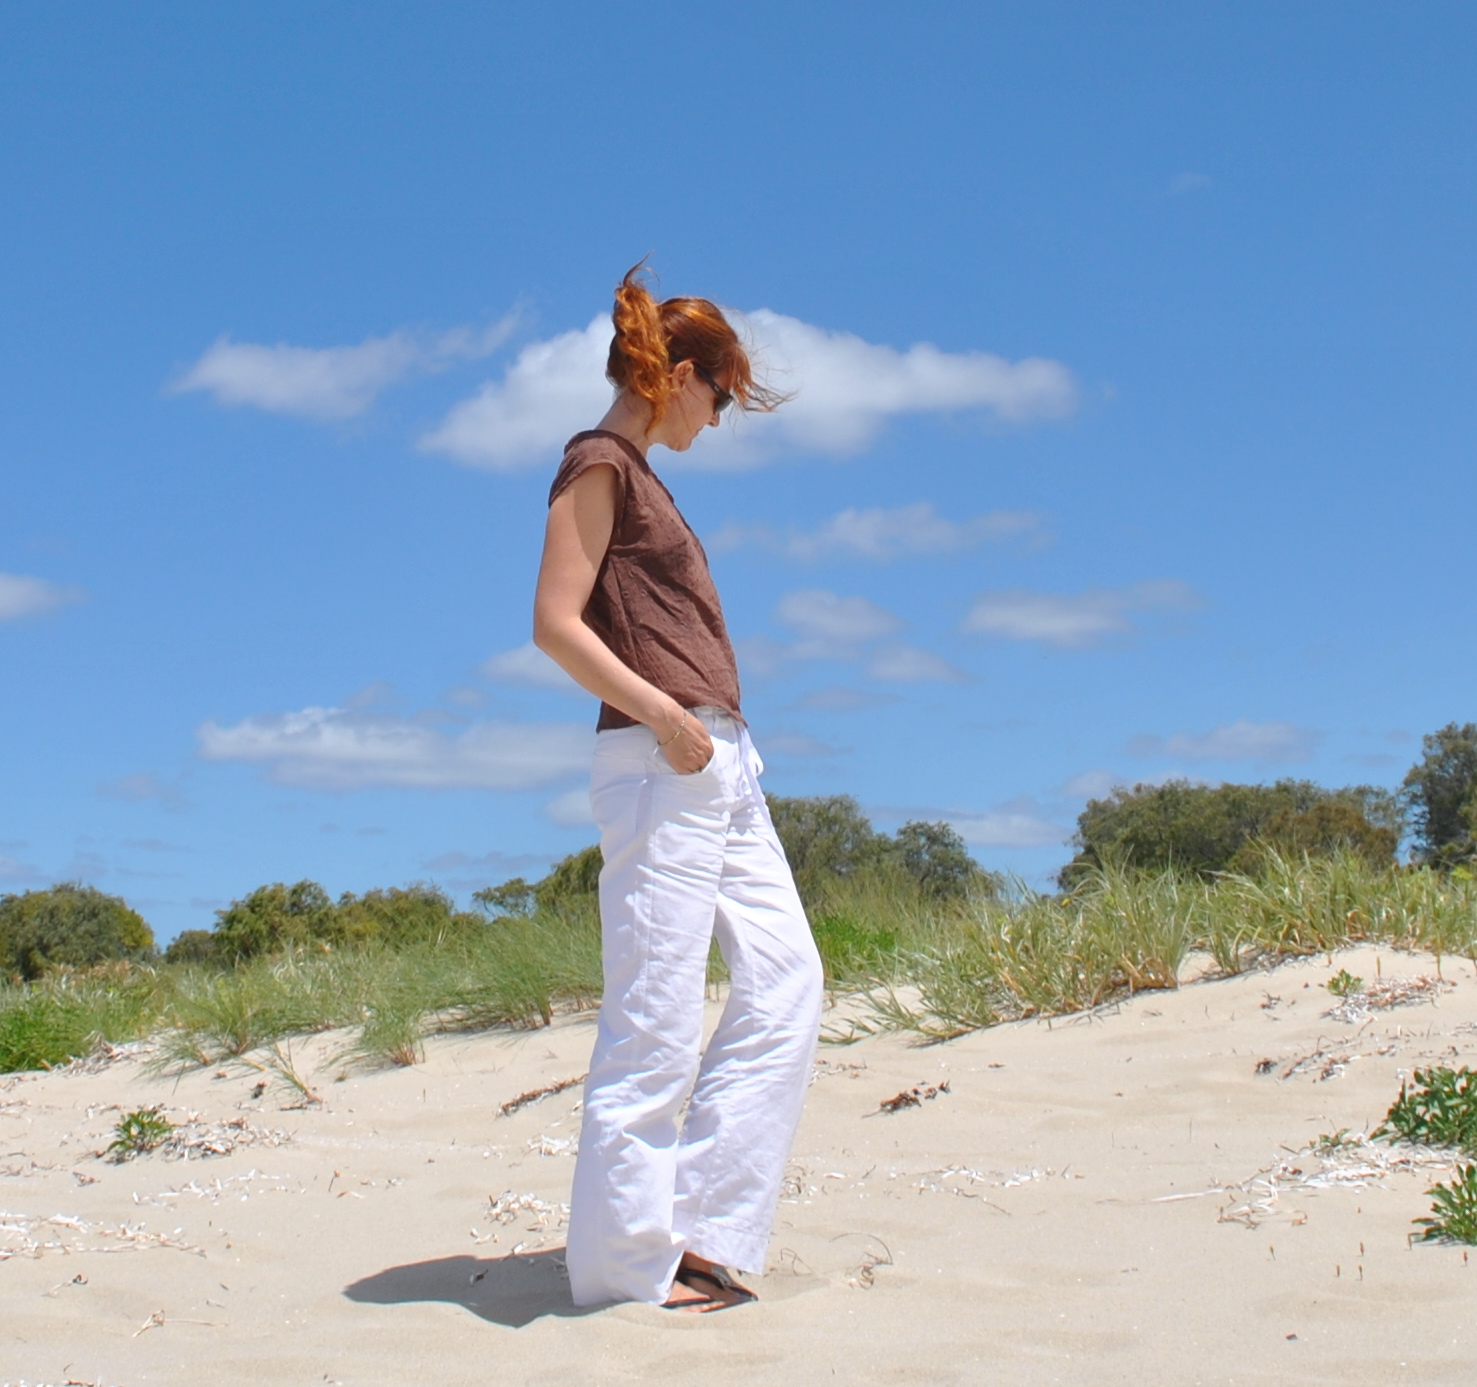
However; made up, I am still enamoured of the cute shape and the very easy-to-wear and flattering kimono-sleeve.  I will make this top up again, and properly next time.  Because I admit it, this particular example is far from… well, gorgeous.  To be honest, I think it is soon to become my bed-time attire, … woooh, such a glamour puss, no?!  
But, here is my reasoning … remember this sundress? (below right)  It has been a hot weather staple for quite a few years and I have finally bid it adieu.  The zip pull was finally paintless, the straps had come adrift and been reattached with zig-zagging (discreet, but still unacceptably visible upon close inspection) a couple of times each, and the fabric is … old.  I eventually realised it was not doing me any favours at all…  But I still loooovee this colour, and there was plenty of fabric in the dress.  
The thing with using old fabric for making new clothes is that; well obviously you are using old, and worn, and many times washed fabric, and usually that all shows and not to advantage either!  Old fabric gets thin, stretched and mis-shapen in some parts of a garment and not others, and so has limited application for smart new items.  But I still like to use old textiles as much as possible, saving the planet and so on and so on.  Assuages the guilt of my eco-conscience, if you like.
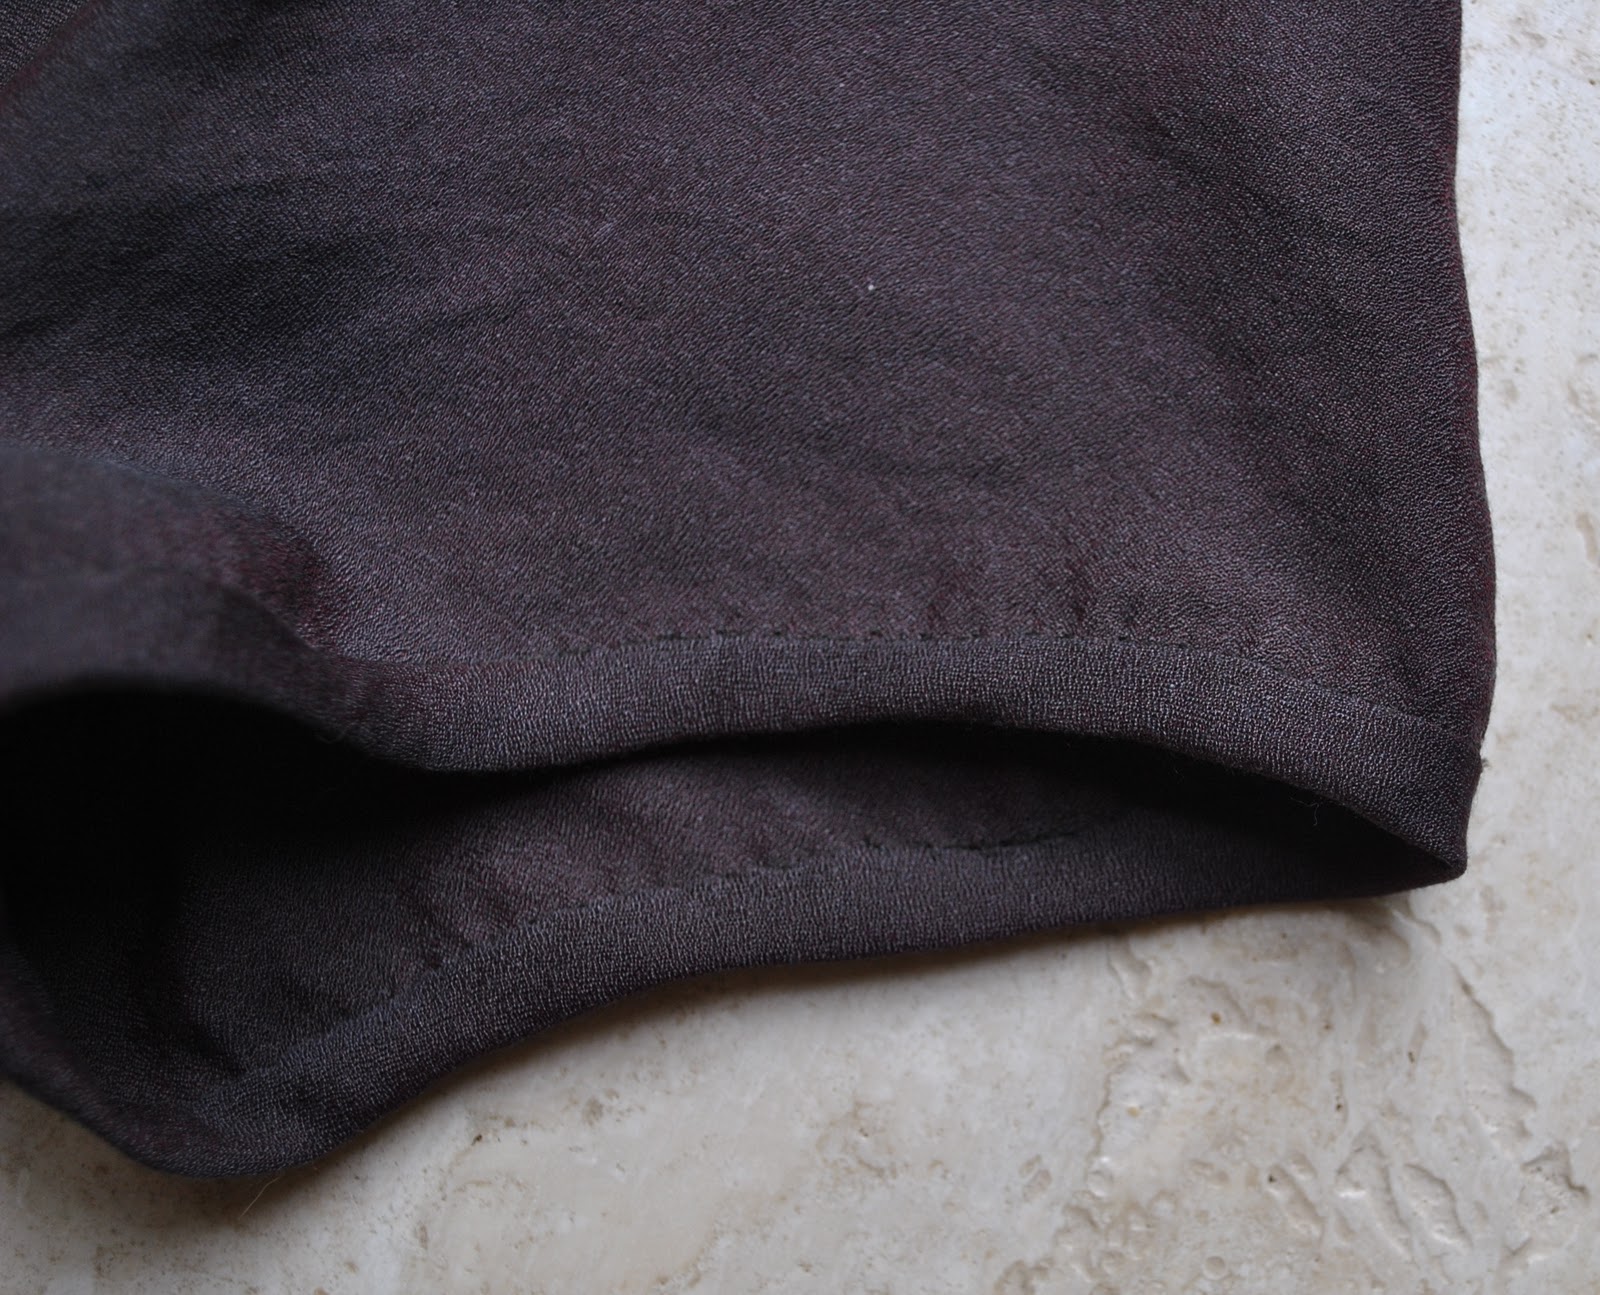
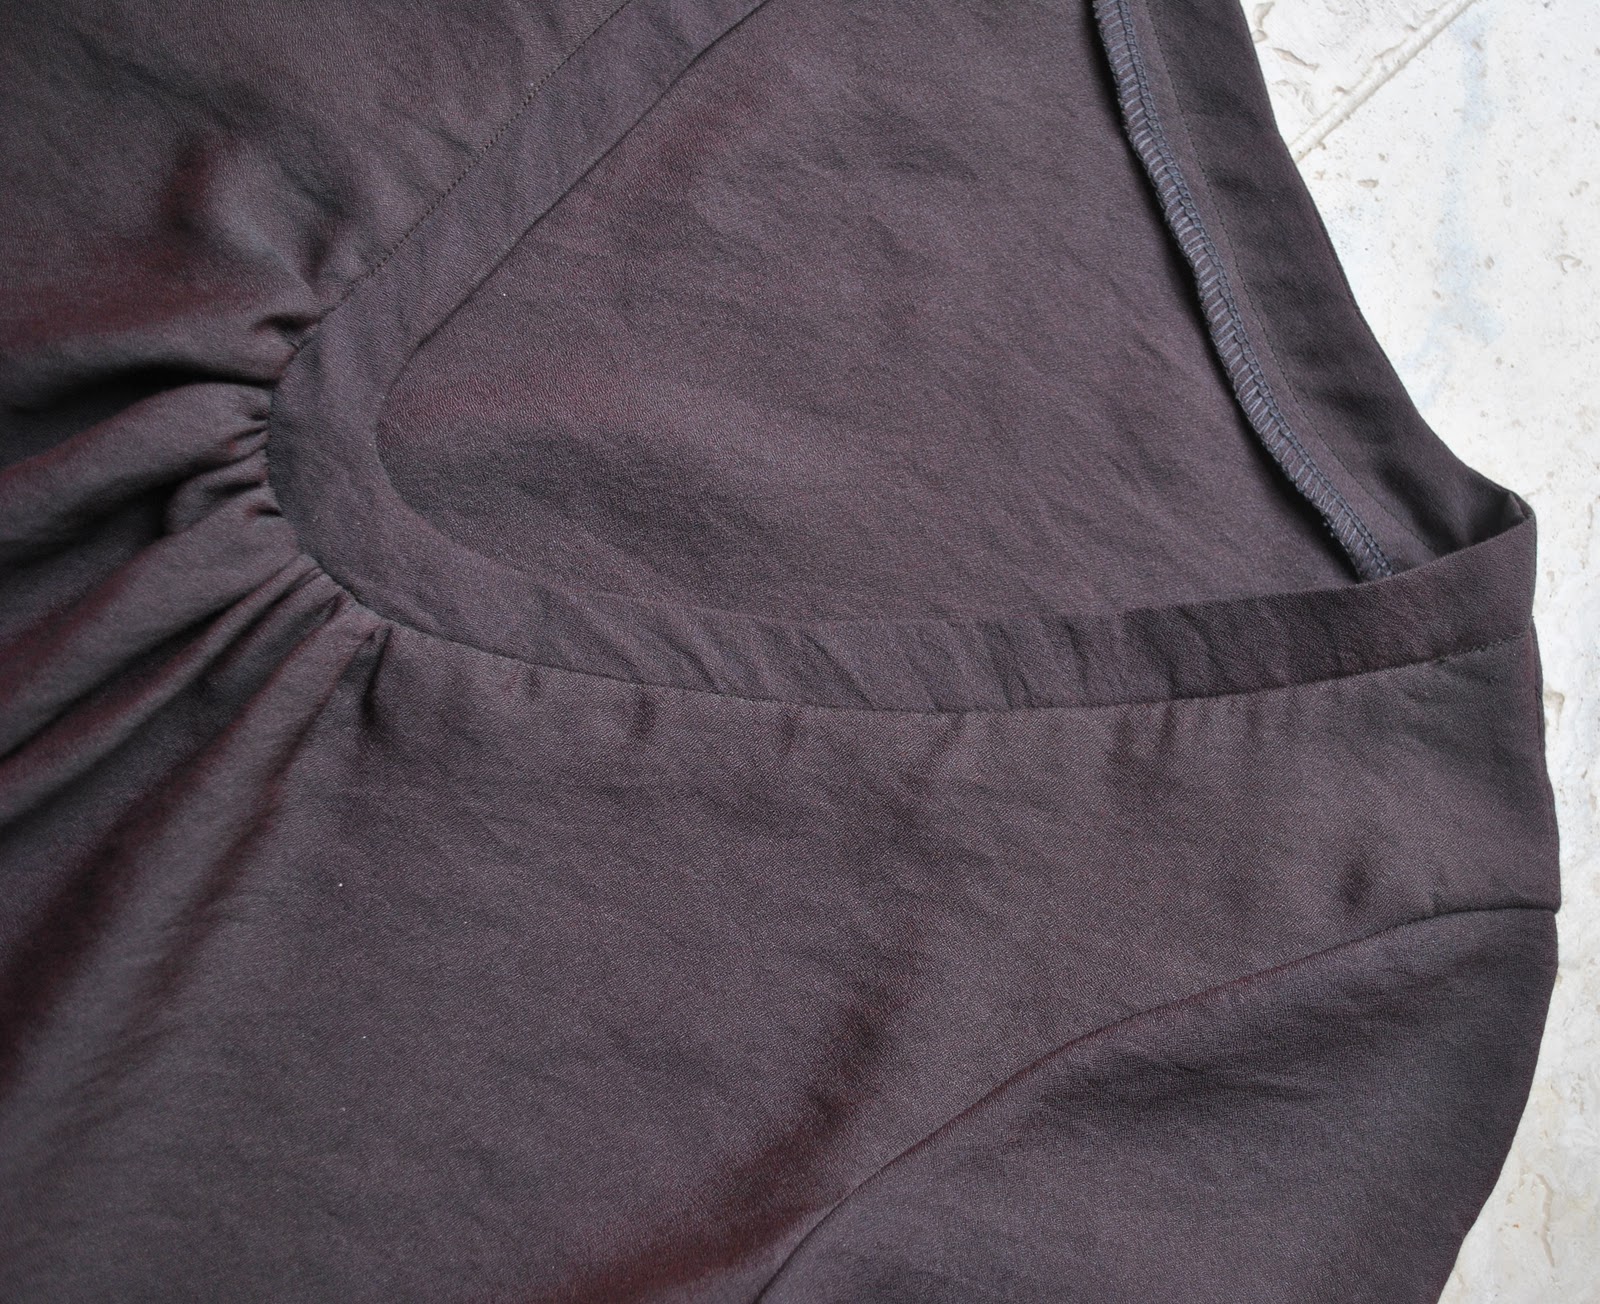
The neckline of this Tshirt here is slightly higher and not-as-sharply-V as the pattern, and instead of facings for which surprisingly there was not enough fabric, I made bias strips to finish the neckline and sleeve edges.  Since the original dress was cut on the bias, so the Tshirt is too.  And it is a little shorter than the pattern stipulates, again due to fabric shortage.  And even though this is just going to be a jammie top, the shoulder seams are flat-felled and the side seams are French seams.  Well, one may as well practise where one can, right?
Y’like?

Details:
Top; Burdastyle magazine 06/2011, 106 modified slightly, chocolate brown bobbled and embroidered cotton, a refashion of a sundress also originally made by me
Trousers; (hmmm, these are getting pretty old too…) self-drafted, based on a pair of old jeans, of white linen, details here

pinterestmail

Funny…

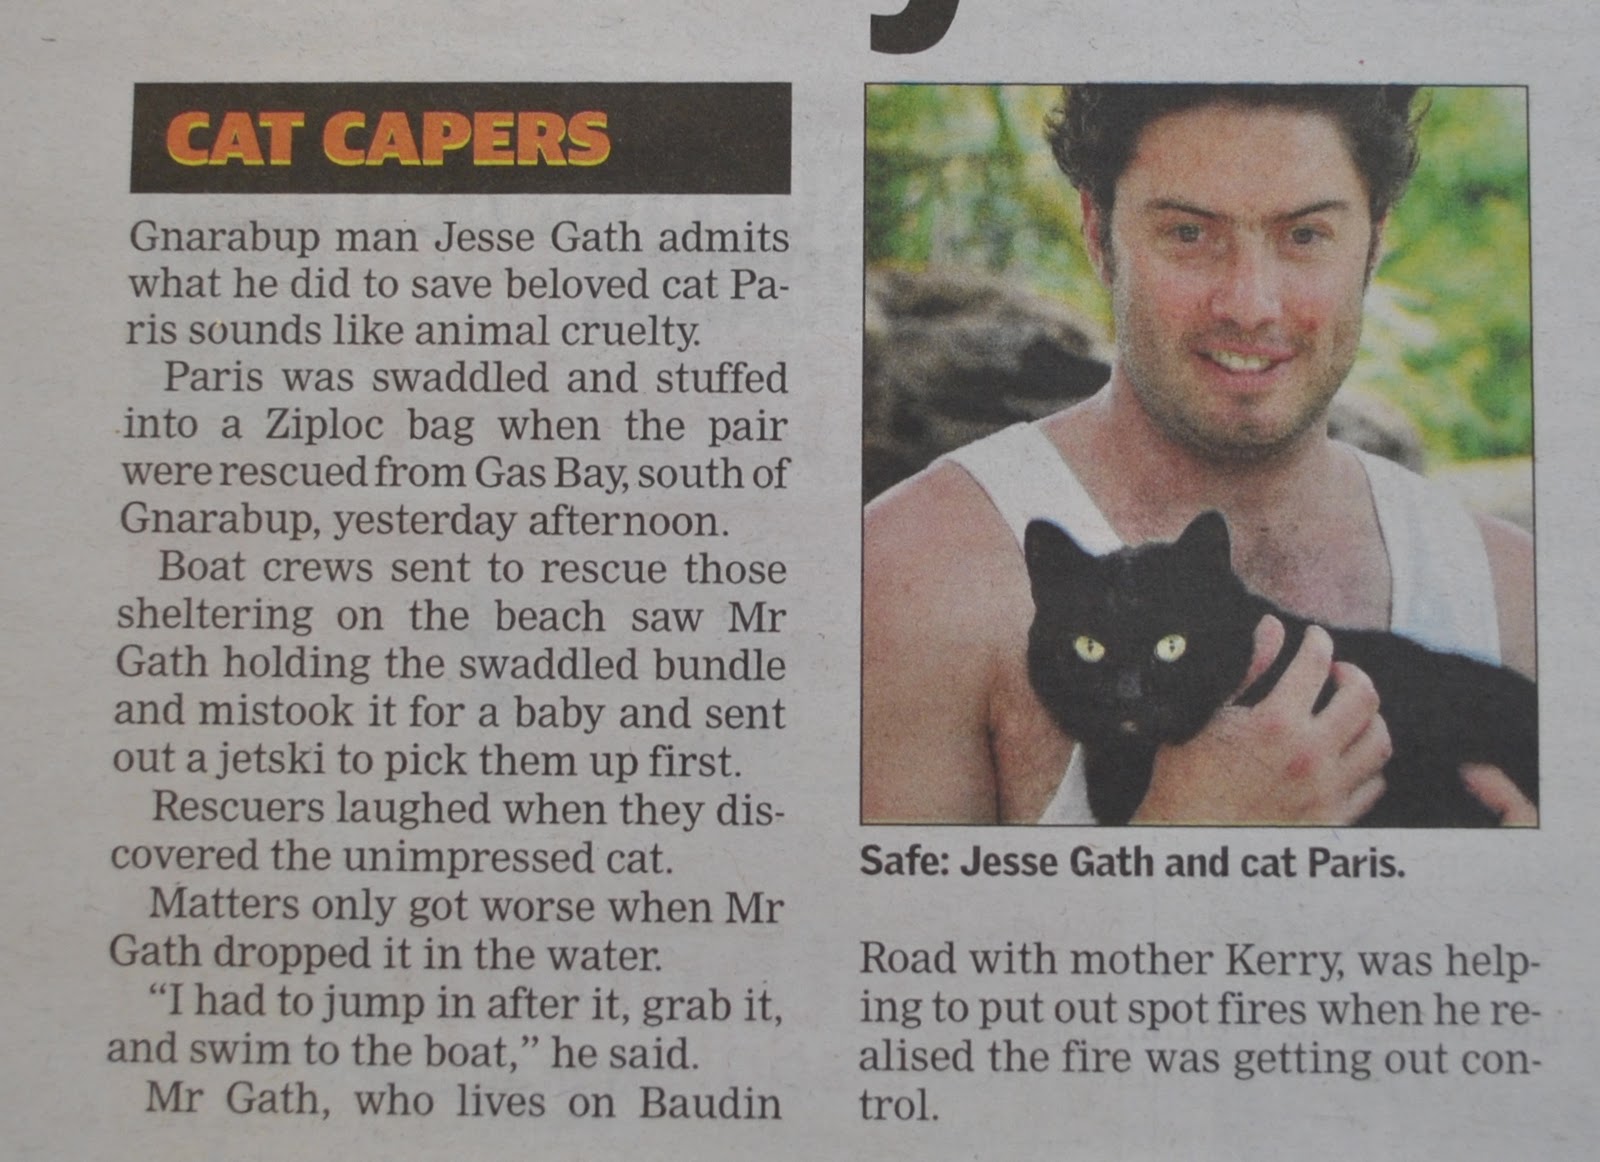
In the midst of catastrophe; a funny story, this snippet from Saturday’s West Australian.  Please enjoy.  It certainly gave me a laugh.  That poor moggy!
In regards to the bushfire; the firefighters saved about 370 homes in the path of the fire.  I was utterly amazed to see on the news the helicopter view of some of these houses; looking like perfect little oases stuck in the midst of acres and acres of grey-white ash with leafless black tree-trunks poking out of the ground all round; absolutely incredible!!  Such a fantastic effort…
In the past nearly-a-week, I’ve been doing my yearly duty of staying at our beach house, guarding it against the expected hoards of drunken marauding teenage school-leavers.  Well, that is how the media like to portray leavers, anyway… I can only guess whether the extras diverted from the bushfire areas are here, since as usual it is pretty quiet and I’ve only seen small groups of teenagers sitting about together on the beach, enjoying themselves in a cheerful yet still civilised way.  Honestly, I don’t know what all the hysteria about leavers is.  Most of them seem pretty nice kids to me.  Sienna is an absolute magnet on the beach for pats.
On the other hand I am getting rather lonely now.  Sienna is sorta good company, but
I’m reeeeally looking forward to when the family turns up tomorrow for our “family” part of the holiday.

Details:
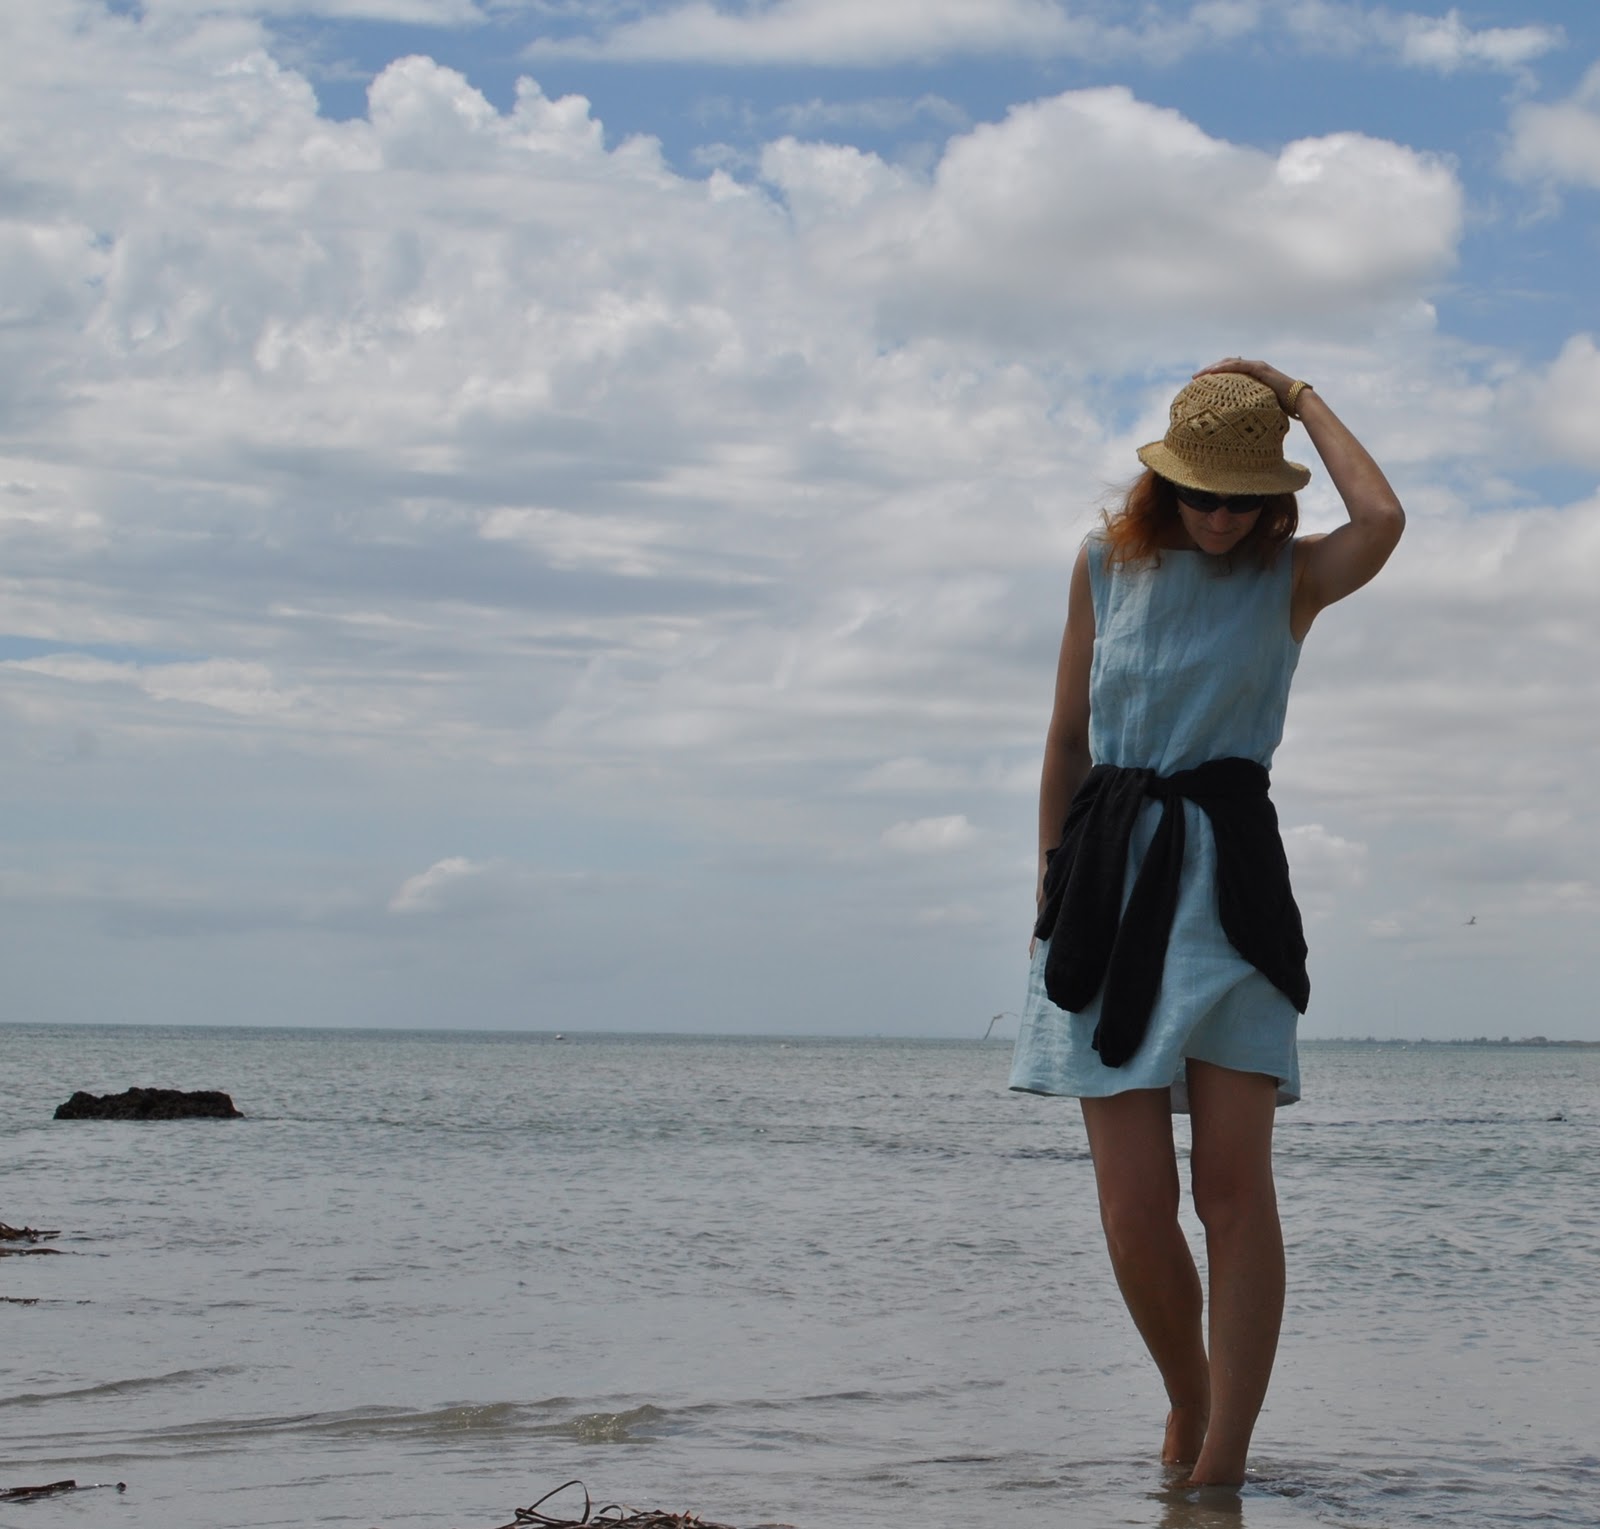
Dress, modified Burda 8511, with wave-y pocket welts which (oops!) you can’t even see here… linen with raw silk pocket welts, details here
Cardigan and hat; Country Road

I’m sorry I’ve been so bad at replying to comments lately.  The internet is so cut-in-cut-out at the mo, I’ve thought I was going to grow old and die!!  I keep getting kicked off the internet which is soooo frustrating.  So if my commenting has seemed a little distracted in the last week, then now you know why…

pinterestmail

The day of the bushfires

(Wrote all this yesterday, but our internet here is being veeery dodgy at the mo)

Thank you Robyn, for your thoughtful well-wishes; our family and house are safe.  I was a little bit concerned about my parents who are both active in the volunteer rural firefighting community, since I couldn’t contact them by phone for over a day.  I found out tonight they are both fine.
 The news about the bushfires has been terrible though.  Overnight, 39 houses in Margaret River and Prevelly have been lost and thousands of acres burnt to the ground.  In small towns like these, that is pretty devastating. The weather conditions over the past two days were high winds and extremely high temperatures, adding up to ideal bushfire conditions.  This weekend is schoolies weekend, and 350 schoolkids bound for Margaret River and Prevelly have been diverted to Dunsborough, our town; and where we have been for the past few days.  There are other people who temporarily evacuated to Dunsborough, who will have found out today whether or not their properties have been lost.
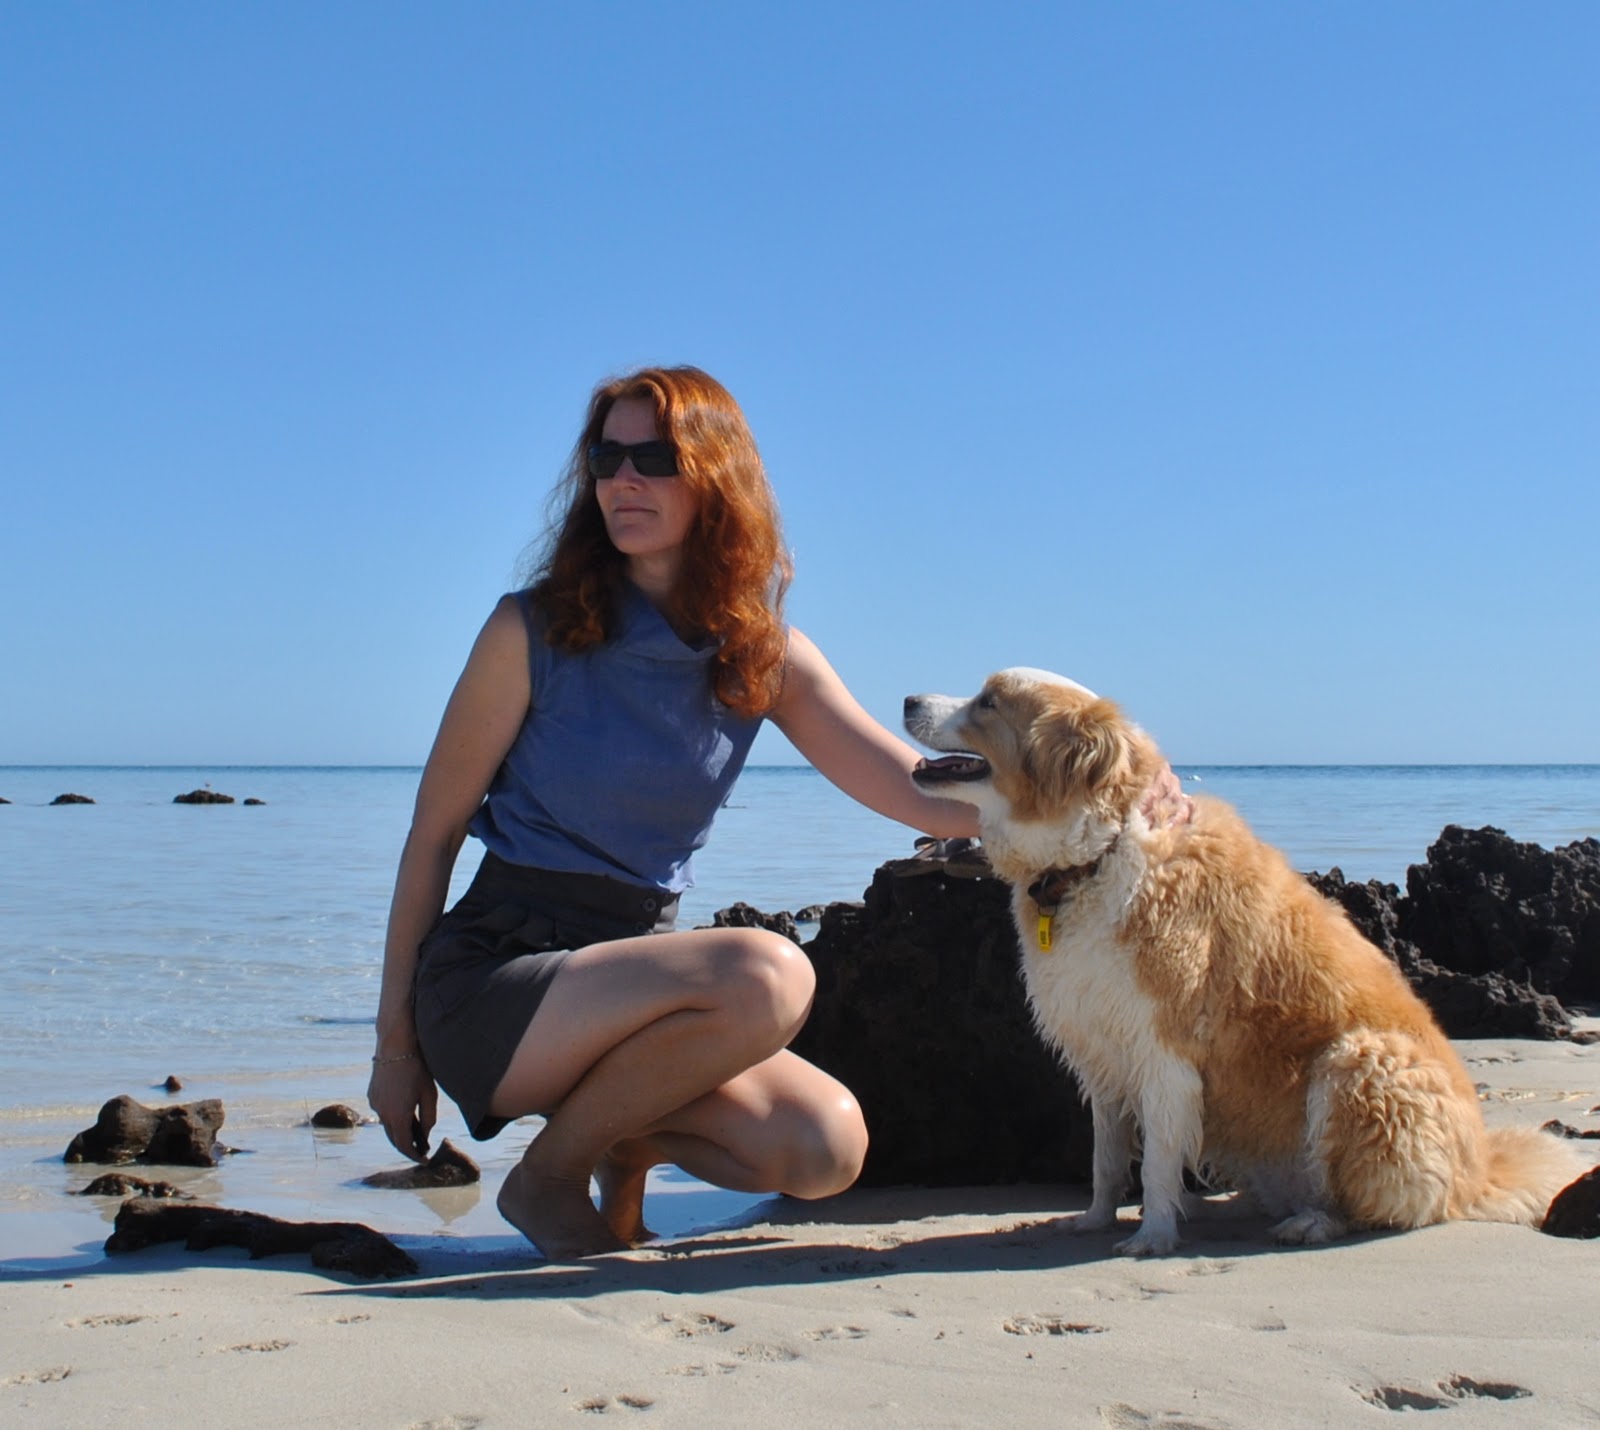
I took this photo while walking on the beach yesterday and obviously at this moment didn’t know what was happening.  The good news is that cooler temperatures and a little bit of rain today have helped the firefighters enormously.
And I think everyone is just grateful that there has been no loss of life…

Details:
Top; my own design based on top  “a” from Unique Clothes Any Way You Like by Natsuno Hiraiwa, made of scraps of “Smoky” shot cotton, details here
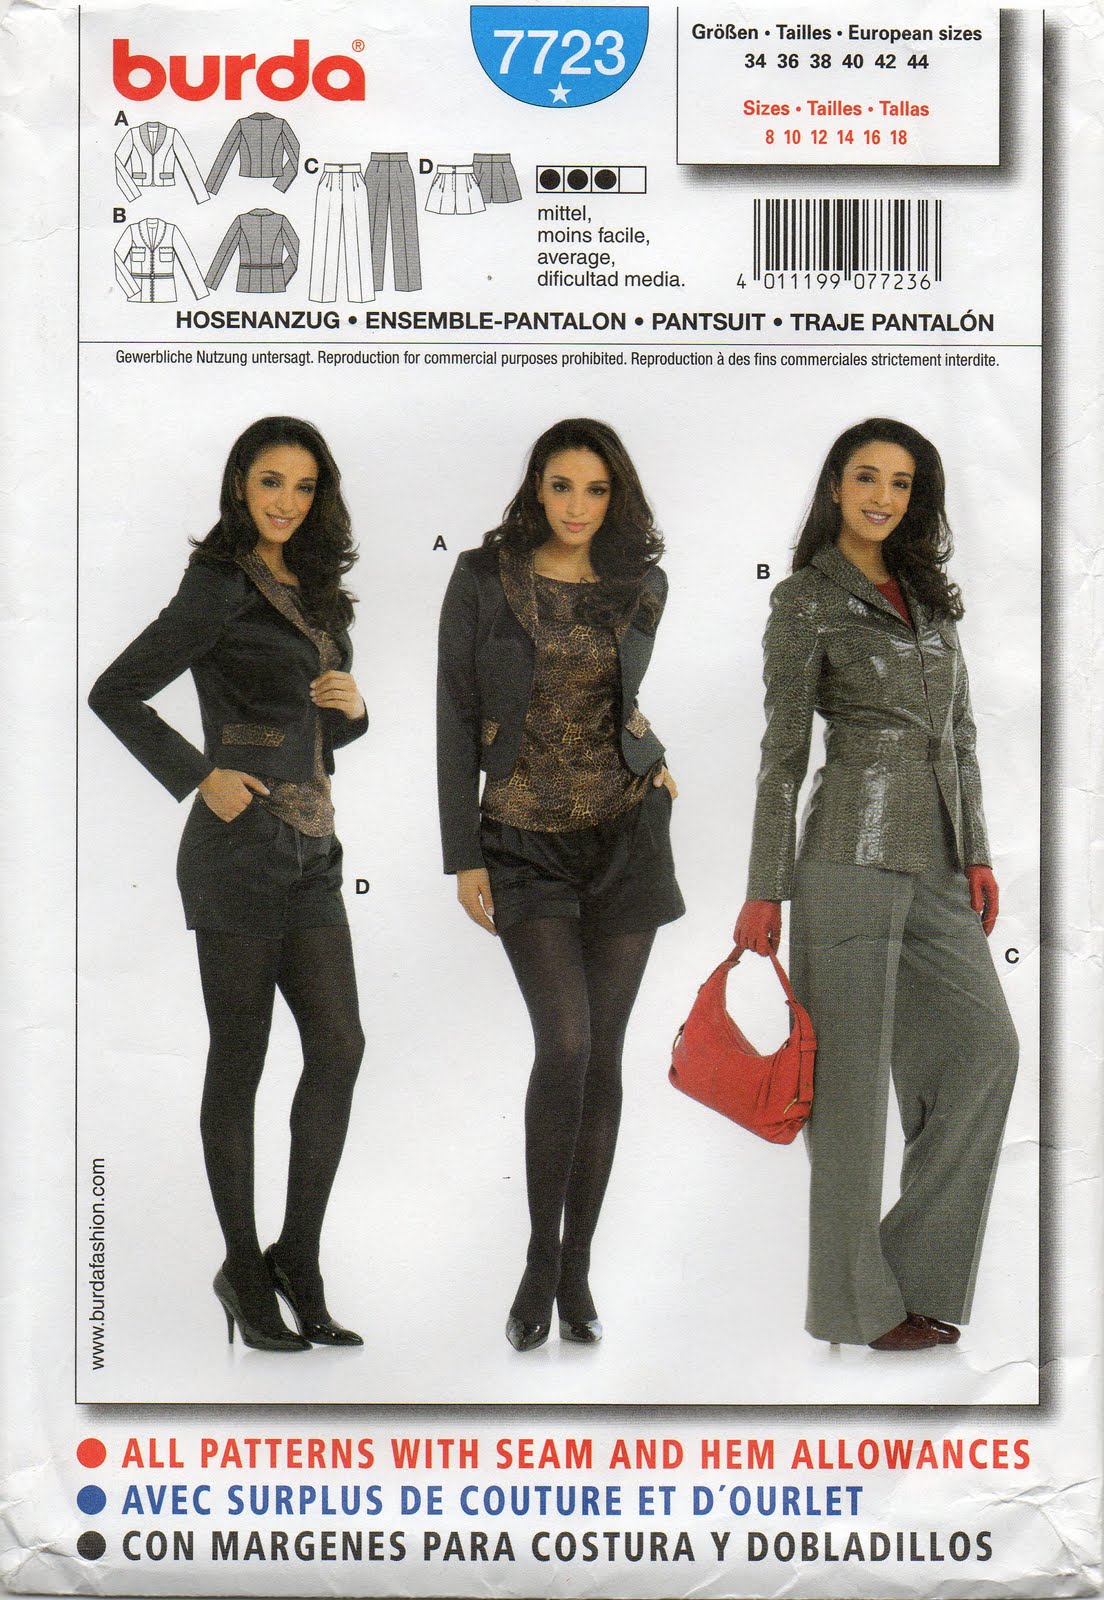
Shorts; Burda 7723, charcoal gabardine, a wardrobe refashion of an old skirt of Cassie’s, details here

pinterestmail

Hot (pink) pants

G’day, peops!
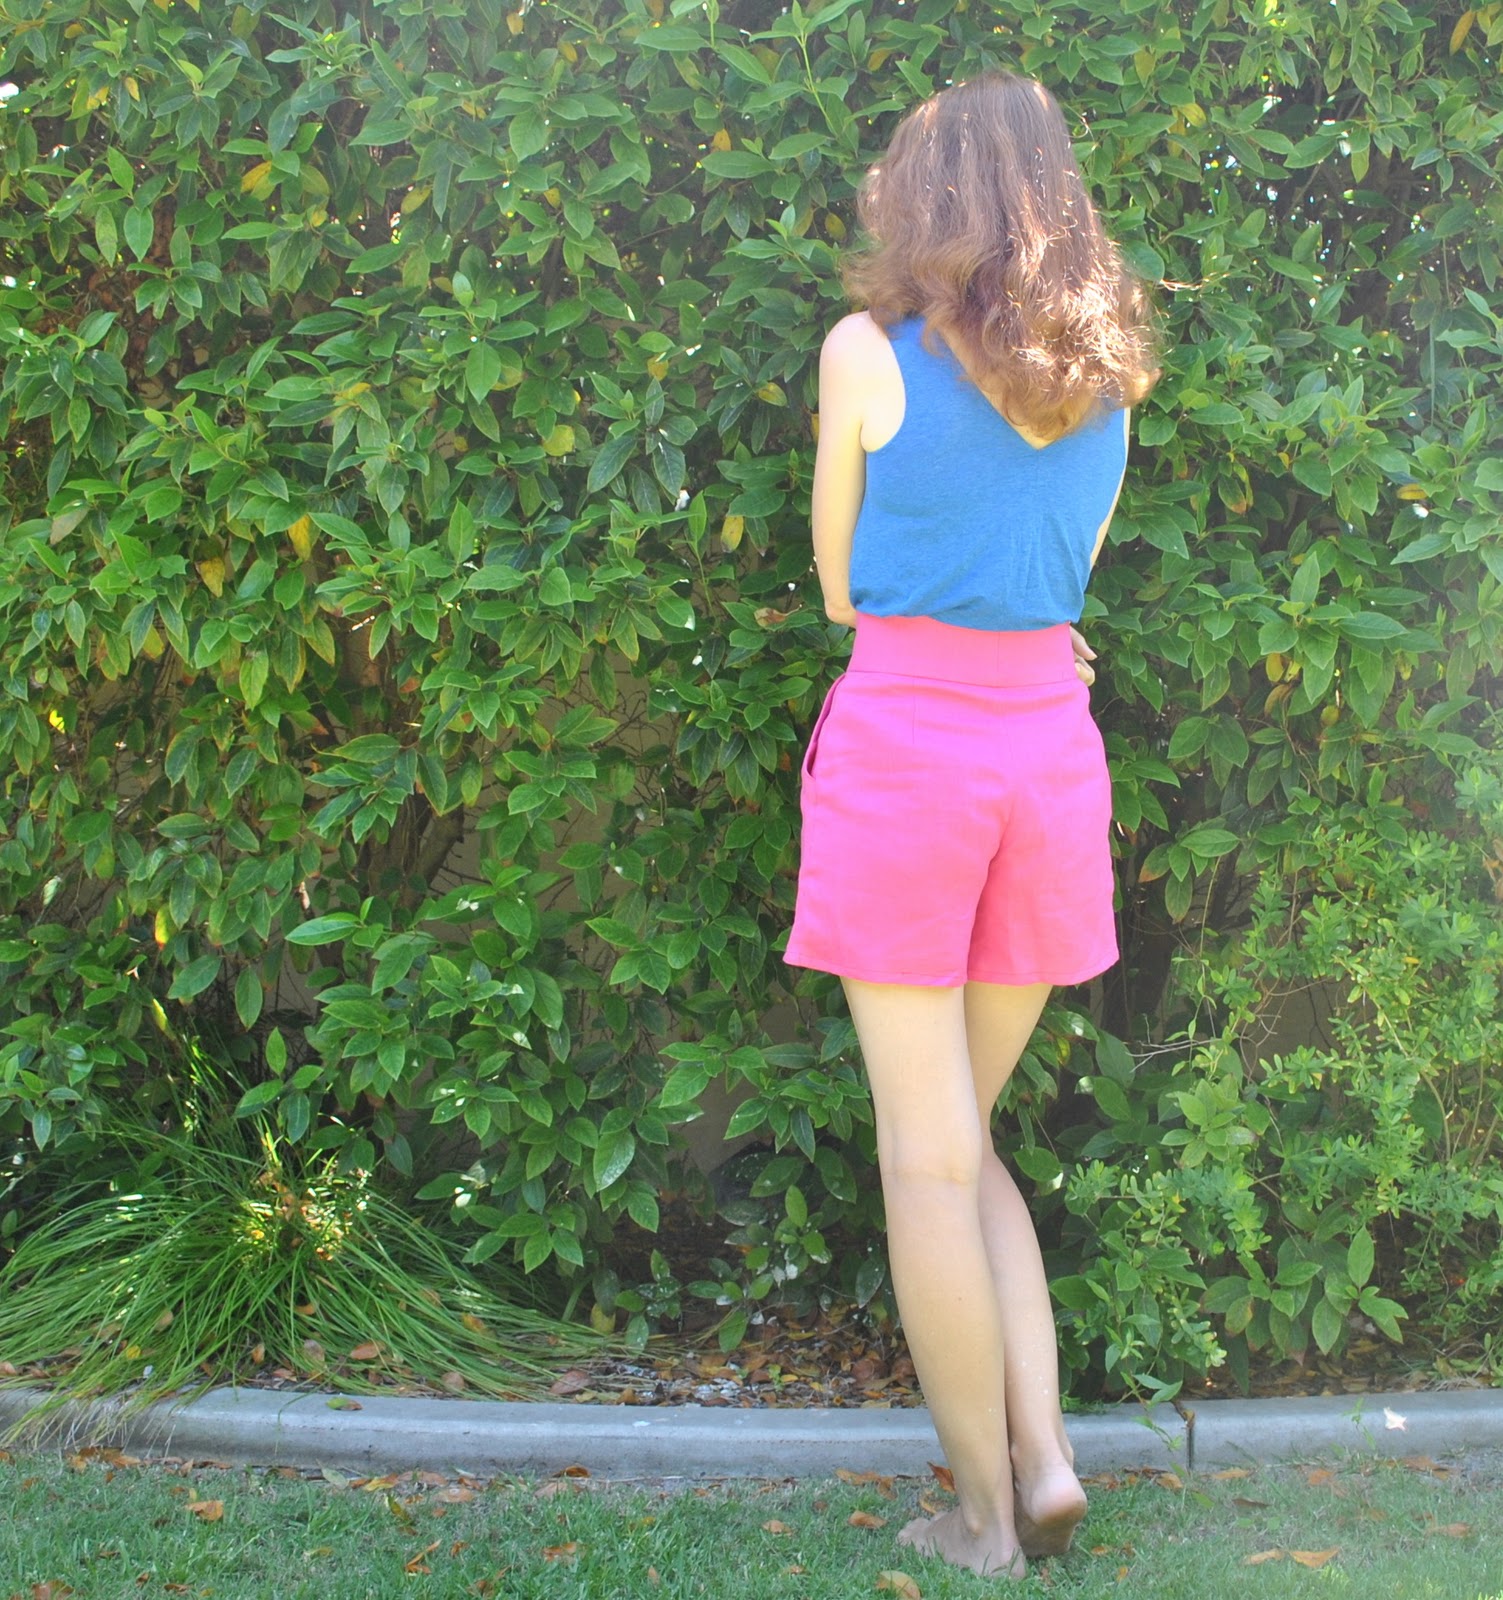
Remember when I mentioned a piece of hot pink linen that had befriended me in the fabric store and then beseeched me to give it a new home and some purpose in its life?  (ahem) Well I’ve done the right thing by this piece of lolly-bright fabric fabulousness and transformed it into something that I am already excited about wearing a tonne of times this summer!  A bomb of times!  A colour bomb!  A Barbie bomb!  Wait, I doubt if Barbie is considered very cool, or even PC anymore…?  so mebbe scratch that one…
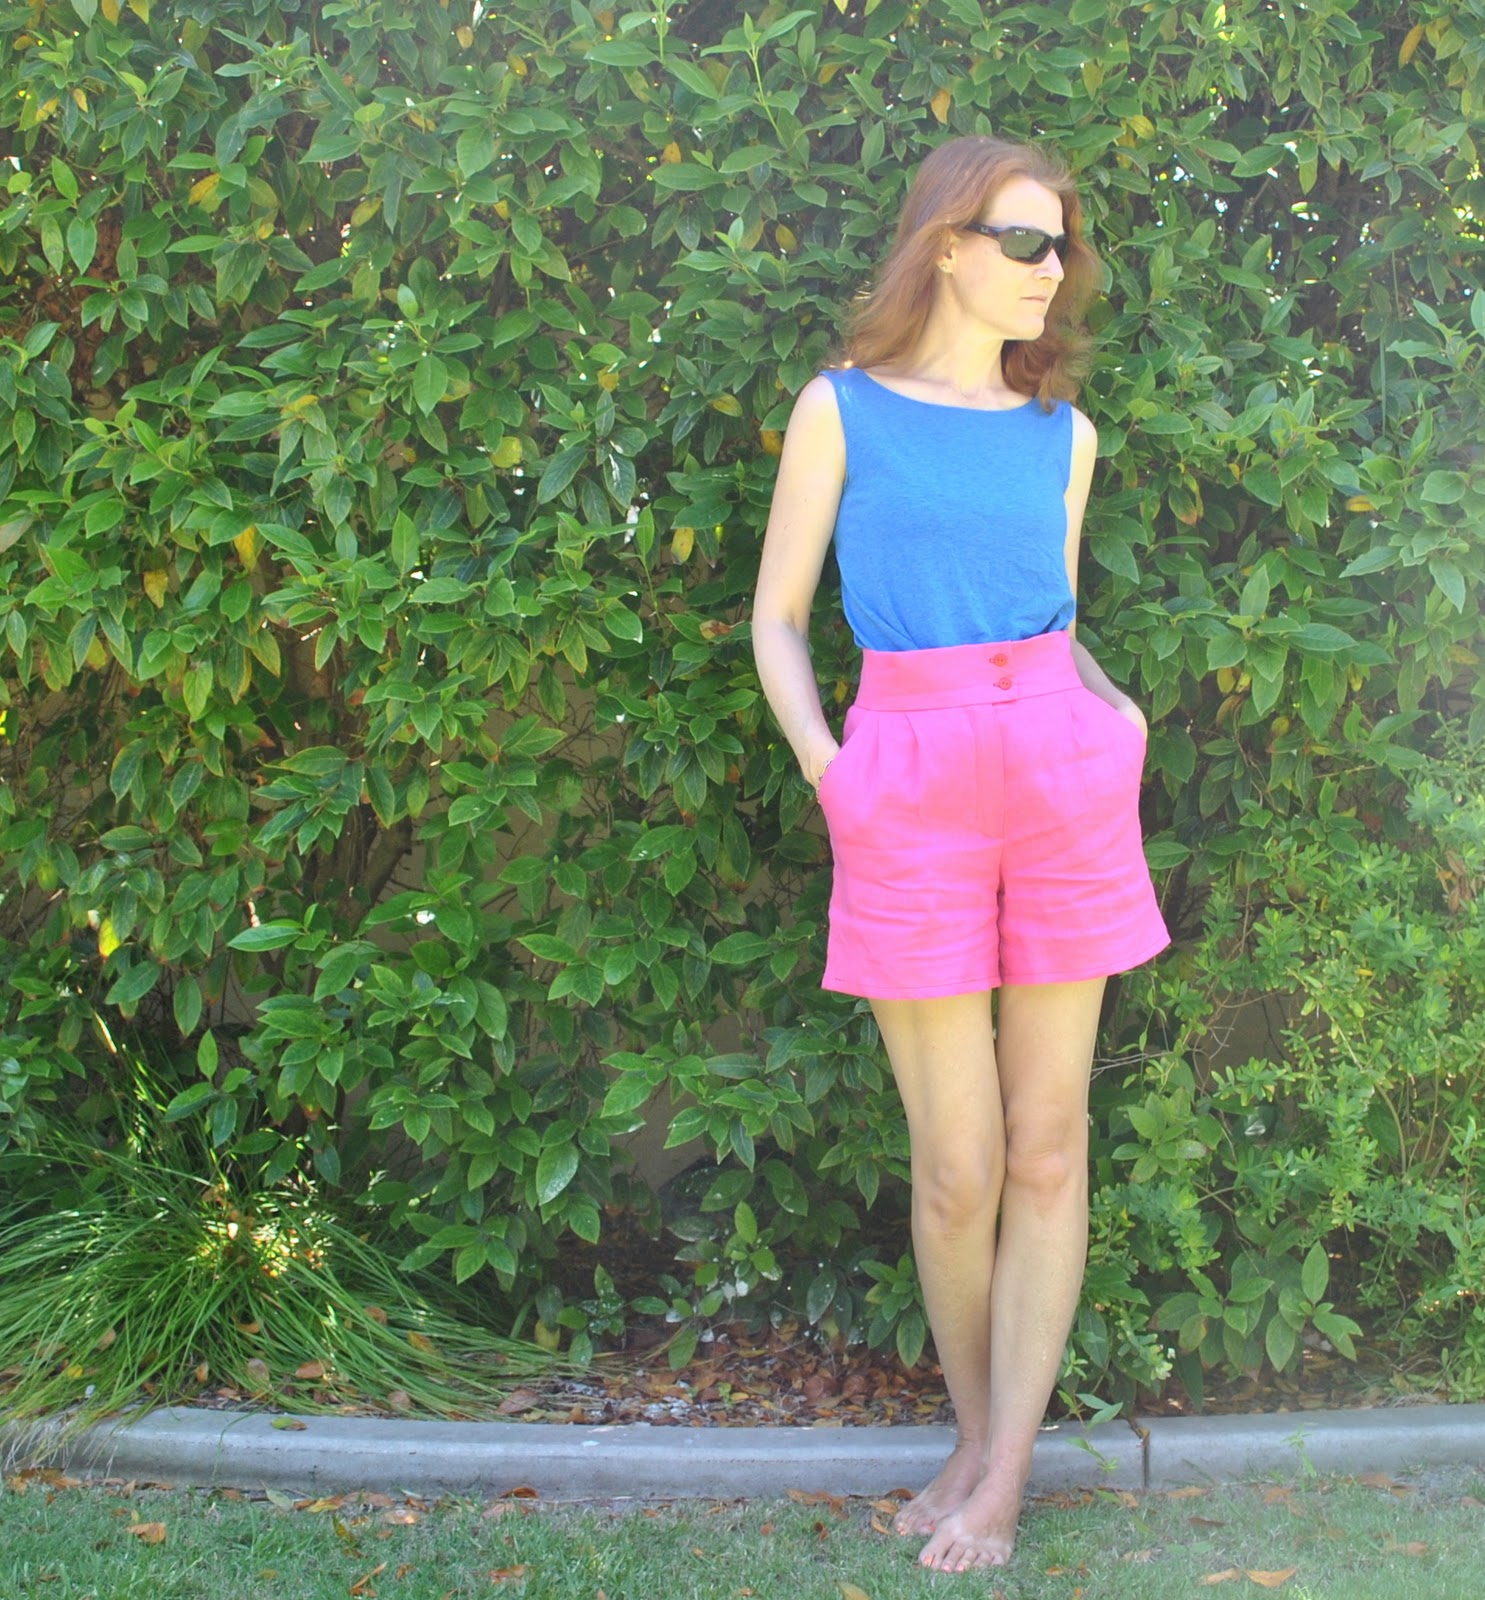
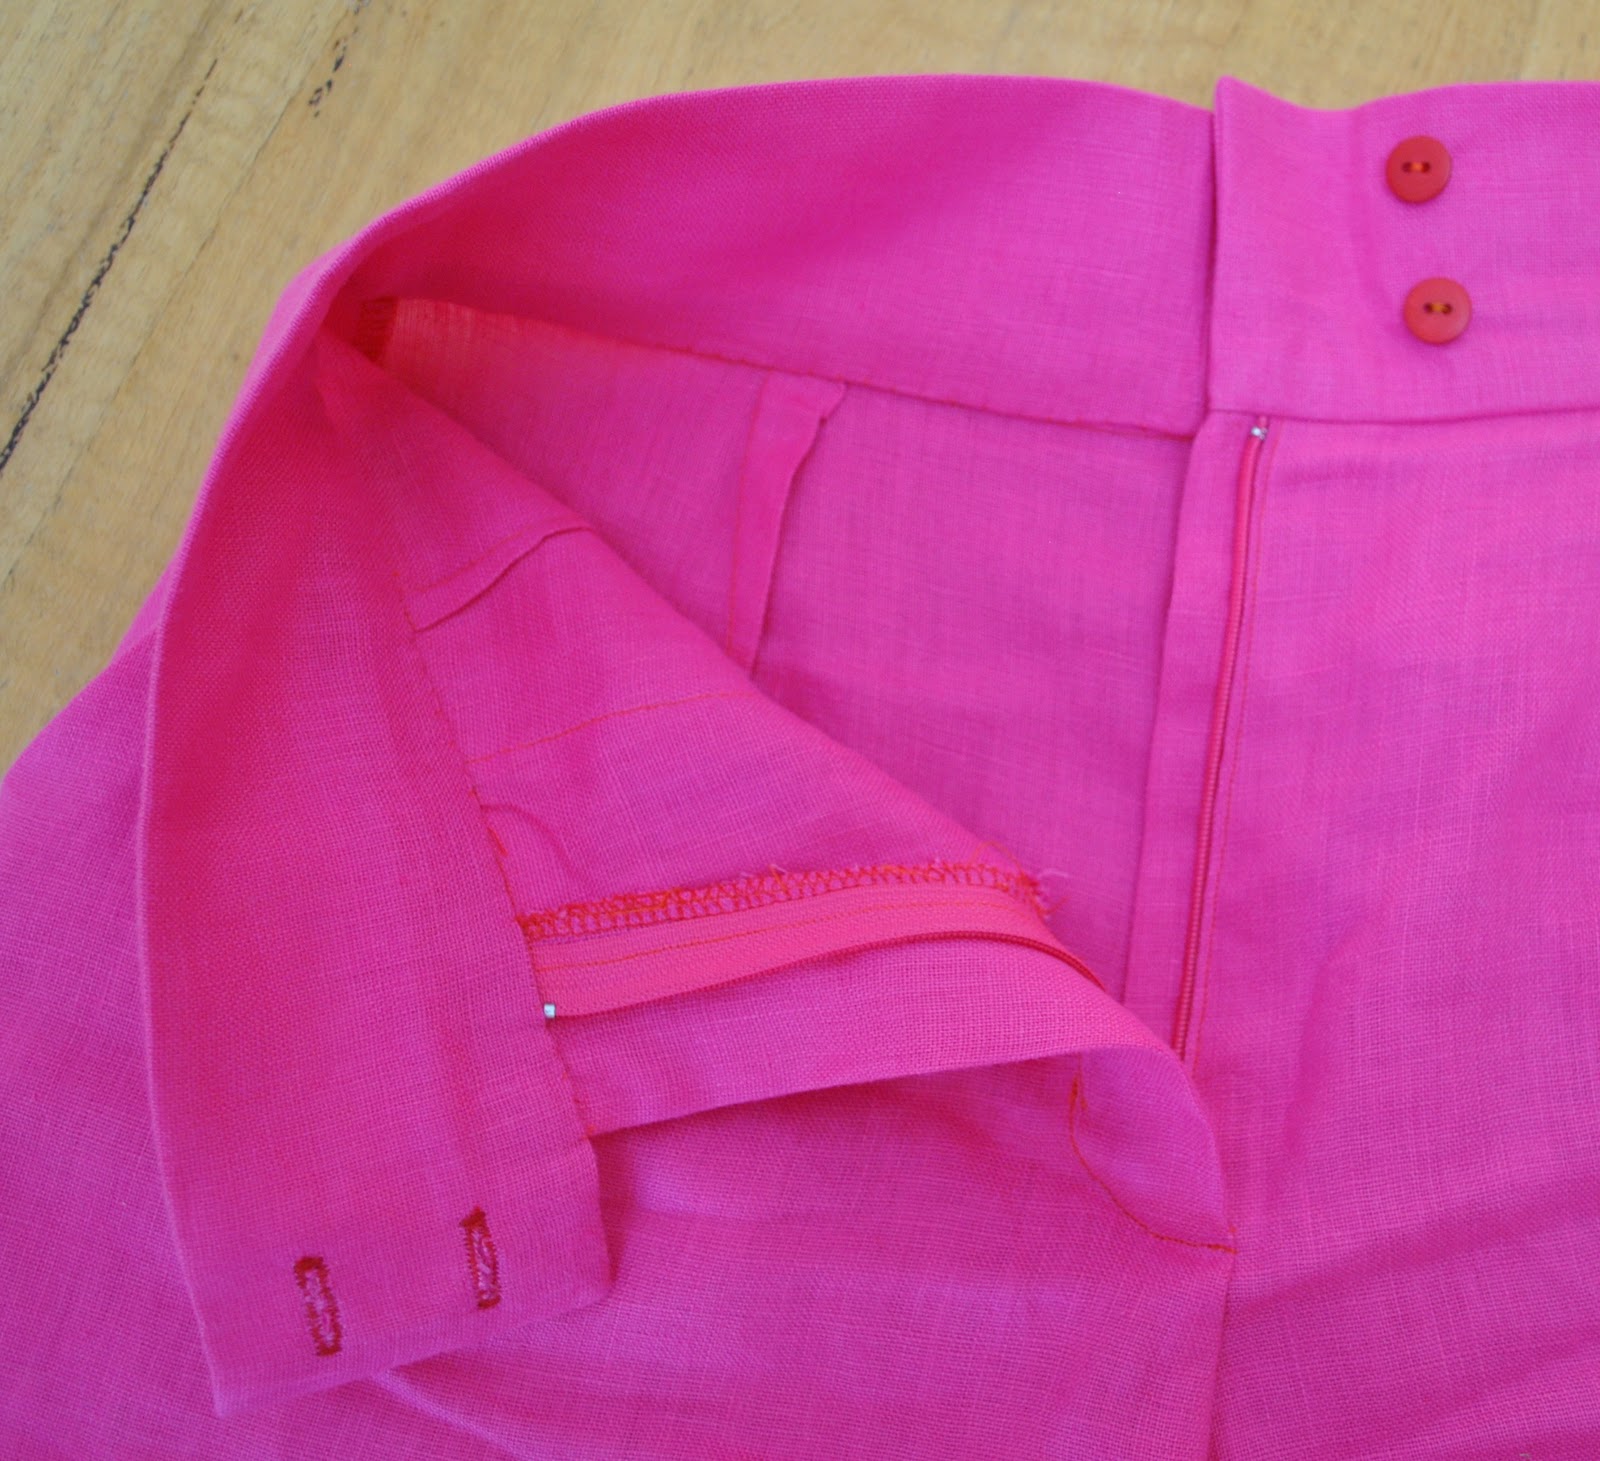
I used Burda 7723, again; my go-to shorts pattern now.  Such a nicely tailored shorts pattern; with a slight flare enough to make them “cute”, a wide high waistband that sits securely and firmly at one’s true waist, and good sized pockets.  The last feature making it a definite win all by itself…  I also think this shape just really suits my style and my figure too, I think.  In the past I’ve altered this pattern slightly each time I’ve made it up; to make them more flared, flat-fronted and longer respectively, but this time I made it up just as is.   Oh, except for my usual modification; the addition of a zip placket.  Well, naturally why wouldn’t you put in a zip placket? uses hardly any fabric and you see them in even the cheapest and most badly made RTW shorts so it is completely beyond me why patterns continue to leave this minor, but telling little detail out.  I once did a sort of tutorial on how to add a zip placket to any fly-front pattern, here.

Now just to diverge for a sec into photography territory again, I know lots of other fashionable seamsters aren’t interested in the slightest in photography; but I am.  So …
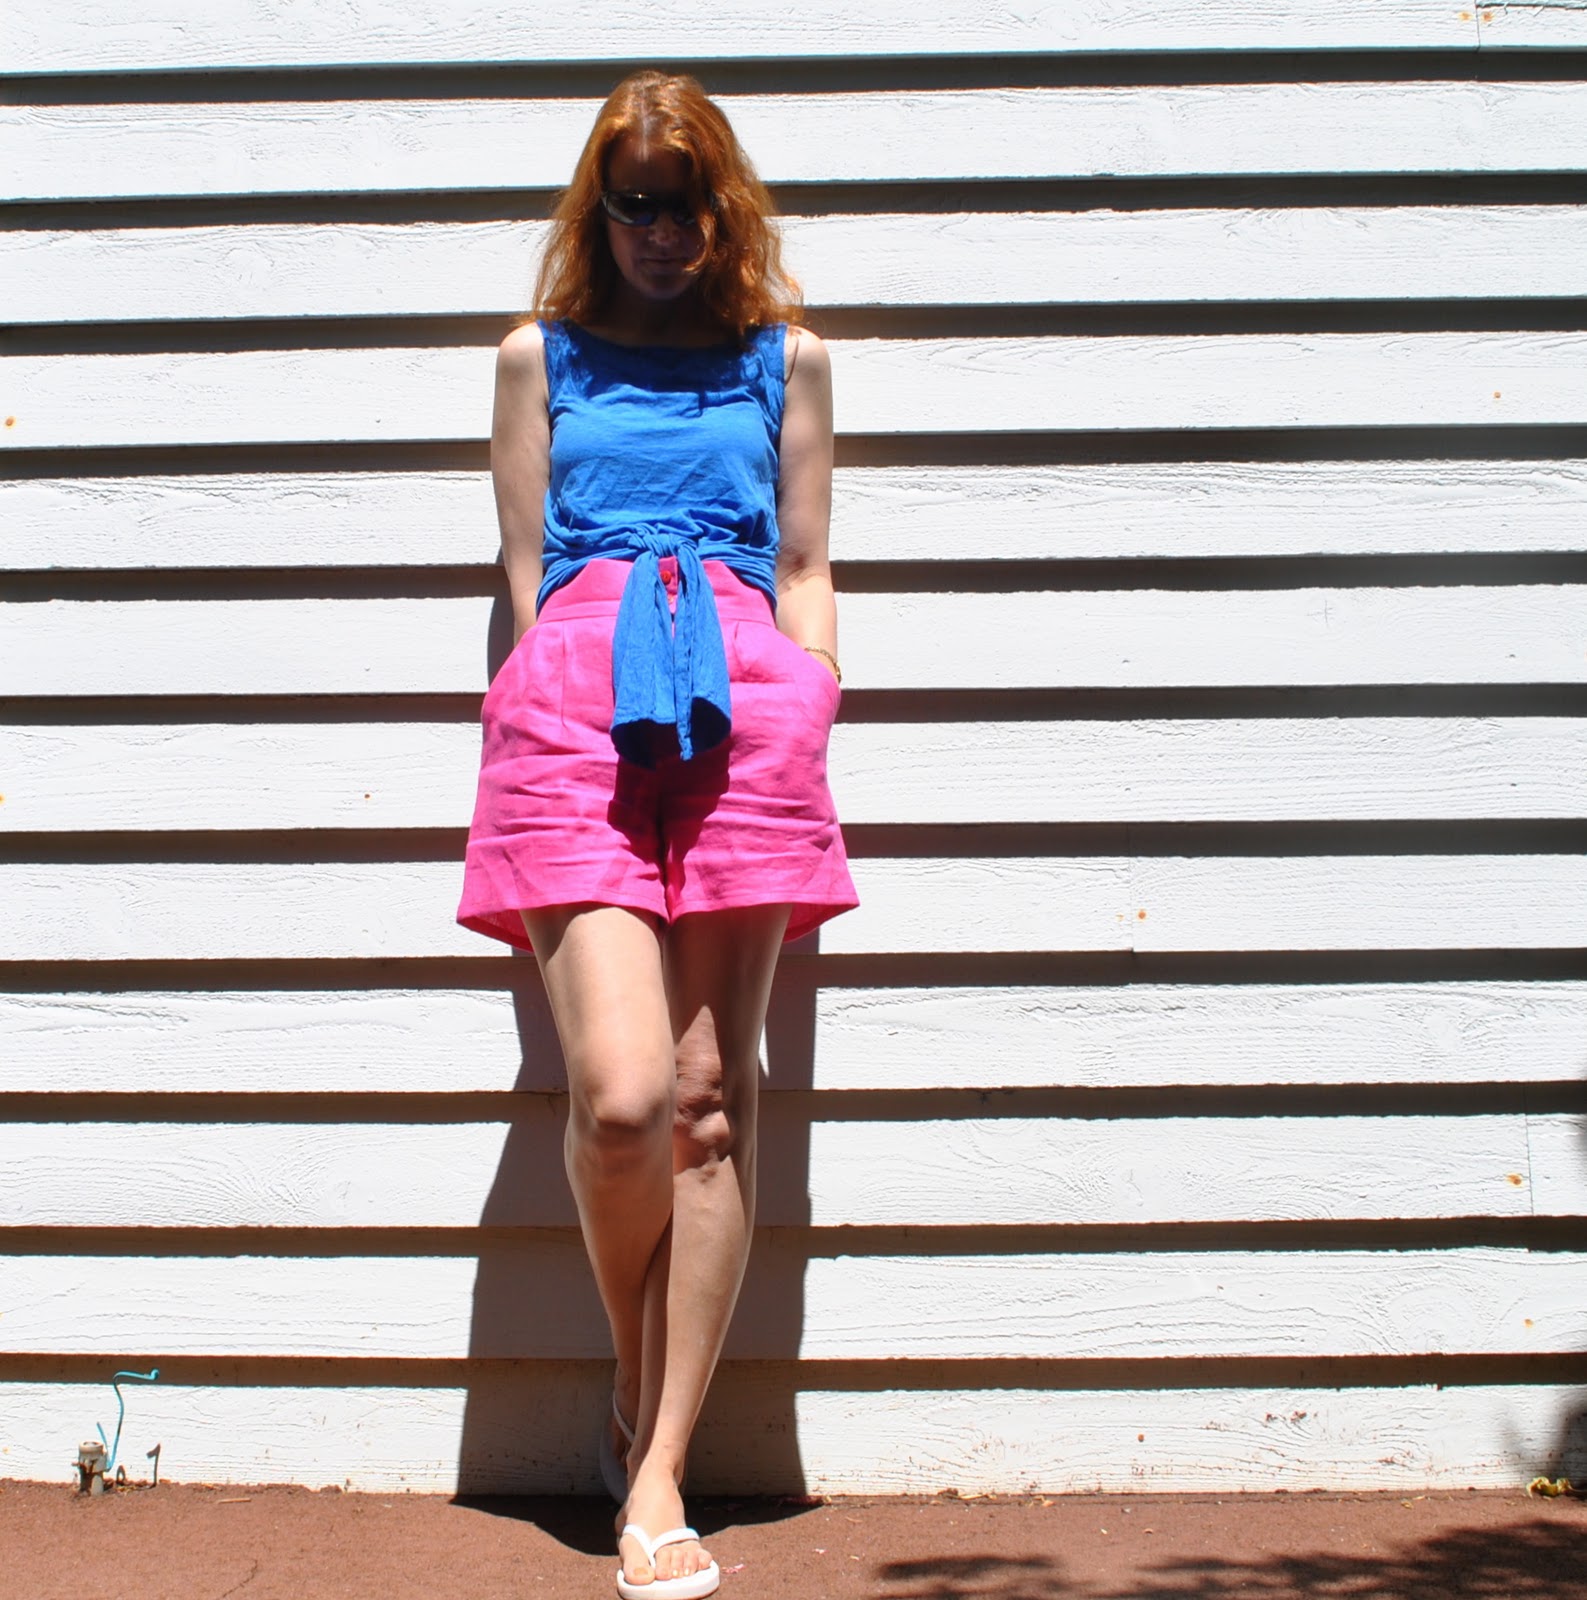
I first thought of photographing this ensemble against a bright white wall, in the strong midday sunlight; thinking that the intense shades of cobalt blue and hot pink would stand up well to the lighting challenge.  But I was still a bit amazed at the incredibly deep shadows created… also I realised that you couldn’t see the shorts properly with the tie thing-y in the front hanging over the front of the shorts.  So I tucked in the top, and moved over to a shady spot.  But the photos I took, even though they don’t show the shorts very well, still intrigued me in an artistic sense so I decided to put one in here as well.  And btw; I do not photoshop or alter my photos apart from cropping.  This is how it is!  (although oftentimes I wish my face could always be in shadow like this…)
When you look at pictures of clothes, do you prefer realism; as in showing the dressmaking details as accurately as possible; or do you like to see a bit of artistry in the photography as well?  Me, I know I like a bit of both…  but I’ve said enough about that in the past so I won’t repeat myself.
What aspect of fashion photography do you appreciate the most?
Details:
Top; blue “bunches”, from Pattern Magic 3, of thin cobalt blue cotton jersey, details here
Shorts; Burda 7723, hot pink linen

pinterestmail

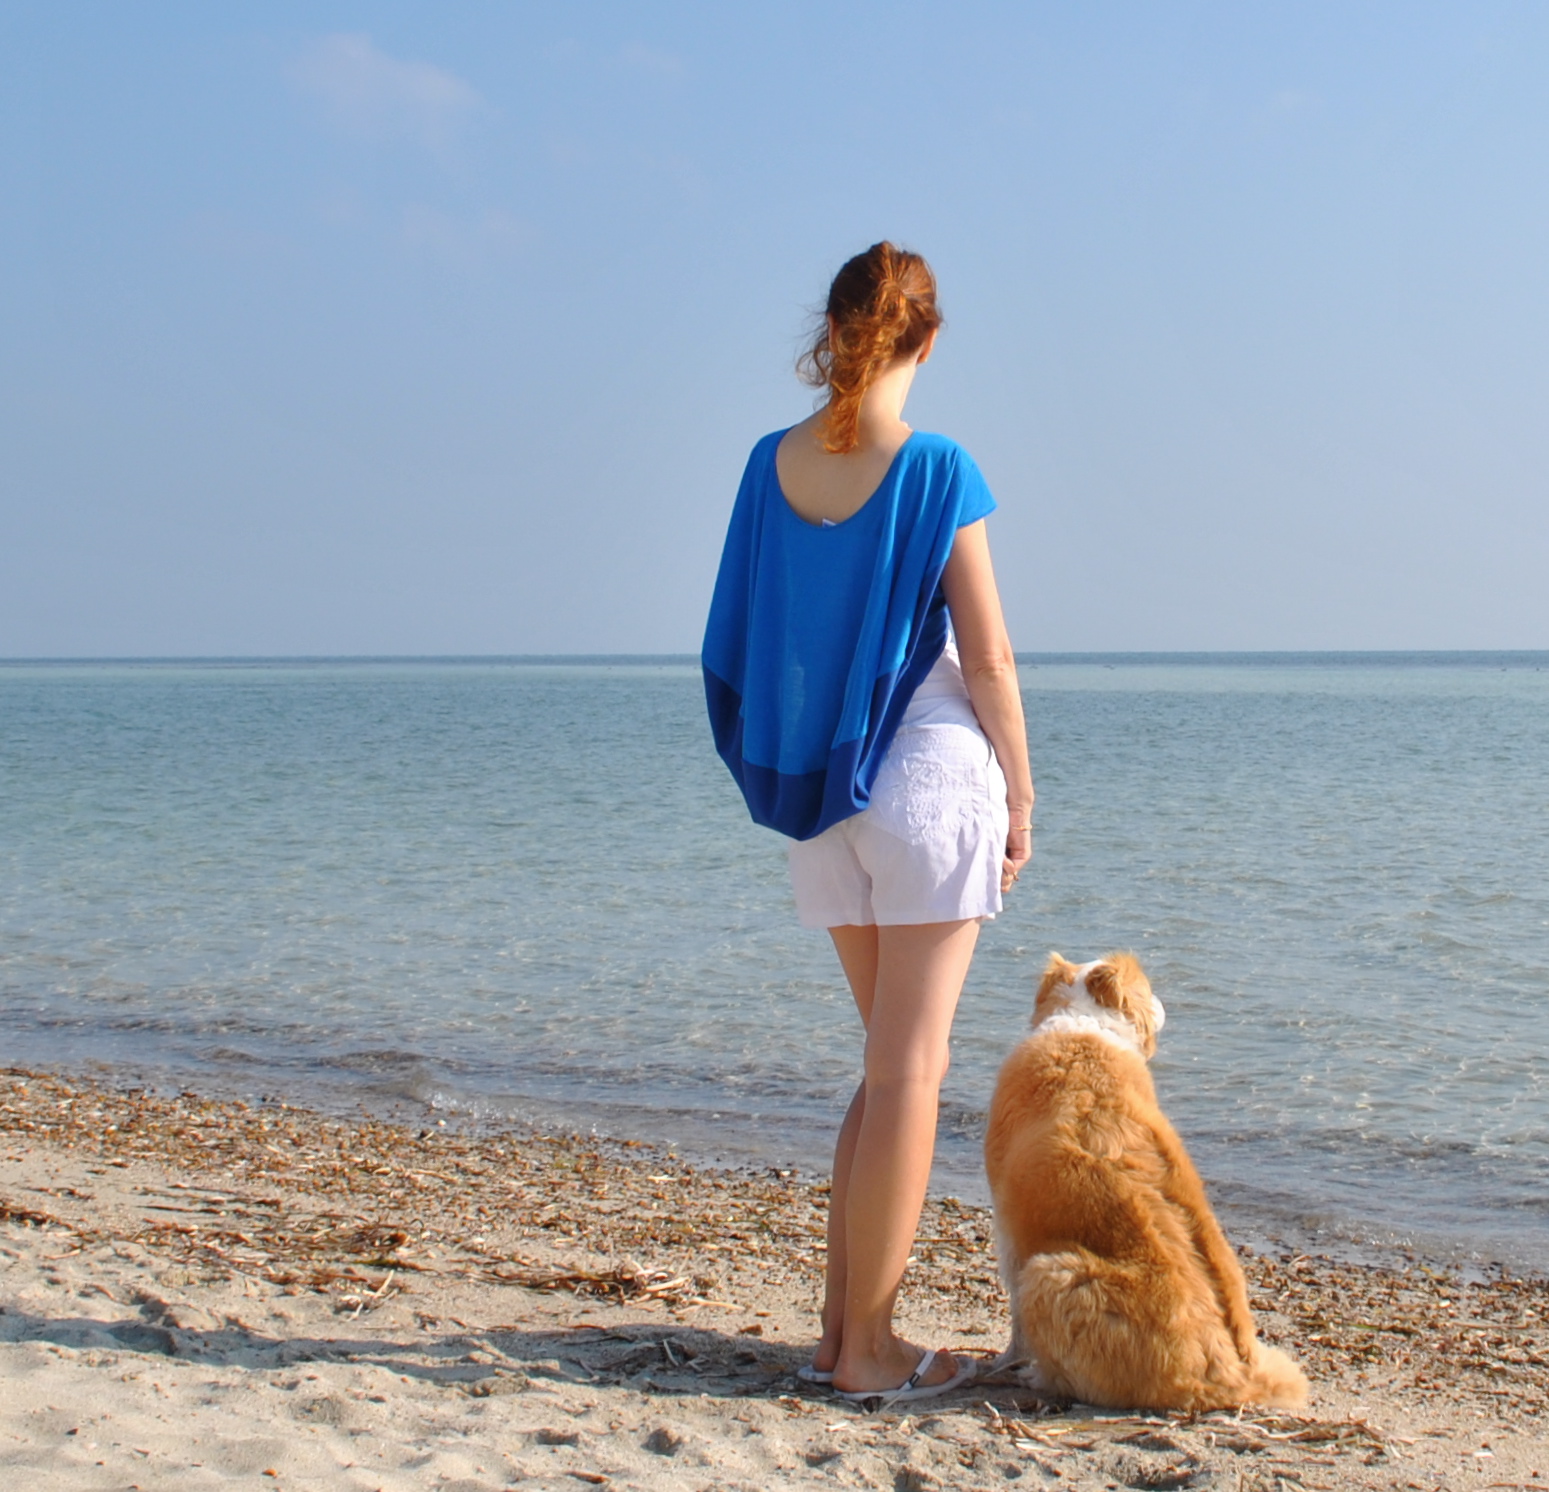
Crescent moon

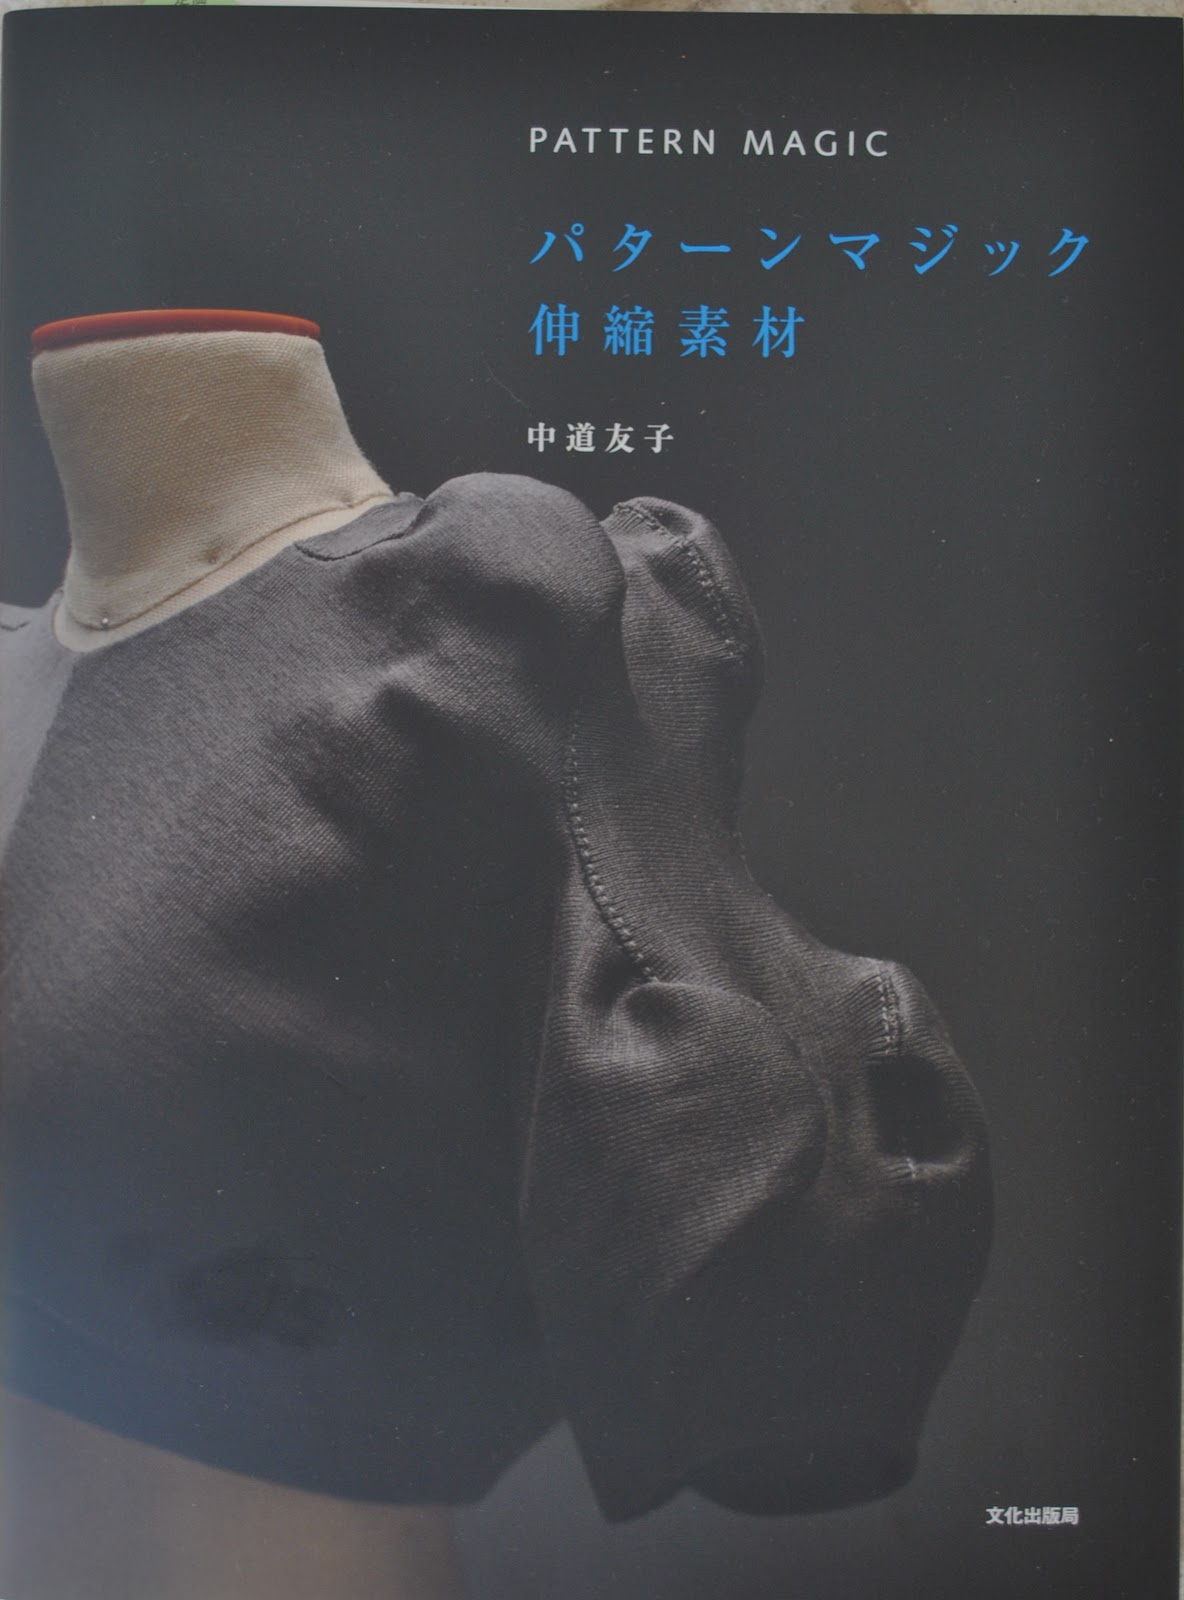
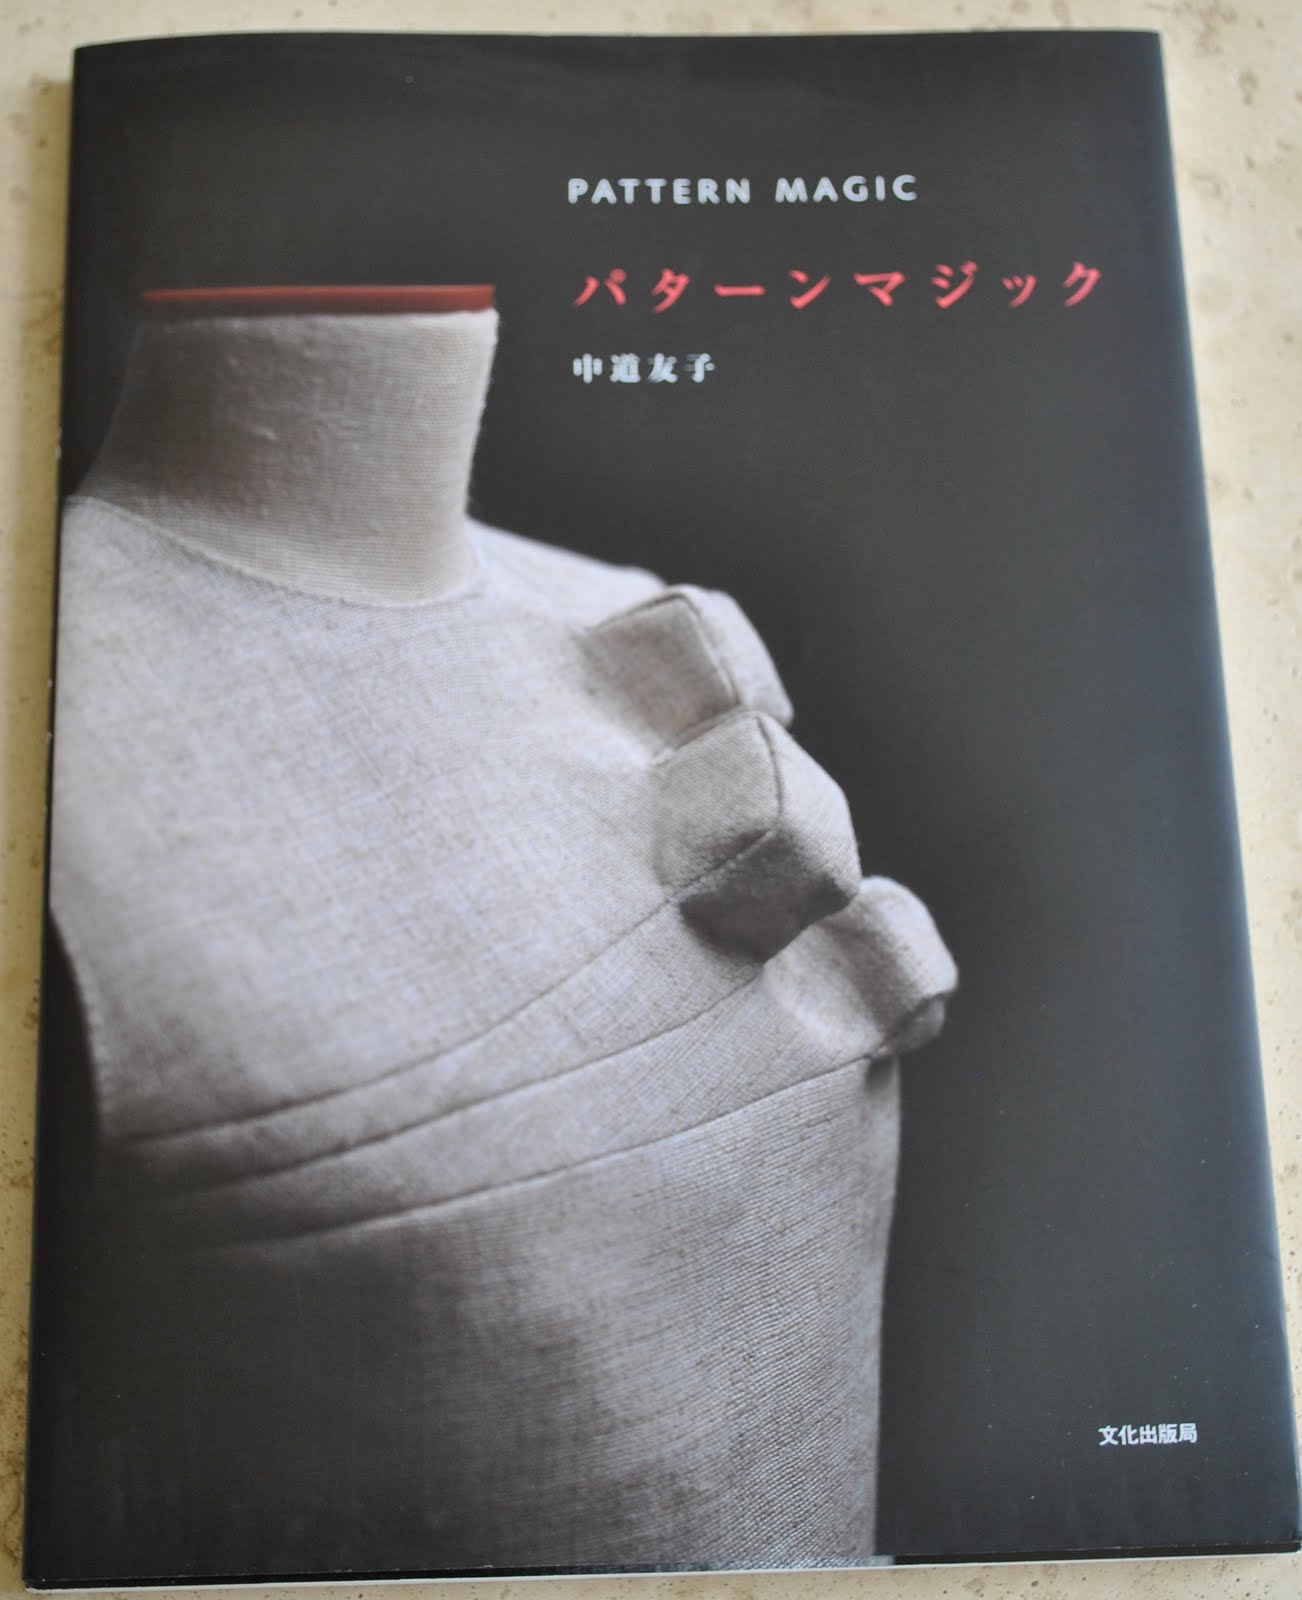
Now my new little top here is a very quick and easy, yet still interesting design.  And like all the designs from the Pattern Magic series; very very clever too, and another example of a “why hasn’t anyone thought of this before” sort of a garment.  This one from Pattern Magic 3, by Tomoko Nakamichi.
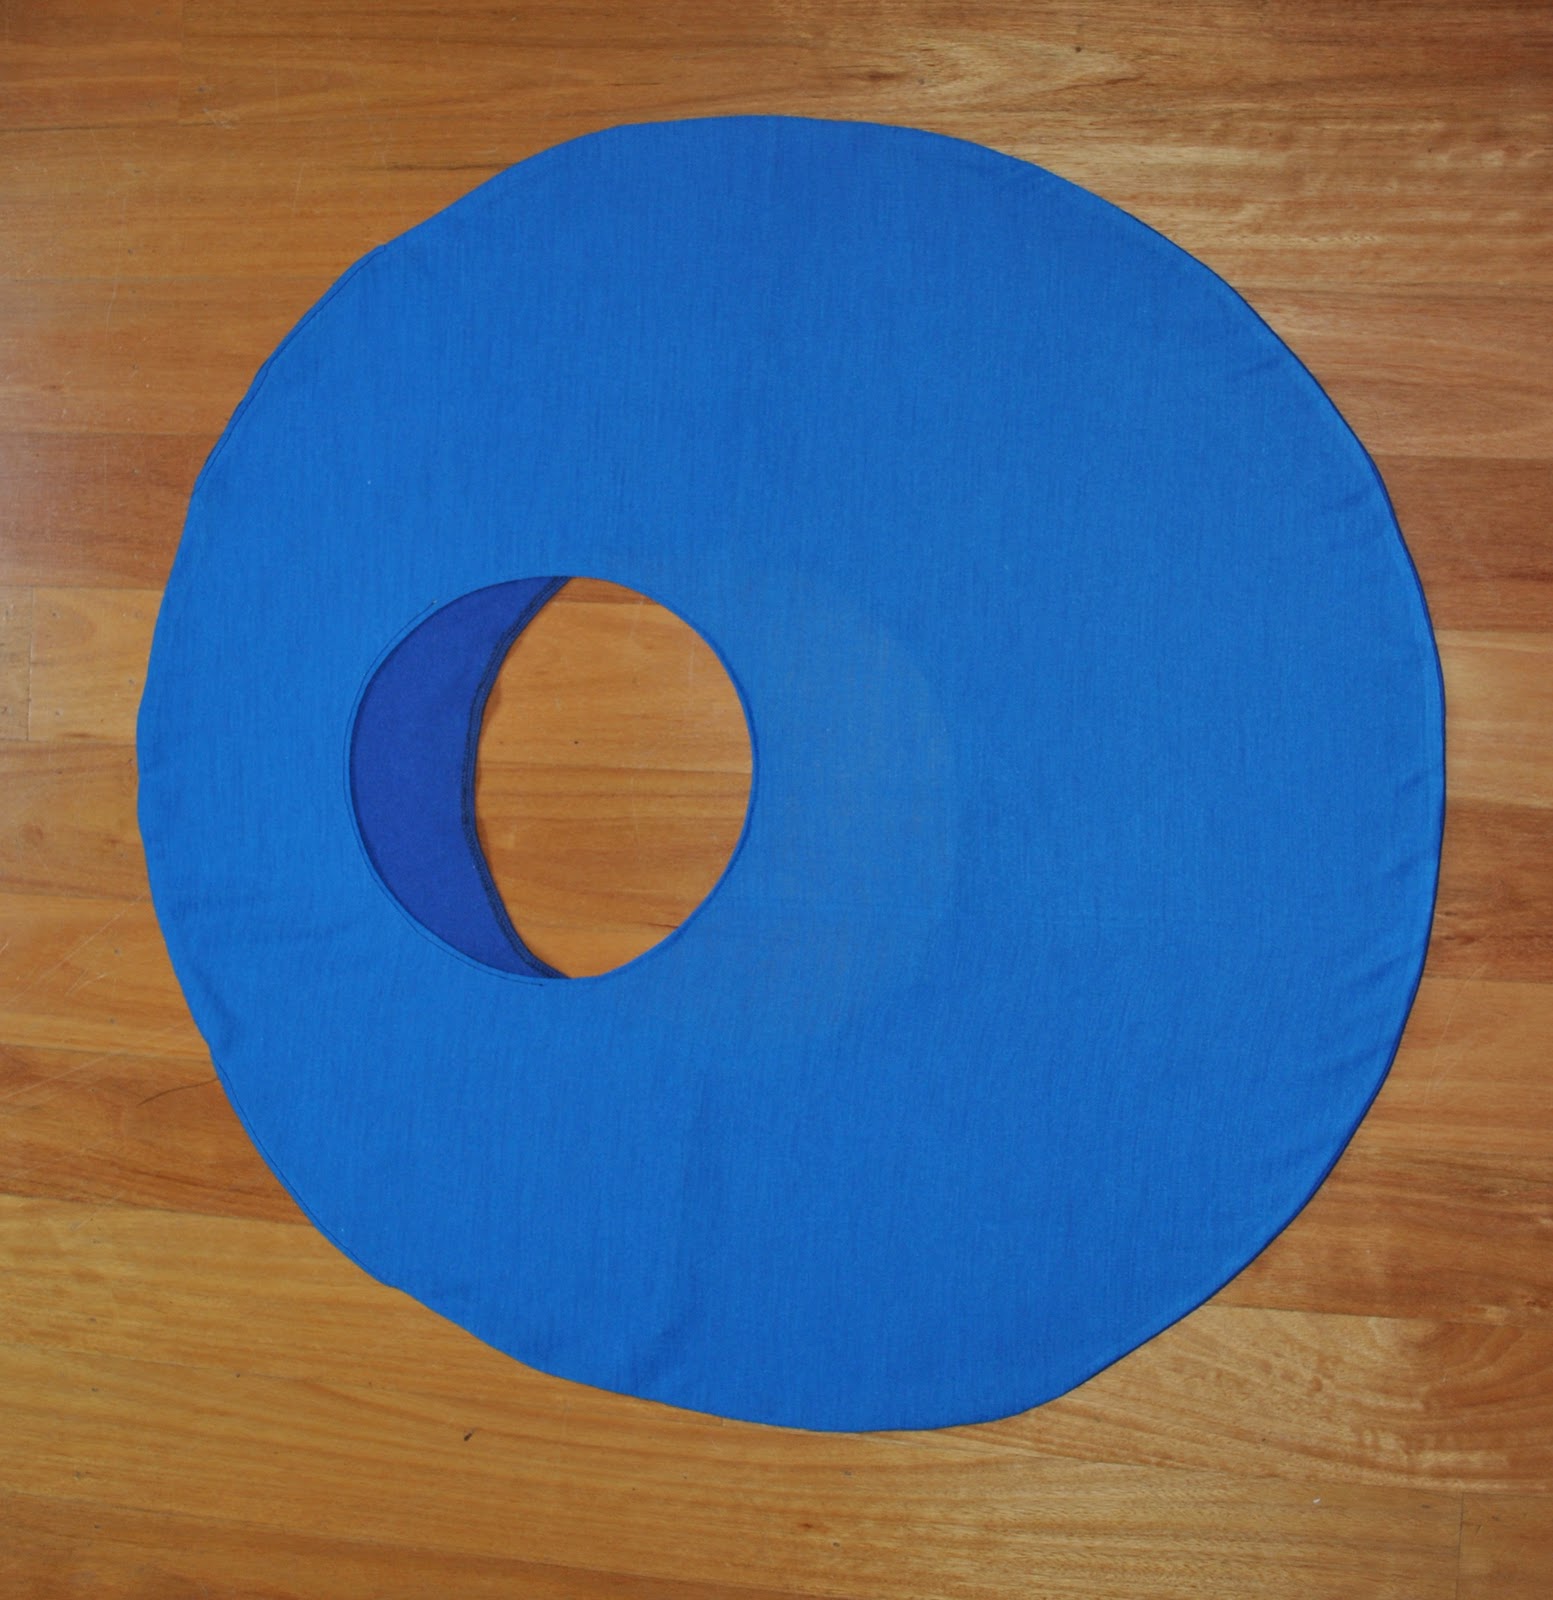
The names of the designs are so interesting, are they not?  Some of them are so full of imagery and poetry.  Like this one for instance.  When the garment is laid flat you can see at once the inspiration for its moniker.  Crescent moon.  How clever and beautiful.  Just typical of Japanese design and their artistic sensibility towards shapes and images in nature; a concept I really relate to.
For this I used some more of the leftover jersey scraps from the bundle given to me by my friend C, from her late mother’s stash.  I had to cut and join the darker blue fabric to get a piece large enough, but that is OK since it is the bottom layer and the seam just looks like an underarm side seam whilst you are wearing it.  To finish; the raw edges were overlocked, turned under once, and topstitched down from the outside.
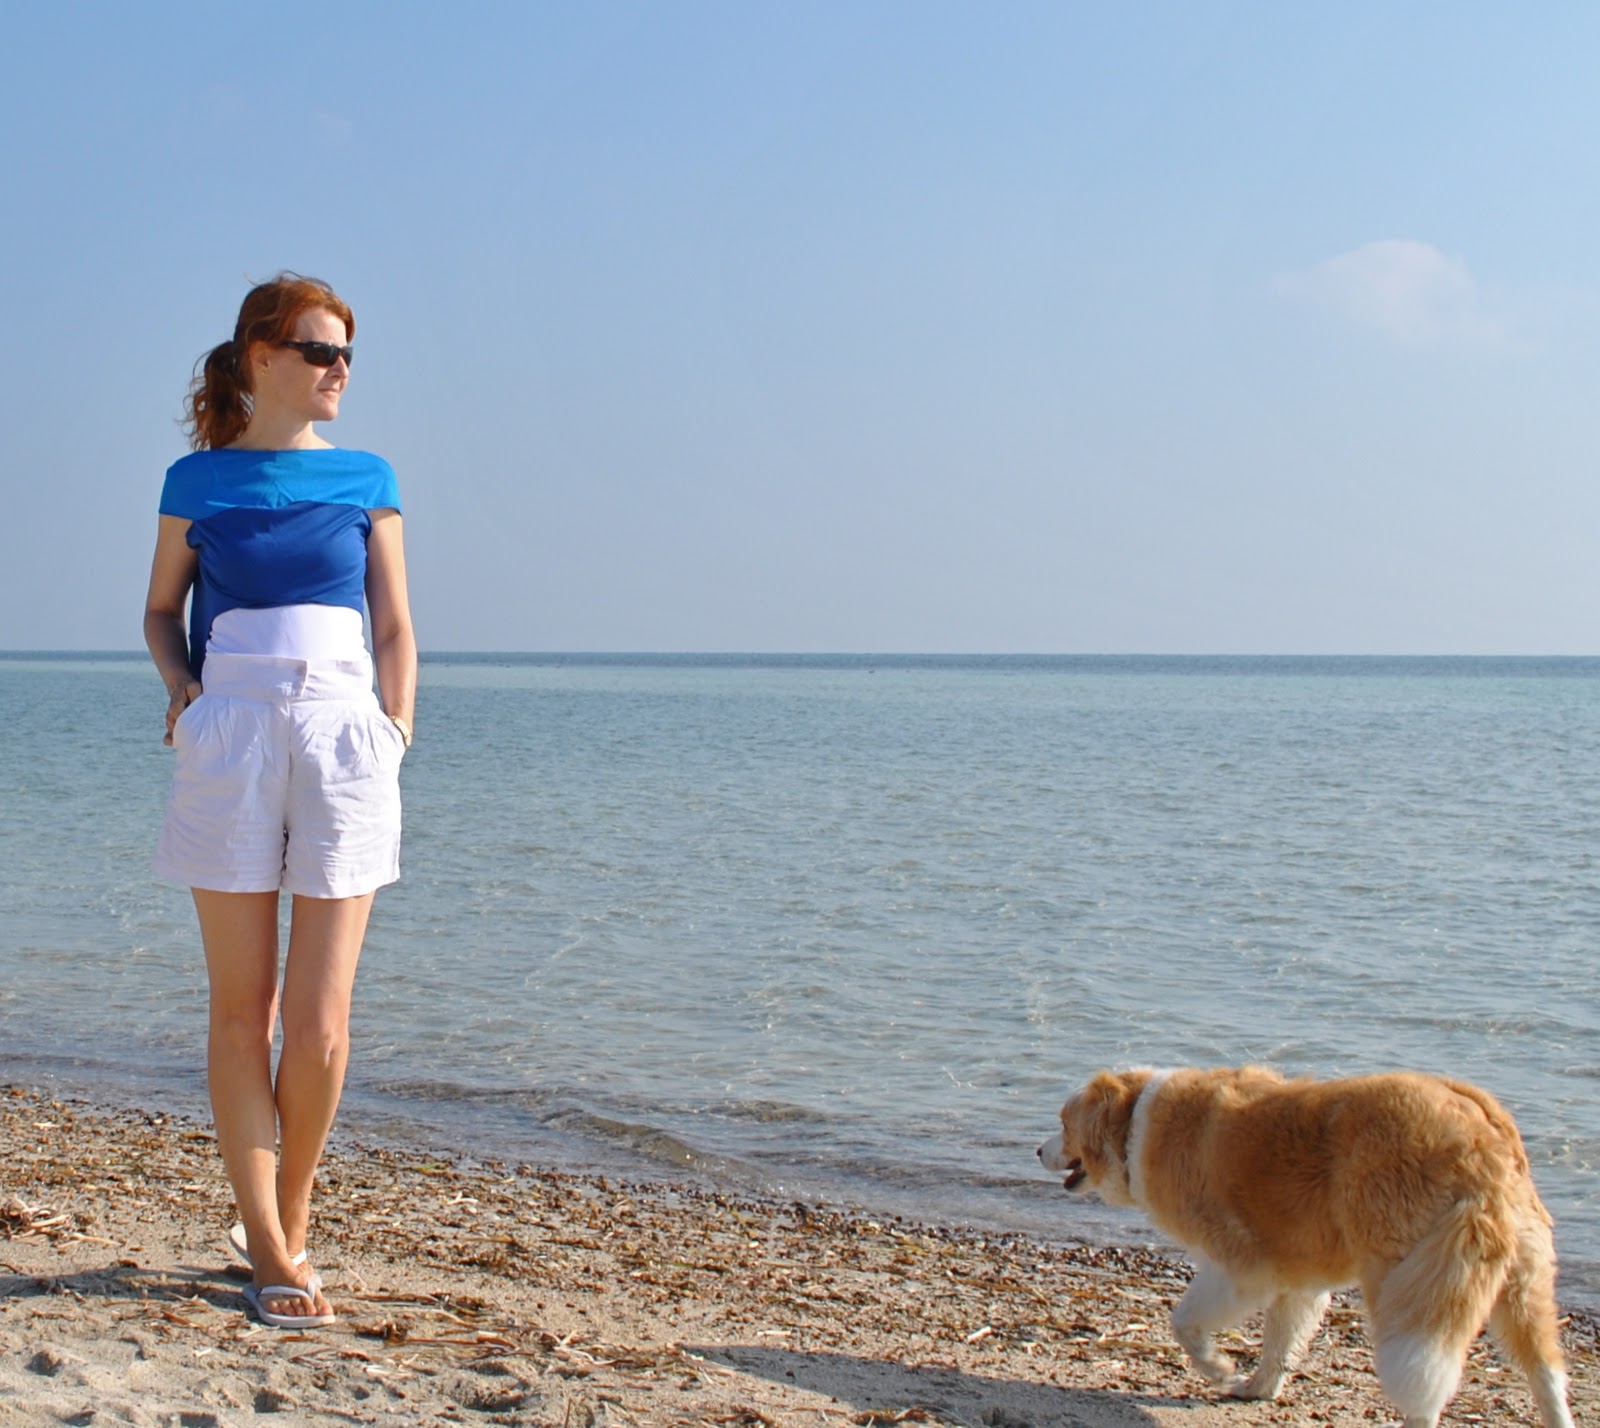
I love the way that when you are wearing it, from the front it just looks like you are wearing a rather ordinary cropped little Tshirt, with maybe just the stripe as its lone interesting feature.  However as one turns around, it transpires one is wearing an elegant little draped cape, with a flattering, widely scooped back neckline.
And since capes are “in”, albeit for the northern autumn/winter scene right now, I’m serendipitously fashionable too.  In a summery southern hemisphere sort of a way…
Rather chic, yes?

Details:
Top; from Pattern Magic 3 by Tomoko Nakamichi, two different colours of cotton jersey scraps
Shorts; Burda 7723, white linen, details here
Camisole (underneath); Country Road
Thongs; Mountain Designs

pinterestmail

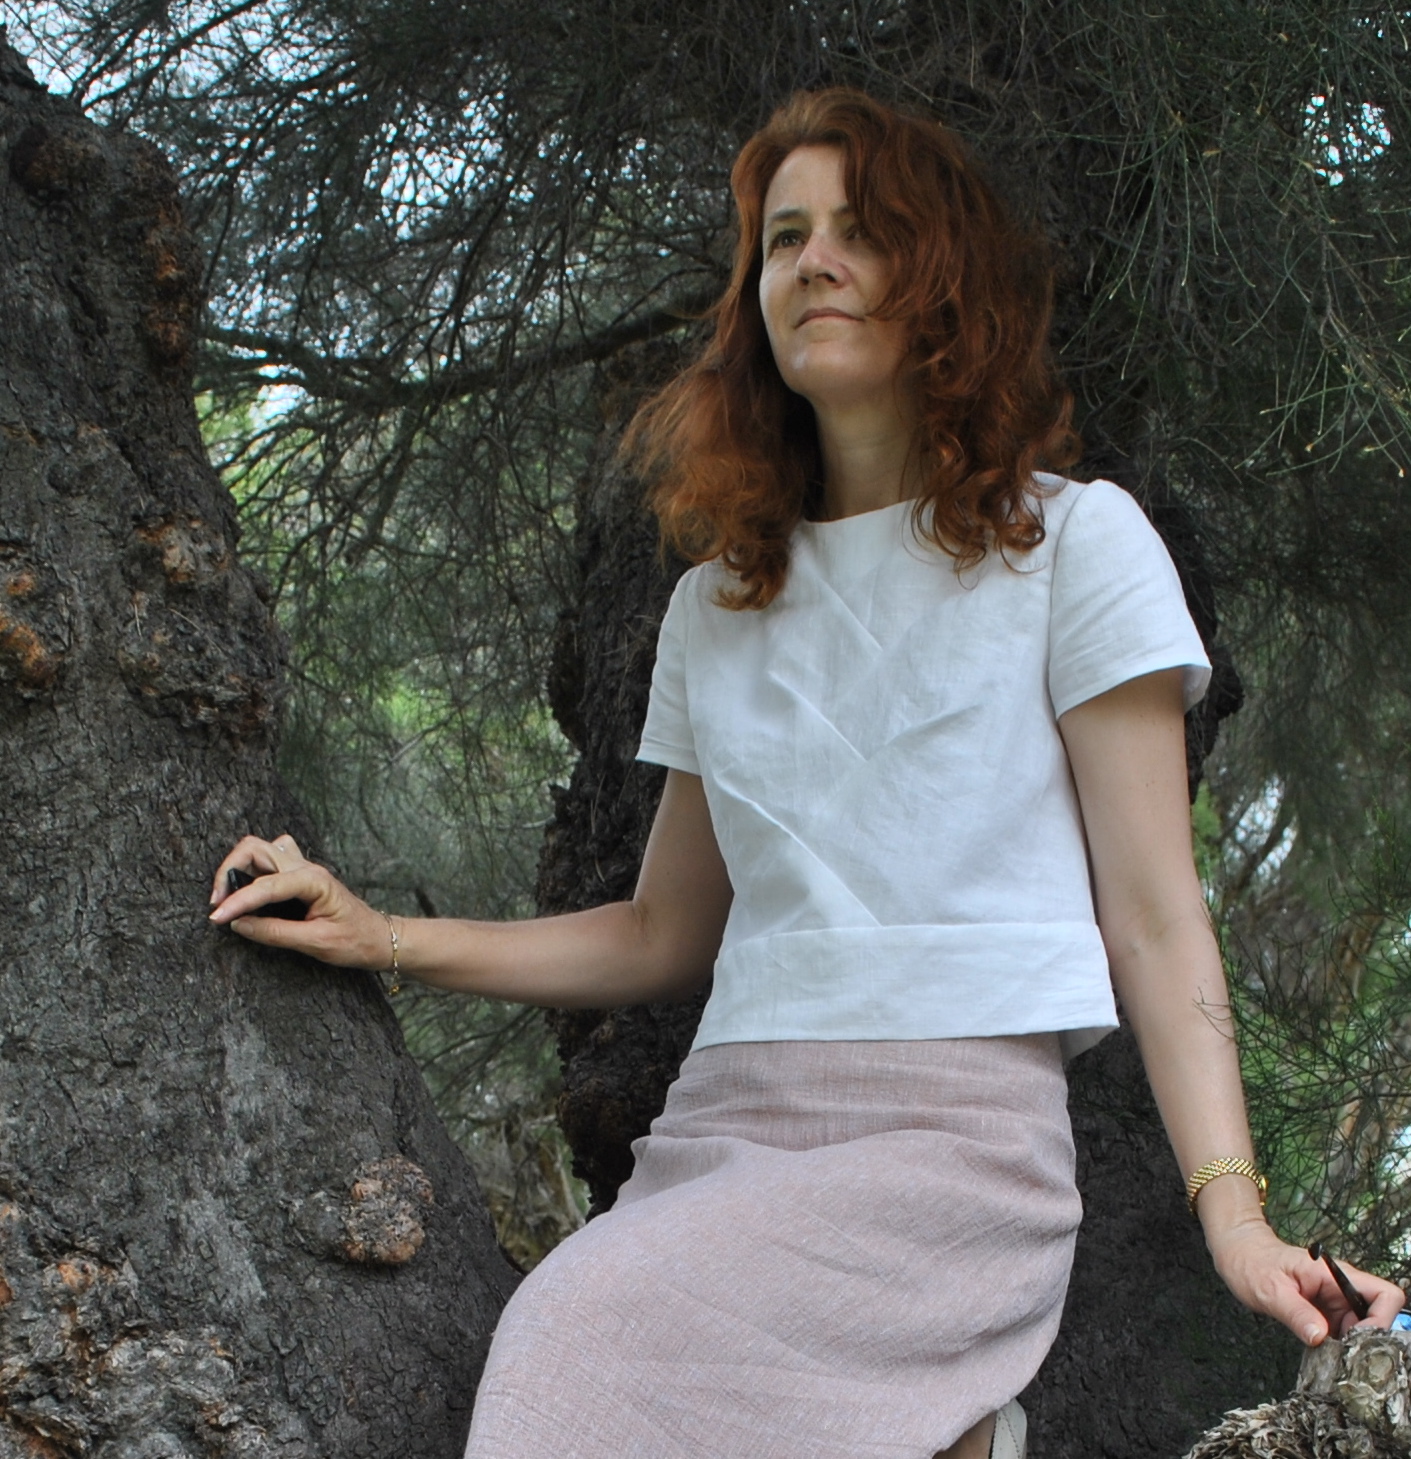
Bamboo shoot

…that is the name of this top; my latest foray into Pattern Magic, by Tomoko Nakamichi.
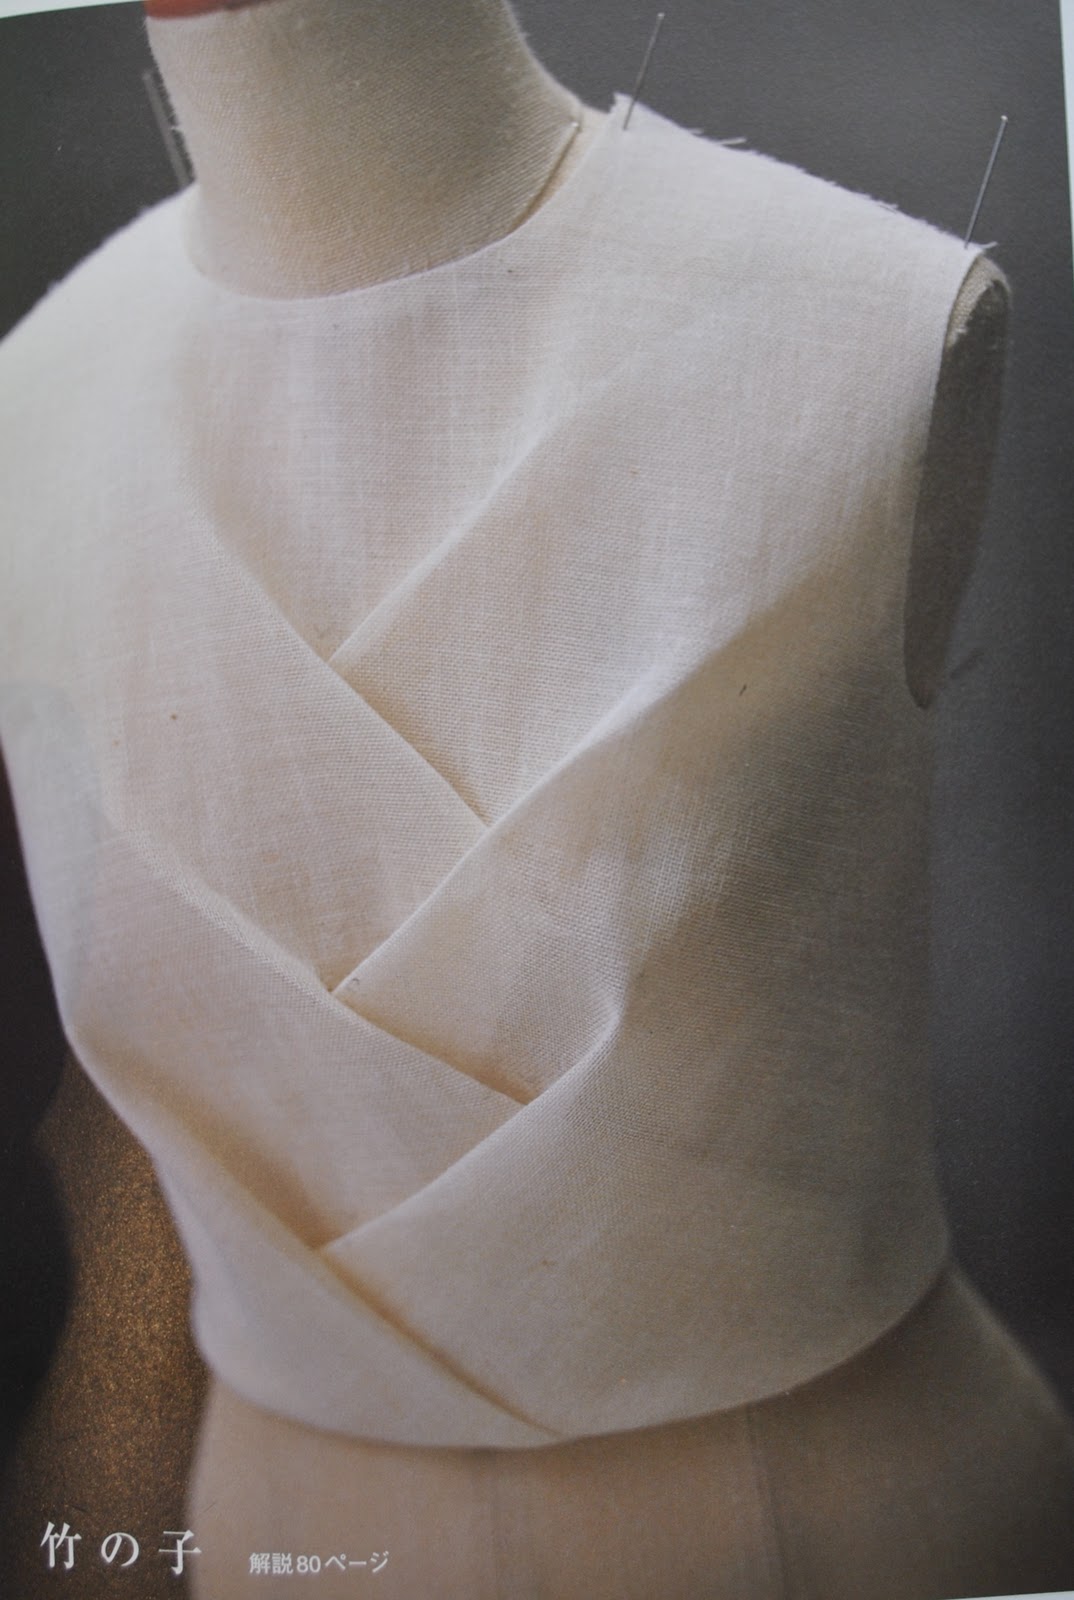
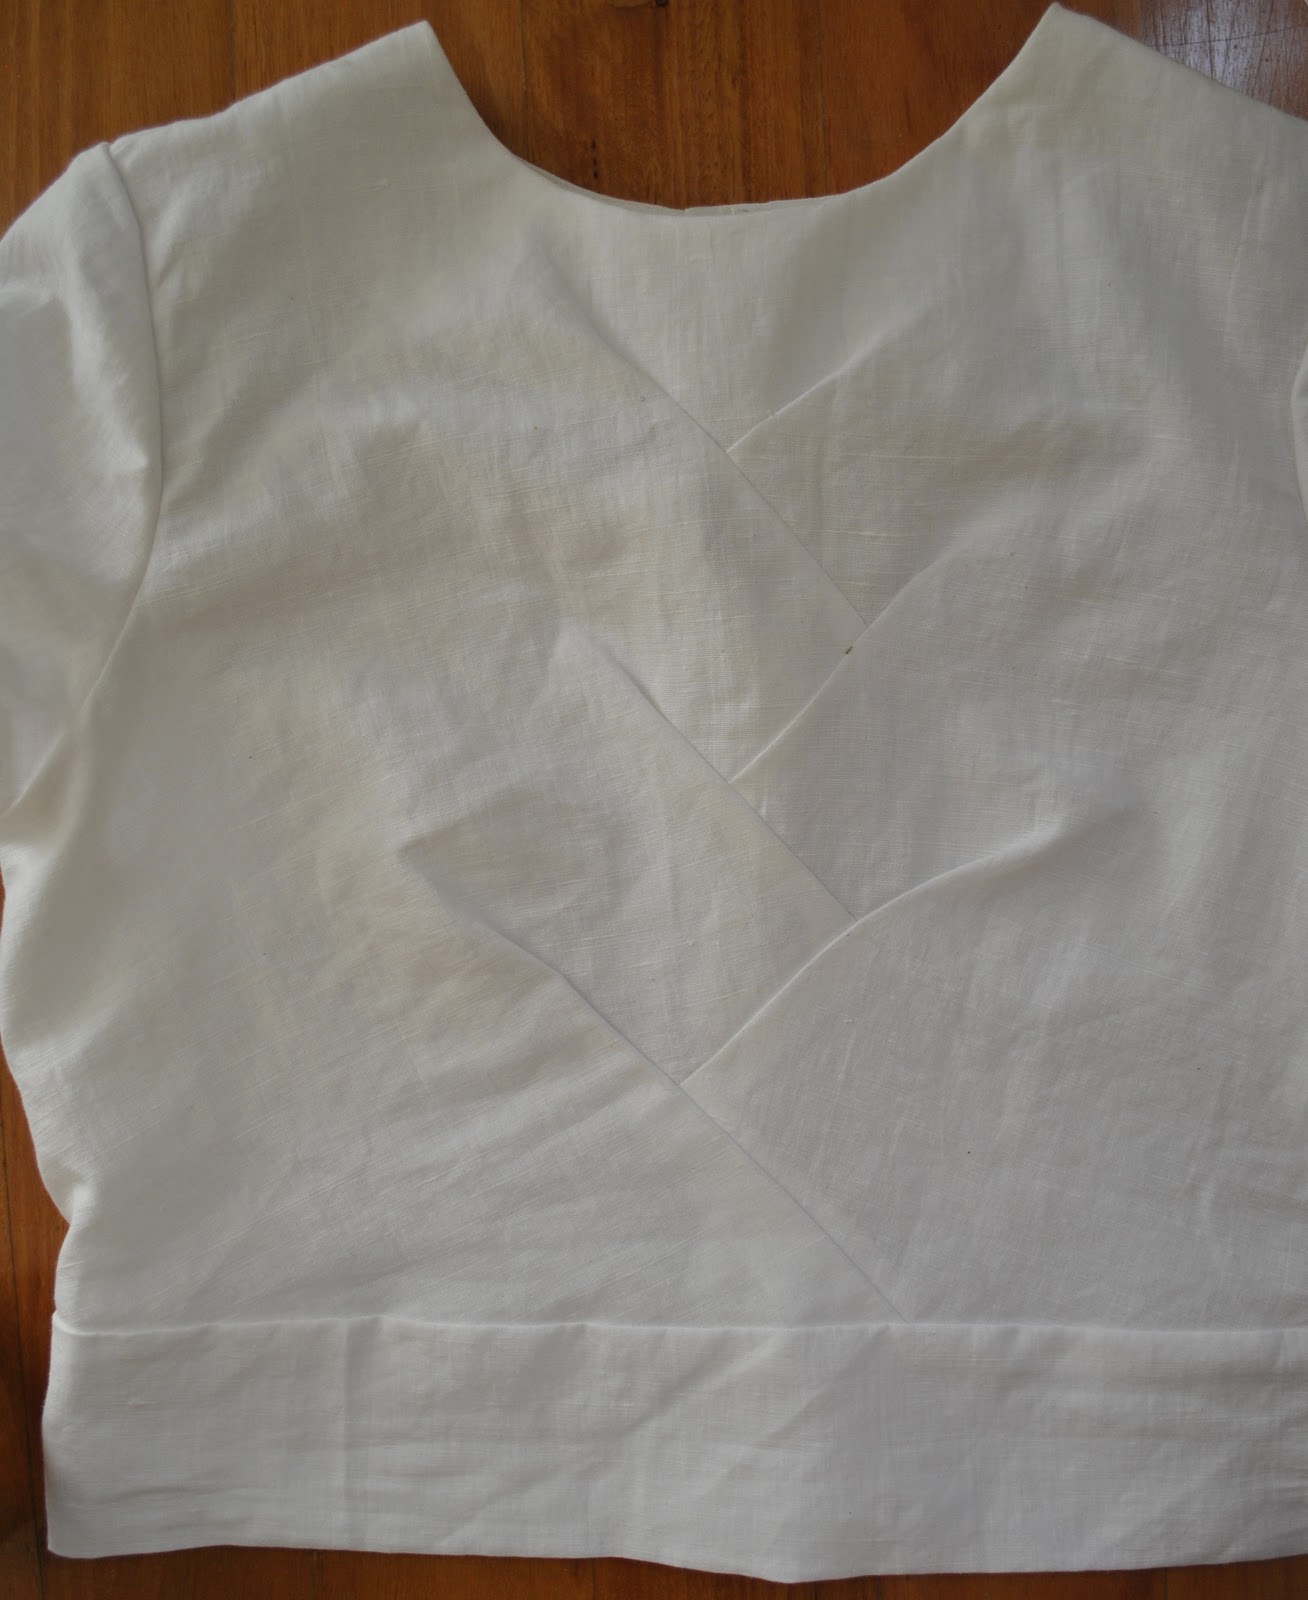
The folds/tucks on the front of the design are like the new shoots on bamboo, spraying out to each side in graduated offset arcs.
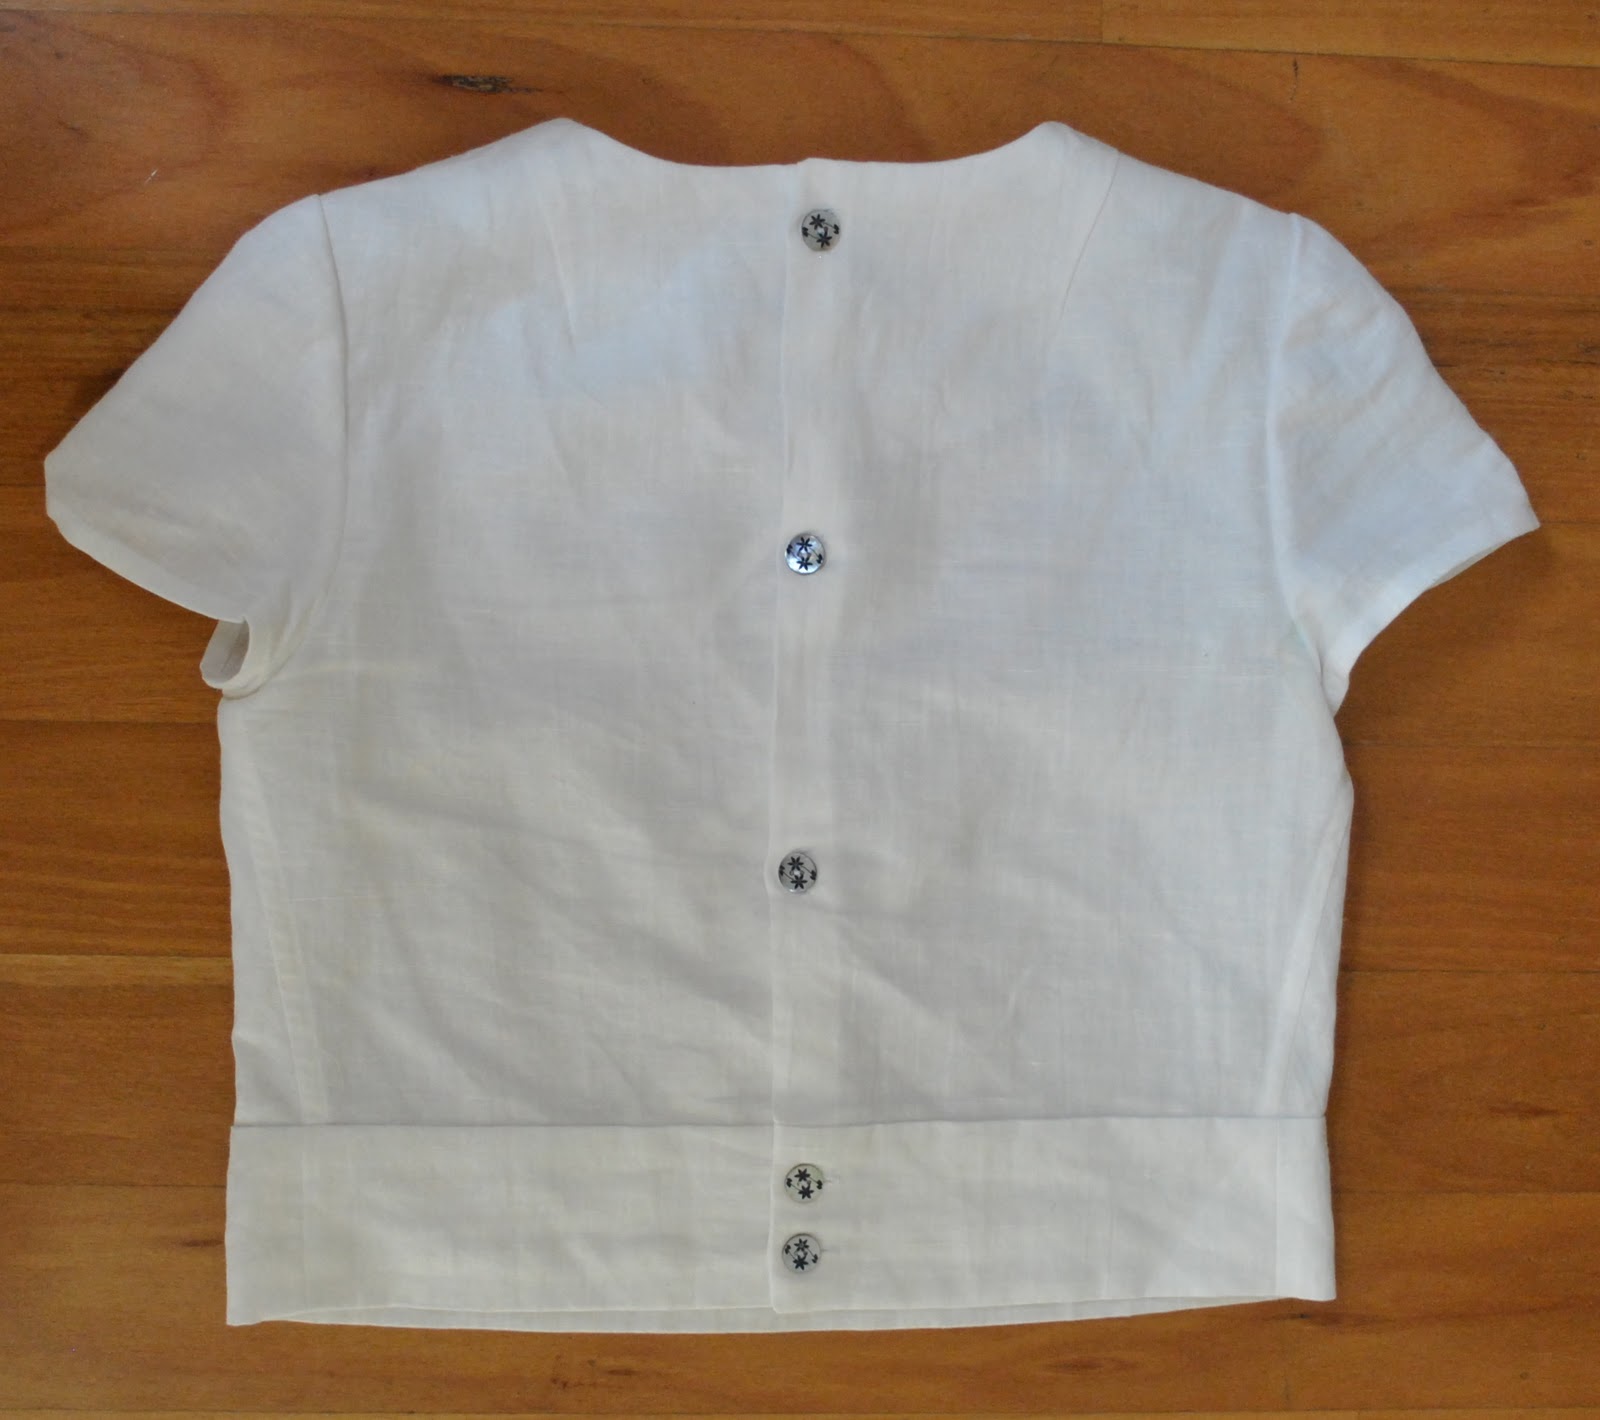
I chose to make this design into a little top with short cap sleeves, a buttoned up back, and a wide loose waist band; necessarily a shortish top because of the constraints of my fabric.  Yup, I was using up scraps, as per usual!  From this linen shirt I made for Craig… (I know it may seem like most of my clothes are made from scraps, and I have to admit a fair whack of them are!  The thing is, I loathe waste with a passion…  and have been known to hoard scraps for years…. hehe.  Some day I will have to round up in one post the projects I have made, purely from scraps)  
Anyhoo;
I like this style of blouse, it brings back strong memories to me of the blouses we used to wear in our winter school uniform, over our plaid wool skirts.  Except our school blouses had a collar and were buttoned up at the front, naturally.  This top is quite loose, so I can leave all the buttons done up except the top one and slip it over my head.  This means only the top button needs doing up behind my neck, which is good, since I discovered that doing up that middle button requires a solid command of yoga…  And about that; I’m thinking it is about time some new moves were introduced into the Yoga repertoire along with saluting the sun, and the down dog and all that; may I suggest “lady doing up her back buttons/zip”?  I think that would be a pretty useful new move, yes?
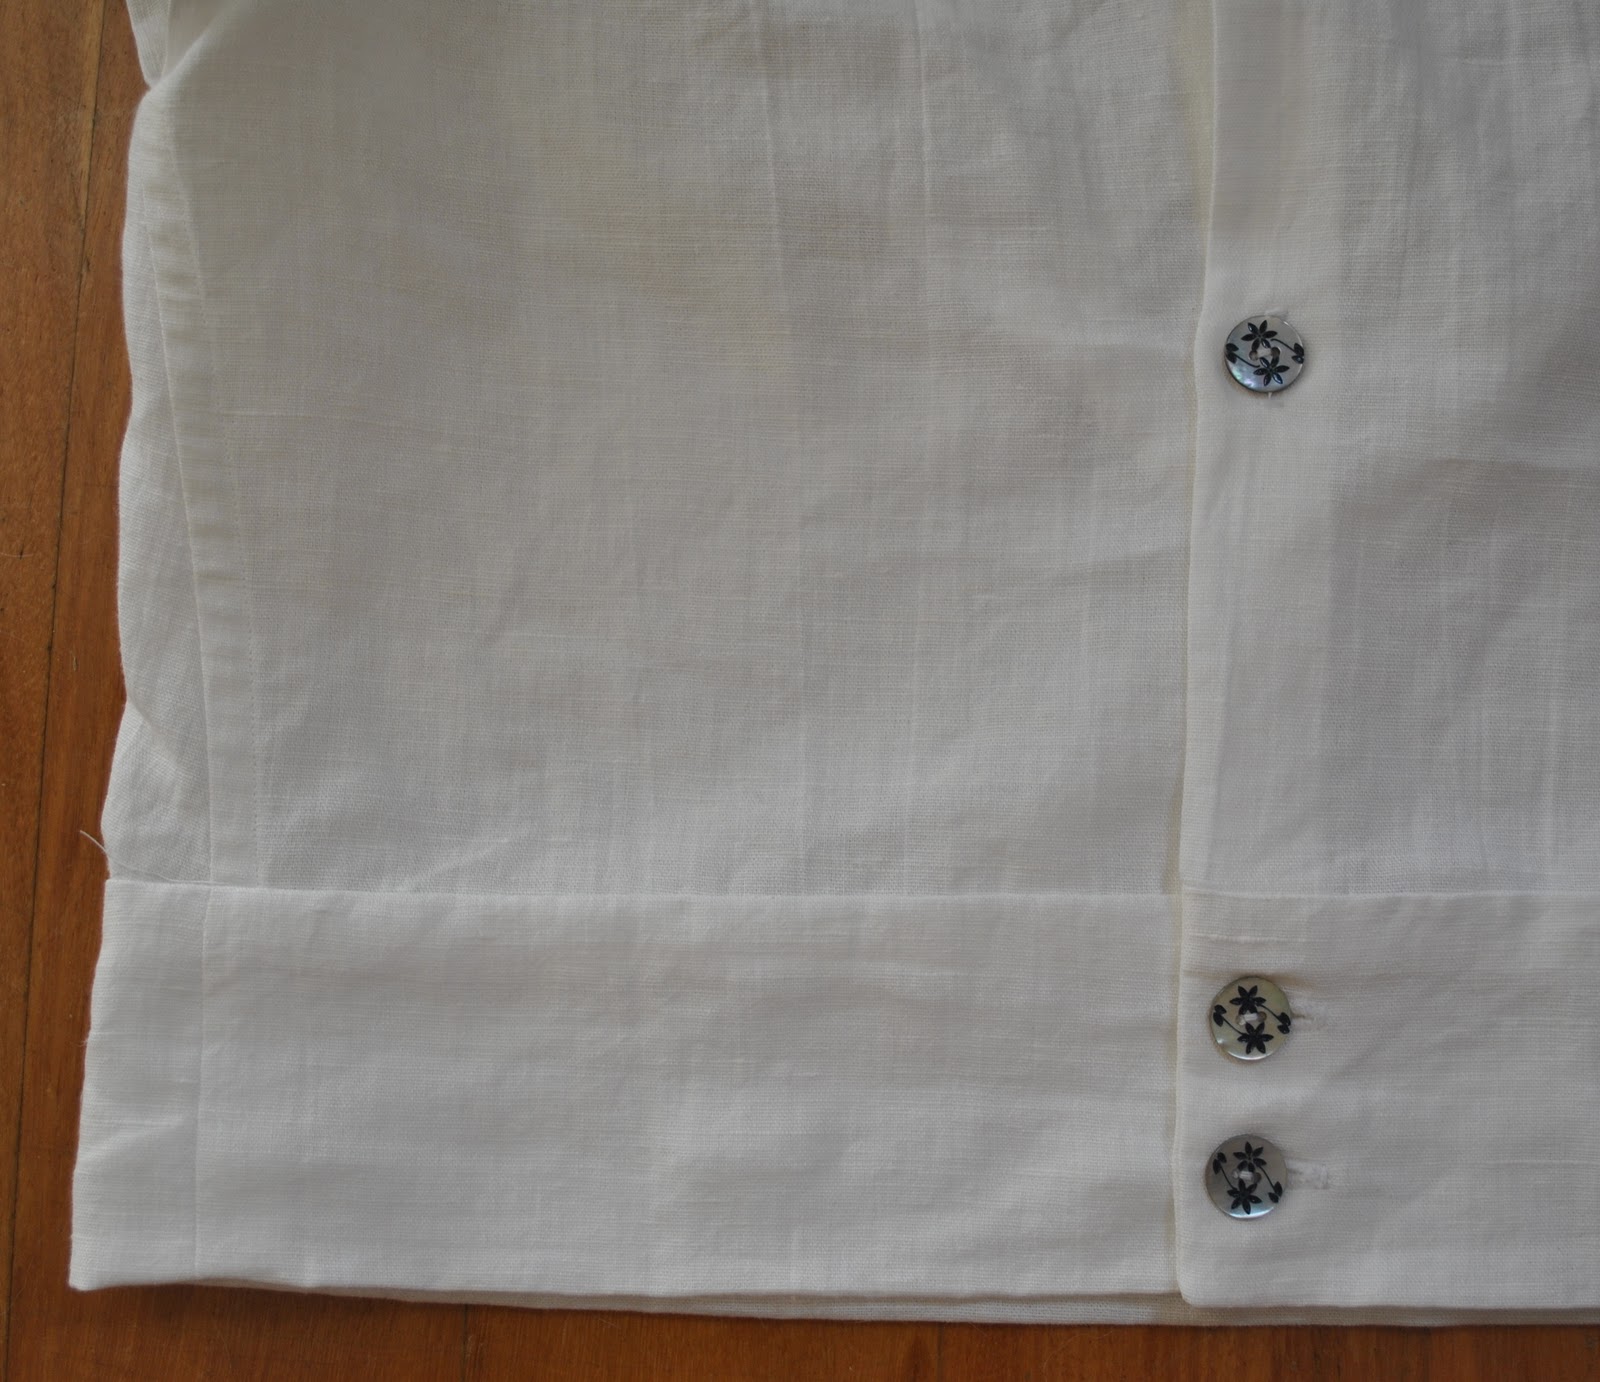
The  neckline is faced, the side and shoulder seams are flat-felled, and the armhole seam allowances are finished with HongKong seaming.  The buttons are the little shell buttons that I bought in Tokyo, whilst out shopping with Yoshimi, Novita and my daughter Cassie, so I felt it was quite right that I use Japanese buttons for a Japanese designed garment.  Fitting, yes?  The buttonholes on the button band are vertically aligned, whilst the buttonholes on the waist band are horizontally aligned, this is a little feature that I recalled from my old school blouses, and wanted to have it in this blouse too.
The darts/folds were a little tricky.  In the photograph in the book, it doesn’t look as if there is any stitching yet, but just folded in place.  When I first stitched mine in place they didn’t look nearly as nice… so I unpicked and re-stitched and pressed them one by one, slightly inside their seam allowance,  so the stitching is hidden just inside the fold, about 3mm.  This seemed to do the trick, and looks more like the picture in the book.

Details:
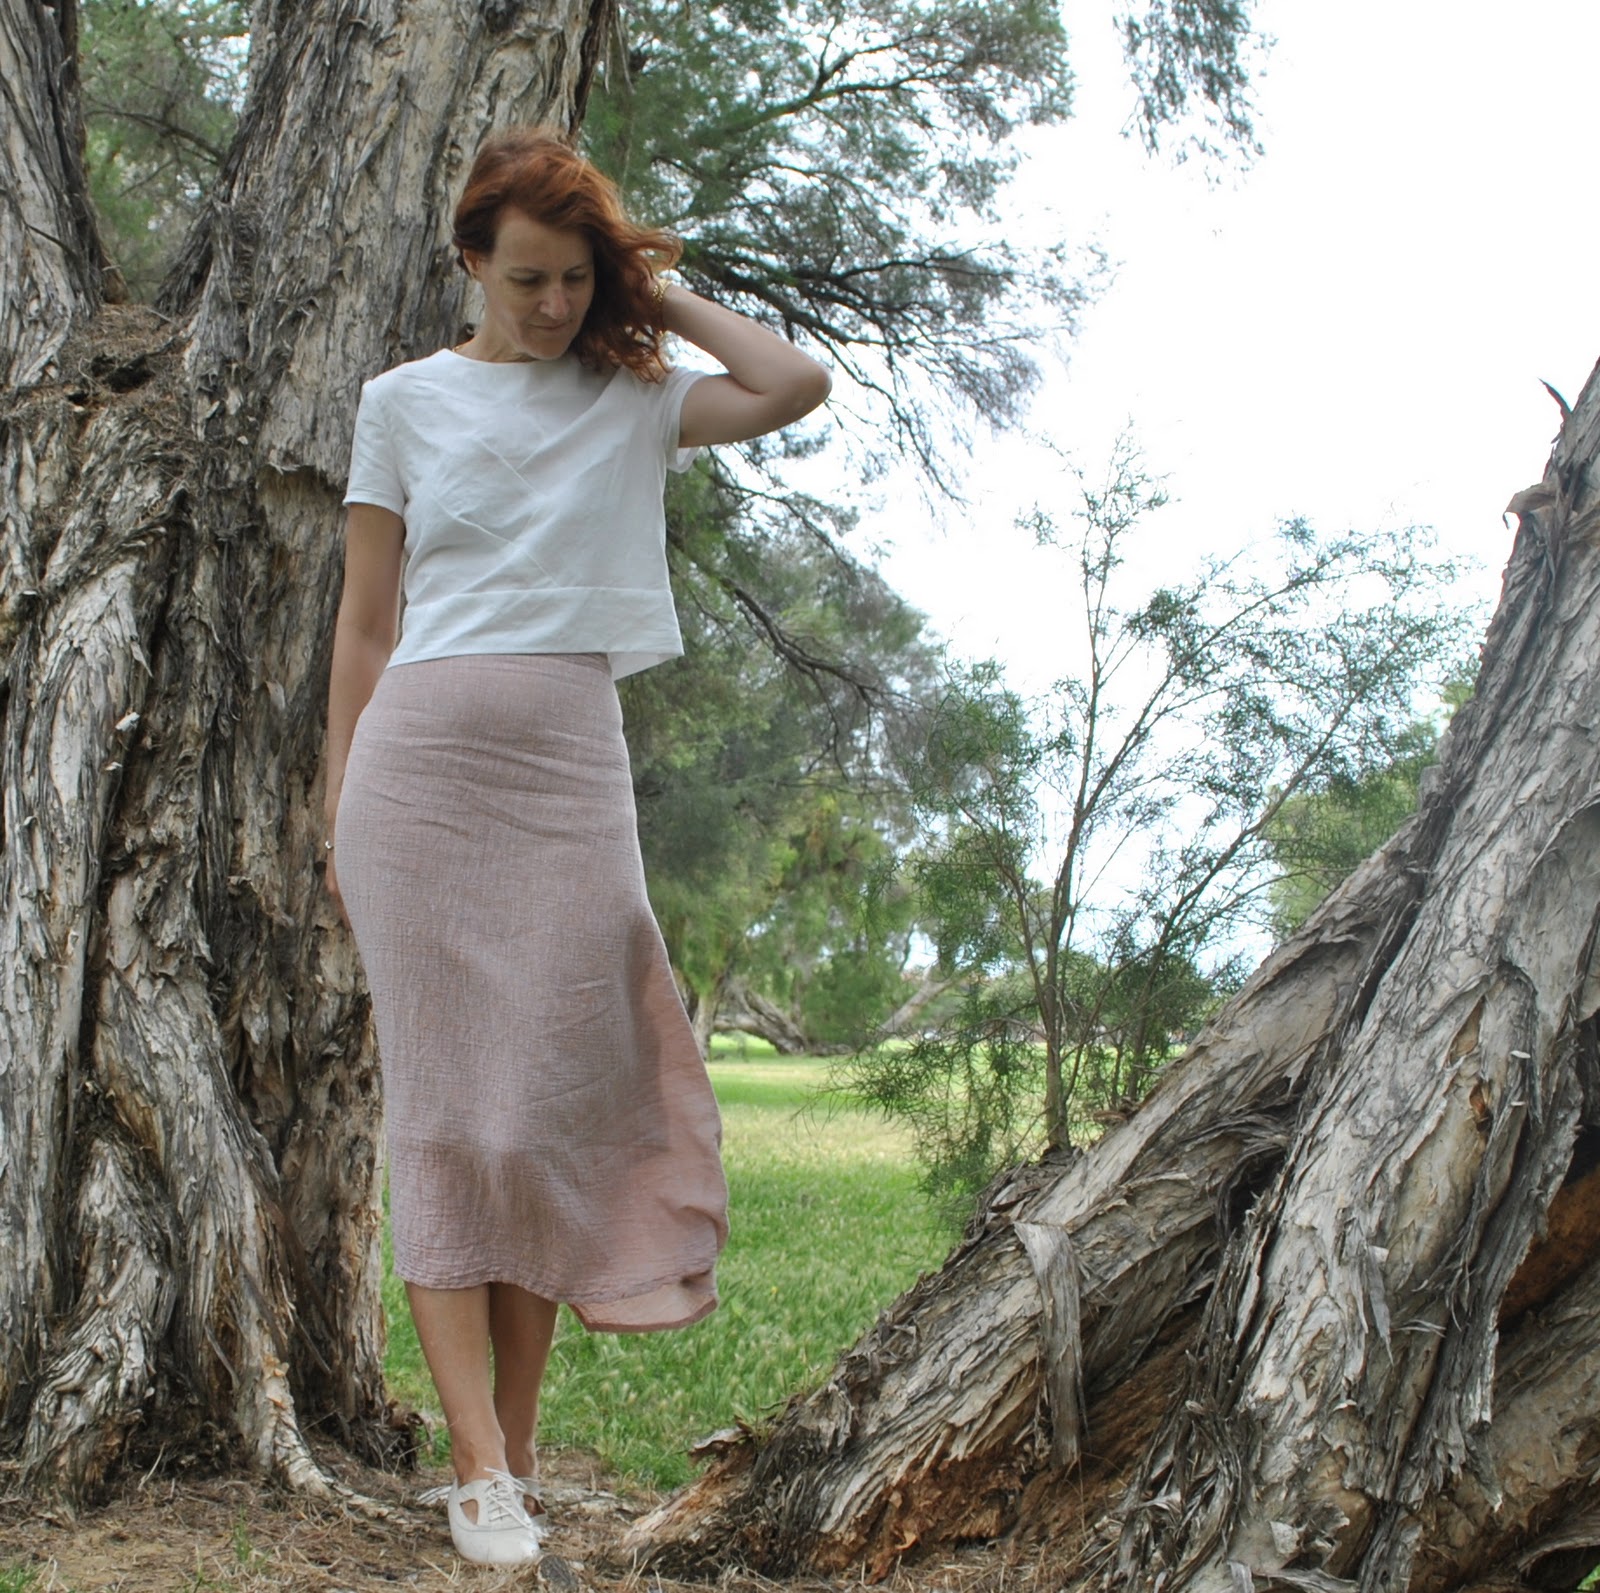
Top; based on the “bamboo shoot” design in Pattern Magic, by Tomoko Nakamichi, finished blouse of my own design, white linen
Skirt; skirt “m” from Unique Clothes Any Way You Like, by Natsuno Hiraiwa, pink linen/cotton, details here
Shoes; Bronx, from Zomp shoes

So, with regard to the Pattern Magic series, I have some further comments it might be worth noting here for others wishing to make use of these excellent and very innovative design books… I have made up a few designs from all three books now and in my opinion the third book has by far the easiest projects; being both very easy to fit (they’re all stretch-knit, and really, who can’t fudge fit a stretch?) and also that they are all in the form of complete and finished garments.
A lot of the designs in the first book are in the form of design concepts, a fabric manipulation “idea” that one can take and build on; apply to some nebulous garment, the exact form of which is entirely up to the individual.  I like this flexibility, but it does take extra thought and some dressmaking experience to self-draft those little extras that are needed to get yourself a finished and wearable item.  For example, take the sleeves on my new top here… the Pattern Magic book does have dimensions for a sleeve sloper to get you started.  I discovered in my very early experiments in this book that the sleeve needed tonnes of adjusting to make it work for me.  Eventually abandoned the given sloper and made my own (the one I used here) based on the measurements of my bodice sloper and partly on sleeves in patterns I already had.  I found that the one in the book had a very shallow sleeve cap, that was like a straitjacket on my ginormously hefty arms … Actually I’m joking there.  I’m not hefty by Australian standards at all, but when I am working with Japanese patterns I often feel a bit, er, well huge… by comparison.  Let me put it this way, when I am tracing the designs from Unique Clothes Any Way You Like, by Natsuno Hiraiwa, I use the largest size, whereas in Vogue patterns I am a 10, and even then I always take in several centimetres off the waist.
Don’t get me wrong, this is not a complaint about the books!  I love these Japanese pattern books with a passion, they are completely without parallel in the pattern world and I just wish more of our “ordinary” patterns would take note and branch out a bit.  Get out of that rut.  Just thought I would say more about my experiences here in the hope it helps anyone else wishing to make something out of these excellent books.

pinterestmail

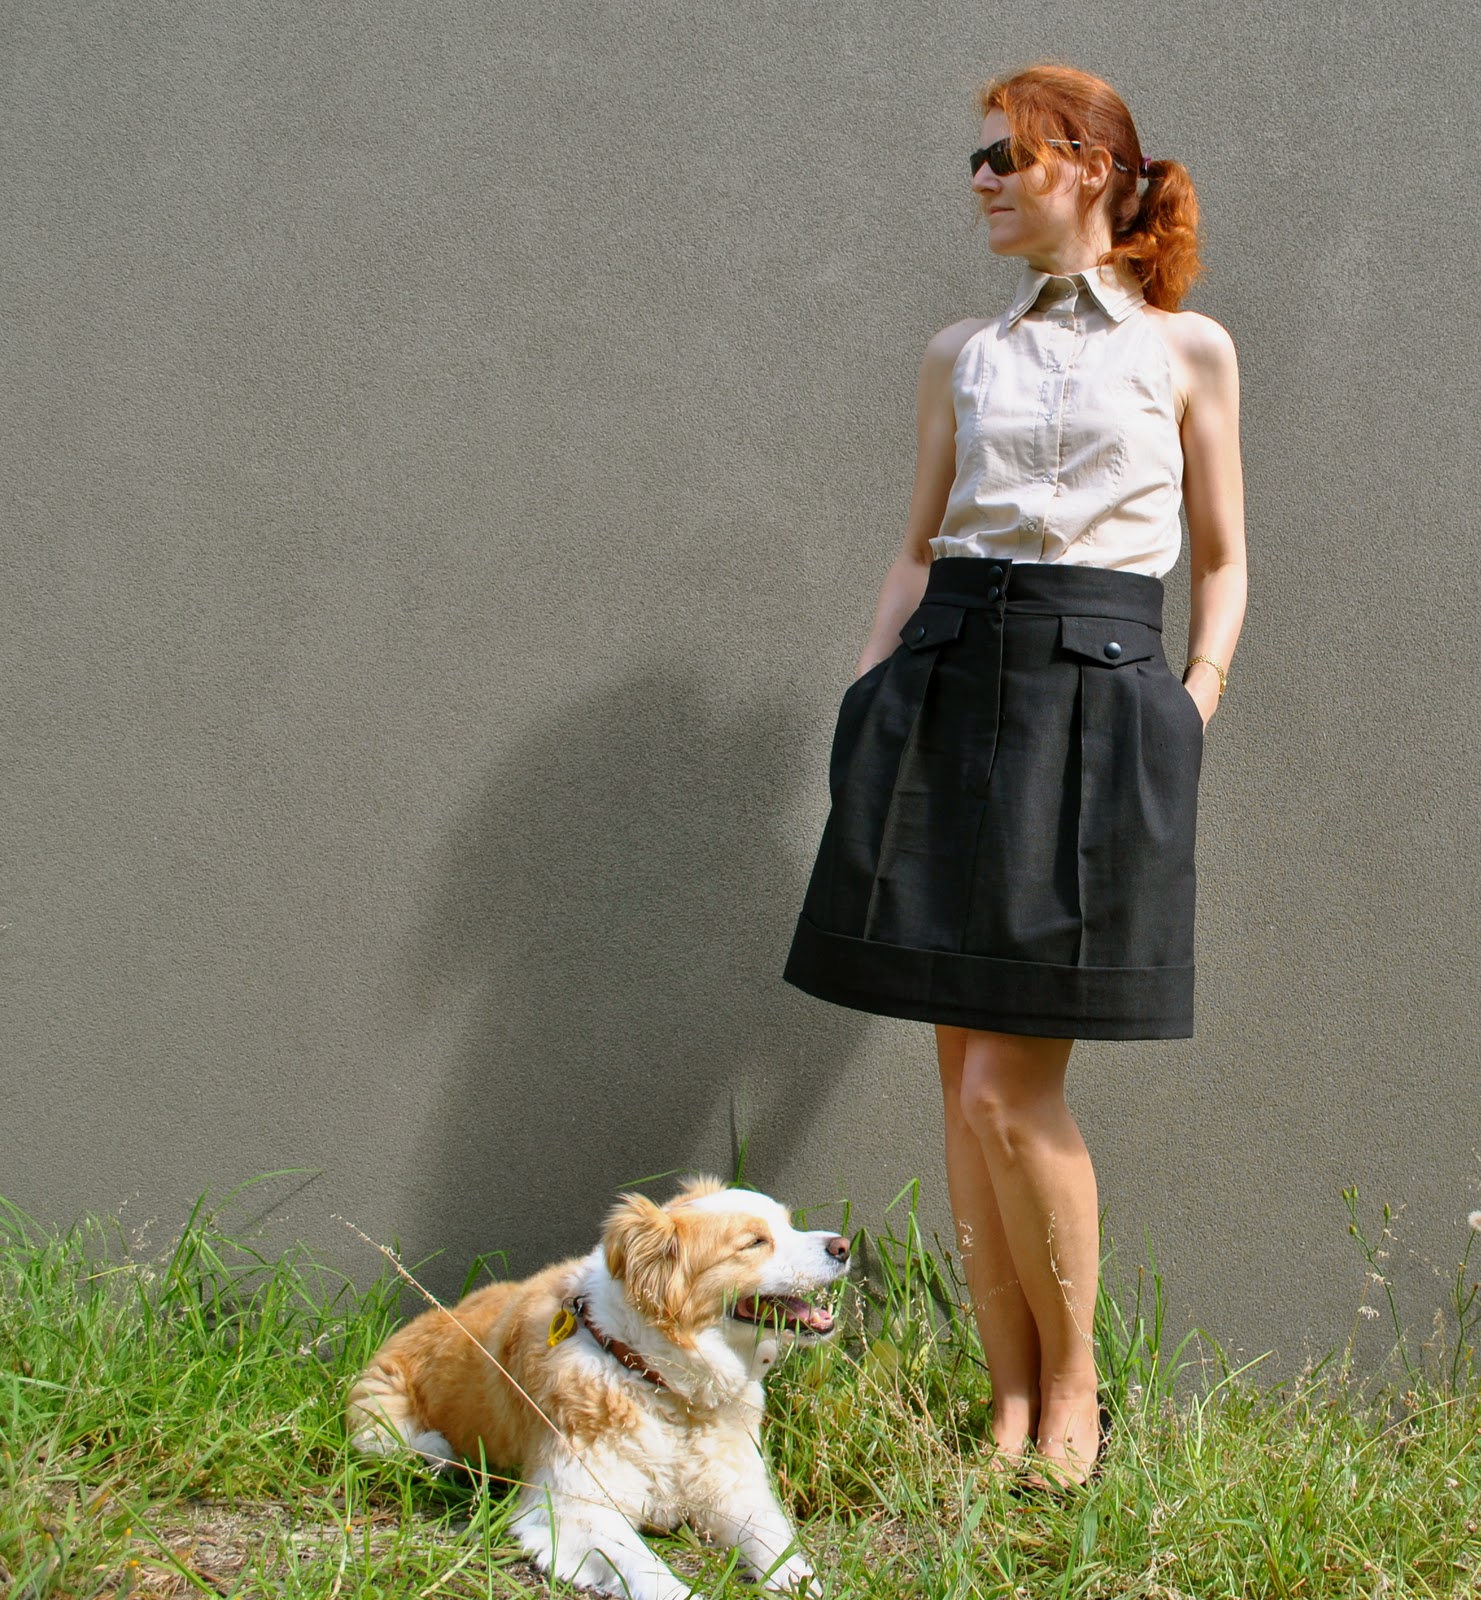
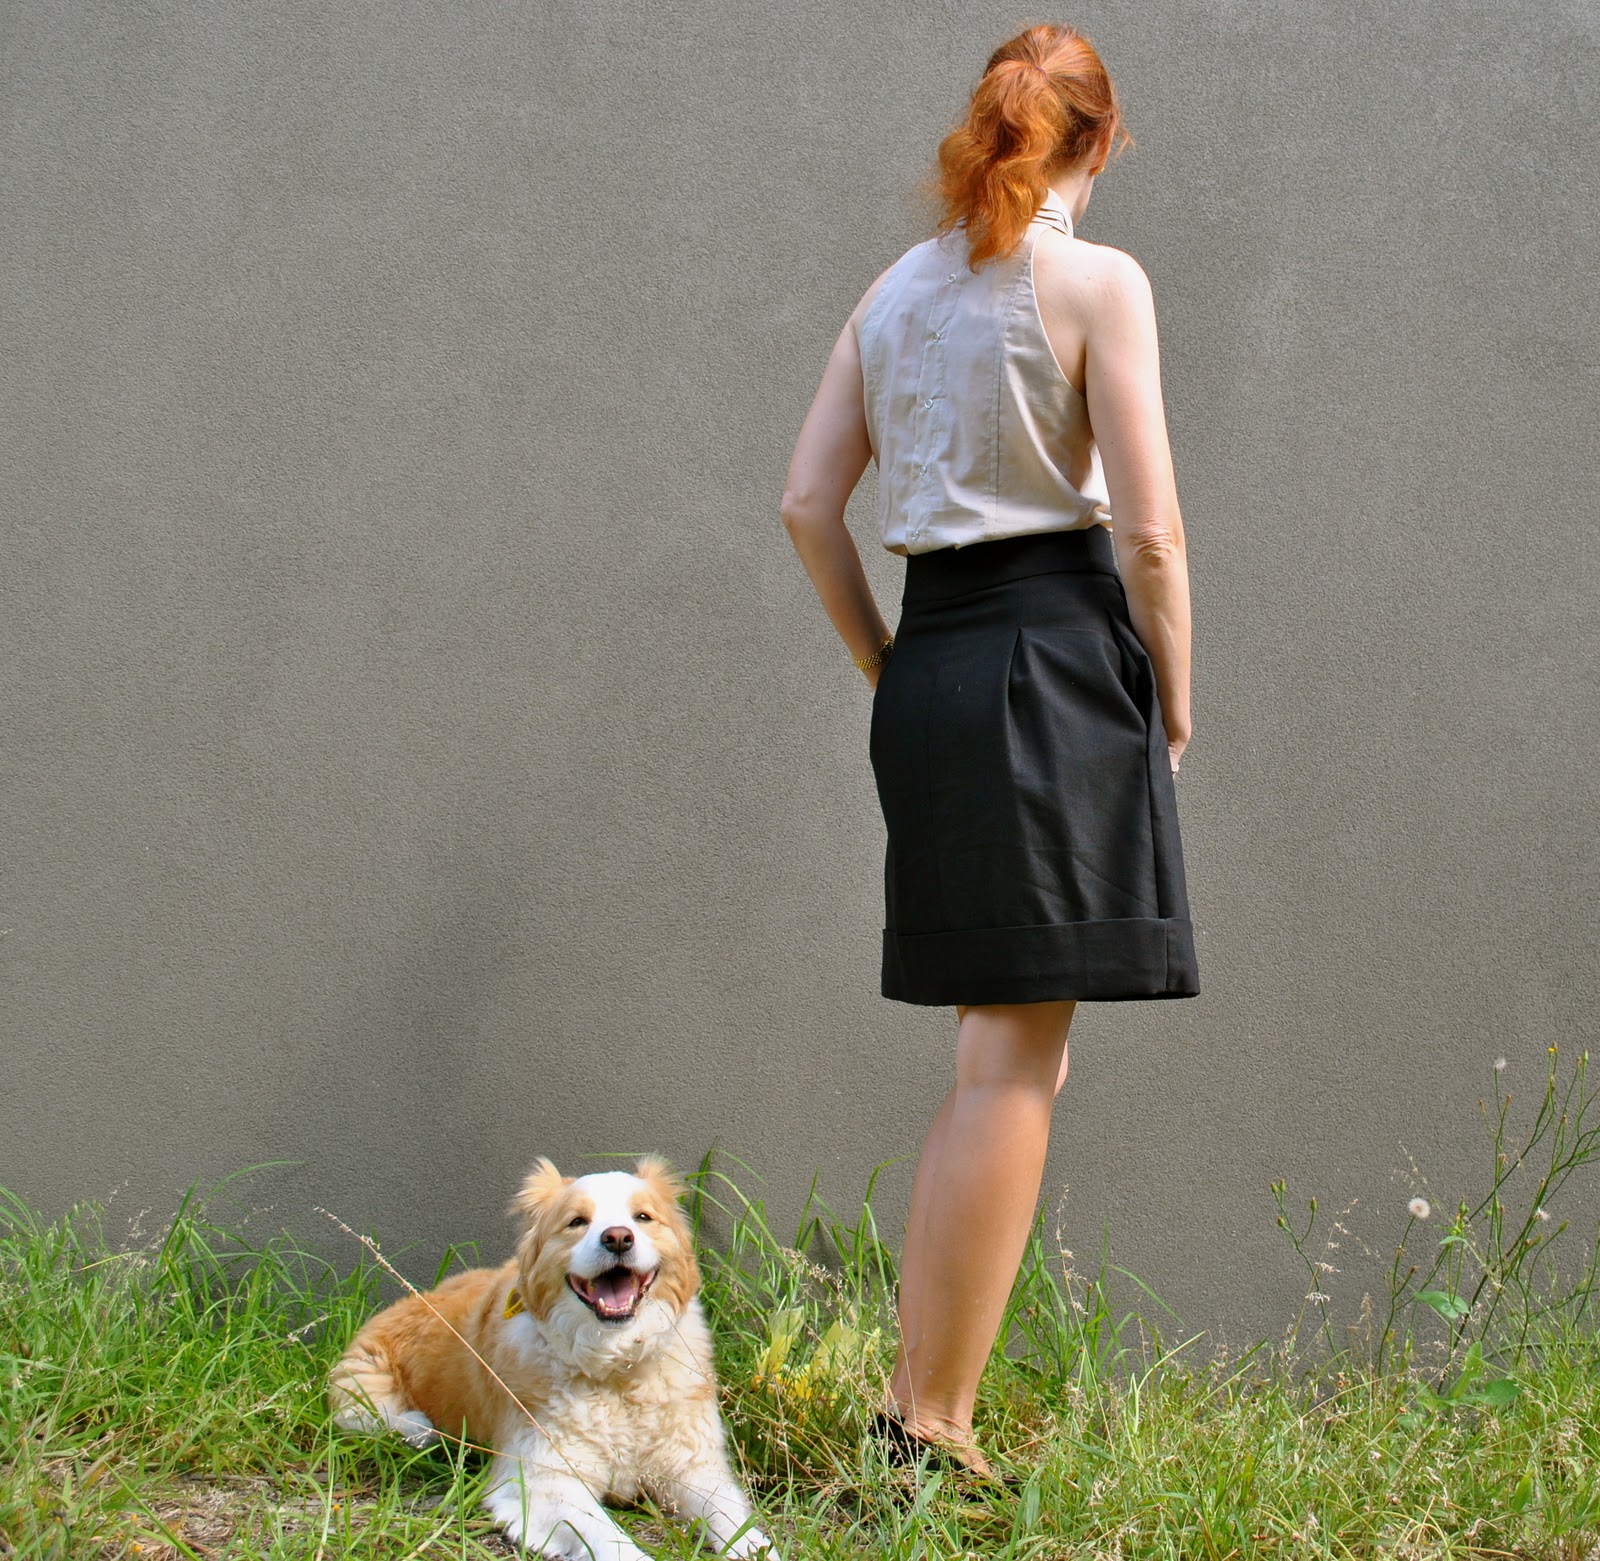
A sleeveless top, con latte

I’ve made a new top!
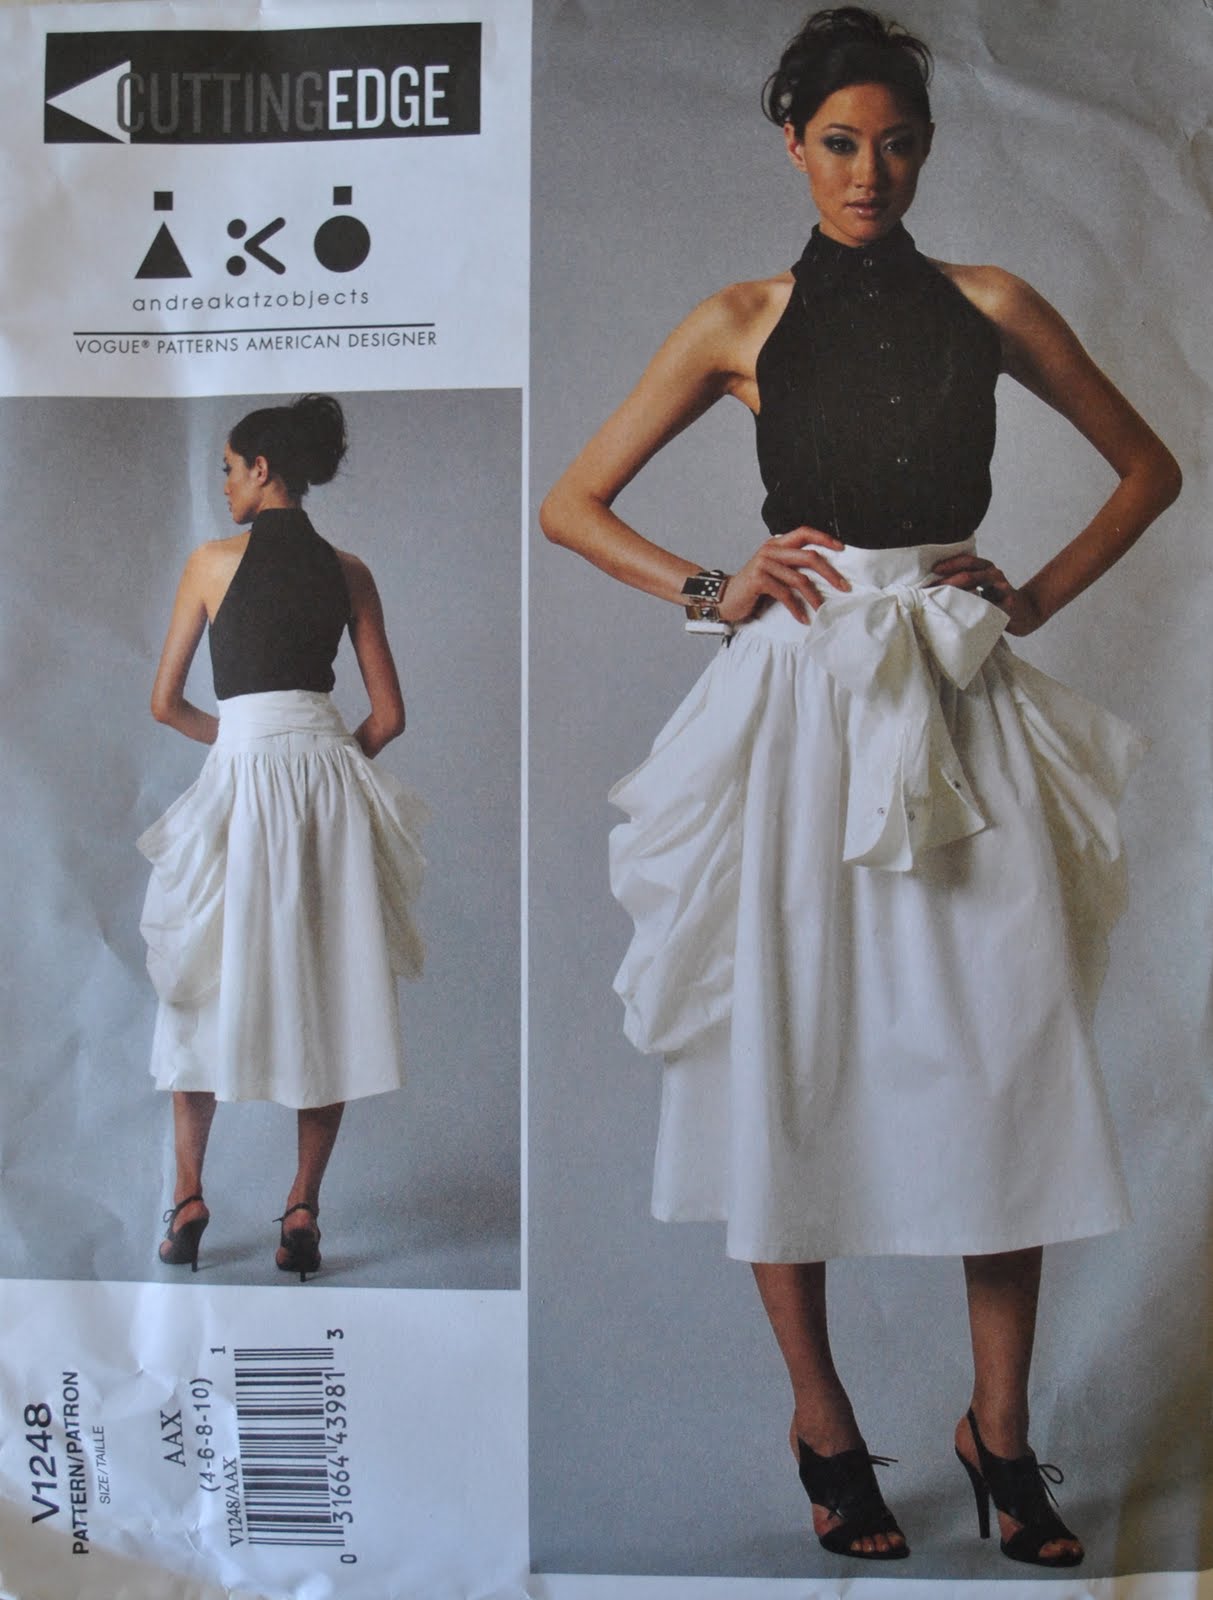
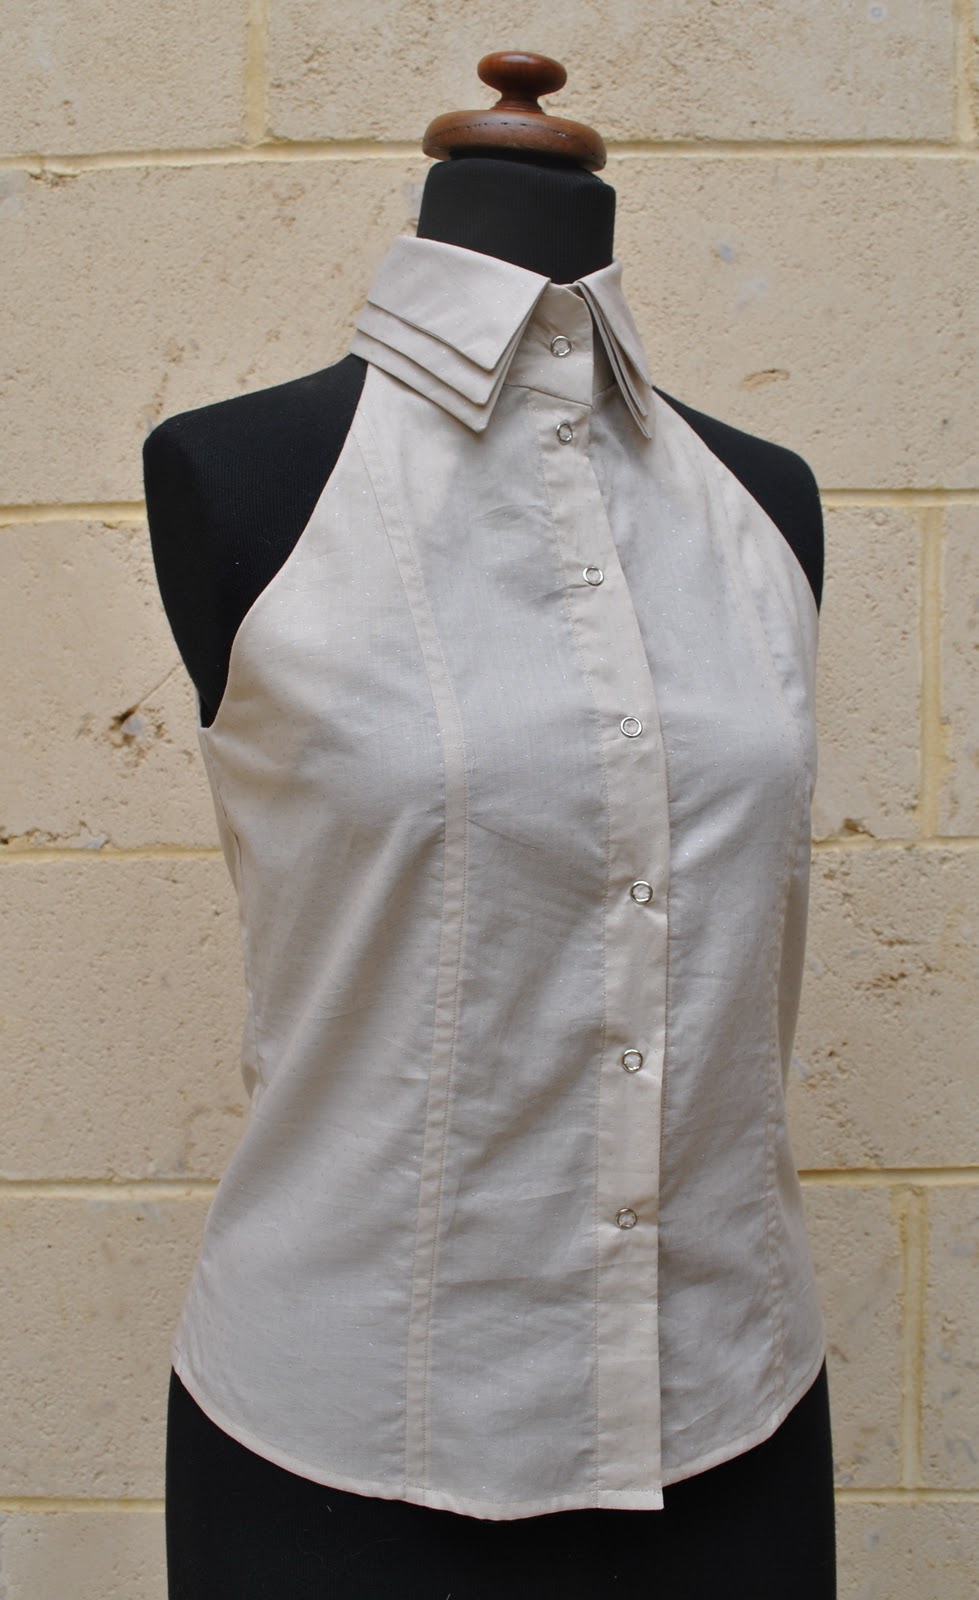
This is the little top from Vogue 1248, made of a light cotton voile the colour of pale milky coffee, and with miniature metallic silver polka-dots dotted sweetly all over like a starry starry sky…
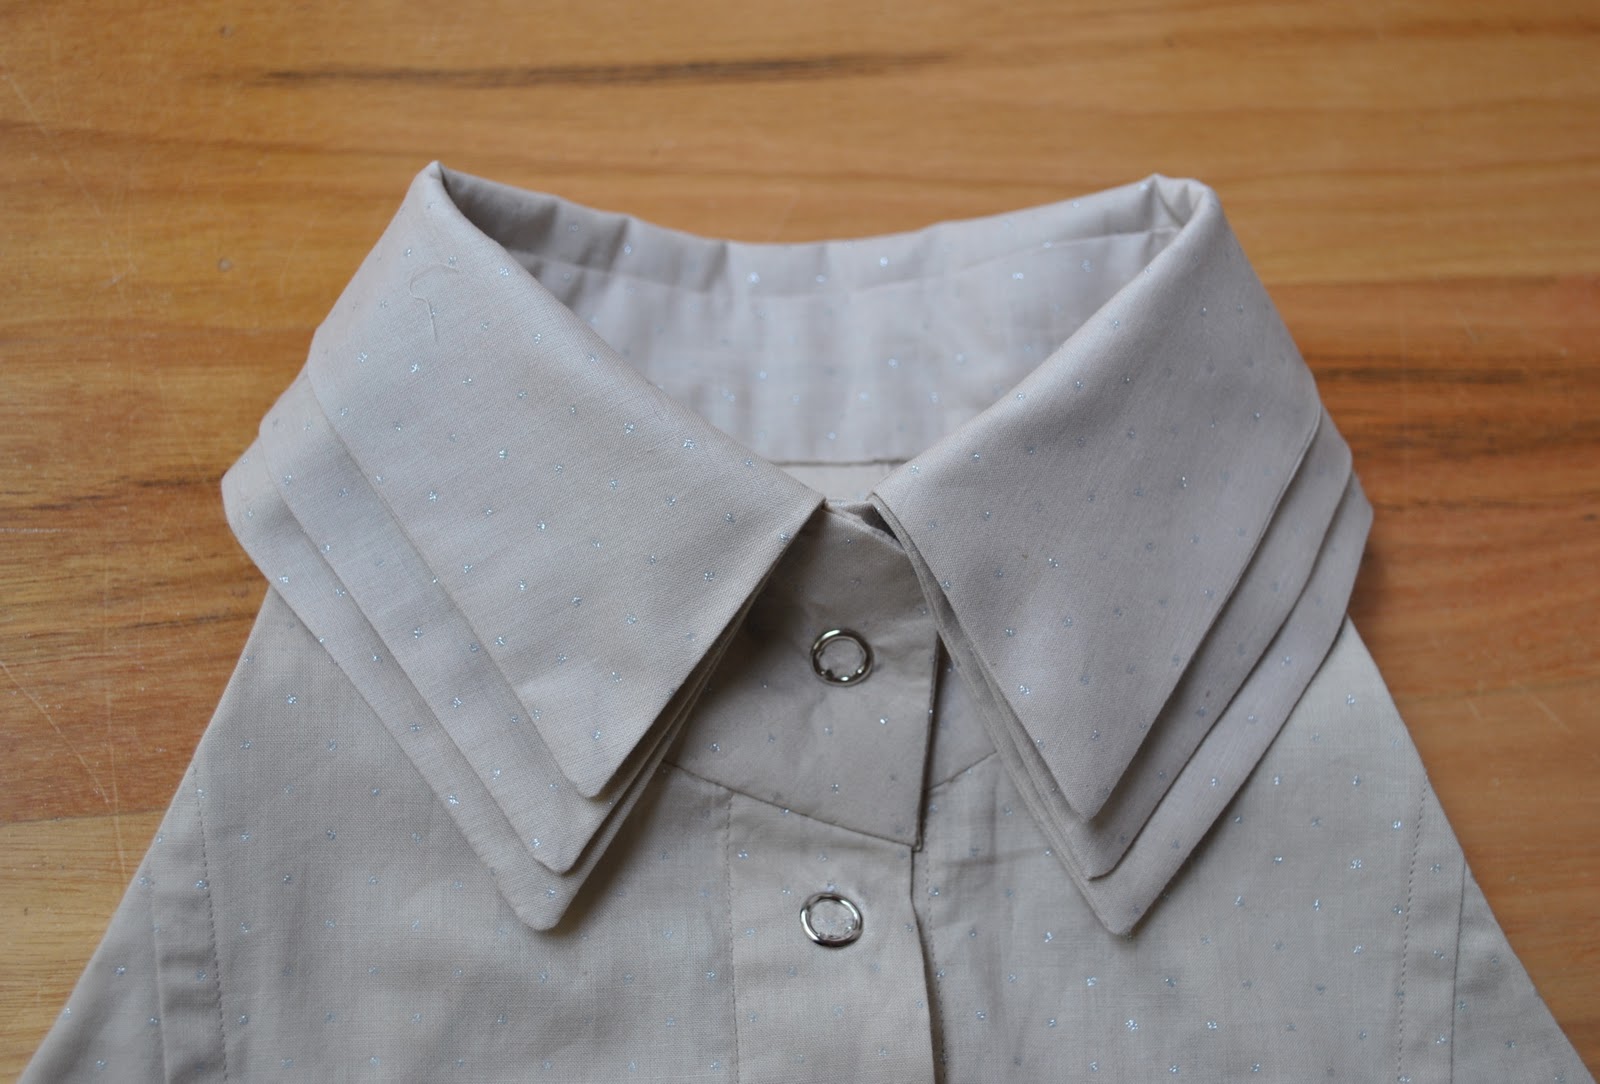
the most interesting feature of this top is that it has a triple collar.  This, I love.  How cool and easy is this idea? so simple and so cute and yet you don’t see multiple collars very often, if at all.  When I was planning the top, I thought how wonderful it would be to make the collars in different colours to really show off this feature but couldn’t find matching weight fabrics in colours I liked, and I vetoed as being too wasteful the idea of dyeing tiny little collar-sized pieces of fabric.  So in the end I took the easy route of just using all one fabric.  Next time… and yup, I am already plotting a next time, mwahaha (watch this space!)
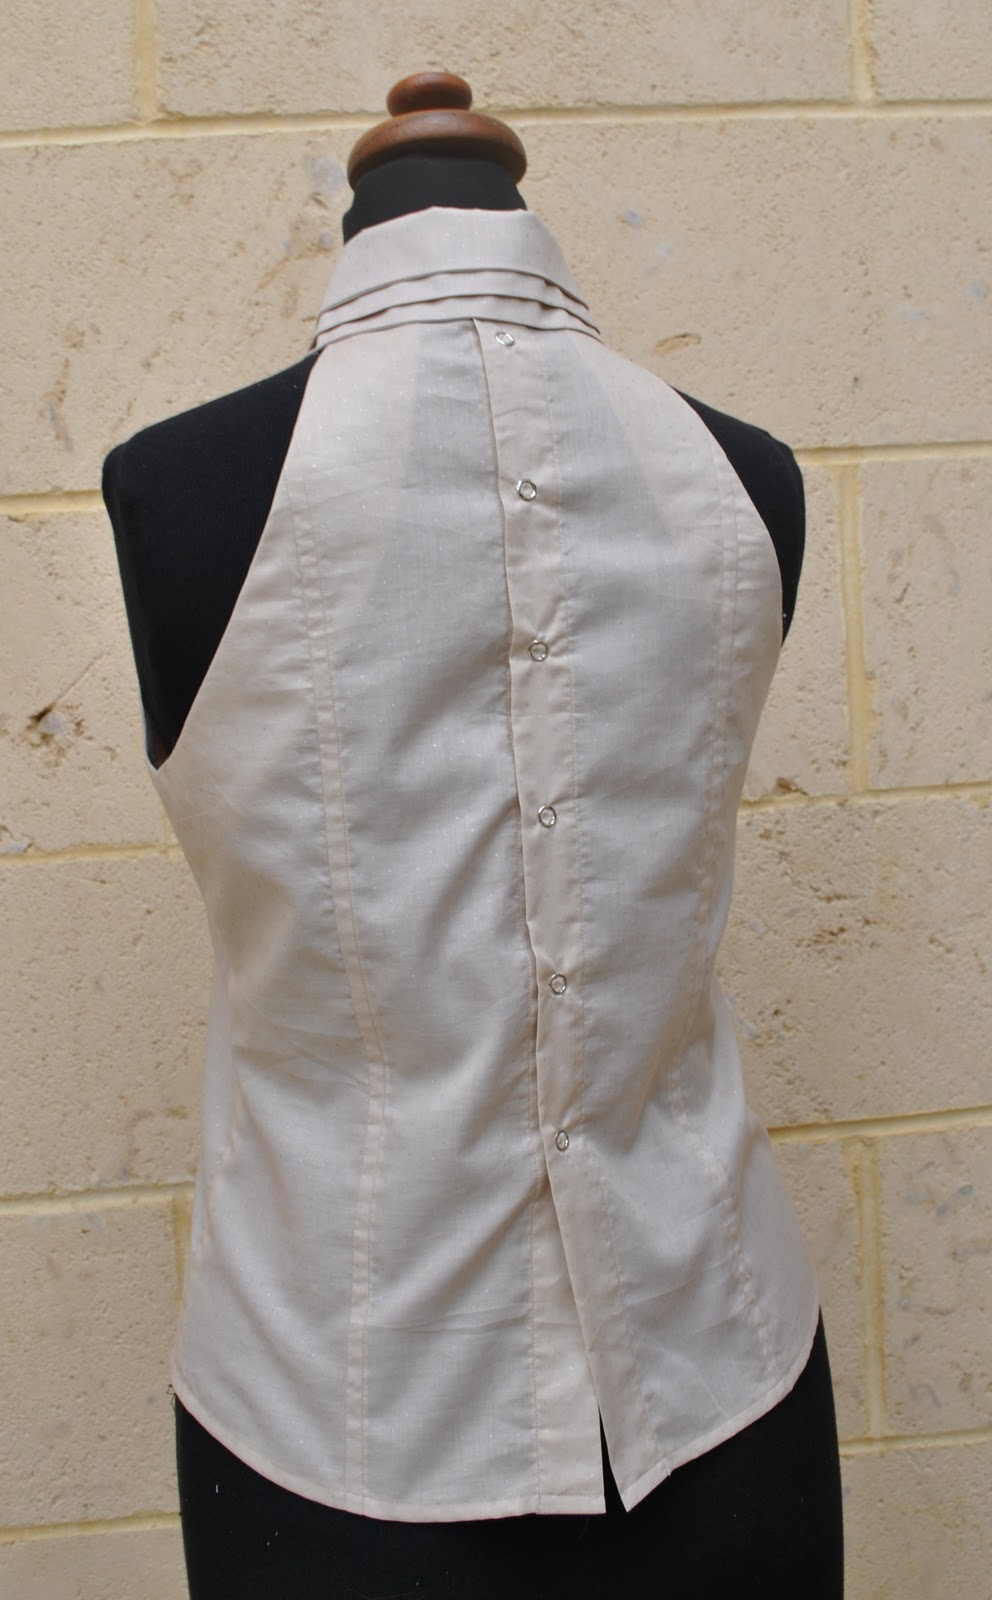
The top also has snap-opening plackets both front and back, and I chose silver snaps to match the tiny silver dots on the fabric.
I’m not thrilled with the snaps… because my fabric is very very light and just may be too fragile for snaps, yikes!  Undoing the snaps I am veeery carefully and slowly prising them apart, absolutely terrified of ripping the fabric.  But this is completely my fault for not putting in heavy-duty enough interfacing to stabilise the plackets enough, something to bear in mind.
Another unusual feature about this little top; the two fronts and the two backs just go into the collar; with no shoulder joining seams, or any shoulder at all, for that matter!  So really my calling it a sleeveless top is not going far enough; it is more specifically a shoulderless as well as a sleeveless top.  I just went with “sleeveless” because; well, “sleeveless and shoulderless top” up in the blog post title is not super-succinct but is a bit of a mouthful and would have just befuddled and confused and had y’all going, “wha’?? no sleeves and no shoulders, well how can there be any top even left?”…. but yeah, one’s shoulders are bare too.  This will a good feature for summer in a hot hot climate like ours; just as long as one remembers to slather on that suncream before heading out.
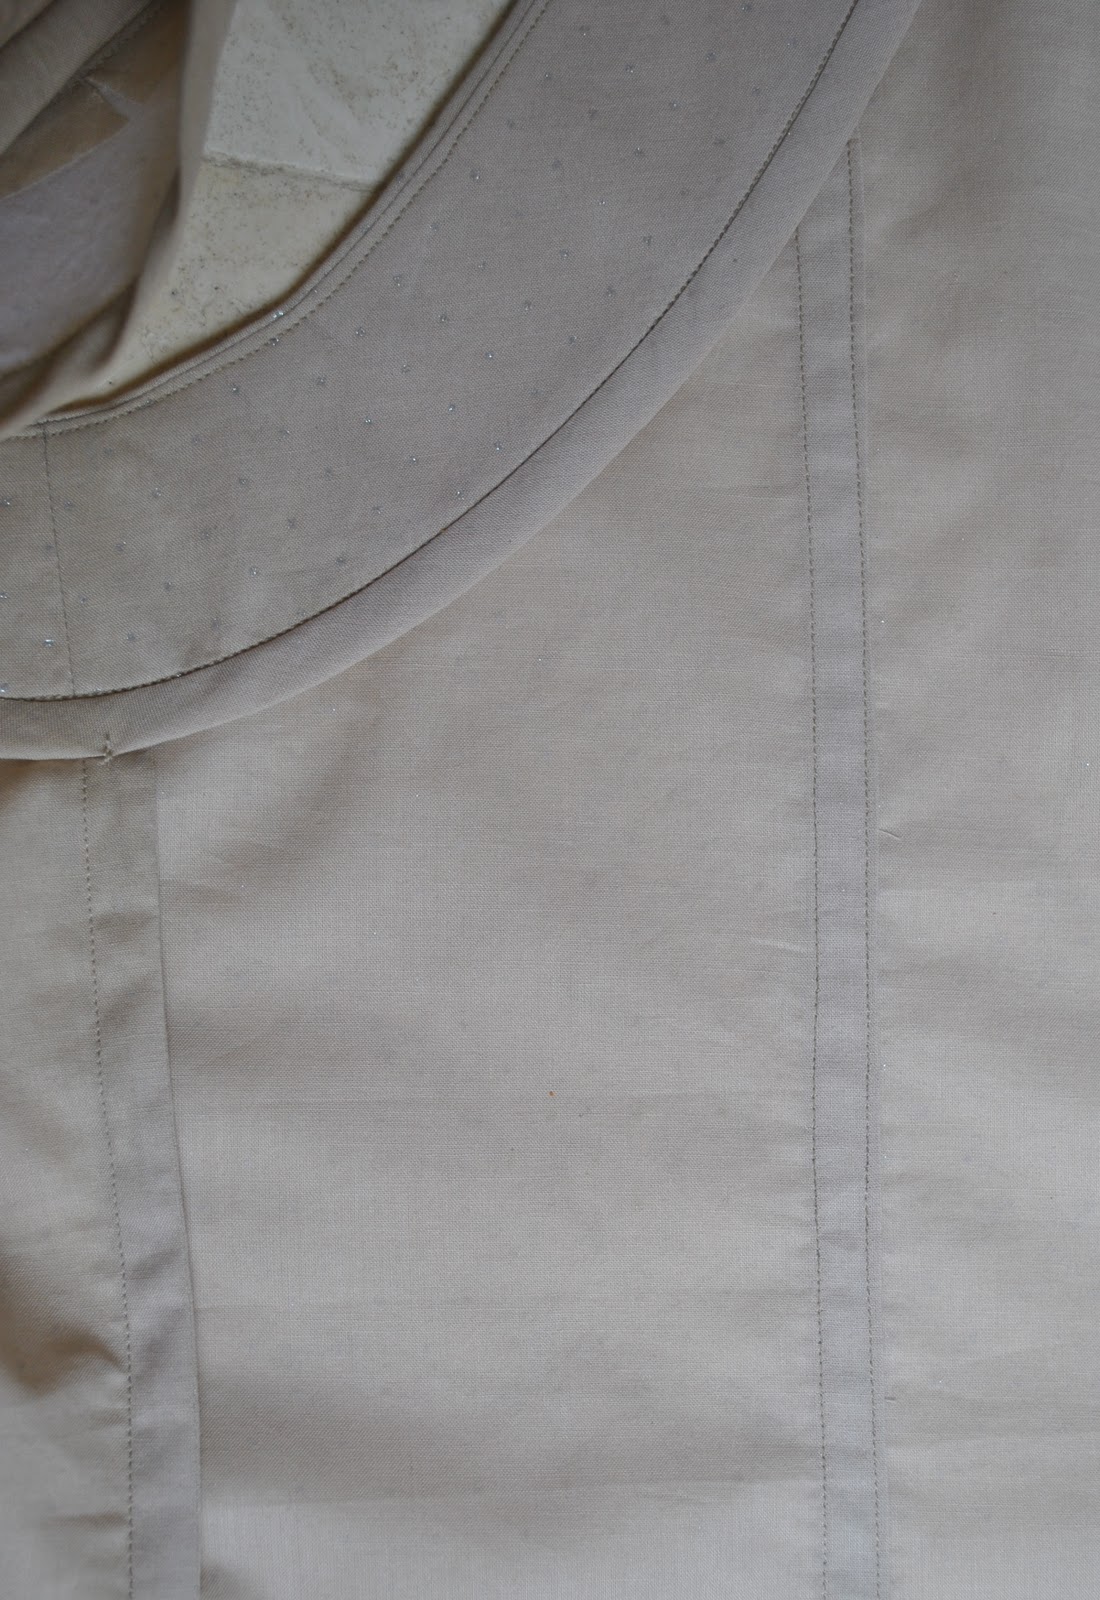
Following the “finishing off as well as I can” policy; the princess seams are flat-felled, the side seams are French seams, and the armhole facings are edged with self-fabric HongKong seaming but with the fabric reversed so as to have the silver dots hidden inside.
(left; inside the top and clockwise; HongKong seaming around the facing, flat-felled princess seaming, French side seaming: at right; that interesting triple collar)

Details:
Top; Vogue 1248, pale coffee cotton batiste with tiny silver polka-dots
Skirt; Burdastyle 10/2010, 136, made of black suiting, details and my pattern review here
Shoes; Misano, bought from Labels boutique

Pattern Description:
Top: fitted front and back snap closing
Pattern Sizing:
4-10 in this envelope, I made a straight size 10
Did it look like the photo/drawing on the pattern envelope once you had finished sewing it?
yes
Were the instructions easy to follow?
yes
What did you particularly like or dislike about the pattern?
I totally adore the triple collar feature!!  Sooo cute!  Will be doing this one again for sure, and using different coloured fabrics to highlight the three collars next time…
The length is a nice one which allows the top to look equally good out loose as well as tucked in.
Fabric Used:
very lightweight cotton batiste
Pattern alterations or any design changes you made:
I didn’t make any pattern alterations, but I did flat-felled seams on the princess seams, French seams at the side seams, and applied self-fabric HongKong seaming on the armhole facing edges.
Would you sew it again? Would you recommend it to others?
Yes, I am already planning my next version in multiple fabrics, to show off that adorable triple-collared feature…!  I do recommend this cute and slightly unusual little top pattern to others too.
Conclusion:
Initially I was a little skeptical about this top pattern, as I tend to shy away from clothes which require special undergarments, but well, logically if you own a halter neck bra then you should wear it at least once in a while, no?  And I do love this cute little top, I think the shape is flattering, feminine and quite unusual.  My husband likes my shoulders on show like this, and I think the high neckline still gives the top a modest flavour and doesn’t make me feel too exposed so it is a win all round!

pinterestmail
Switch to mobile version
↓