Tag Archives: Daily Outfit

Coming to my senses…

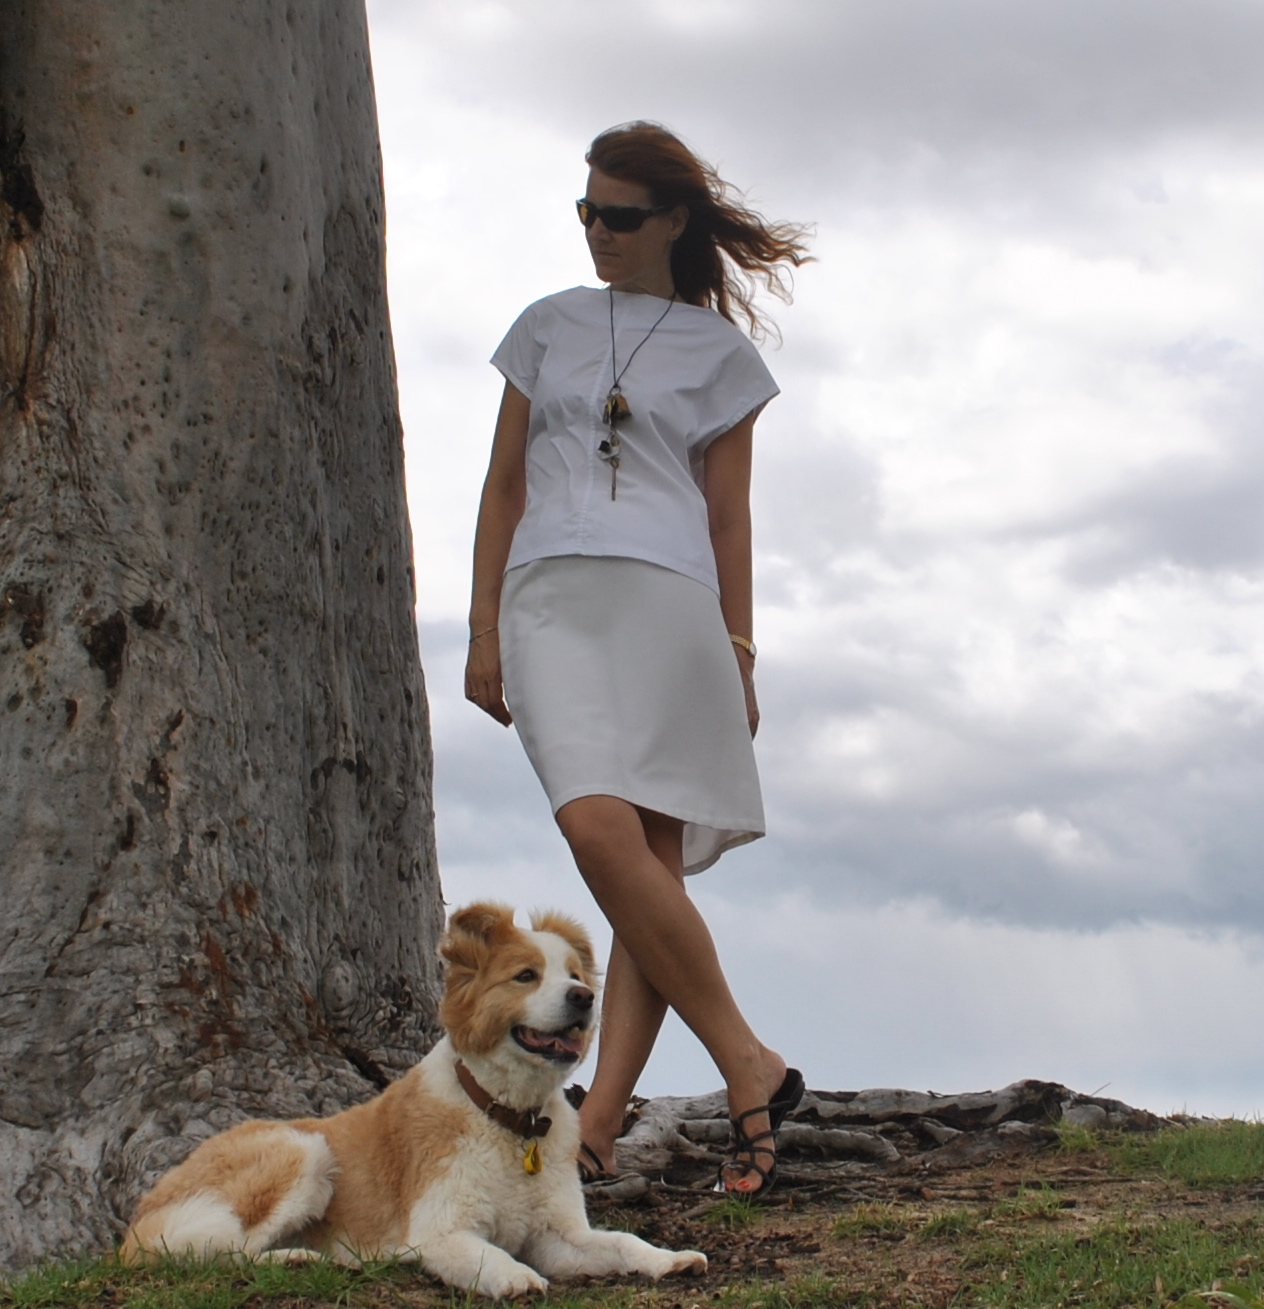
Employing that pleasing dichotomy of minimal with steam-punk in my outfit today… yeah?  
Dichotomy.  
Is good stuff.
Now, I’ve had a re-think.  And thank you all for helping me to come to my senses!  I did feel a little out of my comfort zone after posting yesterday, and after sleeping on it I felt even worse about it …
The specific cost of my personal things is, I have decided, personal.  It feels very uncomfortable for me to be publicising it.  That’s just the way I was brought up, so I’m not going to excuse that.  
Even amongst my closest friends I would not dream of announcing how much an outfit cost.  That would be like extreme bad manners… so why did I think I would be OK with doing the same on the blinking internet?? (face palm)
Besides, the numbers I put down here are meaningless to most people who might even read my blog, apart from other Australians.  And only fellow Perthies will understand about the fabric and yarn limitations here…  And I do not want to attract judgement, condemnation or pity from the inevitable comparisons, which I would certainly do if I really started publicising how much things actually cost here… so I will be keeping tabs on my clothing creations this year, in exactly the guidelines I laid down yesterday, but I will probably be keeping the figures to myself.
Unless I change my mind again  🙂  
A woman’s prerogative, you know…. 😉

Details:
Top; top “b” from Unique Clothes Any Way You Like by Natsuno Hiraiwa, white cotton, details here
Skirt; Vogue 7303, ivory wool-mix suiting
Sandals; Micam by Joanne Mercer; from Hobbs shoes

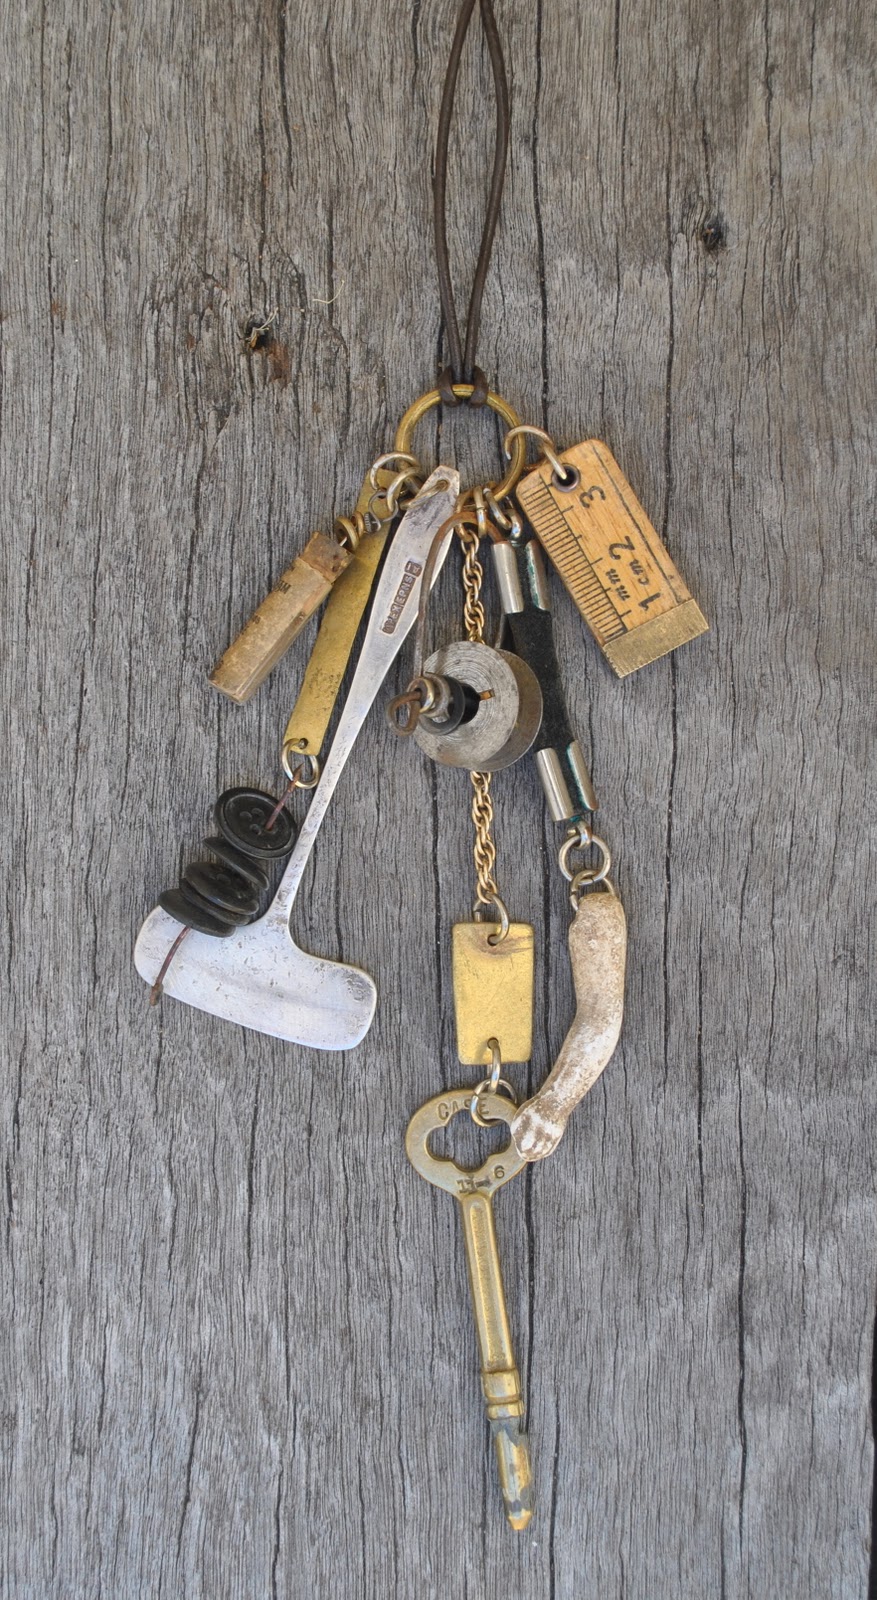
Necklace; urbandon , here
Isn’t this the coolest thing?!  My new favourite accessory…

pinterestmail

Crunching the Numbers…

I’ve been pretty inspired by reading some posts by other bloggers on the sum total of their clothing expenditure; particularly Waves with her very interesting breakdown of her clothing costs for 2011 and her feelings and thoughts on the same, and Terri with her plans to stick to a set budget for 2012 and the documentation of such in her blog, and Veronica with her strict accounting during her very impressive Sew Weekly year of 2011…. and I have decided to put my own expenditure under the microscope.  
A self-audit.  Yikes!  Nail-biting stuff, no?!
When Craig and I were first married we were frantically saving and had a very strict control on our costs; I totted up all our incomings and outgoings constantly and stuck to a budget  rigidly….  but all that is in the past now!  I haven’t had to add up each and every cent for a few years, and although I don’t think I spend a lot I really have no idea unless I actually do account for myself… and so…
I am going to keep tabs on all the costs of my clothing creations for this year.
Now someone accounting for a RTW wardrobe has it pretty cut and dried, as your clothing just comes with a price tag attached and bob’s your uncle…  when you are making your own stuff things get a bit more complex…  so I’ve jotted down here a few basic guidelines as to just how I’m breaking it down…

Time frame:  I am going to start my accounting from the 1st January to include all the clothes that I finish making in 2012.  
Fabrics costs: I’m counting all the materials for all garments made this year.  If I don’t have the receipt for the fabric anymore and can’t remember what it might have cost (some of my fabrics are years old!!) then I shall make my best guestimate.  If the fabric was a gift, I’ll state that, and count it as free.
I shall not include fabrics bought this year unless I also finish the garment this year.  No really, this makes sense.  It does!  I’m costing my actual clothing here you see, not potential clothing…  
Also, the first time I make something out of a piece of fabric I shall include the cost of the entire piece in that garment, and any leftovers used down the track will be considered as already accounted for.
Pattern costs: I shall include the cost of the pattern I use; but only the first time I use it.  That is, the full cost of a new pattern will be included in the cost of a garment the first time I use it, but each subsequent time I use the same pattern I shall consider that pattern already accounted for and not include its cost again.
Likewise, for haberdashery: the first time I commence using “something”, I shall include the cost of the entire”something” in the cost of that garment, but not for any subsequent garments.  So, say, the first time I pop a new reel of thread on the machine I shall count the cost of the entire reel in the cost of that garment, but not for any garments after that until it is finished.  Likewise dyes and other sundry bits and pieces… 

Does all that make sense?  I realise some of those rules might seem a bit odd and are going to seemingly inflate the cost of some garments at the expense of others that will appear artificially inexpensive, but that is the simplest way I could think of doing it…

And please note…!  I’m not planning to change my habits at this stage, but merely account for them…  This is not an exercise to see how cheaply I can possibly make everything!  (Cheap?  moi??)  There will still be plenty of silk and lace popping up here… (sigh) well, let’s just say I would like for that to happen!…  I still passionately love beautiful fabrics and yarns, and interesting designer patterns, and I’m not going to deprive myself!  I believe my time and effort is worth good quality supplies, and my aim all along in making my own wardrobe has always been to make it the best I can.  Still being fabric efficient, naturally.  I really just want to see how I am going, cost-wise.  So, I will continue to source fabrics and yarns to meet my standards of ethics; supporting my local fabric store as much as I can; and buying fabrics and yarns from countries that have ethical manufacturing practices.

But in the meantime; here is a breakdown of my costs in adding to my wardrobe this year, so far…
The Double-Sleeved shirt:
Fabric $34.60 (includes portion of the shipping cost)
Sleeves; from an op shop shirt; probably cost around $3??
Pattern; been used a whole bunch of times! so free
Buttons; $5.20
Thread; $3.20
Total cost: $46.00
The Calico Cotton cardigan:
Yarn; $80.55
Pattern; $5.95
Buttons; $6.05
Total cost: $92.55
The Sorta Missoni dress:
Fabric; a gift from the lovely Passiona Cottee
Bodice; leftover scraps
Pattern; been used stacks of times, so free
Zip; $2.20
Total cost: $2.20
The Blue-Collar Crime top
Fabrics; leftovers
Pattern; the third time it’s been used
Snaps; part of a box of 50 that I bought last year for the boys’ birthday coats, still going strong… so I’m counting that as free too
Total cost; free!!


Details:
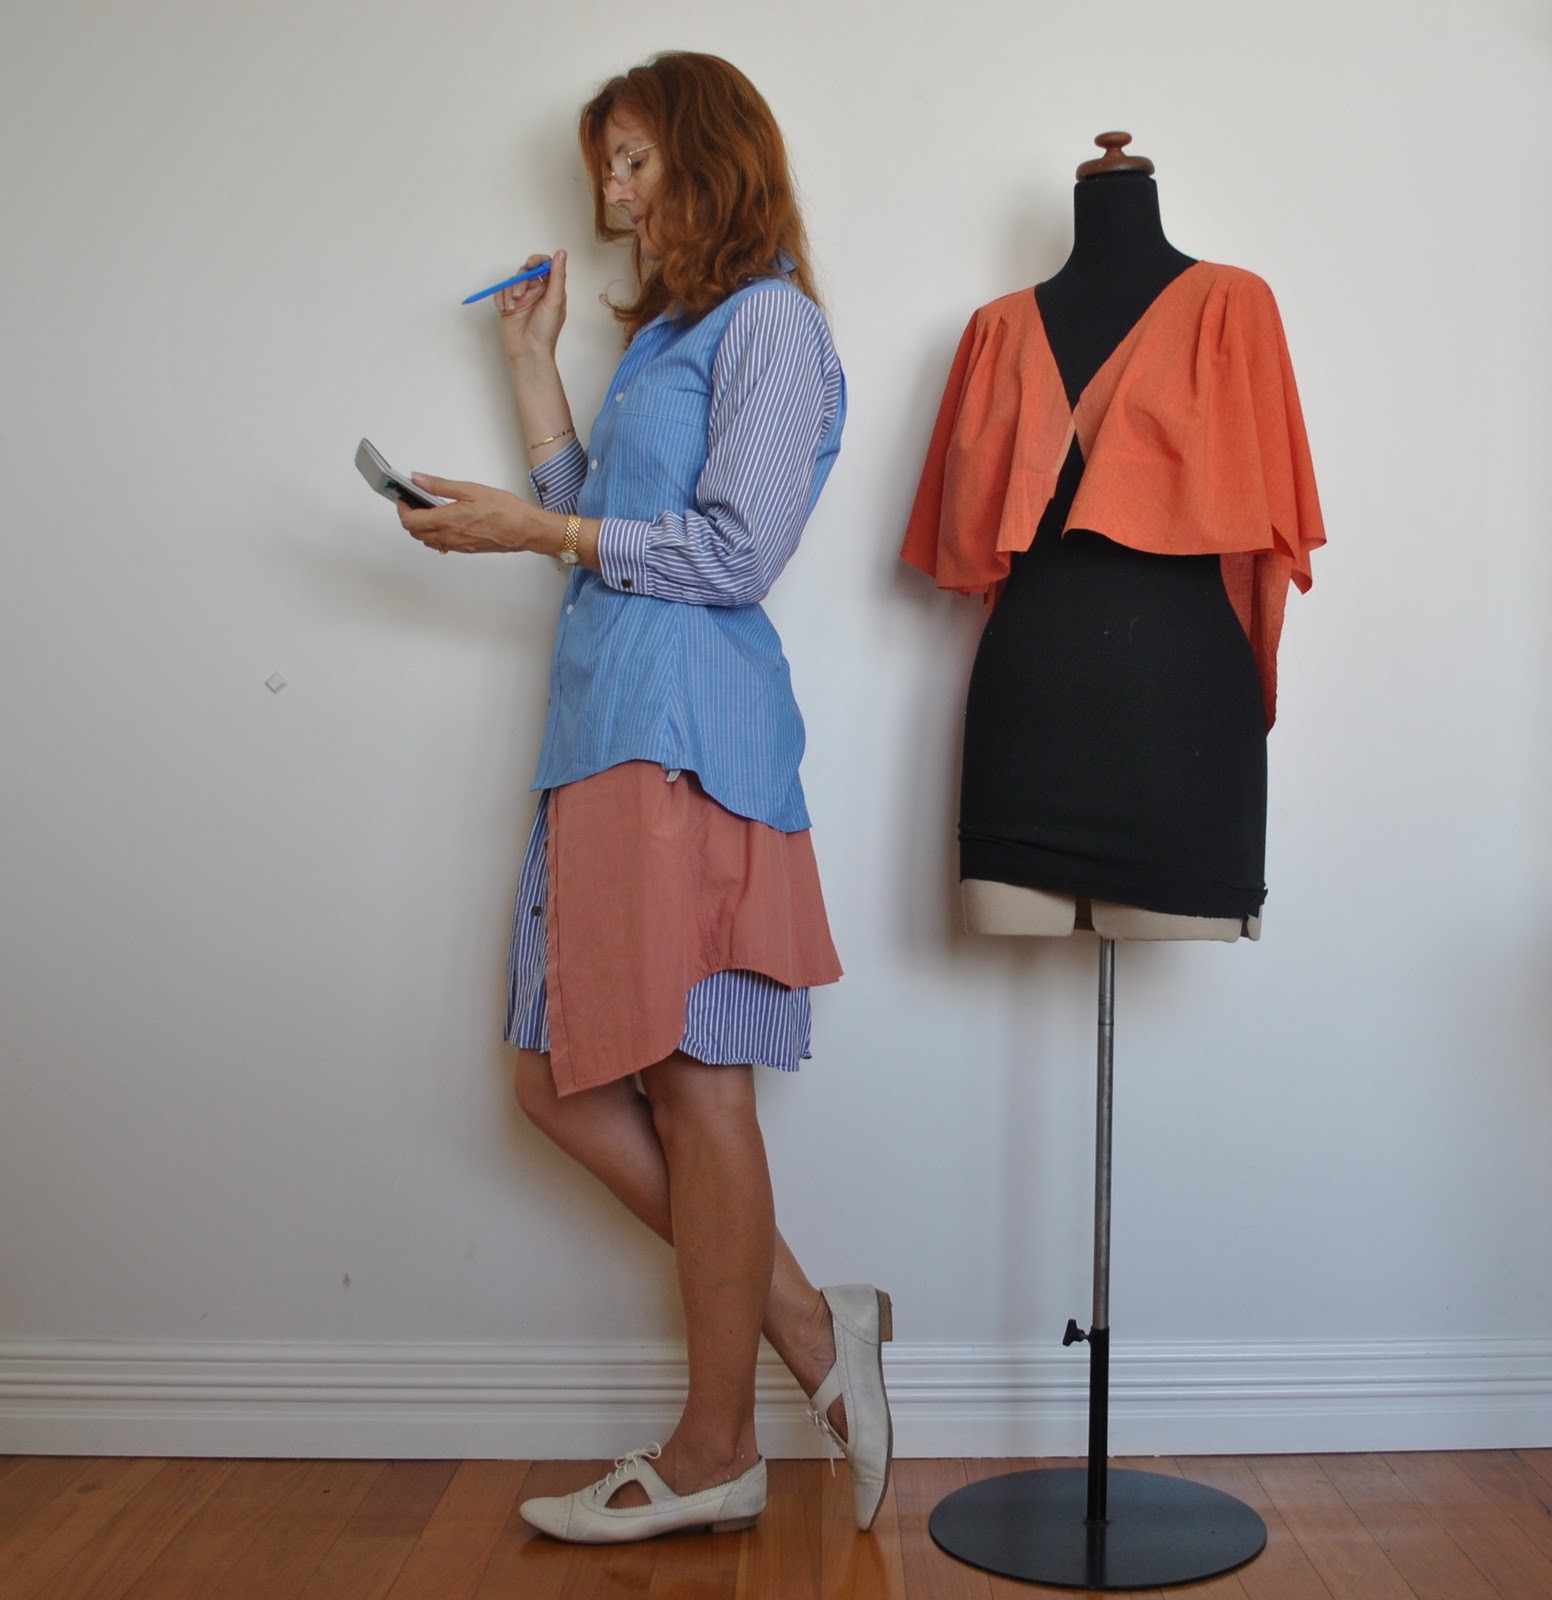
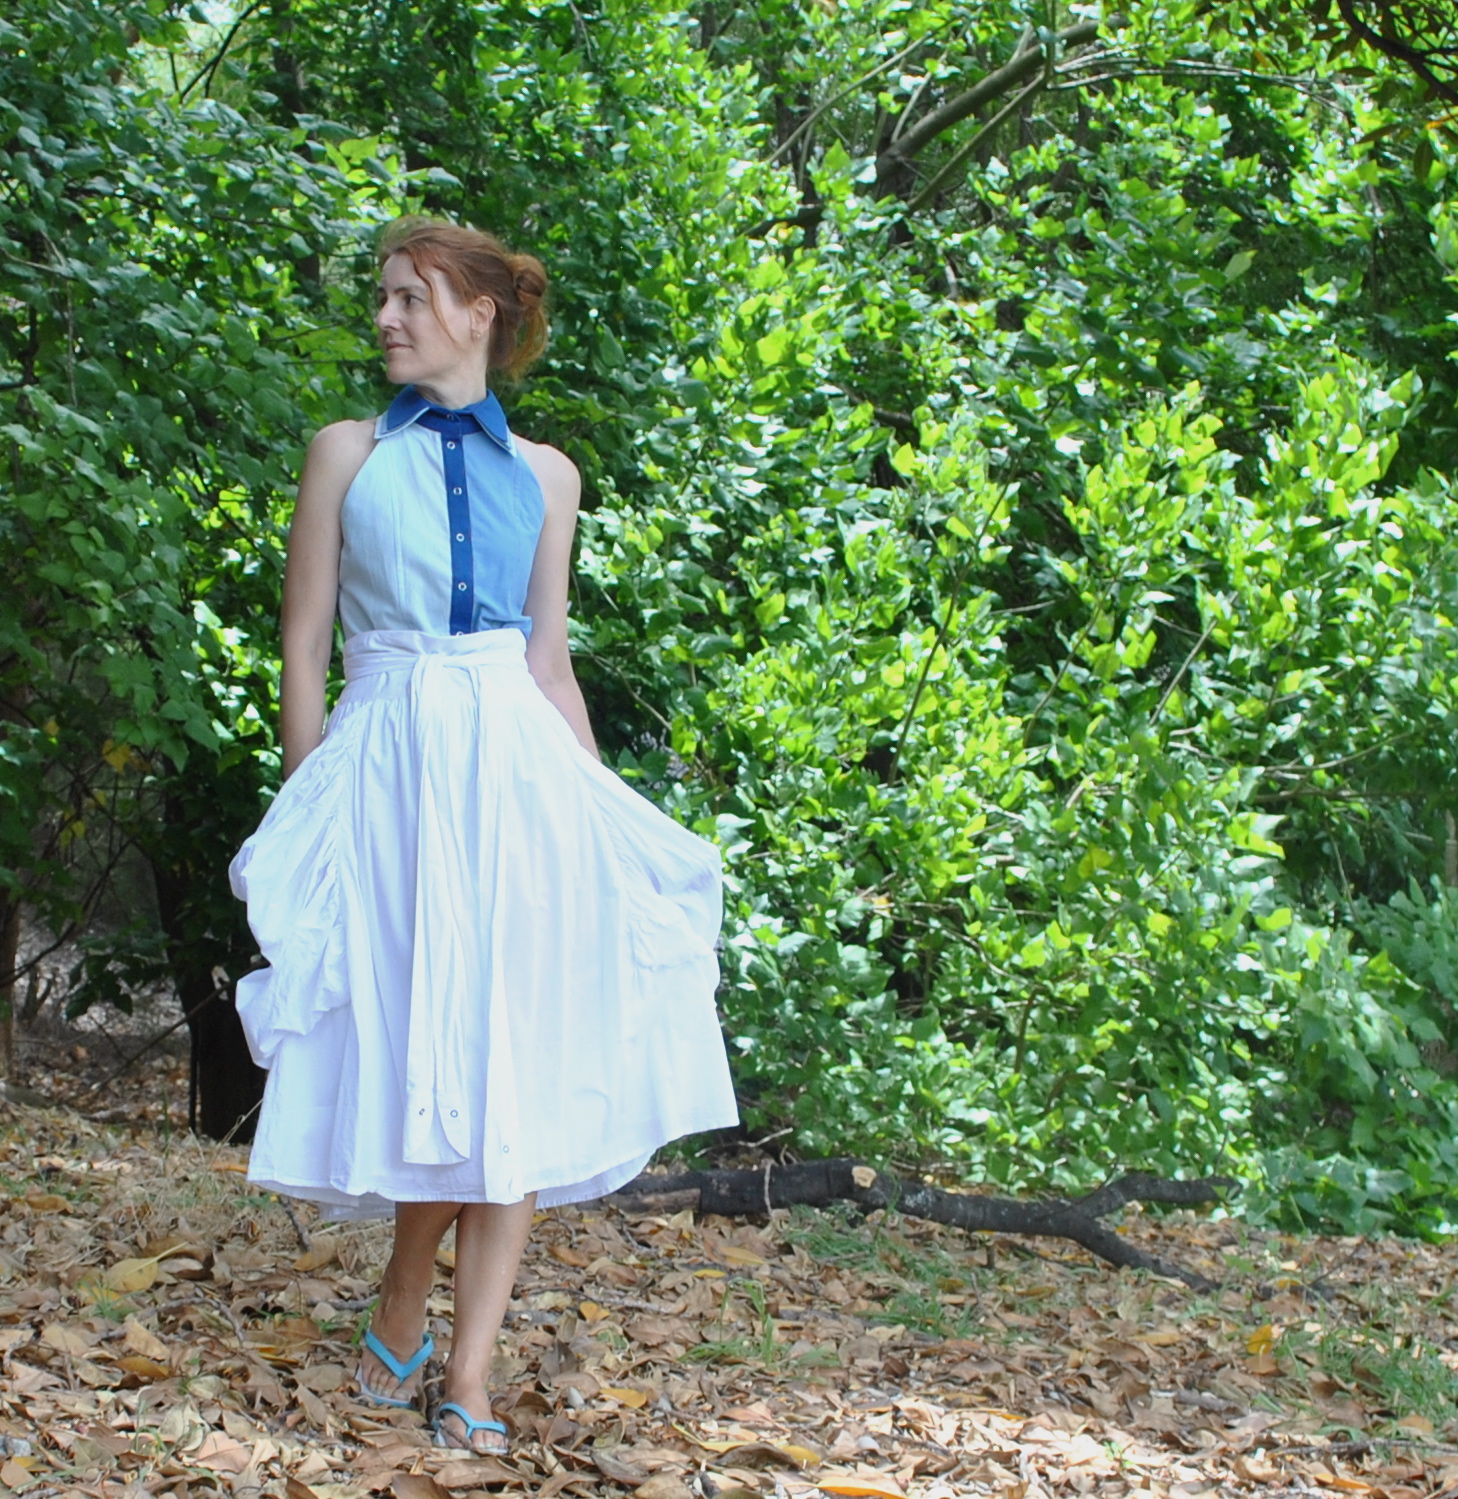
Shirt and skirt; refashioned from 3 of Craig’s old business shirts (so if I was costing this, it would be a freebie!), details here
Shoes; Bronx, from Zomp shoes
Reading specs; a permanent new addition to the wardrobe (sigh…)
and btw, Bessie is wearing a sneaky peak of my next creation… you saw it here first!

pinterestmail

Blue-collar crime

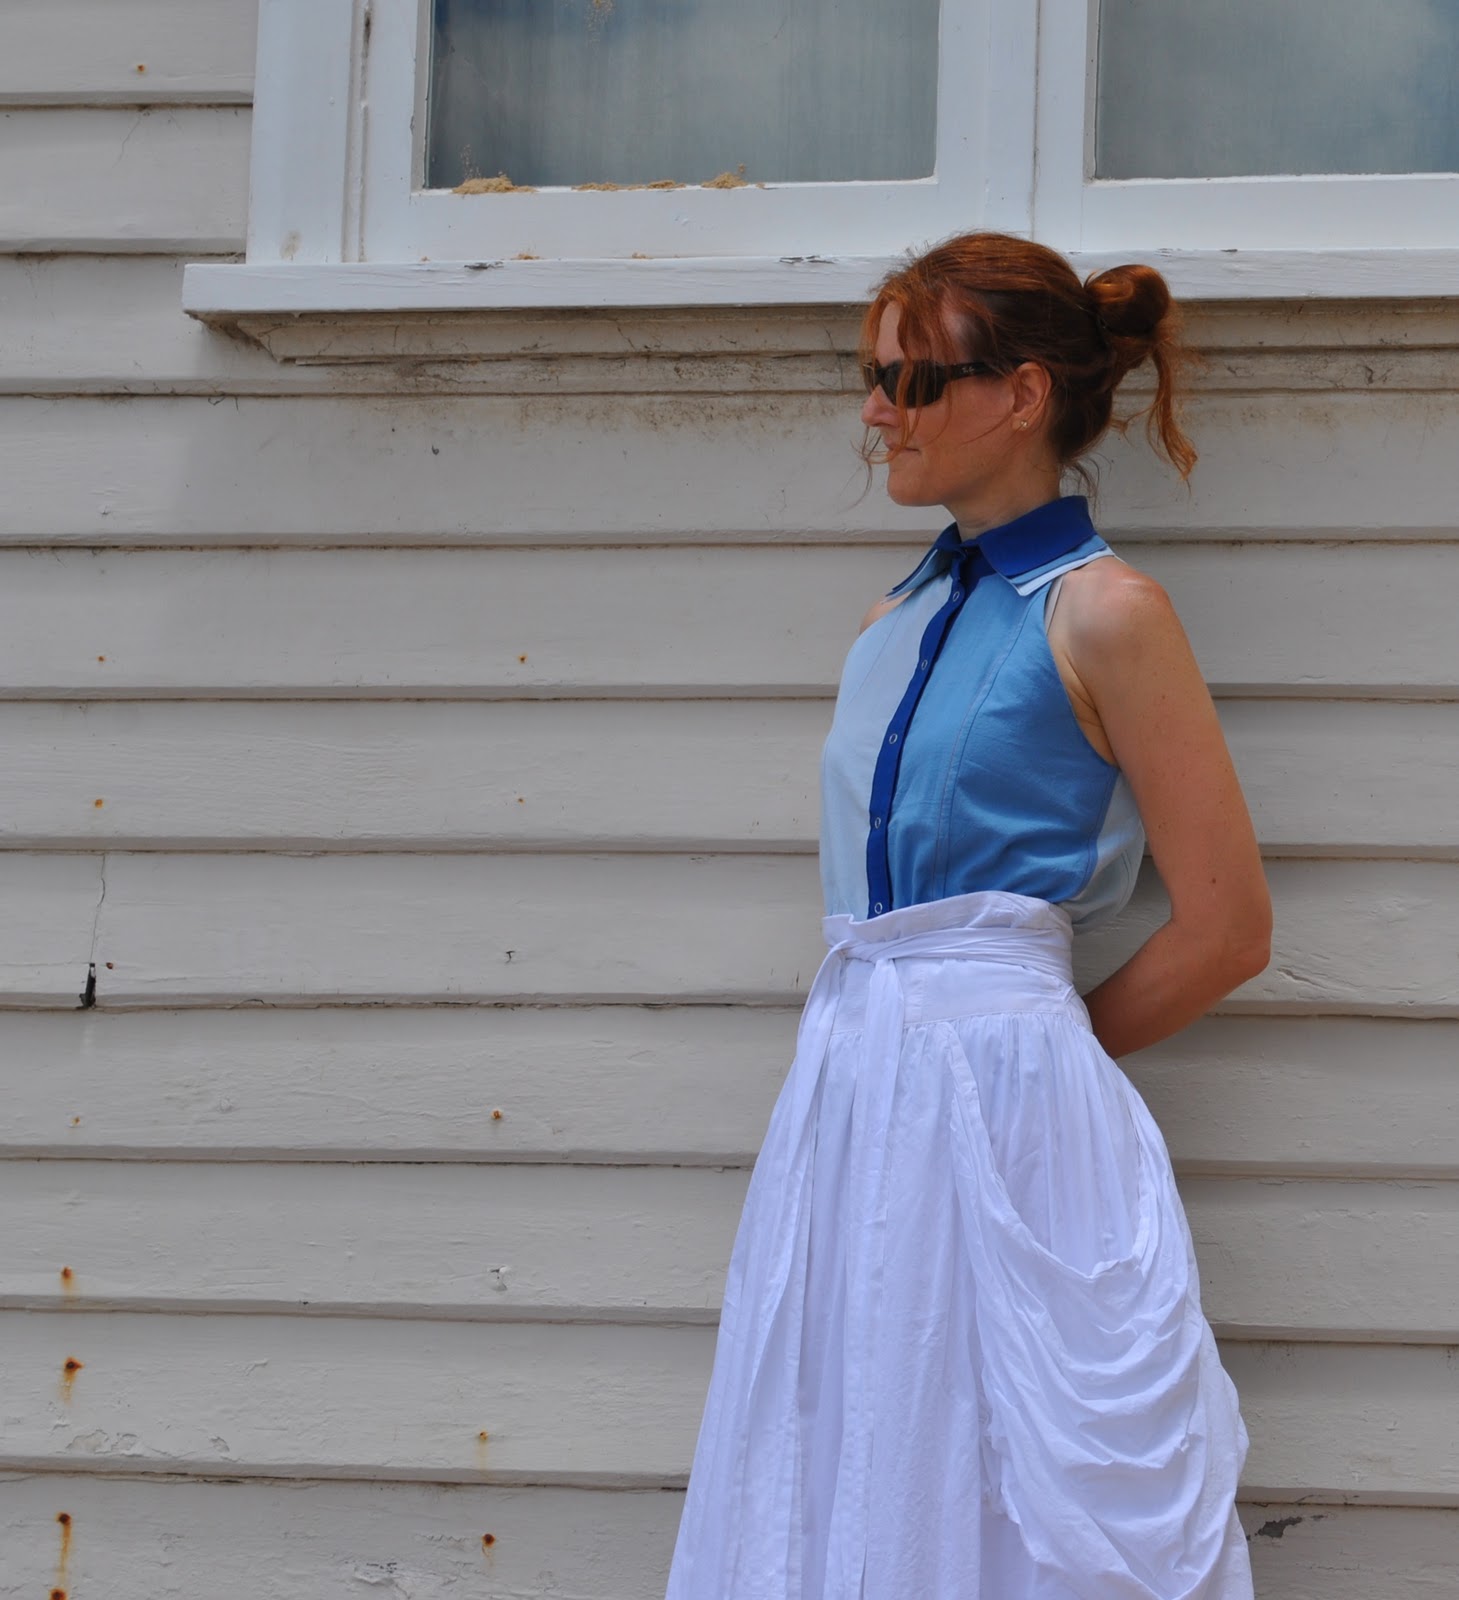
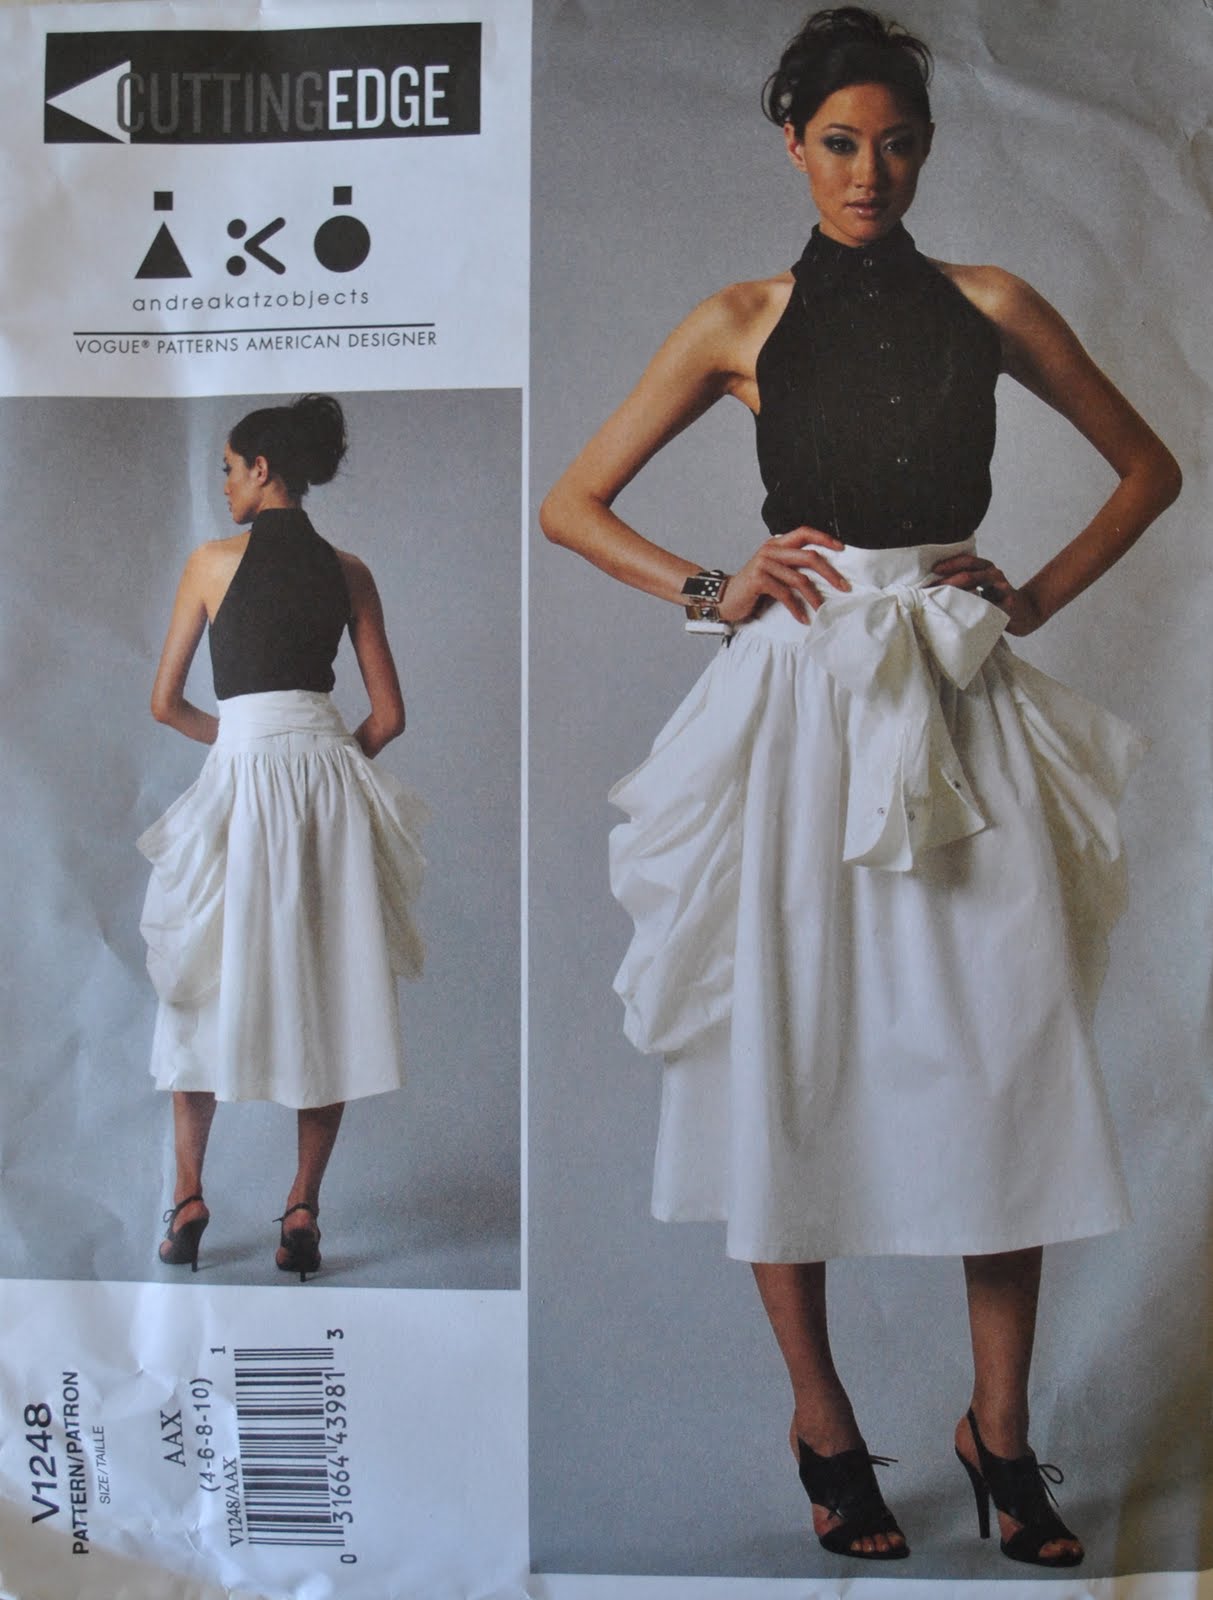
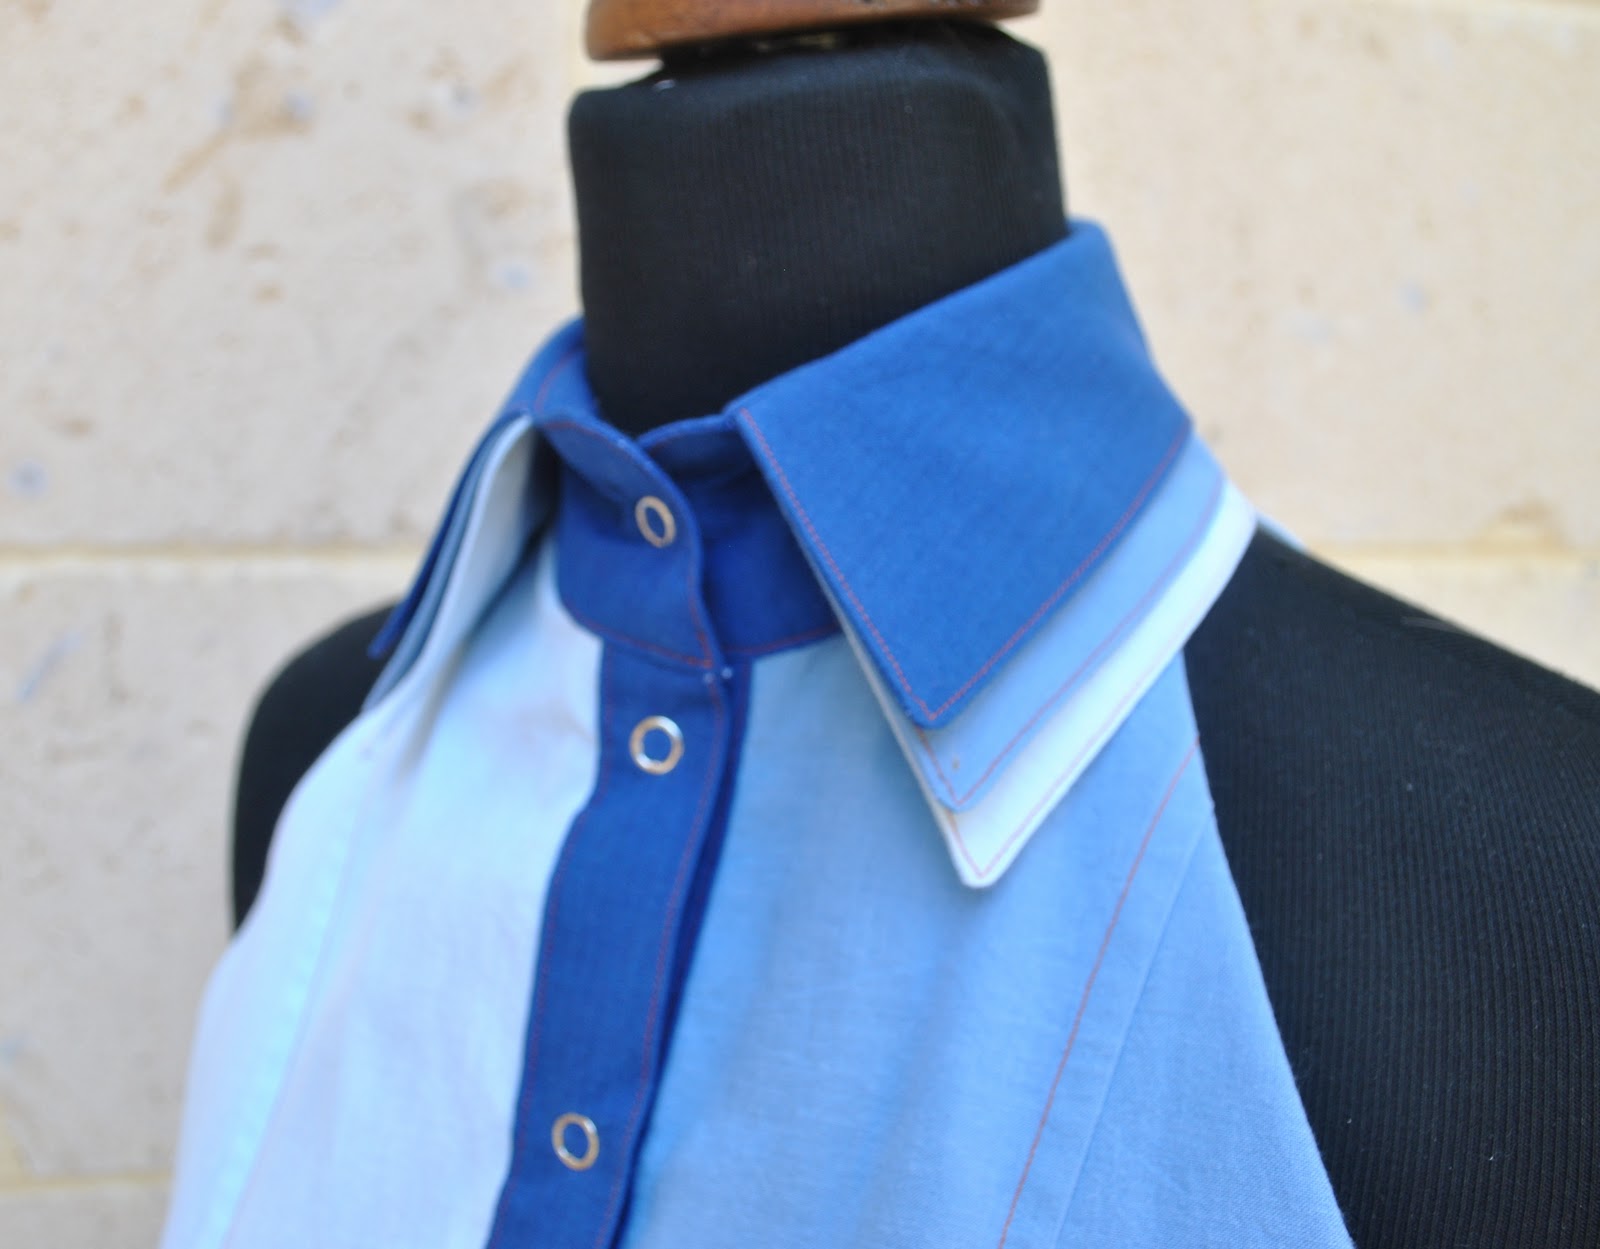
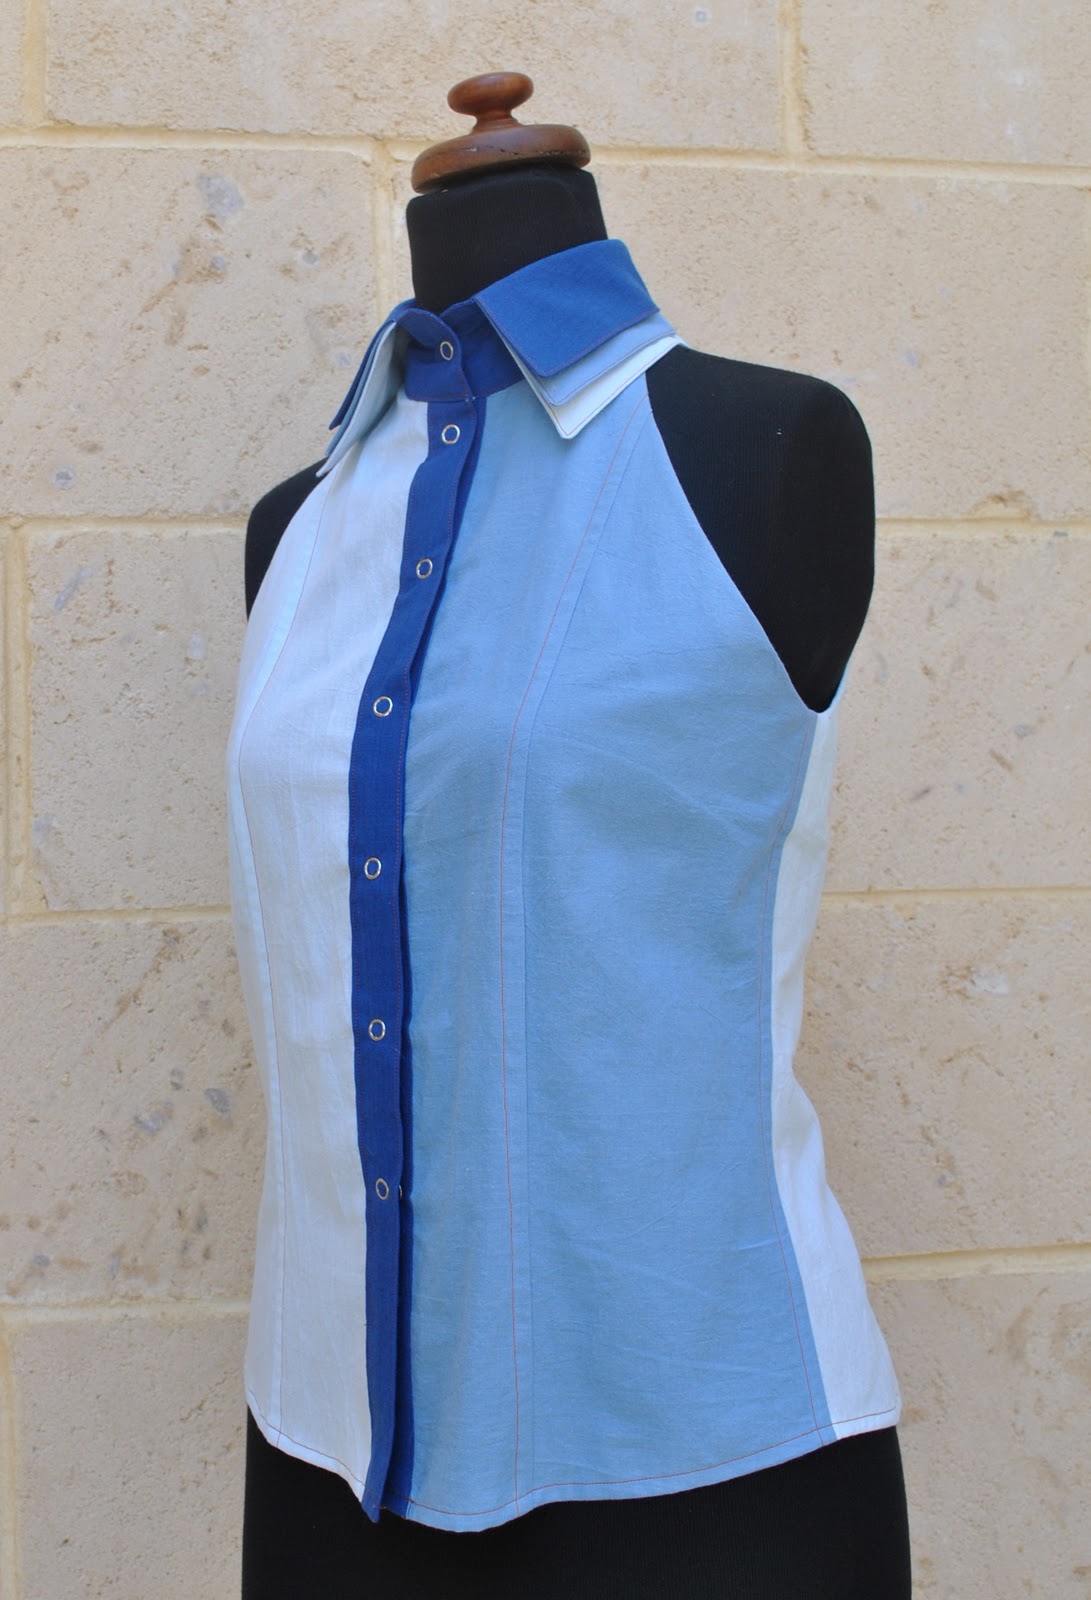
The charge; gratuitously making for myself the same shirt, a second time. Namely the Vogue 1248 triple collared shirt.  Well, how many collars does a girl really need?? (tsk tsk)
No plea entered, as the defendant is so clearly guilty as charged.
Sentenced; to wear it during a humid 37C day and attempt to look cool, calm and collected for a picture.
Verdict for that one; hmmm…  what do you think?
OK, I’ve made another loose ‘n light little triple collared shirt.  Again??  And so soon after the last effort?  I seeeee.   Shouldn’t you be starting on some of those (ahem) piles of other new patterns, awaiting your attention?
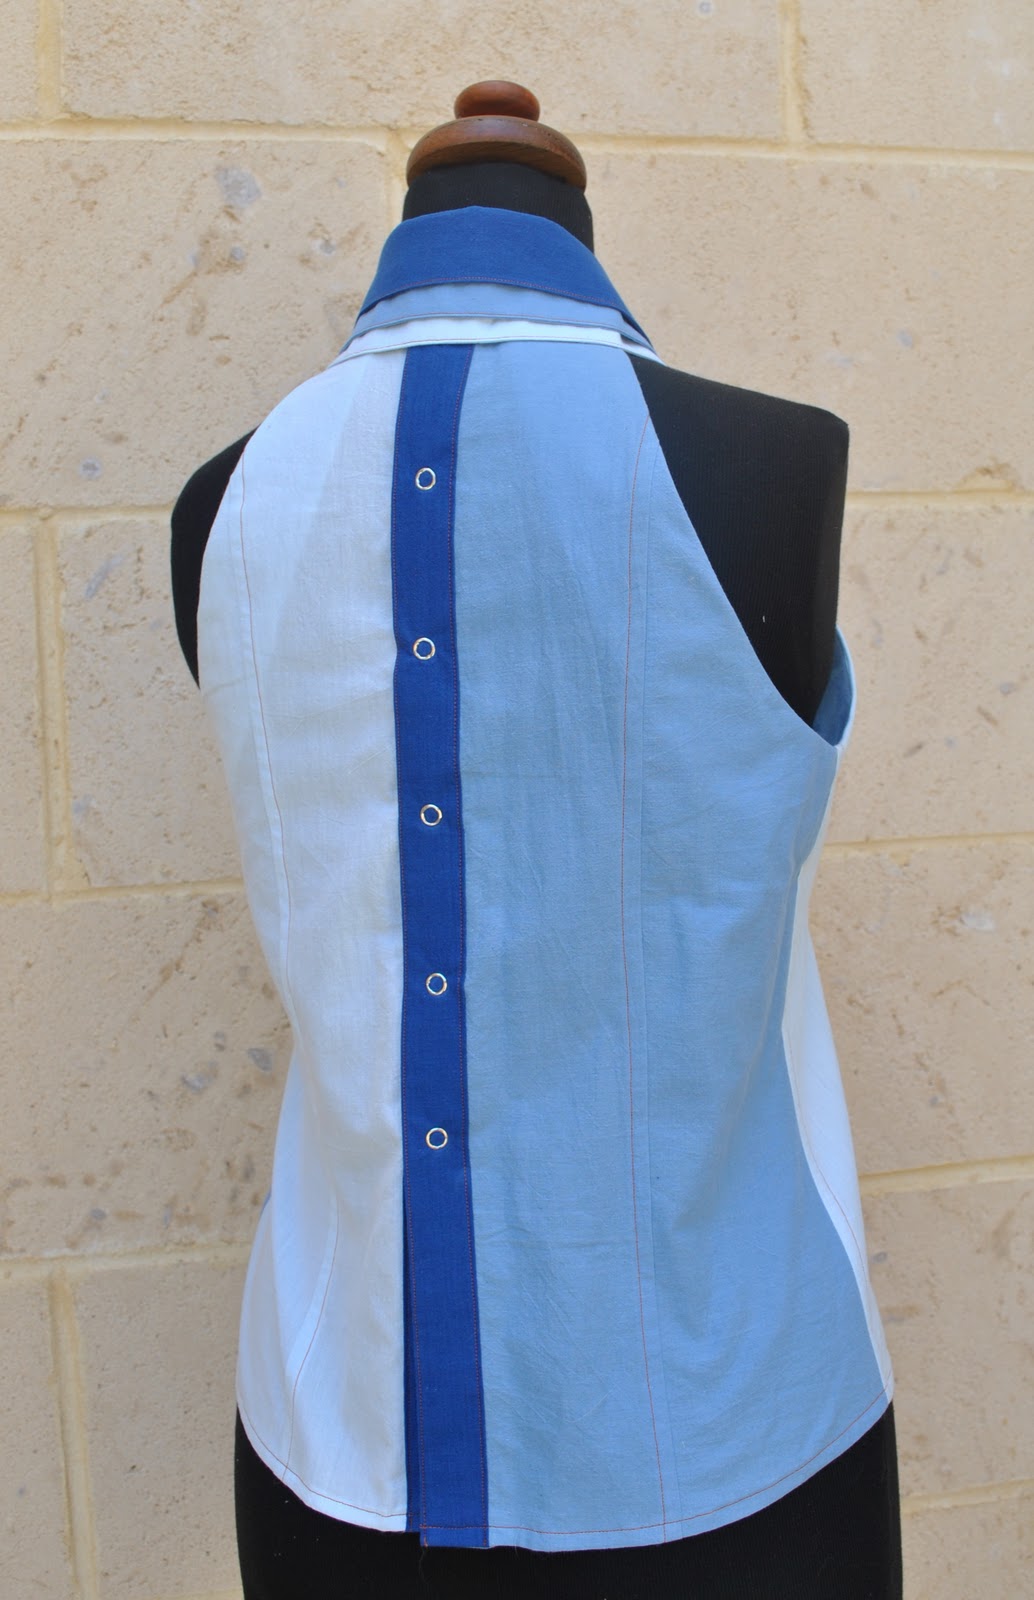
Well those three collars were just begging to be constructed in three different colours, no?  I was simply itching to give it a try… and after all that Christmas shirt-making I had just the right selection of leftover scraps to piece together what I envisioned would be a kinda cool look.  Not just tri-coloured collars, but a tri-colour shirt, like allover
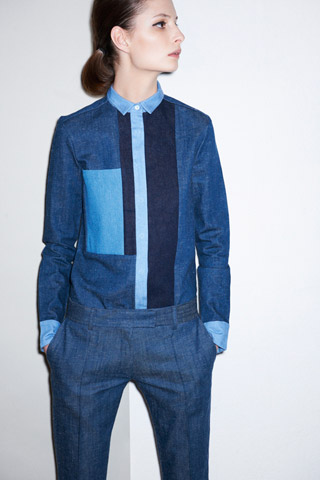
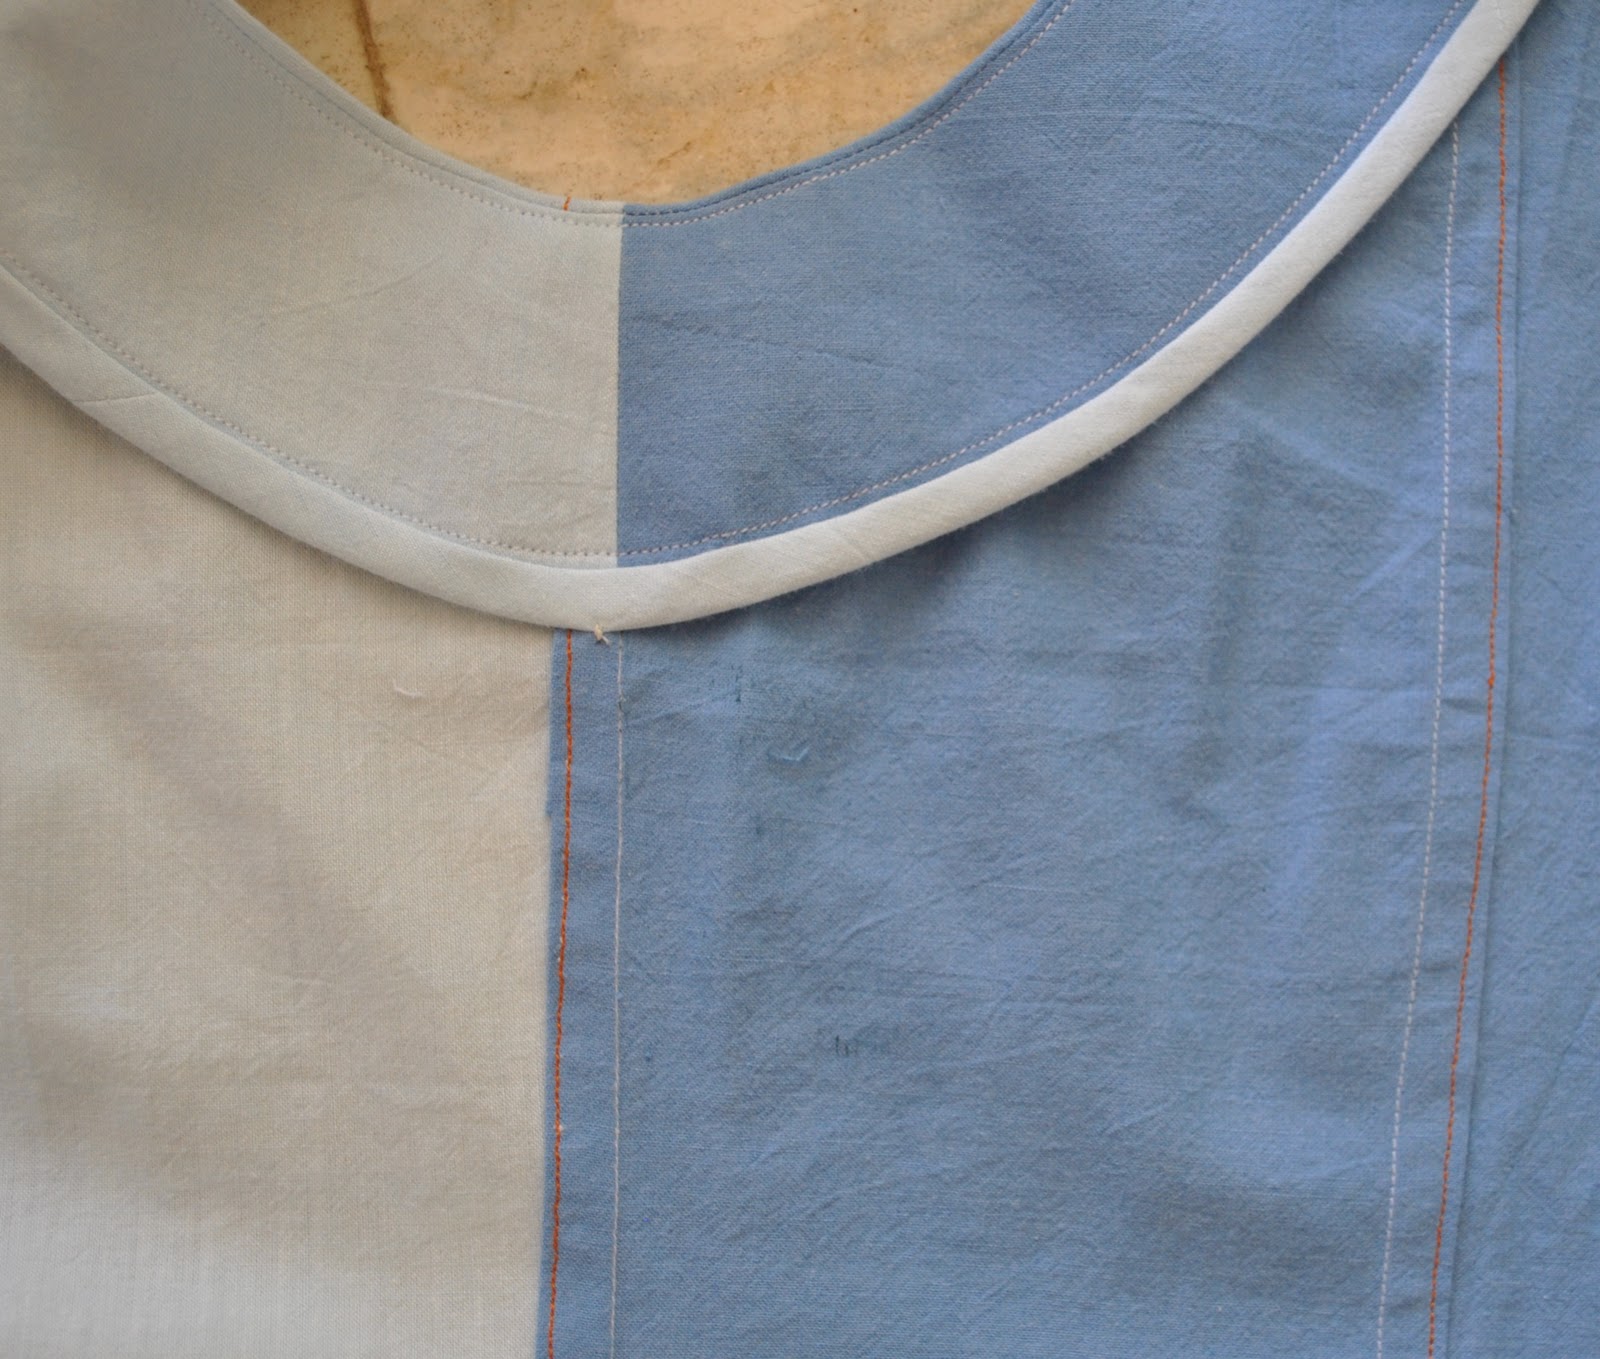
I really like this sort of patched look.  The blocks of various blues together reminds me of those refashioned denim jeans garments that you see; made of cutting up and re-patching together old blue denim jeans to give a mixed up patchwork of varying shades of indigo.   It also reminds me a little of another look I admired in Celine pre-fall 2011, below.  Still going with that refashioned denim jeans vibe;  I’ve topstitched all the seams in orange.
The shirt is all shot cotton, bought here.  The left front and right back are Sky, the leftovers from this shirt, and the darker blue sections are True Cobalt, the leftovers from this shirt.  The right front and left back are of a very pale blue named Ice; and technically speaking this might not qualify as a leftover scrap.  I bought this about two years ago with the original intention of making another shirt for Craig, but the very pale baby-blue colour did not find favour… so I have gradually been using it up bit by bit for facing, pocket and lining purposes in other projects, but so far it has not been used in any publicly viewed part of a garment!  I managed to cut the pieces for this shirt out of what is left after all that nibbling.  So, does that make it a leftover, or not??
This cotton is thicker and more robust than the thin voile I used for my first cafe latte version of this shirt pattern, so the collars do not sit as flat together.  But on the other hand, the snaps on those buttonbands feel a lot more secure, and less likely to rip the fabric.  Speaking of the buttonbands; I wanted the third blue fabric to feature here, so the four of them have been constructed as separate wraparound bands that sit up over the body of the shirt.  That took a bit of extra fiddling and measuring, but nothing drastically difficult.

(below right; from Celine pre-fall 2011, source)
All the seaming in the body of the shirt is flat-felled, and the raw edges of the armhole facings have HongKong finishing, using bias strips cut from the Ice shot cotton.

Details:
Shirt; Vogue 1248, different shades of shot cotton, in Ice, Sky and True Cobalt, my review of this pattern here
Skirt; Vogue 1248, cotton voile, my review of this pattern here
Thongs; ??  crappy blue and white rubber things nicked from my son’s wardrobe.  I think he must have grown out of these years ago… 

pinterestmail

Sorta Missoni

Firstly, thank you so much for all those lovely comments on my cardigan!  I was overwhelmed to read so many kind words… and with regard to my little rant; also to stress that I am not down on Burdastyle per se, which has so many talented and madly creative people to delight and inspire; but just their sucky anonymous ratings system…  yes anonymous.  A situation beloved by trolls, am I right?  It’s just a mystery to me why they’ve still got it…  but in short I shall continue to virtually hang-out at Burdastyle and contribute, while simultaneously and quietly acknowledging that the ratings system blows.  


But on to far more exciting affairs, ahem; my new dress.  The lovely Passiona Cottee sent me this gorgeousness in fabric form in a very generous give-away last year; thank you so much Passiona!
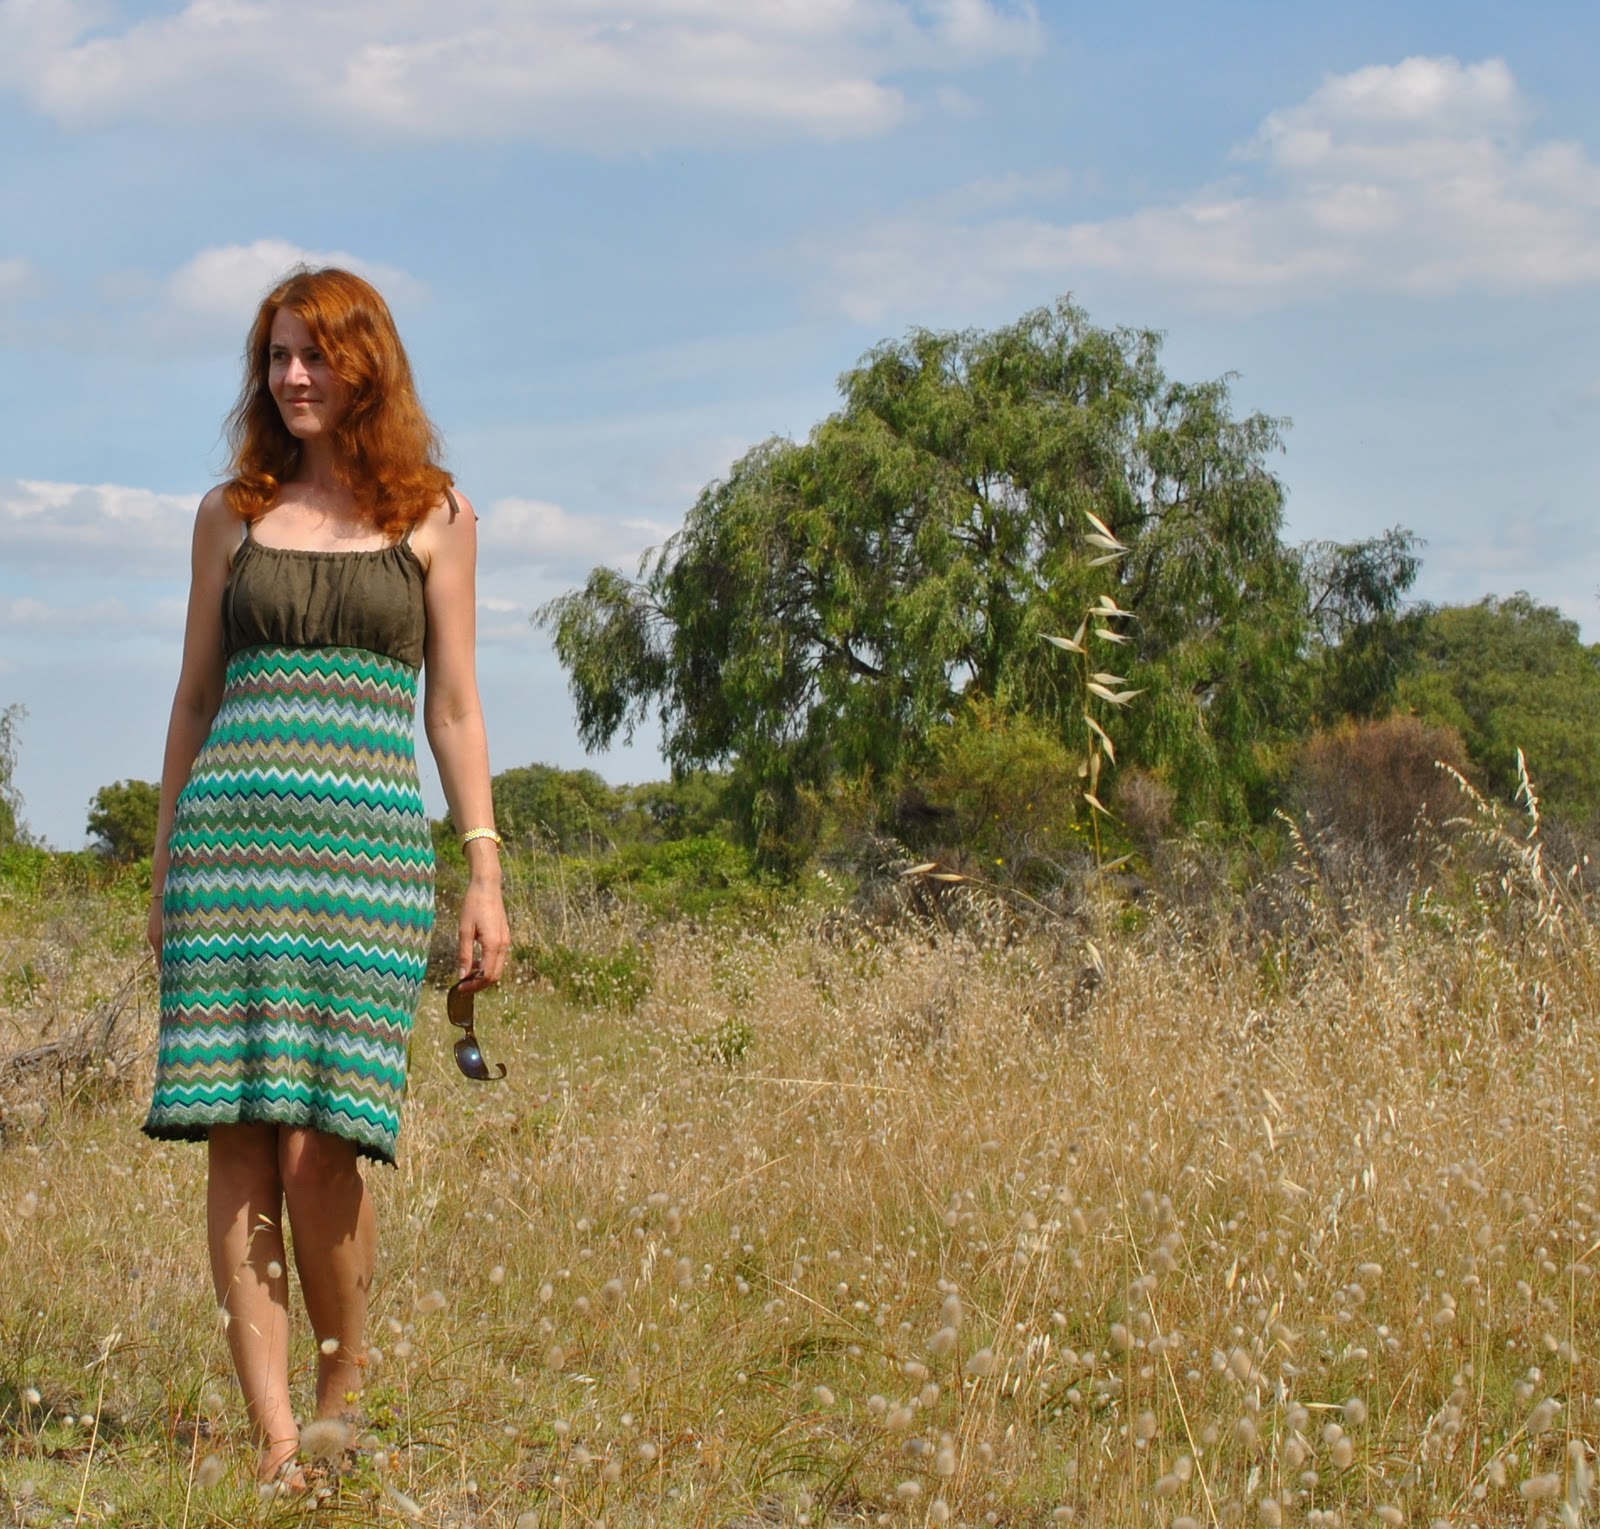
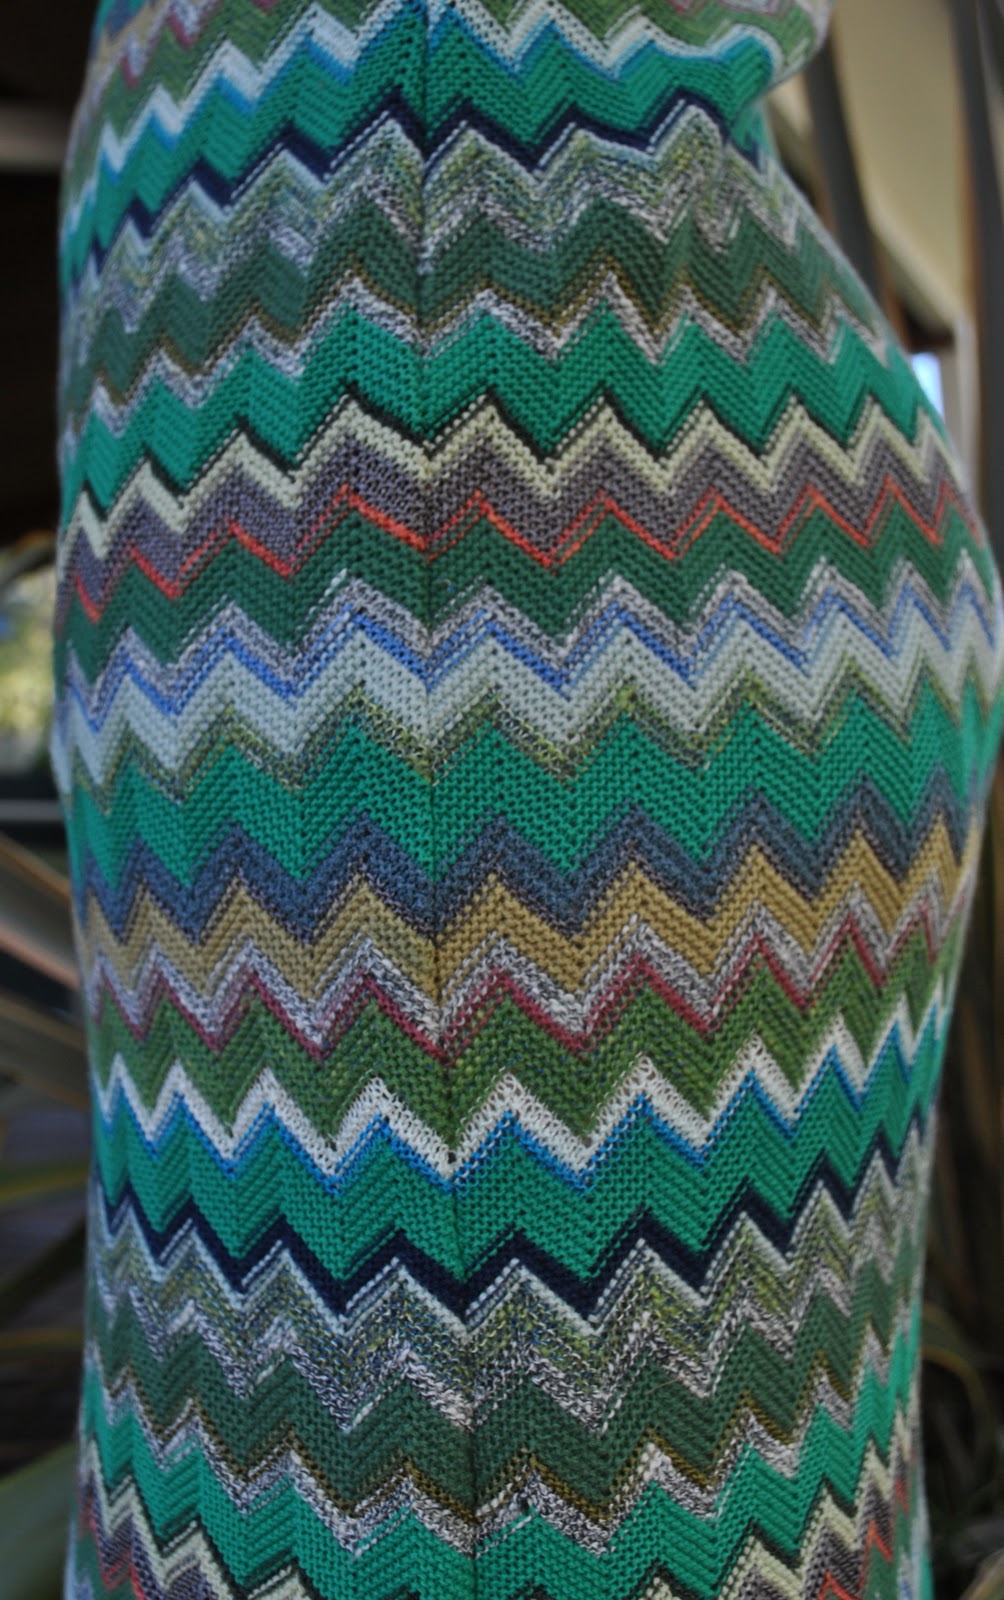
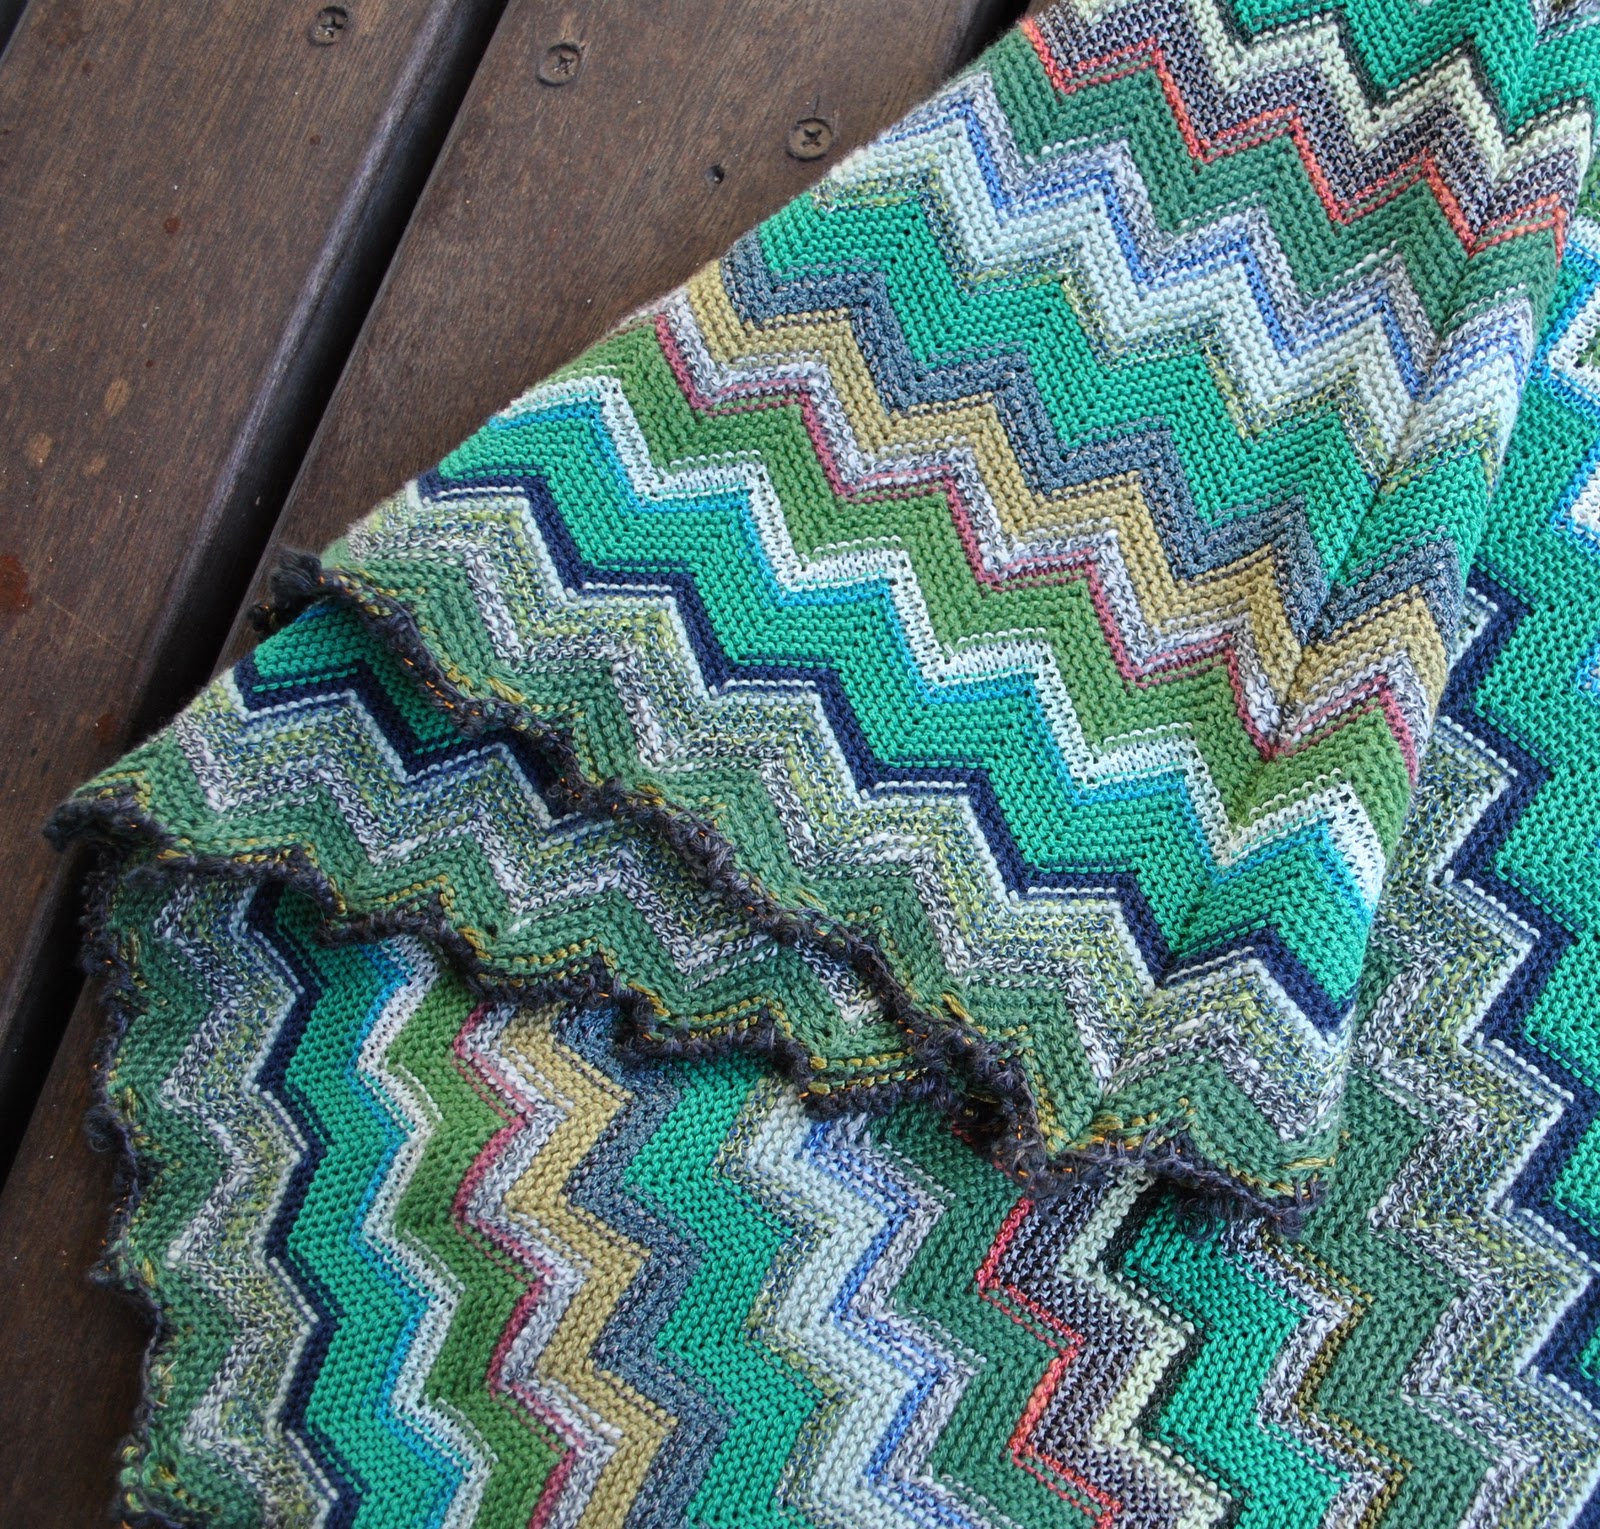
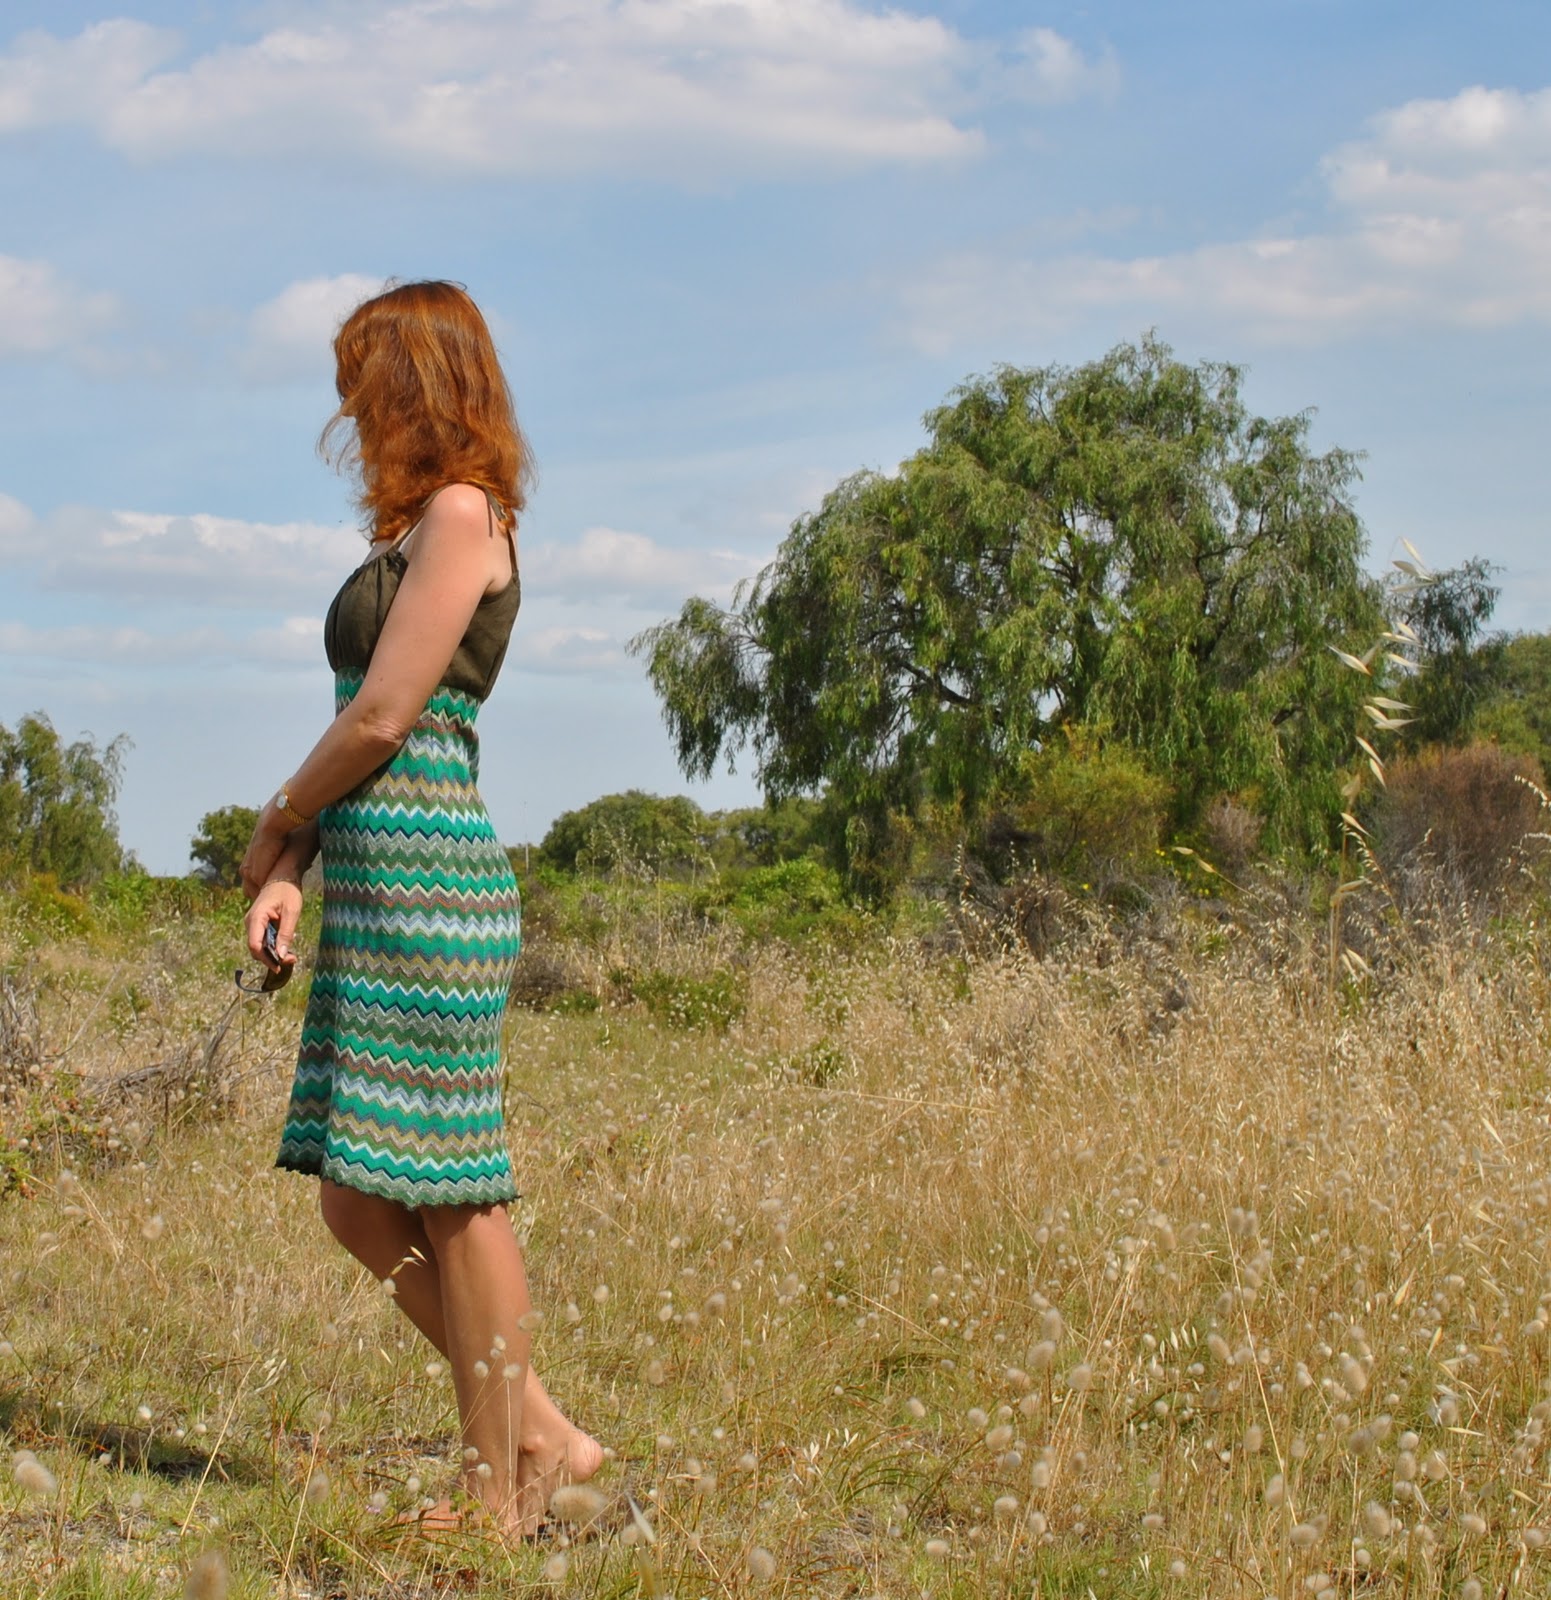
The fabric immediately struck me as very like a Missoni style of fabric, maybe a diffusion line?  I wish I knew for sure…  The fabric has the signature Missoni design; those distinctive stacked zigzags in a multitude of colours (although having said that I do actually possess a genuine Missoni scarf, seen here, that has hardly any zigzag).   Close inspection of my sample revealed seemingly every shade of green under the sun.  Das is gut.  Green is definitely me.  Adding interest to the colour mix; a bit of rust, a dash of salt-and-pepper, a hint of sky blue, the odd startle of vivid orange and even a few rows of ivory; all melding together in a disparate and yet pleasing cacophony of oily swampy shades… 
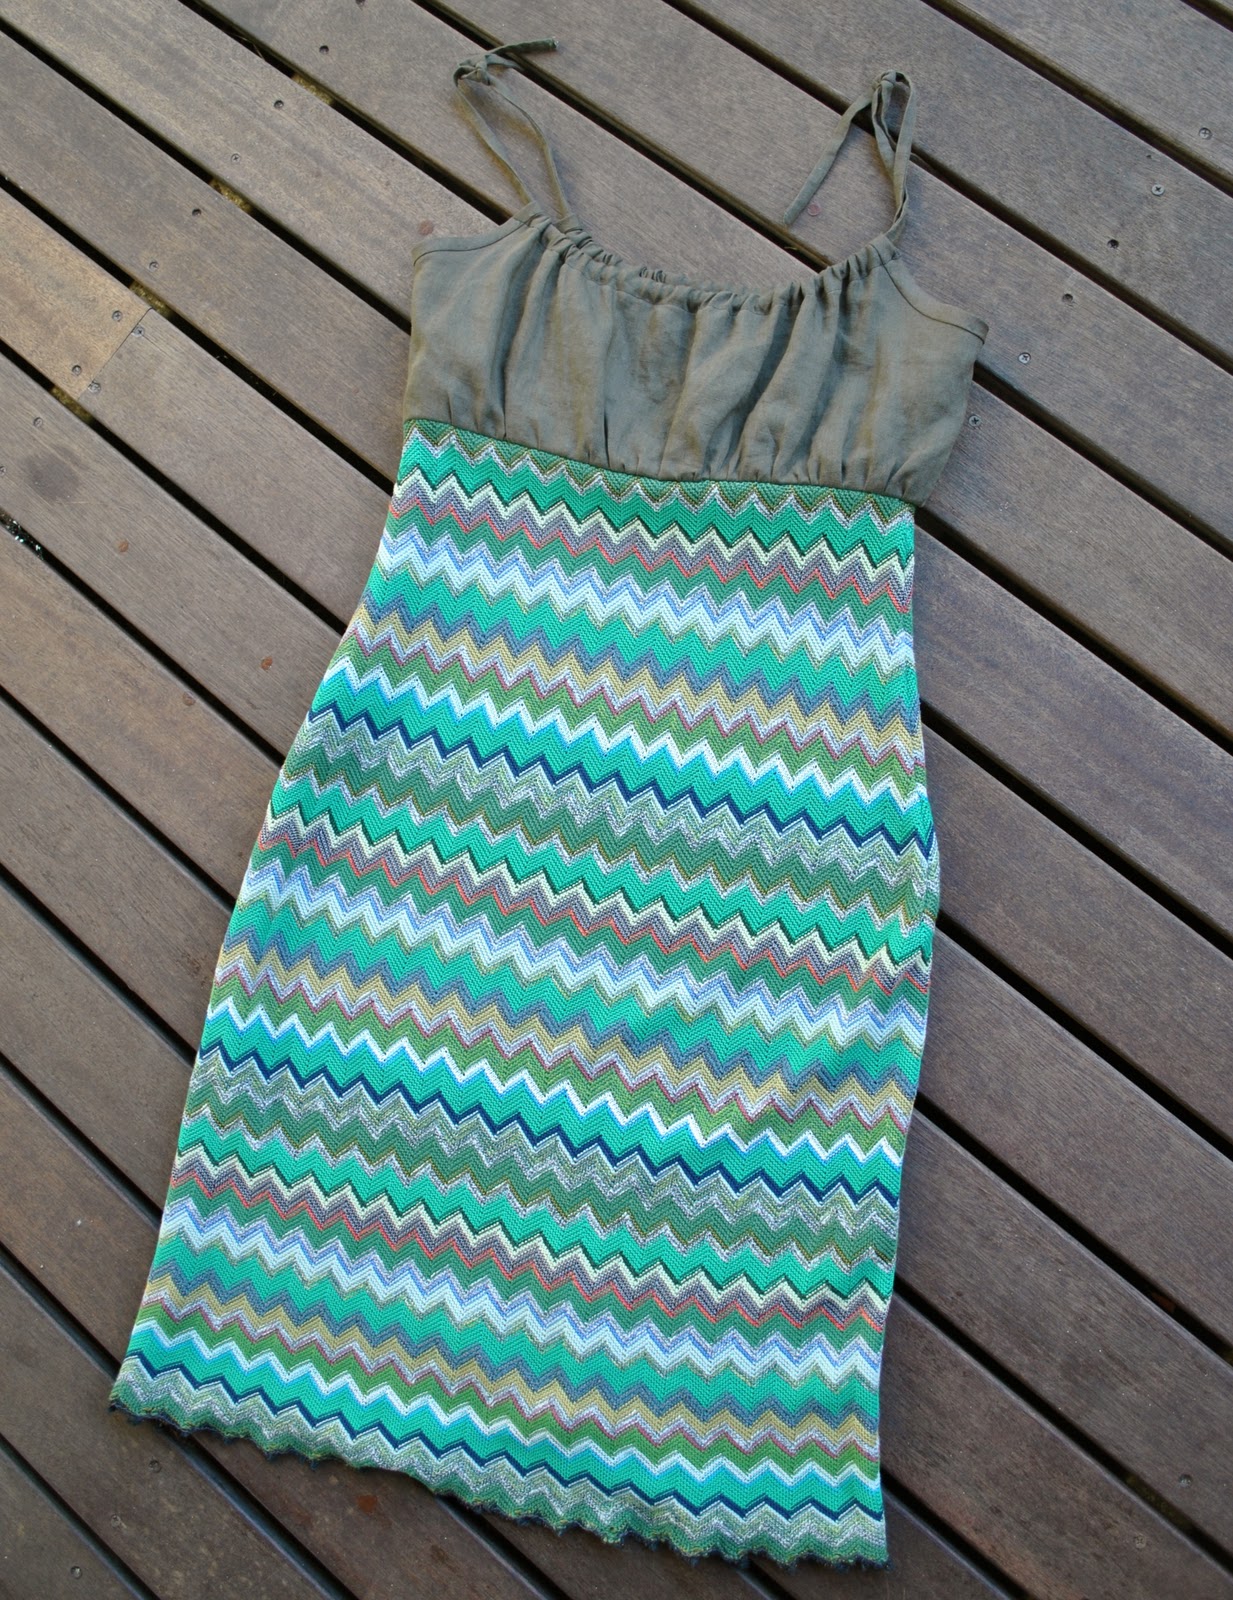
Missoni is a stalwart of the Italian fashion scene and so I wanted make it up into something Italian inspired, and dreamed up this design with a blouse-y linen bodice reminiscent to me of those loosely gathered Italian peasant tops…  I only had the teensiest bit of the knit fabric really.  Actually, (warning; eco boast following) I used basically the entire piece of fabric… and the bodice is the leftovers from this shirt… so the dress is green in more ways than the obvious, hehe…
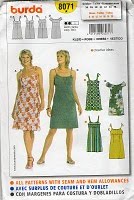
I used Burda 8071, a real tried and true, standby pattern that I’ve used heaps of times before.  Lost count actually… (hmmmm just did a mental count, and including two dresses that have gone years ago, I’ve used this pattern nine times now.  Yowza!)
The dress piece was cut with the right side on the fold, to eliminate as much of this side seam as I could.  Also, in lieu of body darts which would have destroyed the regularity of the zigzag design, I cut the exact allowance of each dart from straight out of the side edges of the dress pieces (I’ve done this before too, for this dress here.  Works a treat for where sewn-in darts in the fabric are not what you really want, but you still want the shape). 
I hand basted the remainder of the right side side edge invisibly together from the right side to ensure the pattern was matched perfectly.
For the left side seam of the dress piece, I cut and sewed bias strips of the khaki linen along the seam allowance, to stabilise the knit fabric behind where the invisible zip is inserted… and the zip was hand basted in place, again so I had complete control of matching up those zigzags as closely as was humanly possible.  Yeah; I am neurotic that way, it’s OK I admit that… but I am pretty pleased with the results.

The lower hem, well unfortunately the lower edge of the fabric was not in super good nick and was already unravelling in some spots; the stitch loops were threaded through with one flimsy stay-thread which was not doing its job very well.  I carefully pulled this out bit by bit, darning where needed, hand embroidering the edge in a tightish blanket stitch leaving lumpy decorative (I hope!) blobs on the points of the zigzags.  I’m hoping it looks a bit like a crocheted edge…  just the type of crafty finish that I think finishes off this slightly rustic dress to peasant-y perfection.

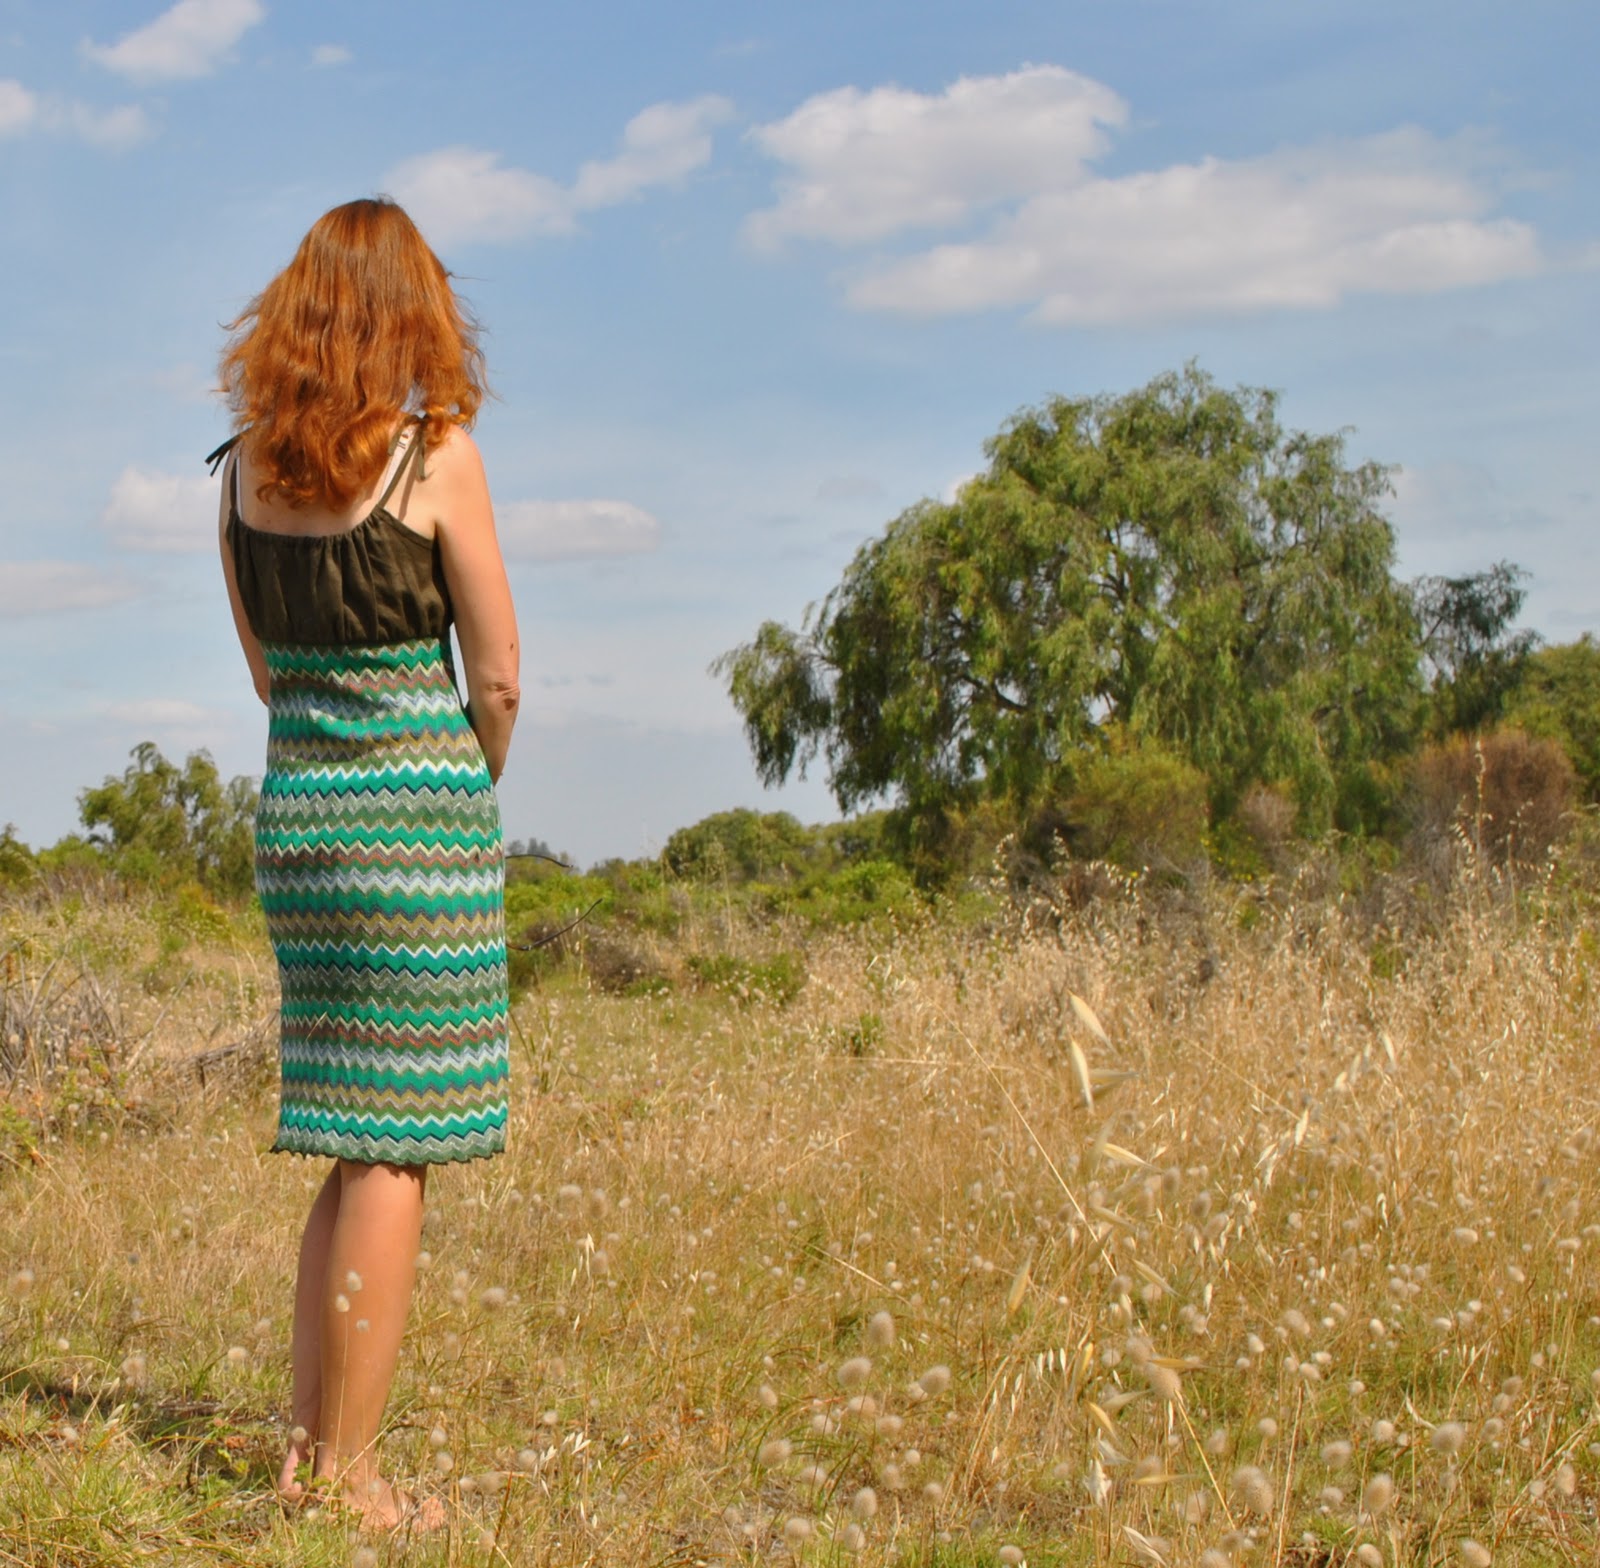
Dress; Burda 8071, khaki linen and knit fabric.
side view … and I’m chuffed that I can barely tell that side seam.

and back…  Rustic frolicking-in-the-fields would ensue, except that it is a pretty warm day…
pinterestmail

Calico cotton cardigan

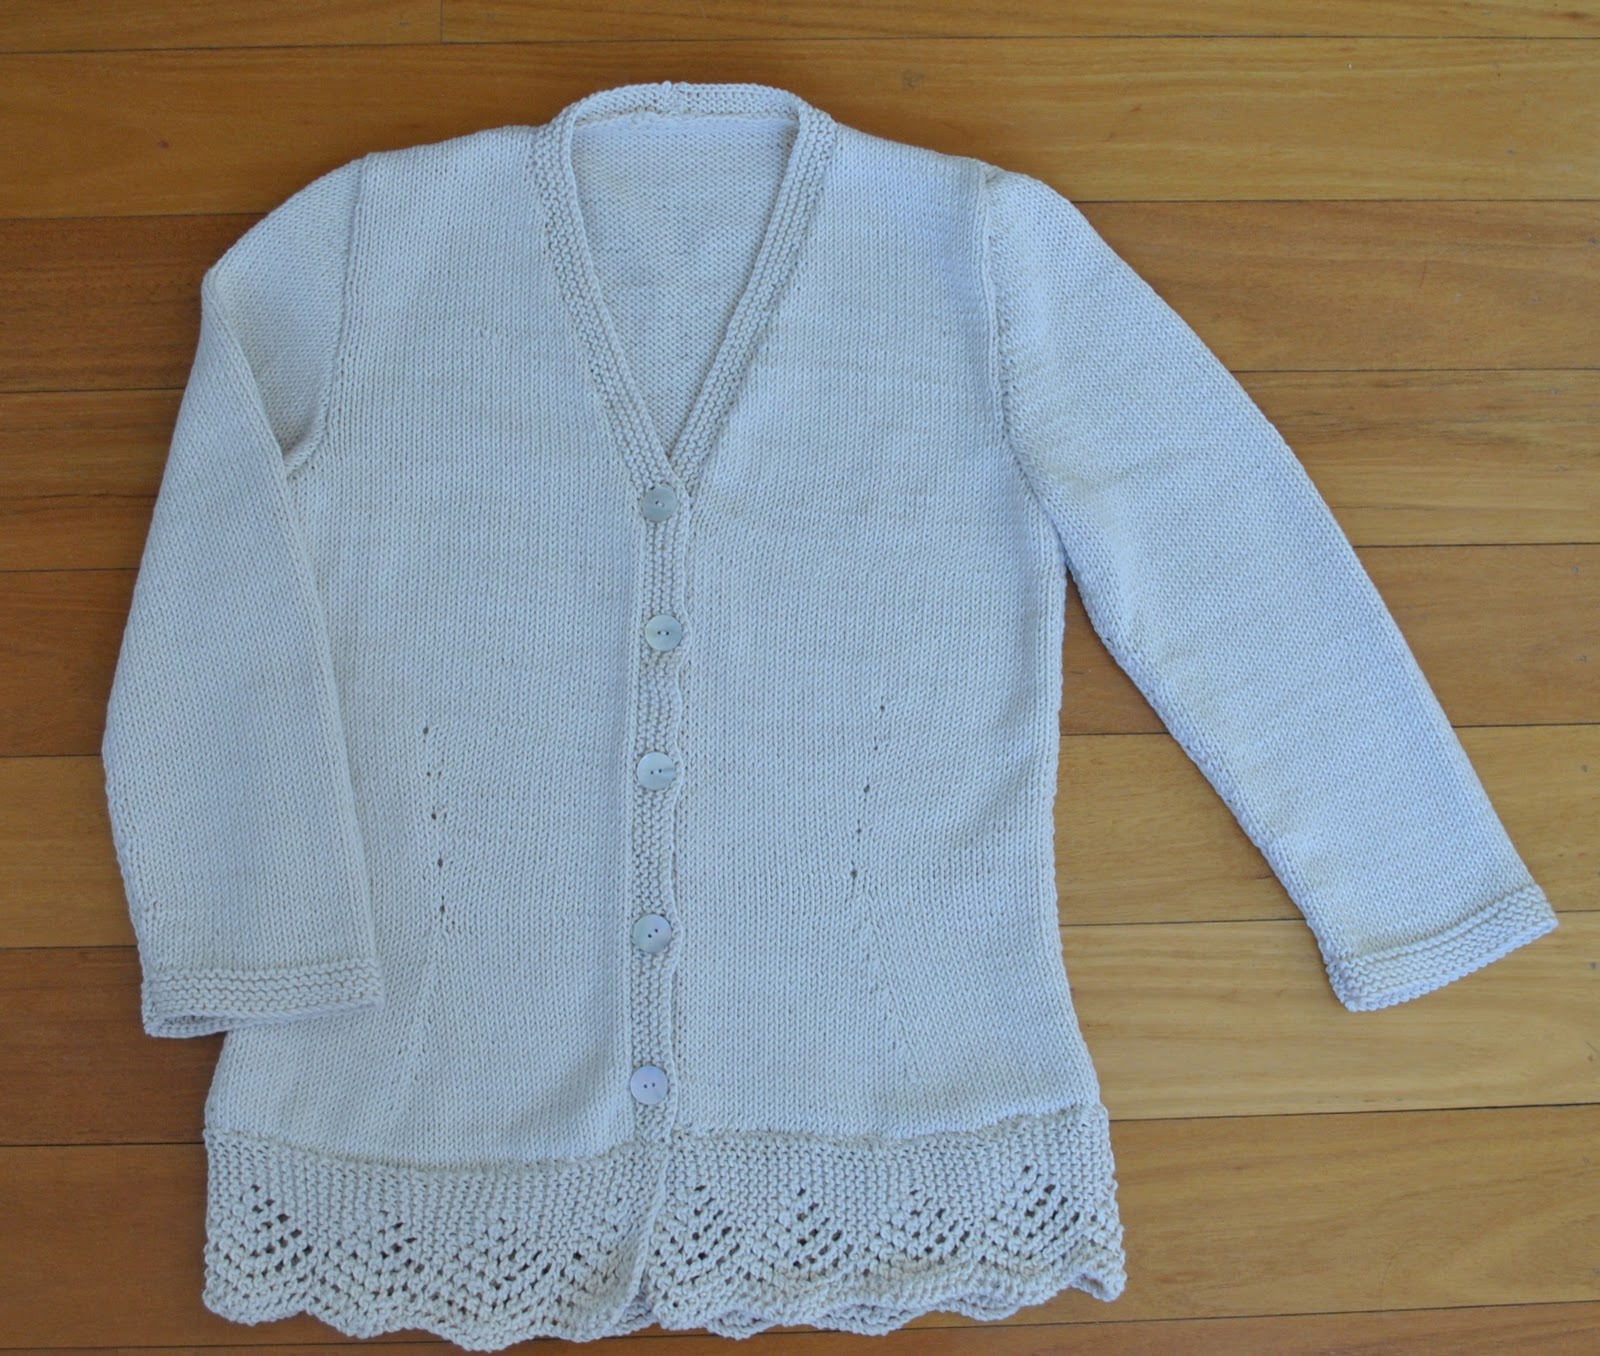
The good news: I’ve knitted a cardigan!
I bought this perfectly lovely ivory cotton yarn at the beginning of last spring, and started this cardigan when I had finished the garter stitch jacket.  I can be a pretty quick knitter if I’m in the mood…
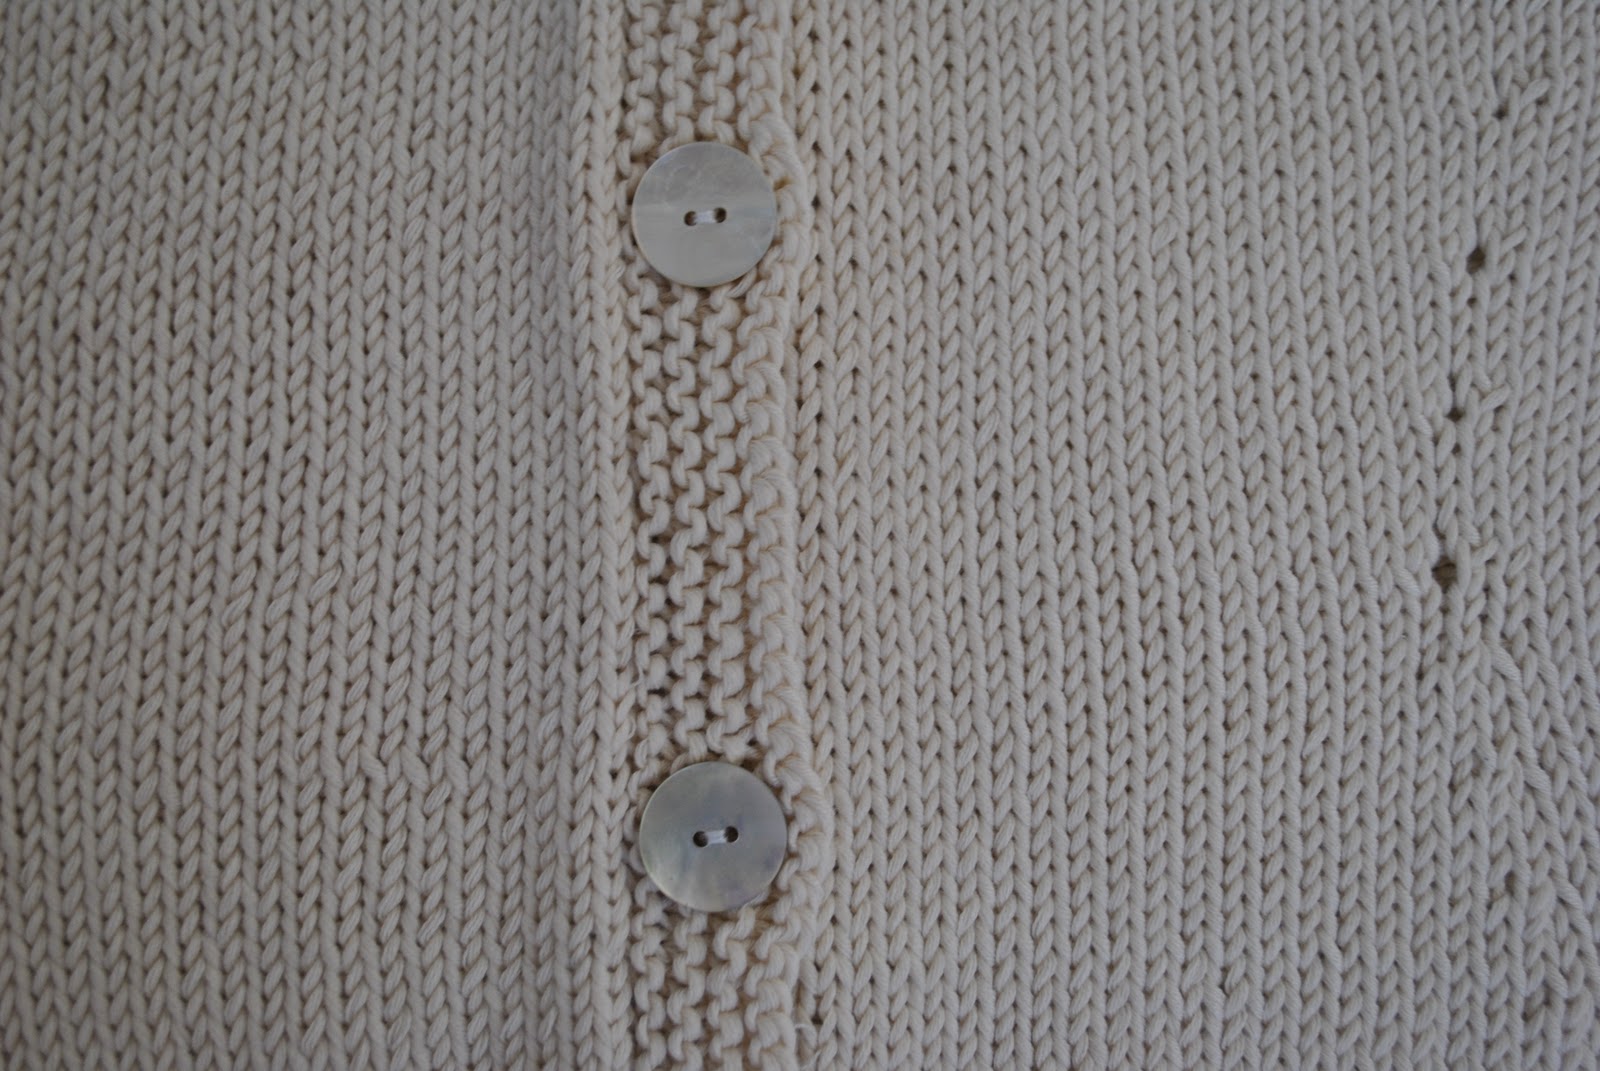
The buttons; nacre, with that distinctive subdued sheen that I love, are favourites that I have used on many projects before.  They are from Fabulous Fabrics.
This is a great pattern.  I like the shaping, done in a dressmaking style like darts in the body, and not shaped in the side seams which is how I’ve knitted the shape into jumpers and cardigans up until now.  A good method.  I’m chuffed with this pattern, and will use it again.  With variations.
You see; I have bought up quite a lot of this yarn lately and so (this is embarrassing) as well as my fabric stash I now have a yarn stash too.  Up until now I have bought wool to knit up immediately leaving myself only with scraps and leftovers.
Why have I changed my ways? well now we come to the bad news:
I got word just before Christmas that the Jo Sharp Knit store here was closing down and was selling off its stock.  I am extremely sad about that.  I can’t bear when local stores and particularly local craft stores, close down.  But anyhow, of course I just had to pop in and check out the remaining stock, and bought… a bit… of yarn  😉  Now I have enough supply for at least a year’s worth of knitting, including a few more little cotton cardigans like this, so it is a good thing that this pattern worked out!

Details:
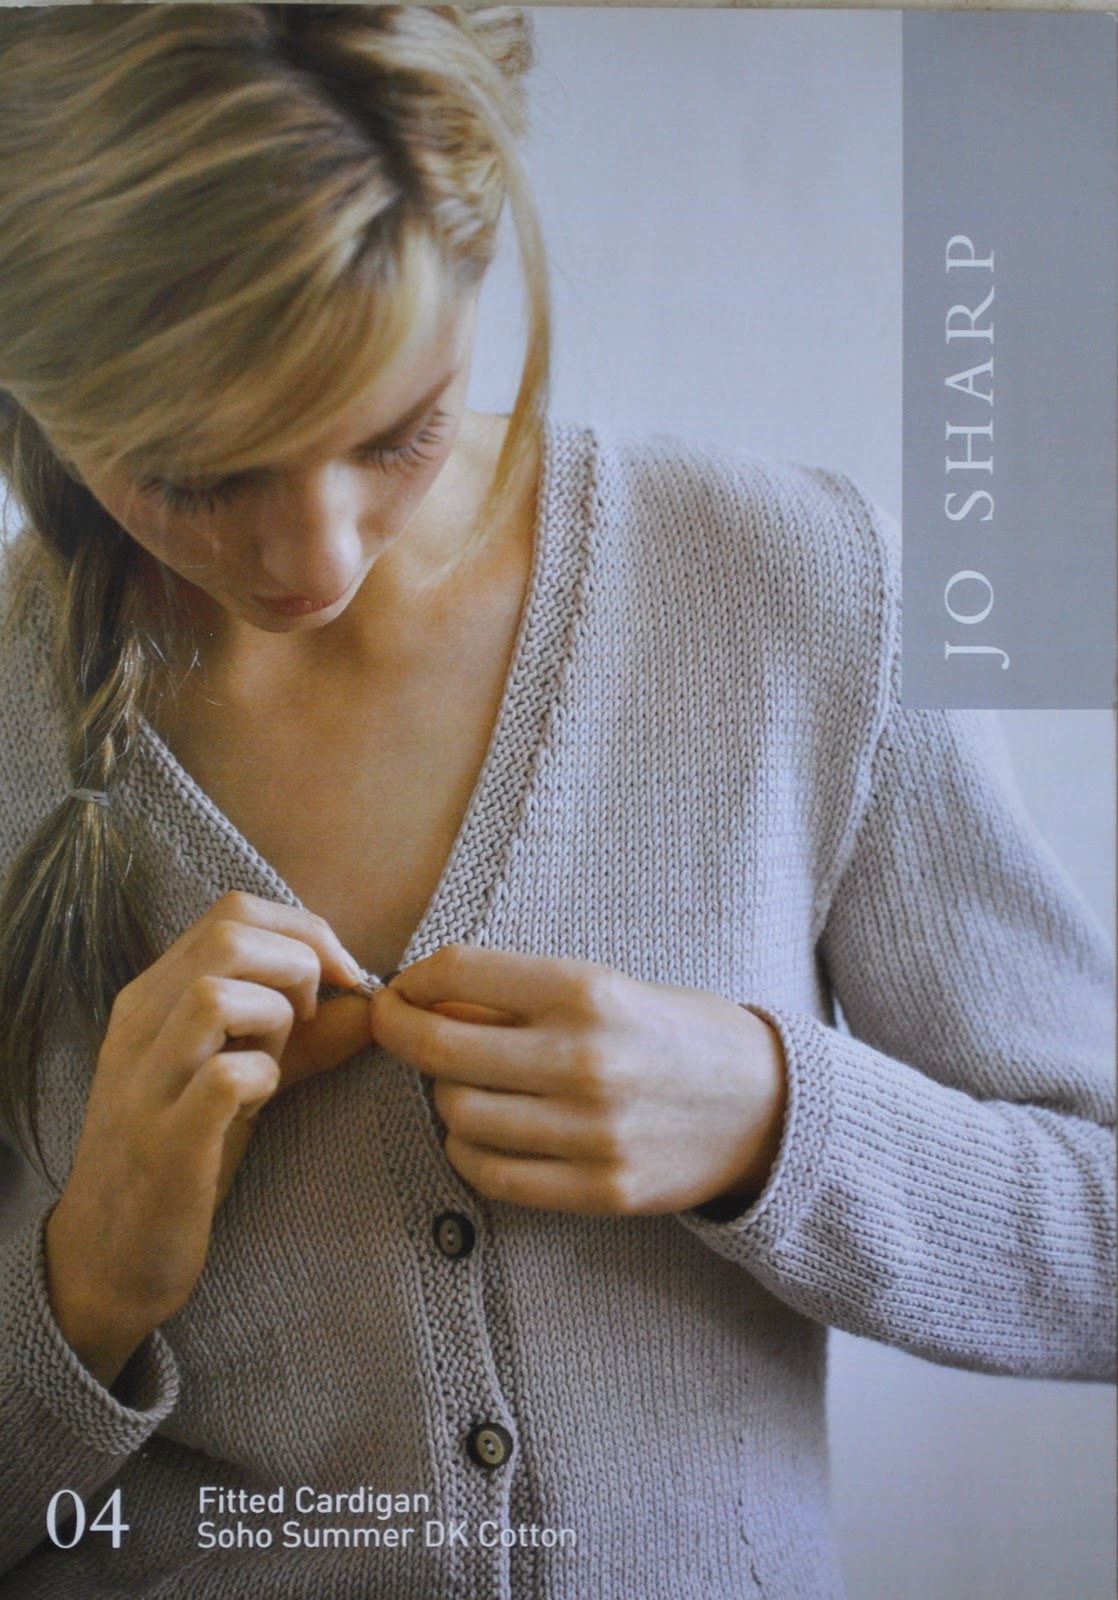
Cardigan; knitted by me, the Fitted Cardigan 04, version 1 with the lace edging and three-quarter sleeves, in Jo Sharp Soho Summer DK Cotton; colour Calico (shade 216)
Camisole (under) Country Road
Skirt; self drafted, charcoal jersey knit
Shoes; Bronx, from Zomp shoes

Ahem, I wasn’t sure whether to write about this here or not, since I don’t like to be all sulky sad-face here,  buuuut… my double sleeved shirt got such a low rating on Burdastyle that I removed the project.  I just felt so depressed about it.  Actually I don’t whether to even continue on that site.  I’m just losing faith in it a bit.  OK, a lot.  The ratings system is just too awful.  I know they’ve copped a lot of flack for having that rating system, I’ve been reading the complaints for years, but it is still there.  I don’t rate other people’s projects myself because I think to give a low rating is mean and counter-productive and often completely governed by personal taste. One might not choose to make or wear someone else’s project, but I reckon that is not a good enough reason to give it the thumbs down.  Speaking on behalf of my shirt, it was pretty darn well-made if I say so myself.  A tailored shirt is not an easy project, and is something that’s taken me a few shirts to perfect.  Particularly when I’m going to the effort to custom fit.  Which I am.  And as well, anyone who has attempted refashioning with an old garment will know it is way more of a challenge to get a good result than with a perfect piece of untouched new fabric.
Soooo, there it is.  Rant over.  Sorry about that.  Good natured posts should resume soon… once I’ve got over it.
Have a great day, everybody!

pinterestmail

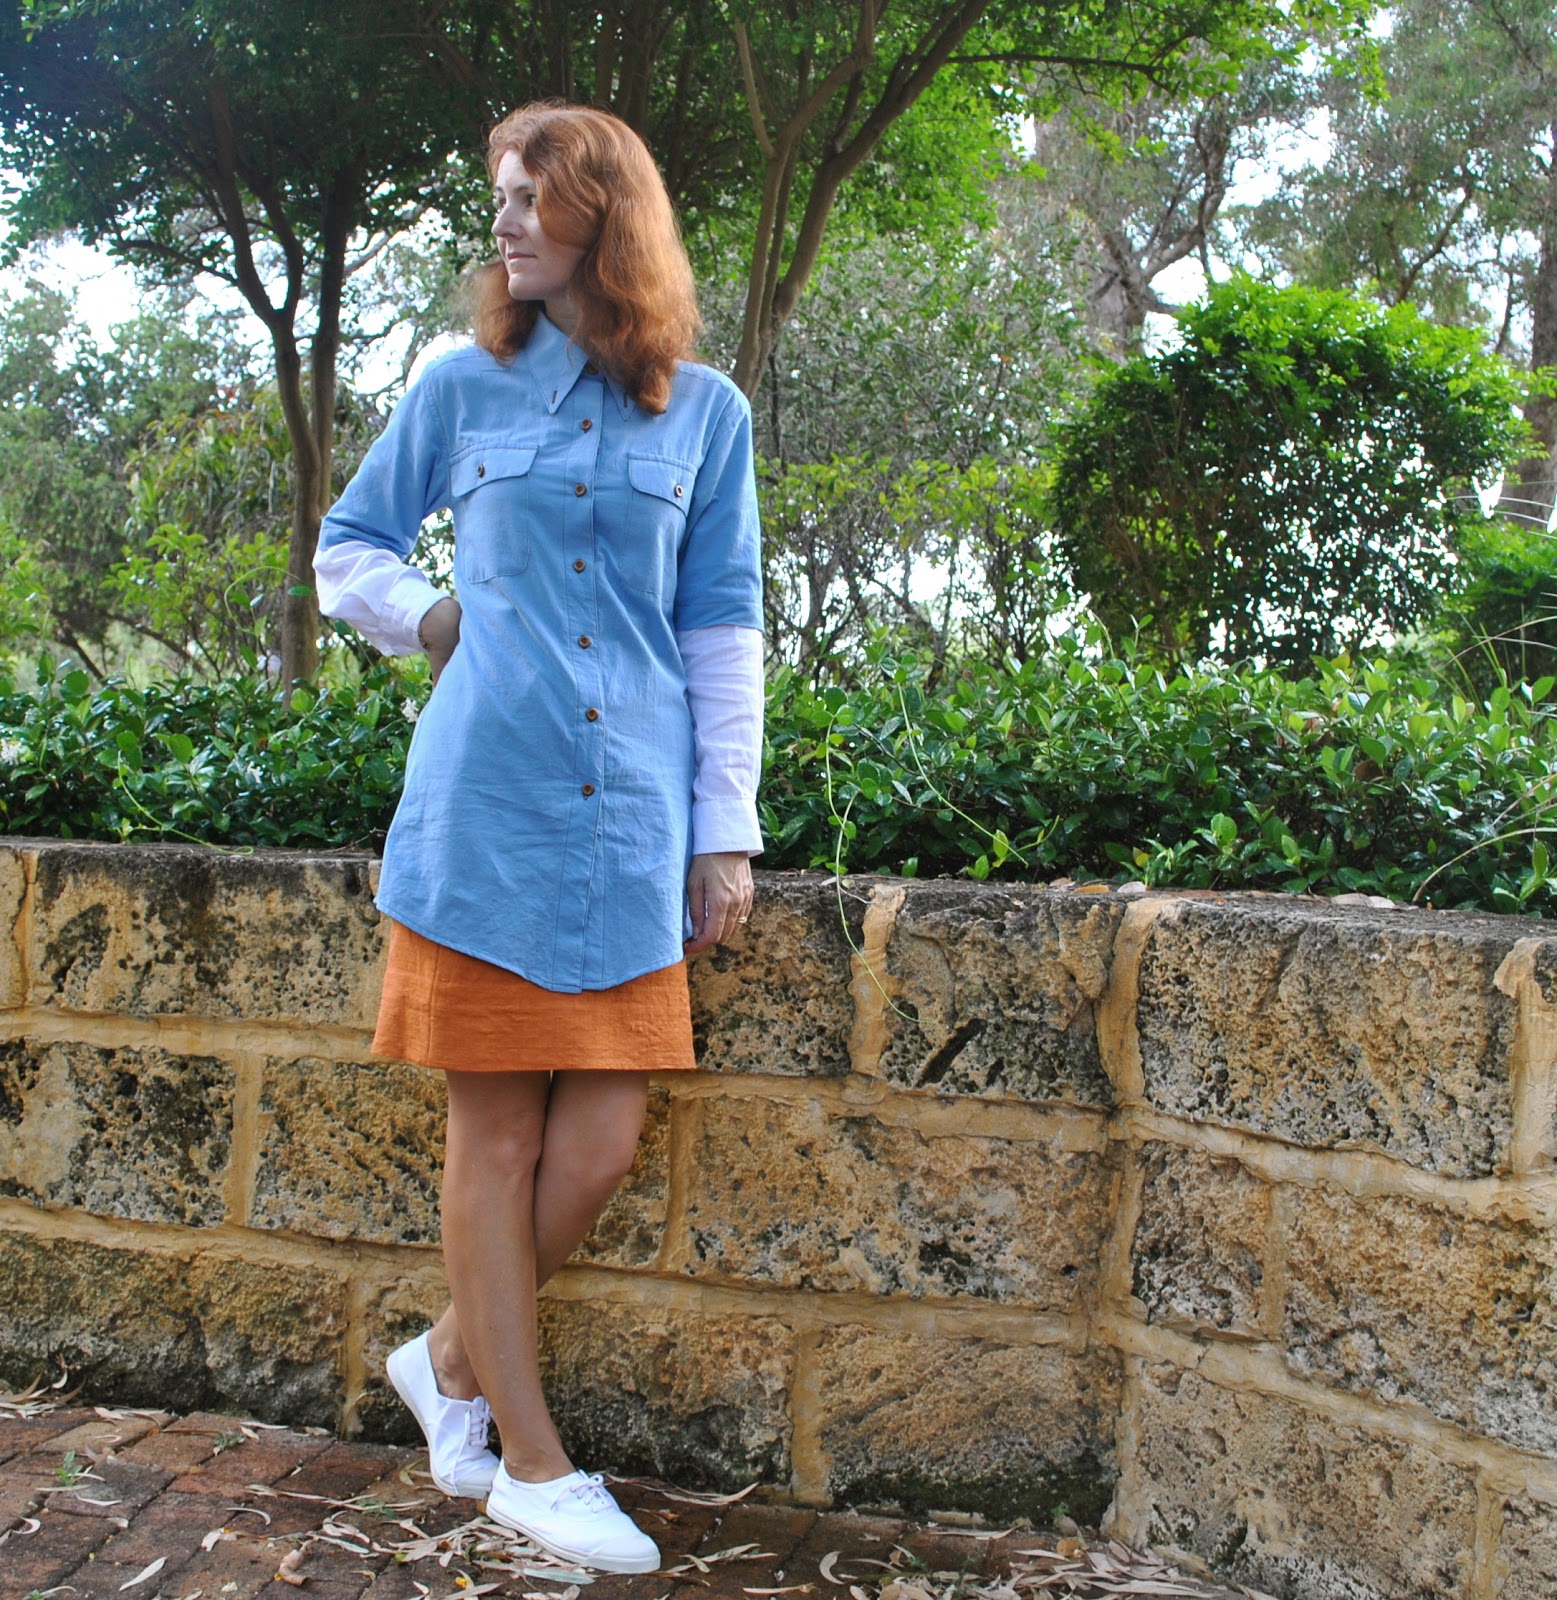
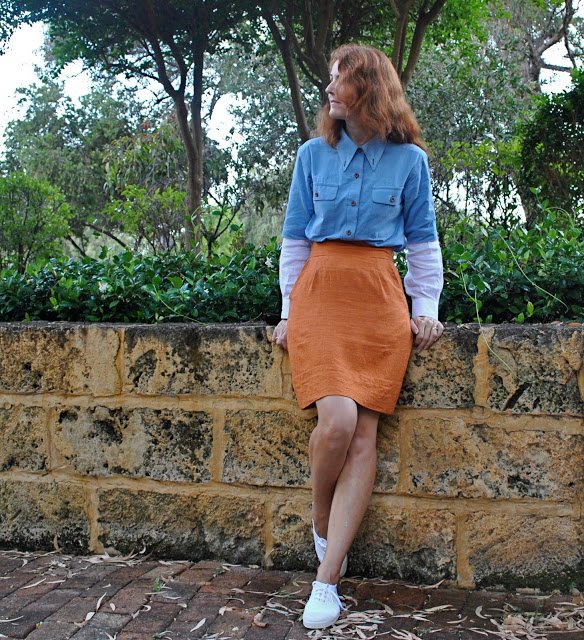
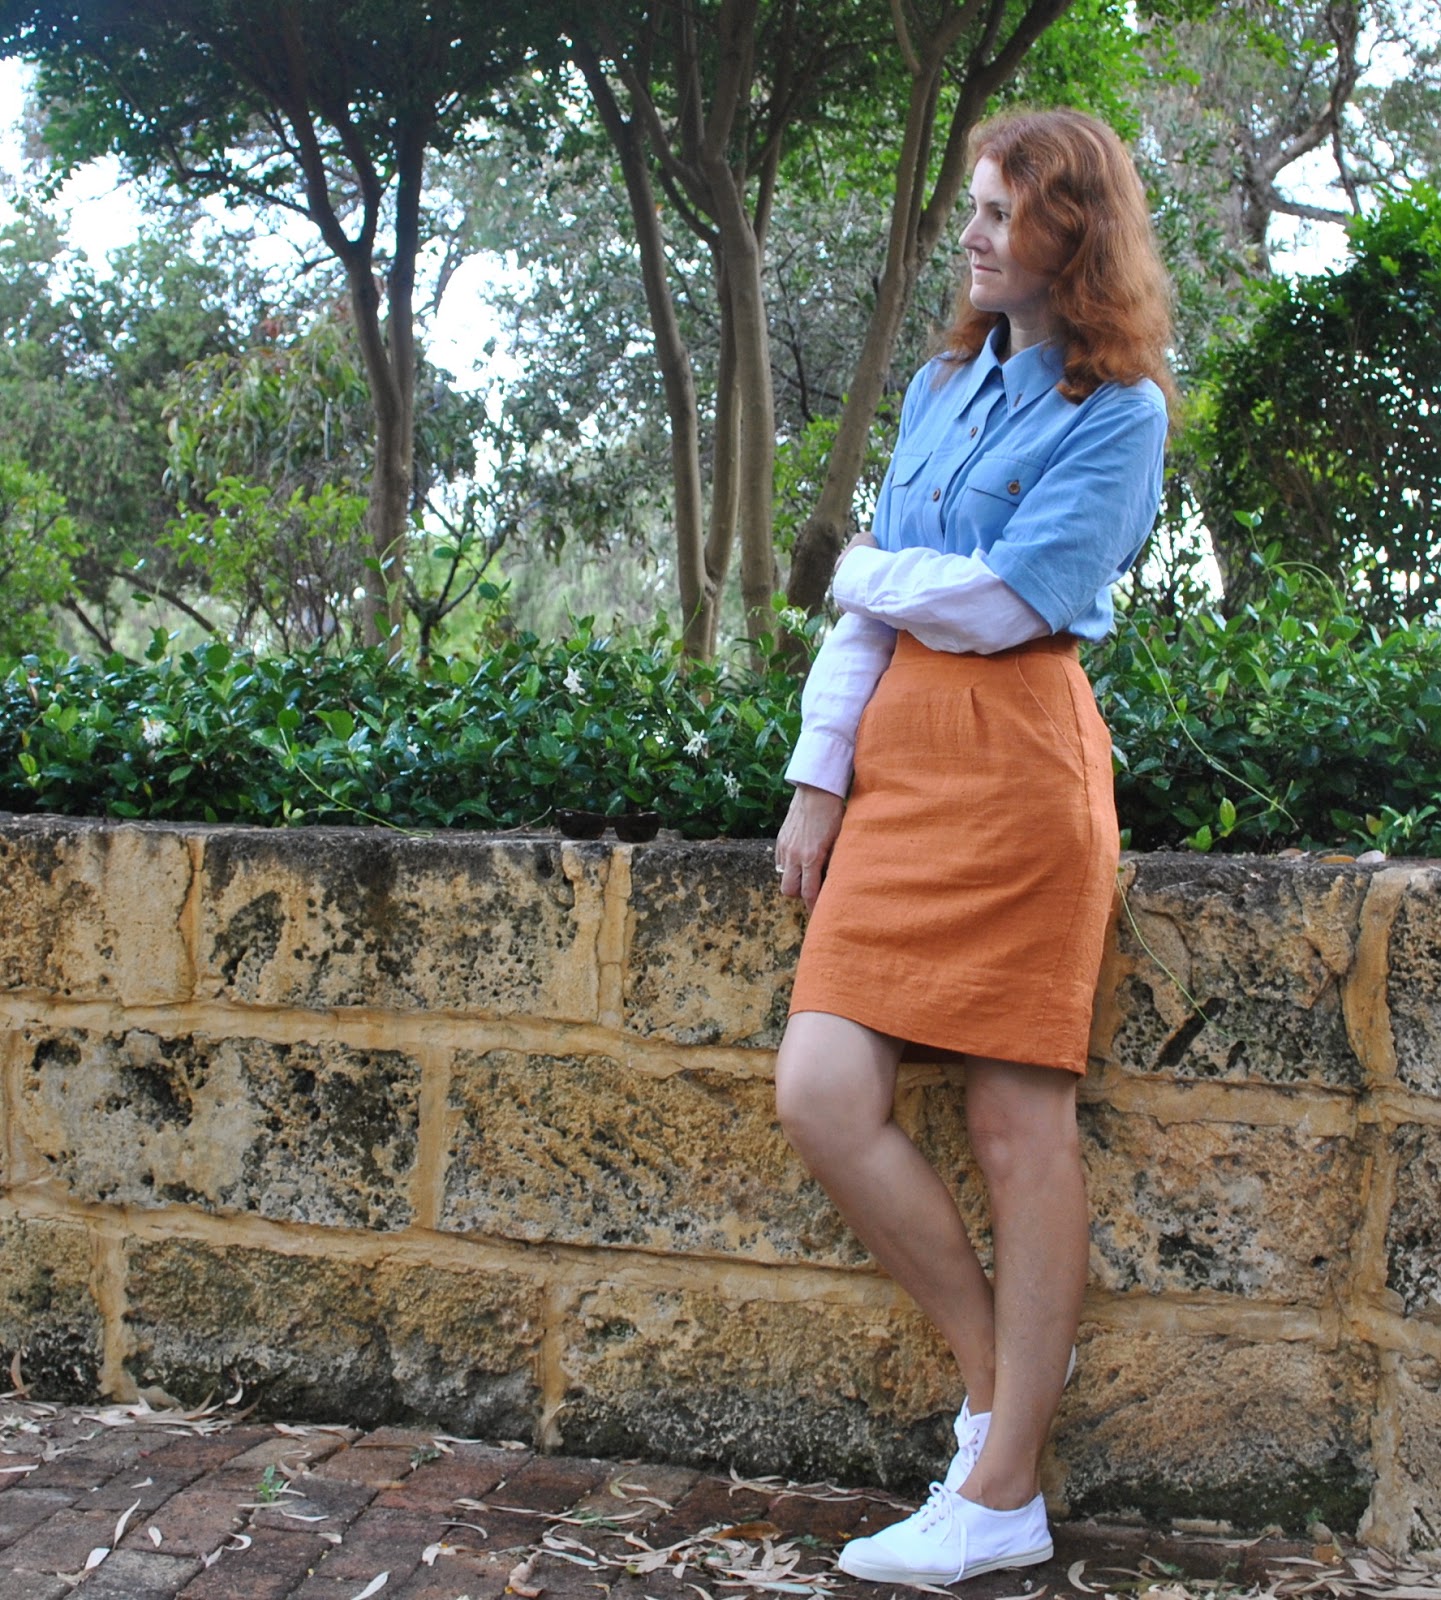
A double-sleeved shirt


Remember I said I had made 6 shirts over the past month and a half?  well here ’tis t’ sixth!
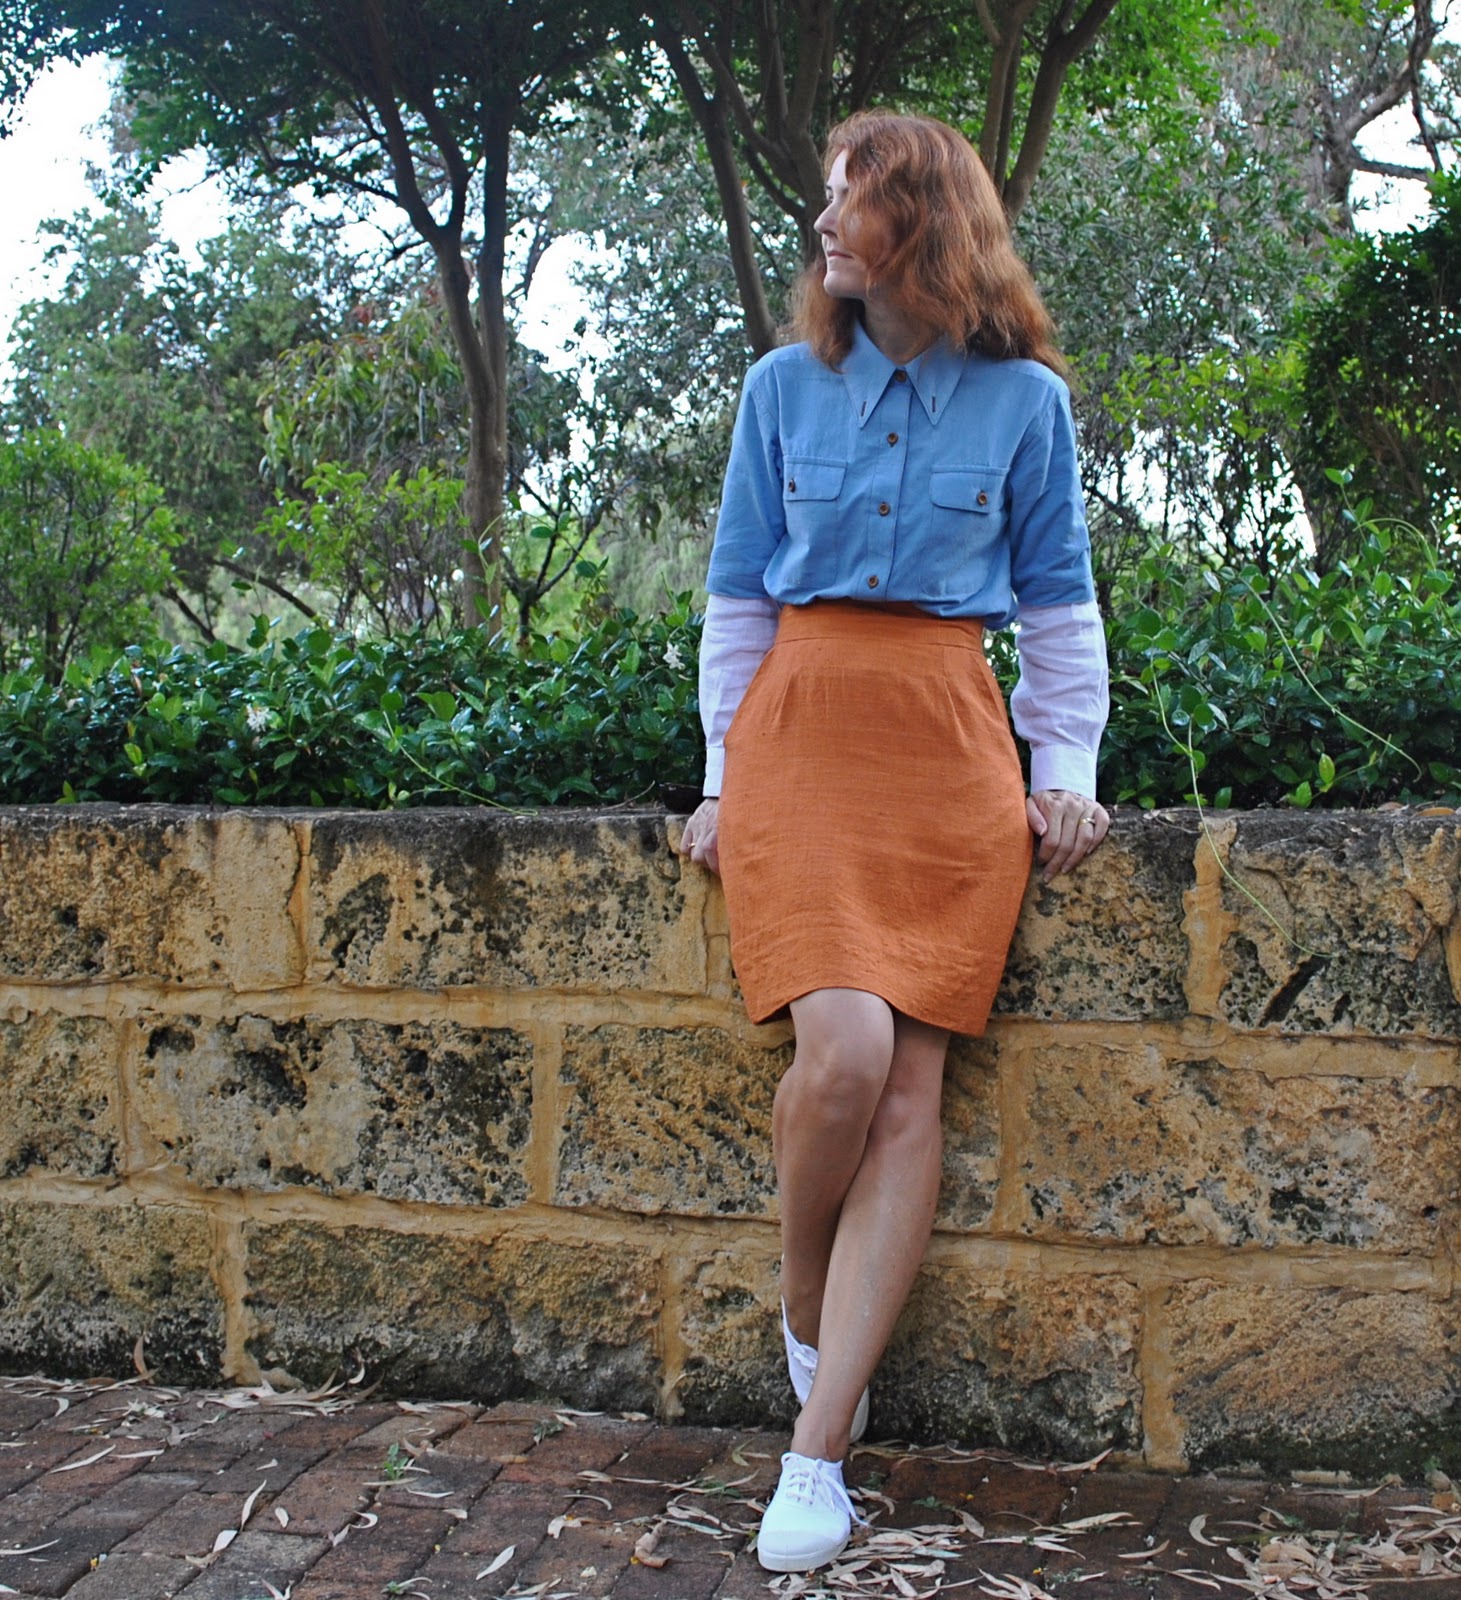
This blue shirt was was intended for one of my boys and was pretty much finished, but I was getting more and more disillusioned with it and realising that they would probably not find it in the least bit cool.  The colour and the fabric are too flat, the style is too old, and the whole deal is not hip at all… :((   so I set it aside and made other plans for their pressies…
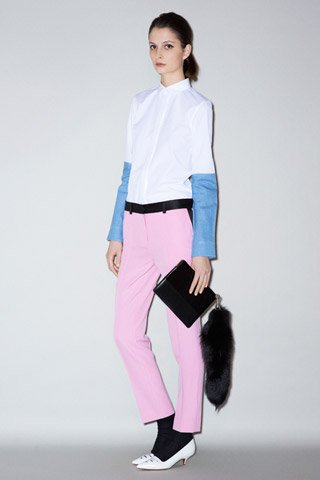
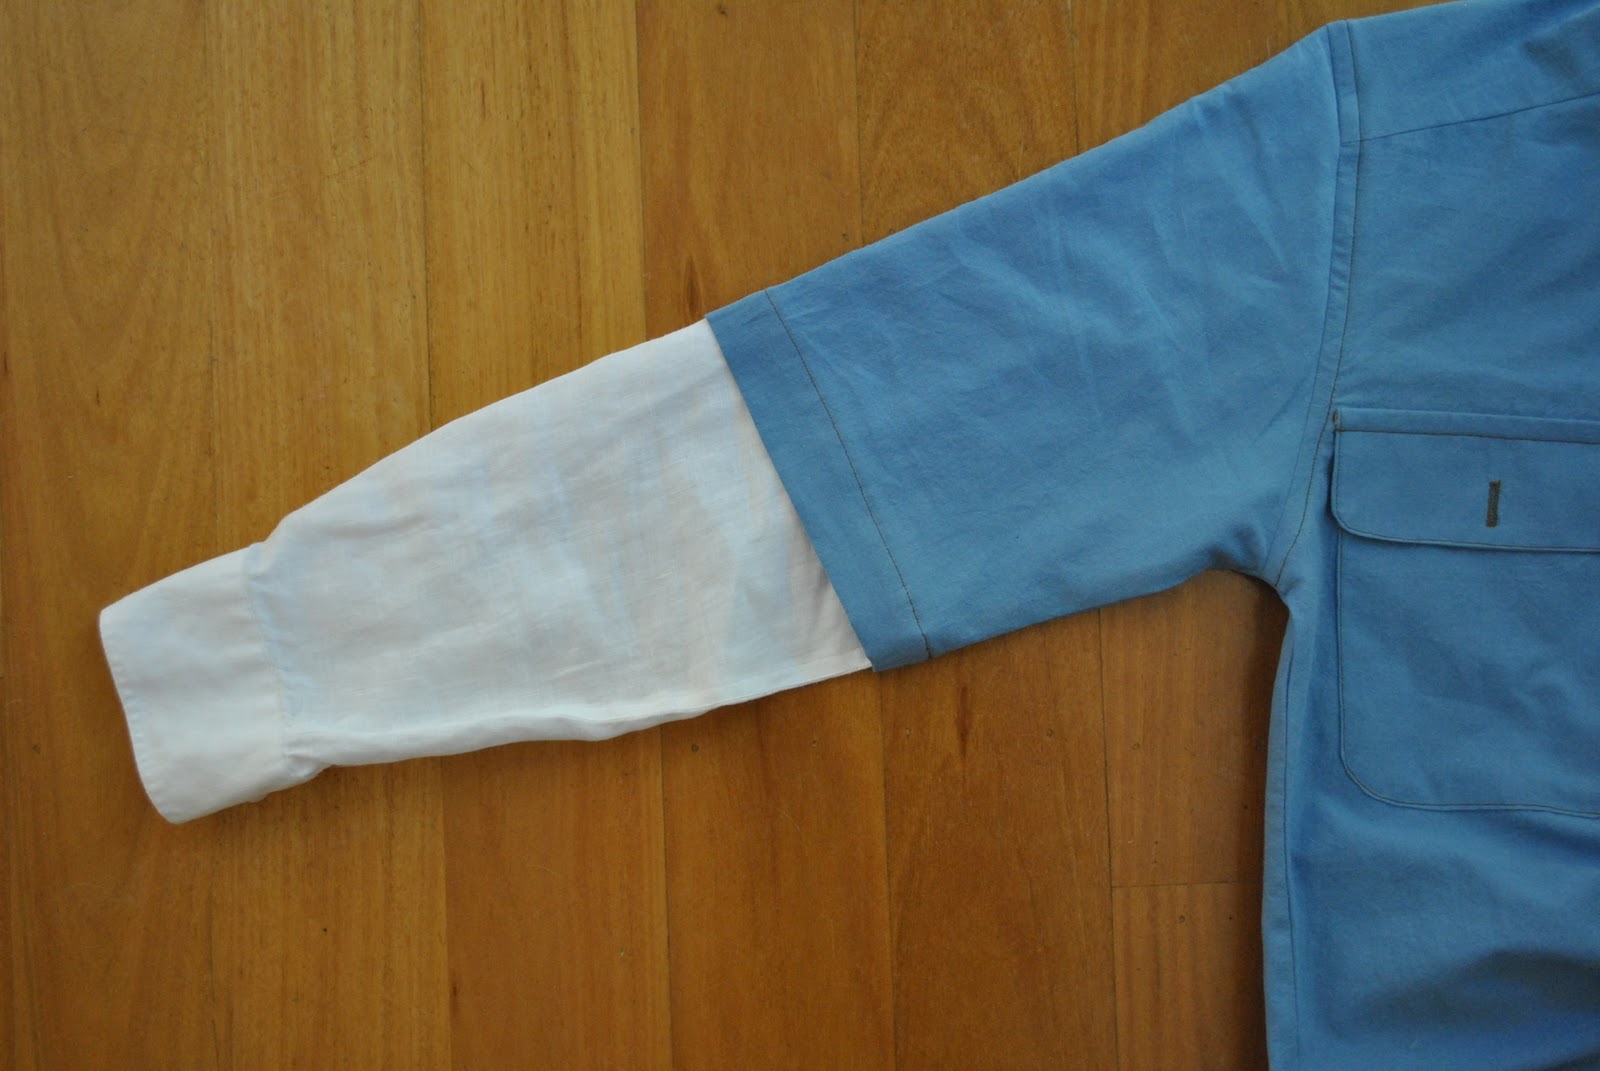
Then I recalled an editorial picture I had seen and loved, of a Celine shirt from pre-fall 2011; which appeared in that picture to have double sleeves.  A long sleeve of a different colour peeping out from underneath a prim high-collared short sleeve shirt…  I had loved this look and mentally filed it away for future use.  Now whammo realised that I had the perfect candidate all ready and waiting!!
So, I went online to find a picture from the original release of the collection (below) and saw straightaway that the sleeve that inspired me is not in fact a double sleeve, but appears to be a single and pieced sleeve with a seam at the midpoint… but by this time I was in love with my falsely inspired idea of the double sleeve and so this was what I set out to do…
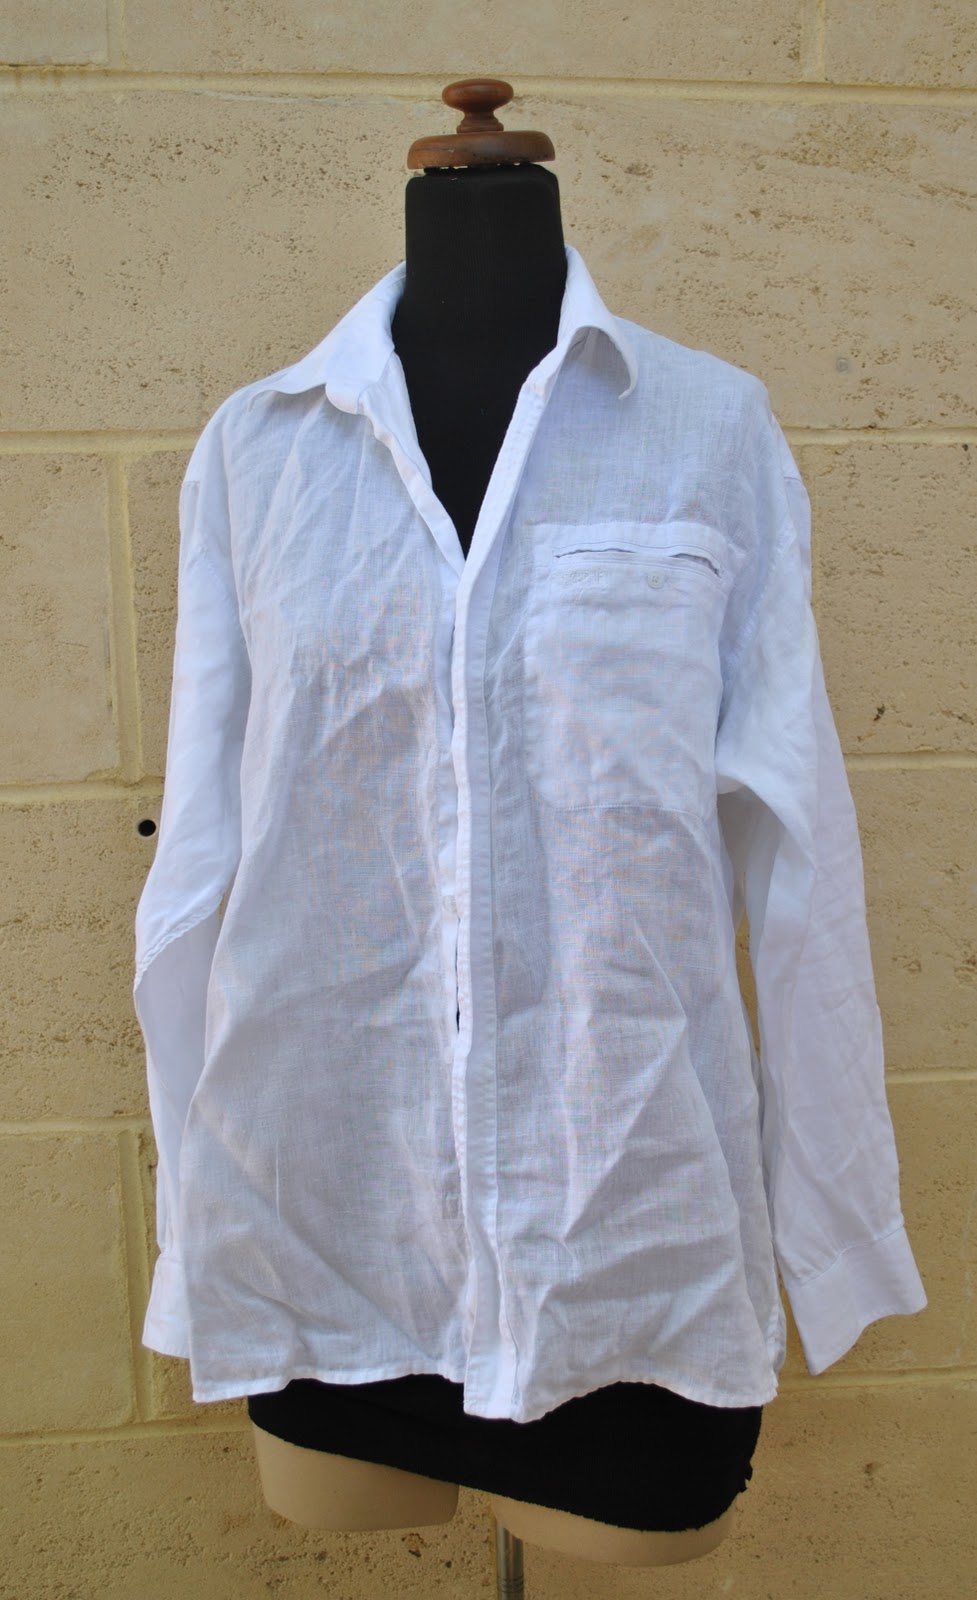
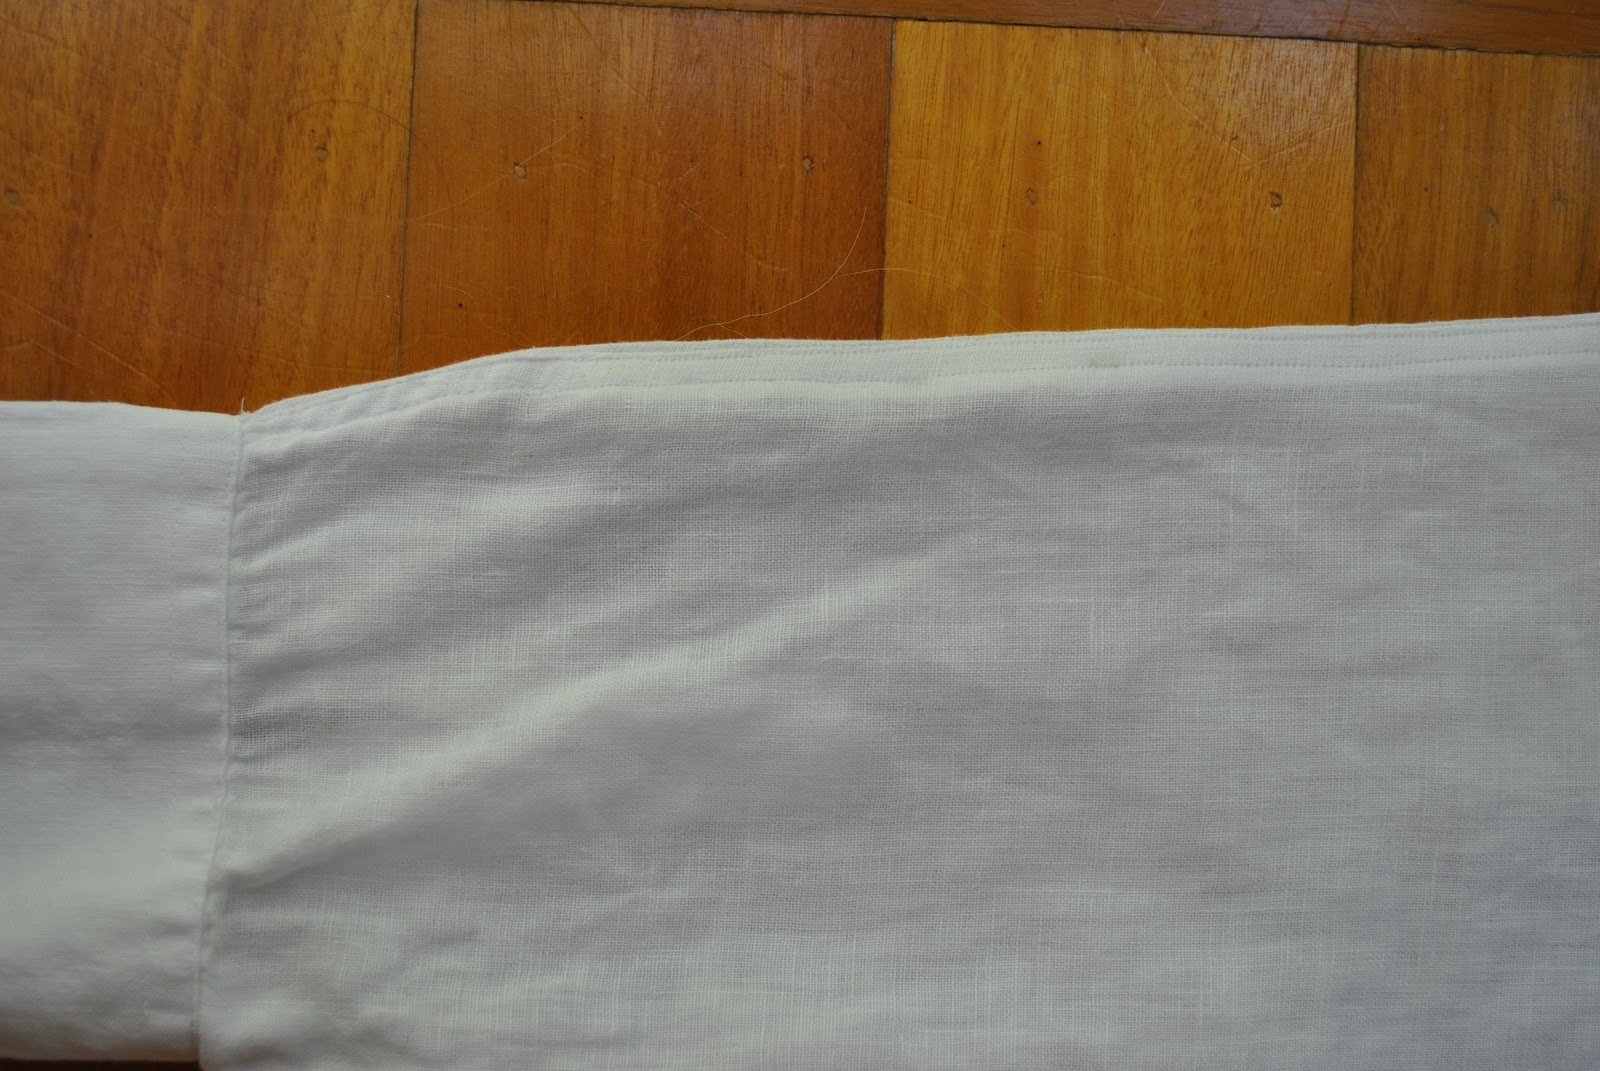
I have had this long sleeve, white linen men’s shirt (below) sitting in my refashion pile for… ahem, mumble years.  Er, hazarding a guess at five? … cough cough.  It doesn’t fit anyone in my mob, but is still pretty well-made and the linen is a lovely fine quality.  I took the scissors to it and liberated its sleeves (the rest of the shirt will be put to good use, don’t worry…)

                                                  source

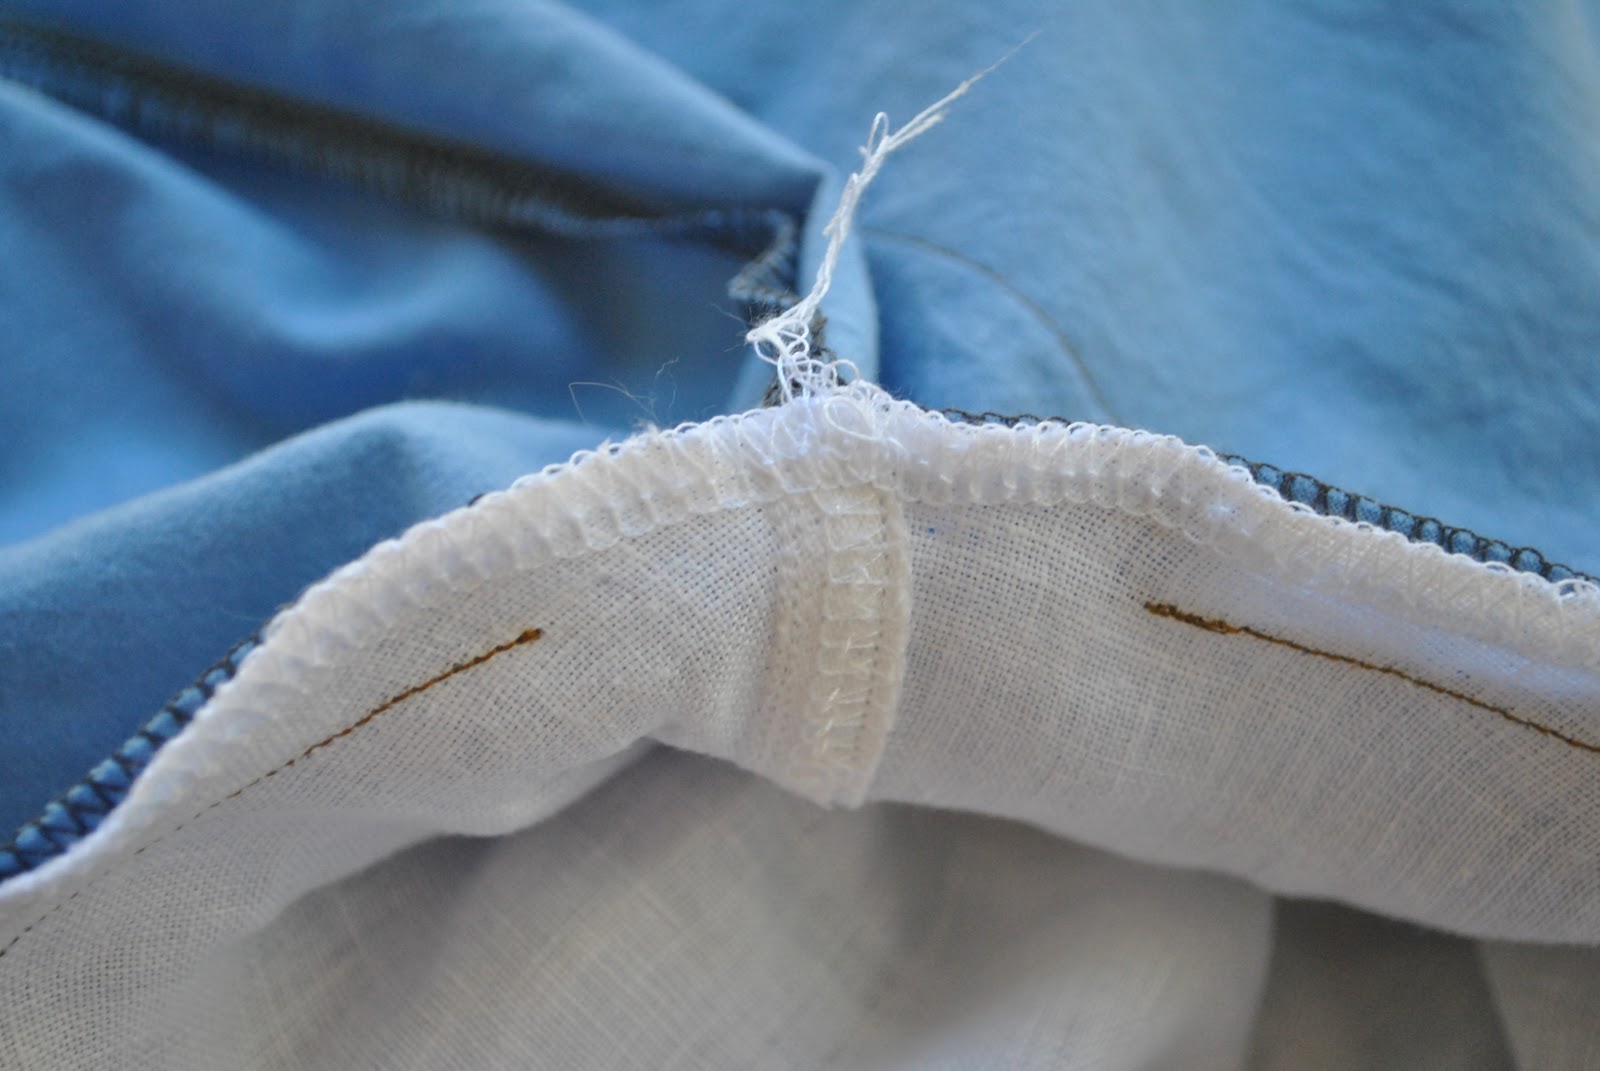
Taking the blue shirt; well I had to cut off my perfect flat felled sleeves and flat felled side seams (a wrench!) and resize the shirt to me, since all my boys are a lot bigger than me.  I’m afraid I just didn’t have the heart to go through re-flat-felling these seams again either, since I was getting severely “shirted-out” by the time I had got to this one; number six.  I was kind of like, oh yeah, whatever, run ’em through the overlocker  (brrrrrrrrr! and 10 seconds later) yup, that’ll do.
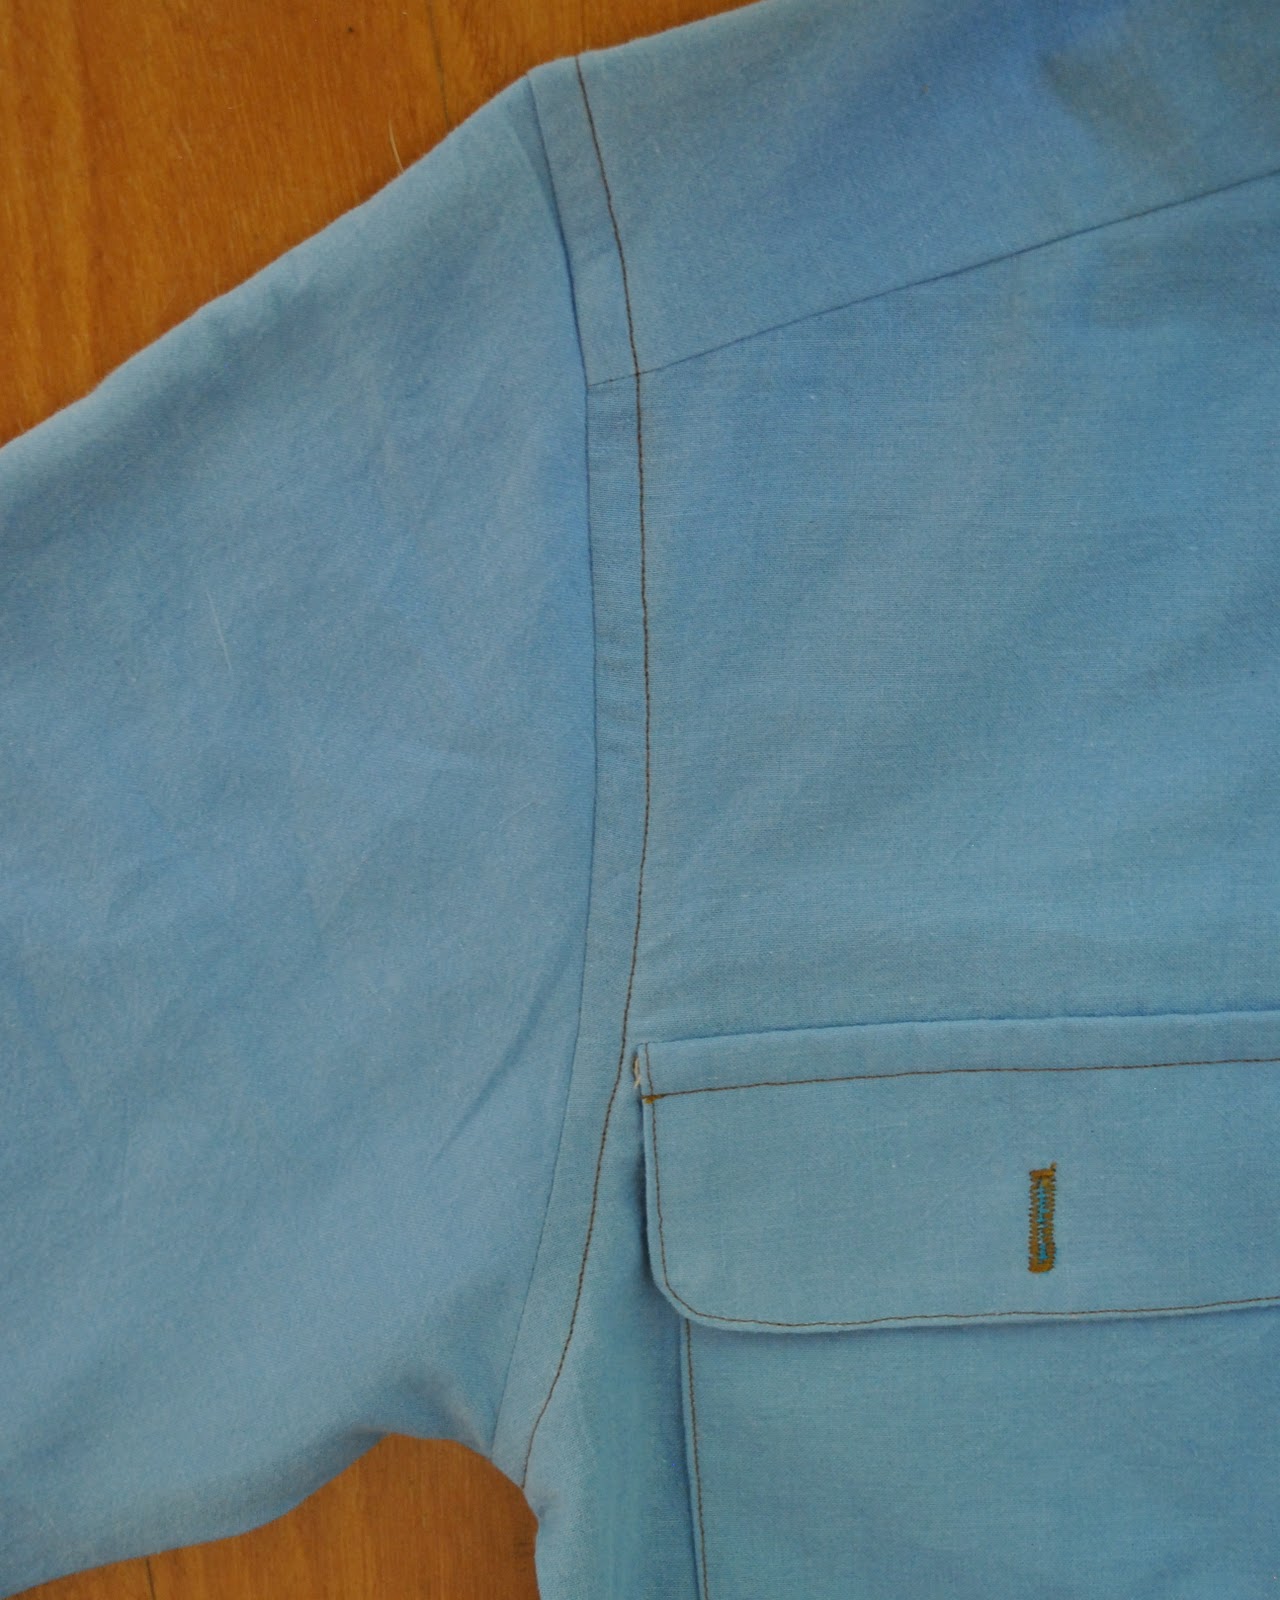
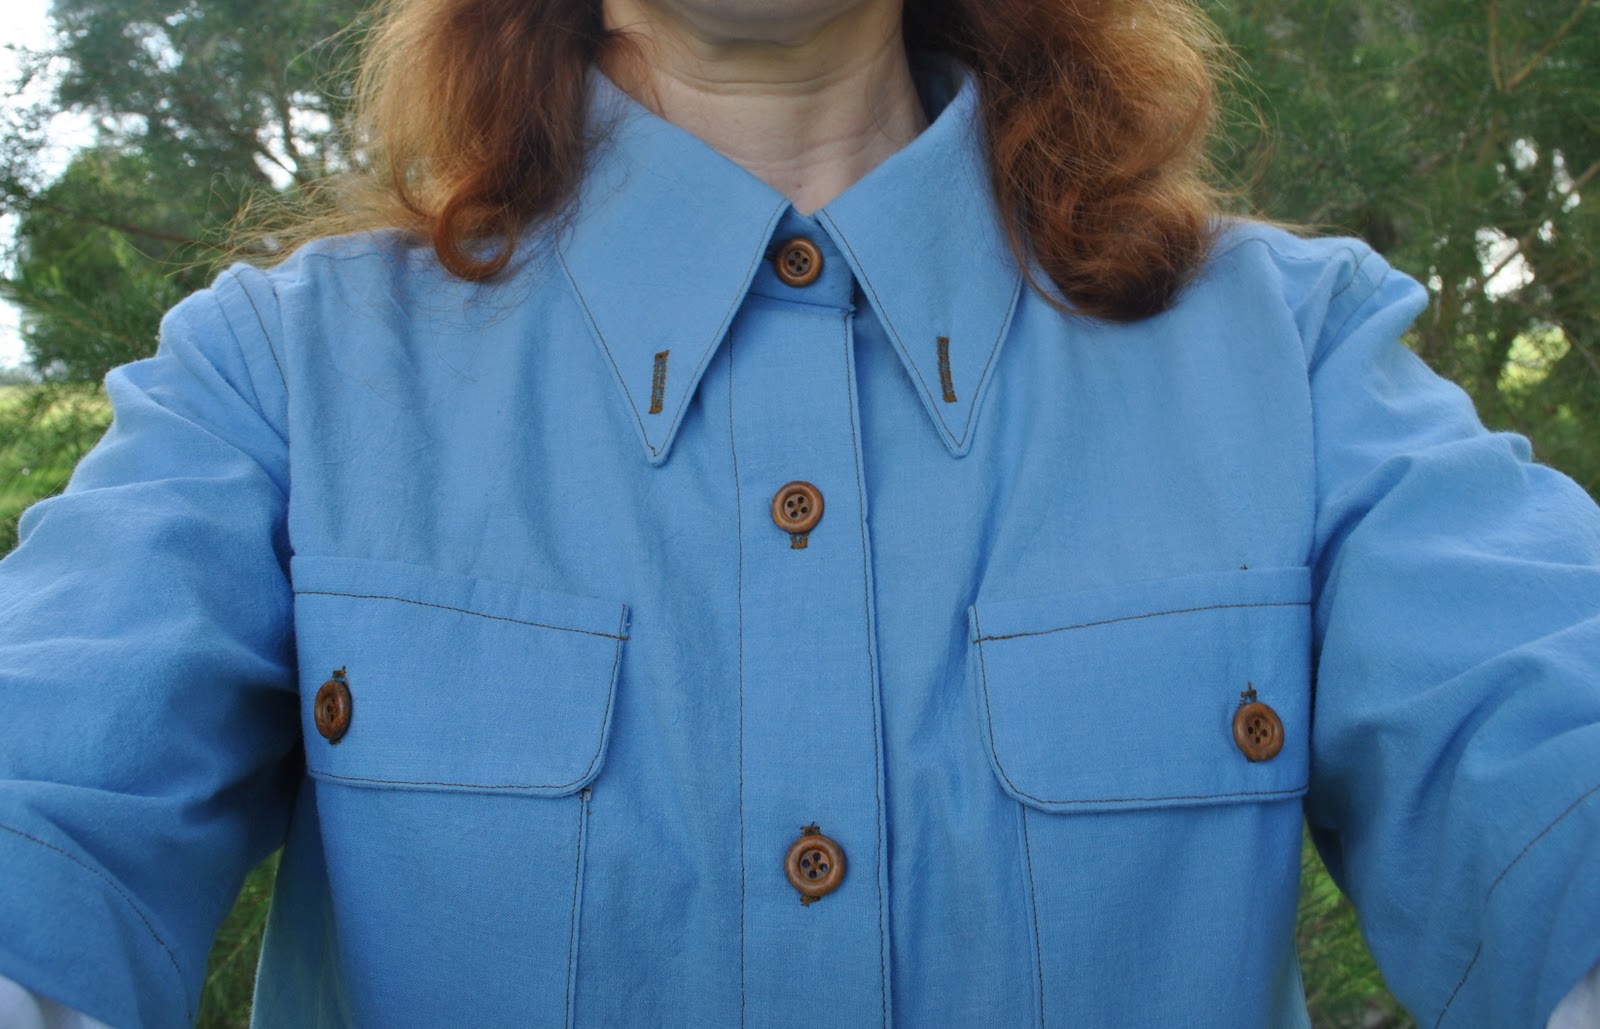
I didn’t unpick the pockets either, and just left them completely in situ.  This is why they appear quite big on my little chest and are disappearing into my armpits.  Hey, I can live with that.  The white linen sleeves were also quite massive on me so needed resizing as well… this turned out to be more challenging that it sounds, since the sleeve seam was a French seam and double top-stitched down in place.  Tricky!  I got there in the end, but the insides are not gorgeous… basically I ended up just overlocking the raw edges of my new seam and double top-stitching this down from the outside to match up with the remainder of the original seam as it goes down in the cuff.  The cuff and the placket both are perfectly double top-stitched, and I wanted to keep all that intact and mimic this finish as much as I could.  I think the seam matched up pretty good, yes?  Can you see where the old topstitching ends and the new begins?

I wanted the sleeves to be fully separate from each other as the white sleeve emerged from out of the blue sleeve, which was a bit of a puzzle to mesh together…  I ended up deciding to sew the blue sleevecap in flat, sew up and finish the sleeve and side seams of the shirt; and then after this set in the white linen sleeve.  This meant the white sleeves could only be machine stitched in so far.

I completed the set-in by hand.

Last step; to topstitch the allowances of both sleeves together down to the shirt body…

Just to show the garment full-length… (might not wear it this way much)

Luckily I hadn’t yet done the buttonholes on the shirt and so could put them on the “female” side of the shirt.  I love these gorgeous wooden buttons from Fabulous Fabrics, the same ones that Sam chose for his shirt here.

Details:
Shirt; Burda 7767 modified, of shot cotton in Sky and with long white sleeves from an old shirt
Skirt; Vogue 8363 modified, of burnt orange raw silk, details here, my review of this pattern here, and see this skirt styled in 6 different ways here
Shoes; Bensimon, from seed

pinterestmail

On the rocks…

… in my on-going part-time quest to get great pictures with my dog; can you see her?  She is there in the picture… just.
Camouflaged well in amongst the rocks…
Blue and green together is such a great summer time colour combination.  They look so fresh and clean together.
In sewing news; I am squeezing an insane amount of sewing in amongst glasses of champagne, canapes, and strawberries and small pieces of chocolate fudge cake impaled on skewers so you can dip them into a chocolate fountain…  and btw, YUM  (it’s a tough life but somebody has to do it)  But all my current projects are top secret coal-and-dagger stuff; mwahaha.  To be revealed at a later date….

Details:
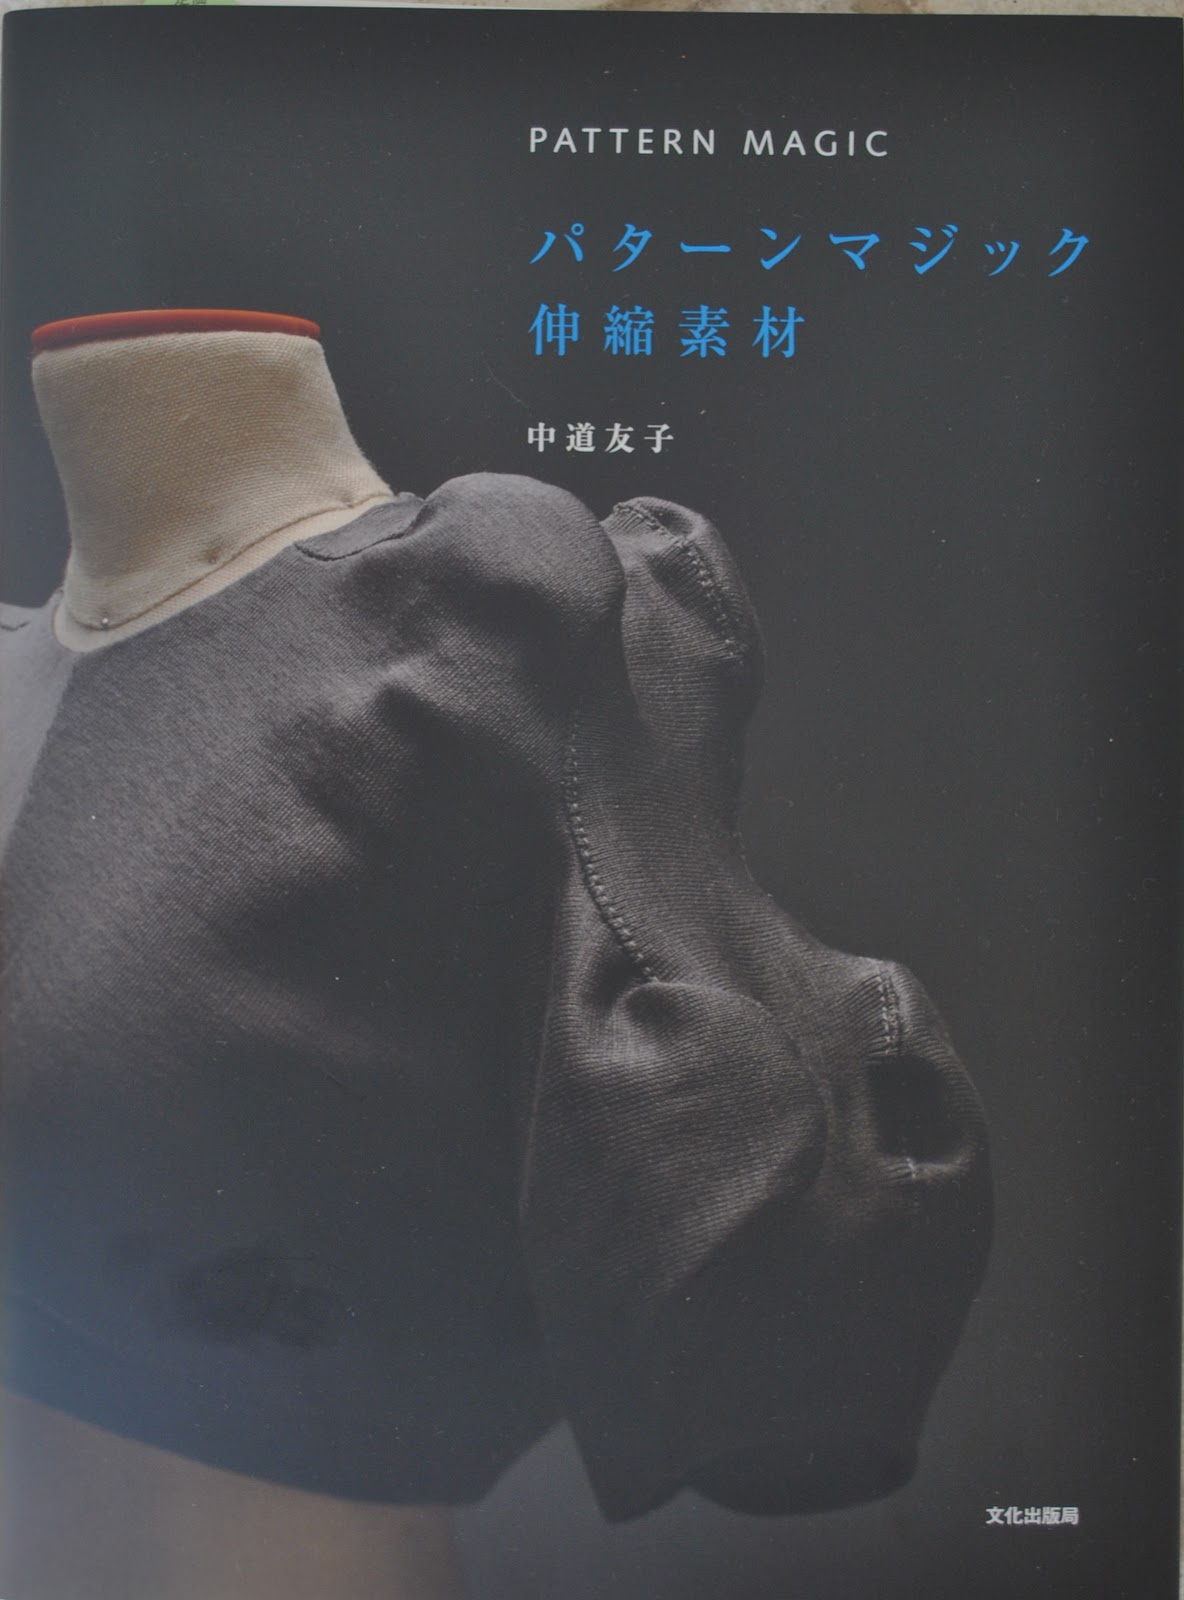
Top; from Pattern Magic 3 by Tomoko Nakamichi, green cotton jersey, details here
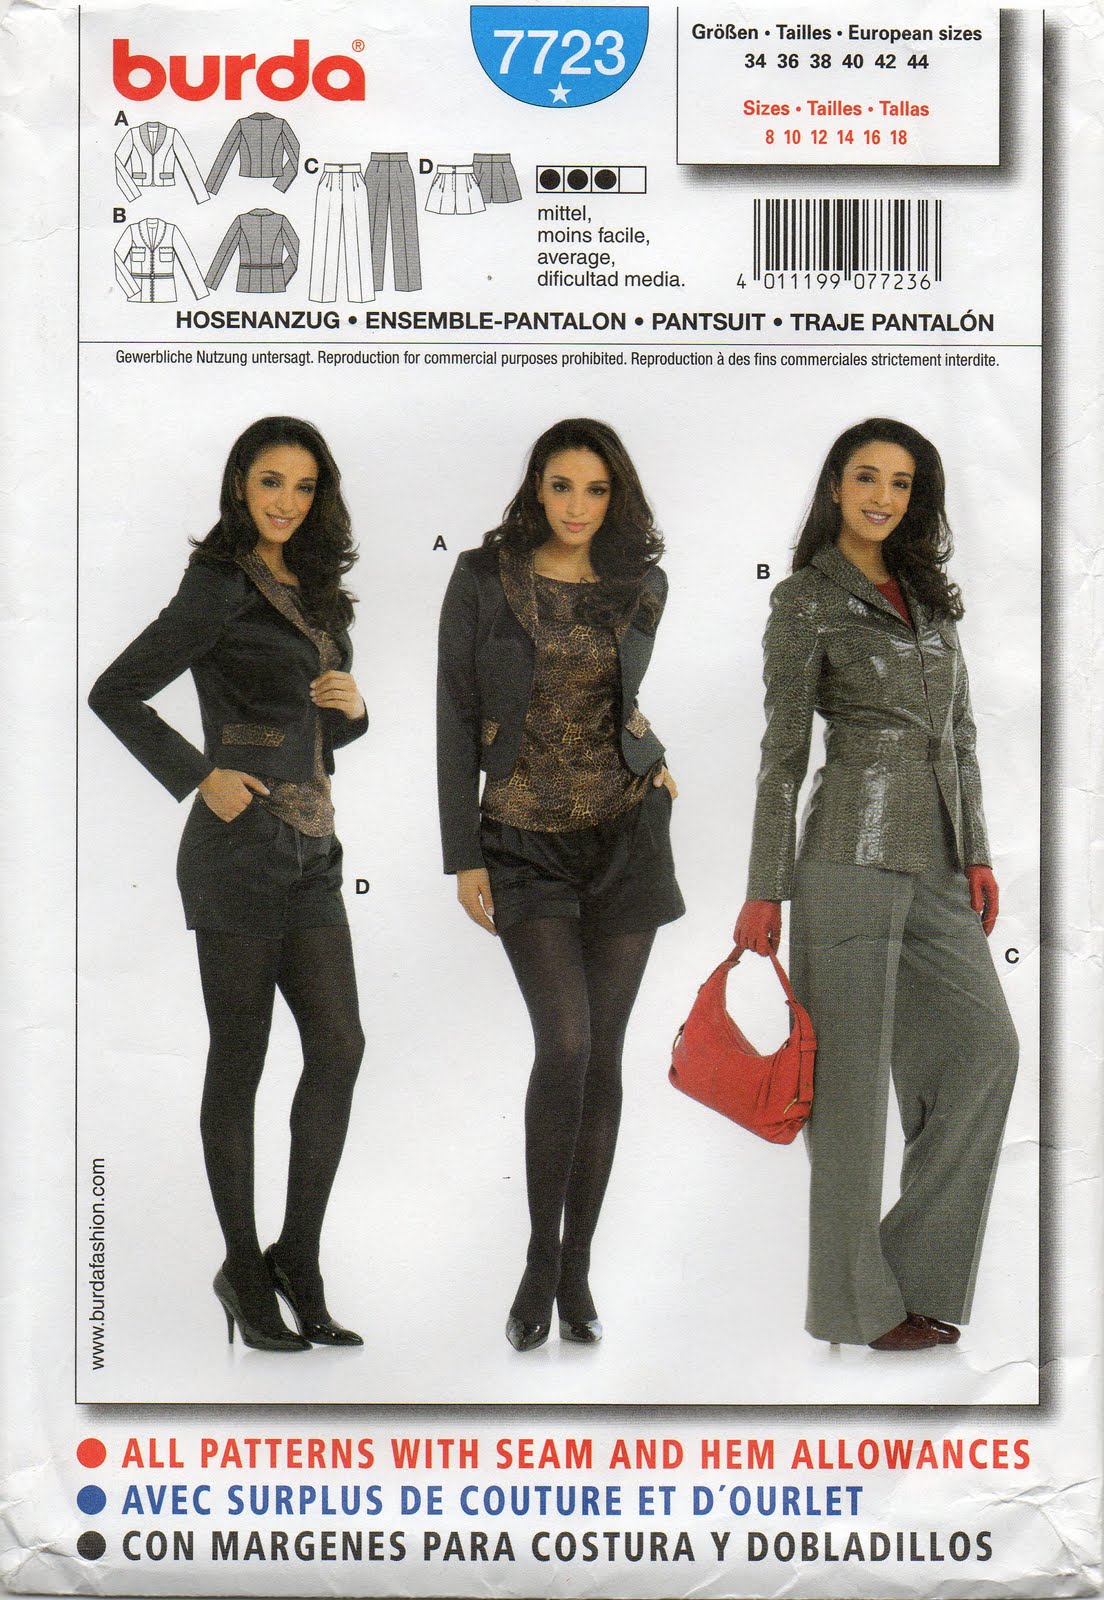
Shorts; Burda 7723, white linen, details here and my review of this pattern here
Cardigan; Metalicus

ps. she is the slightly more orange “rock” at the top left.

pinterestmail

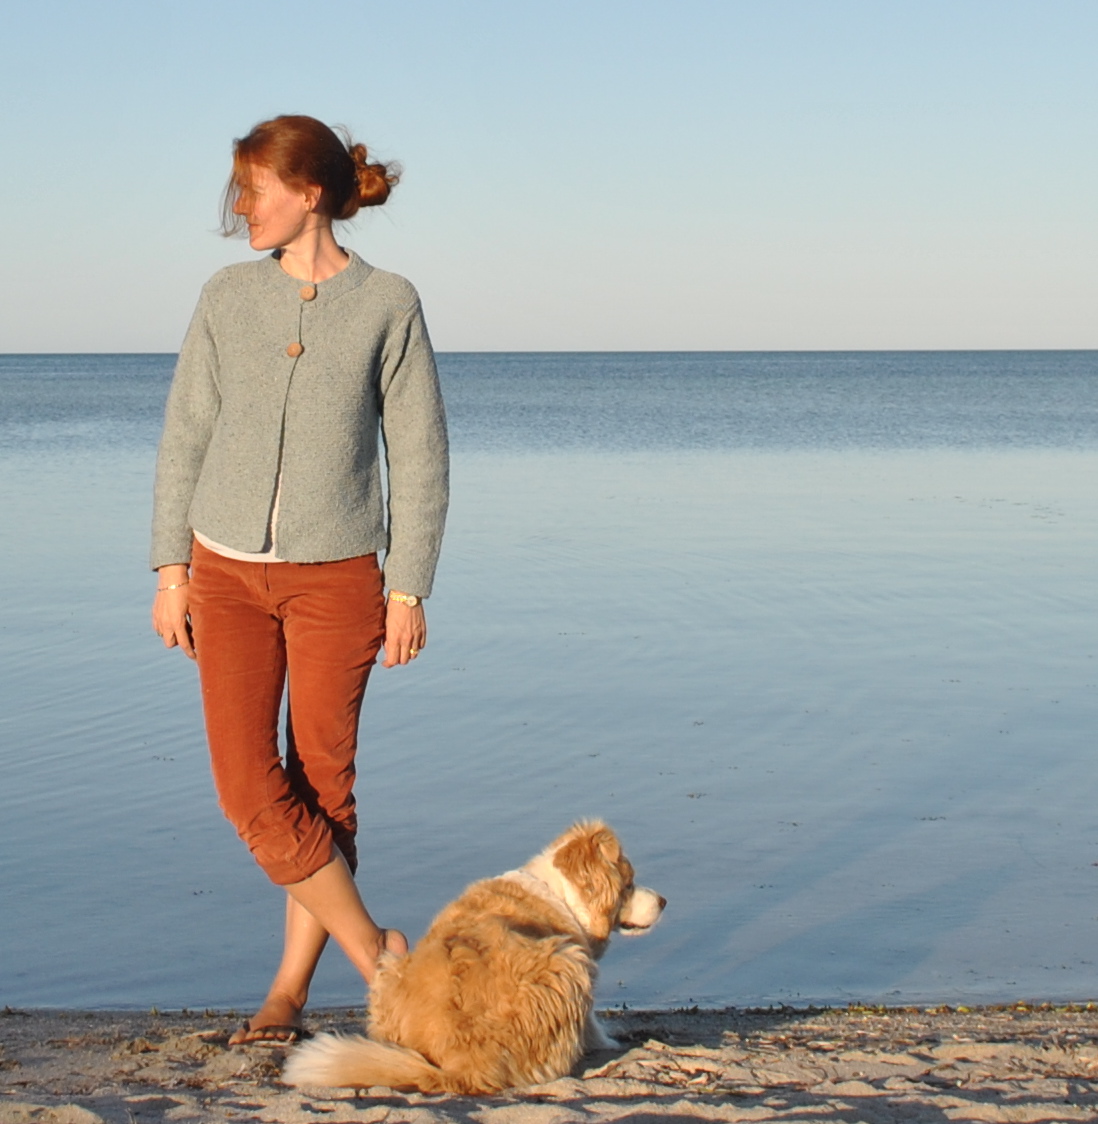
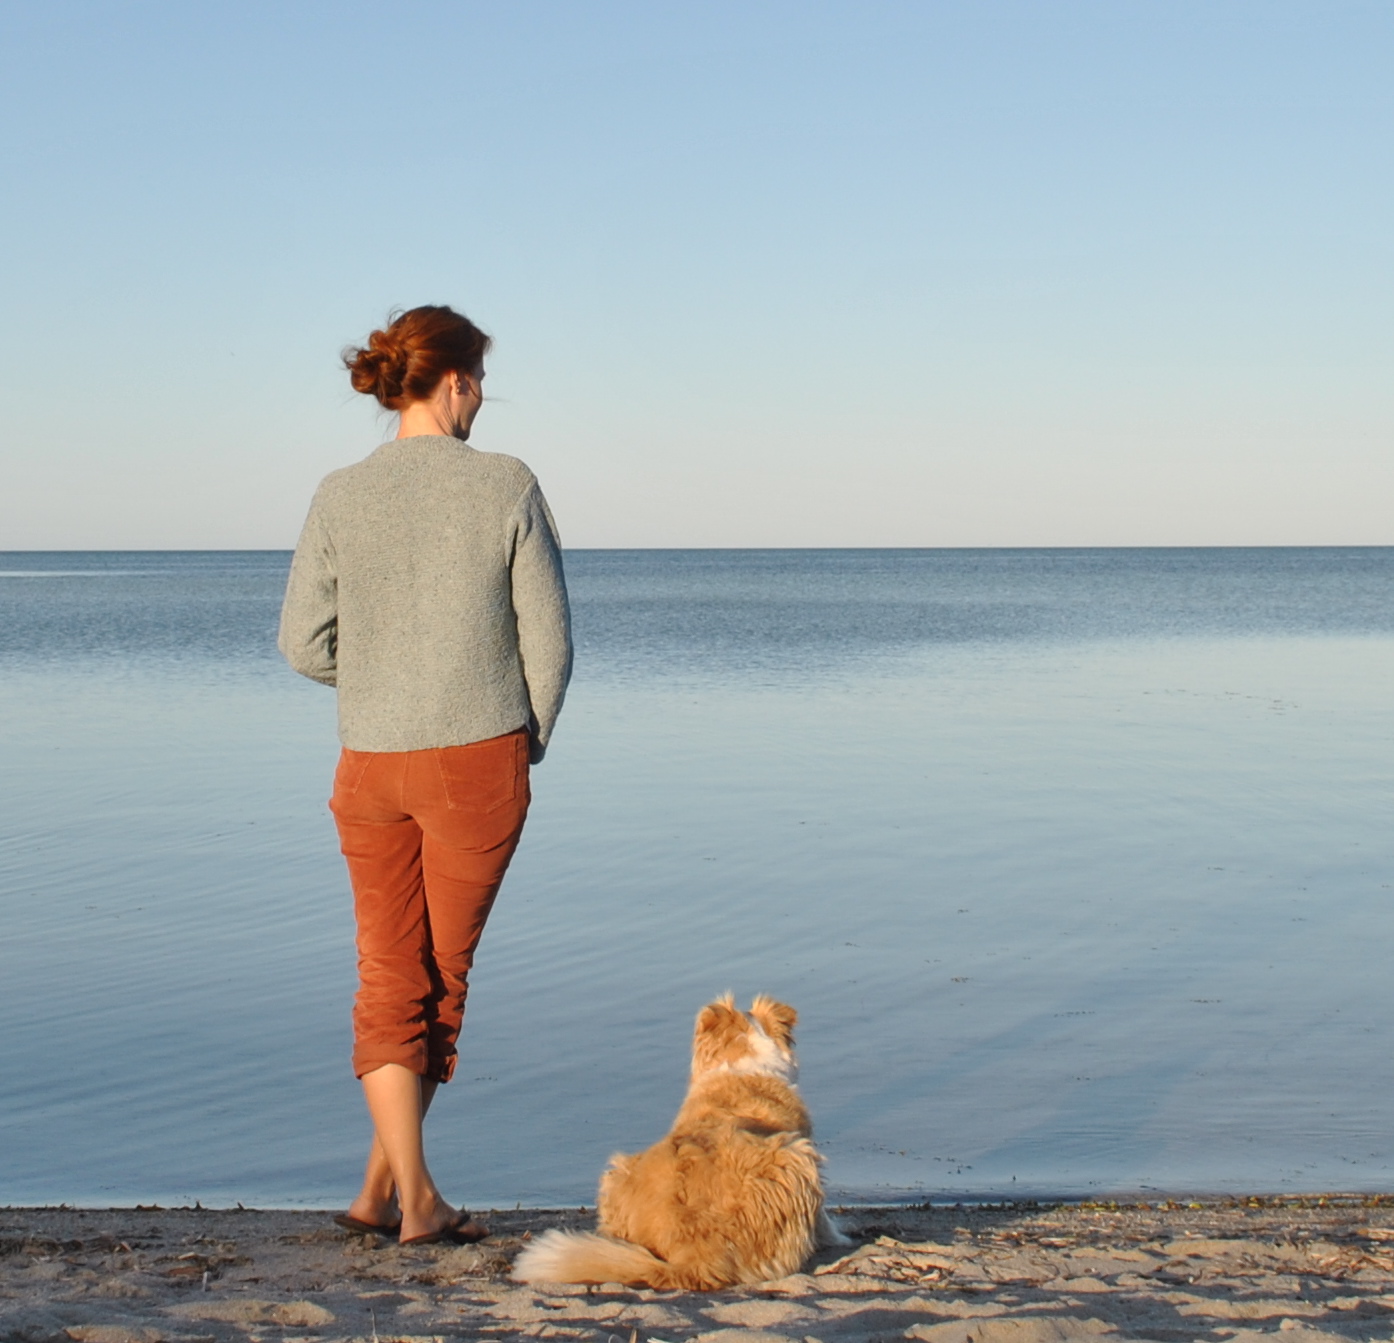
Iceberg garter-stitch jacket

With impeccable timing I have finished a toasty warm little knitted jacket.  Yeaah, just in time for these really hot hot summer days ahead, hehe…   I’m a bit sad about having to pack it away for a while, but that’s my own silly fault for starting my new winter cardi during winter. 😉 It is the shorter (version 1) Garter Jacket from Jo Sharp Knit 6…  As soon as I laid eyes on this design I loved the boxy shape and interesting stitch arrangement but when I saw an actual made-up example in real life I thought it was a bit bulky and a bit big in the body for my tastes.  So I took a punt that using a finer gauge yarn could work out quite good…. and I think it did!  Basically instead of using the thicker gauge Aran Tweed recommended in the instructions I used the thinner DK Tweed, knitted up to its own recommended tension (not the one in the pattern instructions for the thicker yarn) and I also knitted up the very smallest size.  I still followed all the instructions for number of stitches and rows etc… but the smaller scale gauge of the thinner yarn resulted in a smaller and finer cardi; not too thick and just right in my opinion. Another bonus to this approach was that I needed only 9 balls, as opposed to the 11 balls required in the thicker yarn.
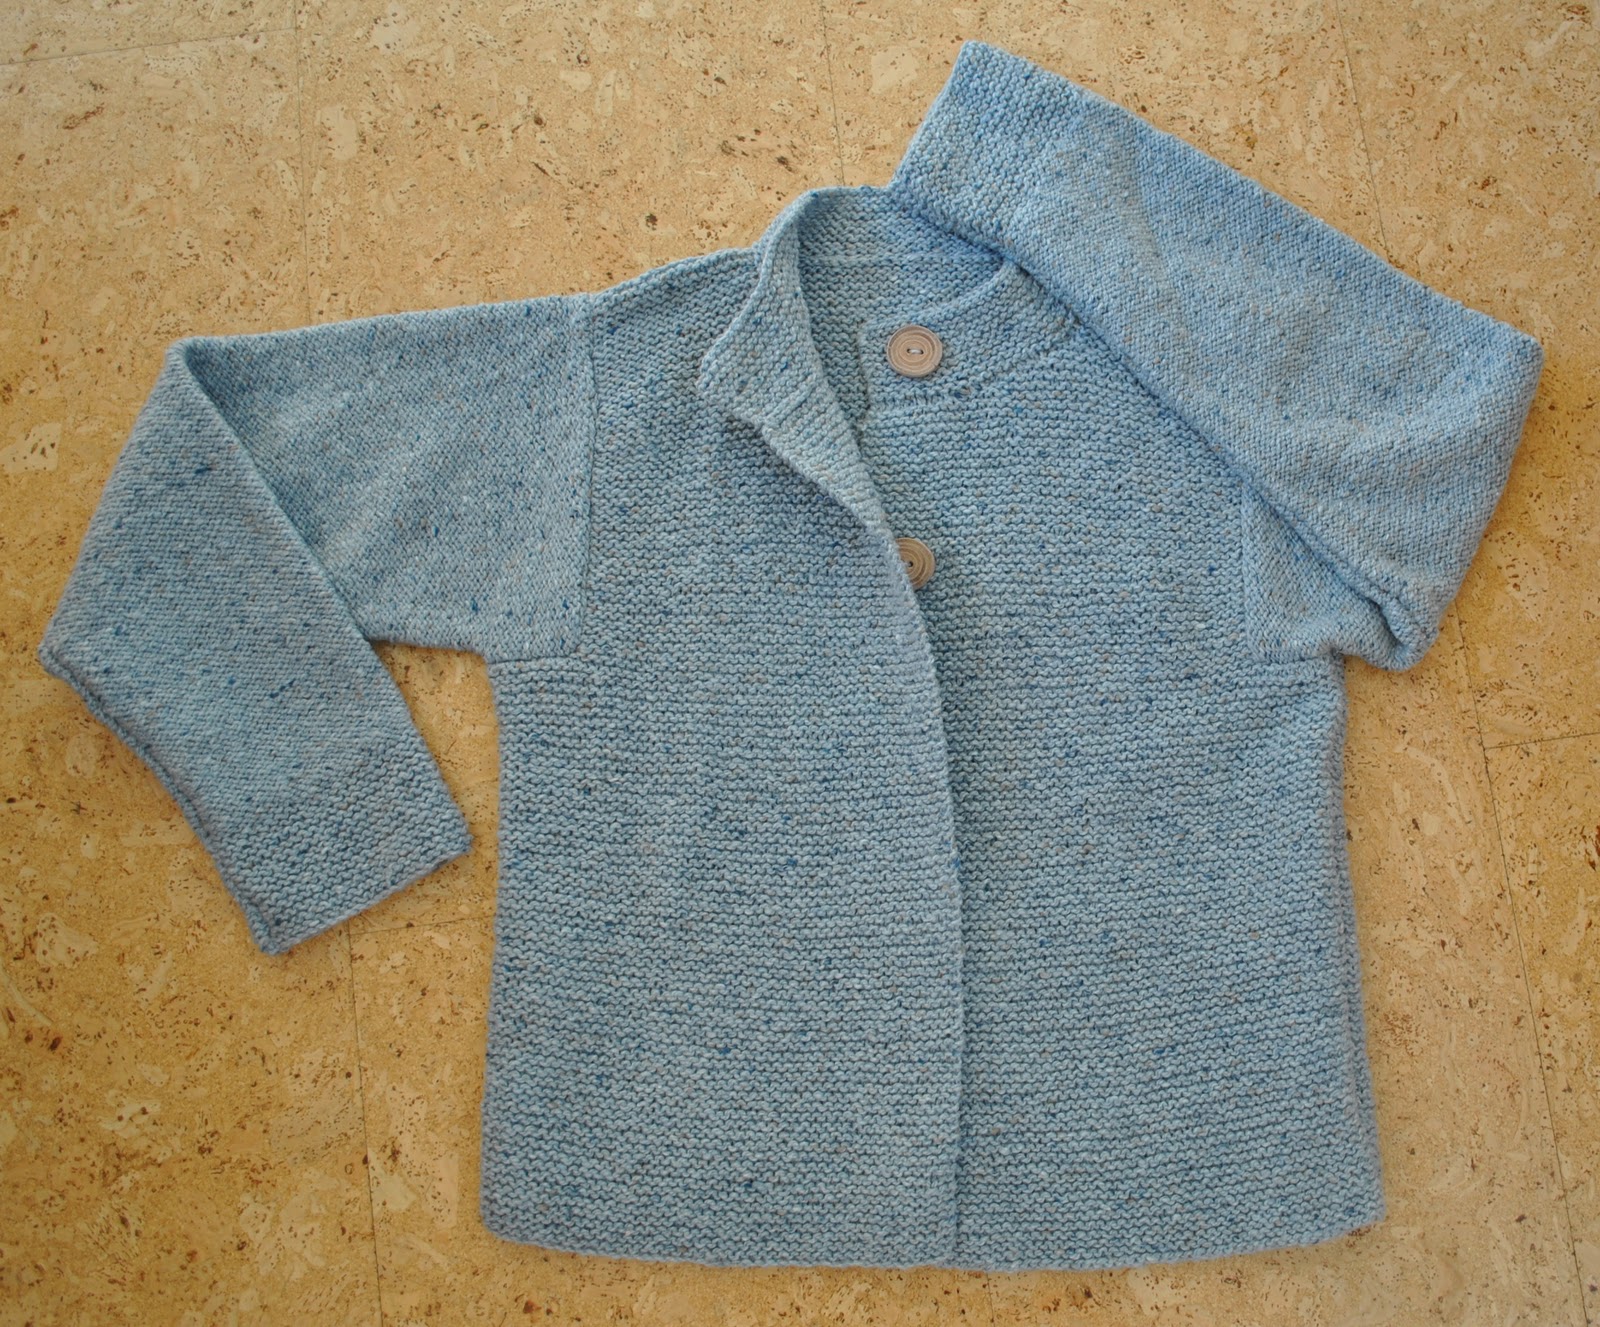
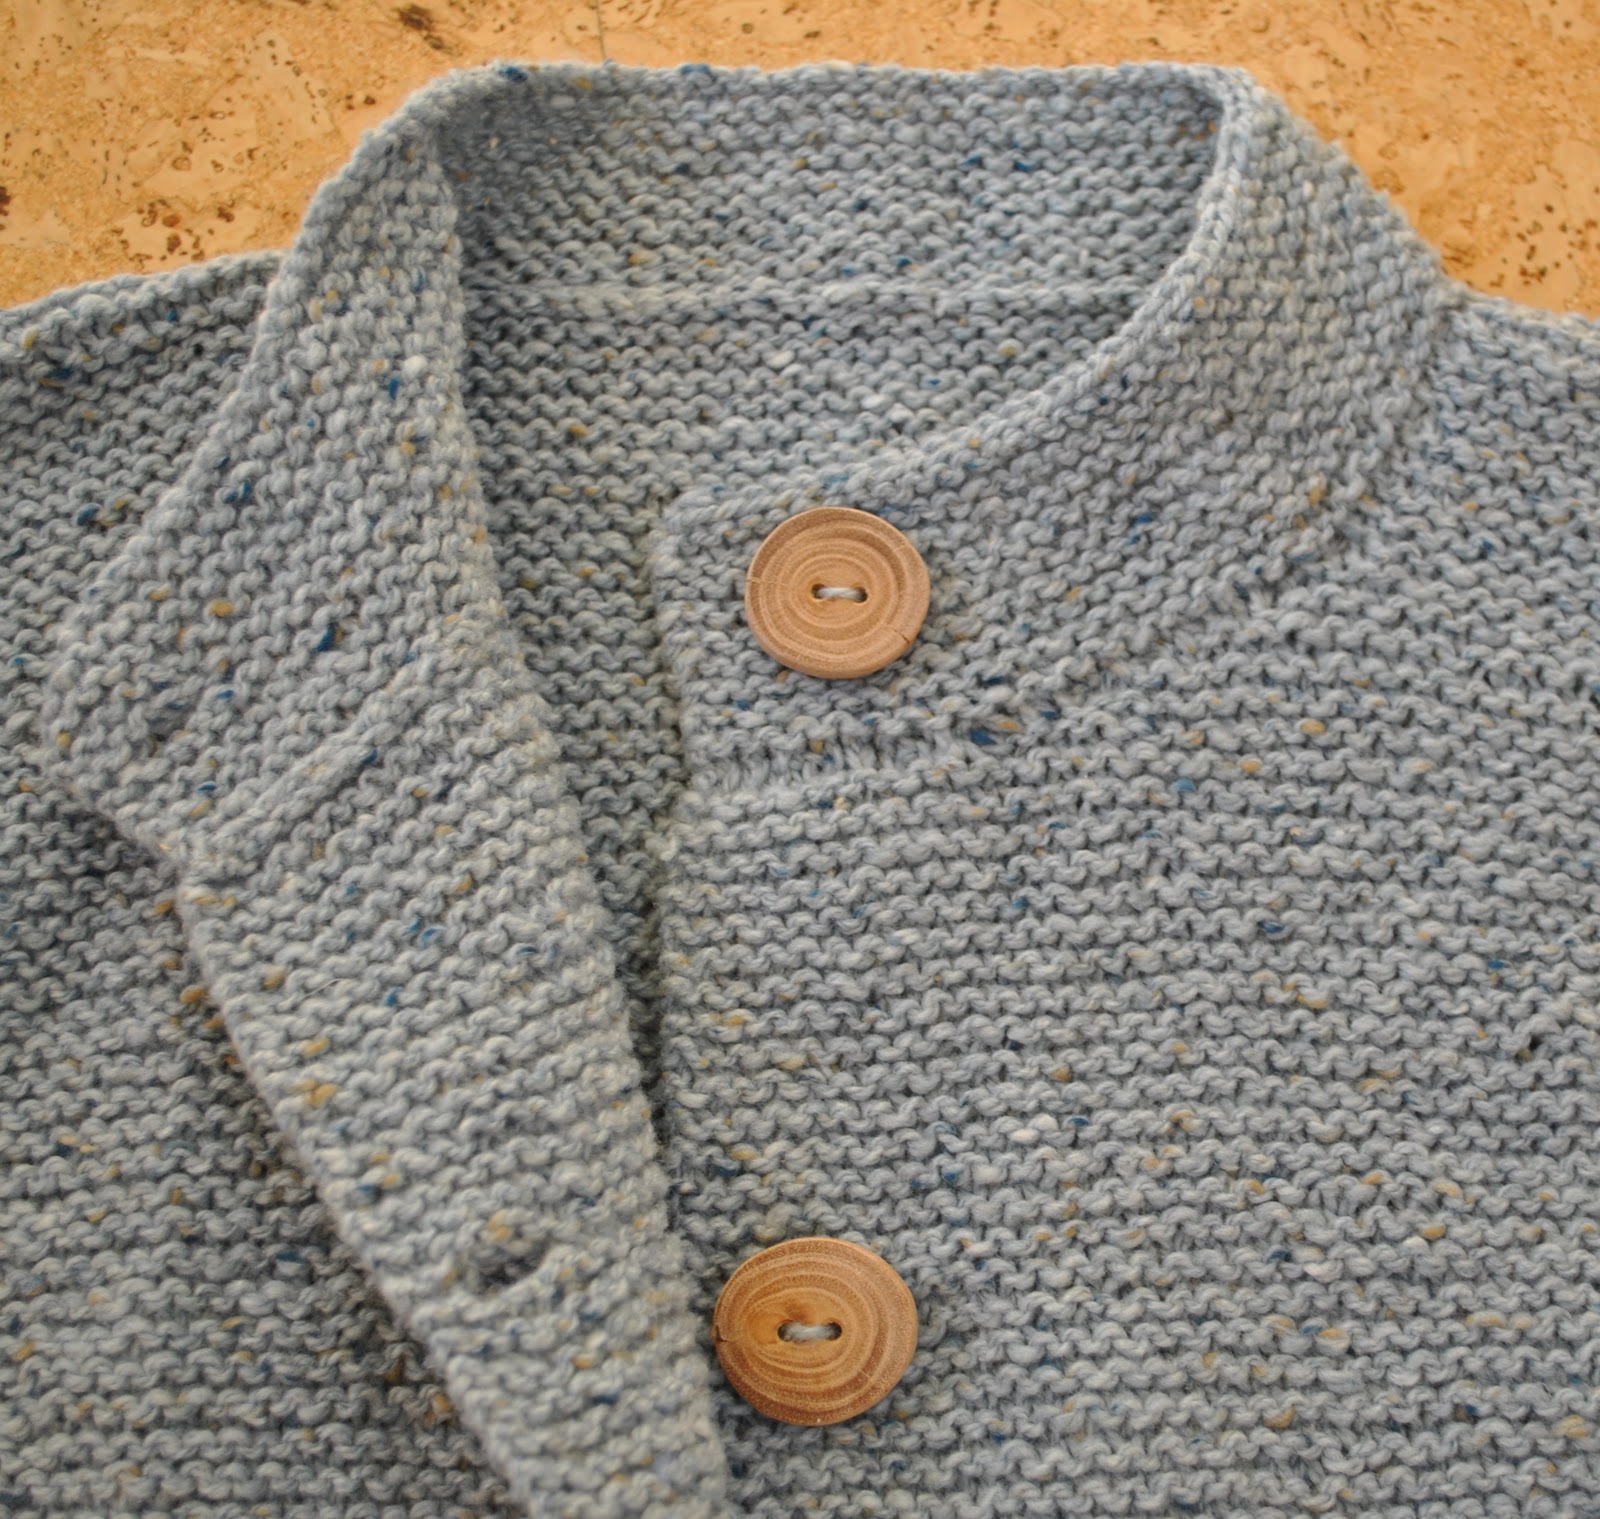
Those gorgeous wooden buttons are made by Dad.  Thank you Dad!  I am lucky to have such a clever father.

Details:
Cardigan; Garter stitch jacket from Jo Sharp Knit 6, in Jo Sharp Silkroad DK Tweed in colour Iceberg
(the individual pattern is available by digital download here)
Jeans; Burda 7863 modified, rusty stretch corduroy, details here and my review of this pattern here

pinterestmail
Switch to mobile version
↓