Tag Archives: Lounge Suite Recover

Sage green lounge suite

I am so proud of my latest project that I will not sully the experience by babbling about it…

Oh OK then, I will.  Cannot resist a little showing off, hehe…  ðŸ˜€
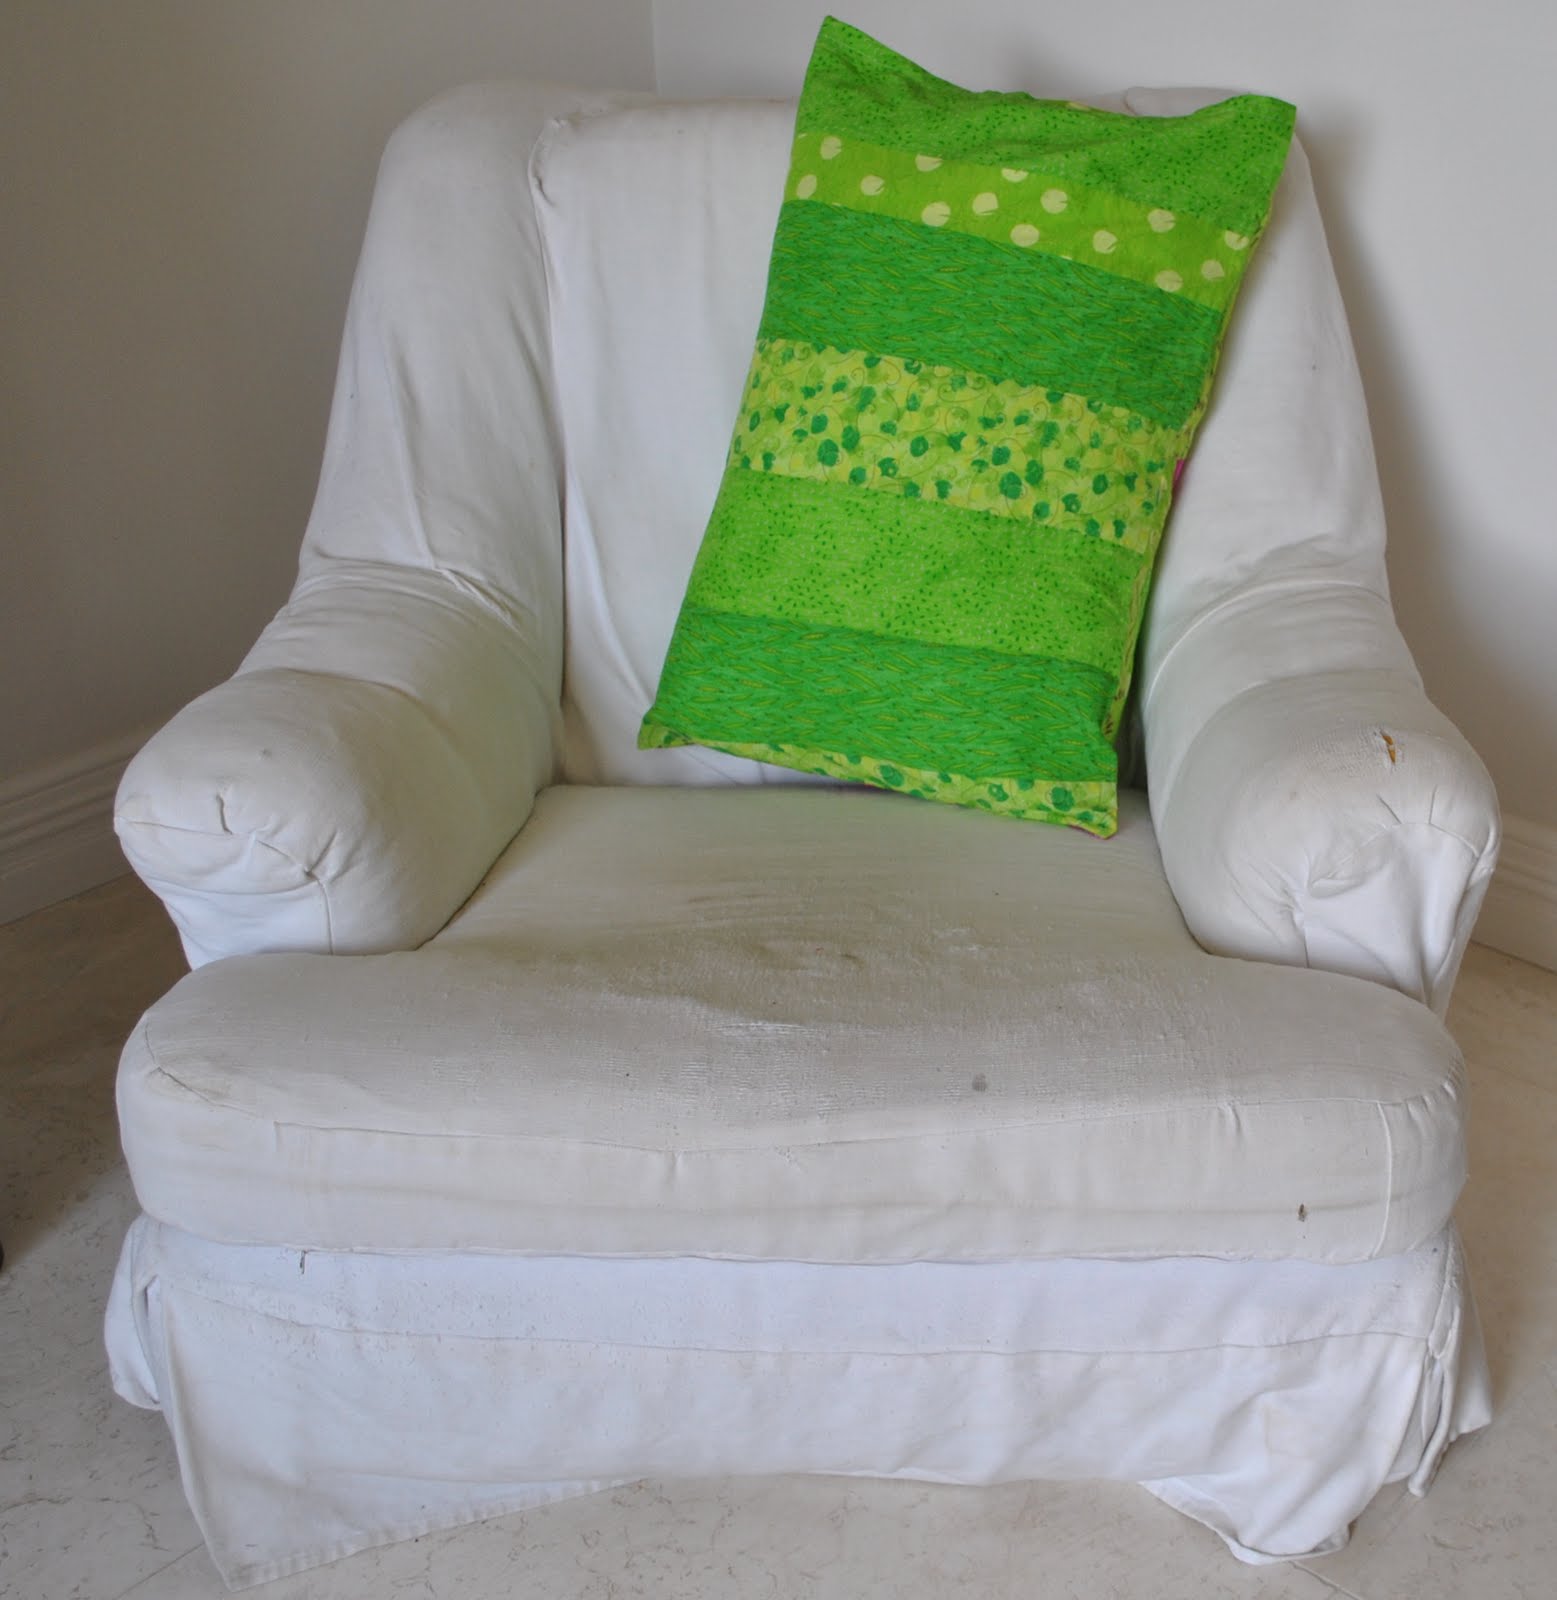
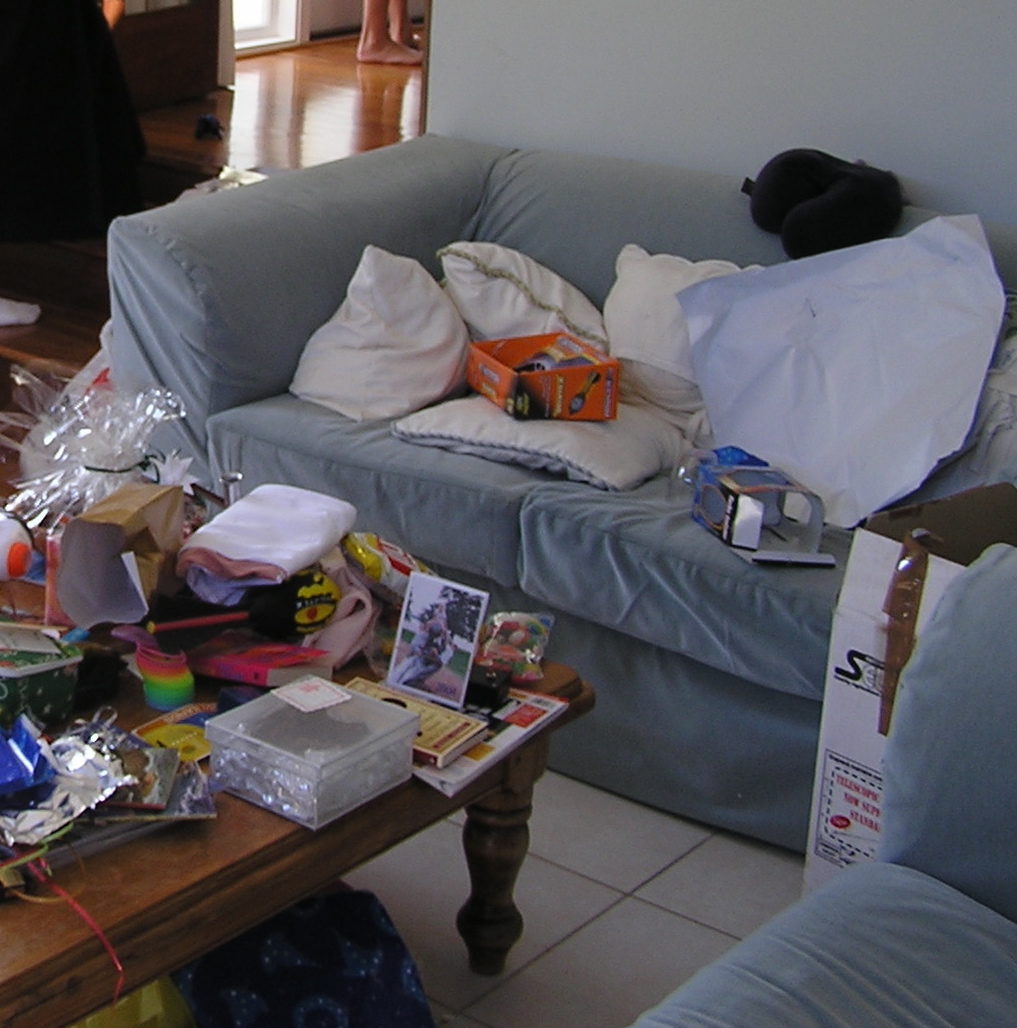
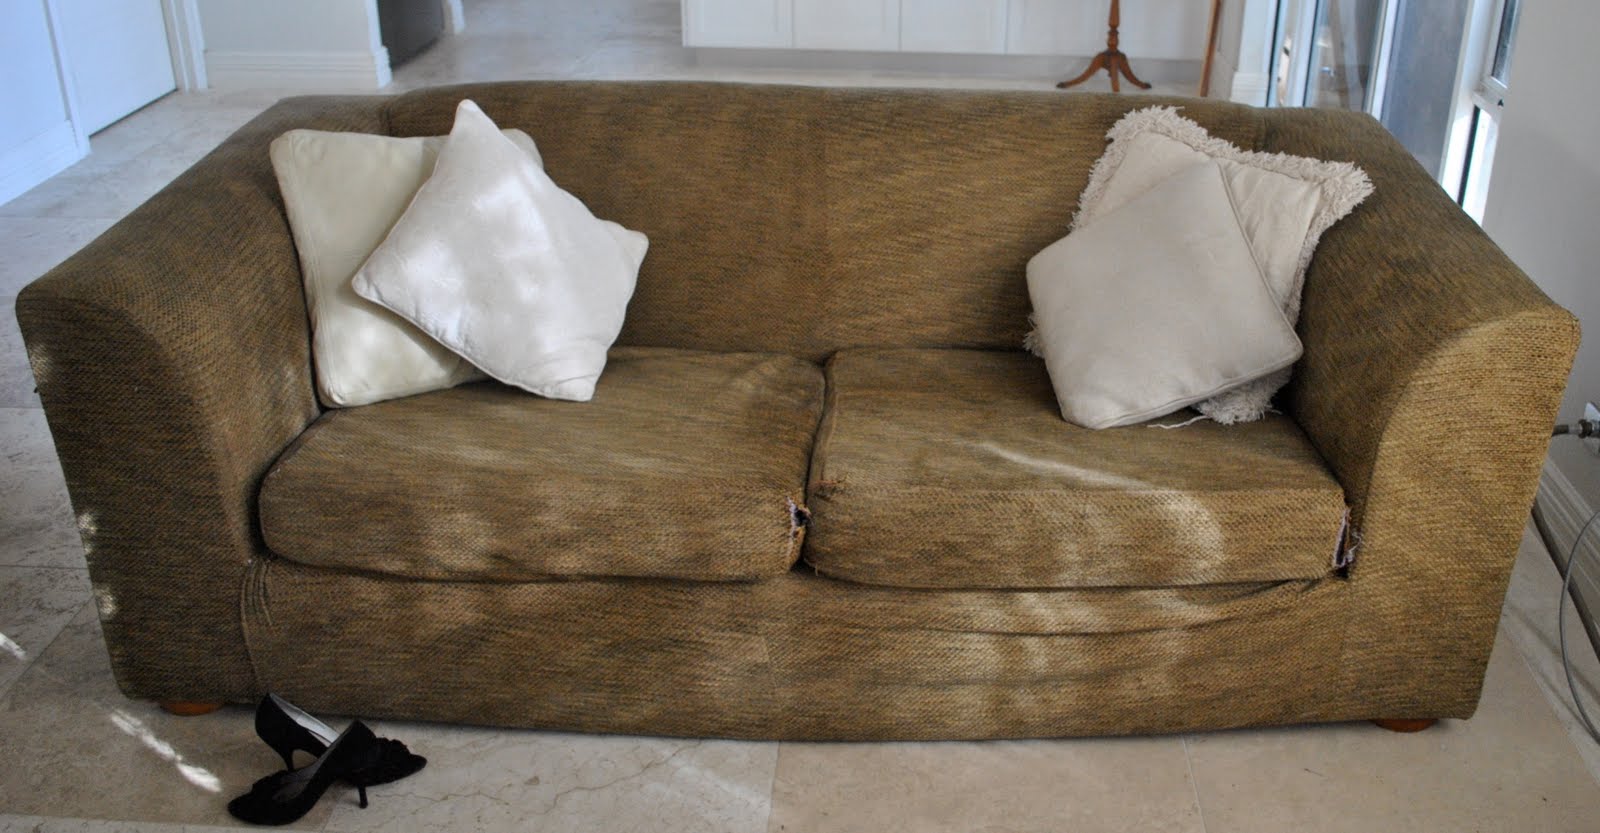
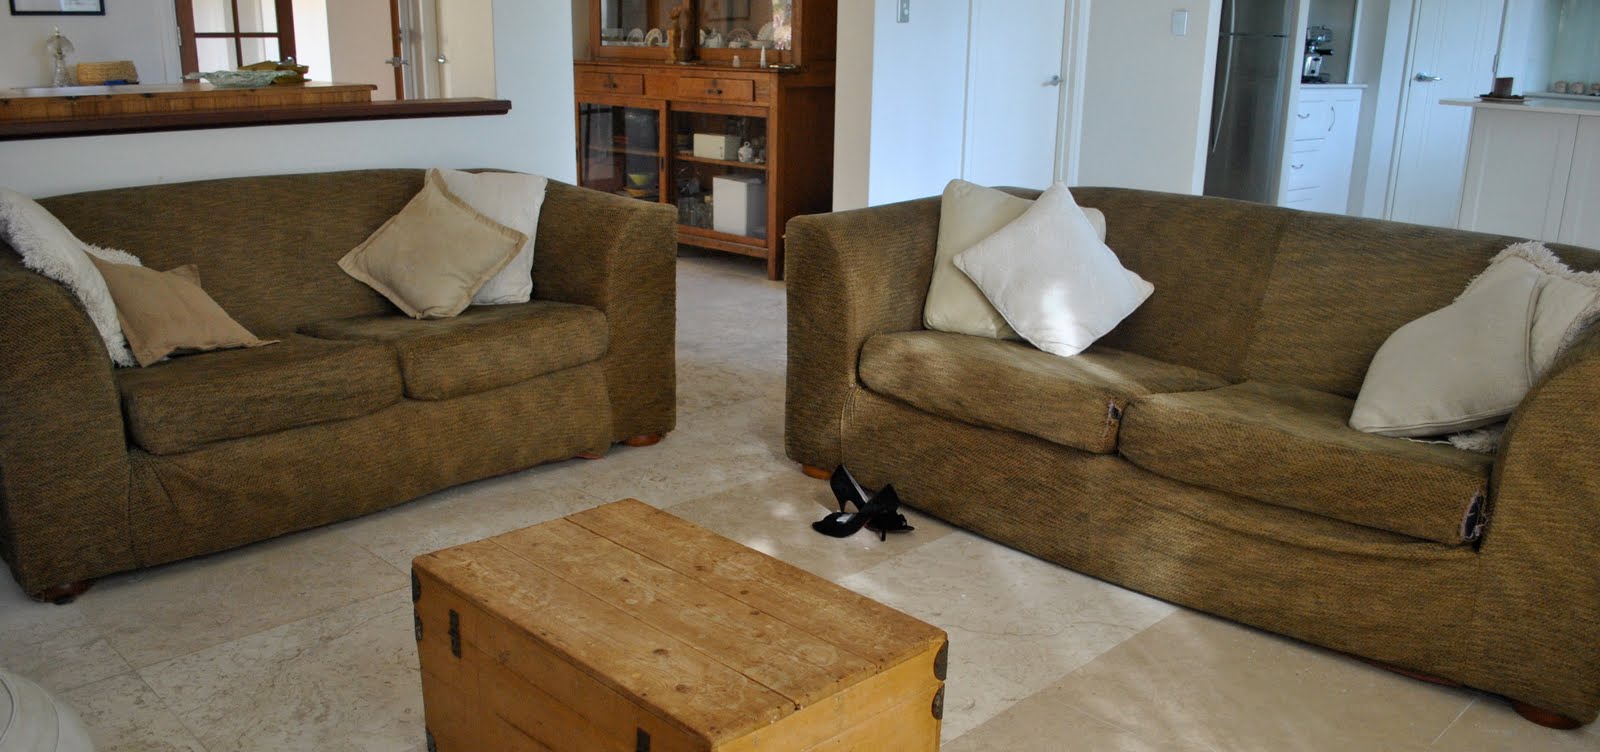
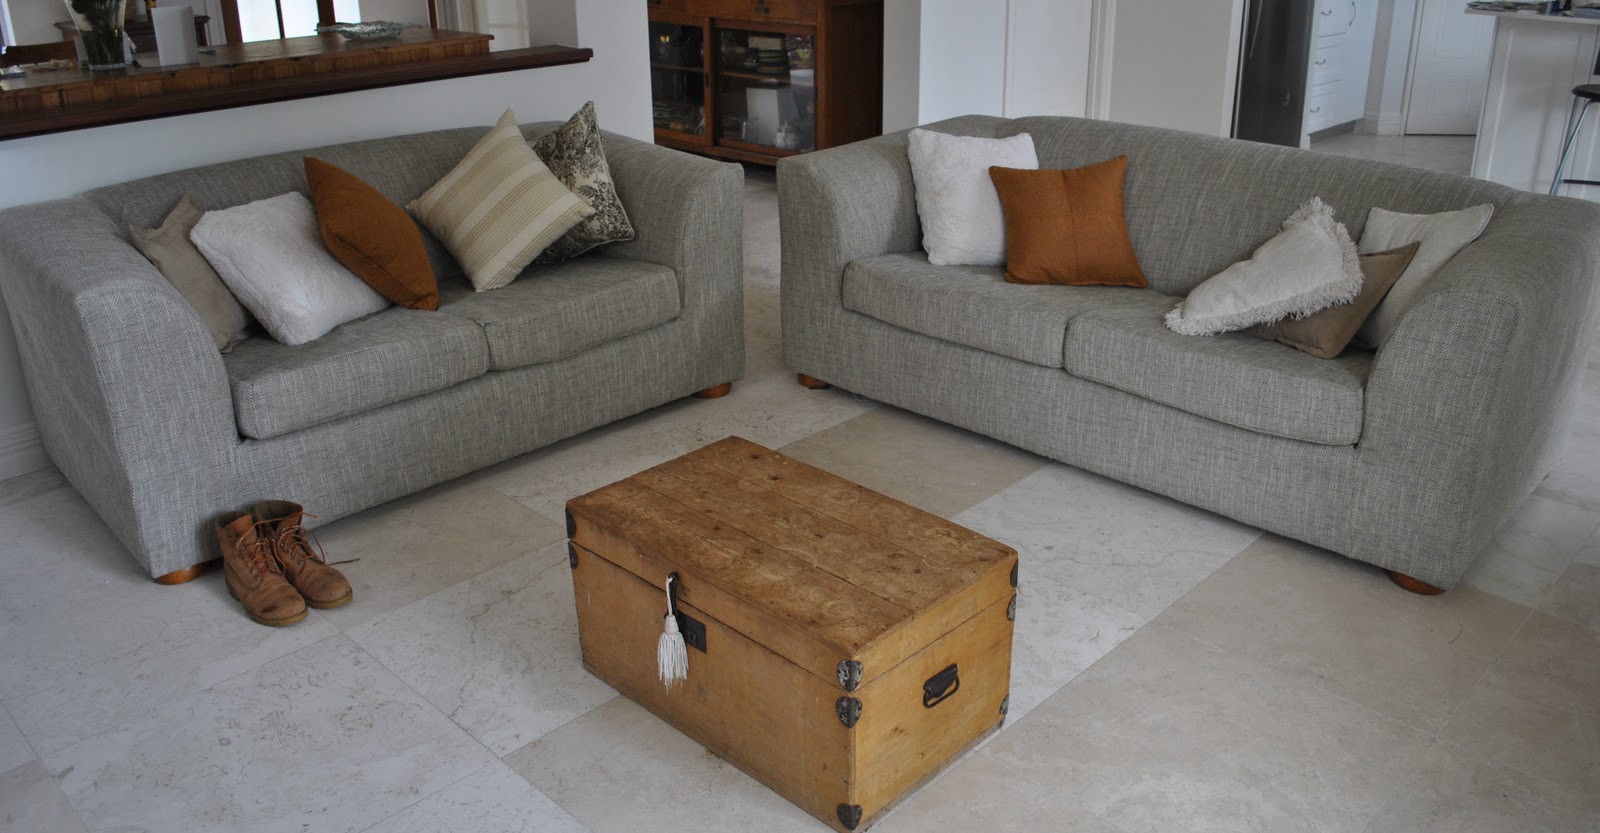
Remember this?  Going back yonks ago I wrote about re-covering our lounge suite (way back here!), and mentioned that it needed doing again soon; well, I have finally got my act into gear and got it done.  Took me from 8am Sunday morning and finished around 10.30pm Sunday evening, but it was done, and I am pretty jolly proud I kept it confined into a one-day project too…  yippeee!

(this is the “before” cover; 2 yrs ago)

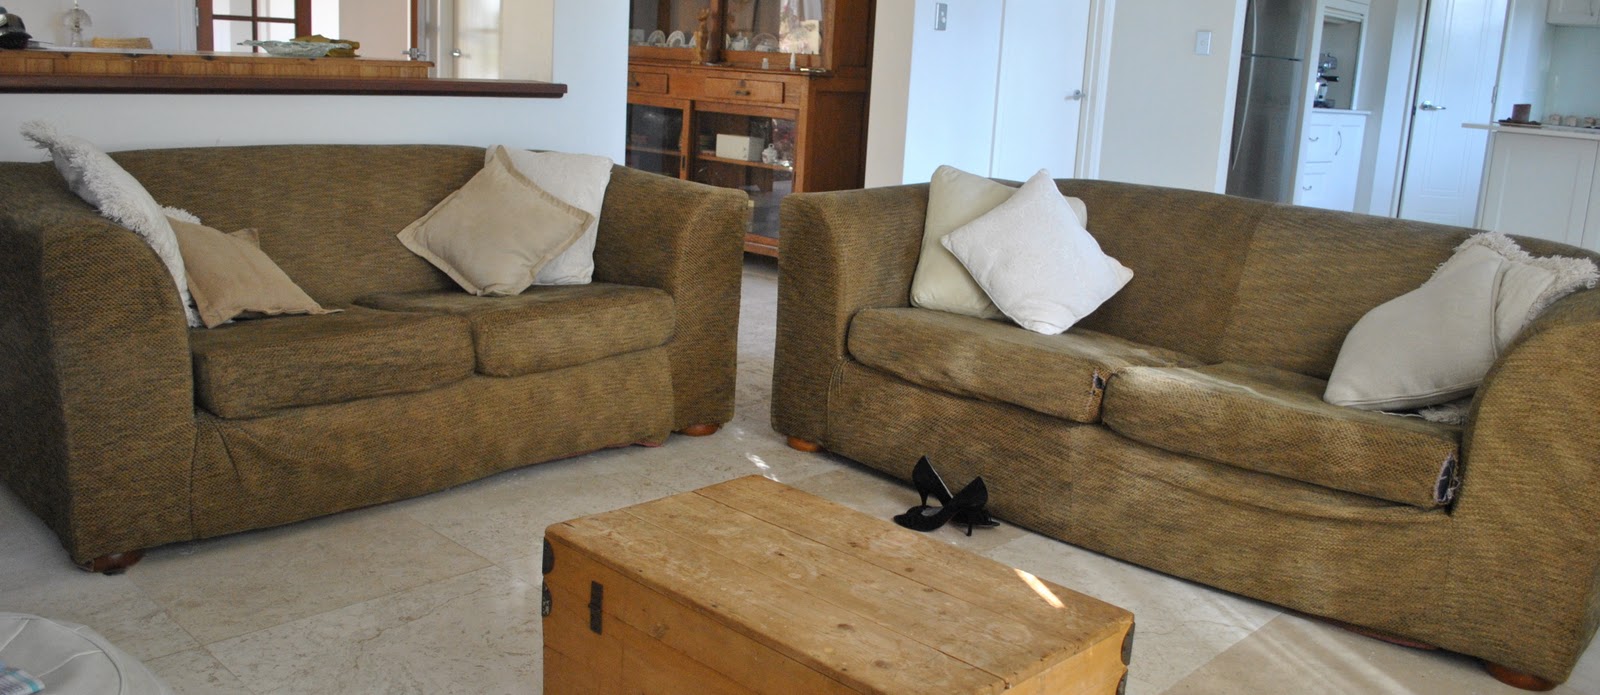
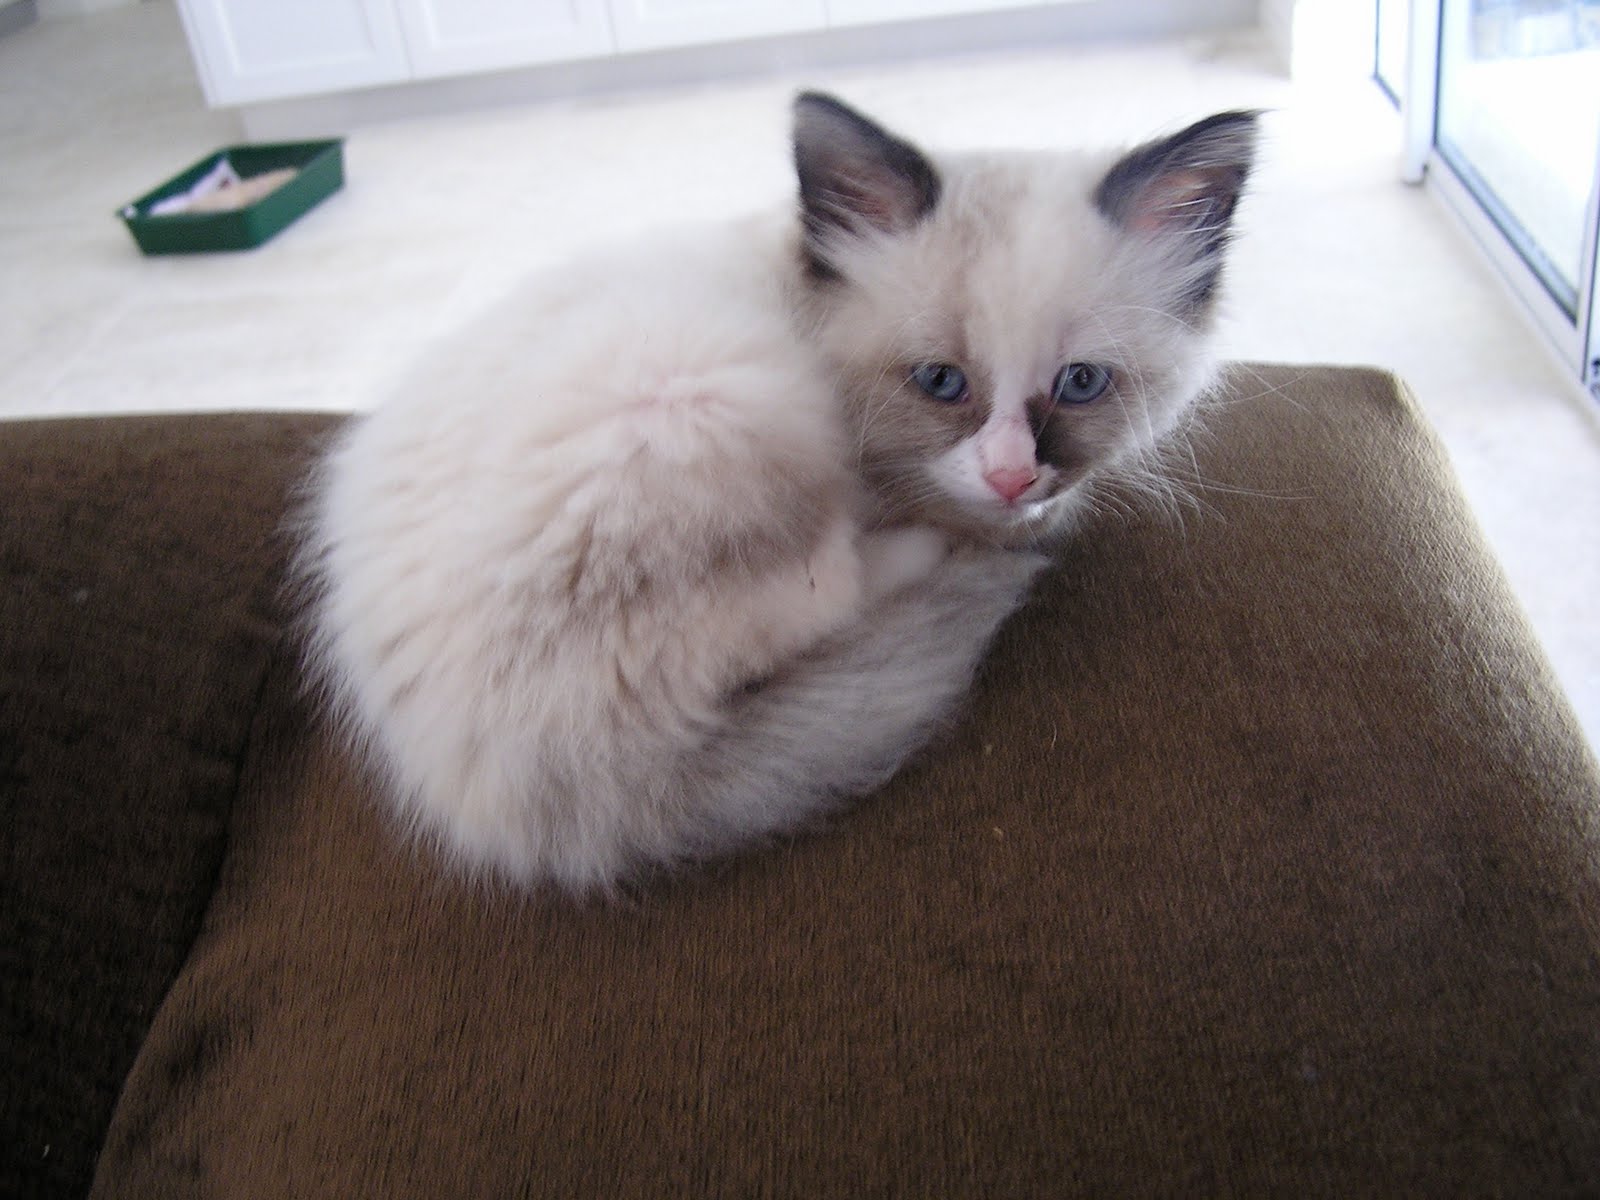
We bought this lounge suite twenty years ago, and I’ve recovered it approximately every five years.  I’ve found the old covers are really on their last legs by this time… yup, we have three teenagers, three cats and a dog, so I guess we are pretty tough on our furniture!  This is the fourth time I have re-covered this lounge suite and I think the outcome gets better and better each time.  Nice to know practise really does make perfect, yes?!
This time I am nearly completely satisfied.
I took a few photos during to illustrate the process, but really it’s not a difficult thing to do, just, well, tiring.  Tiring just because of the unwieldiness and bulkiness of it all…  Struggling around with large swathes of upholstery weight fabric and draping and pinning, removing to carry over to the sewing machine, sewing, over to the overlocker, overlocking, carrying back to the lounge, re-fitting etc, is just a fairly draining exercise, full stop.
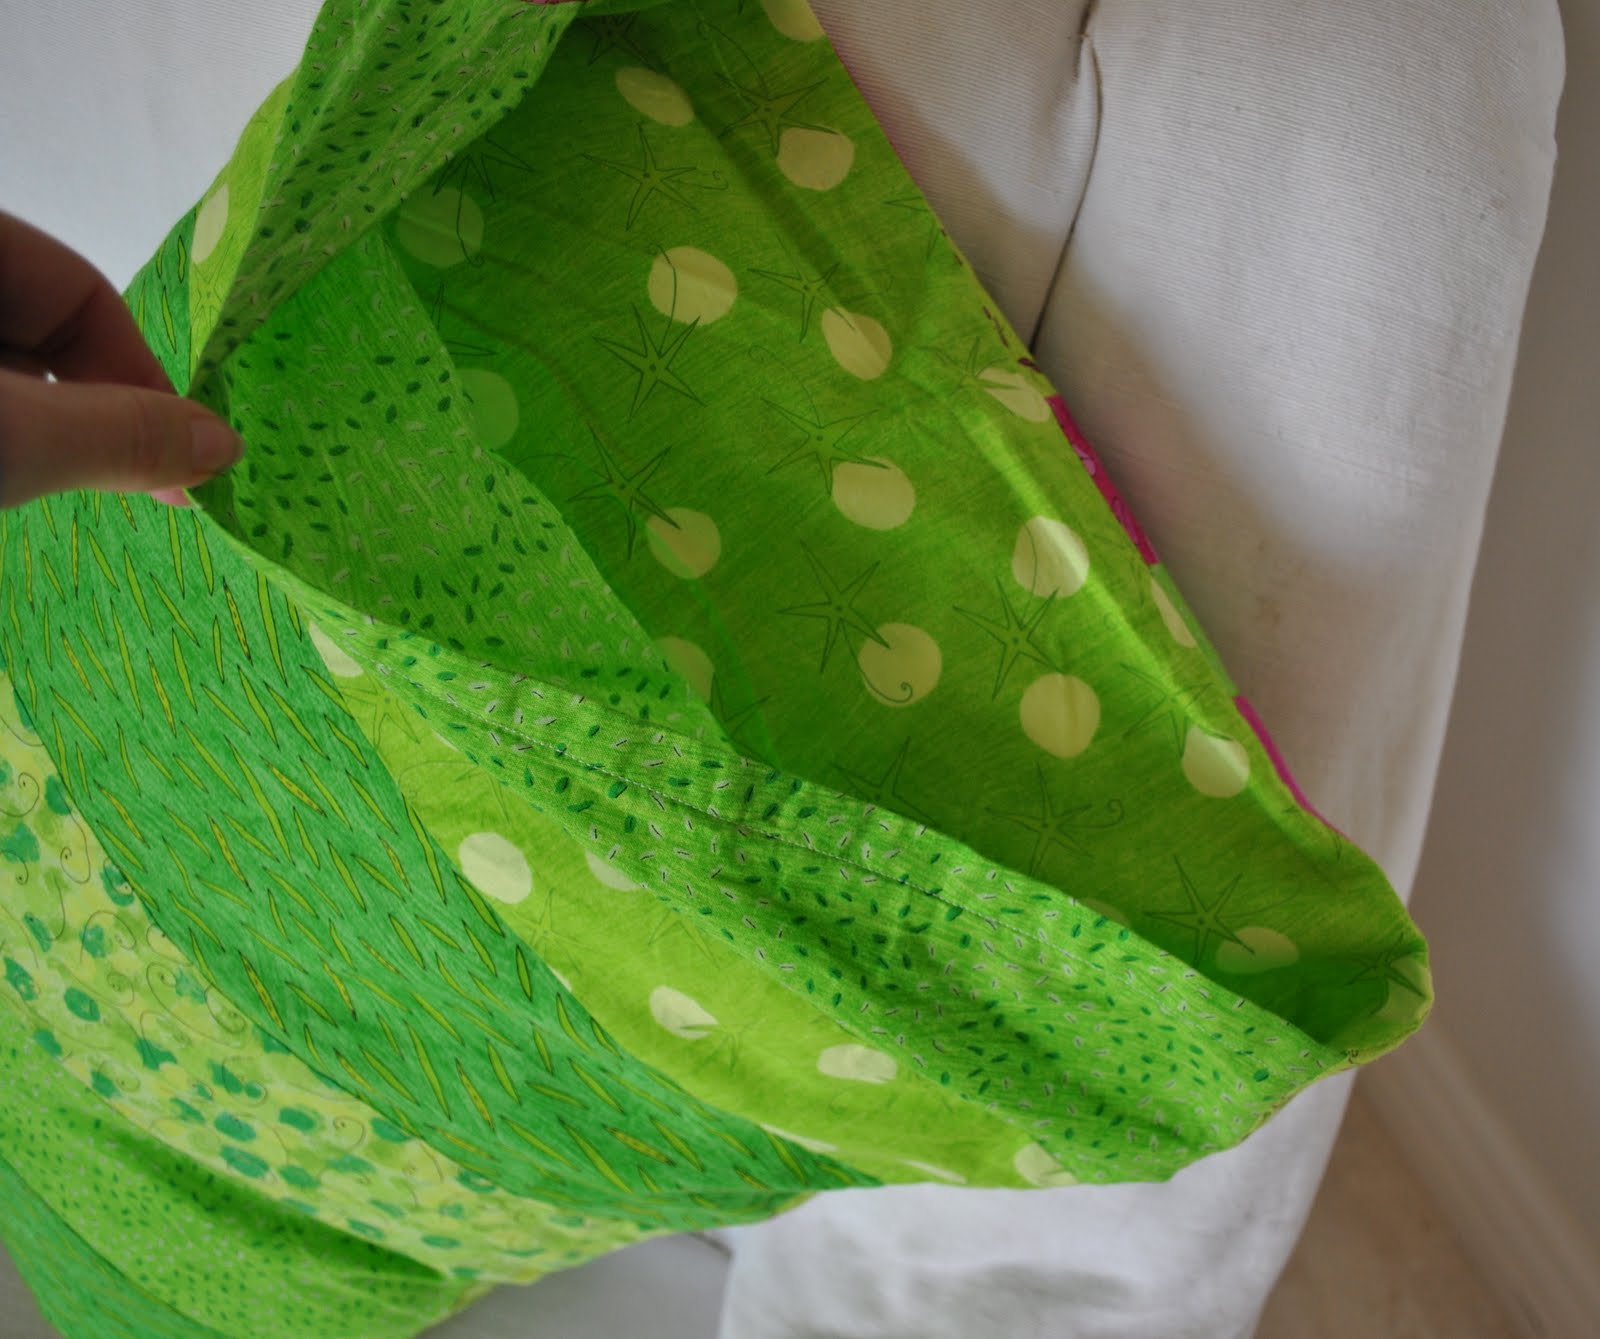
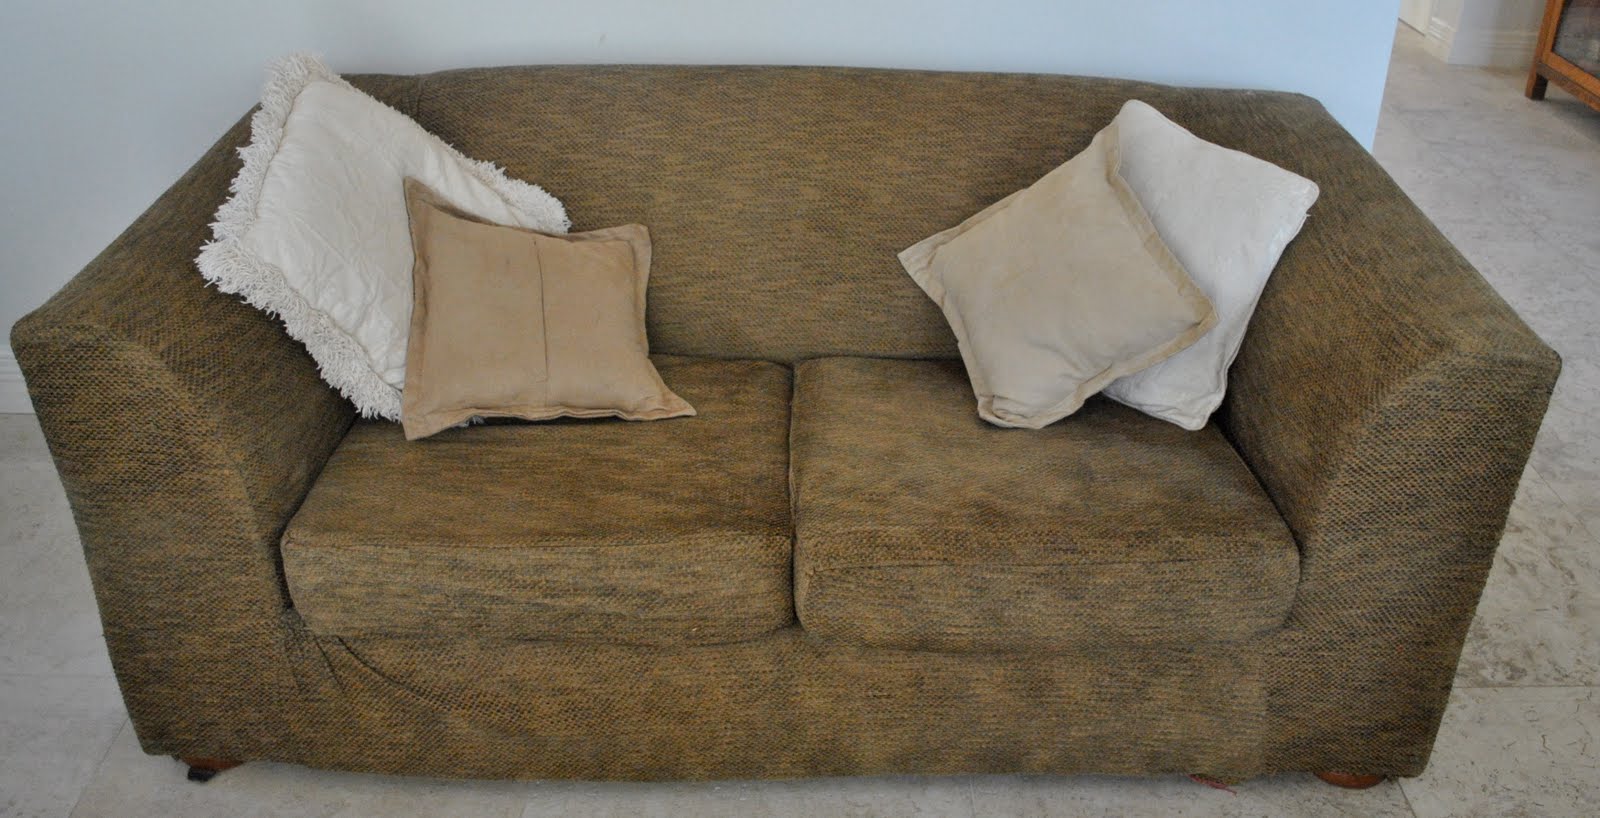
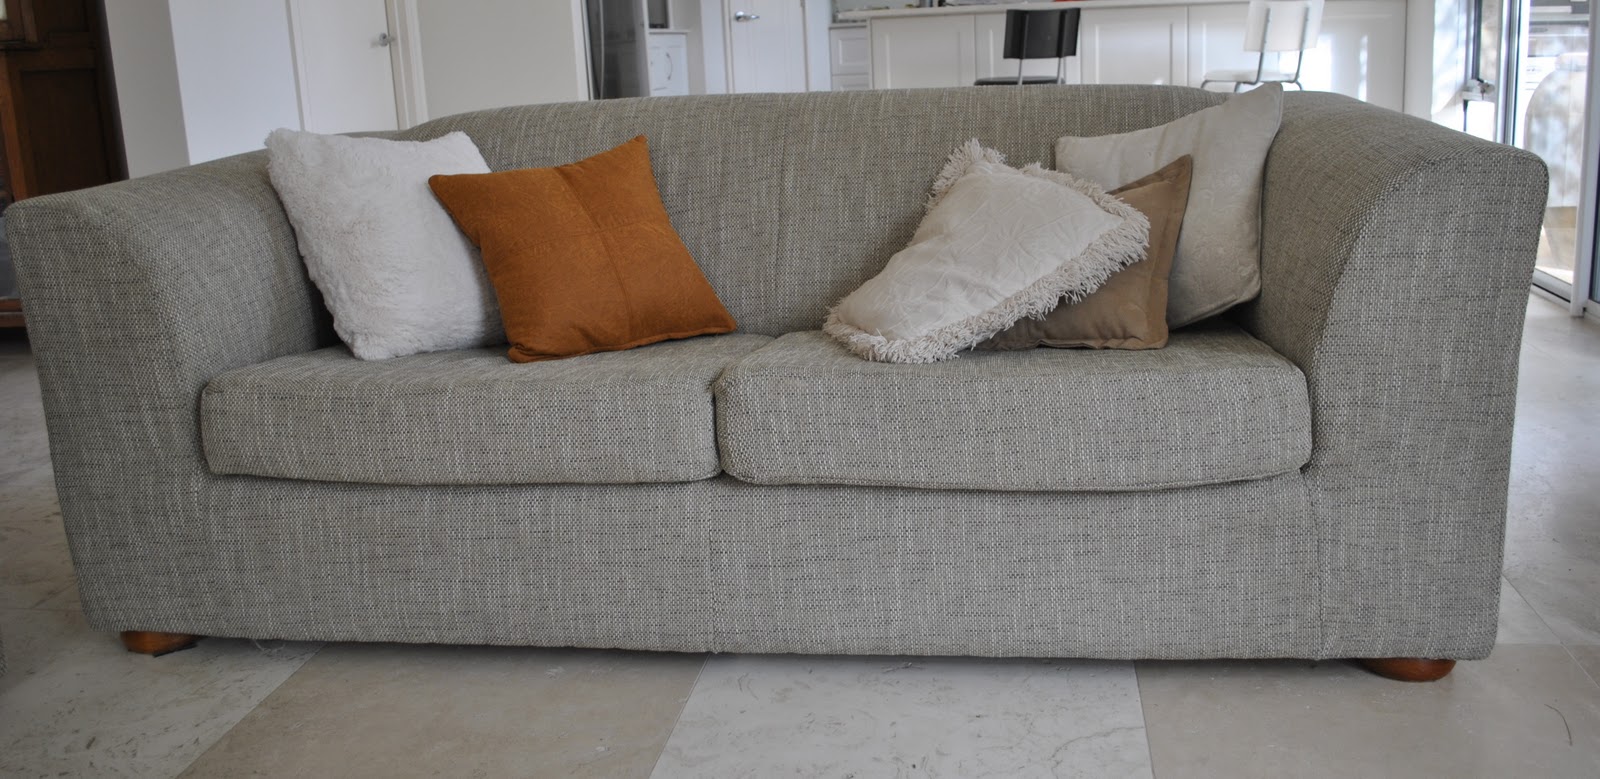
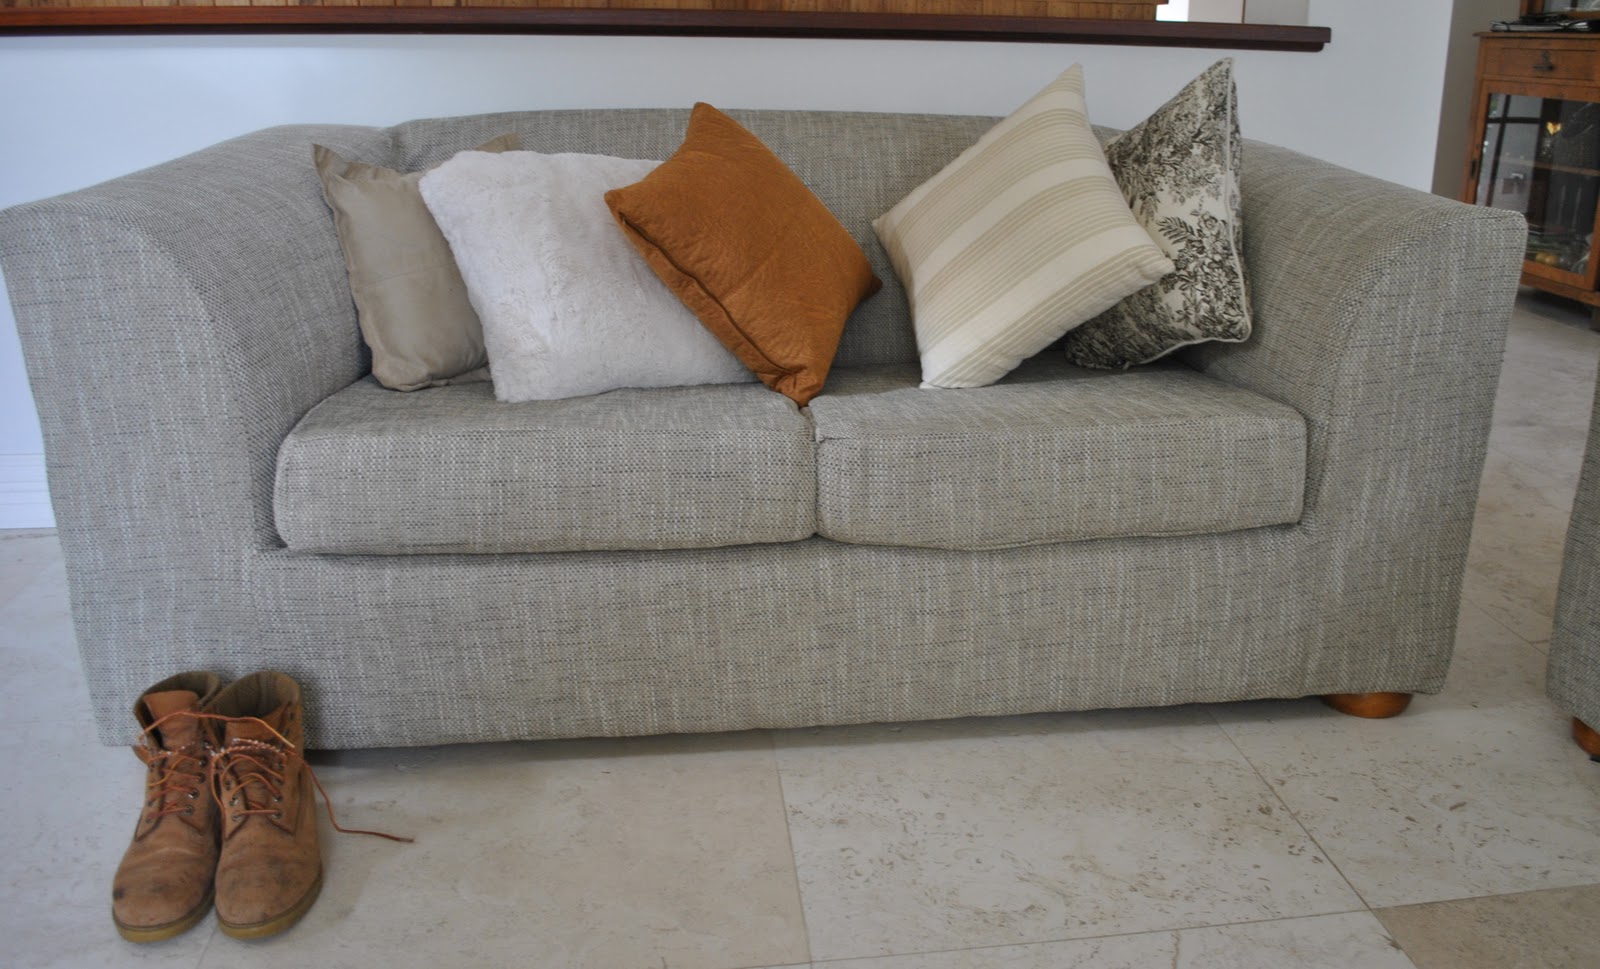
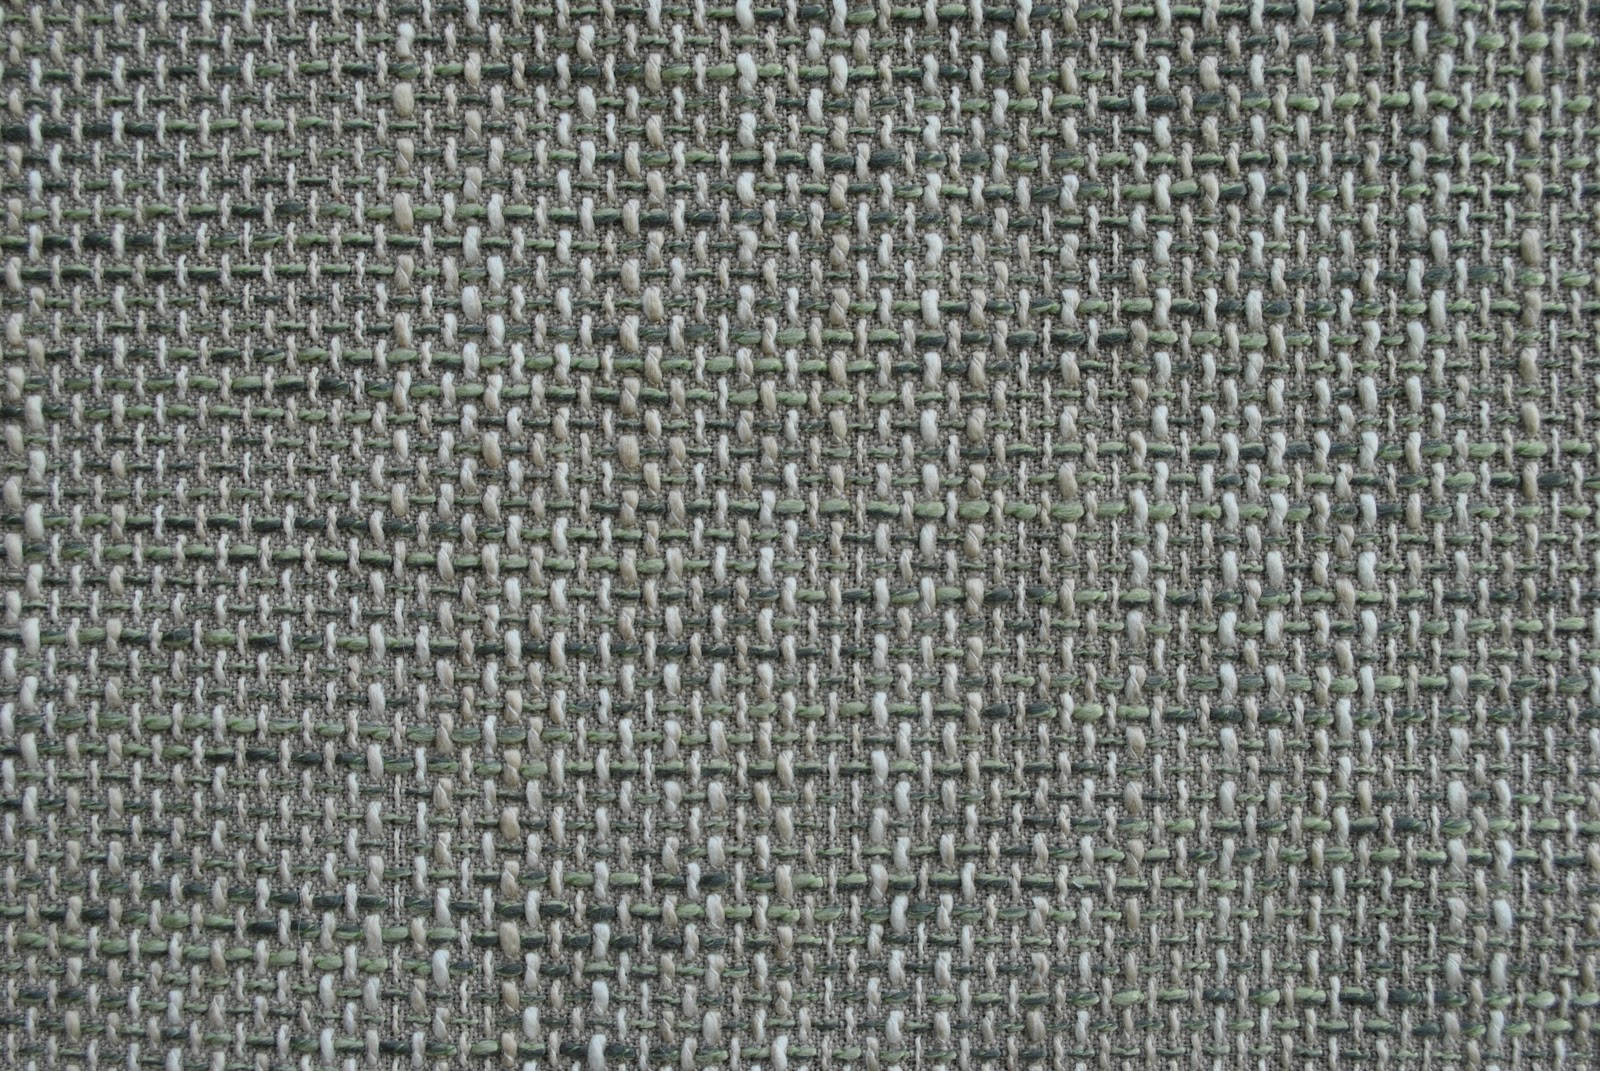
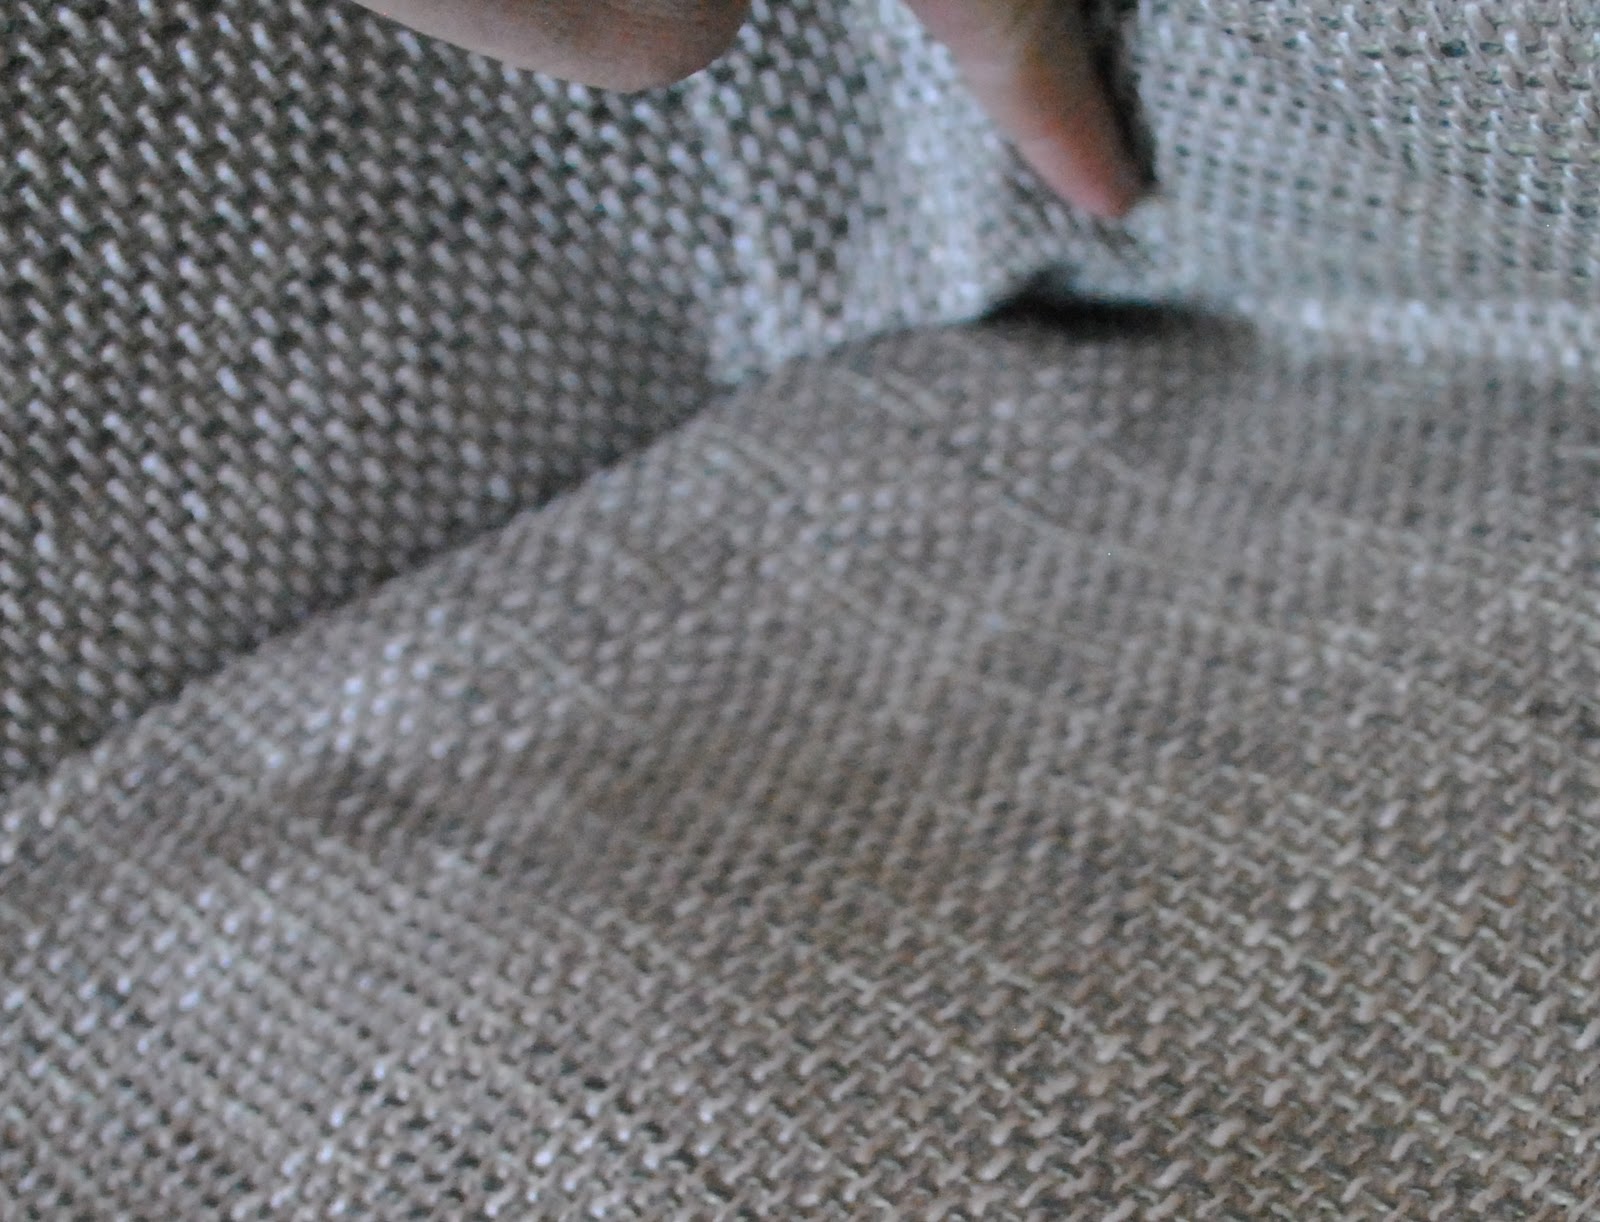
We chose this heavy hessian-like fabric which has a ecru warp, and a variegated weft of grey and sage green threads through it, resulting in a refreshingly light and bright sage-green/grey hue. 

 To make my covers, I’ve kept one each of the important pieces from my first re-cover of this suite to use as a template for each new cover and this helps massively each time… 

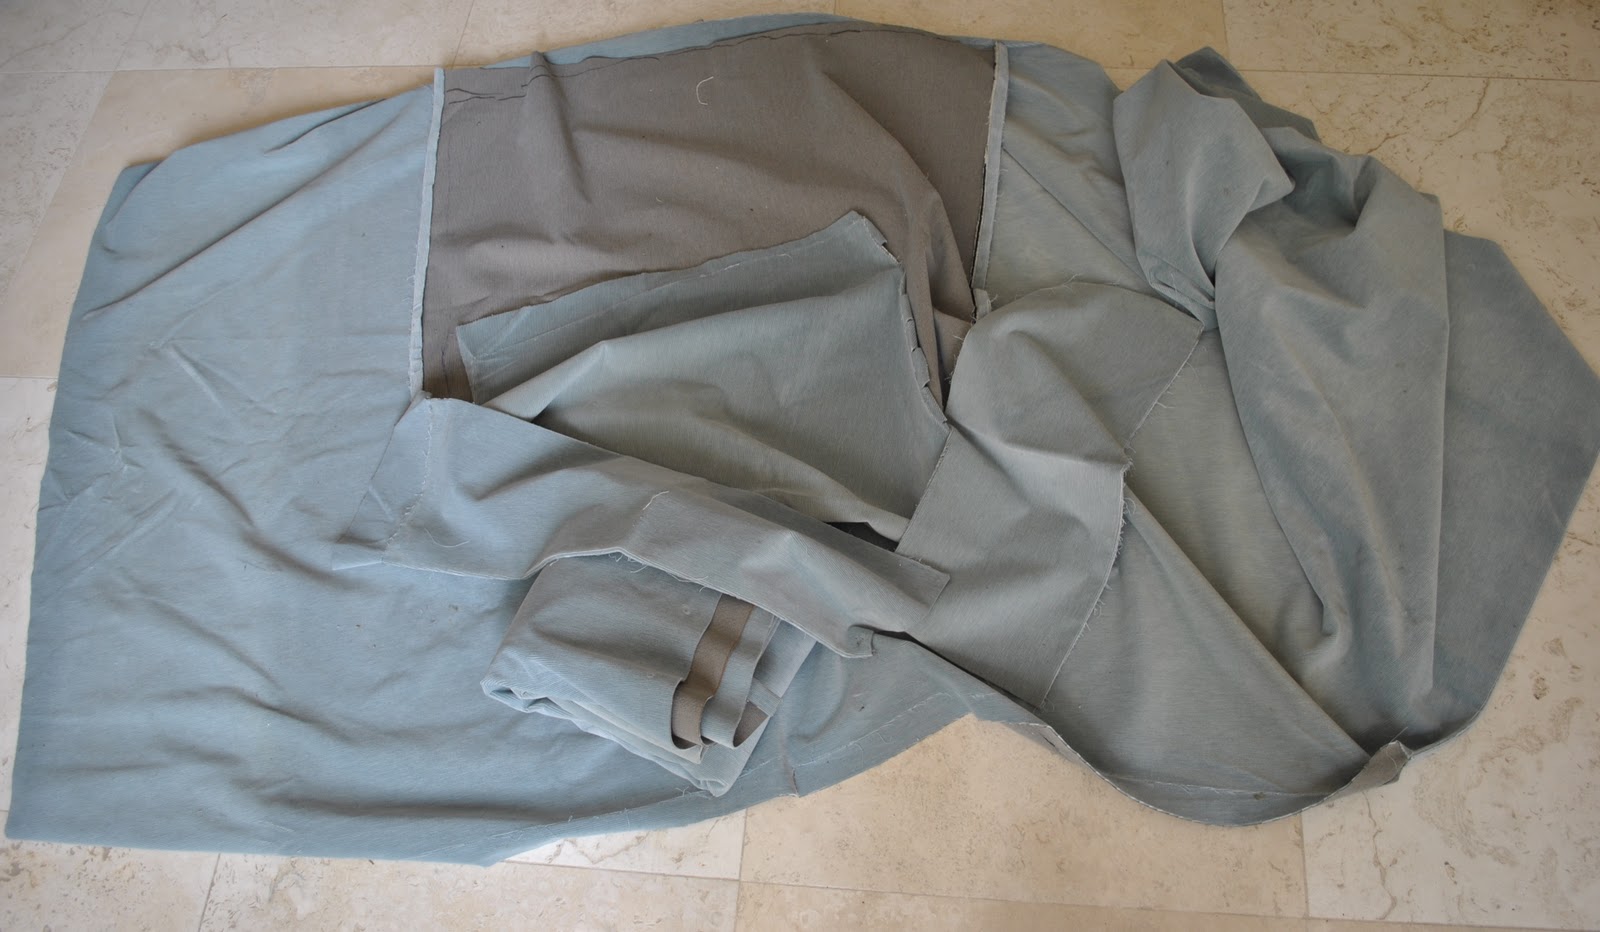
I cut out the bigger pieces first and lay them in position, wrong sides out.  Pin together, smoothing out any bubbles and aligning the grain to be as straight as possible, overlocking all the raw edges and sewing along the pinned lines.  

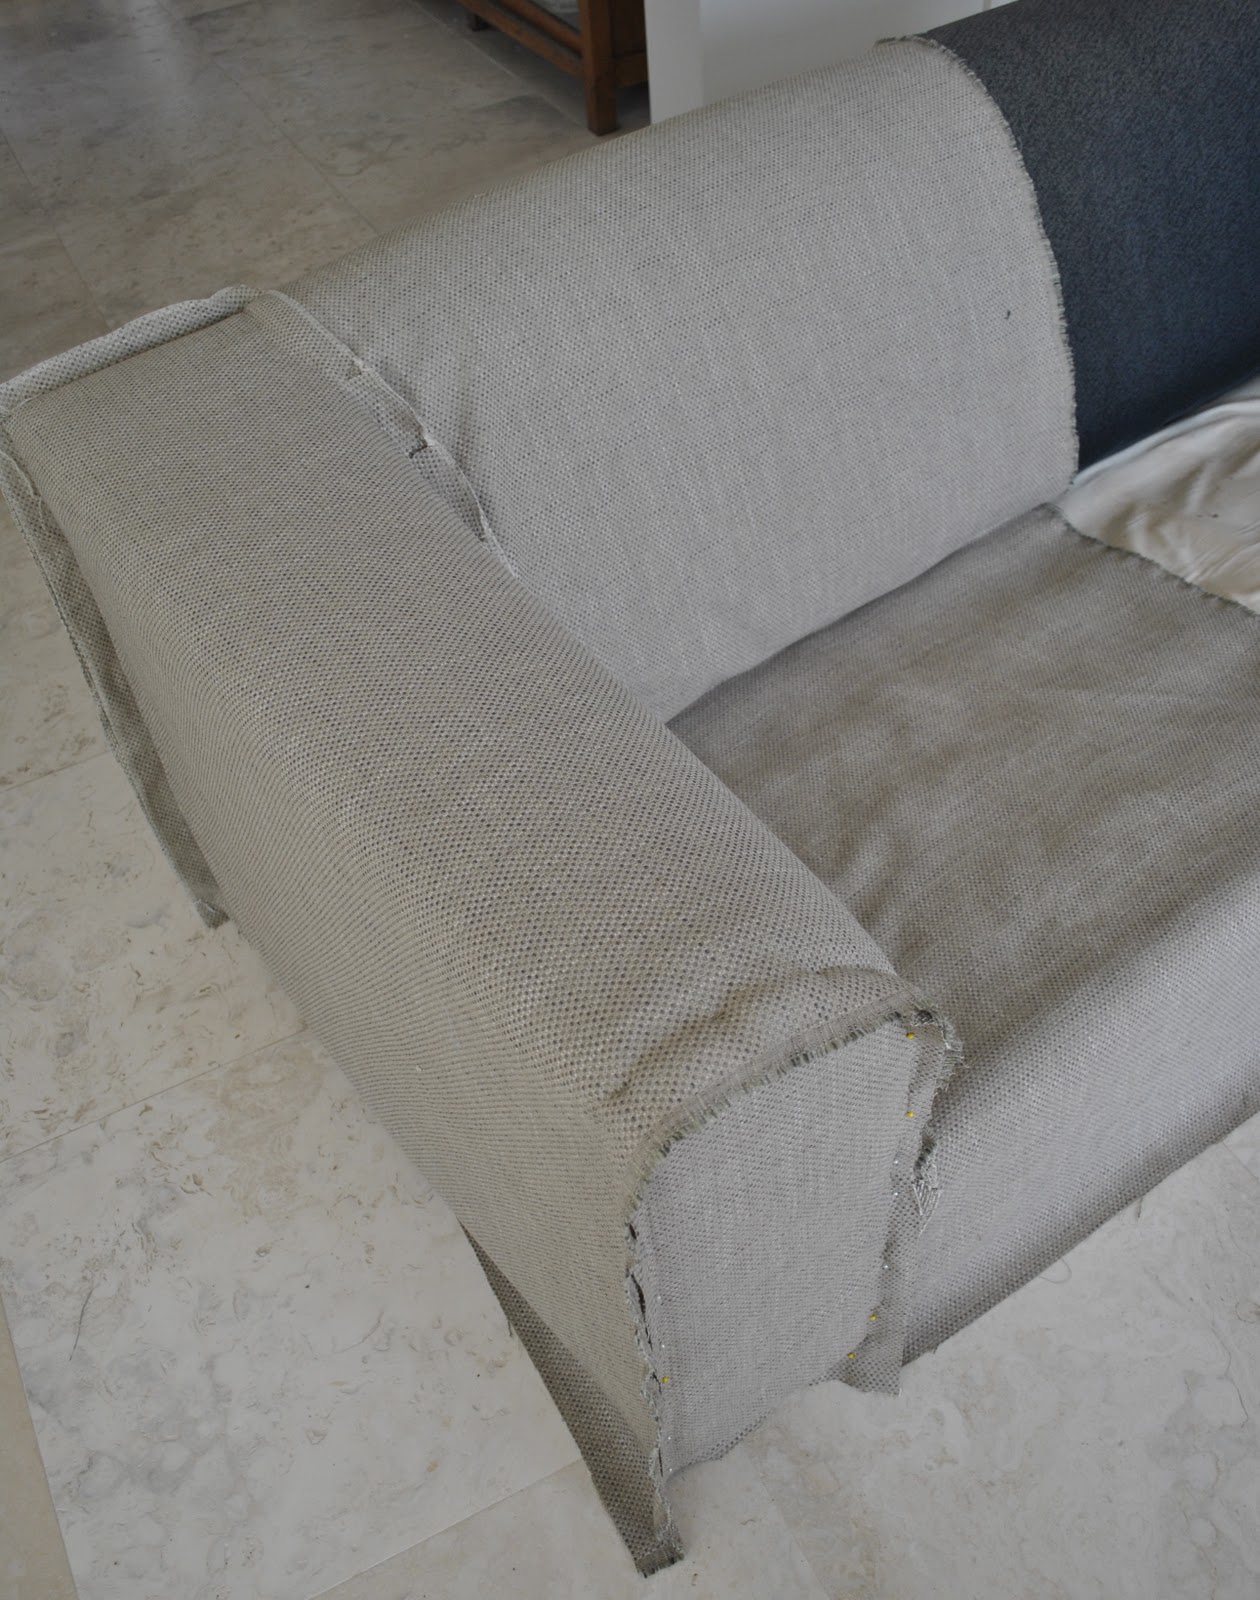
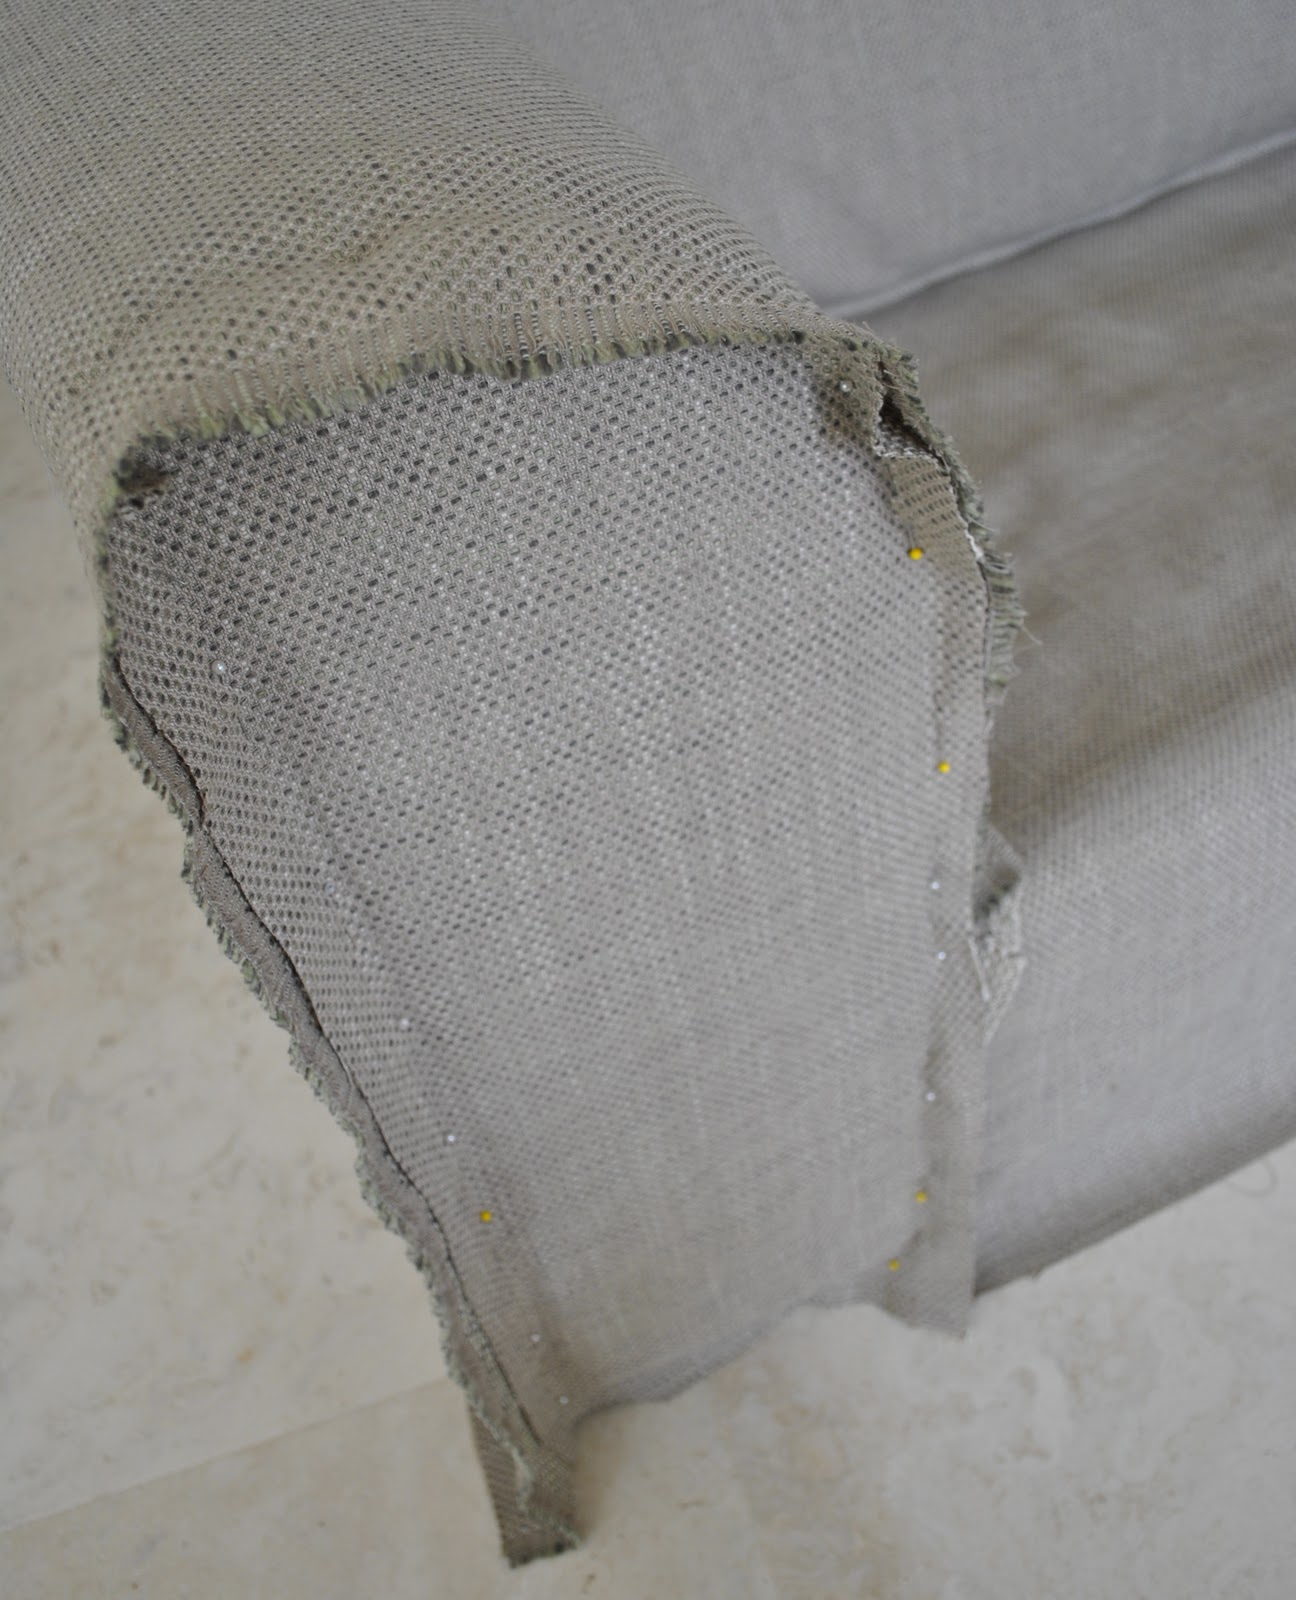
I incorporated a fold, where the back of the seat meets the backrest, for some ease and to lessen strain on the back and seat areas of the cover when you are sitting on the couch.  Yes, lounge suites need ease too!

Each cover and cushion cover was pinned and fitted together and basically finished inside out, and only turned right side out when it was ready for final fitting in place.  Craig took off the old covers, and fixed a broken strap in the innards of one of the couches, which we only discovered was broken when we took the covers off!  He also stapled the edges of the finished and fitted-into-place covers underneath to the wooden frame of the couch, and re-screwed the little wooden “feet” back into place over.  Most importantly, he made dinner so I could continue working on the seat cushions undisturbed…. 🙂
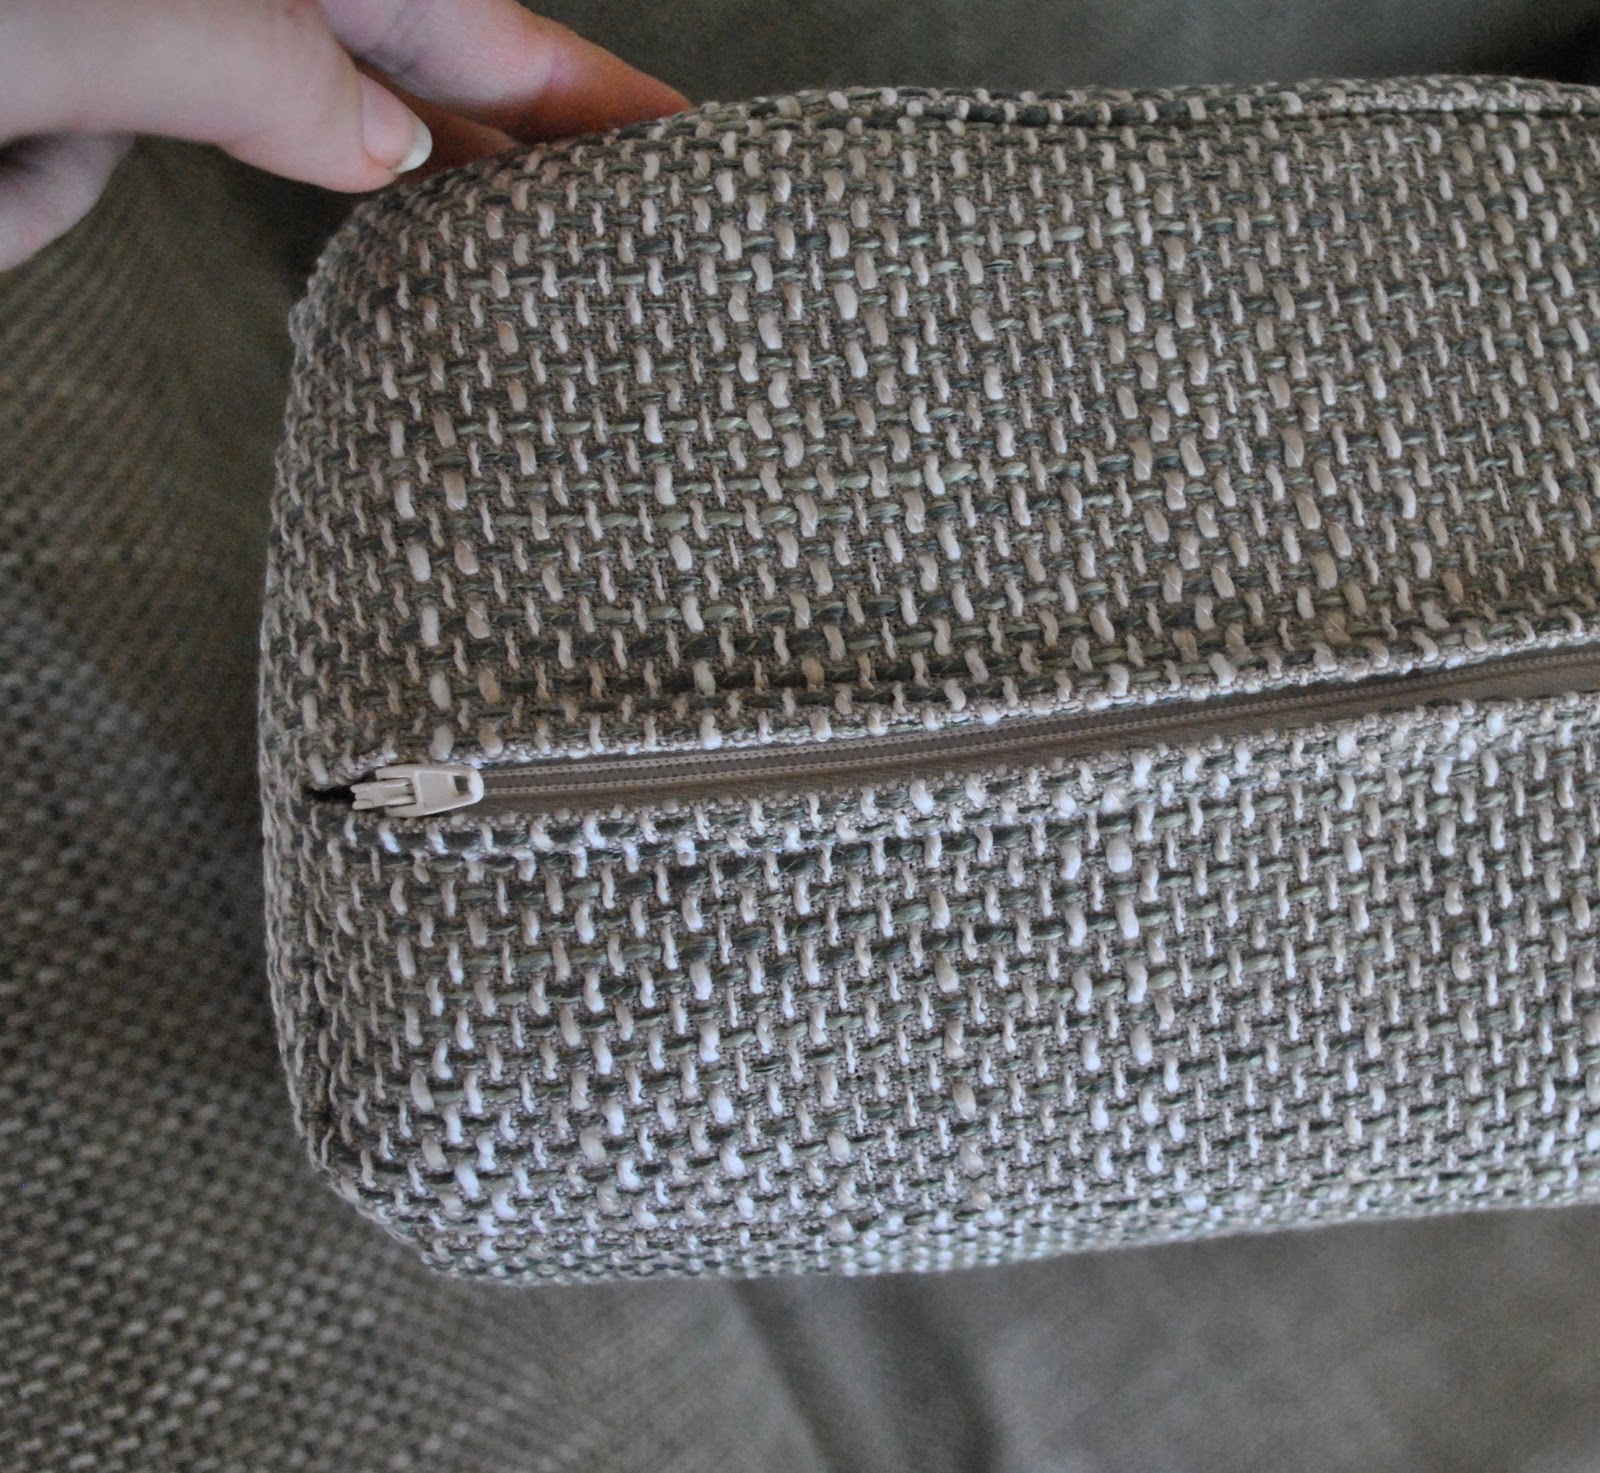
 Each of the four seat cushions has a zip on the back edge, so these can removed for individual laundering, if necessary.

I just love it.  We all do.  It’s not a new suite, but it feels like we have one now.   Everybody is trying to be eco-conscious and green in all our choices, which means re-using and re-cycling as much as we can; but there is no denying the truth that something new, and especially something big like your lounge suite, is a very uplifting thing to have in your life.  Agreed?  So our lounge suite is not new, but it sure feels brand new all over again, and I feel good about achieving that newness buzz without having to go down the path of actually buying new furniture.  And it gives the whole room a lift and makes everything feel so fresh and clean again… 
And hopefully will last for at least another five years!!

(What will I do with the remains of the old covers??  Well to start with probably two new dog bed covers.  We only have one dog, but she has two beds…  go figure.  Spoilt, or what?!)

pinterestmail

Little house pillowcase, and old slipcover

I made this pillowcase for my niece when she was born five years ago, and have had it back the last few days for a few minor repairs…
Yes, the patchwork is intentionally wonky.  I am normally very obsessive about exact squares and perfectly matched corners and edges, so this sort of inexact “naive” style was a nice change.  I enjoyed the randomness of it!
The design is my own.  I had the vision in my head of a little pink cottage with a skewiff picket fence in a field of green; but made it up pretty much as I went along, based on a few similar sorts of designs that I’ve seen over the years in homewares magazines and such.  I chose the sharp lime green/hot raspberry pink colour scheme because it was fun and funky; and feminine without being too over-the-top girly.
D’ya wanna hear something funny?  My son asked if it was a Space Invader.  He’s thought it was one for years.  LOL!

The back view… and here it is perched on top of my very first attempt at a slipcover.  Don’t look too closely at the slipcover, because this is years old now.  It has served as a kitten scratch-post more than a few times, and is a bit thin in some places, a bit ripped in other places, has a few permanent stains, and has a few wonky seam-lines.  But I like the less than perfect look of it.  
At least I know no one’s been afraid to sit on it.

pinterestmail

Cute kitten photos, with glimpses of lounge suite re-cover, version 2

Not very good photos today, I’m afraid, if you’re looking for high quality pictures of sewing projects.  However, if you’re into photos of impossibly cute kittens, then this could be your favourite post of the day!
I was hunting for pictures of my second re-cover of our lounge suite (re-covers 1 and 3 posted previously).  As I was not into photographing my sewing efforts back then,  I neglected to take any worthwhile photos of re-cover 2, which was of chocolate brown chenille-y type fabric.  Mum made a bag for me out of some of the leftovers (at right).    
So, here are the only photos I have with glimpses of this particular project.  The photos are ostensibly of Zoe, the kitten, being cute and of Sophie, the enormous big grey cushion of a cat.
Enjoy!

pinterestmail

Lounge suite re-cover, version 1

My post last week entitled “Lounge suite re-cover” should really have been given the addendum “version 3”, as it is the third re-cover this suite has endured…  
After searching high and low for a photo of the first re-cover this is unfortunately the best I can come up with.  Rats.  I’ve not been particularly good in the past with photographing the stuff I’ve made, but I’m trying to do better in this respect… after all I set up this blog as a kind of record of all my sewing efforts both past and present and it’s been so frustrating that some of my favourite projects have gone and I have no pictorial record of them anymore…
This first cover (made in 2000) was made in light blue/grey corduroy that was on super special from Textile Traders.  Naively reassuring myself I was “of course!, capable of whipping up a new cover for our lounge suite…!”  I blithely bought twenty metres and faced my first struggle when I had to somehow get this huge bolt of fabric into my car to get it home…  Eventually worked out how to put down a few seats (my husband had always done that for me), opened the flap into the boot that I didn’t know was there before and discovered it with some relief in the carpark that day…  Finally manhandled the roll of fabric in the car and drove home with it half in the boot, half poking between the front car seats and resting on the dash beside me, my youngest son wedged firmly between the fabric and the car door in the back seat.  A Laurel and Hardy moment in our lives…
This was a huge project for me, being the first time I had tackled something as big as this.  I spent days struggling with large swathes of corduroy, pinning and measuring, refusing to admit defeat.  I was one immensely proud seamstress when it all came together at the end.  I was like, sure I can make clothes for myself, but now upholstery…! Now I’m gettin’ somewhere!, achieving a whole new level of competence here.  So this project marked a minor watershed in my sewing life…so to speak.
It was a tough and hardy cover but in retrospect the colour was deeply impractical…. when you have three children that will eat their Vegemite-on-toast on the couch in front of the TV whilst your back is turned; when chocolate treats are passed around in front of a late night movie… yeah, you get the picture.  The pay-off is a couch that is a sheer embarrassment if friends come around to visit; not to mention the mother-in-law…  (only joking, my mother-in-law is very understanding about furniture that suffers the onslaught of children and animals on a daily basis, lucky for me!)
(sheepish explanation for the huge mess in photo 2, my excuse is that it was Christmas Day, post present opening…)

pinterestmail

Lounge suite re-cover

My primary sewing interest is in fashion… obviously as this blog has leant heavily in that direction!!  However I shouldn’t lose sight of my initial purpose of this blog, which was to document all of my sewing efforts over the years.  And I have sewn up my fair share of mundane practicals like home wares in my time too.  One of my regular jobs is to recover our lounge suite.  We bought this lounge suite new from Freedom back about eighteen years ago, and it’s been such a goodie.  It’s been solid and sturdy enough to cope with three babies, grown into toddlers, grown into children, grown into teenagers and all their friends, as well as our four pets.  
One of its biggest pluses has proved to be its simple square shape which has leant itself very well to easy recovering, so that even a rank amateur such as myself has had no trouble in fashioning a new cover with my little old sewing machine…
The original cover of this suite (which is still there underneath, its only fault is that the colour has faded in patches) is navy blue canvas.  The cover in these photos is the third re-cover I have made for it; it has previously had a pale blue/grey corduroy cover and subsequently a chocolate brown chenille-y type of fabric cover before this one (I should hunt for some photos of these).  This mustard-y, moss-green chenille cover has been on the suite for about two or three years now and you can see it’s wearing a bit thin on the corners of some of the chair cushions.  What you can’t see in these photos is that one of the back corners has been used as a scratch post by one of our darling (said with gritted teeth) little pussy cats, so is becoming a mite shredded at the back.  So I’m thinking it may be time to source some new upholstery fabric and make up a new one soon.
Although recovering one’s lounge suite may seem like a daunting task, when you have a nice simple square shaped suite like this one it’s actually very easy.  I kept parts of the first re-cover I made so now I have a pattern to work from each time I have to do it.  It’s a simple matter of measuring, cutting out the pieces and sewing them together, just like any sewing project… absolutely no difference.  The only difficulty factor is the sheer size of fabric pieces you are working with, so I usually haul the sewing machine over to our dining room table to make use of the larger working space when I’m tackling this sort of thing… When the cover is sewn up, they are just slipped over the lounge suite and I flip it upside down and either staple it or tack it to the wooden frame underneath.
This suite has a two seater and a three seater, and I find it takes 19m of upholstery width fabric, that’s without having to match any patterns.

pinterestmail
Switch to mobile version
↓