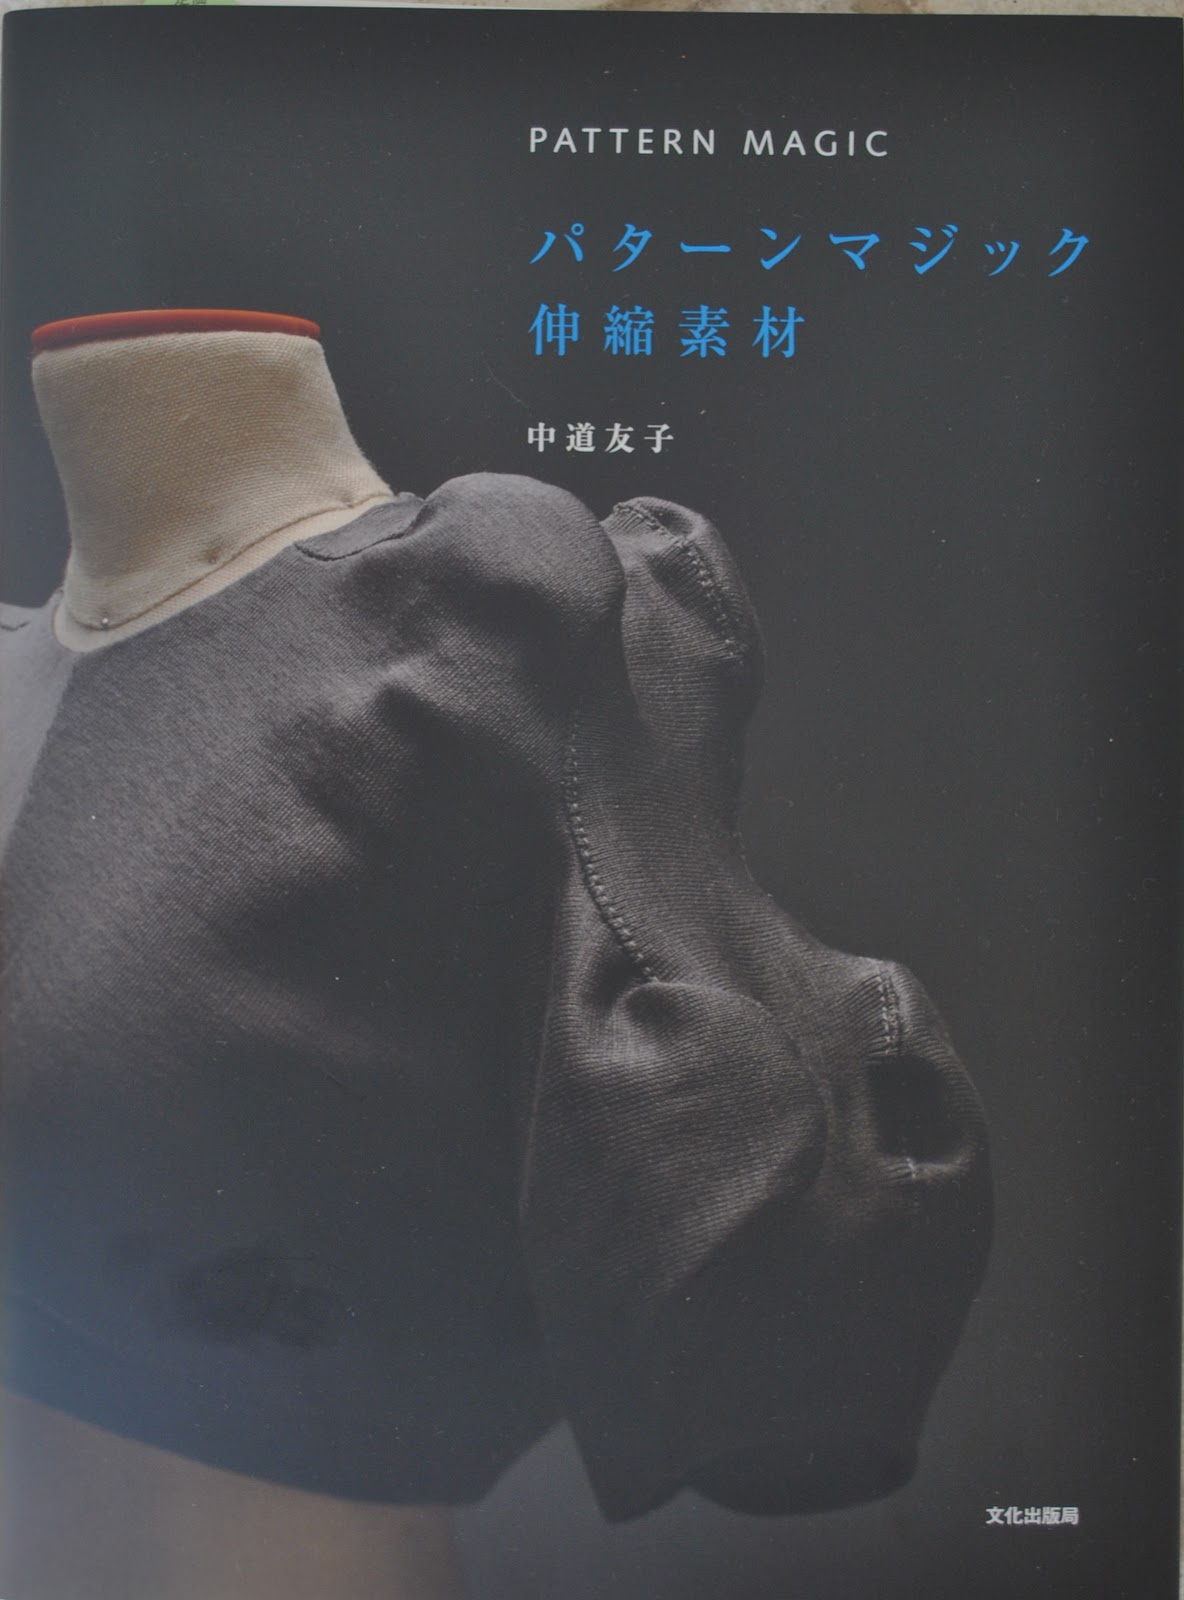
Remember how I mentioned fashioning a little cardi out of the leftovers from the ponytail top? Well, here ’tis!
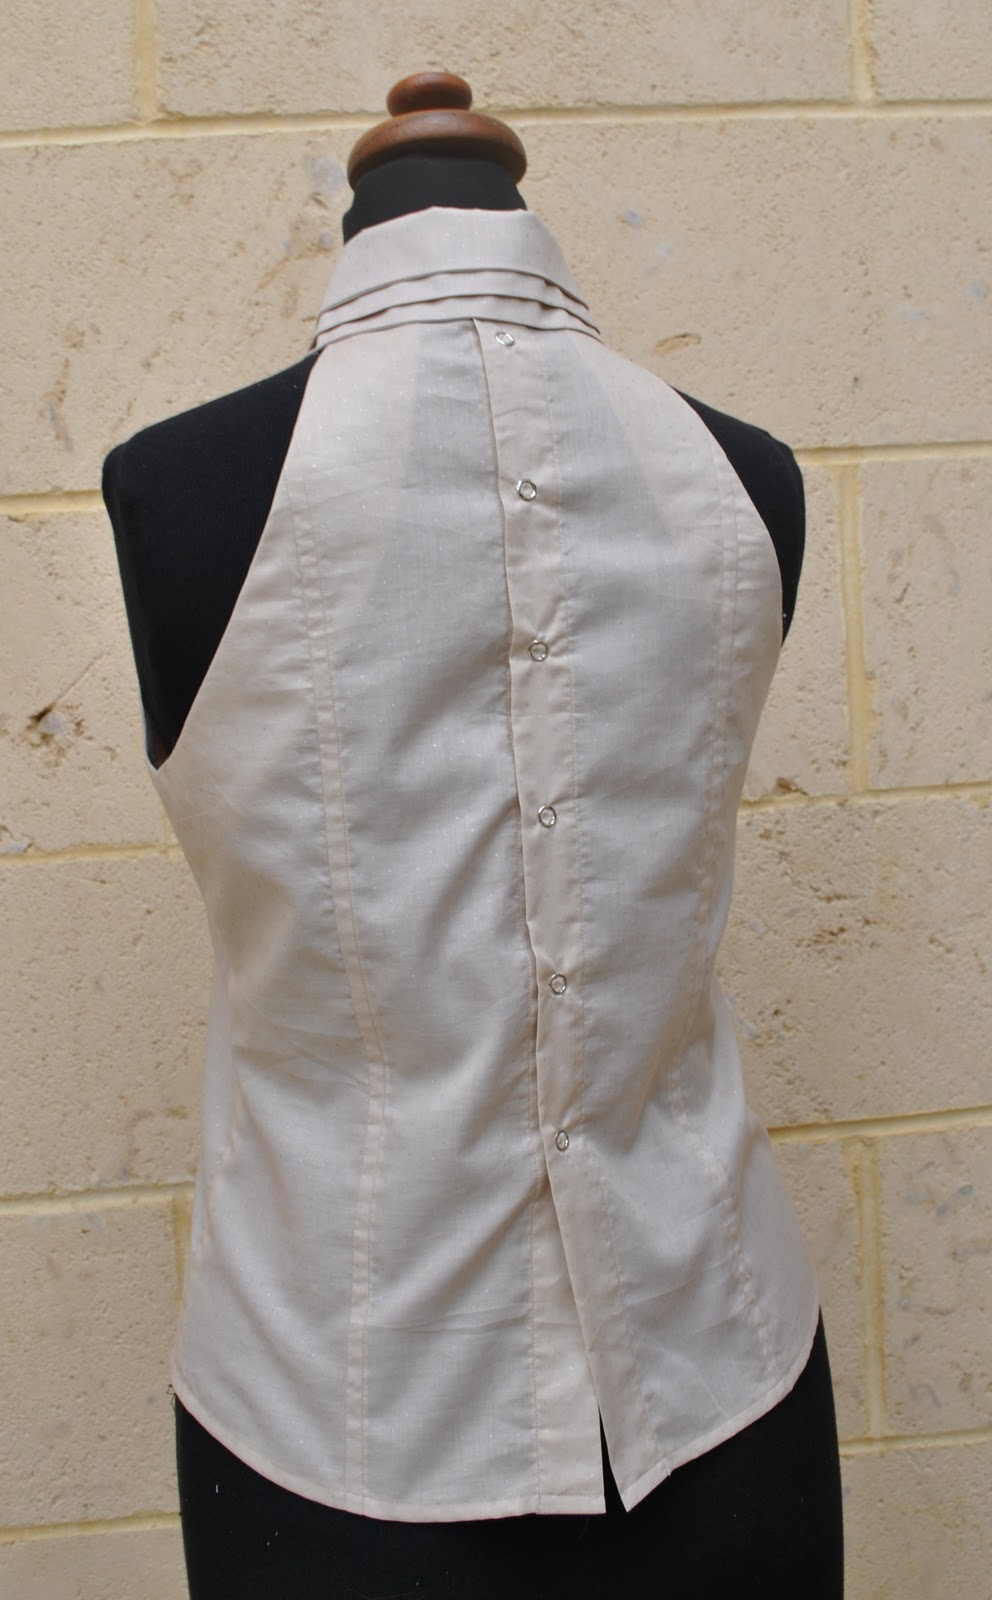
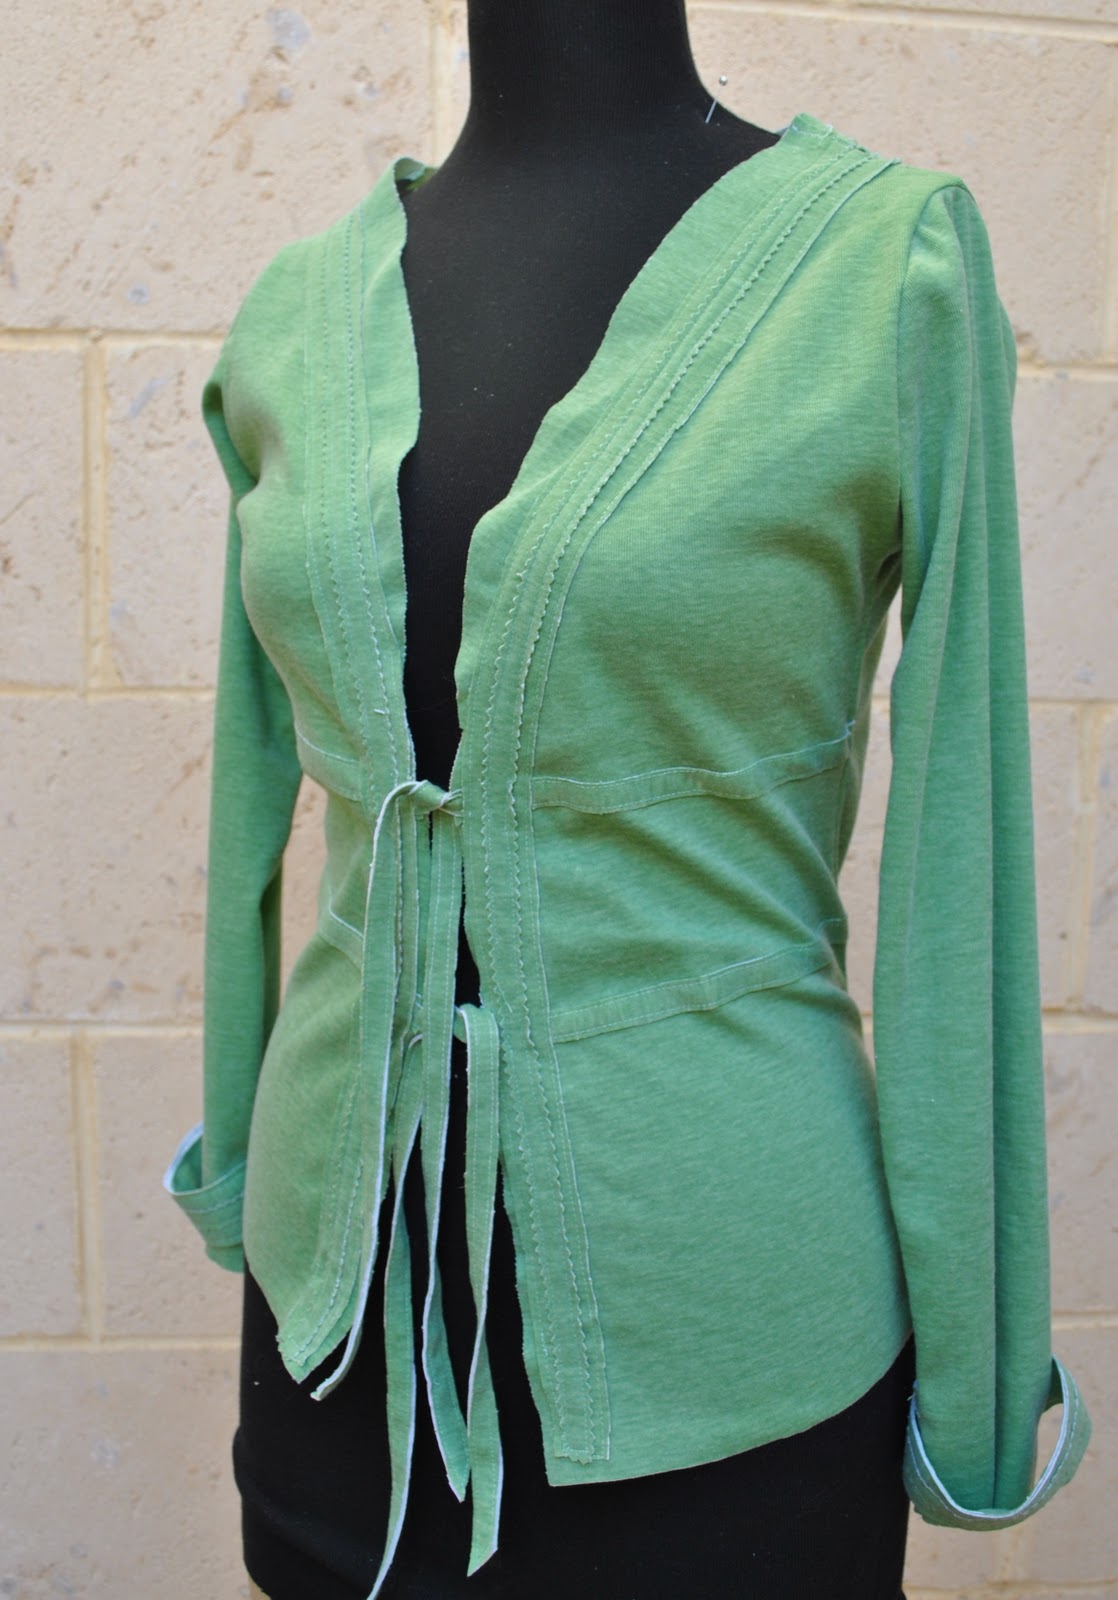
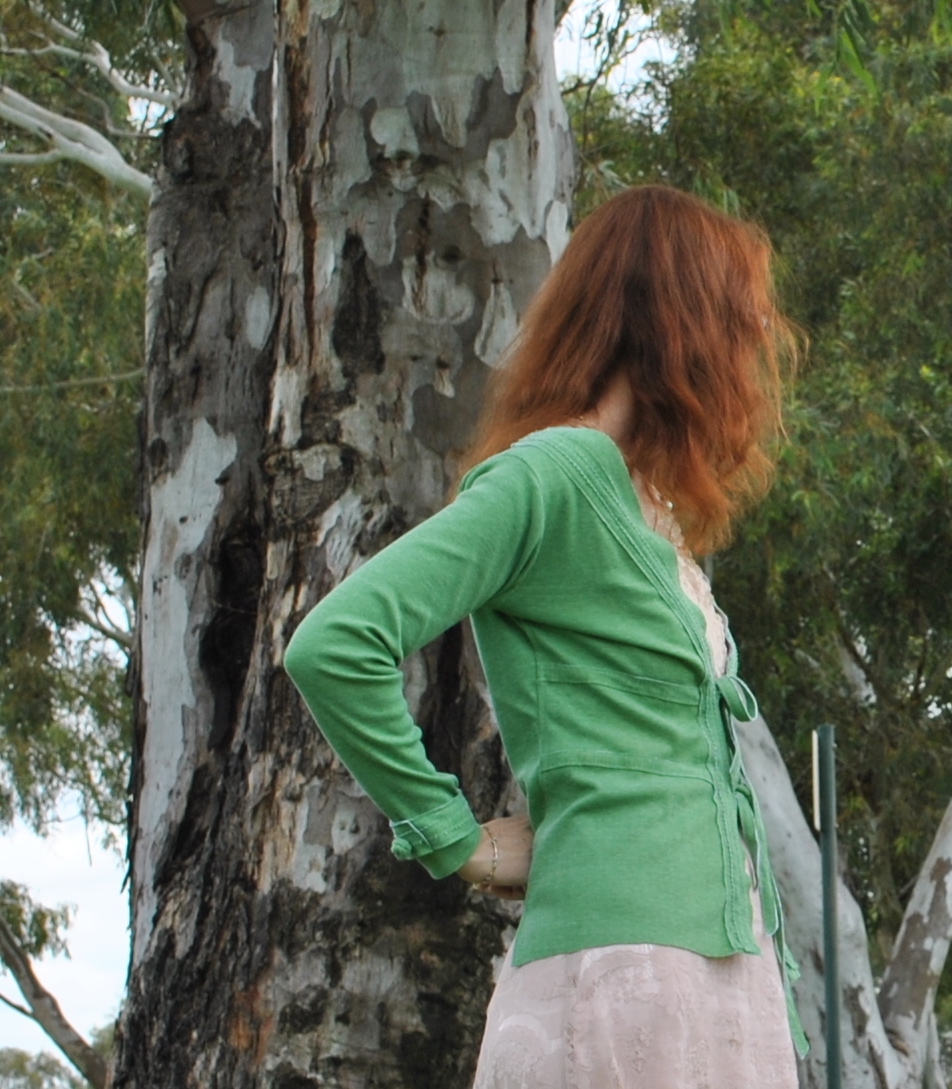
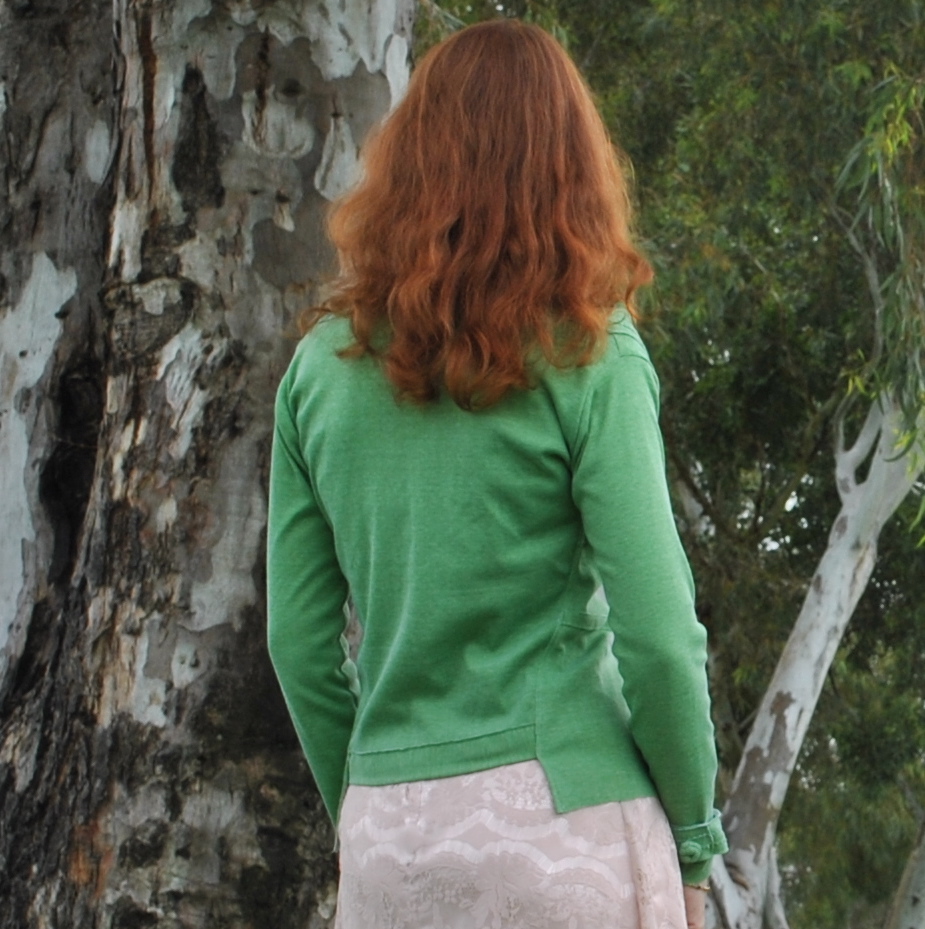
If I say so myself this was a minor miracle in cutting out; why? Well I originally had bought this Kelly green jersey to make a St Patrick’s Day thingy which was actually cut out but not made up. It struck me early on in the piece that the finished garment would be tres hideous and could never ever been worn without inviting well-deserved mockery, so it was abandoned before any actual sewing was done. However, the perfectly-good-for-something-if-only-I could-work-out-what-it-was fabric was too good; a great colour (as long as it was separated from the St Patrick’s Day concept) and there was too much of it to just ruthlessly toss out. Luckily the pieces I had cut out were big enough to get the Pattern Magic ponytail top, and there were still some reasonably good sized pieces and scraps left after that, so I played with them. This is the result of my “play”; at my kind of “Play-Station”, if you will, hehe. The back of the cardigan is quite short and the two fronts are quite skinny and so give a rather sex-ay decolletage, but y’know what? I like that. I feel like the unusual shape is happily avant-garde and cool.

Something that may not be immediately apparent on first sight, but which amused me while I was making the cardi is this: the whole cardigan is made of just one fabric, and thread, and that is all. I used pieces of the same fabric for all the trims, and the buttons and closures are all made of the self-fabric also. Interesting little factoid, yes?
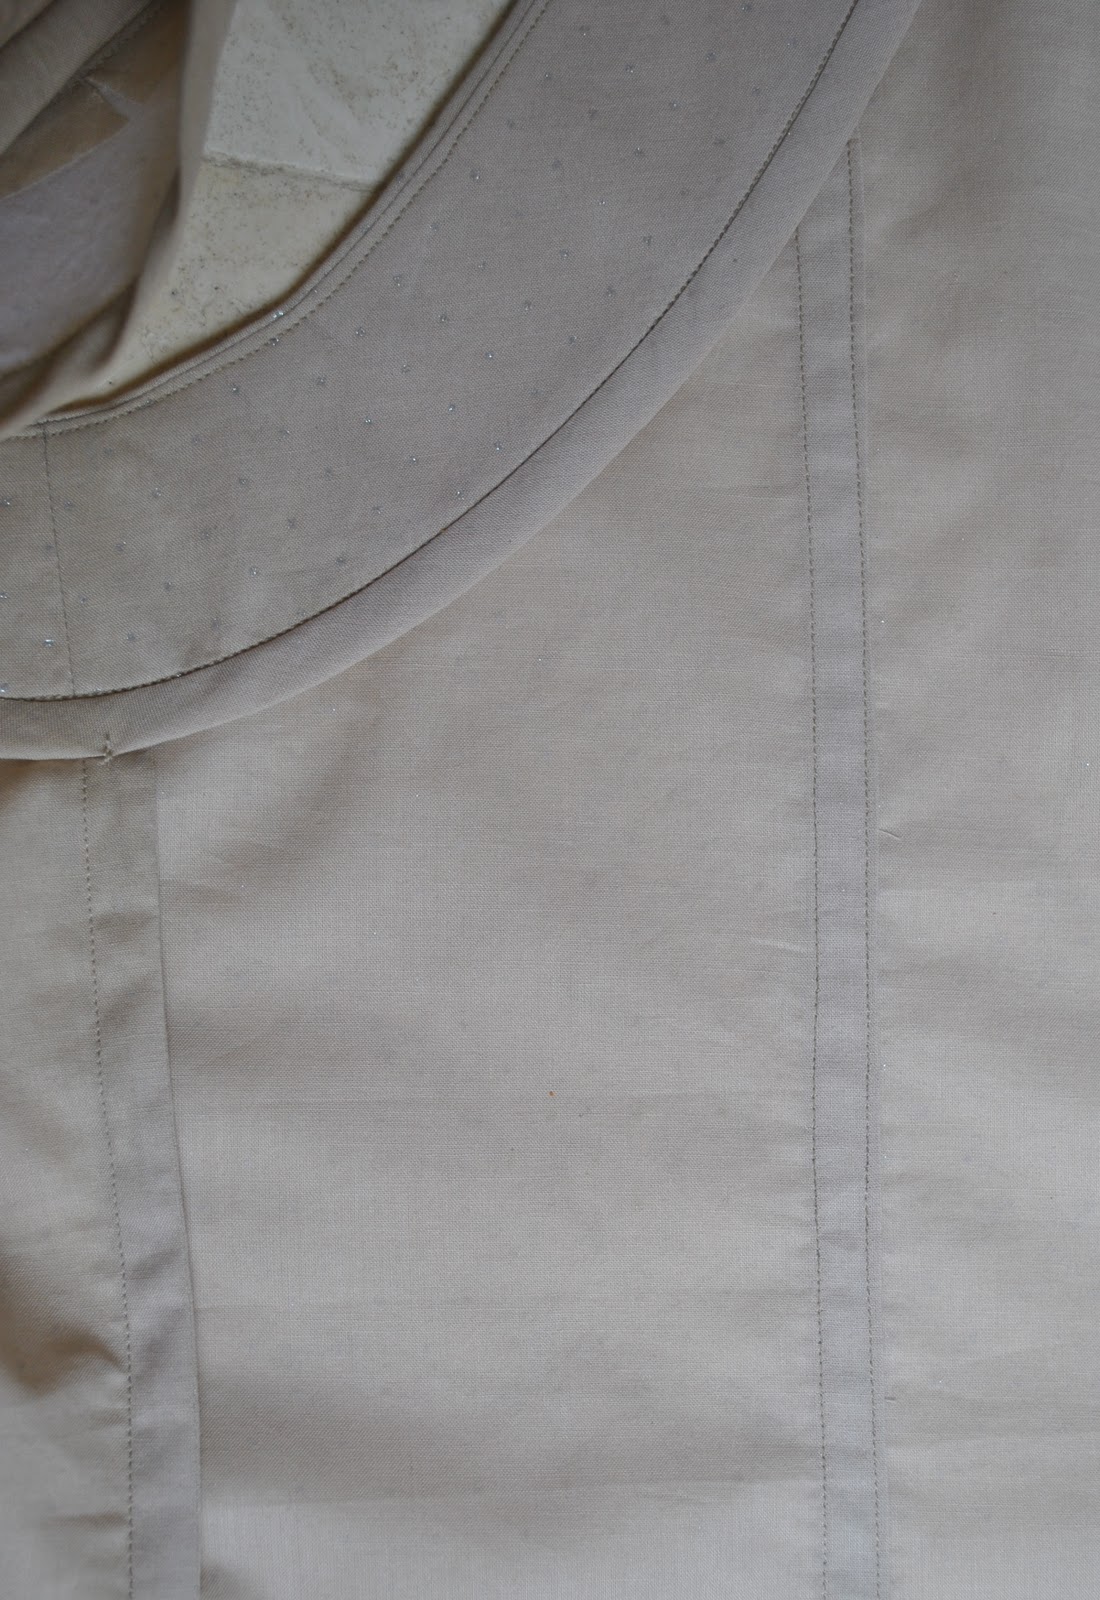
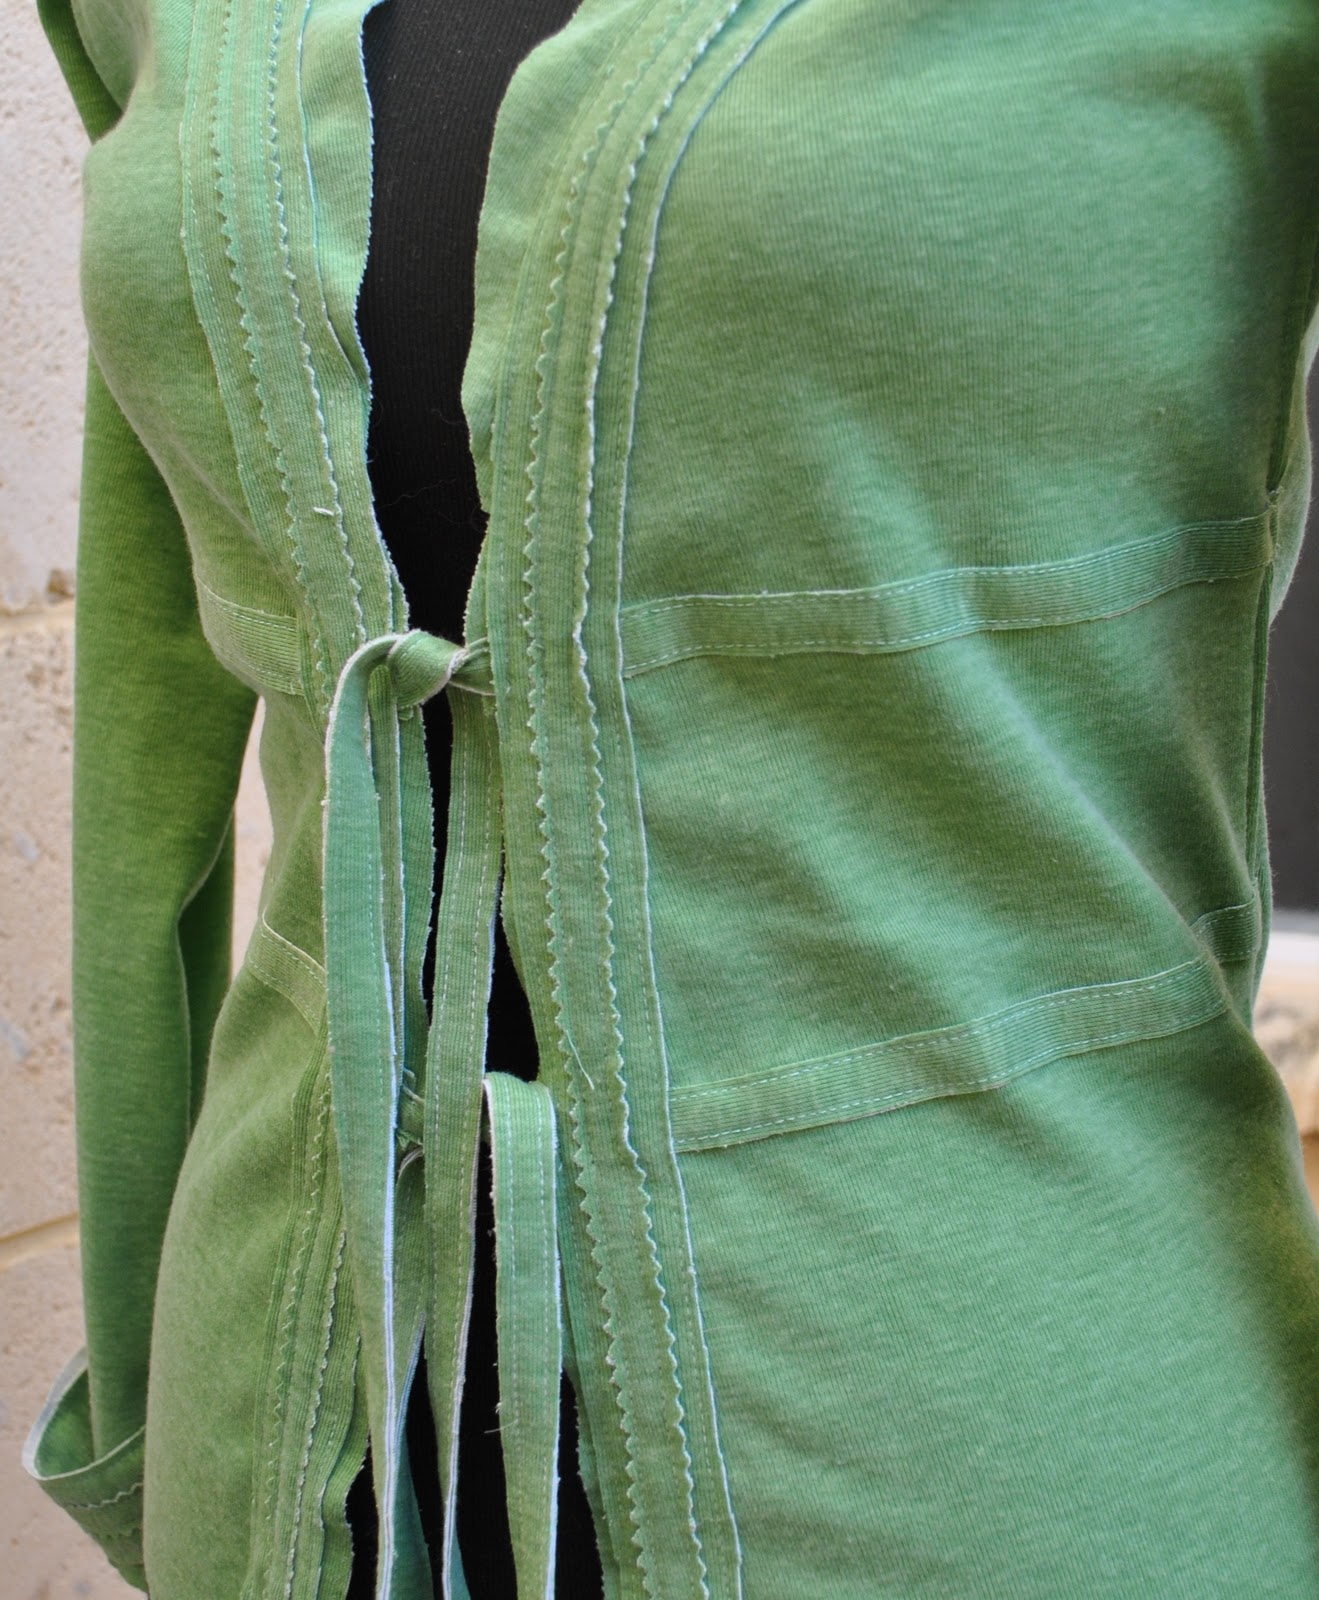
The closure is with long strips of self-fabric that were laid horizontally and topstitched down on the front of the cardi… as they go off the front edge these are faced with the same fabric (for stability and to lessen stretching through use) to make ribbon ties at the front. The front opening edges of the cardi were decoratively finished with two separate long strips; the underneath one is a wider straight cut strip, and then with a pinked narrower strip sewn on top. I’m really happy with the look of this, it is an interesting edge but still a unobtrusive as it is of the same fabric. The pinked edges remind me of banksia leaves…

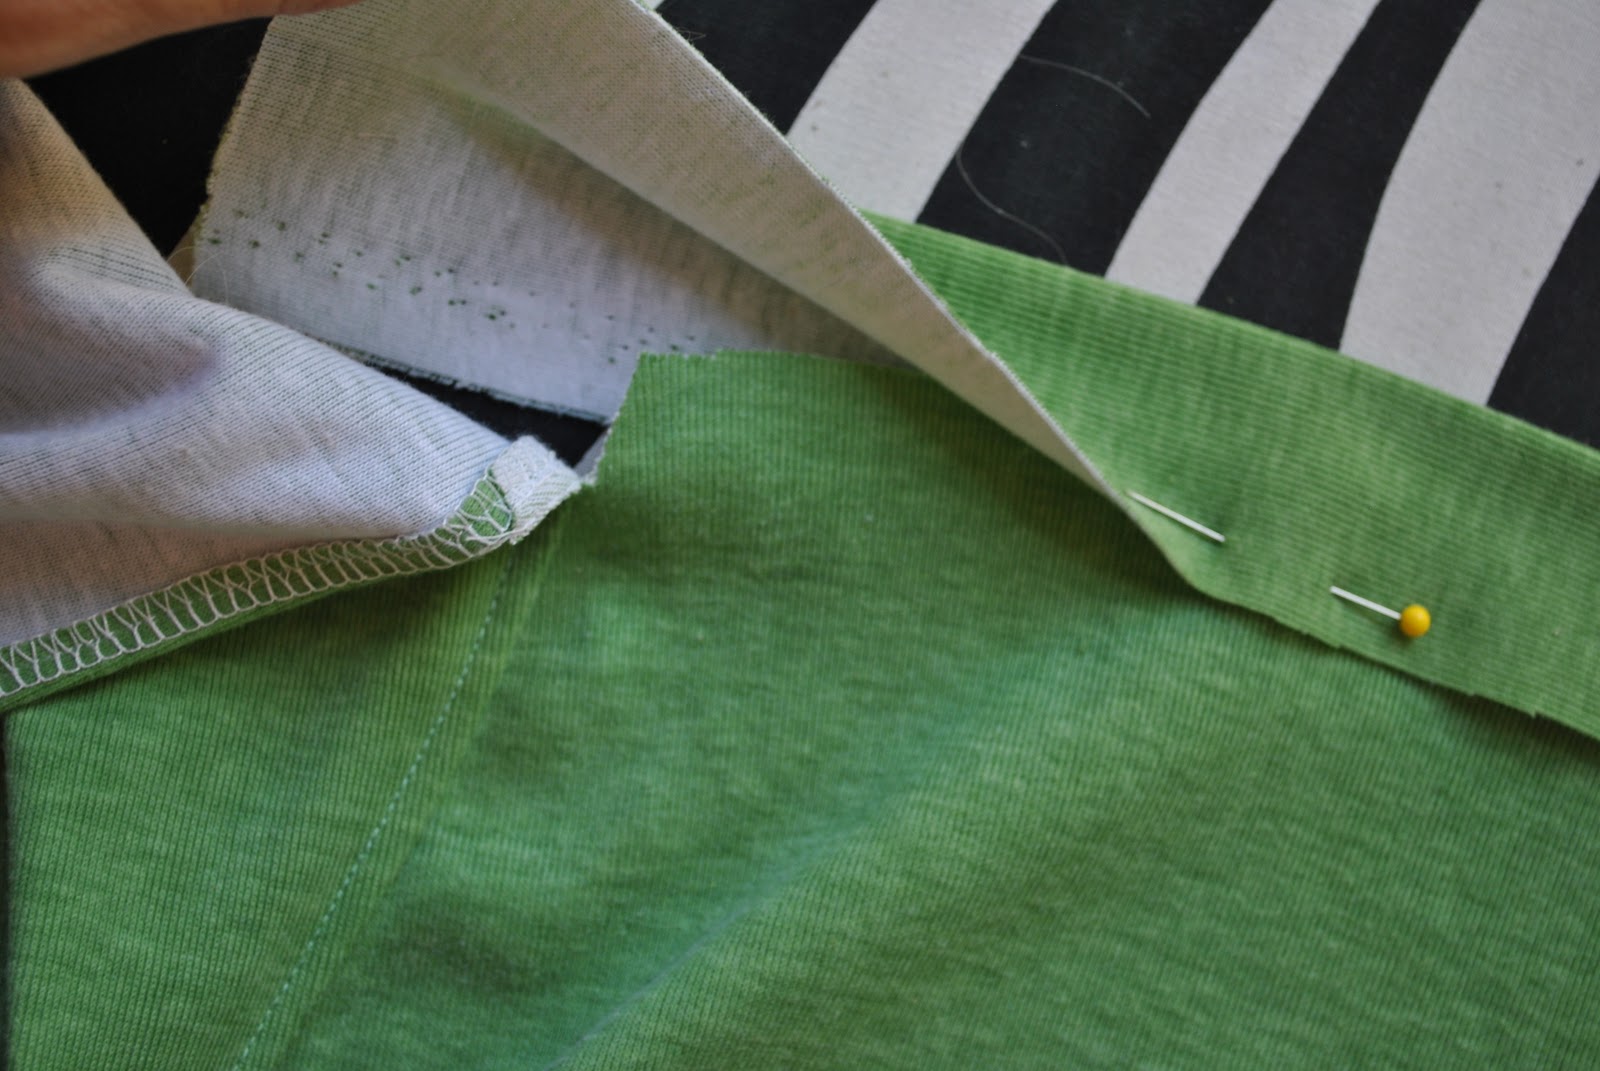
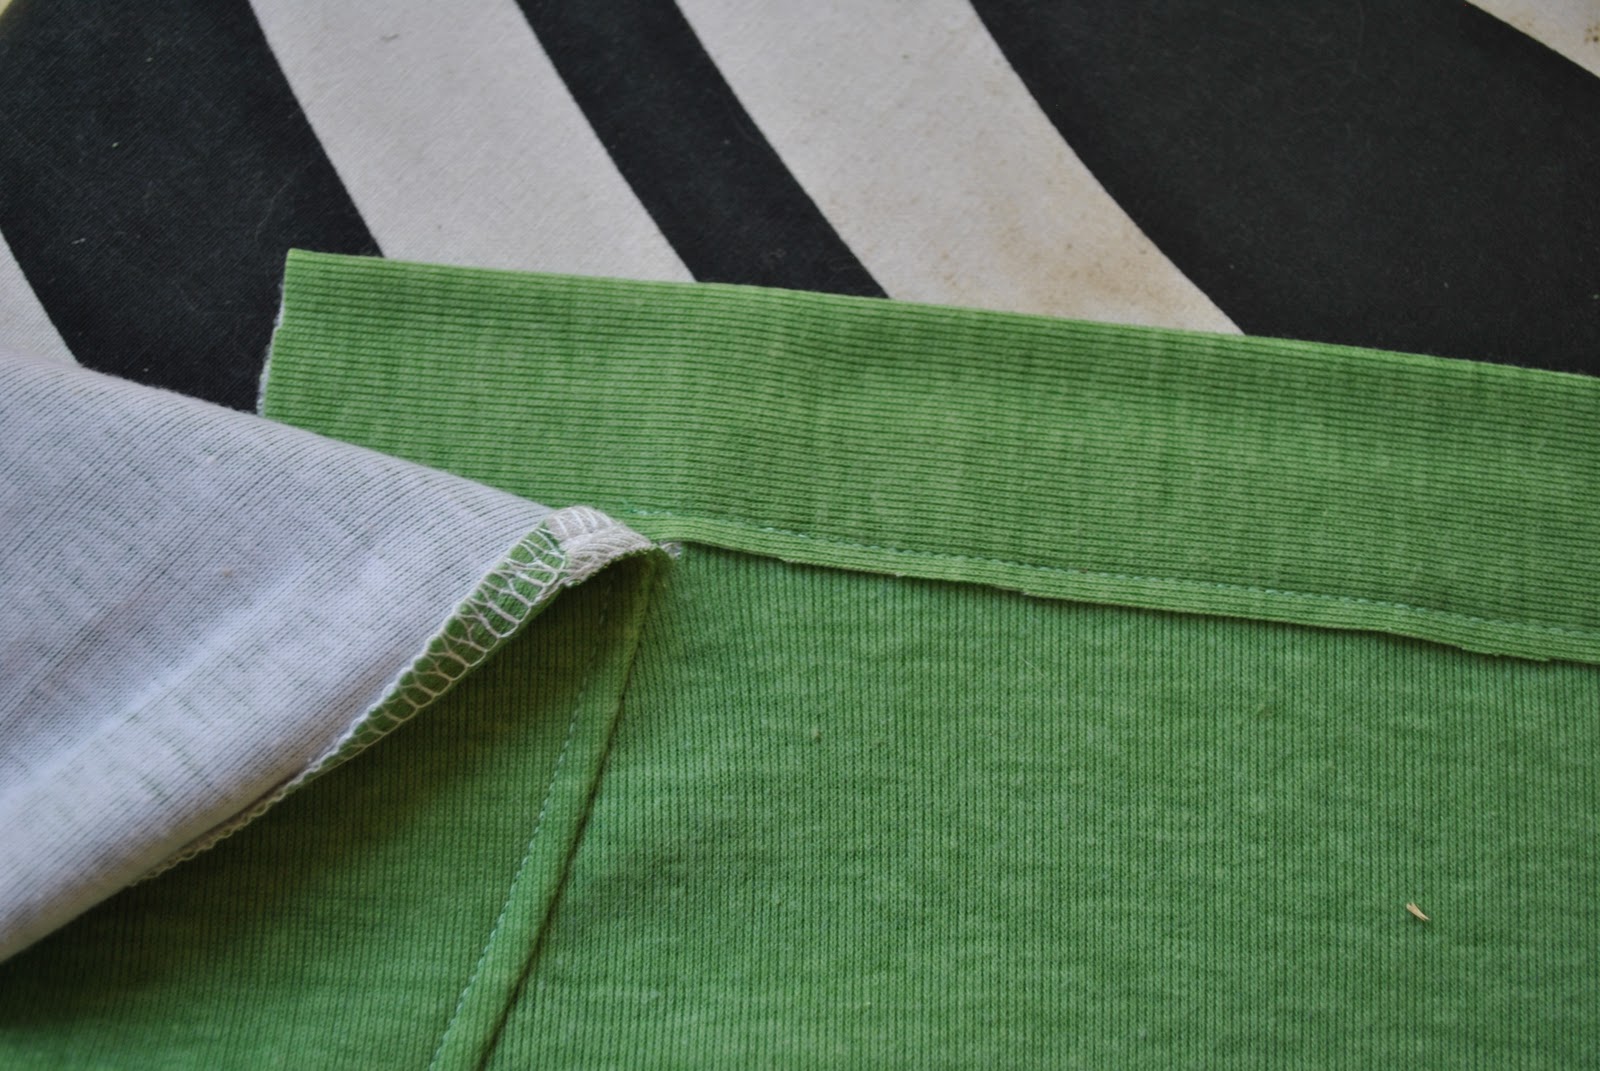
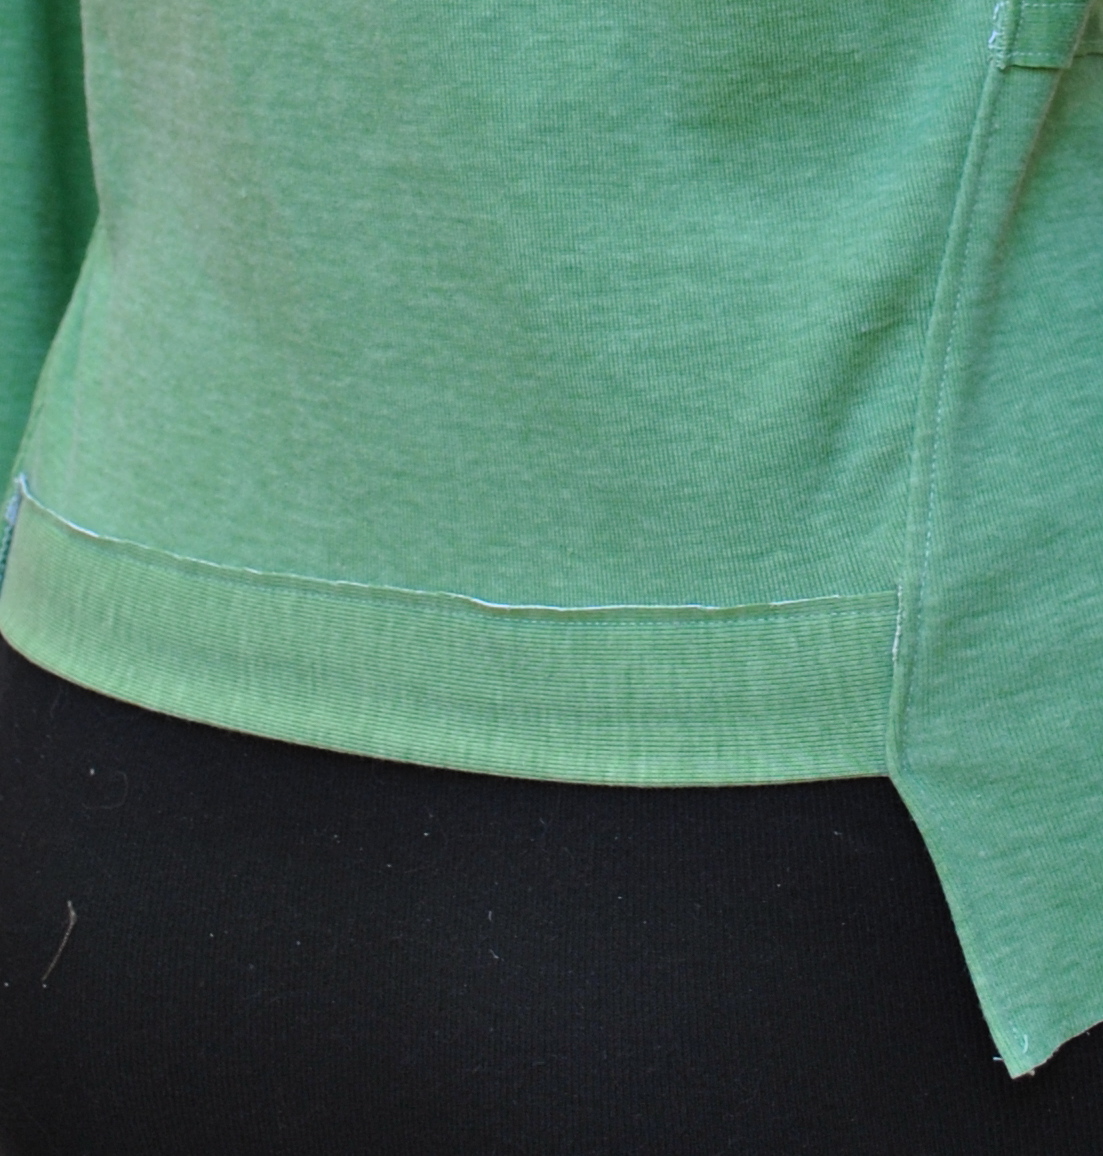
The front lower edges are left raw, and the back lower edge of the cardi was finished with a strip like this: (I did this because the lower back edge is subject to stretching, and so this strip is cut on the grain to stabilise and strengthen this area)
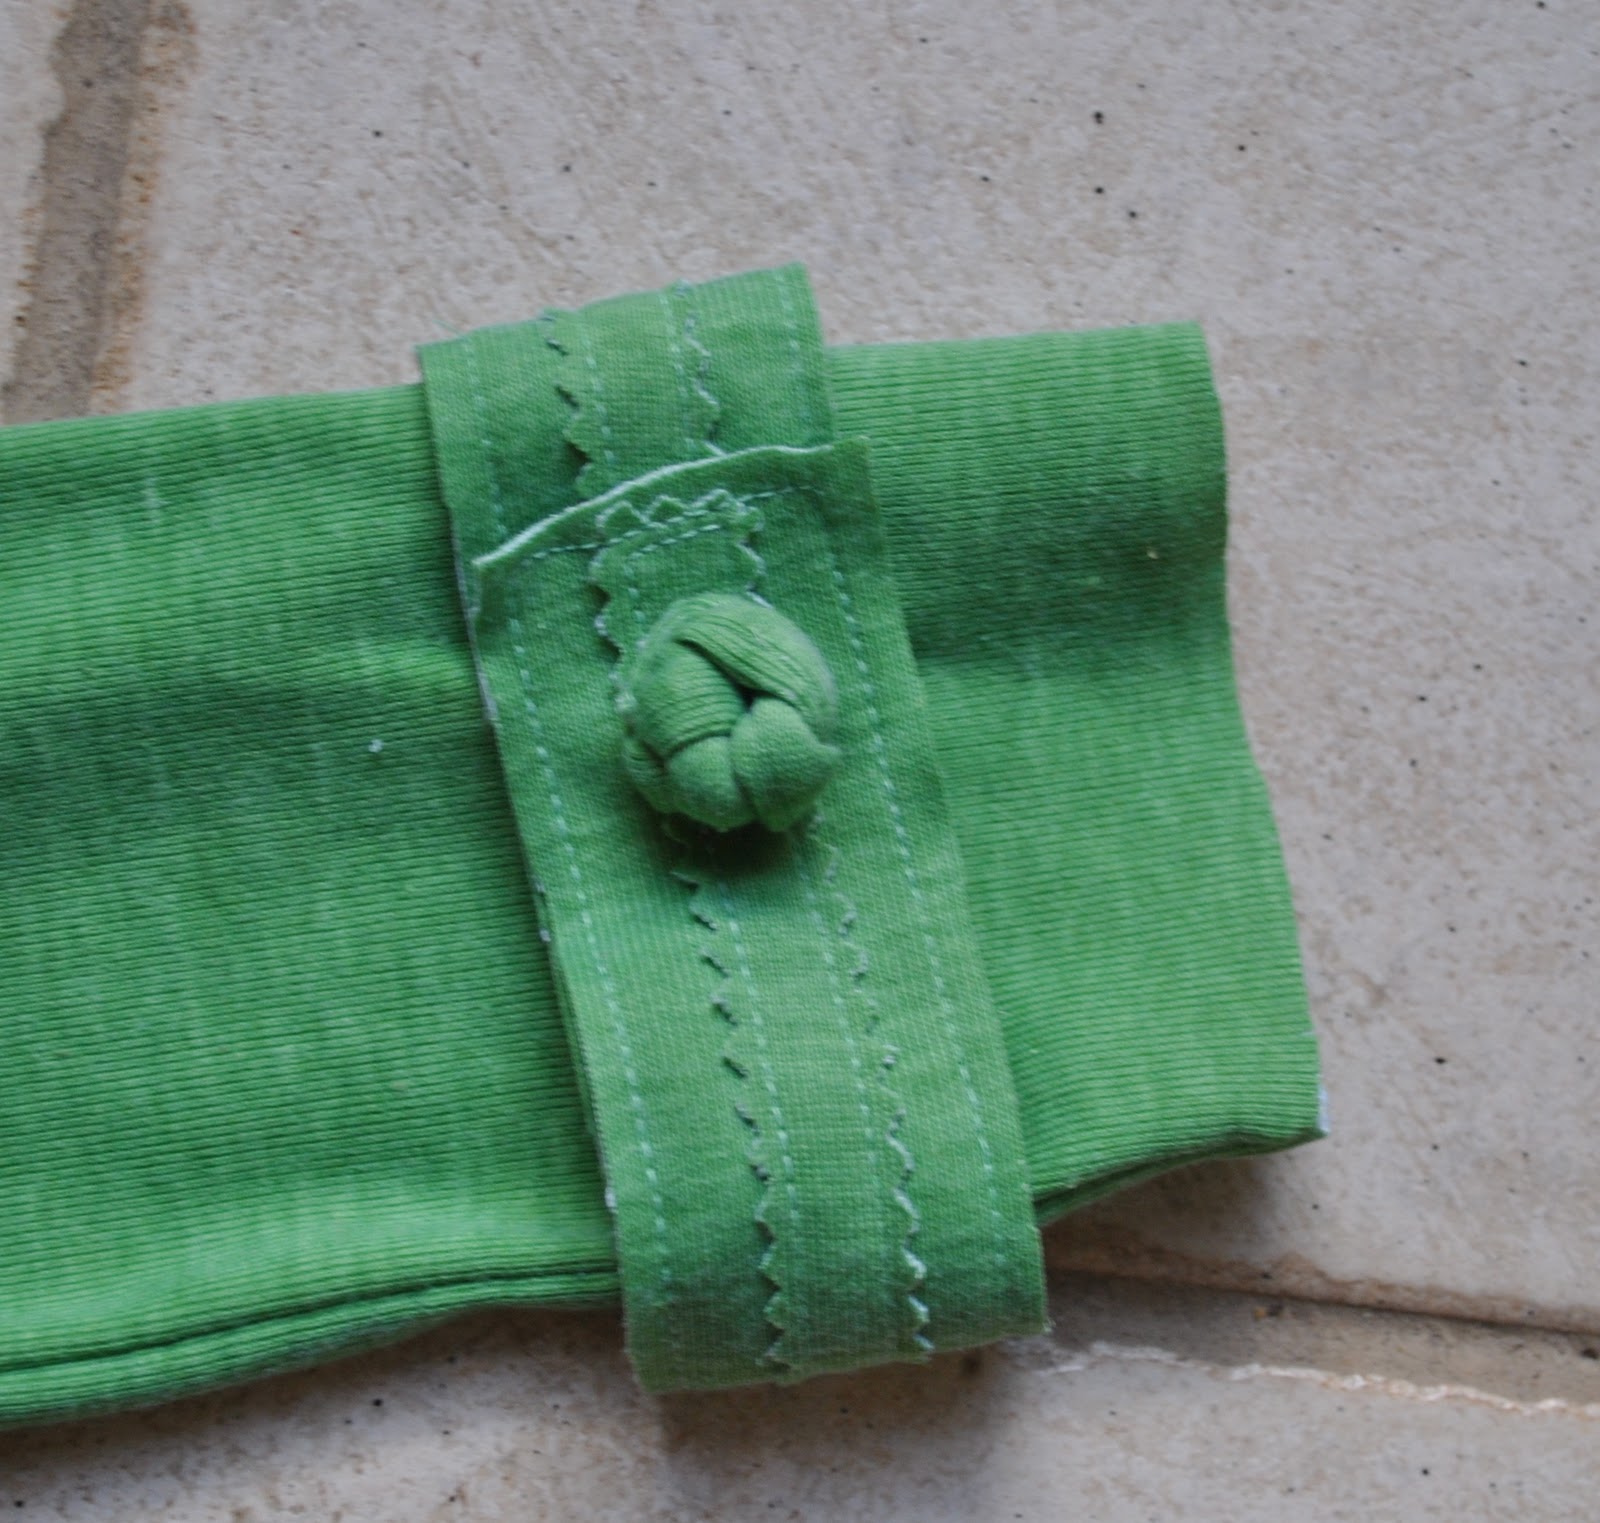
The sleeve tabs were made in the same way as the front opening edge trim and faced with self-fabric facing, and I made knot buttons of the same fabric to decorate…
While making the trims and buttons, I also amused myself by comparing what I was doing to Chanel’s jackets, which famously are often edged with trims made of the self fabric in various incarnations. So my own secret joke is to think of this as a Chanel-inspired cardi. Of course there is no quilted lining and the hemline is not weighted and therefore no real resemblance at all to a Chanel jacket…! but well, I did say “inspired” and one has to use one’s imagination here! Another little fact about Chanel’s earlier work is this: at a time when such fabric was considered only suitable for men’s underwear, her clothing was made of knit jersey … another tenuous little link, no?
But all the oddly shaped pieces and non-classic silhouette are very un Chanel!
Details:
Cardigan; my own design, Kelly-green cotton jersey
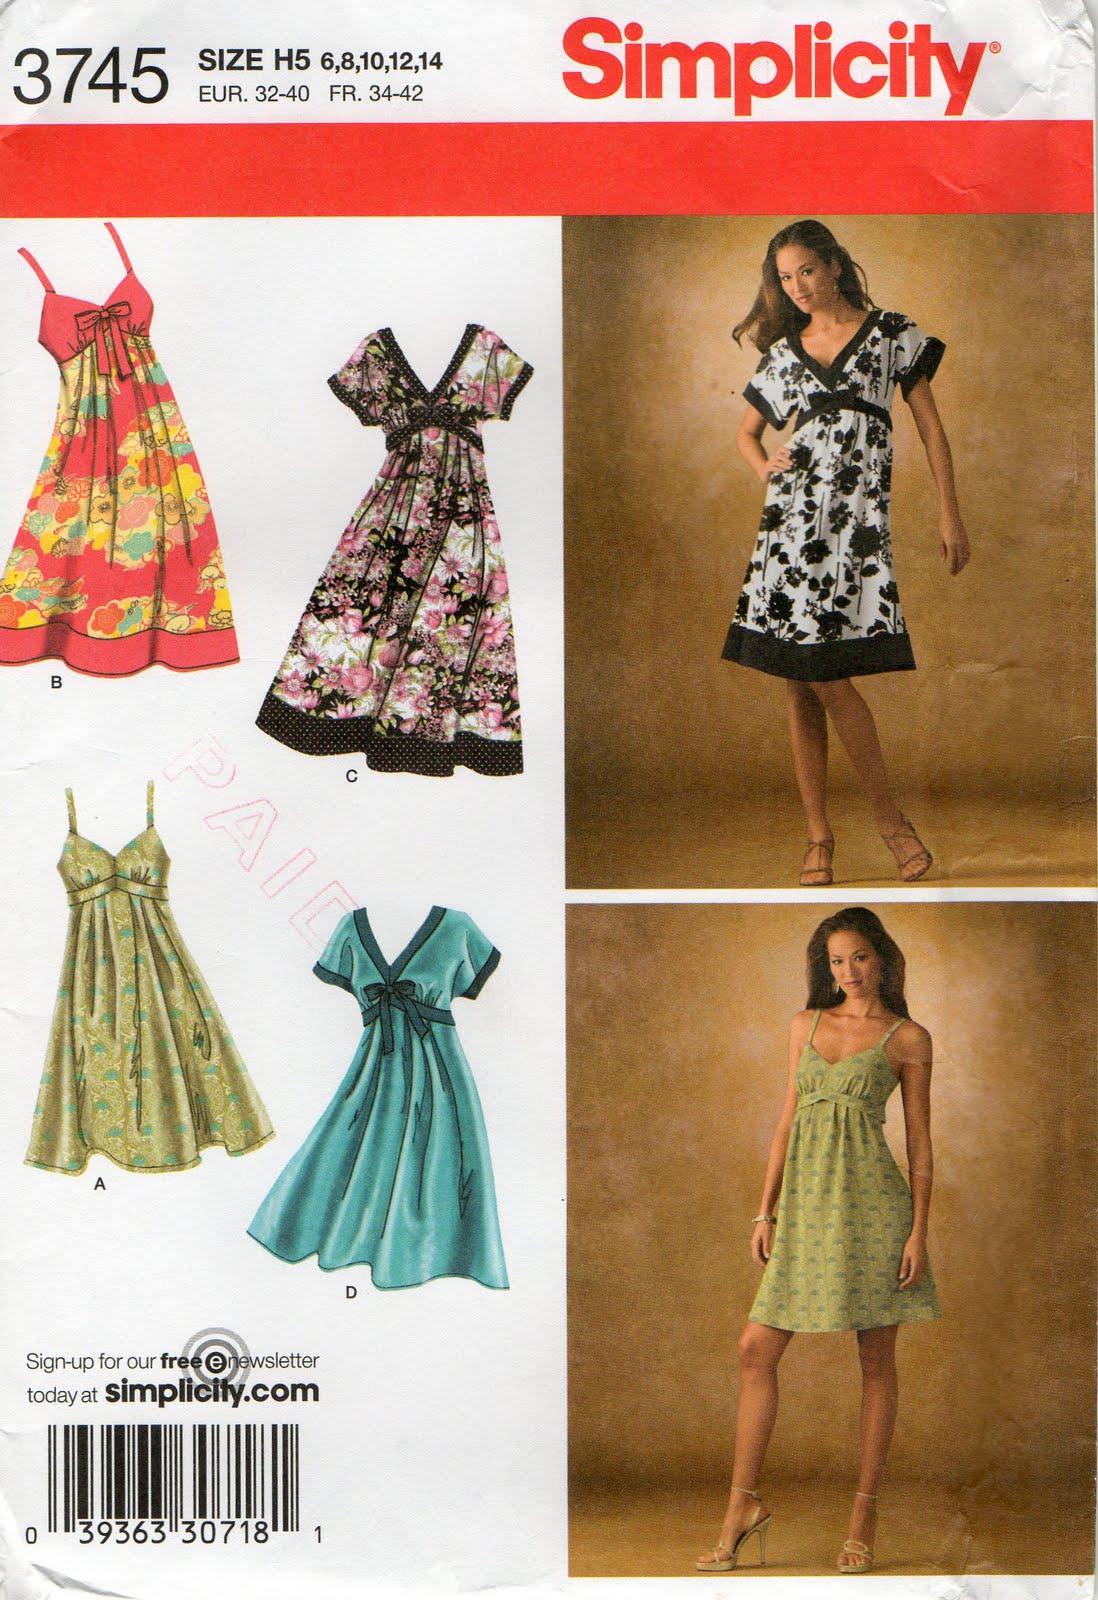
Dress; Simplicity 3745 modified, pink lace and beige border lace, details here (this is my other pink lace dress and not the one from yesterday’s post; embarrassing to admit I have two pink lace dresses but this is my more casual everyday one so that makes it alright, yes?)
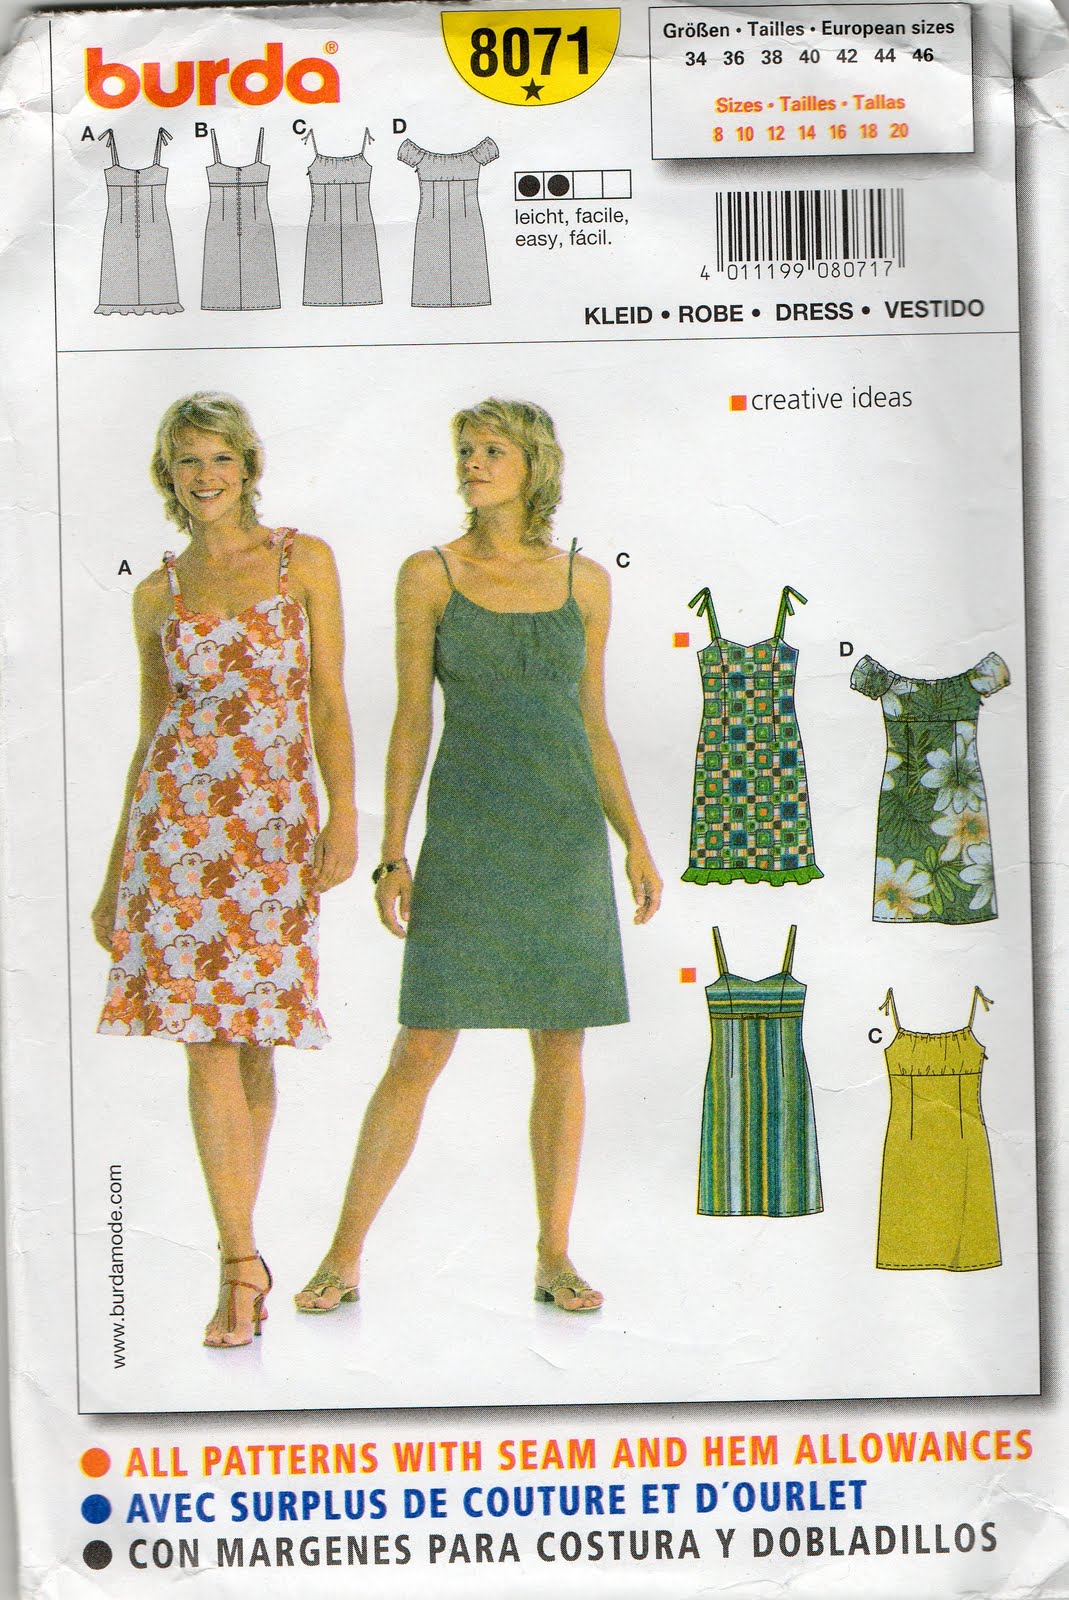
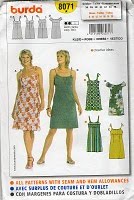
Petticoat; Burda 8071, pink silk satin, details here
Shoes; Bronx, from Zomp shoes
(it’s hard to know where to put your arms when you’re trying to show a side view, isn’t it?)
LATER EDIT: I got bored with the colour and dyed it brown… voila!


 Employing that pleasing dichotomy of minimal with steam-punk in my outfit today… yeah?


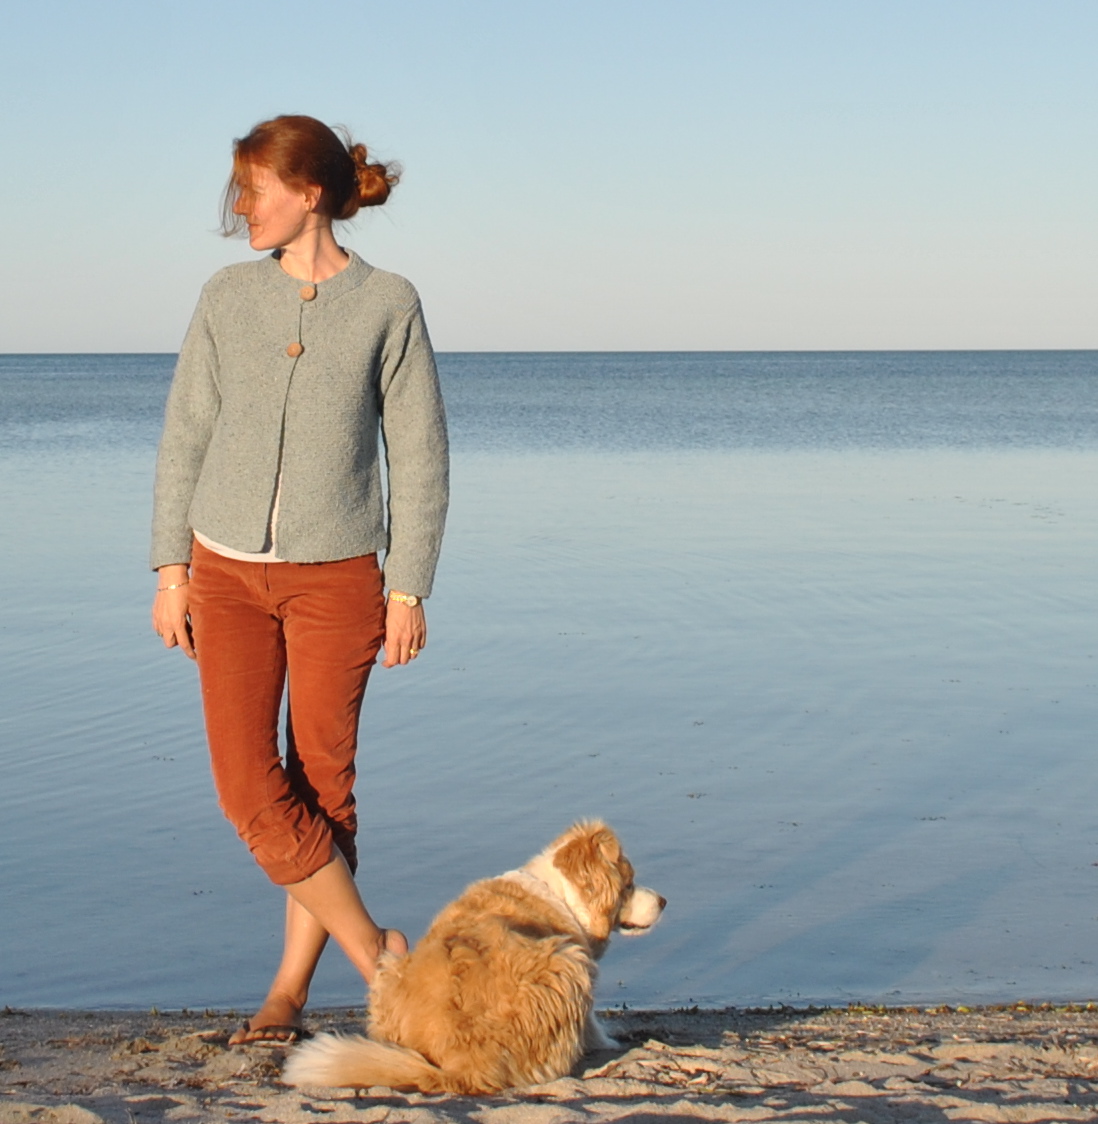
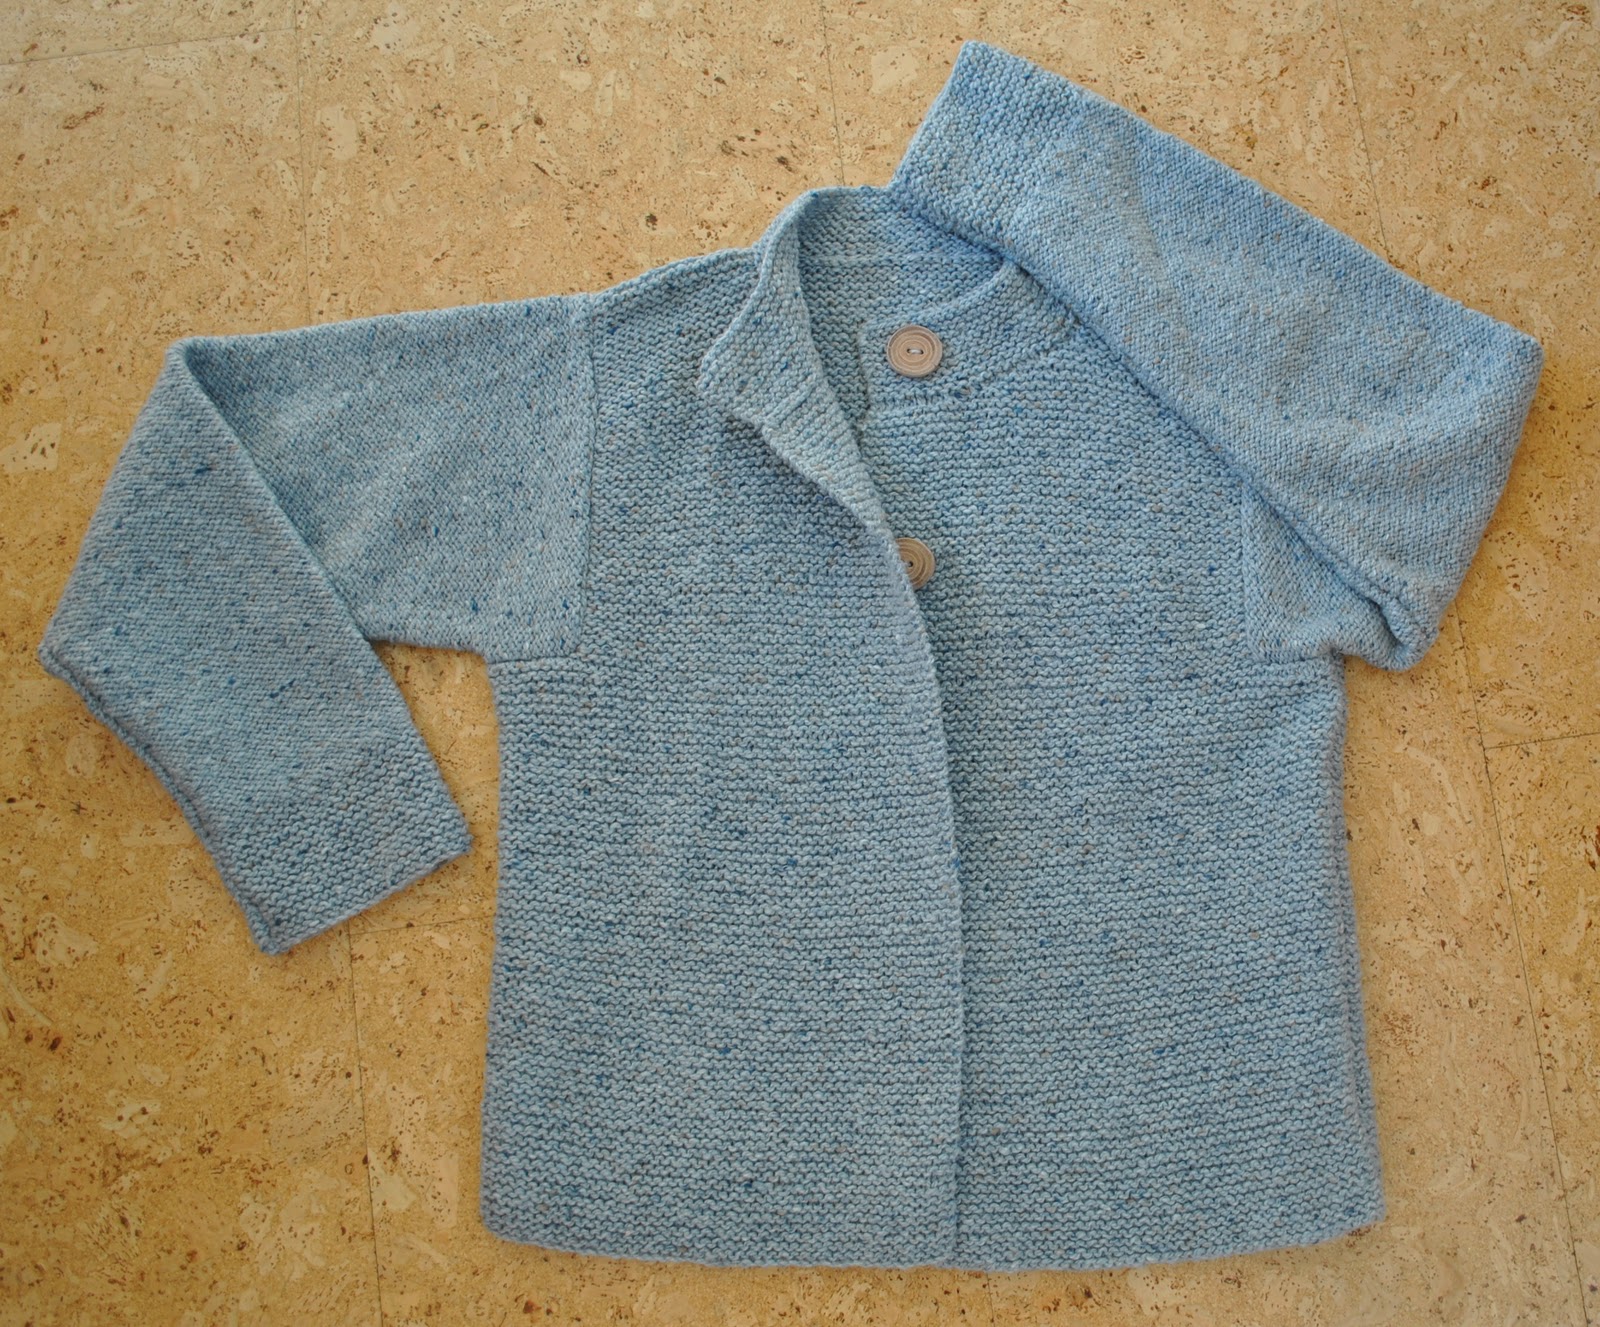
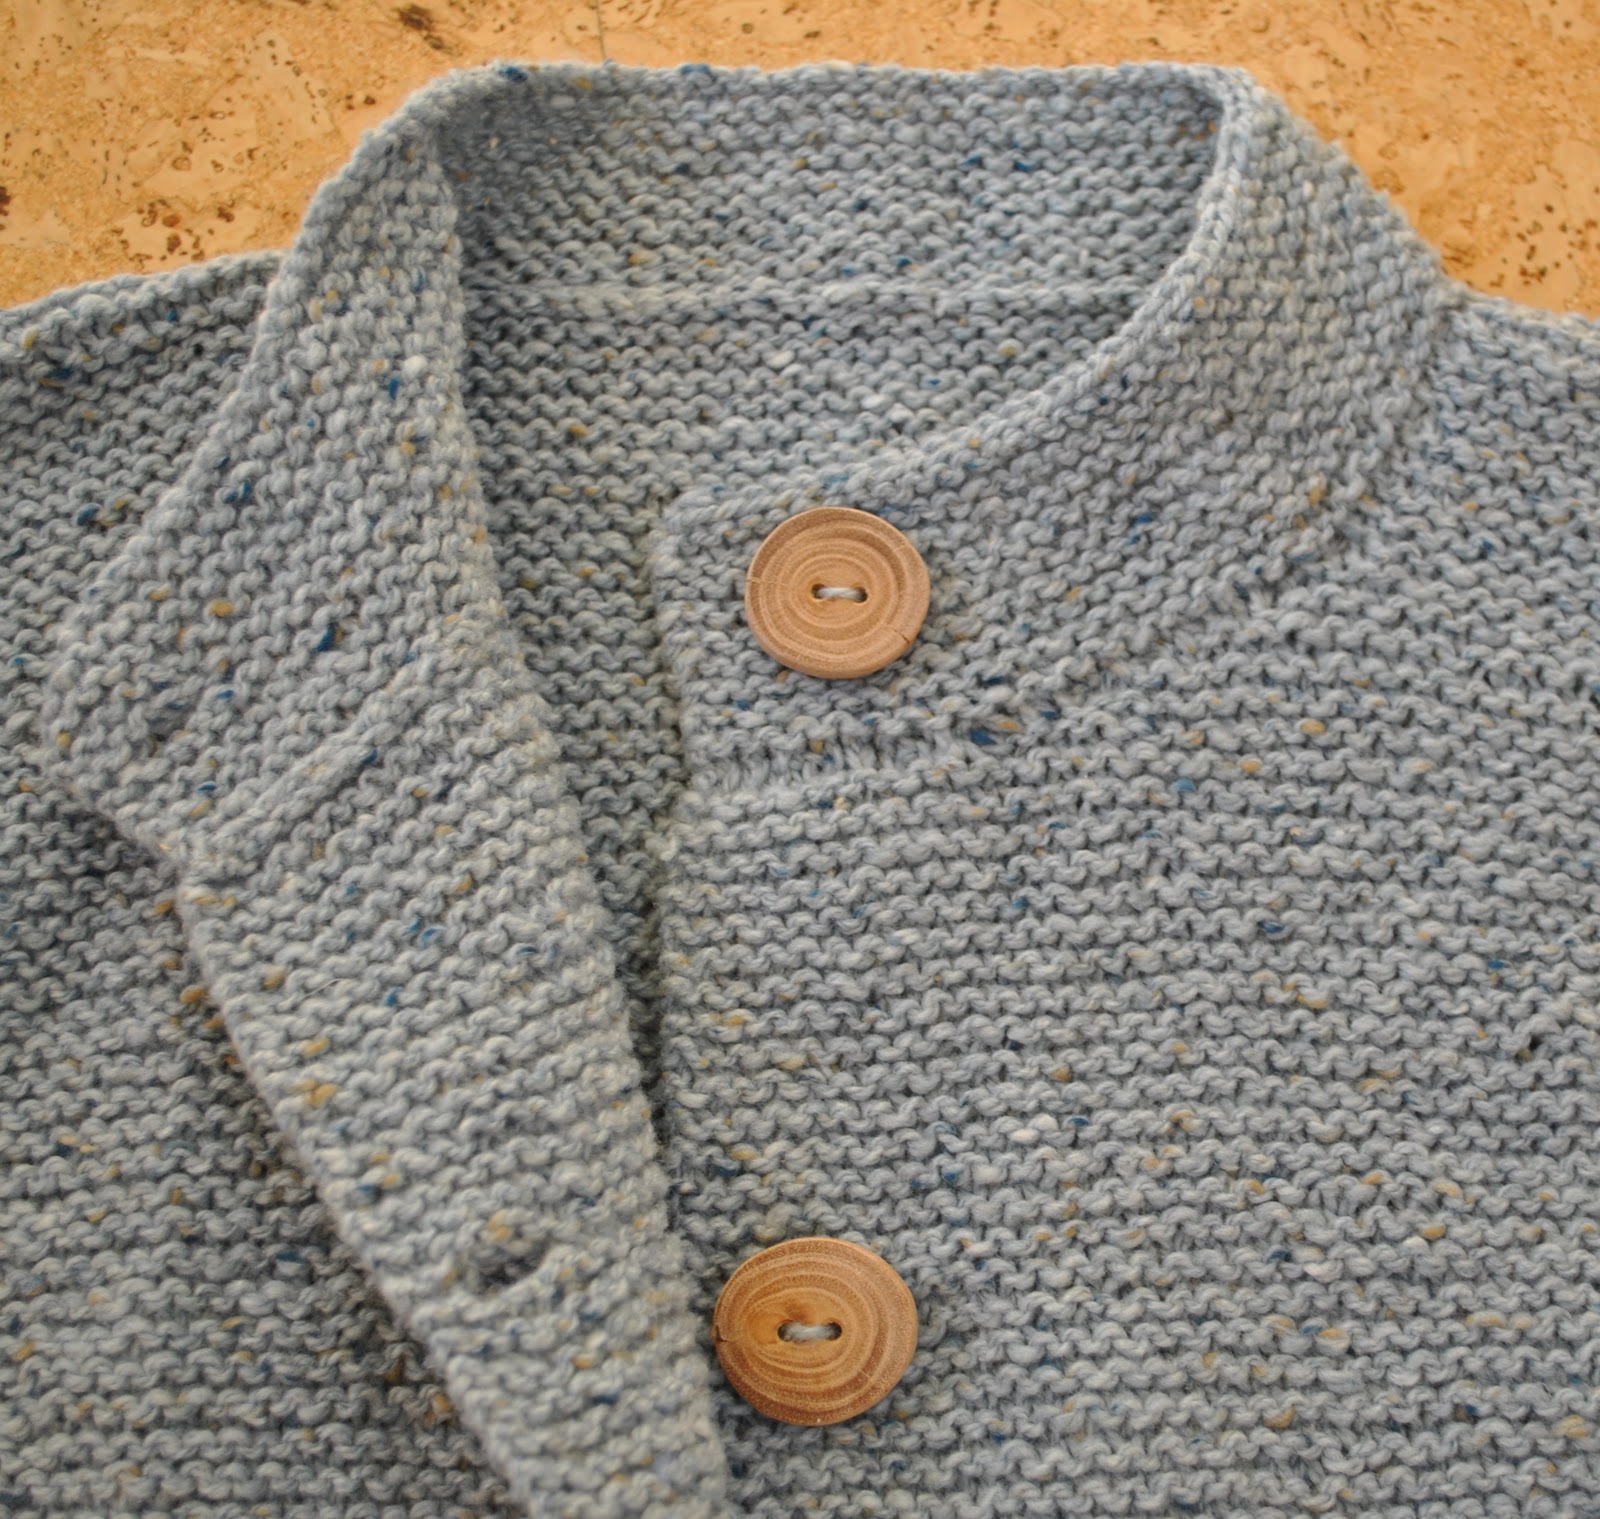
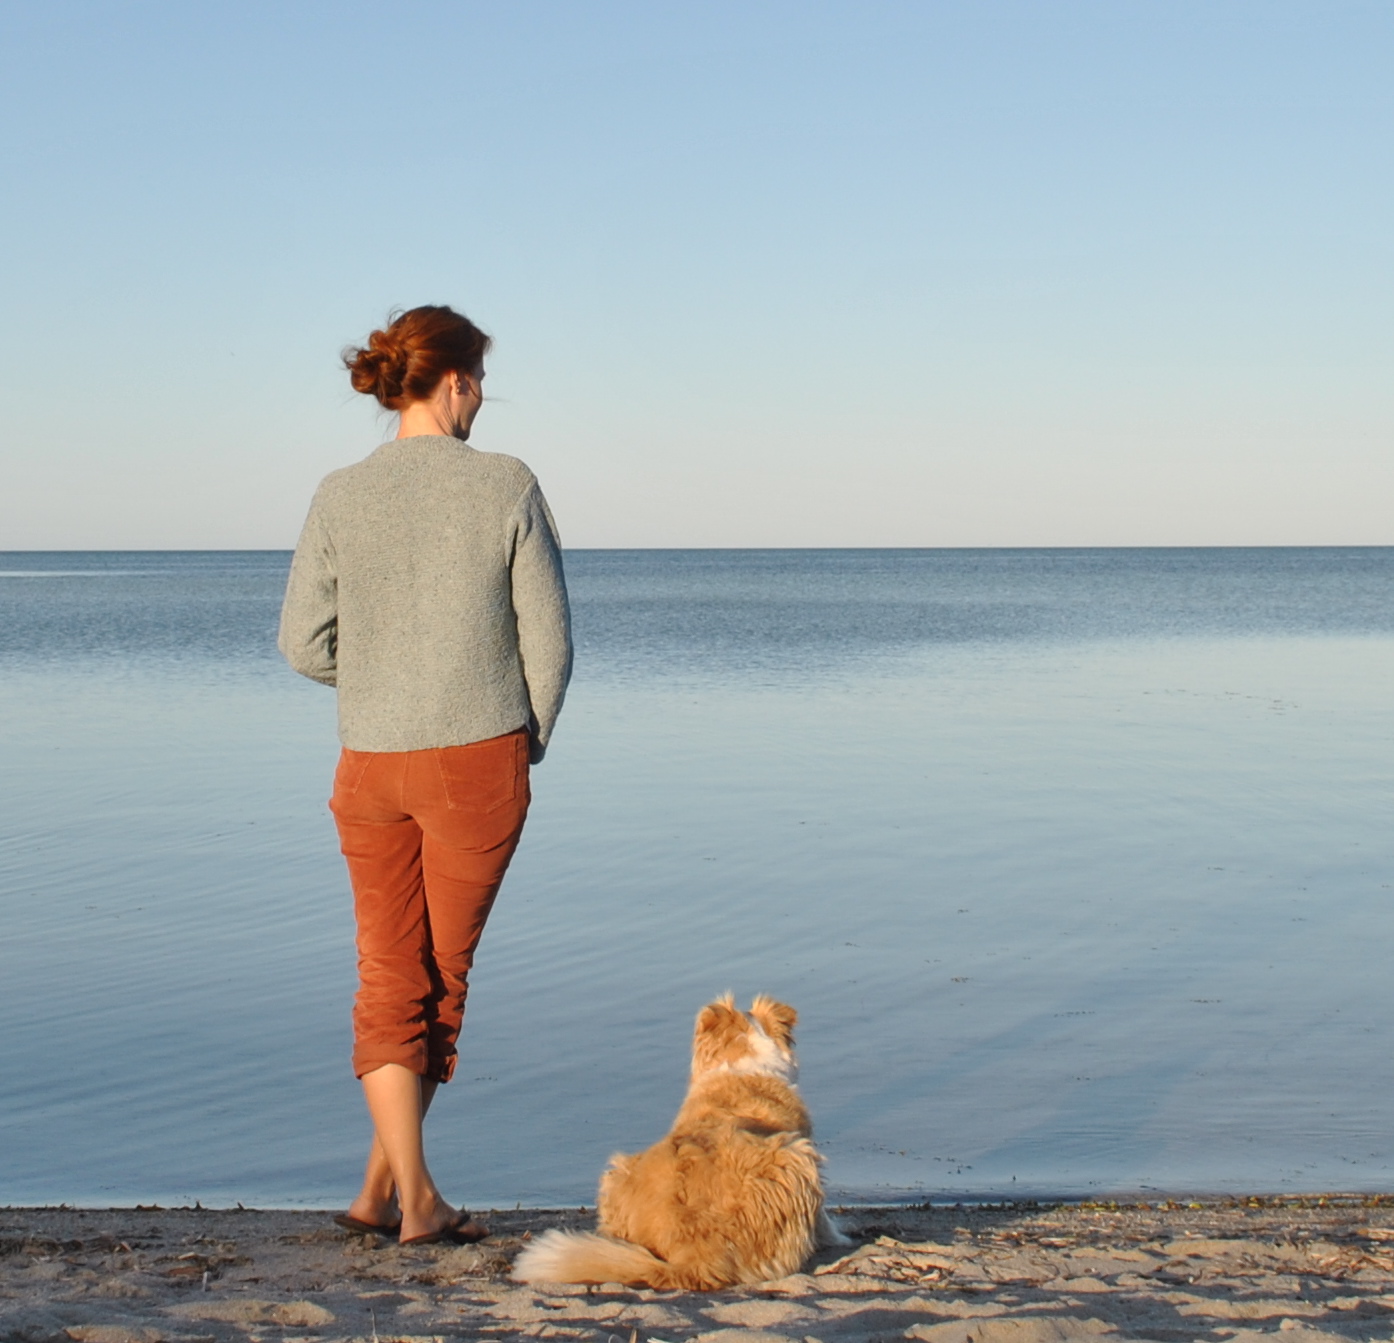
 With impeccable timing I have finished a toasty warm little knitted jacket. Yeaah, just in time for these really hot hot summer days ahead, hehe… I’m a bit sad about having to pack it away for a while, but that’s my own silly fault for starting my new winter cardi during winter. 😉 It is the shorter (version 1) Garter Jacket from Jo Sharp Knit 6… As soon as I laid eyes on this design I loved the boxy shape and interesting stitch arrangement but when I saw an actual made-up example in real life I thought it was a bit bulky and a bit big in the body for my tastes. So I took a punt that using a finer gauge yarn could work out quite good…. and I think it did! Basically instead of using the thicker gauge Aran Tweed recommended in the instructions I used the thinner DK Tweed, knitted up to its own recommended tension (not the one in the pattern instructions for the thicker yarn) and I also knitted up the very smallest size. I still followed all the instructions for number of stitches and rows etc… but the smaller scale gauge of the thinner yarn resulted in a smaller and finer cardi; not too thick and just right in my opinion. Another bonus to this approach was that I needed only 9 balls, as opposed to the 11 balls required in the thicker yarn.