Category Archives: Uncategorized

feeling blue

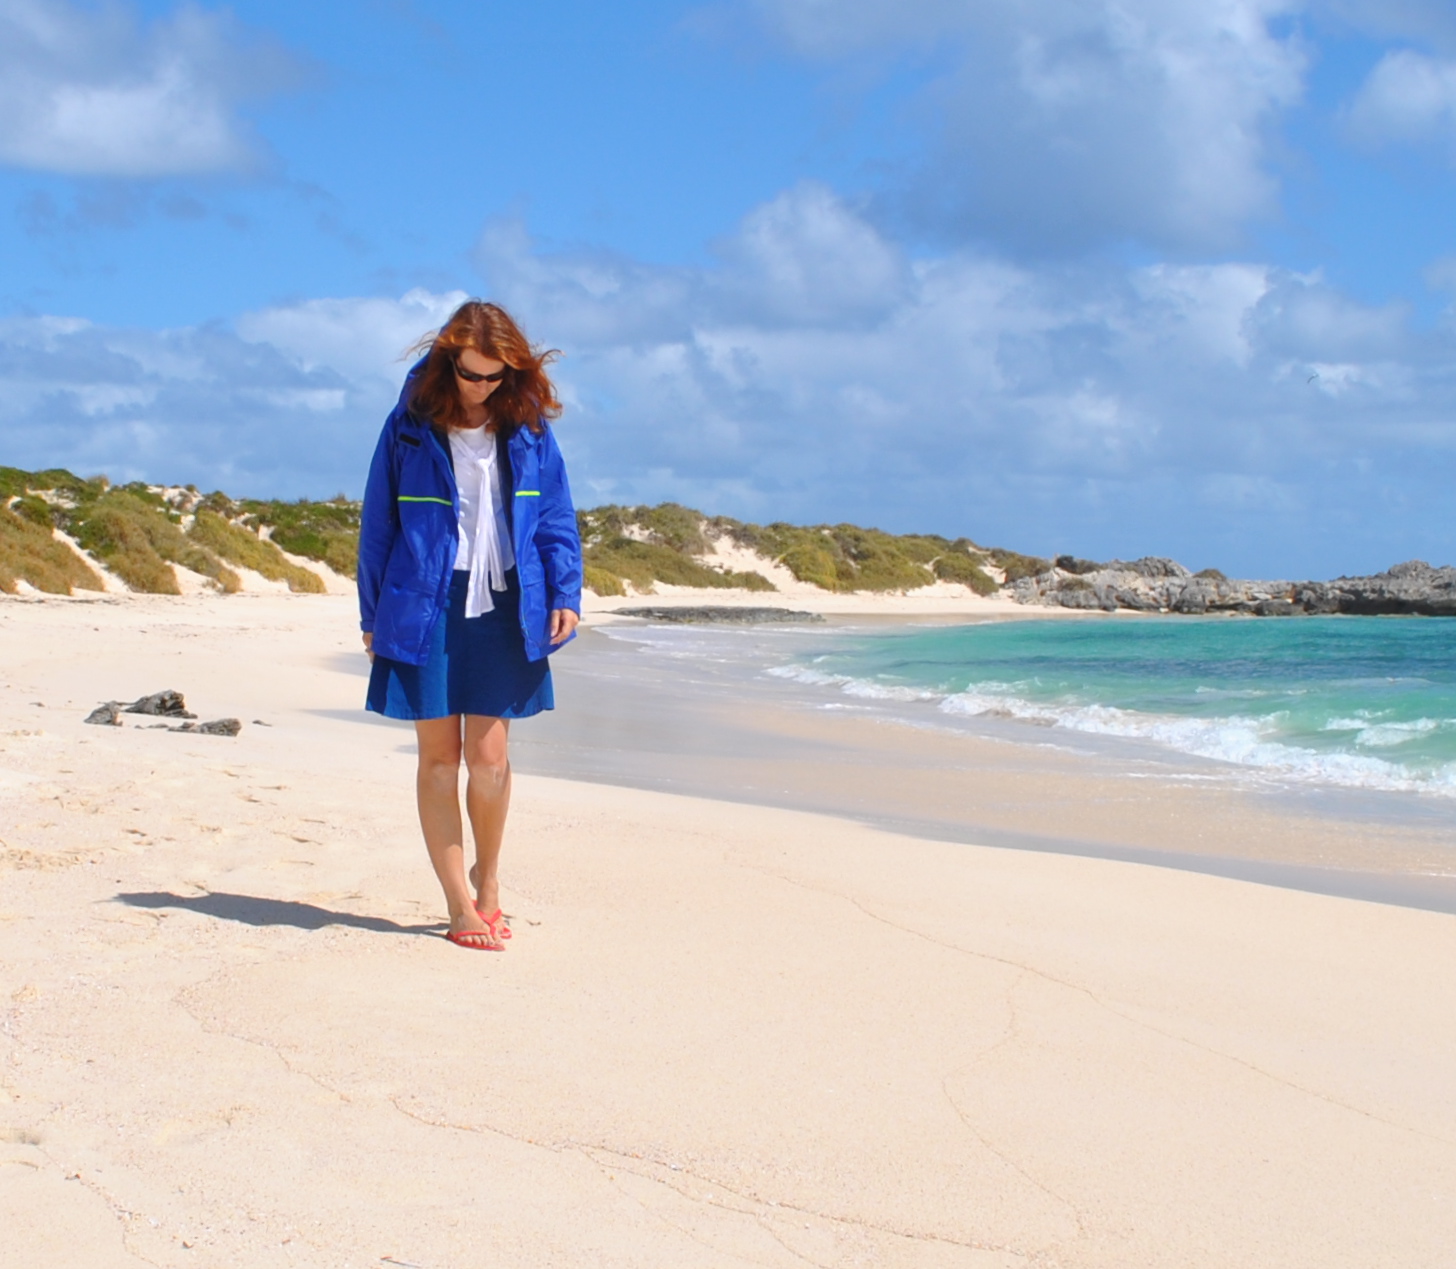
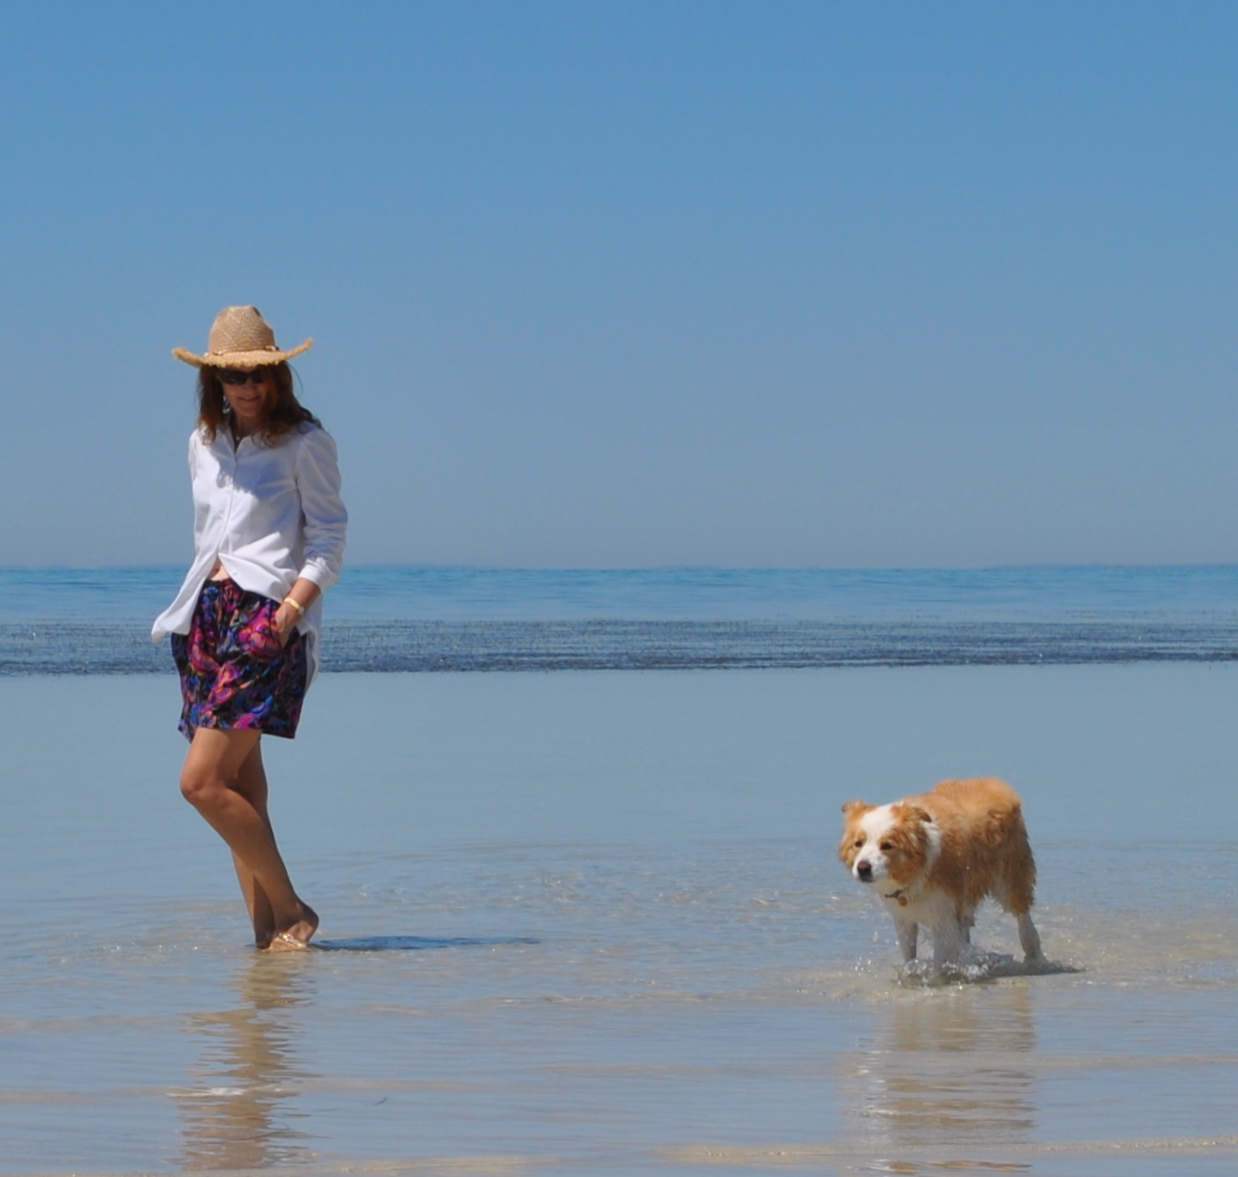
I took this photo during our holiday on Rotto but never put it in with the other travel wardrobe photos… the blue skirt was appearing too often.  But I still think it’s a nice photo so I decided to post it after all.

Details:
Raincoat: self-drafted, of non breathable nylon ripstop, details here
Top; top “a” from shape shape, formerly known as Unique Clothes Any Way You Like, by Natsuno Hiraiwa, of white cotton, details here
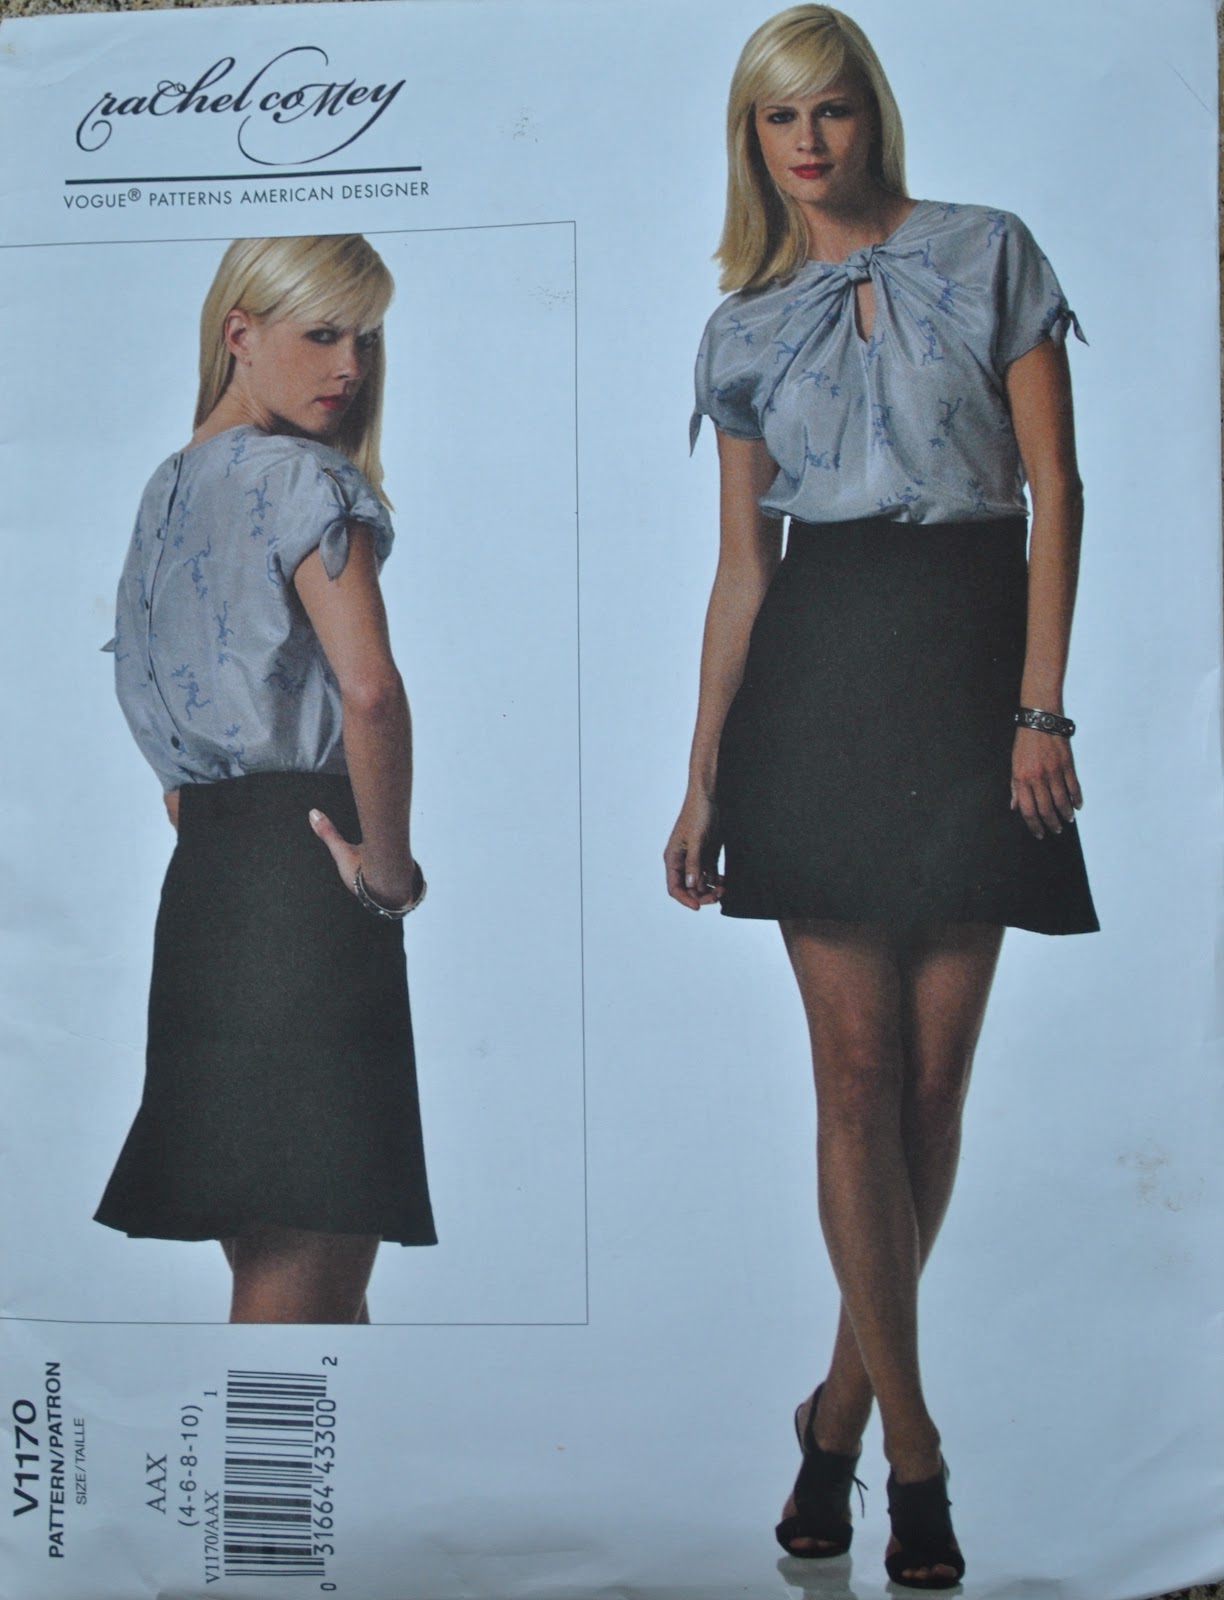
Skirt; Vogue 1170, blue corduroy, details heremy review of this pattern here, and see this skirt styled in 6 different ways here
Thongs; Havaiana

I’ve been a bit sad and have lost some of the blogging joy over the past few days… thanks to a very sarcastic nasty comment on my blog I discovered recently.  A few might have seen a recent blog post I wrote about it … but probably not many because I deleted it soon after publishing.  I also deleted the mean comment too eventually; Craig told me I should have left it to allow everyone to read it, but rude comments upset me.  I just don’t want hurtful stuff on my blog.  I usually prefer to be all Positive Pollyanna.  
The commenter took exception to my review of Natsuno Hiraiwa’s Pattern book Unique Clothes Any Way You Like, or shape shape, which she interpreted as a personal attack on her character.  Apparently she was an author of one of those scathing reviews on amazon about Natsuno Hiraiwa’s book.  Of course it goes without saying that she had nothing nice to say about my own makes from the book!  She outlined her alleged long sewing history, I guess as a means of “proving” her superior level of sewing expertise, thus granting herself the authority to override my positive review of the book.  Despite admitting again she hadn’t even used the book.  She classed me a “spoilt Anglo Saxon sewer” (and btw I have used Burda magazine patterns a lot too), and very sarcastically dissed the skirt I had made, skirt “d” pictured at the top of my review.
So.
I don’t like to drone on about my own history since I prefer for my handiwork to speak for itself… plus one thing I’ve learnt from the internet is how lots of people can talk until the cows come home about how utterly expertly fabulous they are at something without ever offering any evidence to support their claims; so I will not.  I have posted about some of my really old stuff under the label ancient history.  
However, for the last three years I upped the ante to the max and took on sewing my entire wardrobe; and this has been documented pretty thoroughly here on my blog.  I have not bought any clothes in all that time.  In my real life, I am literally the only person I know who sews all my own clothes.  I really enjoy doing this; I love clothes and I love the challenge of creating them myself, and it gives me something to do in my spare time.  I’m a busy person, and don’t like to be still, so sewing keeps me happily and productively occupied in the hours when I am not doing my official work in the office, cooking, housework, and on the weekends when my husband, who works very long hours, is on call or at work.
Blogging about it started out in a small documentative way; but has built up to become so much more to me, a community of wonderful like-minded people, with whom I share a common love.
Of course, I know I am very lucky and undoubtedly I am spoilt in many many aspects of my life BUT …. I’ve still put in many hours to get to the level of sewing expertise I am at, and I put in quite an effort to make things the best I possibly can.
I also put in quite an effort to present my creations in a fun, lighthearted and interesting way here, and to make my blog the best it can be.  I’m not the sort to make a half-hearted effort.  And I prefer positivity over negativity.
Anyway, I don’t even know why I’m baring my soul defensively in this way… just feeling a bit down I s’pose.  I hope I am not over-sharing in an embarrassing way.  

(I wrote this a few days ago, and I’m feeling more cheerful now  ðŸ™‚

pinterestmail

Seafoam and sand set

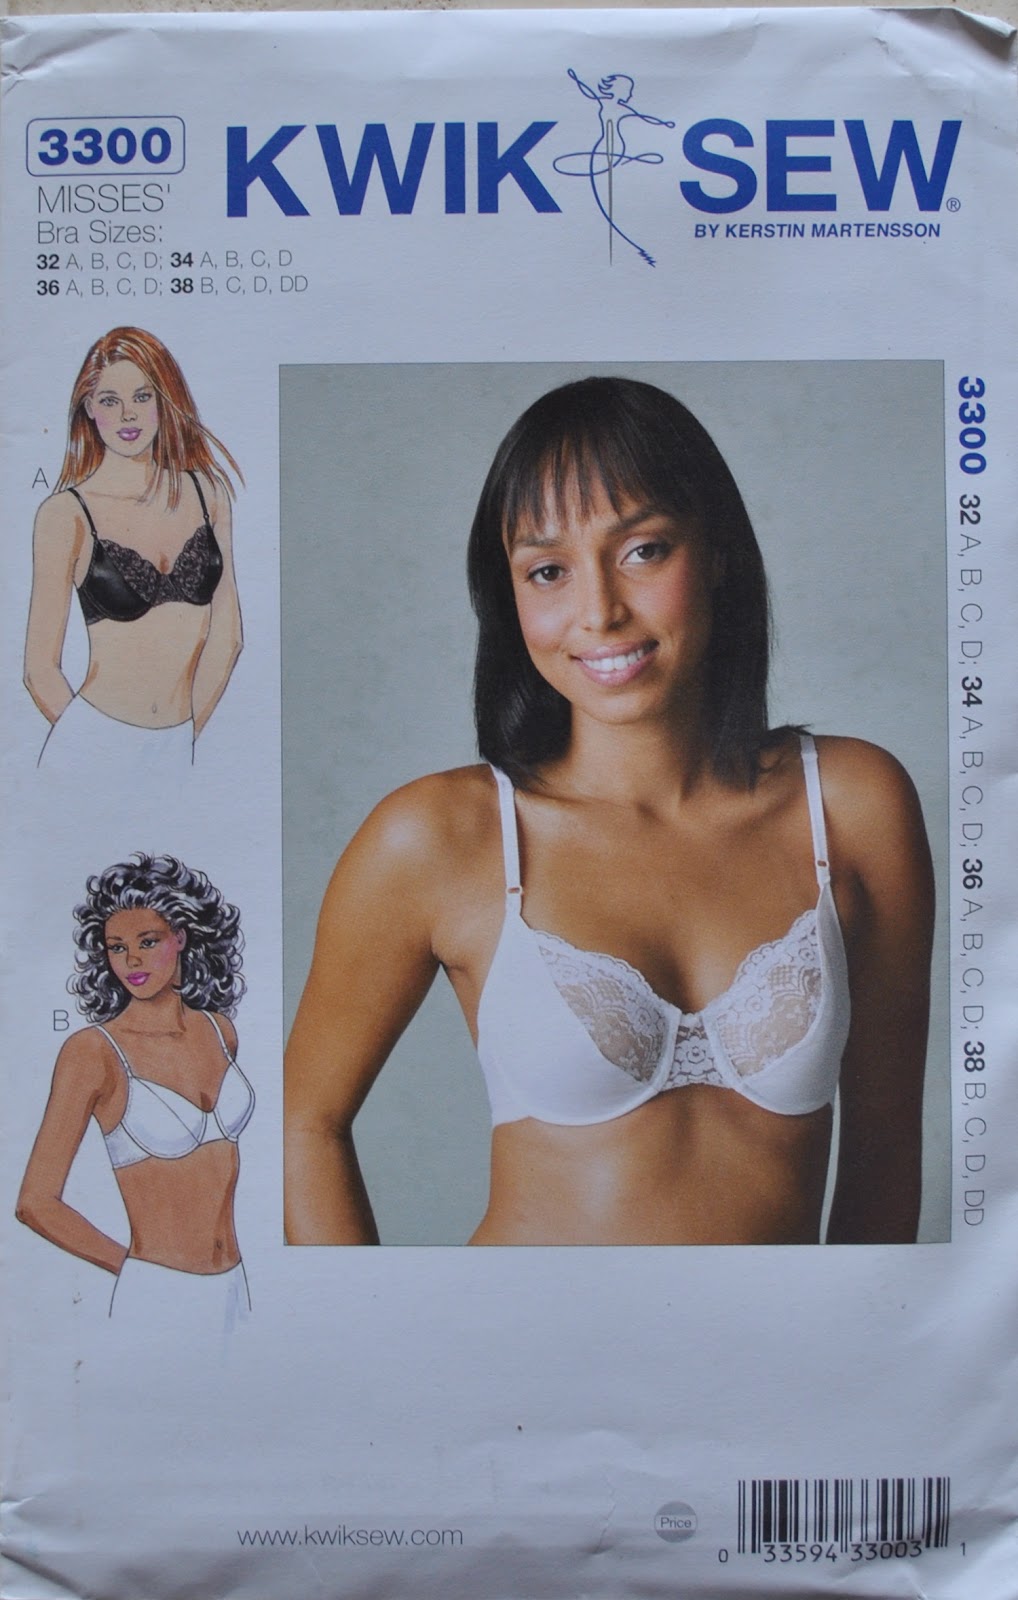
Remember my self-drafted bra?  Well this was bound to happen.  Once I had started producing some bras with nice, properly finished interiors; the days of that far-from-perfect bra were numbered.  When I learnt how things were supposed to be done, thanks to KwikSew 3300; those cobbled-together insides became painful to my eyes…
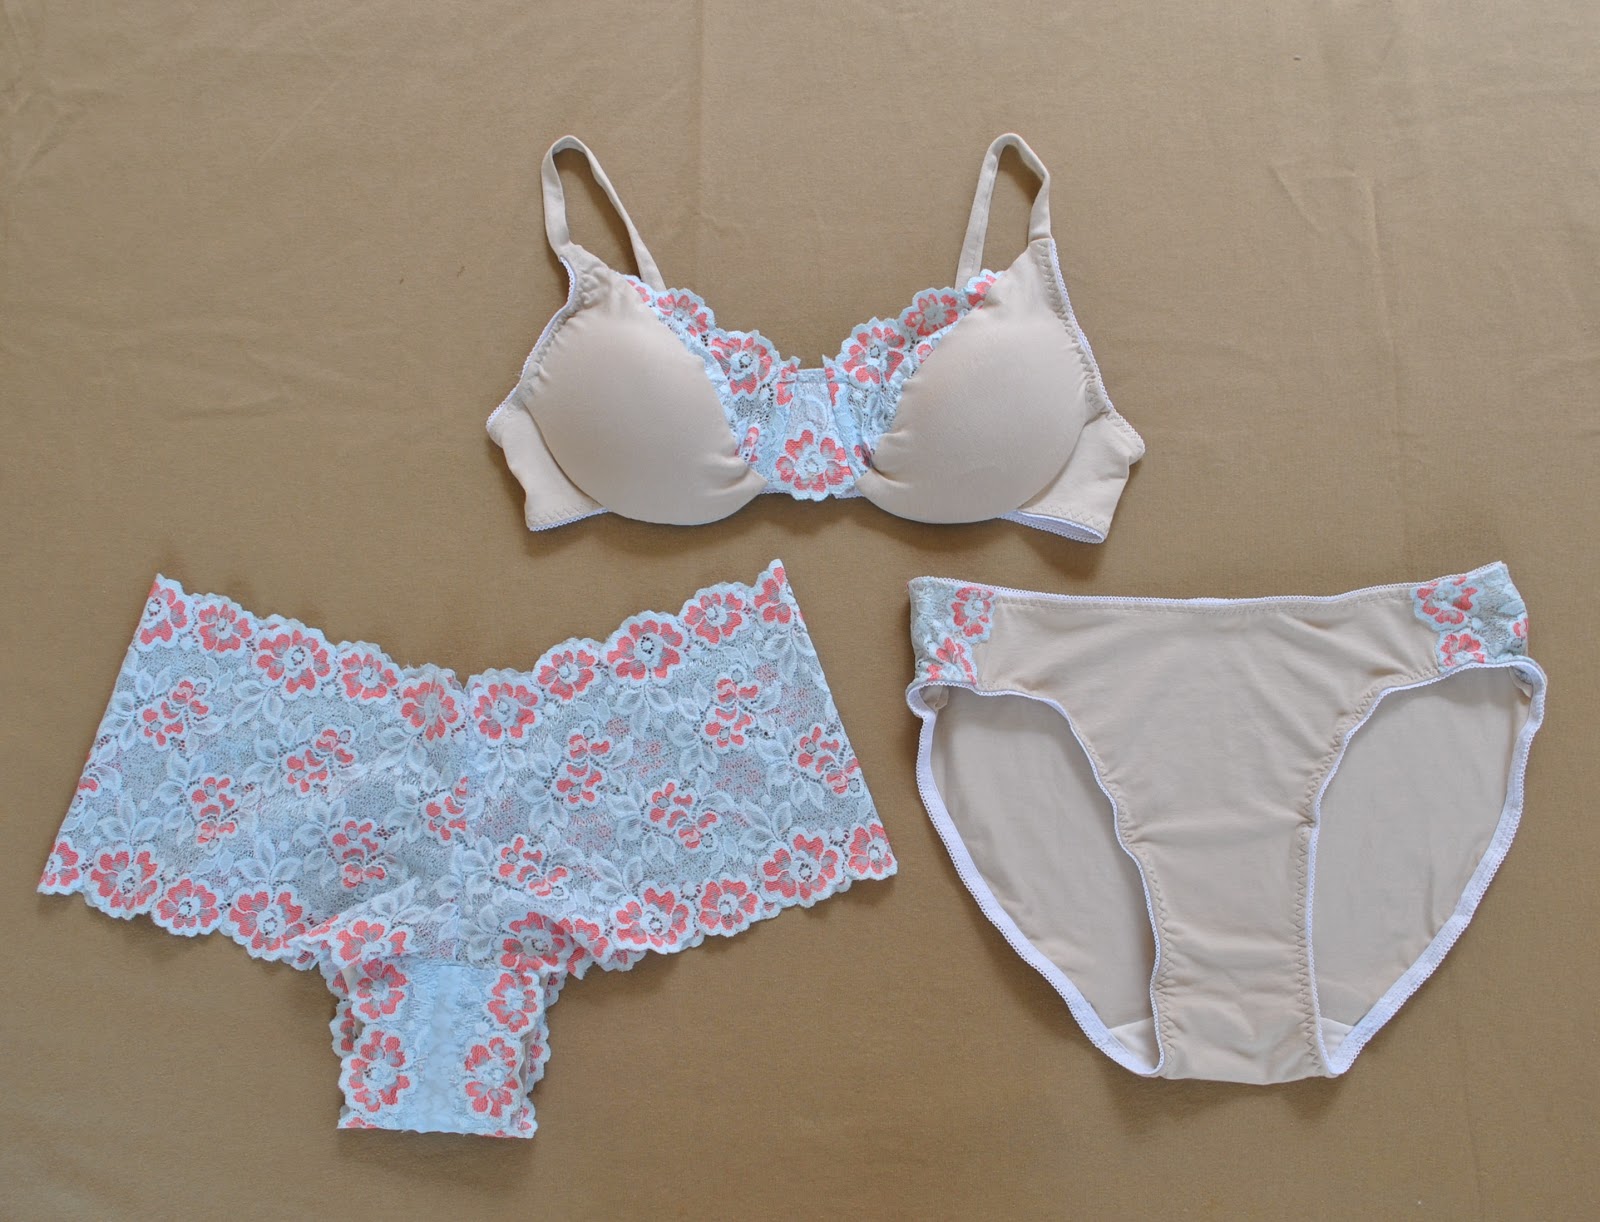
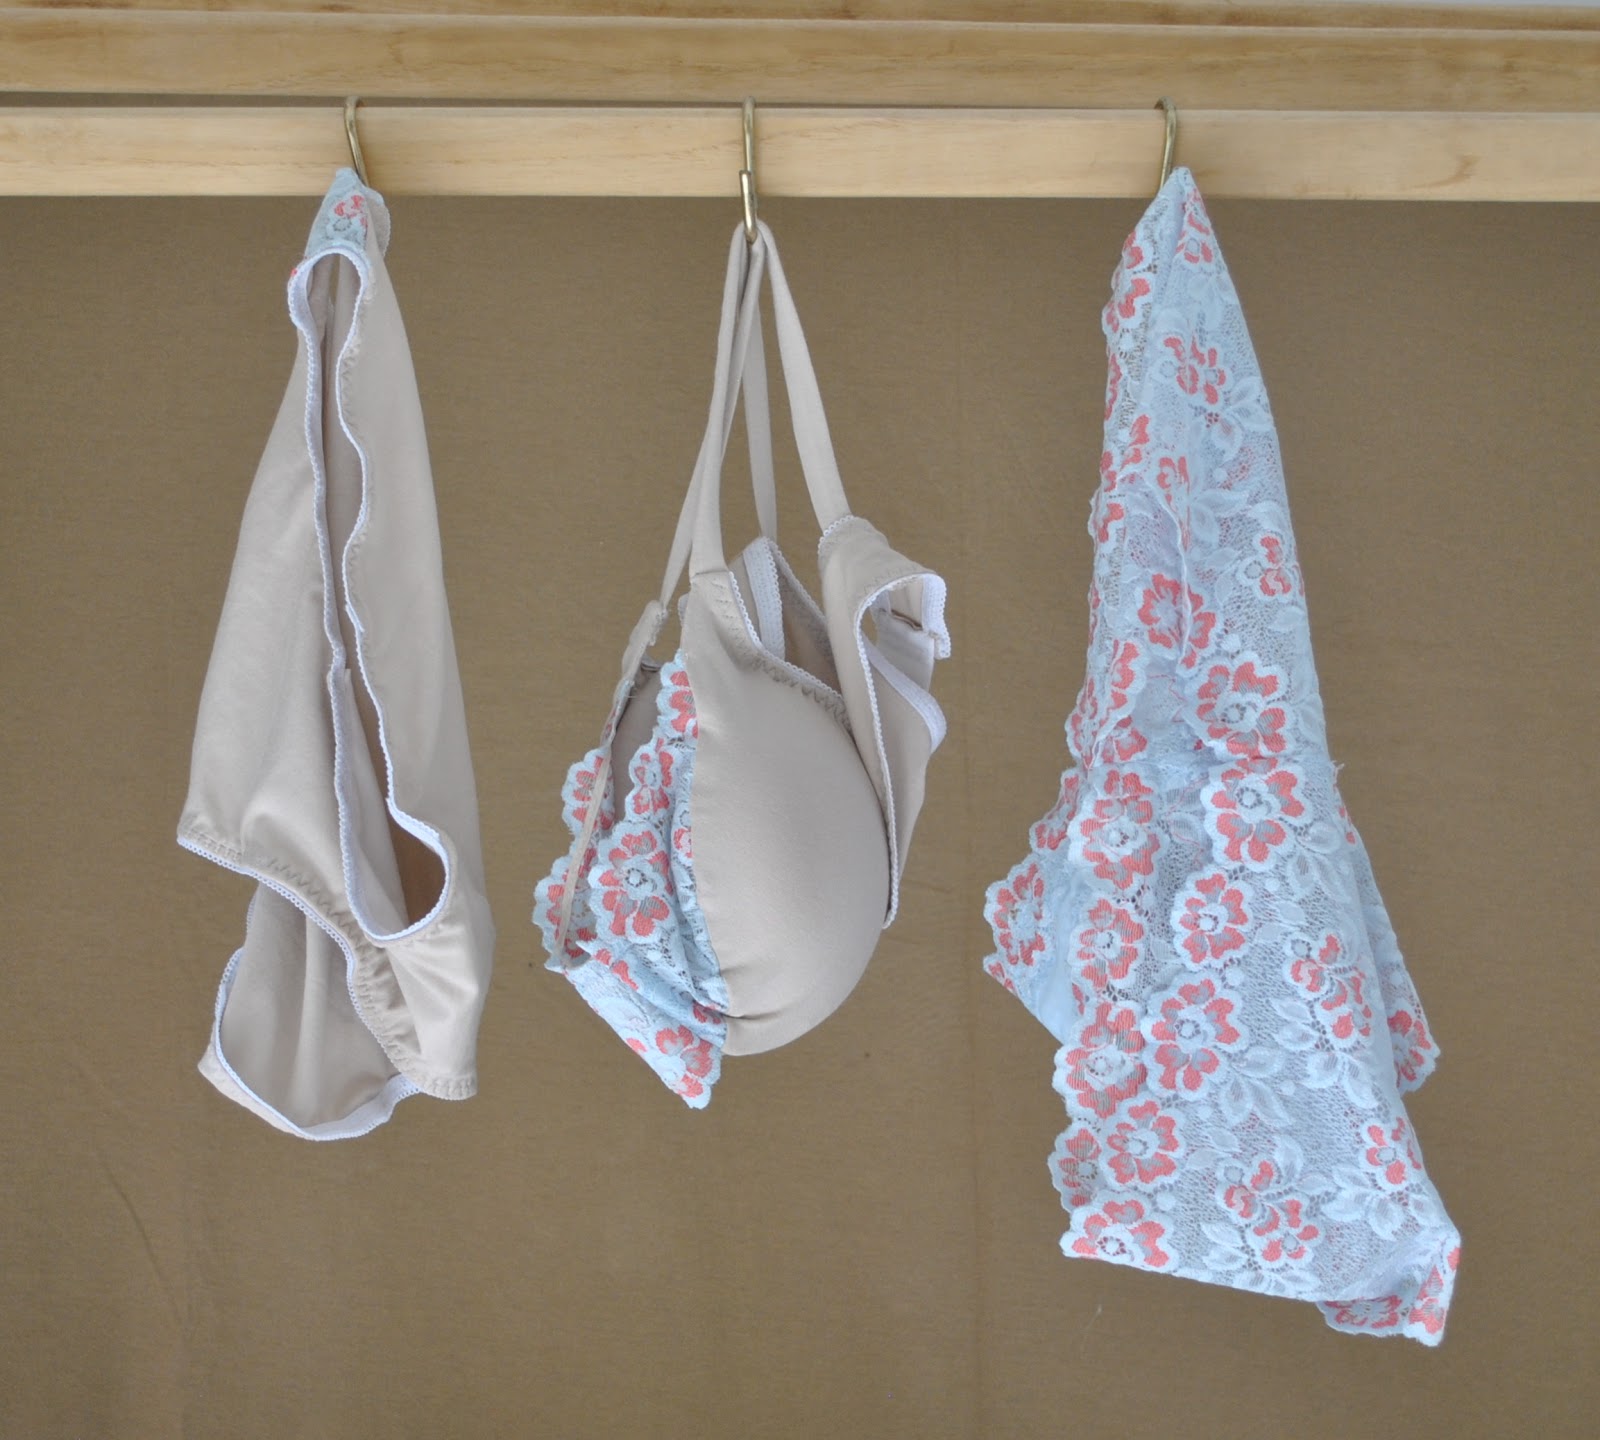
So, ta da!  I’ve made a new(ish) set.  
Y’know what?  I absolutely LOVE the fact that the two undies both match the bra, but are not identical to each other!  You can tell that they all go together, like one happy family; but each has its own personality.  Like; they are sisters, but not twins.
Will definitely do this again  ðŸ™‚
I took apart the old bra, and re-used as much of the lace as I could, as well as the half-sized padded bra cups and the hook and eye closure.  I bought new underwires since the previous ones were too short for this pattern.   
For the supplementary fabric I used some lovely soft sand-coloured bamboo jersey leftover from my scrumpled leggings, and had just enough to cut out another pair of undies, using McCalls 2772.  I added little scraps of the lace in at the sides of the new knickers before sewing on the elastic; to tie them in with the rest of the set.

Both the fabrics are originally from Fabulous Fabrics.

Y’all know how I like complete and matching sets in my lingerie drawer ….   hey, we all have our quirks right?  Mine is to have matching lingerie sets; and the two matching knickers per bra combo is pretty much mandatory to my continued sense of balance and order in the world.  I’m quite particular in that way 🙂
Now this set matches my criteria.  
And it is finished nicely.  
I am at peace.

the nitty gritty…
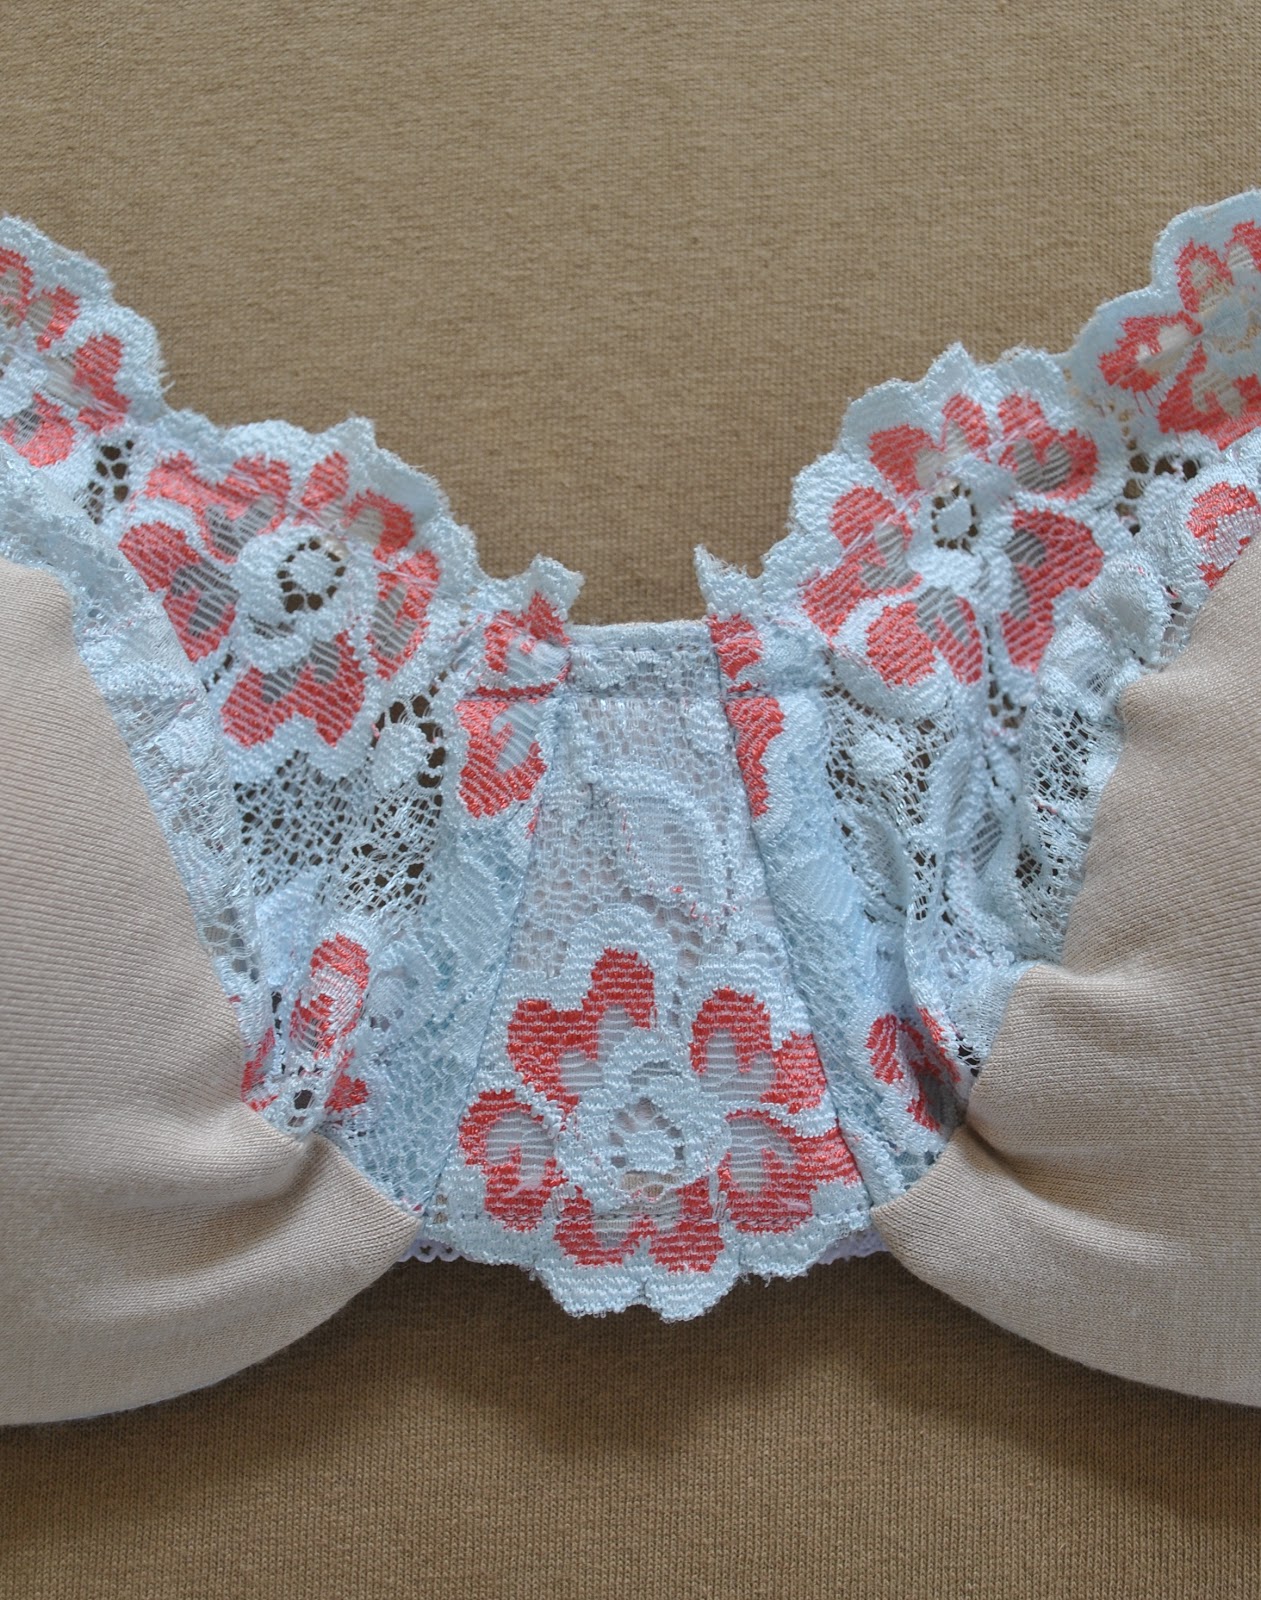
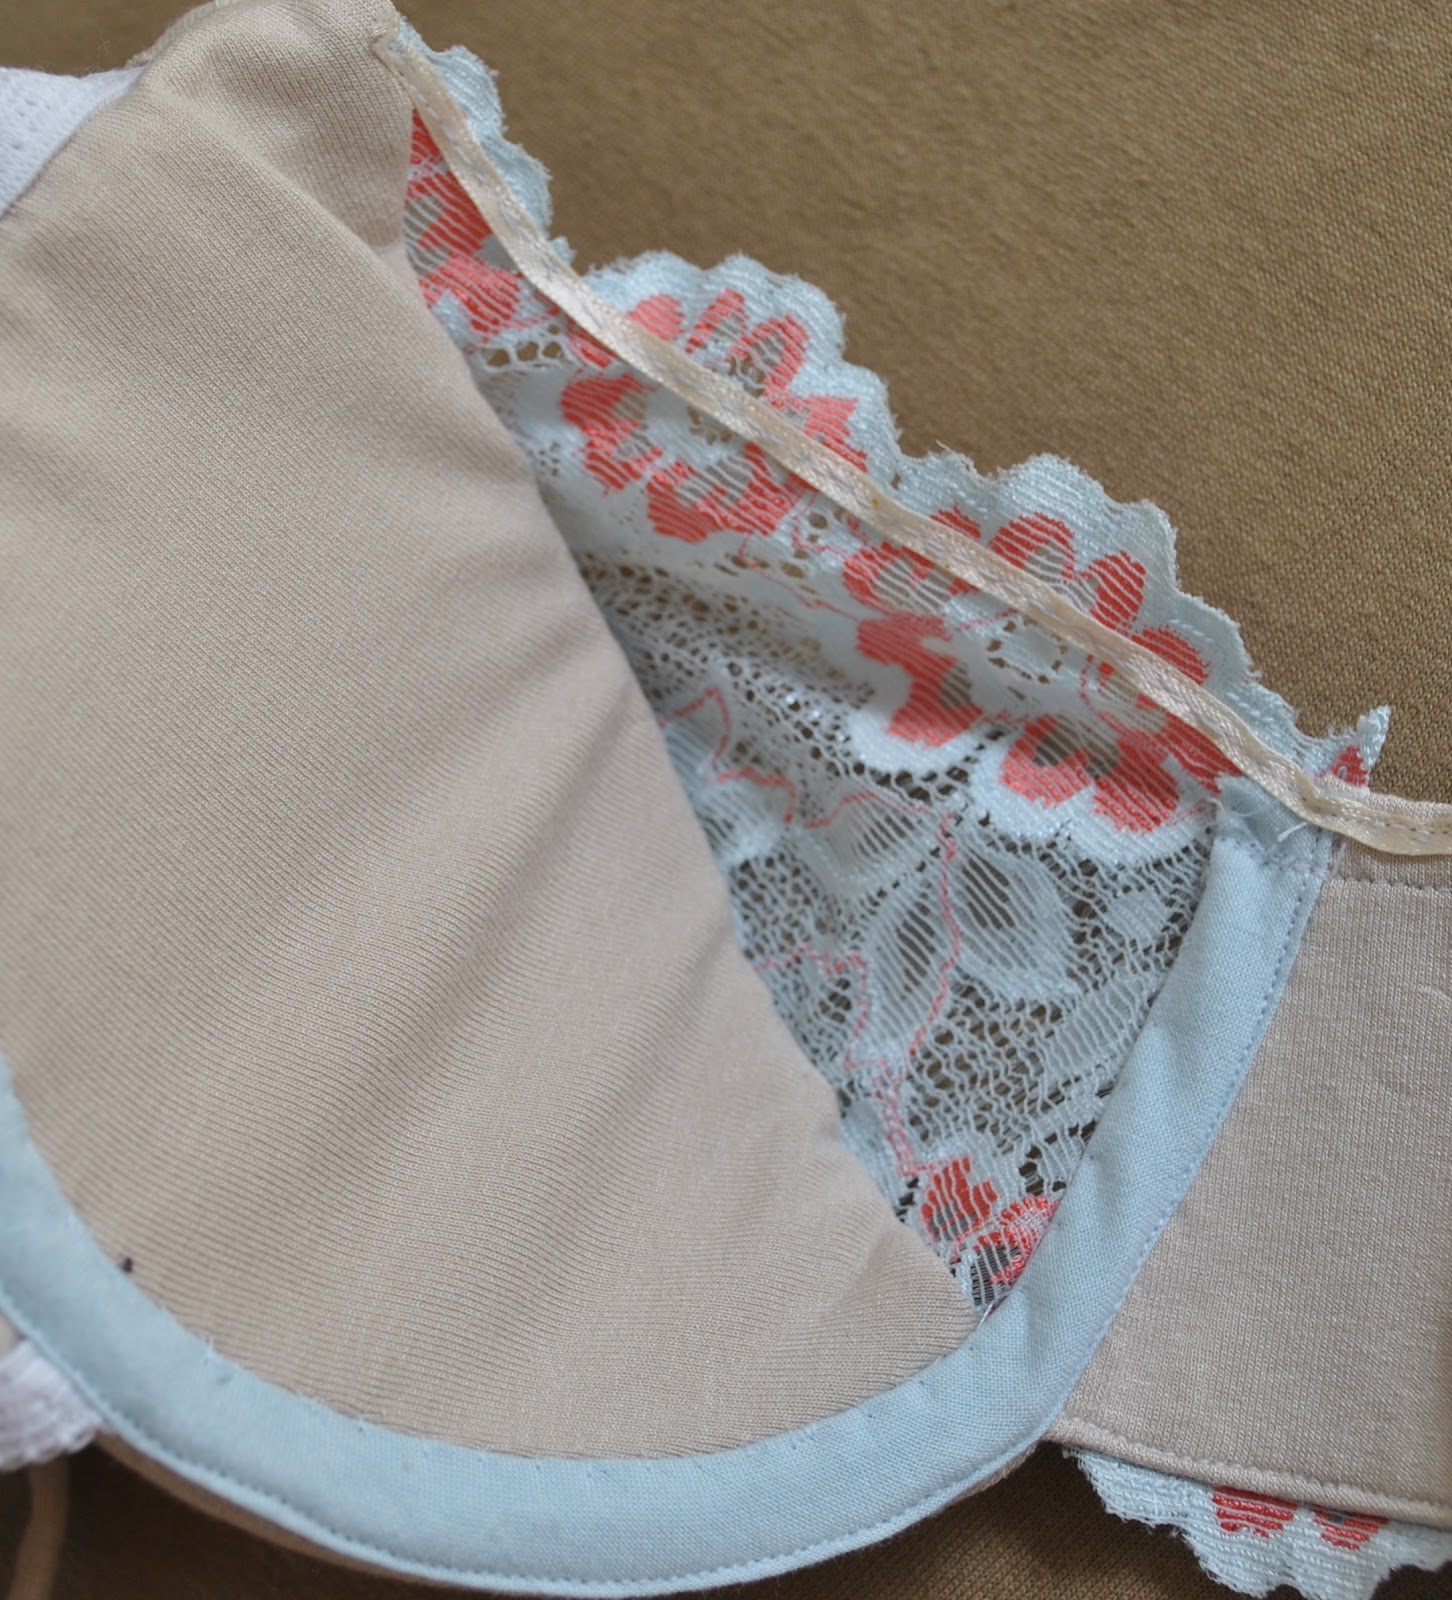
For the first time I made view A of KwikSew 3300 (my review of this pattern here), with the lace upper cup and a stretch knit lower cup, and once again altered the pattern slightly to allow me to sandwich the padded half-cups inside the lower cup pieces.  I used a bit of skinny ribbon for the stabiliser on the lace upper cup.  It has no give, and the piece doesn’t fit the top of the bra exactly; so I found it necessary to first baste this, easing the lace to fit, then to stitch over my basting stitches.
The underwire casing was made from ice-blue shot cotton, leftover from this top.

The jersey lining of the lower cup “looks” funny; a bit bobbly and boinging out like a trampoline over the concave inside of the moulded cup, but obviously the soft stretch fabric moulds to your body when you are wearing it.  I can’t think of any way to force it to follow the curve; short of gluing it or quilting it down to the cup.  And there’s no way I’m going to go to those lengths when it actually fits and feels fine when it’s on!

Now for the Tanga lace panties; although they look virtually identical to how they did previously…well, I hope they do!… these too have been taken apart and altered…
Why?
This is kinda hard for me, since I absolutely hate to bag a pattern, particularly an independent little pattern from someone kind enough to put a free downloadable pattern up on the internet, from the goodness of their heart, for everybody to enjoy.  Such a generous gesture does not deserve a bagging.  But the pattern, as it was, did not totally work for me…. why? because the crotch has a front-to-back central seam, combined with NO elasticated leghole edges to help keep the crotch edges… er, out, and apart from each other.  It doesn’t take much imagination to extrapolate; and see that that makes for an enormously uncomfortable pair of knickers, that necessitates one having to find plenty of inconspicuous moments in one’s day to hoink that wretched crotch seam out from where it has no business being.  The liner is one-piece, but is too flimsy to make a heck of a lot of difference, unfortunately.
Moral of the story; beware of knickers with a central crotch seam.
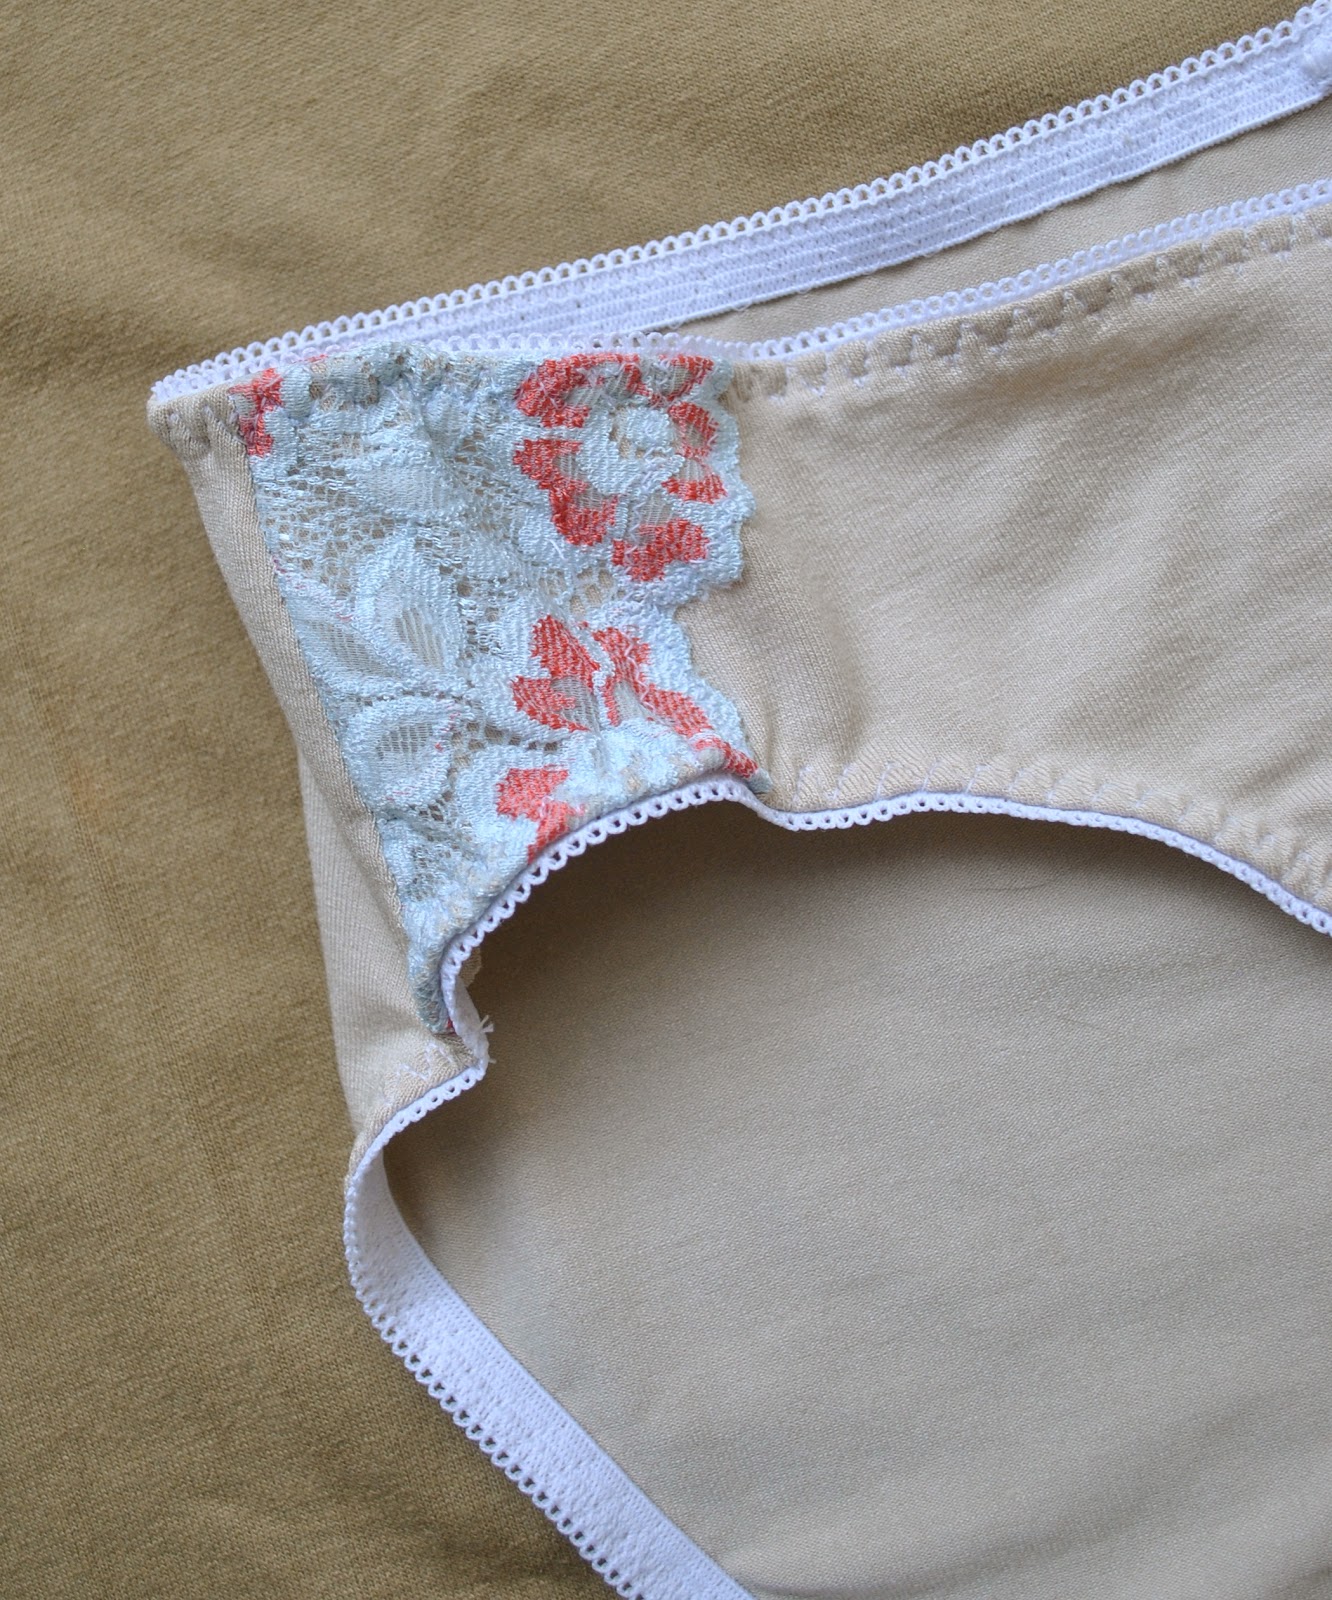
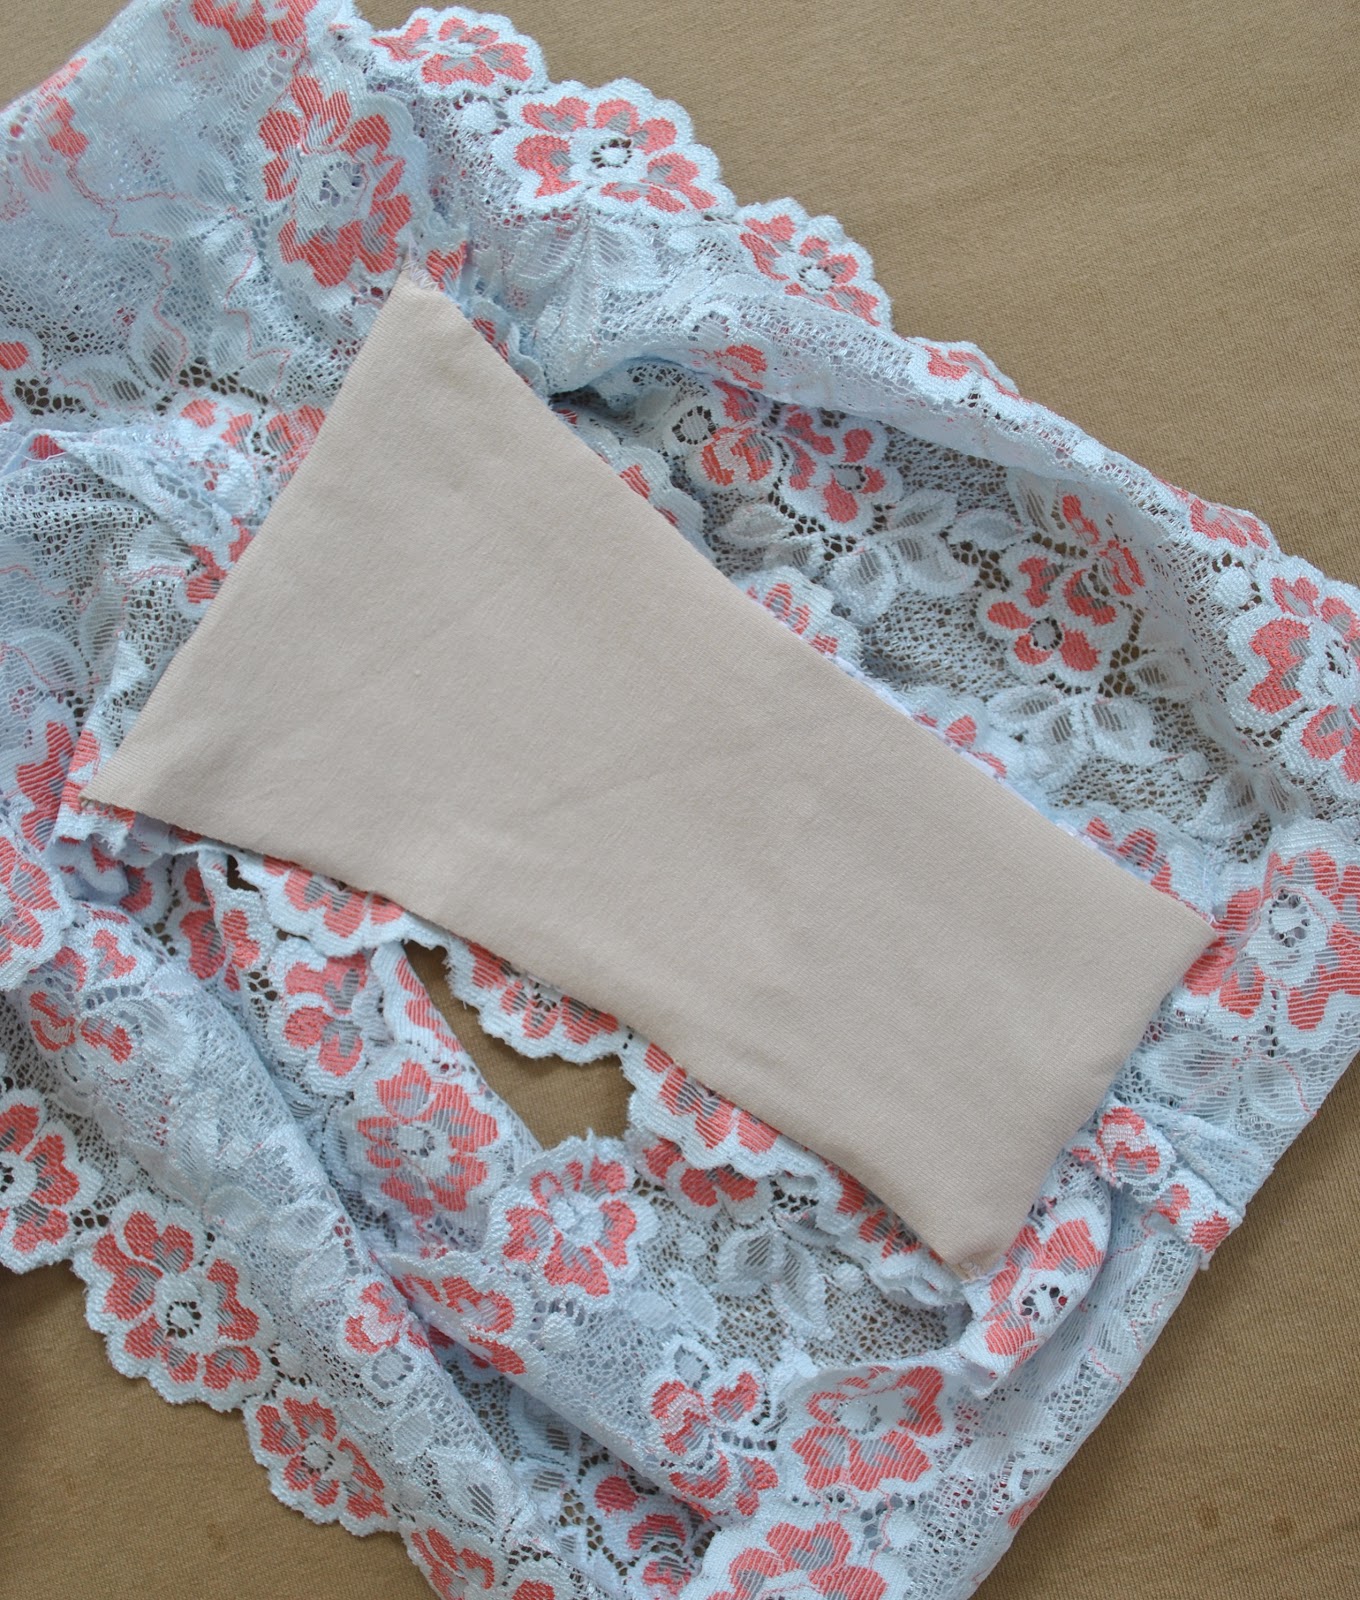
So I removed the old crotch and constructed a new one.  I used the one-piece liner pattern piece to cut a new knit liner, and also for a new, stretch elastic crotch.  I salvaged some more of the decorative stretch lace border from the old bra, cut two pieces to fit the length of the inside lace edge on the crotch which translates to about 1cm short of the outer edge measurement and sewed it along, stretching it along the outer edge to fit, gathering the side edges in a touch.

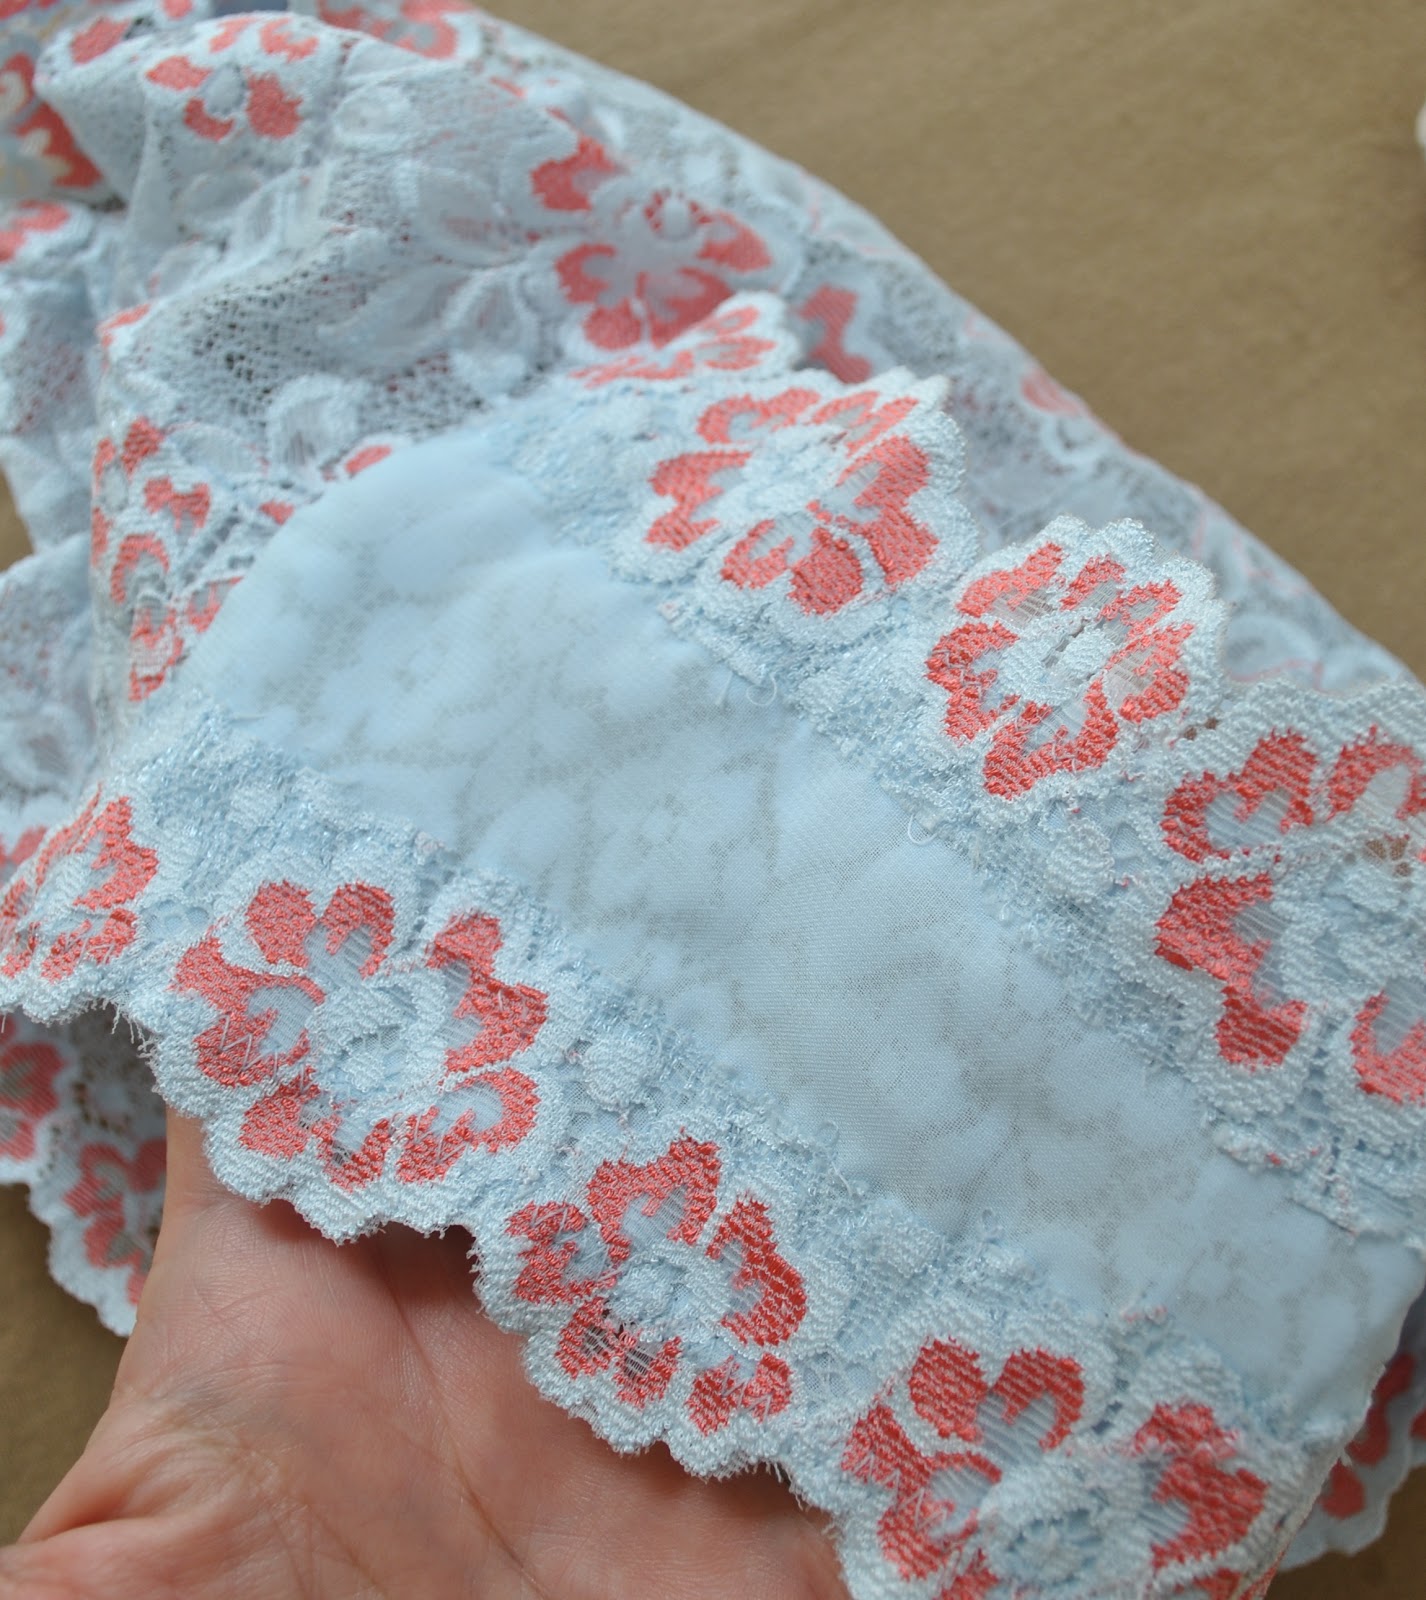
I didn’t have enough of the original lace to cut a new crotch piece or I would have used it!  I had to improvise, using white stretch lace with a over-layer of pale blue poly chiffon; the latter cut a bit bigger all round and sewn on loosely to account for the fact that it does not have stretch in itself.  I think it blends in ok.  Would you even notice that the fabric was different without this close-up shot?

And y’know what?
Success!!
Using the liner piece to cut a one-piece crotch, and sewing border strips of stretch lace on at the sides to pull them in a bit…. it’s a very tiny adjustment to the ultra-cute lace Tanga knicker pattern, but one that renders them a heck of a lot more comfortable imo.  In future versions I will definitely be doing this again!  ðŸ™‚

pinterestmail

Lemon macarons

It was inevitable…. 

The lemon glut continues.  
Coupla lemon cakes a week.  Every chicken dish is lemon chicken.   Lemon juice squirted on the barbecued fish, whether the kids like it or not.  All who visit invariably comment on our lovely lemon tree, and are quickly put on the spot.
Me: “Would you like some lemons??”  (innocently, but with crazy grin) 
Hapless visitor: “Oh, er, yes ple….”
and I’m off, grabbing a bag, stuffing a dozen lemons in it.
“Here you go!” thrusting it into their only politely enthusiastic arms.  Visitor makes a mental note not to come around again until they’ve used up the lemons from the last time….
and now:

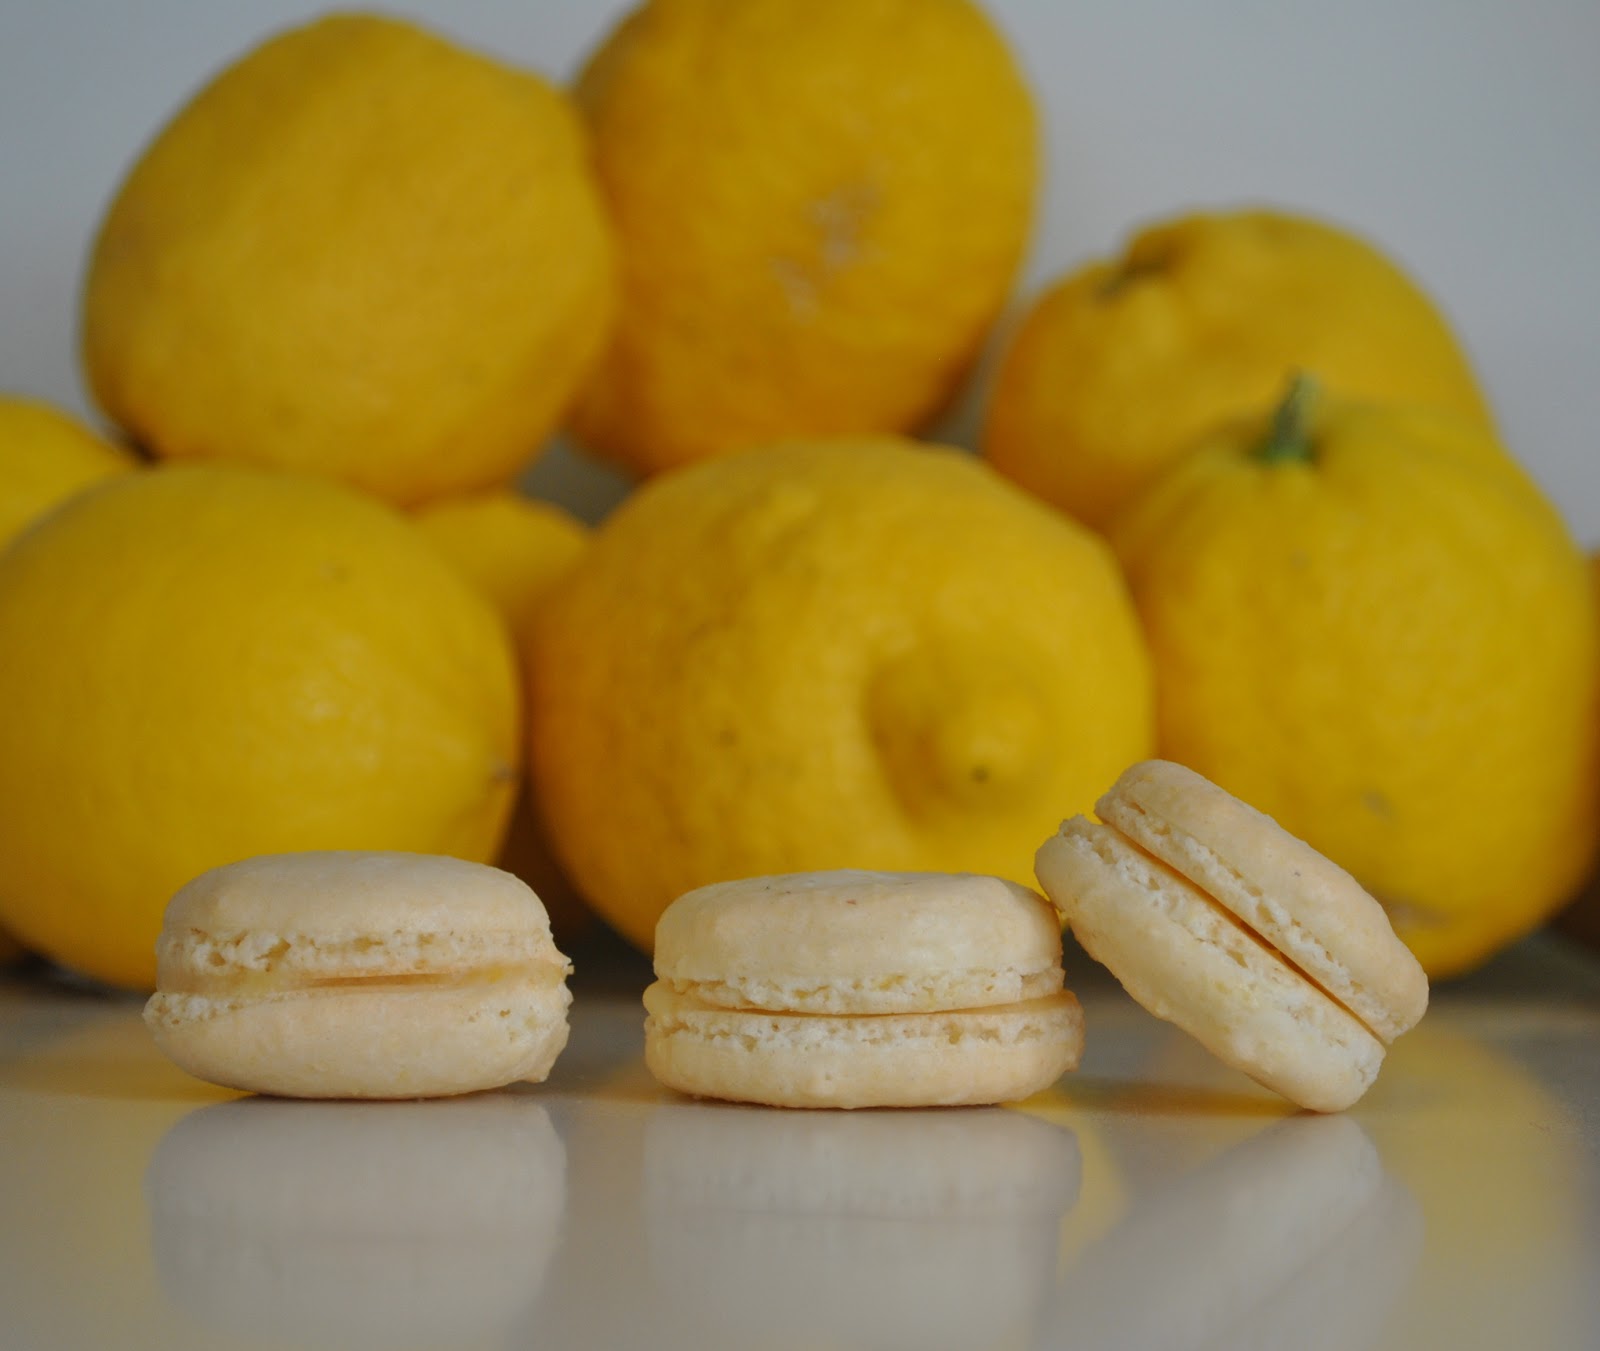
Lemon macarons with lemon curd filling
100g egg whites, allowed to sit covered at room temperature for 3 days
30g castor sugar
5g powdered egg white (if you can’t get it, Pavlova Magic works)
125g almond meal
200g pure icing sugar
1/2 tsp baking powder
1 tblsp finely grated lemon rind

Sift the icing sugar, baking powder and almond meal.  It takes a long time to sift the almond meal and you have to push it through with a spoon but it should mostly pass through the sieve eventually.  Discard the small quantity of lumpy bits that do not pass through the sieve.  Combine castor sugar and powdered egg white (or Pavlova Magic) in a separate little bowl.
Whisk the egg whites until firm and stiff enough to keep its shape when you turn the bowl upside down, I prefer to whisk by hand.  Gradually add the castor sugar/powdered egg white mix whisking continuously and vigorously after each addition.

Add the icing sugar/baking powder/almond meal mix in five batches, stirring until mixed each time.  Lastly, stir in the lemon rind.
Transfer mixture to a piping bag and pipe rounds onto a baking sheet or baking paper, leaving an inch between each round, and let them sit on the bench for one hour or until they have developed a “skin” and do not feel sticky to the touch.
Bake at 120C for 6 minutes, turn the tray around, bake for another 6 minutes then remove from the oven.  Slide the baking sheet off the tray and onto the bench; partly so you can cook the next batch, but also the cold bench stops the cooking process in its tracks.  When they are completely cold, peel them carefully off the paper.

for the filling: (this recipe has appeared here before)

rind and juice of 4 lemons
6 eggs
1 1/2 c sugar
125g butter

Lightly whisk the eggs and sugar together in a saucepan, then add the other ingredients.  Whisk continually over a medium heat until the mixture has thickened to a custard-like texture then allow to cool in the pan.  Decant into sterilised jars and refrigerate until set completely. 
Spread a little onto a macaron like spreading jam thickly on bread, then stick another macaron on top.

Thoughts: 
This time I weighed the egg whites… it’s occurred to me that this minor detail might actually be integral to the success of the recipe!  I guess I lucked out in this respect before, since 3 egg whites of the type I usually buy turned out to be pretty close to 100g!
In all honesty I didn’t enjoy these quite as much as my previous efforts; the vanilla, coconut and berry fruit flavours.  Maybe the natural sourness of citrus isn’t the most crash-hot pairing with the delicate almond flavour of macarons.  Maybe we are just getting a bit lemon-ed out.
Maybe this is my swan-song in the macaron department.  Once I’ve sorta conquered something tricky in cooking I tend to lose interest.
Woa.  
Did I actually use the word “conquer” with regard to my cooking prowess?  HA!!  Oh I totally crack myself up sometimes.  Imagining generations of French pastry chefs spinning in their graves right now…  
pinterestmail

Blood Orange

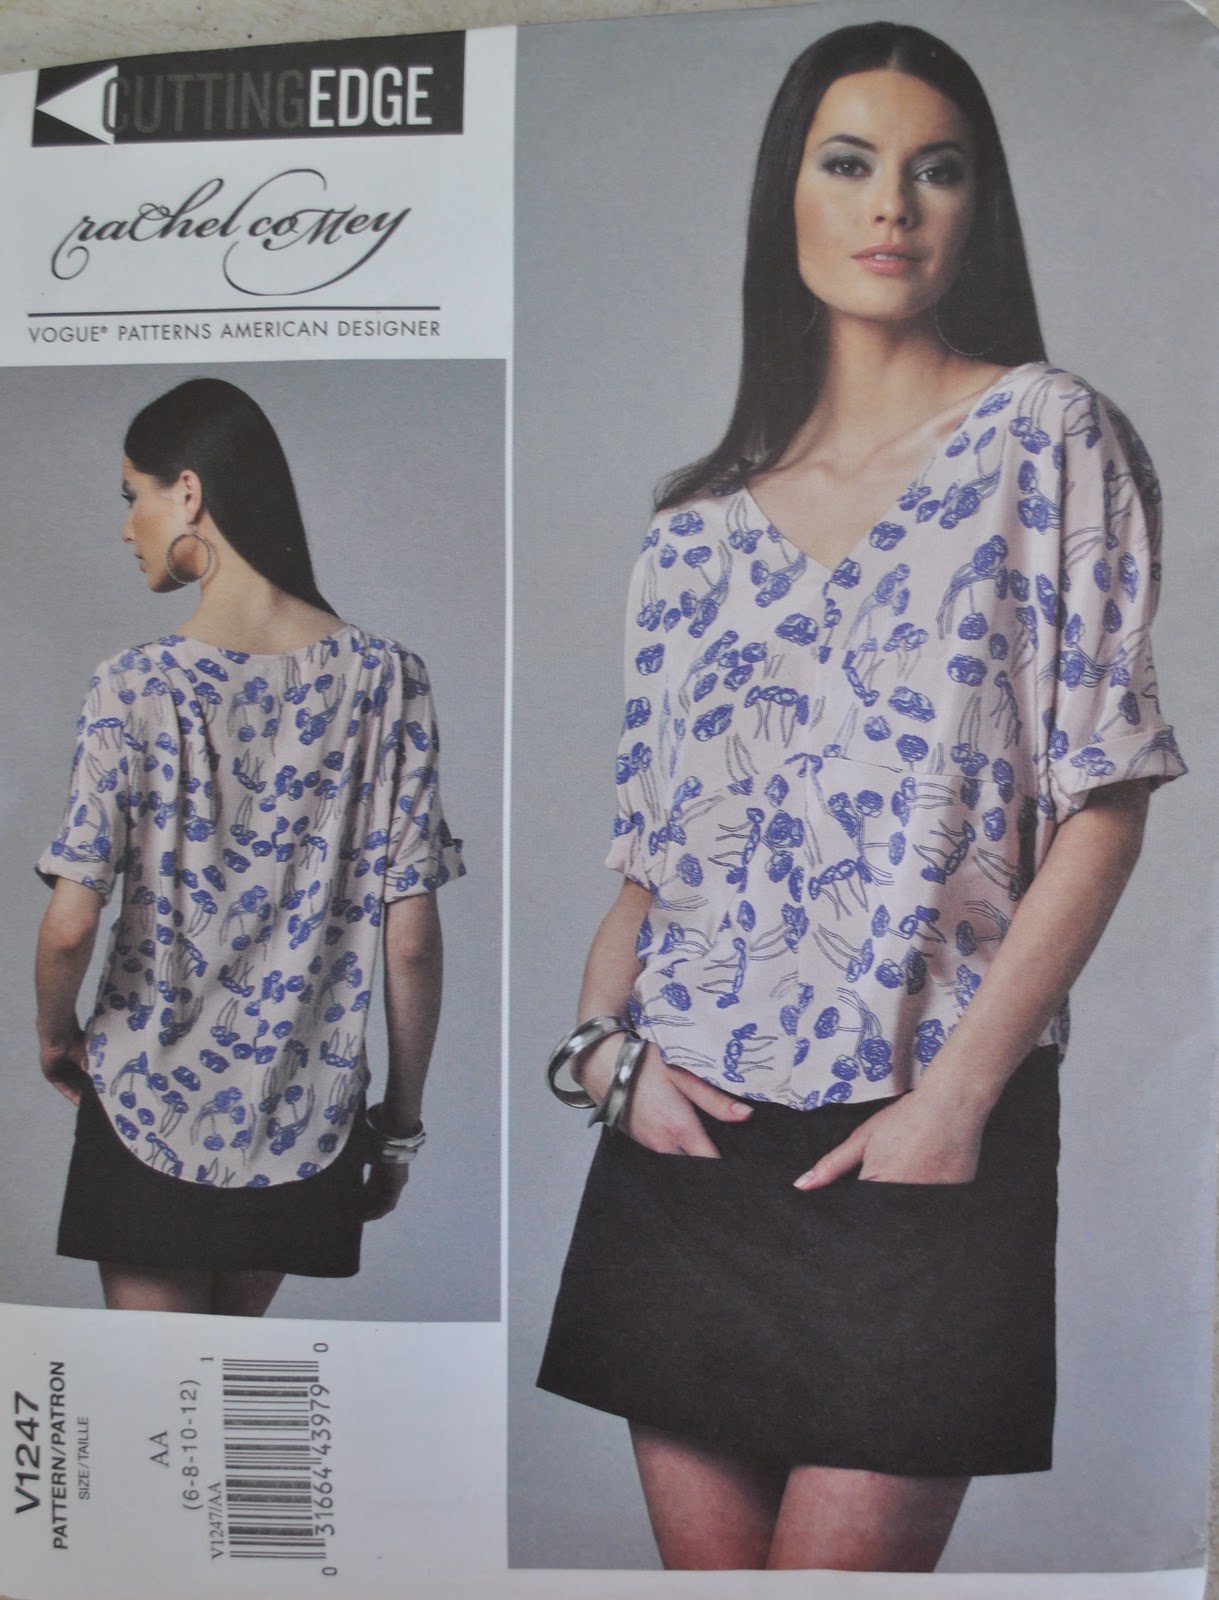
Is it a given that all my Vogue
1247 tops will have citrus-y nomenclature enforced on them? 
First clementine, and then blood orange……. aaaaand theeeeeeen?
We shall see, we shall see about that….   ;D
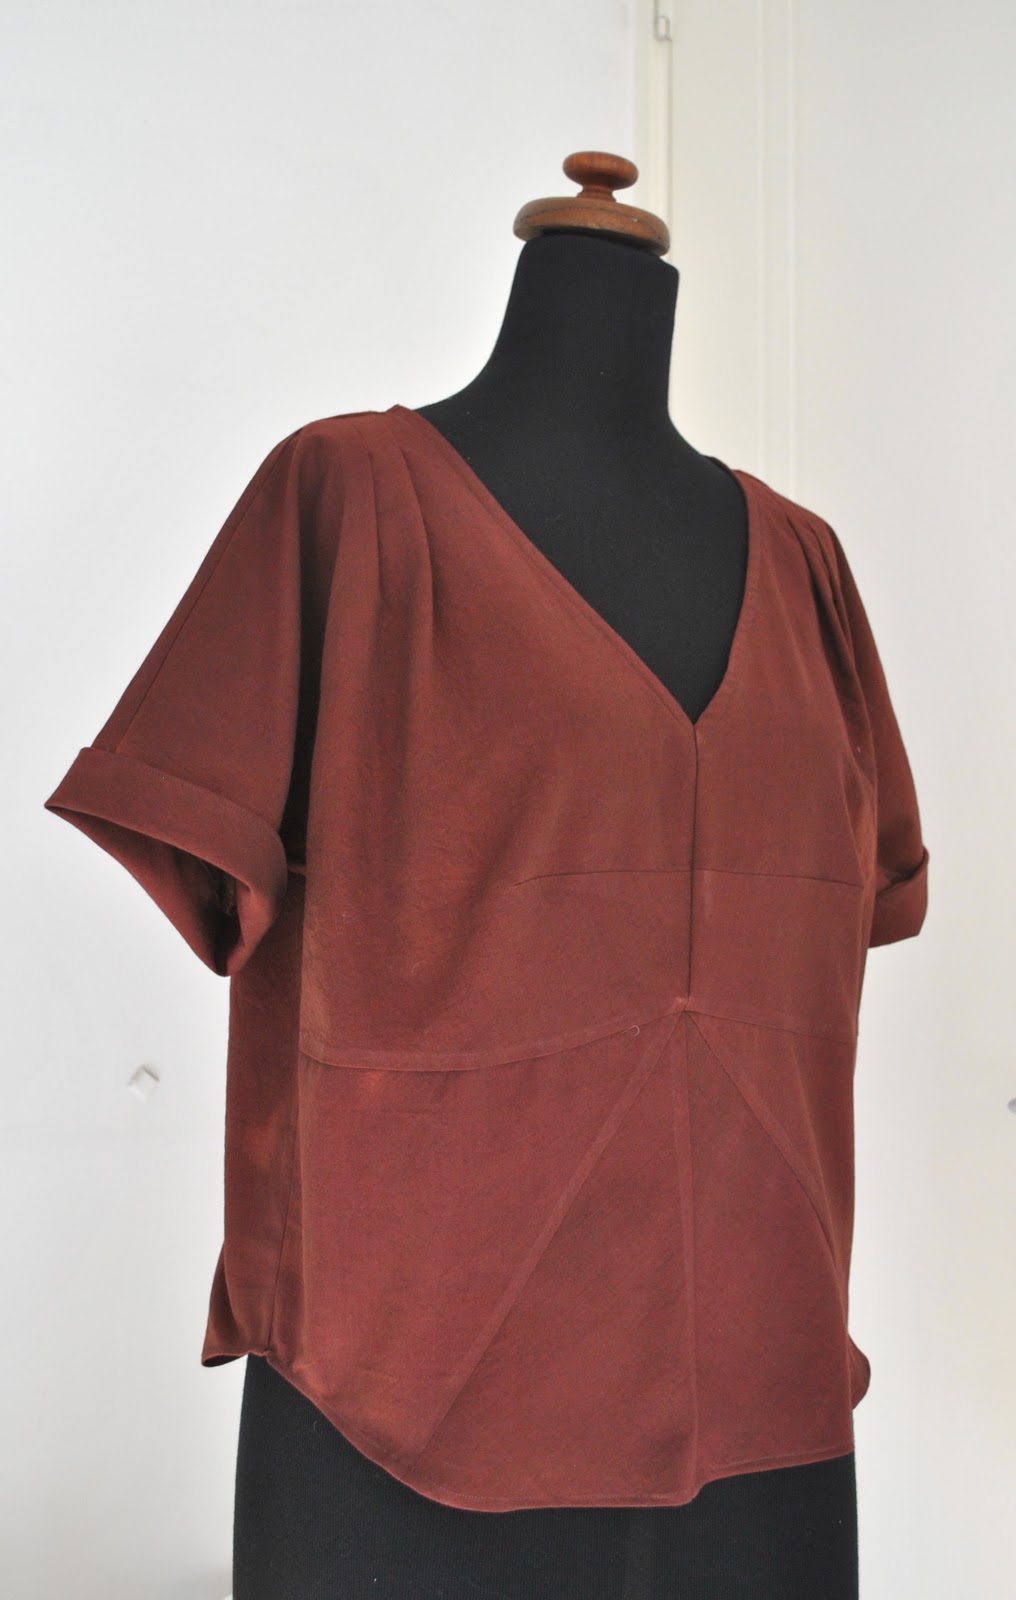
Anyhoo, it was always a given that there will be more of these tops in my life.  Now the weather is warming up beeeayoutifully I dug the pattern out again…. there really should be some sort of award for best pattern of the year or something.  Oh, that’s right! there is and this pattern is!
Fancy that!
So, what you may not realise straight away, but
which I shall hasten to enlighten you asap, is that this is not just the same
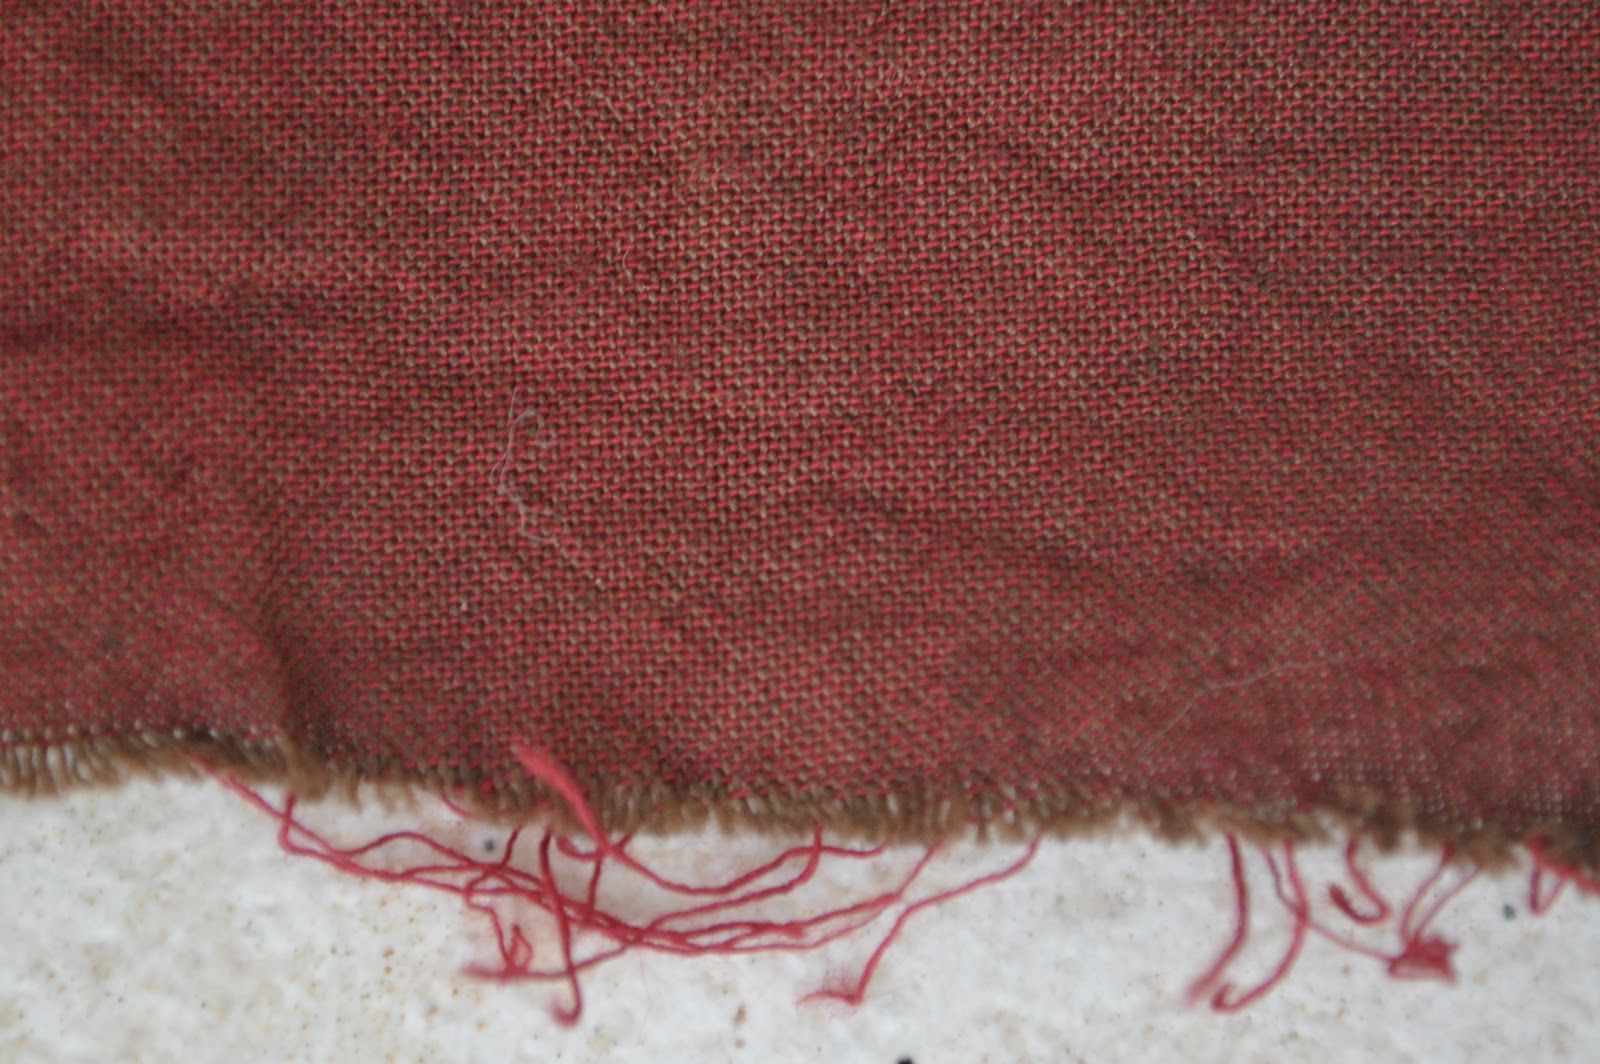
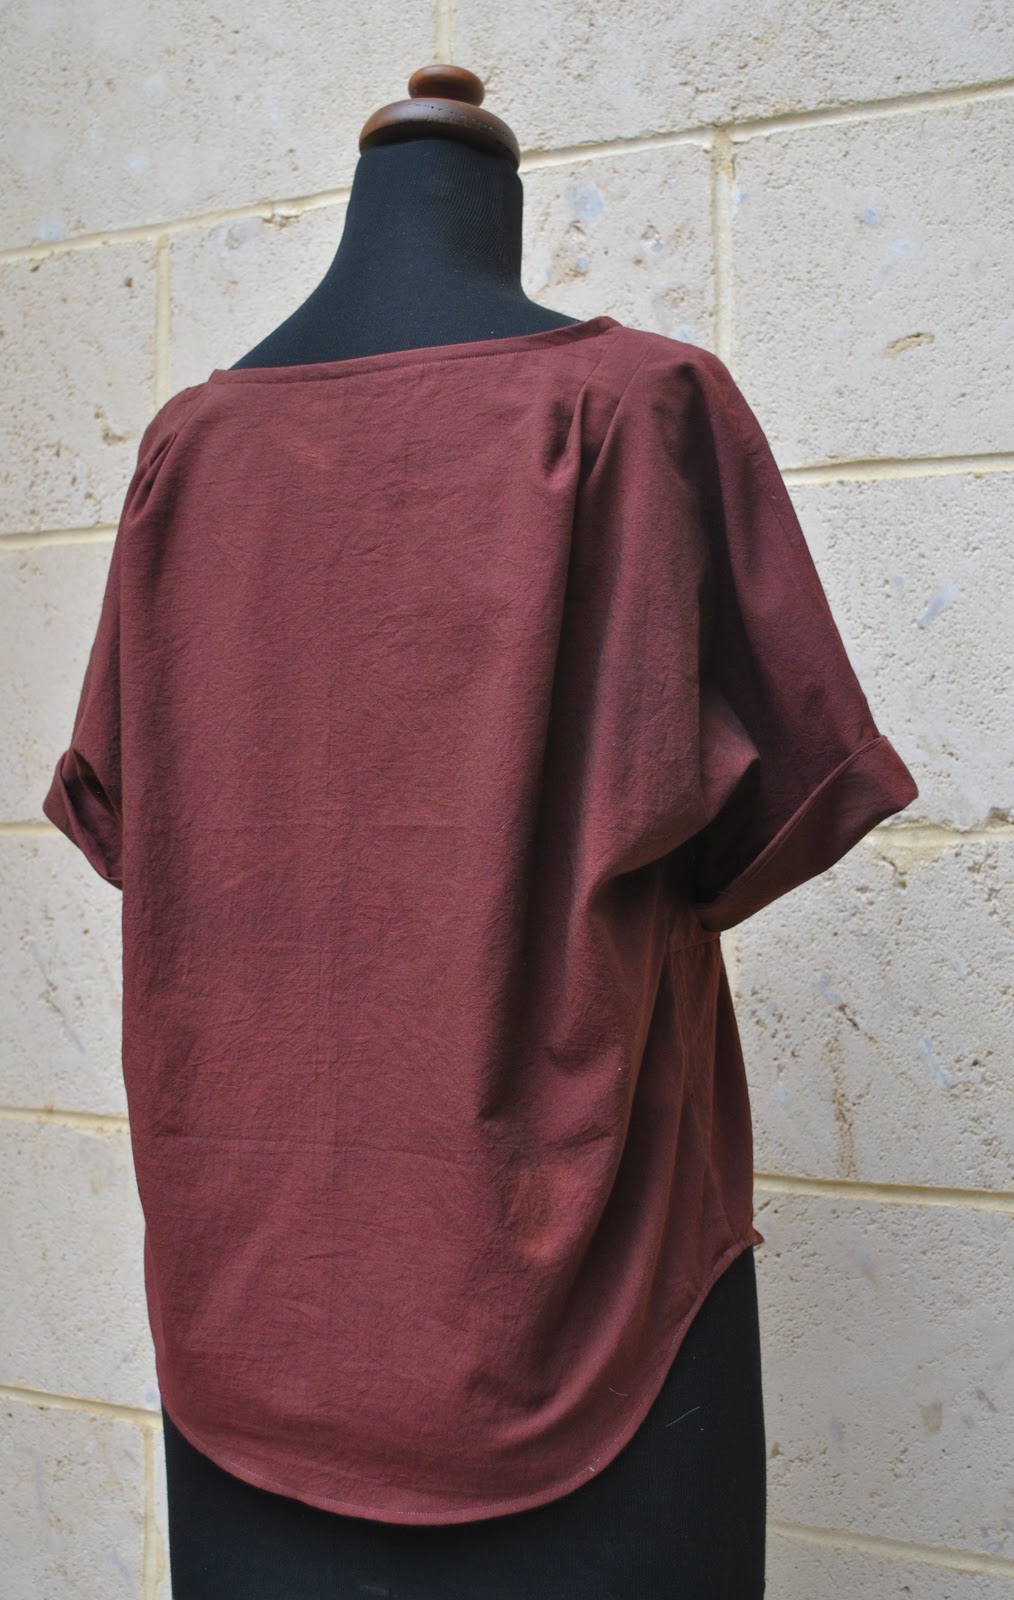
pattern as my first clementine version, but actually the very same fabric too.  Yup, the very same!  Except that it has been dyed with iDye in Brown, … to imbue the original pinky-orange with the deep, rich, sophisticated mahogany that awaits one inside a blood orange.  The warp and the weft; originally a light pumpkin and a bright neon orange, picked up the brown dye to become nutmeg brown and burgundy respectively…
This same fabric also played a supporting role in
this post too, providing an appropriately, complex-ly colourful backdrop to some also dyed underthingies.
Now it has shed its one
dimensional role as just a prettily colourful piece of fabric folded in the stash,
and join instead the brave new 3D world of Things One Actually Puts On.
So, fronties; backies.  Because of a lack of fabric I cut the back pieces on a centre fold.
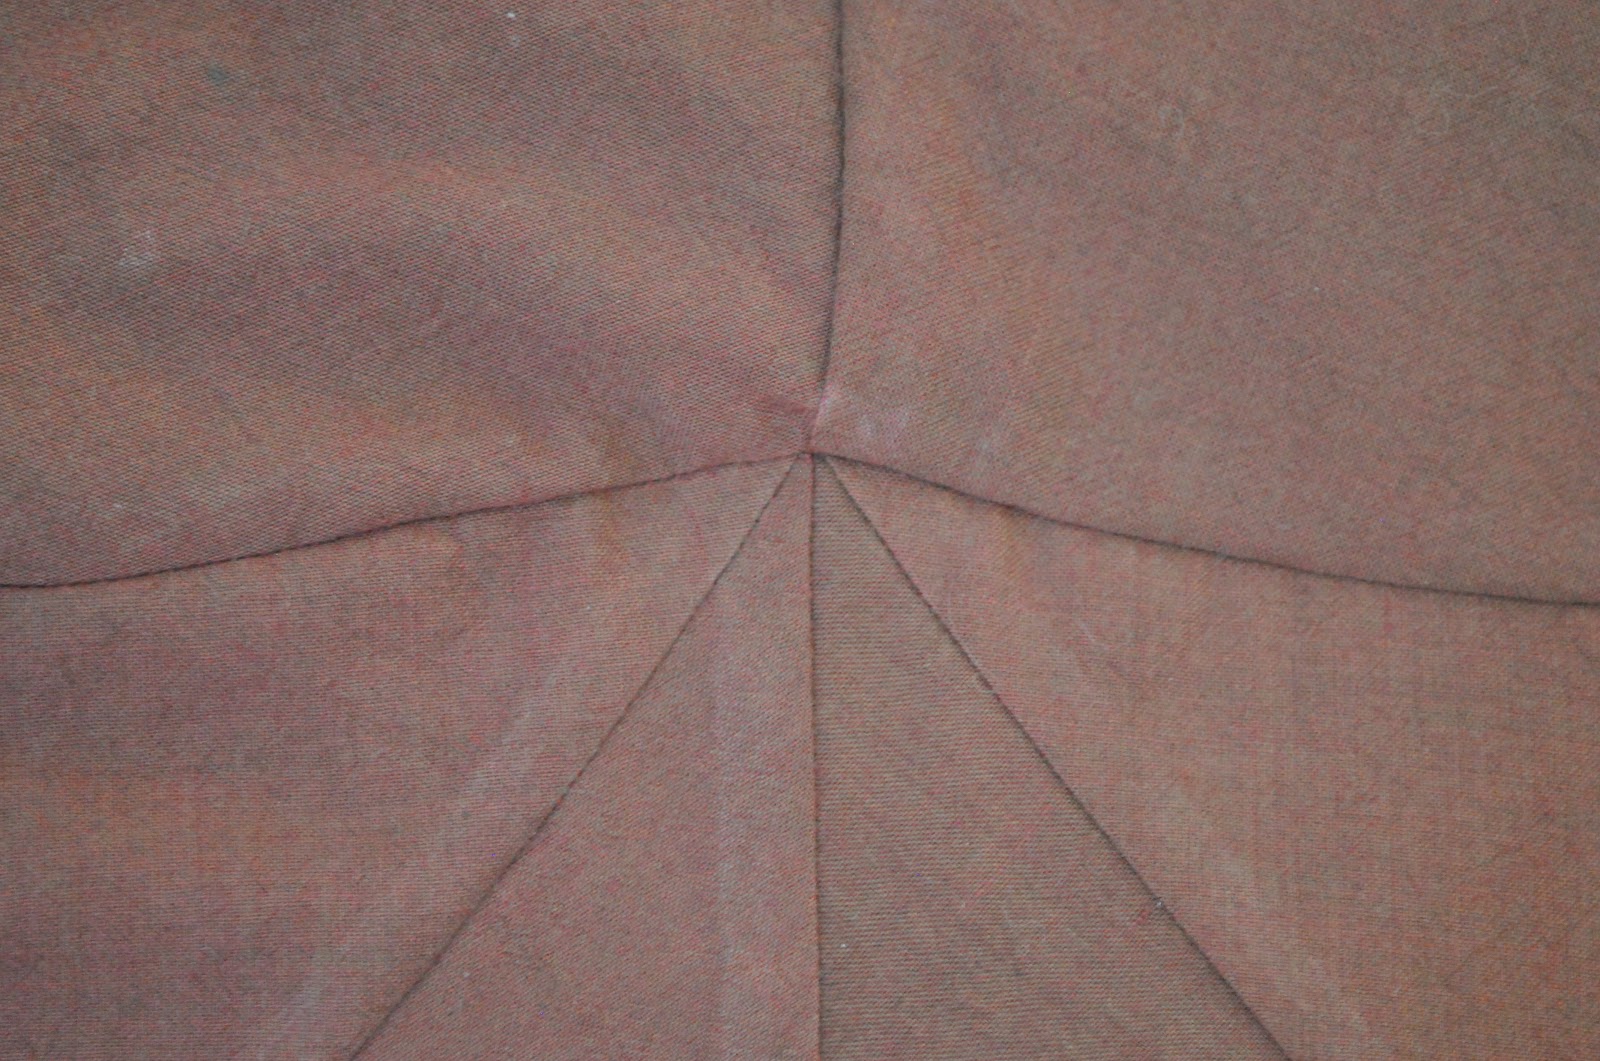
The pointies meet up just exactly as they should…
all French seams-ies…
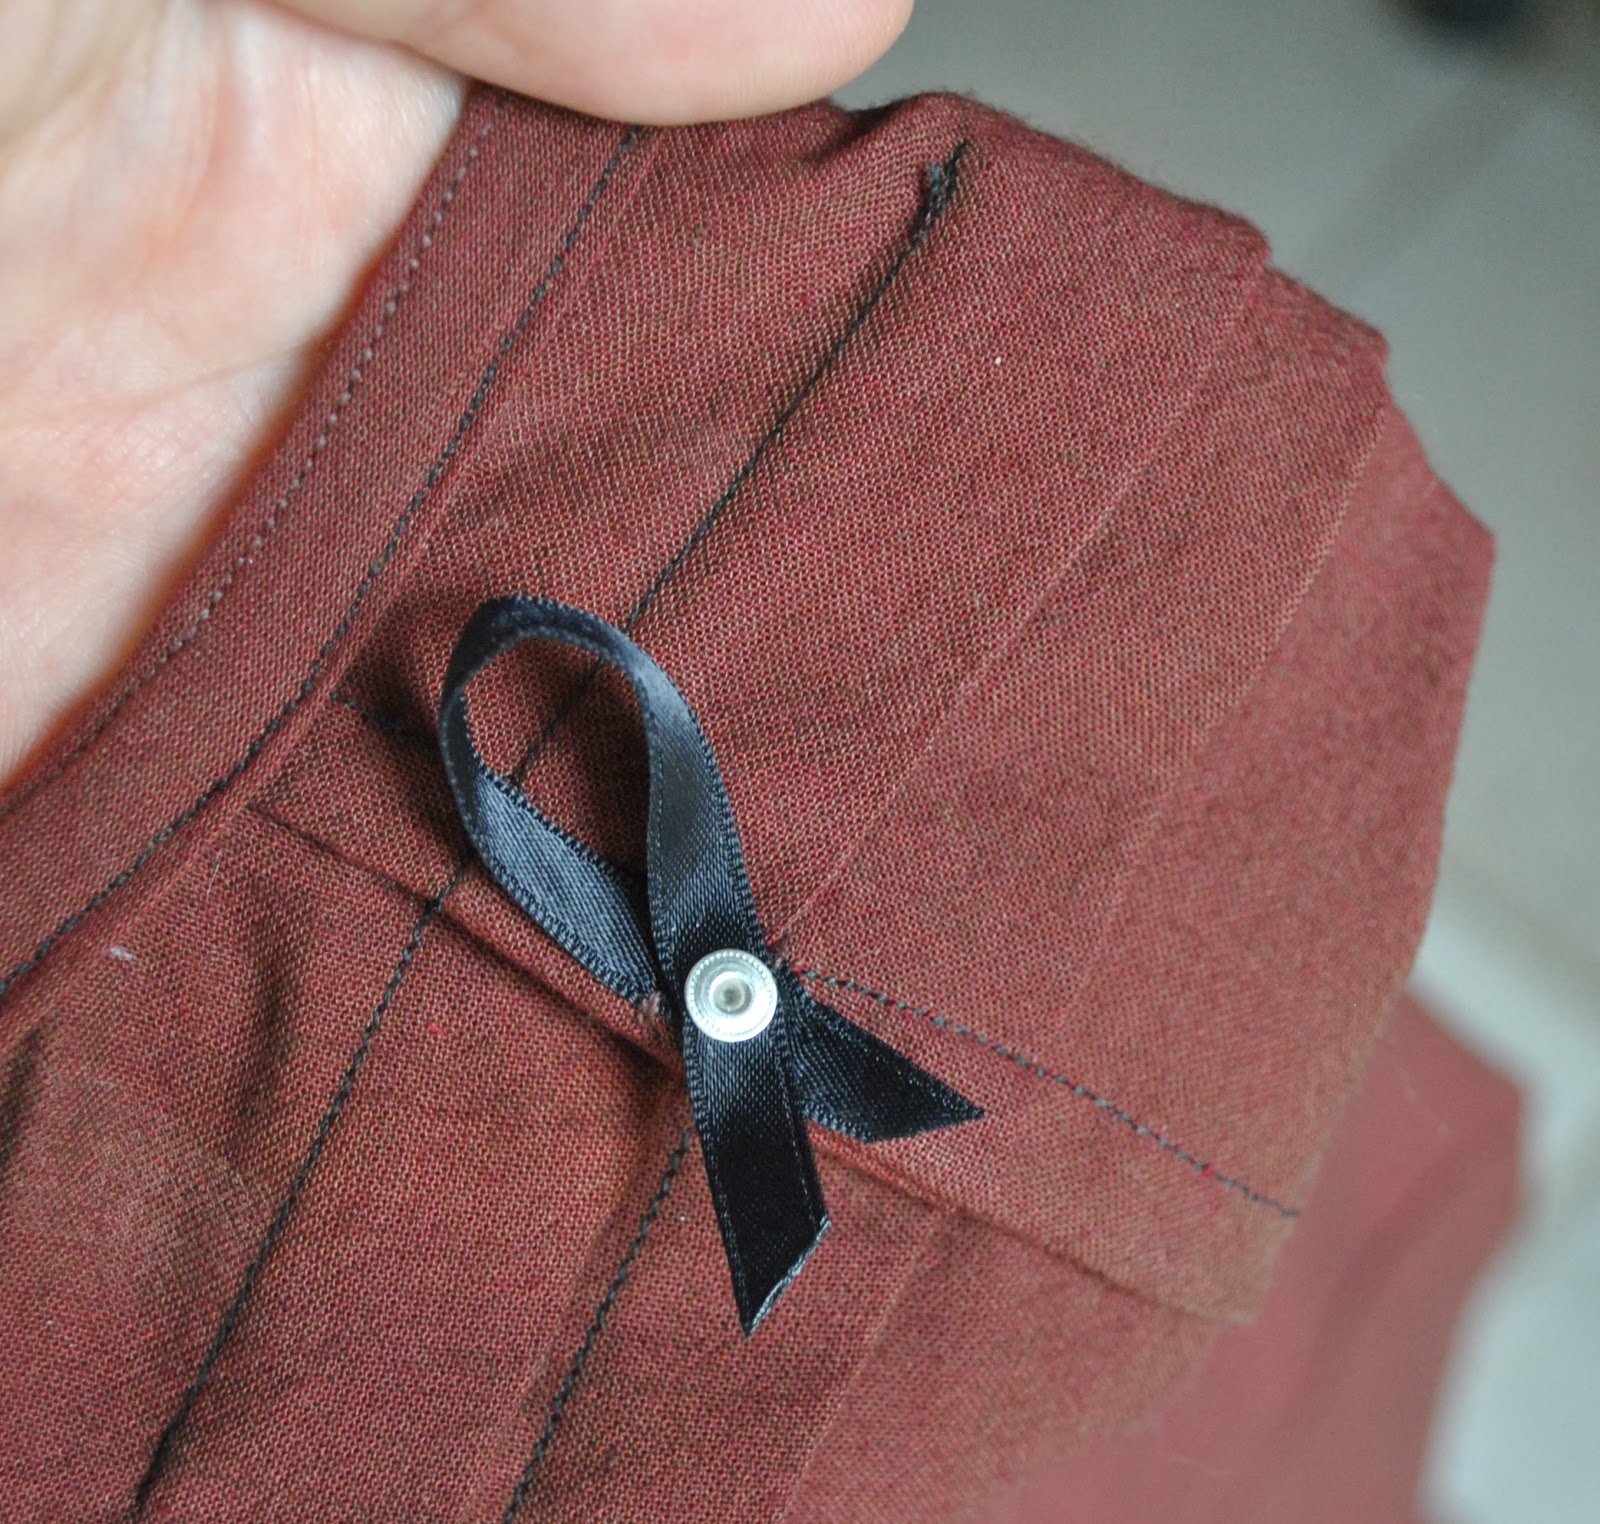
Lingerie strappy thingies…. These were a gift from
the gorgeous Yoshimi.  Thank you
Yoshimi!
I didn’t realise at first, until I was filling in
the details bit I always put at the end of every post; that the skirt I am wearing
it with here is in with the same pattern as the top, and is also dyed with iDye in
Brown too.  Hmmm, predictable,
repetitive, stuck in a rut; or what?
Maybe I need to get me some new patterns, or new
dyes, or new ideas or something…
Kidding of course,  This pattern is da bomb!  This may not even be the
last version to be seen here on the blog this year….  stay
tuned!
Details:
Skirt; Vogue 1247, red cotton velveteen, ombre dyed
with iDye in Brown, details here, and my review of this skirt pattern here
Shoes;  from Misano
pinterestmail

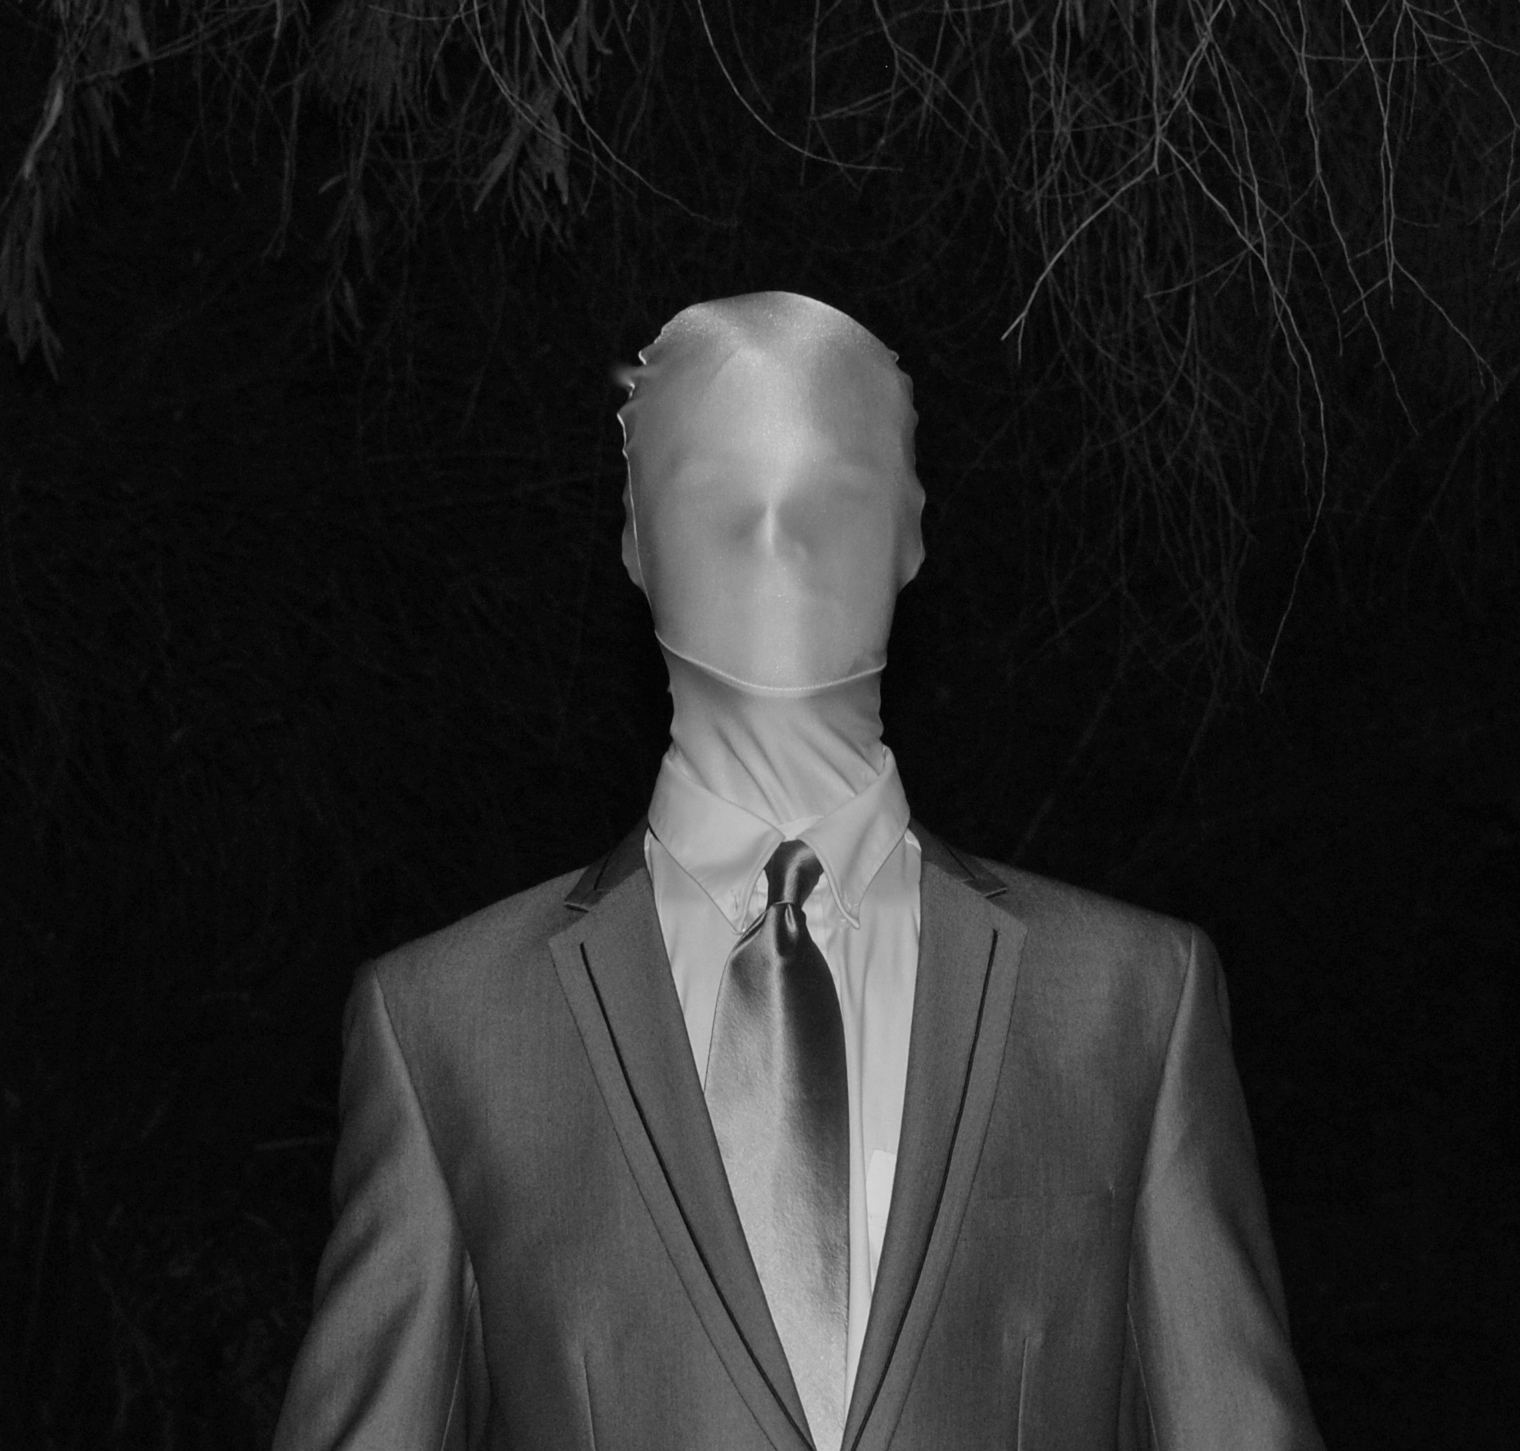
Slender Man

Have you ever played Slender?
Hands down.  Scariest.  Game.  Ever!
Our family has been playing this free-downloadable a bit…  and if you can first-time play this in a darkened room without emitting even one girly scream….? well actually I do not believe anyone can!
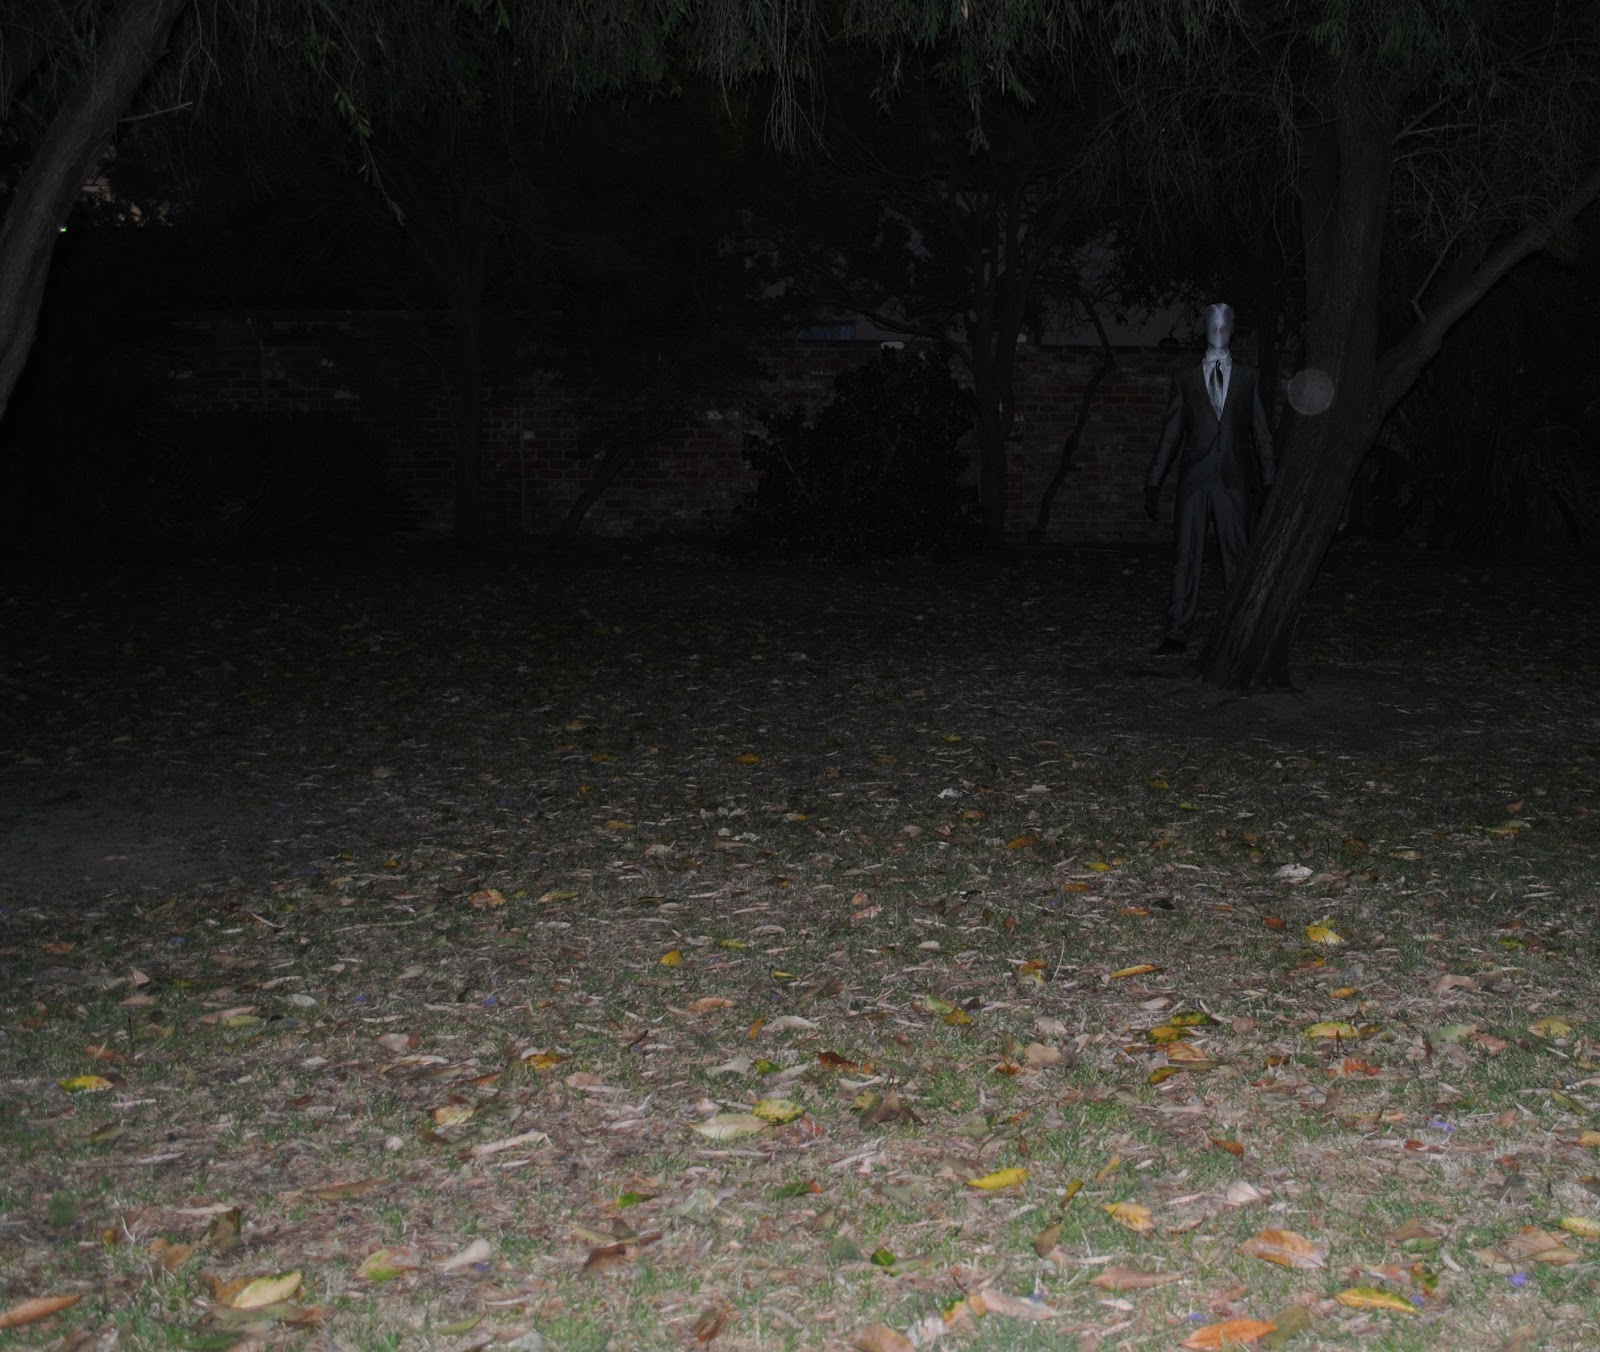
When I was a kiddie growing up Halloween was completely unknown in Australia.  When I had my own children we’d heard of it by then but it was not observed at all.  Nowadays it is creeping in! stalking up on us like Slender Man upon its prey….  ðŸ˜‰

And Tim wanted to be the Slender Man.
Of course one is interested in what one’s children are interested in, right? and the funny thing is that my adult children and their friends have Halloween parties and love to dress up, any excuse for a party….!  So yeah.  
I even went out today and bought some mini Mars bars too, in case we got some trick-or-treaters…. hoo boy, I am mellowing out; hehe!

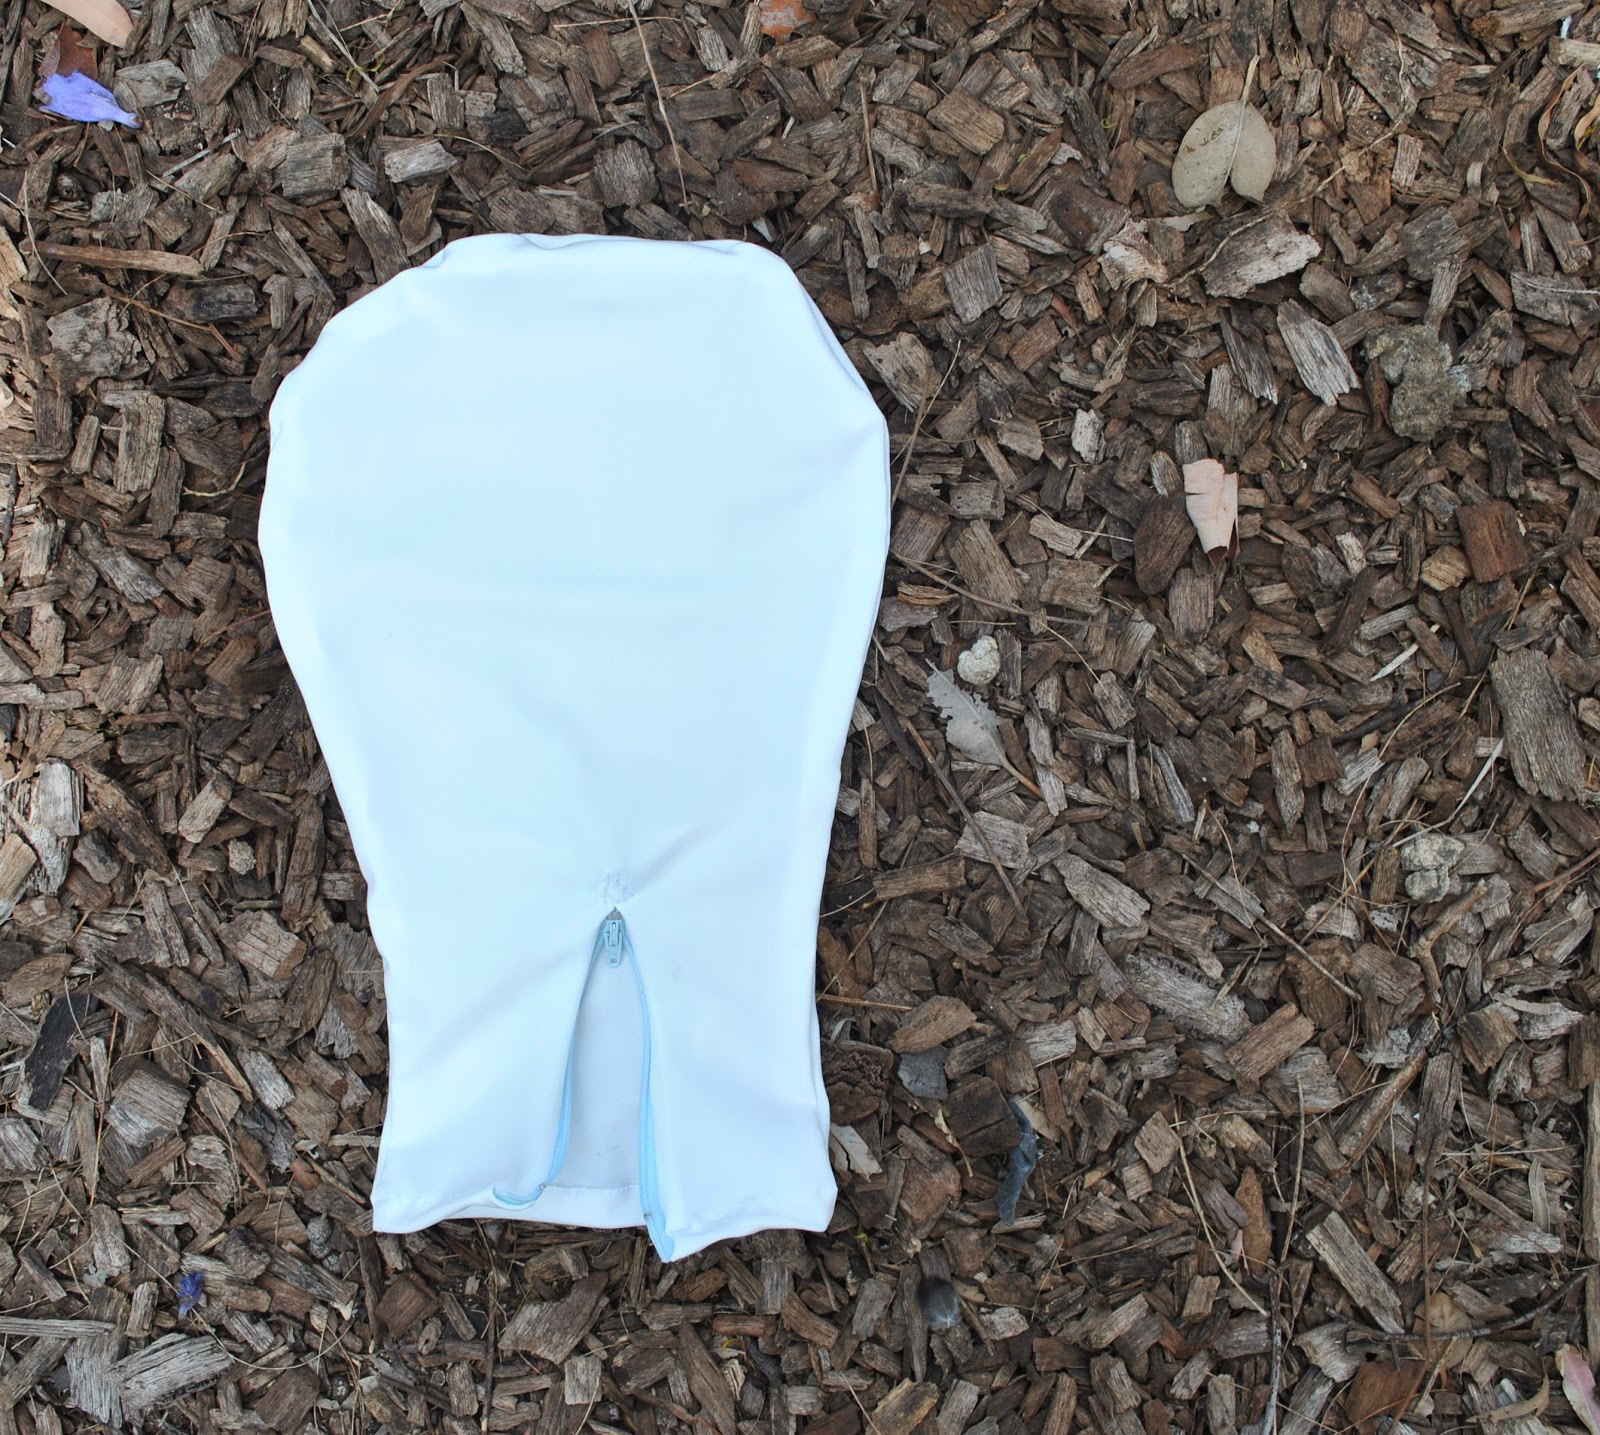
I made a Slender Man mask.  It is as close a copy as I could get to a morph mask.  I made it using a white poly/lycra from Fabulous Fabrics; very light and thin and stretchy stooff.  The front has a “chin” and I put in a short zip at the back to help put it on over his head.  The zip I had leftover from when I was making these little jeans purses.

The verdict: True story…
I looked up and he was suddenly there, in the room, and I admit to a small double take.  
I’m like, “ooh that’s spooky, Tim.”
Silence.
“Tim?”
More silence.  Brief moment of freaked out hesitation… 
“Tim!?”
Finally he says, “yeah, so whaddya think?”
I’m like, ” Whoar, don’t scare me like that!!”

Later edit: don’t worry, Tim did not go door-knocking… this outfit was worn to a private party only  ðŸ™‚
pinterestmail

A petticoat and an ISTJ

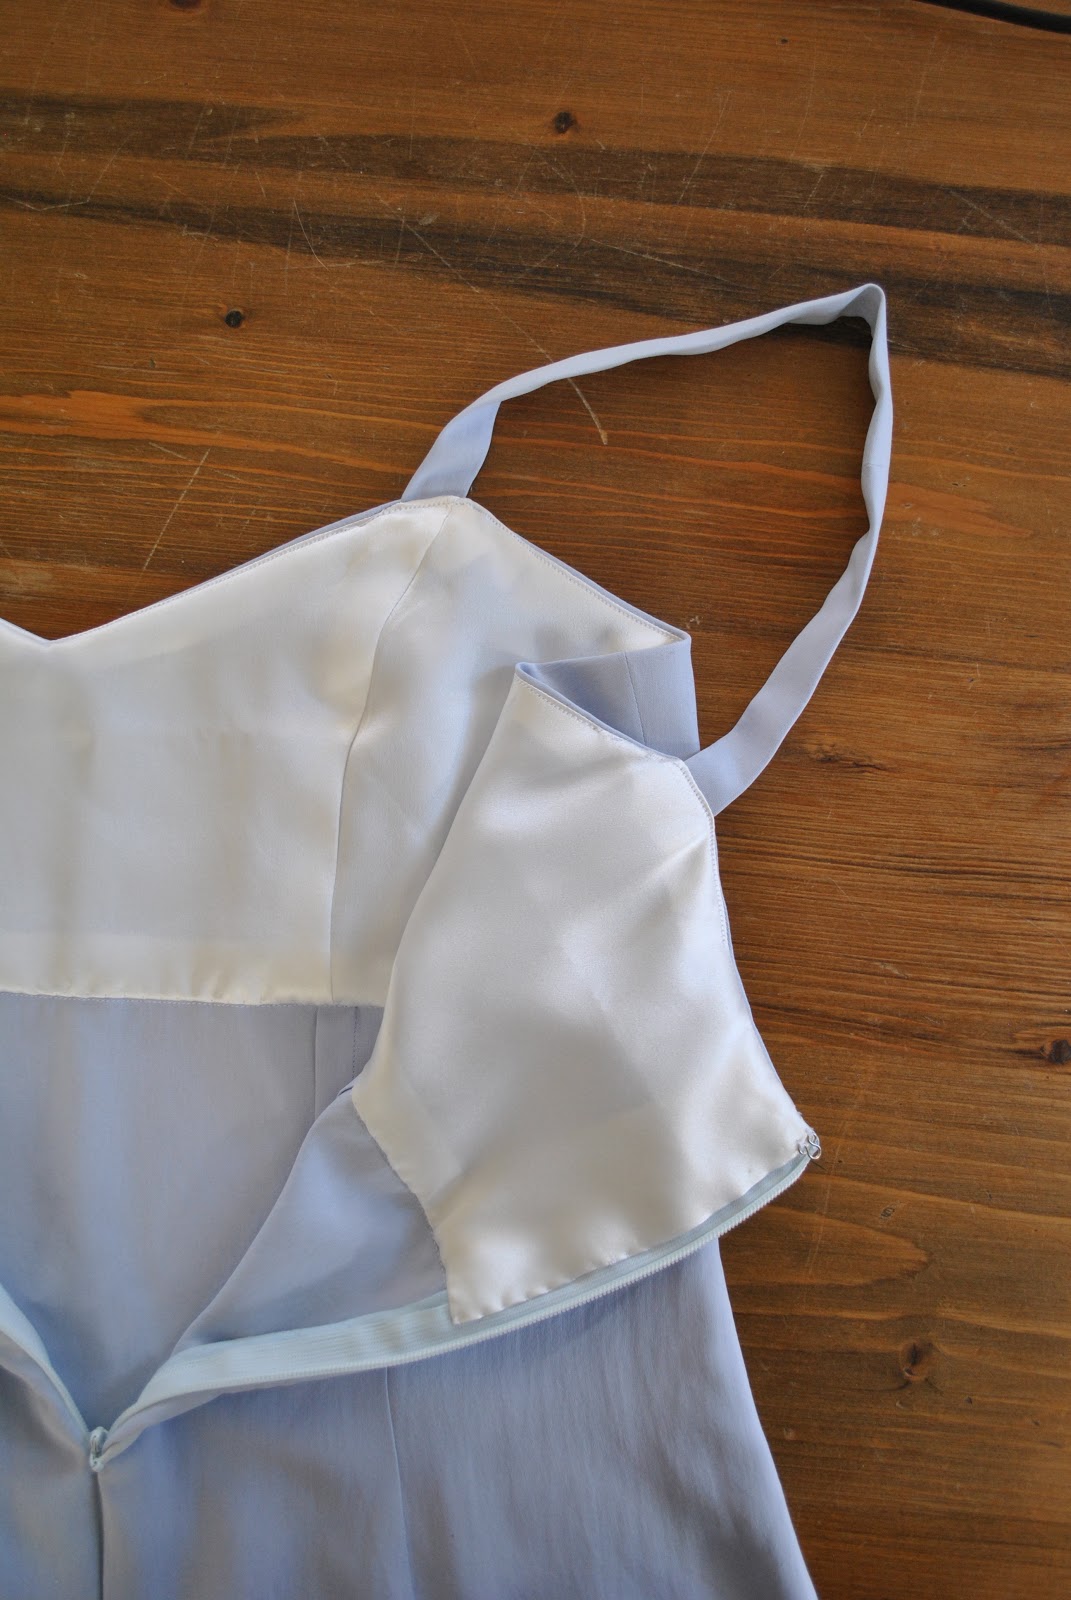
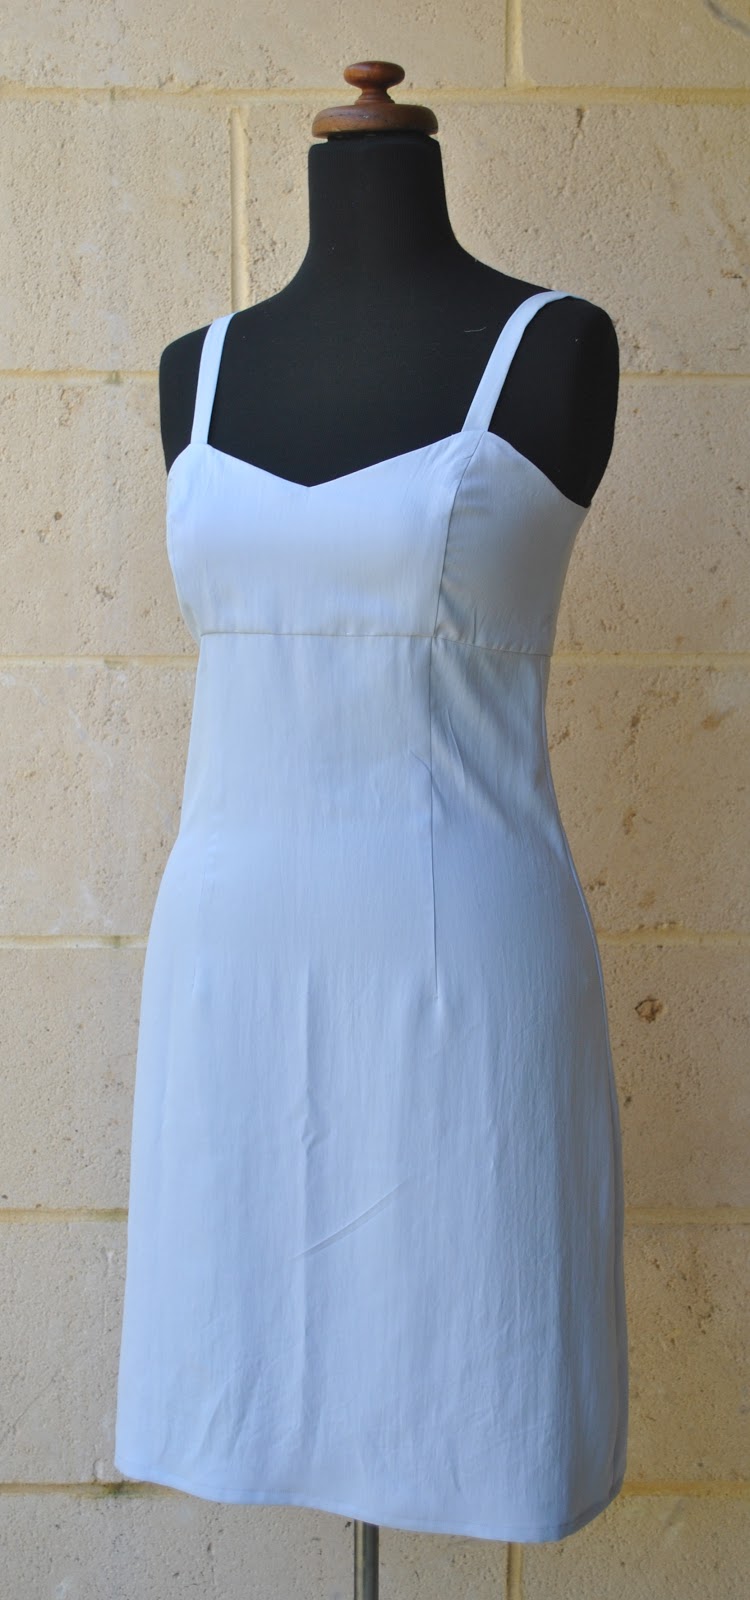
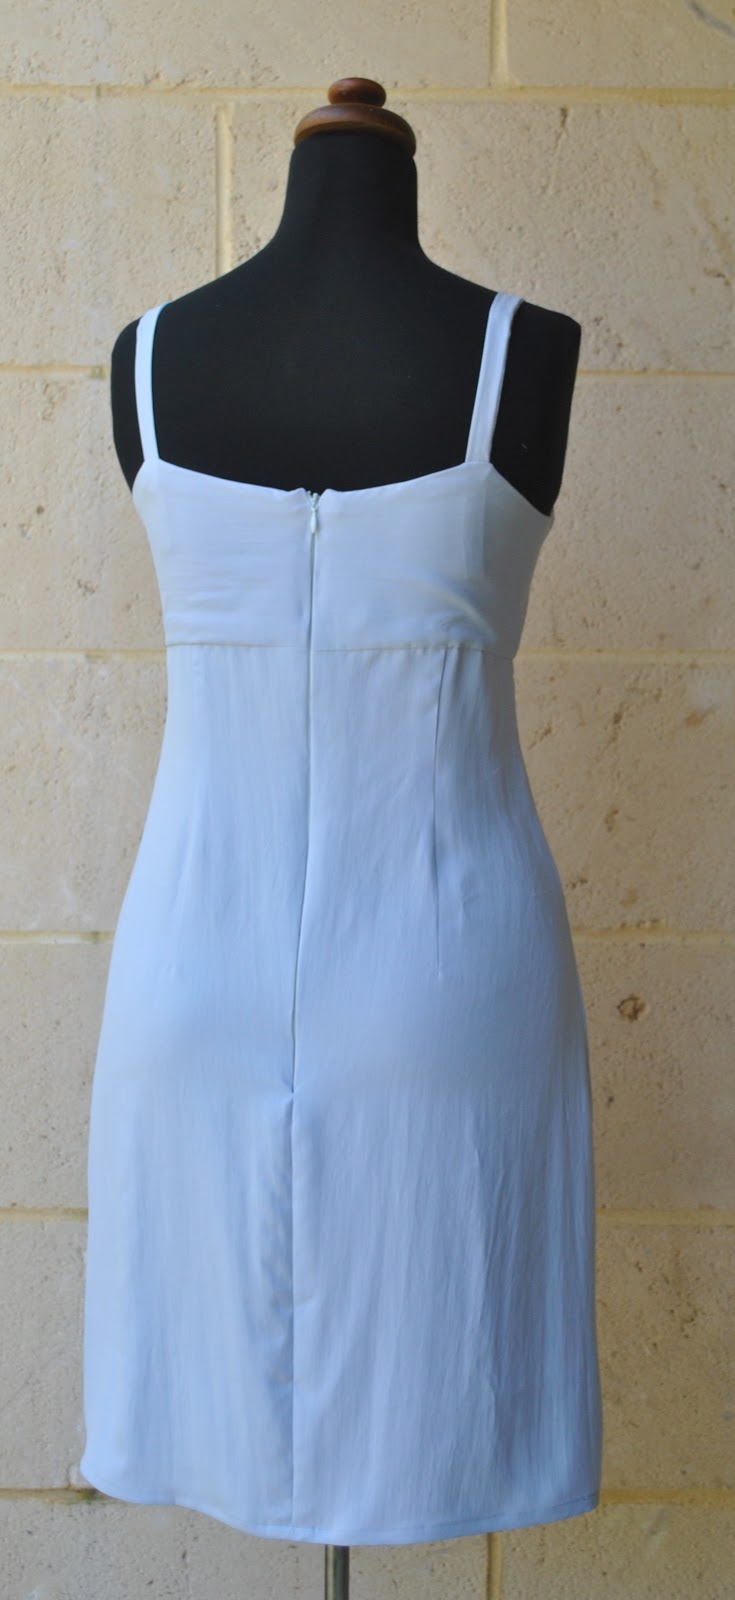
OK, so I have posted about this new… er, thing before; and in a comment janesewandtell expressed surprise that a petticoat should have a zip … the answer of course is that even though I did describe it as a “petticoat” of course it really was only masquerading as a petticoat.  Actually it is a bonafide dress, and can very well be worn as one!
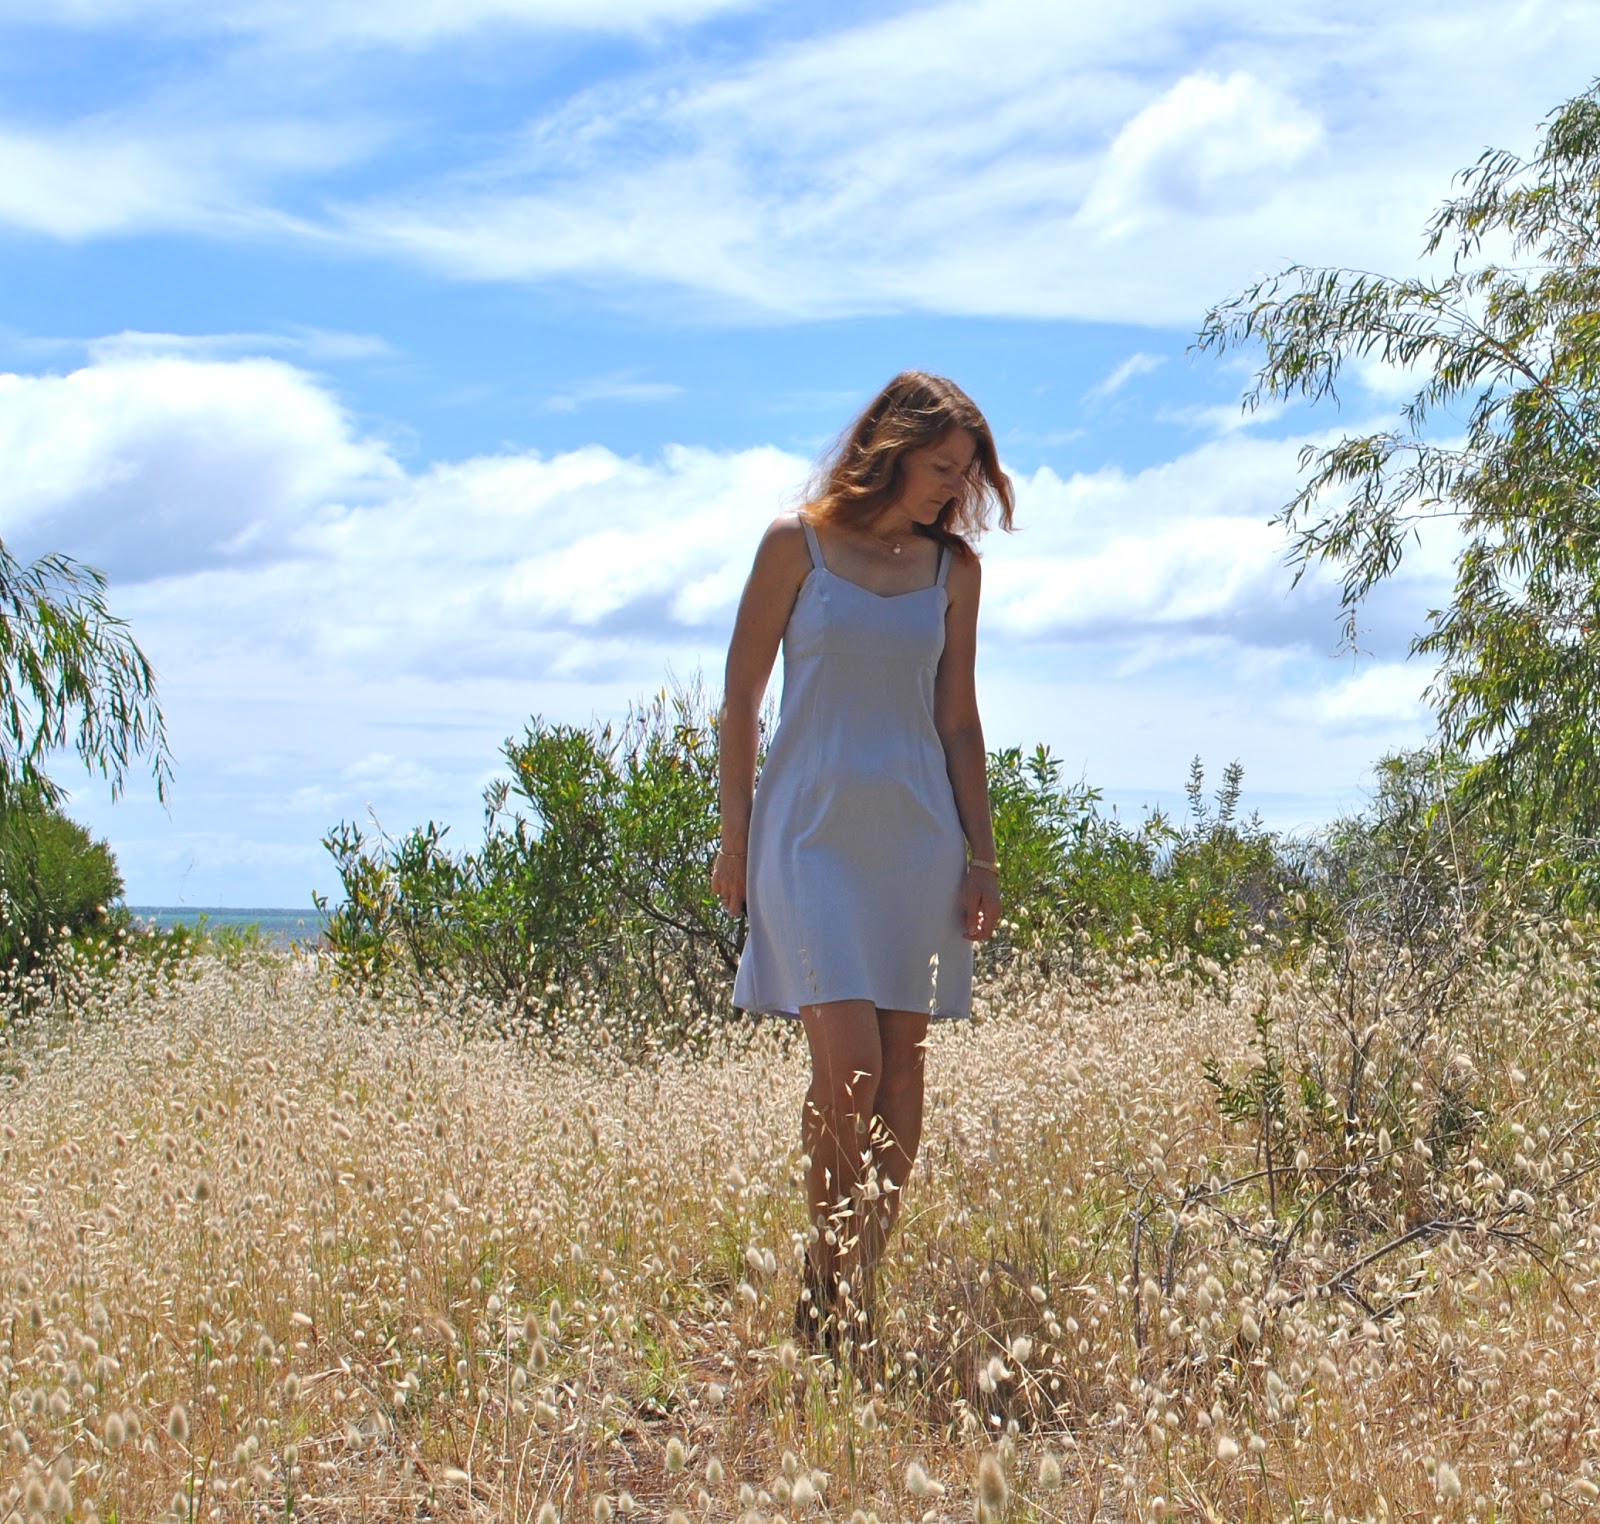
So I thought it really deserves its very own post to show what it looks like on!  Since it has a fitted bodice it does need a zip so that I can actually get it on and off.  I supposed I described it as a petticoat since it is made of a lusciously soft silk that is kinda flimsy.  Meaning it can be worn underneath a loose lightweight thing like my tunic top and function quite well as a slip.  But the fact is that as the weather warms up this is the kind of light and airy sundress I will love to pop on and wear on its own too!
So here ’tis!
And sorry to mess with your heads, but I’ve accordingly copied the petticoat/dress’s info from the original post it shared with the tunic top to here  ðŸ™‚
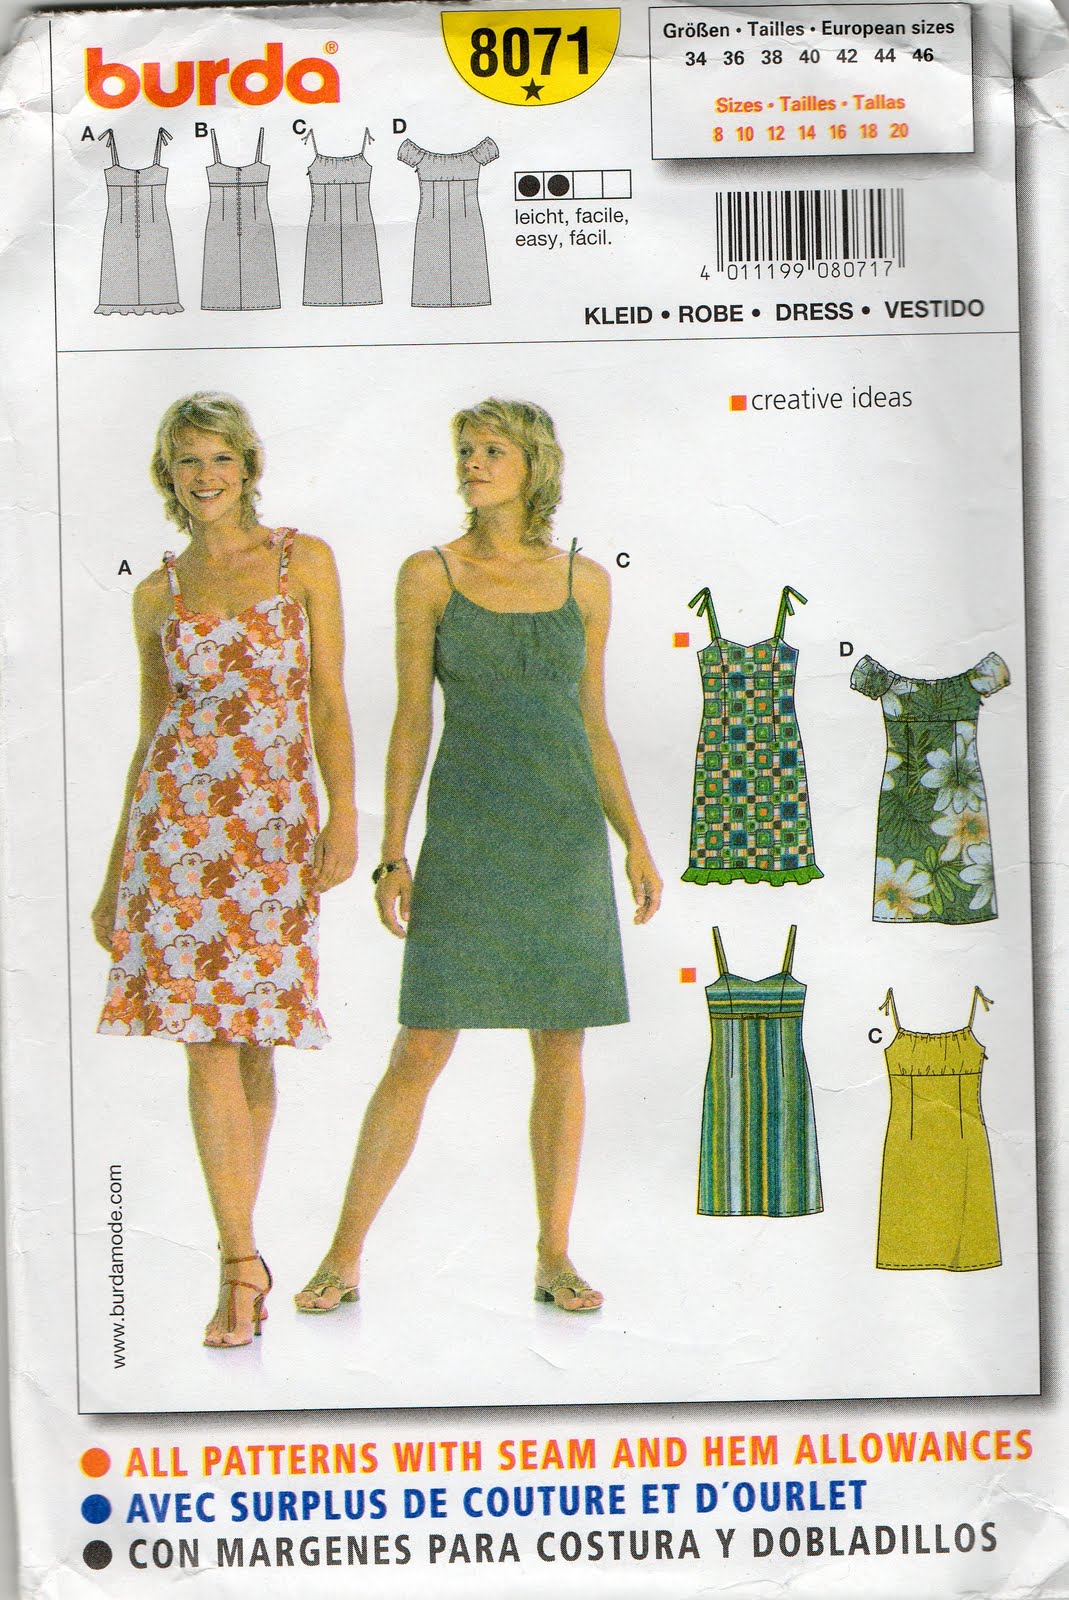
I used Burda 8071, a terrific basic pattern I have used ten times before; for ten different dresses and petticoats.  This is the eleventh!  To see a gallery of my previous versions of this pattern, go here  ðŸ™‚  The bodice is lined with ivory silk charmeuse, leftover fabric from this top.
All the seams are French seams and all other raw edges are finished with HongKong seaming, in a lightweight ice-blue cotton leftover from this shirt.
Details:
Dress/petticoat; Burda 8071, powder blue silk
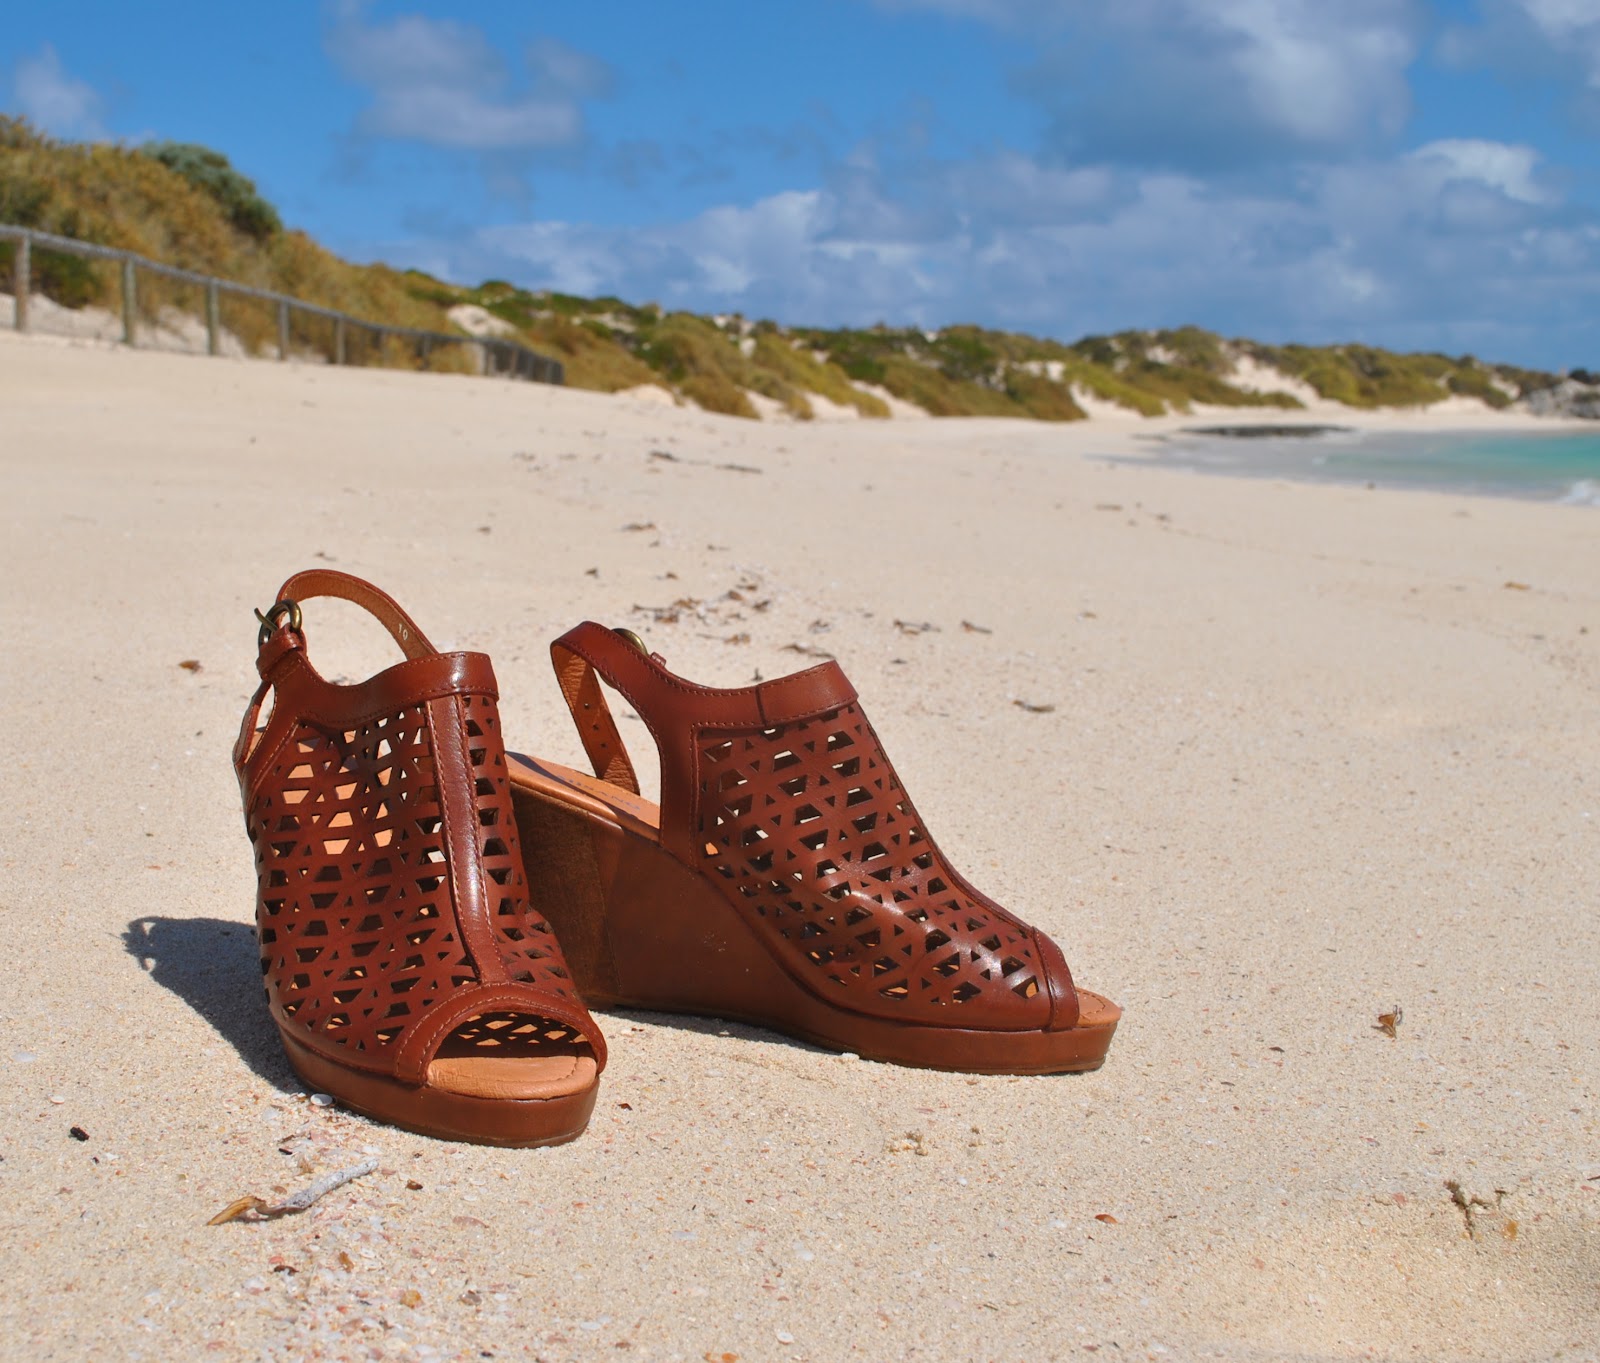
Sorry, you can’t see them very well in the picture above but I am wearing these sandals; a gift from Misano. 
I loved reading about sewbusylizzy’s Myers-Briggs personality! and no one is going to be surprised to find out that I am a ISTJ; the Examiner, or the Duty Fulfiller.  The type of person who sees out to the bitter end what she has started even if she is hating it. This explains why I am dutifully continuing with the year of self-auditing my sewing habit, which I am heartily wishing I had not started… is everyone bored stiff with my meticulously accurate but excruciatingly dull accounting??  That’s OK.  I wouldn’t blame you one little bit  ðŸ™‚

OK, the Organisational Odds n’ sods for October…
Fabric;
a re-fashioned ball gown
Patterns;
Vogue 1170, used previously
Zip; recycled from the same dress
Hook
& eye; from stash
Total
cost: free
Fabric;
leftovers
Pattern;
used previously
Dye; (first time used, bought at a 30%off everything sale at Spotlight) $7.77
Bra cups; $12.95
Hook and eye closure; $2.49
Underwires; $2.49
Elastic; 2x $3.49= $6.98
Ribbon; $0.10
Total cost: $32.78
Fabric;
$28.00
Pattern;
McCalls 2772, used previously
Swimwear elastic; $4.99
Thread; had already
Total
cost: $32.99
Fabric;
gift from Craig
Pattern; Vogue 1309, $8.75 on special
Zip; $2.50
Thread;
had already
Total
cost: $11.25
Fabric, zip and thread;
gift from Cassie
Patterns;
all used previously
Buttons; gift from ElleC
Total
cost: free
Fabric;
from my friend C
Pattern;
self drafted
Buttons and thread; had already
Total
cost: free
Slender Man mask
Fabric; $13.19
Zip; $0.65
Total cost: $13.84
Miscellaneous
No
miscellaneous purchases this month
Total costs for October, not including Tim’s mask:  $77.02
pinterestmail

Perchance to dream

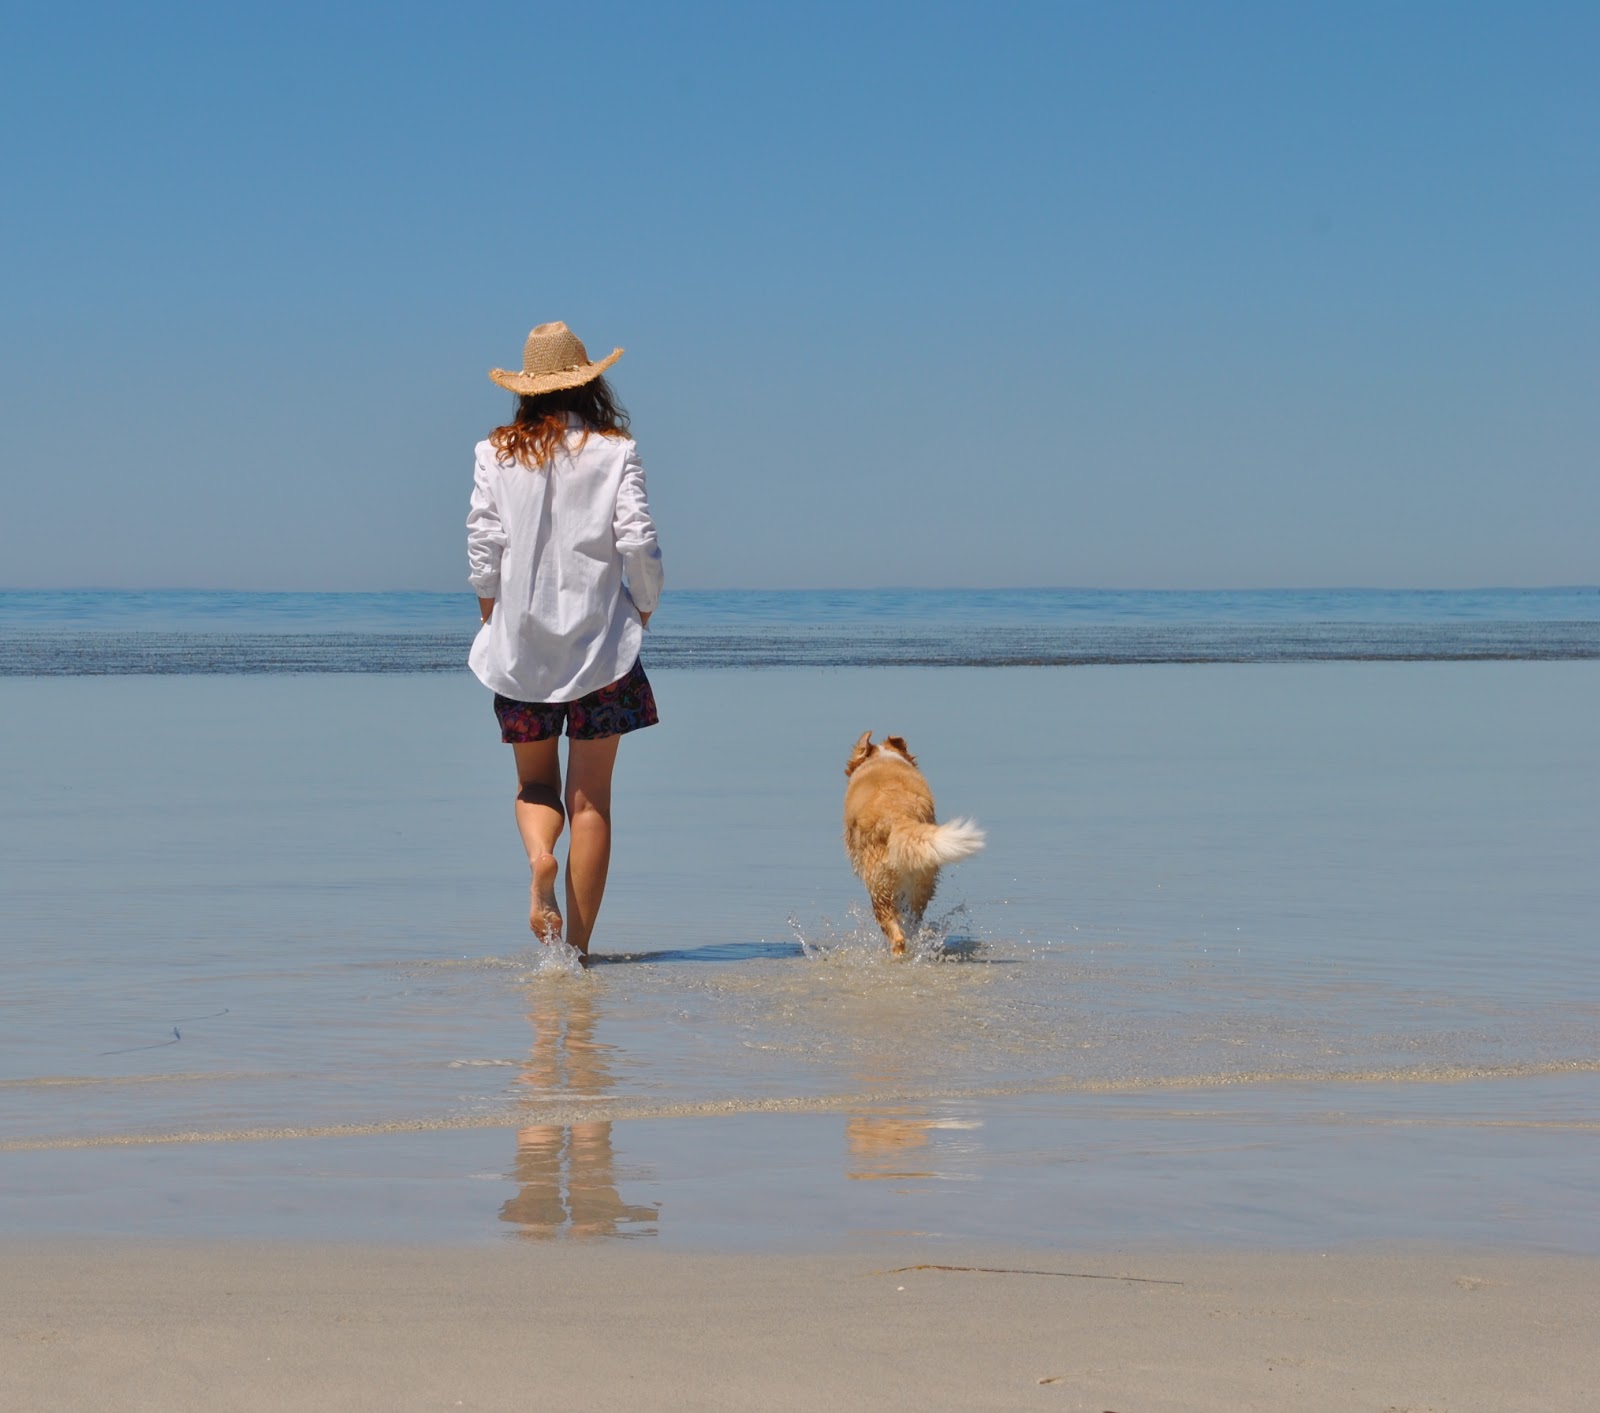
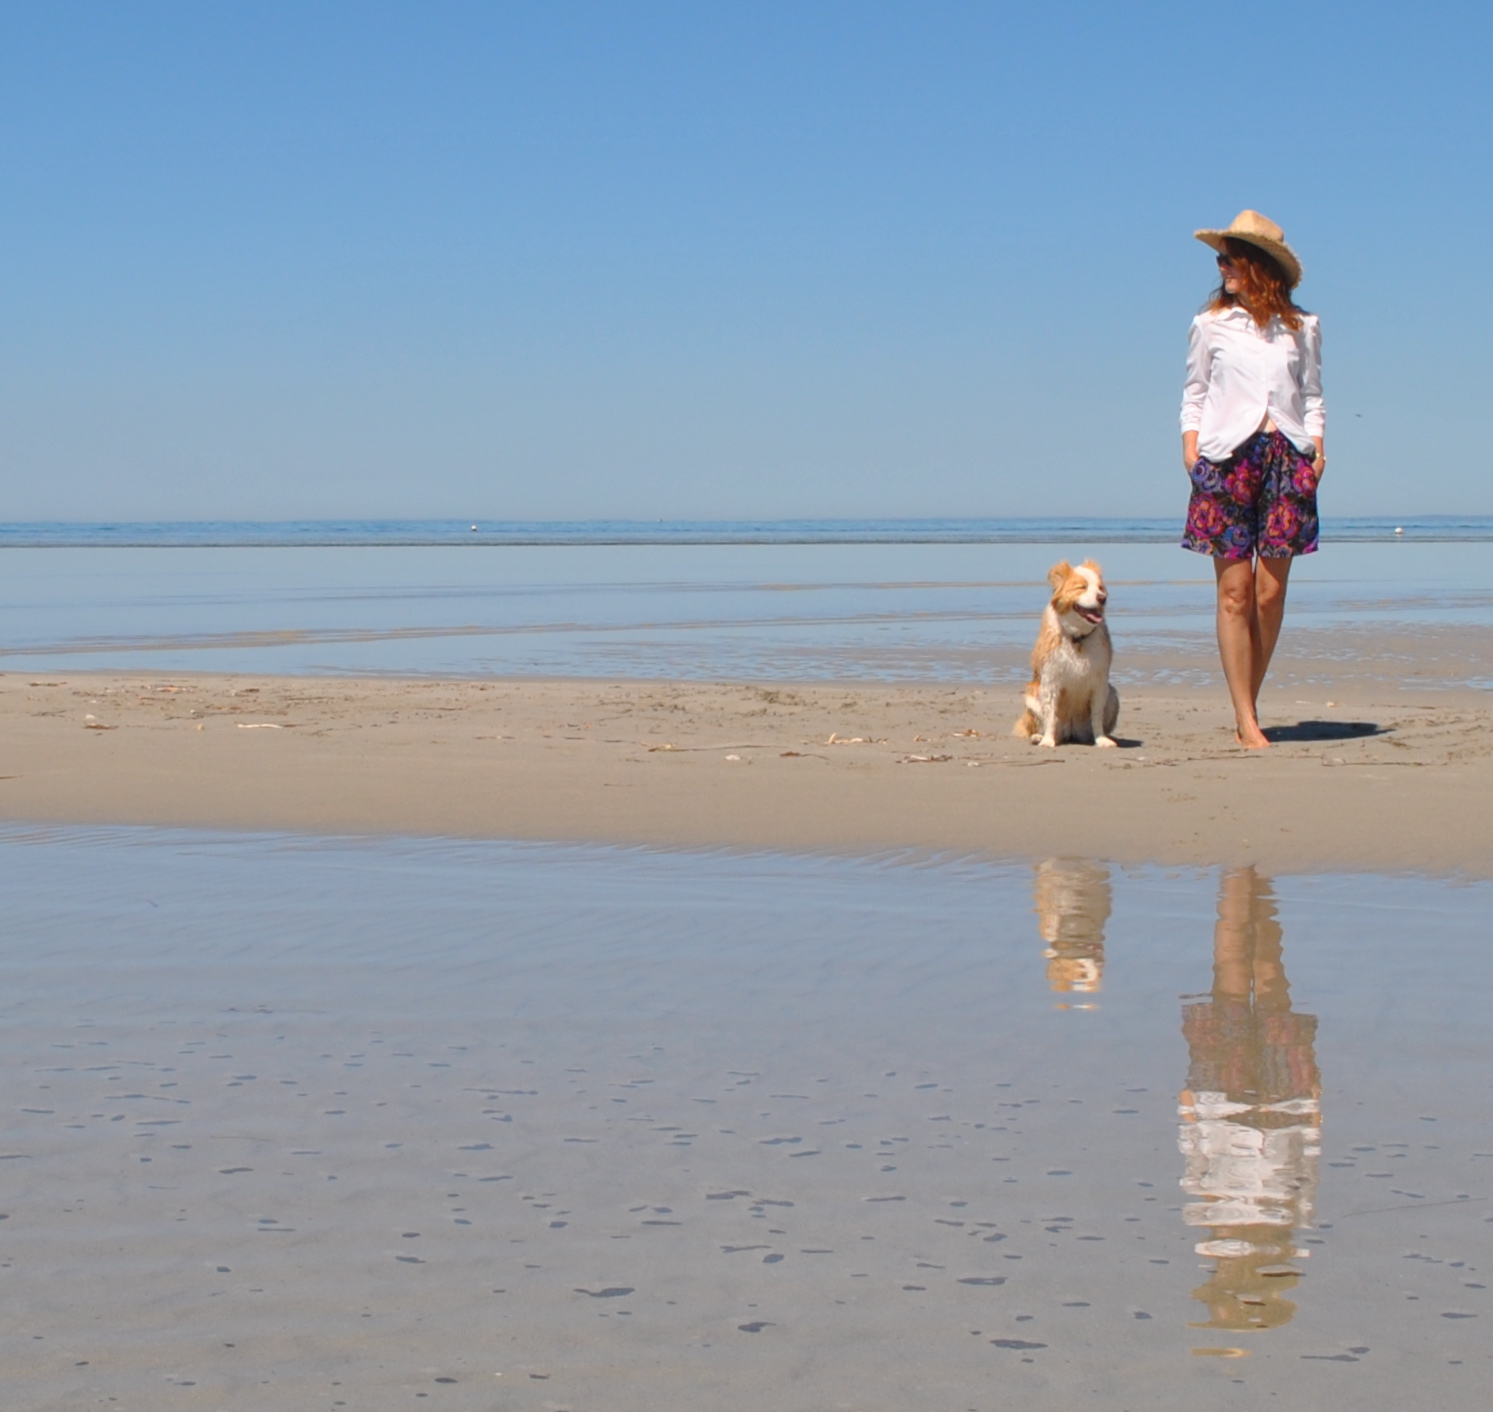
I have made some rather daggy baggy shorts, but
don’t worry.  Style has not flown
out the window.  After today, these are my new summer
PJ bottoms!
I used a too-small-for-anything-else piece of polycotton, crazily colourful and wildly patterned; given to me by my friend C from her late mother’s stash.  It is very nice for summer PJ’s really; light and flowy yet closely woven and sturdy.  One just has to be careful about looking at that rather garish floral print.  Which I think I can manage, since I will be tucked up in bed with my eyes shut for most of the time I’ll be wearing it.

kidding! it’s actually rather luscious, don’t you think?

I made these using my usual pattern, adapted from off an old pair cut up yonks ago for this very purpose and from which I have made all my PJ bottoms for the past few years.
With added pockets naturally…. because; well, when it comes to the question of pockets in a garment, if one can then one does, amiright?
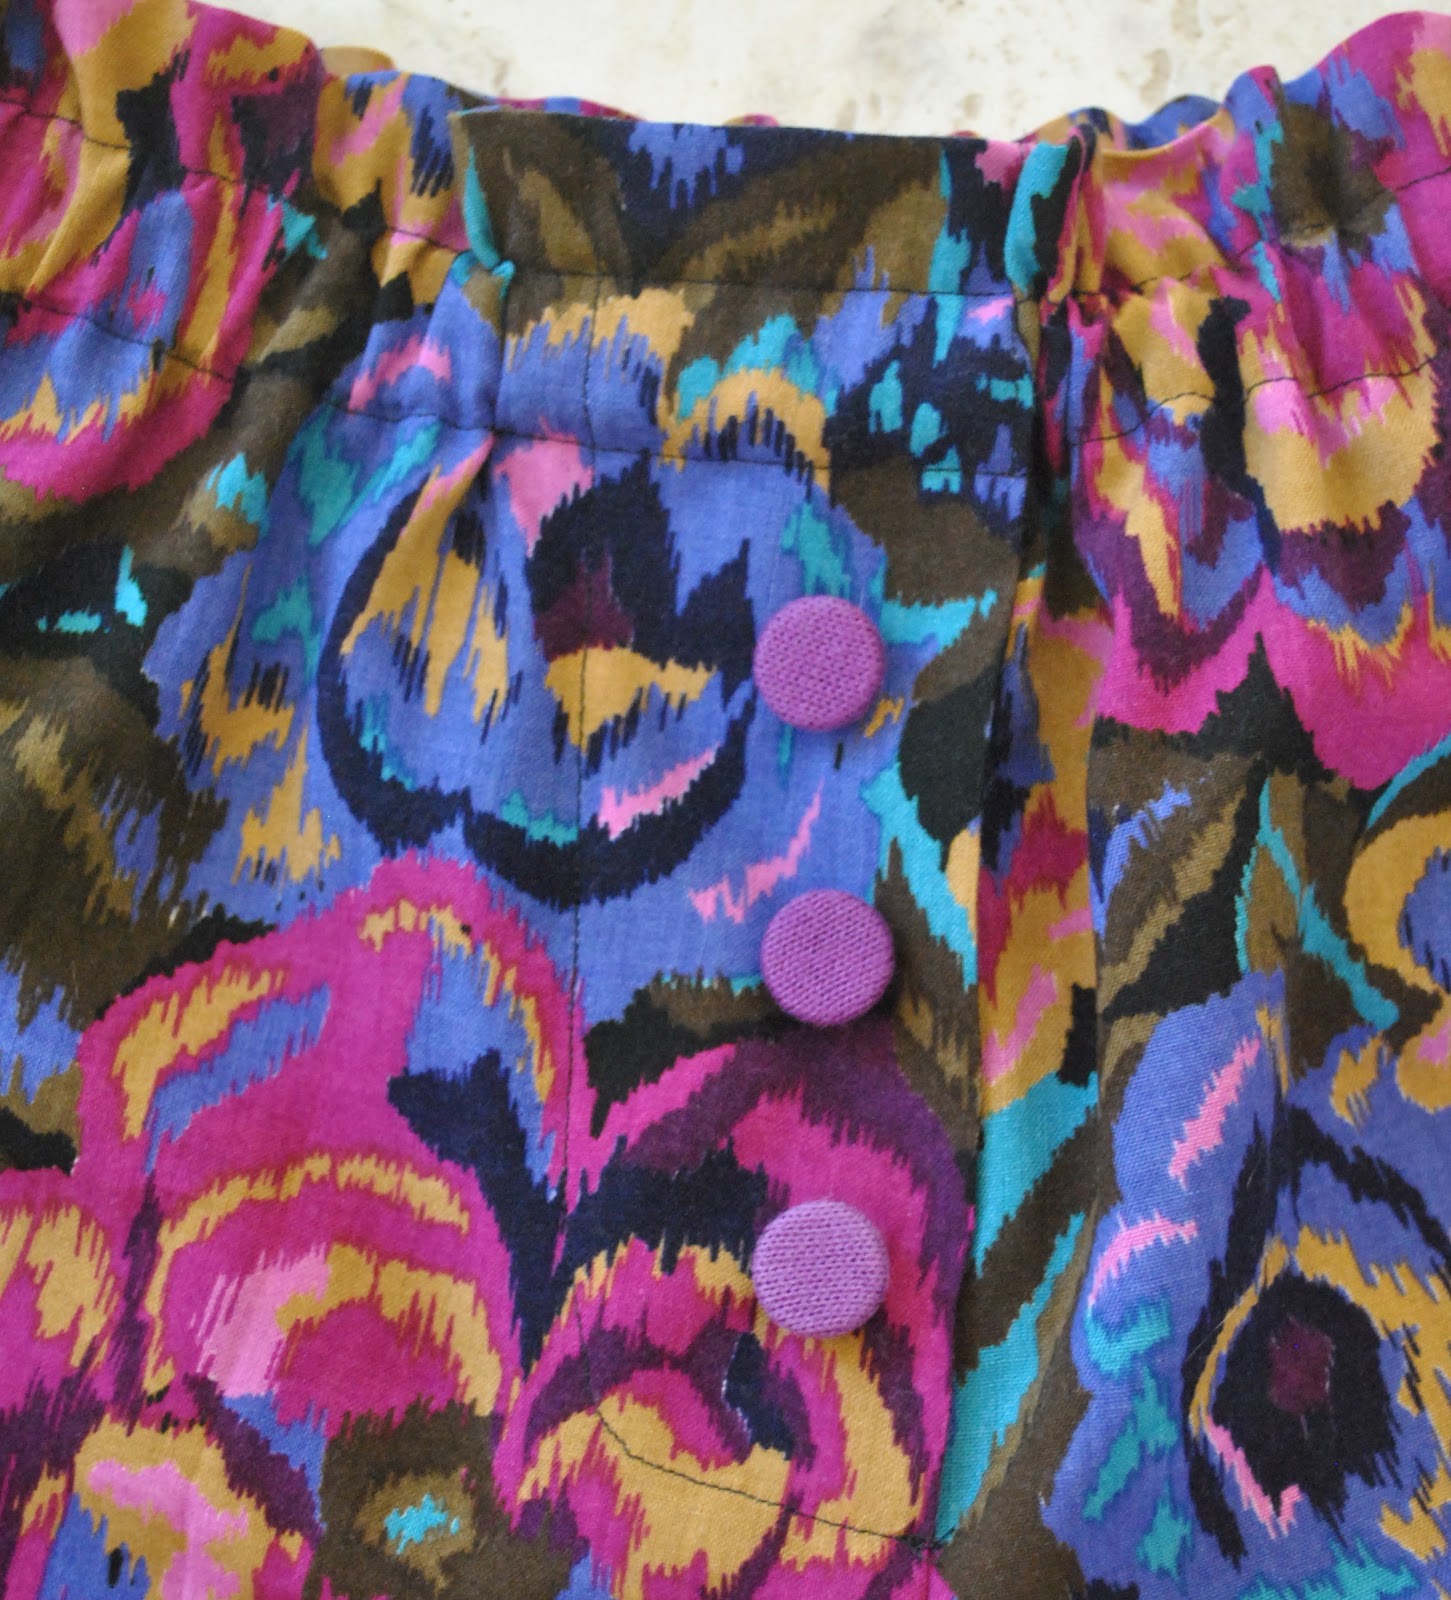
I gave them a decorative fly front, and found three purple buttons in my stash that are a pretty good match!
With regards to my white shirt here: no, that is not
sleepwear; but more a lame attempt to disguise the fact that I am, tut tut,
actually wearing my pyjama bottoms out in public; shock, horror.  Really for the top half of my PJ’s I’ll
be downgrading one of these little tees.   I opted not to wear said little tee out today because together
they really do unmistakably scream “PJ’s!!”  It’s the elastic waistband I think  (shudder)  Even
for Australia, even for the beach….. yeah, no.
Actually I had almost forgotten I even had this lovely
white shirt… which is pretty dumb of me since it is kinda perfect for the delightful spring weather we are having.  It’s
not too hot for it yet, and it gives really good coverage from the sun. I have
rediscovered my love for this shirt since seeing Merche’s truly fabulous version of this pattern.  Isn’t it great that
we can simultaneously wear our shirts on opposite sides of the world, despite
having opposite seasons?
a moment of reflection…  
Details:
Shorts; self drafted with the help of an old pair of
PJ’s, polycotton
Shirt; Burdastyle magazine 10/2010, shirt 102, lightweight
ivory cotton, details and my review of this pattern here
Hat; pilfered from my husband
Sienna; is wearing her own PJ’s as well…
pinterestmail

HongKong seams and the hemline

Hong Kong seams are a tidy and very handsome way to finish raw edges… but what happens at the hemline?  The seam gets folded up on itself twice, and if you are working with a flimsy fabric and especially if you are planning a narrow hem you will end up with a hem that is thick and blobby with extra fabric; not very attractive.
The solution is to cease the HongKong seaming inside the hem, at a spot before the fabric is folded up into the hem.
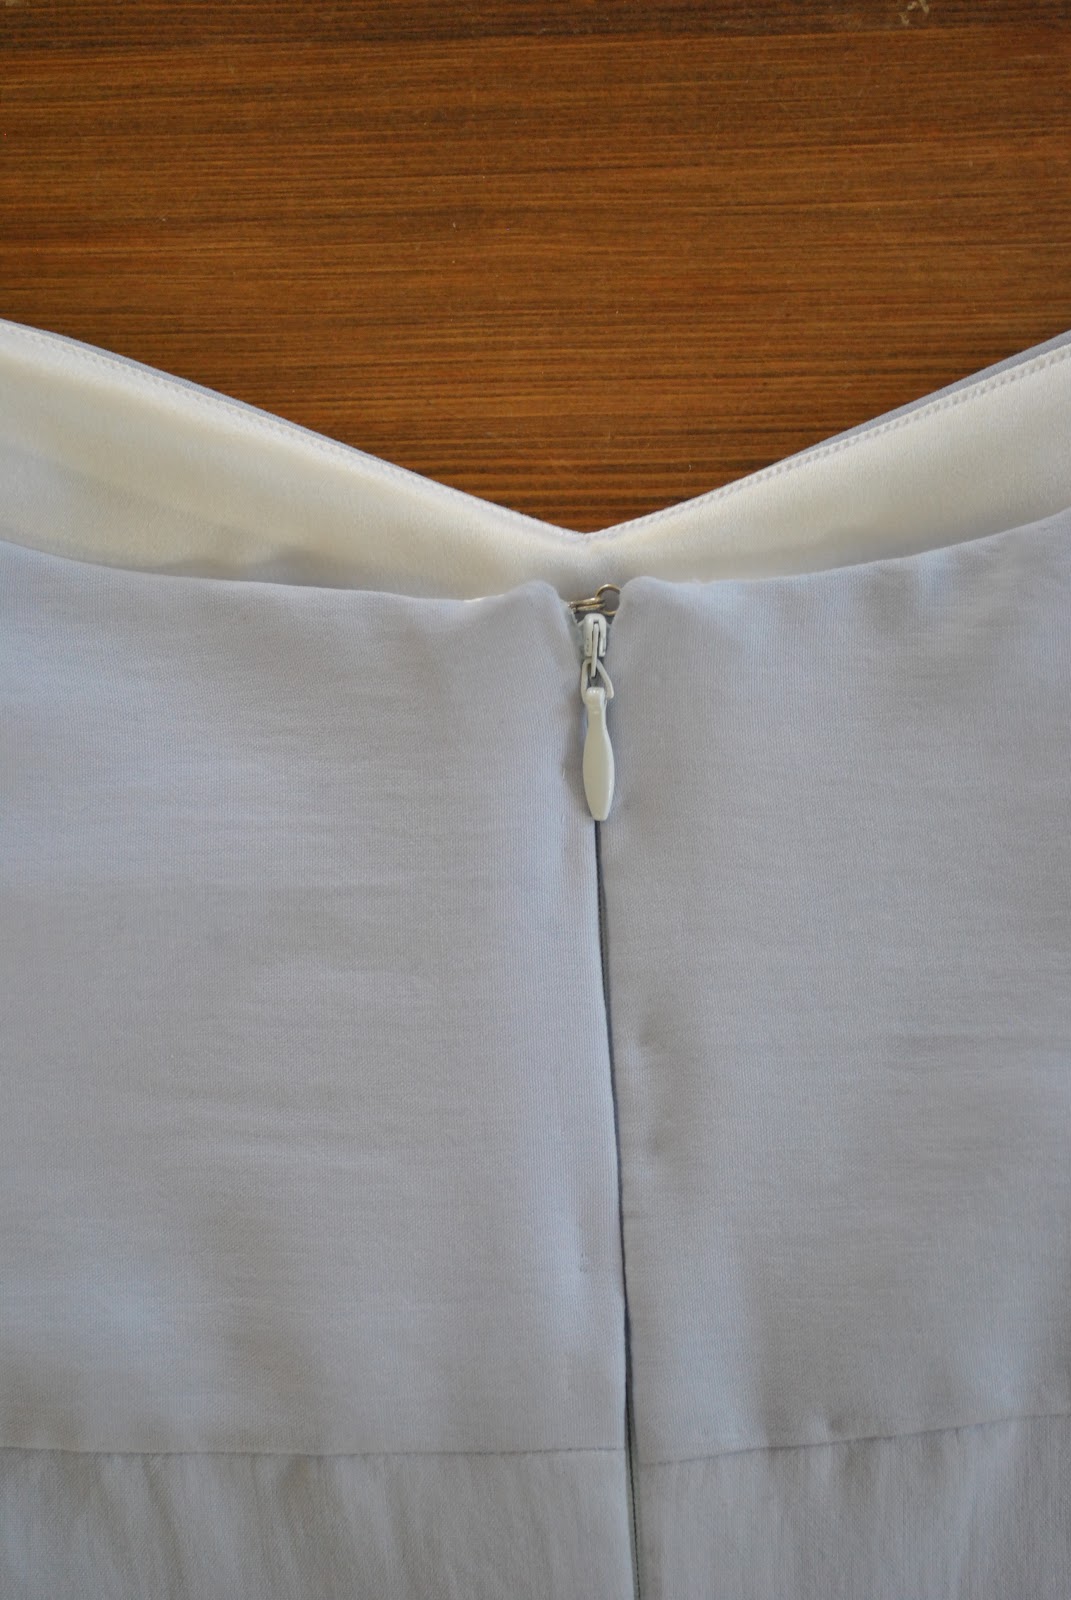
With this dress, I had such minimal fabric I couldn’t have a deep hem and needed to sew as narrow a hem as pssible.  The side seams are French seams which go fine into a narrow hem, but the centre back seam with the zip in it cannot be sewn with French seams obviously, so I opted to finish the raw edges with HongKong seaming…  and I took a few photos to show how I dealt with the HongKong seaming into the hem…
The bias strip for the HongKong seaming is sewn to the raw fabric edge, down to roughly 15cm from the lower edge.  Then fold the edge of the bias strip over the raw edge, press and stitch in the ditch from the right side to about 10cm short of the first stitching, allowing plenty of tail.  I’ve left the thread ends long and un-snipped to show where I’ve finished the stitching.

Now insert the zip.

Complete sewing the centre back seam down to the bottom edge.

At this stage, measure and pin the hem, and press it in place.  Unpin and unfold the lower hem at the seam.

Trim the bias strip to be just short of the hem fold.

Finish stitching the HongKong binding in place.

Fold up the hem, pin and finish stitching the hem in place.

Voila!  The raw edges are all neatly finished, and the hem looks nice and flat with no added bulk too!

pinterestmail
Switch to mobile version
↓