Monthly Archives: April 2010

You are browsing the site archives by month.

Anatomy of a ball dress, pt 6

My dress is finished and I planned to put it on and take a photo of the final appearance for today, but you know what?   I realised I should probably wait until tomorrow to take a photo of it, when my hair has been “done” and I’ve put on some make-up etc.  May as well be as presentable as possible when showing off the new dress.
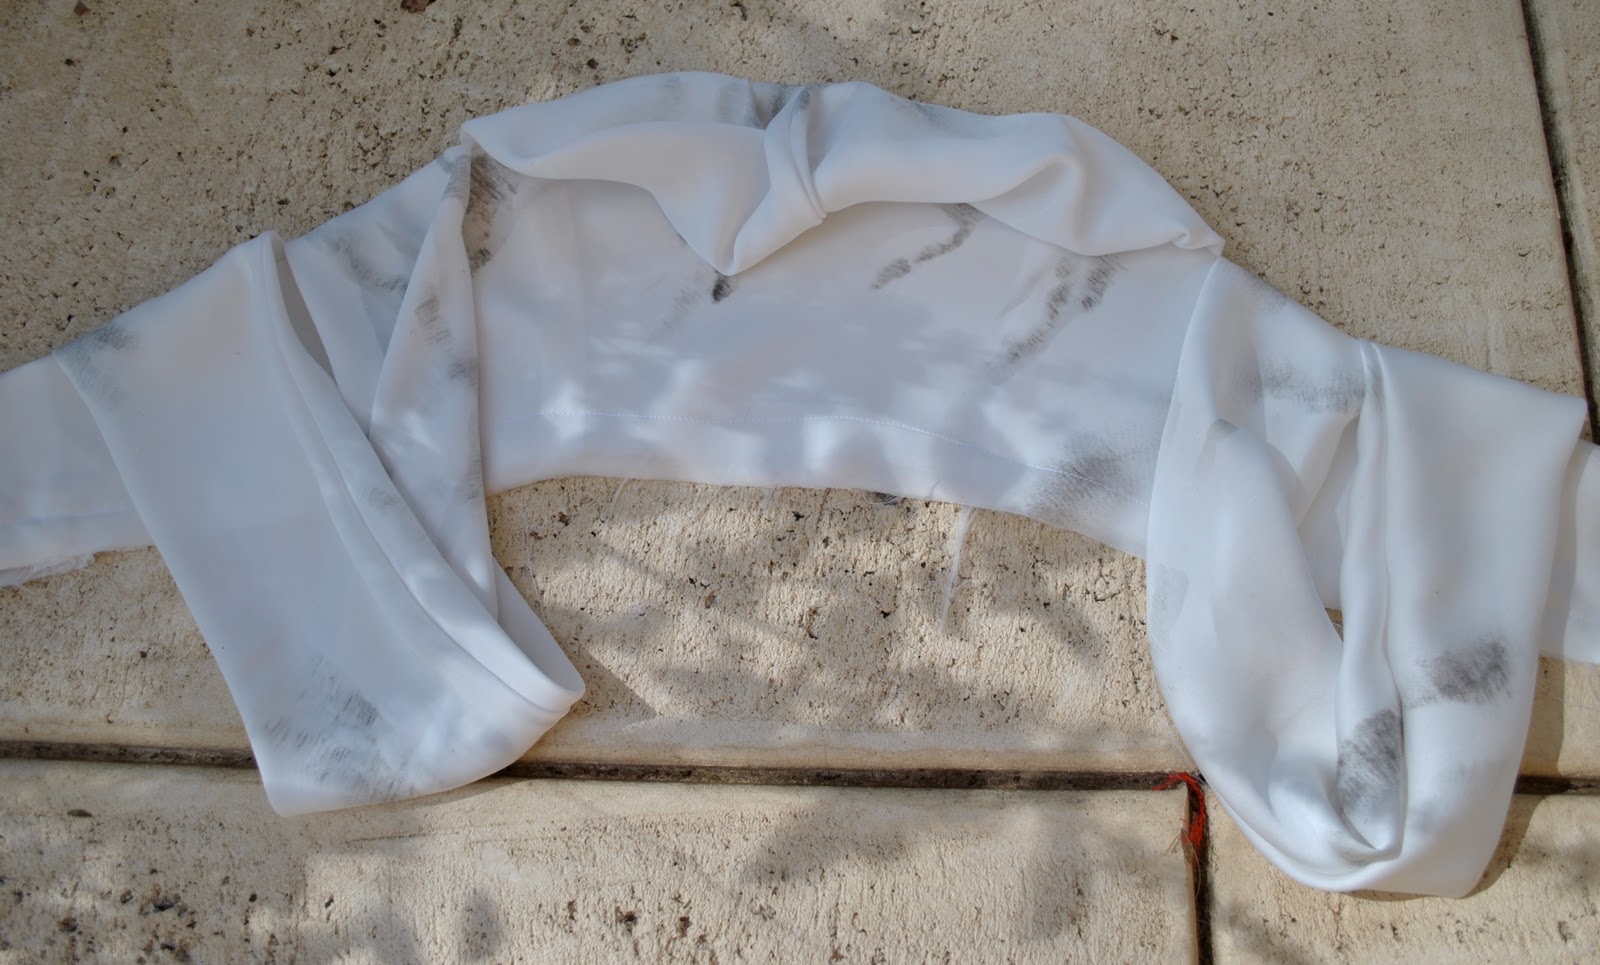
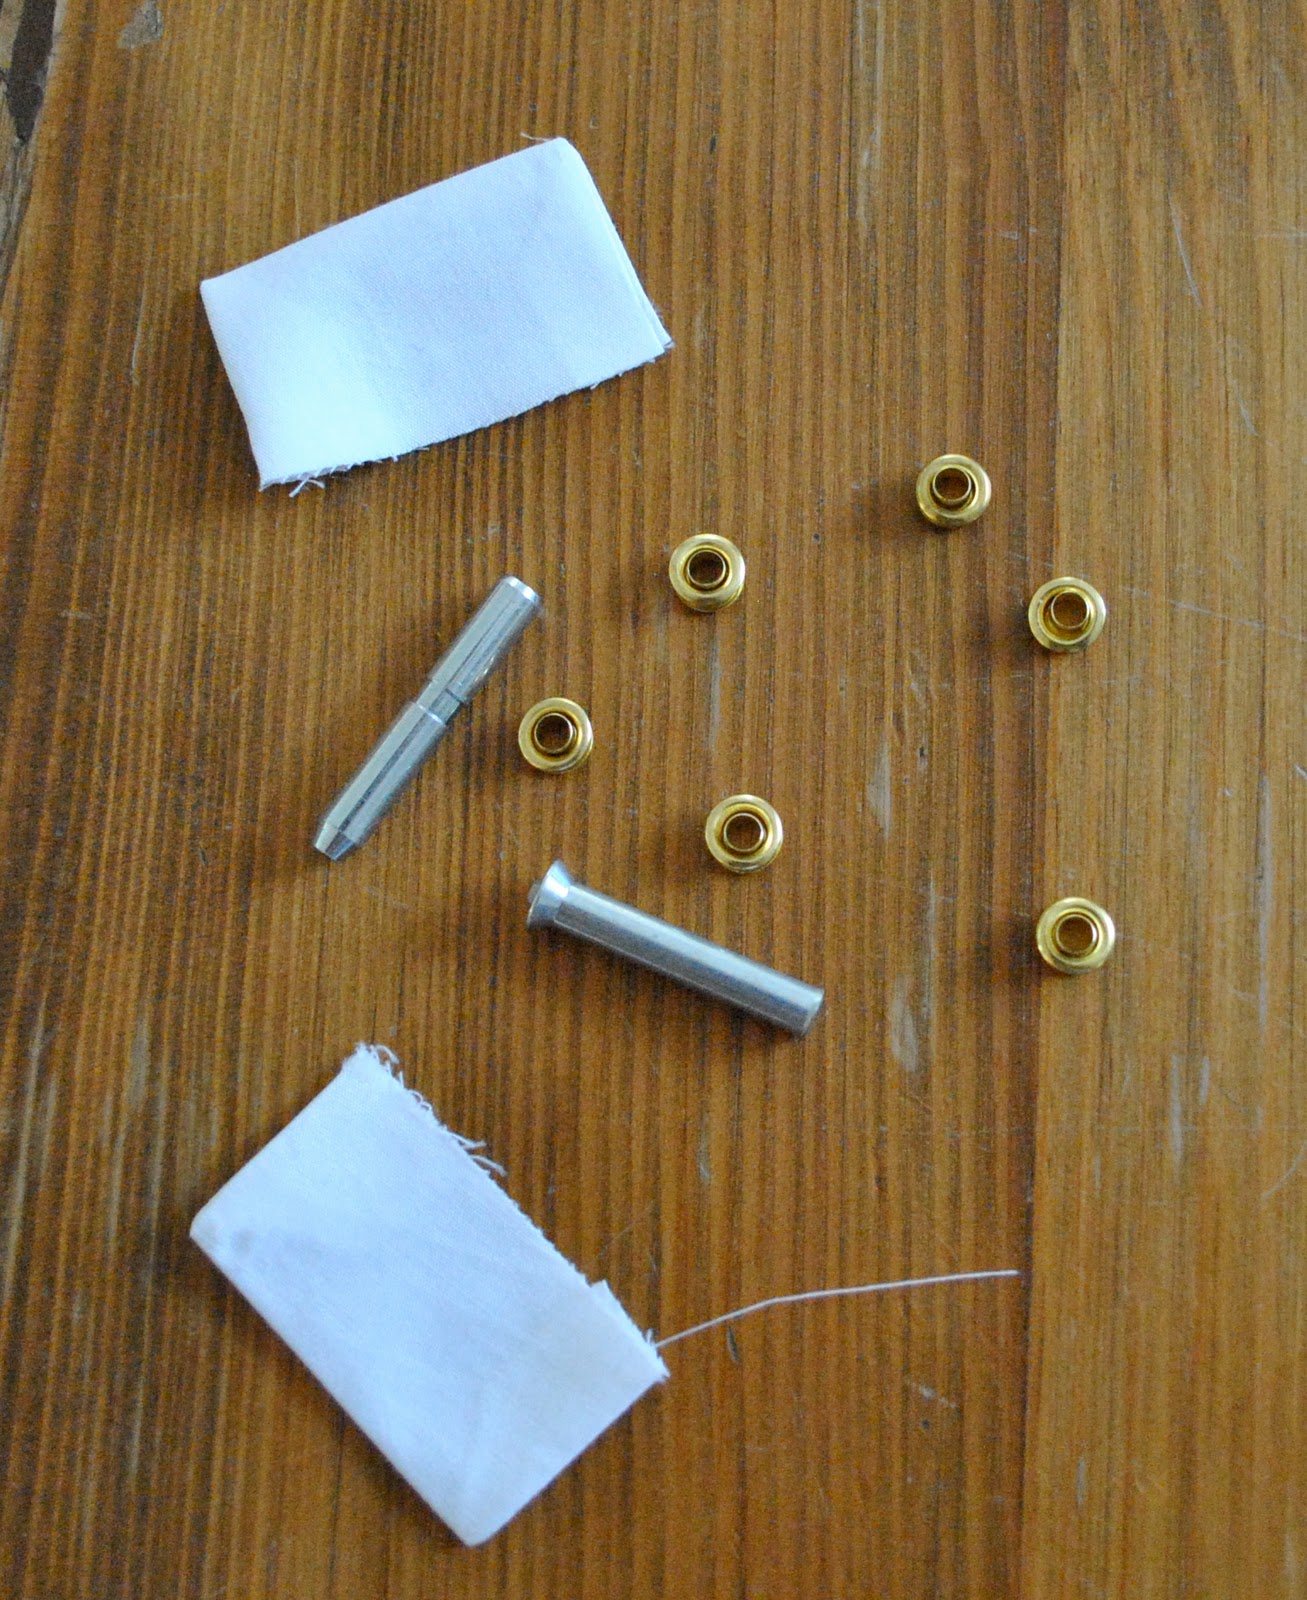
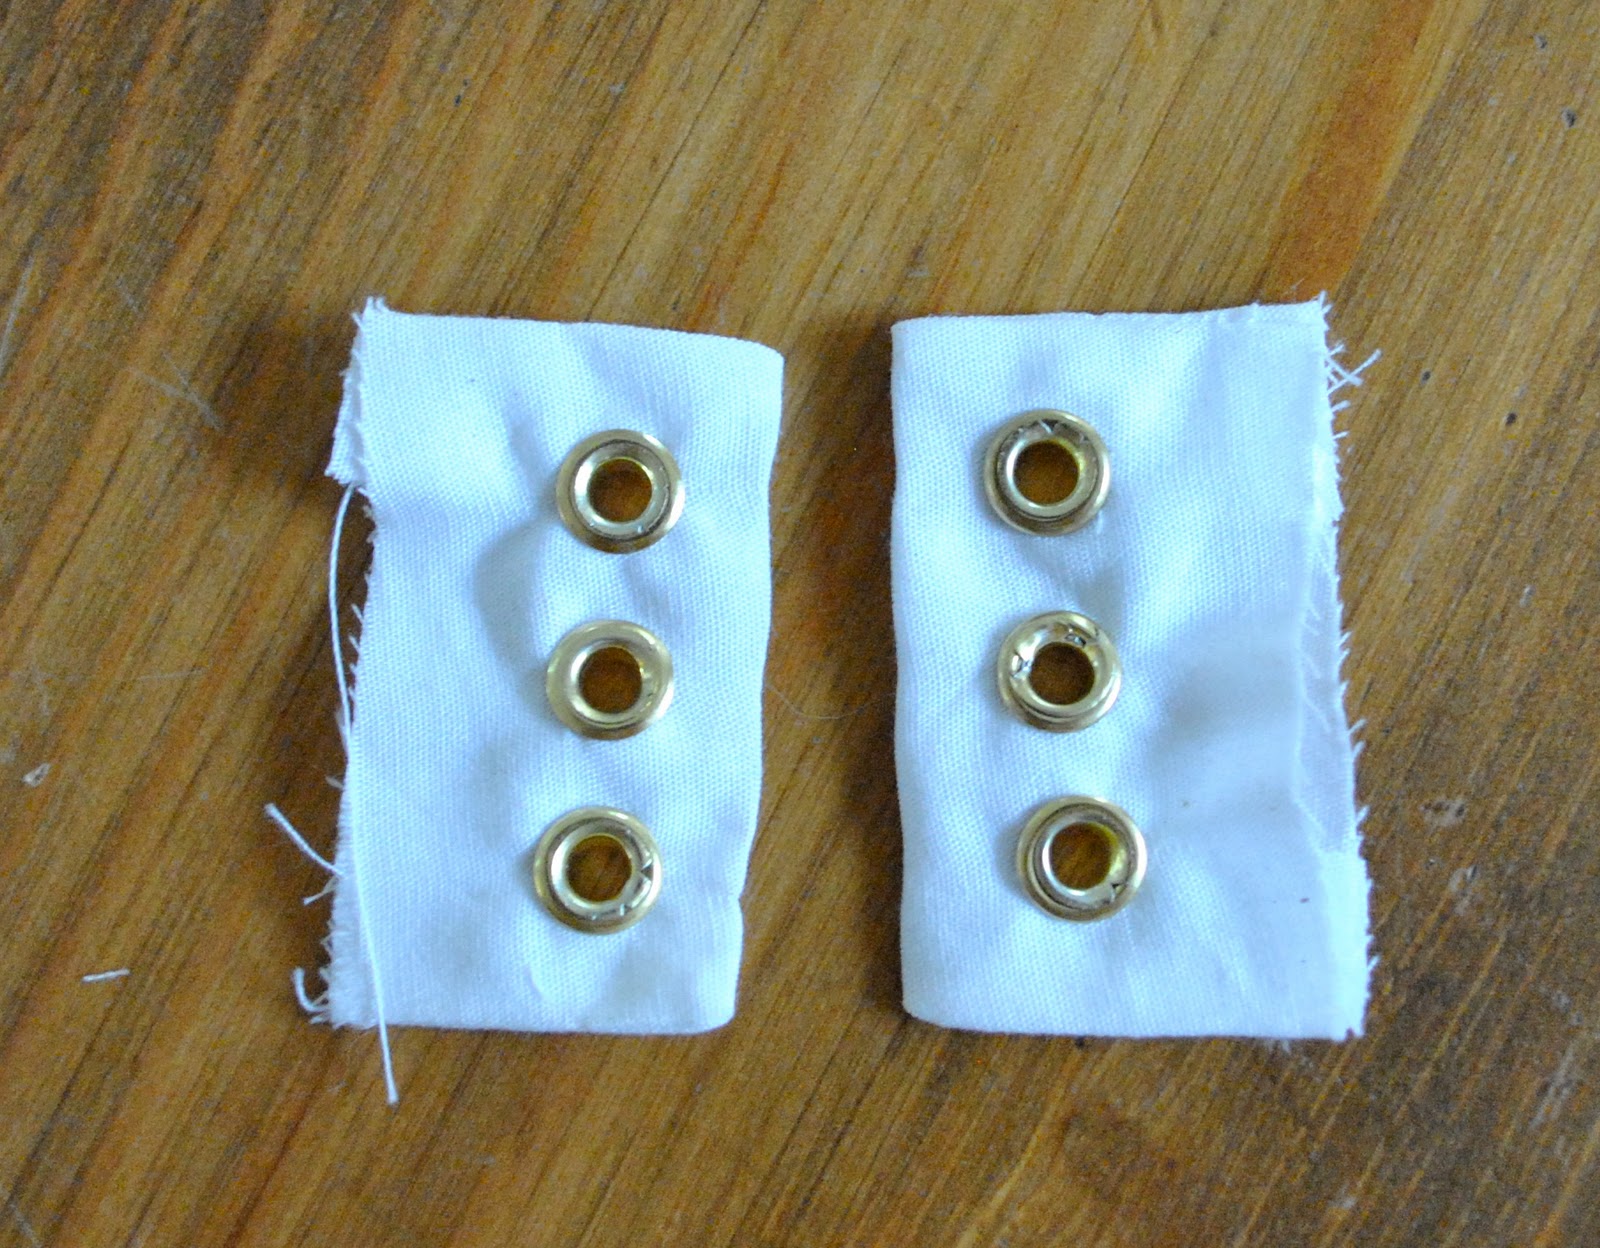
For today I’ll show you some of the final details, the little bitsy odds and sods that are boring but essential to a well finished off gown…
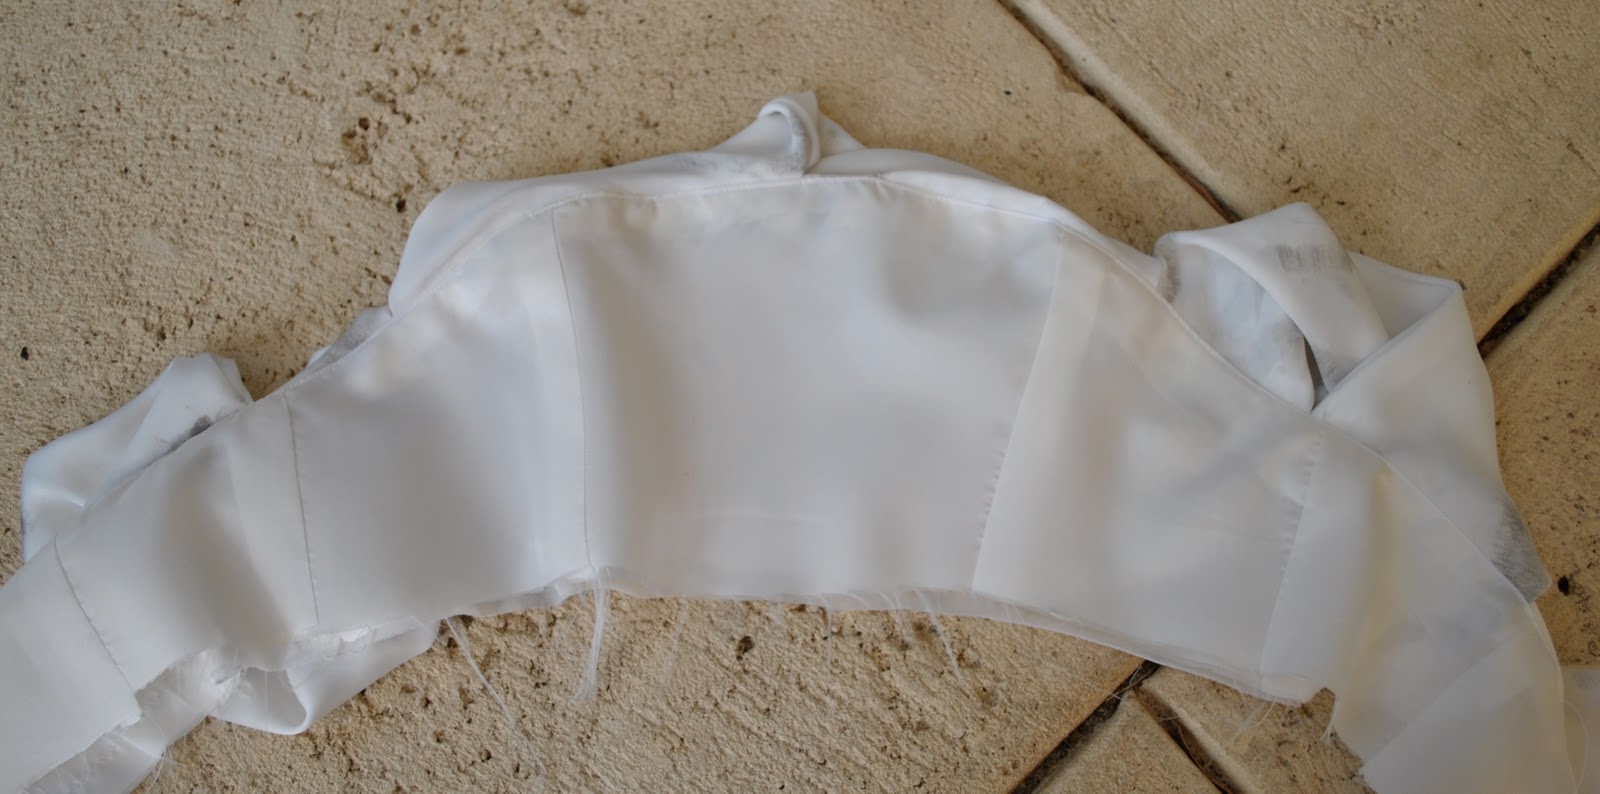
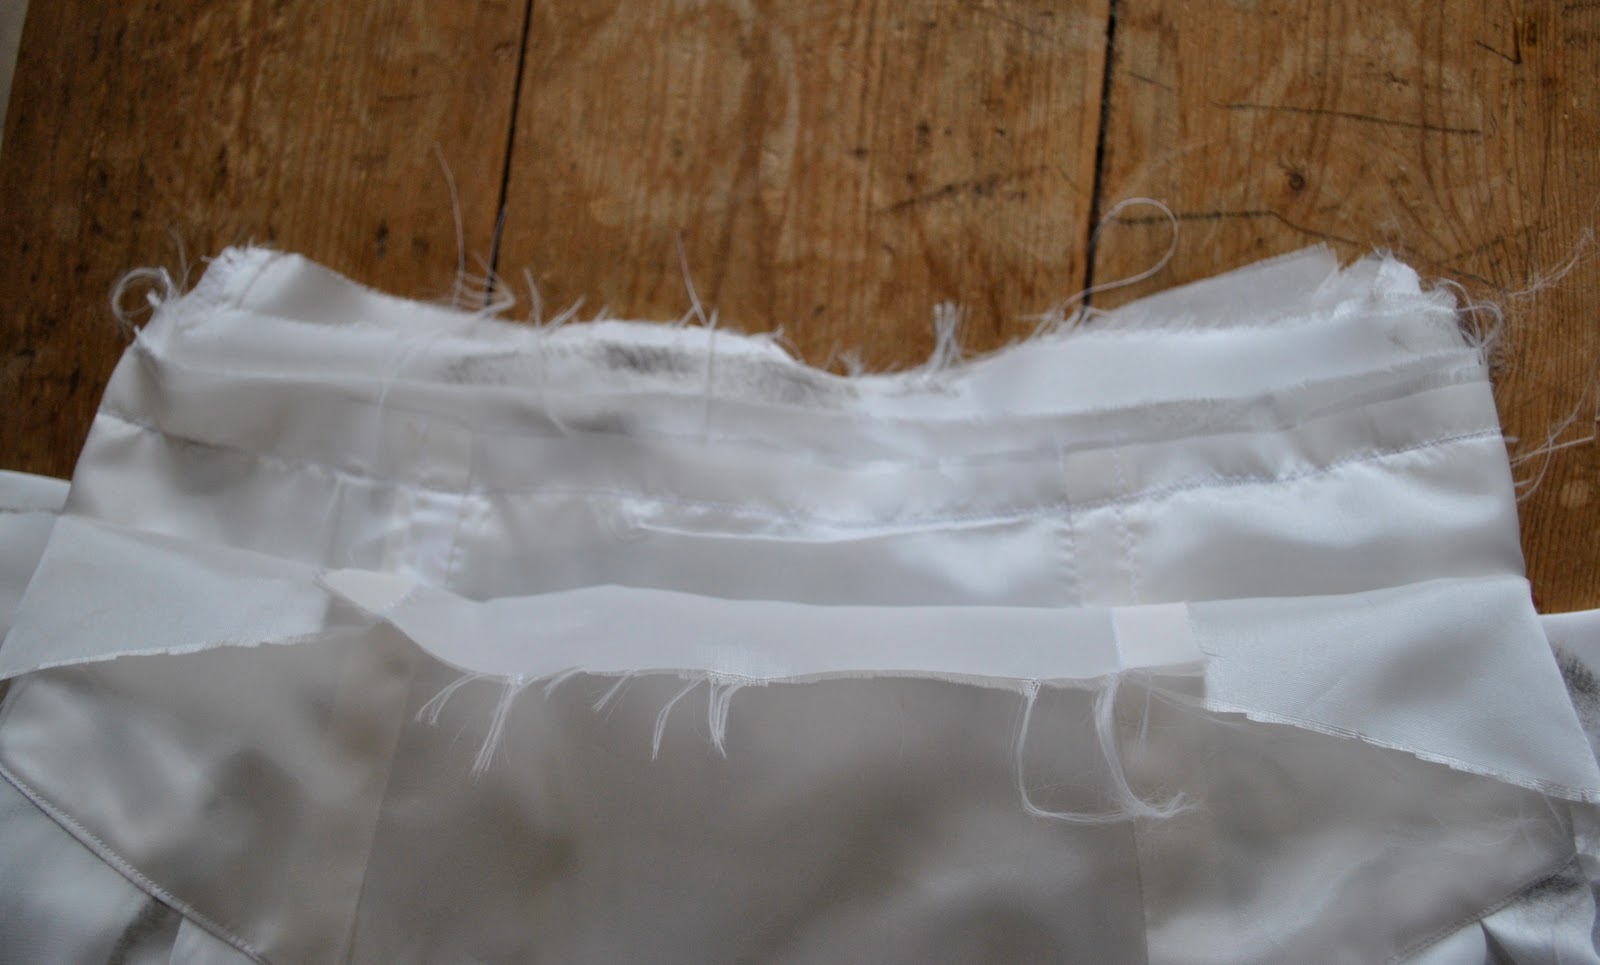
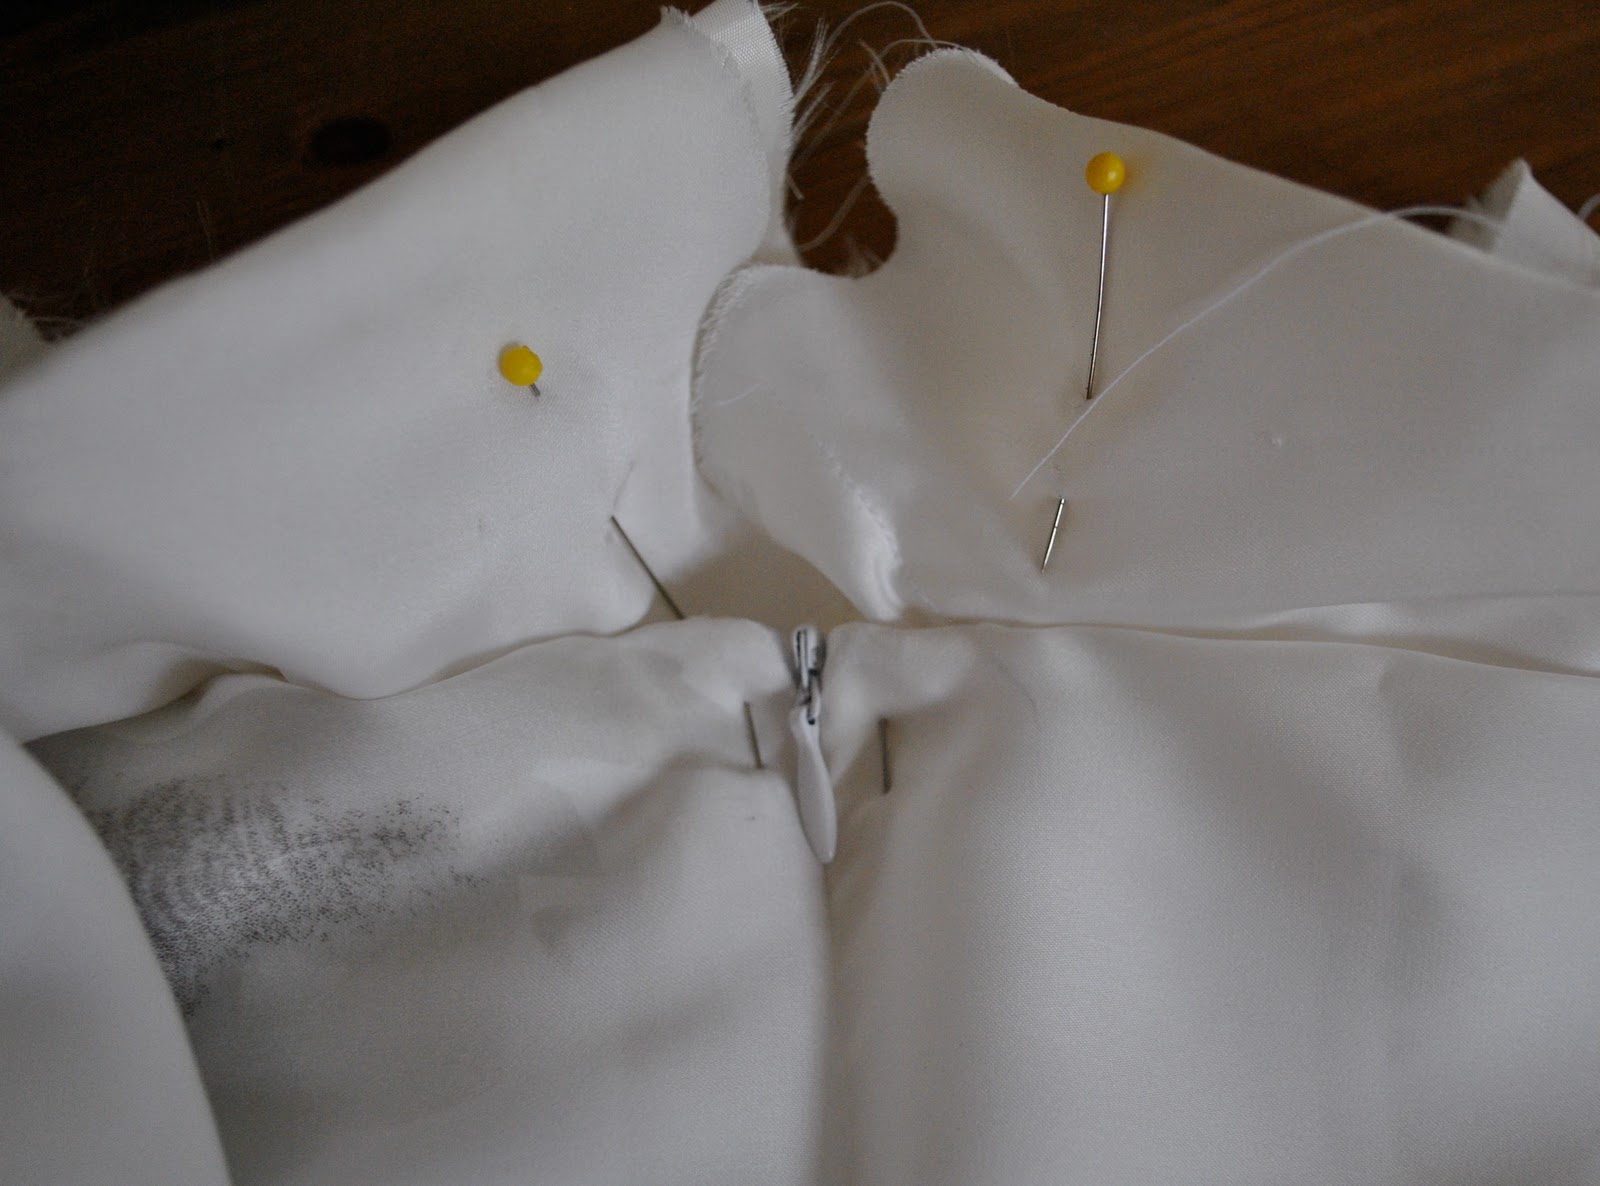
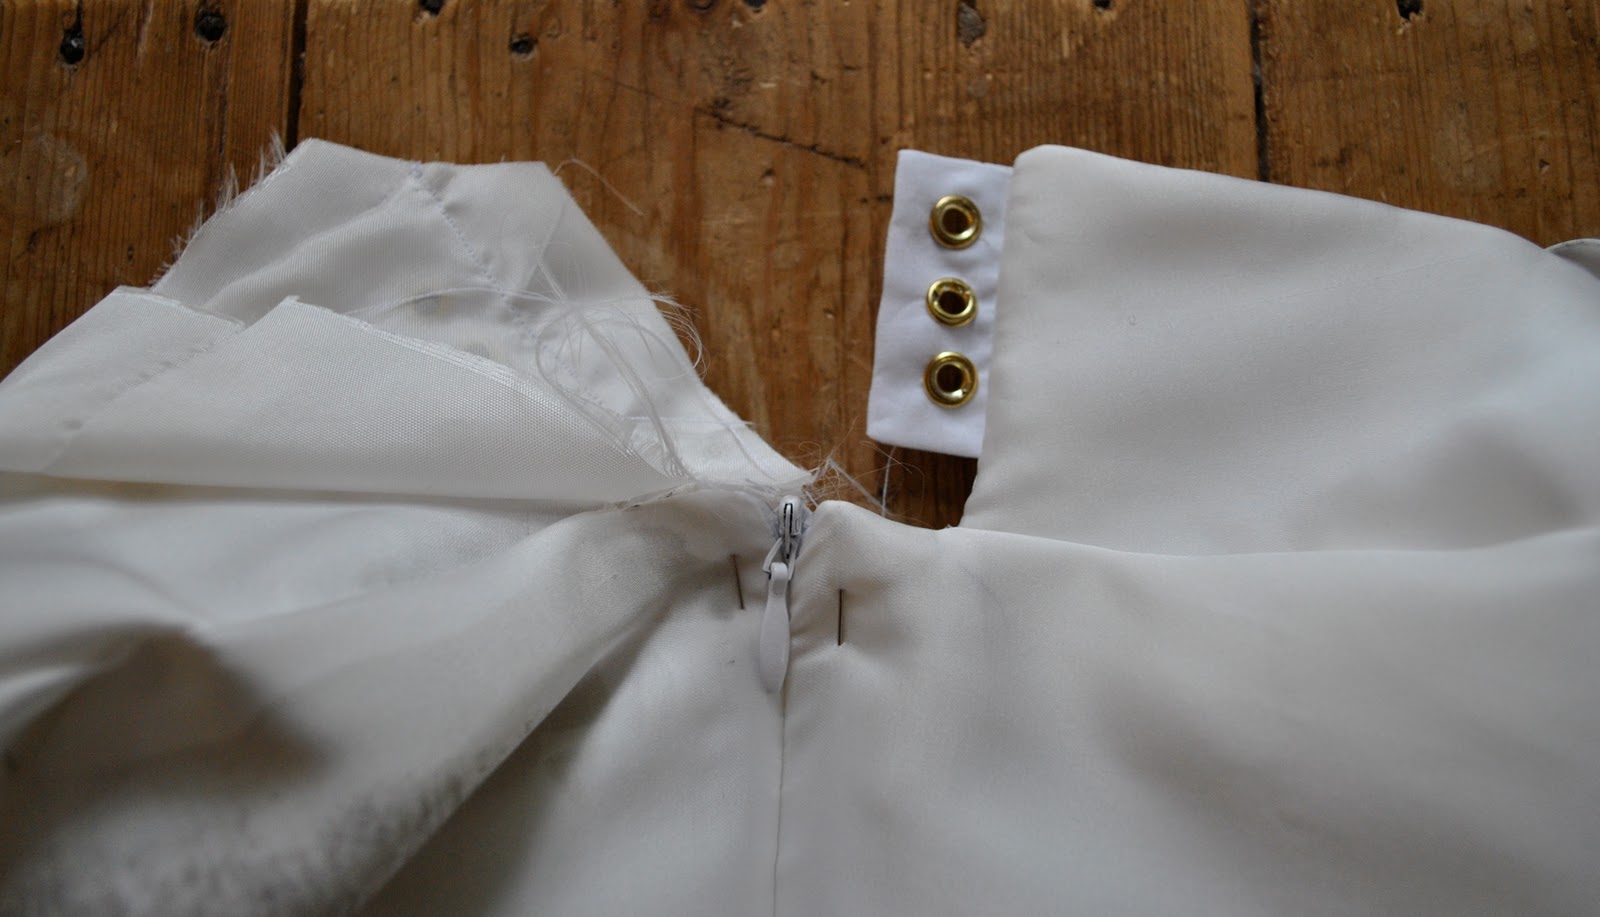
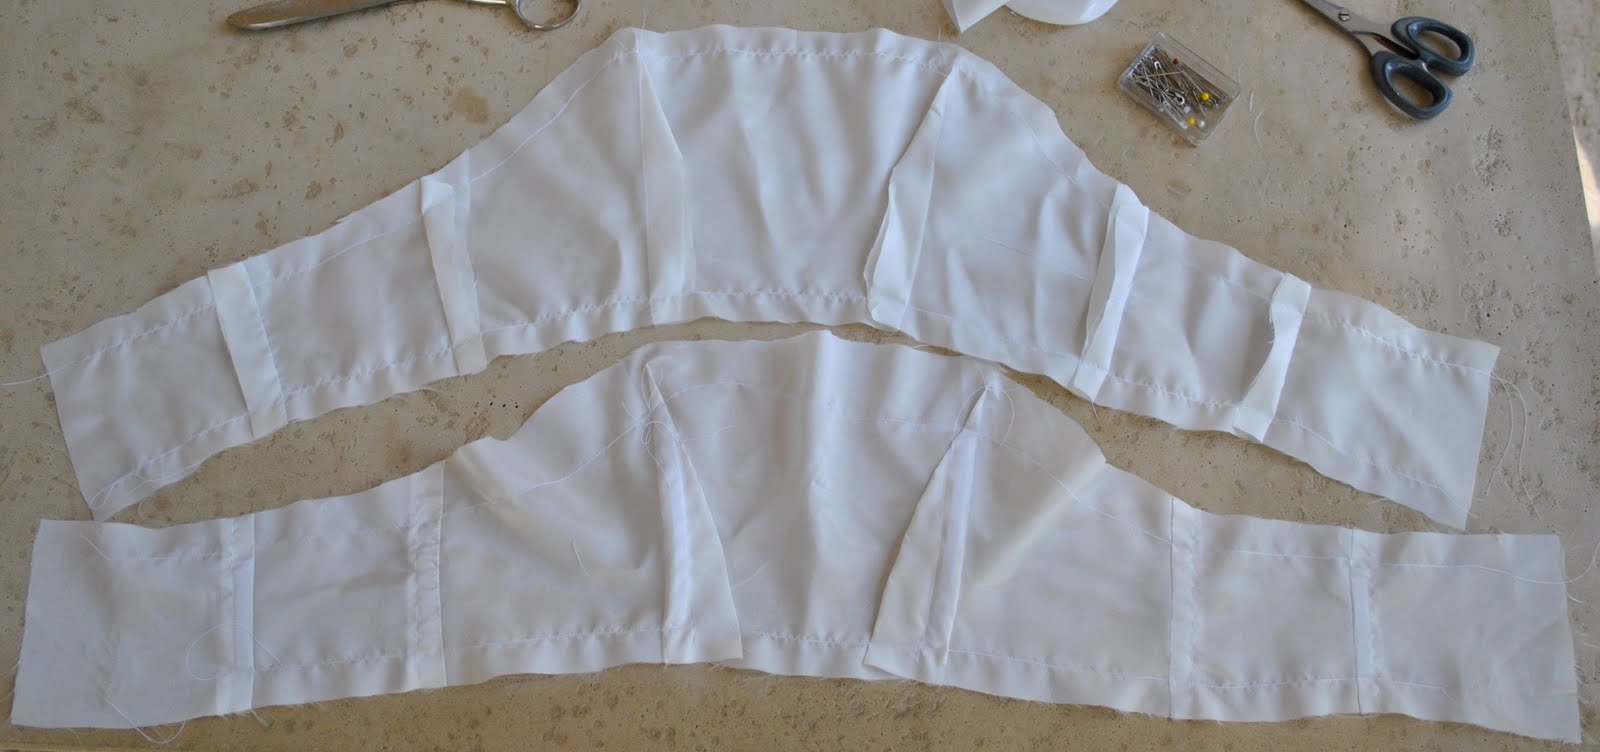
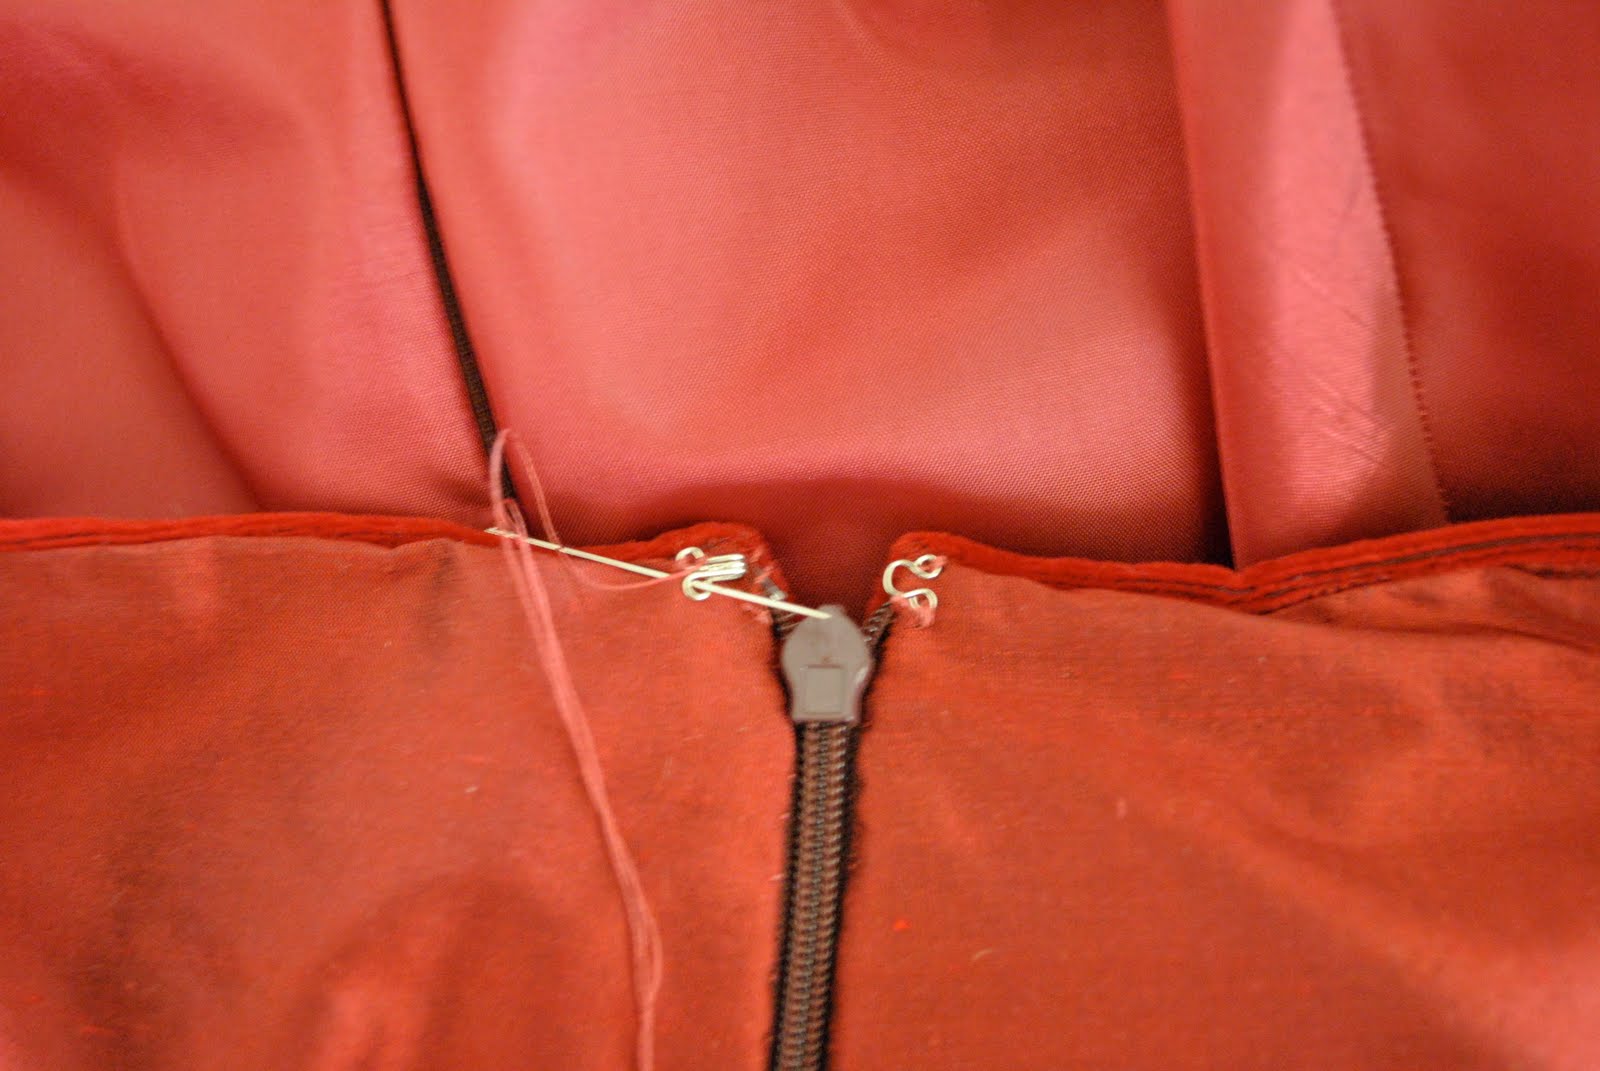
Here is the inside of the finished bodice, with lining sewn in by hand to the waistline and zip tape…

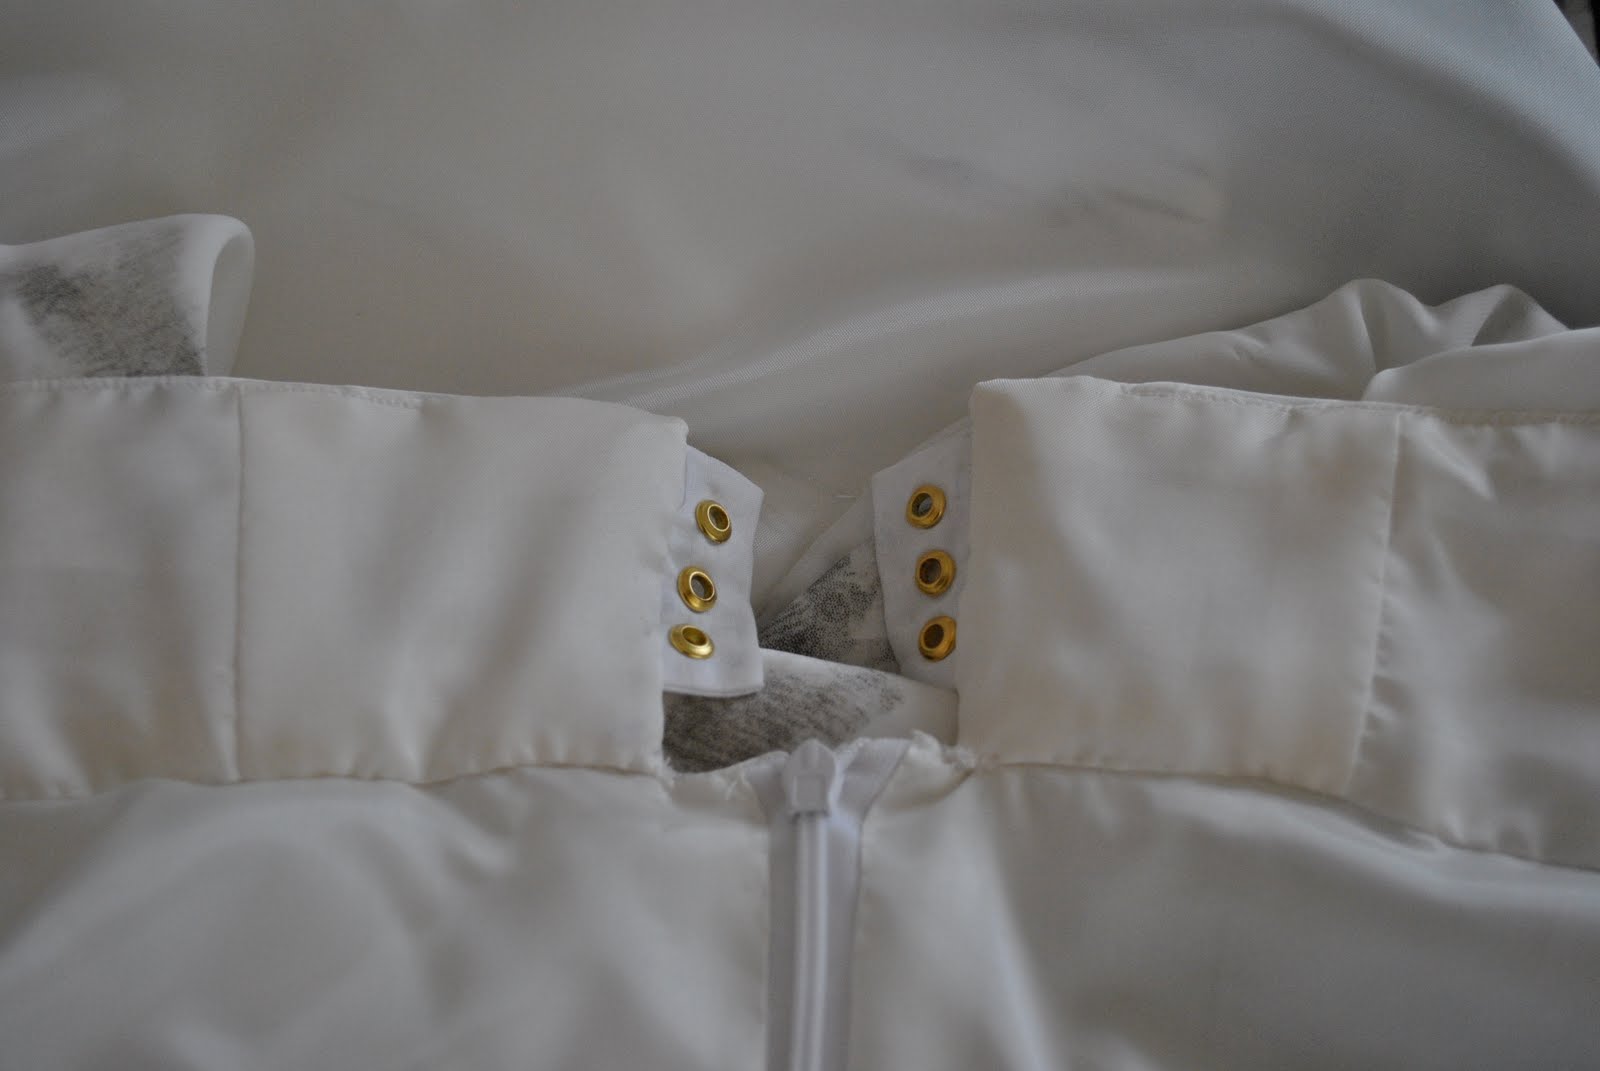
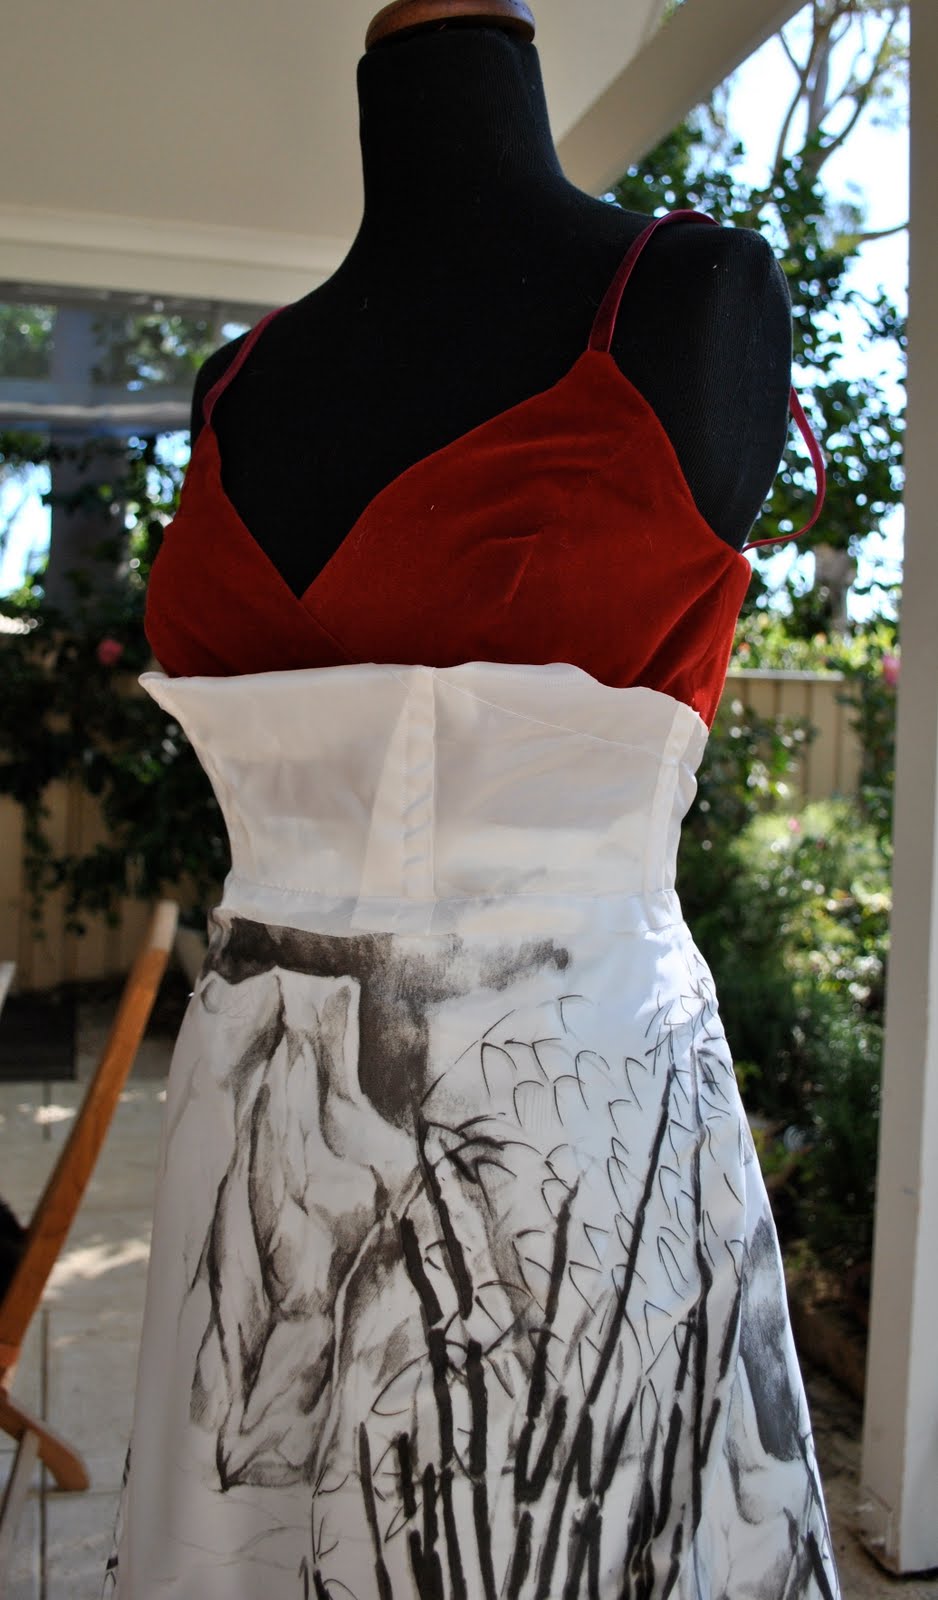
I had bought some white velvet ribbon to tie the corset closed but upon putting it in and trying the dress on with it I realised it was just too white.  You know, like bright bright almost blue white that did not sit well with the softer creamy white that is the backdrop of the overdress…  not all whites are created equal, as I should well know being an avid buyer of white fabrics and garments my whole life.  Sometimes slight differences don’t matter;  this time it did.  Trust me.  So I had to fit in a trip to Spotlight to get some black velvet ribbon.  As a side note, whilst I was in Spotlight I was also waylaid by some un-walk-away-from-able fabric, and somehow I also have 2m of pale grey wool flannel, 1m of khaki grosgrain ribbon and 2m of slightly stretchy black denim newly in my possession… (shamefaced, I think I need help…)

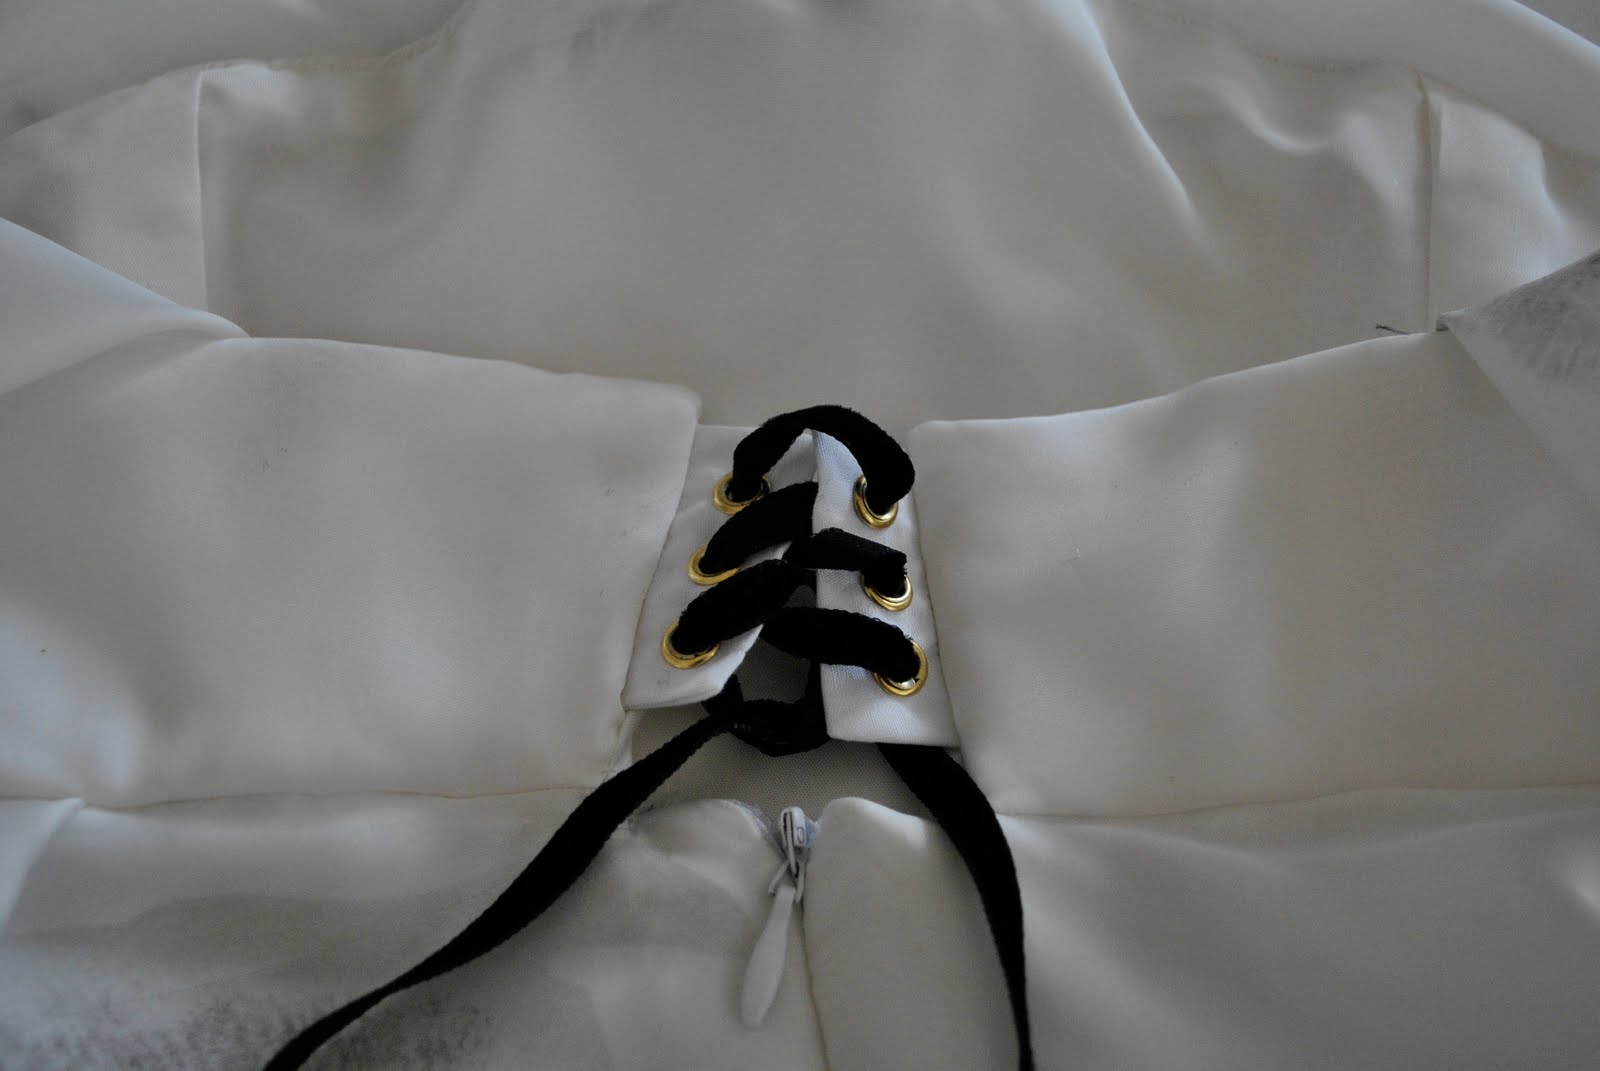
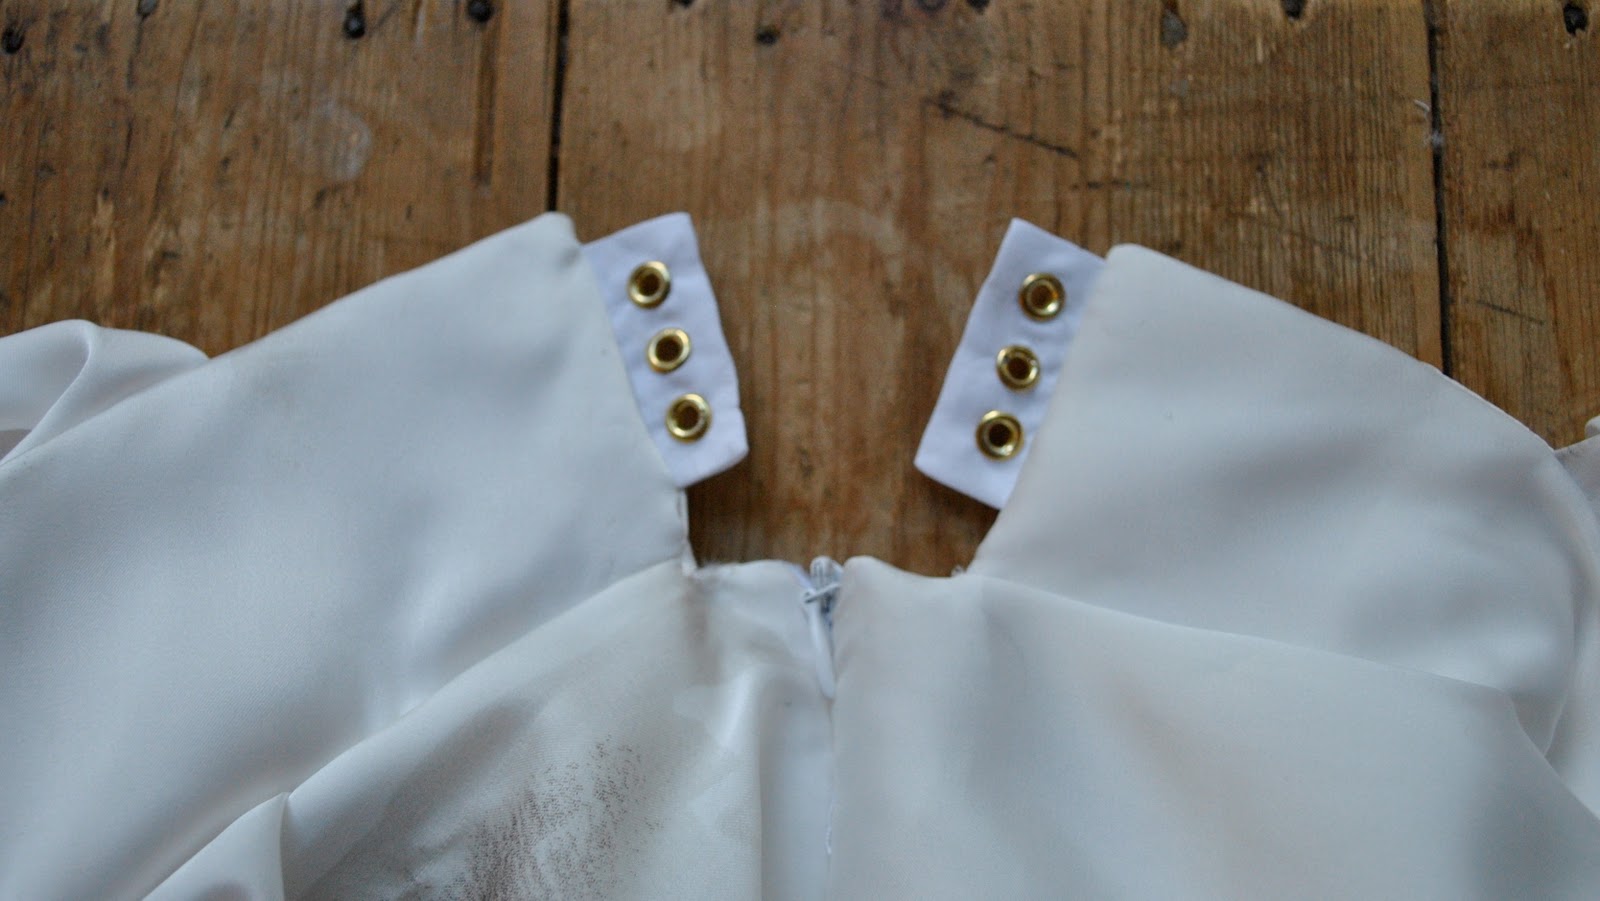
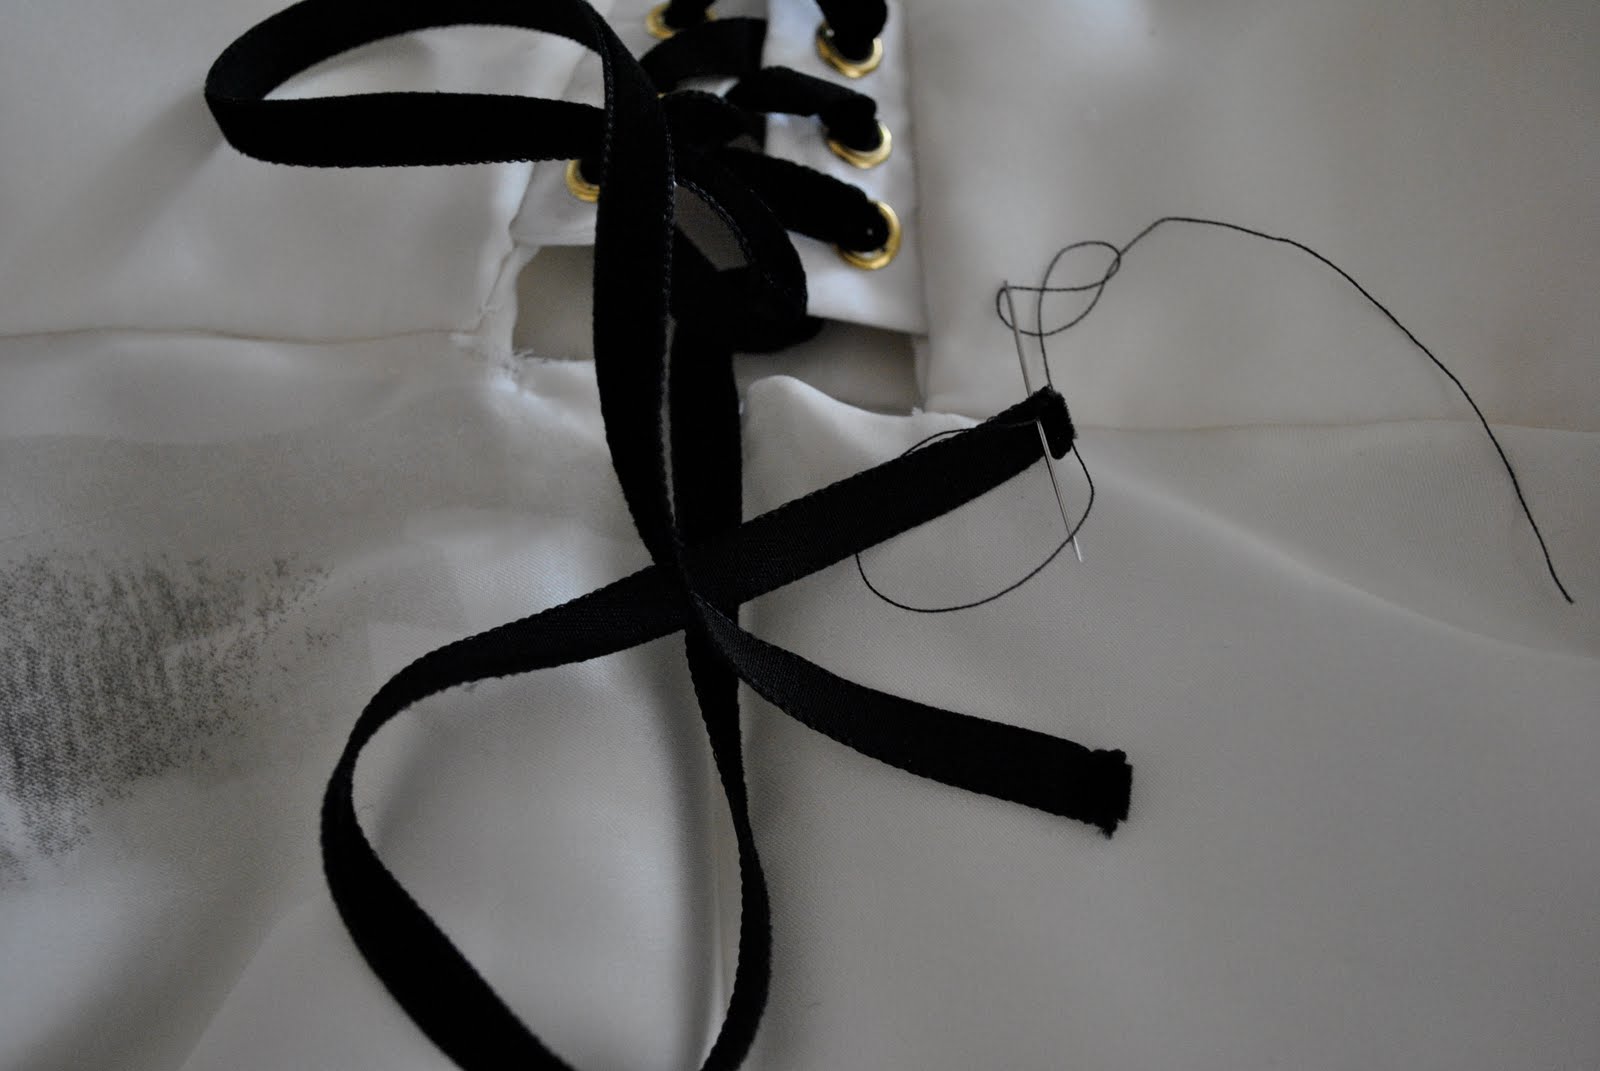
Laced the black ribbon through and folded down a tiny double fold on each edge and hand-sewed down.  I love velvet ribbon but it is a mad frayer, which is not an attractive look btw…

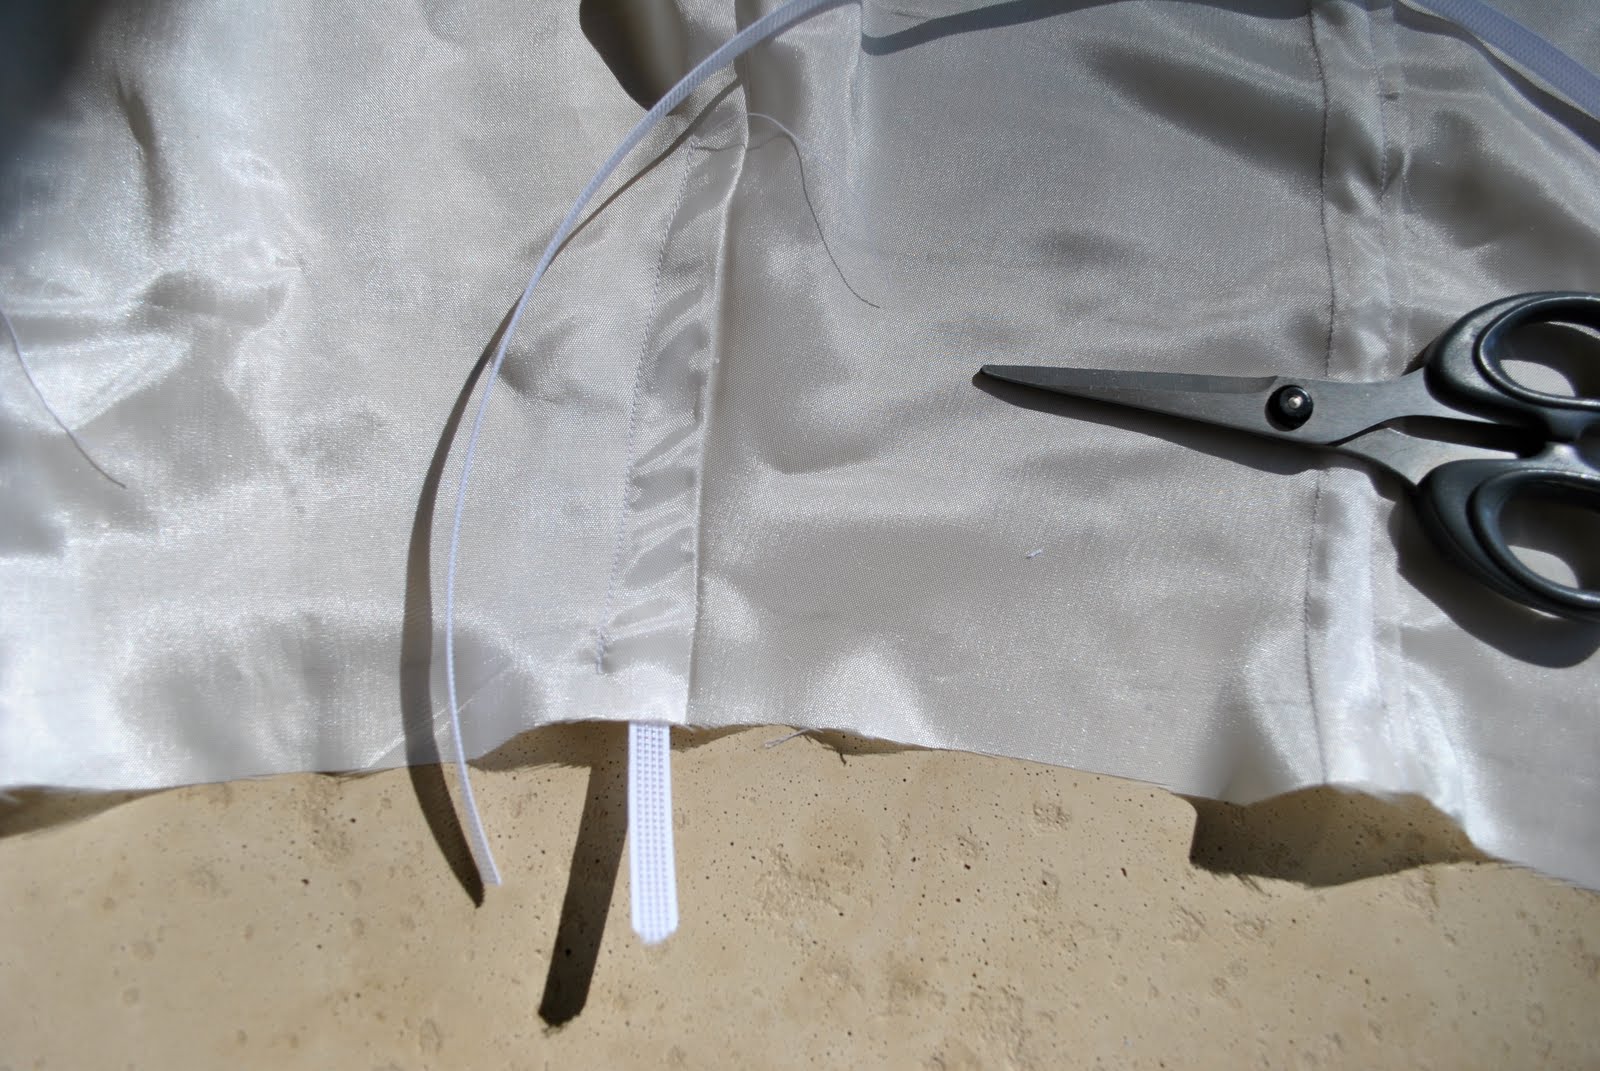
And sewed in a hook and eye to the petticoat.

These are the earrings I’m planning to wear.  I bought these four years ago from Sophie Kyron, who is a Perth accessories designer.  These are fantastic earrings that have gone with all the evening wear I’ve ever made, always make a big statement and add a huge wow factor to any outfit…

I’m pretty excited about the ball now and super happy with my dress.  Hopefully my genius of a hairdresser will be able to do something with this unruly hair of mine and tomorrow I will be looking as glamourous as I’m able…
Until tomorrow…!

pinterestmail

Dog Beach

We’re having a real indian summer in Perth so this morning I took Sienna to Dog Beach and it was.  Just.  Heaven.  There was only a handful of people on the beach, being a weekday.  So normally I don’t like to get all pose-y in my photos.  Usually I just stand there feeling self conscious.   But today I felt in such high spirits I just did it.  Maybe I’m too old to be striking a pose like this but there was no one about to see me, so I thought what the hey!
After our long backpack-hauling slogs along the beaches on our trek I wasn’t sure I could ever again adore beach walking as much as I used to.  But this morning the old love for the feel of soft warm sand between my toes and the cool salty splash of the sea over my feet was reignited.  Bliss!

Details:
Top; Burda 8497, python print satin
Shorts; Burda 7723, white linen
Thongs (flipflops); Mountain Designs


pinterestmail

Anatomy of a ball dress, pt 5

Have I made any progress on this ballgown?  Yes heaps, although to the casual observer it wouldn’t seem like much.
First, the draping of the fashion fabric across the corset bodice.  This took me a loooooooong time to get a look that satisfied me.  It took me all of the Monday public holiday.  I wouldn’t be exaggerating when I tell you that that my experimental drapes ran into the double figures.  Seriously.
Finally I settled for this fairly simple version.  It’s possible in a project when one is aiming for “glamourous” to get too complex and extreme and sometimes the simplest of designs will be the most effective after all… (it’s already been sewn on and the lining too, because I was so relieved to have finally found a draping I was happy with I just sewed the thing without taking any “during” photos.)

After this, I needed a few days away from my precious project to work up enthusiasm again, and got back to it today….!
Here the lining has been undersewn:

Now for the corset bits.  I’m using a leftover scrap of very strong cotton, because eyelets and lacing can be tough on delicate fabrics.  I sewed a couple of, er there’s probably a proper name for these little bits… and it’s unknown to me…  facings? … flaps?

Inserted some eyelets:

Sewed the corset bodice and its boned interfacing to the skirt top (looks messy here but … trust me)

And sewed the corset flaps with multiple rows of stitching (for strength) to the measured fitting line on my corset bodice,  then finished the machine sewing to fit in the corset bits.

Now tonight I’m going to finish hand-sewing the corset lining to the waistline, and the skirt lining to the zipper tape…
More in a coupla days…

pinterestmail

Grey and mustard

I attended a very pleasant birthday morning tea for a friend this morning, so dashed very quickly into the park to take this morning’s photo:  this top is my own design, refashioned from my old pair of pants, first posted about here.  I’m pretty thrilled with this because I always get compliments when I wear it, and to think grey is supposedly “not my colour”.
On my last visit to the op shop I picked up this skirt, in the $2 rack!!  I didn’t even try it on, just thought, hey great colour and grabbed it, thinking I could make something else out of it if it didn’t fit.  Well, the op shop fairy was smiling on me that afternoon, because not only did it fit perfectly, but that was also the day I picked up my lilac suede skirt, and a beige suede skirt, both of which also fit me.  I think this skirt and top look like they were made to go together!  
Now having worn this skirt for half a day I can see why it was so unloved by its previous owner; the lining is made out of that particularly horrible lining fabric that clings to your legs in a very annoying cloying hair-raising way.  I’m going to have to take it out and replace it, although this will be a refashion that will be invisible to the casual observer.  Well, hopefully an invisible refashion anyhow.  The skirt is perfect in every other way.
I have done a bit more work on my ballgown but will leave that for another day, for now here is an entry I submitted to the Polyvore eco-chic competition (all items recycled or fair-trade, and eco friendly), you can see the hold mustard and grey is having on me lately…  
For me now it’s back to the office…

Details:
Top; own design, grey linen mix, refashioned from old 3/4 pants
Skirt; Millers, from Salvos op shop
Sandals; Vicenza, from Soletta shoes
Bag; Gucci

pinterestmail

“Colonel Mustard” shirt

I made this shirt last summer as part of my autumn sewing plan to brighten up my wardrobe and add a bit more colour.  The fabric isn’t very nice; it’s a sort of polycotton, the same as my turquoise skirt.  I only bought it because of the great colour.  Also being a crush-proof fabric, thought it would prove practical in my animal-centric lifestyle.
Digging it out recently, I’m kinda thrilled this will fit in with my autumn/winter plans to inject a military flavour into my daywear.  When I had first finished it I felt a tad Star Trekky in it and tucked it away in my wardrobe with a slight shudder, thinking, hmm, will do for under jumpers and jackets as a nice spot of colour with the earthy tones of winter; but now I’m feeling more friendly towards it and actually am planning on wearing all exposed like, as here.  Does anyone else do that, make something, take an immediate dislike to it and shove it away, only to rediscover it a few months down the track and realise it’s not so bad after all?

Details:
Shirt; Burda 8548, mustard polycotton, with short sleeves and two randomly placed added pockets (one on R front, other on L sleeve)
Skirt; Diesel
Shoes; Perrini, had these for donkey’s years

pinterestmail

Anzac Day

Today is Anzac Day, the day we commemorate soldiers fallen for our country.  The acronym ANZAC stands for Australian and New Zealand Army Corp, and originates from the days of the first World War when Australia and New Zealand were part of British territory and our soldiers were then British soldiers.  Anzacs were sent in to some of the toughest and most gruelling battles, if you haven’t seen the movie Gallipoli then I recommend it as a good little history lesson (Mel Gibson in an early role, and incidentally my uncle is in the movie in a small speaking part)
In the first World War, wives and mothers of the Anzacs baked these biscuits, known for their keeping qualities and sent them off to the soldiers overseas, thus the name.  I found an interesting fact on the internet, Anzac biscuits is a term protected legally, and it is illegal to sell them using the word “cookies”, so there you go.  Interesting bit of trivia there for you…  

Now, I am the world’s worst cook.  However these yummy little biscuits are so easy to bake that even I can’t stuff them up so I thought I’d share a recipe with you for today.  Anzac bikkie recipes are everywhere and you can find a zillion slight variations, this is the one I use.  Be assured that recipes on this blog will be few and far in between, as cooking is not my thing, but today is kinda special…

Anzac Biscuits
125g butter
2 tblsp golden syrup
3/4 cup rolled oats
3/4 cup plain flour
3/4 cup dessicated coconut
1/2 cup sugar
1 tsp bicarb of soda
if needed, approx 2 tblps boiling water
If you’re a one bowl wonder like me, melt your butter first.  Stir in golden syrup.  Add all the other ingredients and mix together.  Water can be added as an extra binder if the mixture is still a bit dry.
Drop spoonsful onto a baking tray.
Bake at 160C (325F) for about 12 minutes.
Cool on a wire rack.

Sit back and as you nibble remember the Anzacs, or any soldier who has served for their country.

This little doily was hand-embroidered with Australian native flowers by either my grandmother or my great aunt… both of them very talented handcrafters.

pinterestmail

Anatomy of a ball dress, pt 4

Husband sadly working all this long weekend so I’m planning to get a lot done on my ball-gown.  Following is today’s effort…
Cut out the skirt pieces, sewed side seams, inserted the zip into the centre back.  This sounds simple, but this is the point at which I thought I would break down and cry.  Here’s what happened.  In good seamstress fashion I put a brand spanking new needle into my sewing machine before sewing this fabric.  The side seams and zip went in beautifully.  Then, without even thinking, I put the seams through the overlocker to finish the edges.  Hadn’t changed the overlocker needles!  Doh!  Now there are tiny thread-pull marks along the seams, that weren’t there before, thanks to the obviously blunt needles in the overlocker.  It was a real oh-no! moment.  There may or may not have been some bad language.  Note to self; overlocker needles are needles too, you know.  They’re not going to change themselves.  I’m reassuring myself that probably no one at the ball but me will notice as the pulls are thankfully really tiny, but still… they didn’t even have to be there.  Disappointed!

With right sides together sewed the skirt and its lining together around the bottom edge.  This was done after much experimenting with different hemming techniques on scraps.  I trialled rolled hemming (machine) and rolled hemming (overlocker) on the separate skirt and lining, then overlocker rolled hem on the two fabrics together.  Neither was satisfactory.  So I went with this method, which I think looks smooth and clean.

Trimmed the top to waist level and basted skirts closed.

Adjusted the corset top to the size I want it.  Now, of course I originally used a version of Simplicity 9775 to help me cut this, although this is really a junior pattern and I still had to resize and reshape it to me, an adult woman size.  And now its been altered and butchered even further.  My point is this; can I really say this corset has been made using this pattern any more?  The pattern pieces actually now bear no relation to any of the pattern pieces in the envelope.  I often face this dilemma when citing pattern numbers in this blog, as my final garment is rarely exactly made up to the pattern, which I consider a starting point only.  Anyone wishing to create something similar to my garments is going to have to bear this in mind when buying these patterns I’ve referenced.  This is why I add the disclaimer, “own design” in the details of an outfit.  Just saying.

Getting back to events; corset boning.  Everyone knows to snip the edges of their boning into nicely rounded curves, right?  To avoid nasty scratching from one’s own ball gown during your evening, this is a must do…  Incidentally, this plastic boning is the only type I’ve ever seen, although I’ve now heard of steel boning I’ve never seen it anywhere.  I think that’s because of living in sleepy lil’ ol’ Perth… 

The next step will be to drape some fashion fabric attractively and chic-ly across the bodice, and I’m hoping to achieve some sort of wow factor here.  This may or may not be my final outcome.  Stay tuned to find out…

pinterestmail

Mauve and apricot

It’s wonderful when you go to the wardrobe and discover a dress that you had almost forgotten you had.  And this is a new dress, it’s not that long since I made it, shame on me.  Must be getting forgetful, first sign of old age…?
I love this colour combination of the purple-y mauve with soft apricot orange, whispers “autumn” to me so well.  Later in the supermarket when I donated to the ANZAC’s and got this sticker, it happened to go so nicely with my outfit, fortuitous, no?
I met up with some friends for morning tea this morning, had a few errands afterwards and rounded up the day out with a revisit to Ricarda with my daughter so I could get a closer look at the clothes I saw in the parade the other night; up close I marvelled even more over the cut and construction of those lovely garments.  Of course the prices made us gasp, but if they weren’t expensive then they wouldn’t be so exciting, right?

Details:
Dress; Burda 8511, shot silk hessian
Cardigan; Nine, from Labels boutique
Boots; Enrico Antinori from Zomp shoes

pinterestmail
Switch to mobile version
↓