 From my first flick-through
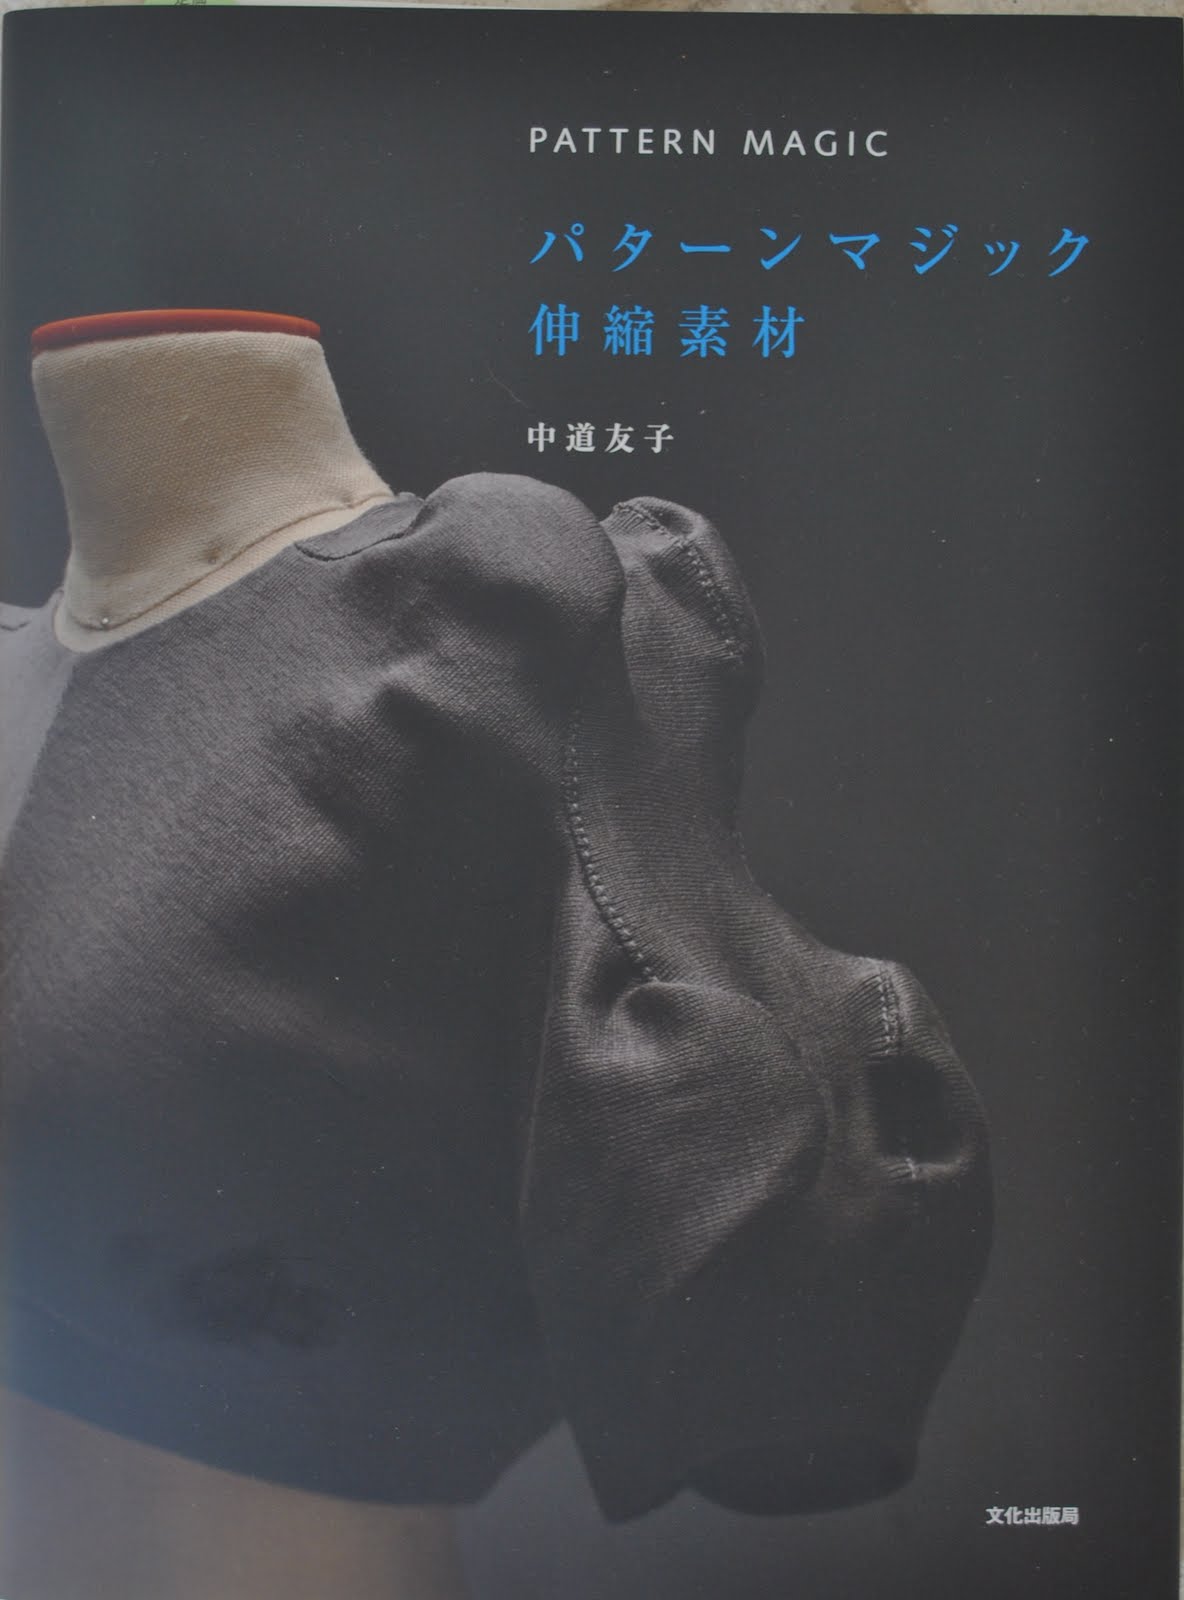
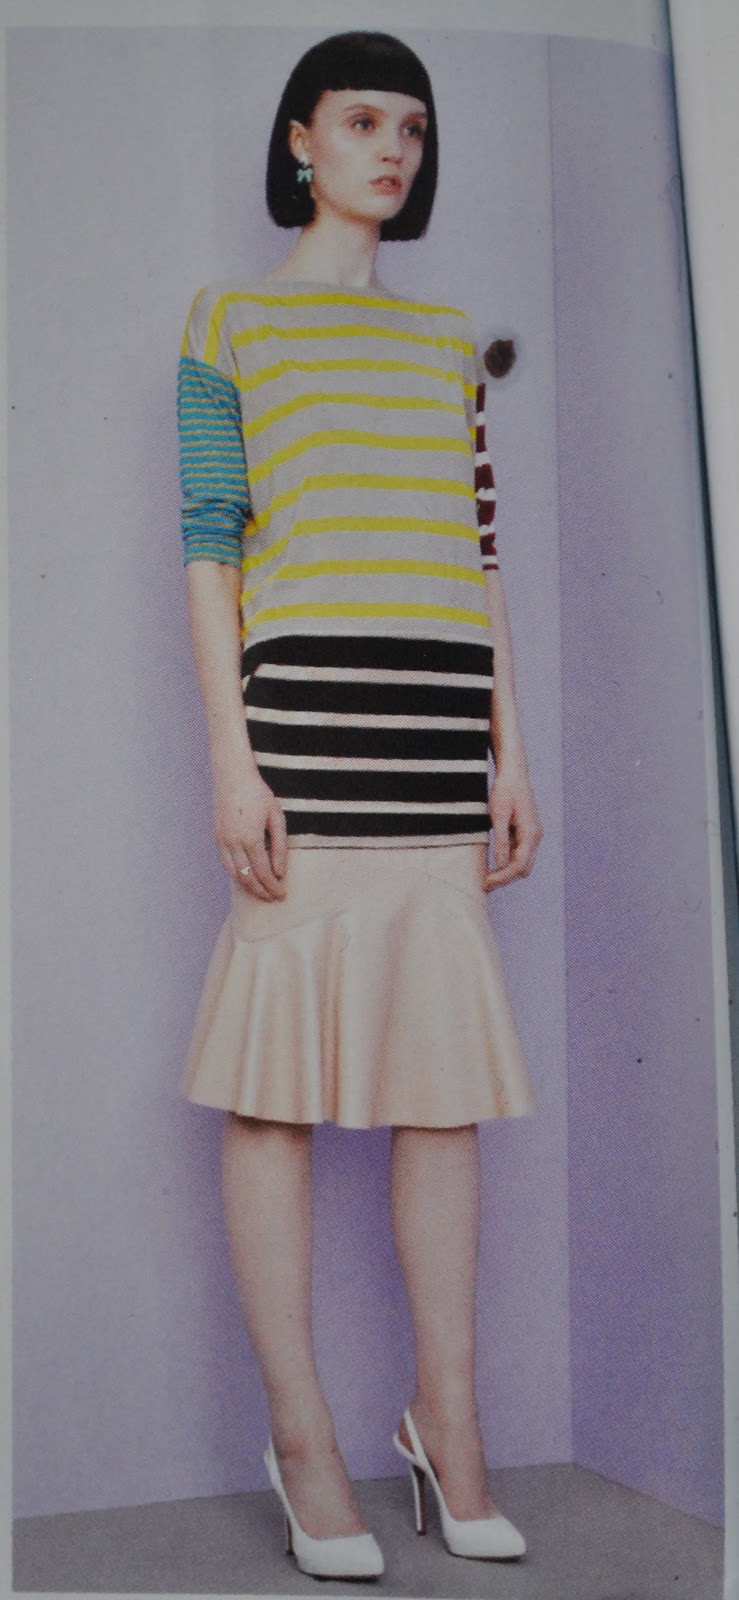
the book I always knew this project was a must-make… the spiral leggings on p
52 of Pattern Magic 3, by Tomoko Nakamichi.
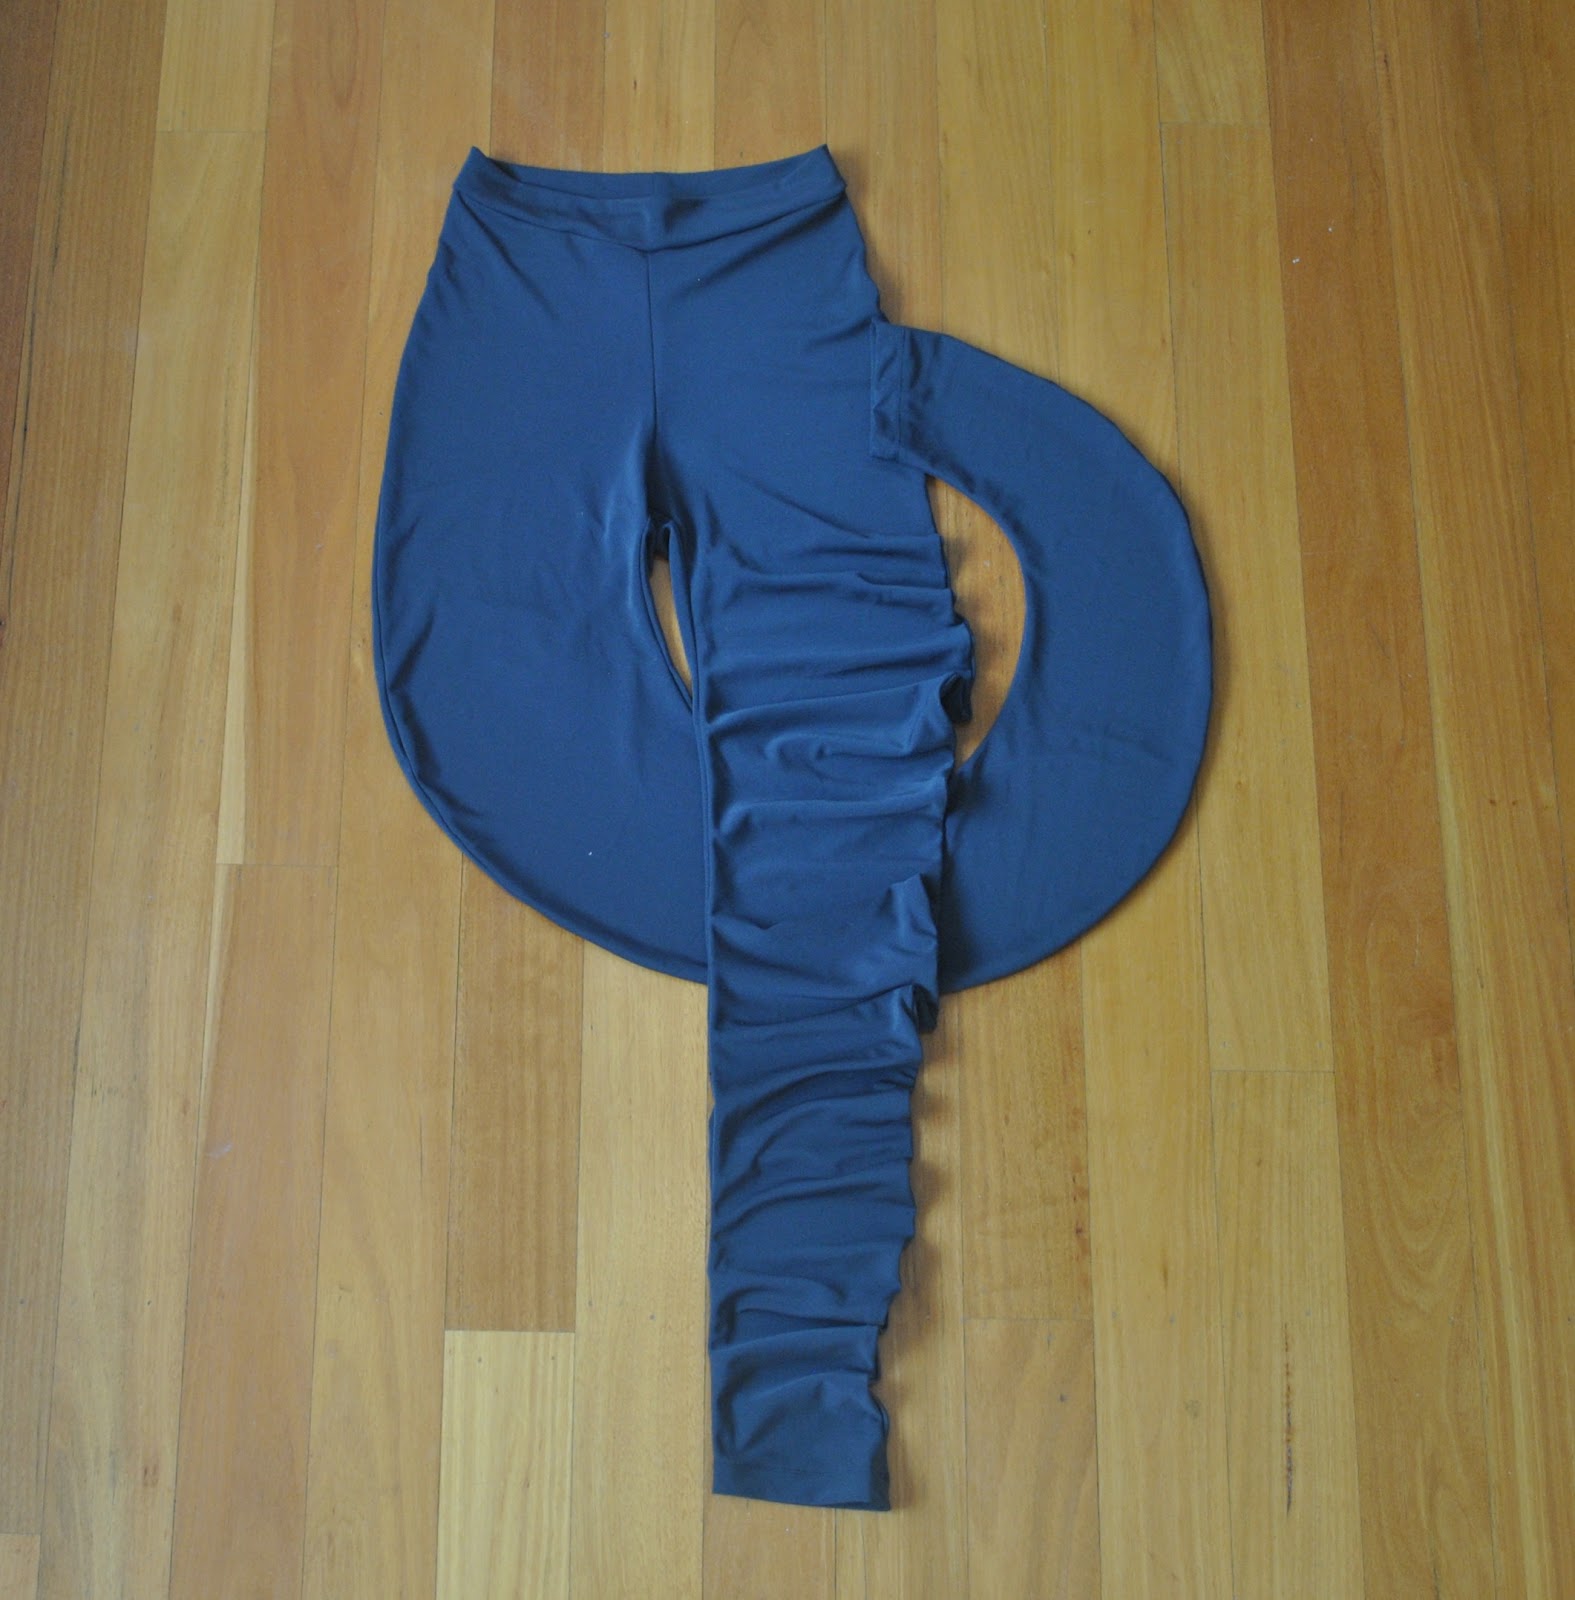
The design is, like so many
in the Pattern Magic series, excessively cool. A sorta a-ha design; seemingly simple and obvious when you see it laid out like this, but nonetheless innovative and edgy.
in the Pattern Magic series, excessively cool. A sorta a-ha design; seemingly simple and obvious when you see it laid out like this, but nonetheless innovative and edgy.
I know I’ve raved about the
Pattern Magic books ad nauseum over and over again before, but just allow me
just another small rave… every time I attempt something from Pattern Magic I feel
like I learn something new and profound about sewing and fabric
manipulation. OK, OK, I know several of the designs
in the book are barely wearable, true; but they are without exception exciting
and forward-thinking. The process is
about thinking outside of the box, getting out of the rut. The designs are never
predictable, and never ho-hum, I
love this sort of innovation in my sewing as well as in my wardrobe!

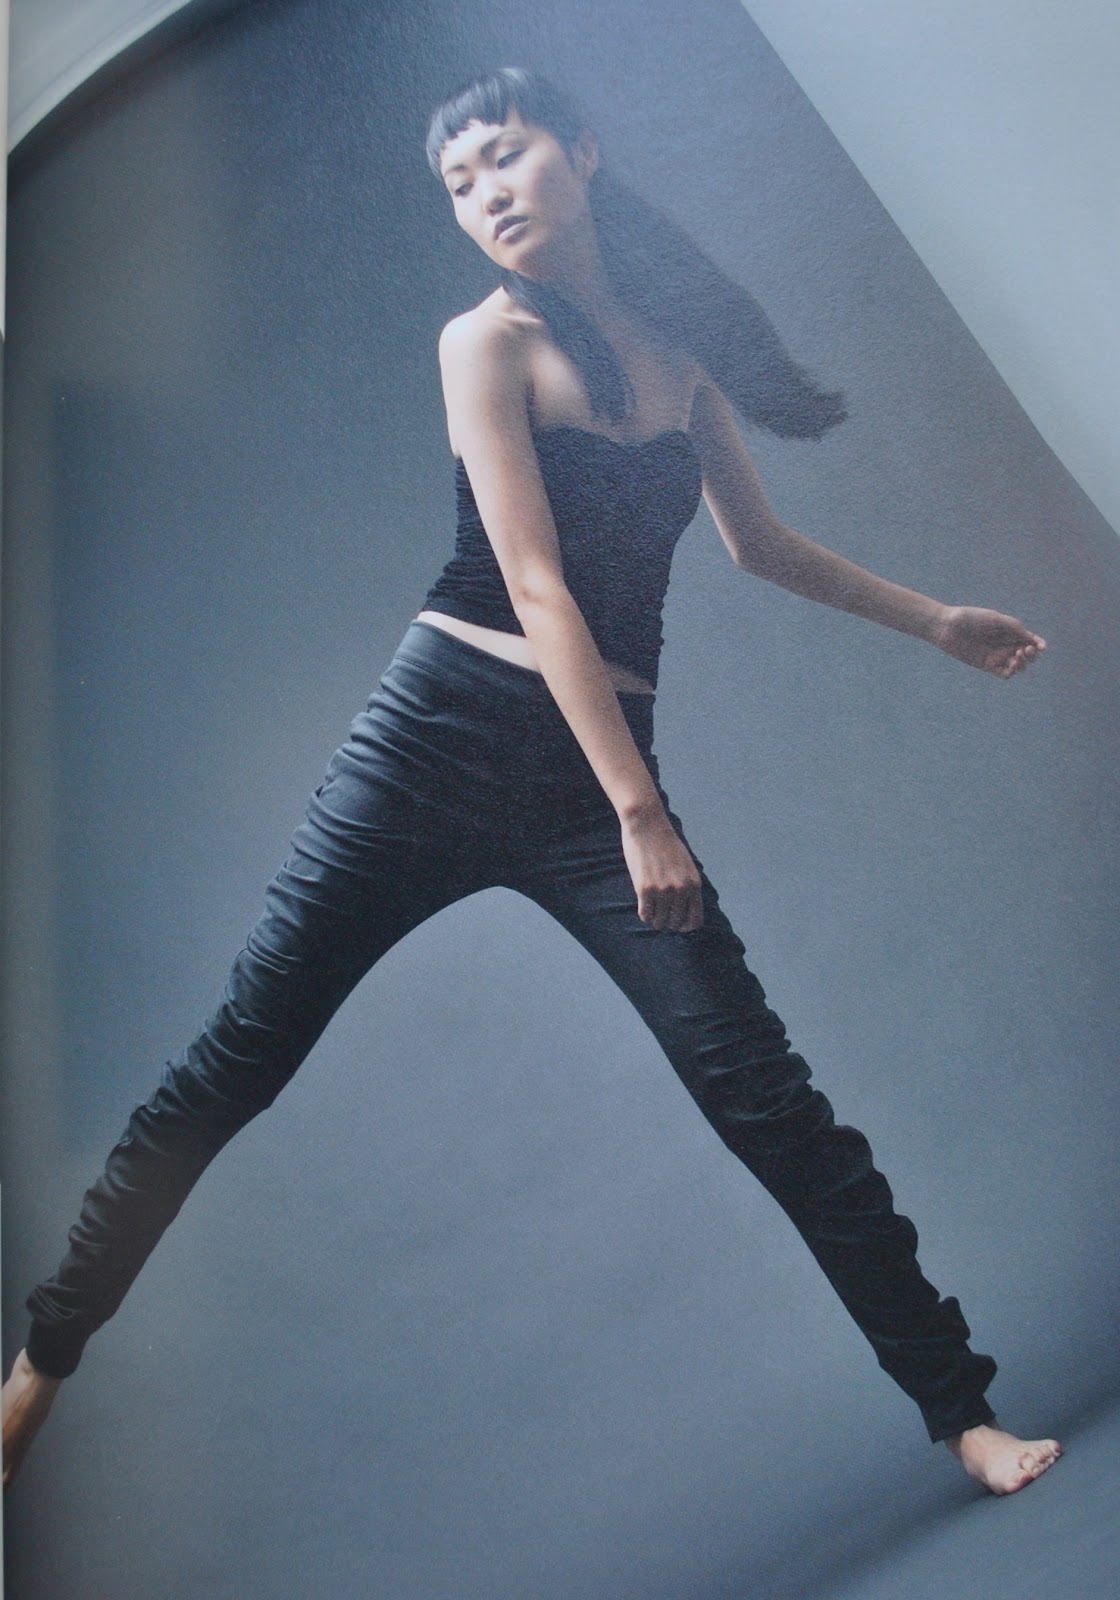
above 2 pictures from Pattern Magic 3
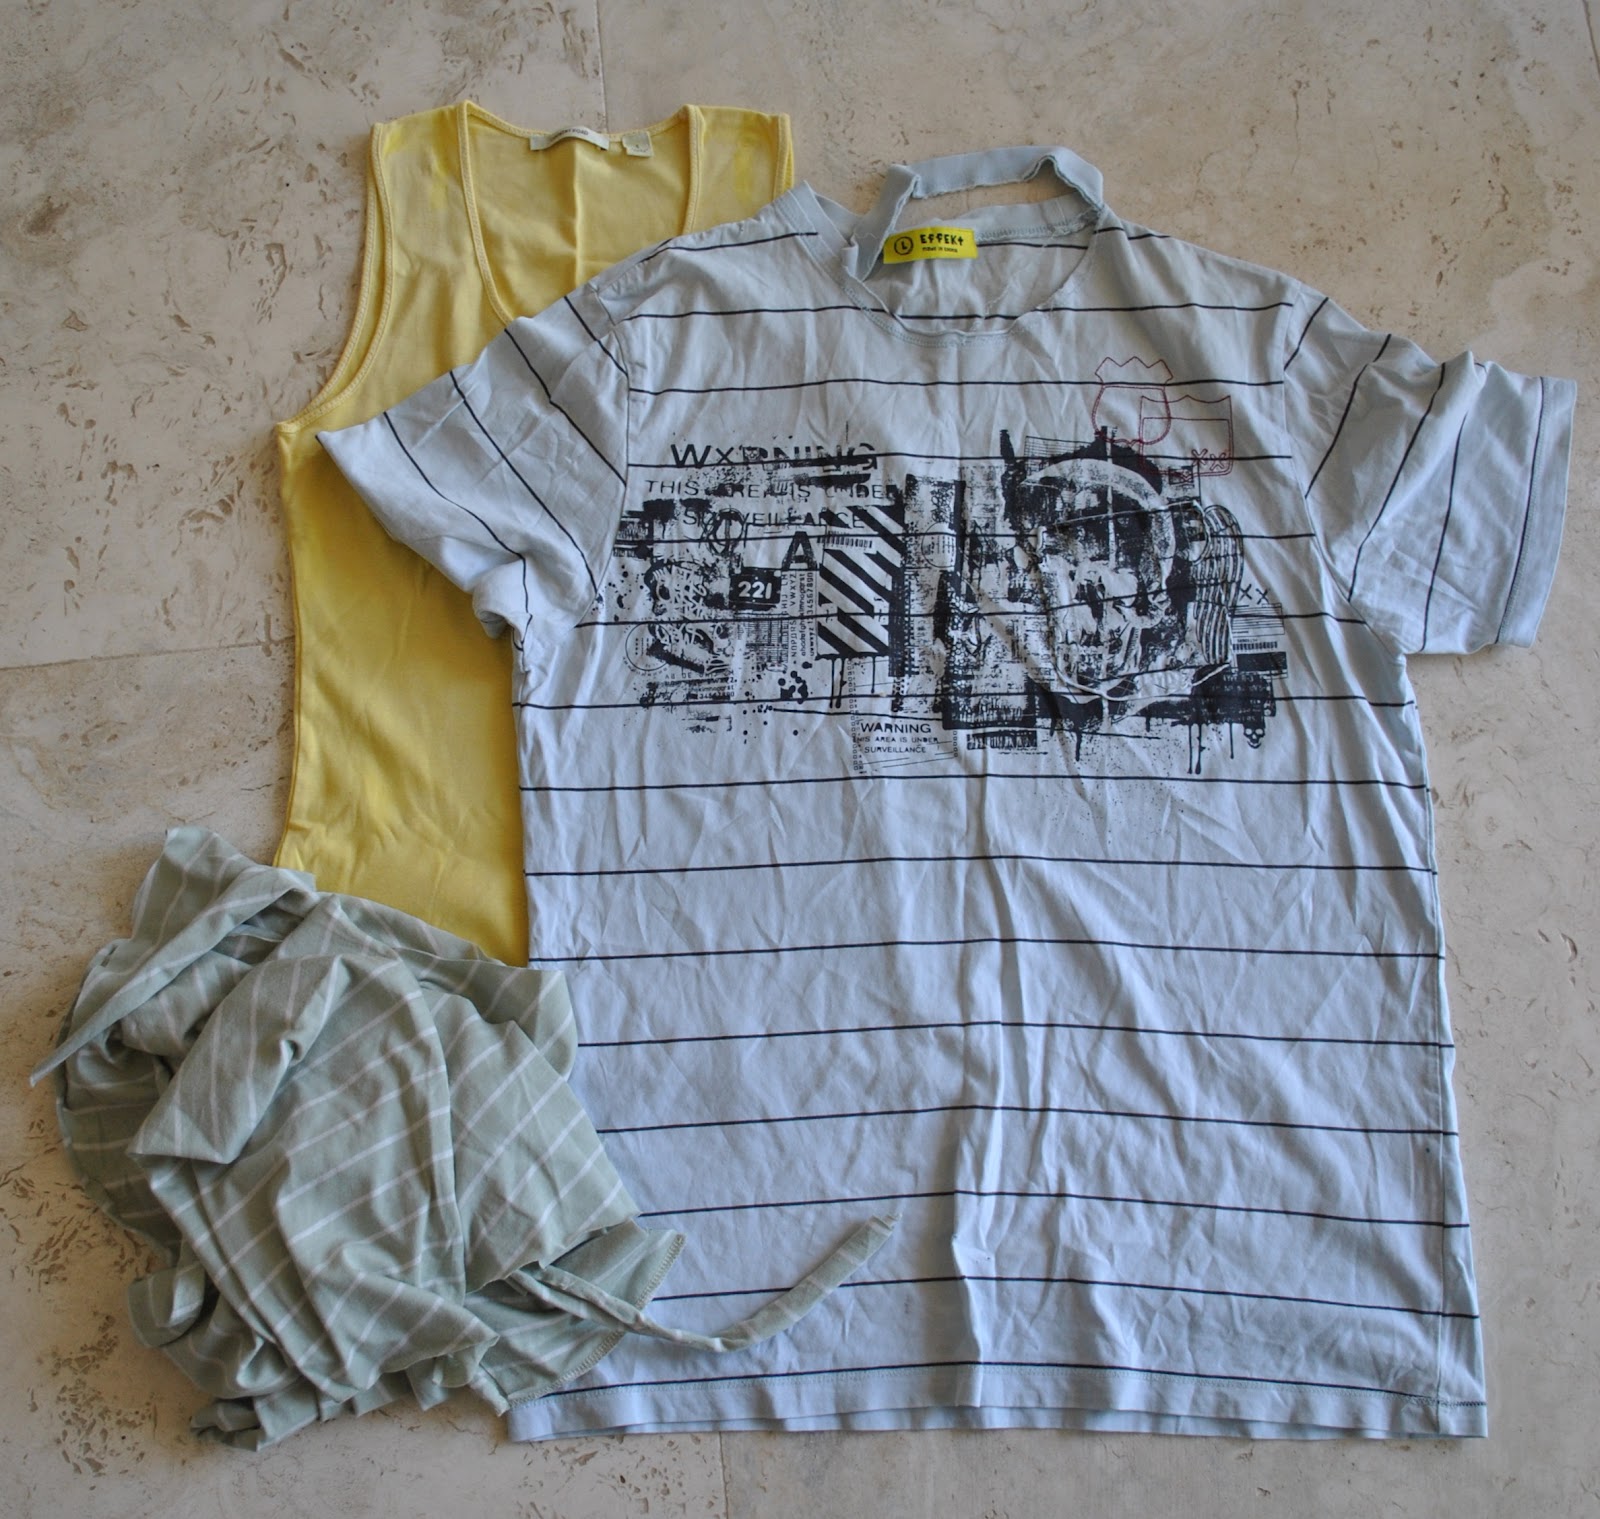
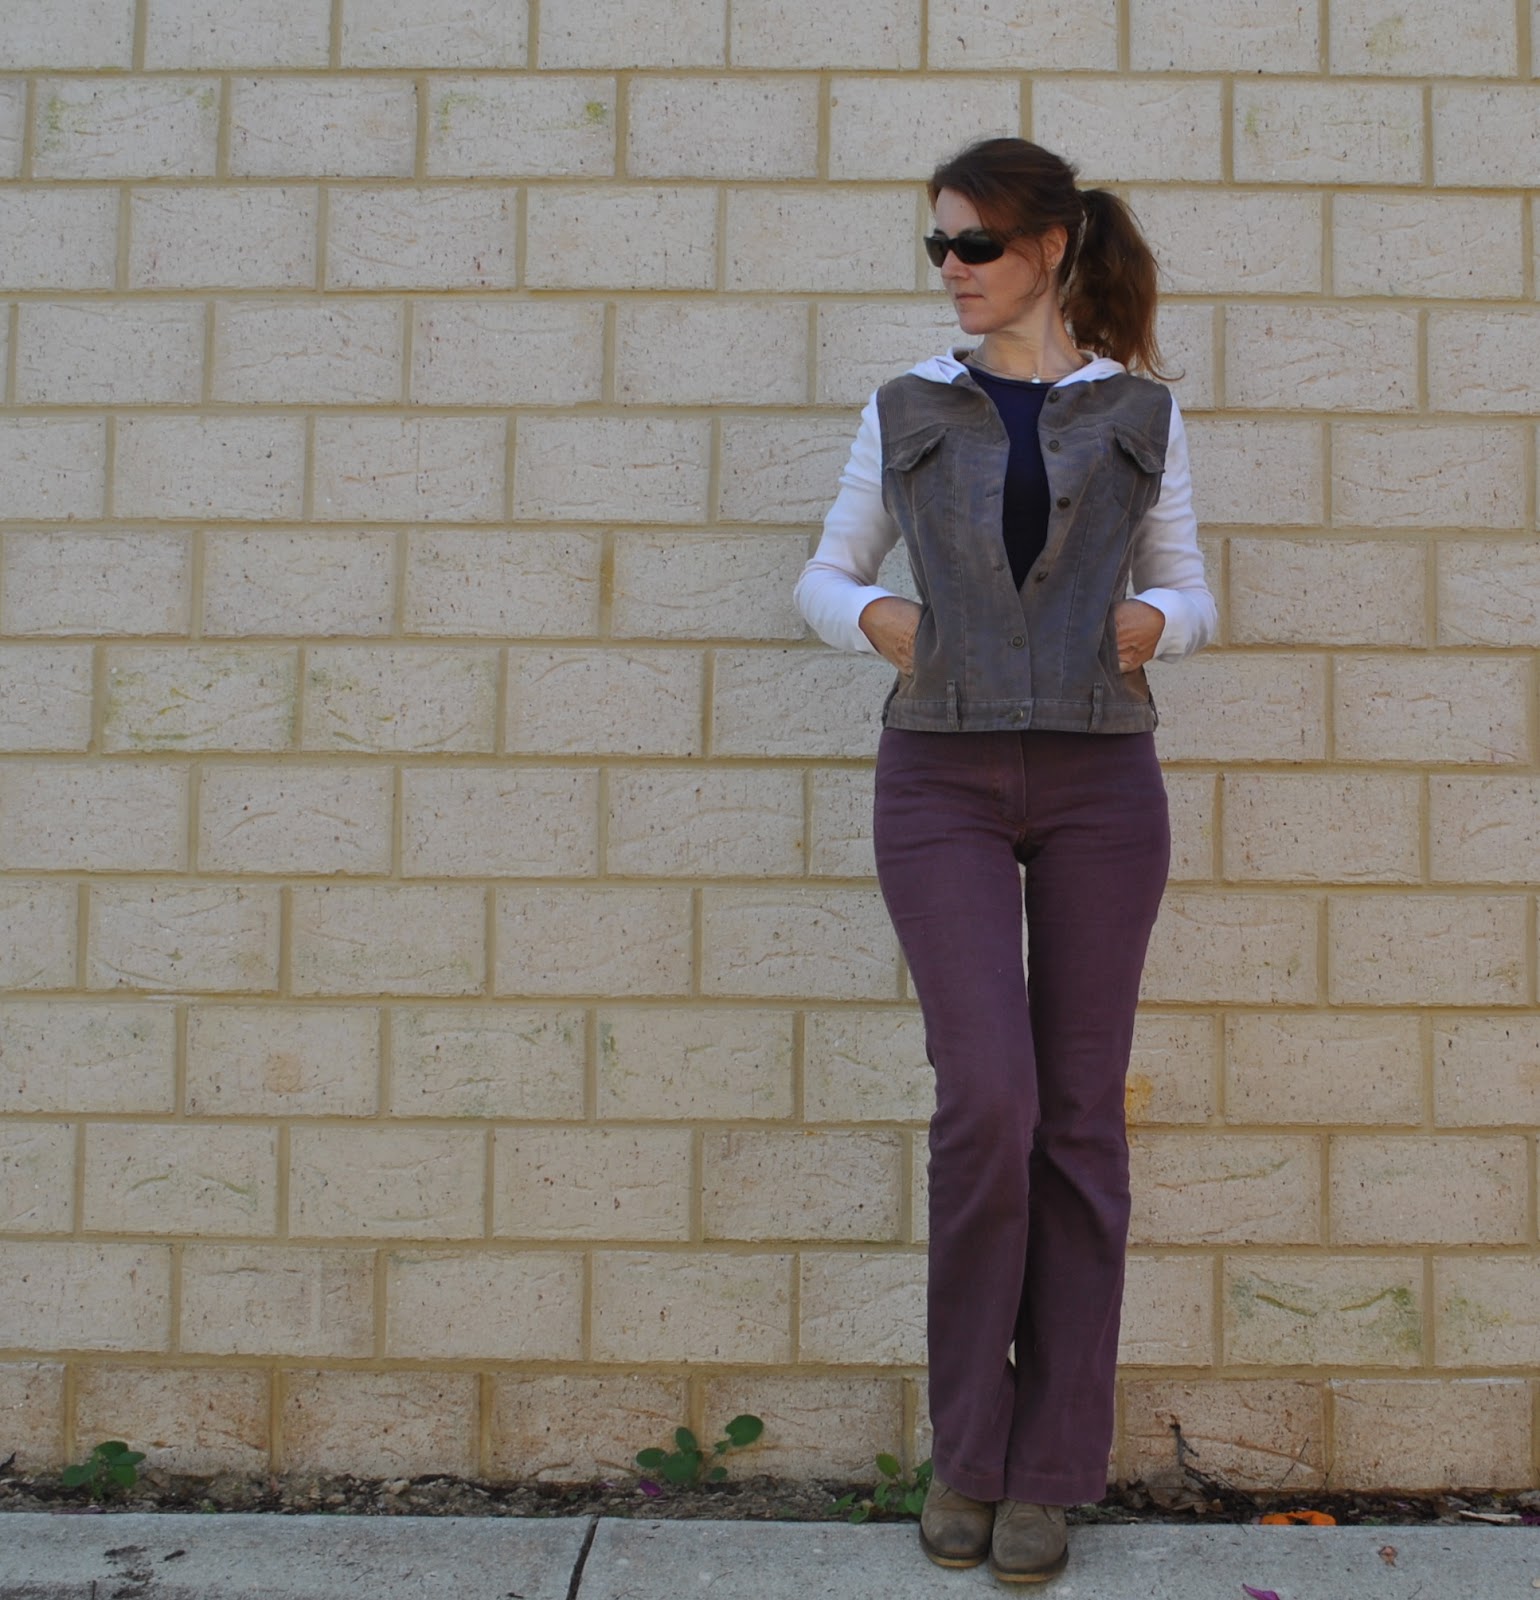
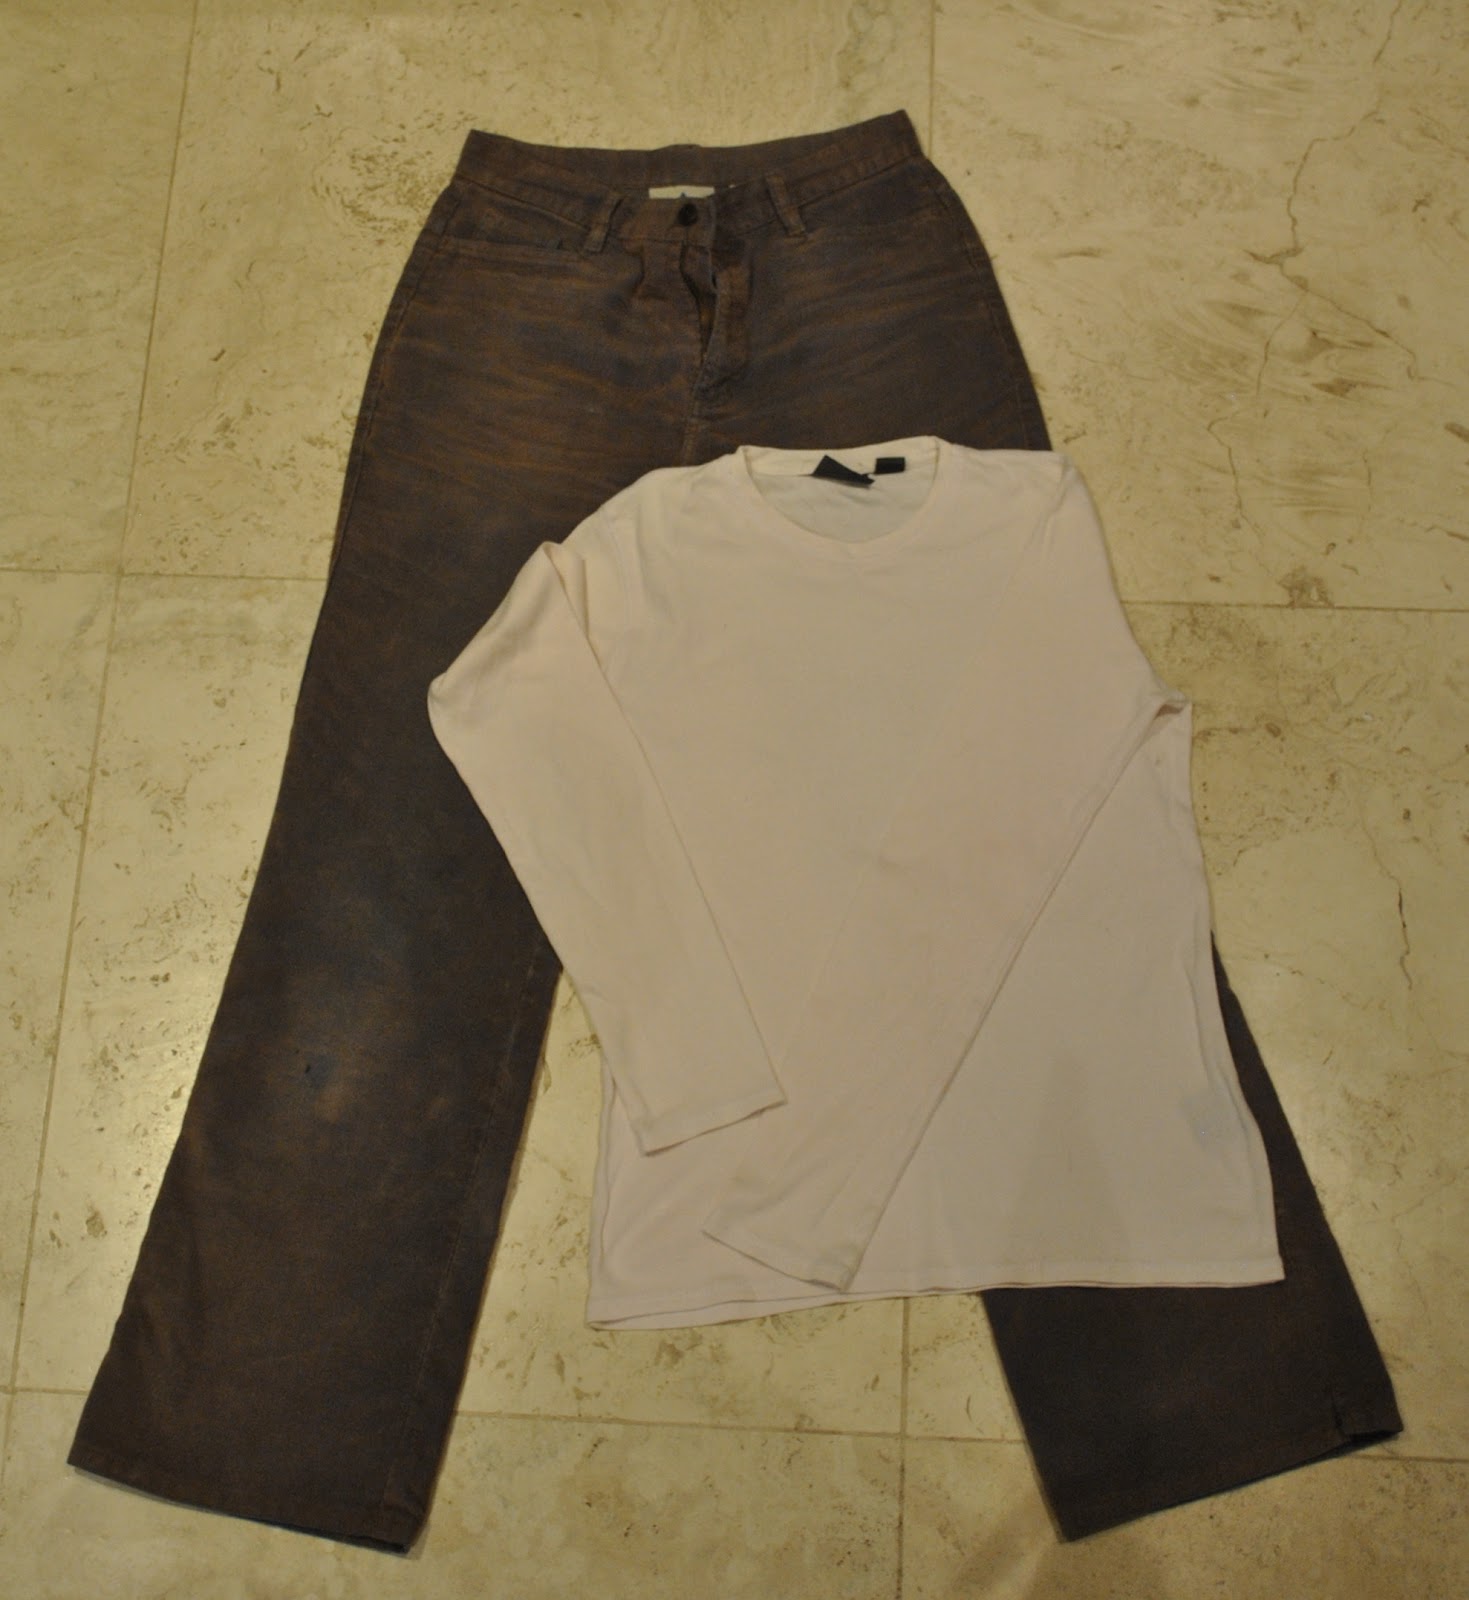
The fabric I used is a deep purple-grey, synthetic stretch knit from Fabulous Fabrics. Actually, I bought this fabric specifically for this
project, it is exactly what I wanted. I bought this fabric with my birthday gift voucher,
from a group of my friends; the other piece I bought with this voucher became
my red dress, and I still have some more of this grey stretch left too, to make
something else. I have the best
friends!
project, it is exactly what I wanted. I bought this fabric with my birthday gift voucher,
from a group of my friends; the other piece I bought with this voucher became
my red dress, and I still have some more of this grey stretch left too, to make
something else. I have the best
friends!
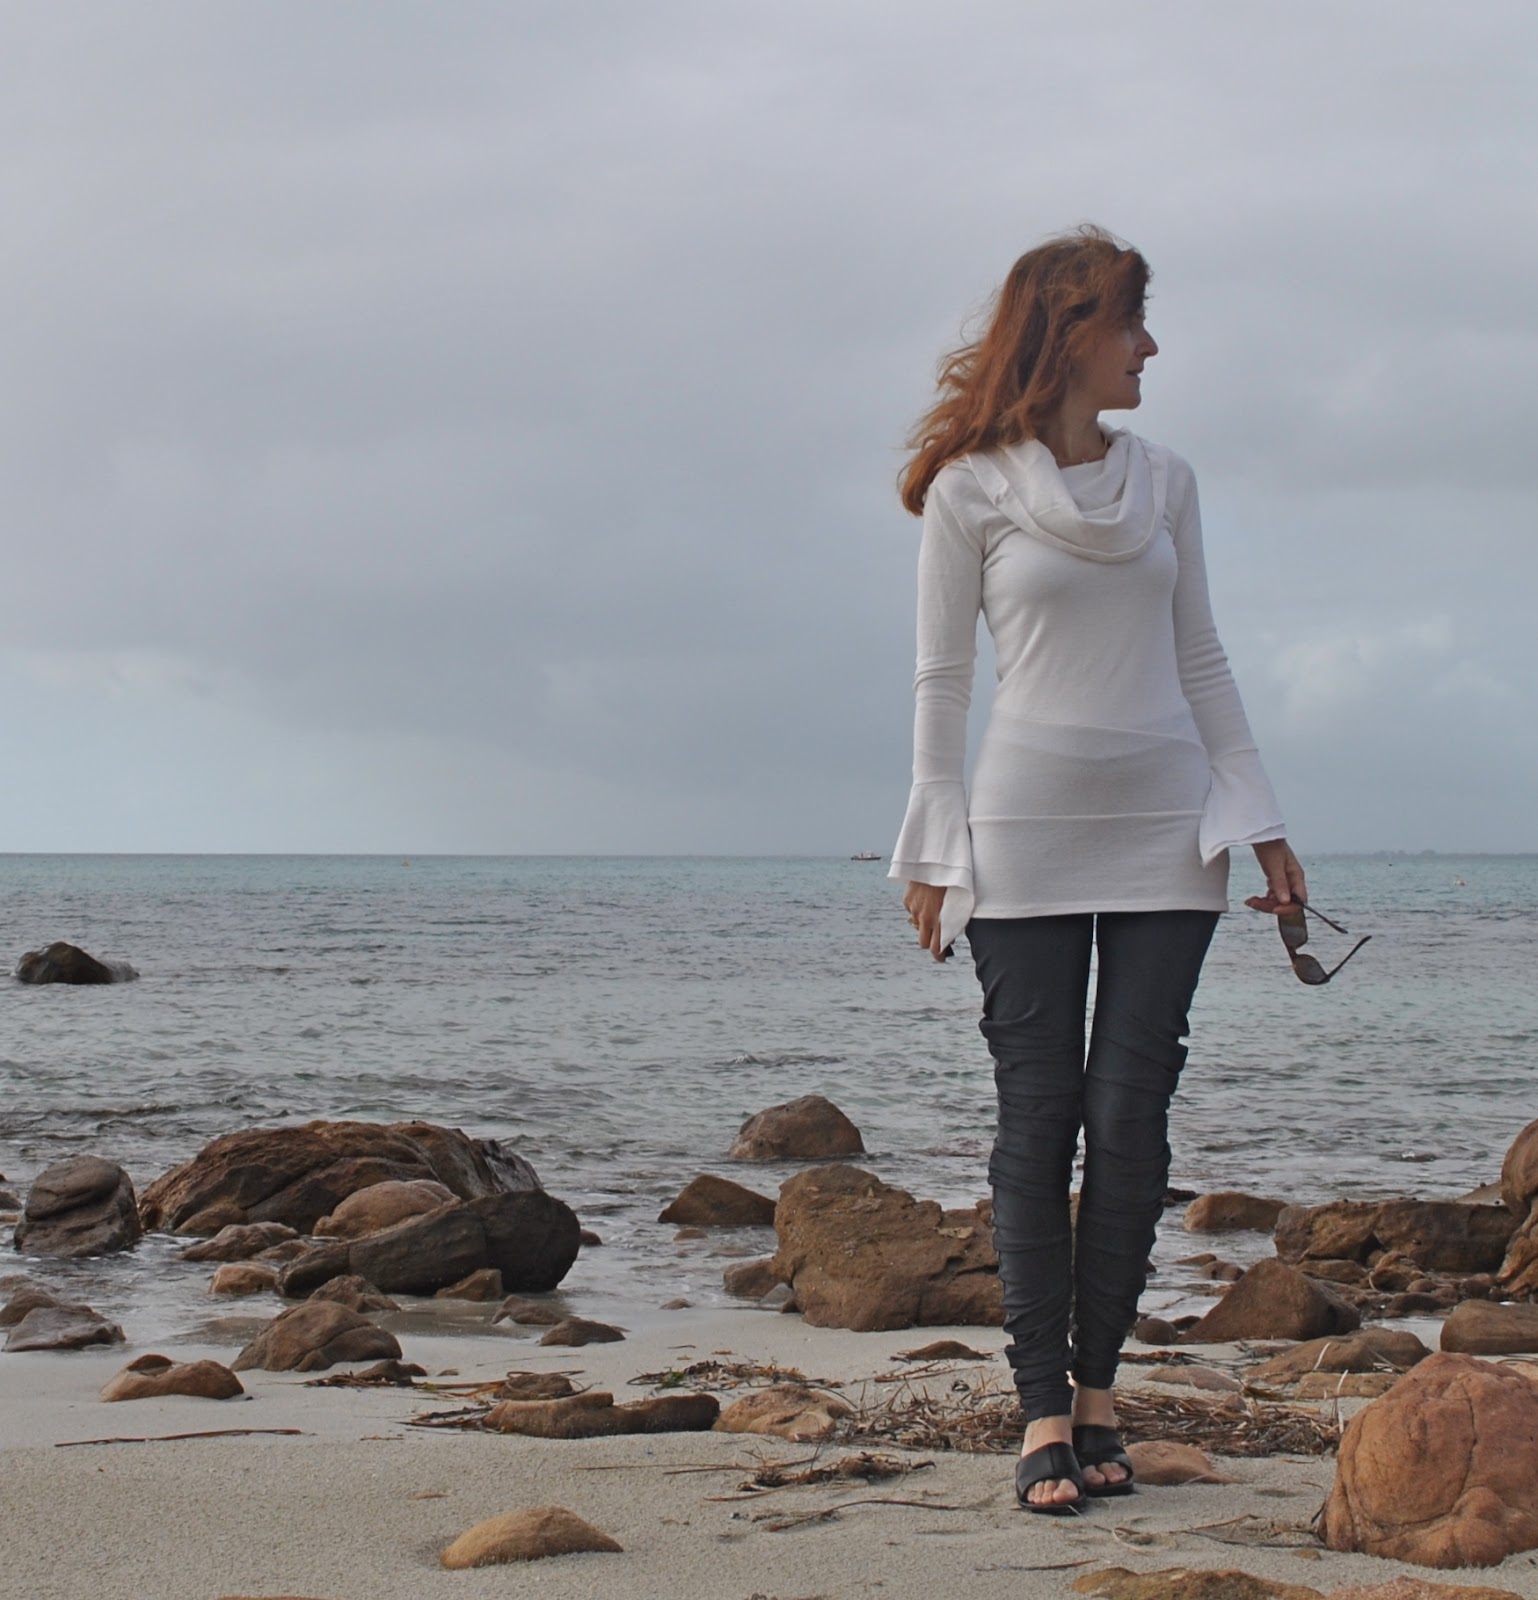
above; mine
I drew up the paper pattern
but there was lots of fiddly diddling. I
needed legs both wider and a lot longer than the dimensions stipulated in the
book! Well, that’s hardly
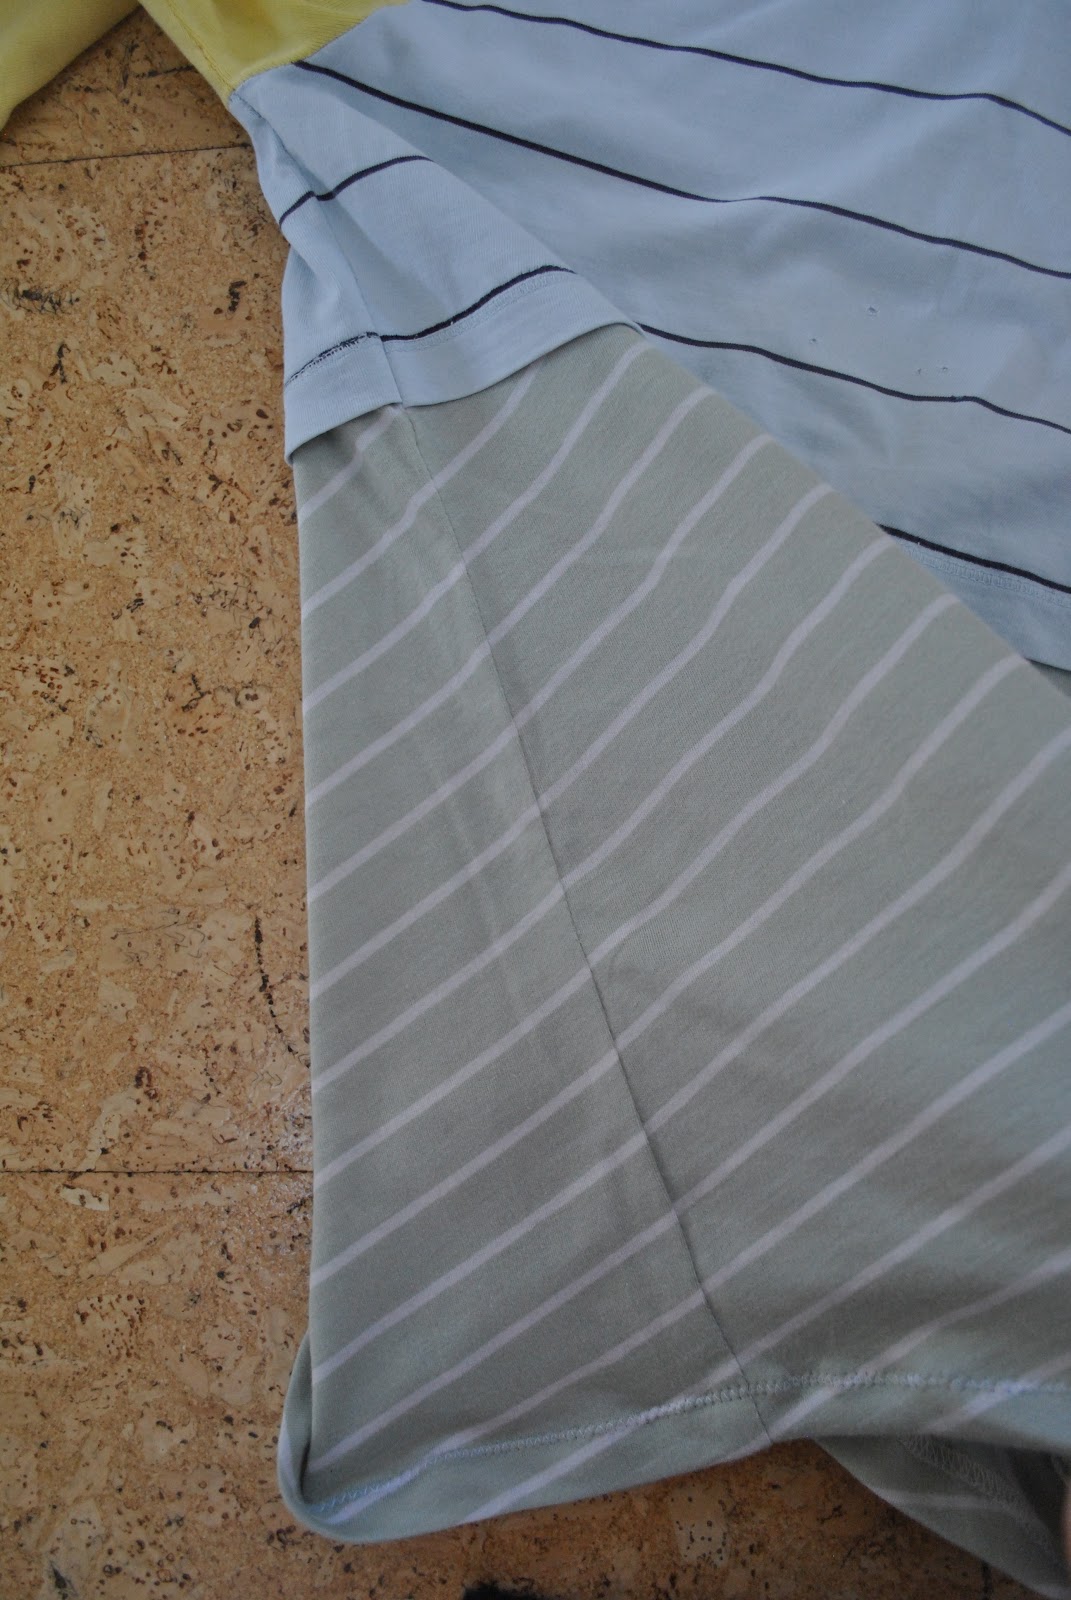
surprising, really 🙂 Also I mentioned my fabric was exactly what I wanted? well it was, but there was only
one small problemmo… the fabric stretched just one way, not two. Or is that two-way, not four-way?? I
can never get that right. But
you’re getting my drift here I hope….
but there was lots of fiddly diddling. I
needed legs both wider and a lot longer than the dimensions stipulated in the
book! Well, that’s hardly
surprising, really 🙂 Also I mentioned my fabric was exactly what I wanted? well it was, but there was only
one small problemmo… the fabric stretched just one way, not two. Or is that two-way, not four-way?? I
can never get that right. But
you’re getting my drift here I hope….
My point is that the “girth”
of the leggings stretches around my legs in some but only some parts of the
spiral. A minor technical complication…
of the leggings stretches around my legs in some but only some parts of the
spiral. A minor technical complication…
I also made minor modifications
to the style of the leggings: as follows:
to the style of the leggings: as follows:
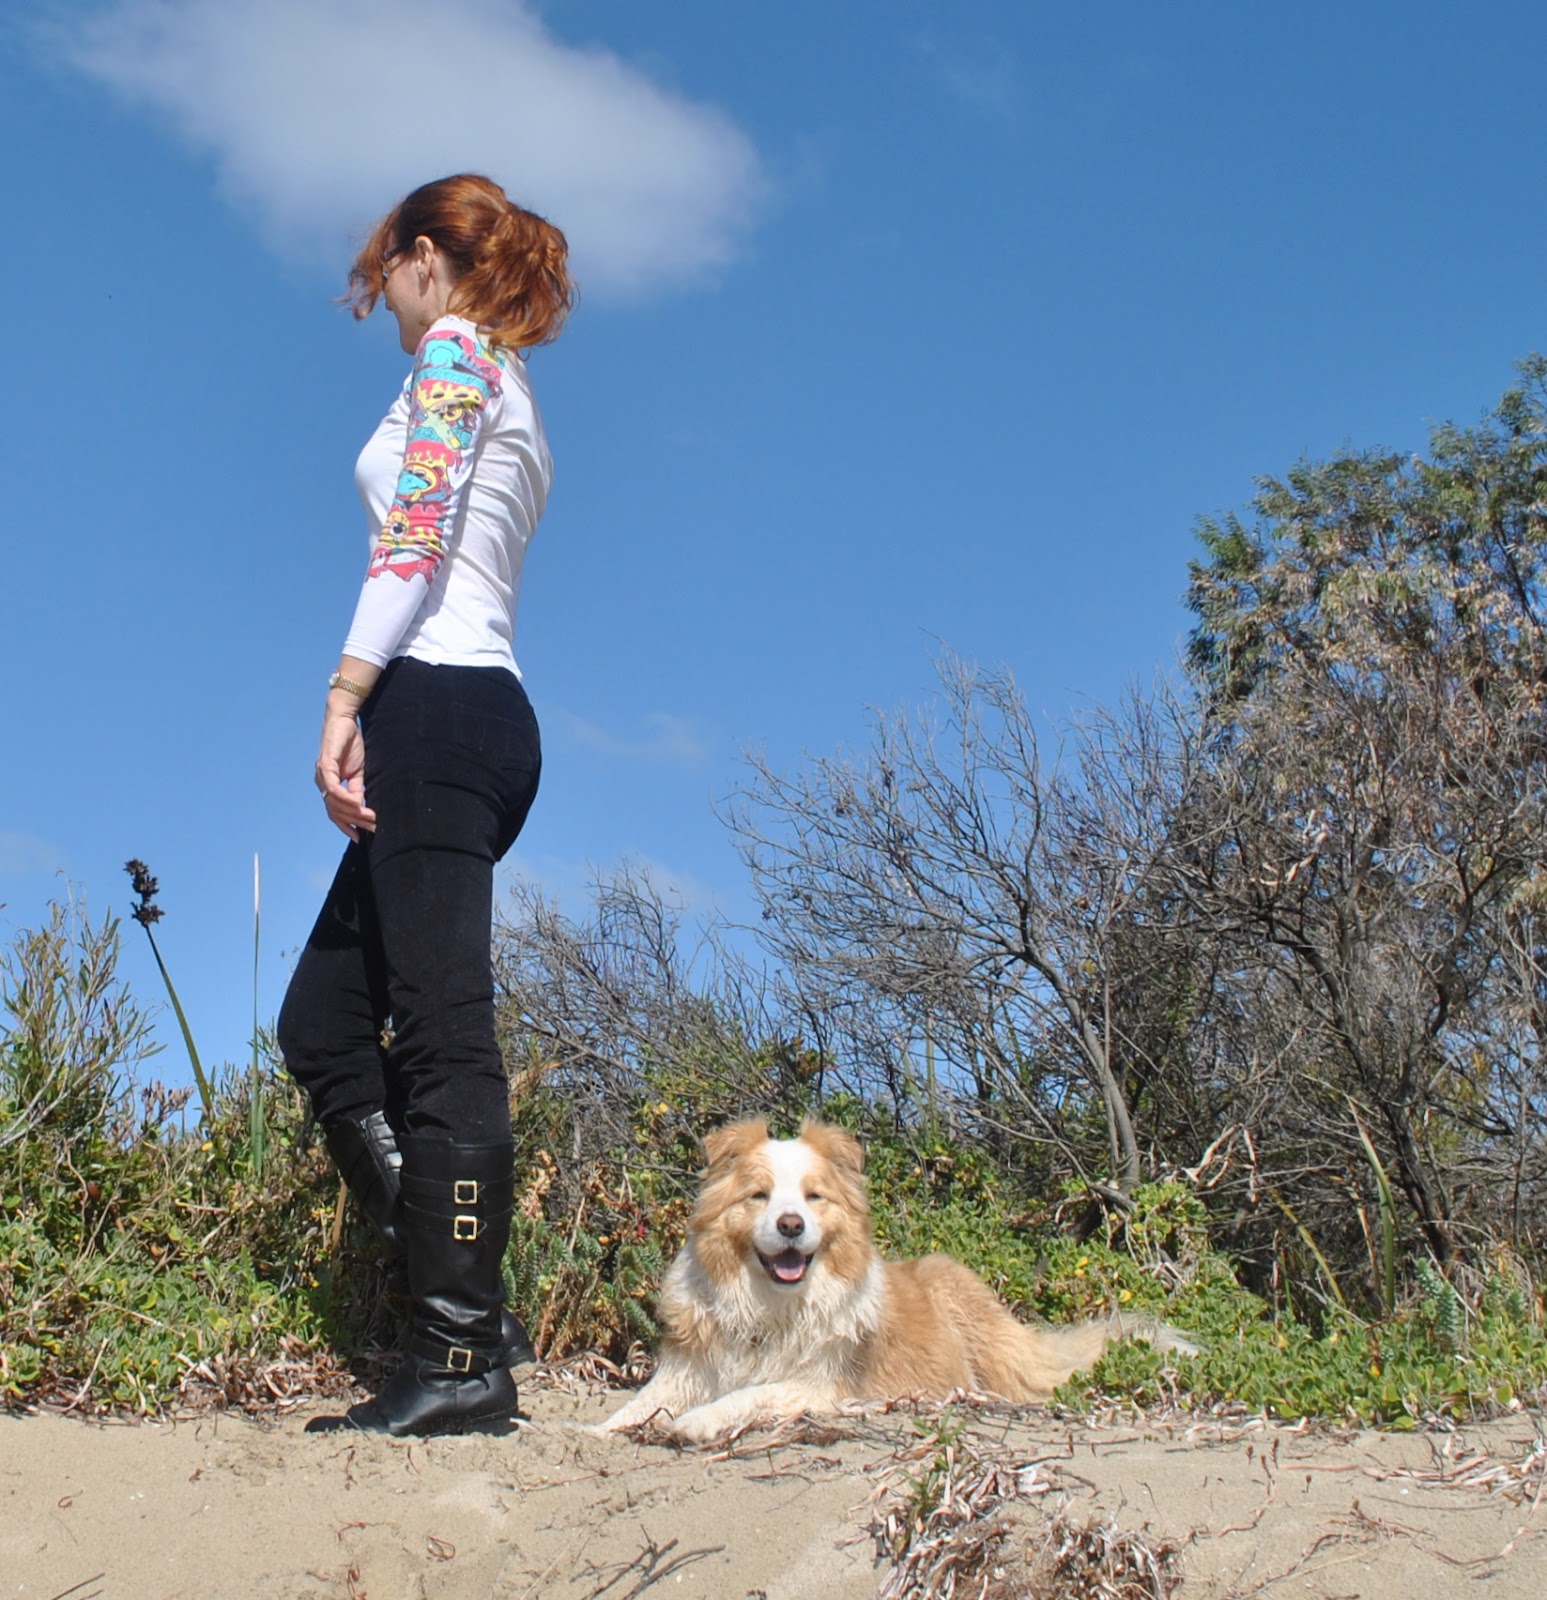
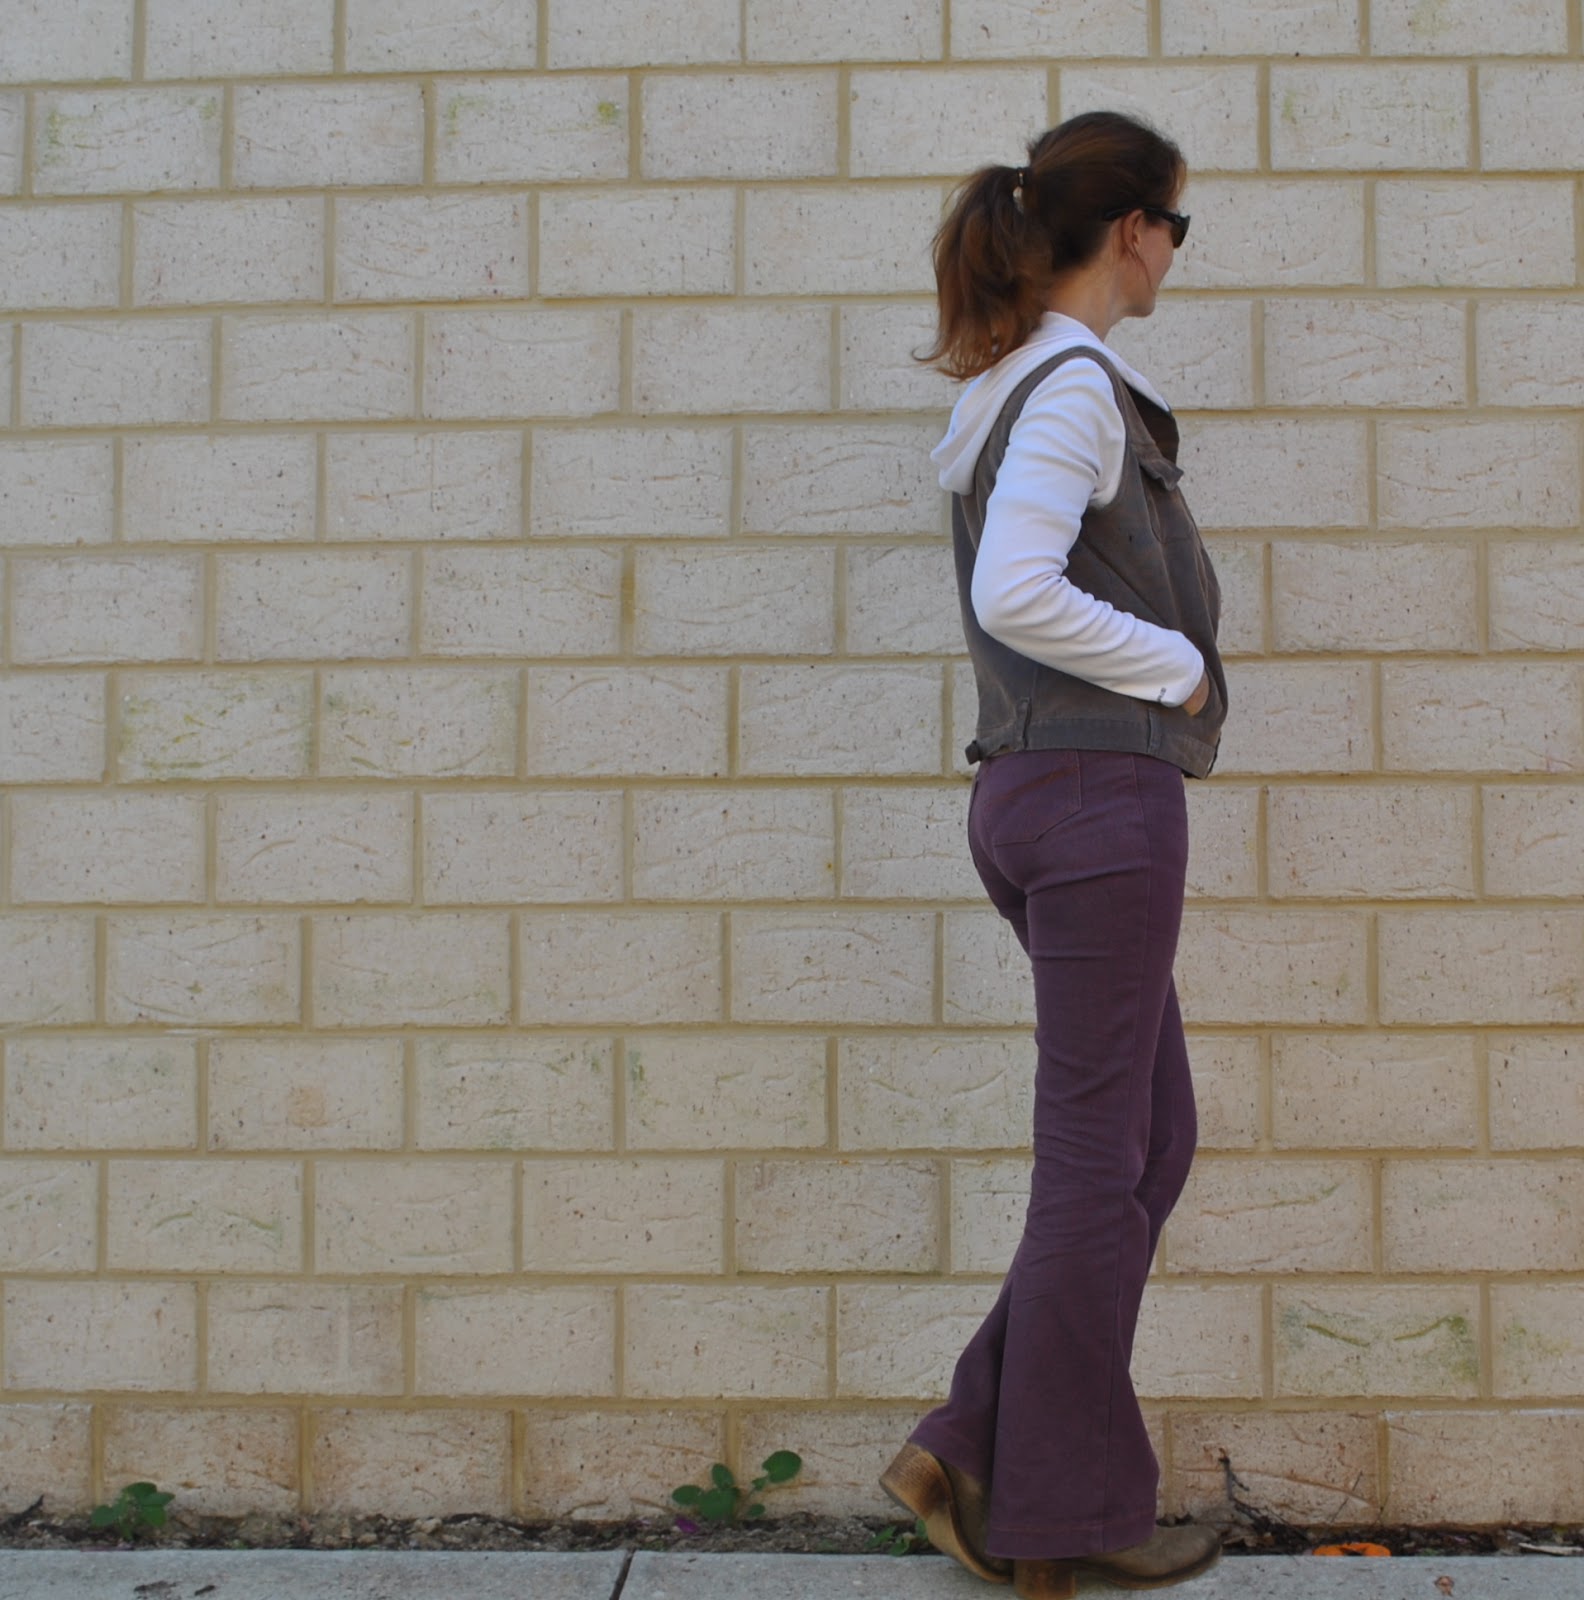
The pattern is for straight-ish
legs with very little tapering; and after the first try-on I decided that I wanted mine to be a lot
more tapered, to be skinnier around my calves and ankles. It’s probably hard to
tell from the pics but I can assure you they are substantially skinnier than
the book version!
legs with very little tapering; and after the first try-on I decided that I wanted mine to be a lot
more tapered, to be skinnier around my calves and ankles. It’s probably hard to
tell from the pics but I can assure you they are substantially skinnier than
the book version!
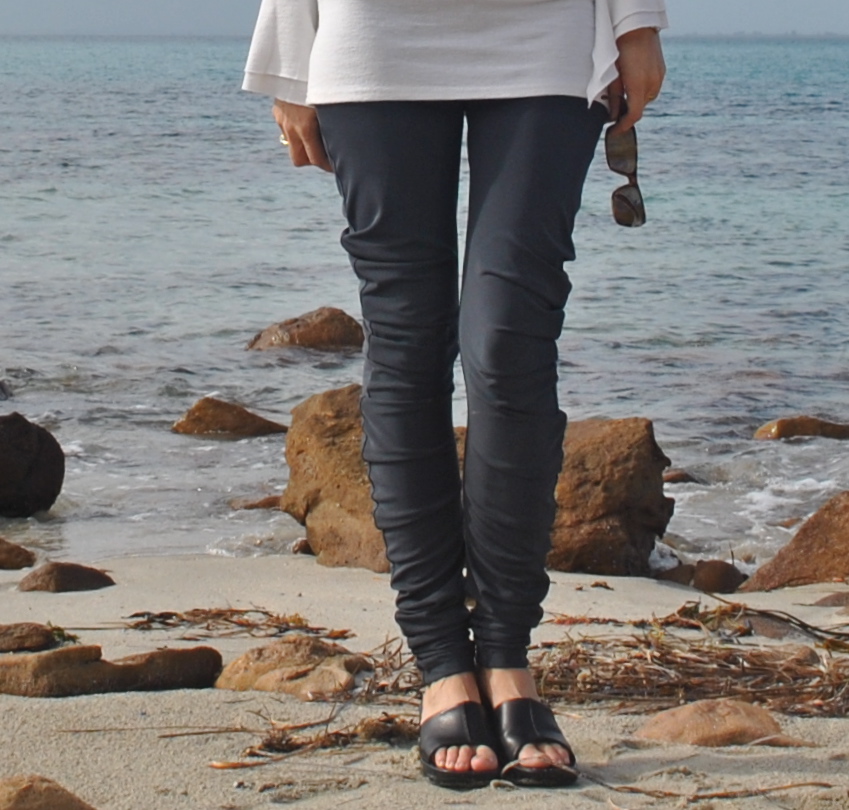
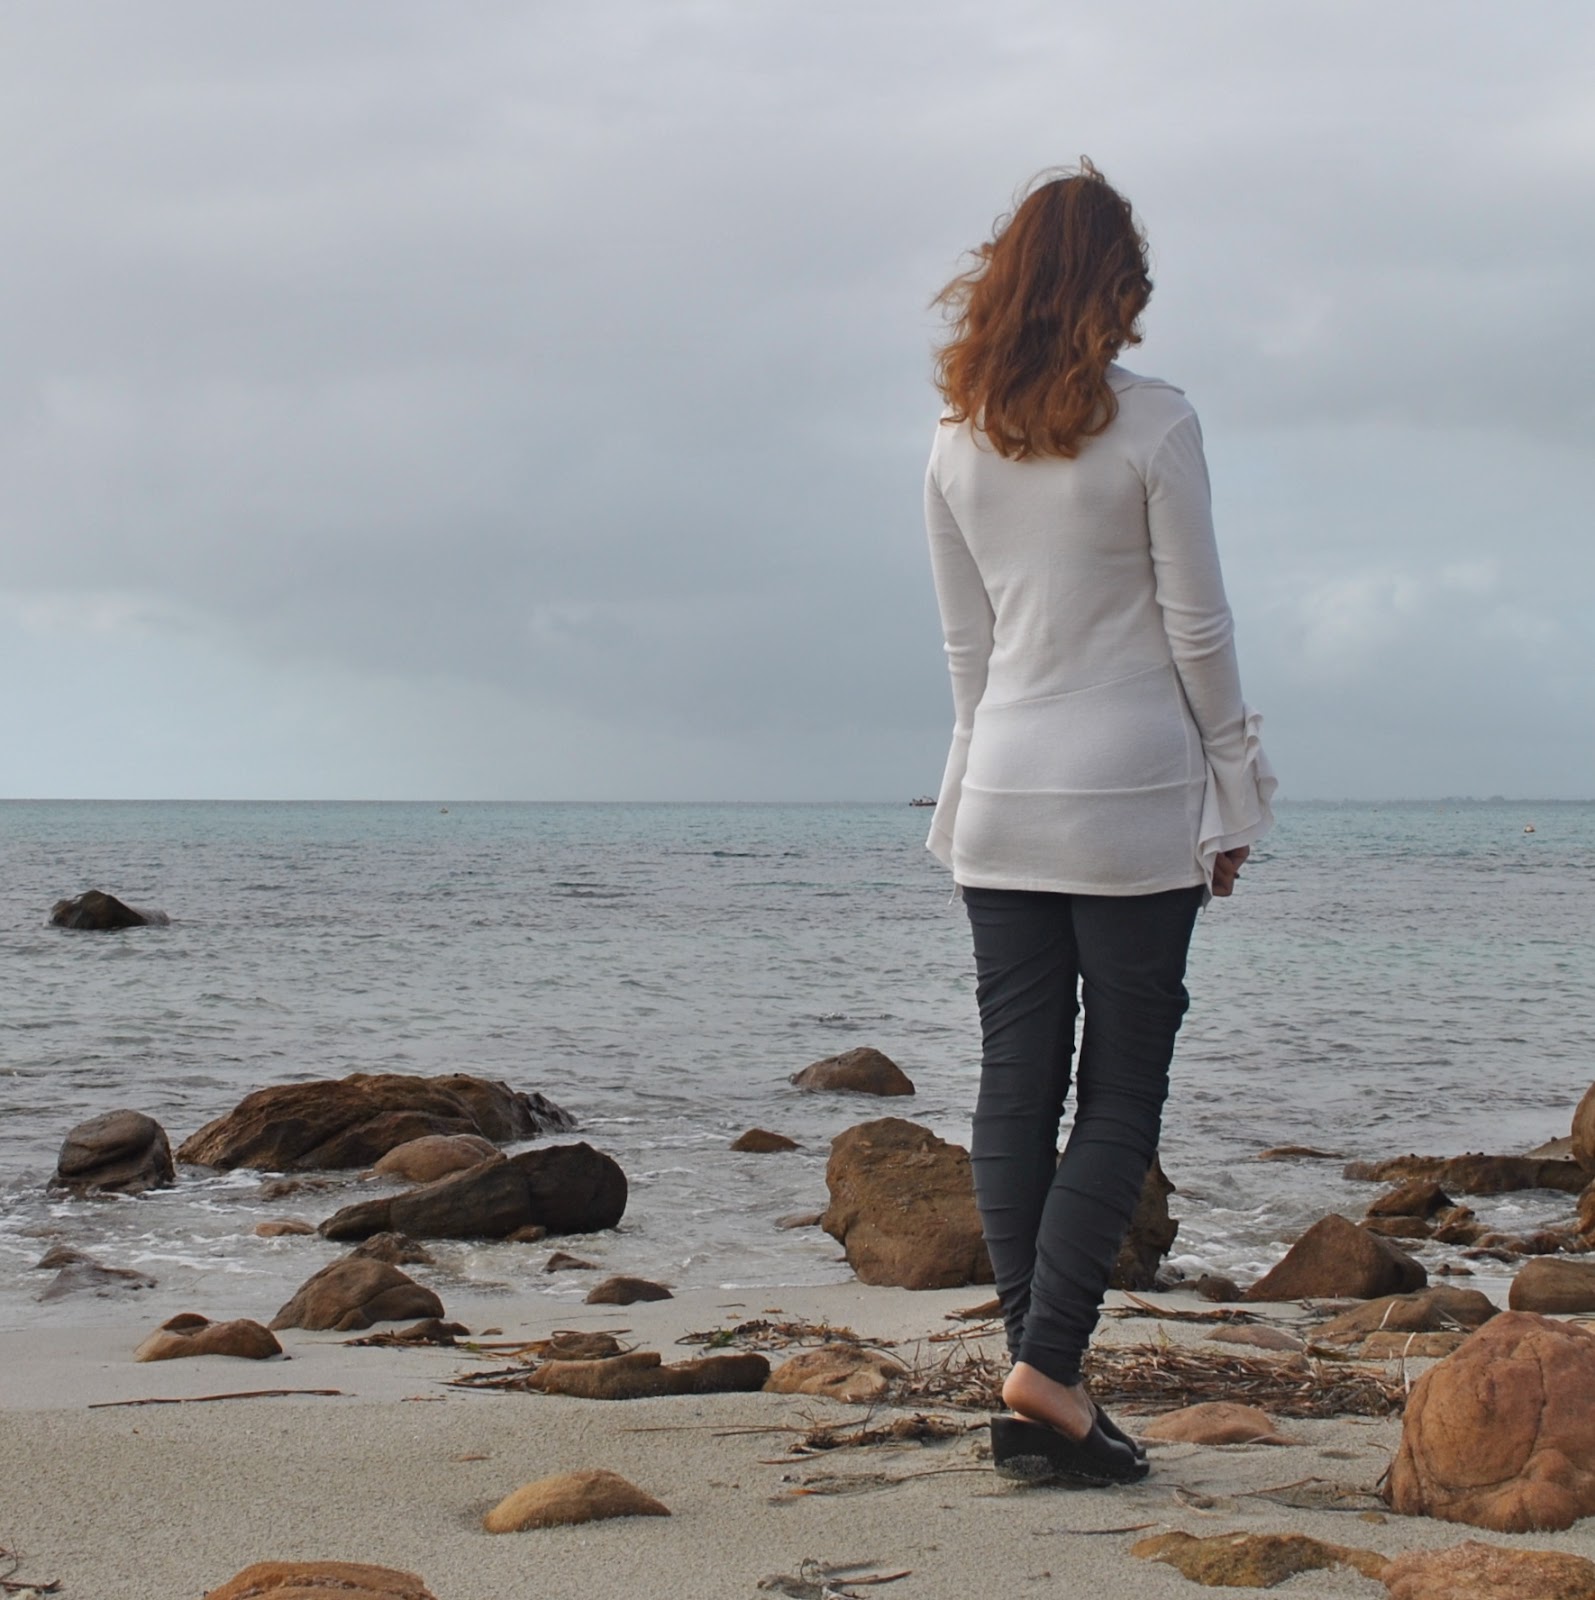
The other style adjustment
which is probably easier to distinguish between the two, is that my
leggings are form-fitting and “rumple-less” about my hips, while the ones pictured on the model in the book have the rumples going all the
way up the side of each hip, right up to the waistband. Since I wanted to wear mine not as
pants, but as leggings underneath a dress or skirt, I wanted for the top part
to be tight and smooth and have no rumply bits that would bunch up to make my
hips look falsely lumpy and bumpy underneath a dress. I prefer for my hips to look smooth and streamlined, not
lumpy and bumpy, thank you very much
🙂 Just
a personal preference there, of course
;D
Consequently I drafted and
sewed the top part of the leggings to fit my abdomen snugly. I cut a tall waistband to be 3cm shorter than my natural waist measurement and attached the waistband to the top edge
using this method with no elastic, and they sit up quite securely and
comfortably and don’t feel like they are going to slip down.
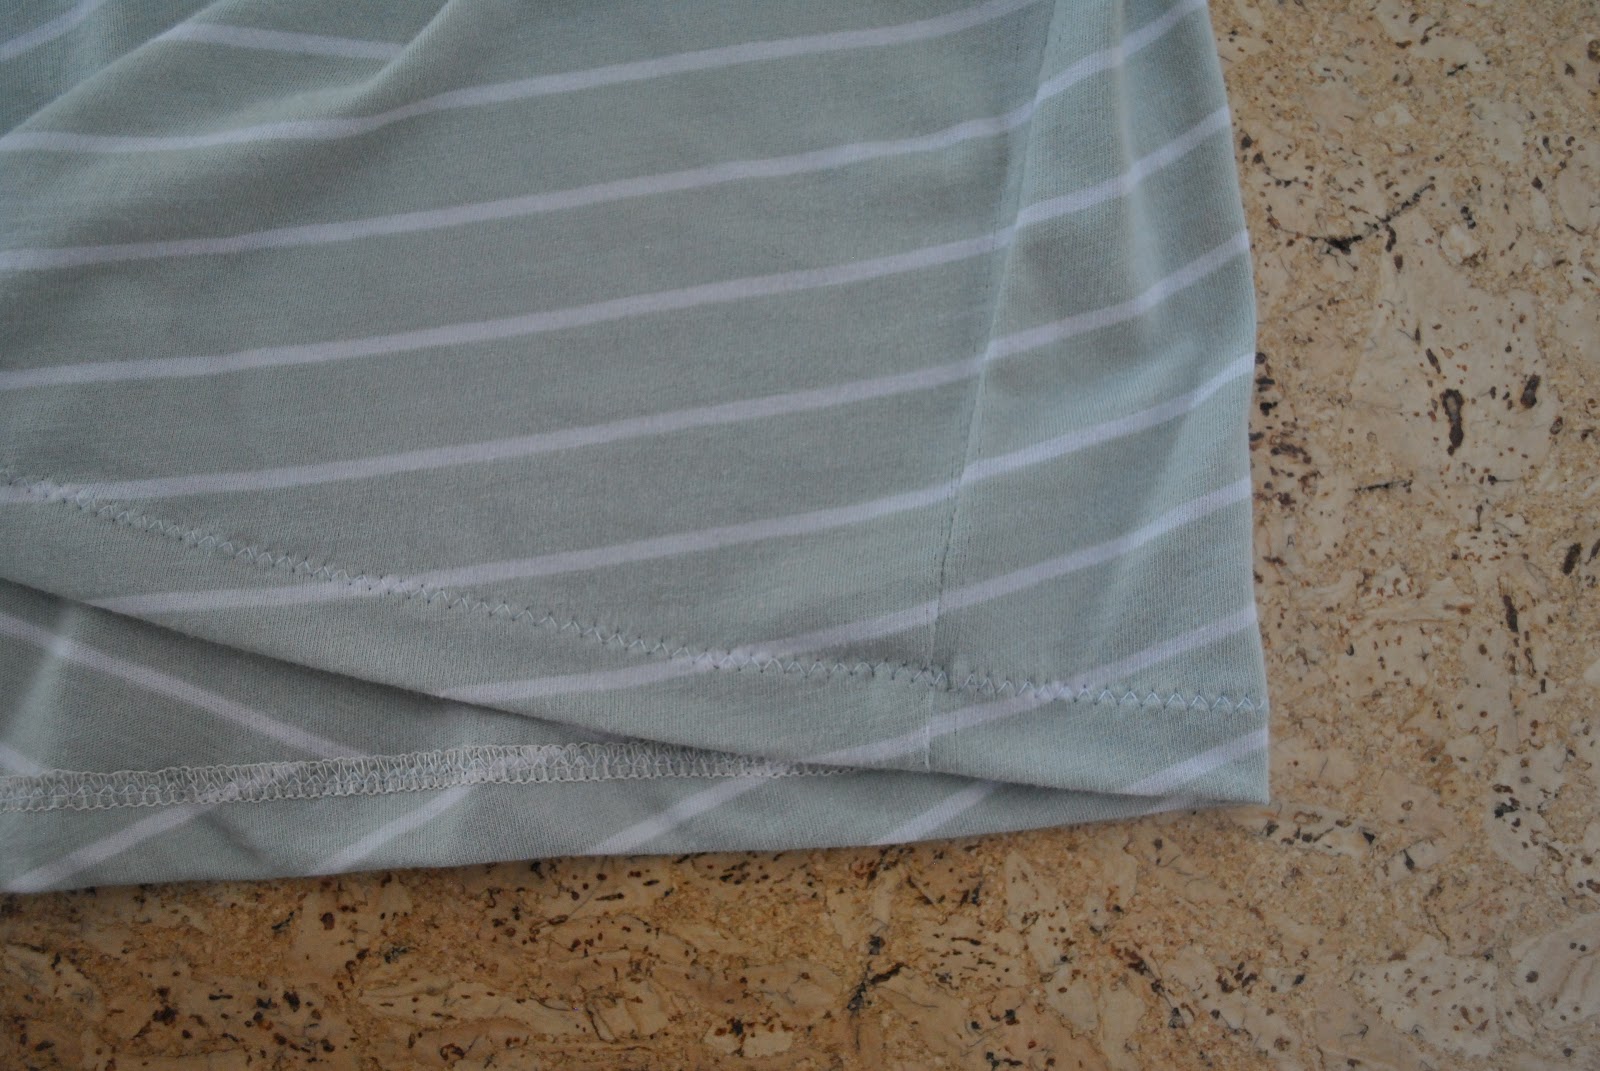
I hemmed using the twin needle on my sewing machine, instead of the band suggested in the book.
All in all, because of my 1(2?) way stretch issue and desire for a skinny-leg modifications; I probably tried these on, pinned, took them off, did a bit of basting and tried them on again… at least a dozen times over; but y’know what? I’m perfectly satisfied. Last year I devised and made
a pair of leggings I dubbed scrumpled leggings, and these ones are satisfyingly even more scrumply!
a pair of leggings I dubbed scrumpled leggings, and these ones are satisfyingly even more scrumply!
Details:
Leggings; from p 53 of Pattern
Magic 3 by Tomoko Nakamichi, made of grey synthetic stretch knit
Magic 3 by Tomoko Nakamichi, made of grey synthetic stretch knit
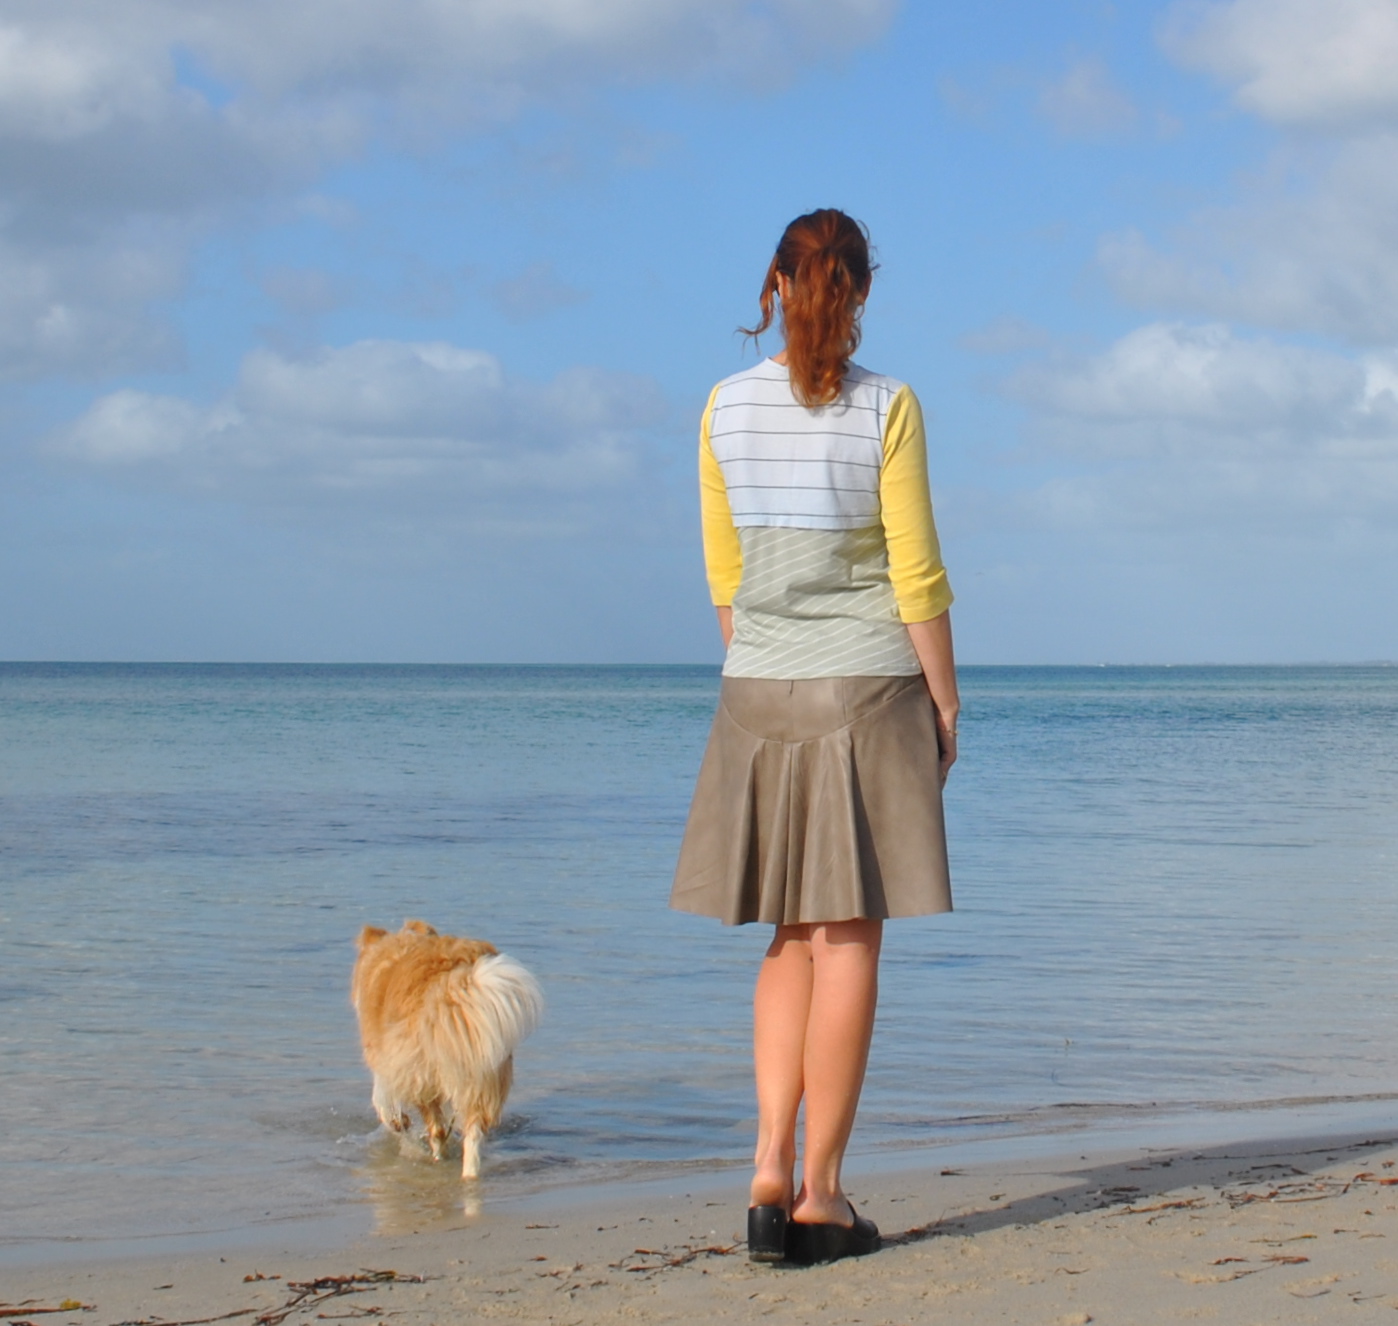
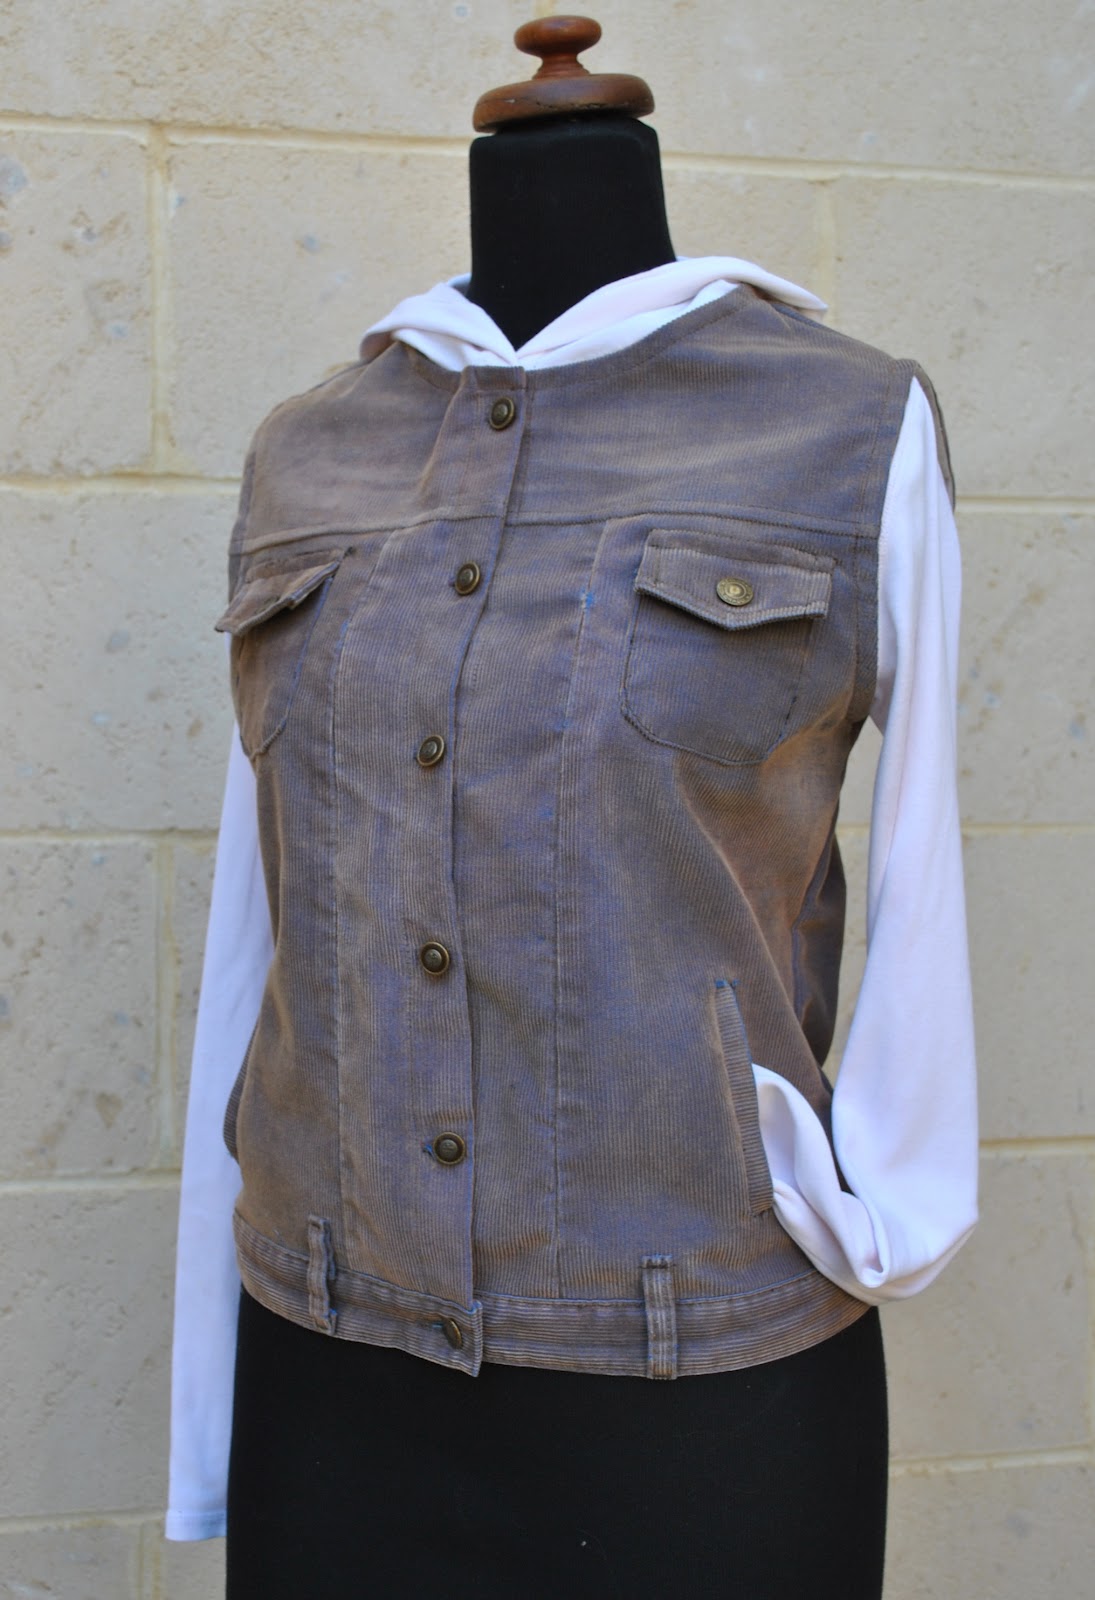
Dress; body &soul, a
thing I’ve had for about twelve years. I
probably should copy this one over again, I love it so. One of those RTW things that I love so
much I probably never will part with it!
thing I’ve had for about twelve years. I
probably should copy this one over again, I love it so. One of those RTW things that I love so
much I probably never will part with it!
Shoes; Perrini, had these
for even longer than the dress, probably 20 years!
for even longer than the dress, probably 20 years!


