Yearly Archives: 2012

You are browsing the site archives by year.

Calico cotton cardigan

The good news: I’ve knitted a cardigan!
I bought this perfectly lovely ivory cotton yarn at the beginning of last spring, and started this cardigan when I had finished the garter stitch jacket.  I can be a pretty quick knitter if I’m in the mood…
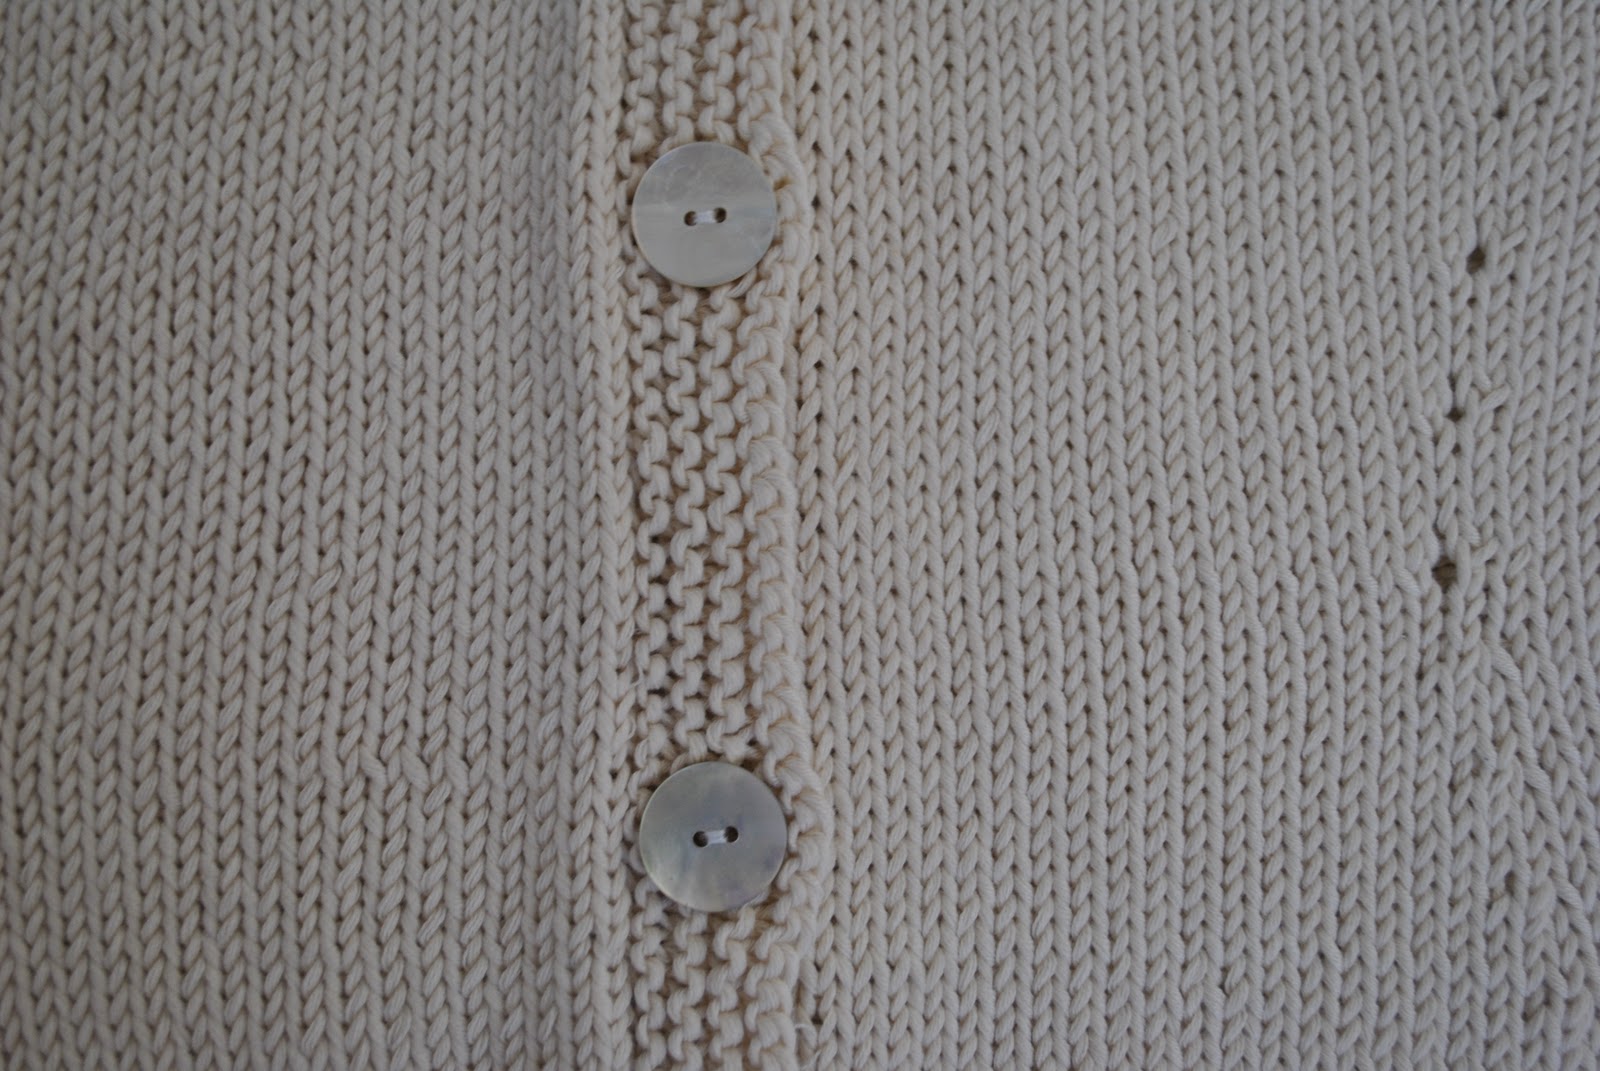
The buttons; nacre, with that distinctive subdued sheen that I love, are favourites that I have used on many projects before.  They are from Fabulous Fabrics.
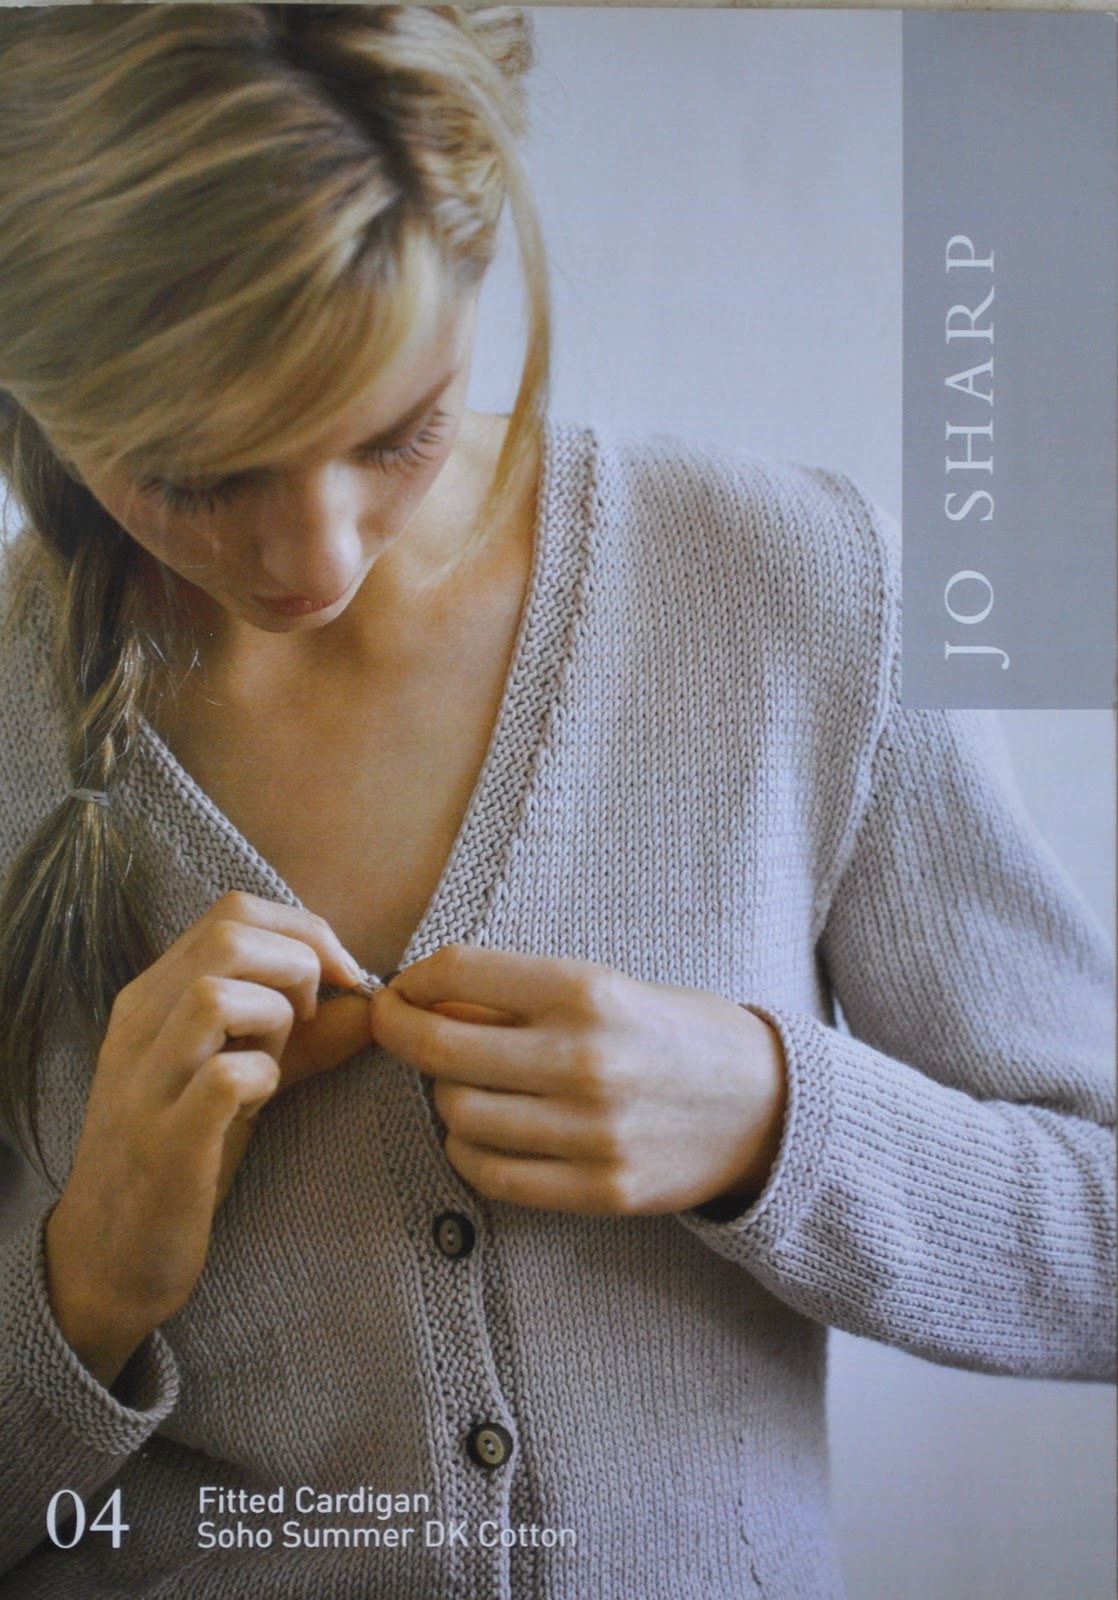
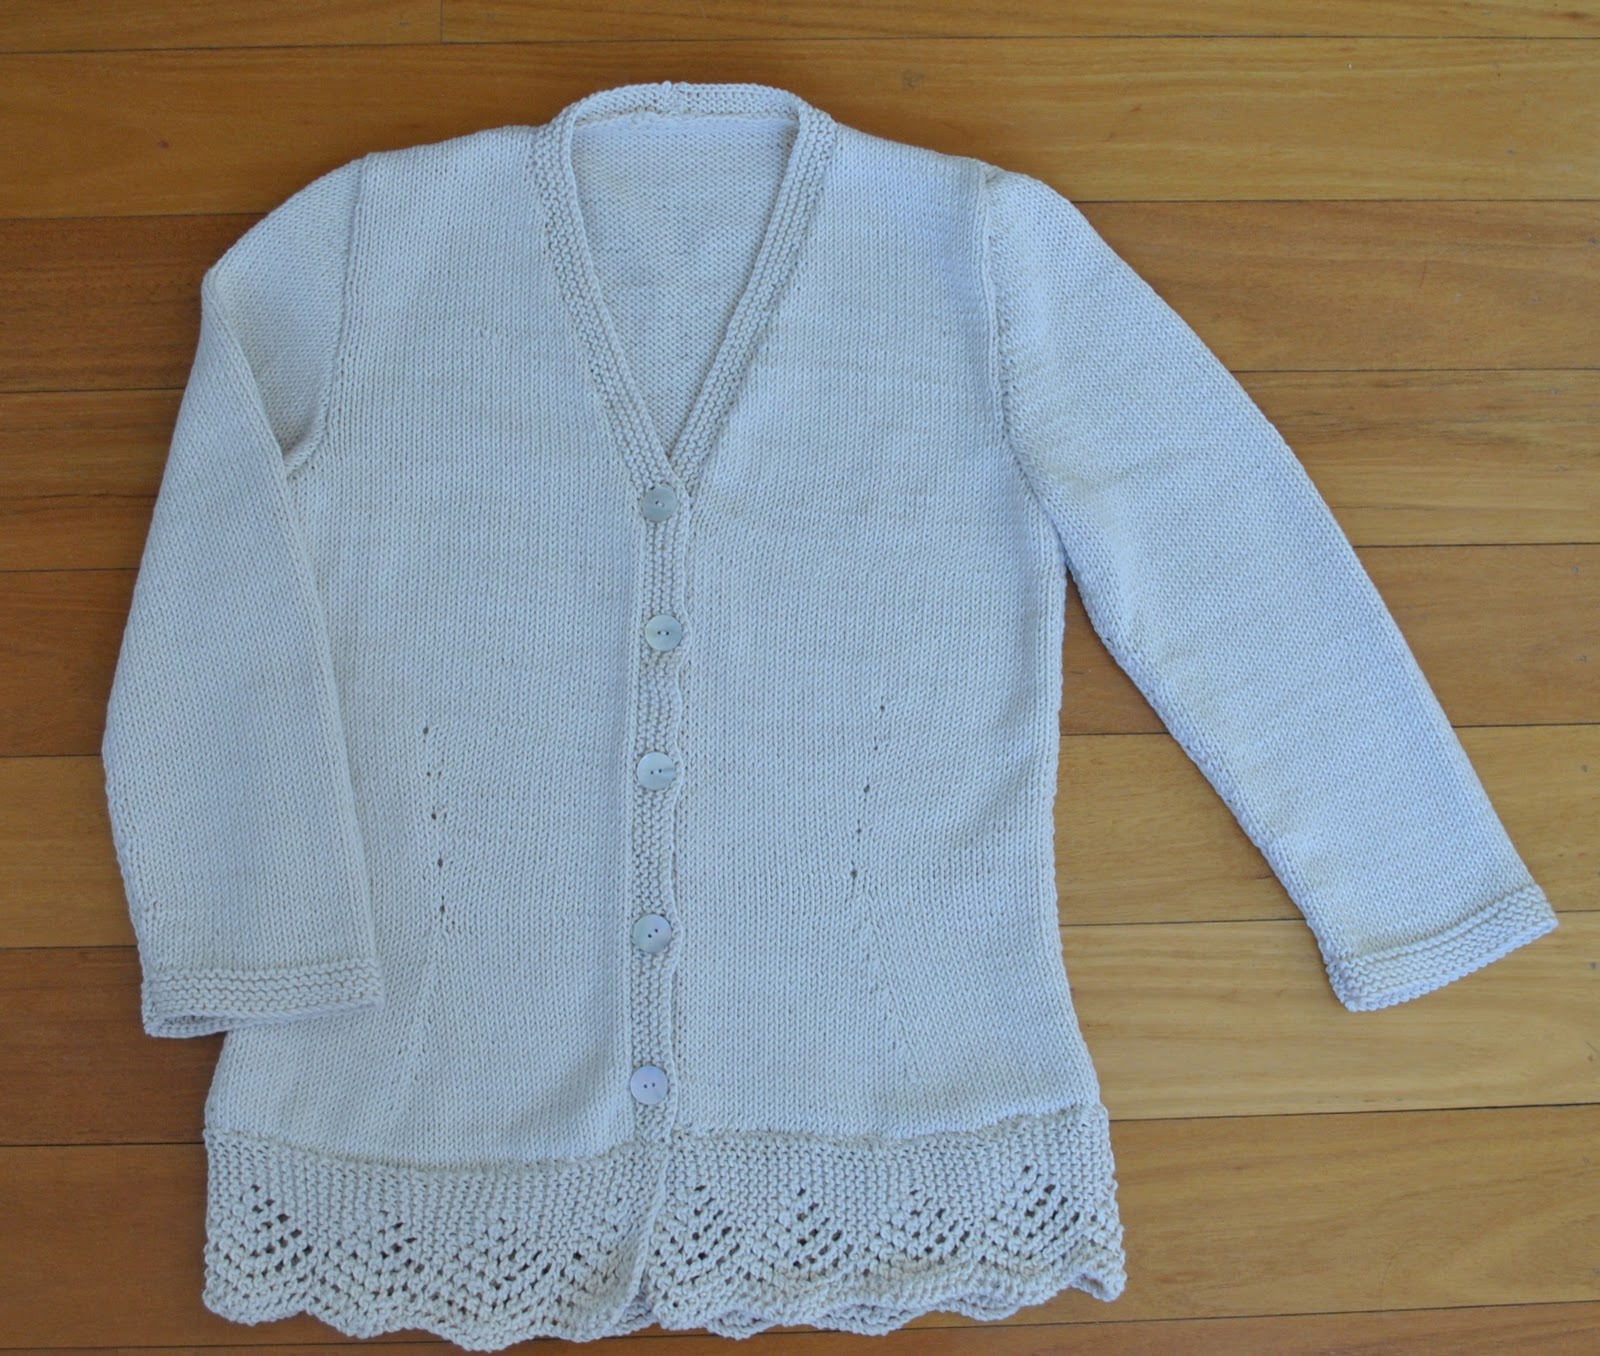
This is a great pattern.  I like the shaping, done in a dressmaking style like darts in the body, and not shaped in the side seams which is how I’ve knitted the shape into jumpers and cardigans up until now.  A good method.  I’m chuffed with this pattern, and will use it again.  With variations.
You see; I have bought up quite a lot of this yarn lately and so (this is embarrassing) as well as my fabric stash I now have a yarn stash too.  Up until now I have bought wool to knit up immediately leaving myself only with scraps and leftovers.
Why have I changed my ways? well now we come to the bad news:
I got word just before Christmas that the Jo Sharp Knit store here was closing down and was selling off its stock.  I am extremely sad about that.  I can’t bear when local stores and particularly local craft stores, close down.  But anyhow, of course I just had to pop in and check out the remaining stock, and bought… a bit… of yarn  😉  Now I have enough supply for at least a year’s worth of knitting, including a few more little cotton cardigans like this, so it is a good thing that this pattern worked out!

Details:
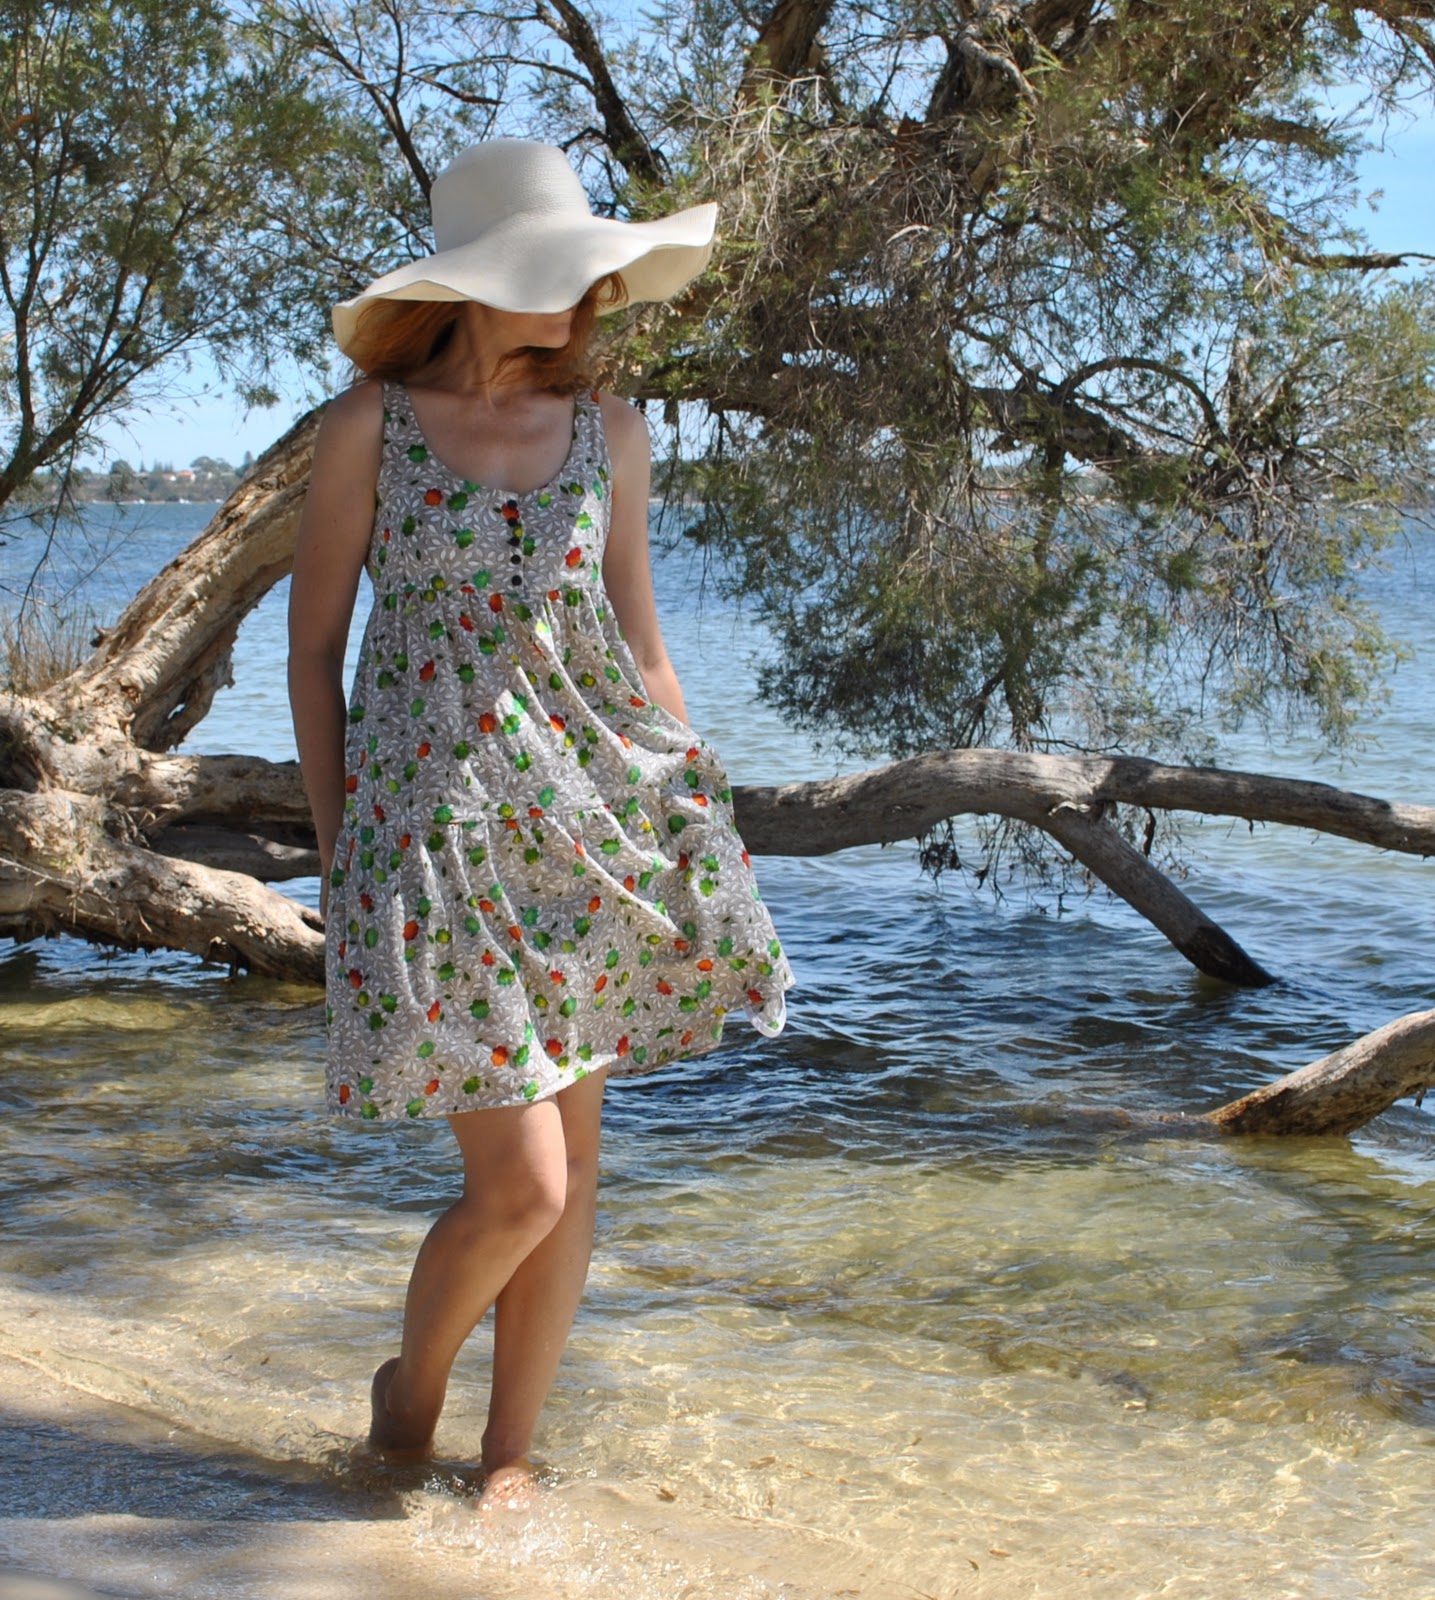
Cardigan; knitted by me, the Fitted Cardigan 04, version 1 with the lace edging and three-quarter sleeves, in Jo Sharp Soho Summer DK Cotton; colour Calico (shade 216)
Camisole (under) Country Road
Skirt; self drafted, charcoal jersey knit
Shoes; Bronx, from Zomp shoes

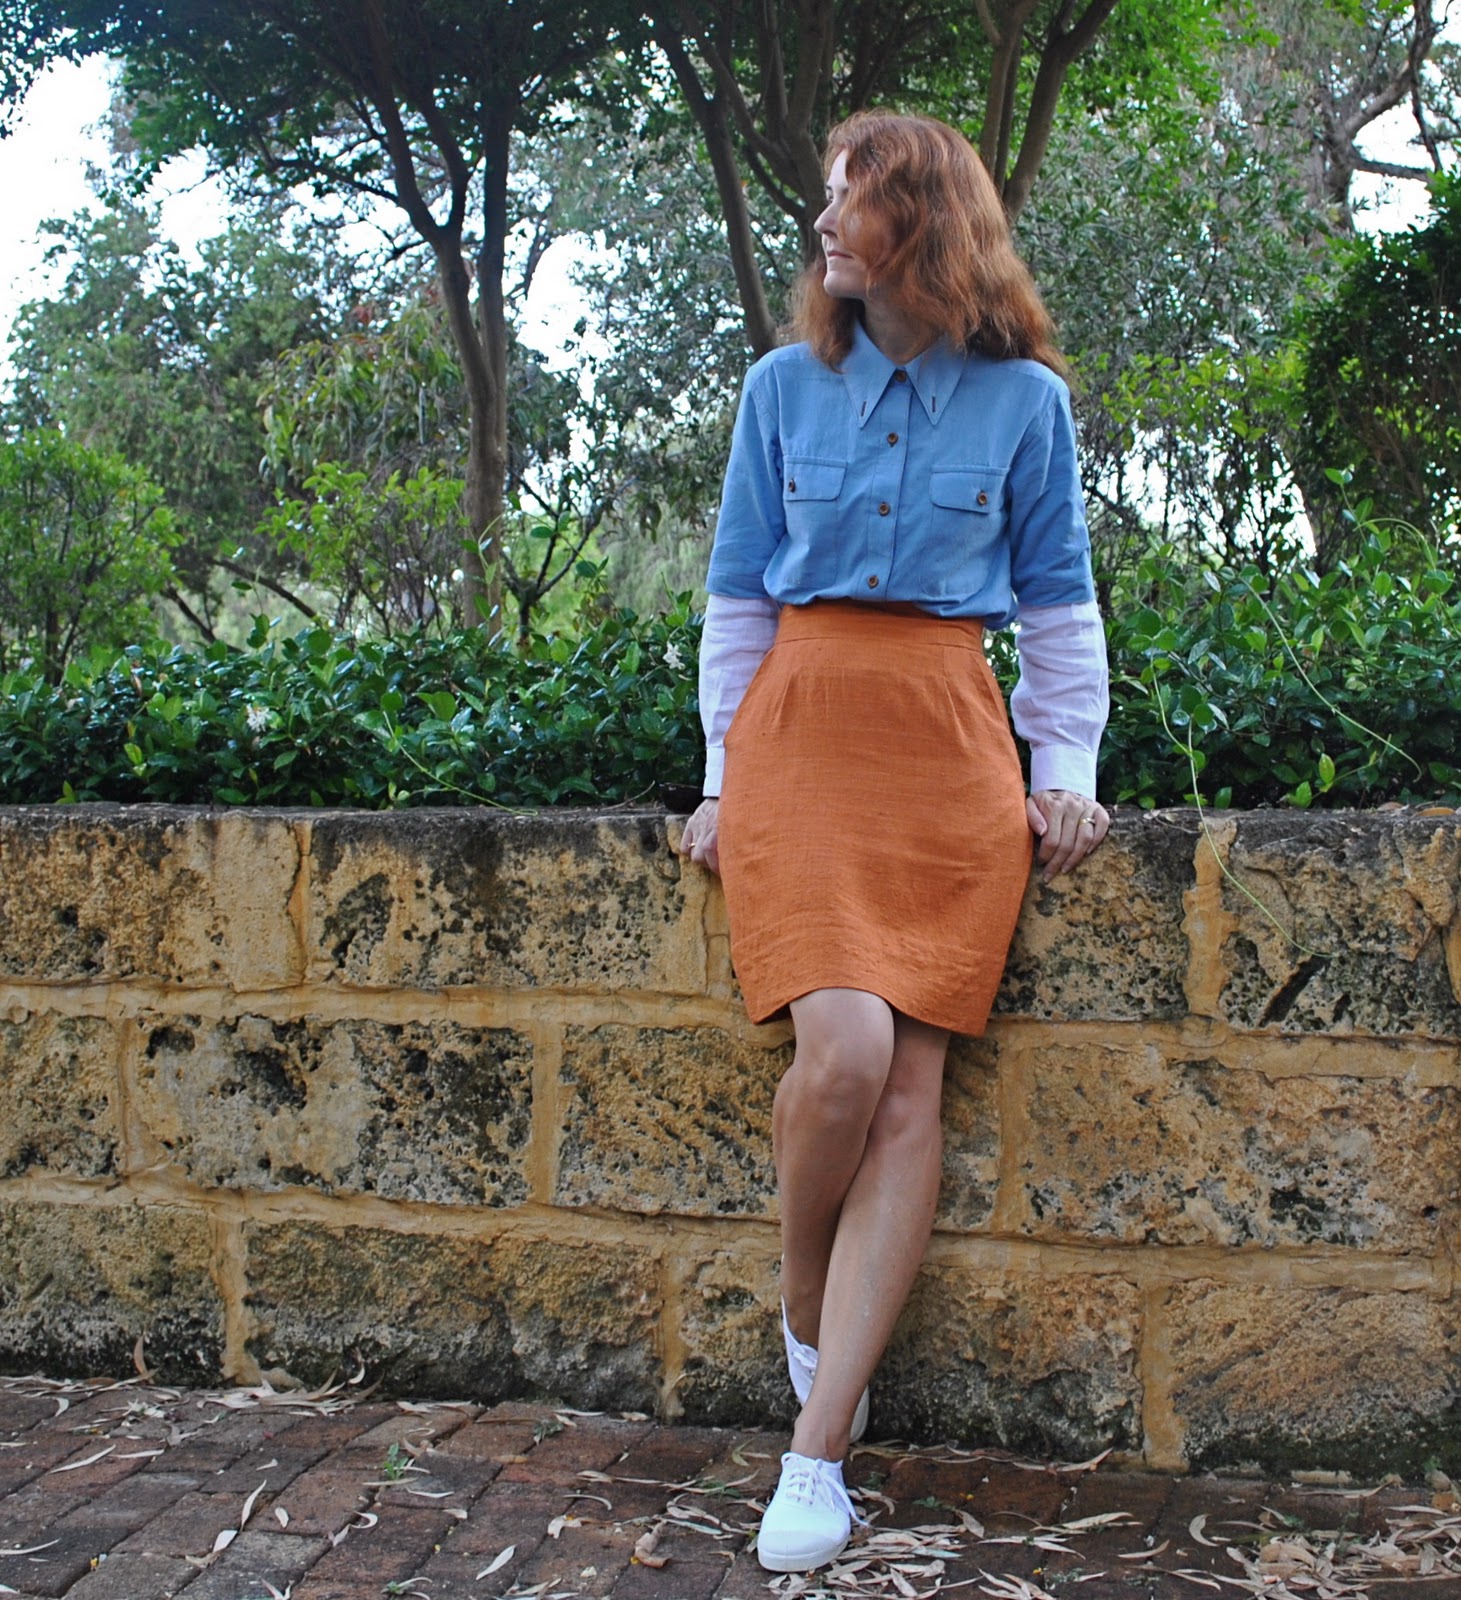
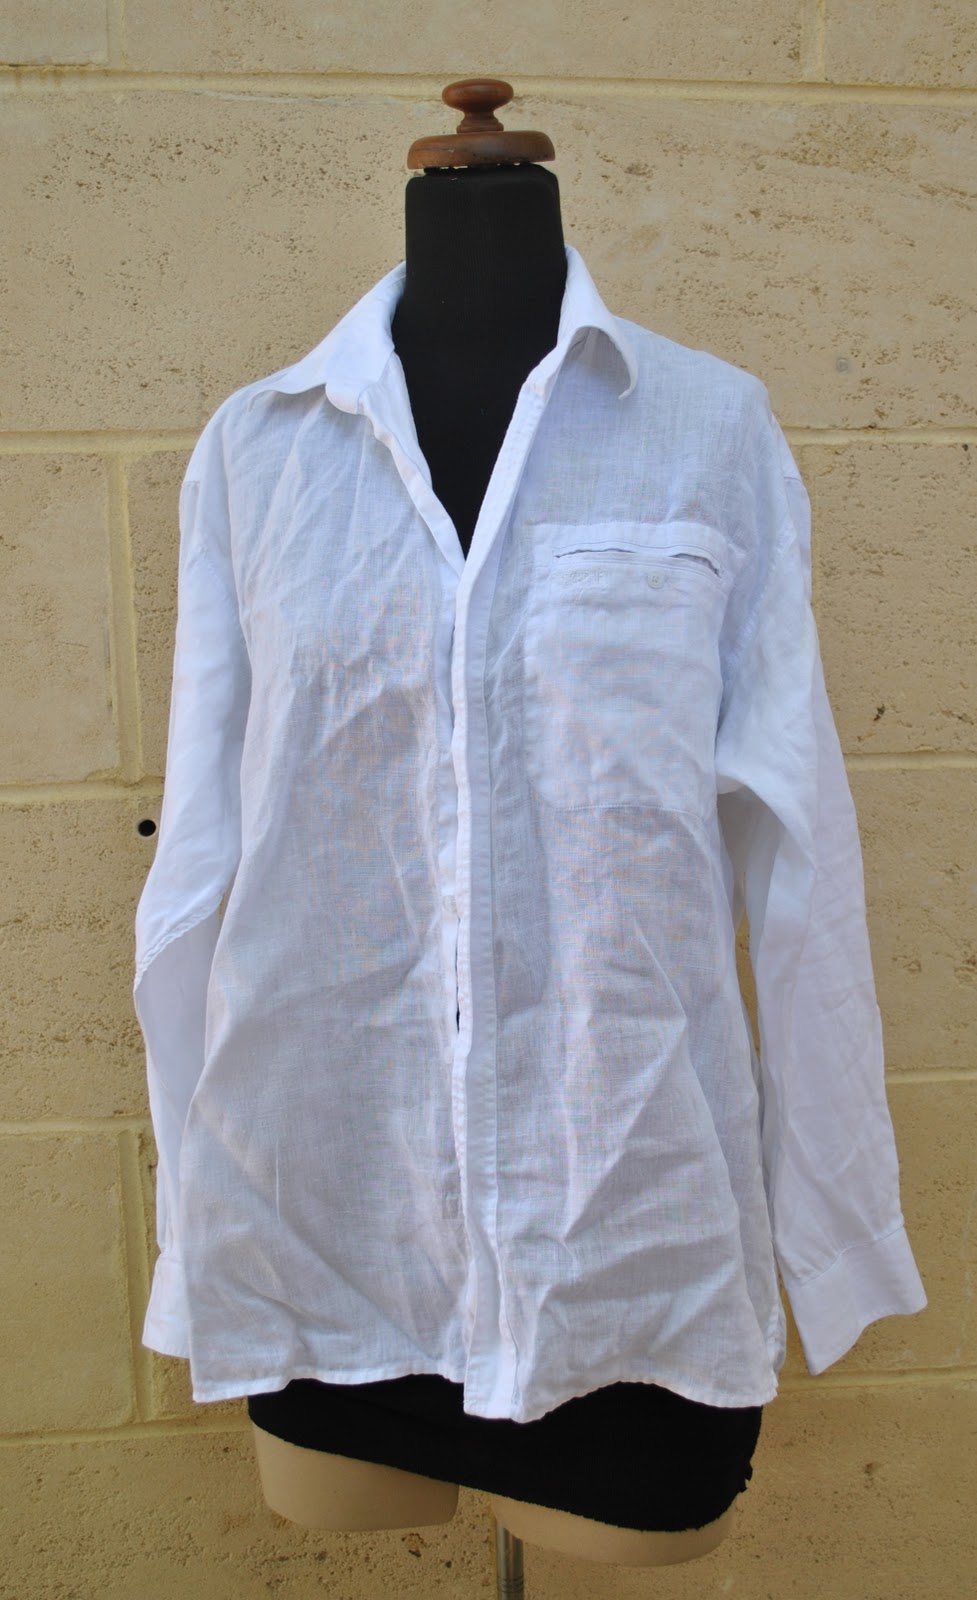
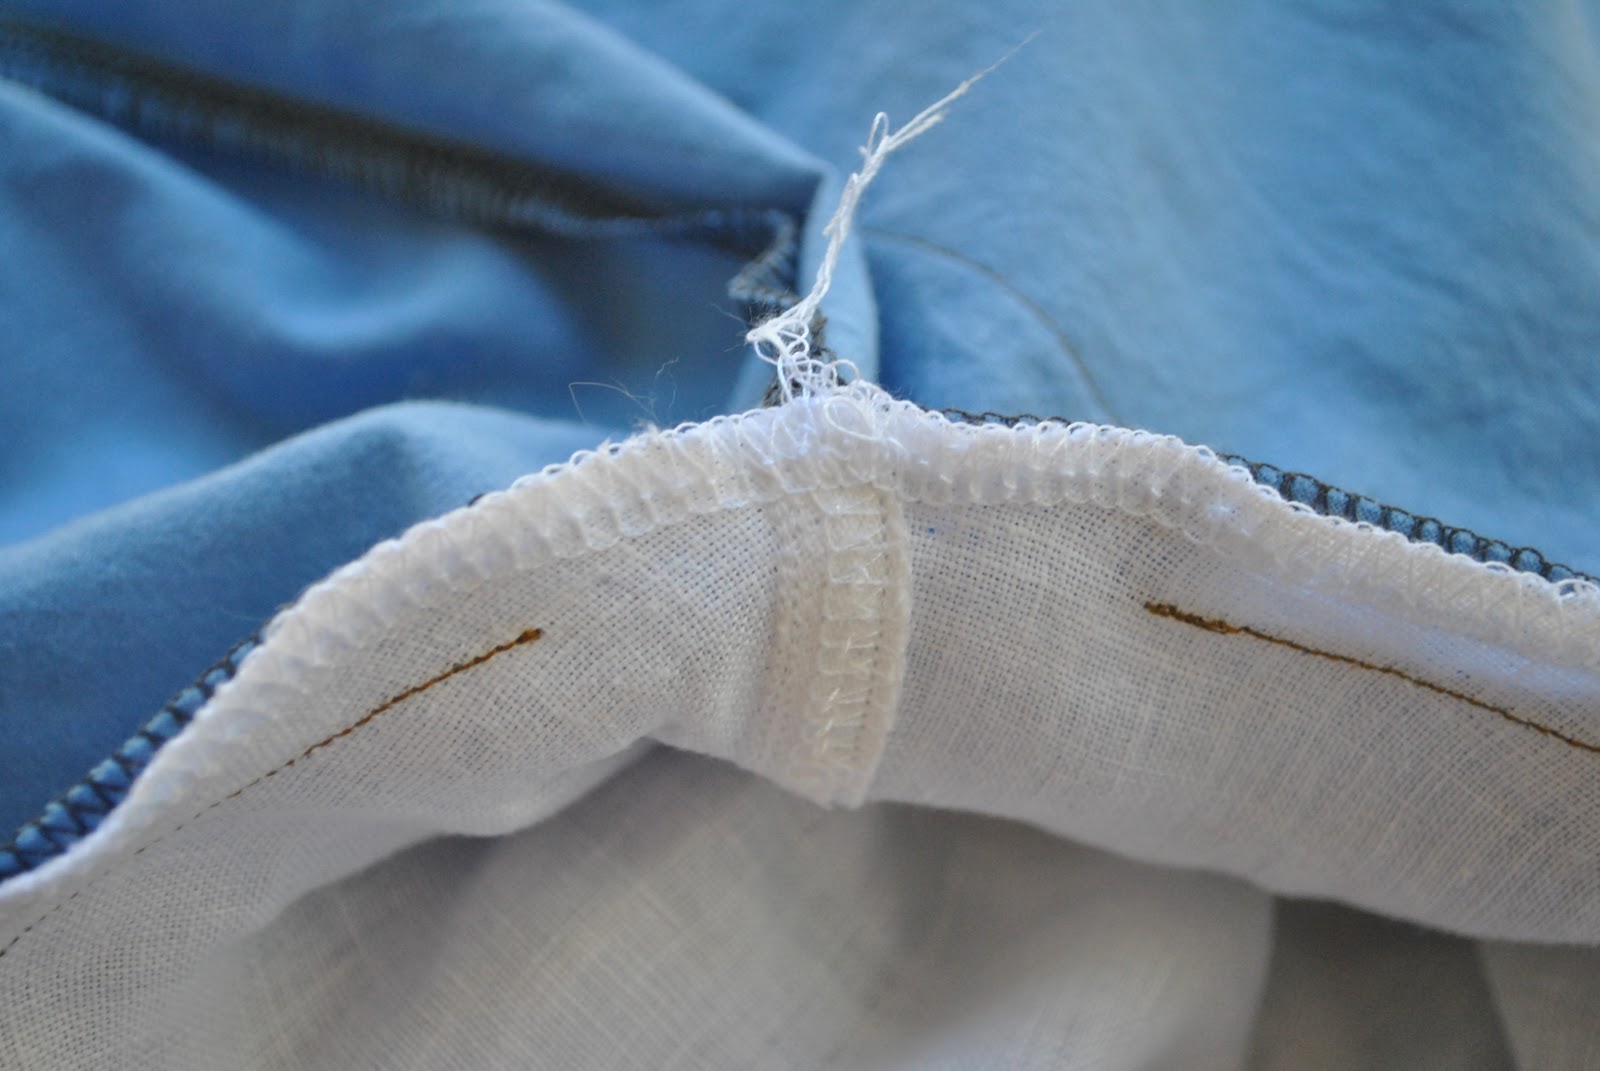
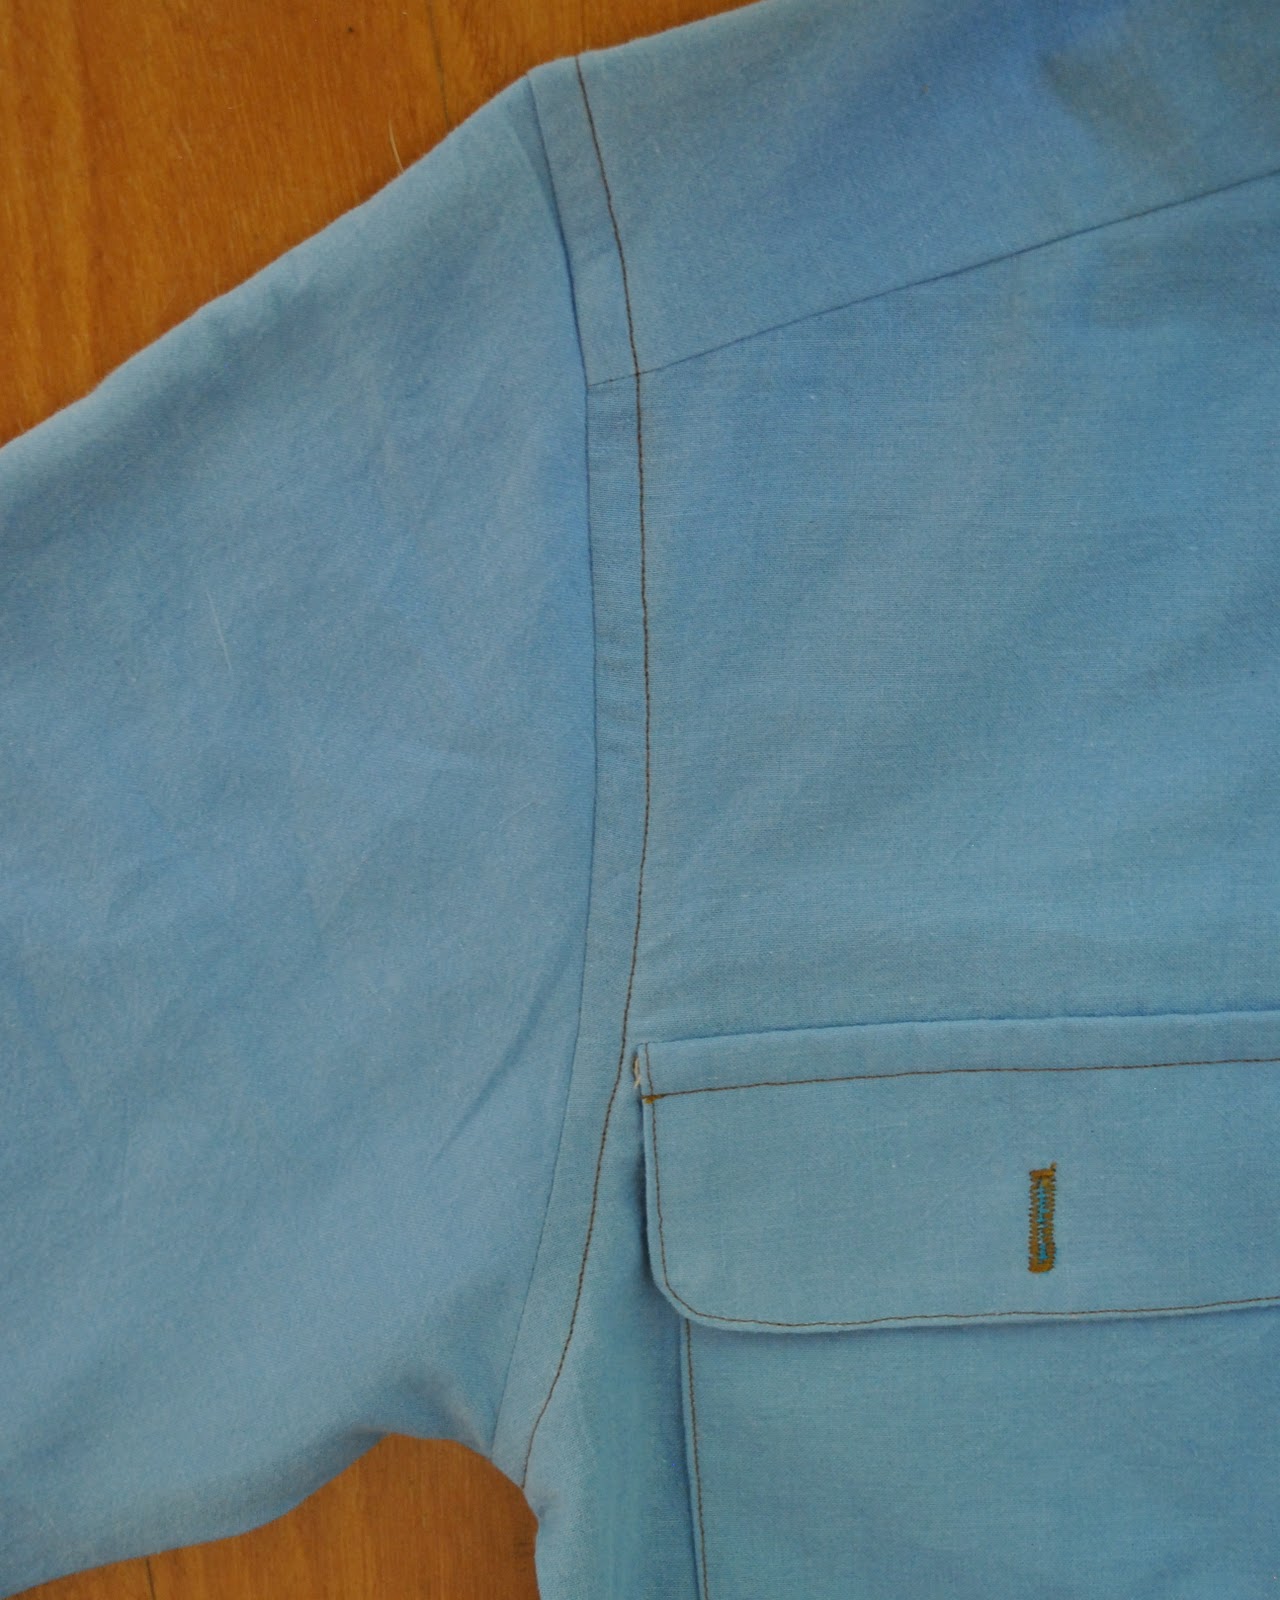
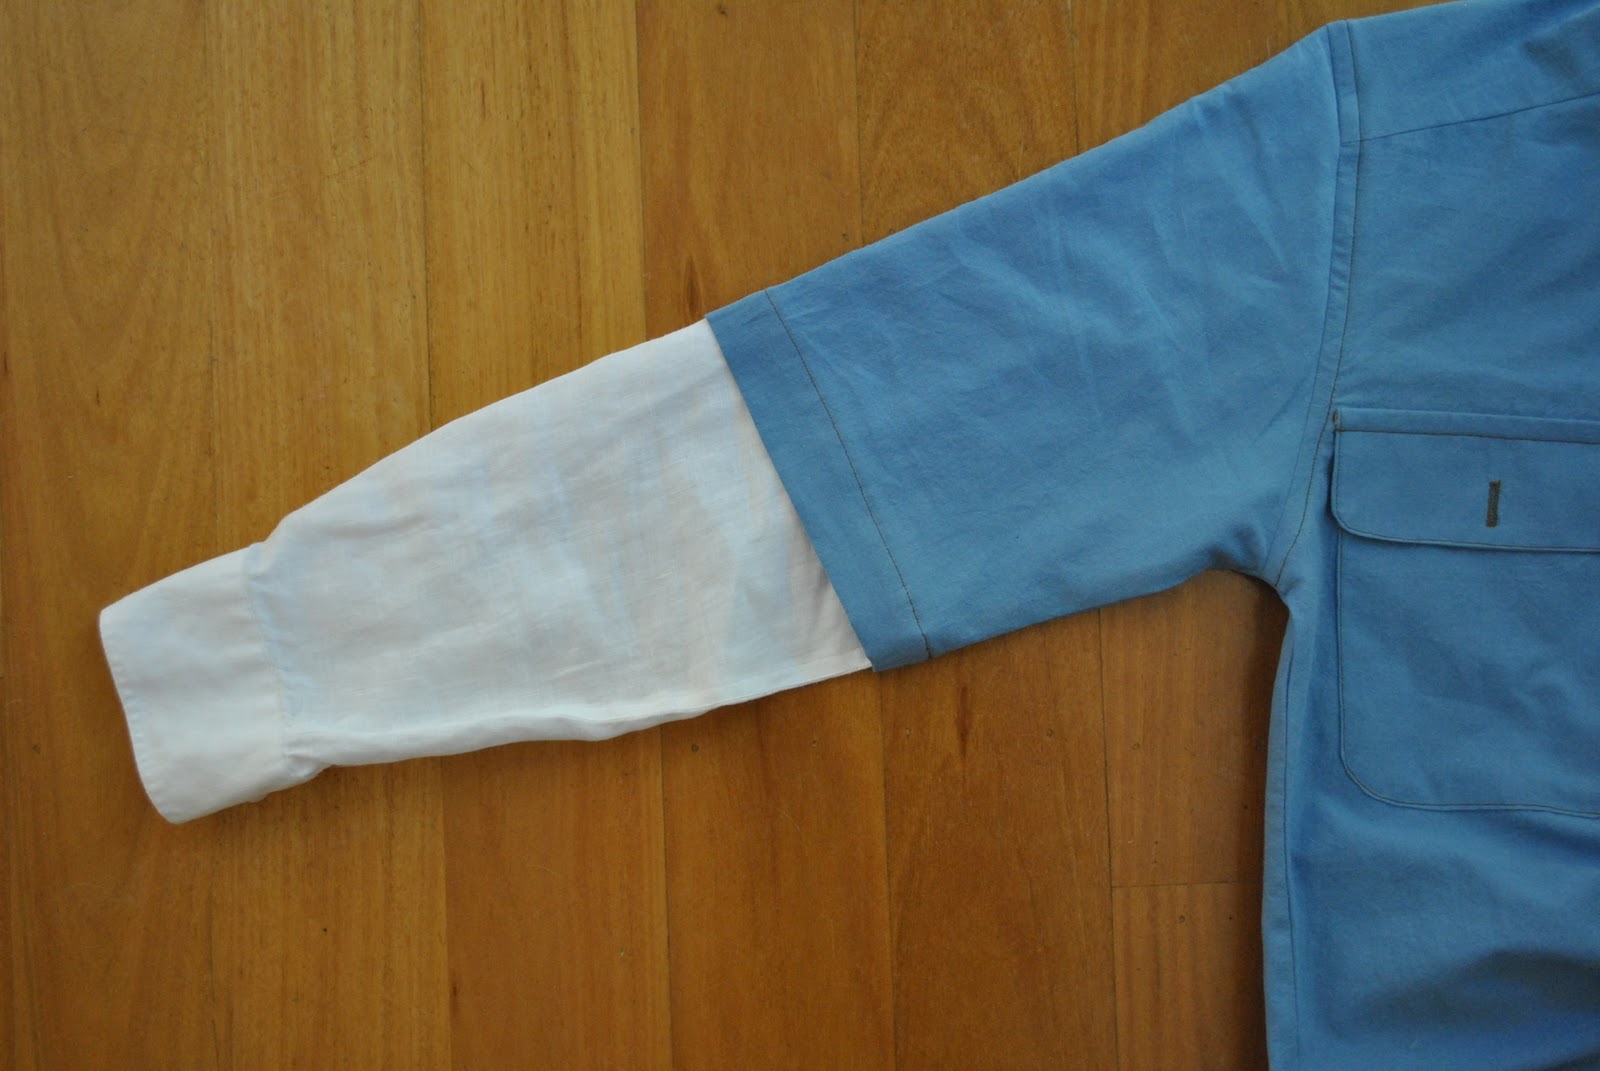
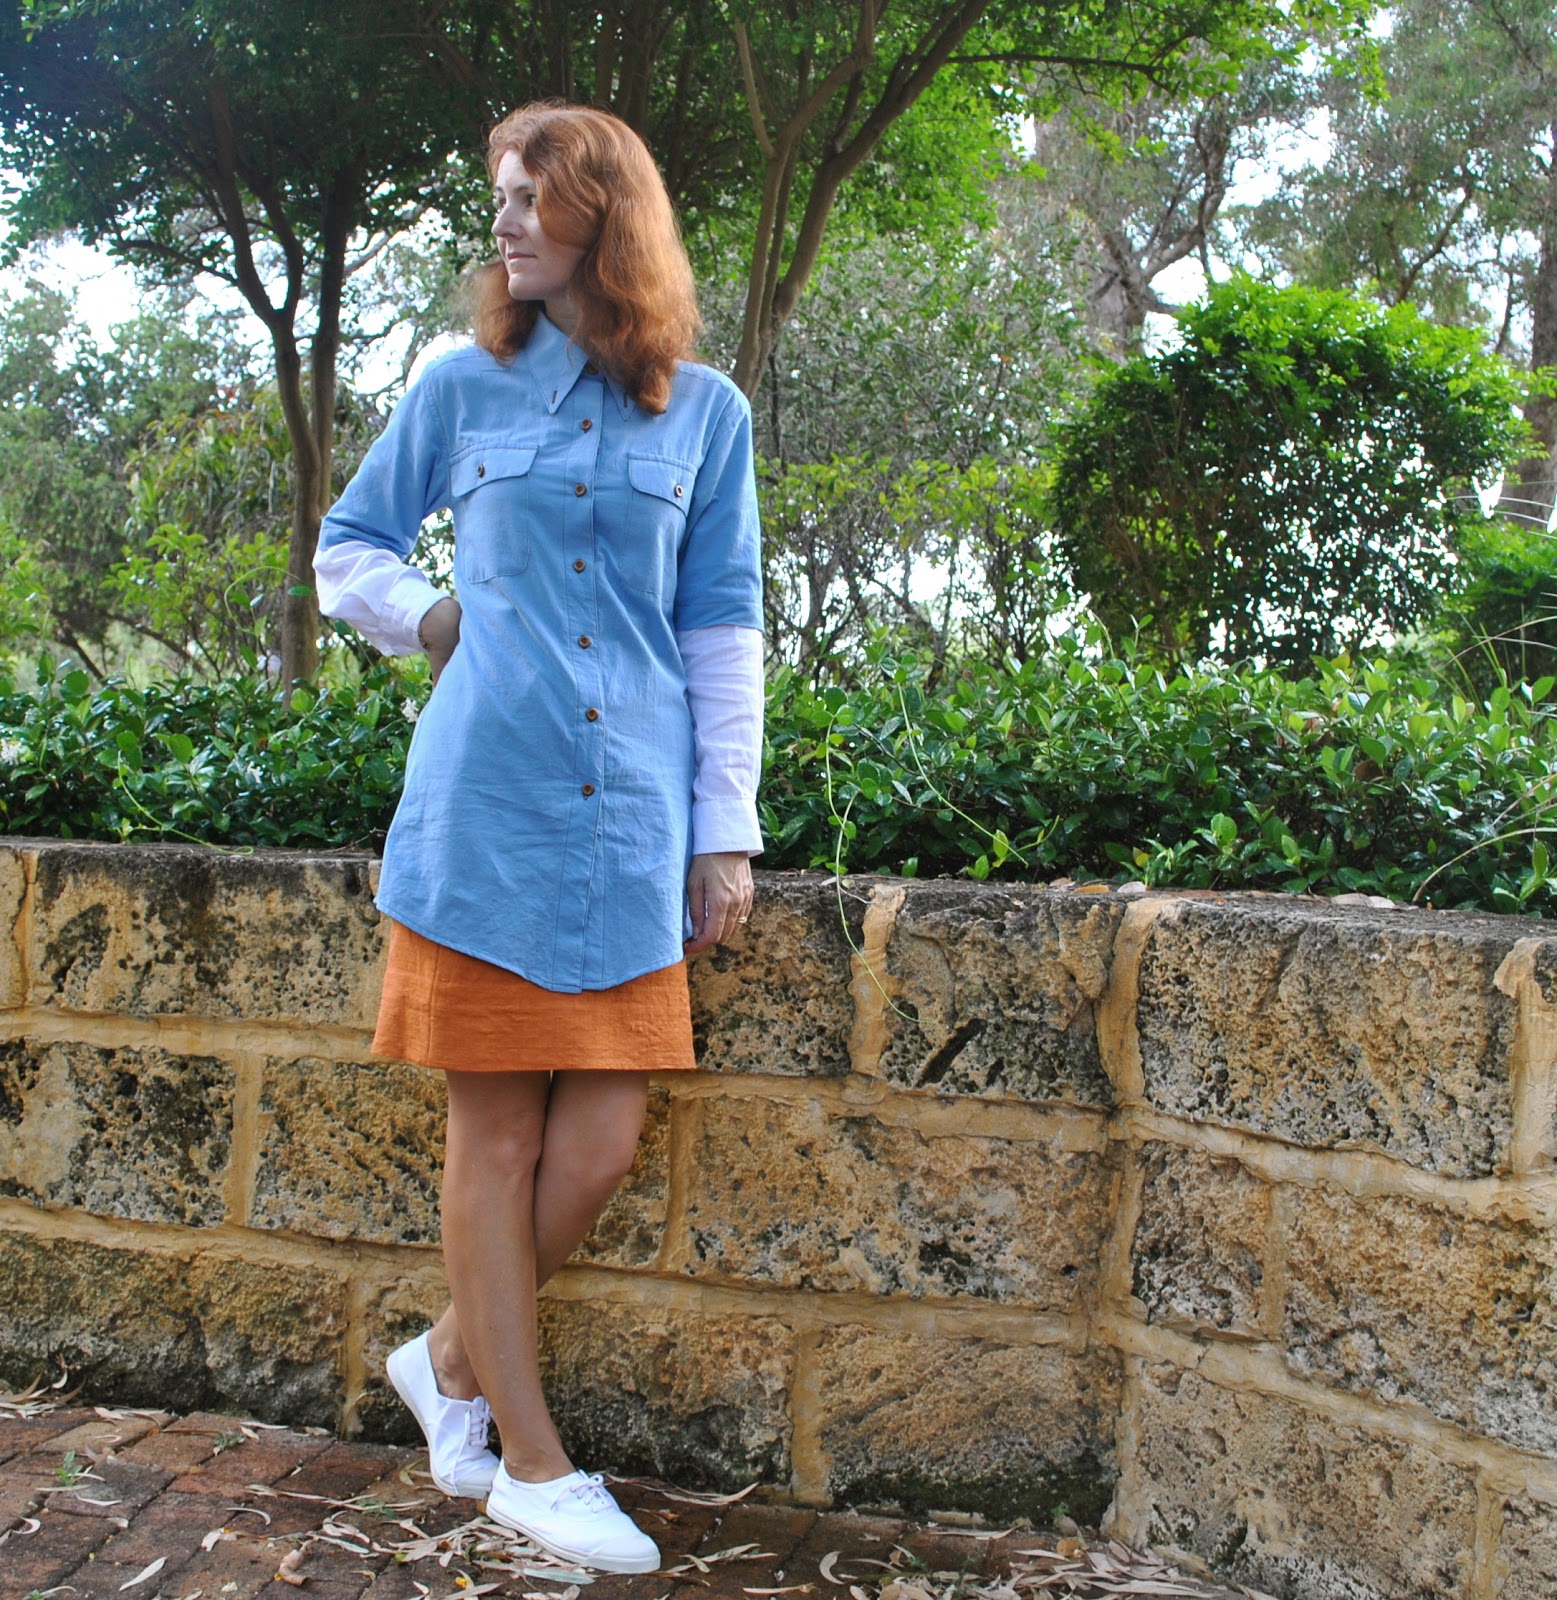
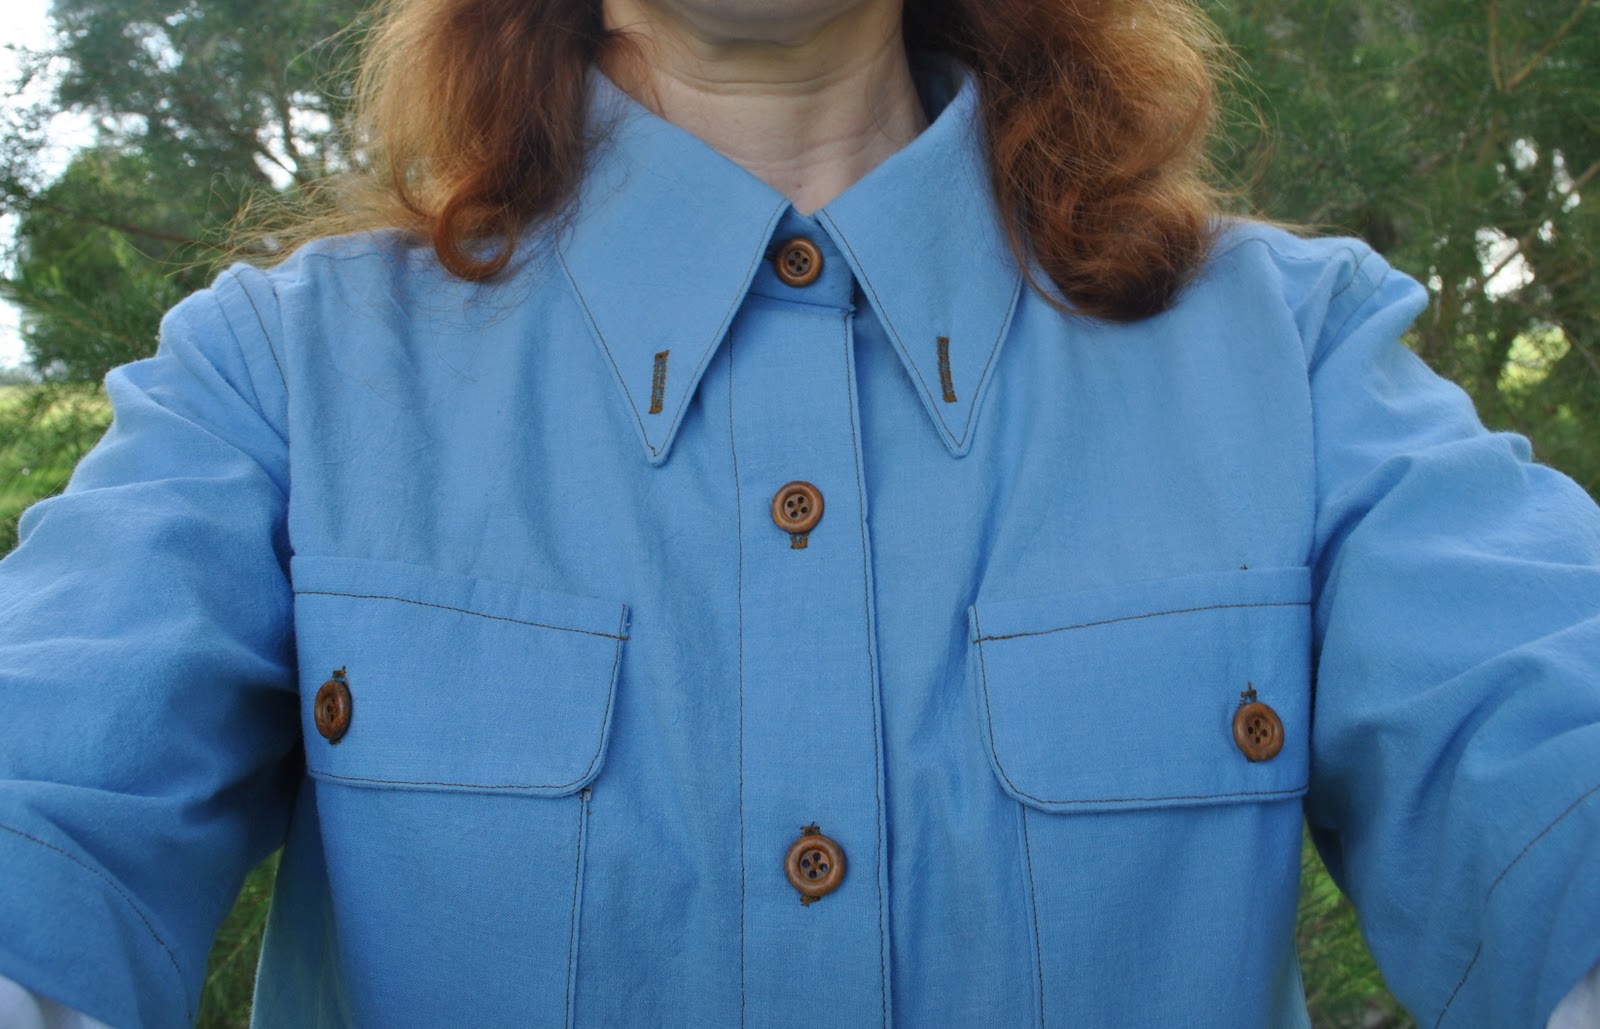
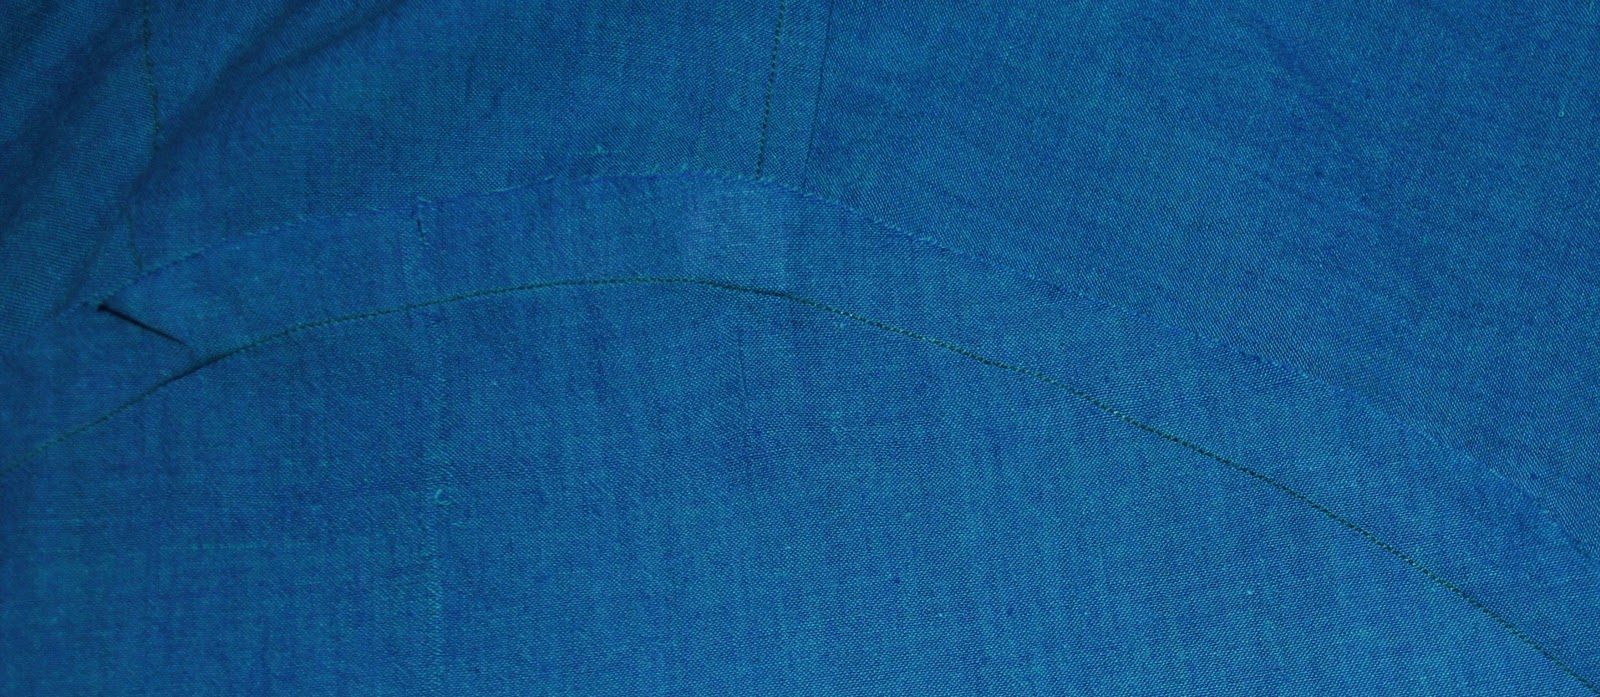
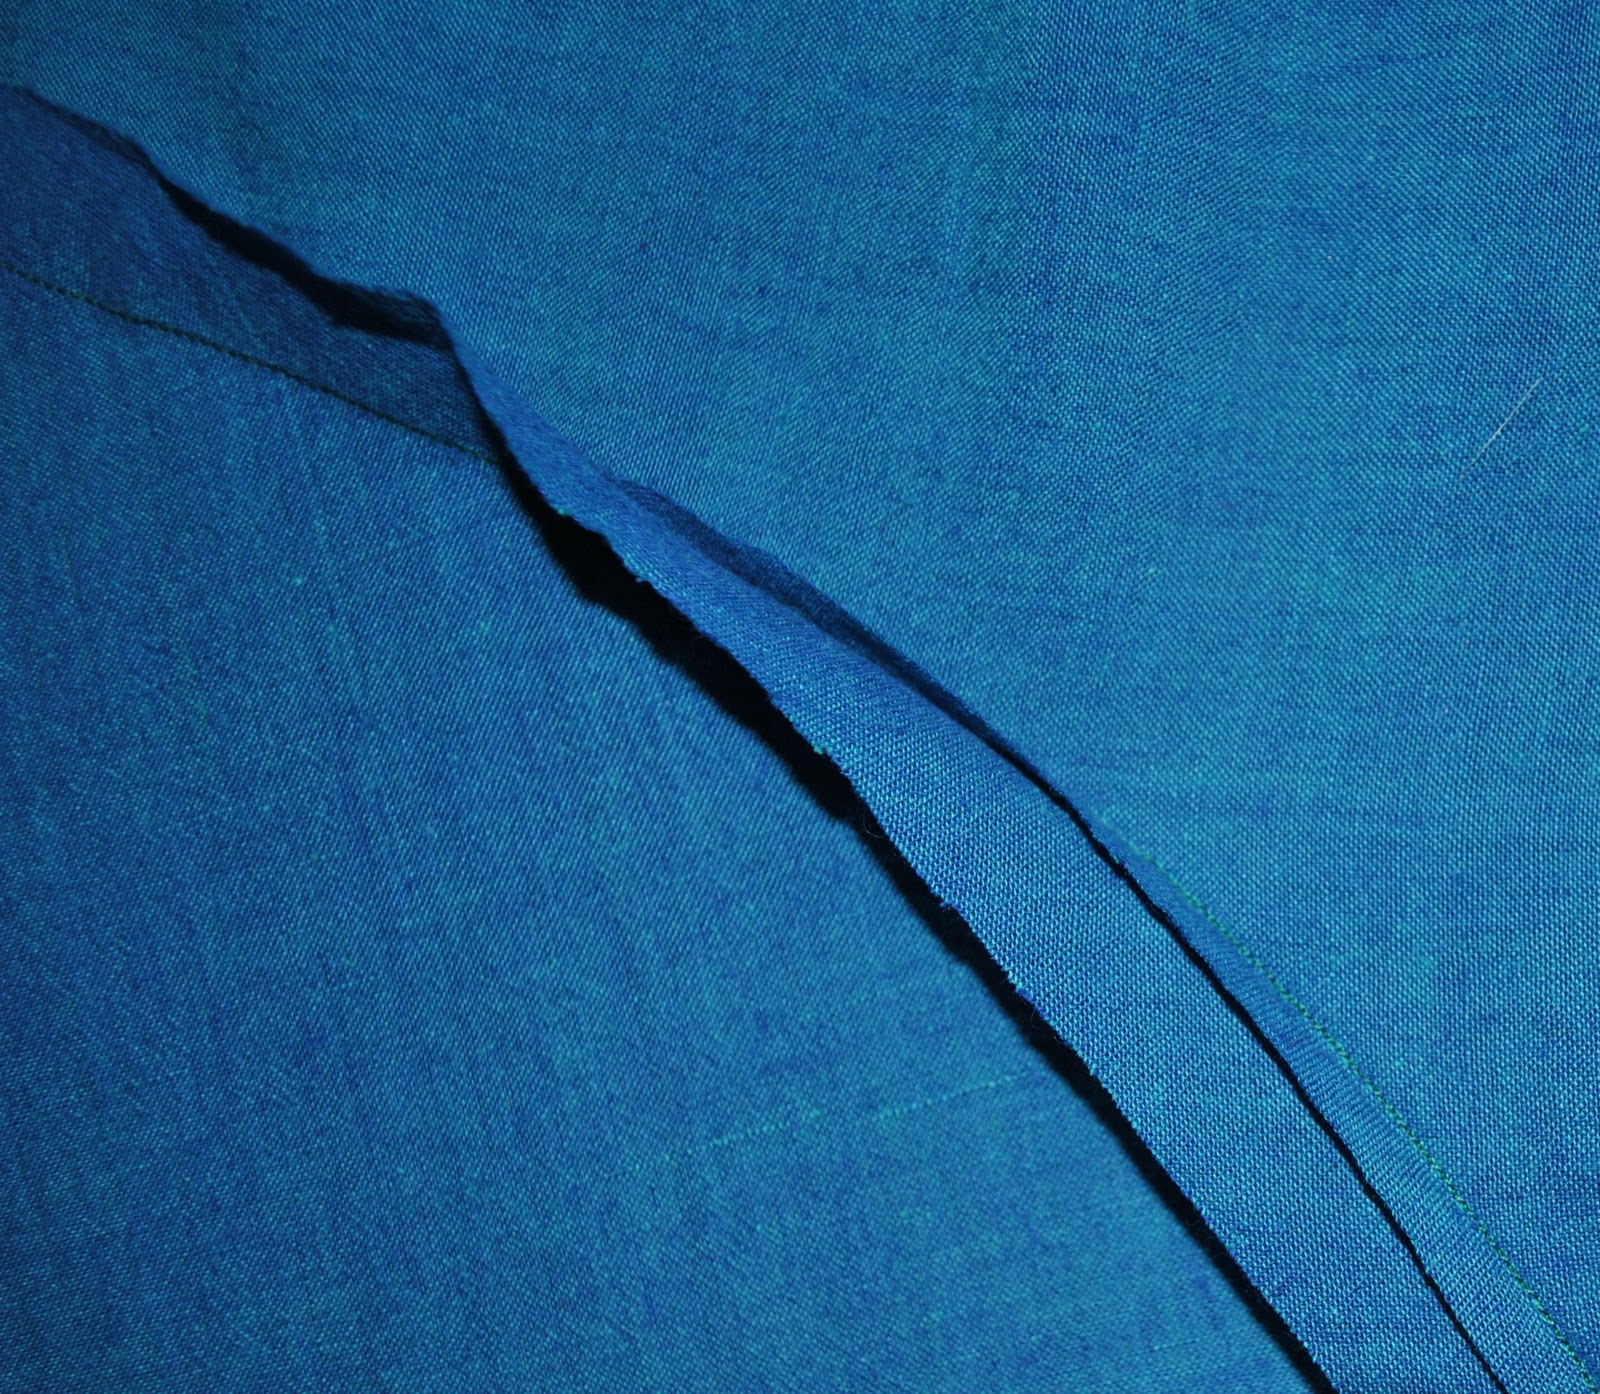
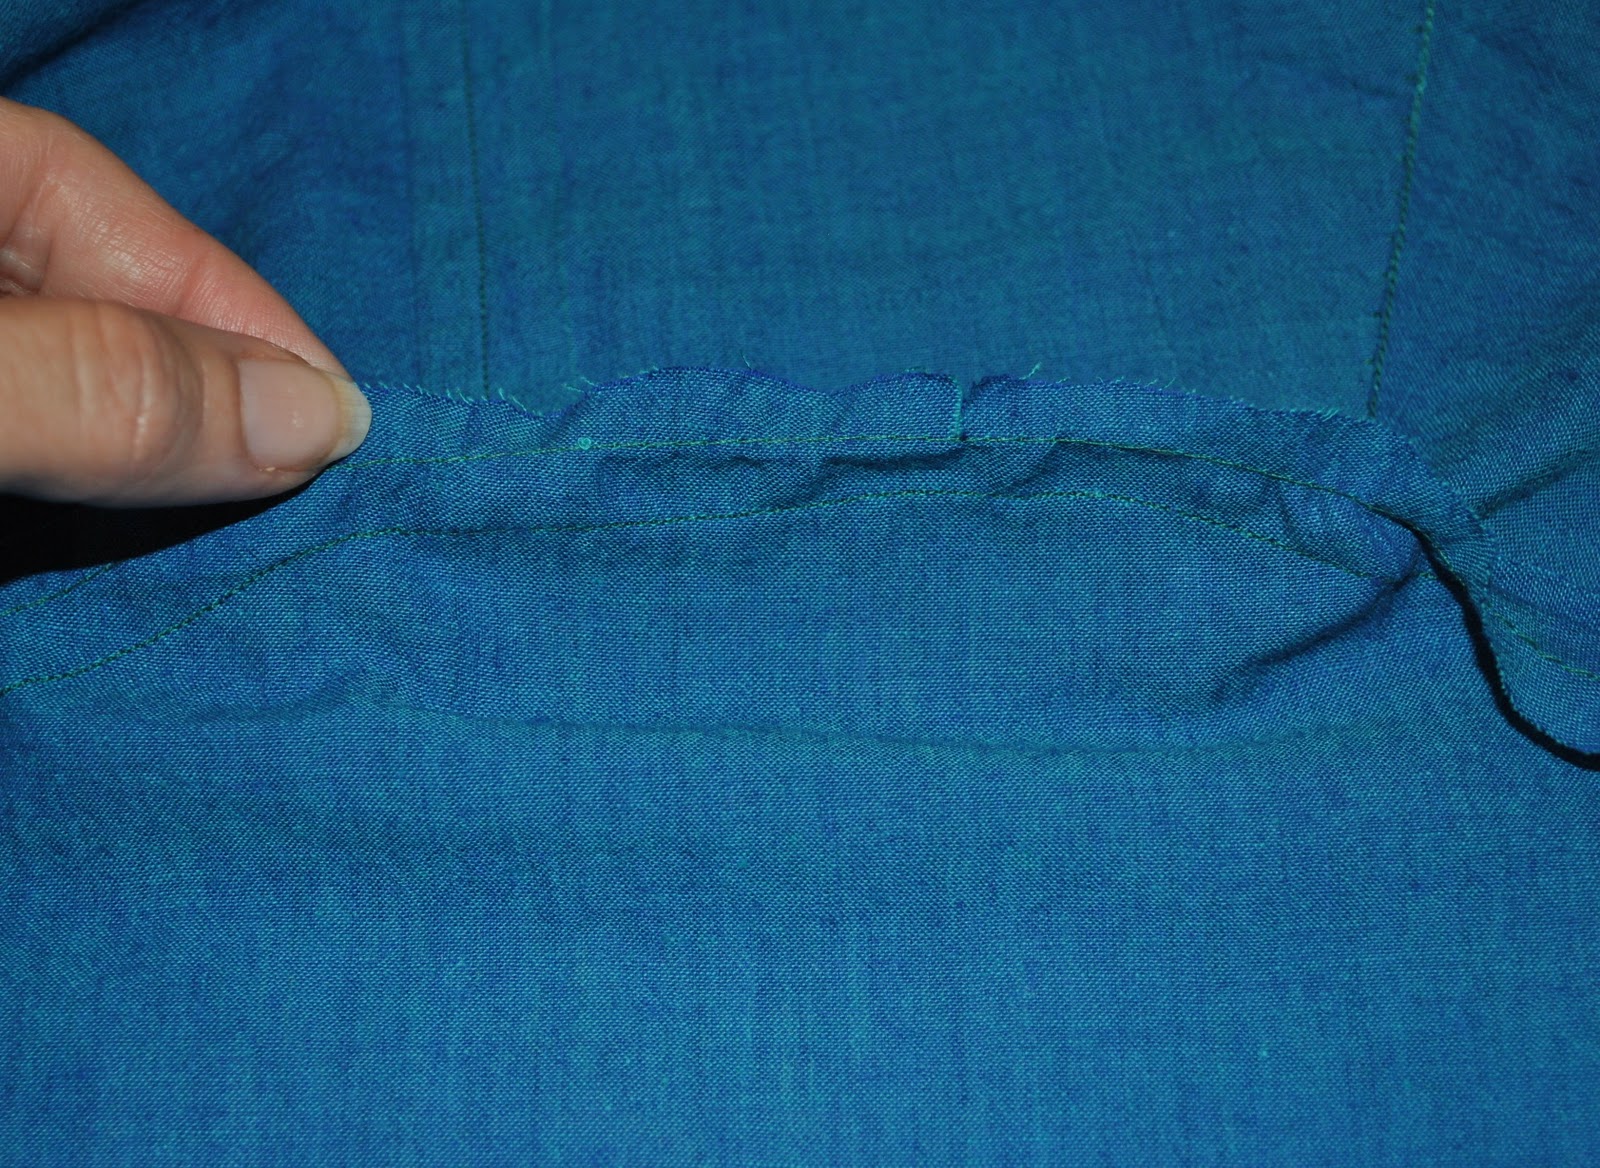
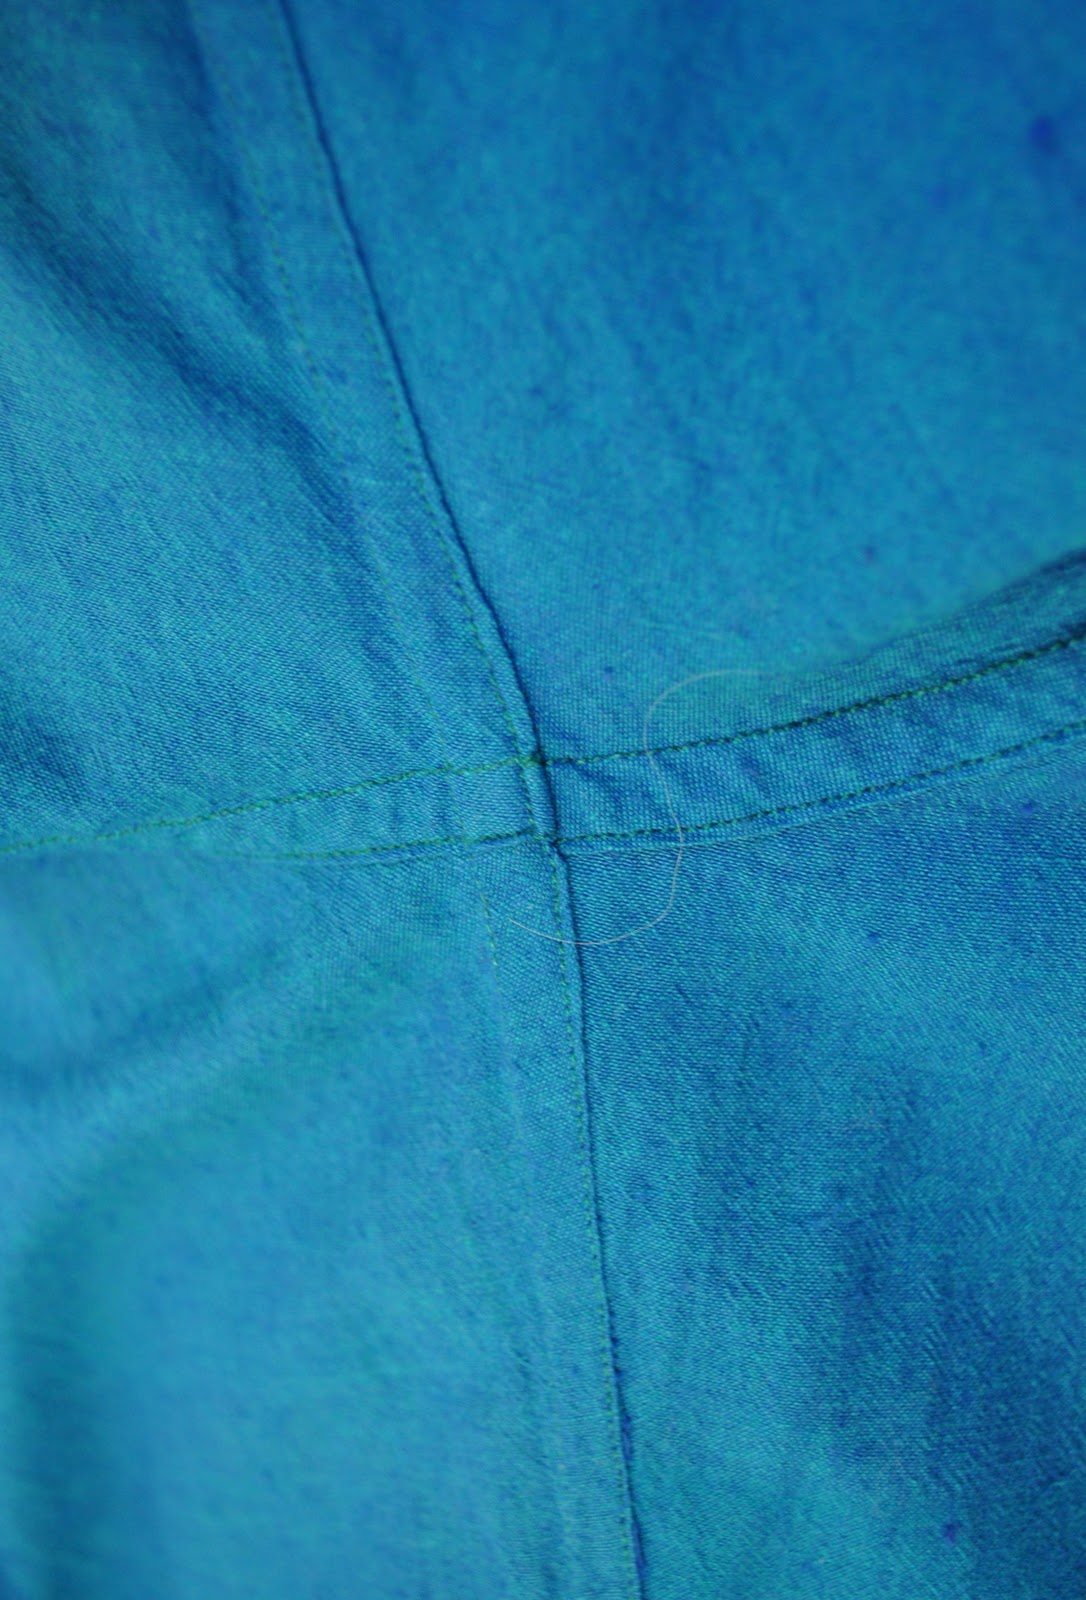
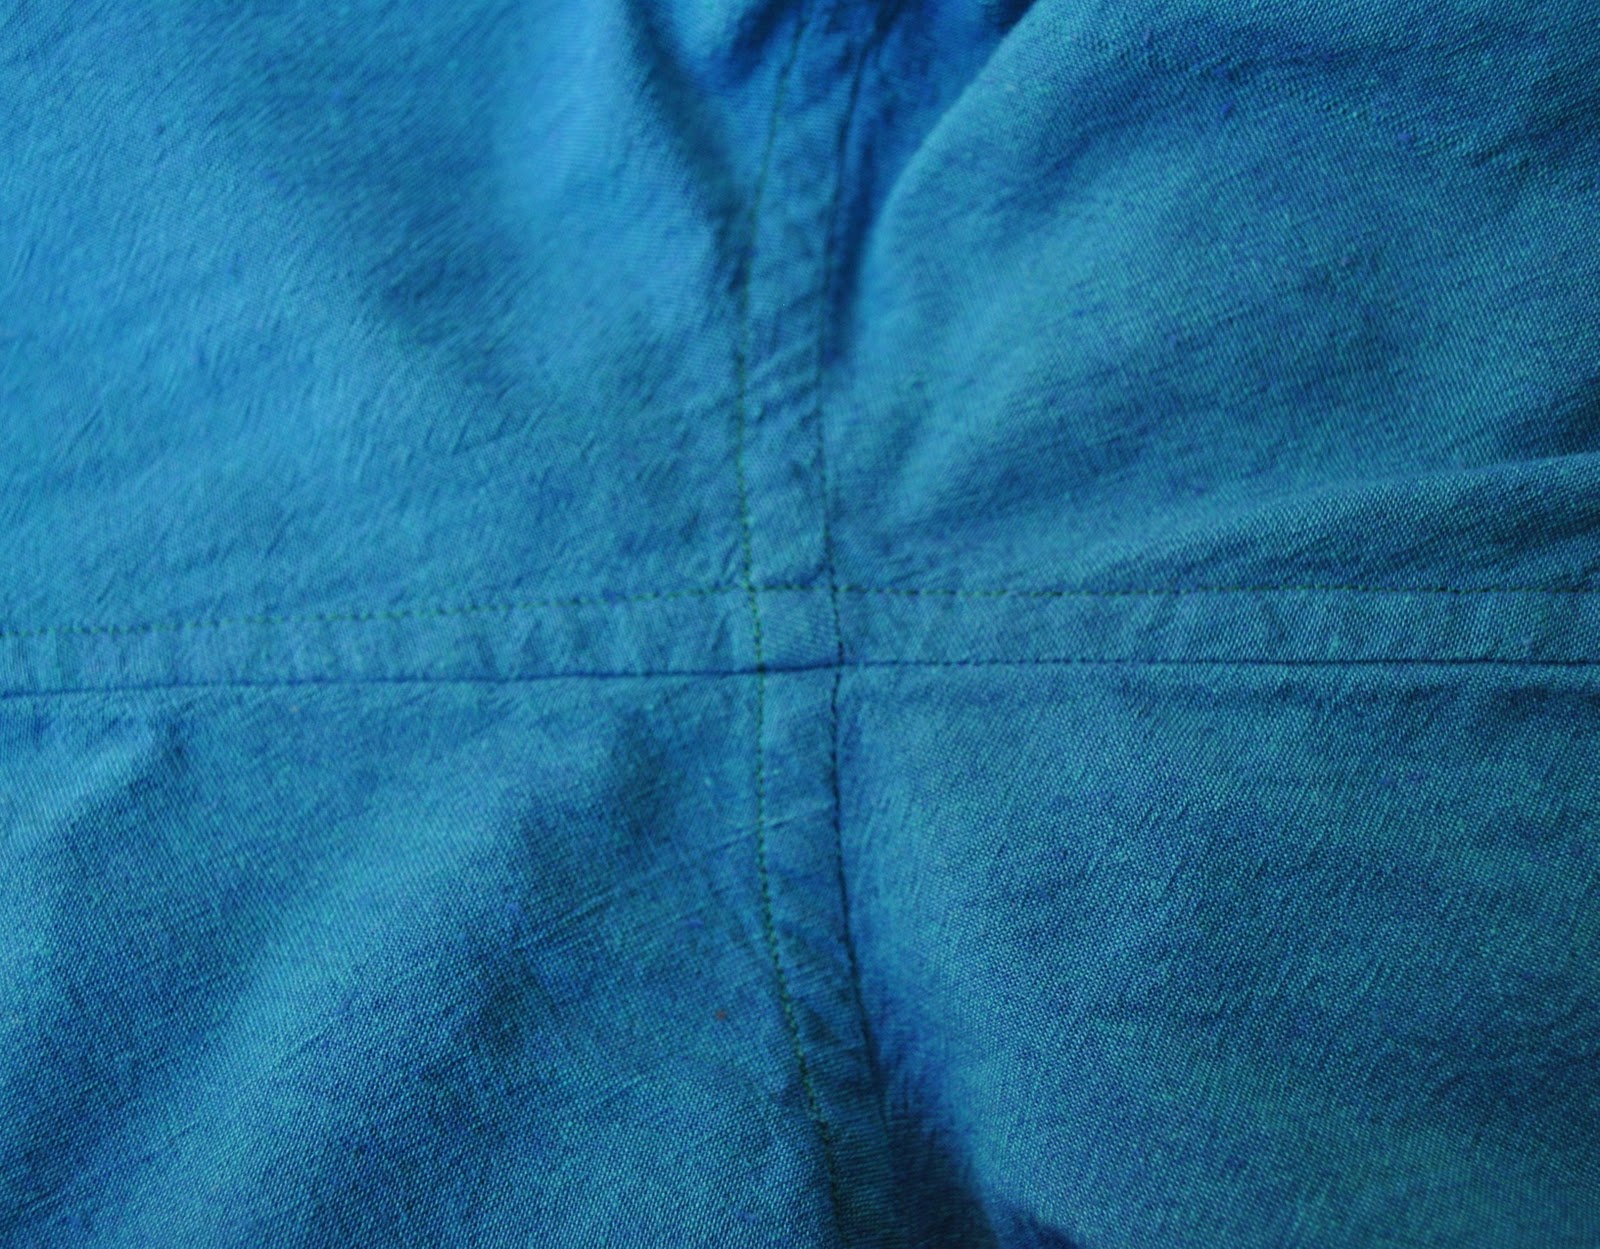
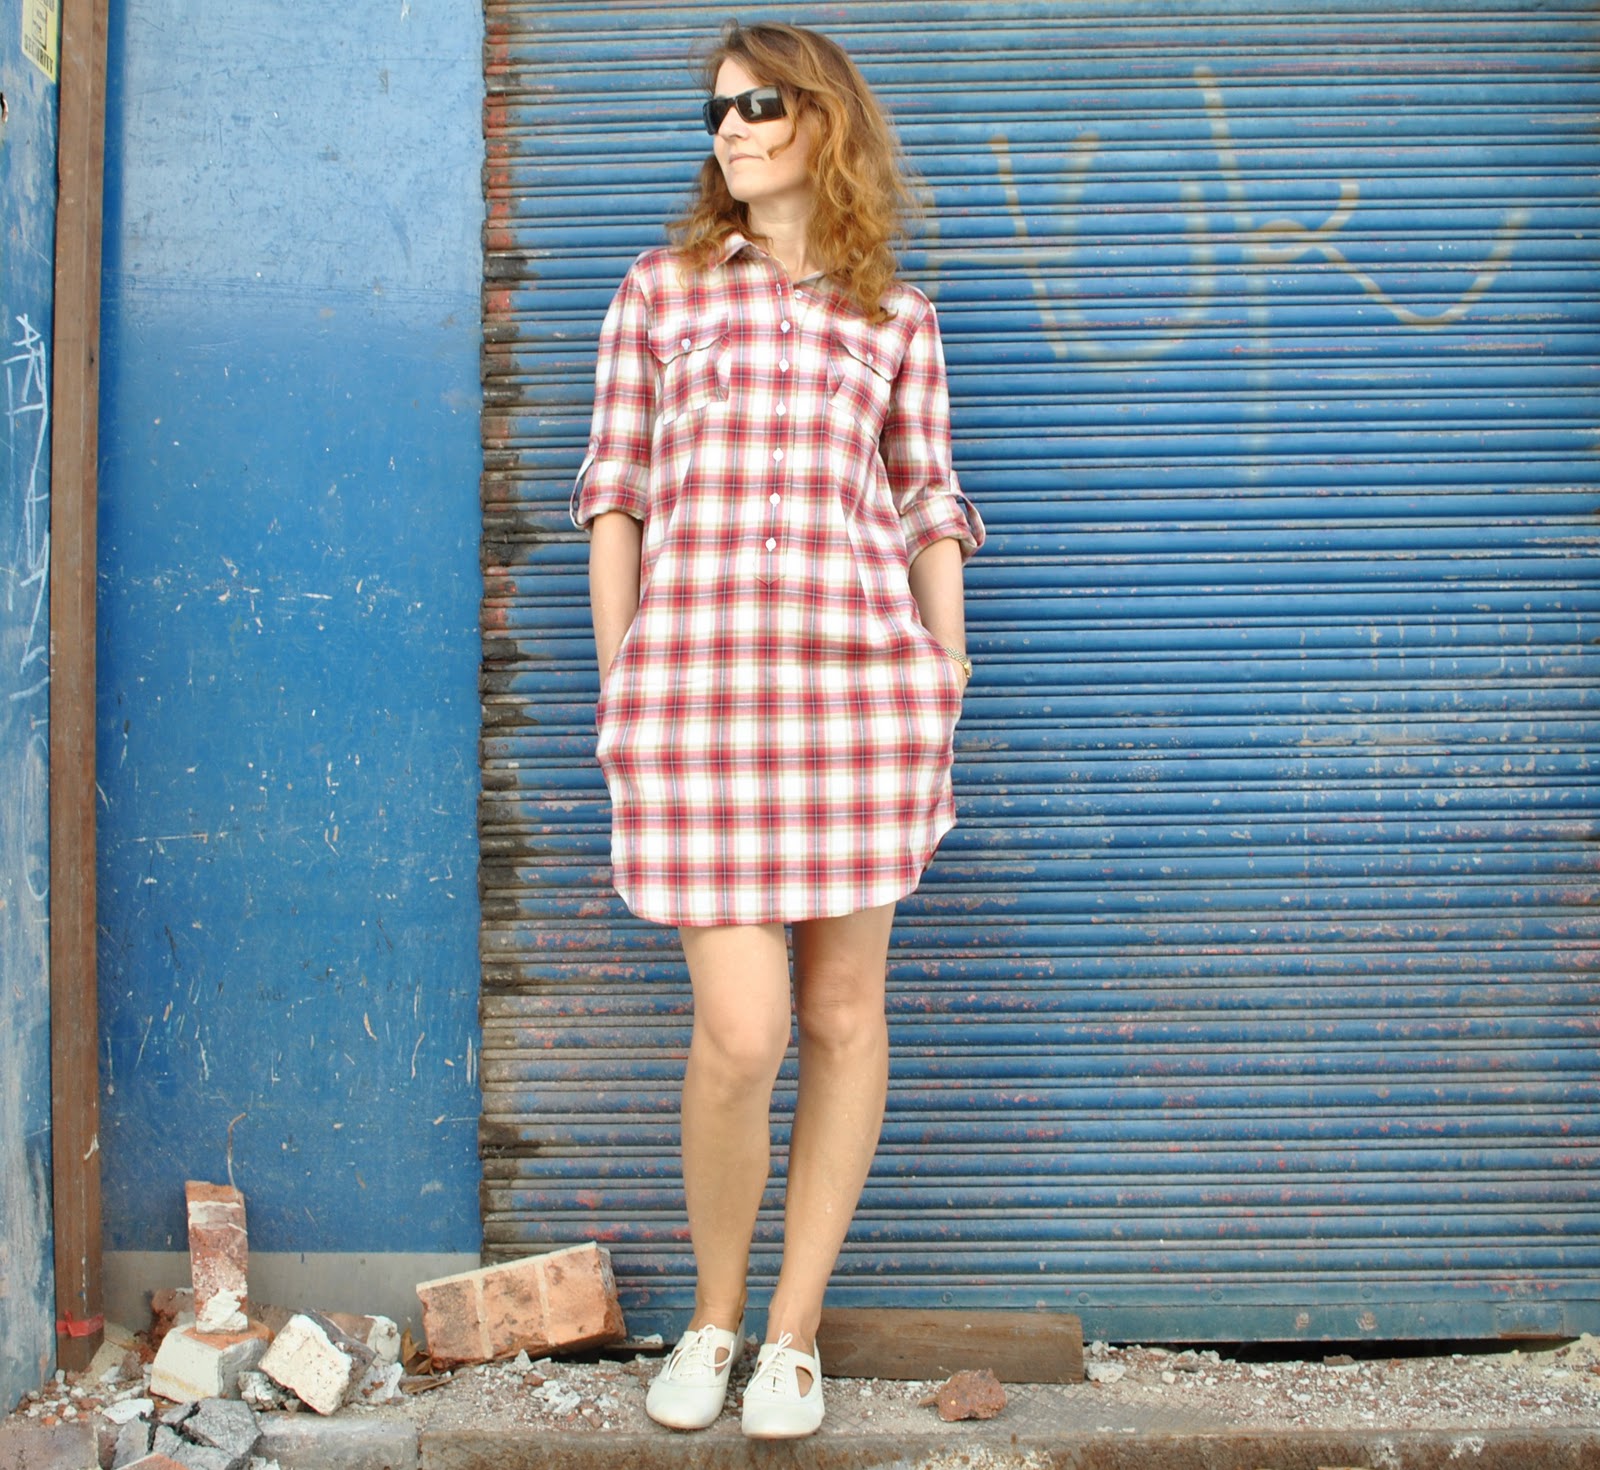
Ahem, I wasn’t sure whether to write about this here or not, since I don’t like to be all sulky sad-face here,  buuuut… my double sleeved shirt got such a low rating on Burdastyle that I removed the project.  I just felt so depressed about it.  Actually I don’t whether to even continue on that site.  I’m just losing faith in it a bit.  OK, a lot.  The ratings system is just too awful.  I know they’ve copped a lot of flack for having that rating system, I’ve been reading the complaints for years, but it is still there.  I don’t rate other people’s projects myself because I think to give a low rating is mean and counter-productive and often completely governed by personal taste. One might not choose to make or wear someone else’s project, but I reckon that is not a good enough reason to give it the thumbs down.  Speaking on behalf of my shirt, it was pretty darn well-made if I say so myself.  A tailored shirt is not an easy project, and is something that’s taken me a few shirts to perfect.  Particularly when I’m going to the effort to custom fit.  Which I am.  And as well, anyone who has attempted refashioning with an old garment will know it is way more of a challenge to get a good result than with a perfect piece of untouched new fabric.
Soooo, there it is.  Rant over.  Sorry about that.  Good natured posts should resume soon… once I’ve got over it.
Have a great day, everybody!

pinterestmail

A double-sleeved shirt


Remember I said I had made 6 shirts over the past month and a half?  well here ’tis t’ sixth!
This blue shirt was was intended for one of my boys and was pretty much finished, but I was getting more and more disillusioned with it and realising that they would probably not find it in the least bit cool.  The colour and the fabric are too flat, the style is too old, and the whole deal is not hip at all… :((   so I set it aside and made other plans for their pressies…
Then I recalled an editorial picture I had seen and loved, of a Celine shirt from pre-fall 2011; which appeared in that picture to have double sleeves.  A long sleeve of a different colour peeping out from underneath a prim high-collared short sleeve shirt…  I had loved this look and mentally filed it away for future use.  Now whammo realised that I had the perfect candidate all ready and waiting!!
So, I went online to find a picture from the original release of the collection (below) and saw straightaway that the sleeve that inspired me is not in fact a double sleeve, but appears to be a single and pieced sleeve with a seam at the midpoint… but by this time I was in love with my falsely inspired idea of the double sleeve and so this was what I set out to do…
I have had this long sleeve, white linen men’s shirt (below) sitting in my refashion pile for… ahem, mumble years.  Er, hazarding a guess at five? … cough cough.  It doesn’t fit anyone in my mob, but is still pretty well-made and the linen is a lovely fine quality.  I took the scissors to it and liberated its sleeves (the rest of the shirt will be put to good use, don’t worry…)

                                                  source

Taking the blue shirt; well I had to cut off my perfect flat felled sleeves and flat felled side seams (a wrench!) and resize the shirt to me, since all my boys are a lot bigger than me.  I’m afraid I just didn’t have the heart to go through re-flat-felling these seams again either, since I was getting severely “shirted-out” by the time I had got to this one; number six.  I was kind of like, oh yeah, whatever, run ’em through the overlocker  (brrrrrrrrr! and 10 seconds later) yup, that’ll do.
I didn’t unpick the pockets either, and just left them completely in situ.  This is why they appear quite big on my little chest and are disappearing into my armpits.  Hey, I can live with that.  The white linen sleeves were also quite massive on me so needed resizing as well… this turned out to be more challenging that it sounds, since the sleeve seam was a French seam and double top-stitched down in place.  Tricky!  I got there in the end, but the insides are not gorgeous… basically I ended up just overlocking the raw edges of my new seam and double top-stitching this down from the outside to match up with the remainder of the original seam as it goes down in the cuff.  The cuff and the placket both are perfectly double top-stitched, and I wanted to keep all that intact and mimic this finish as much as I could.  I think the seam matched up pretty good, yes?  Can you see where the old topstitching ends and the new begins?

I wanted the sleeves to be fully separate from each other as the white sleeve emerged from out of the blue sleeve, which was a bit of a puzzle to mesh together…  I ended up deciding to sew the blue sleevecap in flat, sew up and finish the sleeve and side seams of the shirt; and then after this set in the white linen sleeve.  This meant the white sleeves could only be machine stitched in so far.

I completed the set-in by hand.

Last step; to topstitch the allowances of both sleeves together down to the shirt body…

Just to show the garment full-length… (might not wear it this way much)

Luckily I hadn’t yet done the buttonholes on the shirt and so could put them on the “female” side of the shirt.  I love these gorgeous wooden buttons from Fabulous Fabrics, the same ones that Sam chose for his shirt here.

Details:
Shirt; Burda 7767 modified, of shot cotton in Sky and with long white sleeves from an old shirt
Skirt; Vogue 8363 modified, of burnt orange raw silk, details here, my review of this pattern here, and see this skirt styled in 6 different ways here
Shoes; Bensimon, from seed

pinterestmail

Flat-felling a curved seam

Flat-felling gives such a nice finish to tailored items, but if you try it out on a seam with a bit of a concave curve happening it can end up looking messy and not much of an improvement to the looks of the garment after all!
I wondered whether running a line of gathering stitched along the seam allowance might help to solve the problem of turning under that excess fabric around the curve and help it sit nice and flat.  So I tried it out on the sleeve cap seam allowance of the next shirt to roll out of the atelier, Craig’s birthday shirt, and it worked like a charm… I did take some pictures to illustrate but unfortunately a couple seem to have been lost in a recent computer clean-up  :(( so for the missing pictures I shall attempt to explain as best I can… 😀
So.
The sleeve cap  has been attached flat to the body of the shirt, and the sleeve and side seams of the shirt are still unstitched.  I want to flat-fell the seam allowance along that top curve of the sleeve cap.  The sleeve cap seam has been pressed up towards the body of the shirt…

Lift up the top layer of the seam allowance and snip the underneath allowance to just less than half its width, just as you would with a straight flat-felled seam (tutorial for that here)…

Now run a single line of gathering stitch along the wider upper curved seam allowance, at the halfwidth line.

Now turn under the raw edge along the line of gathering stitches, treating the line of stitching as the fold line.  If the curve is not very pronounced, the gathering may only need to be pulled in just a little…  Distribute and ease out the gathering as needed to achieve a flat a finish as possible.

Press and pin in place.

(missing picture here, sorry)  I topstitched the seam allowance down from the inside of the shirt; taking great care to keep the topstitching a perfectly even distance from the seam stitching, that is using the seam stitching as the guide to gauging the width of topstitching.  If you forget this and aim to topstitch using the folded edge as your guide, it may end up looking a little uneven on the right side (because not even the most careful of us is Perfect at folding under and pressing  an exact width fold), and this you want to avoid.  After all, the appearance on the outside of the garment is what counts!
To illustrate; here is the underarm at the 4-corner point where the sleeve seam meets the side seam: Below; inside the armhole, that flat-felled edging has a few little bumps along that folded edge because of the allowance not turning under completely even-width so doesn’t appear super perfect..

but below; the outside does.  So I’m OK with that…

(another missing-in-action shot, so below is an “after” shot) Now I stitched the sleeve and side seam in one go; and flat felled this seam allowance.

Because this seam here is a convex curve the seam allowance has less fabric along the raw edge than the seam, (rather than more fabric as in for a concave curve) and so it folds under more easily.  However because there is less fabric, you need to stretch out the seam allowance a little when flat-felling it down.  In my experience this is a lot easier to achieve than dealing with the excess fabric in a concave curve, but very rigid fabric may either need a bit of a snip around very tight curves, or alternatively a HongKong finish may be more suitable.

(Hmmm, diverted a little into mathematics territory there, but I hope that helped to illustrate the point!)


I don’t know I would bother with flat-felling the side-and-sleeve seam of a long sleeved shirt,; sewing neatly up the inside of a long tube is probably high up the list of things that are disproportionately difficult with consideration to actually how much it really improves the look of the shirt… but I’ve found sewing up the inside of a short-sleeved shirt to be OK and not too much of a hassle.

pinterestmail

2011; a year in review

A favourite picture from each month of last year.  May has two, because I could not choose between them…
January; here.

February;  here

March; here.

April; here

May; pretty chuffed with my ballgown, here.  I made the accessories and the evening gloves as well, here

May; I just had to put this dress in here as well since it is my favourite garment of the year… here

June; here.  This is one of my favourite pictures I’ve ever taken for this blog…. just the colours of the morning sky and the glassiness of the river and “the twirl” (a mini-challenge within the Me-Made June Flickr group)

July; here

August; here

September; just a really lovely day out; here

October;  here

November; bathers!  here

December; here

Soooo, 2011; apart from underthings, and one scarf, a souvenir from our holiday in Japan, I did not buy any RTW clothes at all this year!  I made things… lots of which I was very happy with.  The dawning of a fresh New Year has got me freshly and newly excited about all the fresh new possibilities for making fresh new things.  Fresh!  New!
On that note; resolutions, of the handmade variety…
A more determined effort to de-stash (oh, we’ve all heard that one before!)
Continuing to work bit by bit through the challenges of the Pattern Magic books.
And Wardrobe Refashion has gone 🙁  but I’ll be keeping to my pledge to make all my own clothes.  Although the enthusiasm for making my own underwear still eludes me… but maybe 2012 is the year to change that?

Really, creating based purely on whim and passion is my joy and has served me well so far; so I shall continue wandering aimlessly but happily through the process of making, seizing the inspiration wherever it hits, perfecting techniques as much as I am able, and just seeing what pops up…

Best wishes to all for a wonderful New Year, and I hope it brings all you have been hoping for!

pinterestmail
Switch to mobile version
↓