
 hello! I’ve made a new/old blouse for myself… I’ve always enjoyed the challenge of using old textiles PLUS I’ve also always loved patchwork and mixed-prints in clothing so obviously this new blouse is certain to become a favourite! why? because the fabric is salvaged from three well-loved old shirts of my husband’s… I really liked each of these shirts when he was wearing them, so when he decided they were too worn to be worn any more (hehe) I packed them away to be refashioned one day.

I know it seems weird and silly to use three whole mens’ shirts to make just one woman’s shirt… like an exceptionally inefficient use of resources really! however there really were so many bits of each shirt that could not be used because of holes, stains, or threadbare patches that I had no choice. I was on a rescue mission!

The pattern is one of the newly release patterns from Fibremood, the Mimi blouse. Such a quick and simple thing to make! Especially coming hot on the heels of two jackets, ahem. It was nice to be an able to whip up something without having to think too much!

The pattern actually has the button and buttonhole bands cut on, so my use of the third contrasting fabric is an alteration really. I did have to do a bit of calculation to get this to work out well. I was seriously worried I wouldn’t have enough of the yellow fabric but thank goodness I did in the end. Another issue was cutting the lower front panels… I had to join some pieces together to get a piece big enough you might be able to see the joining seams on both of those sections of my new shirt. The sleeves also have joining seams that I did my best to make reasonably unobtrusive.
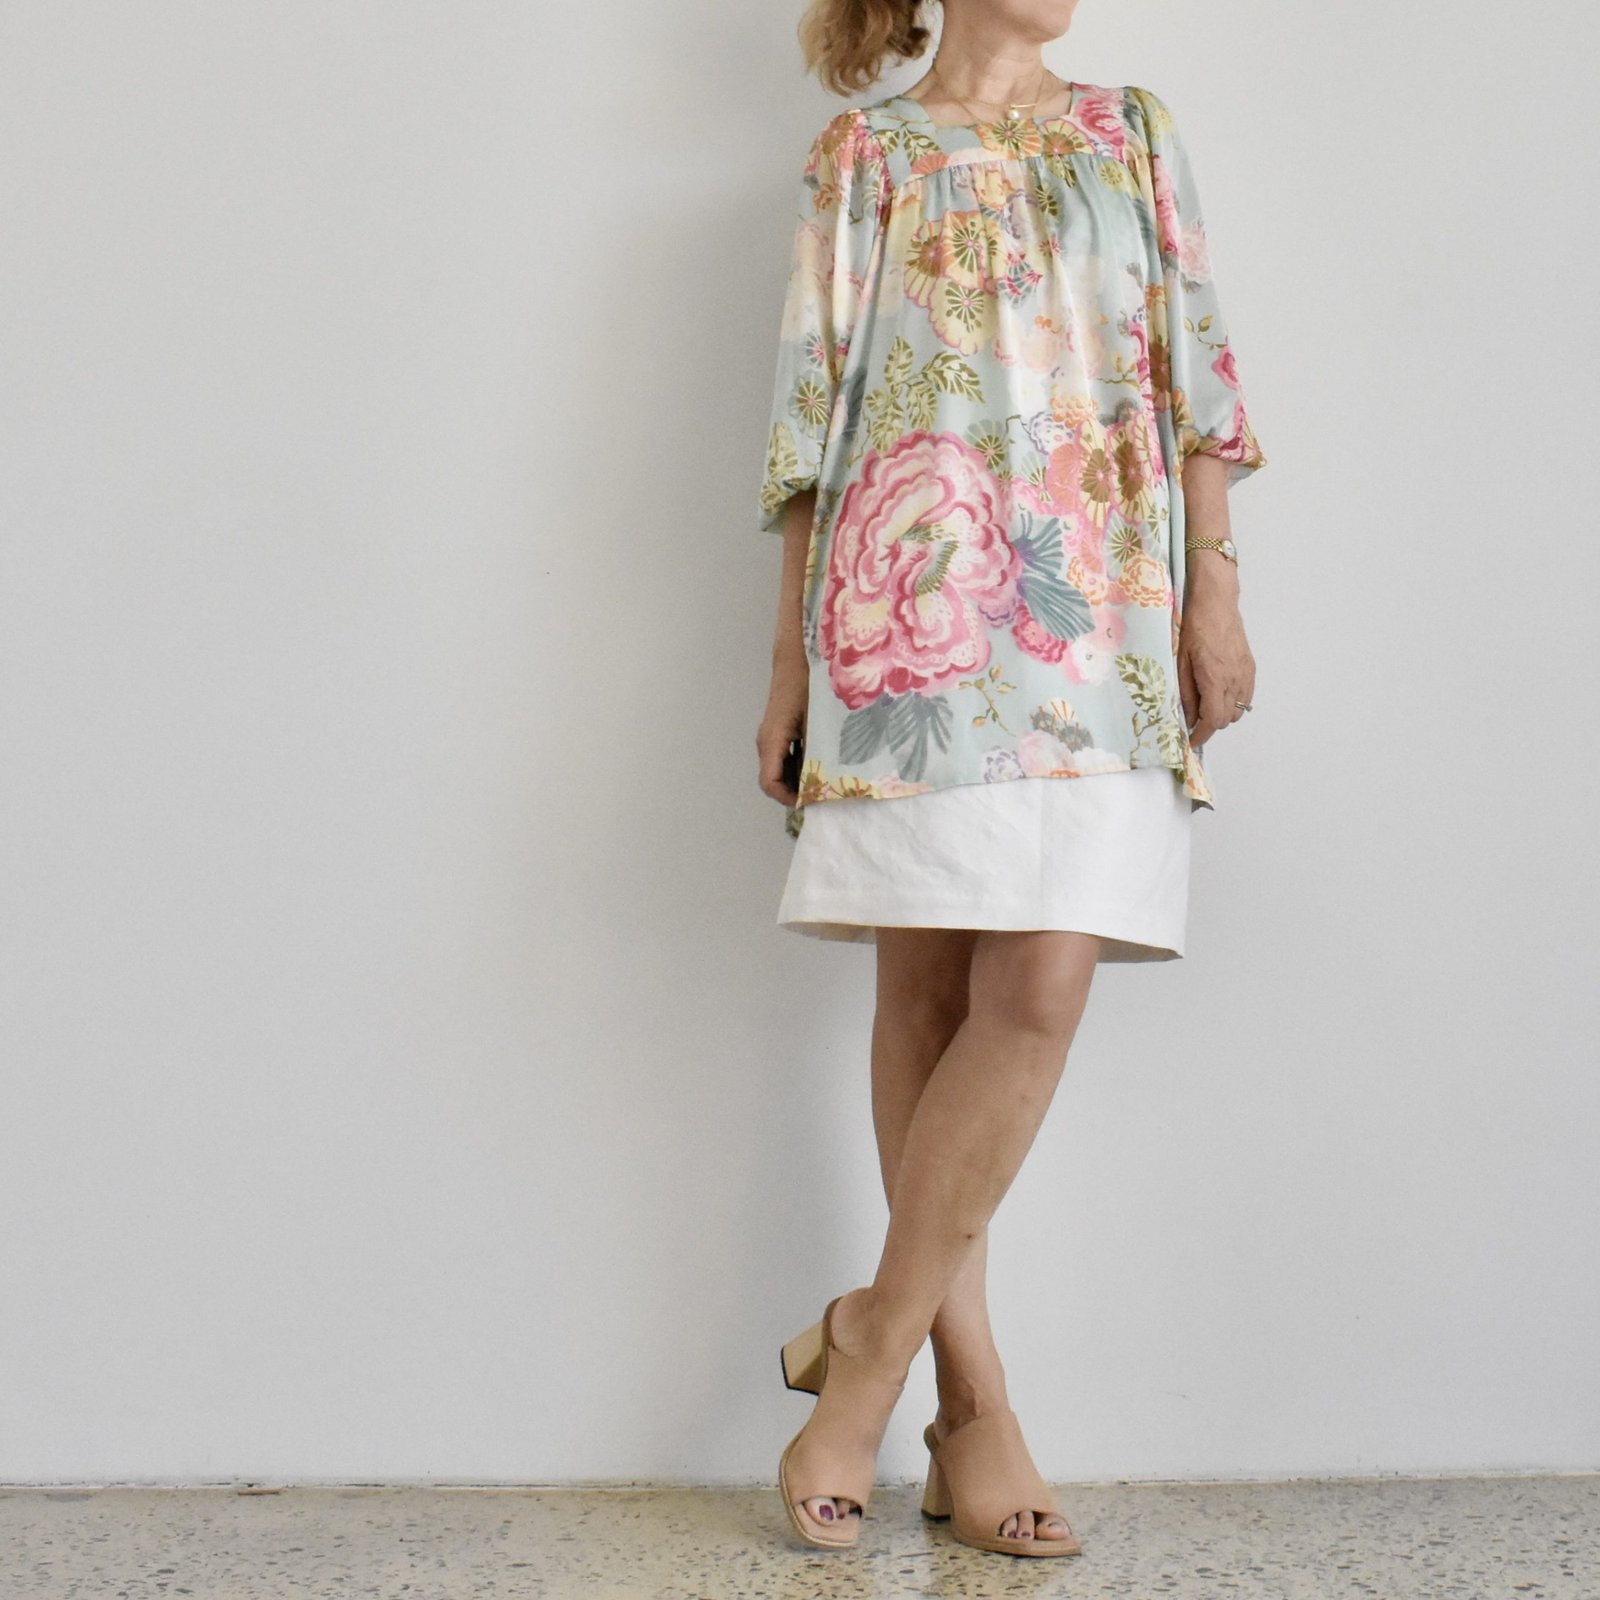
 I’m wearing my new shirt in the above pictures with a pieced denim skirt I made last year using old jeans and our own Meelup skirt pattern, plus a number of superfluous pockets, making this outfit a wholly recycled-fabric ensemble. I really love this skirt too! it used to be quite a bit paler in colour and I overdyed it blue while I was dying something else one day. Oh, I remember it was this skirt...

Something else I’ve made recently was a “golden chain mail” tunic for my middle grandson T for his book week costume. Doesn’t he look amazing?! He wanted to be Tom of the Beast Quest series. I was only commissioned to make the tunic, and my clever daughter Cassie made the rest of his costume including that amazing helmet. Theo made his own shield!

I used the measurements from an oversized T-shirt he already had, and bought the golden sparkly remnant from Spotlight. It was very cheap but is actually quite nice stuff … I have a little bit left over and am wondering what I can use this for?!


 Fabric first; I used a piece of linen that was originally white, and that I dyed myself using a Japanese indigo plant brewed dyepot, from a natural dyeing workshop that I attended a few years ago. I absolutely love the natural blotchiness of the natural dye and am so pleased I finally found a really worthwhile project for this precious stuff!
 I used a white topstitching thread throughout, and most of the buttons were harvested from an old, yellowed business shirt of Craig’s. It’s quite gratifying when penny-pinching proves itself to be useful! and these are really very nice little buttons. You need a lot of buttons for this pattern and I only needed to supplement with a few not-quite matching ones to make up the full complement of 18.
 Now, the Mestre; this design is superficially a classic, button-front shirt, but upon closer inspection a number of small but quite distinctive features begin to make themselves known; the chest pocket is an interesting 2-pocket layered pocket, the side seams mostly consist of buttoned plackets, curving down into a gracefully rounded side edges, and the cuffs are likewise interestingly shaped with an asymmetrically curved profile.
 The back is pleated into the yoke; it’s supposed to be pleated the other way but I personally like for a pleat to go inwards, like this. I really like the little hanging loop; my linen was too stiff to stitch right sides together and turn out as instructed, so I just pressed the folds in place and topstitched the loop to make it work.
 I must also say that the instructions for the Mestre are absolutely excellent… the construction of the side edges, sleeve seams and armscye seams is a completely new one to me, and results in a perfect, flat-felled seam. I don’t want to give away the details, but it’s very very clever!
 Likewise the construction of the sleeve/cuff placket was totally new to me, and results in a cleverly engineered placket with all raw edges enclosed. So nifty!
 A very small detail that you might not notice without paying very close attention is that on the front buttonhole placket, just one lone buttonhole is situated horizontally. I find subtle and explicable details like this to be very charming.
 The lower hem of the shirt is completely faced, with the same facing doing double duty for the side button/buttonhole plackets. The finishing for this area is likewise well thought through and results in a beautiful finish. You need to do a fair bit of machine basting… later removed, and I have to confess I haven’t bothered with basting in a while! but I am glad I followed the instructions to the letter because the technique outlined was the absolutely best way to finish.
 In fact, I’m extremely impressed wth the thoughtfulness that went into the details of this pattern and am excited to make it again some day!

 I made this very snuggly and cosy shirtdress/jacket thingummy recently, the pattern is the new Fibremood Ildri … I think it is called a shirtdress, but it can obviously be cut shorter as a shirt or jacket too. btw, while it has a second version pictured here, when I got it the pattern only had the first, long version with covered button band..


 To belt or not to belt? that is the question. This is how I wore it yesterday… I think I prefer it belted mostly, but this makes the pockets practically inaccessible… !
 Anyway, I decided to run up two new pairs of knickers to match the bra. Obviously I didn’t have any more of that pretty Liberty jersey, but I did have a big-enough remnant of reasonably well-matching blue jersey from which I managed to cut out two new pairs of Watson knickers. I cut out a few small flower motifs from the old Liberty knickers and hand stitched them on too, just for fun. This was a very small project, barely worth blogging really but I’m so happy with it! Sometimes small things can make you really happy.


 Hello! I’ve been sewing again lately …

 I partially used a really old Burda pattern, from the 8/2009 magazine. This might sound a little confusing but bear with me; the pattern/s are numbered from 129-132, with each one being variations on the same basic block, and my version here is kind of a fourth variation!


 Hello!


 The sleeve pieces are absolutely massive and the result is lovely in my opinion! a very pretty, half pirate-y, half mediaeval sort of effect!


 The pattern is Ghost Horses by Boyland knit works… I bought it through
  I bought the yarn from Morris and Sons in Melbourne, during our Harry Potter excursion over there, last March. Actually, March 2022, hehe; so embarrassed to admit that. I actually started knitting it straight away and got it to final ribbing stage within a few months. Then took like forever to decide on the finishing bands. I didn’t really like the slightly tight look of the finishing bands on the pattern envelope sample and tried multiple variations ie various k/P ribbing combos, stocking stitch, double yarn etc before finally settling on … well, these ones. Mine is same needle size as body, single yarn, 2K 2P rib, very loosely finished.

 I made a new underwear set… all from scraps and leftovers! this kind of project is super fun for me, mostly because it is so crazy and silly.


