 SO! I’m currently making a shearling jacket to take to our much anticipated trip to snowier climes, coming up v v soon… eeeeeeeeeeeeeee! I can’t wait!!
Anyway, I’ve put a couple of welt-like pockets in, and found it necessary to devise a method just a tiny bit different from the usual. So, I took a few pictures to show how I did it…
First, cut two pocket pieces in the shearling, two pocket pieces in a lining fabric, and two welts in shearling. Cut the pieces biggish, at least a little bigger than you think you will need, just in case. Remember the golden rule, you can always trim a little extra away, but you can never ever add it! For the pocket lining I used an ivory cotton denim from the leftovers of my favourite flared jeans.


Try on the coat and determine the position of the pockets, mark with pins. Lay the two fronts together to transfer markings to the other front piece, and measure several times to ensure the markings are symmetrical.
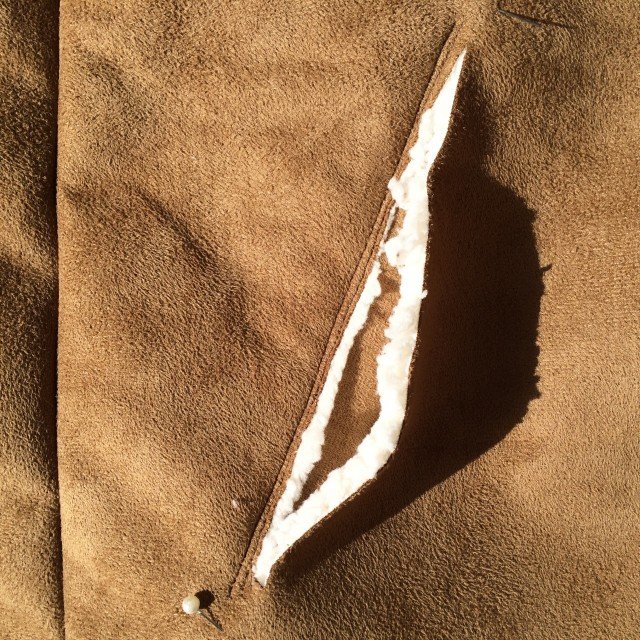
Cut pocket opening between the marks, no less than 3cm shorter than the welt piece. To give an idea of lengths; my welt is 20cm long and my pocket opening is 16.5cm… but my hands are pretty big and a small handed person may not need quite so big an opening 🙂

Lay the shearling pocket piece underneath the top edge of the pocket opening, pinning the pieces together with an overlap of 1cm (below L). Stitch from the top side, in a a double row of closely-spaced stitching. (below R)

Finish the raw top edge of the pocket lining with overlocking stitch, then lay over the shearling pocket piece, aligning all raw edges and pinning the pieces roughly together near the top (below L). From the outside of the coat, turn in the top edge of the pocket lining piece and pin to the pocket opening edge (below R). From the outside of the coat and keeping the shearling pocket piece free, topstitch in a double row of closely spaced stitching


Now stitch a few backward/forward passes of stitching along the two short edges of the pocket opening through all thicknesses.(below)

Unpin pocket pieces from each other, and lay shearling pocket piece away from the welt, pin it up well out of the way… likewise, pin the pocket lining piece in position to the coat (below L). Lay the welt piece, right sides together to the coat, underneath the pocket opening and pin; stitch together catching the pocket lining piece in underneath (below R) Note; it’s better to lay the welt closer to the pocket opening edge than pictured below right, as in with the welt raw edge hard up against the pocket opening… but I neglected to take a picture in the correct position, sorry!)


Turn up the welt, pin in position, and again keeping the shearling pocket piece free but the pocket lining piece pinned in position; topstitch 6mm outside the previous stitching (below L) Unpin the shearling pocket piece and lay it back against the pocket lining. Now is the time to determine the finished, desired size of the pocket… try the coat on, measure and trim pocket pieces as desired; finish the raw edge of the pocket lining with overlocking stitch, and stitch pocket and pocket lining pieces together, right sides together. (below R)


Pin the welt up into position. At this point, determine if it needs trimming or neatening up; I eyeballed mine and decided to trim 1cm off the long free edge; a purely aesthetic choice. Once you’re satisfied with its proportions, topstitch it in position along both short edges with two evenly spaced rows of topstitching.

And… pocket done! At this point, I actually decided the pocket itself was still a little too big, and trimmed and re-stitched the curved edges… no biggie, it’s pretty easy to do this, even at this late stage since it’s tucked away inside the coat. That’s a personal choice! Also, technically this is not a pure welt pocket but a sort of faux-welt pocket really… maybe you could call it a sort of patch cover over a welt-less pocket?! 😀
I hope this tutorial is useful to someone, please do leave me a comment to let me know if you have found it helpful. Like everyone, I do love comments!


I love your coat. Are you using a pattern?
It’s loosely based on McCalls 5276 but with lots of changes. I will write a complete blog post when it’s finished 🙂
Great coat, it will be so useful in the snow. Have a great trip!
Beautiful Coat!
Looks great! I just finished a faux shearling jacket myself. I wish I had added pockets like yours. Next time!
What gorgeous fabric. I just want to feel it! I love what you’ve done with the pockets. Have a brilliant holiday x
Great coat, and clear instructions to get the result you want on that pocket. Have a great trip!
Hi Carolyn, as always, I love your makes and clear instructions. I have sewn many welt pockets in jackets and coats in my time but when I saw your picture on Instagram I wondered how you managed it in this fabric on this coat. Your instructions are very clear, but I am a bit spacially dyslexic [like Kenneth D. King apparently!] so I did get a bit confused with pictures 3 and 4 on your instructions. Did you turn the coat 180 deg. to take this picture? i.e. is one of the pictures upside down to the other? [I told you I was dyslexic]. I got lost here, but did manage to pick it up again. As I am notorious for making two left sleeves can you clarify it for me. Sorry this is so long. Maureen
Hello Maureen, I’ve realised those pictures are of the two different pockets; one is the left pocket the other is on the right. I sewed both pockets at the same time and didn’t pay close enough attention to whether I was photographing the same pocket for each step!
Thanks for the insight! 🙂 The coat looks great already. Can’t wait to see it in action 🙂
Ah! thanks Carolyn
Once more, in awe of your skills.
Wow these pockets look great. This will be one awesome coat.
Gorgeous coat! I love it. Although it has not occurred to me yet to make something like this, I think your tutorial is great for future reference!
Gorgeous coat! Always love your tutorials. Have saved this one for future use. 🙂
You will be lovely warm and dry with your coat and thank you for the tutorial on the pockets, saved for future use.
I love this coat!!!! Can’t wait to read your full post!
What a beautiful coat, I read regularly and love what you make and your intrepid attitude but \I had to comment on this one because I am in awe of you working with shearling! And I enjoyed your thought process to make the pockets.
Very impressive – especially managing the bulk to create a perfect welt pocket.
Pingback: a shearling jacket - Handmade by Carolyn