 I’ve made a start on my ball dress. Although I was a bit late to get started on it I’m making up for lost time now. Yesterday I did more sewing on my daughter’s dress than I did on my own!! And I think I’m spending way too much time on the internet, particularly my new favourite site, Po___re, yes, you know the one. It’s way too addictive, and I’m setting a new rule for myself that I will only go on once a week from now on. I’ve got lots of other things I prefer to do with my time, and more constructive things too, sewing being one of them. So back to this dress!
Typically for me, I launched straight into this project and neglected to take any photos at first… For the red petticoat component I’m using a pattern that has worked successfully for me before; Butterick 4657, with a few modifications I’ll address here as I get to them.
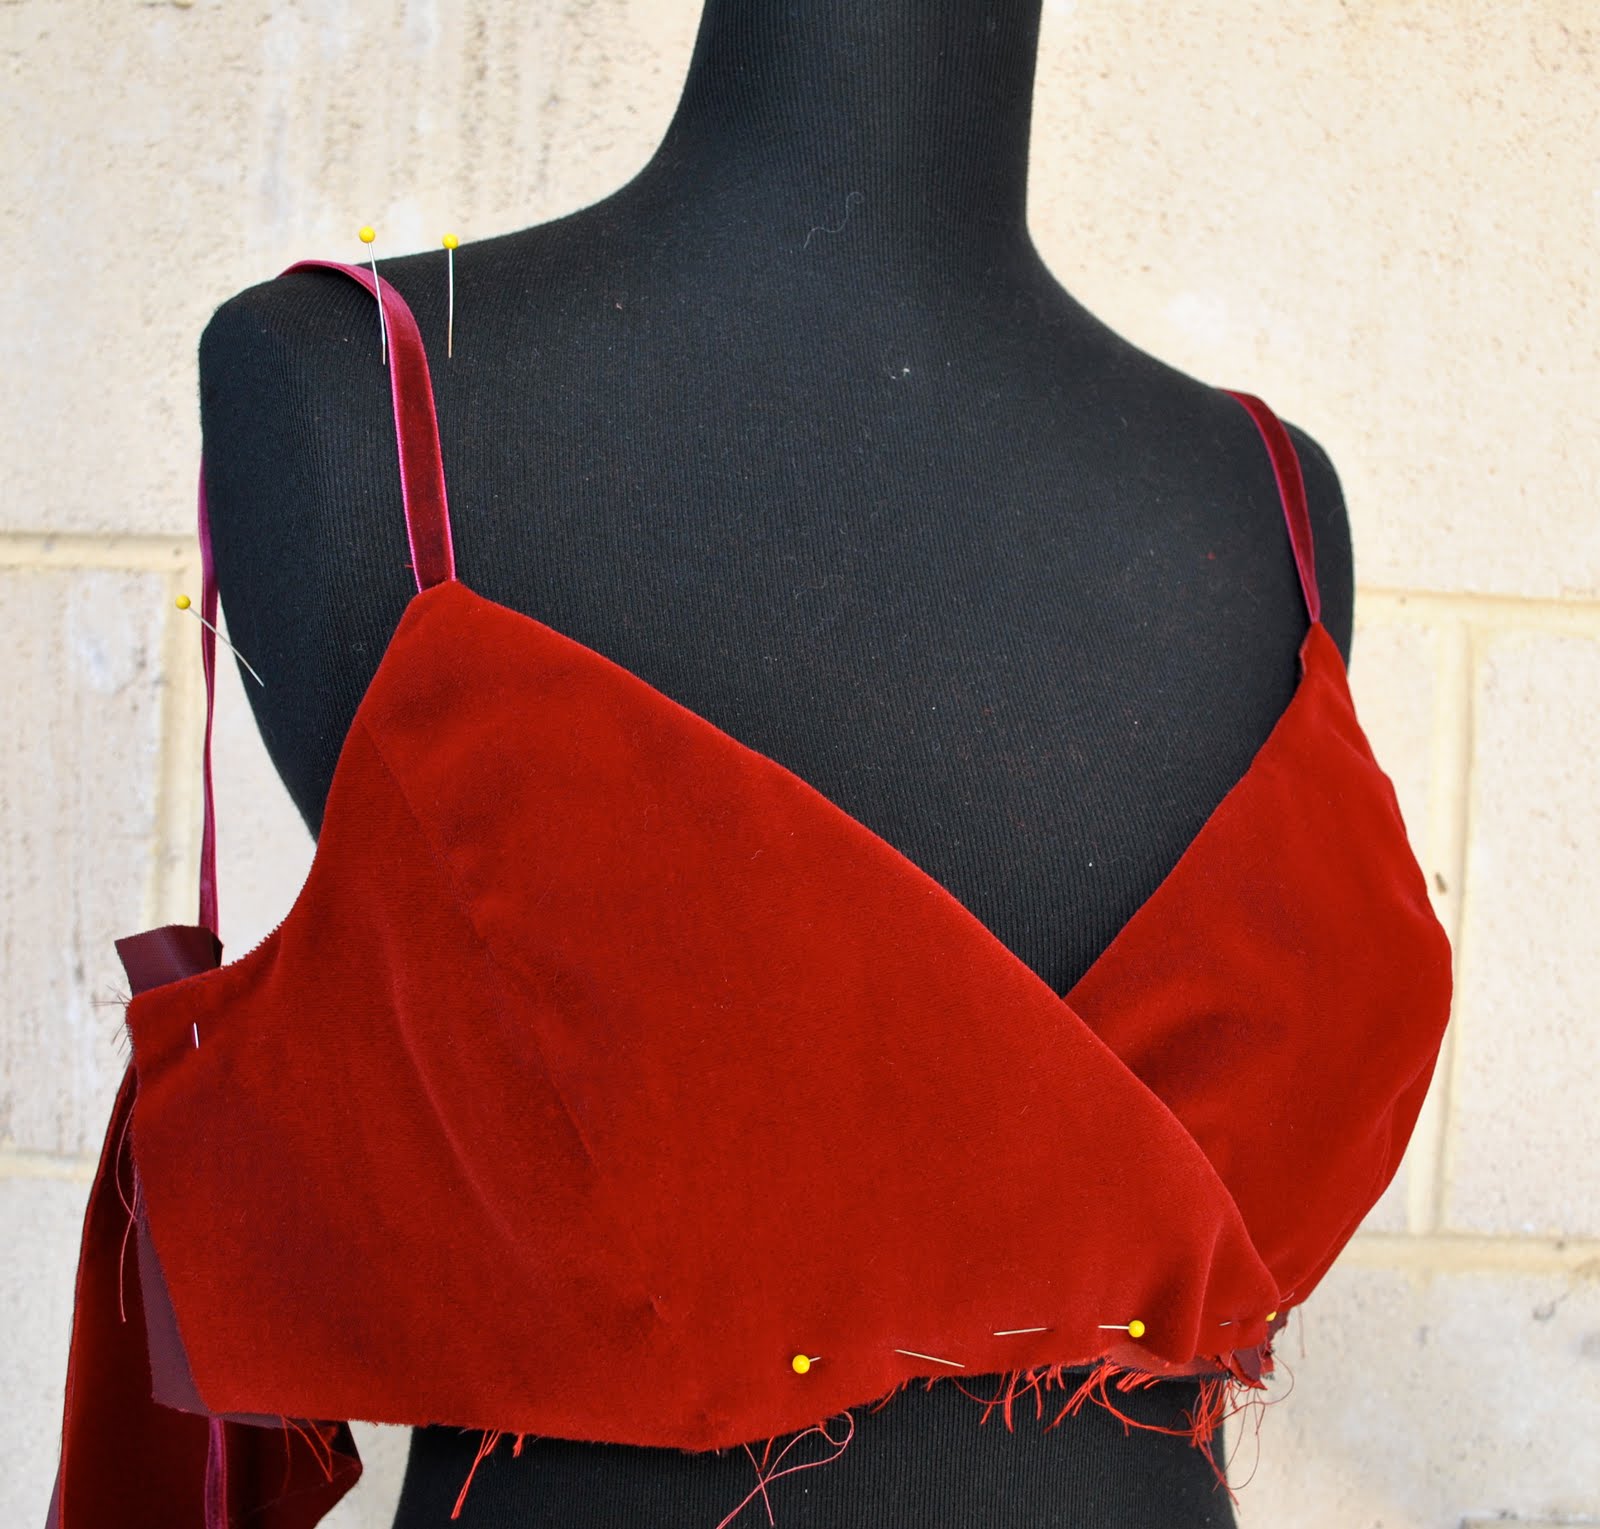
I started by constructing the “velvet bra” part of the bodice. Immediately I ran into a few challenges. Let me outline the challenges in this part of the exercise for you:
1. The outer shell of the upper bodice is of velvet
2. I’m working with velvet here
3. I’m lining the bodice with some leftover silk taffeta, which frays like nobody’s business
4. I’m working with velvet
I’d forgotten what a pain in the derriere velvet is to work with. I’ve made things from velvet before and its thick pile makes it “flatten” first one way and then another, and makes for a very difficult seaming process if you don’t pin and baste very carefully. I also started out with a small boo-boo, I initially sewed an easing line between the small dots on one of the bodice side fronts, rather than the front as I should have and tried unsuccessfully to sew them together with the ease stitching on the wrong piece before realising my mistake… this completely ruined these two pieces. As anyone who has worked with velvet knows, you just cannot unpick stitching successfully with this stuff, the fabric is too fragile and the pile is marked forever once stitched on. With velvet it’s essential to get your stitching right first time, or else prepare yourself to cut out some new pieces. Luckily I had bought 30cm, leaving me enough leftover to cut out a new side front and front… just.
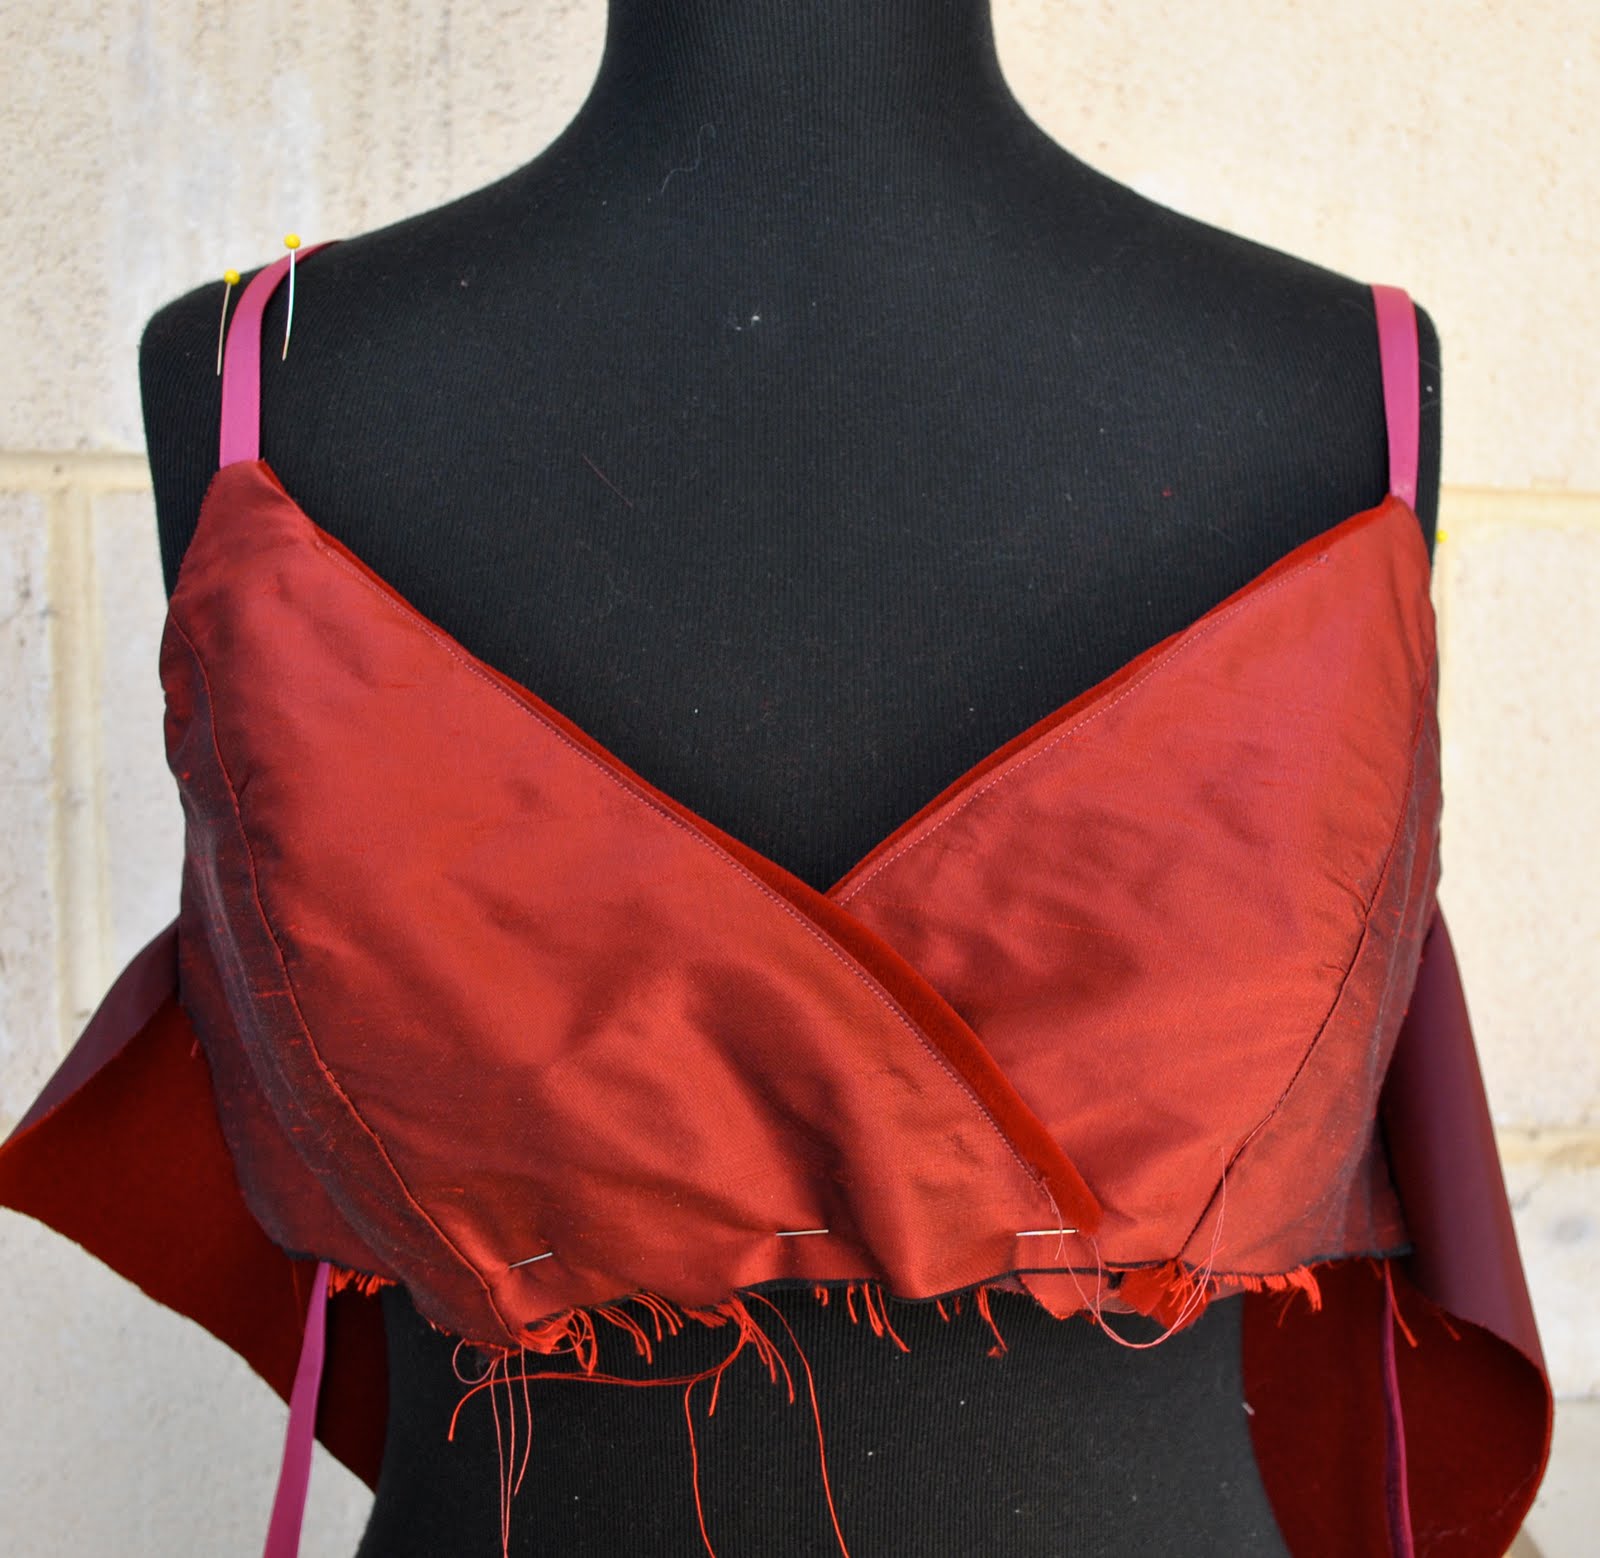
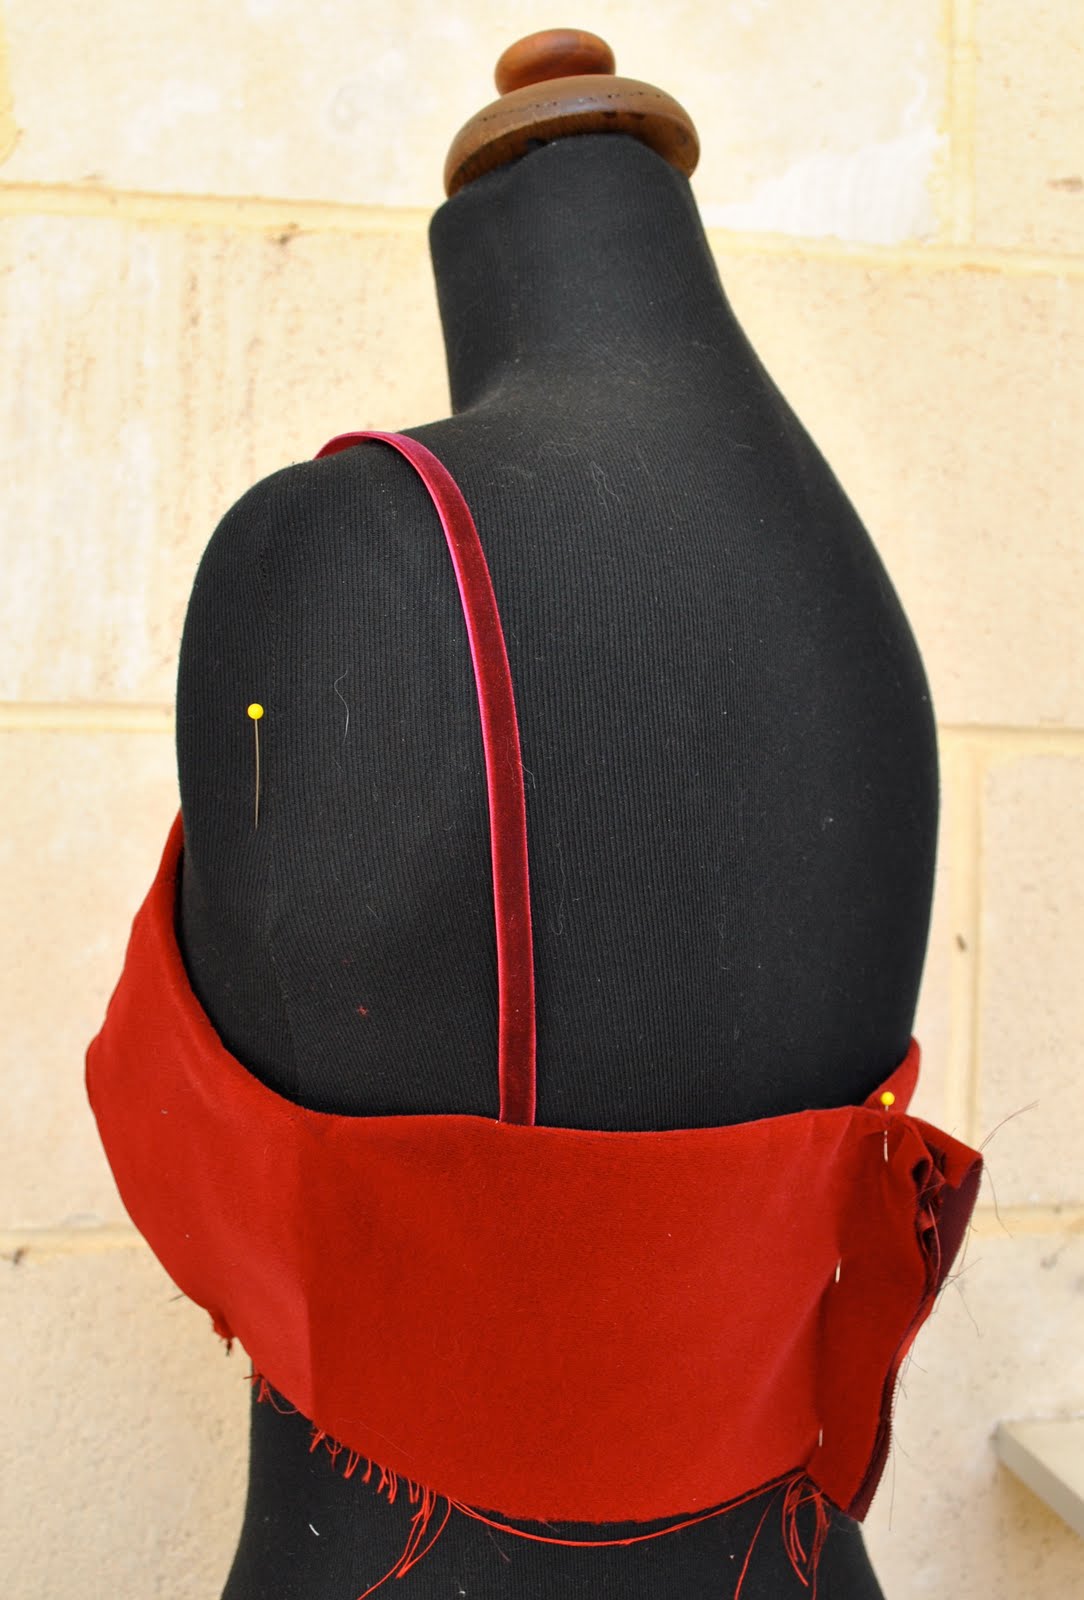
I’m not making the sleeves of this pattern, but using some matching velvet ribbon for thin shoulder straps… so here is the upper bodice front constructed. At right is the inside of the same, I’m lining with silk taffeta rather than lining fabric because I’ve got enough leftover from my planned skirt frill/flounce to cut out these pieces… and I believe in waste not,want not, even in fabric… notice the mad fraying going on at the bottom there? sheesh..
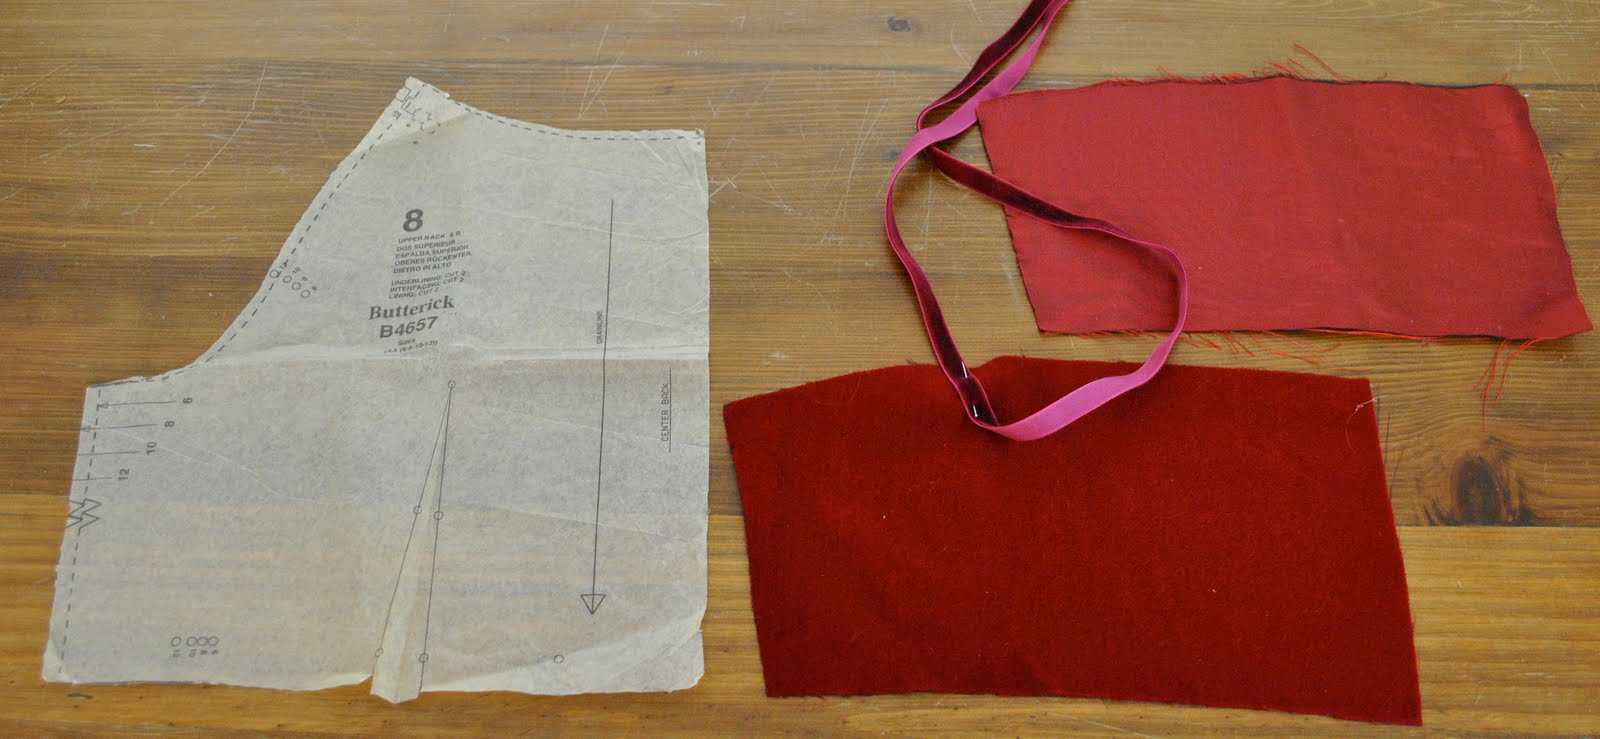
This is how I’m modifying the upper back piece; because my gown has thin shoulder straps, I cut the piece off at the upper edge of the dart as shown here… at left is the pattern piece and at right is the piece as I cut it, without the upper half. Because I was cutting at this point I was able to fold the dart on the paper pattern piece to eliminate it before cutting the fabric piece… If you have the opportunity to eliminate a pesky little seam like a dart when working with a bulky fabric like velvet its a good idea to do so!
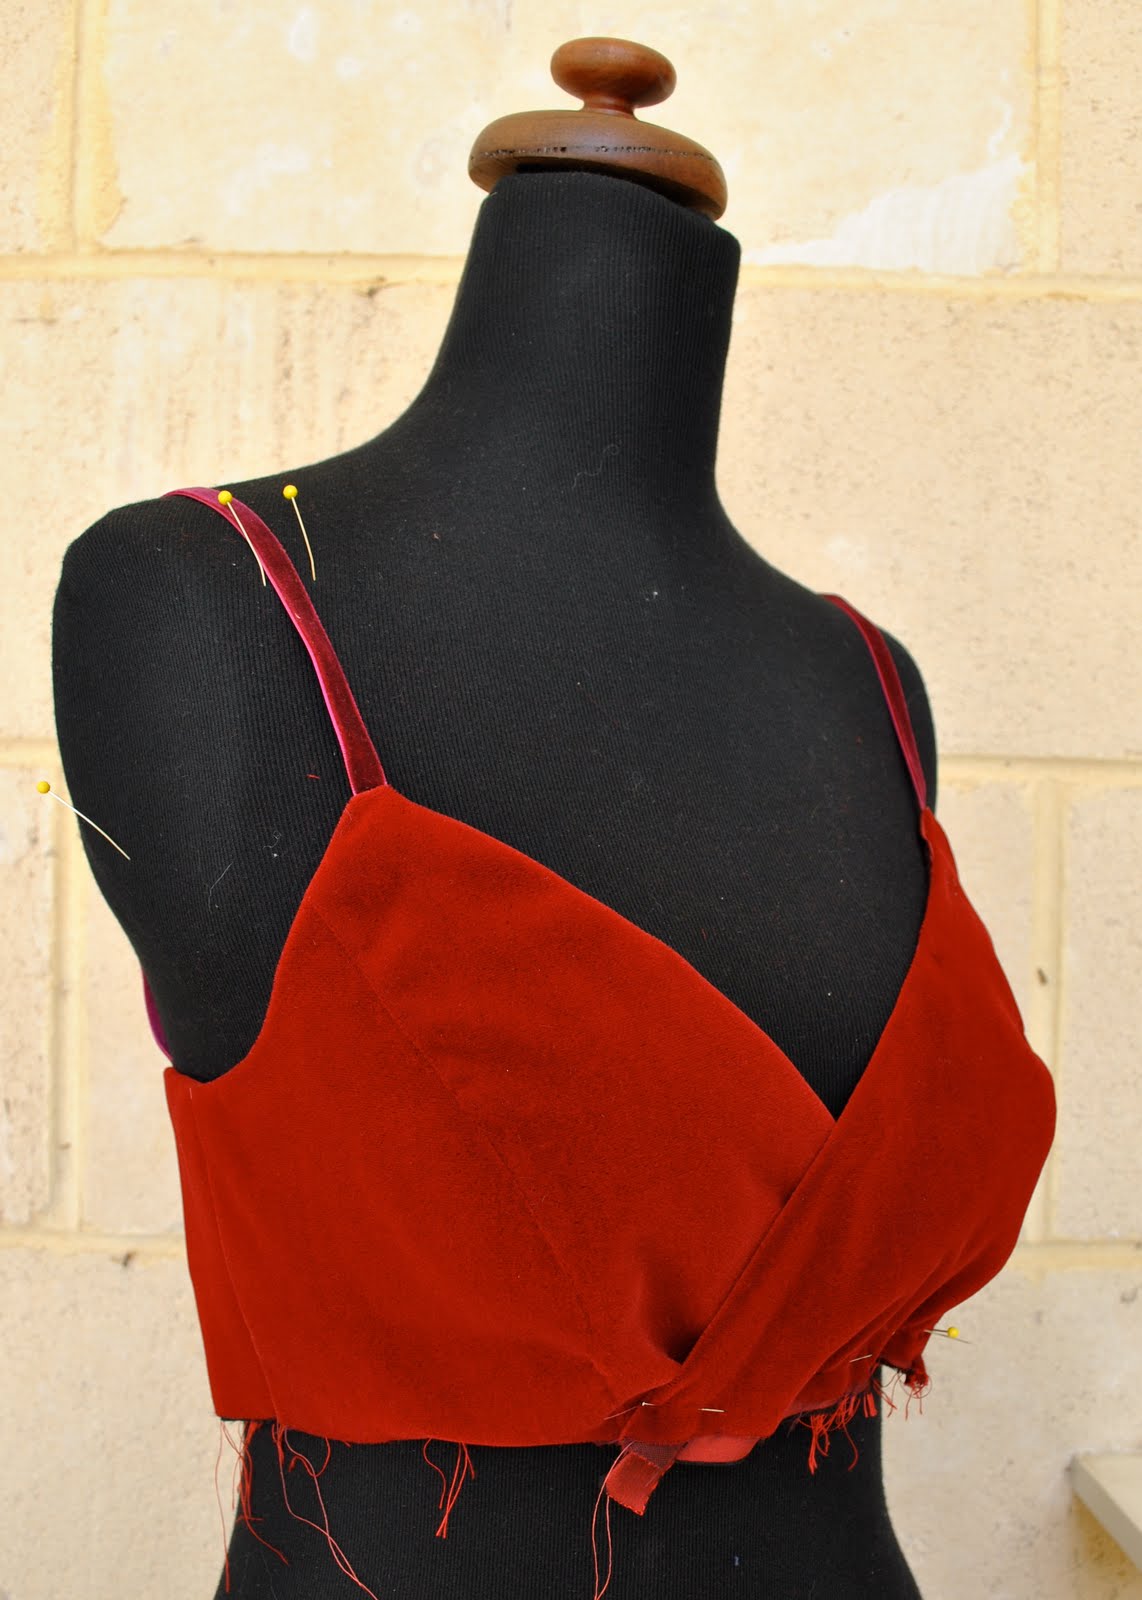
Then I measured the ribbon straps to fit me (By the way, even though I’m not mentioning it I am constantly fitting these pieces to myself and making appropriate fitting adjustments at each stage here. You’ll thank me for sparing you photos of any of this fitting; me in a semi-attired state? No.) I would have dearly loved to have some of those strap length modifier thingies like you get on lingerie for the straps, but they didn’t come in a matching colour, which is the only way they would be acceptable to me on an evening gown. I contemplated painting some with nail varnish for a few seconds… but decided that would be too tacky!

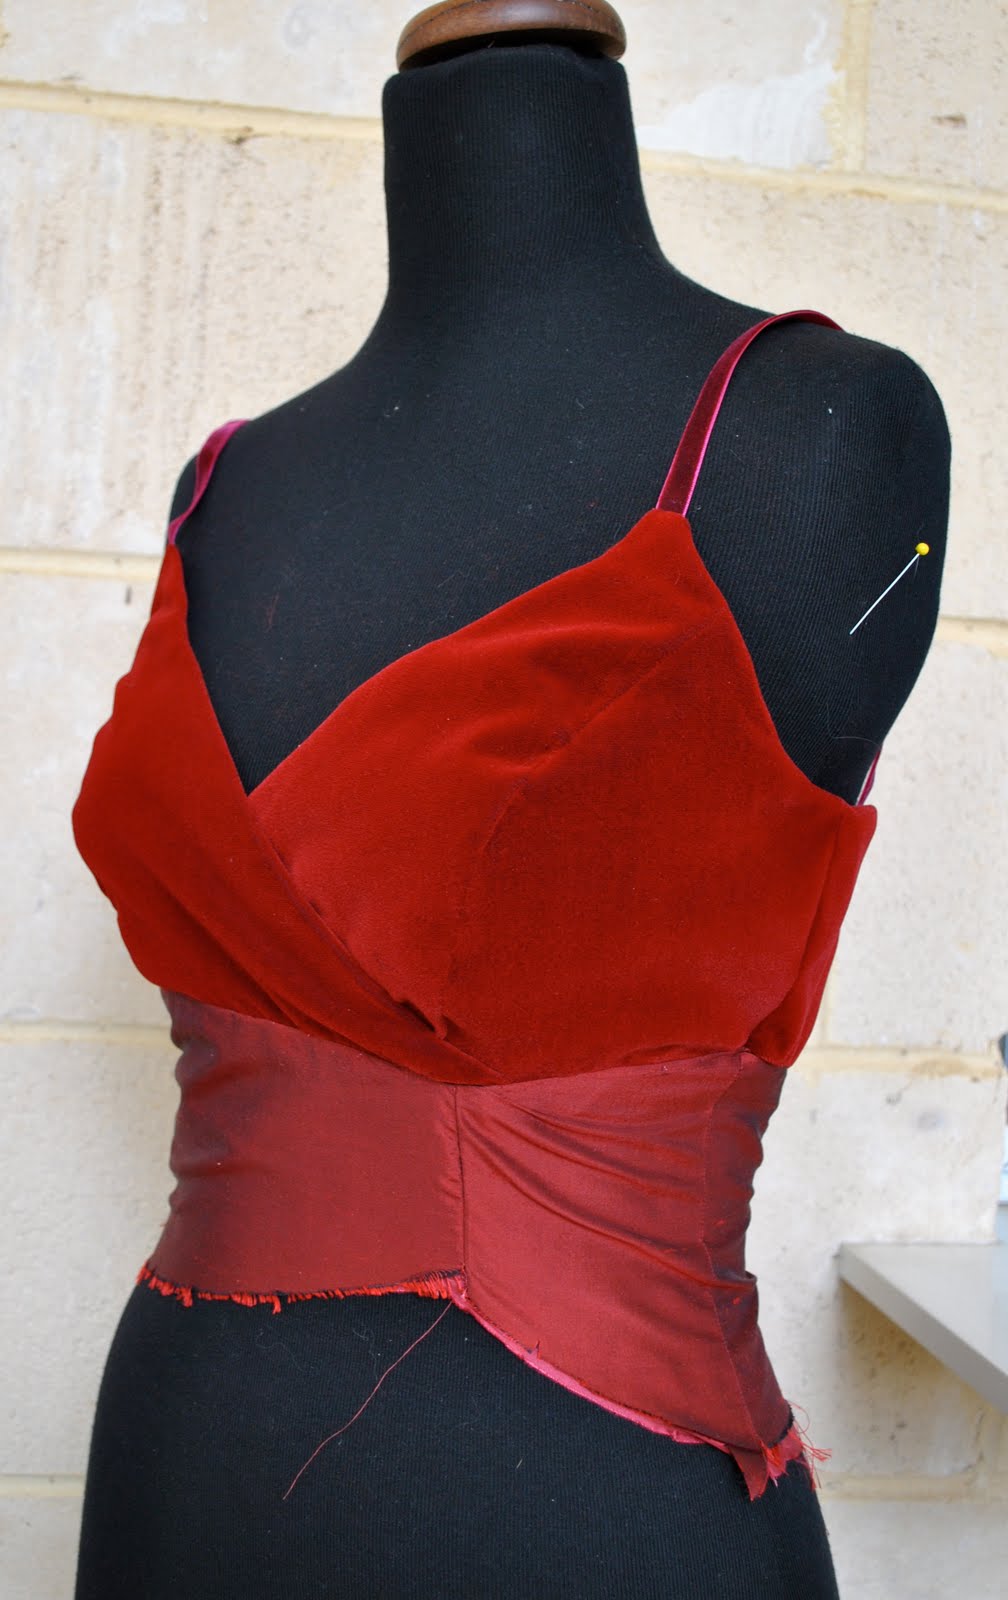
And completed the upper backs, and attached them to the upper fronts at the side seams… (Small detail: its been pinned here with the wrong front lapping over, but I got it right when I sewed it, so no biggie!)
I then attached the middle fronts and backs, and then the lining version of these on the inside (not shown) Why am I lining the bodice of a petticoat? I honestly don’t know. Blame it on my obsession that the inside of my finished garment look as good as the outside…
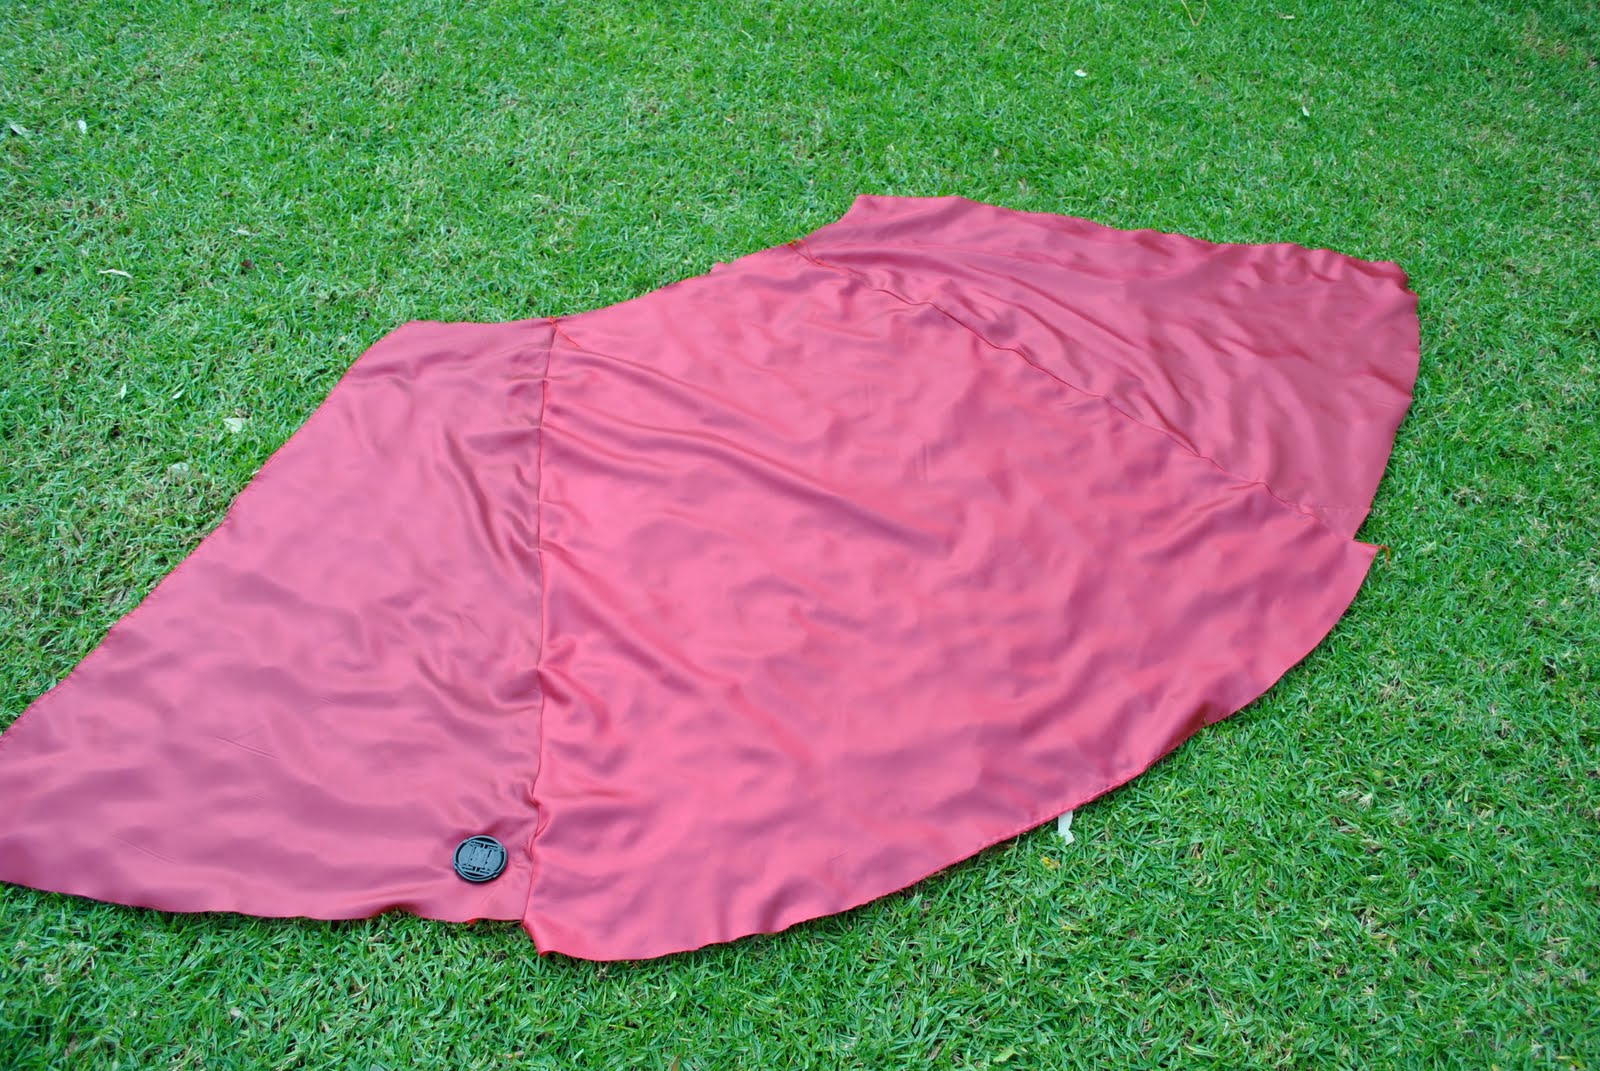
Here are the petticoat skirts joined together… The raw seam edges have been overlocked to finish.
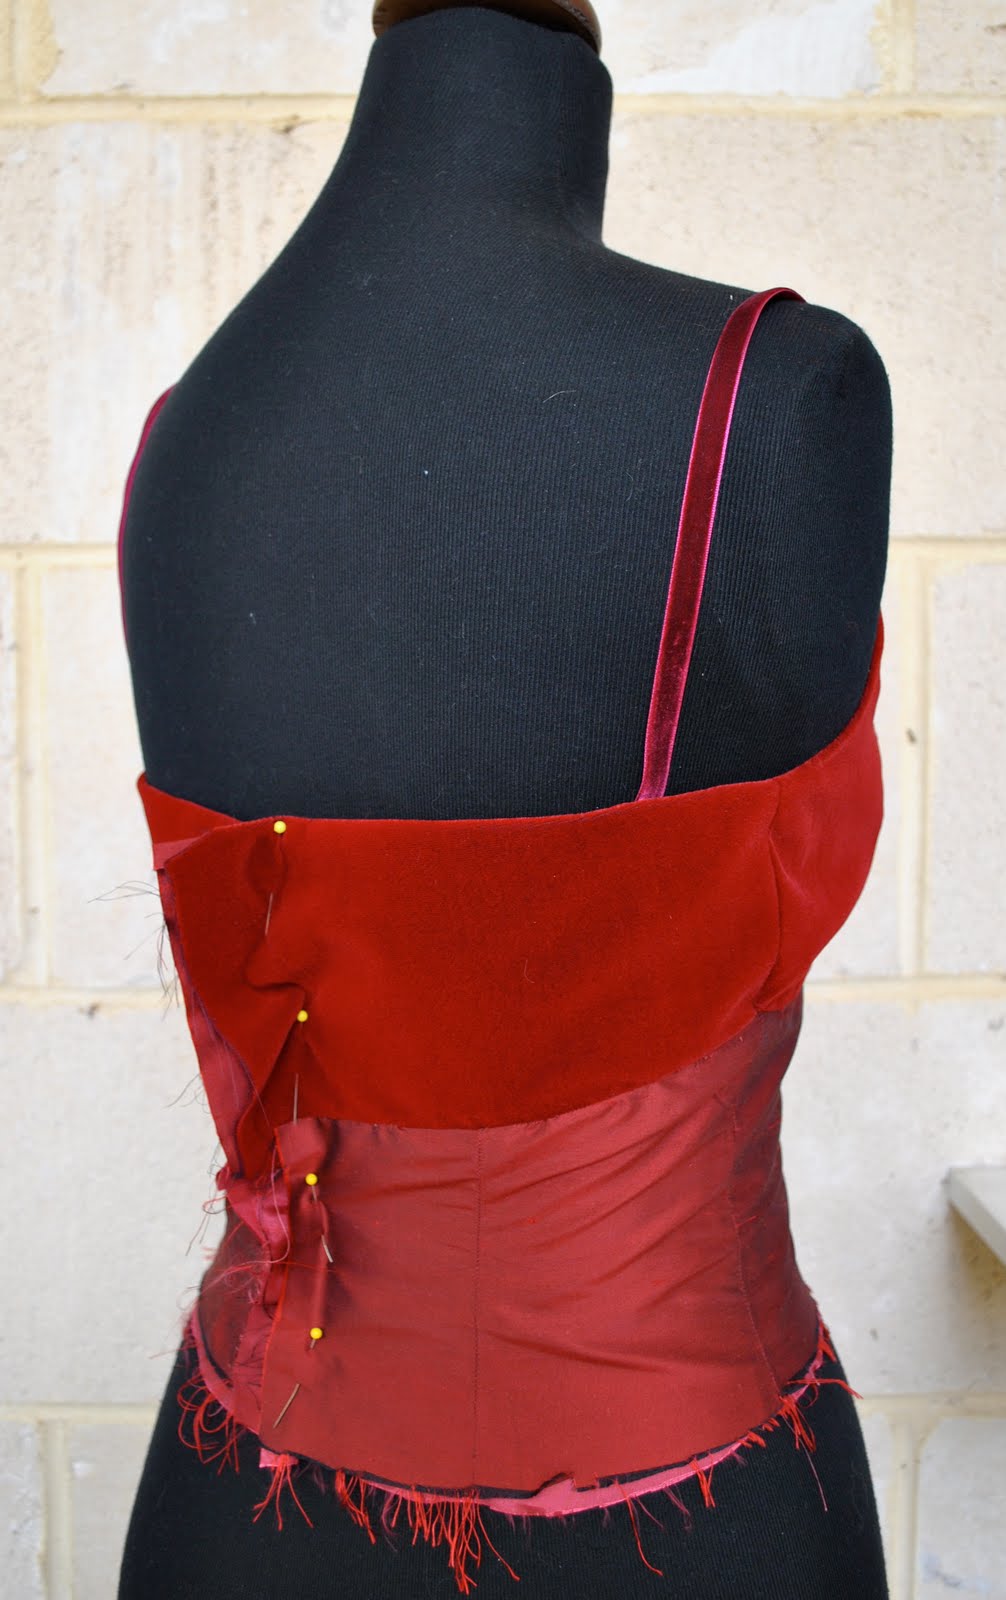
And now I’ve attached the petticoat skirt to the middle bodice. At this stage the zip has not been inserted and the skirt is left long, longer than it will eventually be. The next stage will be to add the silk taffeta frill/flounce I’m planning to go on this skirt. In my planned final version of the dress; the velvet upper bodice and the planned silk taffeta frill/flounce will be the only visible parts of the petticoat.

Stay tuned, more on this project in a couple of days…


