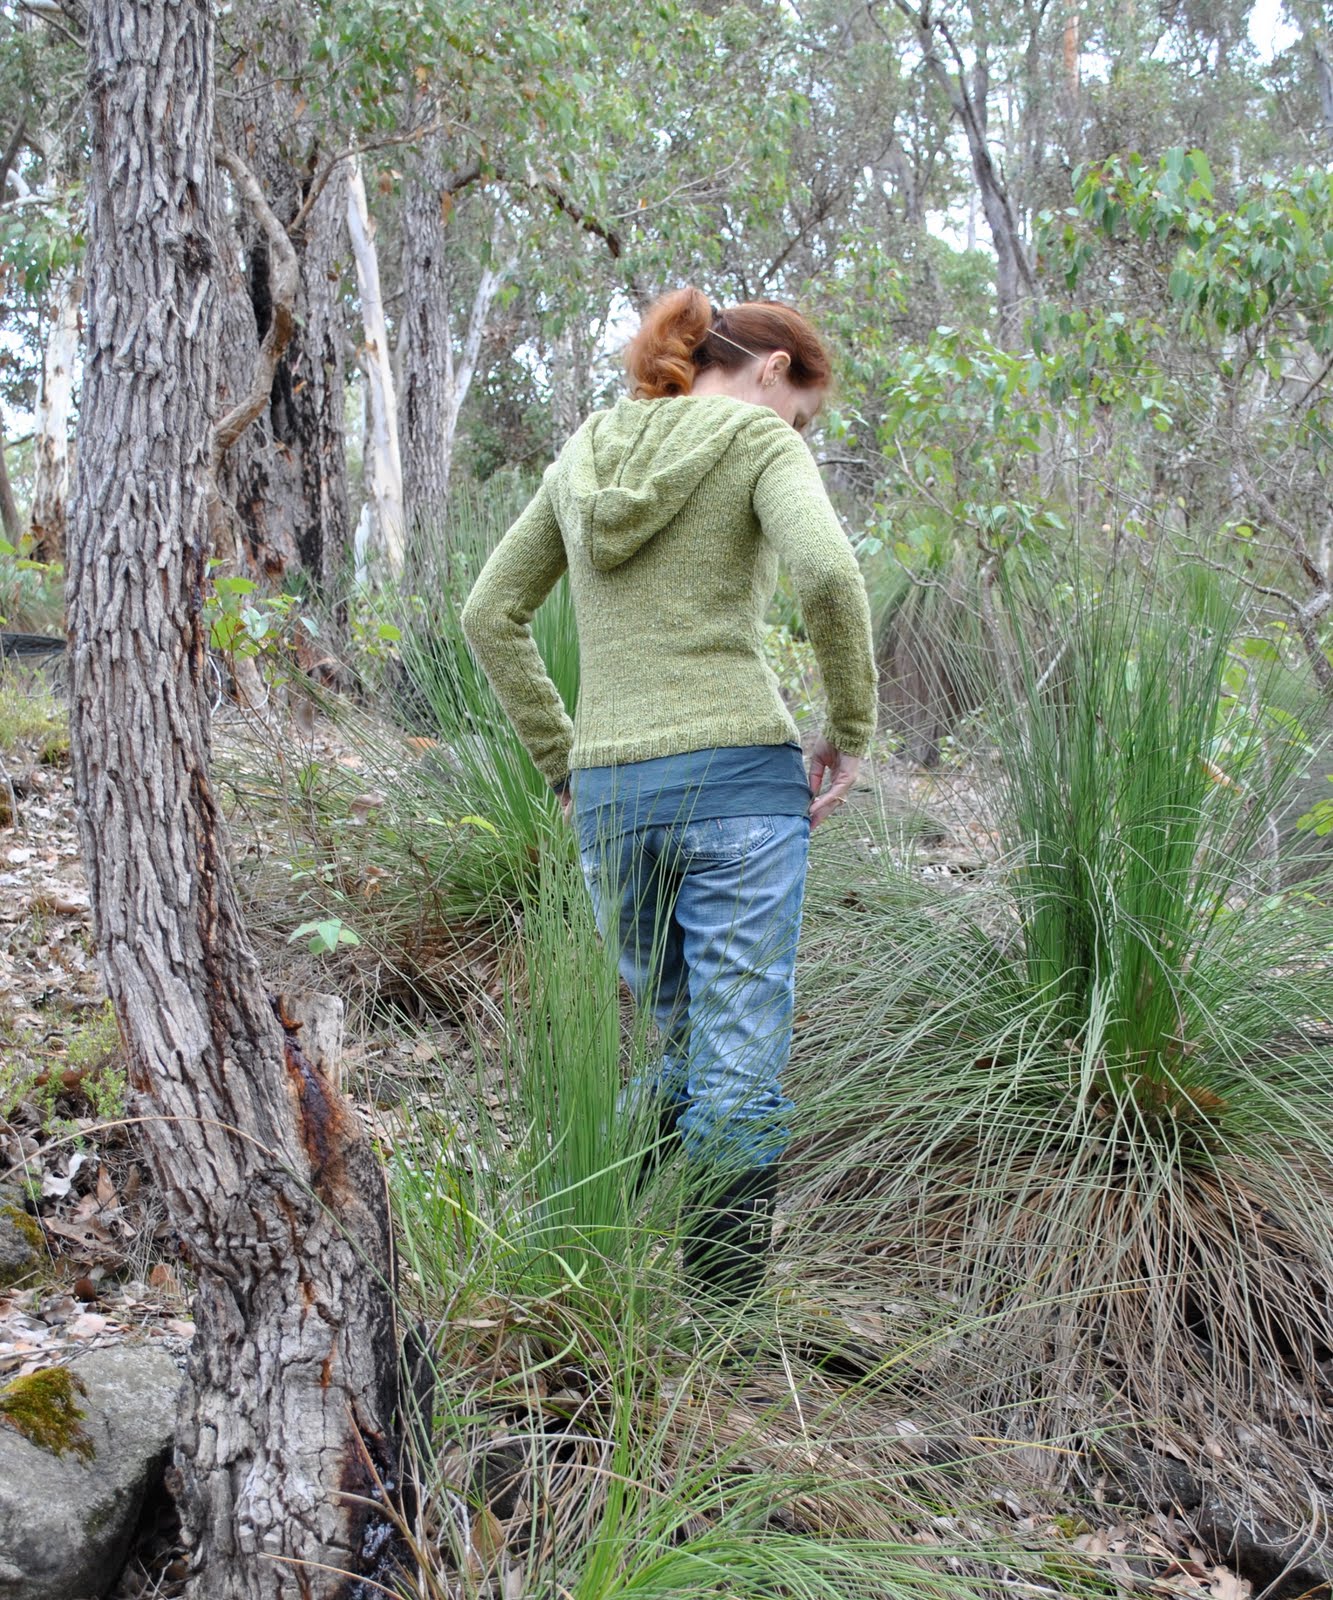
When the summers are long and hot like they are here, and your daily activities include getting out and about in the sun a lot you need lots of light cool clothing that still provides protection from the sun. I could go out in camisoles and singlets every day, but like all Aussies I worry about skin cancer a lot, and although I slather on the sunscreen each morning it’s good to have some sort of light garment to pop on which covers your shoulders.
I made one of these cardigans last summer and found it invaluable, so decided to make another.
(I actually made this particular specimen a few weeks ago and amazingly remembered to take pictures of the construction process, but promptly forgot about them until this morning… yeah, haha)
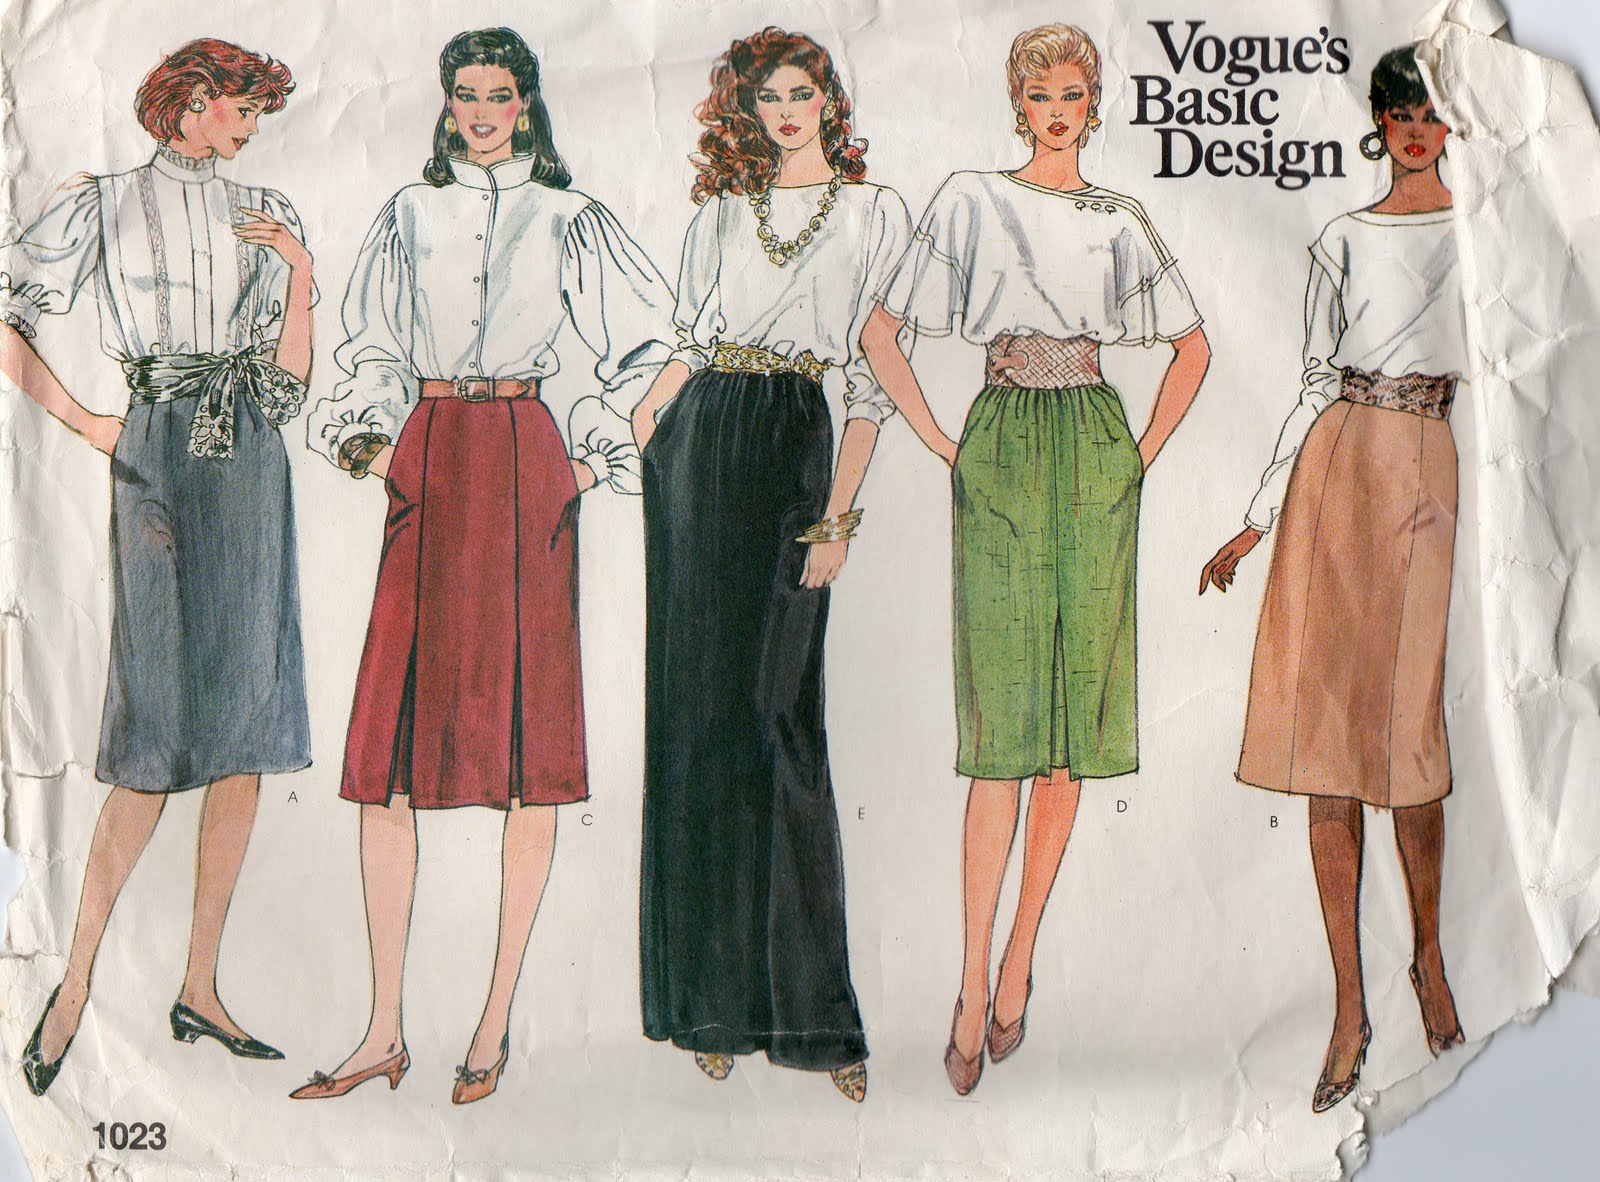
First, draft for yourself a basic cardigan shape, either from scratch or using a favourite cardigan whose shape you love. I have a wonderful Marilyn Seyb cardigan I bought in New Zealand which I think is very flattering to me and its style suits much of my wardrobe. It’s now seen better days sadly but I just can’t bring myself to ever part with it because I love it so… Make any adjustments to your pattern to fit your personal preferences, such as adding length etc. at this paper/muslin stage.
The ideal fabric for this project is a light stretchy net which doesn’t ravel or fray, as the raw edges will be on show. I used two layers, the inner one white net, the outer a shimmery mauve/silver embroidered net. Its not necessary that they have the same stretch ratio as each other, but they do have to have at least as much stretch as your original cardigan you drafted your pattern from… Cut out your pieces, remembering to include seam allowances to the shoulders, side seams and all sleeve seams.

Now, carefully remove a 2cm strip from the front neck, back neck, end of sleeve and bottom hem edges of your top layer. I find it easiest to use a rolling cutter for this.
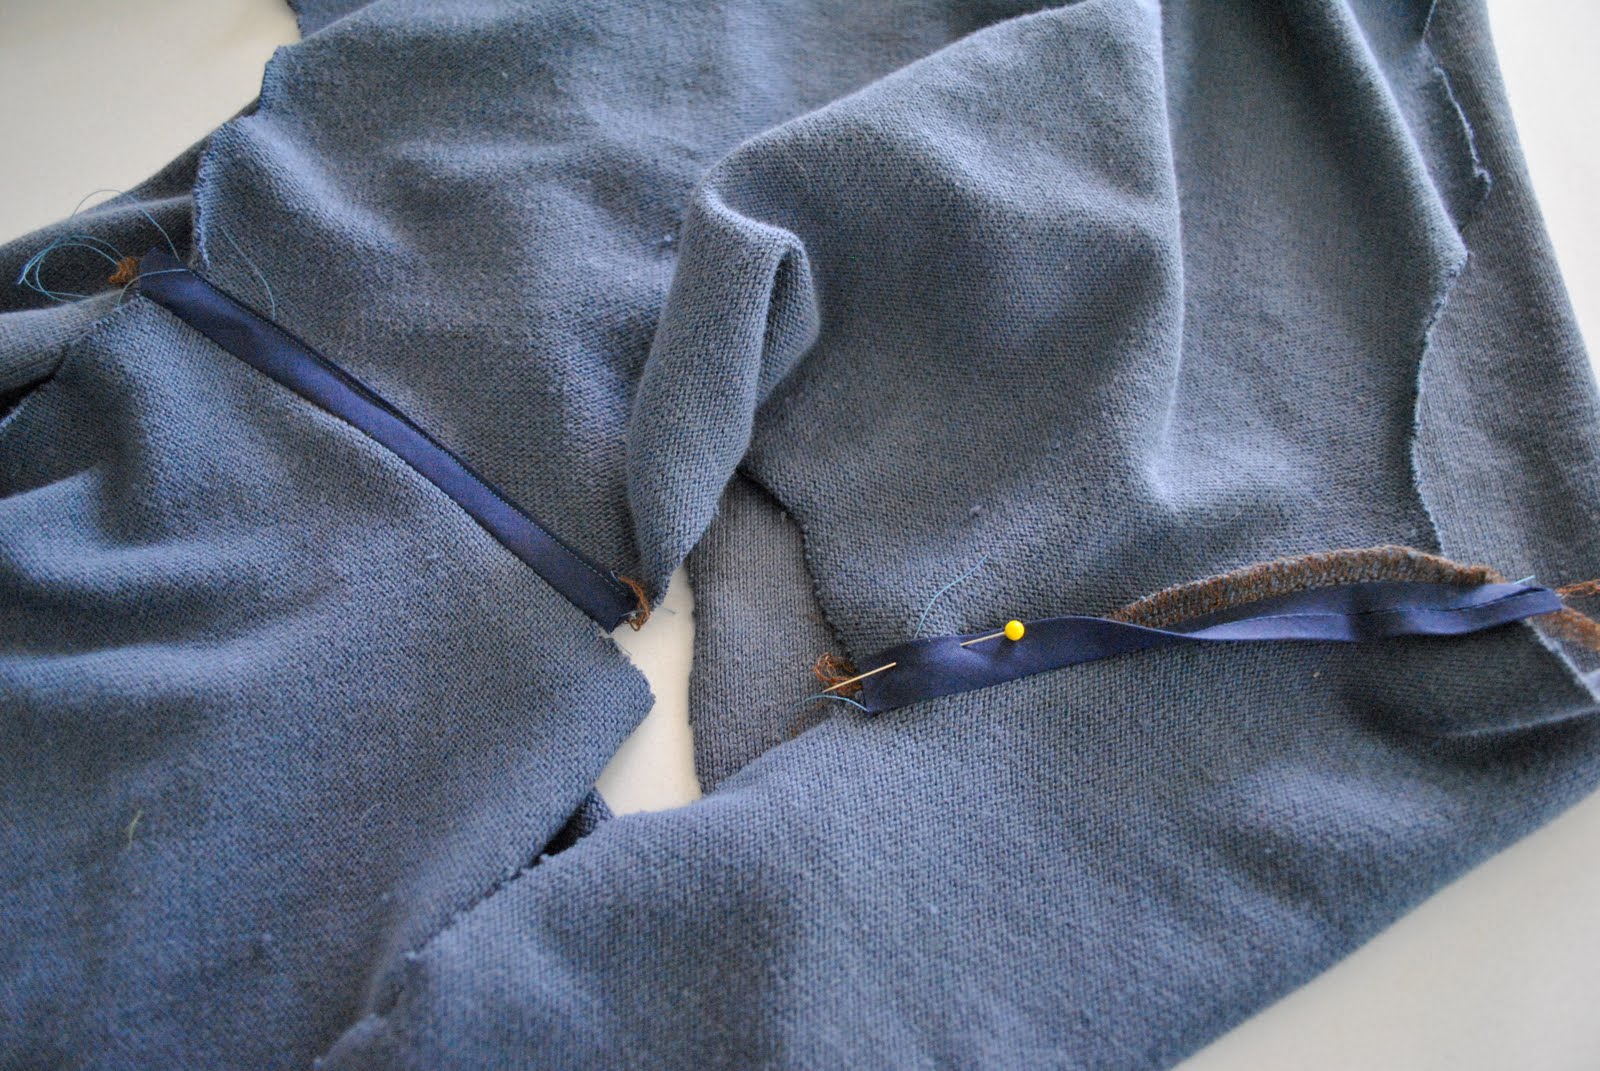
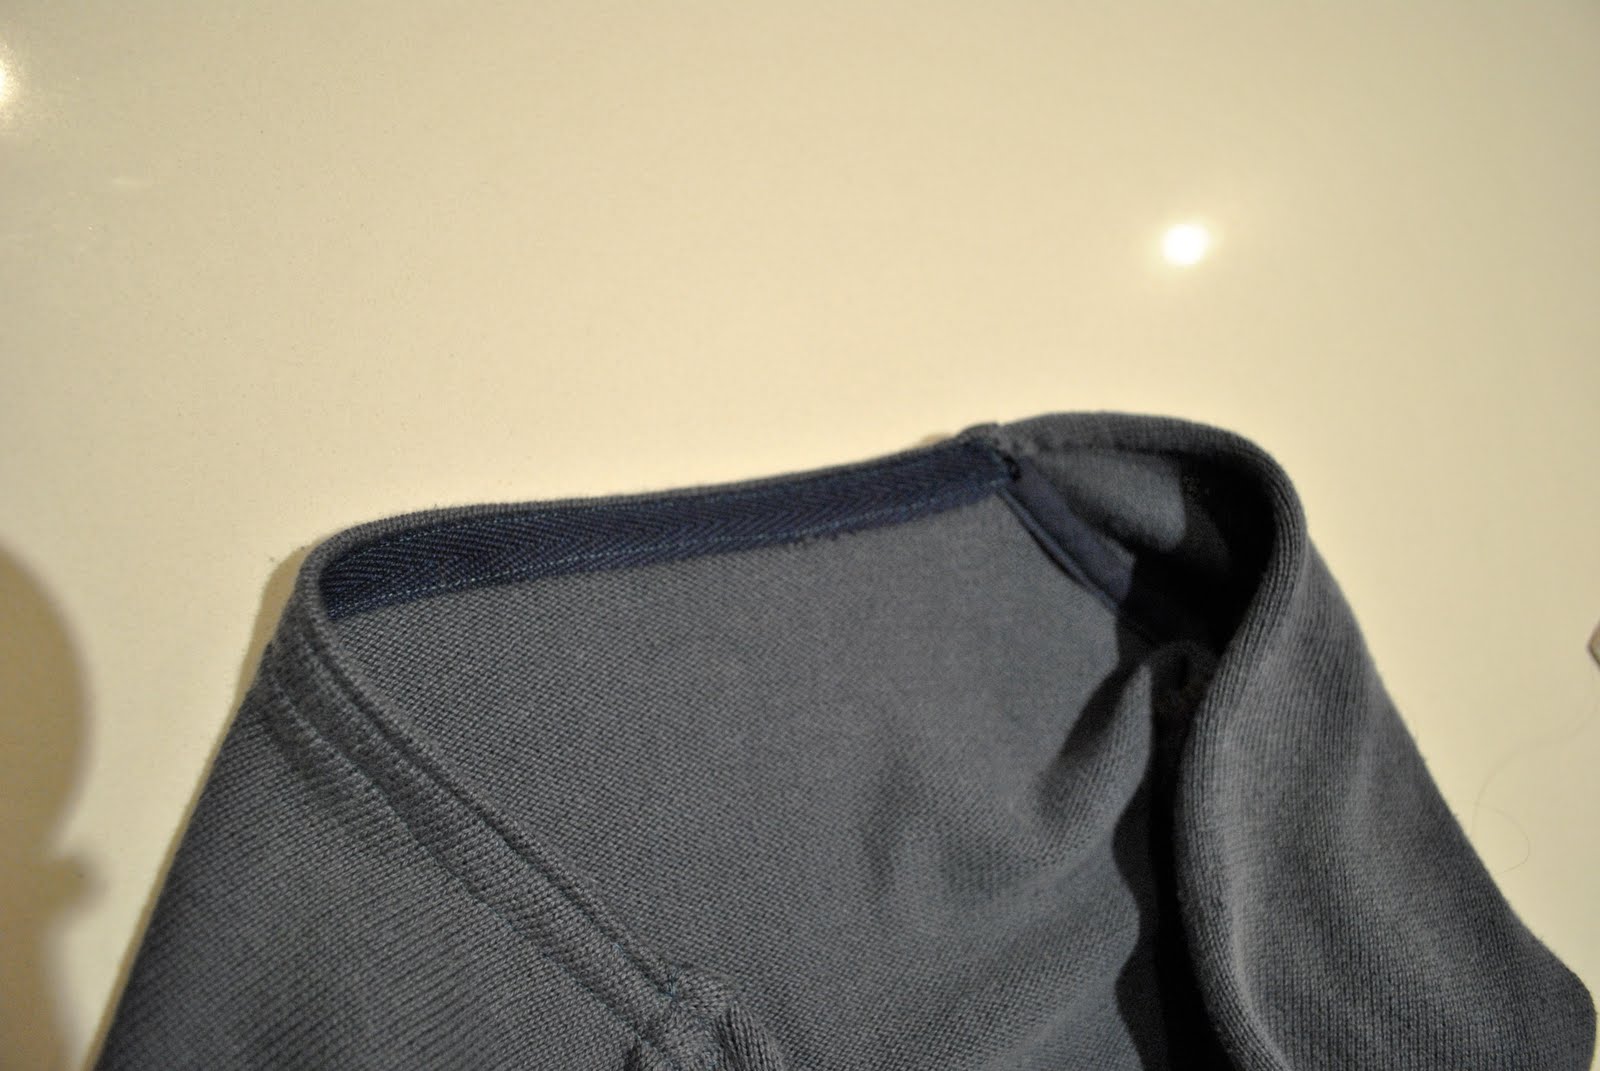
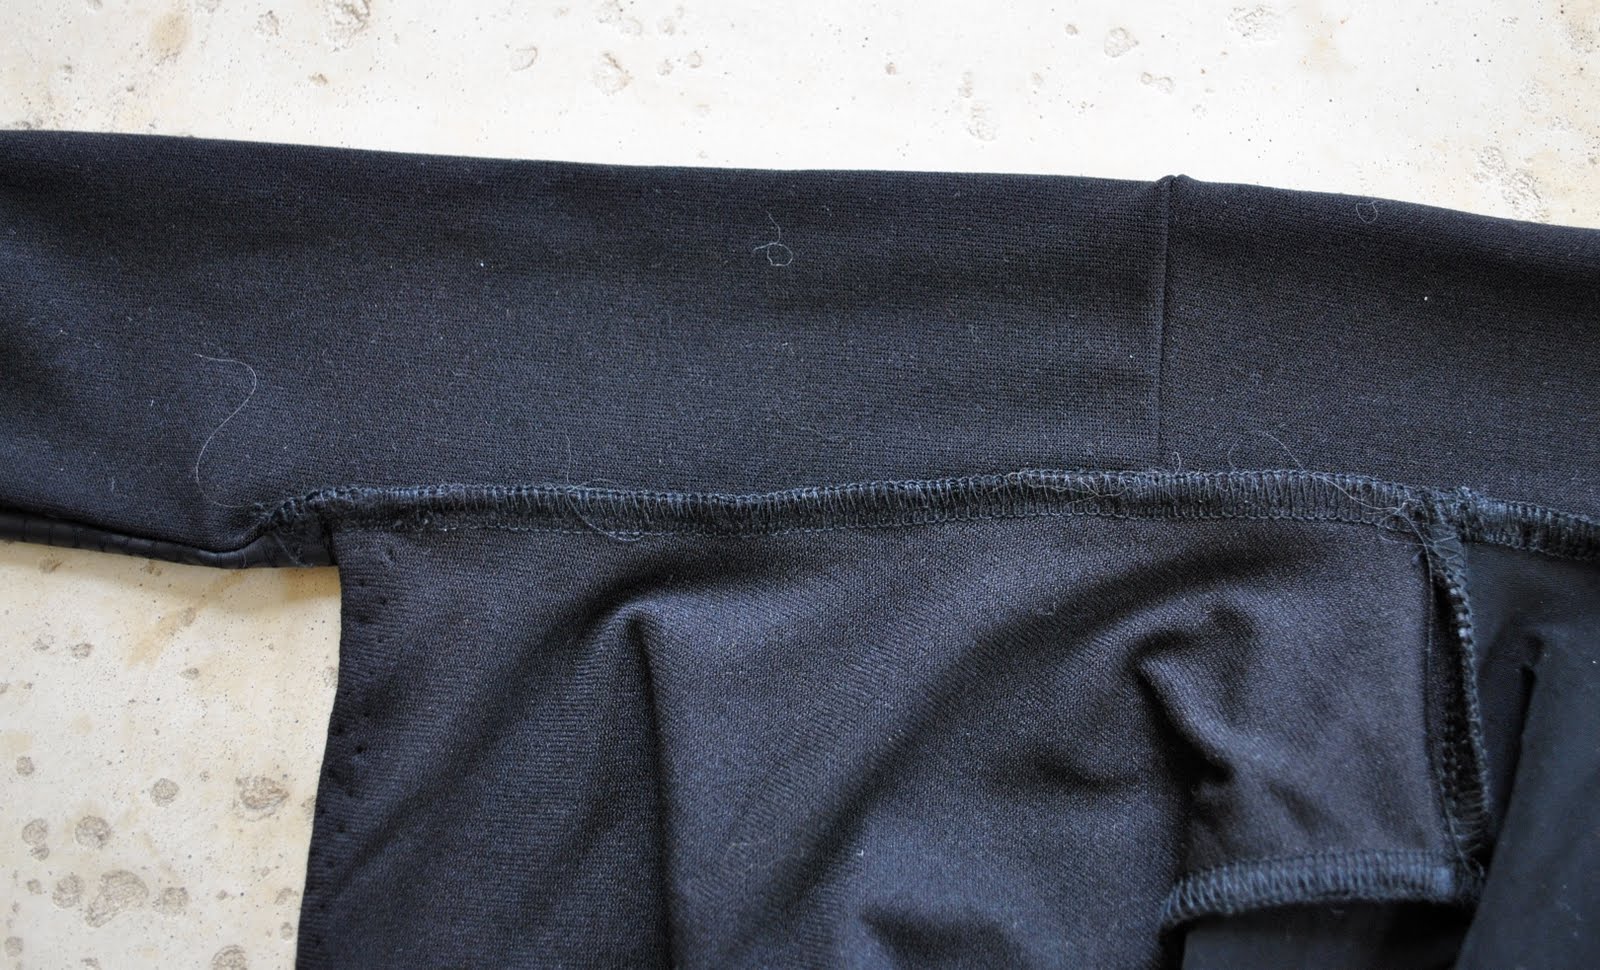
Lay your outer layer front and back together matching shoulder seams, then your inner layer on the outside of this, matching the edges at the sleeve side of the fabric. There should be the 2cm extra length of your inner layer extending into the neckline edge of your cardigan (see photo) Overlock the shoulder seams.
Layer the inner and outer sleeve pieces together, matching armhole edges, and with outer layers together, pin to the armhole edge of your cardigan body, matching all edges. Overlock armhole seams. In the photo below, one armhole seam has been finished at right, the other at left has been pinned ready for overlocking.
Now with right sides of the outer layers together, pin and overlock the sleeve seams and side seams in one seam. Turn your cardi right side out.
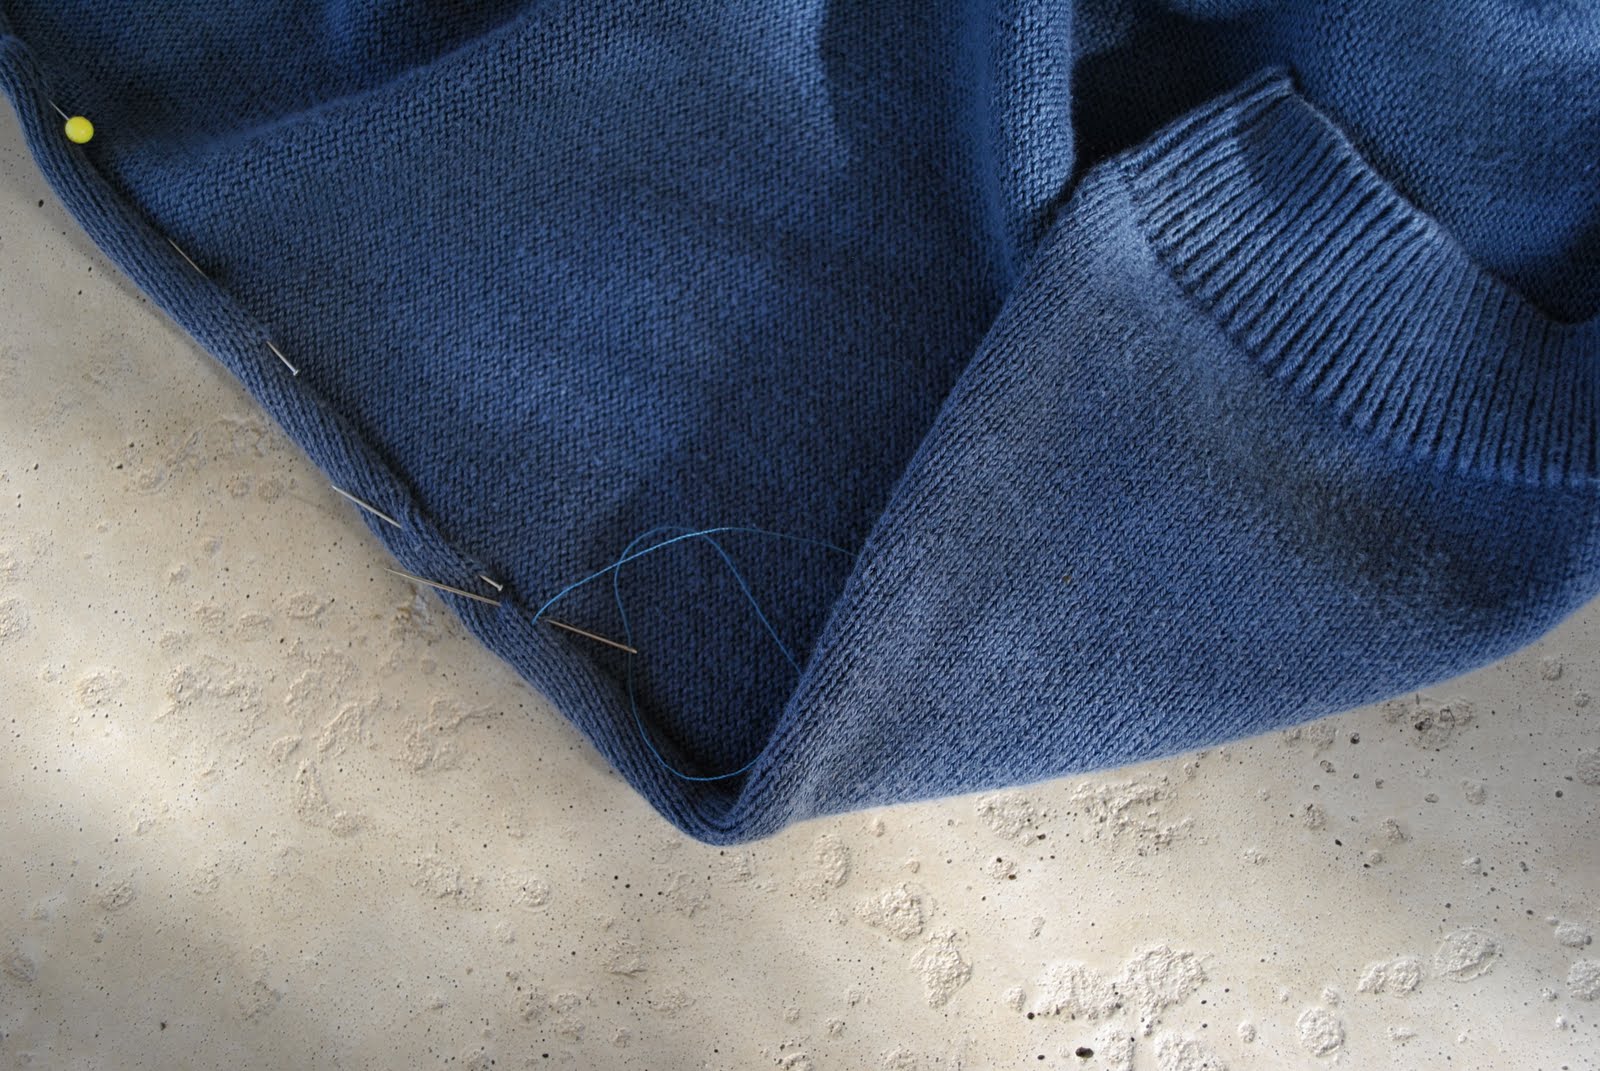
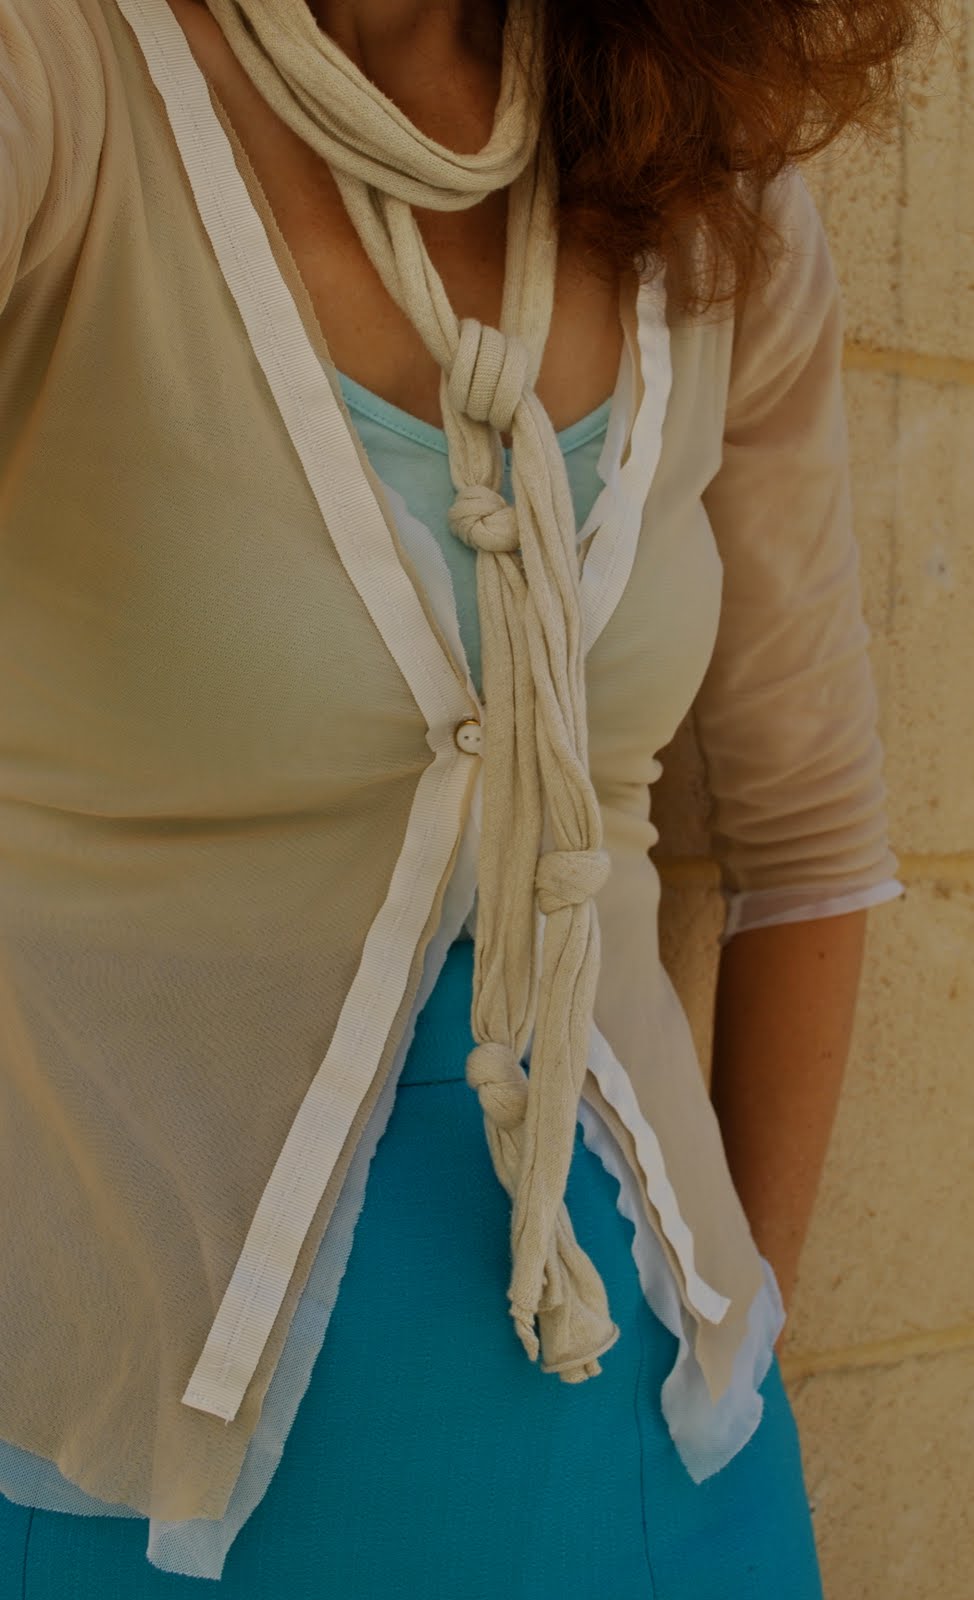
Now choose some sort of band and closure material. For my first effort (in this photo below) I used some grosgrain ribbon and a single cute brass and enamel button and sewed a button hole in the grosgrain ribbon for it. For my new cardigan I used a scrap of leftover crotchet border lace. Pin this around the neckhole edge of your cardigan and stitch into place. I didn’t have enough to go all the way around my cardigan, but it doesn’t really matter if the lower edges are loose… I then sewed on some charcoal grey velvet ribbon for a closure.
Weave in all the loose overlocking threads into the seams, et voila! Your cardigan is finished, and wasn’t that the easiest thing ever! (My apologies to advanced seamstress’ who find these instructions laughably easy…)
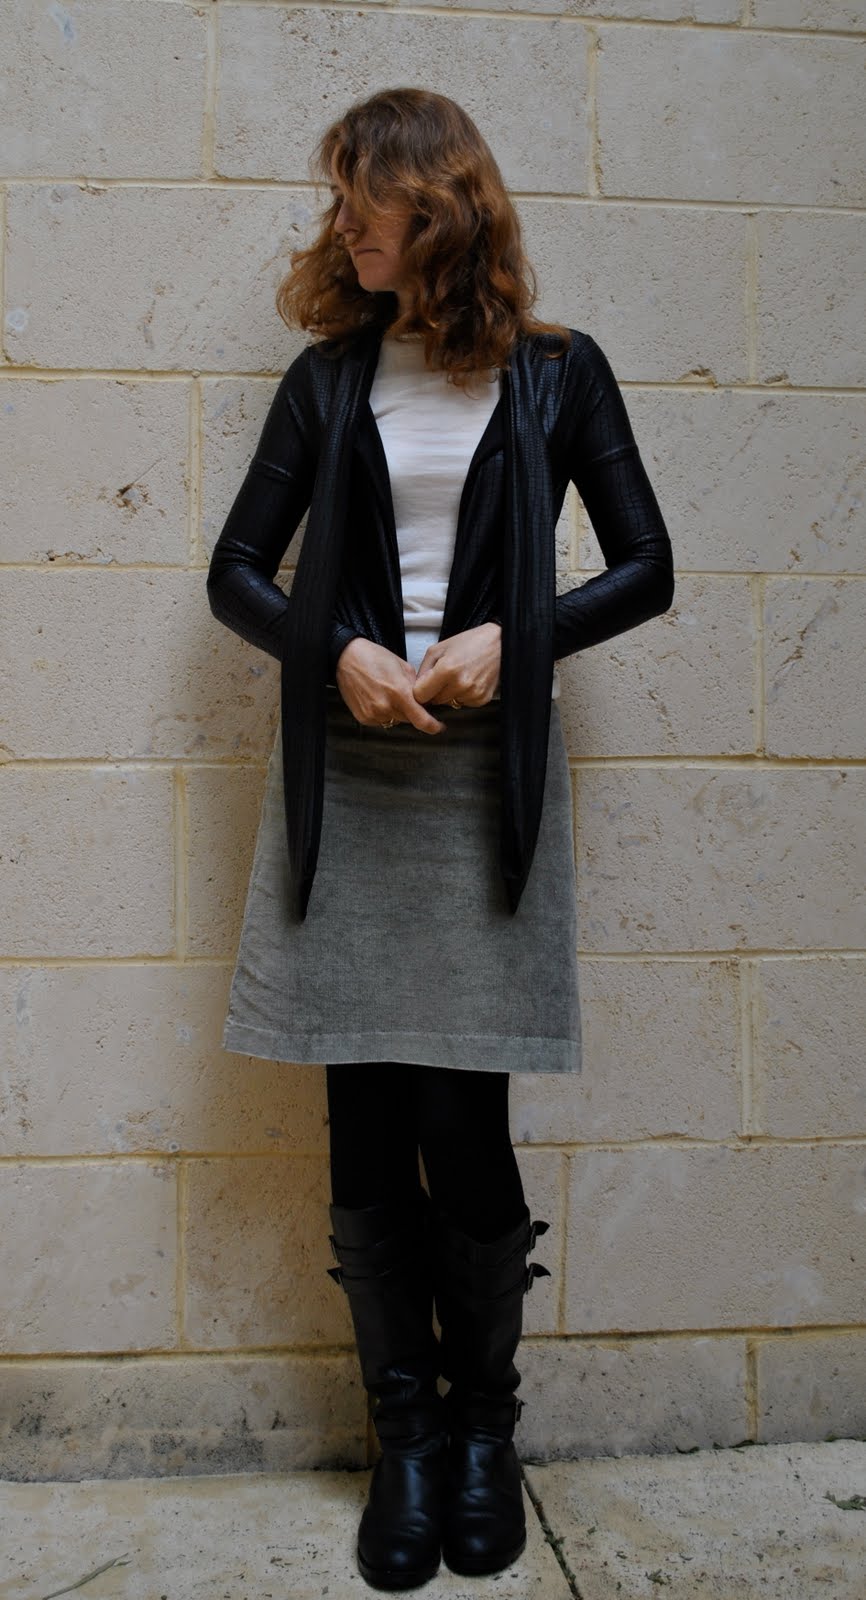
I’ve found these light cardigans perfect for hot days as they are so light and airy you barely notice they’re there but they still provide protection from the sun and are nice if you don’t want to expose too much skin to the whole world.
Details:
Cardigan; white and mauve net, own design
Skirt; Old Khaki, from Capetown, South Africa
Camisole; Country Road
Necklace; souvenir from Egypt
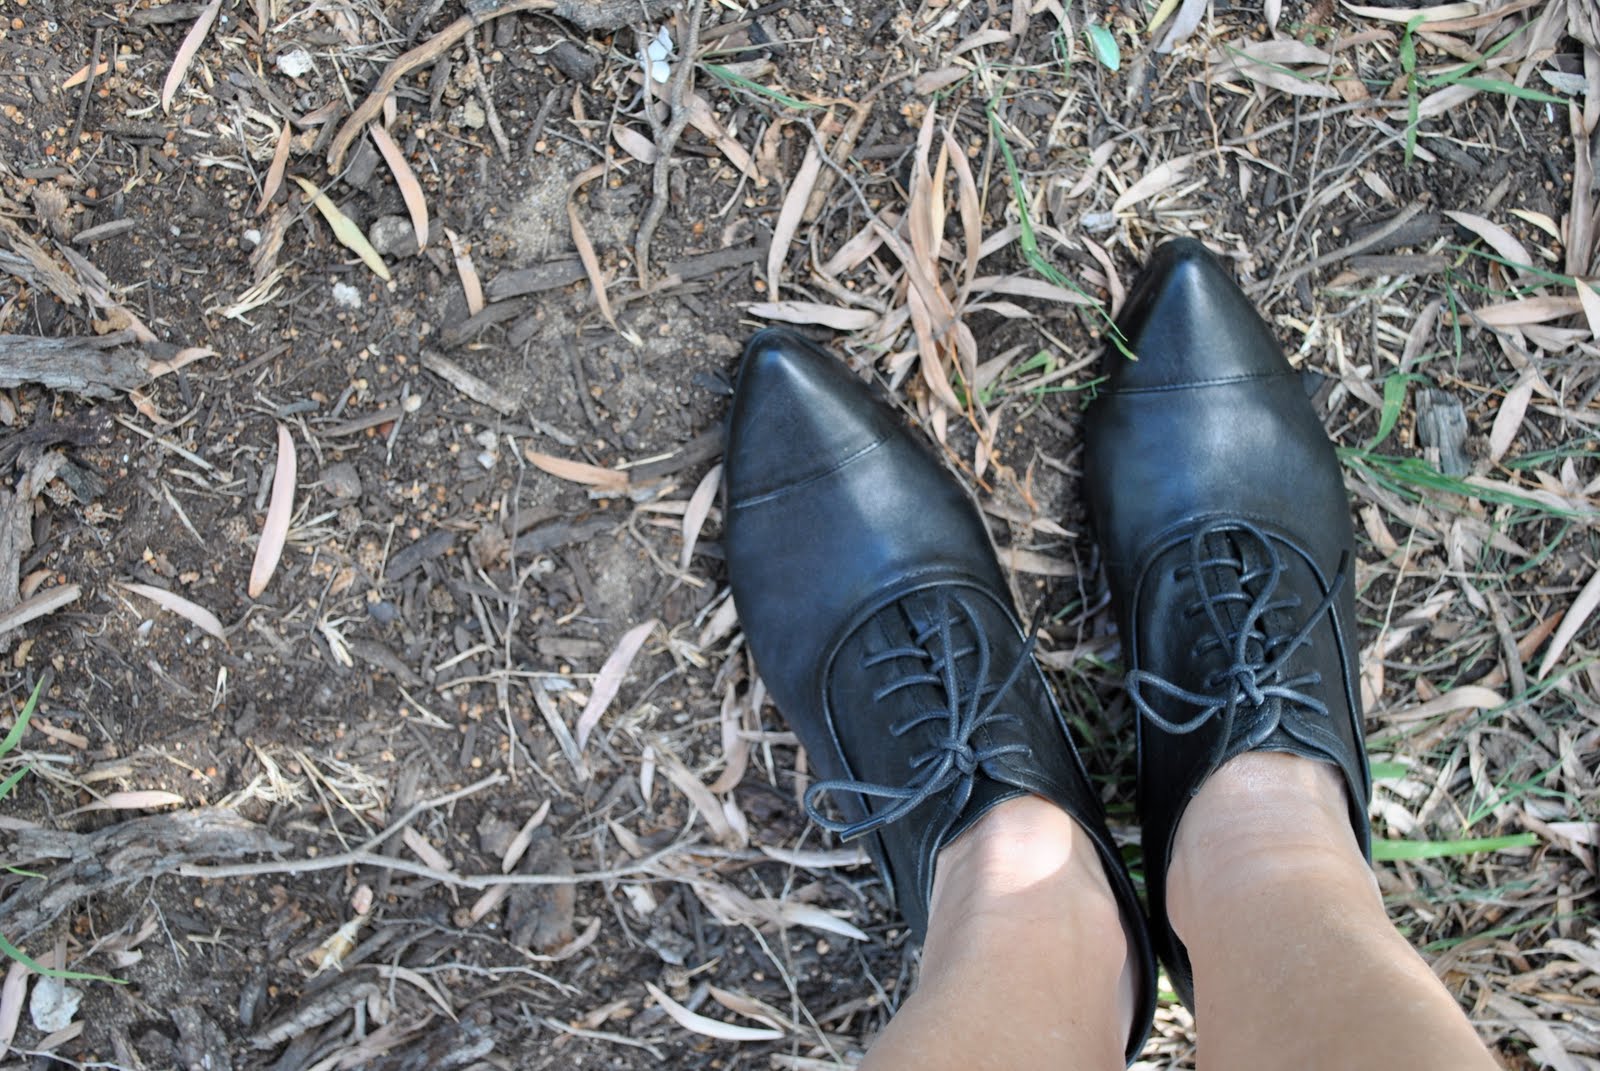
Sandals; Vicenza, from Soletta shoes


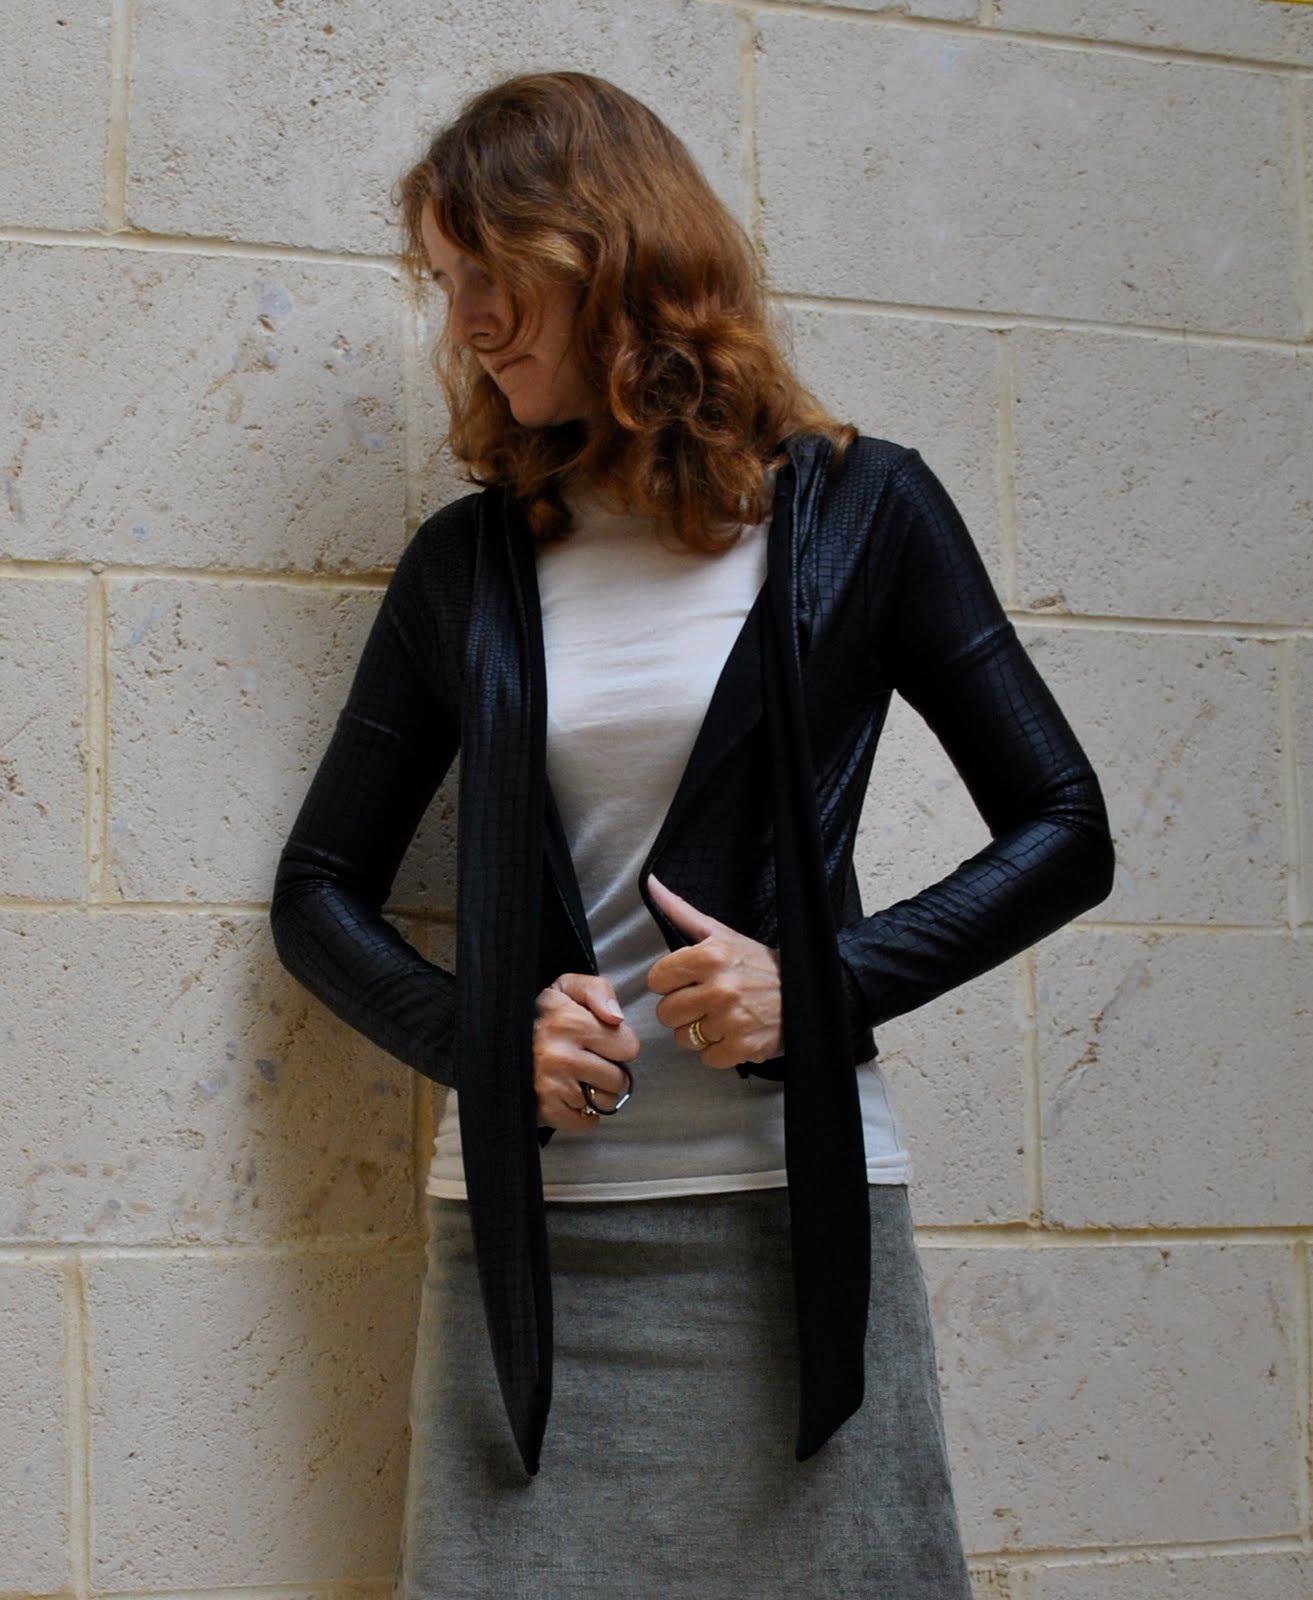
 Challenging myself to wear everything in my wardrobe: I’m still coming across old winter skirts that have seen more fashionable days, but are still perfectly good. Today’s is another one. Do you remember this skirt? I had got a lot of this grey cotton fabric for free from a local designer; free because the large-scale black floral screenprint on it was pretty scrappy in parts. I just went over the scrappy bits with a felt tip pen (Sharpie) which fixed it up fine… I had challenged myself to make a suit; thinking every woman needs a suit in her wardrobe “just in case”. So I made a suit of a jacket with two matching skirts. Of course in the three or four years since I made these I have had zero occasions for a suit. Even my most corporate of office moments are still too casual for a suit. Well, (shrug) it’s there if I need it. I haven’t shown you the jacket yet, but I will…
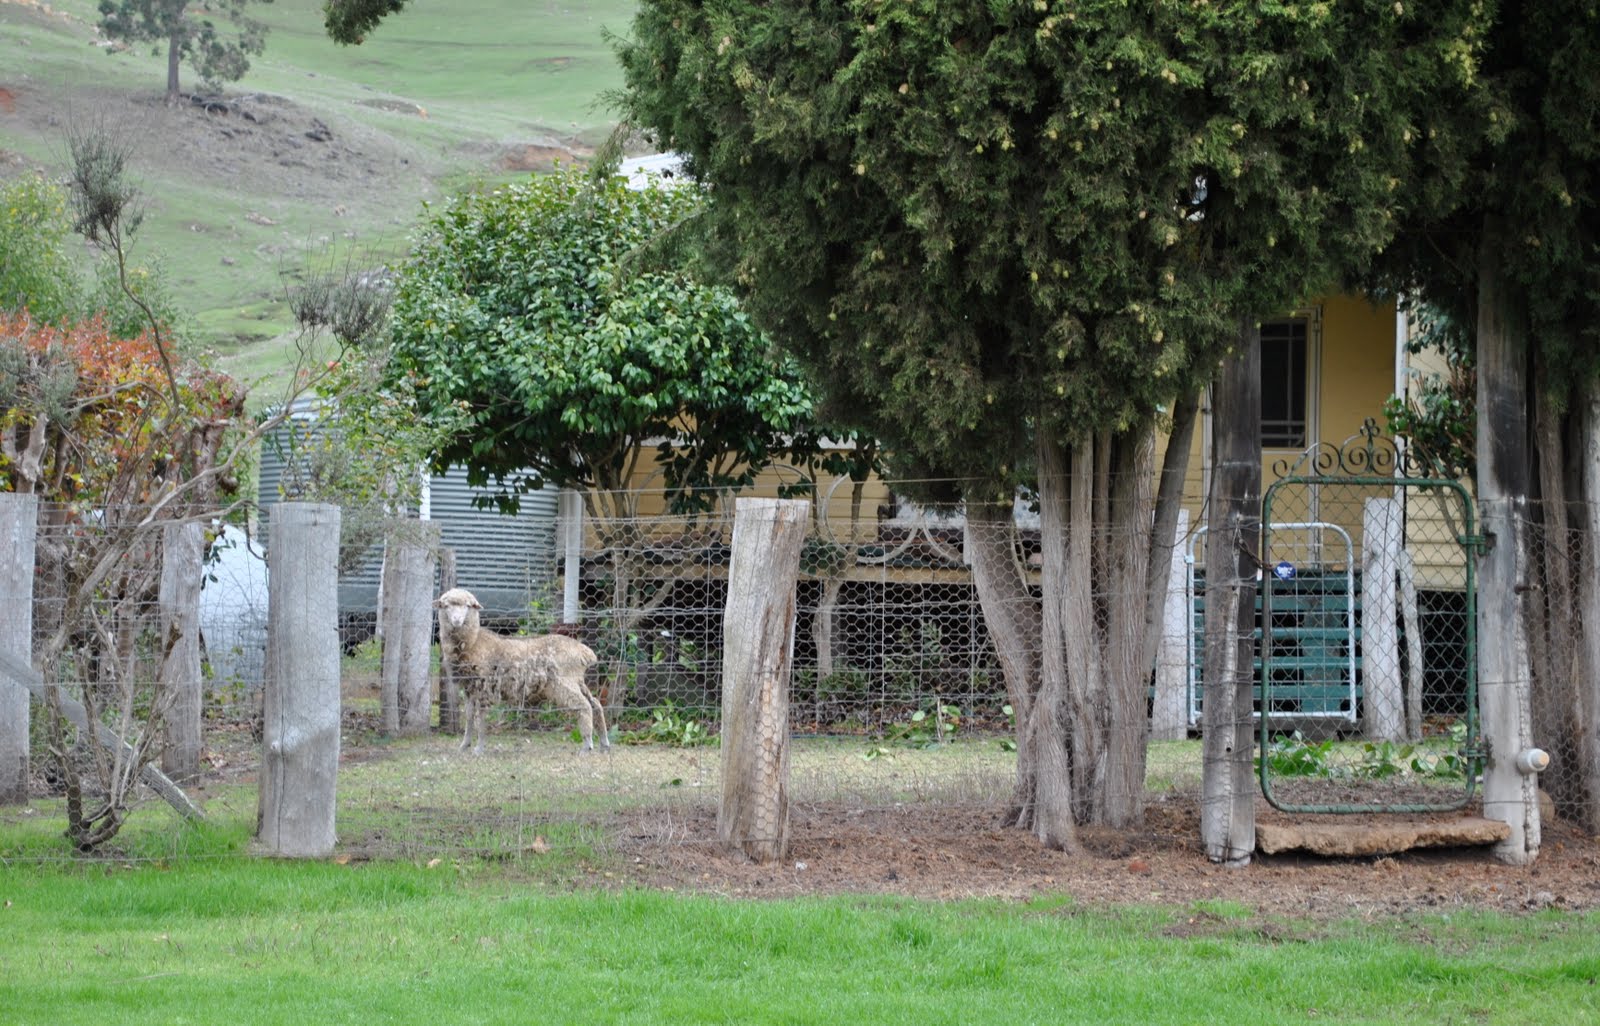
 Today’s random picture below; seen on my walk this morning