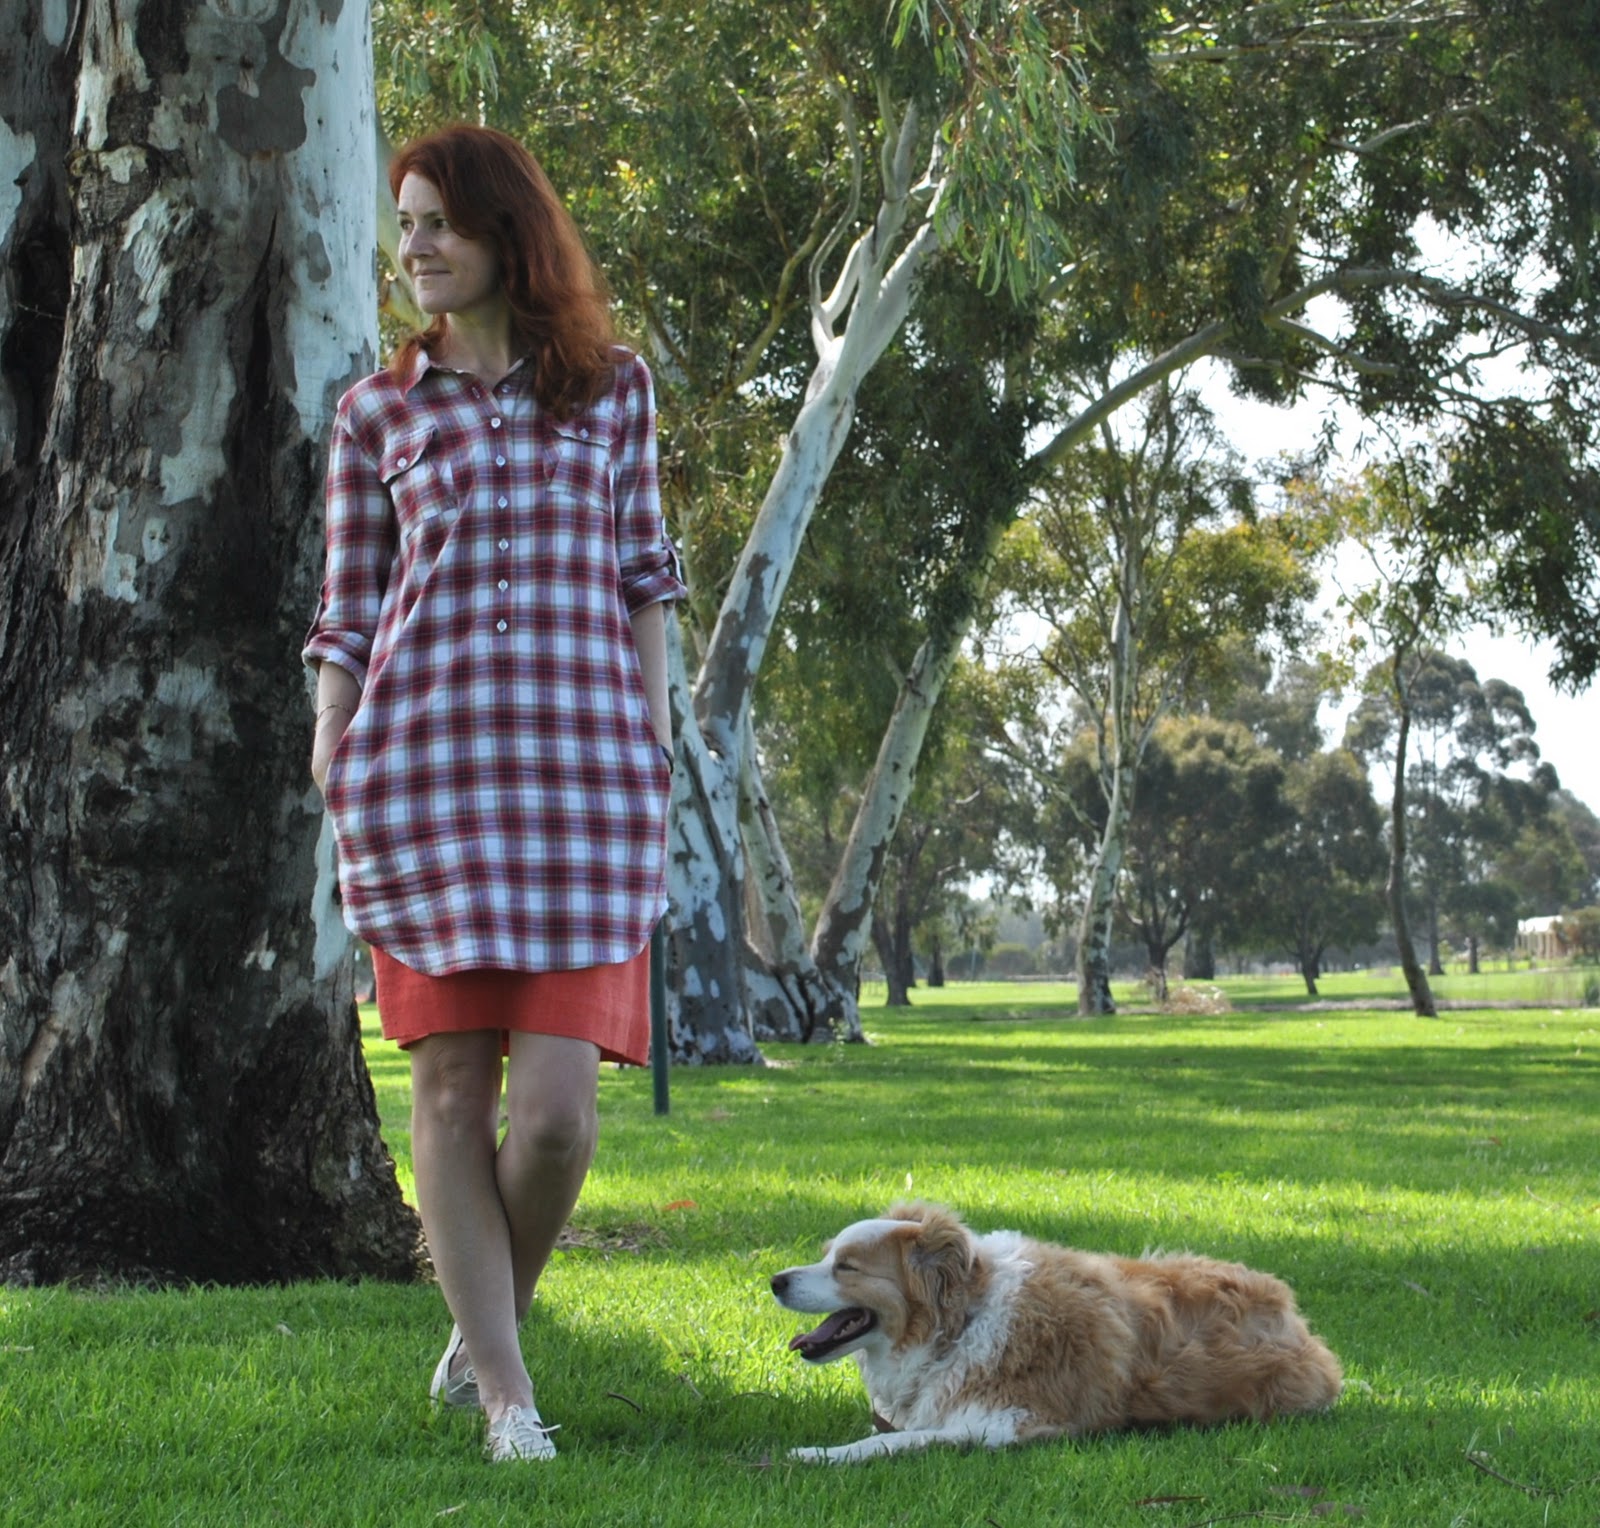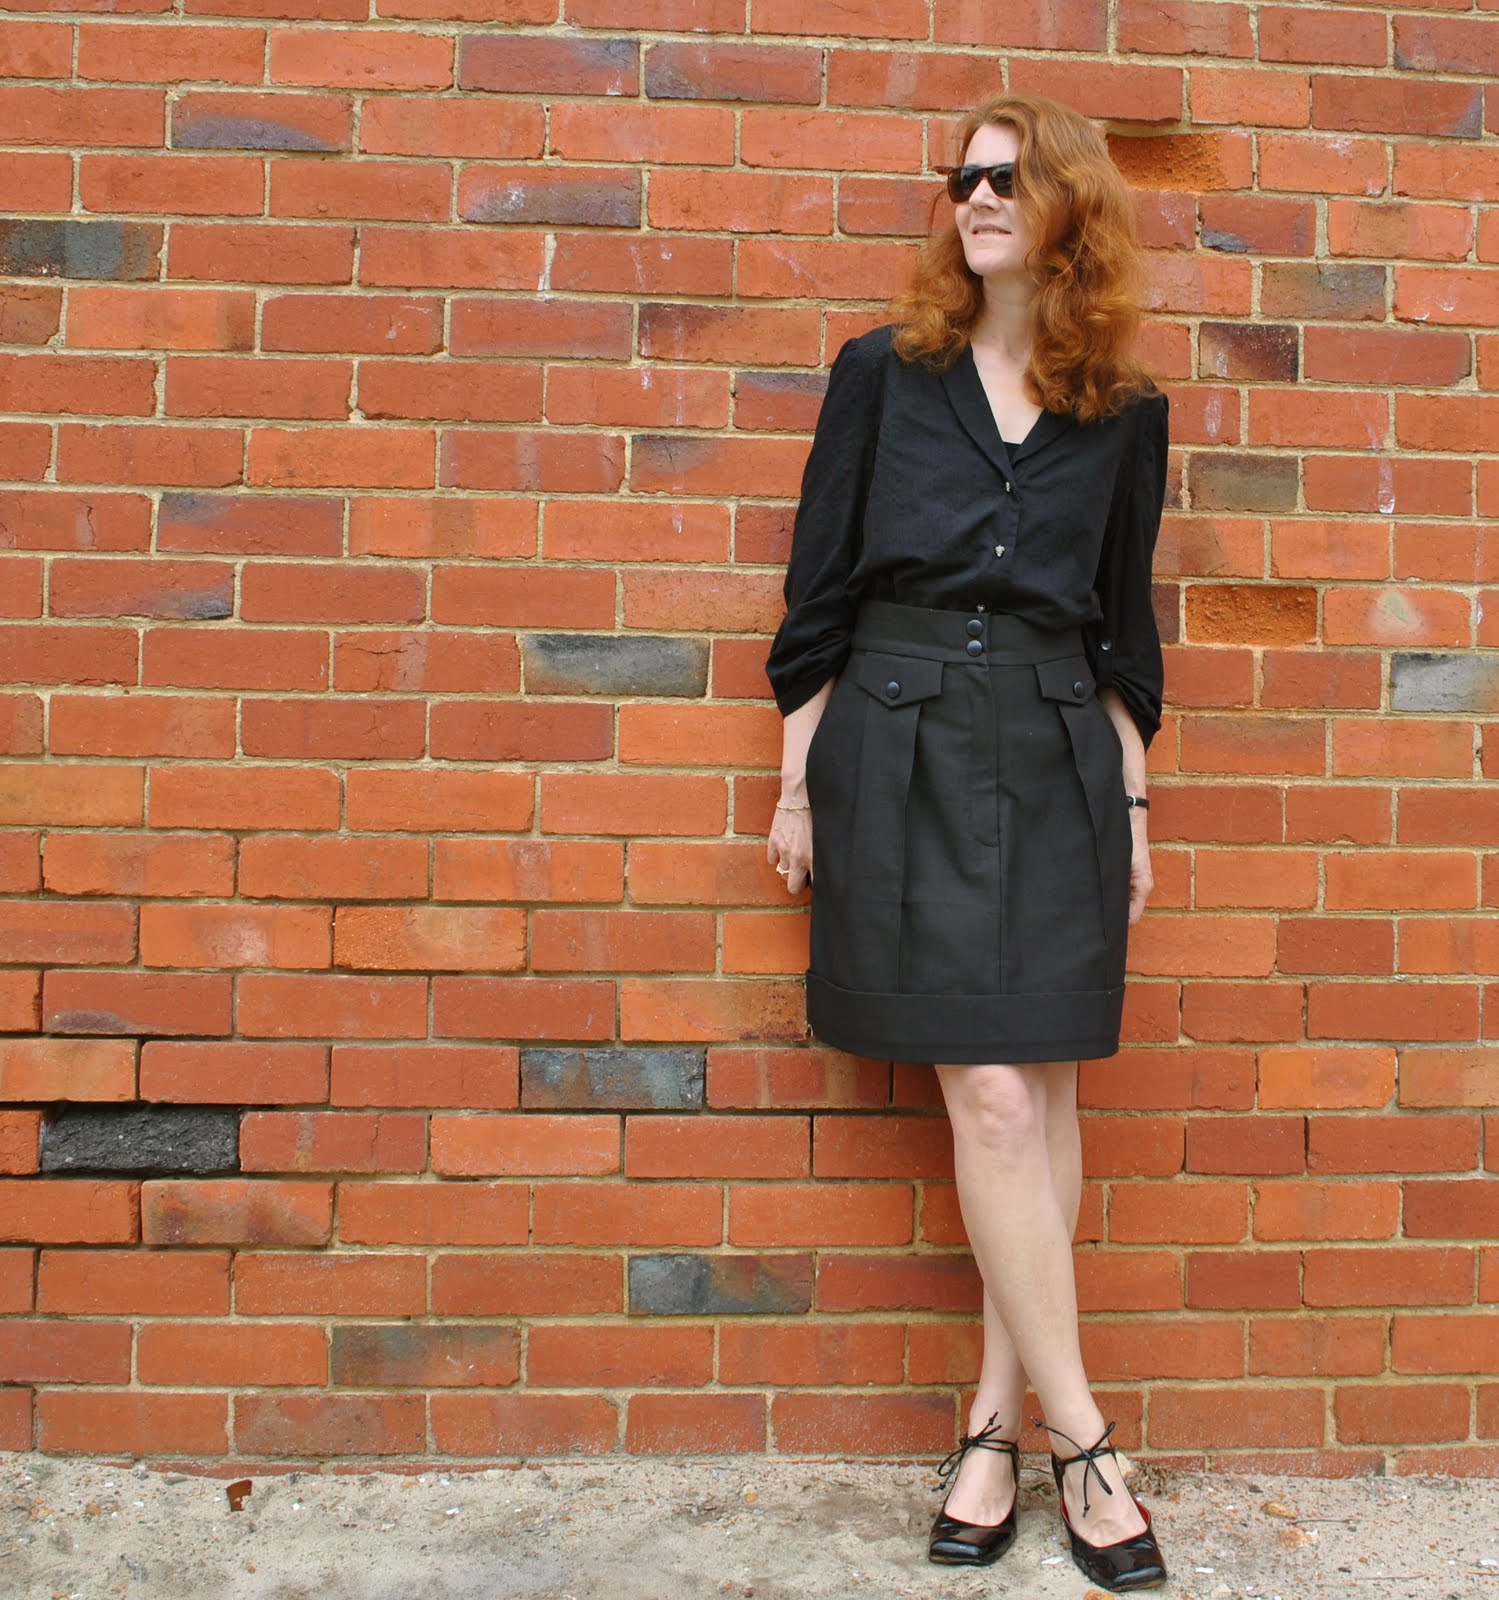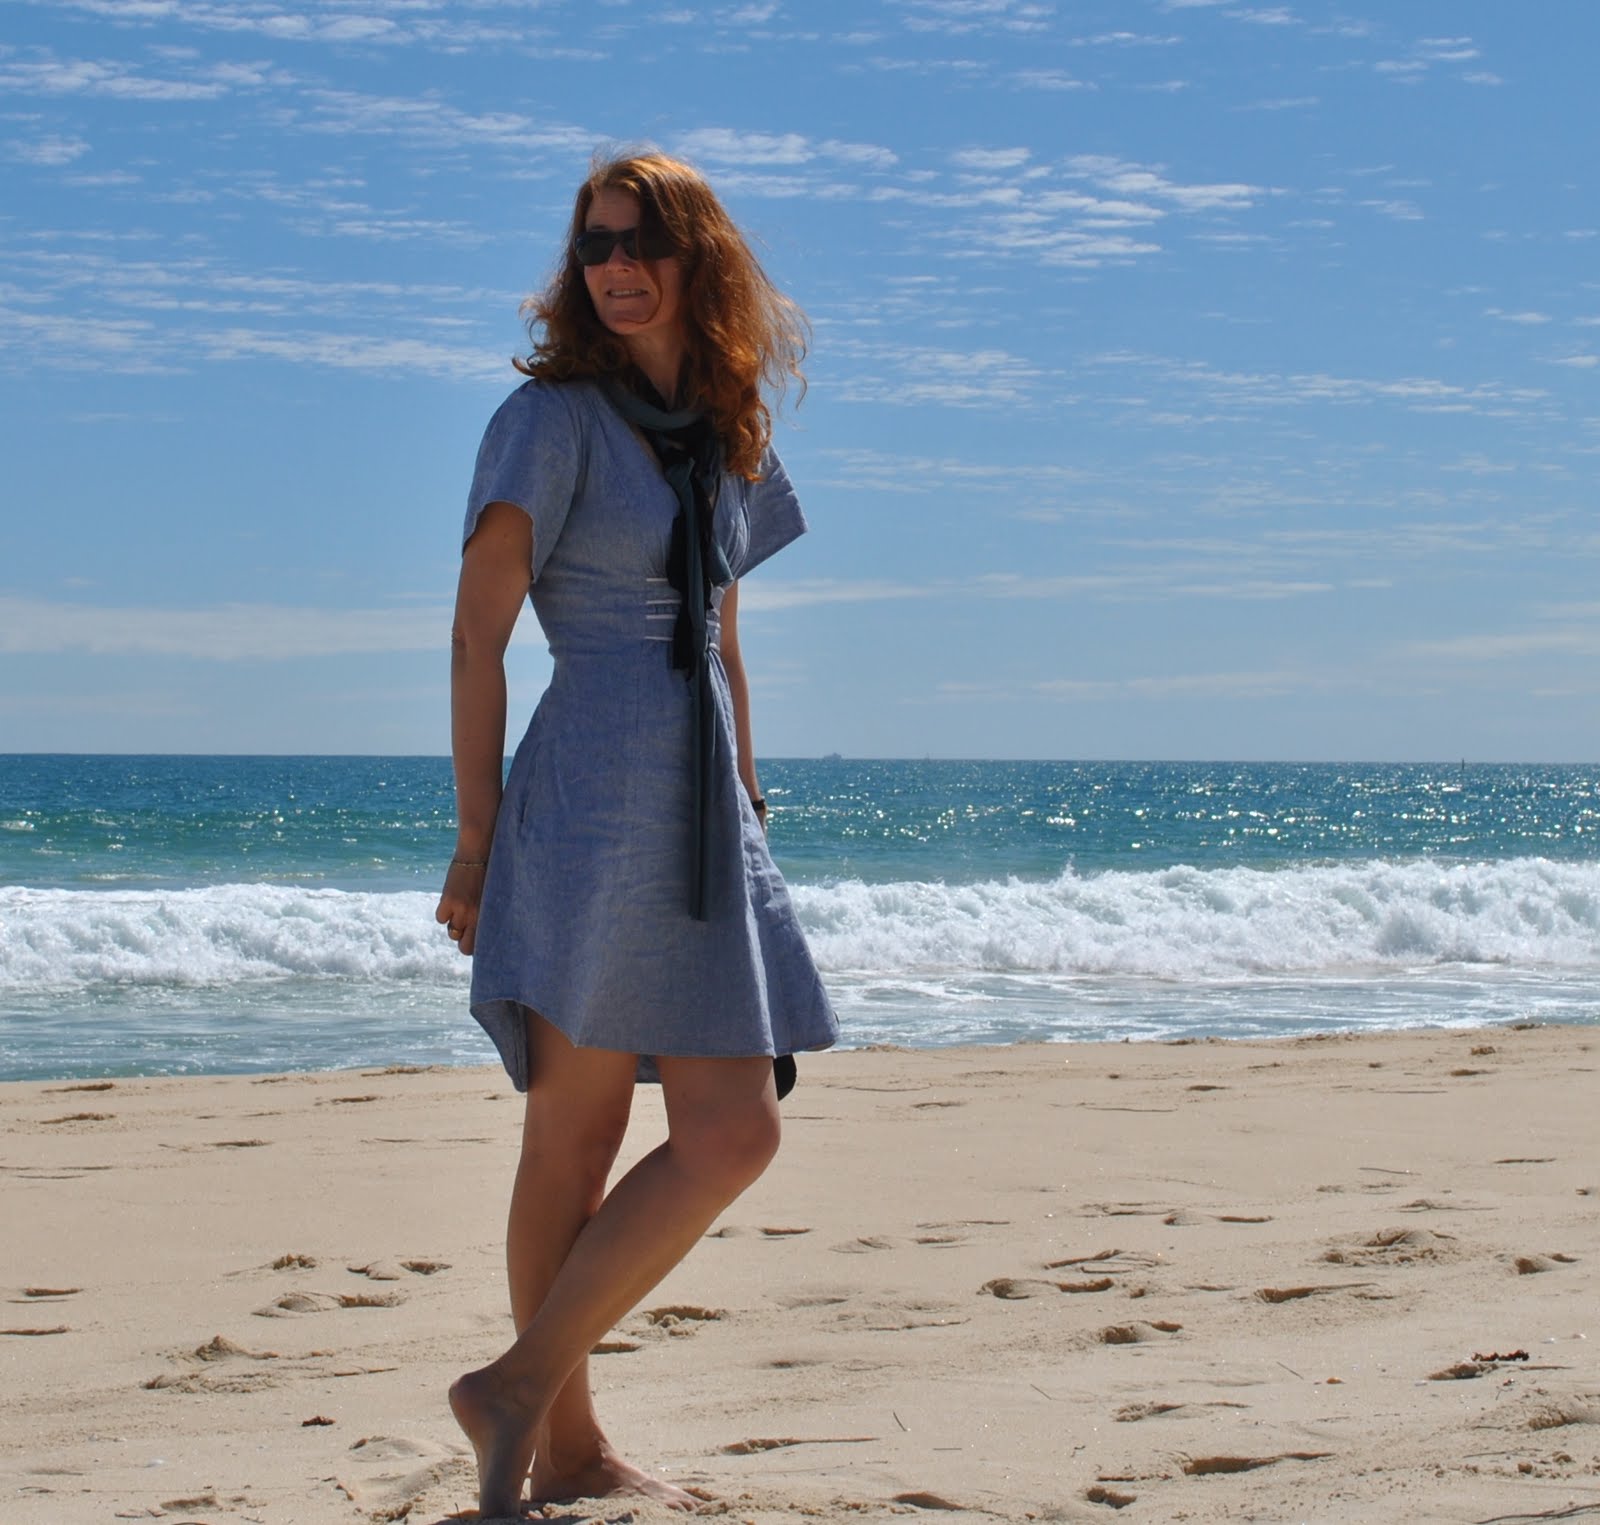
 Self-stitched September, Day 21
Today’s mini photo challenge, to be eating/drinking.
I whipped up a new Tshirt yesterday.
Hehe, “whipped-up”, a phrase that is music to the seamster’s ears, no? Don’t you just love the very thought of it; whipping something up. Especially since I am normally not much of a whipper-upper, but more of an agoniser-over-the-smallest-detail-er… well whipping something up is nice thing to do once in a while.
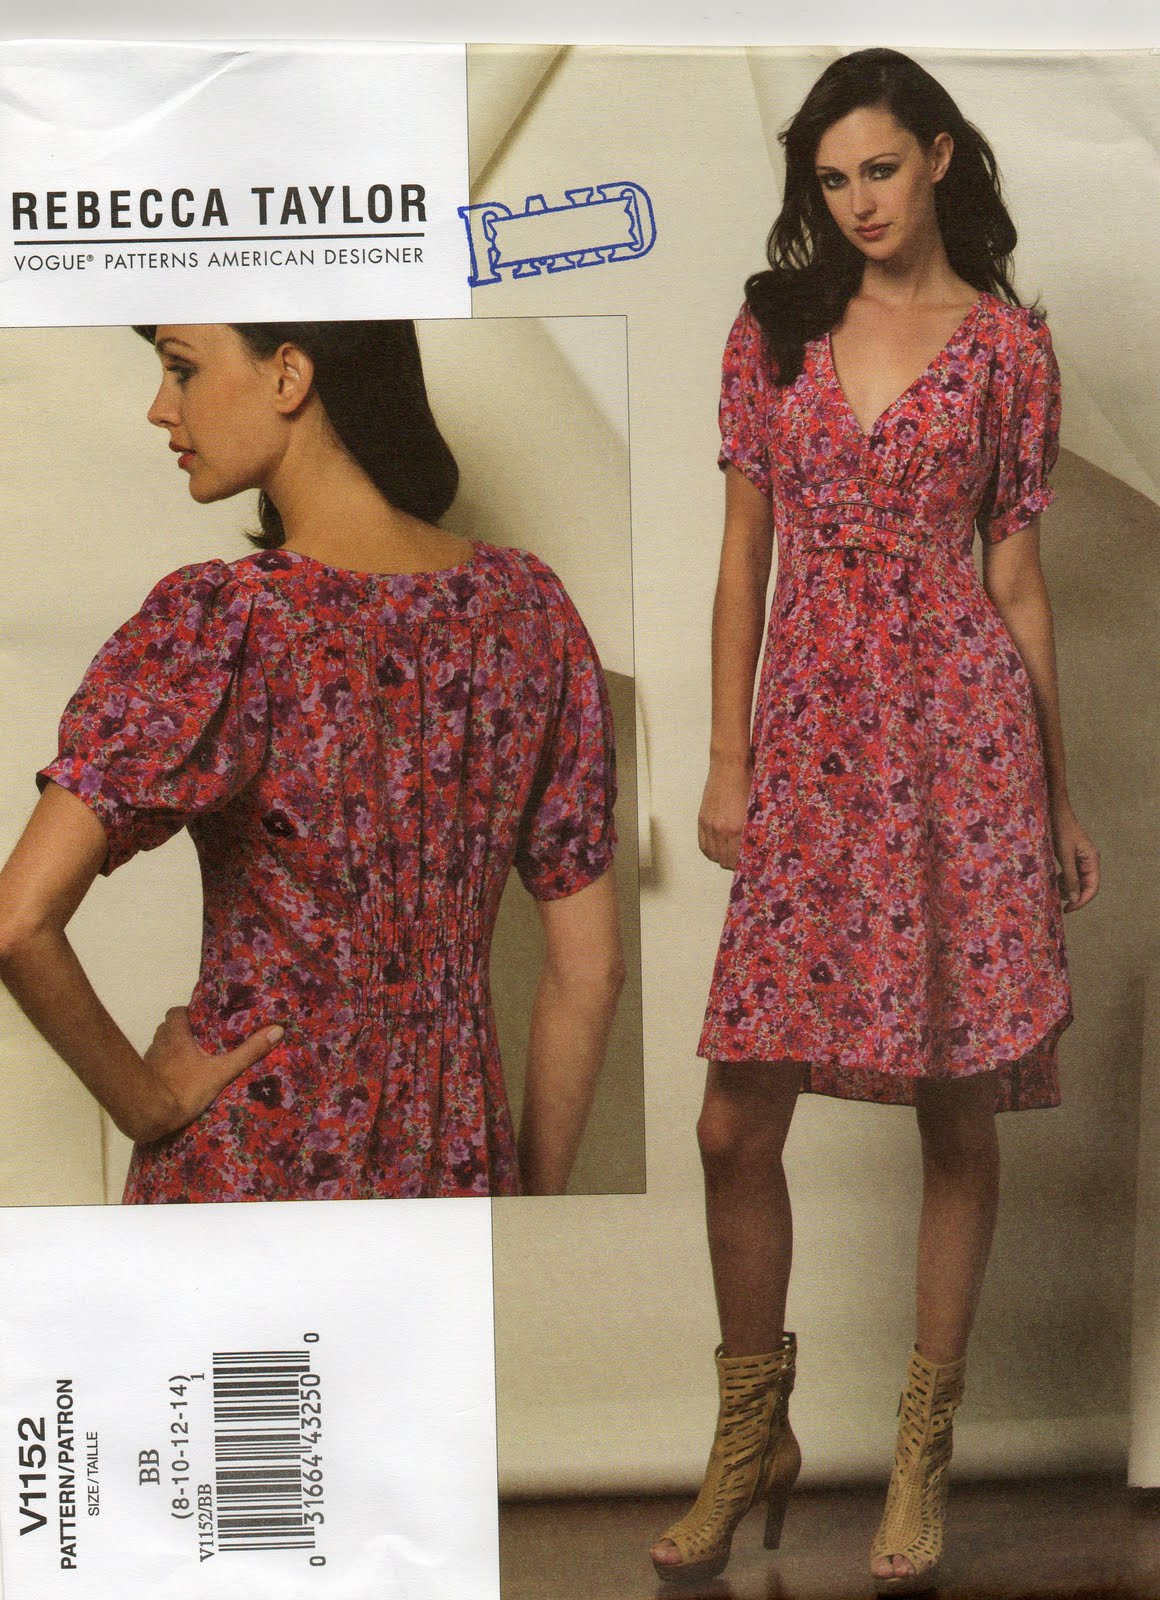
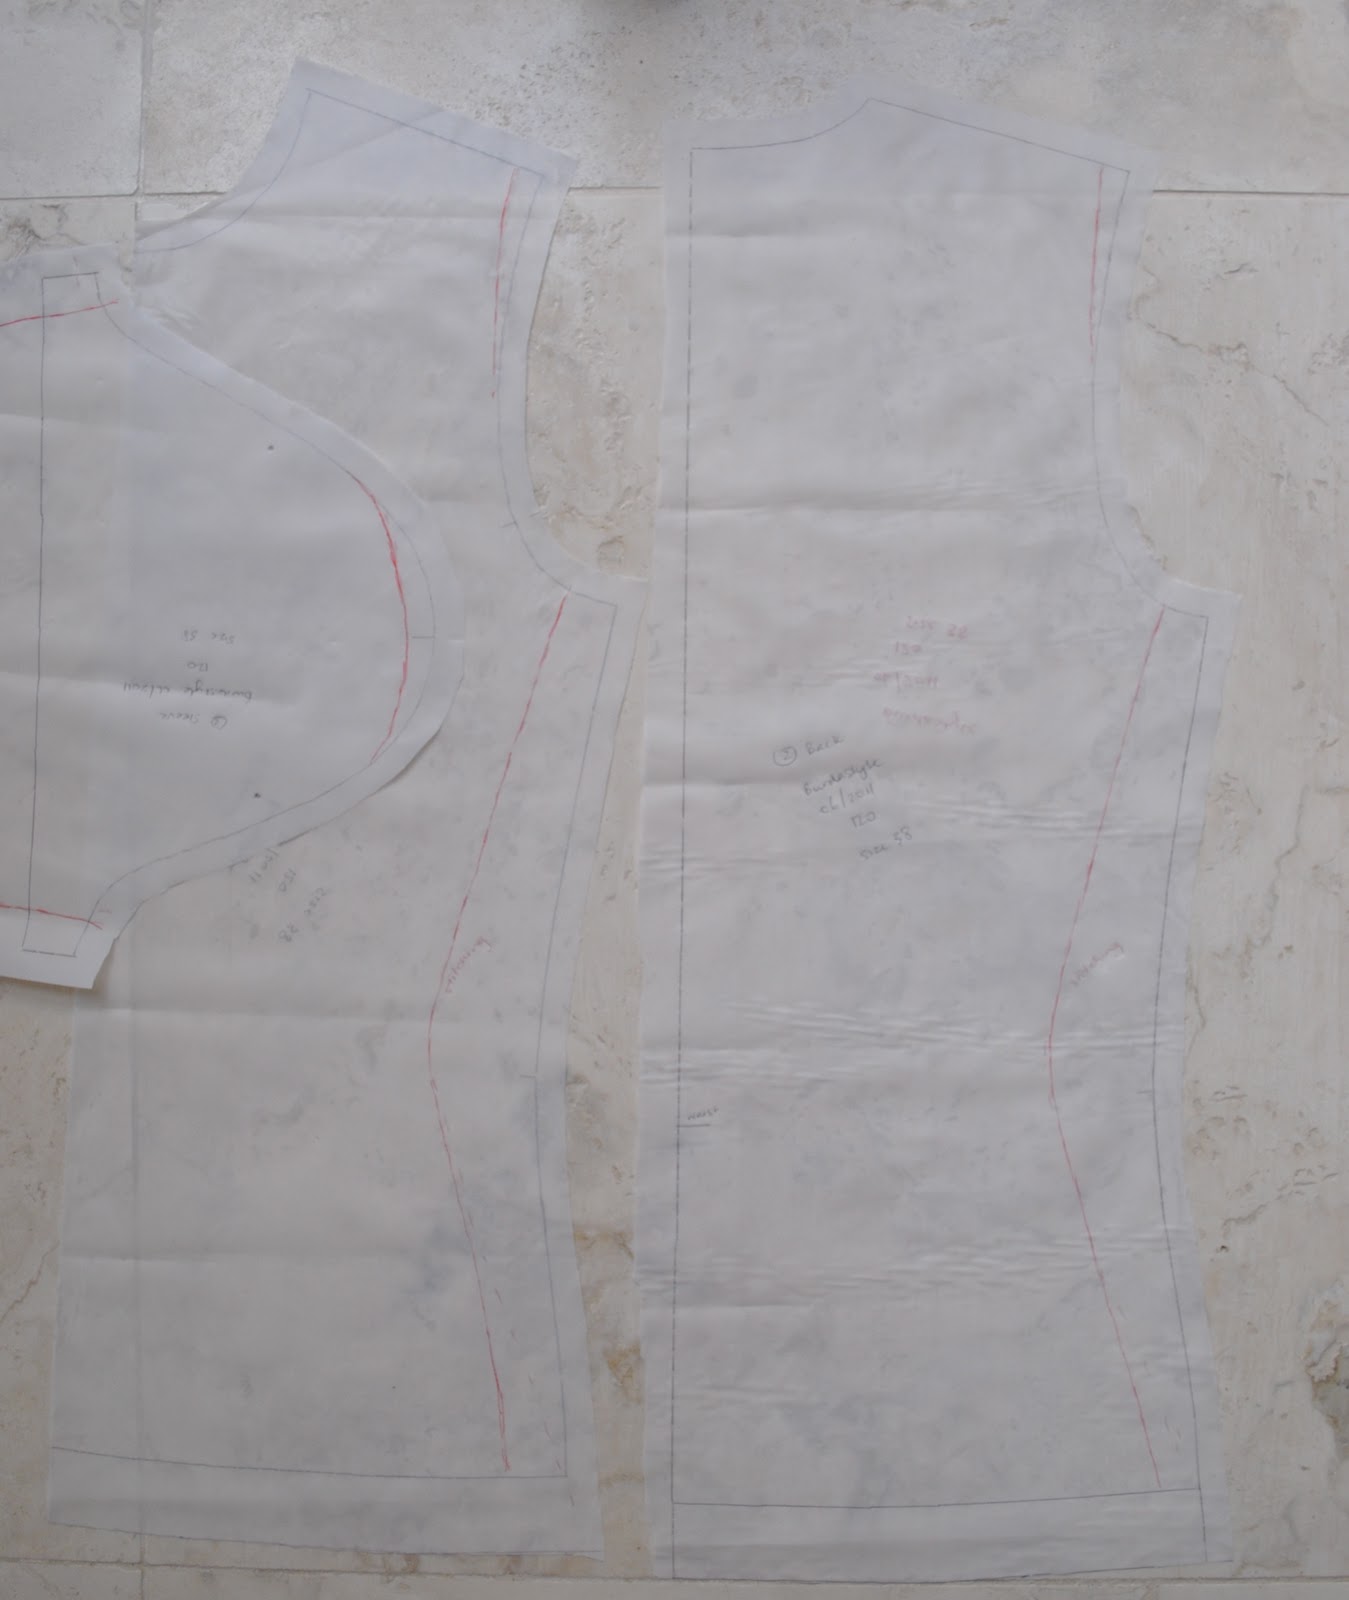
 As whipping-up implies, my Tshirt is devoid of exciting or innovative dressmaking features. It’s just an ordinary white Tshirt and is not exciting at all. But I decided to be kinda official about it this time… usually I lay down one of my existing Tshirts and trace around it but I’ve decided that I should do something about getting a proper pattern that is reproducable over and over. In the 06/2011 Burdastyle magazine I noticed this Tshirt pattern 120 immediately and thought I would give it a whirl. So traced out my size based on my measurements, cut it out, machine basted and tried it on (normal modus operandi for trying out a new pattern) Was a bit surprised to find out I swam in it! Look at the photograph; the model is hardly swimmming in her Tshirt now, is she? In fact it looks like a remarkably well-fitting garment, so what is going on here? Here below are my pattern pieces; the black lines are the stipulated stitching lines and the red lines are my adjusted stitching lines in order for me to get a garment that looks like the one in the picture. Only the shoulder seams remain unaltered… ridiculous, no?
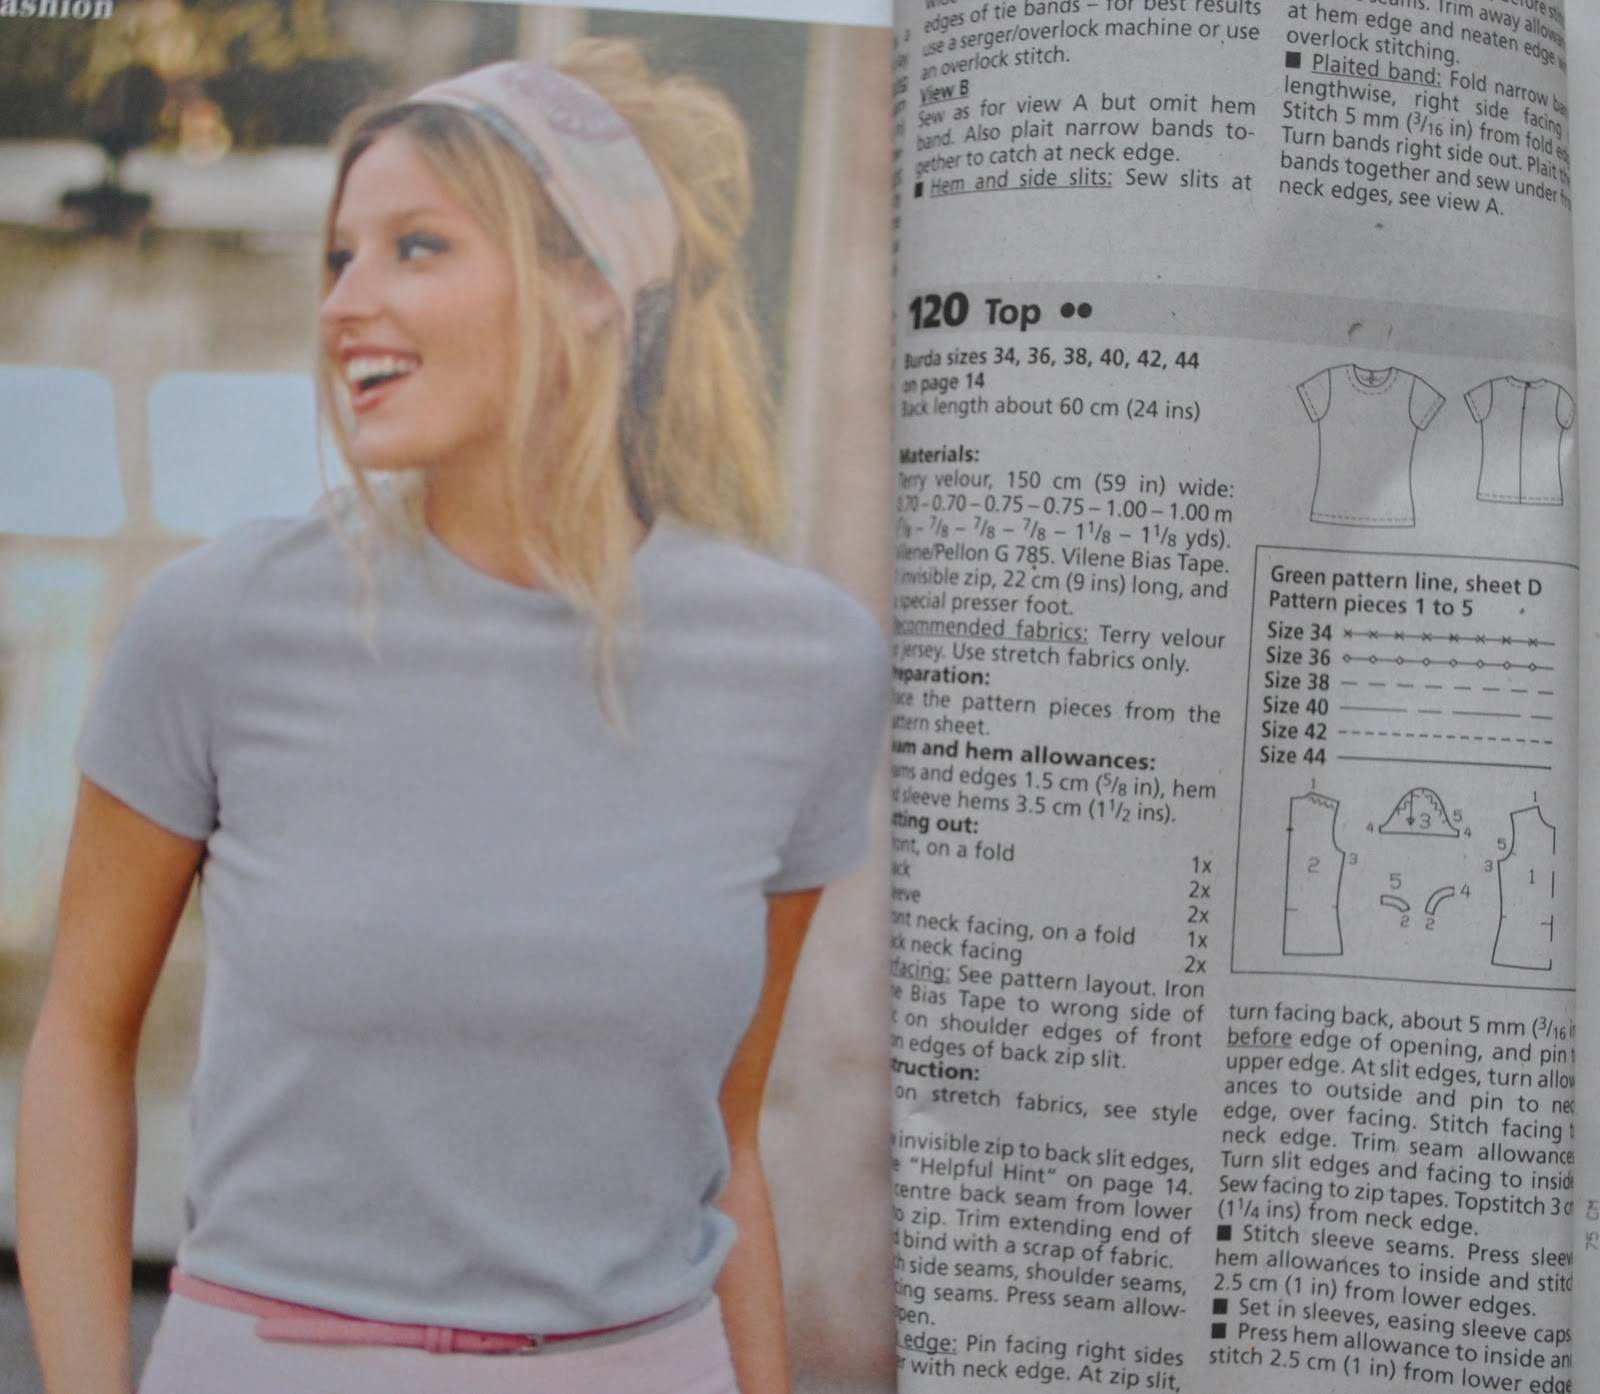
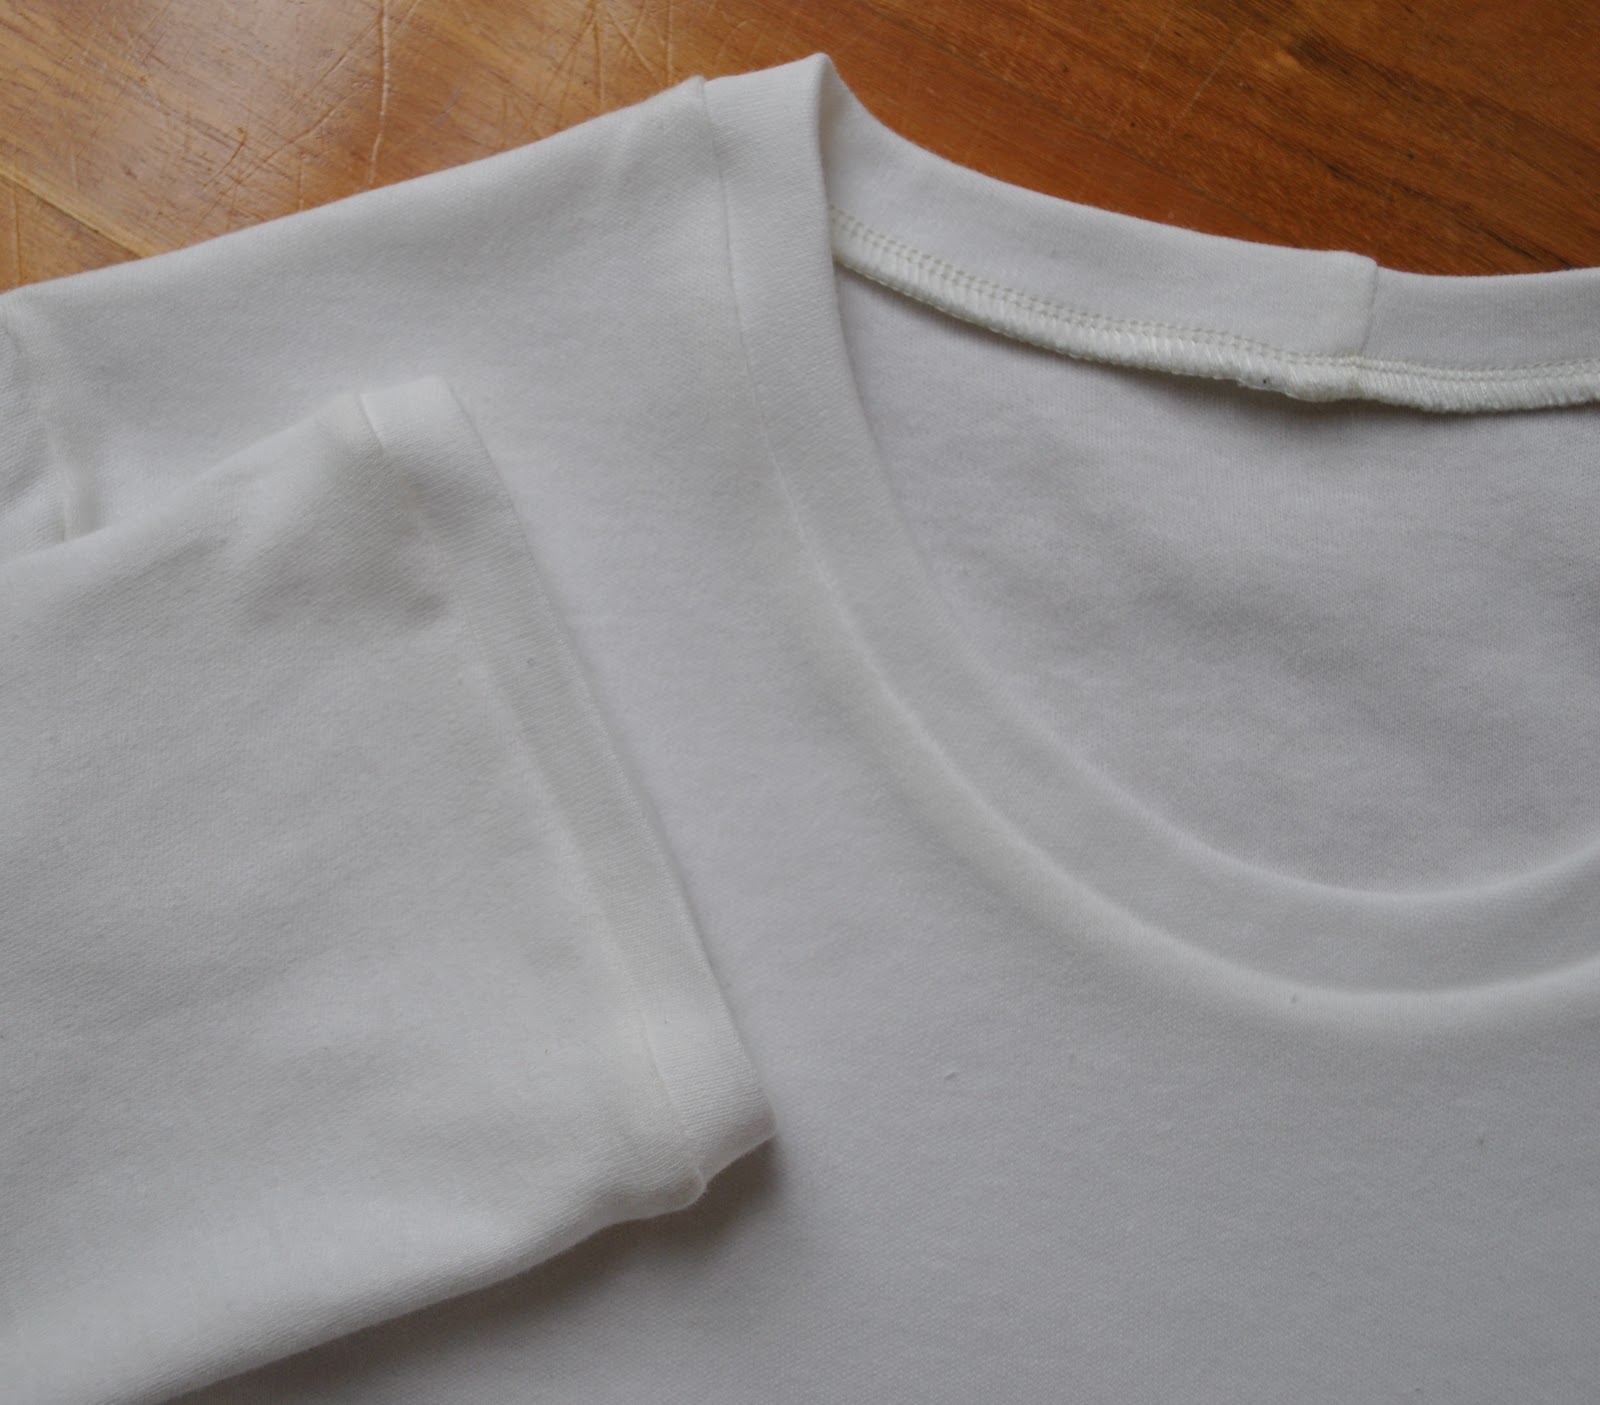
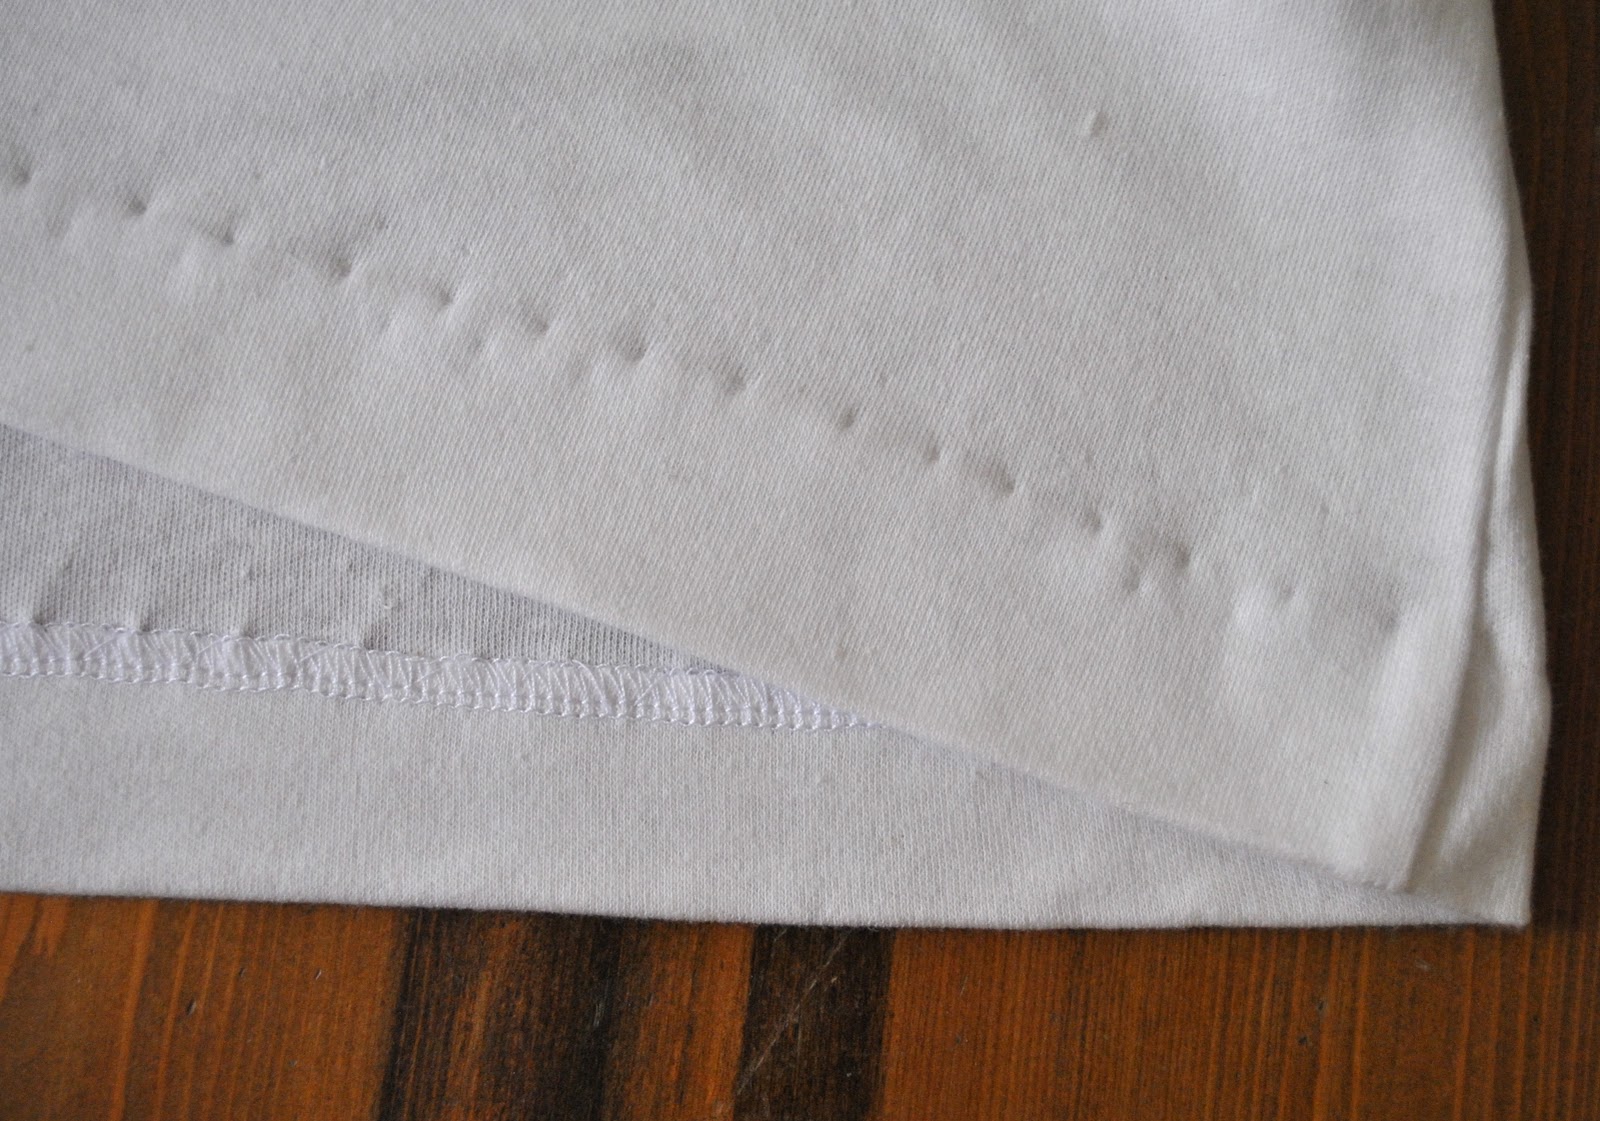
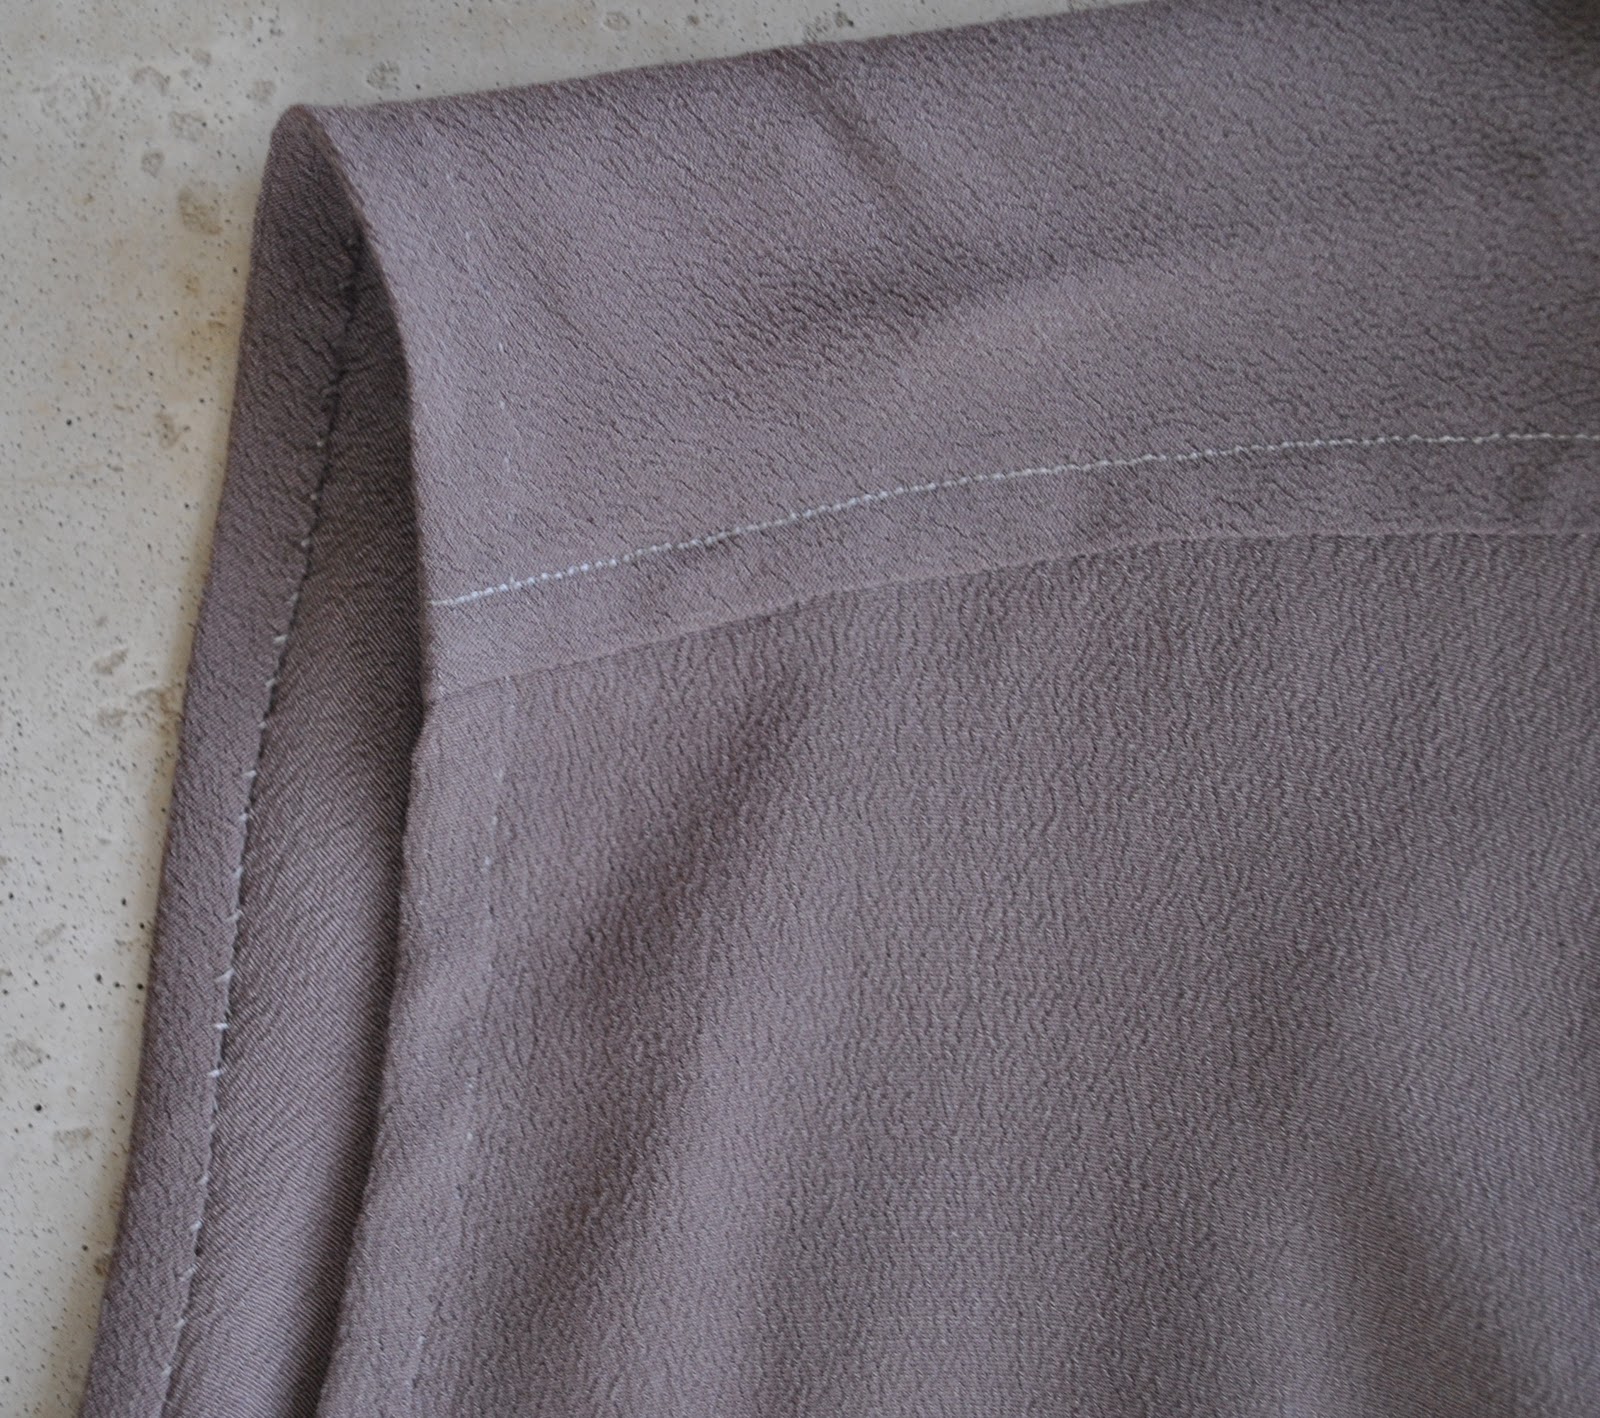
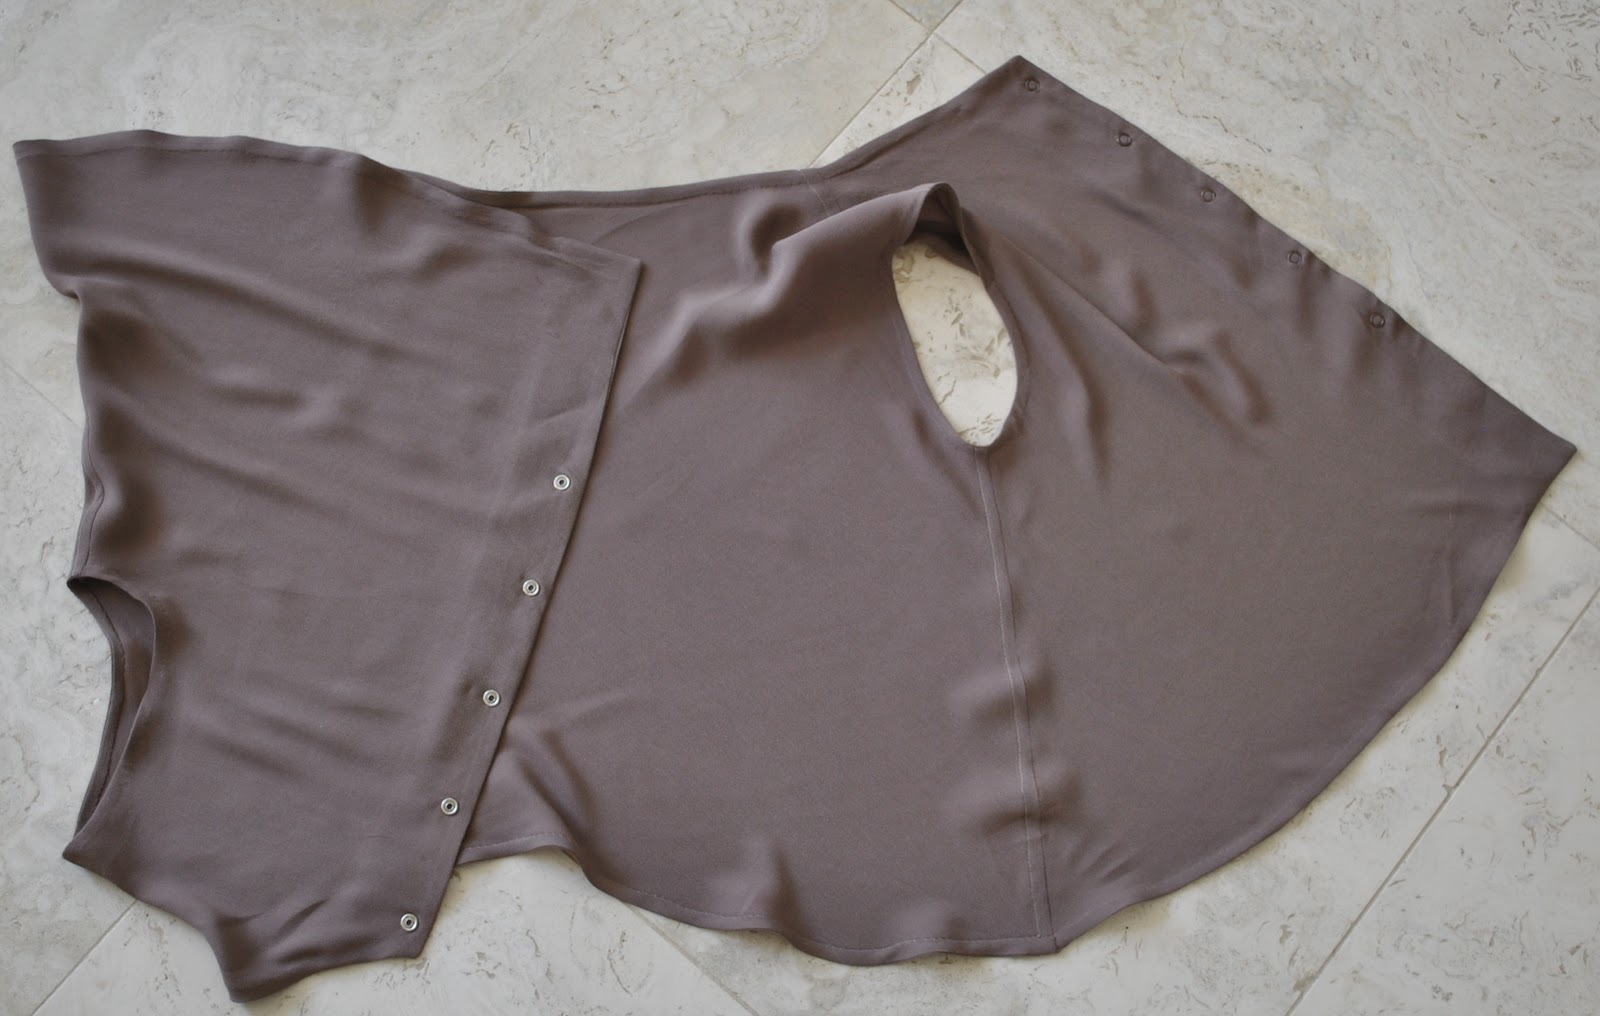
I also noticed that the pattern calls for an invisible zip closure in a centre back seam and for front and back neck facings. Personally I think that is overkill for a Tshirt. Invisible zips? Facings? I think not. Instead I opted to cut the back in one piece on a centre fold and cut bands to finish the sleeve and neck-hole edges. This is a very nice finish I learnt it by studying some of my Metalicus tops to see how they finish some of their knit edges, so I think of it in my head as “the Metalicus finish”. I think it is a beautifully clean and easy finish. It uses the self-fabric so blends in nicely with the garment and doesn’t require you to find matching ribbing or to own an expensive coverstitch machine. You just cut a band to fit (or a little bit smaller), sew it into a ring and fold in half along its length, then serge the raw edges together with the raw sleeve and neckline edges in one seam, like so. I like this finish for a Tshirt. For the lower hem I just overlocked the raw edge, pressed under by about 4cm and hand slipstitched into place. This is a flatter and smoother finish than the Metalicus band method, so works well for the lower hem where I wanted less bulk.
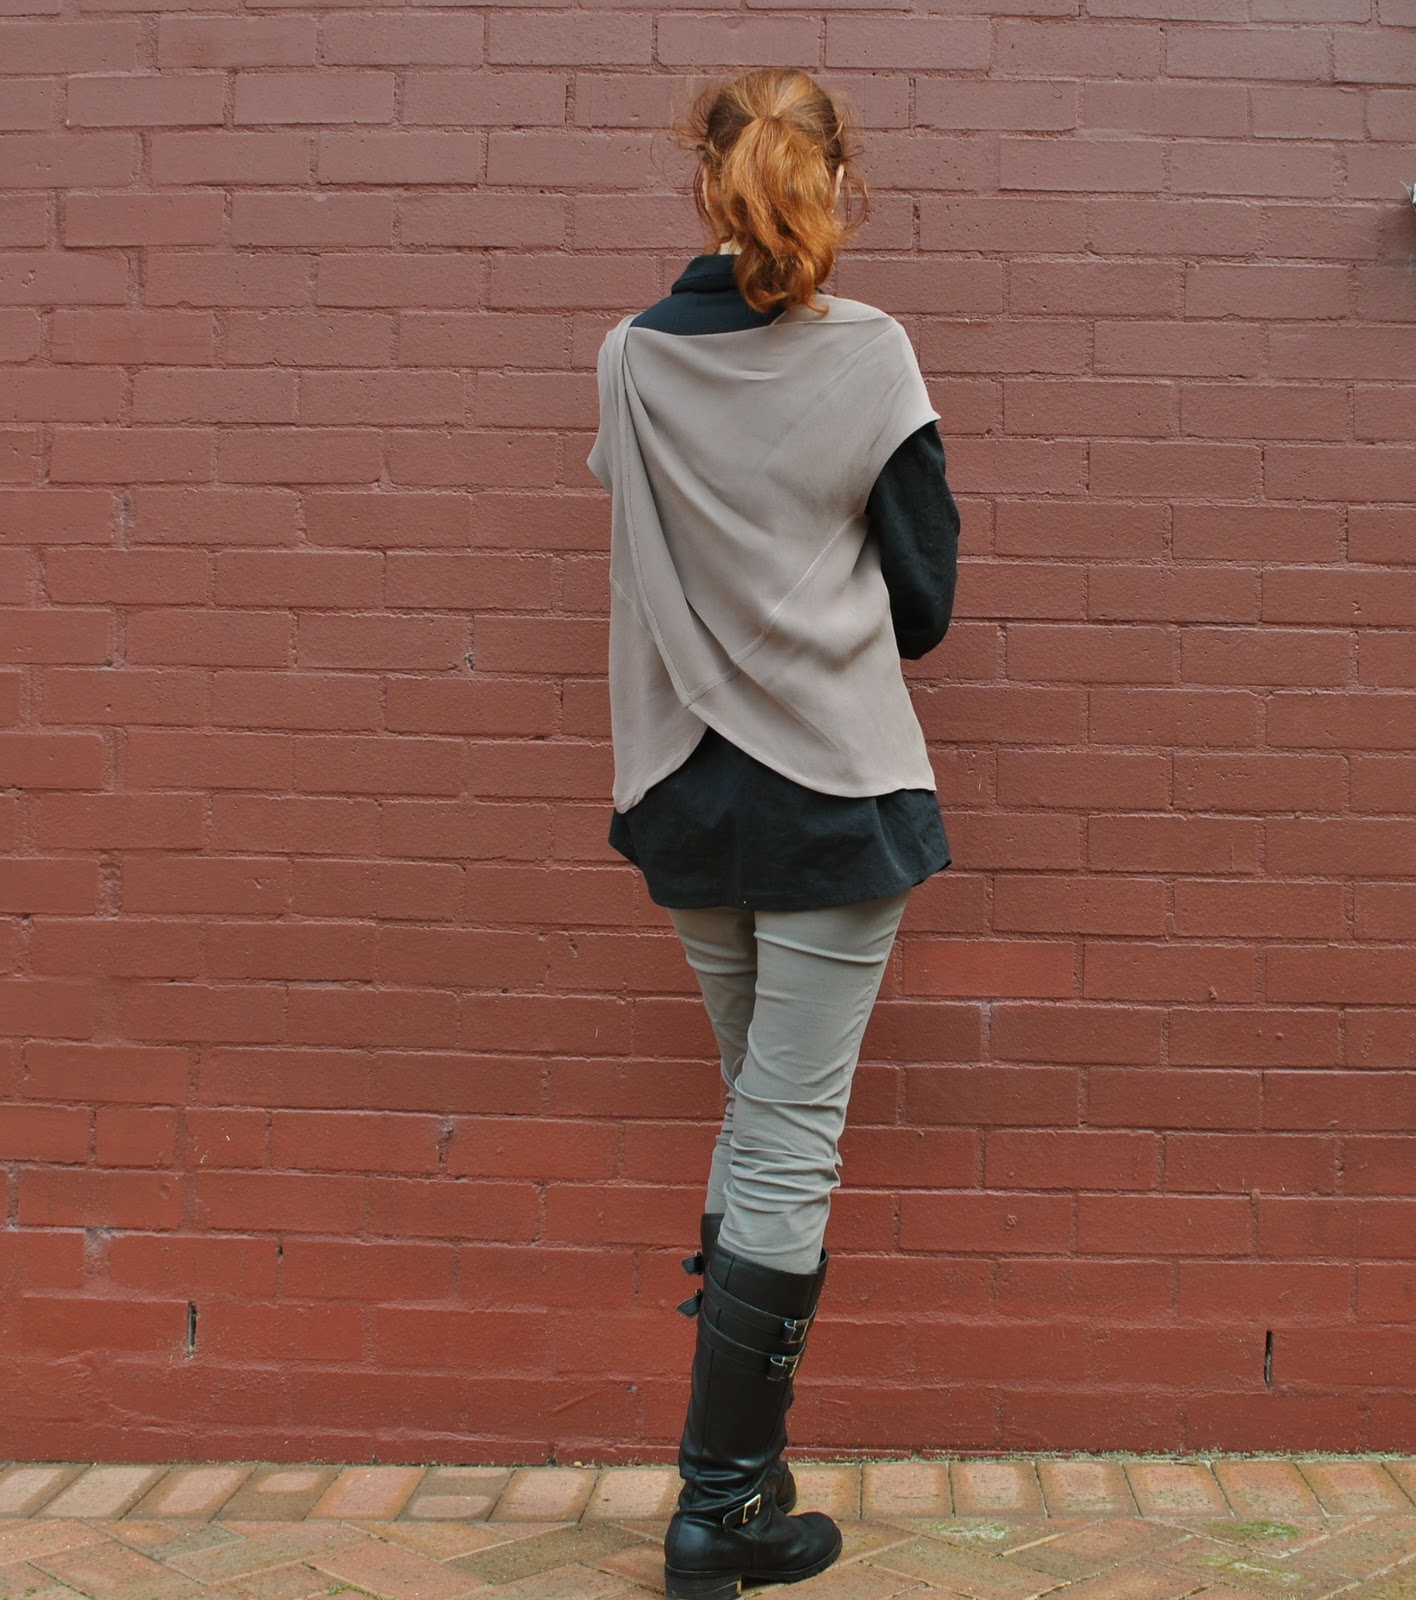
I also altered the neckline of the pattern, cutting a deeper and wider curve, and lengthened the sleeves to elbow length. Hehe, I guess it is not even the same top now, is it?
So, since I haven’t really used the pattern as intended I won’t write a pattern review, but will save that for a time when I actually check out the pattern properly!
Details:
Tshirt; kinda my own design, using Burdastyle 06/2011, 120 as a starting point, white knit stuff
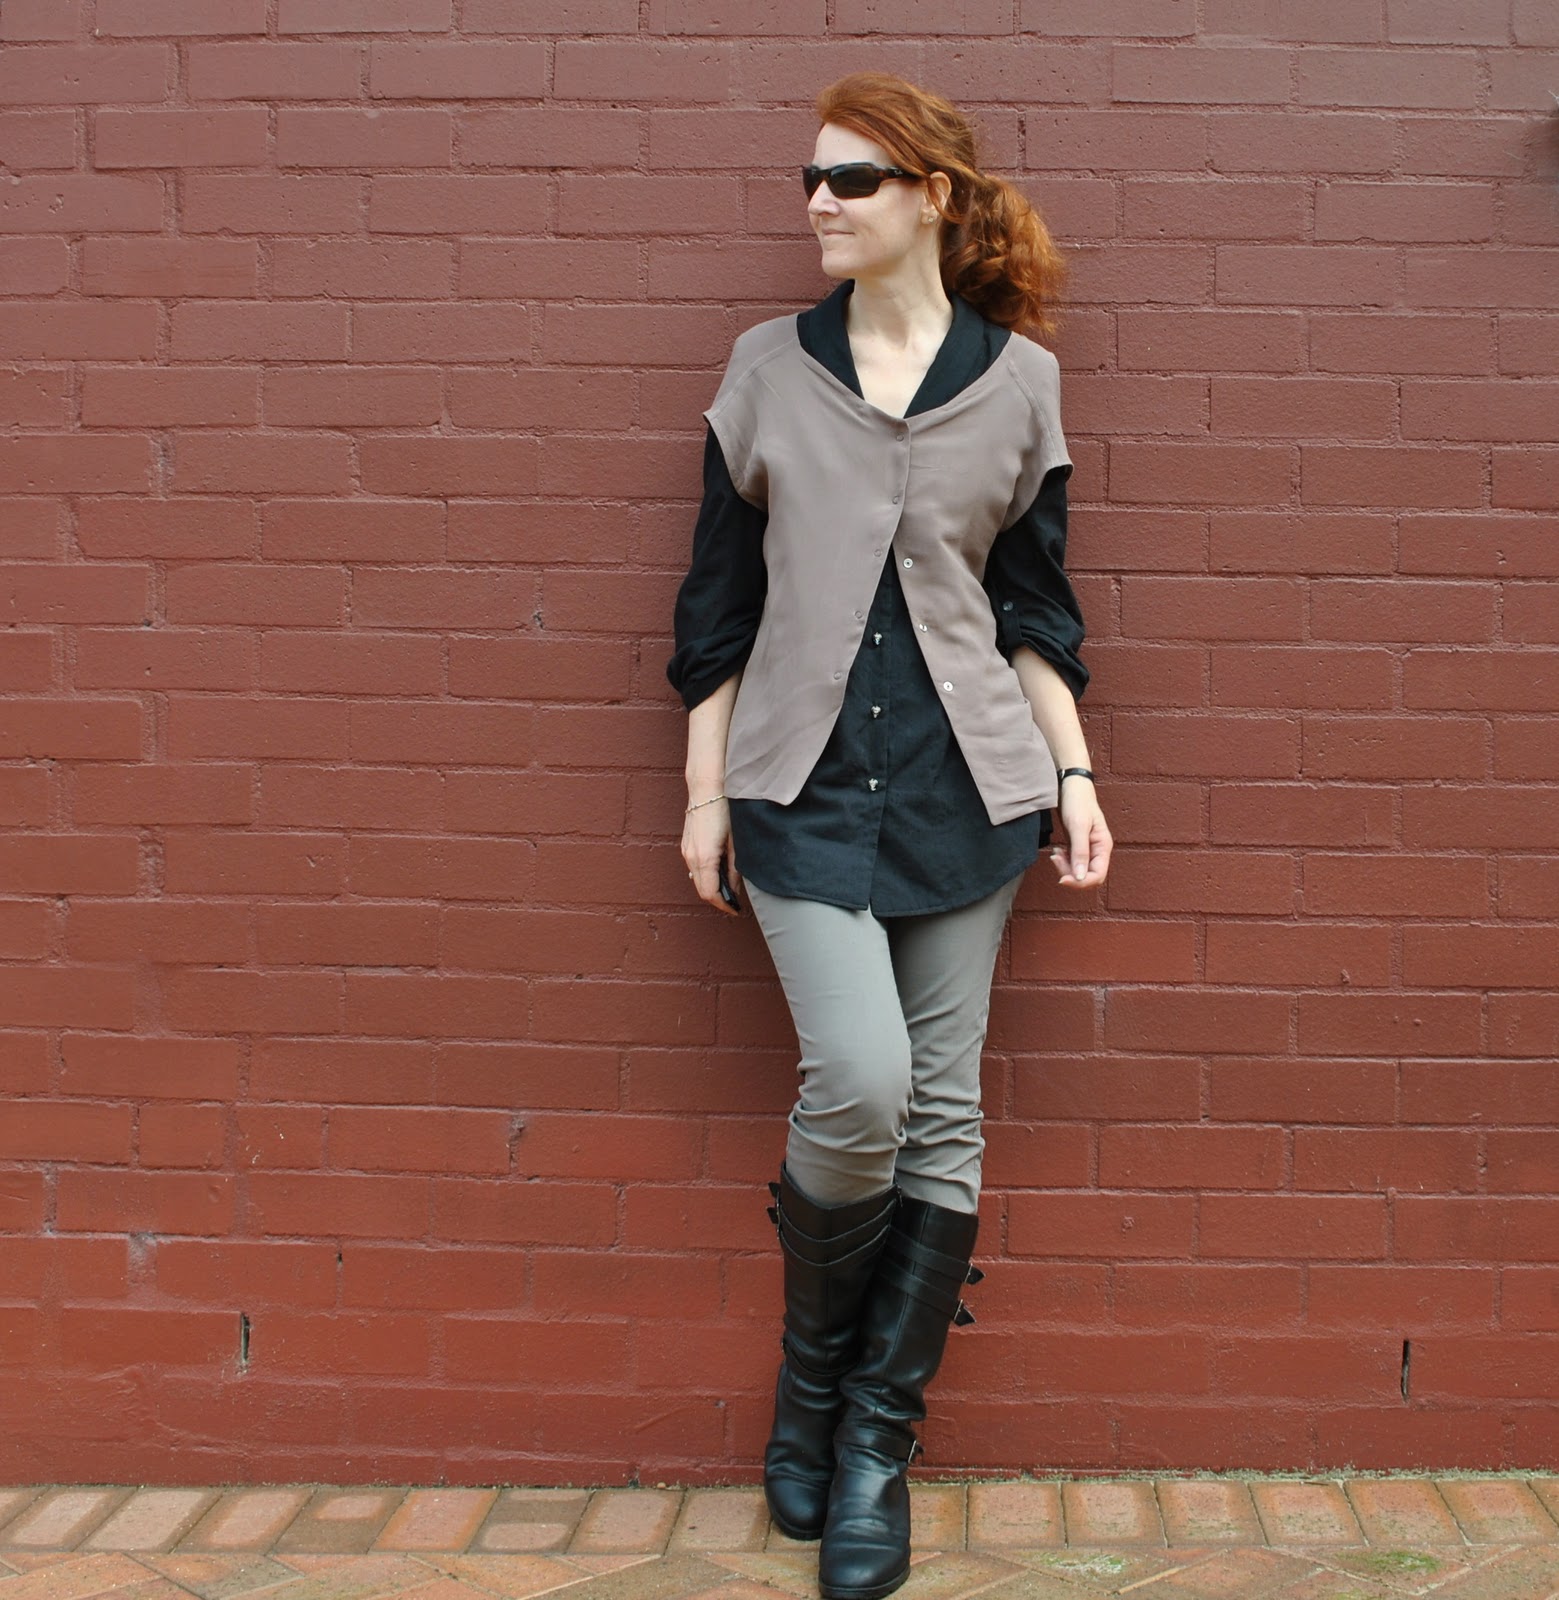
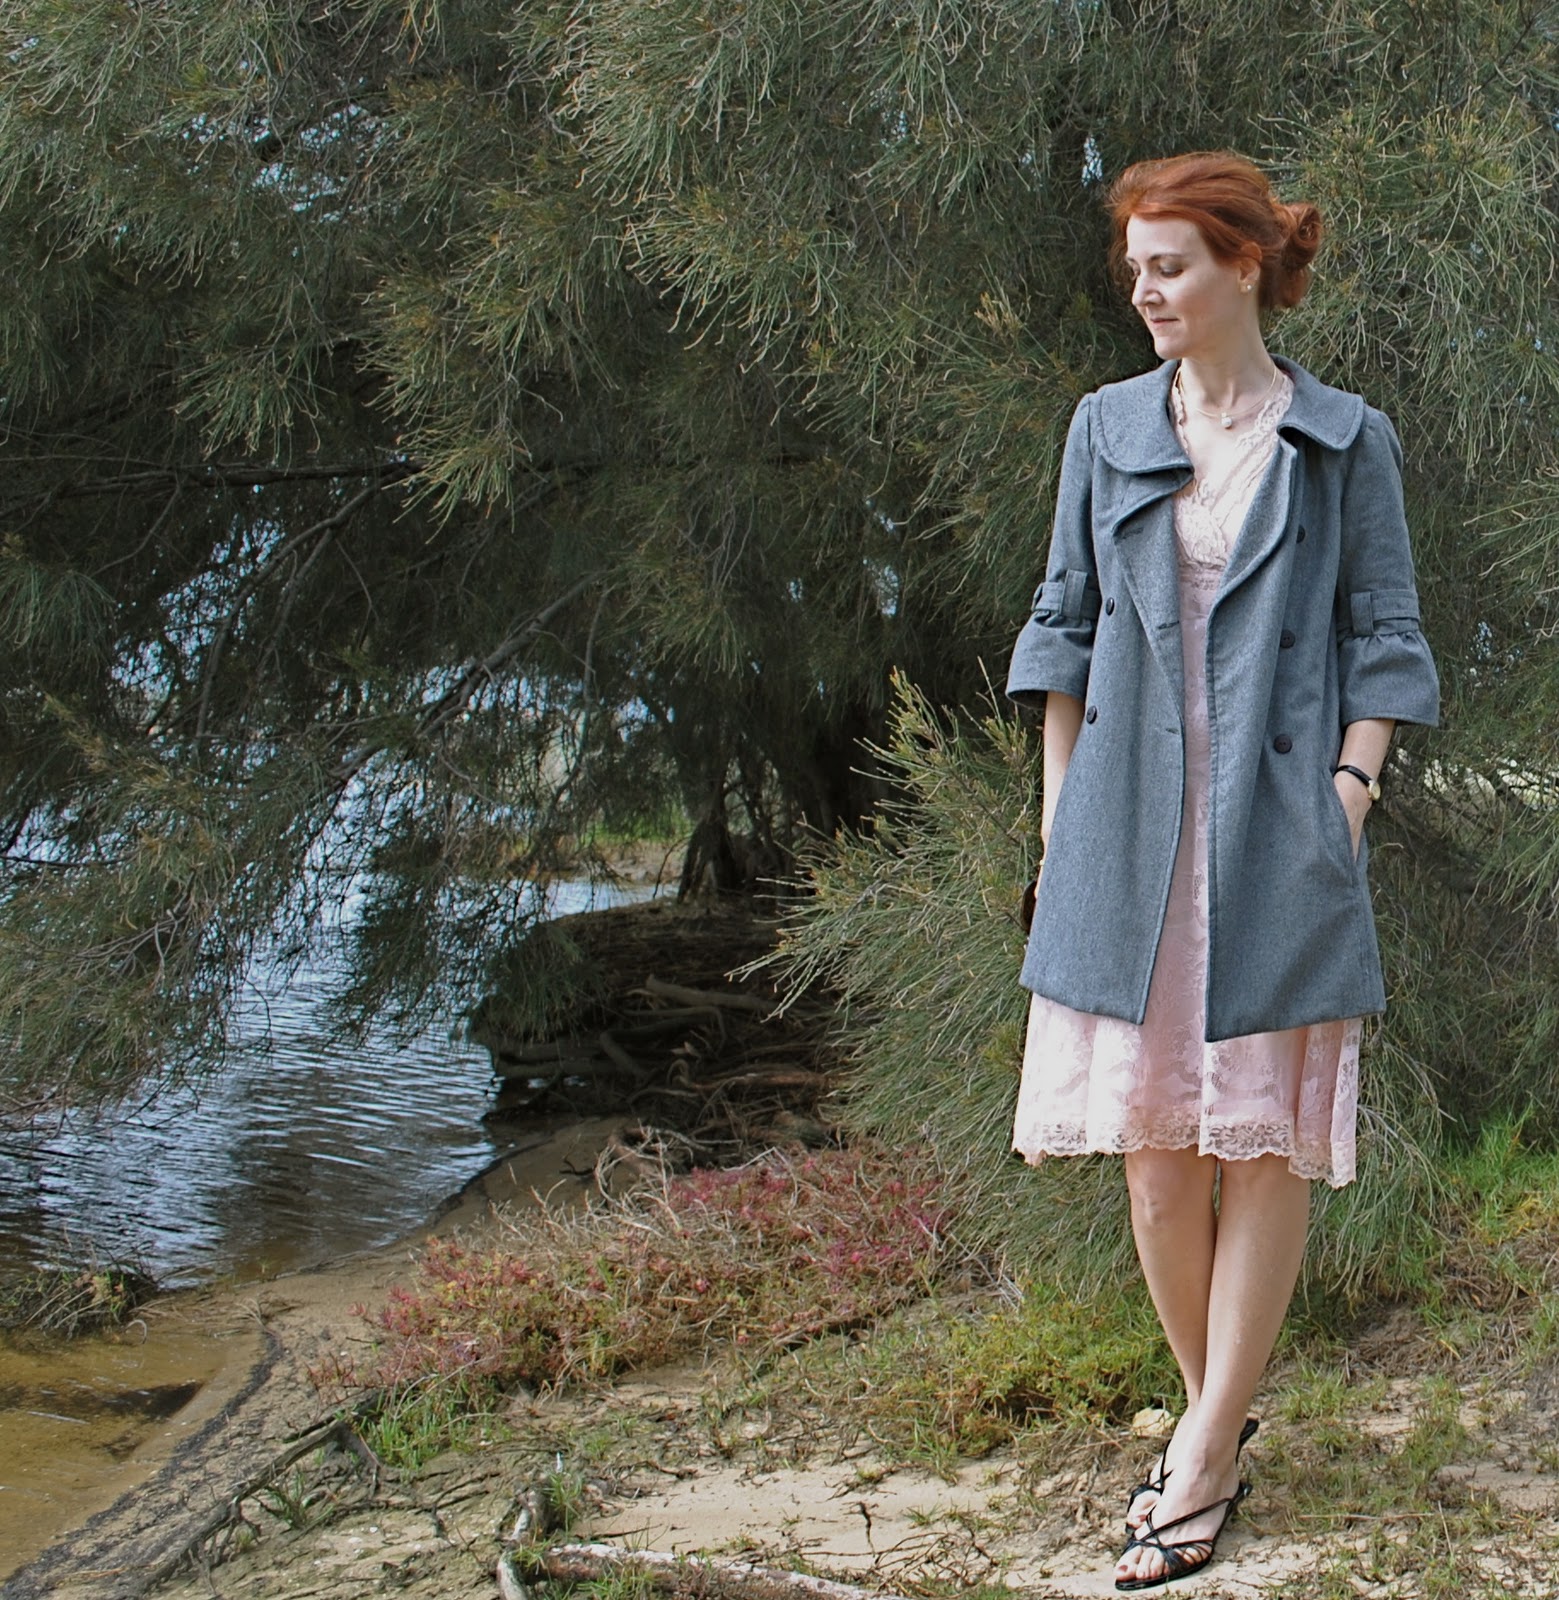
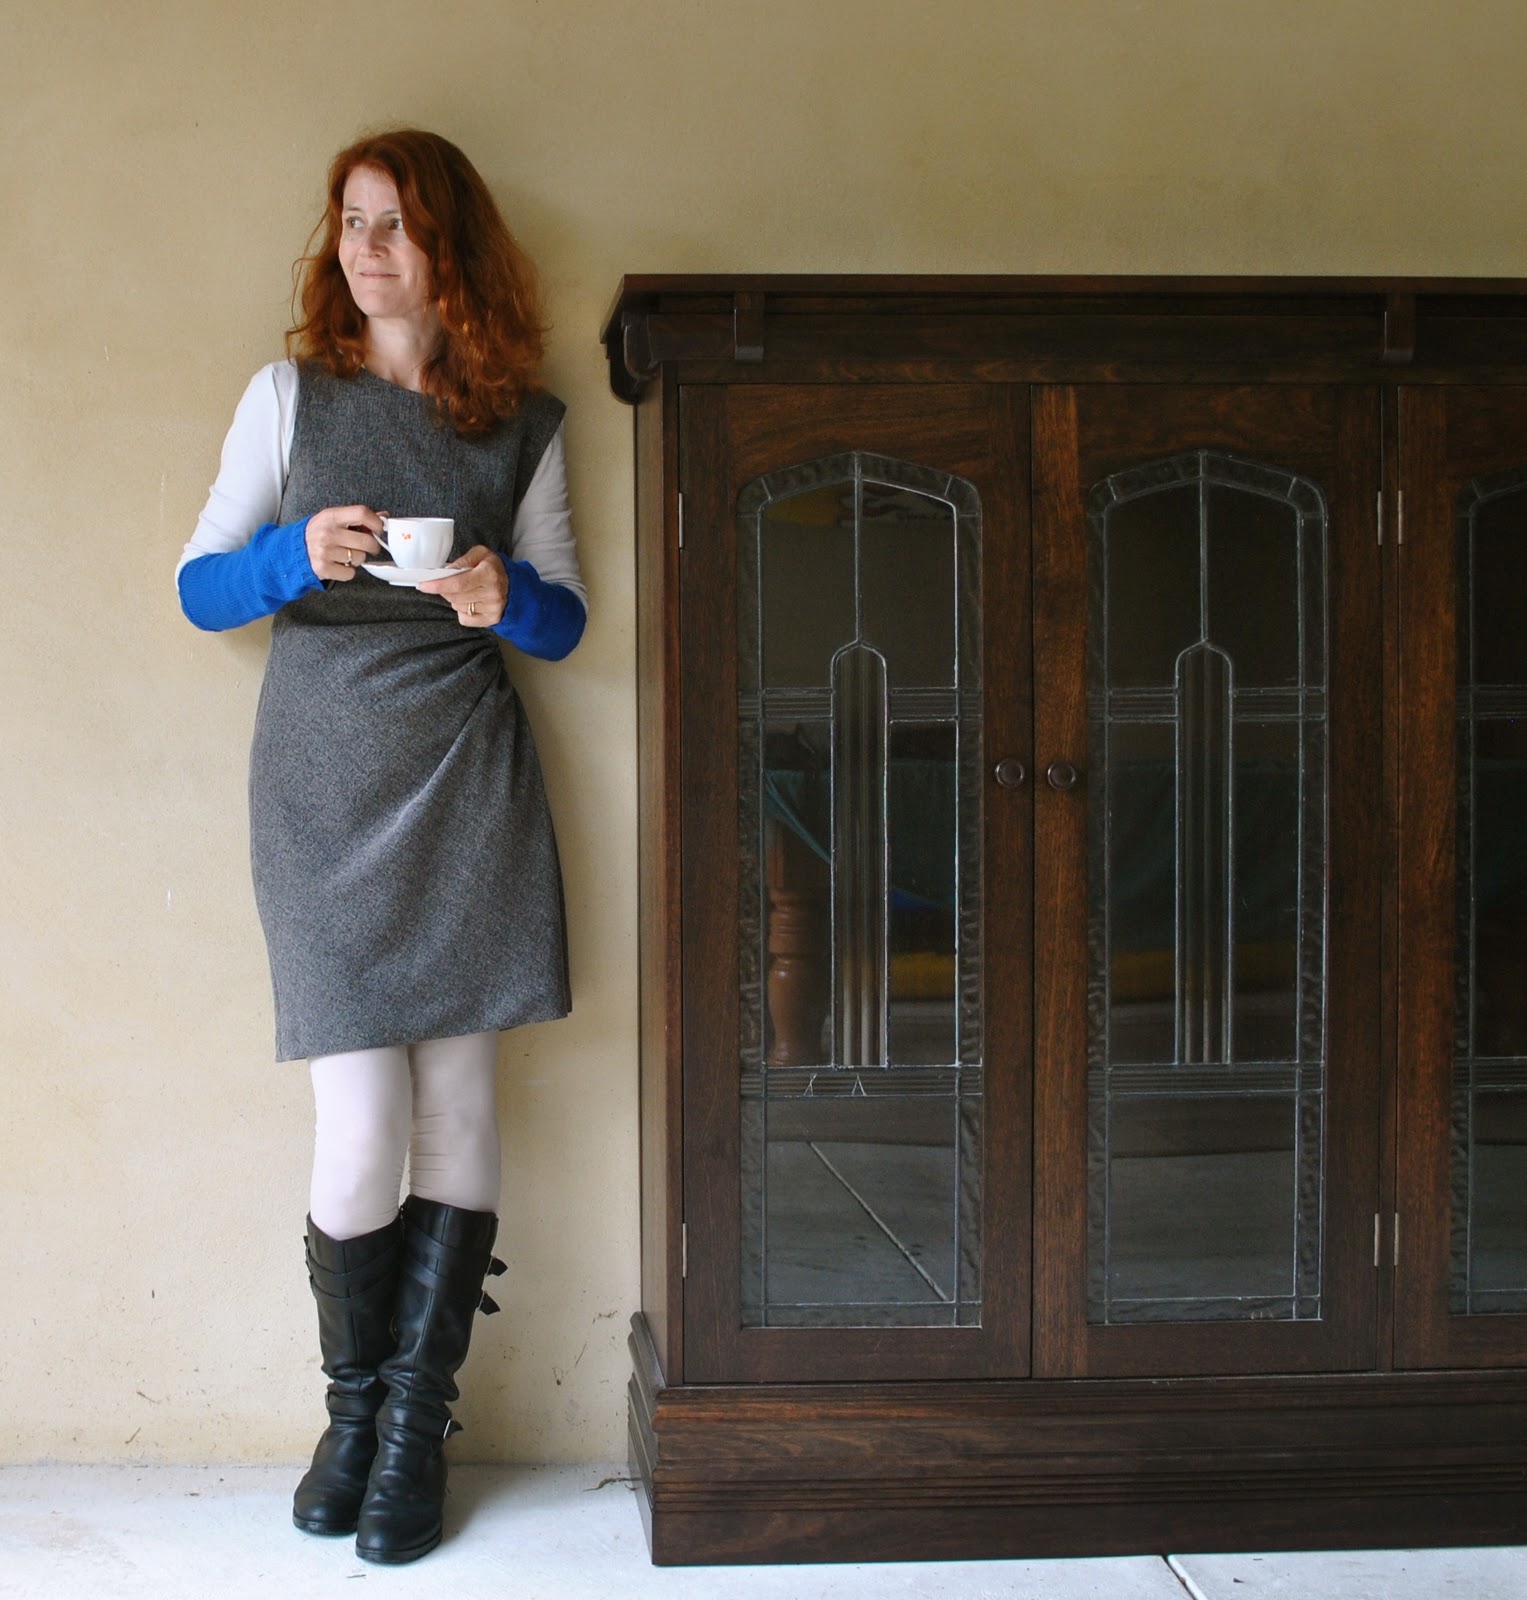
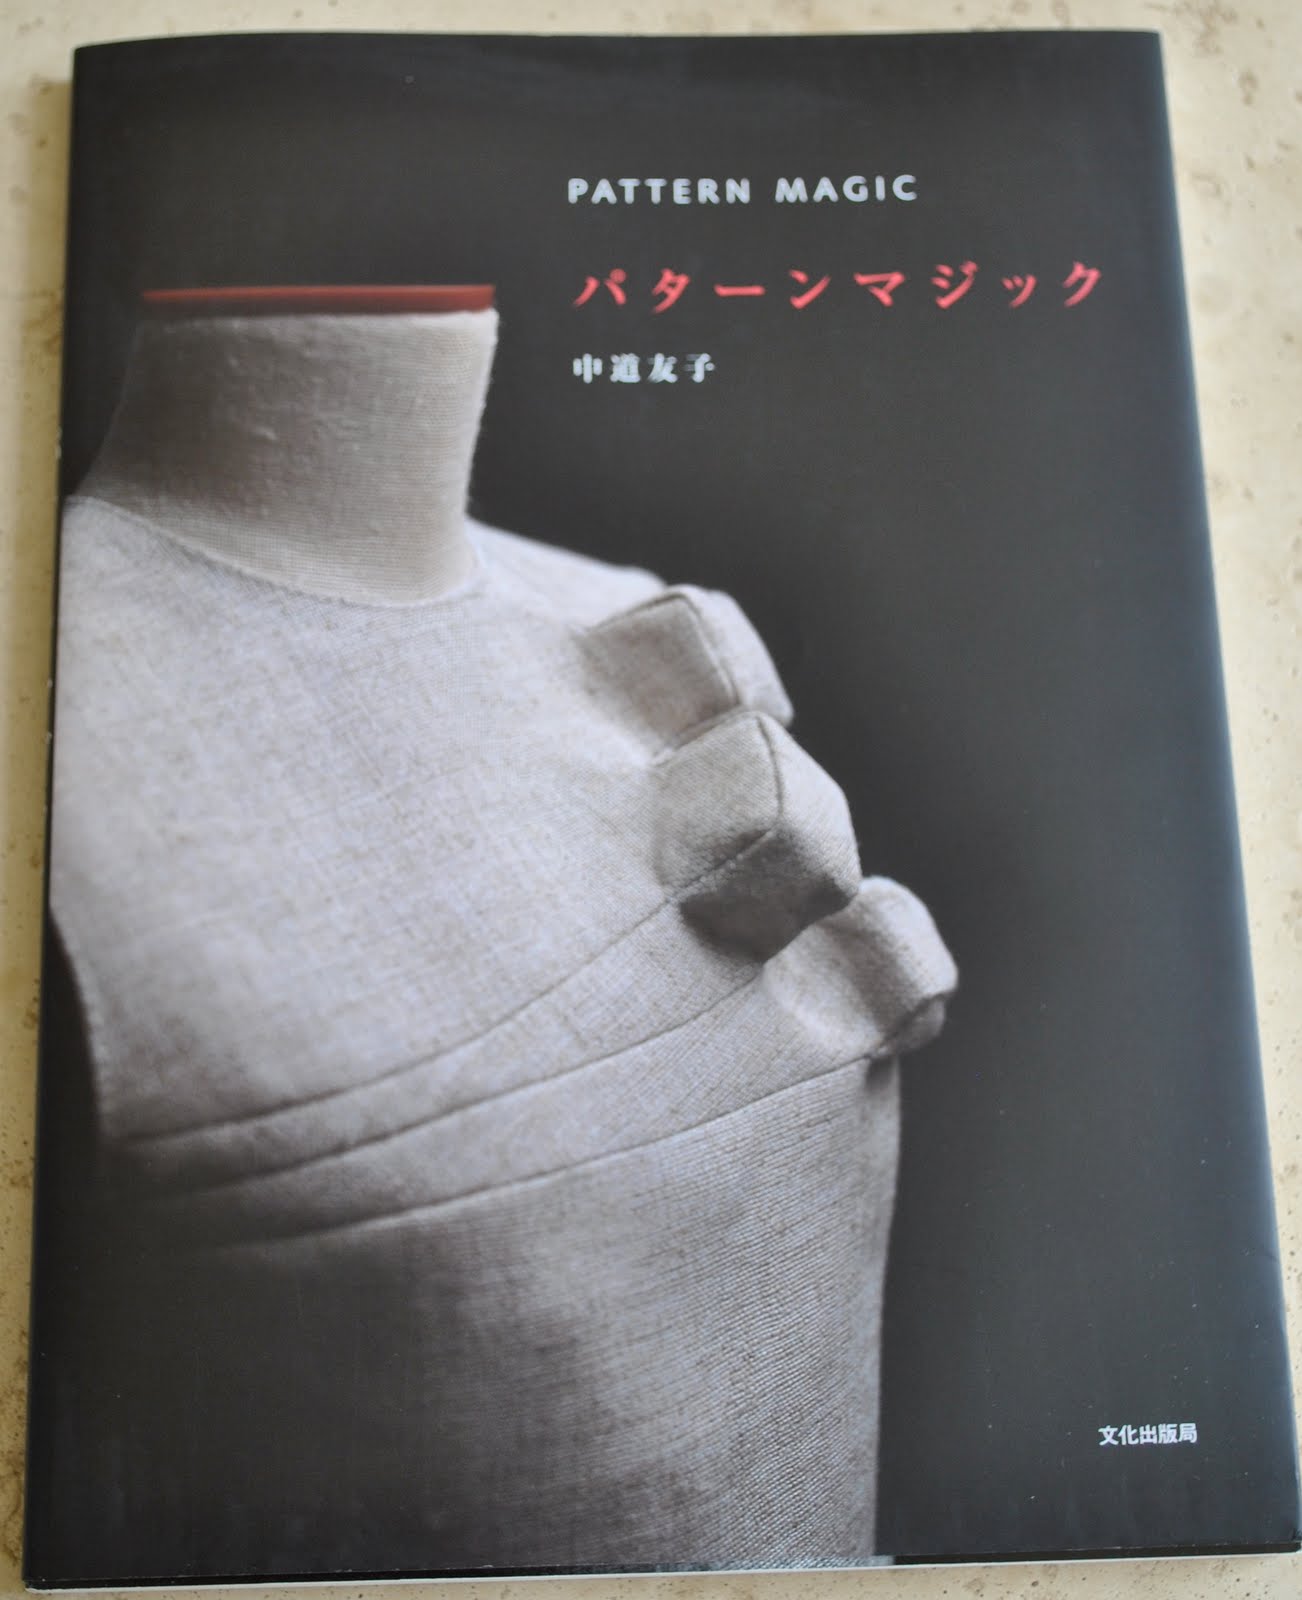
Dress; the gathered hole dress drafted from Pattern Magic by Tomoko Nakamichi, grey wool mix, details here
Leggings; my own design, beige knit stuff, details here, and my tutorial for making your own custom fit leggings pattern here
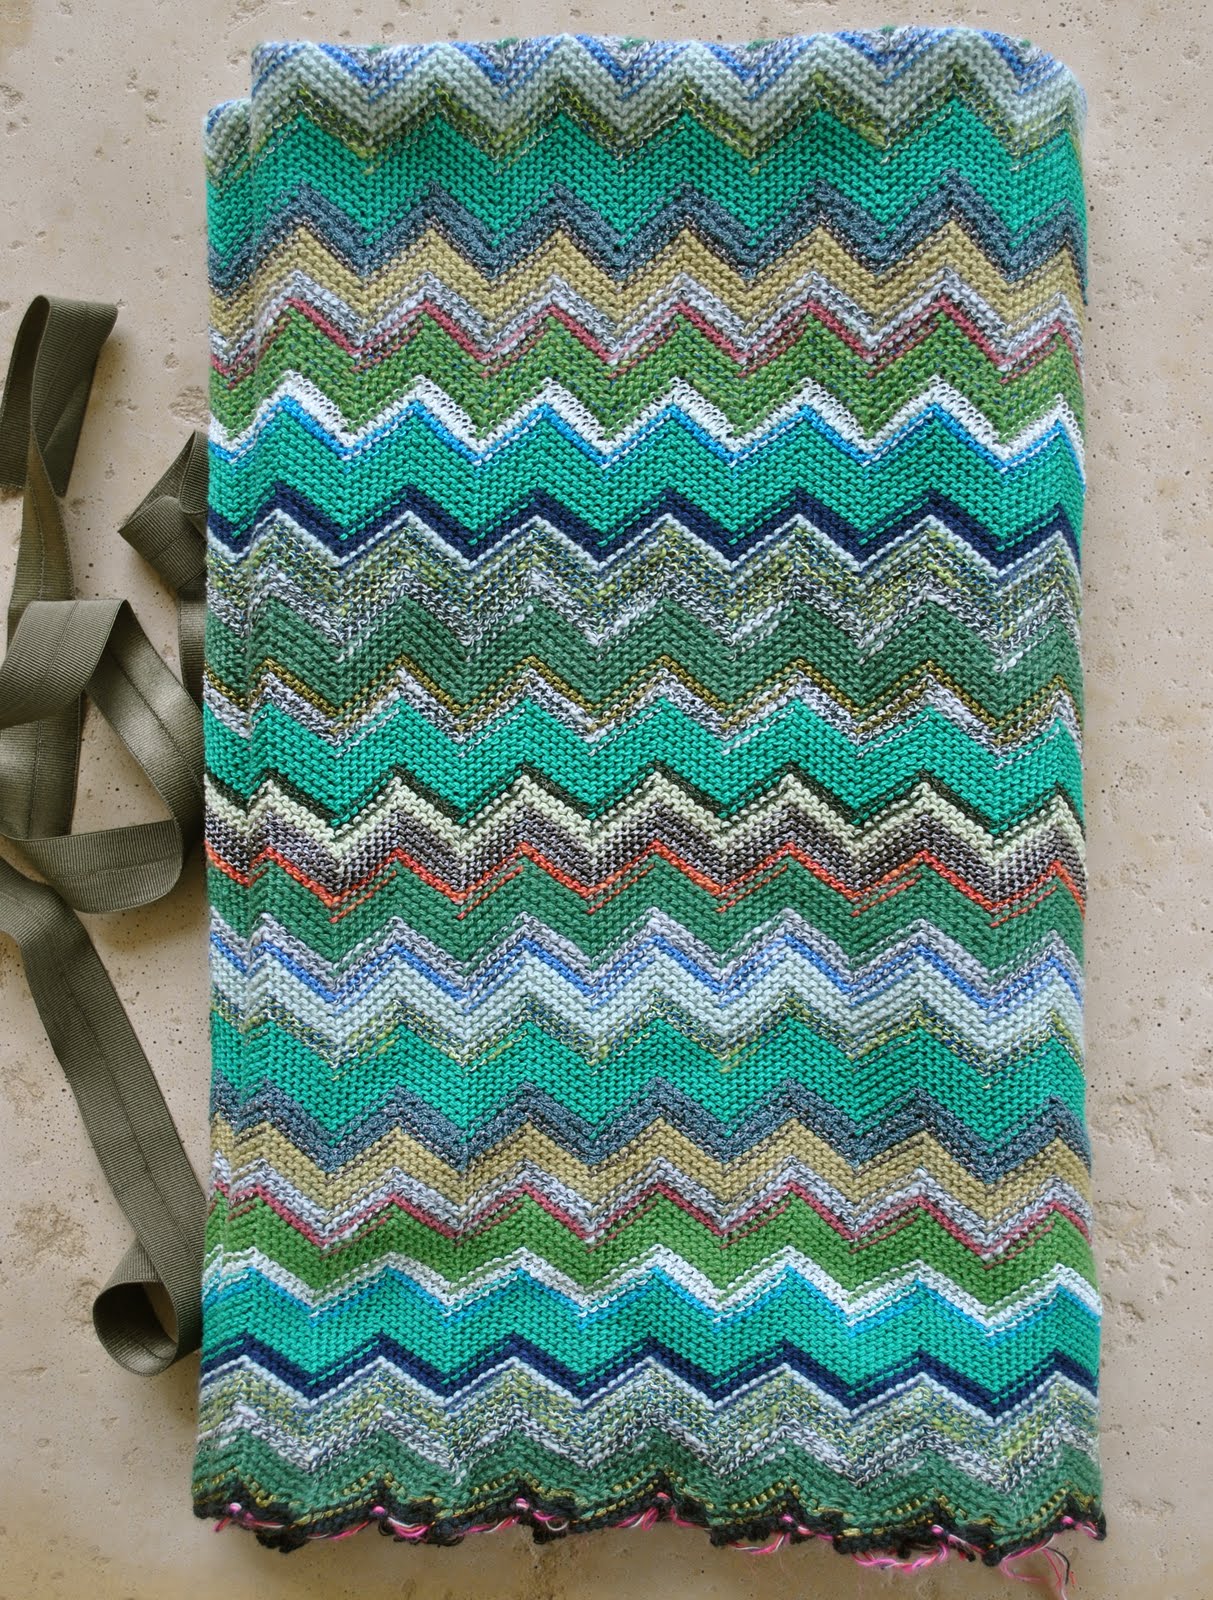
Hand warmers; knitted by me using Morris 4 ply wool in Imperial Blue, details and my pattern here
Boots; Andrea and Joen from Uggies in Dunsborough (now Eco boutique)