Tag Archives: Mens Shirt

Tim’s shirt

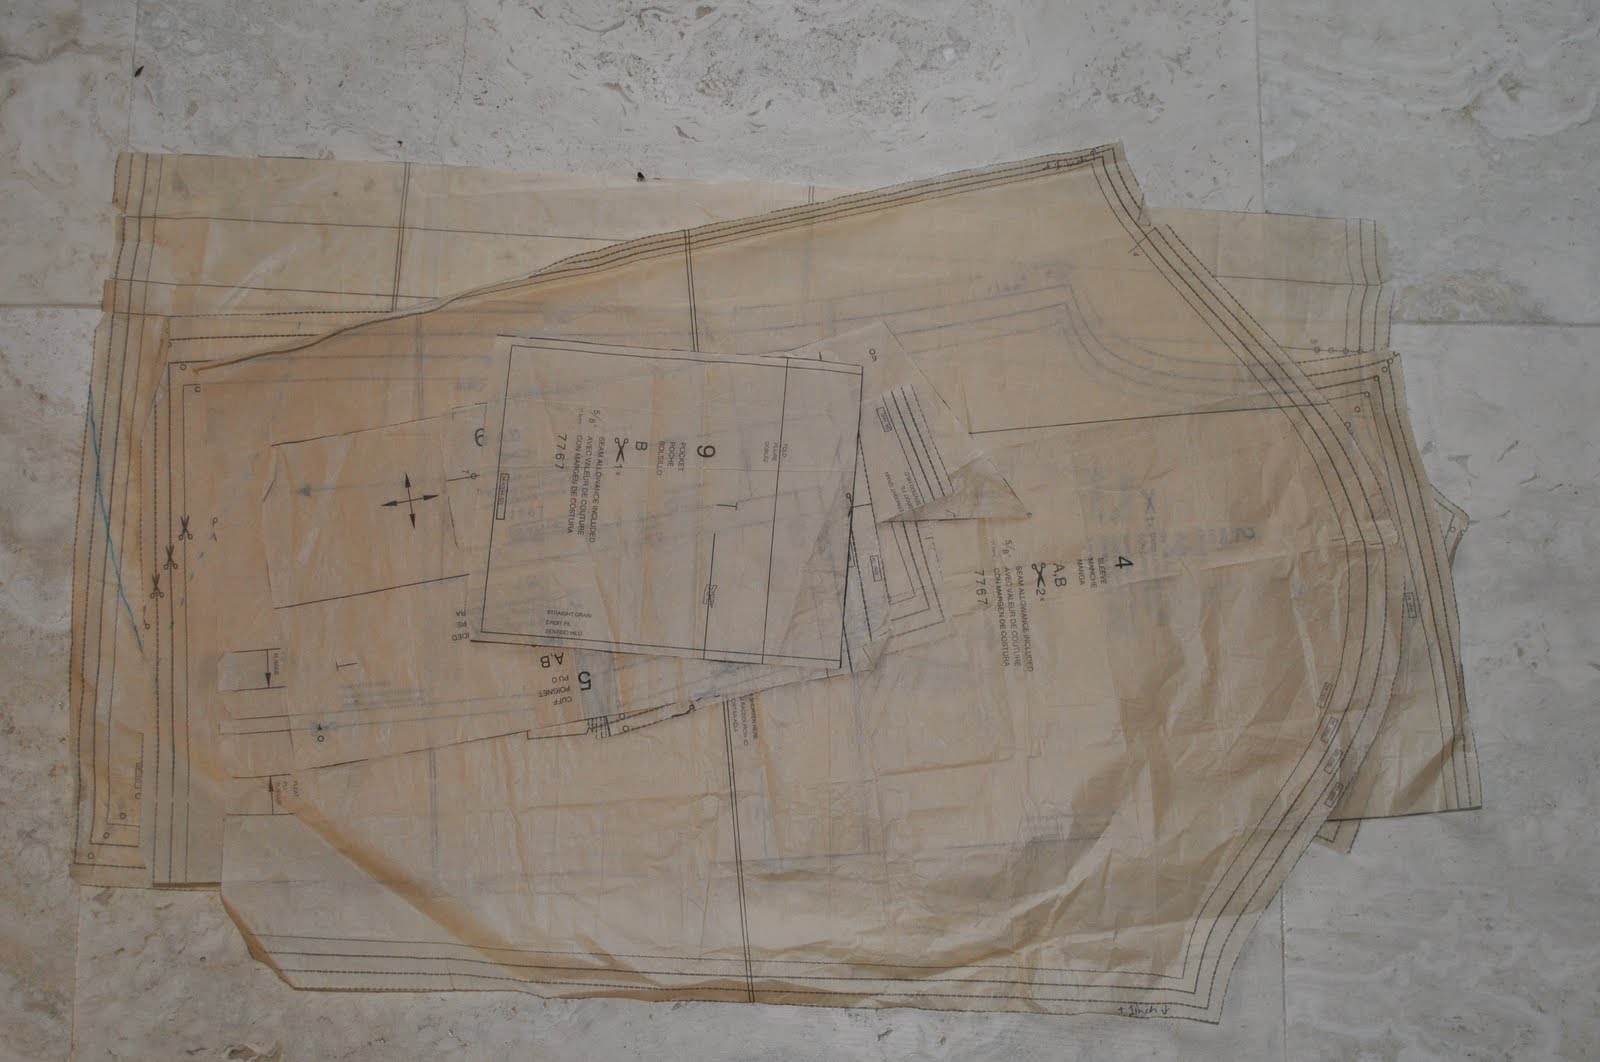
I made a shirt for Tim; again Burda 7767 (blush).  And I’m embarrassed to confess that there are still a couple more versions of this in the wings too… sorry!  I hope lots of mens’ shirts will not get too repetitive… in my own defence they are all just a leettle bit different from each other in some way.  I hope that is noticeable.
But back to this particular one…
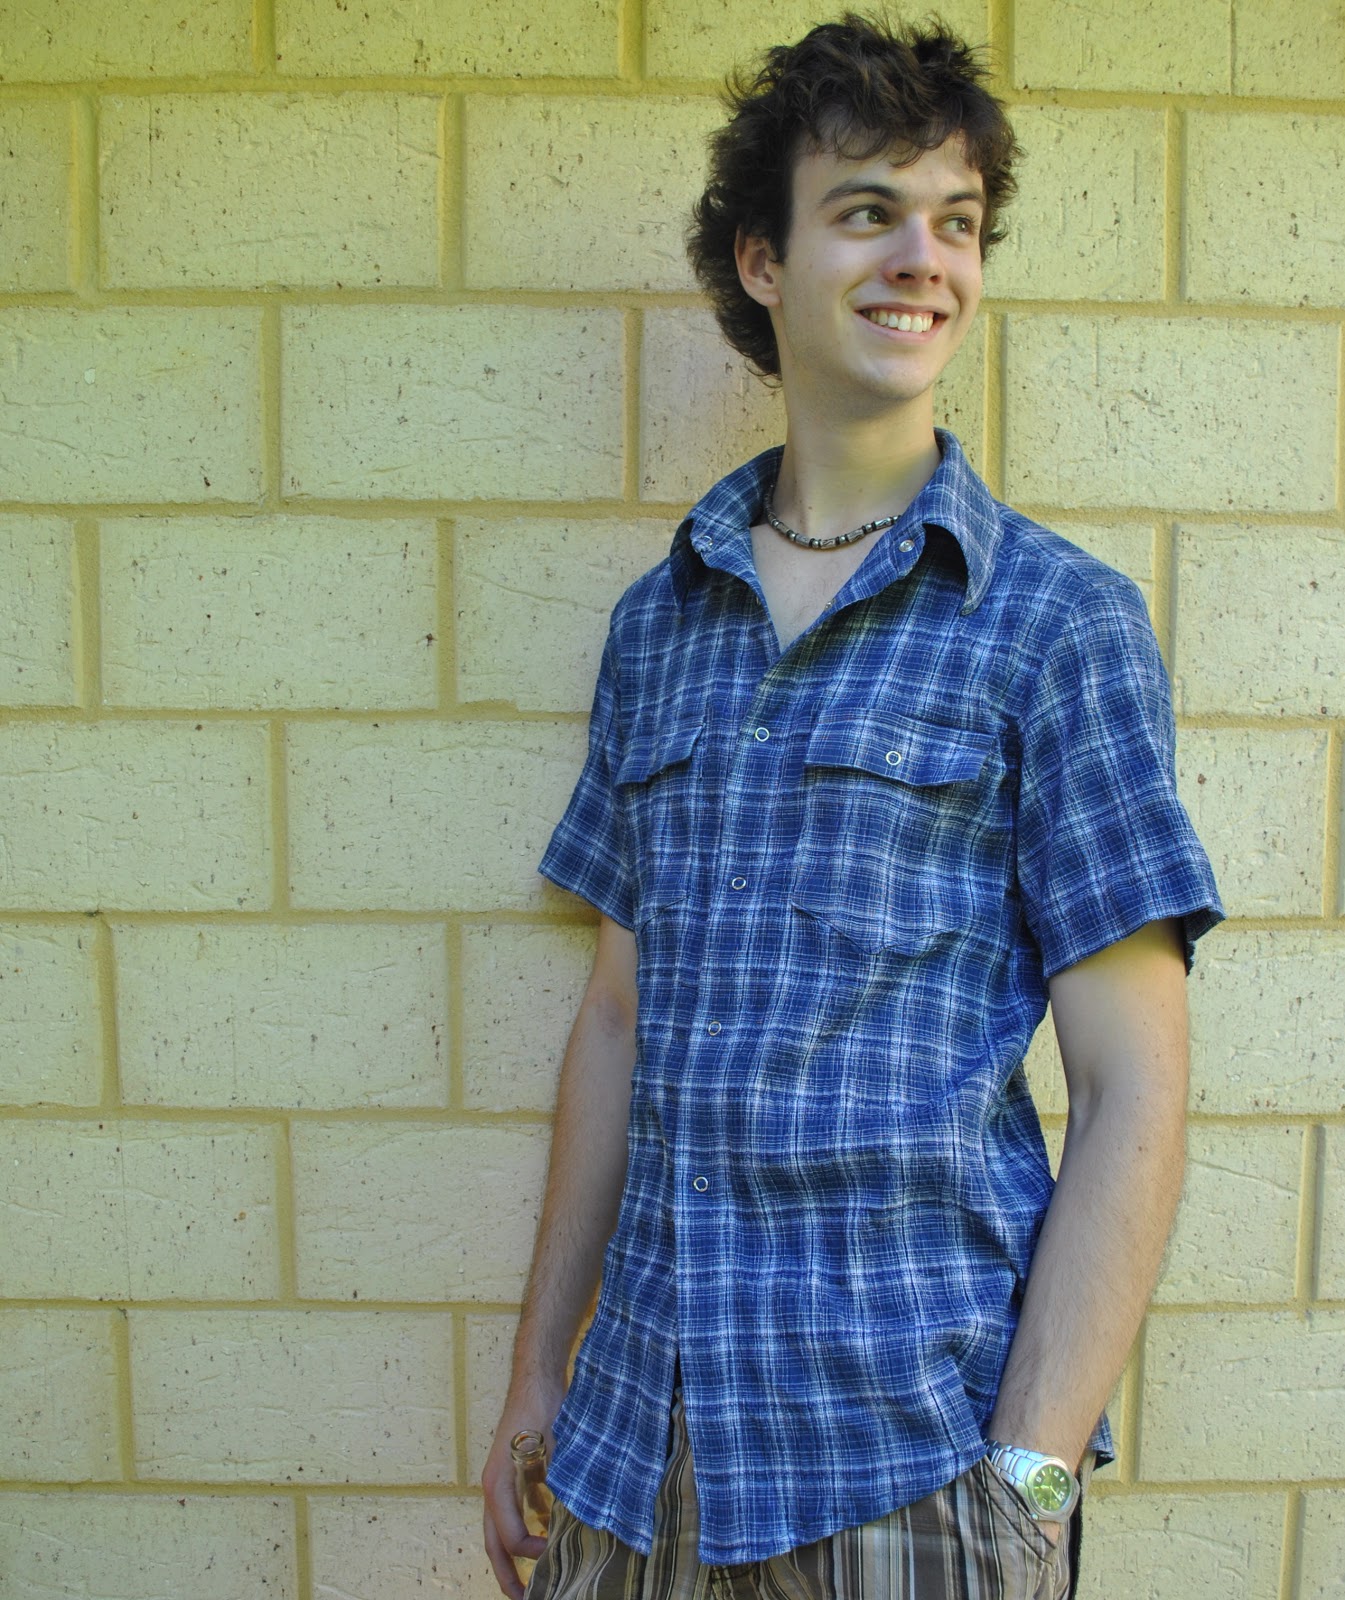
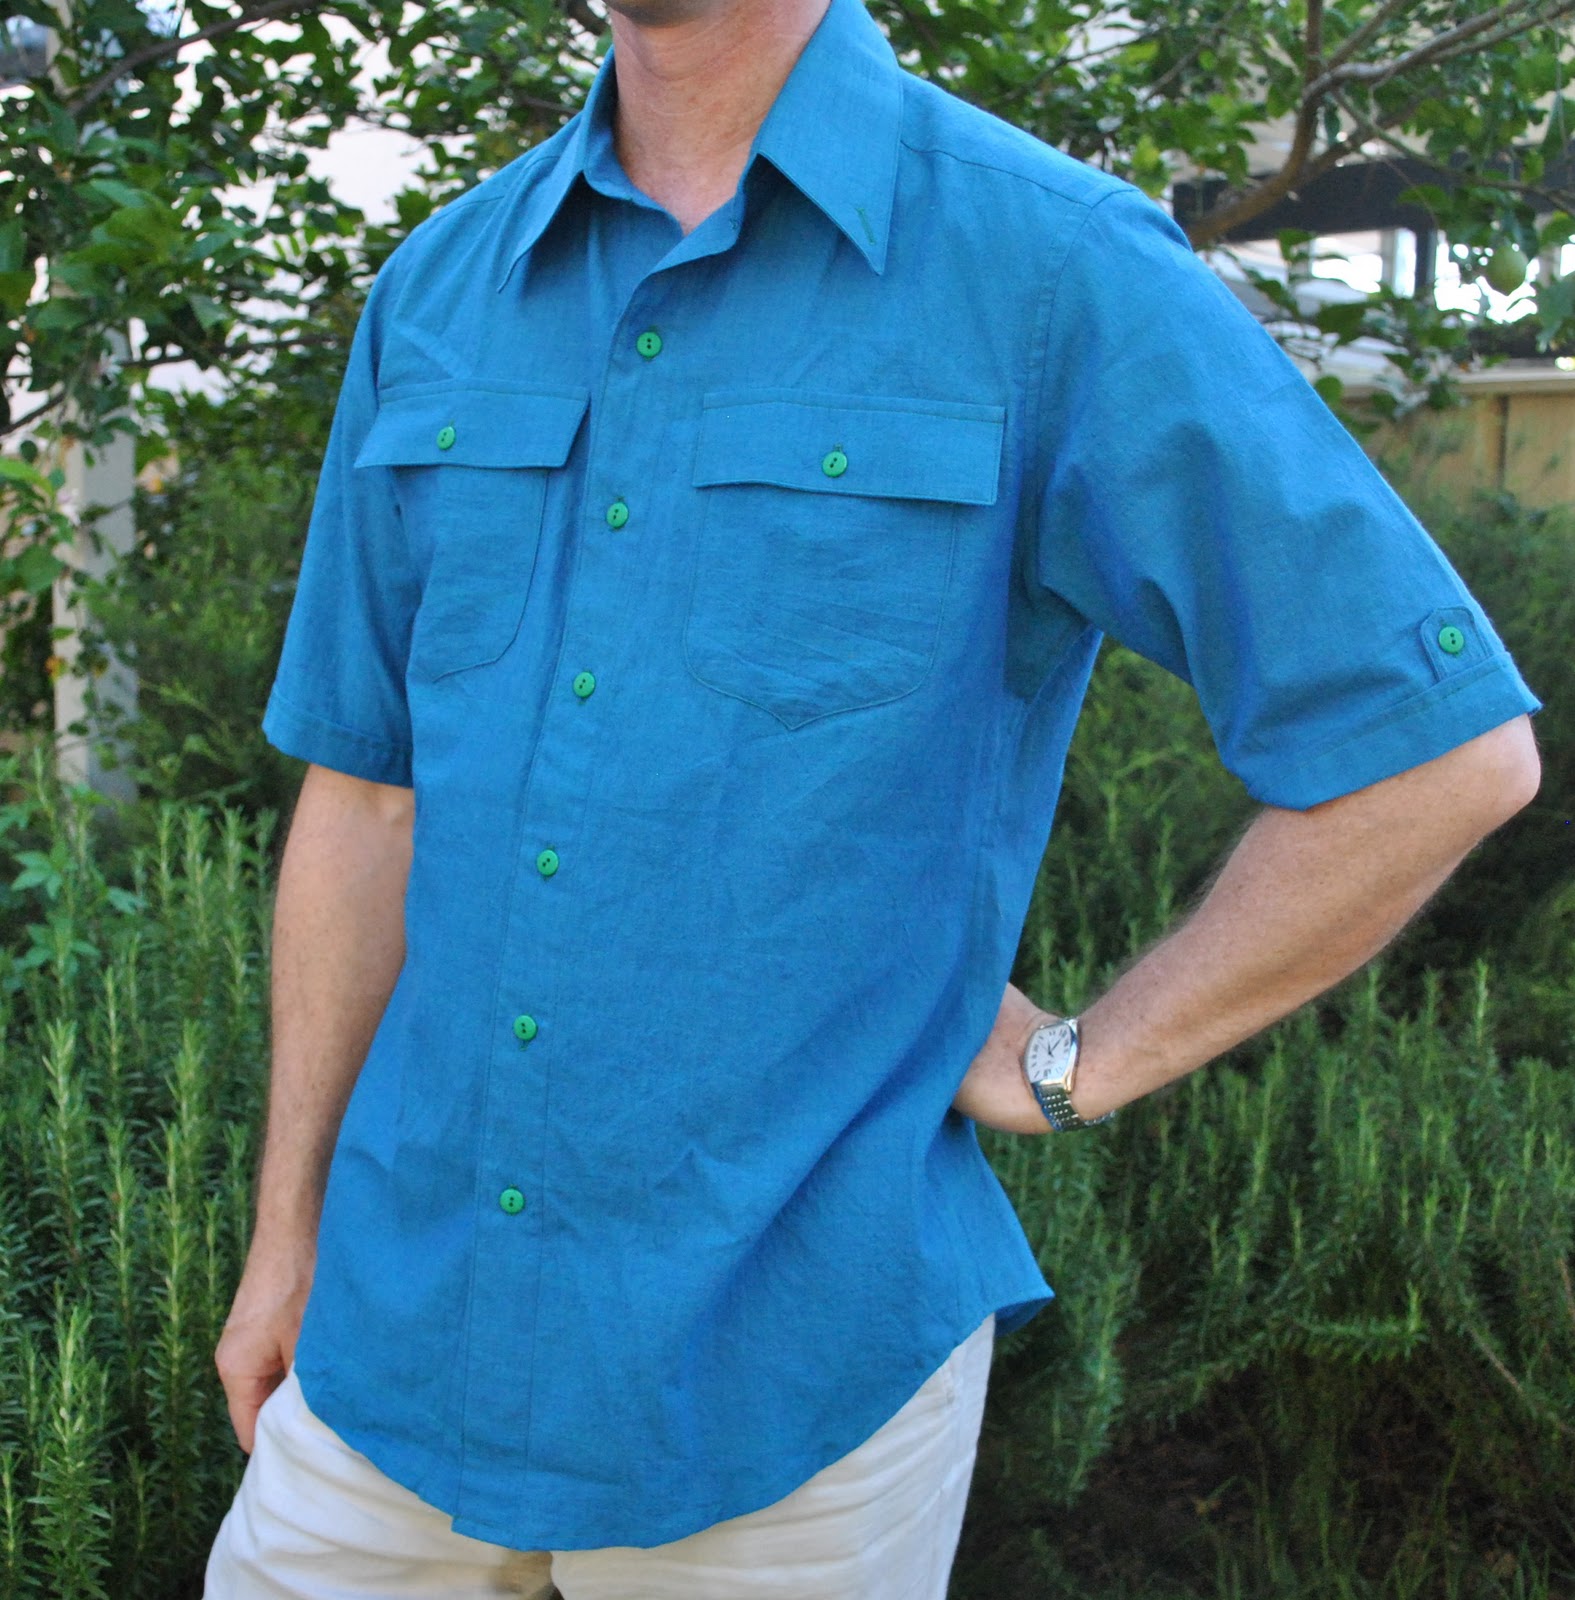
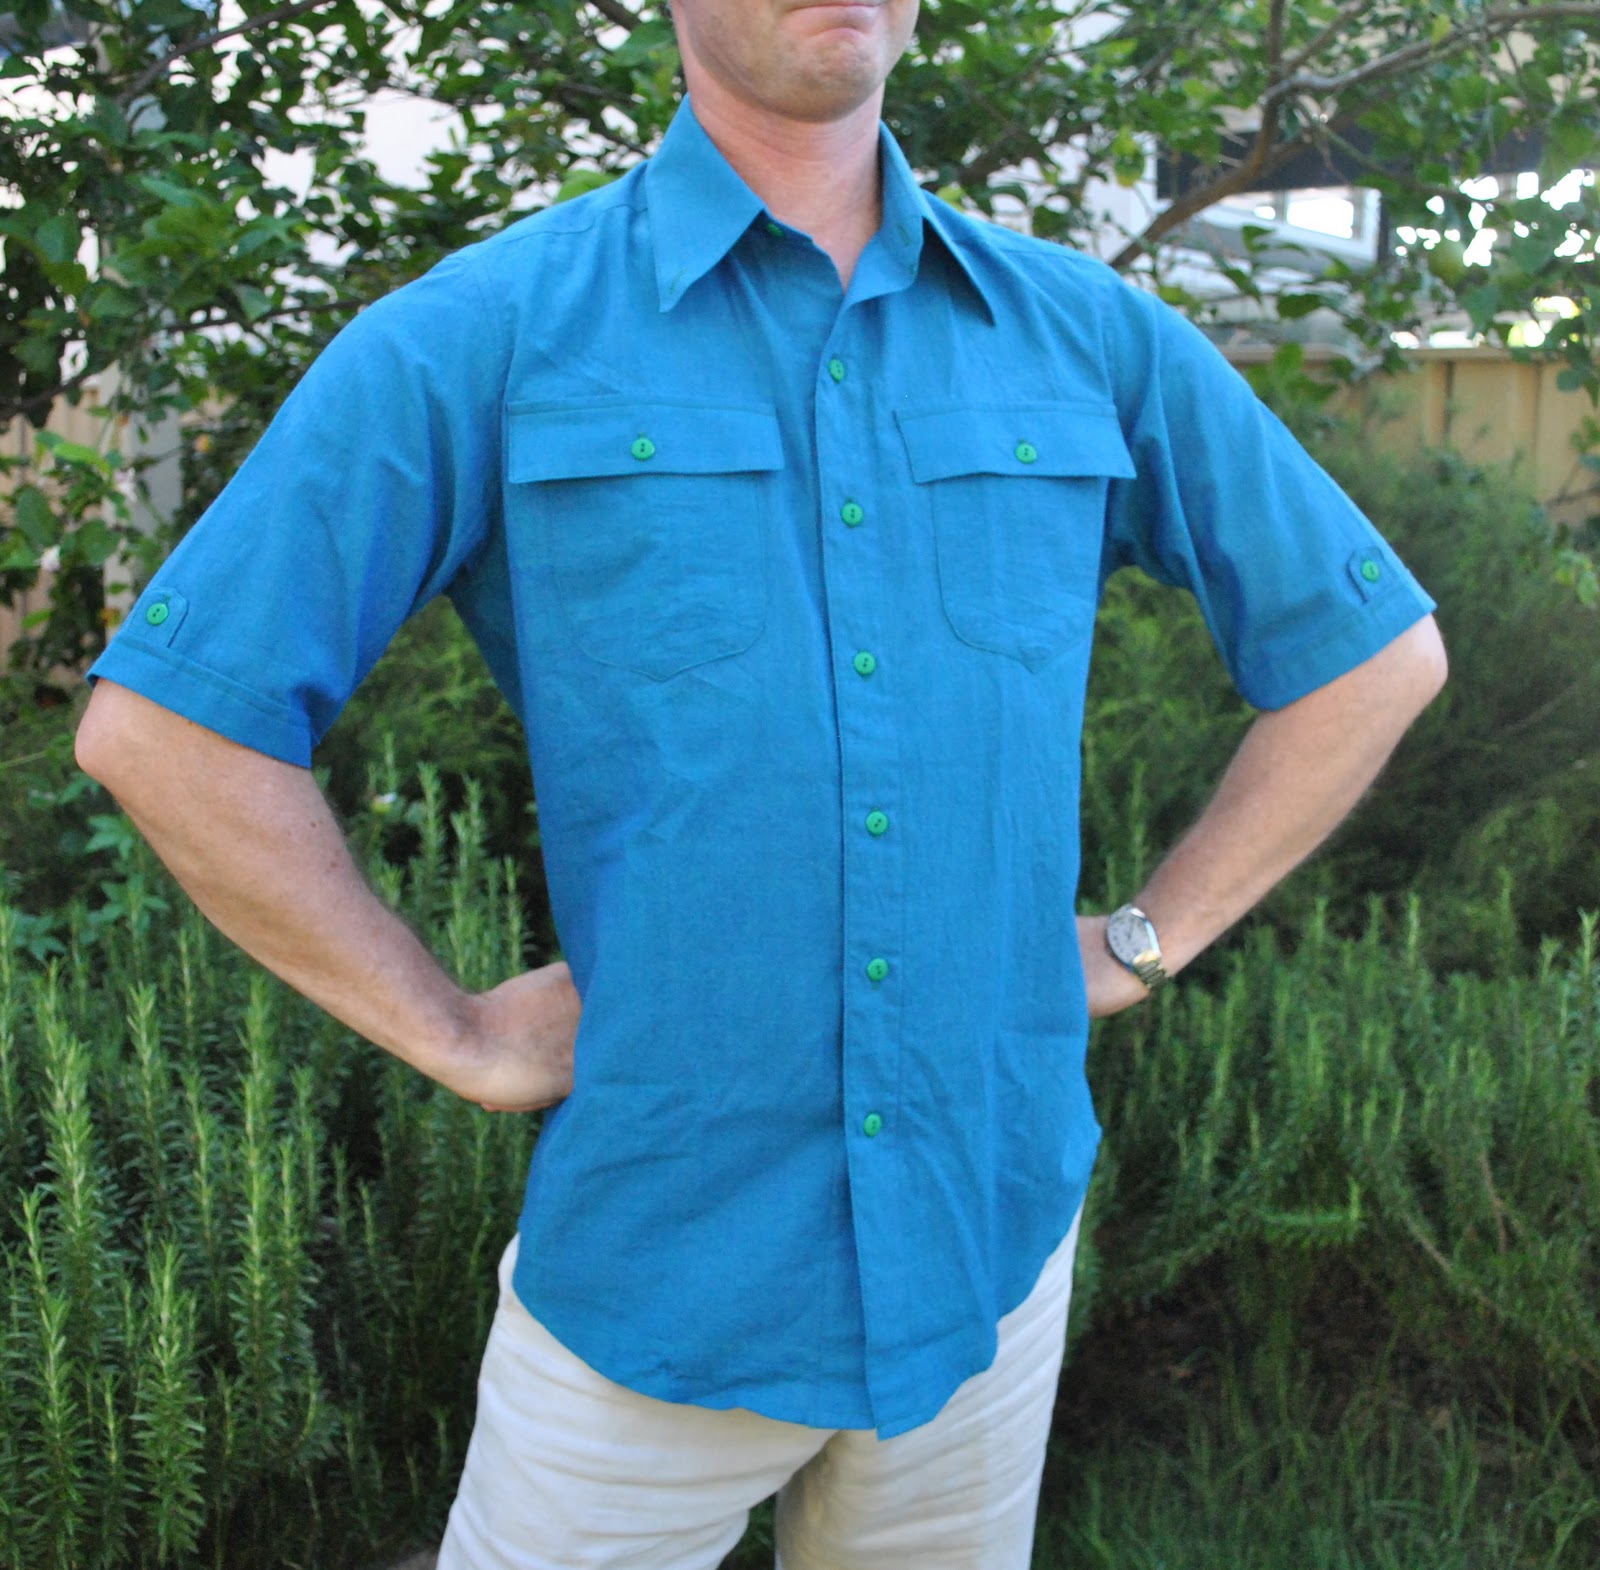
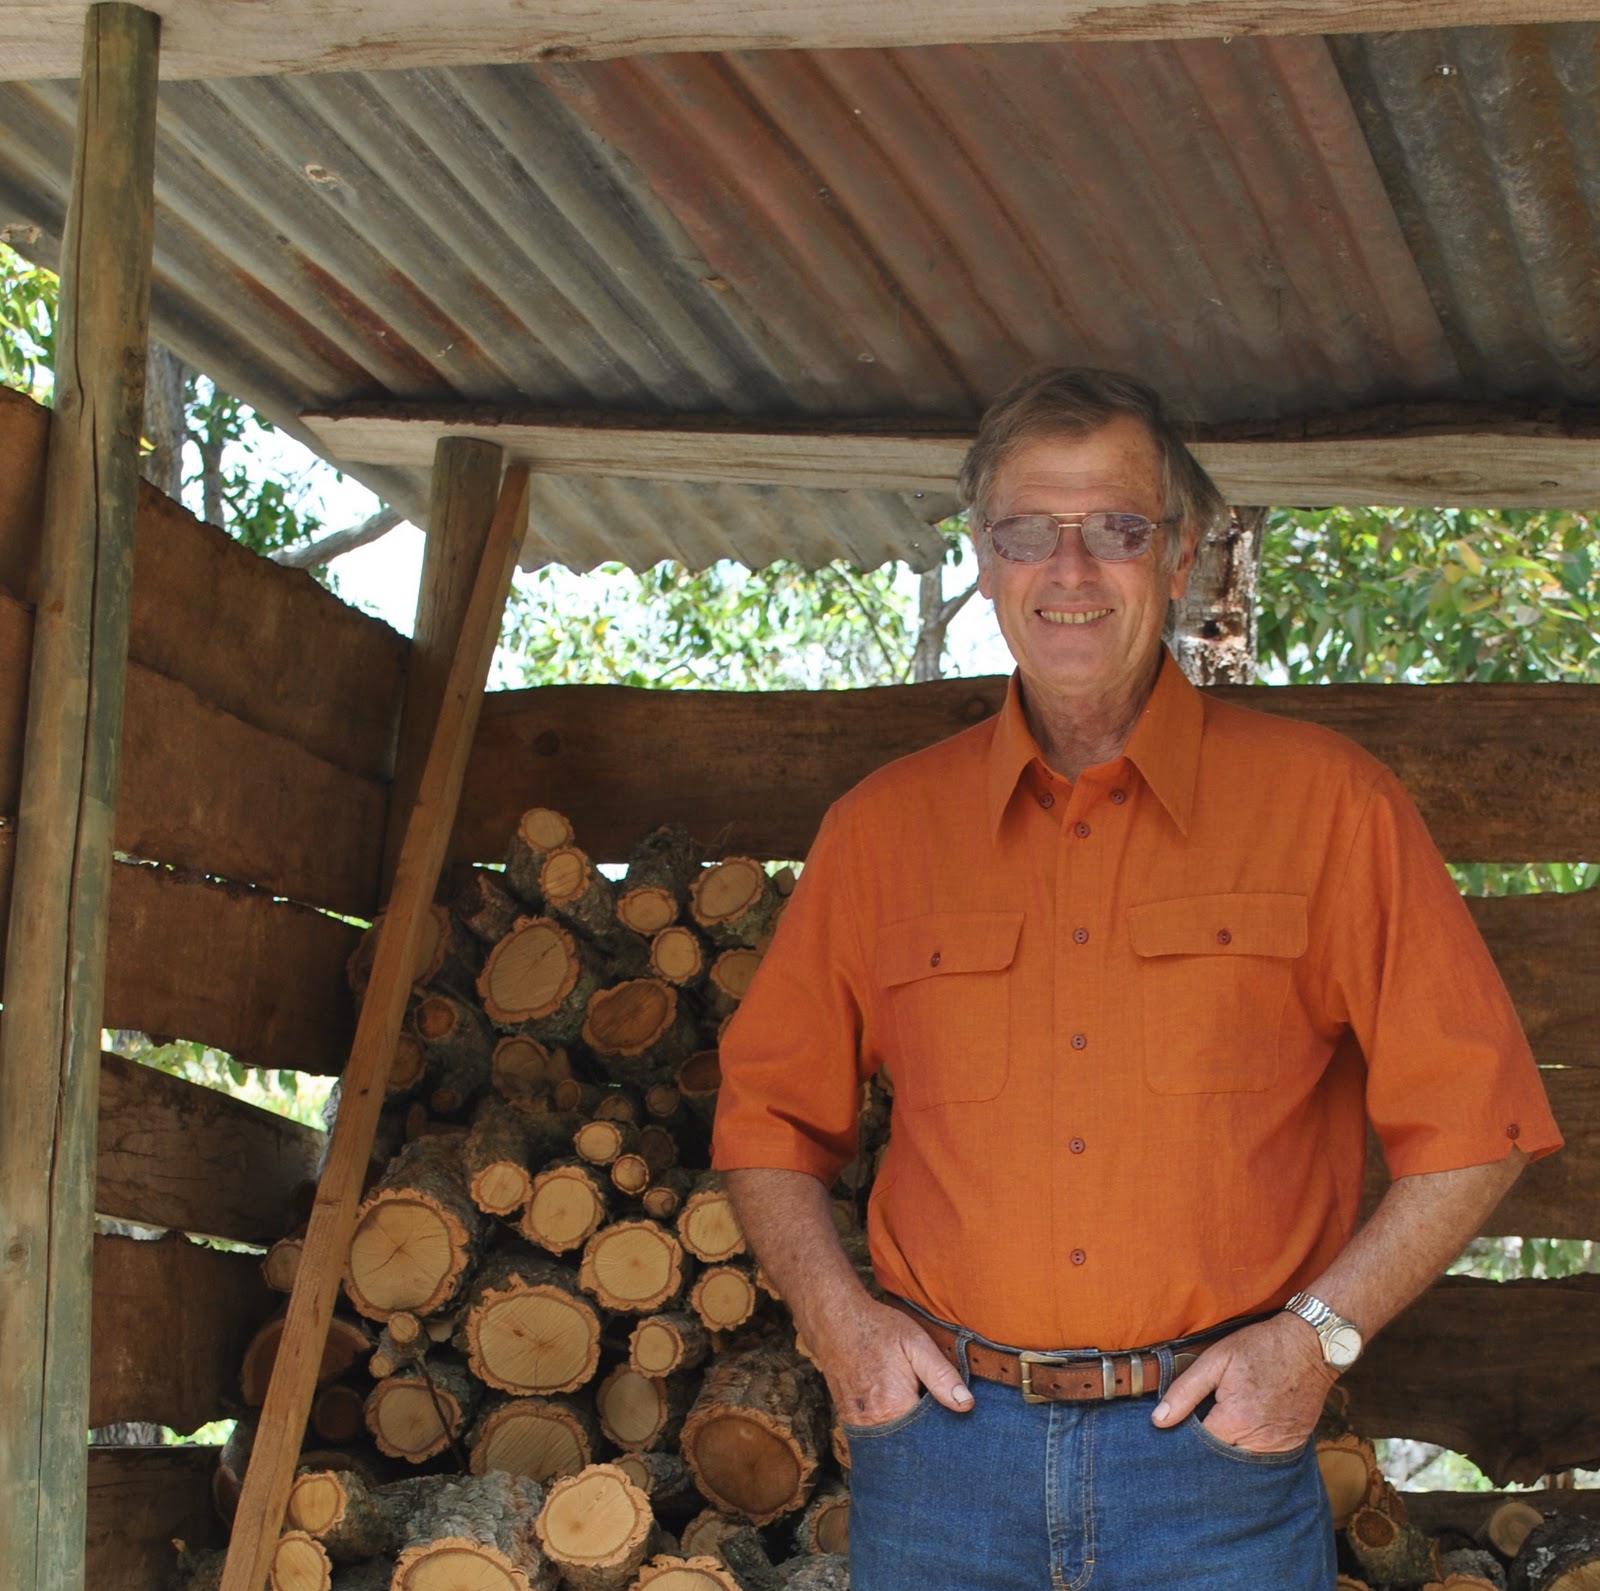
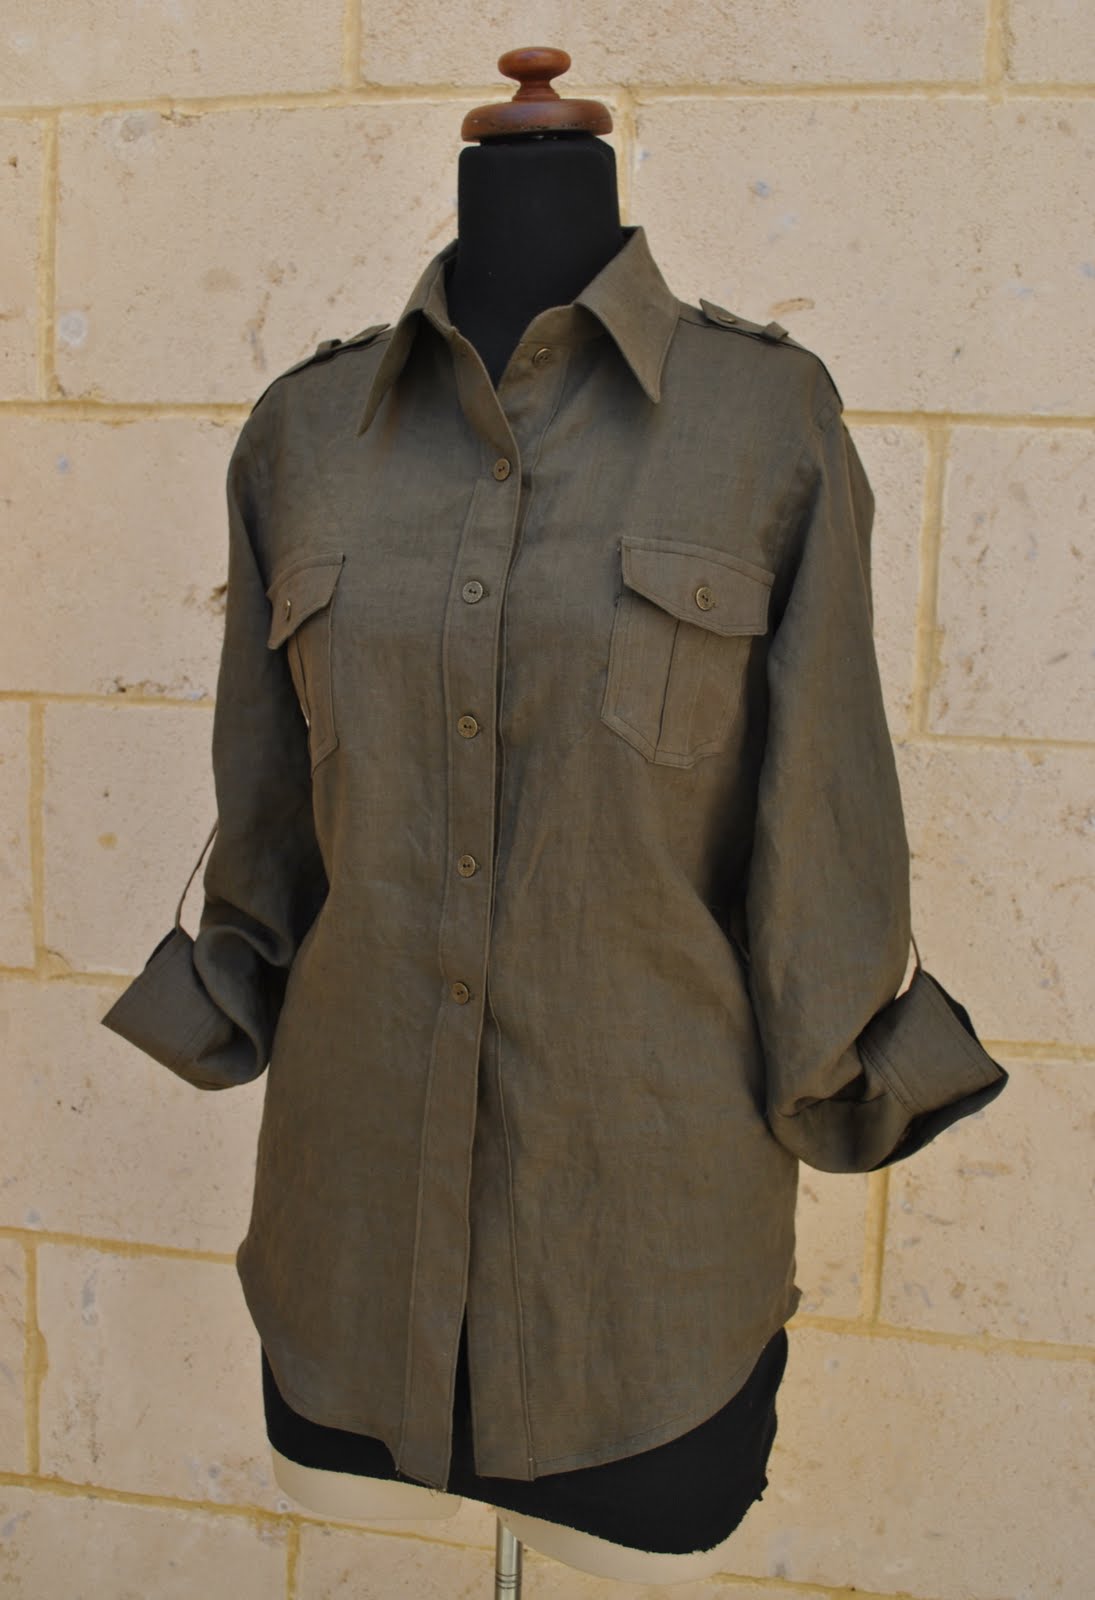
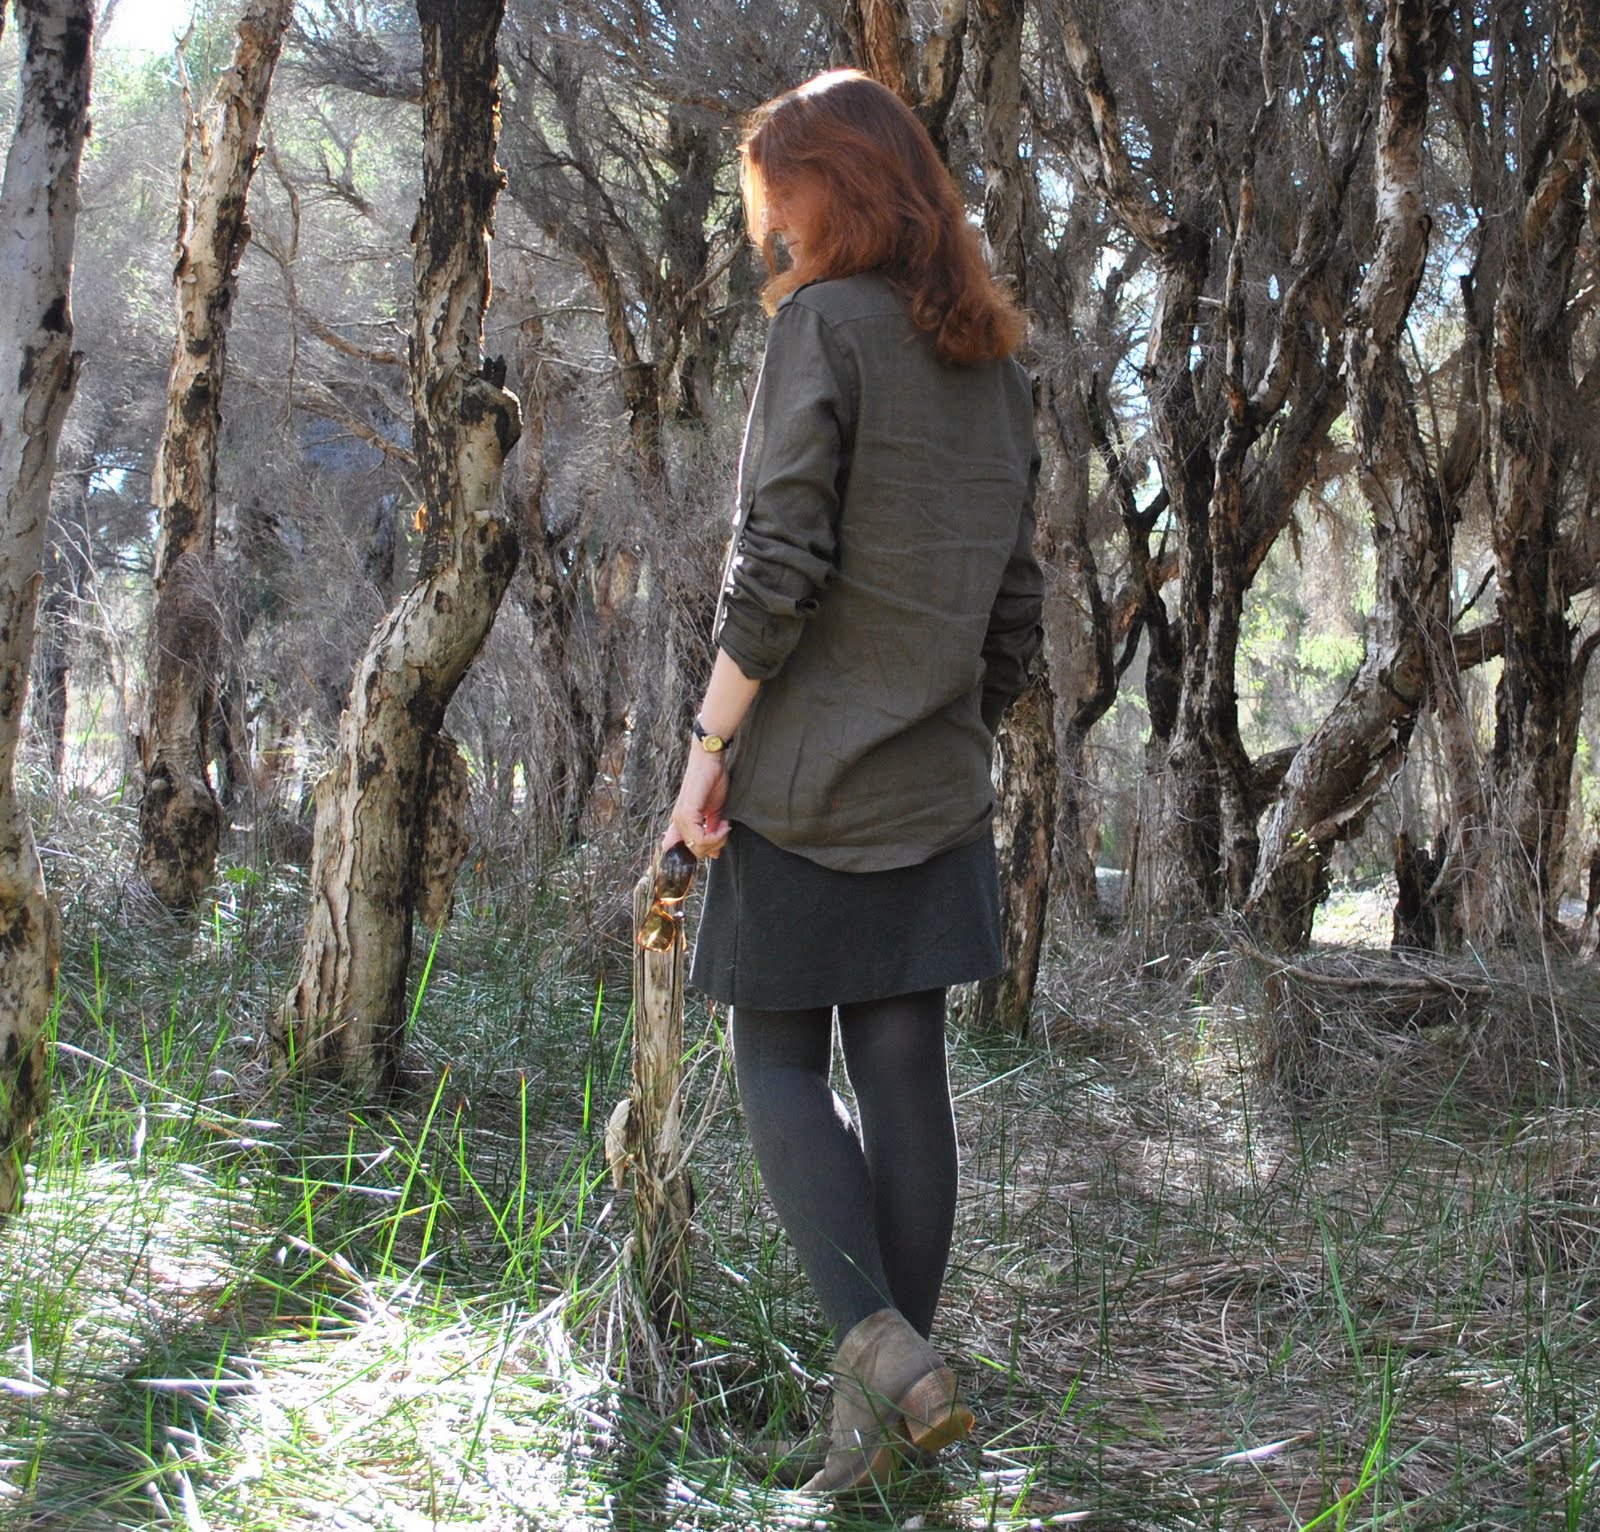
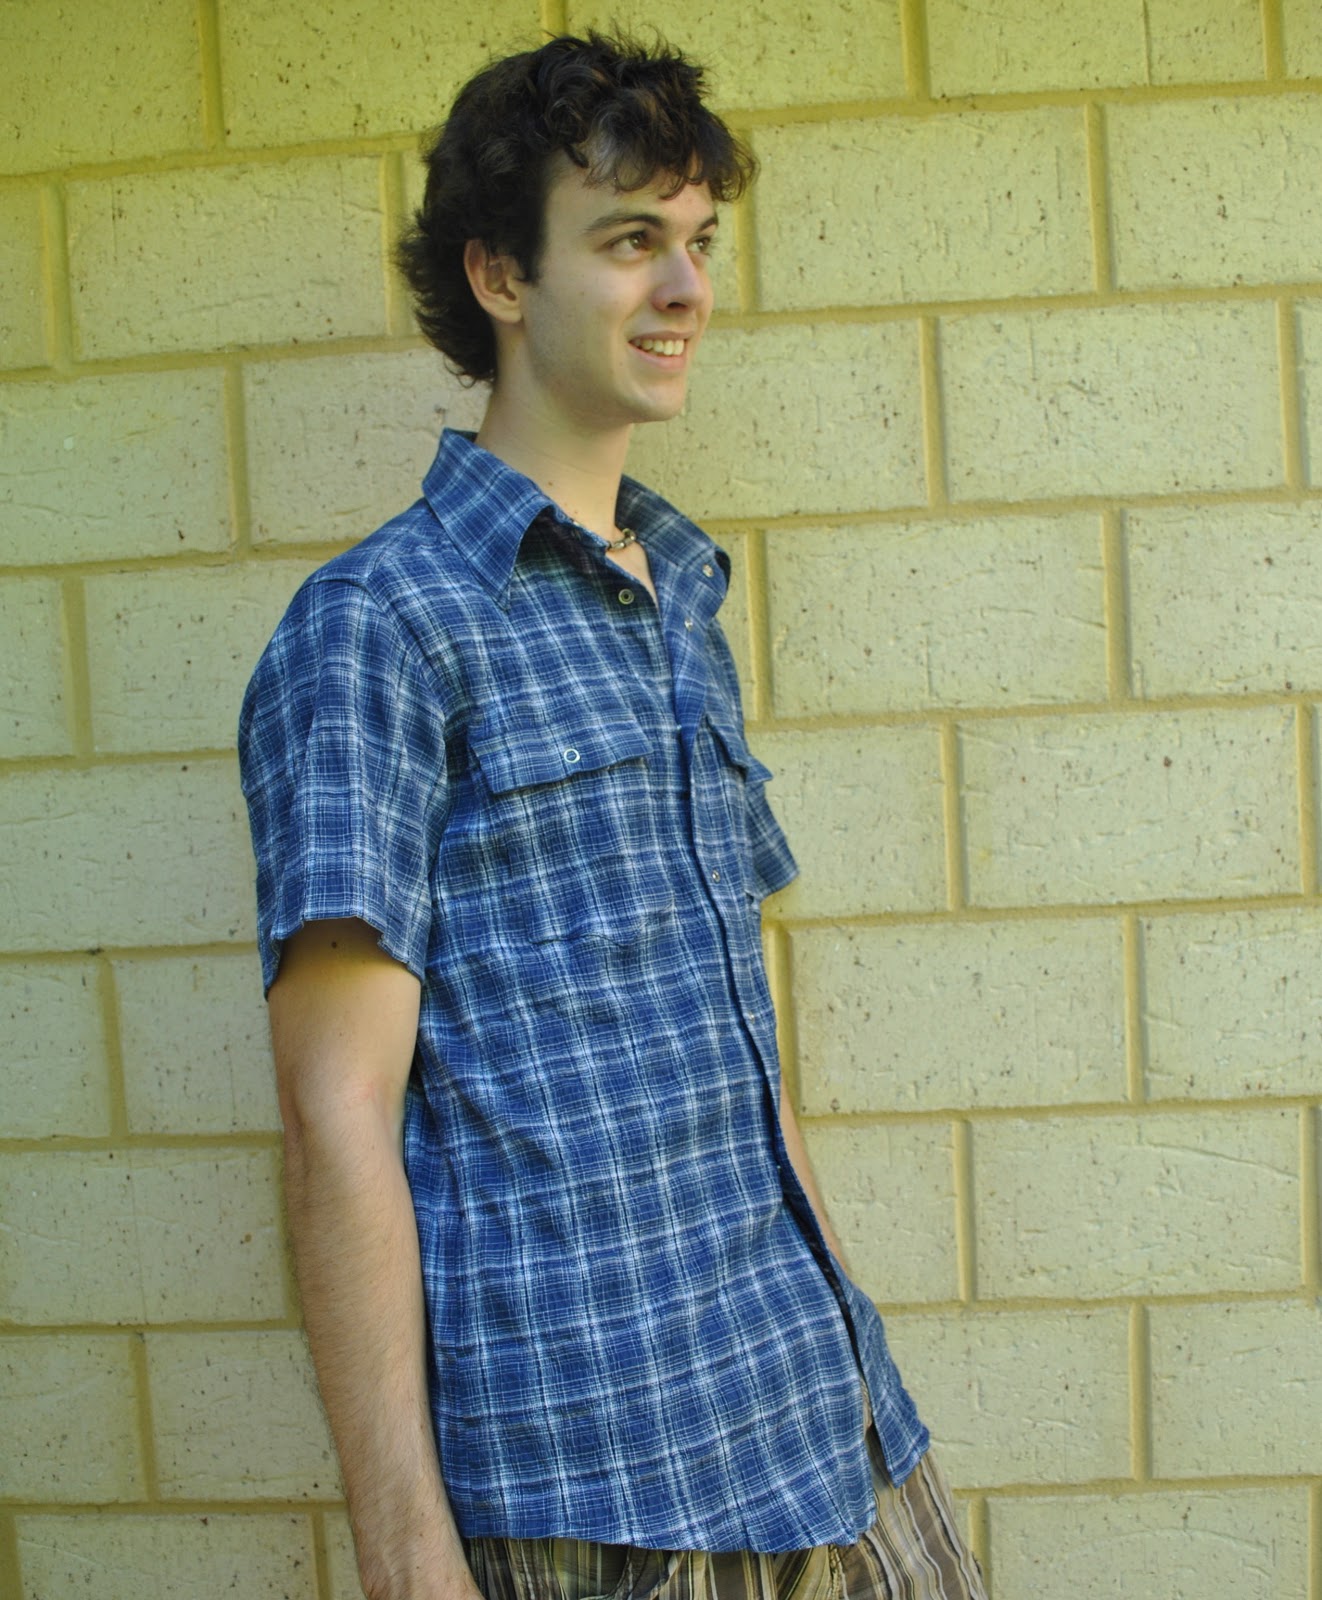
I’ve noticed that Tim, and lots of young men now, are all wearing their shirts a lot more shrunken in appearance to the classic “men’s shirt” silhouette.  More fitted to the body, and with shorter and smaller sleeves.  So I tailored this shirt accordingly; and in case you’re wondering, Sam didn’t want for his shirt to be “trendy” like this although I actually did make his a little more narrow in the body than previously too.  
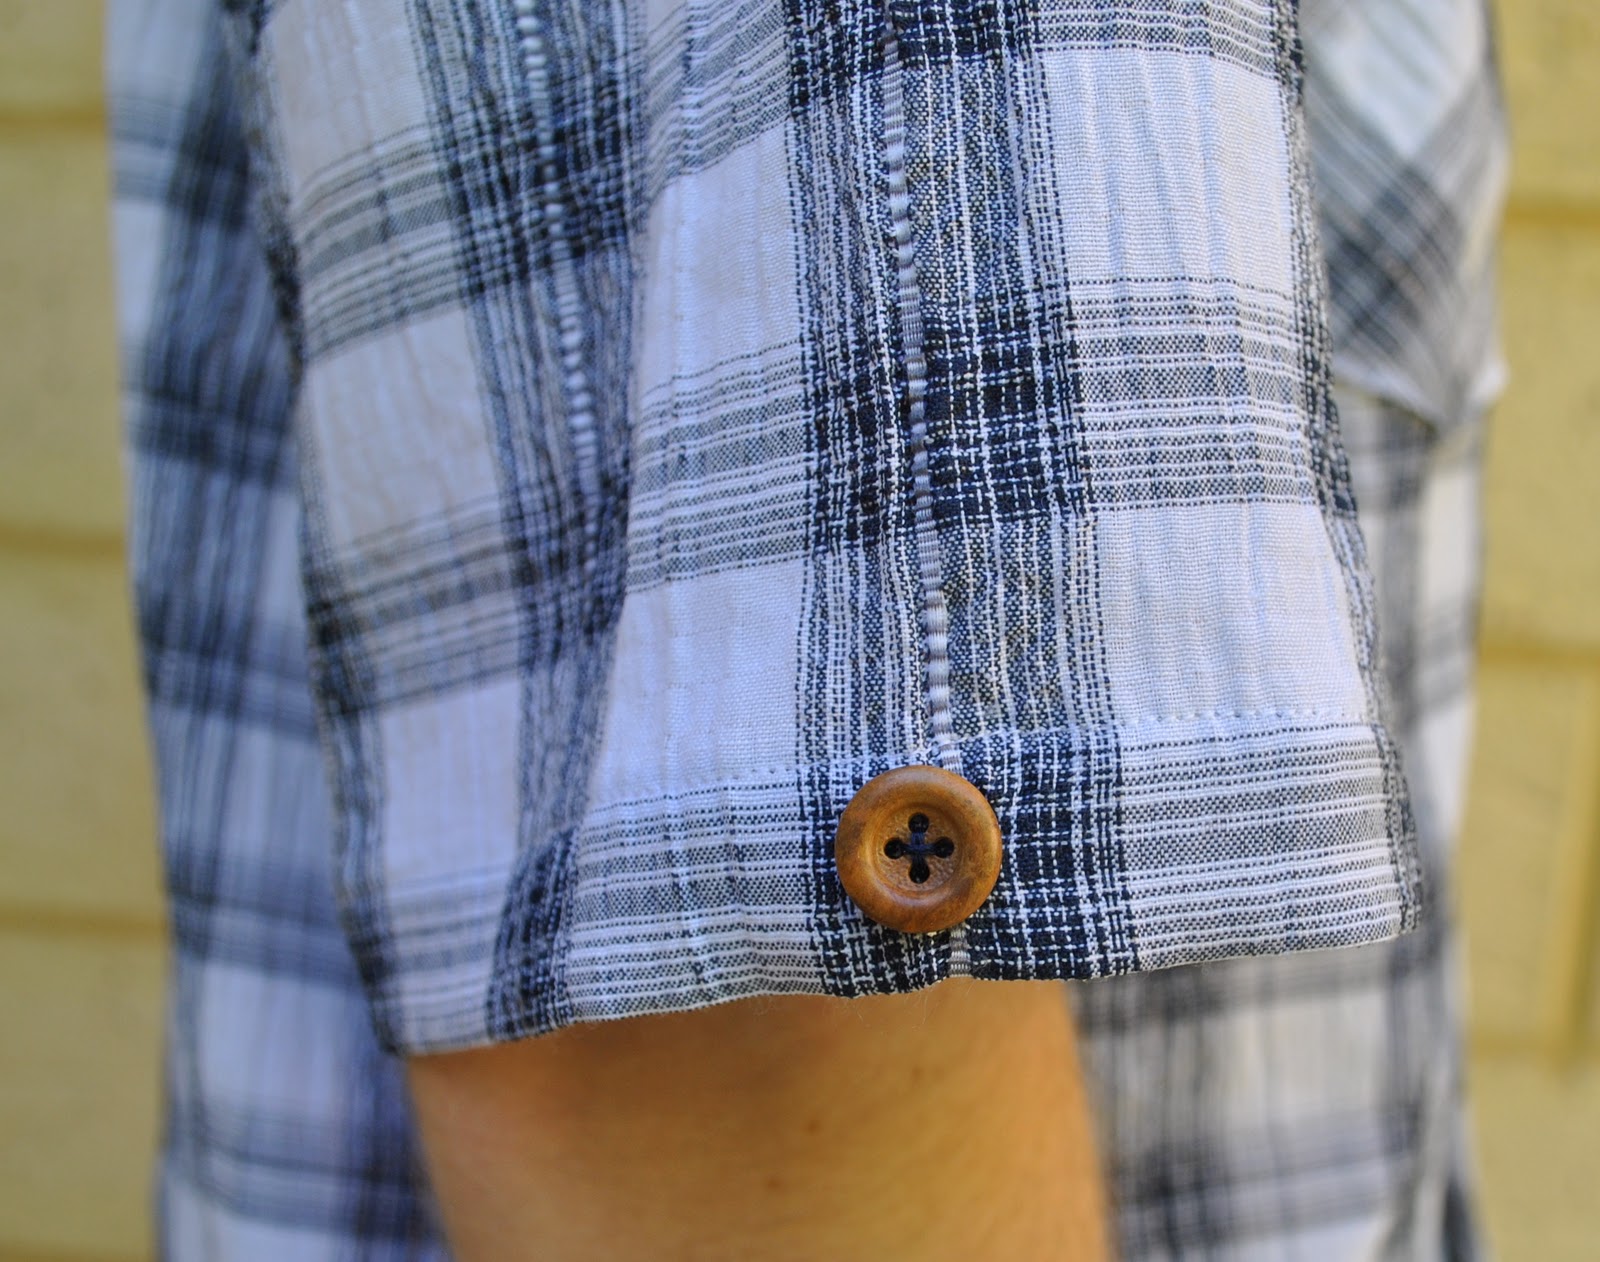
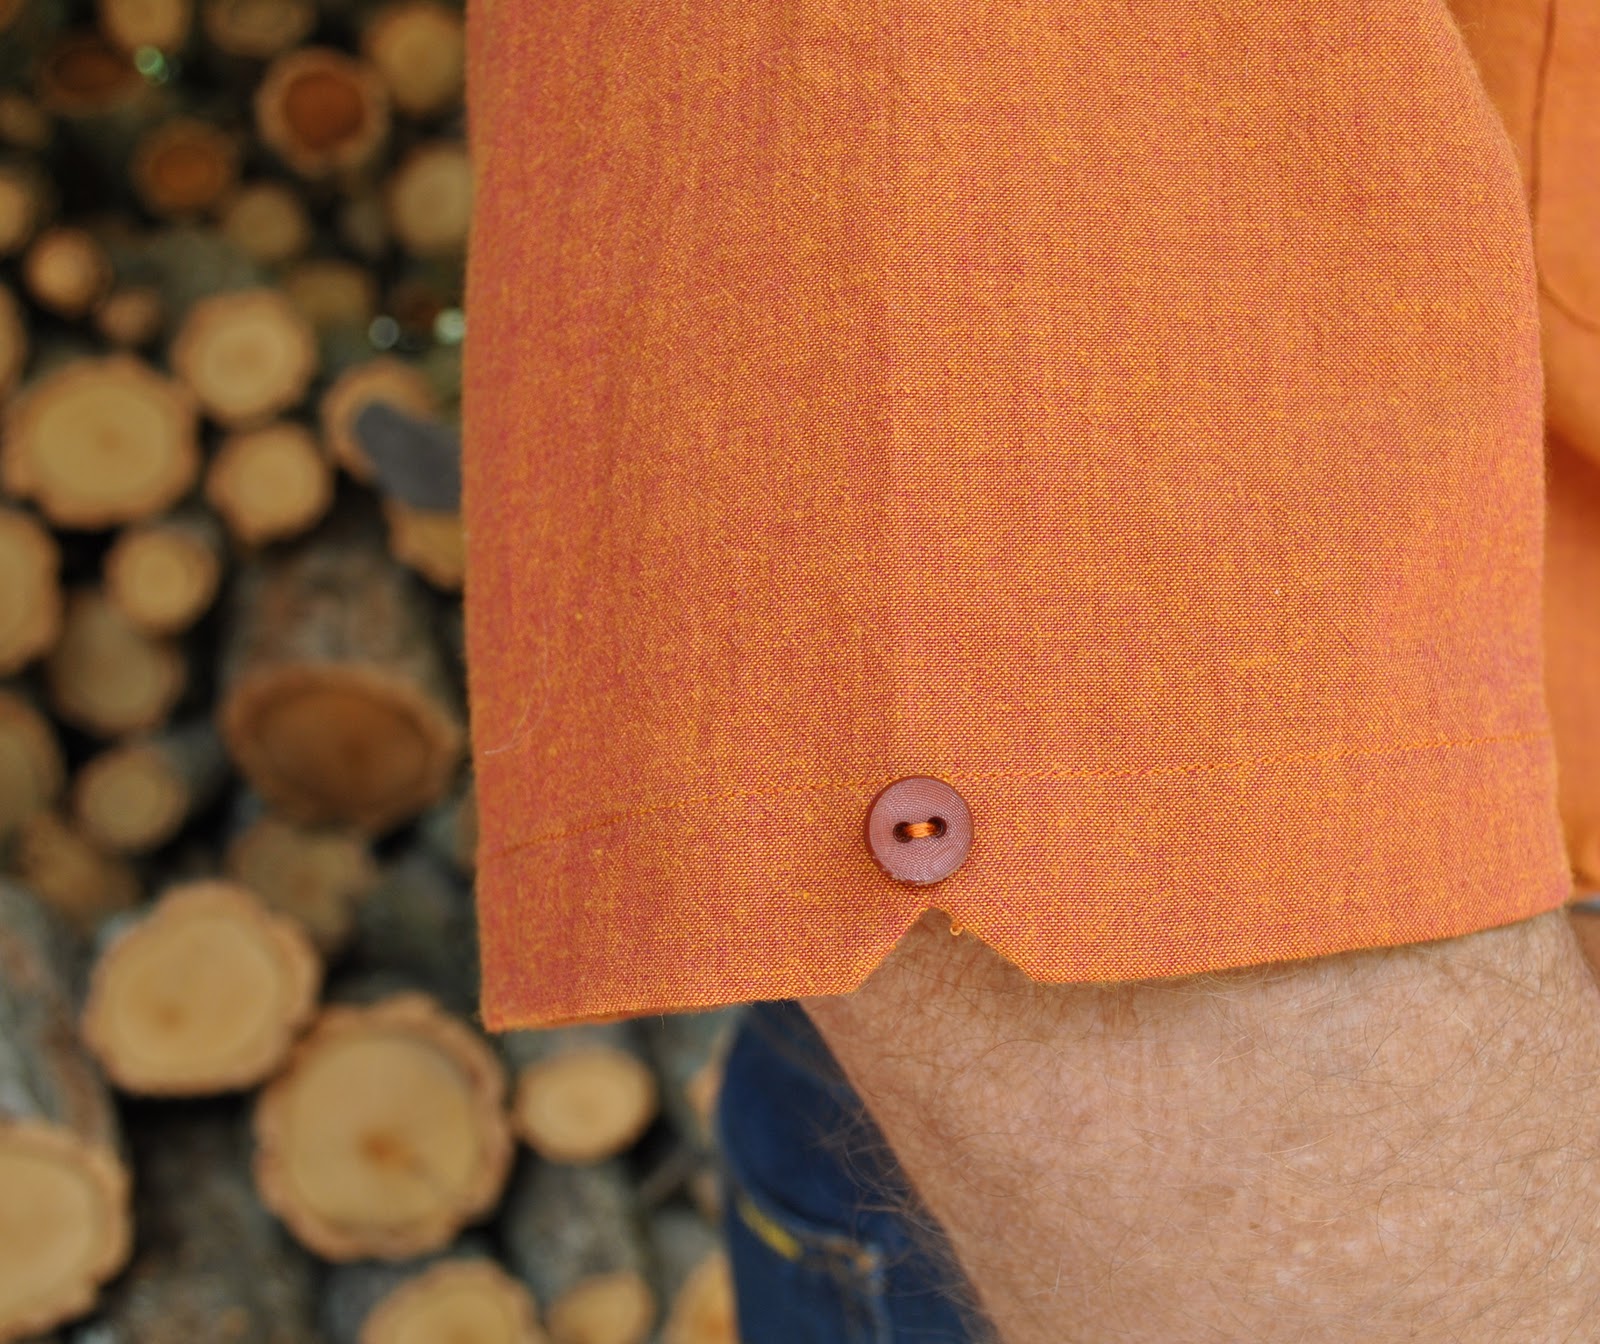
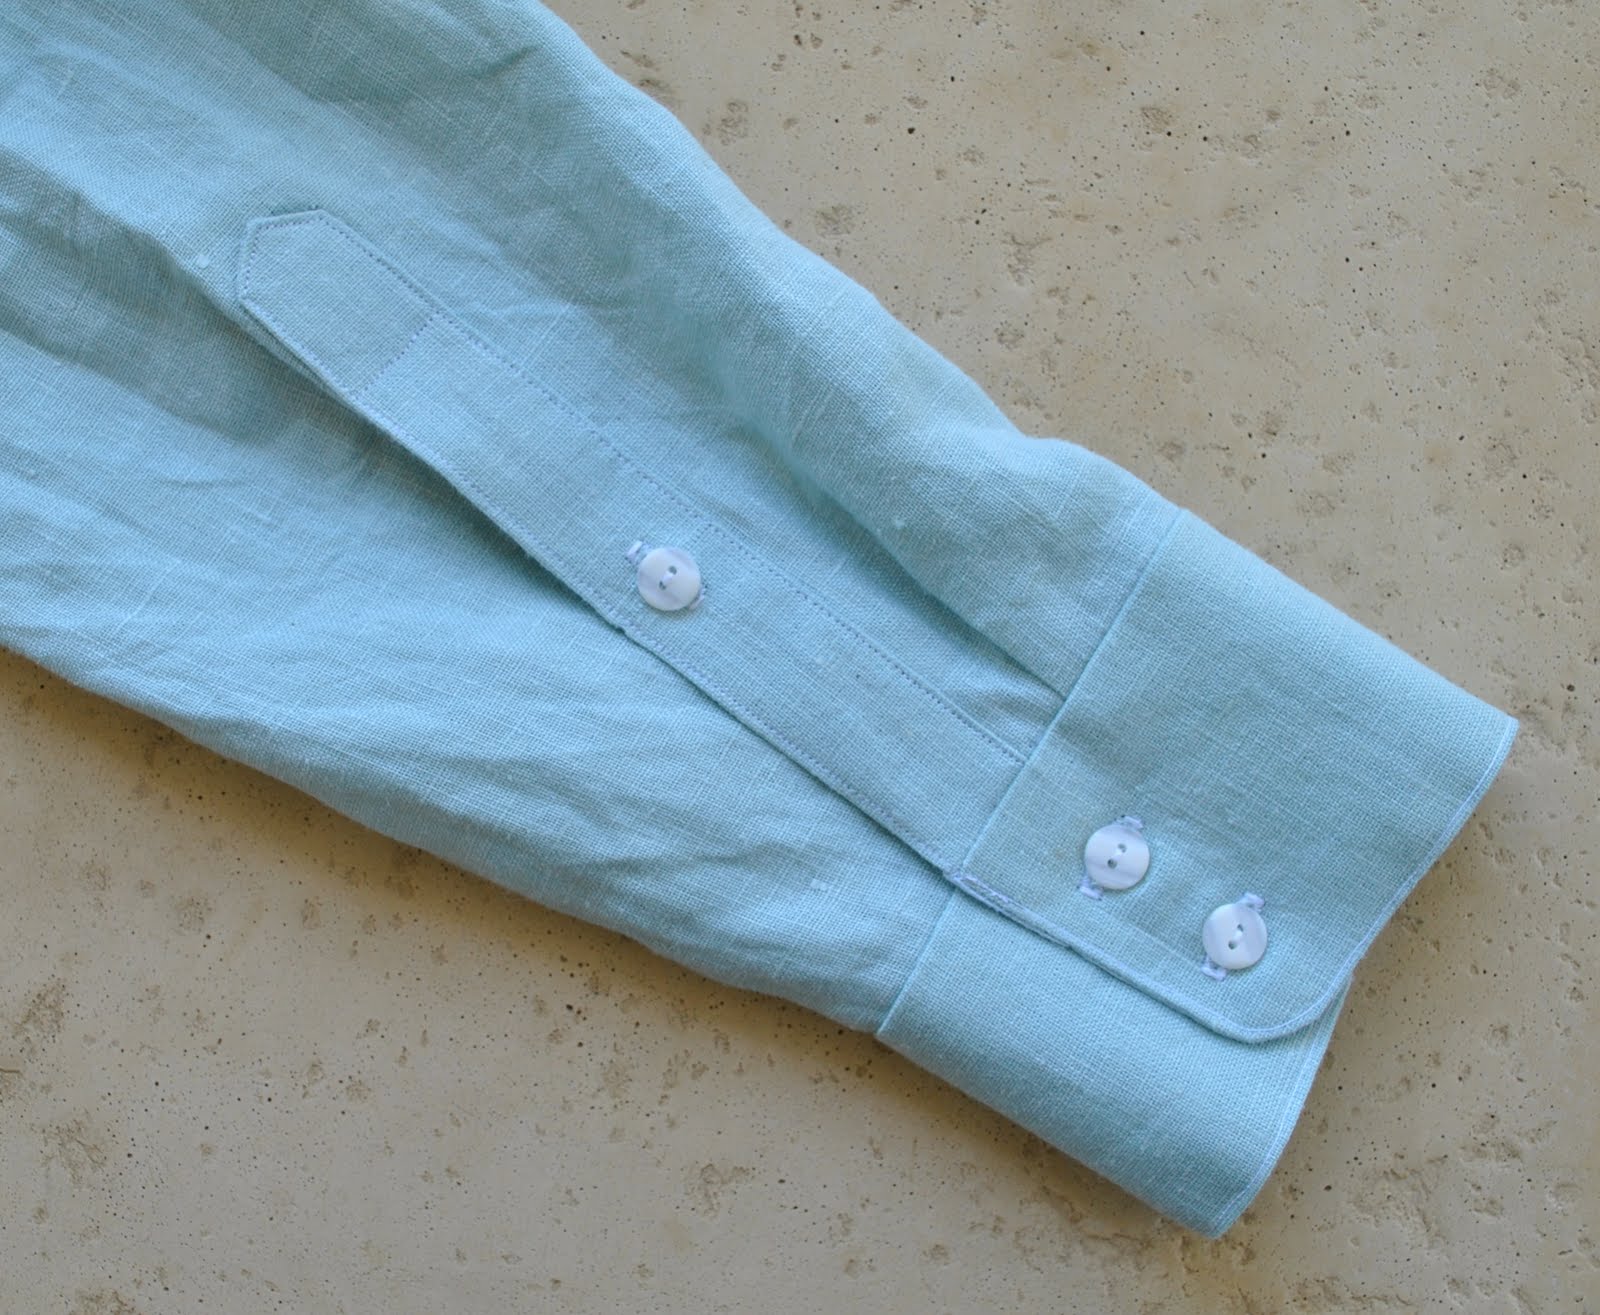
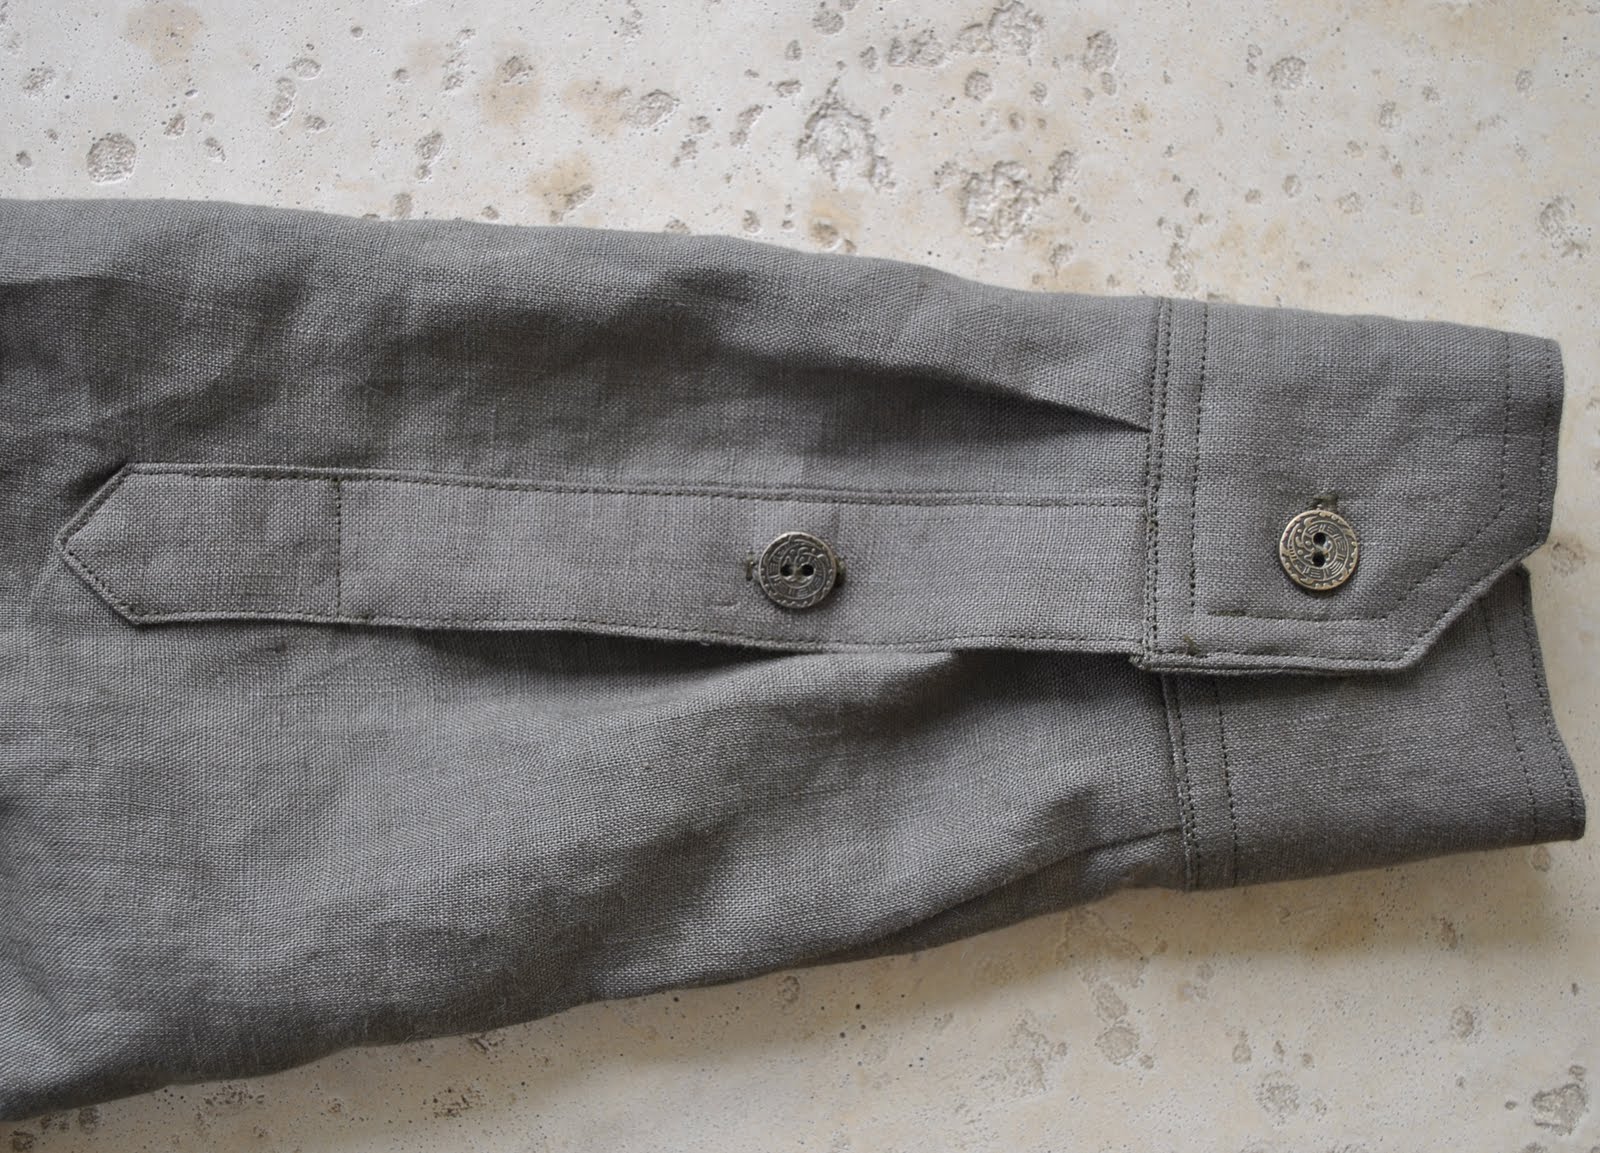
I made the sleeves shortish and when he opened his present asked him if he would like them hemmed fashionably even shorter but he said he liked them this length.
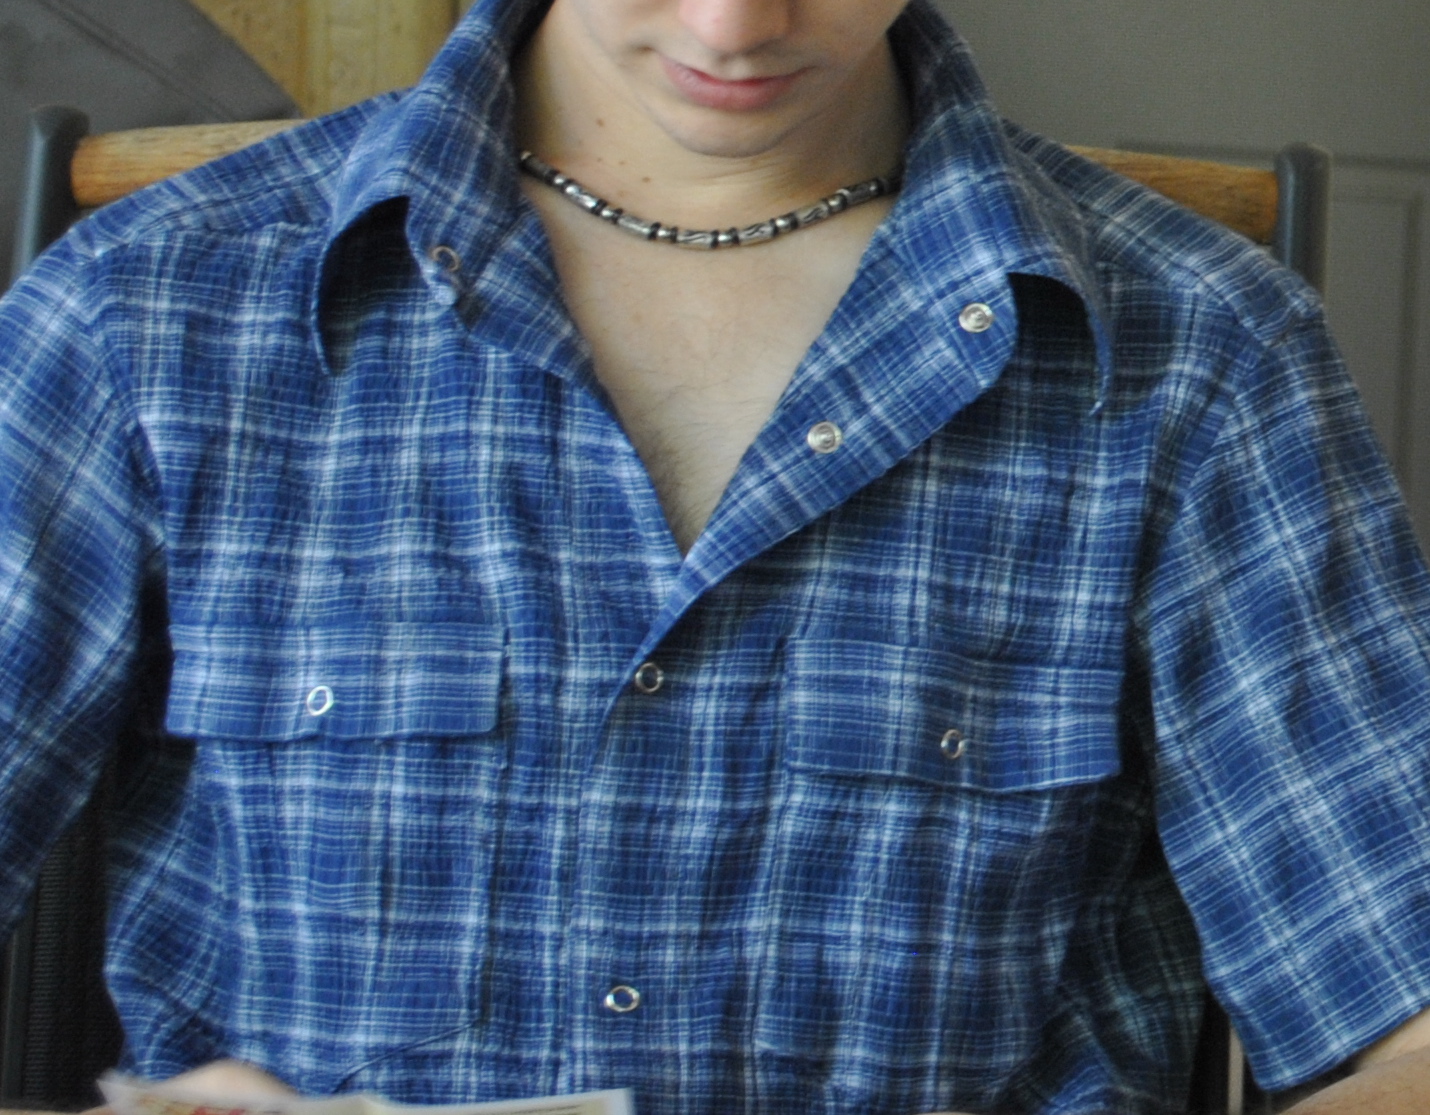
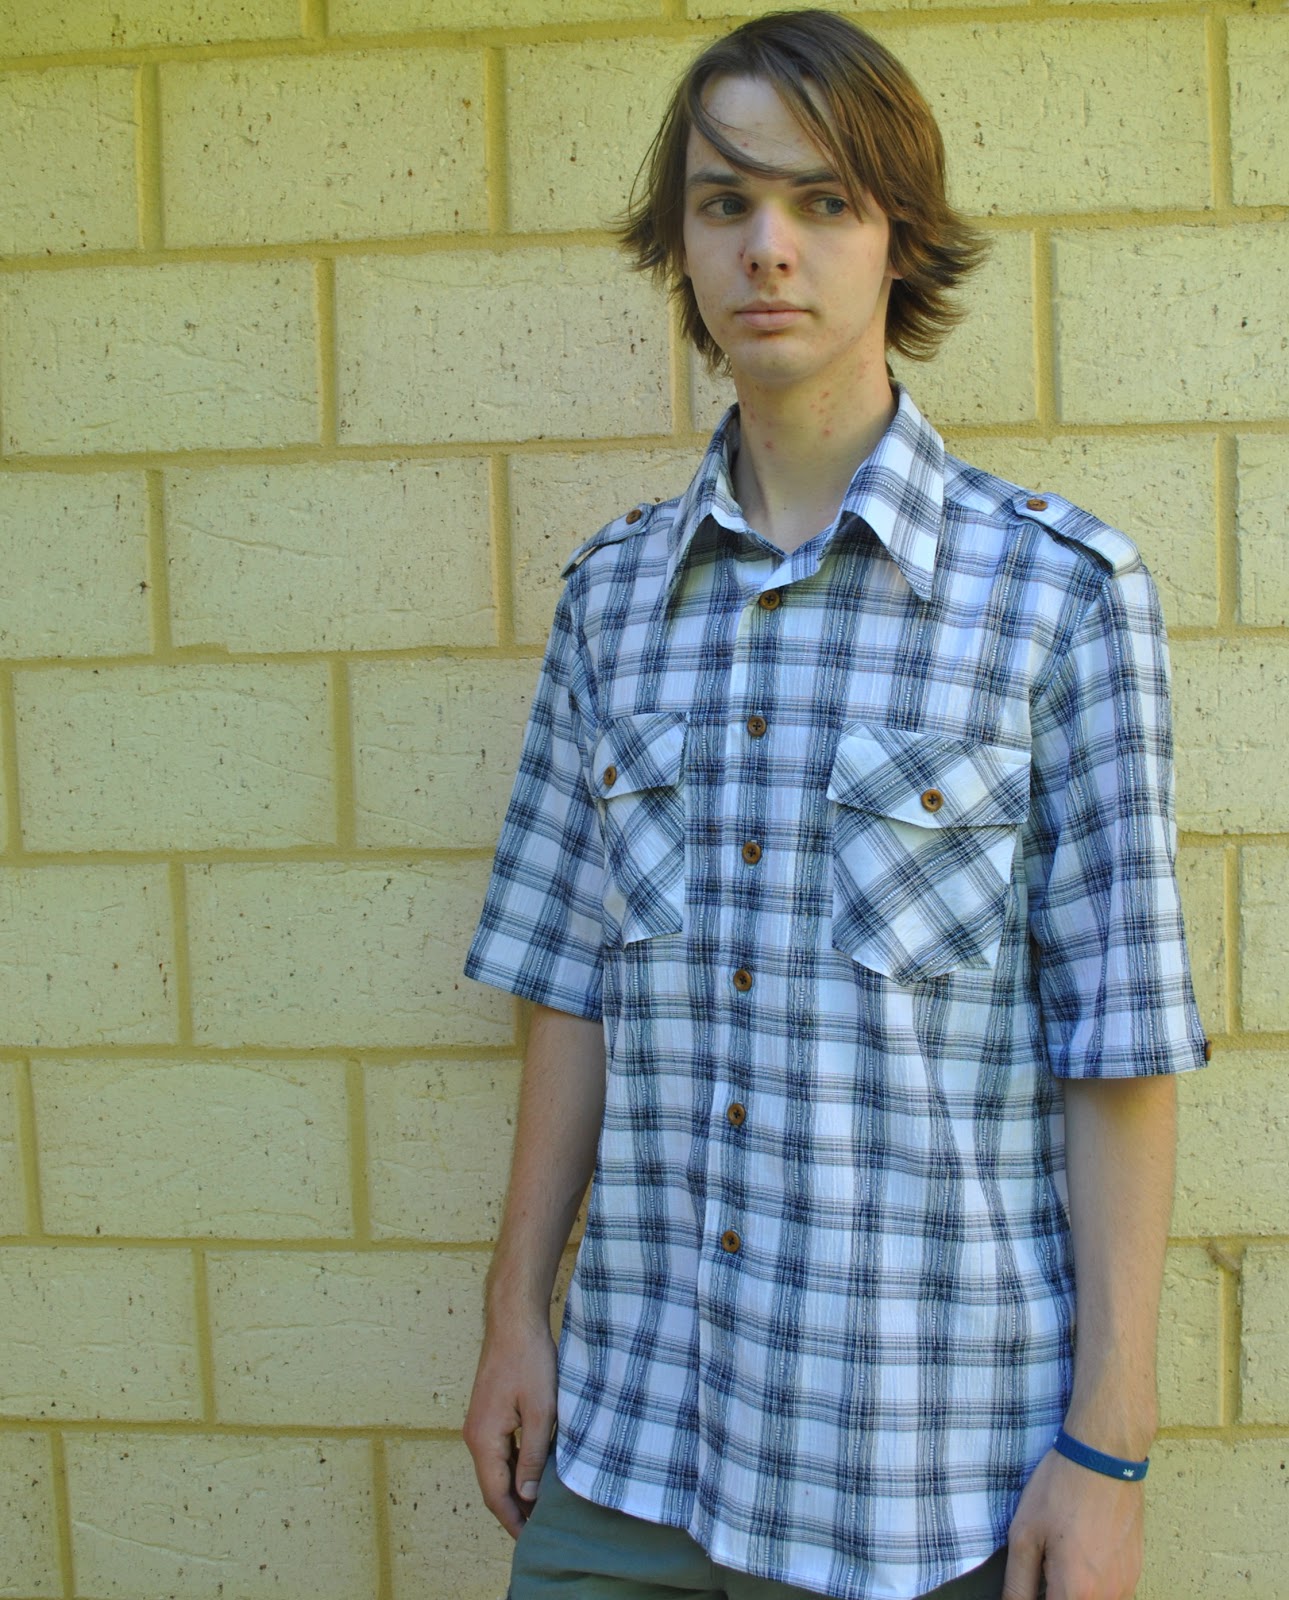
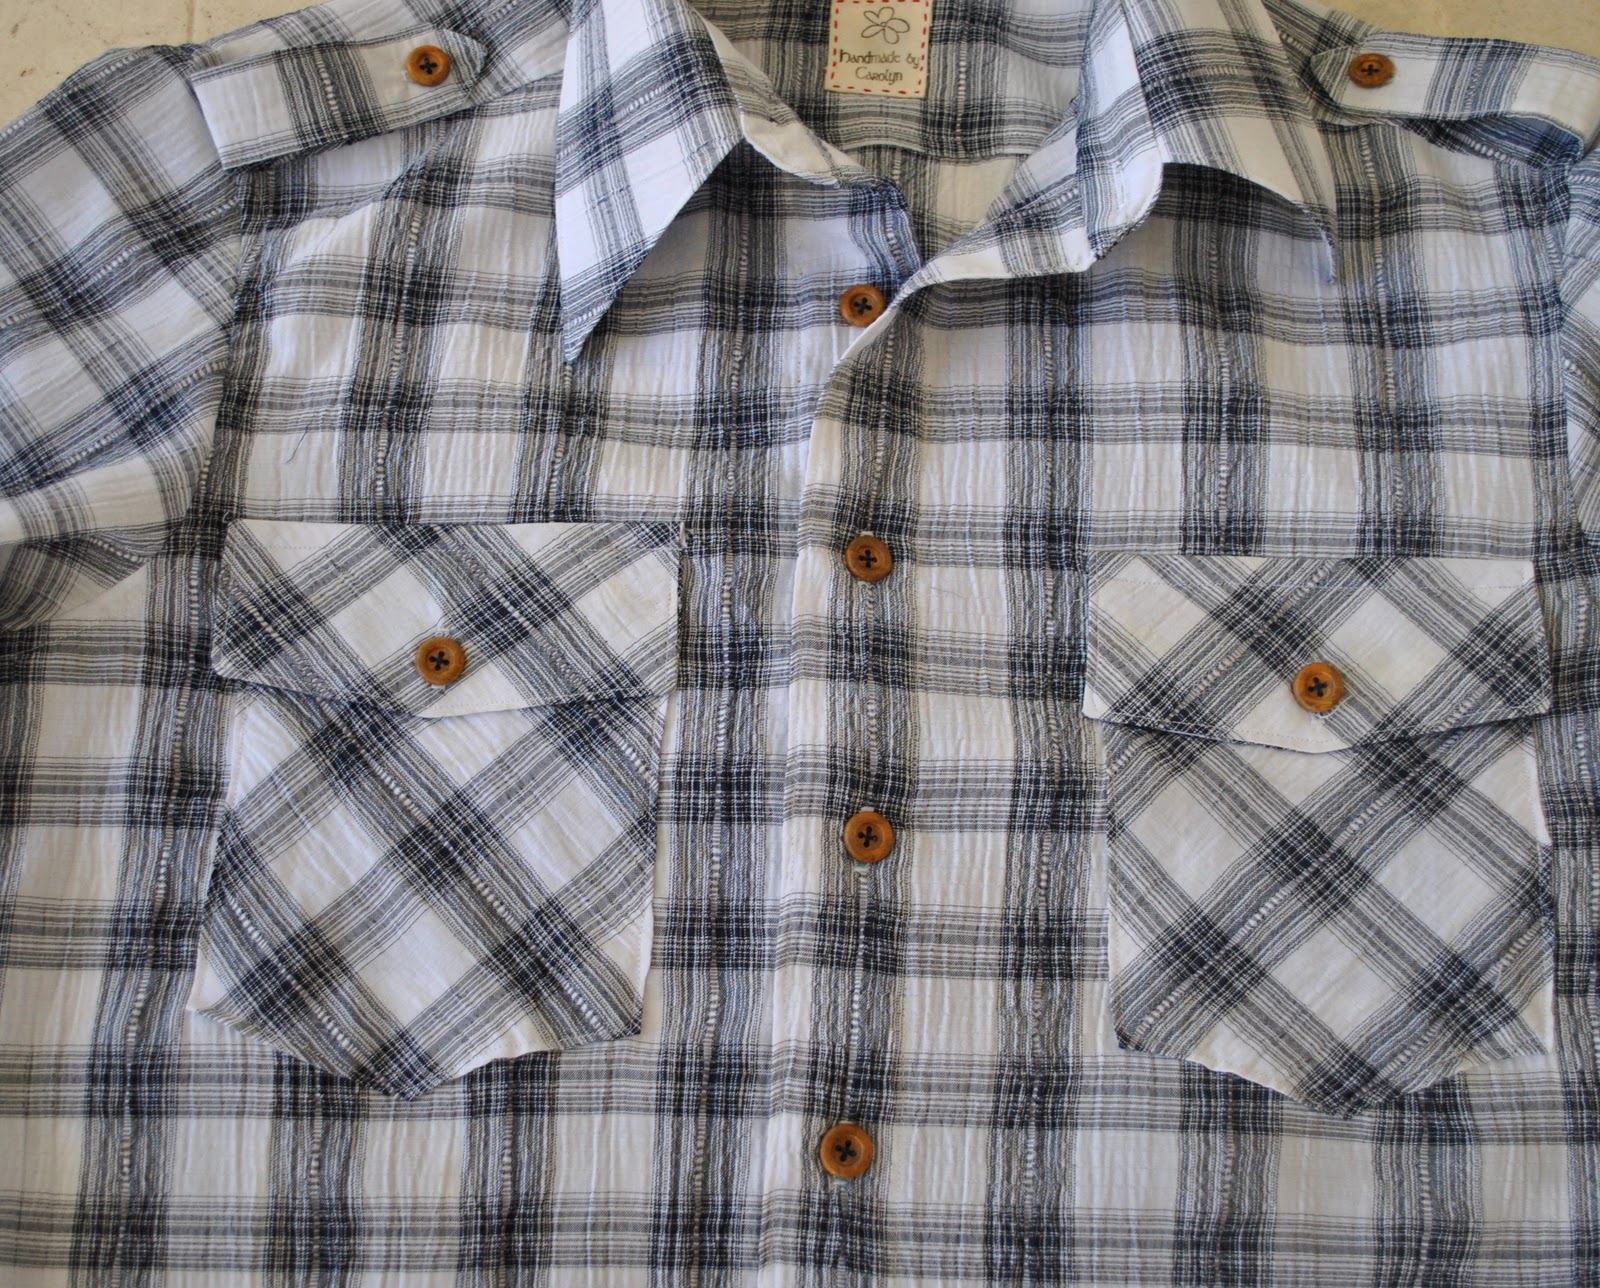
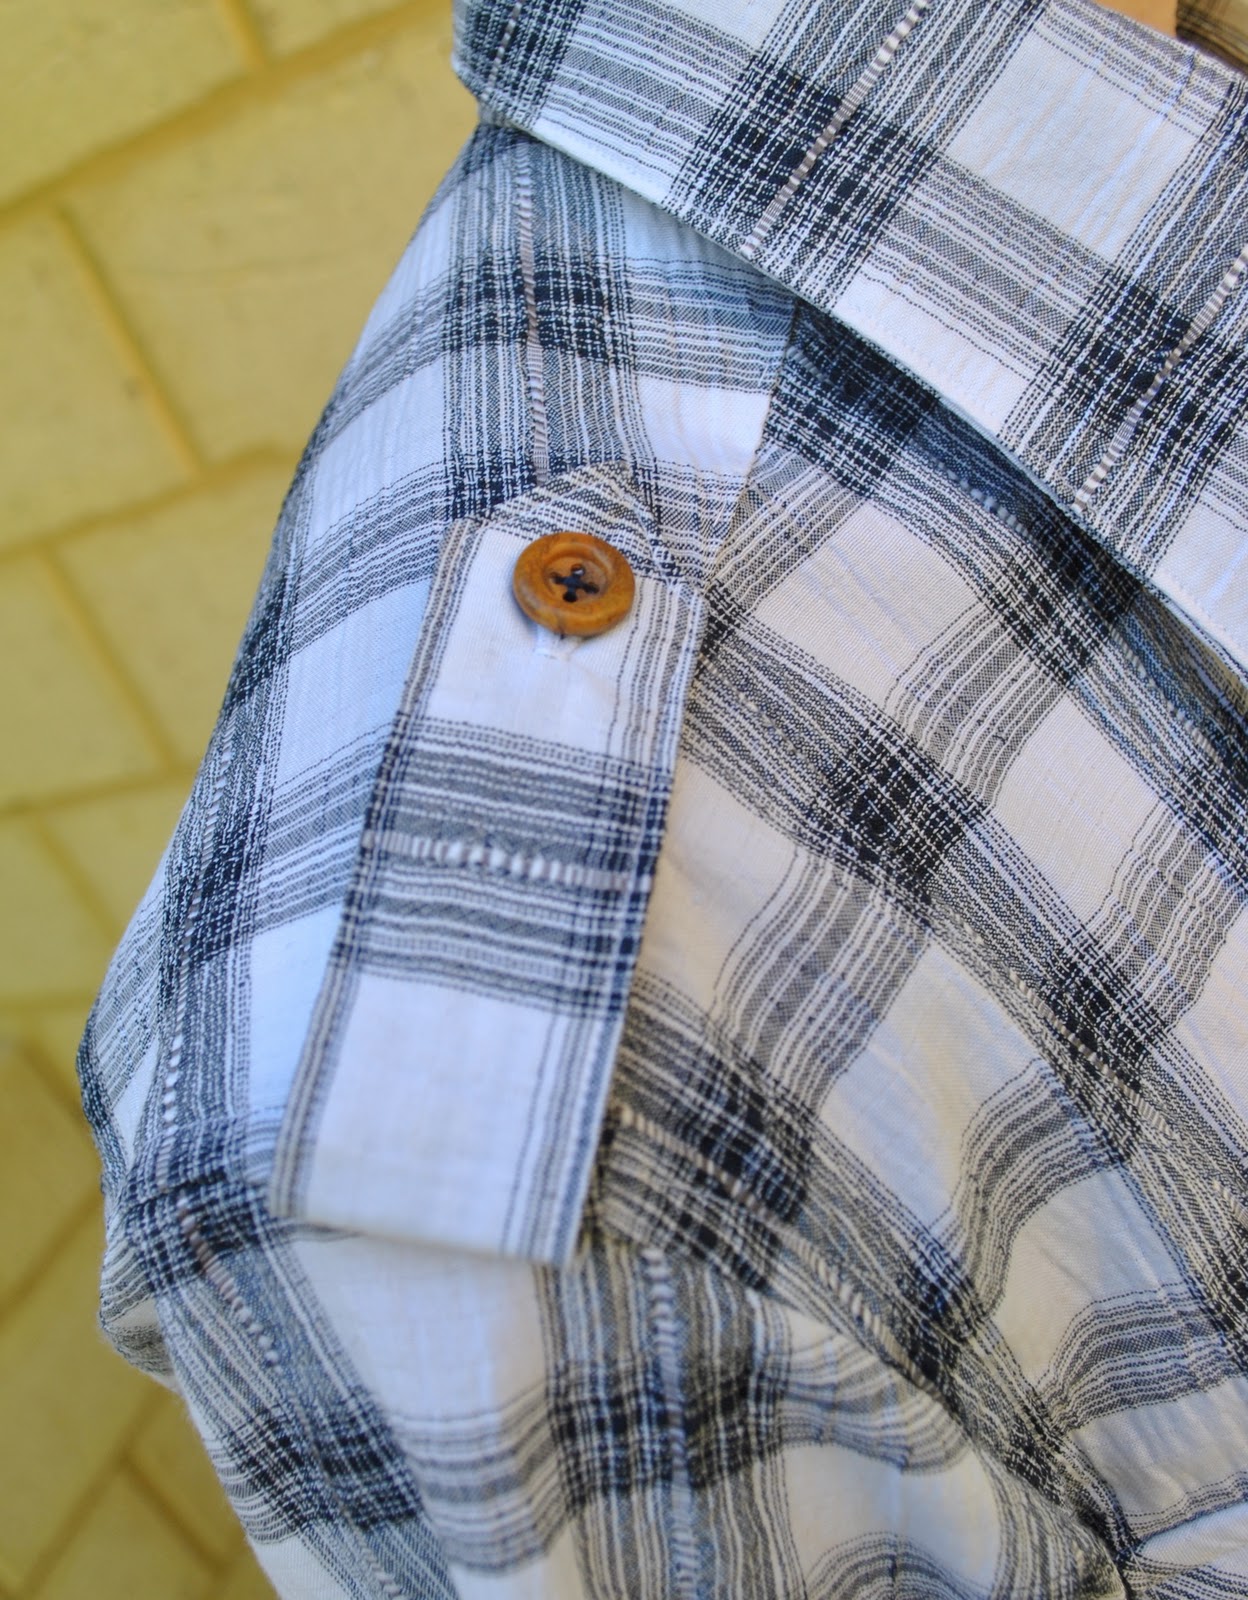
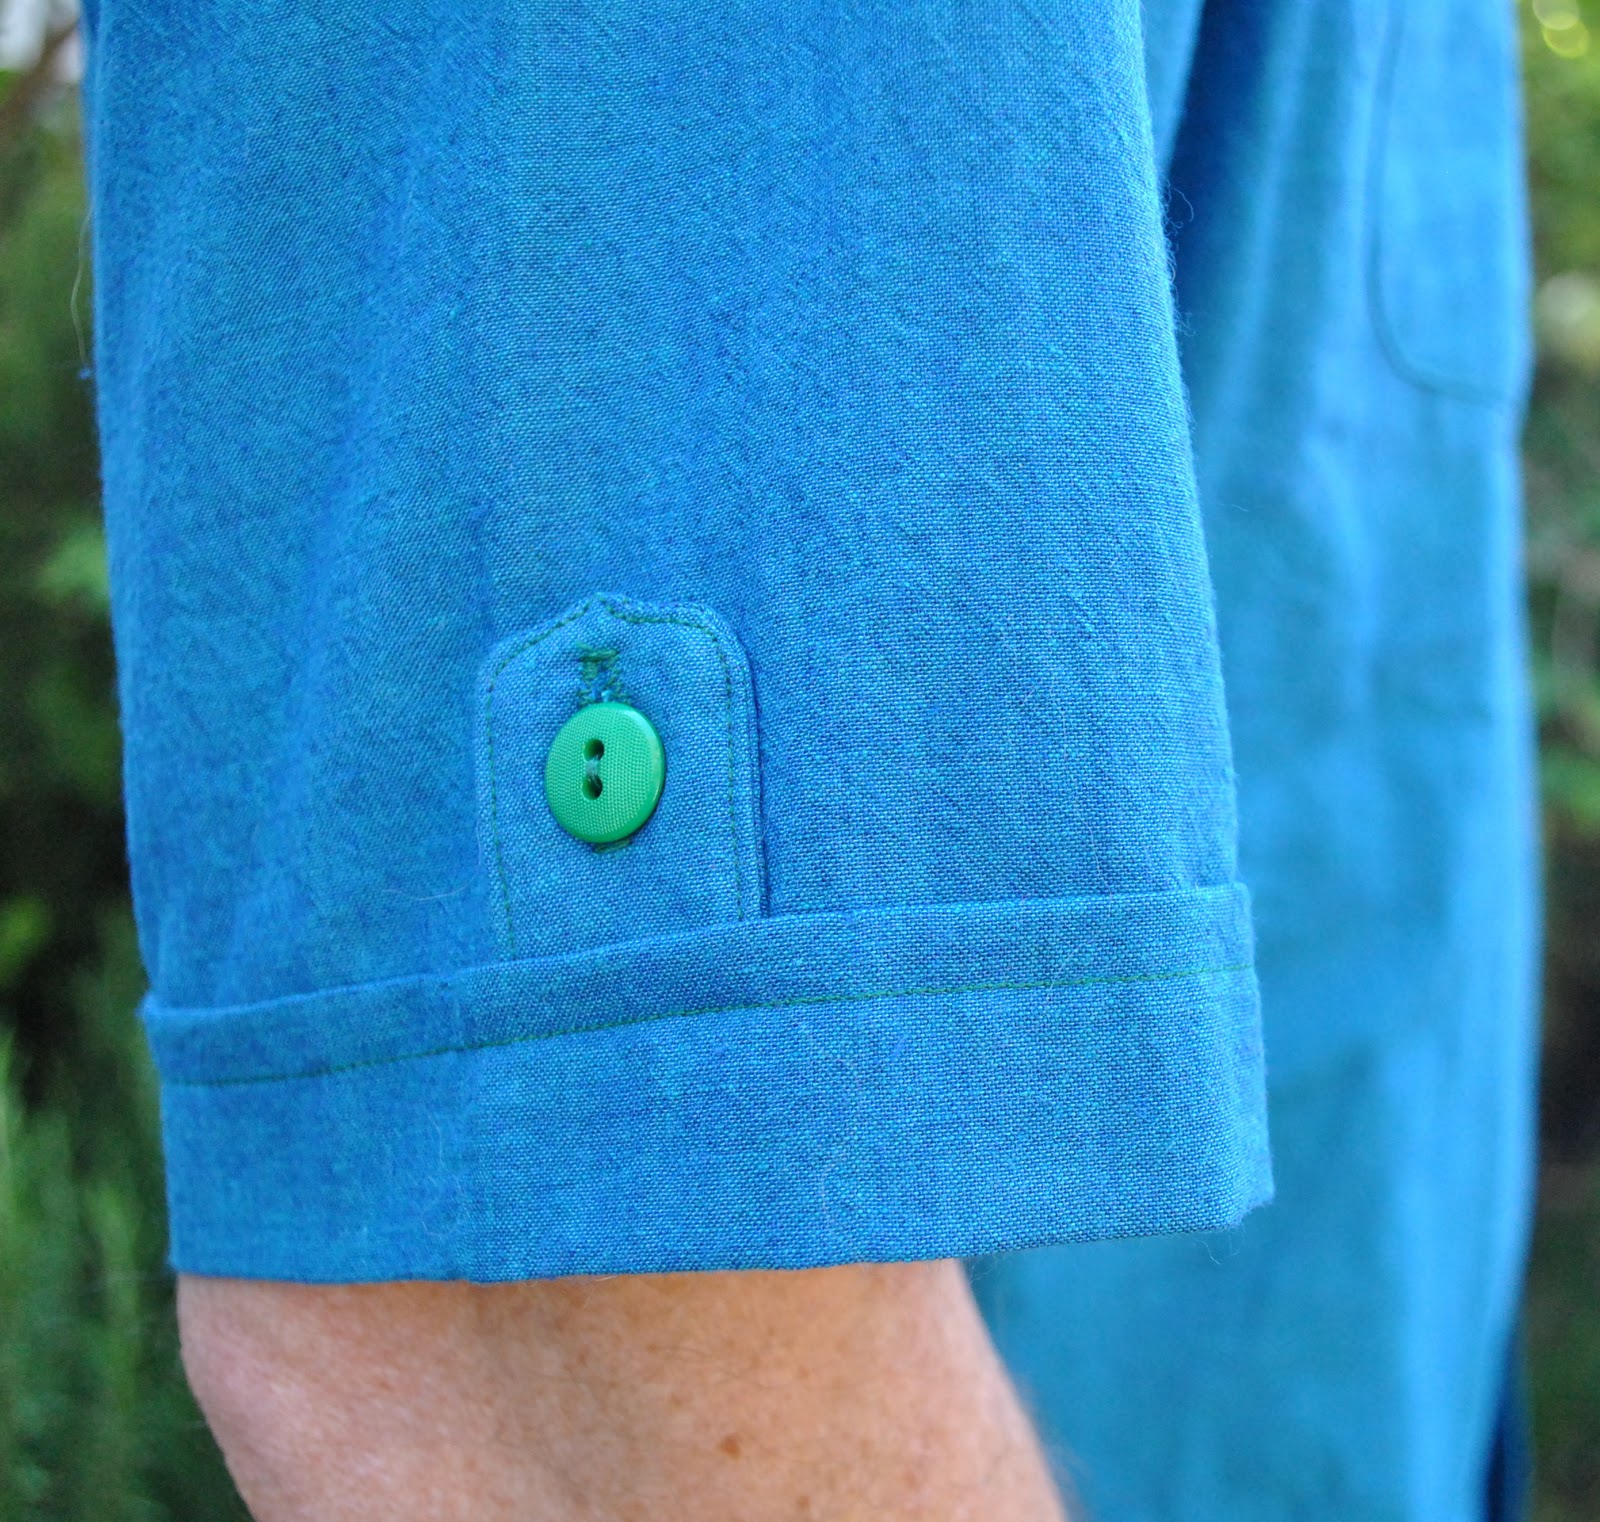
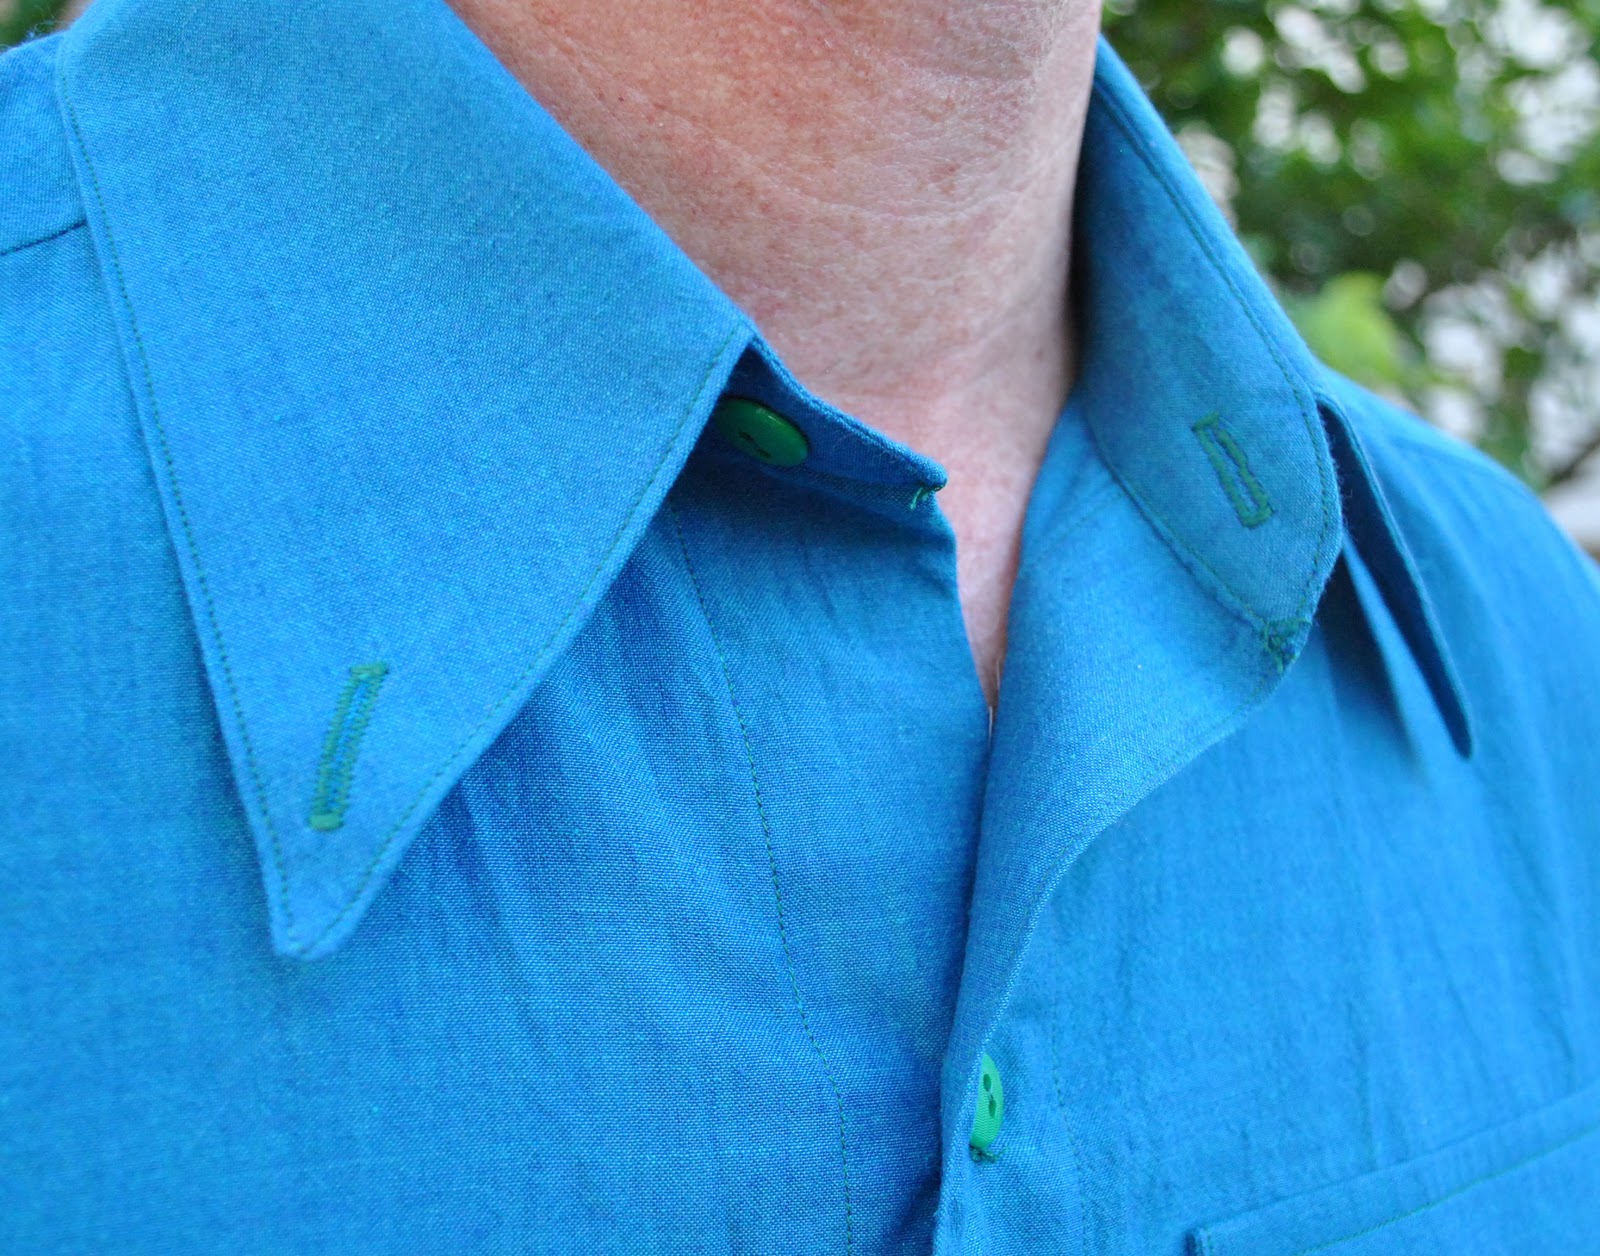
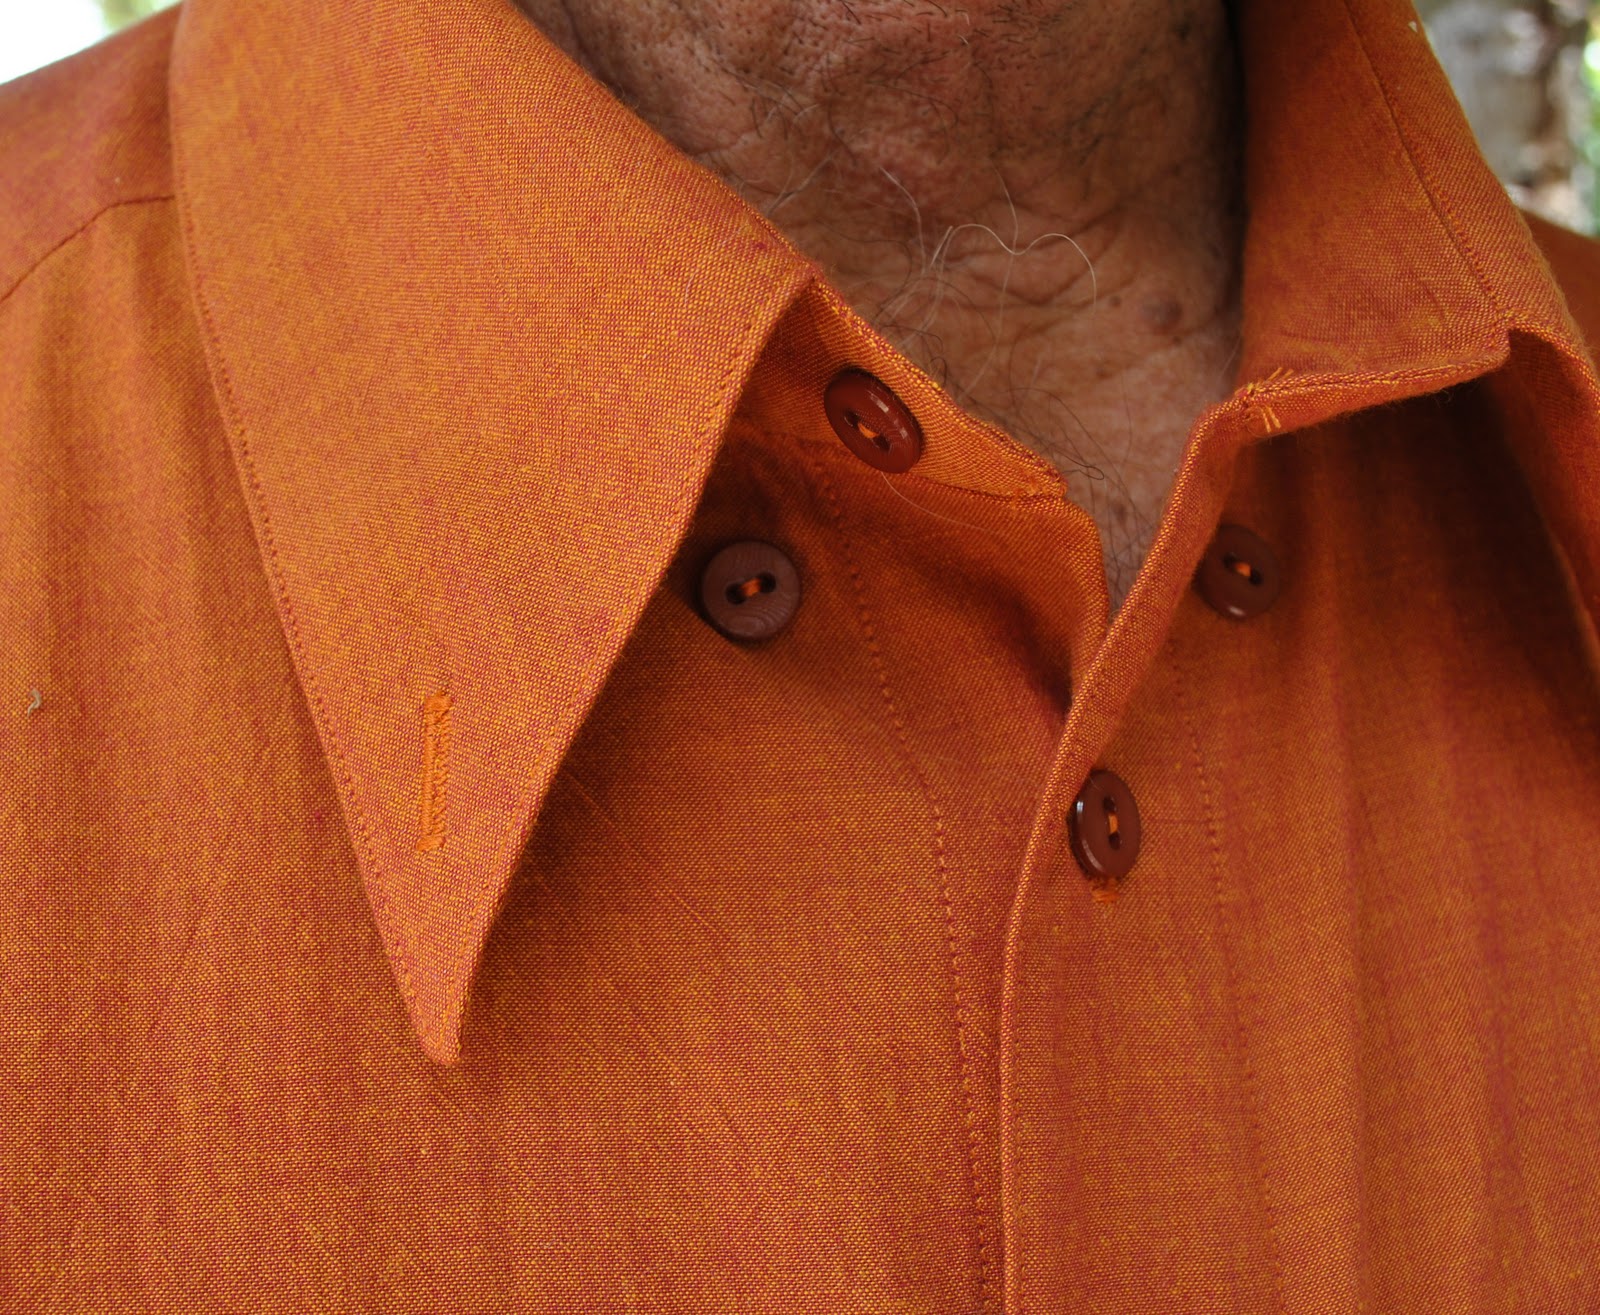
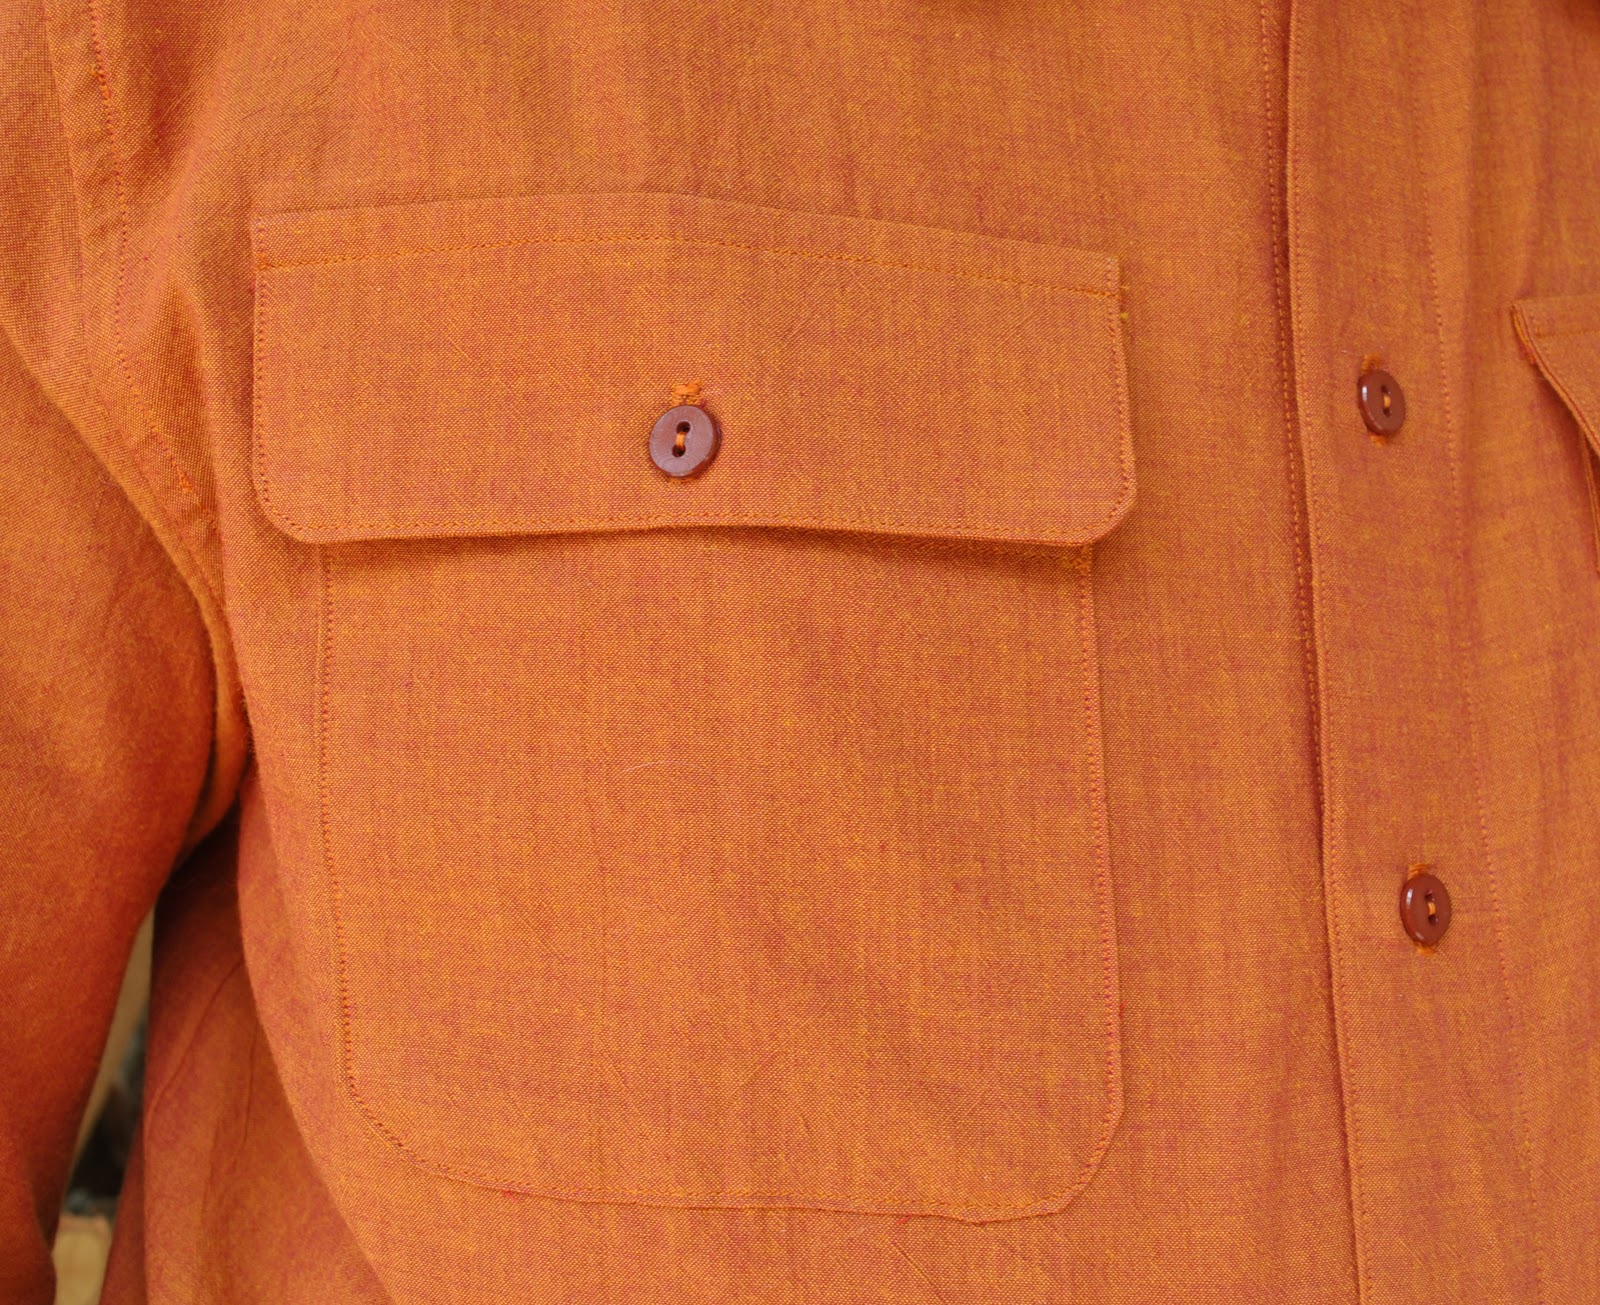
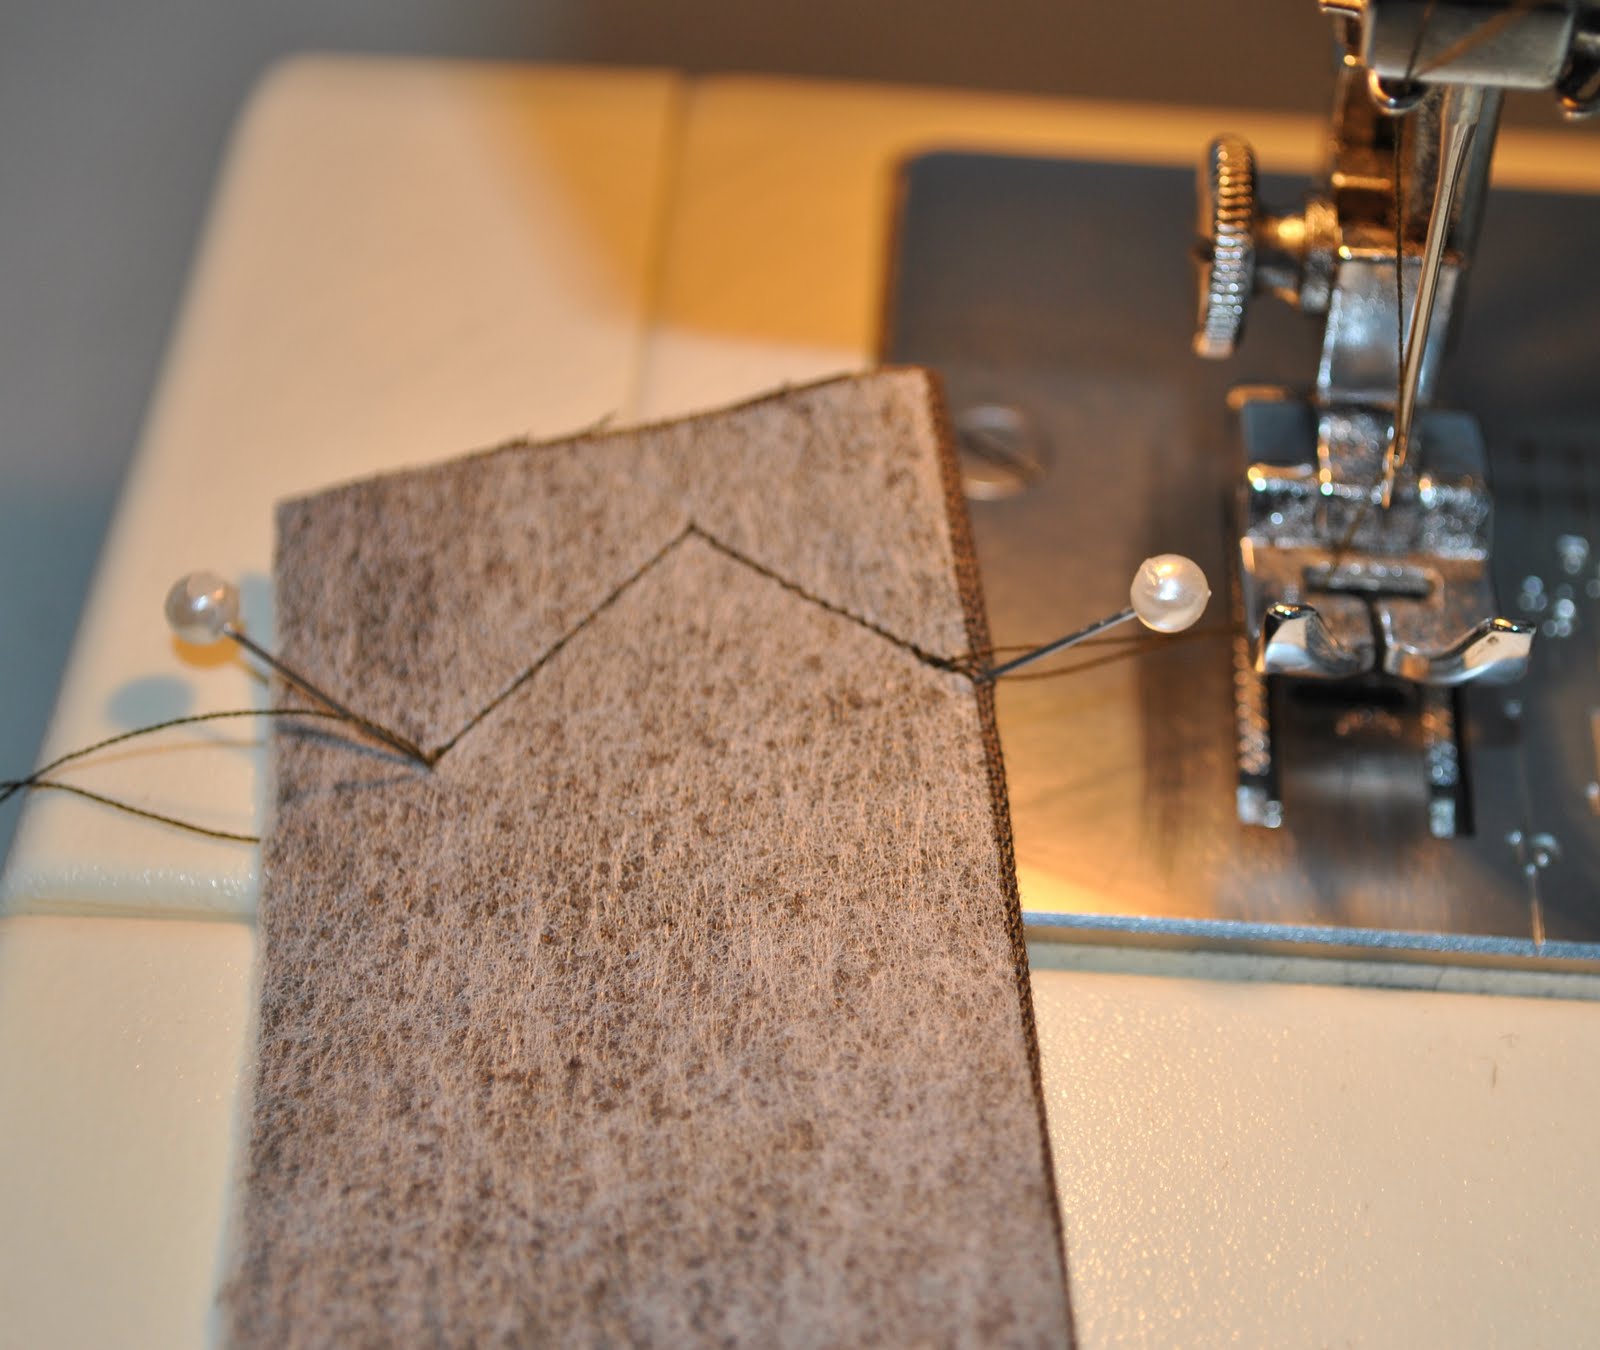
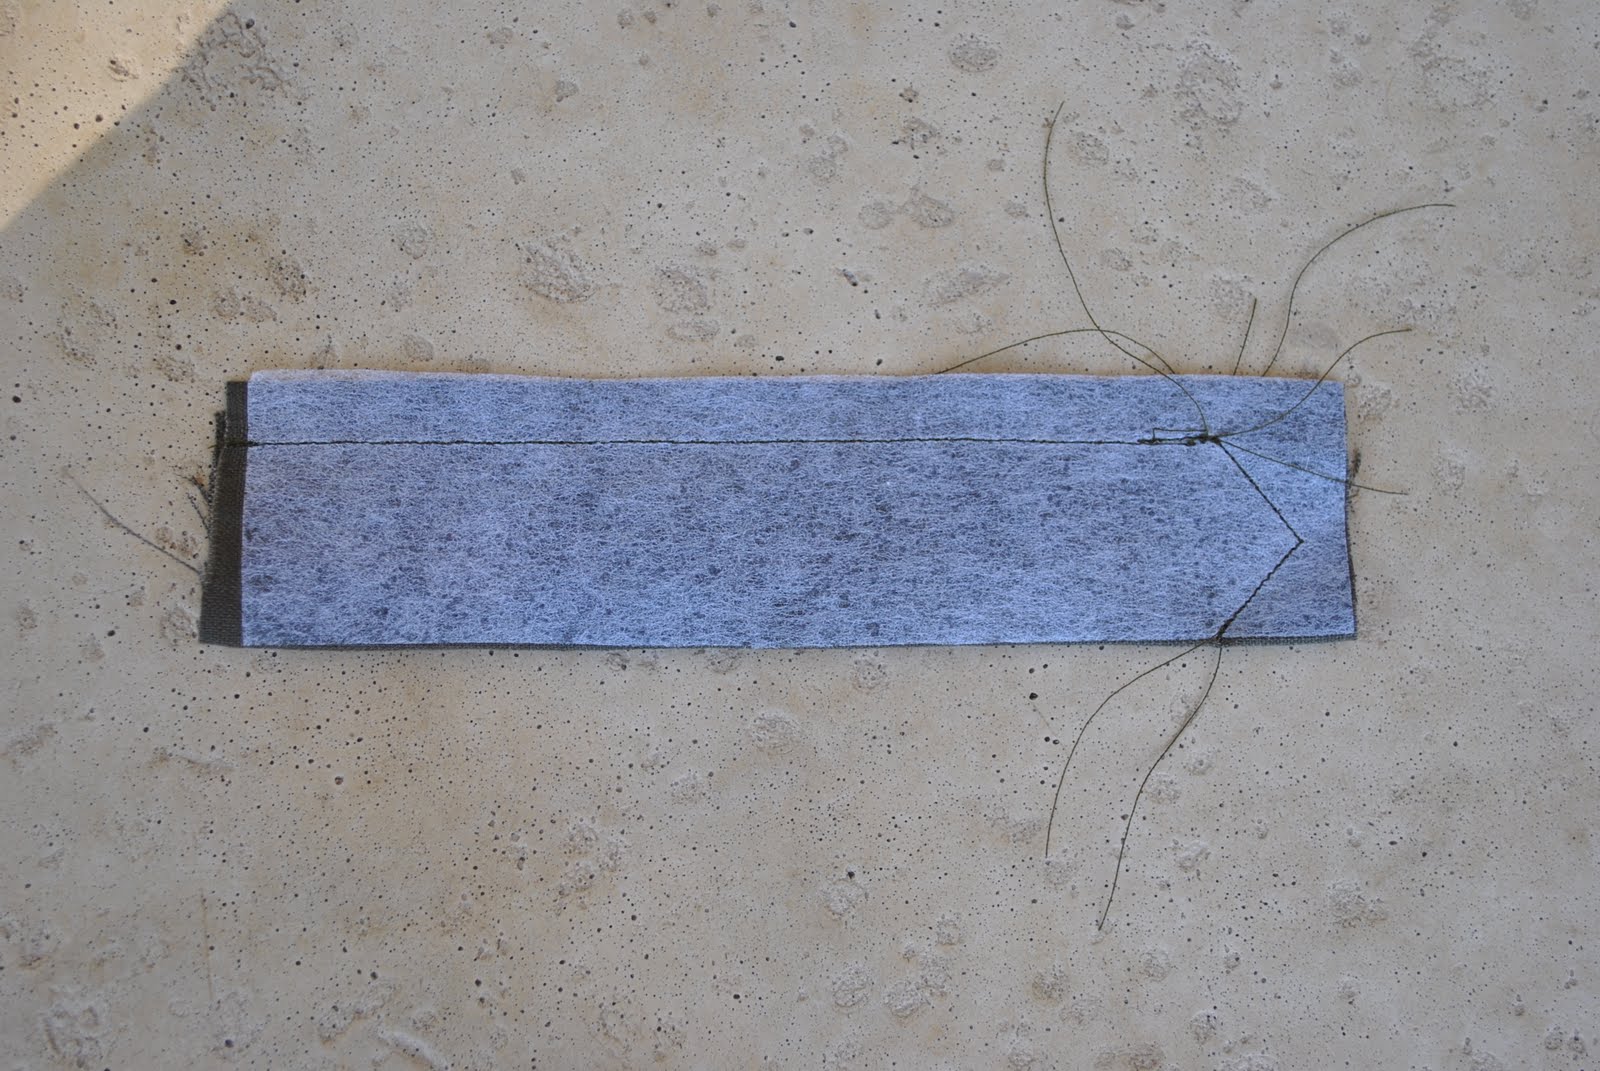
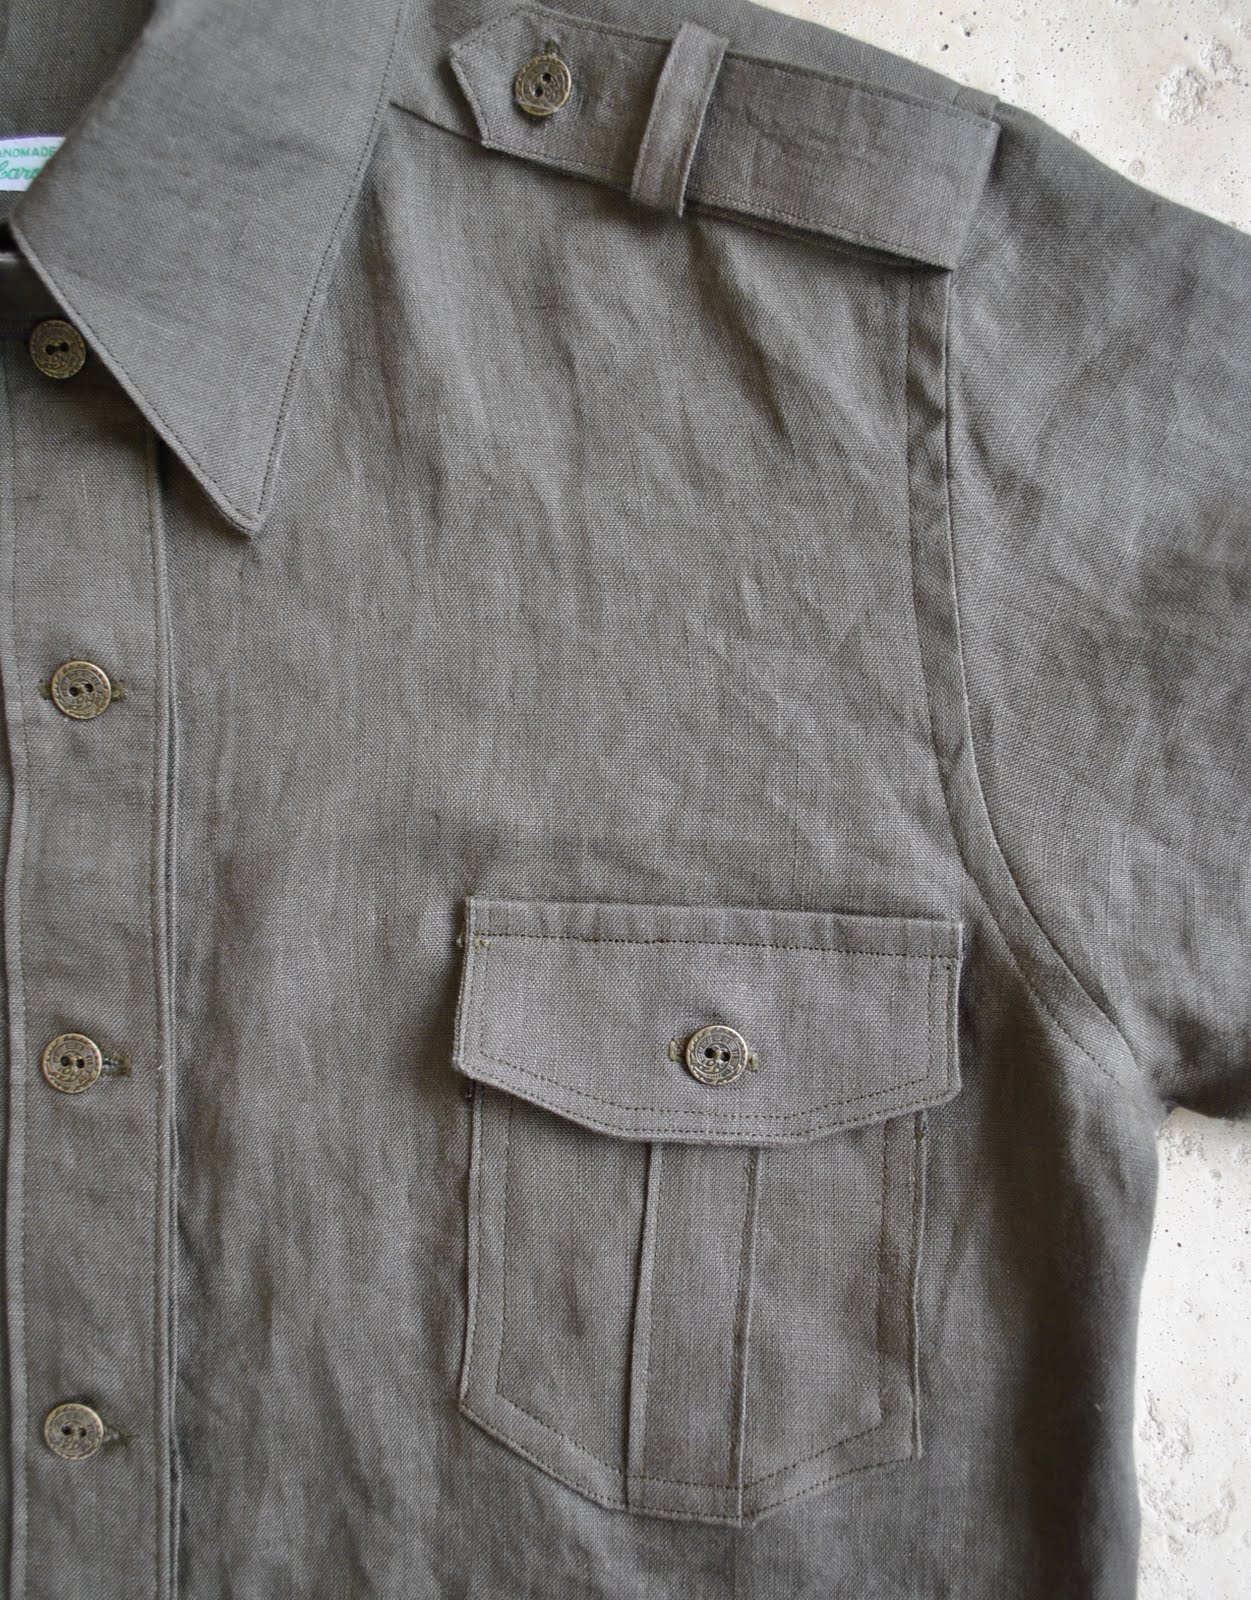
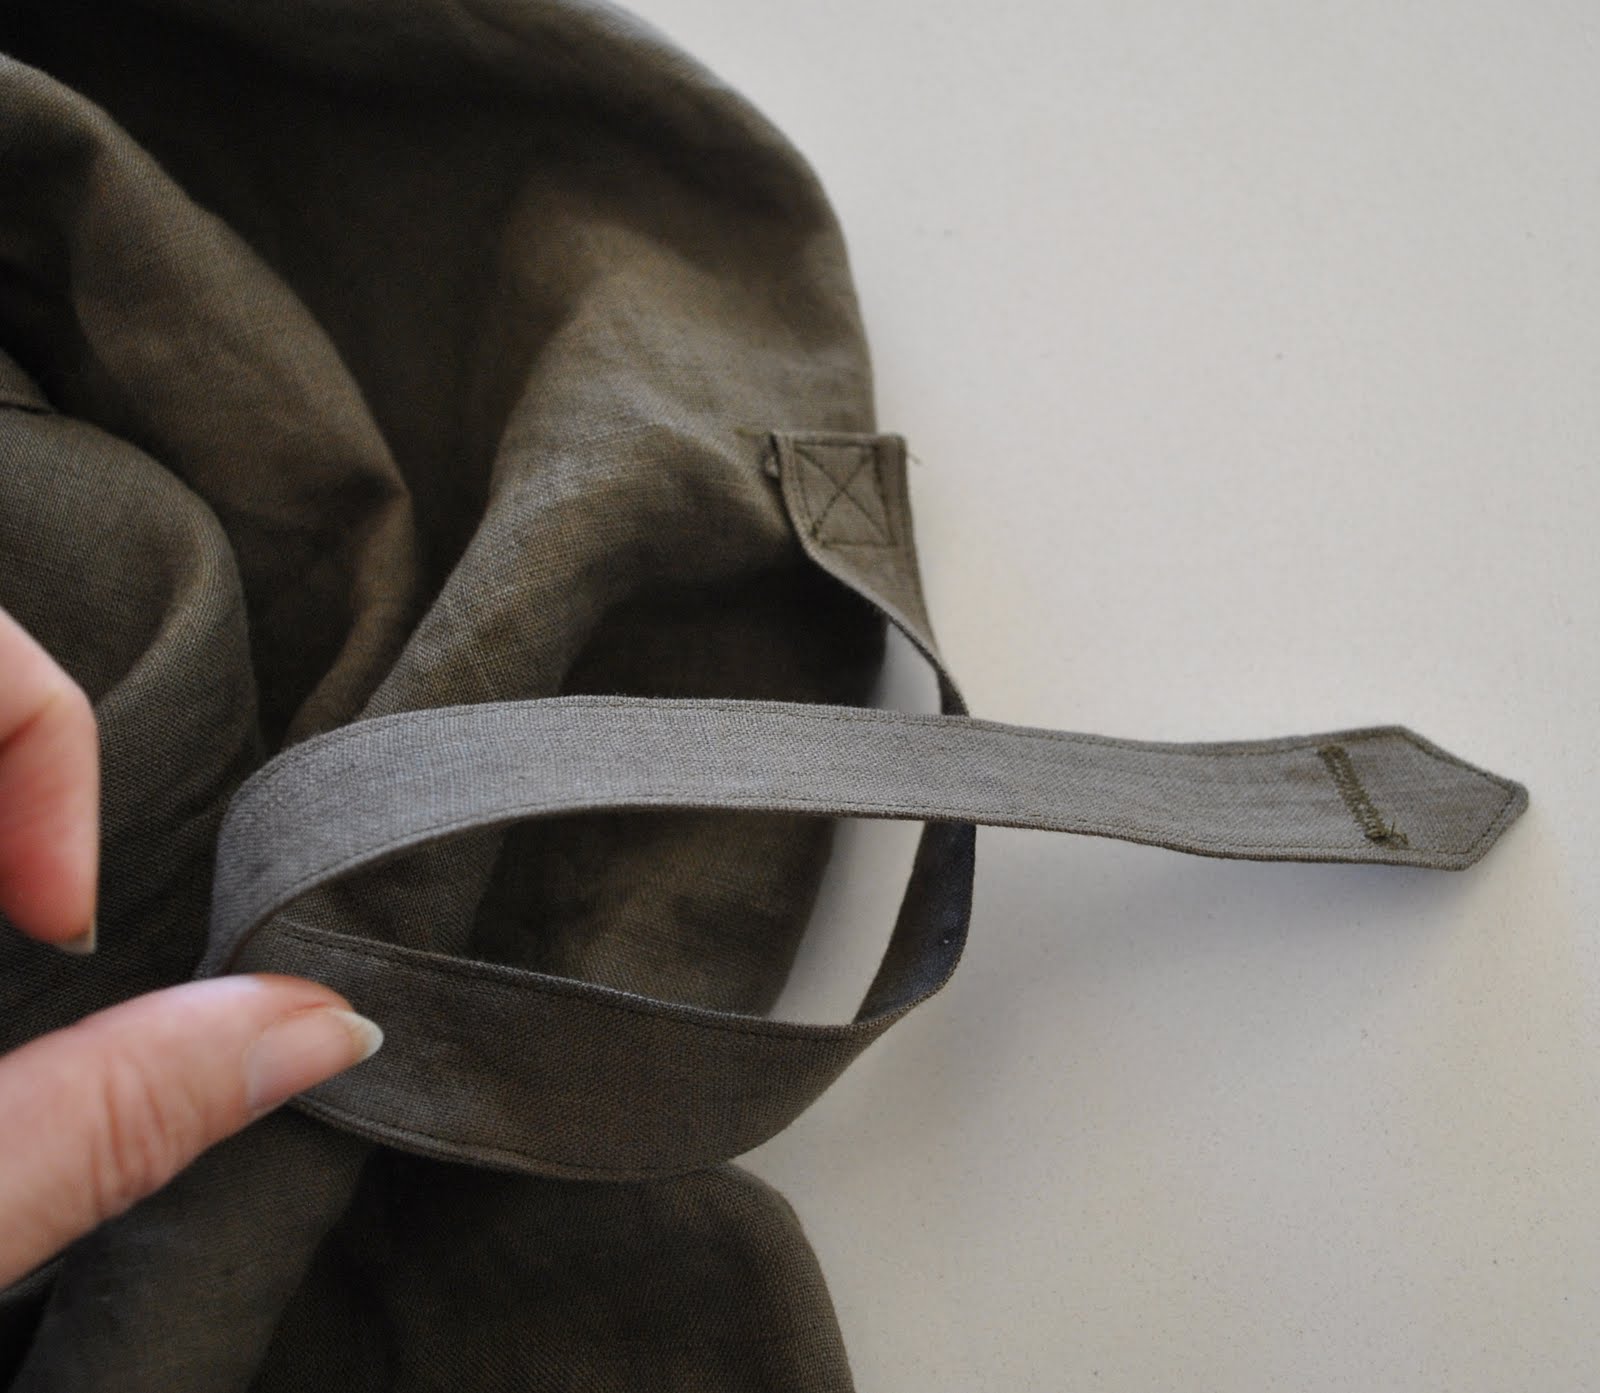
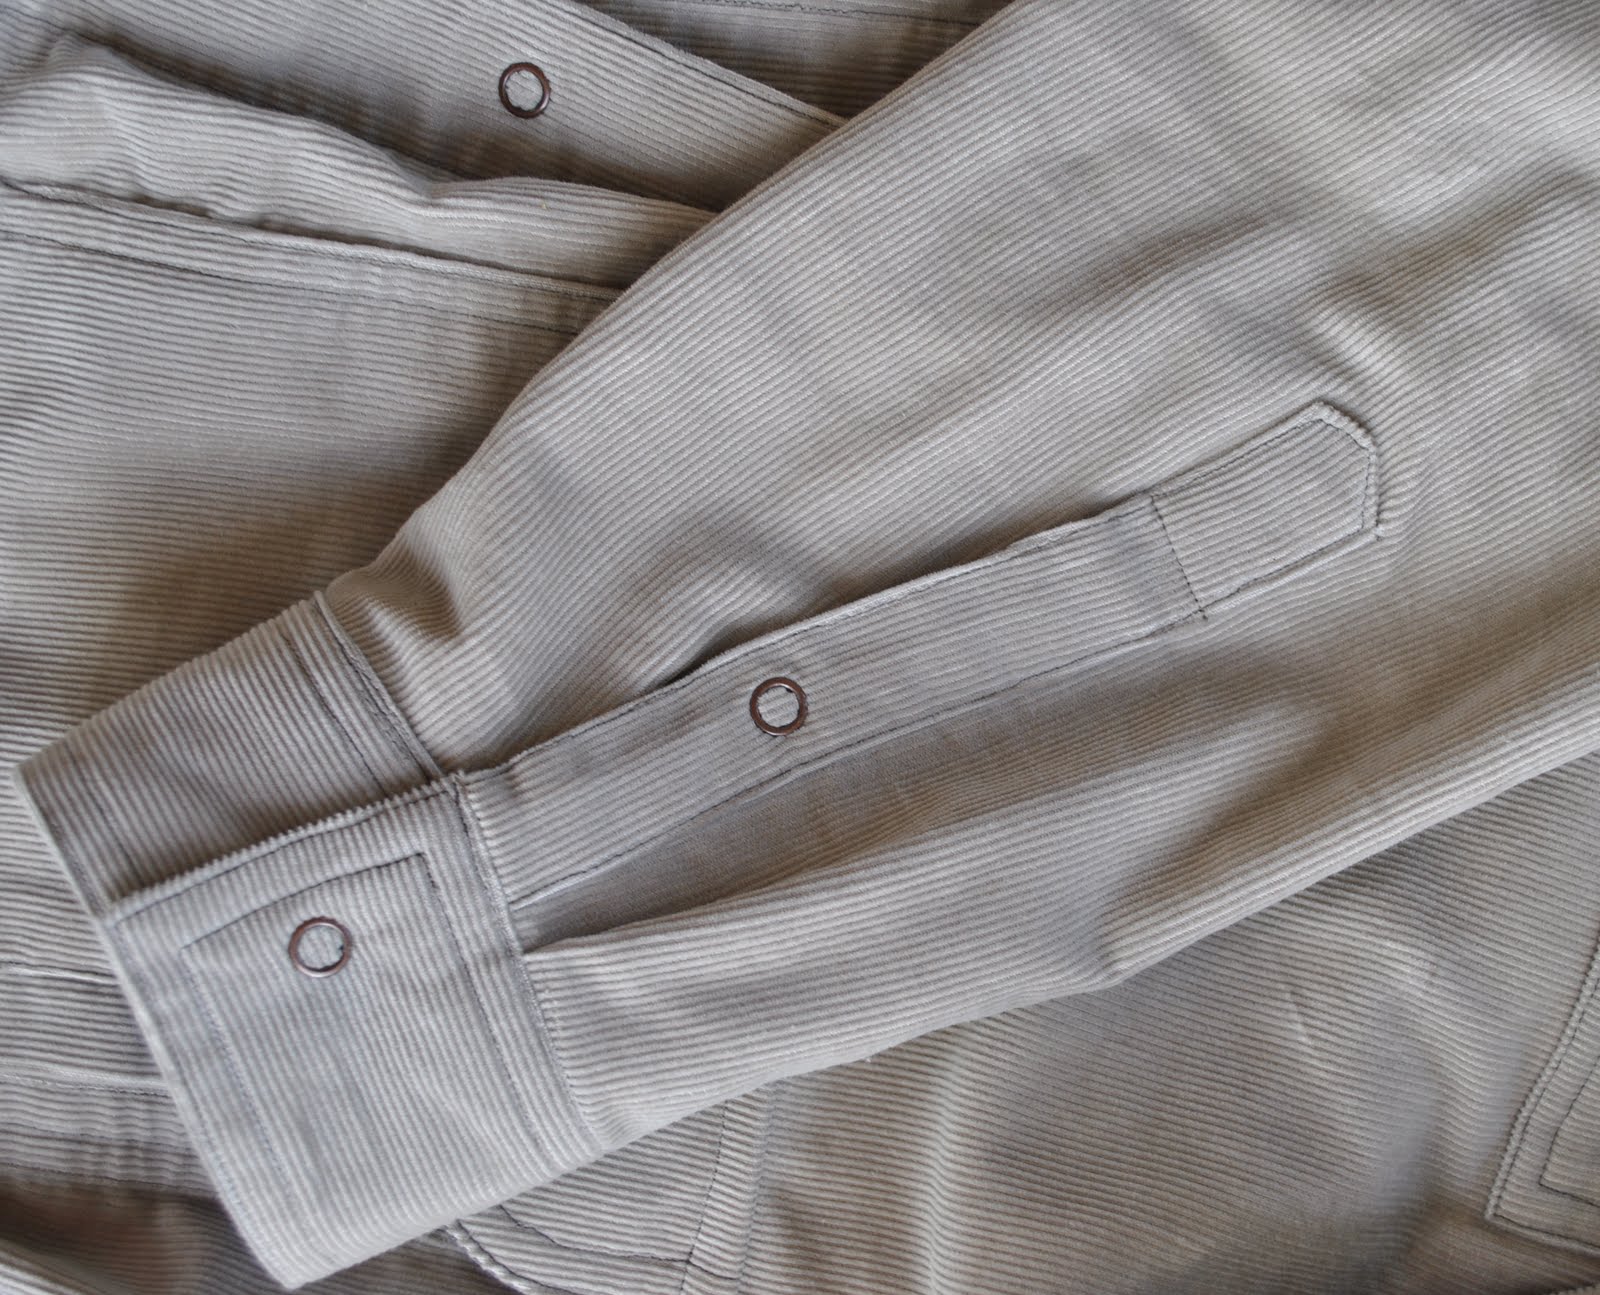
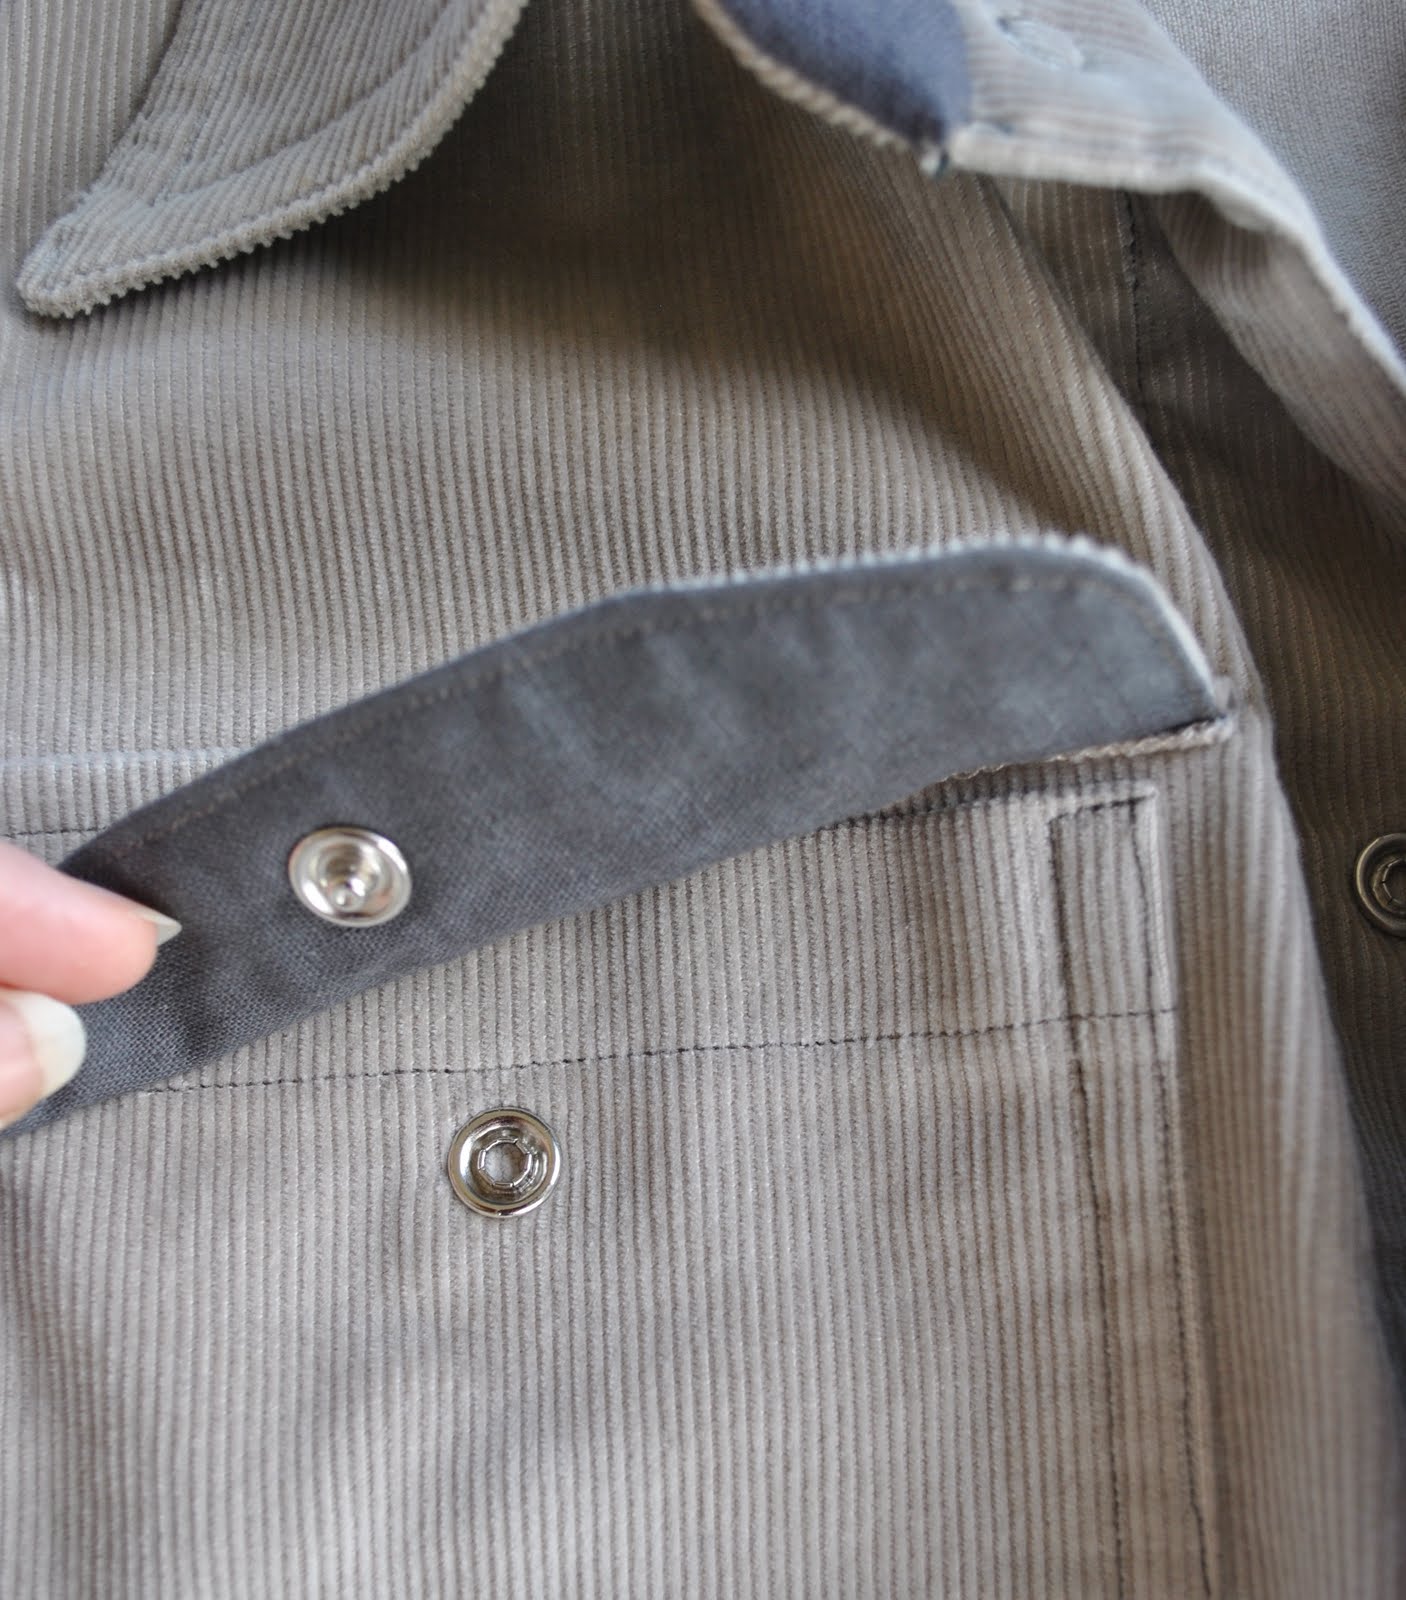
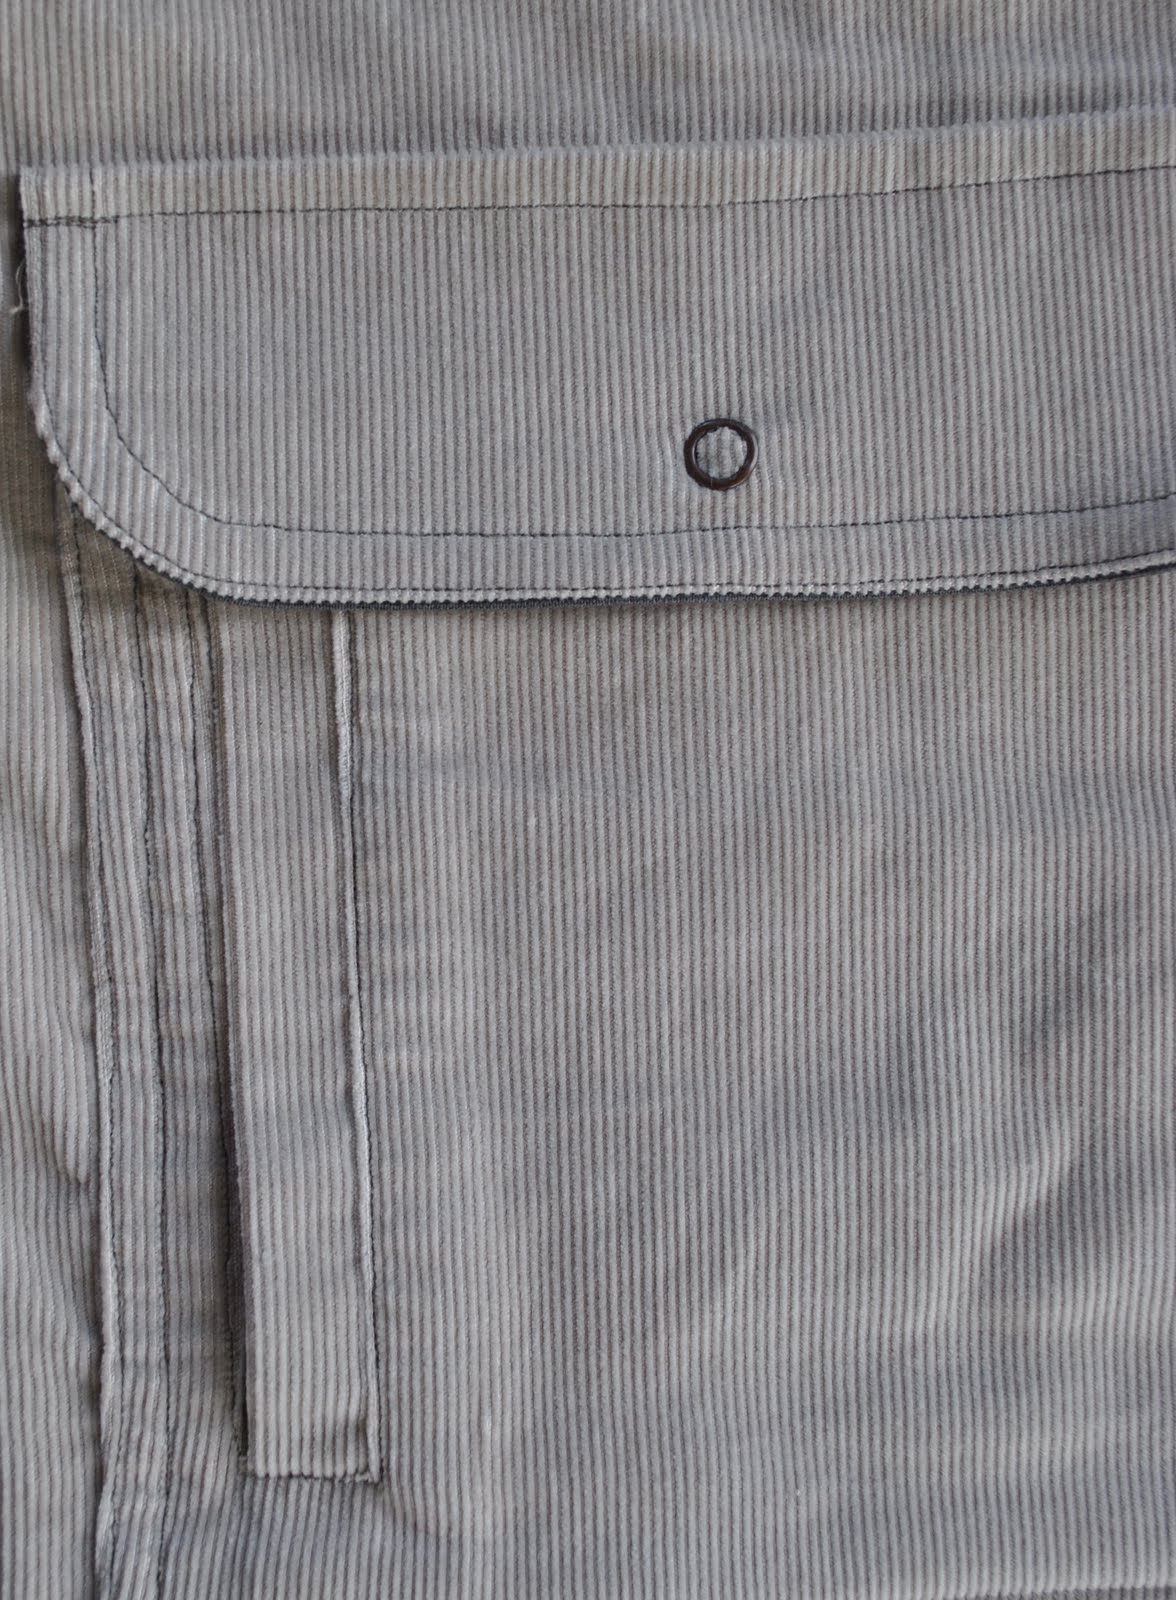
I went with snaps for closure, and left off any tabs – there is a good reason for this; below.  The arrowhead pockets and their square-cut flaps are cut with the grain and are matched against the shirt background but with no attempt at fancy bias stuff; again, a perfectly good reason for this is coming right up.
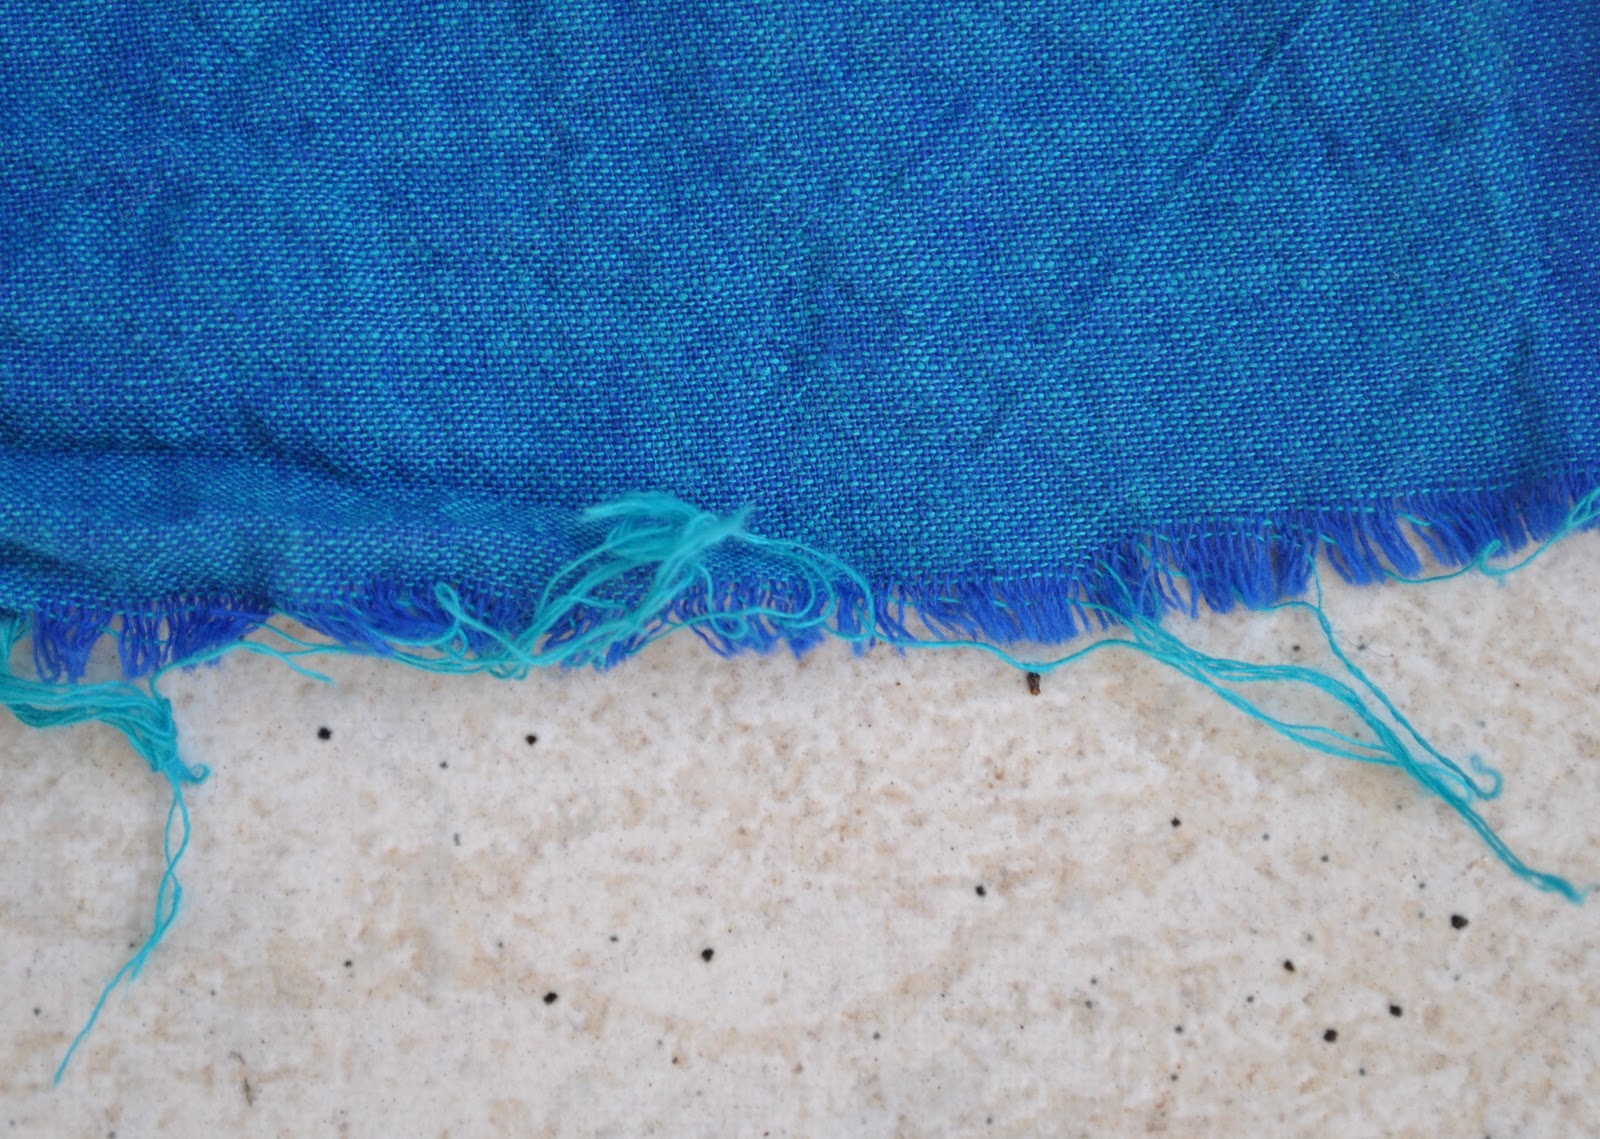
The reason for leaving off my “regular” young mens shirt details? well, to use a technical term… this fabric was a blinkin-nightmare to work with, and almost killed my enthusiasm for men’s shirts entirely.  I seem to make a habit of choosing very sewing-unfriendly fabrics (like here) for Tim’s shirts but he always professes love for them and wears them a tonne, so in the long run I’m just happy that he is happy!
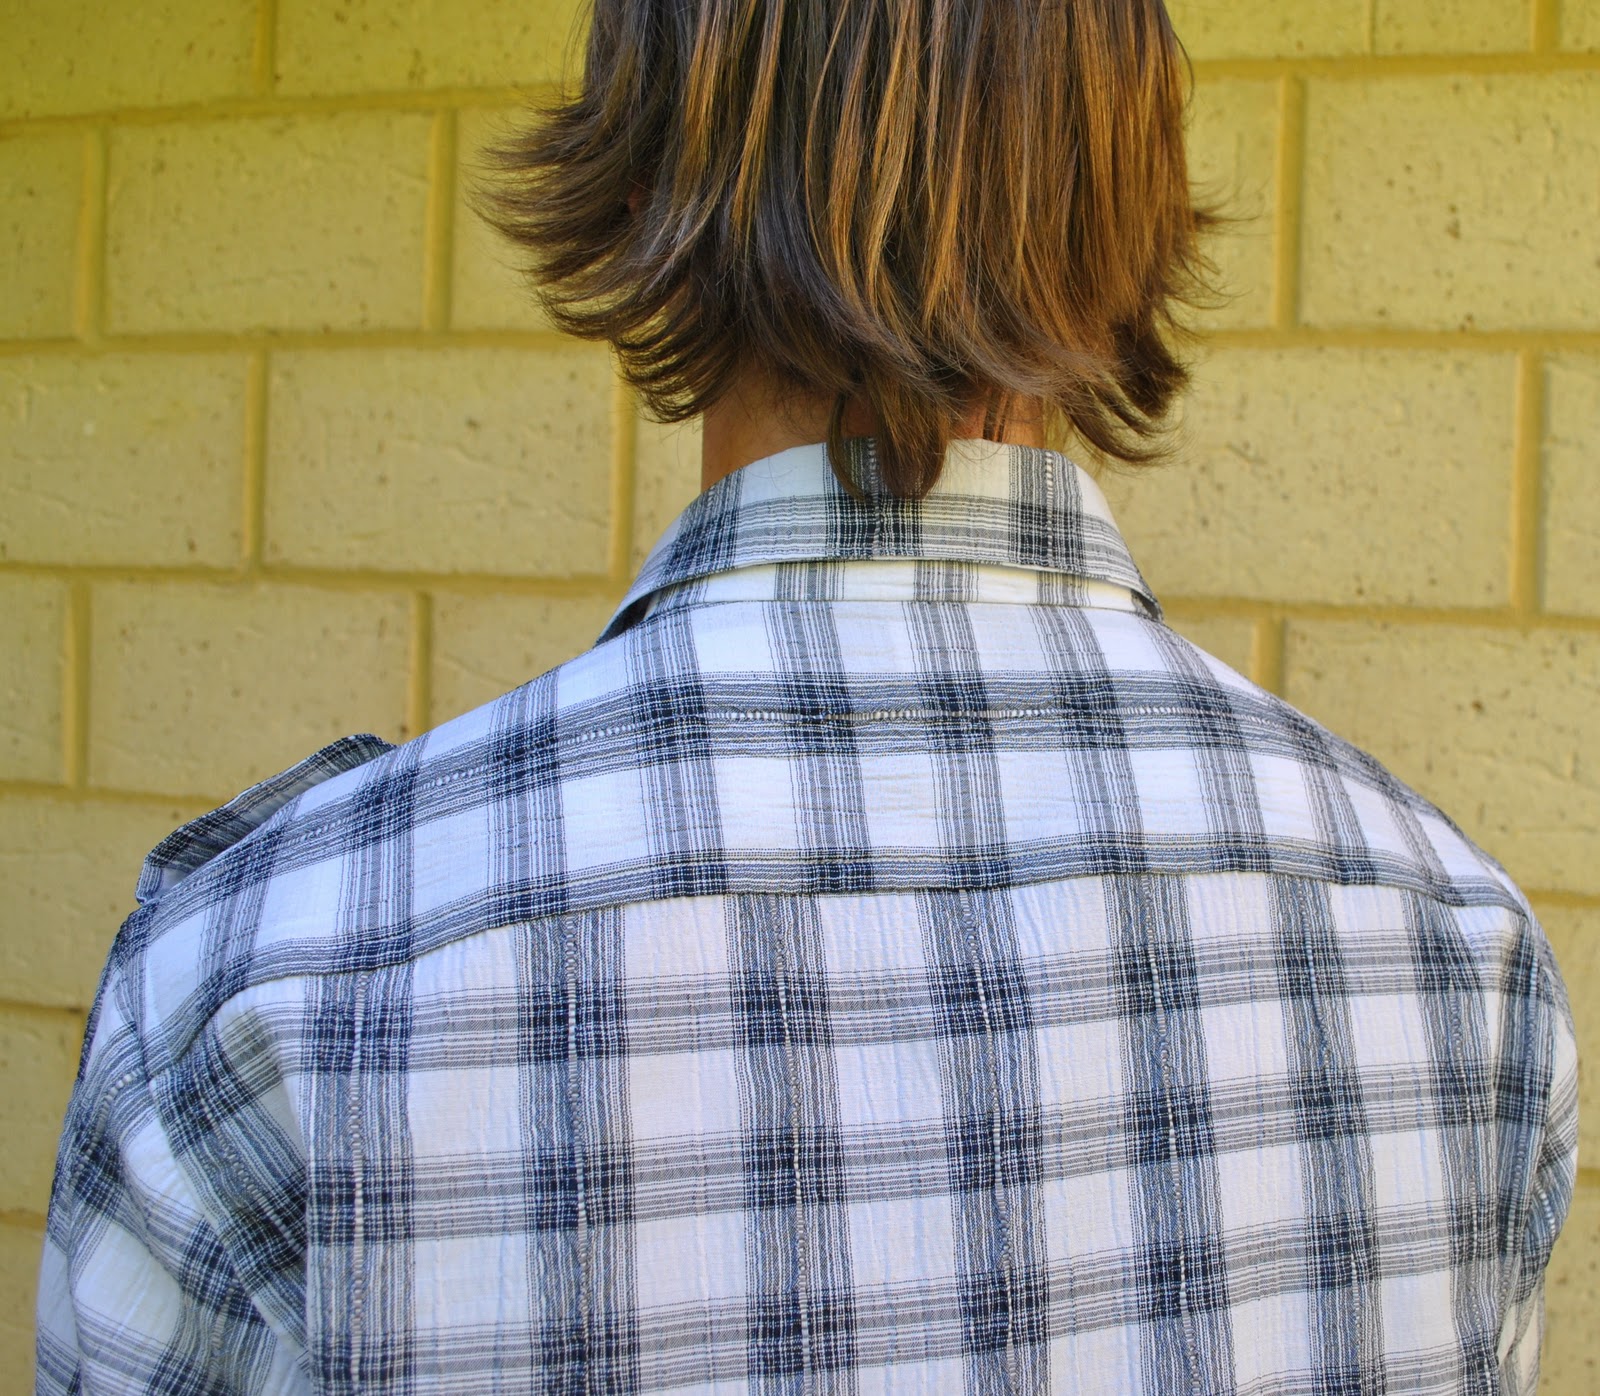
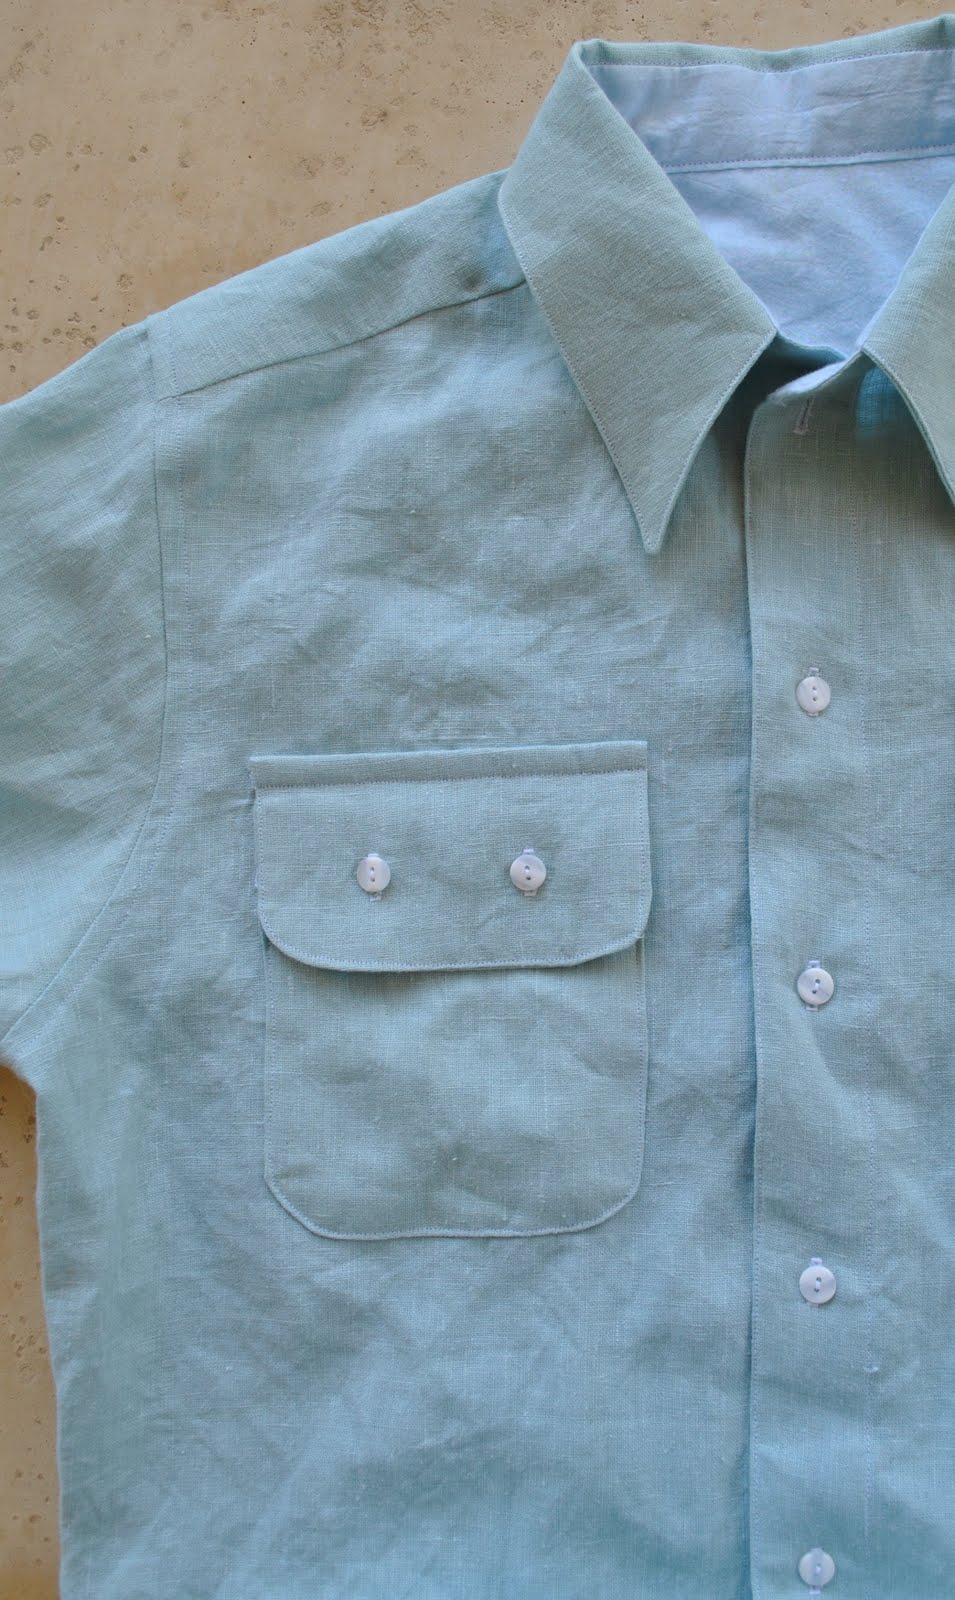
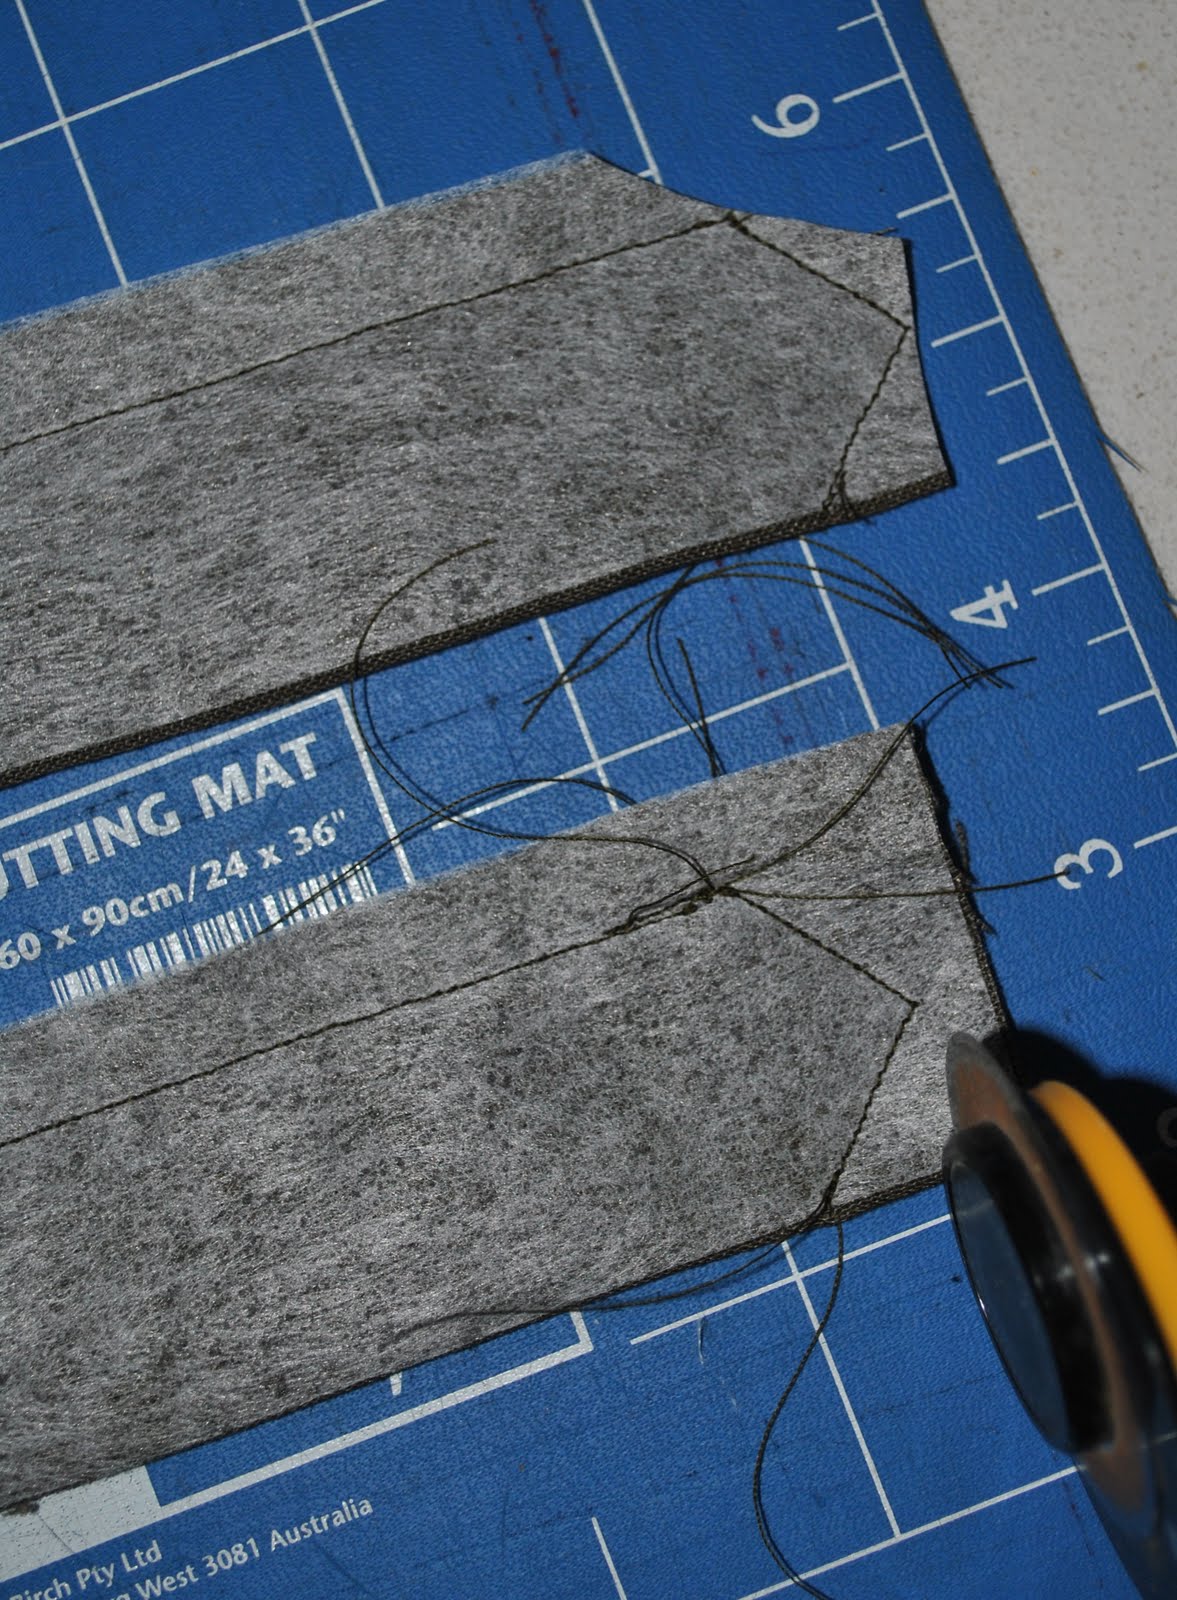
The problem with the fabric? crinkly and stretchy.  A totally hideous combination for tailoring.  You’d think I’d have learned by now, right?  I always tell myself it will be easier; this time, and then it never is.  My best attempts at making two identical shoulder tabs were so dissimilar I just couldn’t put them on the shirt, and just the pockets and pocket flaps were enormously difficult… getting that irregular stretchy check to match up.  I know, sounds ludicrous to say that the humble pocket flap almost defeated me, but there it is.  I even made up a set of pocket flaps and tabs in a different fabric, but decided in the end they just looked wrong.  Honestly Sam’s shirt was a walk in the park compared to this one.  I fair dinkum revelled in that non-stretchy fabric!
But this fabric was the stuff I just knew Tim would love in his new shirt, I could just picture him in it, and knew that it would sew up into the kind of cool shirt that he would probably pluck out himself if he spied it in a trendy, young mens’ boutique.  So I just had to go carefully and get there in the end, through sheer determination. 
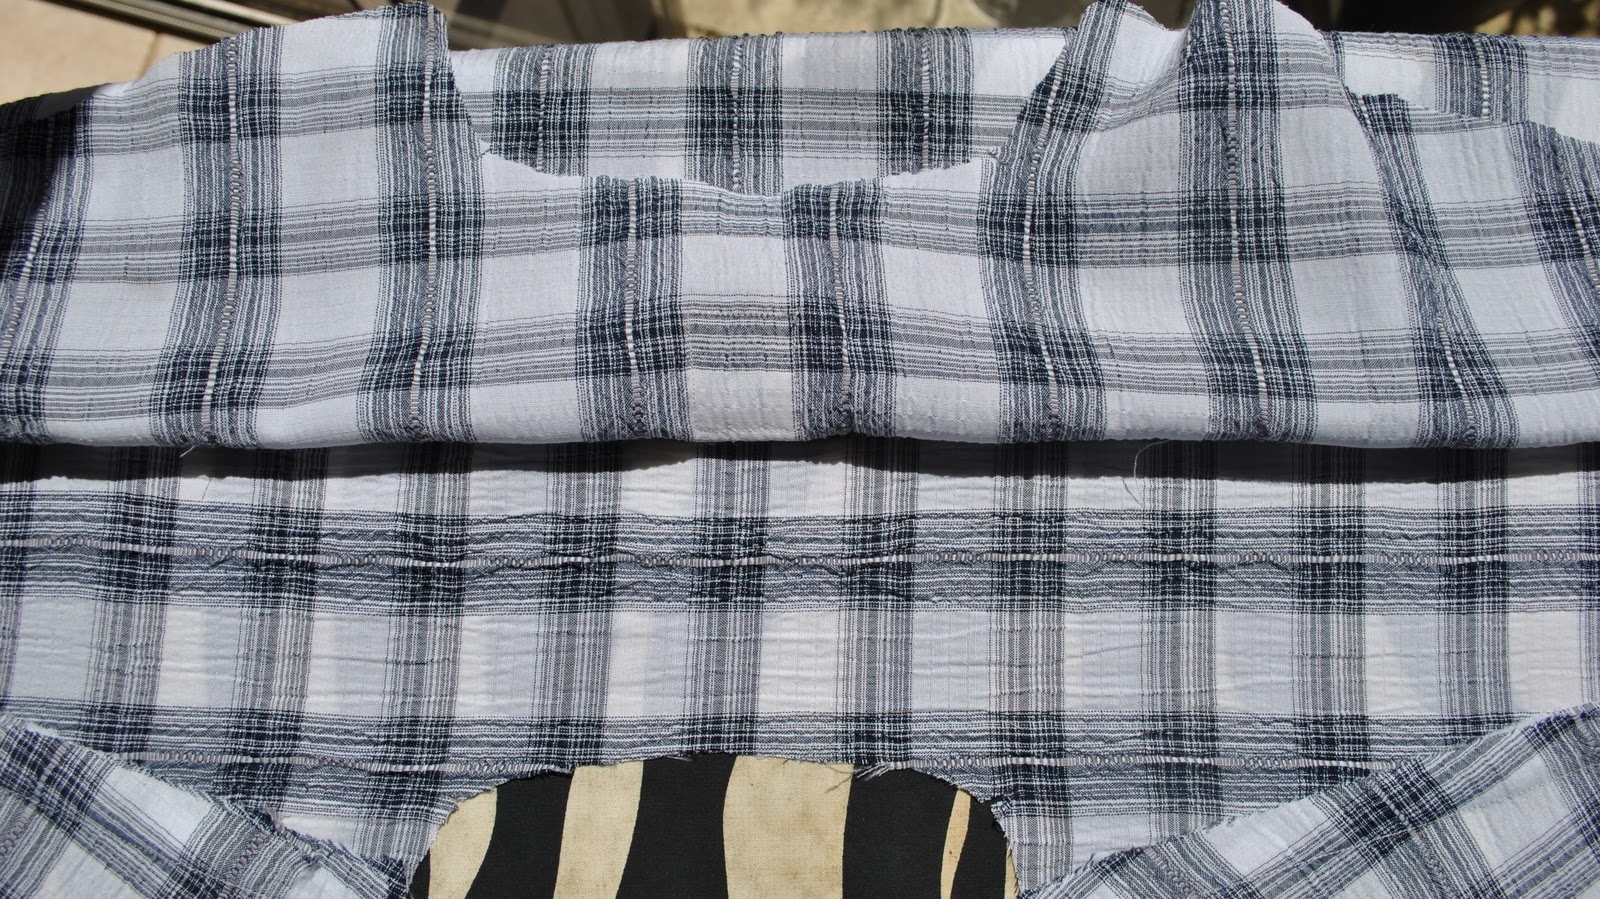
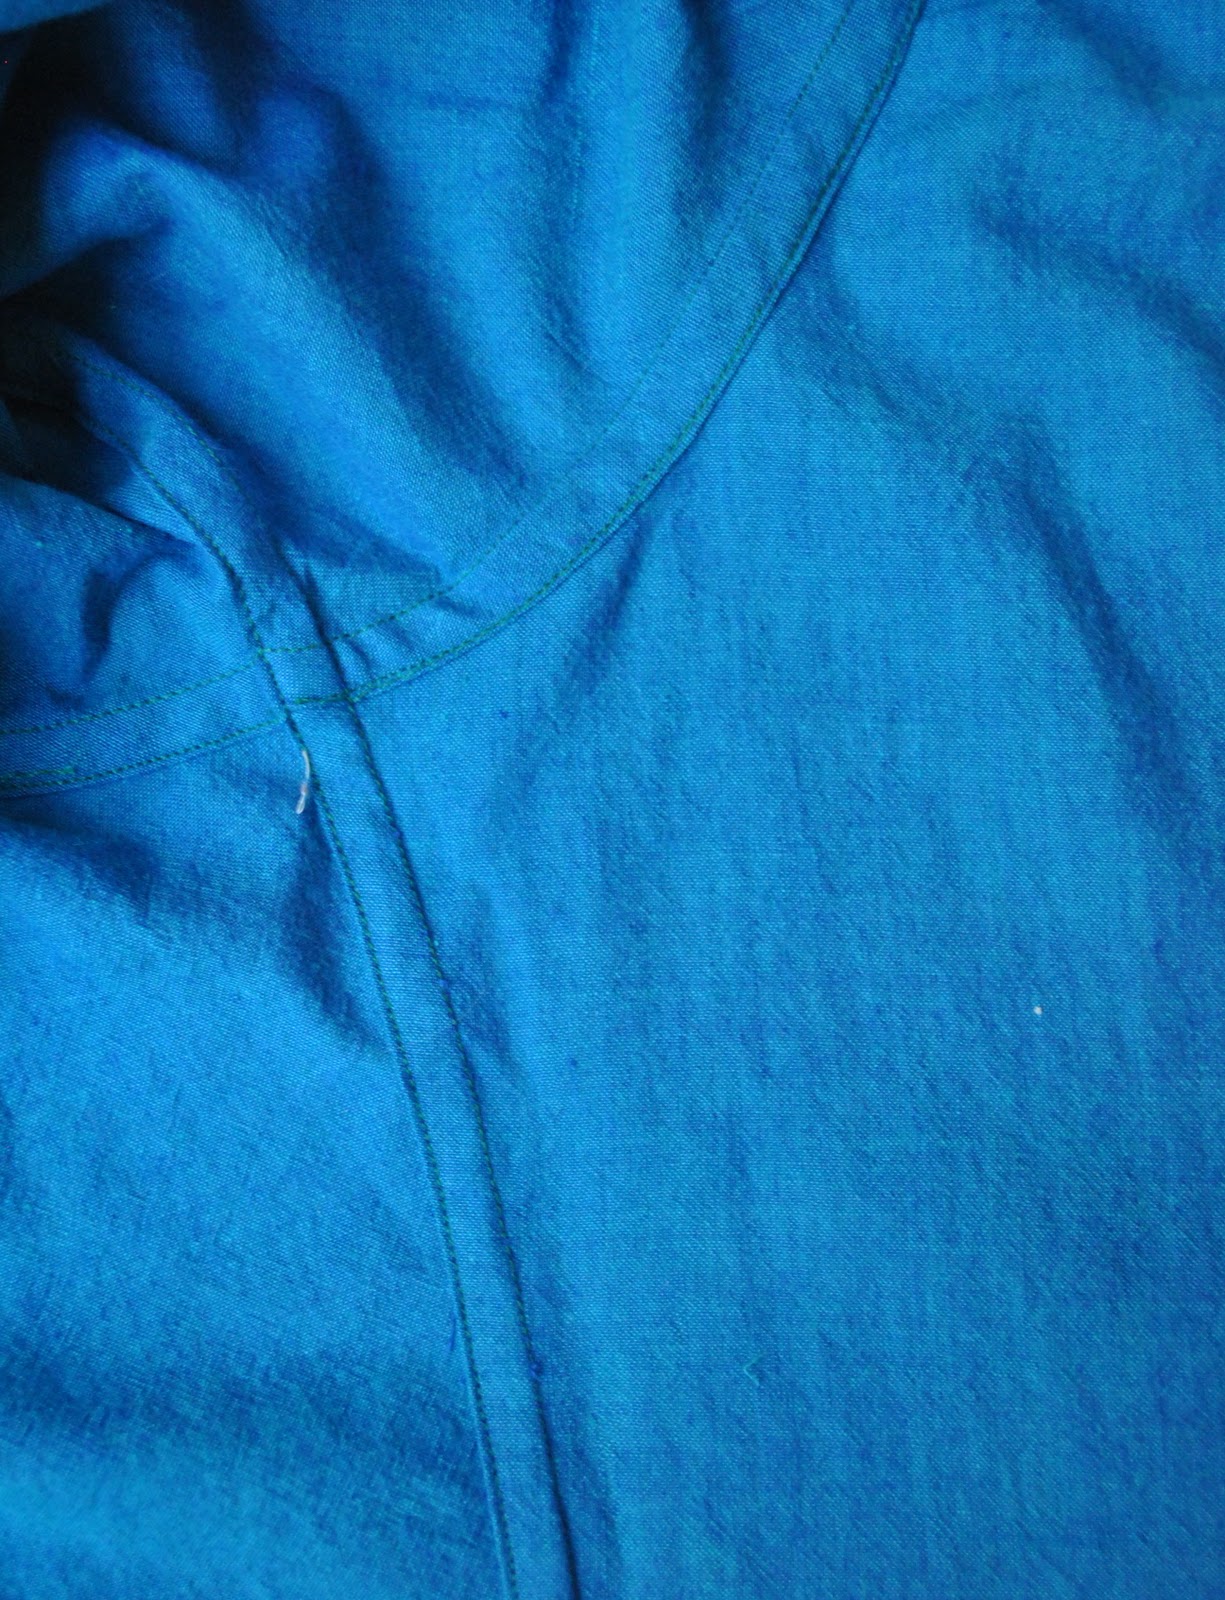
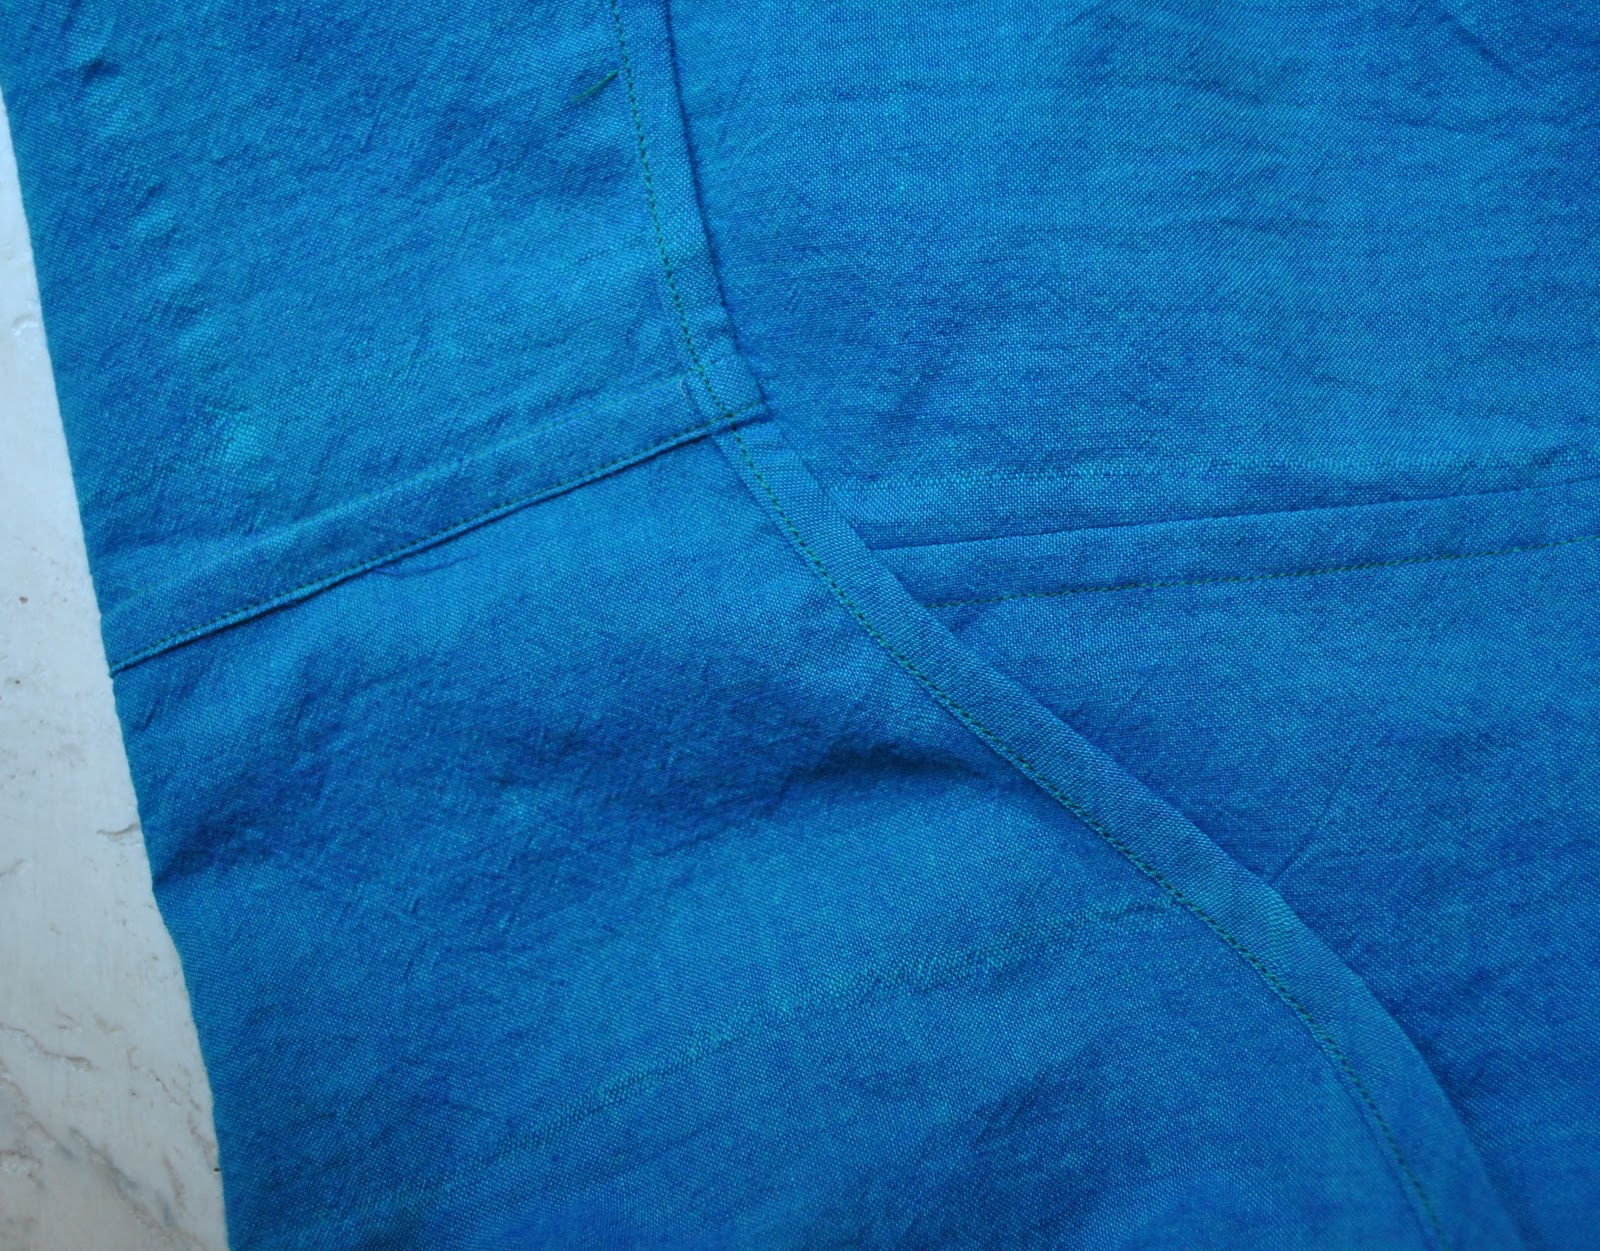
Needless to say there is no flat-felled seaming on this thing.  Raw edges all overlocked, and simply top-stitched down just like that.  And applying the hammer to the shirt when putting in those snaps felt goooood…
And you know what? Got those darn checks to match up, eventually!

pinterestmail

Sam’s shirt

I made a shirt for Sam…
Hmmm, sounds extremely deja vu-y given that this is what I nearly always make for them, for seemingly every occasion requiring gift-giving.   But you see, all my boys are sweet enough to appear genuinely pleased to receive my shirts as gifts, and what is more, actually request them.
To have my shirts in demand is such a nice ego-stoking state of affairs, ahem.  Plus I do so much enjoy the tailoring process.  Yes, really… 
So how could I not comply with their wishes??
Using Burda 7767 (shock!) with modifications, and he came with me to Fabulous Fabrics himself (genuine shock!) and chose the checked fabric and the wooden buttons to go with it.  This fabric is a polycotton, non-stretchy but with a permanent crinkle in it.
Fair warning; excessive chit-chat about pattern matching coming up…
Below; the back yoke… when one is working with checked fabric like this, it is imperative to a rabid obsessive like me that that slight concave curve of the upper back edge be spaced evenly across as well as for the straight lower yoke edge be exactly even across the seam-line, and for the stripe to not disappear very slowly down into one side of the seam, which especially in a crinkly fabric like this can happen almost without you noticing… and require unpicking and re-doing, ahem.   Anyone who has sewed with stripes and checks has visited that one before, I’m sure.
Probably why I have this lazyman’s preference for solids when tailoring…

Also, just an aside, when I am using less stable fabrics, such as this crinkly fabric, to make tailored shirts; I cut the two yokes one with the grain and the other cross-grain as pictured below.  I find this gives a bit of extra stability in an area of high strain.

Purely decorative buttons, one on each sleeve hem.

I went to enormous pains to match up the check pattern on the bias-cut arrowhead pockets as it relates to their corresponding bias-cut arrowhead flaps.  They are perfect, if I say so myself.  I’m not even going to mention how much minute twiddling, precision-pressing  and adjusting this took…  oh wait, I just did  ðŸ™‚  LOTS!  Also please note that the two pockets and their flaps are exact mirror images of each other.  Over Christmas Day lunch I started what I thought was a very interesting conversation with some female relatives about this sort of dressmaking minutae…   until I noticed them glazing over fairly early in the piece and stopped.  Incidentally, do other seamsters find that variations in the structure of clothing is a compelling and perfectly good topic for conversation, and that it is inexplicably hard to incite any passion at all in “ordinary” people who take their clothing totally for granted and don’t notice nor even care about the All-Important Details?!    sigh, I guess this is why we blog…

So, back to the shirt at hand… oh, and by the way, please note the collar has purr-fectly symmetrical pattern placement.  Thank you.
And tabs, matching mirror images of each other.

Okaaay then, that’s it.

pinterestmail

Aegean gracefully….

(Forgive the pun; I couldn’t resist!  You don’t want to be anywhere near me after a few drinkies…  Really)
You see, today is my husband’s birthday; and I have made for him a shirt using Burda 7767 (surprise!), of Aegean shot cotton.
At the risk of self-big-noting… ah what the heck.   This is my most well-finished shirt to date, if I say so myself.  I went down the path of extra immaculateness as far as inner appearances go, and flat-felled the armscye seam allowances as well as the side and sleeve seam allowances.  In some fabrics this might be tricky wicky, but in this amazingly lovely fabric (about which I have previously raved) it turned out to be very achievable…  I’m pretty chuffed at how it turned out!
(below left; view of side, armscye and sleeve seams inside the shirt, right; lower hem and both inside and outside view of side seams)

Modifications to the pattern; well, I absolutely love this pattern (obviously, as this is just the latest in a very very long line of my efforts with Burda 7767) but it is super-basic.  Honestly; great pattern, but it is pretty much a blank canvas…  So once again my long-suffering husband is the innocent victim of experimental, and fortunately minor, mucking about; which he will have to wear out and about in the big wide world for everyone to see…  This time I tried out “coat of arms” shaped breast pockets, and shallow, extra wide pocket flaps that extend out well beyond the edges of the pockets.  This feature is echoed in miniature on the sleeve hems, with their own little “coat of arms” shaped tabs tucked under a turned-up sleeve cuff.  Kinda ups the funk-factor in an acceptably low-key way, no?  Well, I think so…  Since the sleeve cuffs obviously run the full distance around the sleeve hem, I toyed briefly with the idea of extending the breast pocket flaps to fill the entire width of the shirt front to fit in … but decided that might be too weird for my husband to consent to wearing. Sartorially speaking he is a pretty conventional bloke, actually; he likes stuff to be … plain.  I think I shall have to work him up gently to wackier stuff like that.

I sewed decorative buttonholes onto the collar points; now one of my favourite standard features to add to a man’s shirt, and curved the lower hem.  The last is a given, now.
The colour of the fabric is a result of an ultramarine warp with a bright turquoise weft, giving it that iridescent oceanic glow.  Kelly green for the thread and the buttons just seemed to “go”.

Details:
Shirt; Burda 7767 with modifications; of Aegean shot cotton

below; the Superman pose

Now our Aegean Superhero is being taken out to a slap-up birthday dinner by his wife and kiddies.  Cheers all!
pinterestmail

Ginger shot cotton shirt

Dad had a special birthday recently, and I made a shirt for him!  Photographed here in his natural habitat…
I used shot cotton in Ginger, which has a bright-ish ruby-red warp and an intensely curry-yellow weft; two colours which combine to make this wonderfully intense bronze-orange colour; perfect for my Dad’s olive skin and dark brown hair.  I think he looks great in this colour!
And the fabric… well, can I just diverge into a rave for a tick?    Ohmigosh!  but this shot cotton is such a dream to work with…truly, every seamster needs at least one shot cotton shirt in their sewing career, just for the sheer pleasure of cutting, pinning together and sewing this stuff!  I’ve made a couple of shirts of this fabric for Craig, here and here, and myself things from the leftovers, and I cannot get over how absolutely fab is this fabric.  Seriously, sewing induced bliss or what, wow…  (calms oneself)
Now, back to business…
There were some slightly nerve-racking fitting issues; since this was to be a surprise birthday prezzie I couldn’t actually measure up the birthday boy himself without giving it away, so Mum had given me some measurements over the phone.  But I was still pretty nervous when it came time to take the scissors to this luscious fabric… and then Mum and Dad came up for a very fortuitously timed stay, and one time they were out I slyly tip-toed into the bedroom and feeling like a rather sneaky and devious sewing-sleuth, measured up all the dimensions of one of Dad’s shirts and jotted them down (maniacal laugh as I zoom out and back to the sewing room, tape measure a-flying…).  And luckily the fit is spot-on and Dad reckons it’s pretty comfy and stylish!
I used Burda 7767 again, (might have to start compiling yet another Rogue’s gallery for this pattern soon…) with a few adjustments; namely, added two breast pockets with curved lower edges and curve-edged pocket flaps, shaped the lower hemline in a shirtwaist curve, shortened the sleeves, and added a nice V-detail at the centre of the sleeve hems with a decorative button at the apex of the V, for which I wrote a tutorial here.  

I flat-felled the armhole seam allowances, but I don’t know if I would do this again.  Y’know, how sometimes you are so busy making the insides look perfect you start to forget that it is the appearance on the outside that is actually of paramount importance, yeah?  My flat-felled seams do look pretty good (if I say so myself) but it was a fiddly process and topstitching from the inside impacted on the neatness on the outside.  I wasn’t as happy as if I had just overlocked the armhole seam allowance, pinned them down and topstitched them down from the outside, like I usually do…
I debated about using either of the ruby-red or the curry-yellow colours for topstitching; I usually like some sort of contrasting colour, or at least something that stands out somehow, but I ended up going with a burnt orange that sorta matches the overall hue of the fabric.  And with little matte chocolate brown buttons.  And btw, those buttonholes on the collar are intentionally left uncut, since they are purely decorative and you are not supposed to do up those buttons on a casual shirt; I think they look neater that way.
Isn’t he a handsome bloke?

Details:
Shirt; Burda7767 with modifications, shot cotton

pinterestmail

Seafoam linen shirt, with smile-y faces

A new linen shirt for Craig…
Burda 7767, again.  I didn’t even fold up or put away the pattern after making my “army” shirt, just laid out the fabric and cut out this one straight away… efficient, or what?!  My middle name, hehe…
Do you like the smile-y face pocket flaps?  Yes, this was sorta planned…  I don’t think Craig has cottoned on that he is sporting two smile-y faces on his chest yet, he might refuse to wear the shirt if he thinks something is too fashion-y about it…  But I like little “touches” and this one amuses me.
The lower edges of the pockets have a corresponding curve like the flaps, and the cuff edges are curved to match, and also have double buttonholes and buttons.  Those, and the fact that the lower hem has been extended and curved, are the only variations to the pattern here.
I felt a little guilty about this whole project, because the linen was part of the small stash comprising four lengths of linen that we bought with the very intent of me making shirts out of it for Craig about two years ago… and I did use three of these lengths just for that purpose.  But this rather divinely shaded seafoam-green length sat there and sat there and I couldn’t bring myself to get going on the promised shirt.  It looked so desirable and so right for … well, for me.  I was deviously planning and re-planning about a zillion things NOT of the menswear variety, that I could make using this linen; things would fit very nicely into my wardrobe thank you very much, and I even commenced a bit of a campaign about how this colour was actually a bit feminine, wasn’t it, hmmm? and how Craig now had looooads of linen shirts to choose from and might prefer something else, and how the linen would be reeeeeally much better suited to something else, like say… something for me.  And my sweet husband is so good natured he unselfishly gave up his linen shirt rights just to make me happy…  And I did feel happy for about one minute.  Then I felt mean.  So I set to and made him the promised shirt.  And now I don’t feel mean.  And d’ya know the good news, there is actually a largish chunk of leftovers, maybe enough for something to fit me after all.  And I have a clear conscience.
Maybe there is a moral there, something about good feelings and peace of mind.  Attainable to those who don’t wilfully and selfishly steal their loved ones fabric.  Yah, something real deep and meaningful and navel-gazing like that.  But I’m not sure the goodwill will extend to me not appropriating the shirt every once in a while.  After all, look how well it goes with my first self-pedicure of the season?  I think this shirt deserves to be worn with my nail polish, don’t you?

Details:
Shirt; Burda 7767 with minor modifications, seafoam-green linen

pinterestmail

Arrowhead tabs; or, Ways to fancy up your shirt

One of the easiest ways to add a little something extra to a plain man’s button-up shirt is to put on a few arrowhead button tabs.  My husband is a very classic dresser and prefers his shirts without embellishments such as these, but for my two boys a few tabs are just about mandatory!  A very plain casual shirt is tres frumpy, boring and old-fashioned from a young man’s point of view, so it is worth going to the small effort of putting a few on your shirts if you want your guys to love them.  I have to admit to being partial to the look of them on the men’s shirts I have made for me too, because I think that to overplay the masculinity of a menswear shirt that I am wearing myself will paradoxically enhance my own femininity.  Makes sense?  Well, I think so…
Another plus is that you are using up scrappy little offcuts that would otherwise be thrown away.
In my lazy and/or more hurried projects I have been known to wing the arrowhead tabs and hope for the best, but obviously the best results are gained from careful measurement.   Cut both tabs together to ensure they are identical in size, and apply interfacing.  (Later edit:  In this case, I have folded the tabs right sides together, and the fold forms one of the long sides of the tab.)  Then measure and mark out the arrowhead part as exactly as possible with pins…

Start by manually inserting the needle right into that first pin mark.  Secure the end by going forward and back one or two stitches and then carefully sew in a straight line to the second pin.  Ensure the needle ends up exactly in second pin position; it may take lifting the presser foot and moving the tab slightly to really make sure the needle goes down in exactly the position you have marked…

With the needle at its lowest point (to ensure that it has picked up the bobbin thread down below, and so that the stitch is completed) lift the presser foot and reorient the tab so you will be stitching down to the third pin position.  Lower the presser foot and stitch down to the third pin, again ensuring that you are finishing as exactly as possible into the third pinhole.  Secure the end by one or two careful backwards and forwards stitching.

Now sew the long straight edge. (Later edit: That long lower edge with no stitching is the fold…)

Clip the seam allowances, as close to the corners as possible, but obviously without cutting through your stitching!

Turn the tabs right side out through that short open end.  I know there are proper tools for turning (which probably cost a bomb) but I use a not-too-sharp pencil for this job, and wiggle it carefully into the corners teasing them out, but not allowing it to burst through the stitches!

Press and topstitch the tabs.  Sometimes when one is topstitching close to the edge of a tab and you turn a corner, your feed dogs may have trouble “catching” the tab and getting started on the next straight bit.  This will be because you are stitching so close to the edge that there is no fabric underneath the presser foot, making contact with the feed dogs.  In this case I find it handy to use the second tab and just slip it behind the tab you are topstitching; over the feed dogs.  Just its presence there will allow your tab to slide smoothly along, no matter how close to the edge you are stitching.


On my army shirt I added a decorative strip to hold down the shoulder tabs, this was just zig-zagged firmly into position on the double thickness yoke area.  If your shirt pattern has only a single yoke piece you will need to reinforce this area underneath with a little strip of bias cut fabric; and also for the tab’s button when you sew it on.  In fact, if your pattern only stipulates a single thickness of fabric for the yoke I recommend you cut out two and sew them on together for more stability; as this area is subject to a lot of fabric strain in a man’s shirt.

For the sleeve tabs; you can make your tabs as long or as short as you please, this is an individual preference and depends on how long you want your sleeves to sit when rolled or pushed up.  Whatever you choose, the tab is sewn, wrong sides together to the inside of the sleeve. Obviously it is easier to do this before you sew up the sleeve seam!  I like to sew a nice firm little cross within a square for a stable strong base to sew the button on.

pinterestmail

Army shirt (not really…)

… but my interpretation of a sorta military look.
I love khaki and all muddy colours, and felt a khaki/muddy/sludgy coloured shirt would be just the thing; and once the military mindset had taken a hold on me it wasn’t long before vaguely uniform-y style details starting sneaking onto my new shirt too…
I used Burda 7767 again (and yes, this is version fifteen of this pattern that I was referring to in the rogue’s gallery of Burda 7767 here).
I added a few little touches; some shoulder tabs, held down with a decorative strip, sleeve tabs to keep those sleeves in place when pushed up halfway up my forearm just how I like it…  The bottom hem is curved.  The pockets have a folded bizzo down the centre front which is top-stitched in place, and I squared off the lower pocket corners.  This shape is echoed in the pocket flaps.  I also folded back the button band to the outside so I could get that look of a separate band, rather than that smooth look you get when it is turned to the inside, although this played havoc with my usual method of neatly finishing the button-band hem edge I worked it out OK in the end.

These buttons are fabulous, aren’t they?  I used 16 to finish this shirt, and if I could have invented ways of sneaking a few extra in here somehow then I probably would have!  They are brass, and are stamped to look somewhat like an ancient Chinese or ancient Roman coin.  Or something like that… am even vaguely toying with the idea of going back to Fabulous Fabrics and buying up every single one of them.  But mustn’t be greedy, must play nice and leave some for others now…  ðŸ™‚
And take a sqizz at my new label! (thank you so much to my good friend Yoshimi who helped me to get these adorable things!  You have my unending gratitude!)  I LOVE them!  And I feel about them a bit like Elaine from Seinfeld when she found out her favourite contraceptive sponge had been discontinued, and she only had a limited supply left, and she then had to judge each new man she met on whether he was “sponge-worthy”.  Now I have to judge each new garment I make as to whether it is label-worthy or not.  I think my new shirt is label-worthy… What do you think?

Details:
Shirt; Burda 7767 with modifications, dark khaki linen
Skirt; my own design; charcoal knit stuff
Tights; Spencer & Lacy
Shoes; Francesco Morichetti, from Zomp shoes
Sunnies; RayBan

(and for those wondering if I had traced off this much used-pattern, lest it get all tattered and torn, I am using the original tissue every time and it is in pretty good nick still, see?  I take very good care of my patterns!)

pinterestmail

Tim’s shirt/jacket

Here is the shirt/jacket thingy that I made for Tim for a birthday gift… it is very similar to Sam’s here, but using a grey/beige, thin but warm, corduroy and a (leftover) contrasting dark blue/grey cotton linen for the lining of each of the collar stand, yoke, welt pockets and pocket flaps. 
I used the same ol’ Burda 7767 that is now my standby go-to men’s button-up shirt pattern, almost lost count of the number of times I’ve used it now  (just went back and checked… 14 times!)  Hehe, Myrna suggested I do an overview of different ways in which I’ve used the same pattern to get different garments, and I think this pattern might be a prime candidate, along with my all-time favourite Vogue 7303… but not until I’ve given this shirt/jacket thing its very own post here…
Variations to the pattern; 
well, apart from the obvious customised fitting to Tim’s measurements modifications I implemented the following:
1.  lengthened the fronts and back by about 6-7cm, to get a more coat or jacket like effect and curved the hemline up to each of the side seams to get that shirt-tail effect both front and back…
2. added two breast pockets with curved flaps
3. added two of those double pockets at hip height… pockets that are separately a welt pocket and are also a patch pocket (you can tell, I was pretty thrilled with how these turned out on Sam’s jacket and Tim thought they were tres cool as well, so I just had to put them on his too!)  my tutorial for doing these double pockets is here.
4. used snaps throughout in lieu of buttons.  
Little anecdote; I had nearly finished this jacket – bar putting the snaps in, and by this time Tim knew very well that I was making this for him (well, I do make them something for each of their birthdays…. he was expecting it) and he wanted to wear it out to a friend’s place that night.  Of course the snaps seems like the easy quick bit and I’m like, oh hang on, shouldn’t take more than twenty minutes.  Like, well over an hour later….  hehe, SO putting in snaps does take a fair bit of time, if you are trying to be careful about placement that is and not just flying along recklessly… but he did get to wear it out, even if he was (fashionably) late!
In an unthinking moment, I selected contrasting thread to topstitch, that matched the tobacco brown snaps exactly.  Bad idea!  I adore corduroy and have used it countless times, but looking back I have always selected matching topstitching thread.  In hindsight I can see the wisdom of that (even though it was ignorant wisdom…); corduroy by its very nature does not take super well to military-precisioned topstitching, all those furry velvety little ridges, bless them, are an enemy to the topstitching perfectionist.  Moral of the story; always, but always go with matching topstitching thread on corduroy, unless uneven lines are not going to send you spare.  The good news is that Tim, being an easy-going bloke, is OK with it.  It is just something to bother me whenever I have occasion to, say, hang it up on the line and get to see those slightly-darker-therefore-blindinglyobvious wonky lines all over again (grrr…)

At left; contrasting lining: at right; the double welt/patch pockets at hip level, complete with hideous topstitching

Because of the intensity that was me-made June, it may appear I haven’t done much sewing in the last month… actually I have still been sewing and have produced some new things.  For some reason I felt I didn’t want to do postings of any new stuff during that month, so I have kept some things back.  Well, OK I did reveal some new things, a little grey top, and the new scarf… oh, OK then.  There was a smattering of minor-league new stuff, hehe.  And some old stuff that was discovered in my winter sort-out.  But, back to the subject, I do have some new creations to reveal.  Just have to muster some enthusiasm to get back in front of the camera again… you understand.

pinterestmail
Switch to mobile version
↓