I’ve made a new dress 🙂
Every year, my friends give me a Fabulous Fabrics voucher for my birthday; aaaah! they know me so well…! 🙂
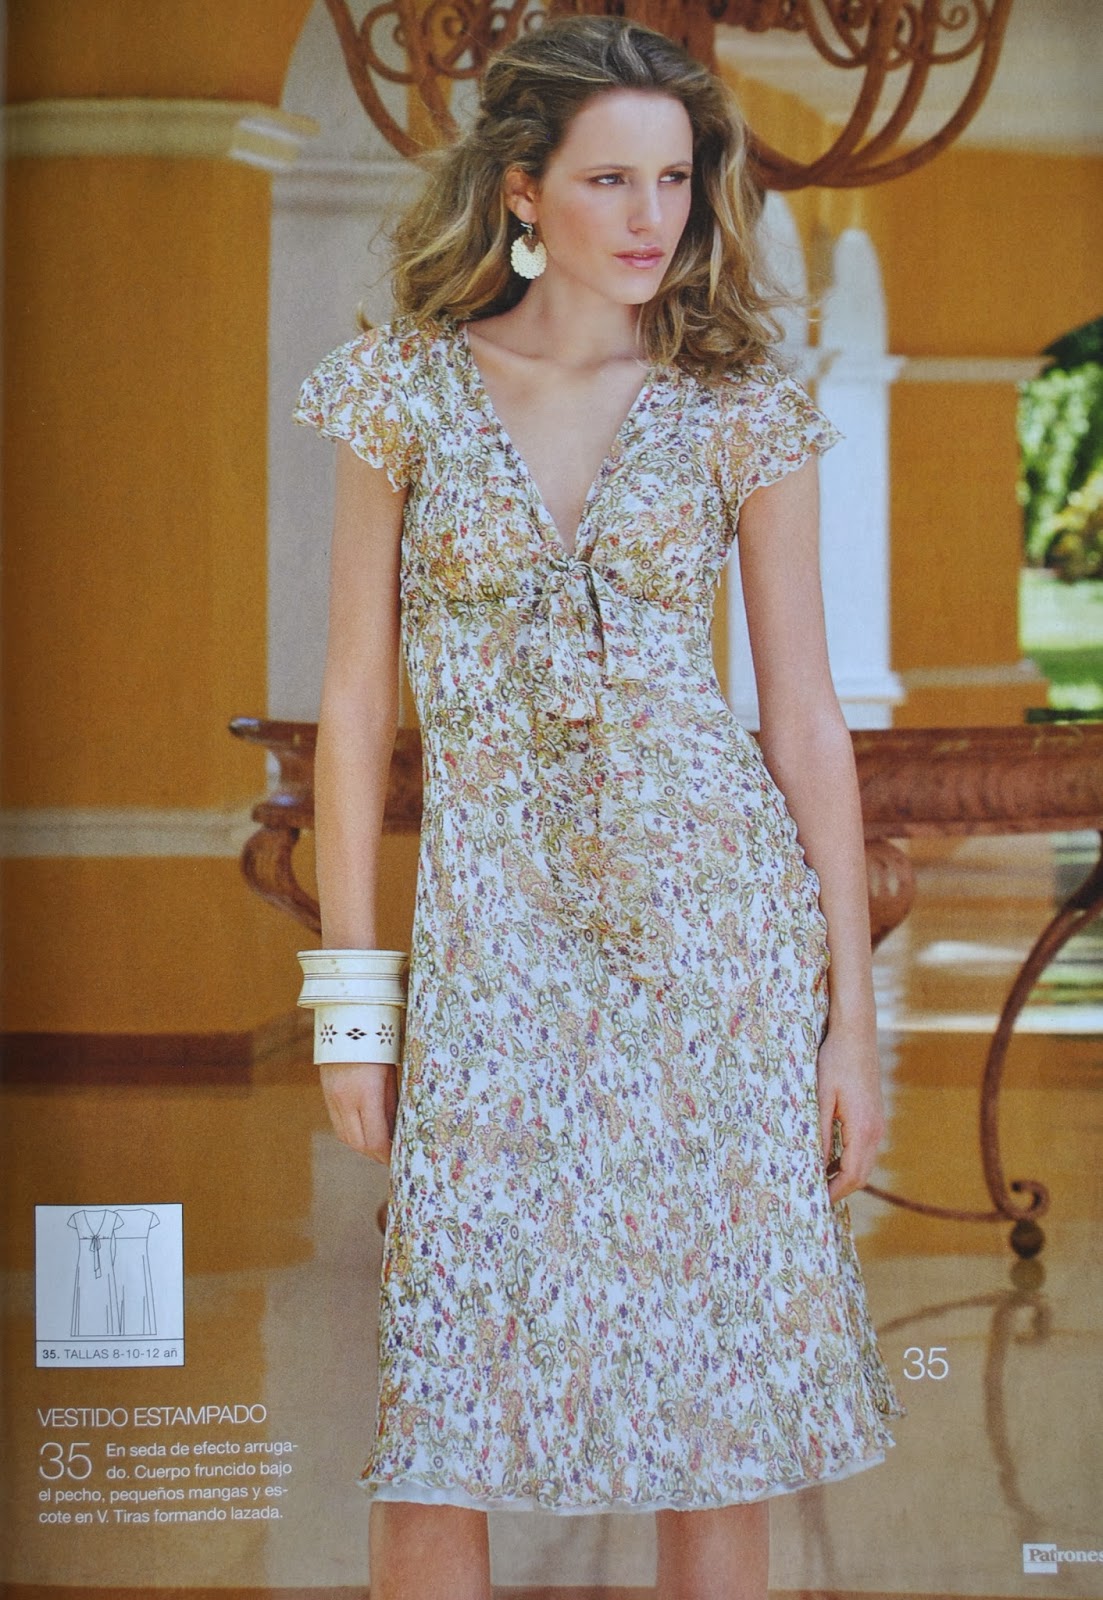
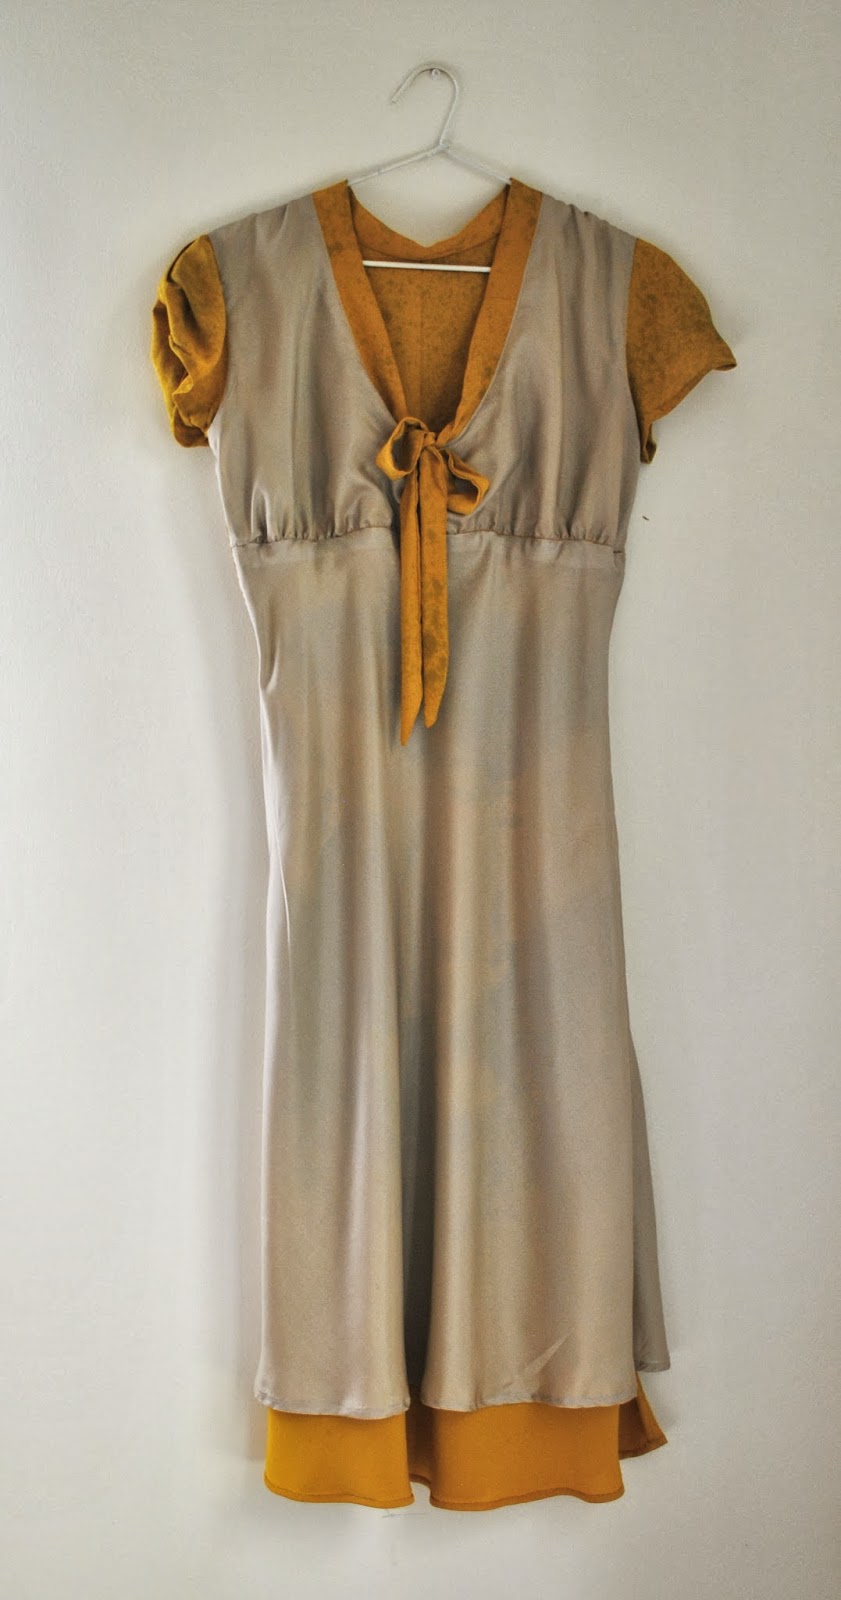
and last year I spent it on this gorgeous, water-colour-y silk charmeuse. And have made it into dress 35 from Patrones 7; this magazine was itself a gift to me from Merche Martinez from a few years ago. This is the second time I have used this same dress pattern, my first version is here.
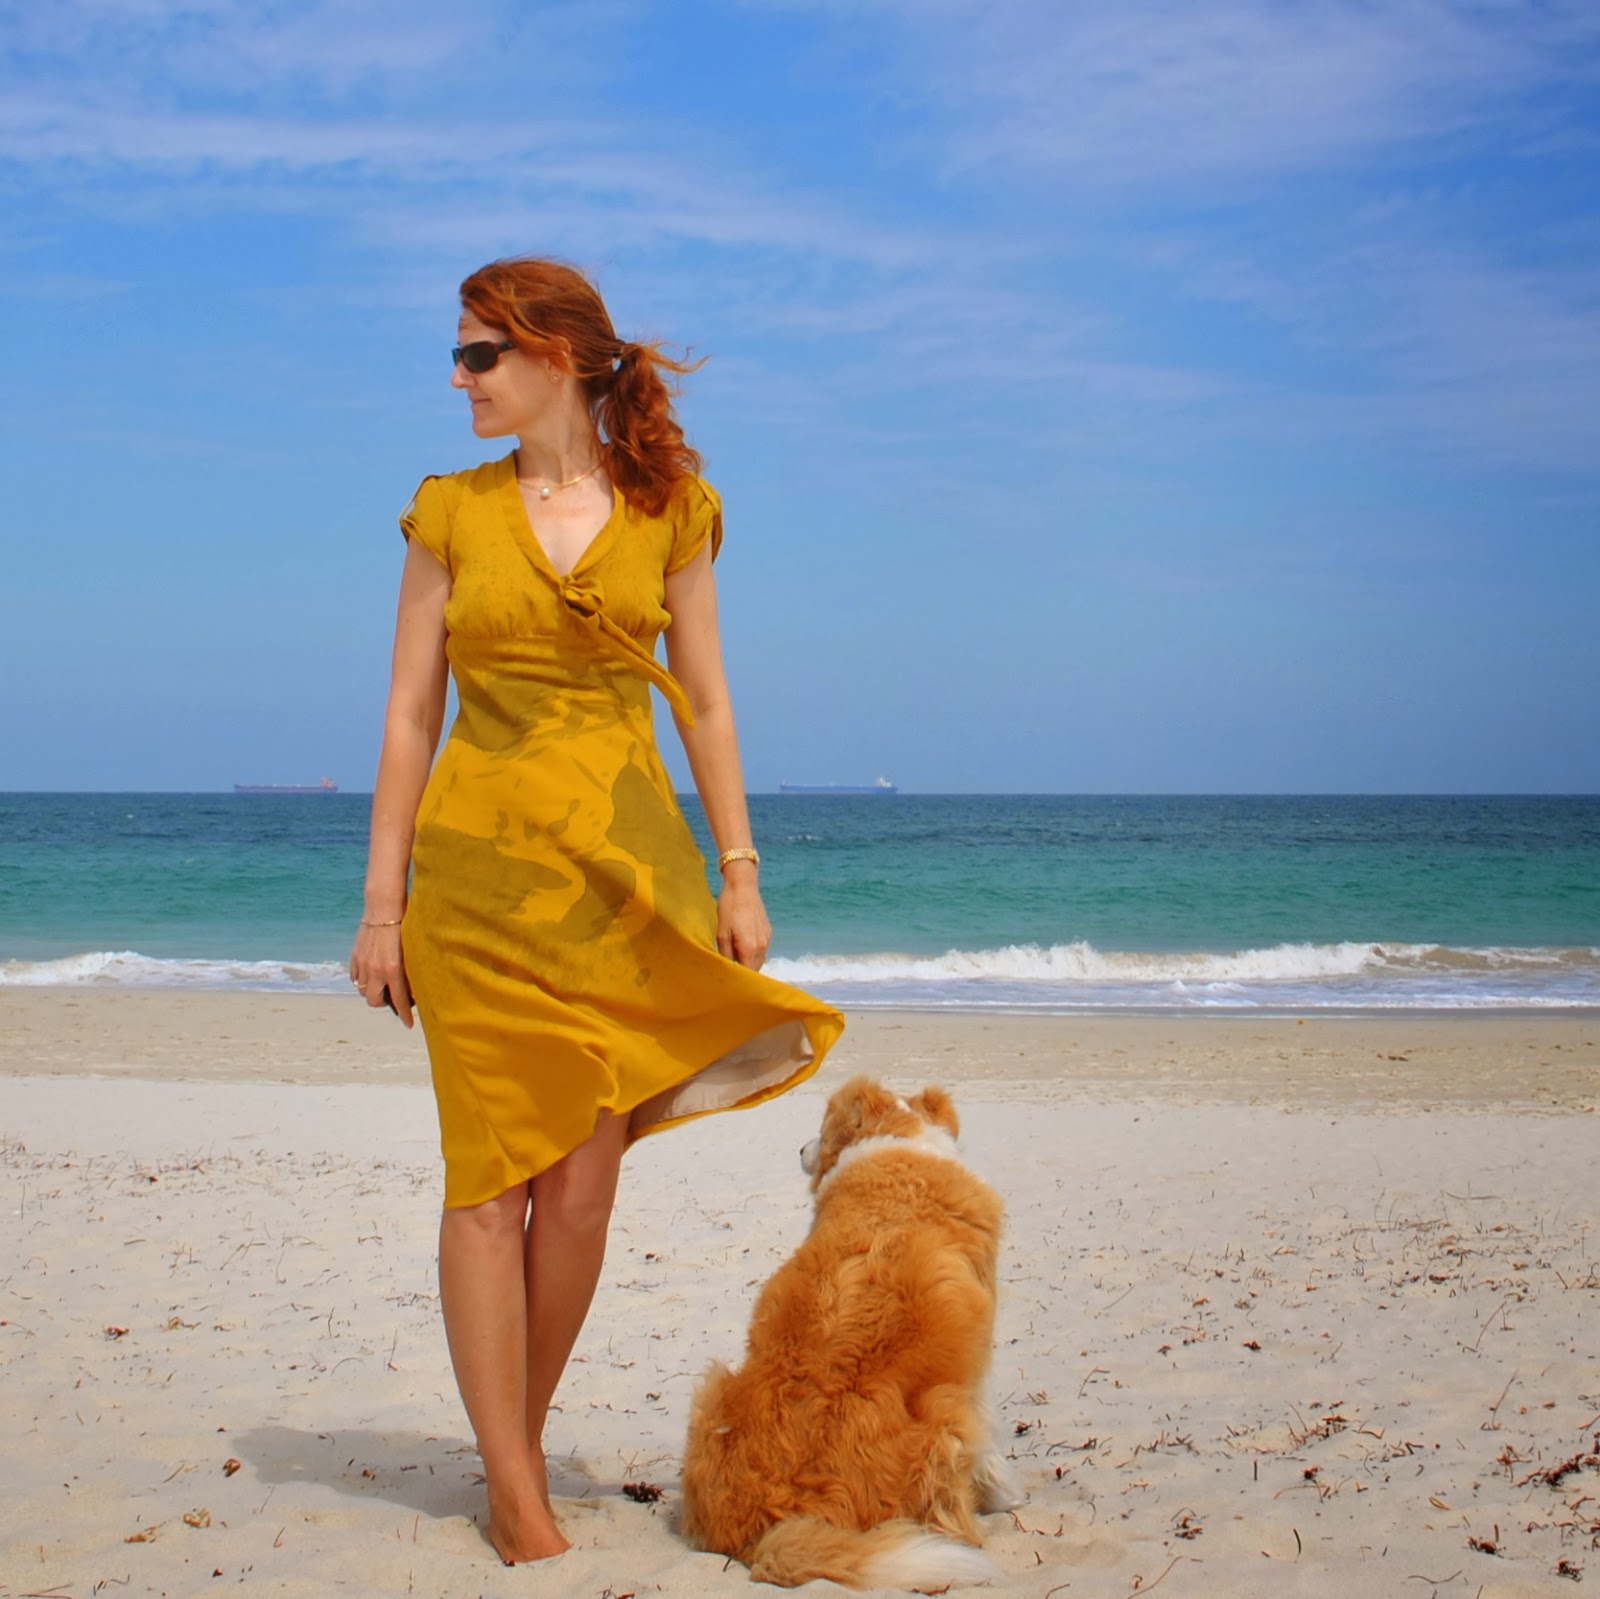
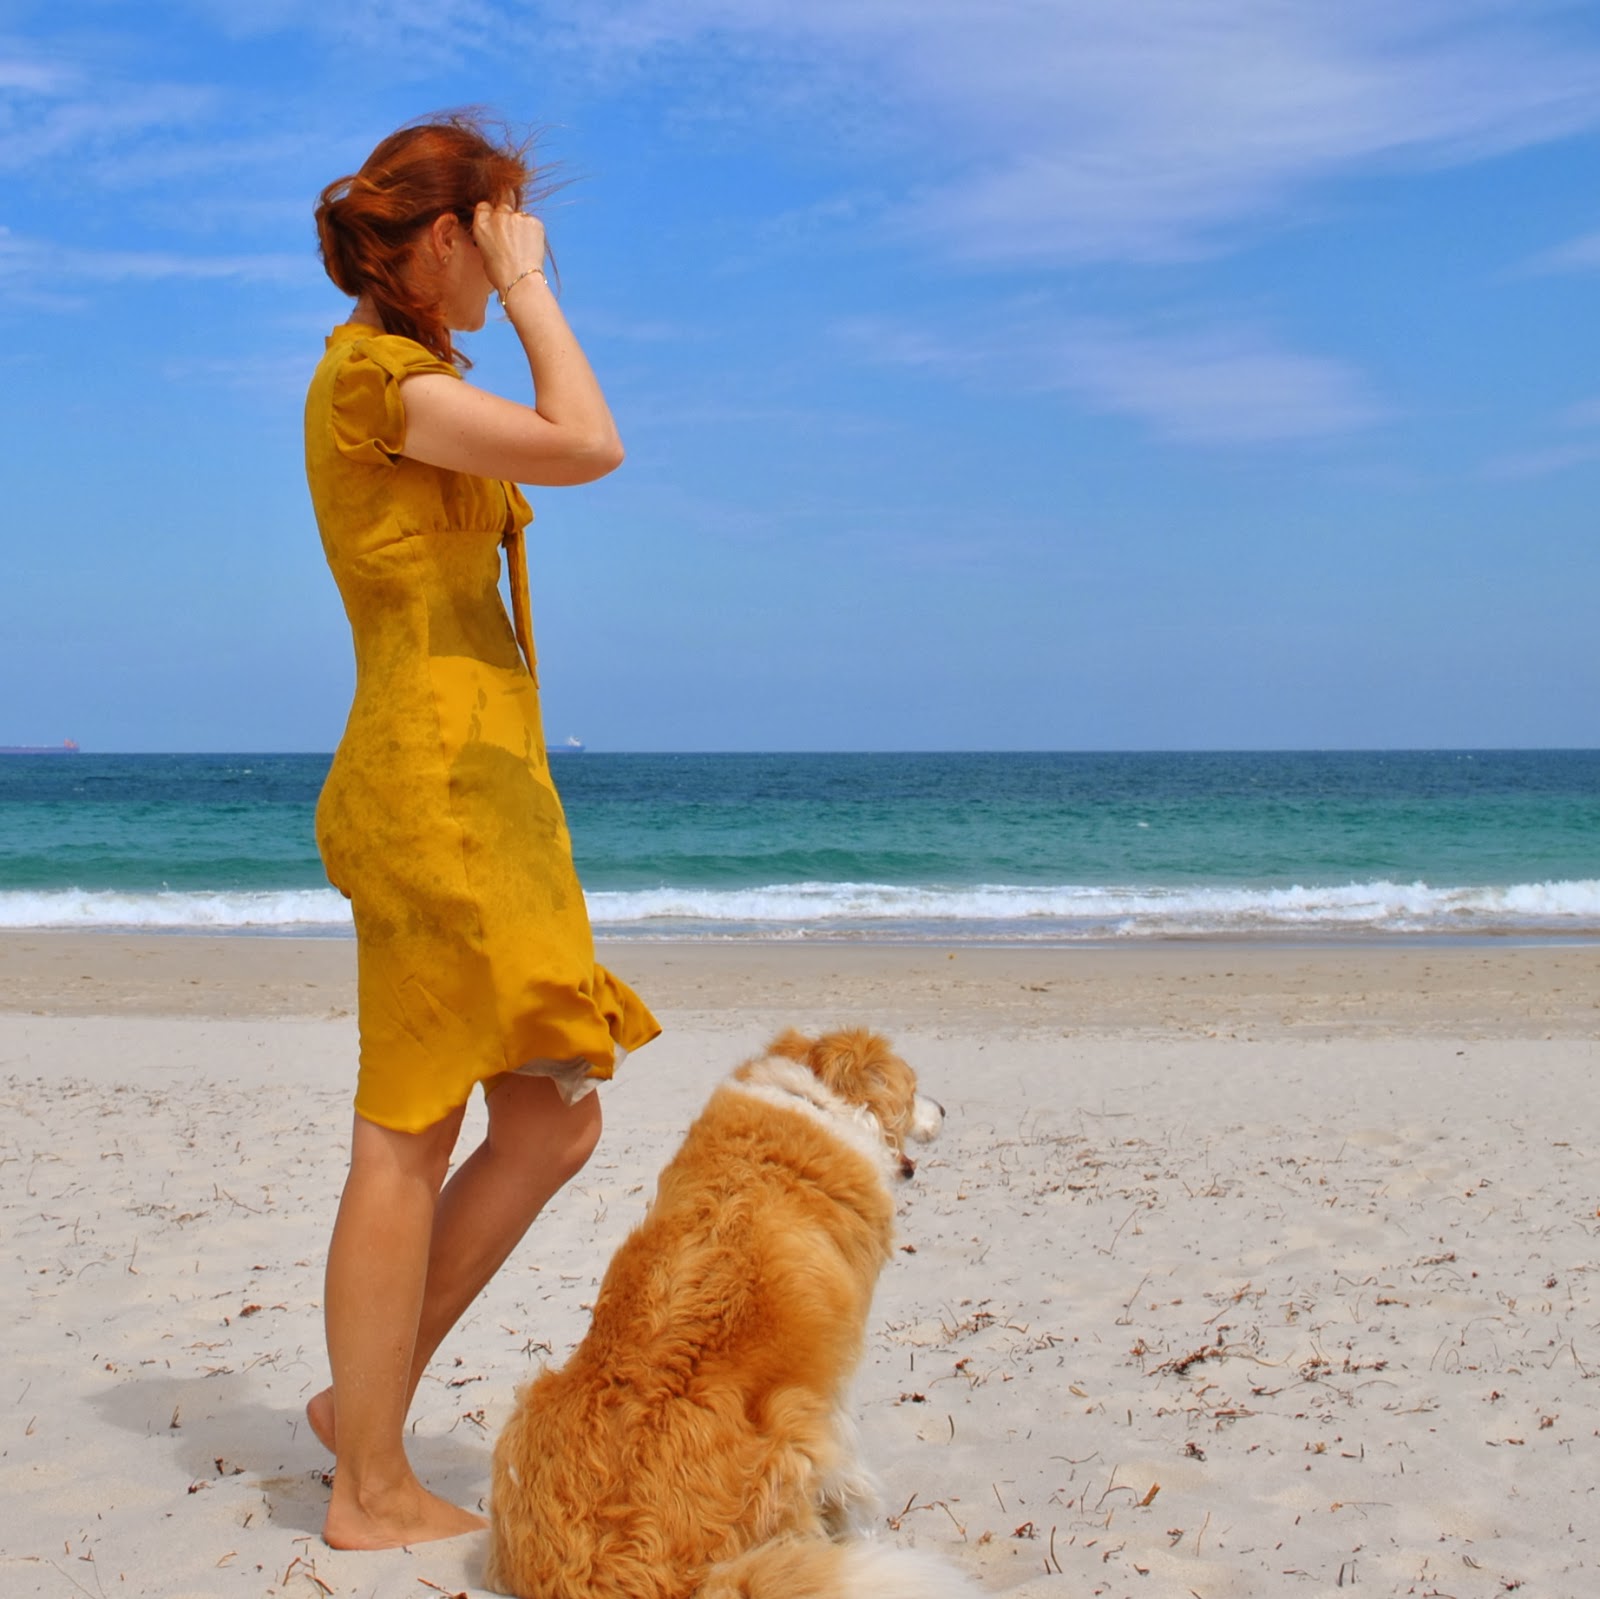
 So, I have worn it a scant handful of times so far; for dinners during our recent holiday, and I’m wearing it today as well to show it off to my gorgeous gal-pals who gave the voucher to me… and I have to say I’m quite besotted with my dress already. Honestly, bias cut silk, there’s just nothing quite so lovely to wear. It’s a beautiful gift from you to your skin. Seriously, my skin is thanking me every single second I spend in this dress. It’s pure and utter heaven. *dreamy sigh*
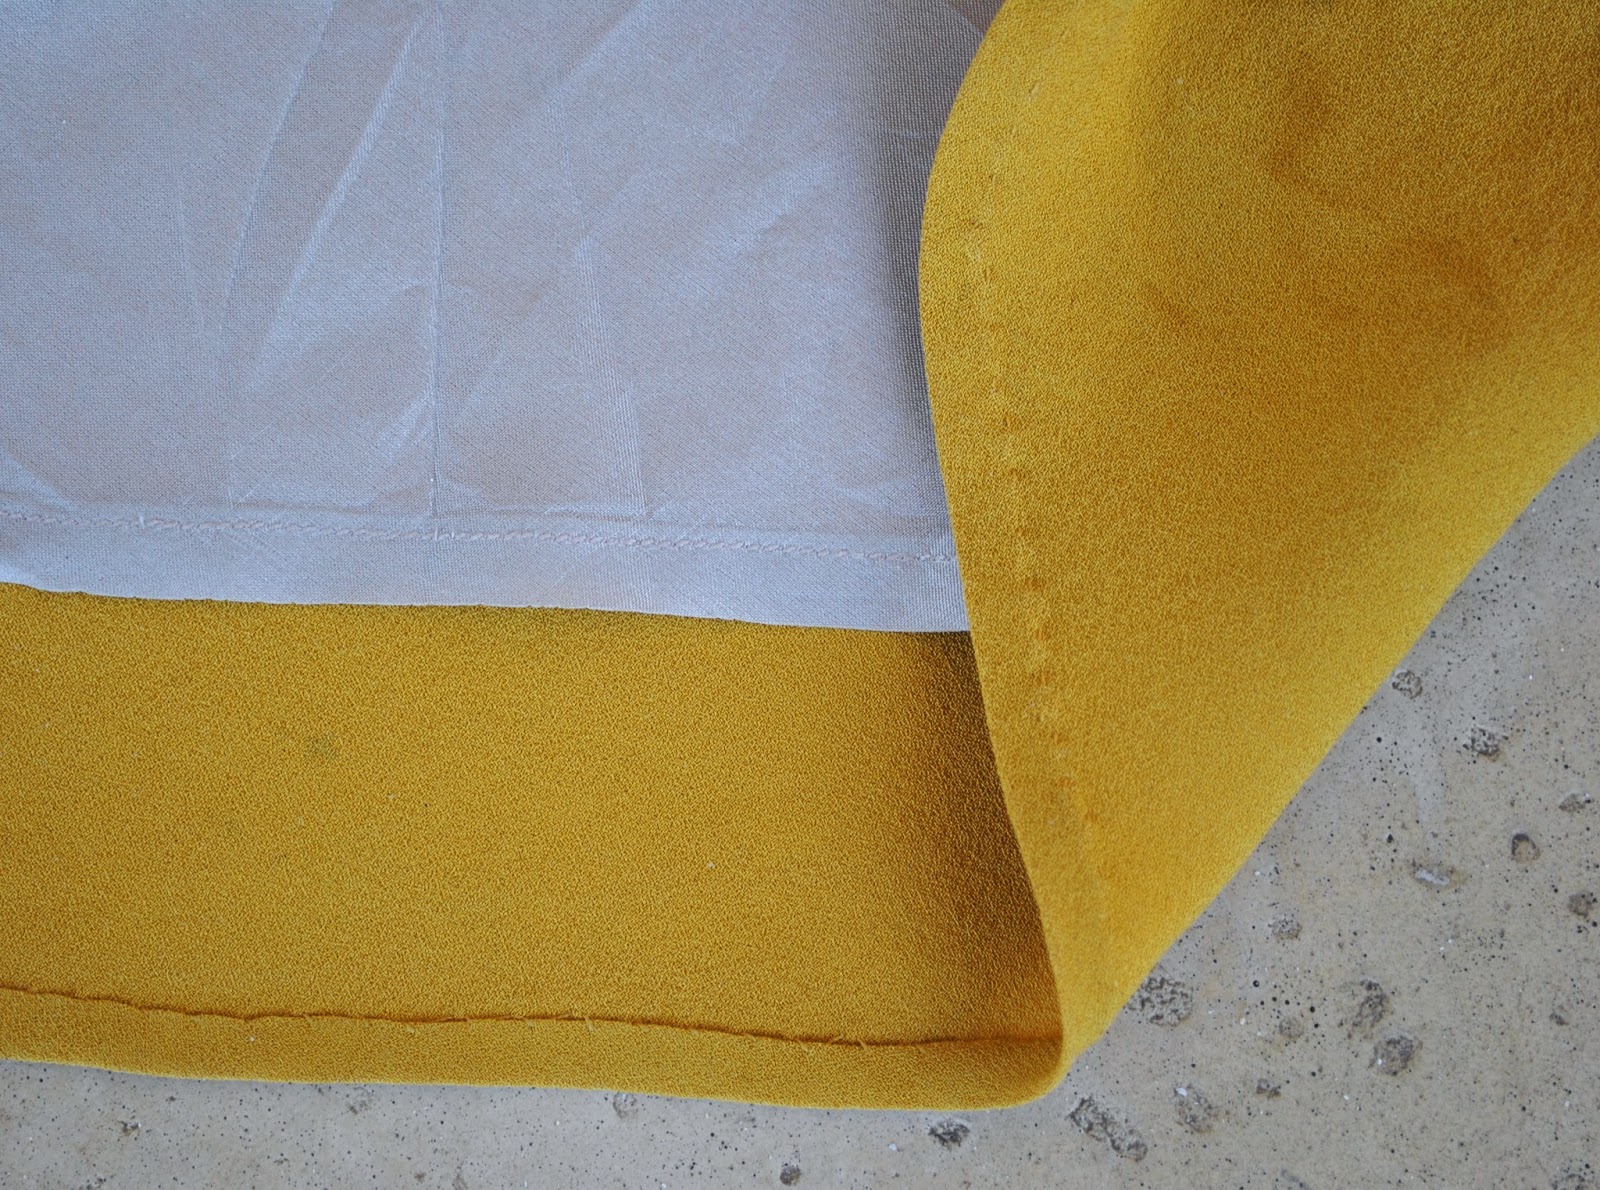
To go the whole nine yards silk-wise, I fully lined the dress with creamy-coloured silk habutai. Pinky-purple lining seemed at first to be a better colour match; but upon checking how the fabrics looked when layered together I found any colour just very subtly dulled those large white-ish feathery-floral areas, whereas a lighter creamier-coloured backing really enhanced the colours of the charmeuse and gave them a beautiful inner glow that I preferred. Something to bear in mind when choosing a lining for lightweight, patterned fabrics; hold lining underneath the fashion fabric to check how it affects the colours before making a final decision. Sometimes an unexpected colour choice will look better.

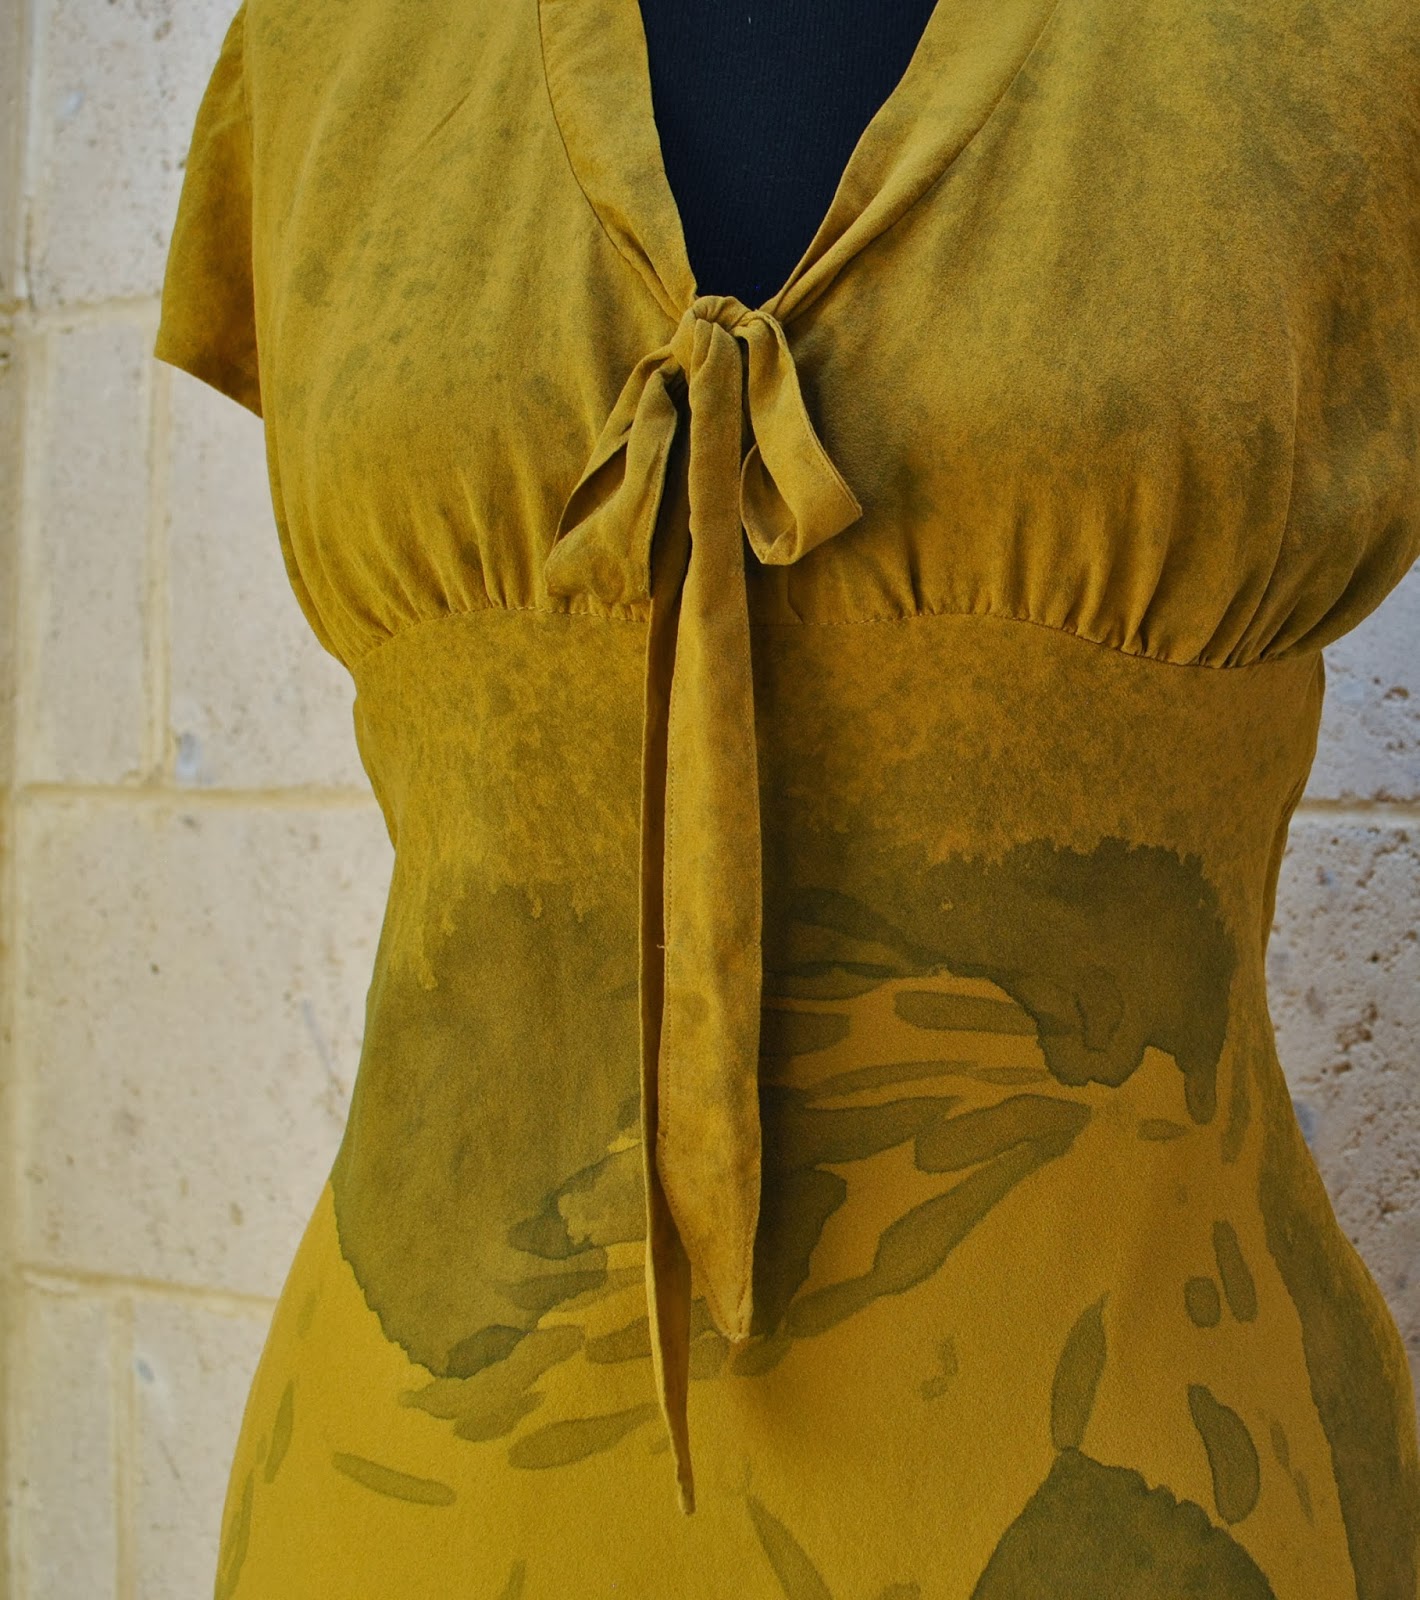
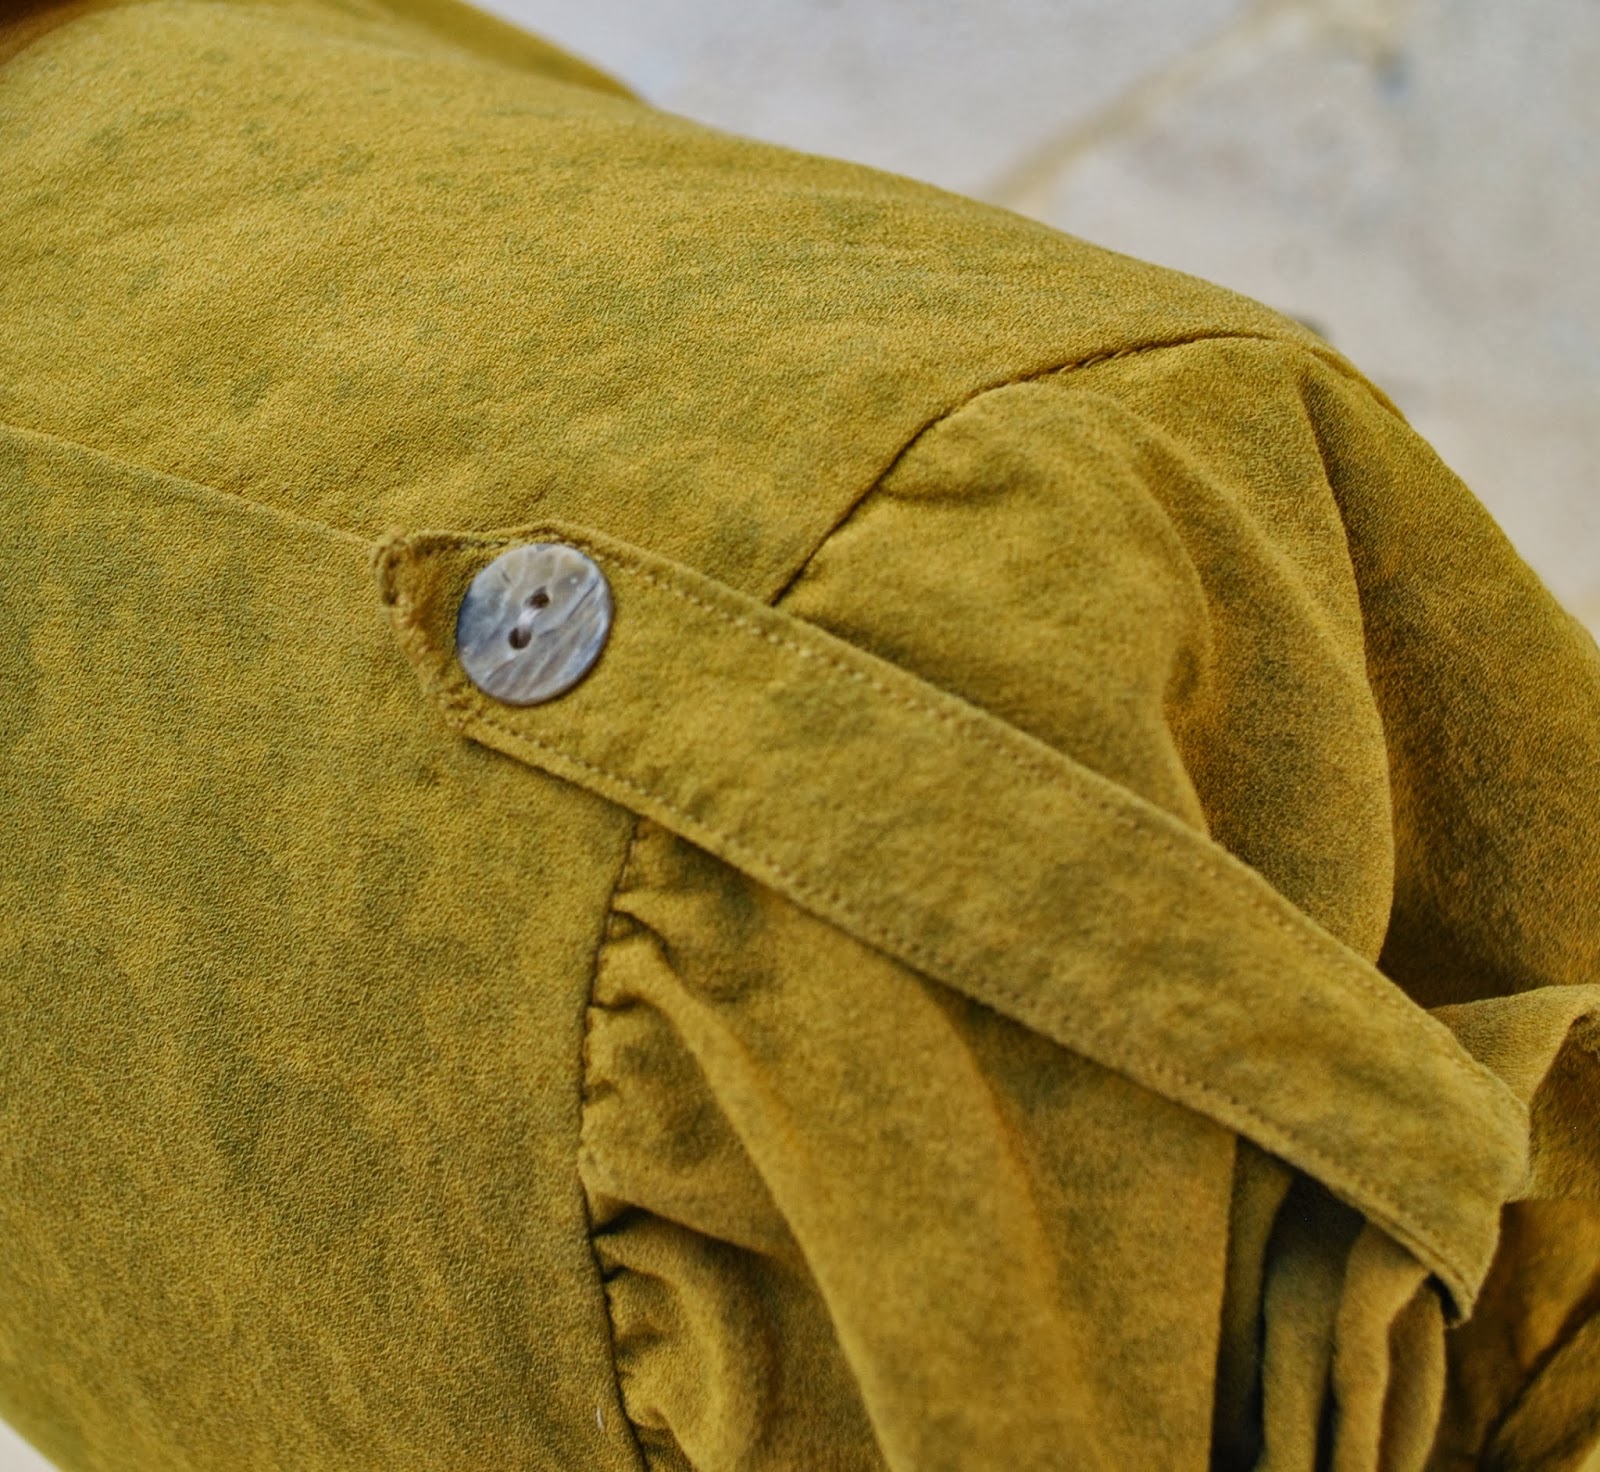
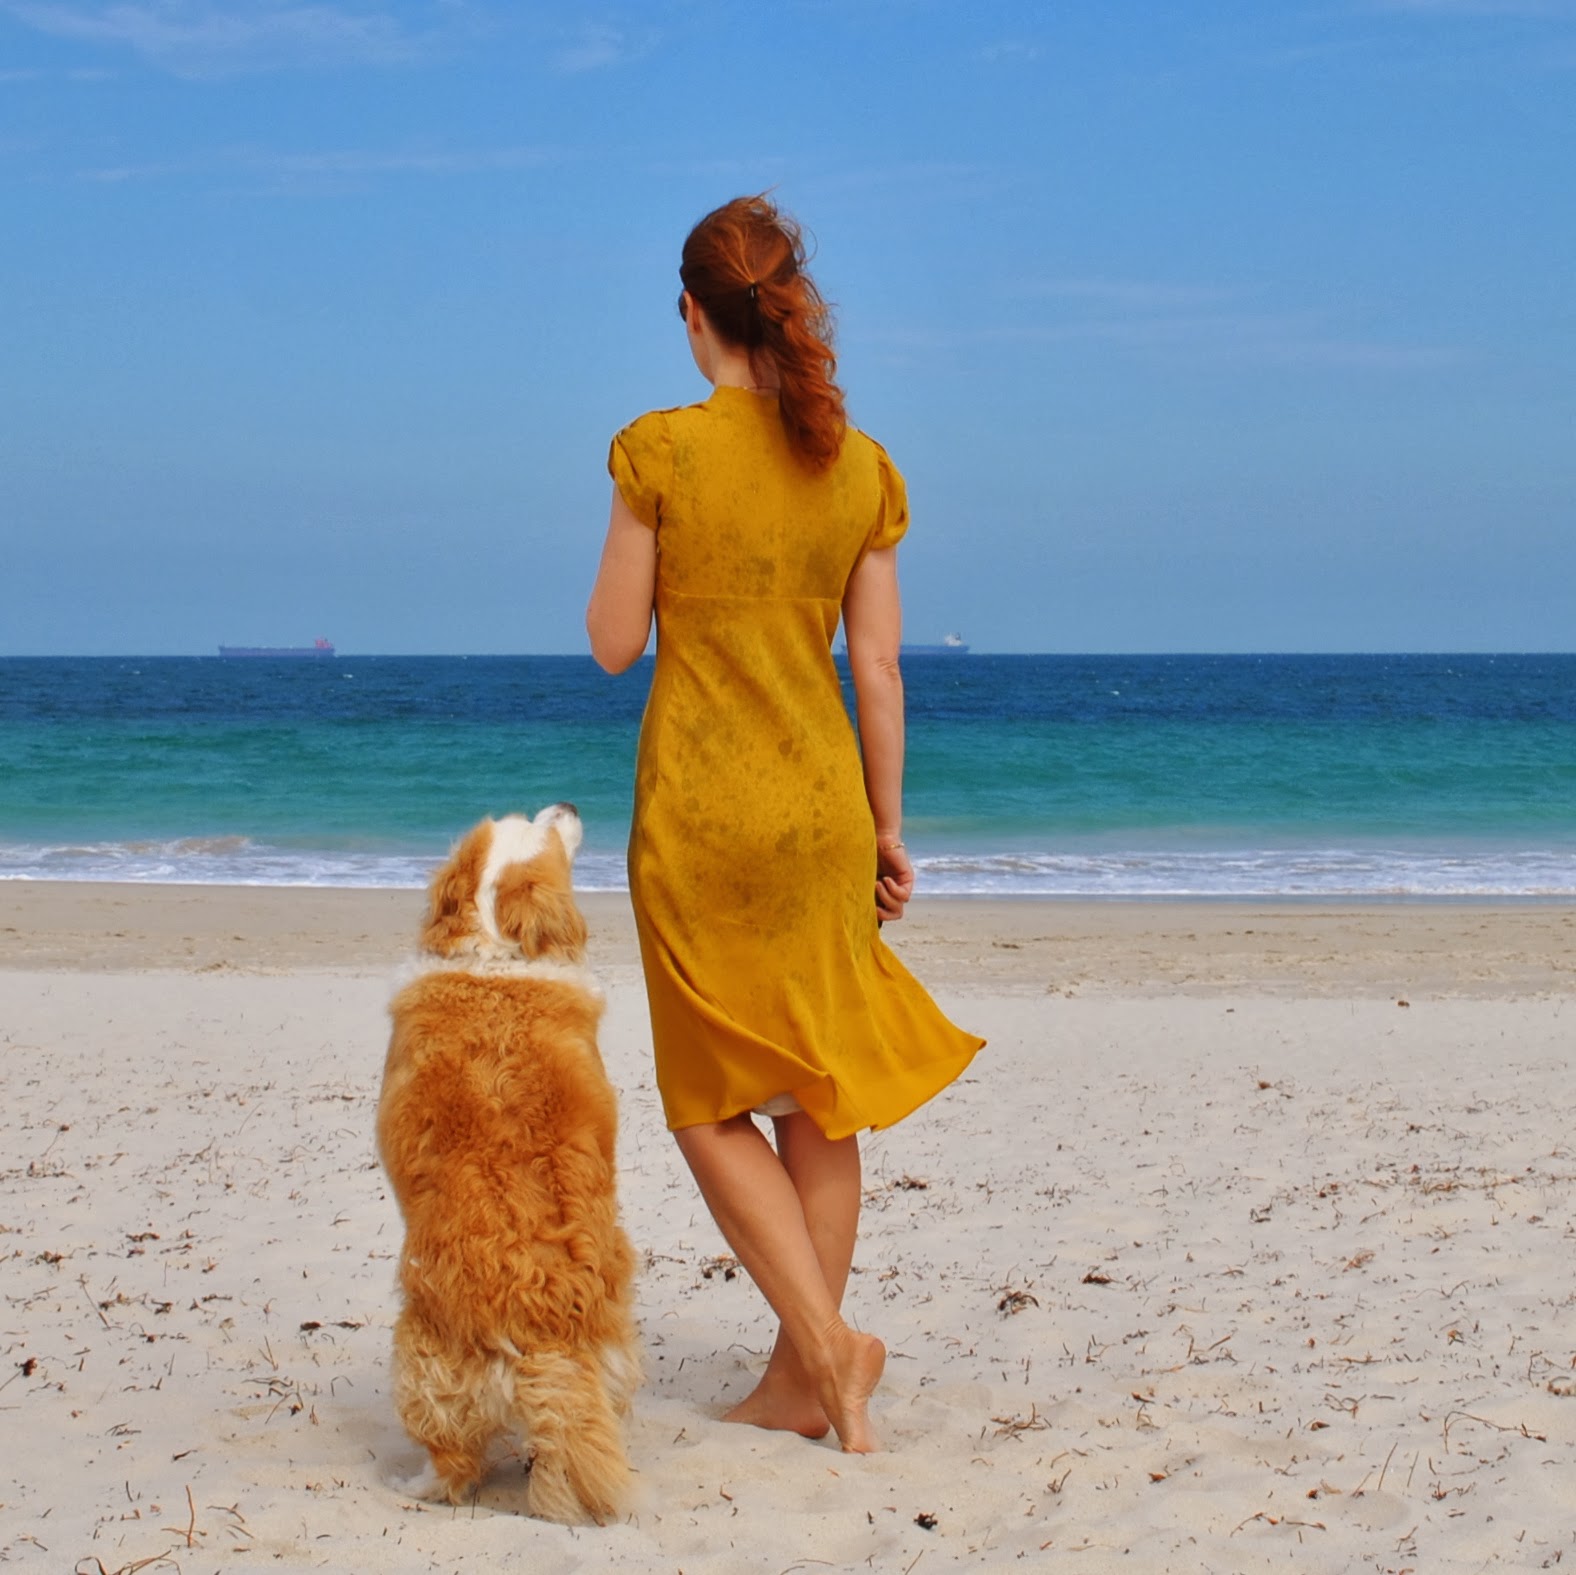
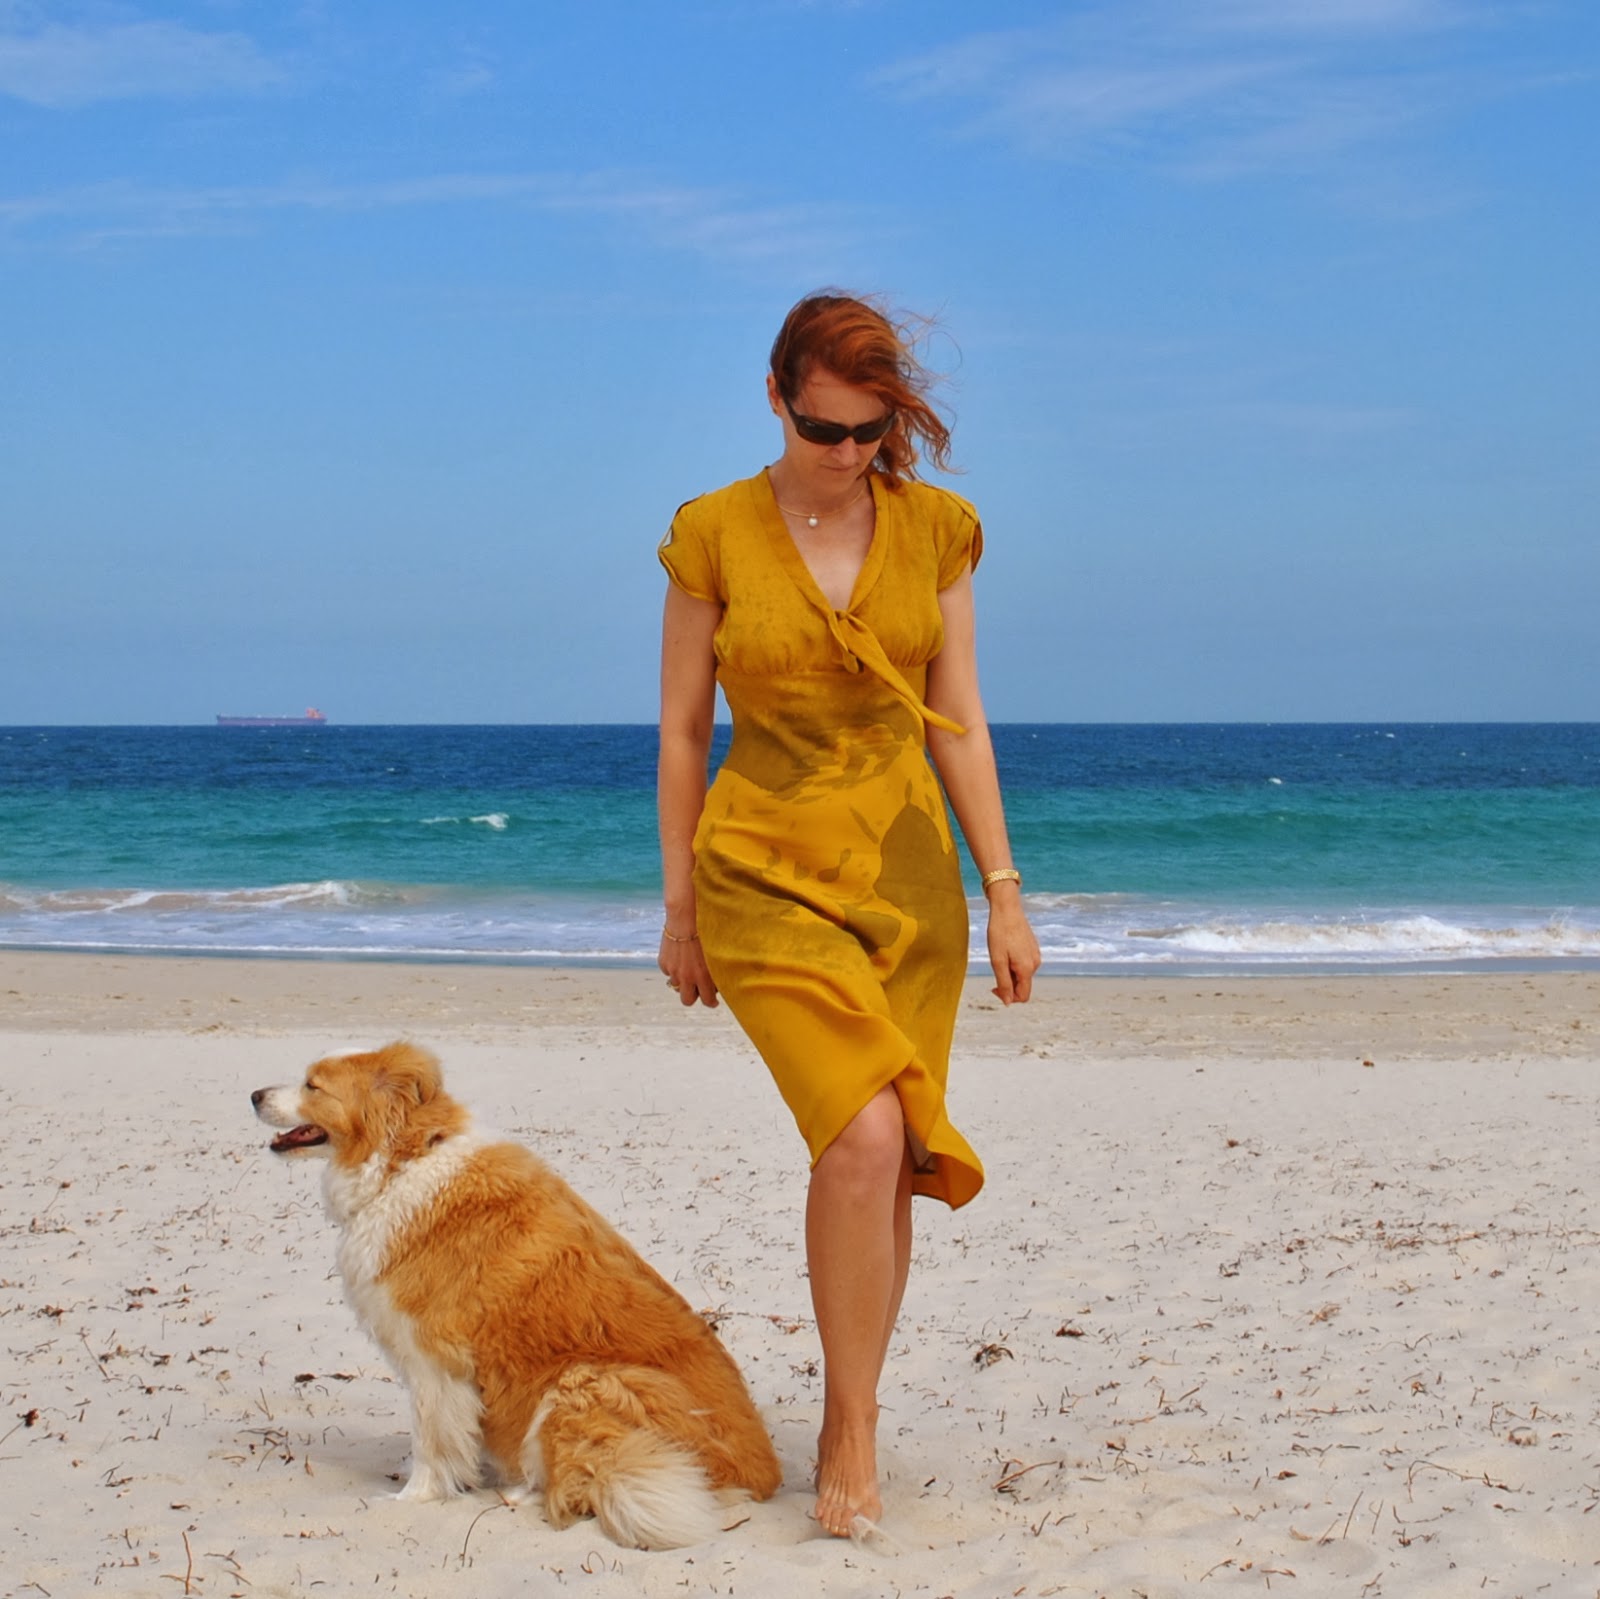
The dress lines are quite simple and feminine, with a slight a-line curve, small cap sleeves and I lengthened the neck-tie to extend right around the length of and beyond the v-neckline, so it is both a tie and also a sort of “collar” that finishes the neckline. The skirt is cut flatteringly on the bias and I gave careful thought to the colour placement over the body. I wanted the darker, moodier colours to feature mostly and aimed for the splashes of those big abstract feathery flowers to appear over one shoulder and to bloom down the side and hem of the dress, front to back. ie. not on my tummy or right boom on the derriere. The dress closes with a burgundy invisible zip in the left bodice side seam, and I hand-rolled a narrow hem on the sleeves and lower hemline. All seams in both dress and lining are French seamed.


I altered the bodice pattern piece substantially from my first version because ultimately I decided that that dress incorporated an excessive degree of blousiness for my particular shape, or lack thereof, ahem. I pinned out about 3cm width from the lower edge and curved the lower edge up as marked in red, cutting out up to 5cm in height at CF, this removed a tonne of blousiness and so is only about a thousand times more flattering on me, rough estimate there. In lieu of lightly gathering the bodice evenly along most of its width into the skirt, instead I folded the width into four little folds, evenly distributed just out from either side of CF, treating the lining as underlining and folding them together. These folds can be seen more clearly from the inside of the dress.


I also added about 4cm in length to the skirt at the lower edge. I’m slightly doubtful about this added length, I don’t hate it but also am not bowled over with love for the length right now either. I may just live with it for a while but that extra 4cm may or may not just get lopped off at some point. I’ll just have to see how I go; weighing up the pros, such as would it look more chic if it was a bit shorter? against the cons; the main one being that I would have to re-do that hand-rolled hem. Hmmm…

Now, on another note: anyone who follows me on IG would know already about our recent, most utterly paradisiacal holiday ever! yep, I took my pictures on the beach during our holiday in the Maldives. And I thought I would show one example of my set-up for taking my own pictures when away, an activity at which I now consider myself an expert! I’m a big fan of packing as light as possible and saving myself any packing and carrying around bulky camera equipment. Just cannot be bothered with all that. Yeah, lazy, I know 🙂
When travelling, I just take my small travel camera and nothing else. And I look out for and take full advantage of any flat surface that I may come across, although if nothing presents itself I can at a pinch just sit the camera on its own little soft case. This is not completely ideal, but it’s doable if no other handy flat surface is around. Good flat surfaces include, but are not limited to: park benches, curbs, low walls, a level spot on a rise in a path. Rocks sometimes too, though rocks can be tricky and it’s imperative to check carefully that the camera is sitting perfectly stable and isn’t going to topple over and smash.
In the case of our last holiday, our cabin was on the beach and I used a flat-bottomed cup from our room. My camera sat up, safe and clean, up off the sand as pictured.
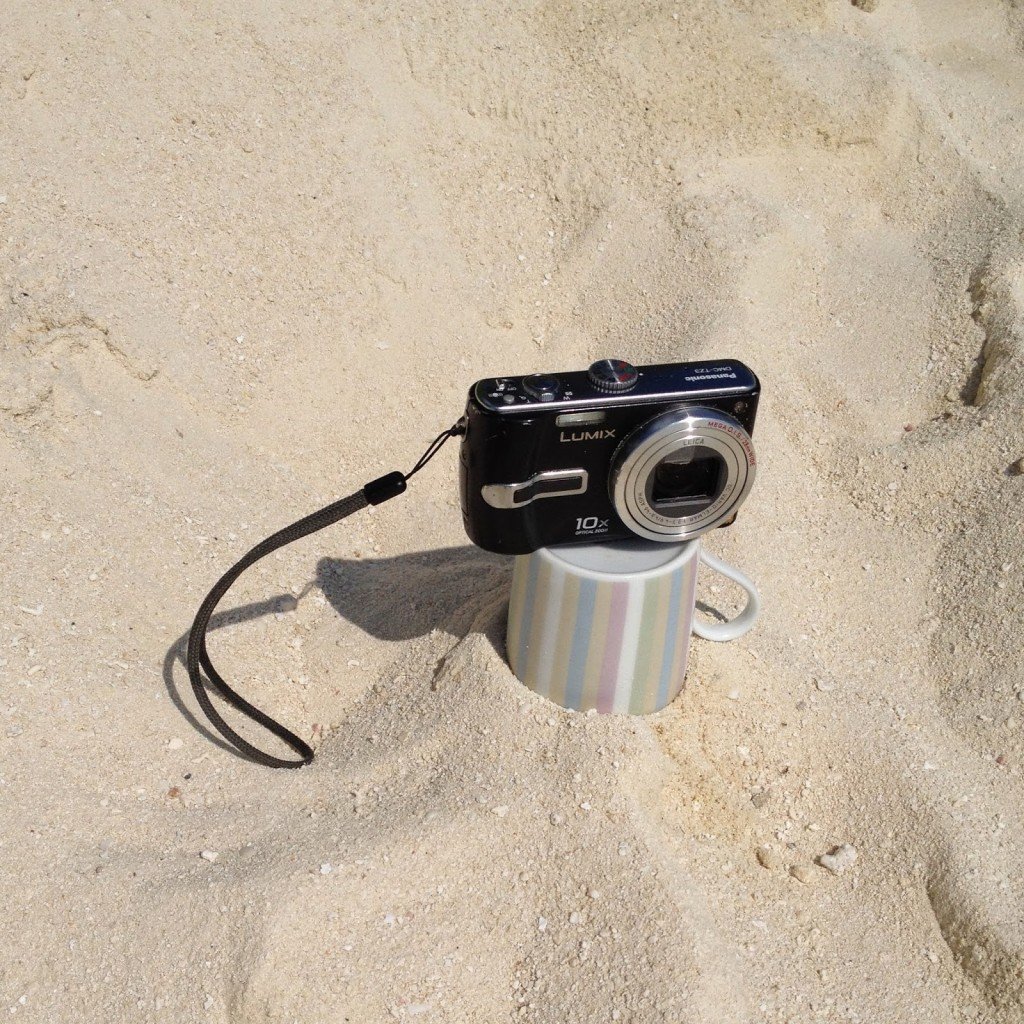
Anyway, whatever flat surface is at hand; I just set the timer function on my camera, pop the camera up on said flat surface, push the button and then race out in front. Voila. Does the job, and requires no big bulky camera equipment. Win!
Details:
Dress; Patrones 35-7 modified slightly, silk charmeuse
Location: Valessaru, the Maldives