
I’ve made some new shoes!
These have had a bit of a journey in the making, with a gap of about five months in the middle of it when I did absolutely nothing to them! Several things; feeling torn as to the colour I’d chosen, as well as a little overwhelmed with the thought of actually finishing them, when it was actually all pretty quick and simple and painless once I got over that…

So obviously, they’re black. However! my original plan back in December of last year was to make some two-tone saddle shoes. I cut out my pieces using the same beige upholstery suede that these shoes are made in, and dyed the pieces respectively caramel brown and “black”, though the latter turned out to be more of a deep charcoal really.


I thought the combo would be pretty cool… but once I’d formed them on the lasts and it came time to sole and add heels, I was starting to go off the saddle idea already.

I already suspected that what I really wanted was for some plain black heeled oxfords in my shoe collection… but it was summer at the time, too hot for winter shoes to be a tempting project anyway, and truthfully? Christmas had exhausted me a bit and it just all seemed too hard, so I just chucked the half-made shoes into a drawer and basically didn’t touch them again for the next five months…

Fastforward to last week; winter has started to creep in with cold, probing tentacles, and with it the need for warm shoes. I got the half-made saddles out of the drawer where they’d lain, idle and ignored, and re-assessed. Carving the heels was the next step, that had been such a stumbling block to me, and really? it’s not that hard of a one. I bought some wood from Bunnings, got Craig to help me set up the sander on the triton, and sanded myself some heels… hilariously to me, after all that procrastination it took about an hour, tops! Soled my shoes, glued and nailed on the heels.
oh hey Clara!! and NO, lovely girl…. these are NOT for eating!


I painted the heels with a coat of black satin enamel paint. I probably should have just painted the whole shoes themselves at this point too, but I still had that tiny shred of uncertainty that I might still want saddles …? but nope. Seeing the heels painted a beautiful pure black made the dyed suede look quite muddily unattractive, banishing all doubt. I went right ahead and did a few more coats taking in the whole shoe, using the same black enamel paint. Bunged in a foam insert, covered with the same chocolate brown suedette that I’d used to line the uppers, and FINALLY FINITO.

I’ve worn them four days straight already! A coupla times they’ve got drenched in the pouring rain… in the past this would have filled me with horror but nowadays I have more confidence in the strength and durability, and importantly the waterproof-ness of my shoes! and of course they’ve held up beautifully. Seriously, I’m totally chuffed! could not be any happier with them!!
Having said that, well of course theoretically I could actually be happier… they’re not perfect and I can certainly see little bits that I could have done better. But with each and every pair of shoes I really do feel like I’m improving – to see my shoe-making journey, it’s all here under the tag “shoes” – and these ones are very satisfying to me. They are exactly what I want to wear right now!

This is how I wore them for their maiden voyage… out to lunch on Friday with my friend J, and then later on to book club with a larger group of my friends… I felt pretty cool and chic! No one asked me if I’d made my shoes! which means any one of three things; they look OK enough to pass for rtw (yay!) or SO bad that people are just too embarrassed to say anything (not-so yay). The third and most likely option is that no one actually noticed them. I’m ok with that option, to be honest 😉
 Details:
Dress; V1351, floral chiffon, details here
Cardigan; the Miette, a free pattern by Andi Satterlund, all details here
Tights; my own pattern, details here, and my tutorial for making your own custom-fit tights pattern is here
Shoes… MADE BY ME!!!!!
SO, while I’m here and writing stuff… I’ve been making some other things lately too, that I haven’t got around to mentioning so far.

 I discovered this pattern for little sockettes that you wear with ballerina flats; the Sytt & Prytt Florens Ballerina Socks, designed by Lena Lundvall. I found this through a mention from someone doing me-made May on instagram, though for the life of me I cannot remember who it was.. so if that person is reading this then I’m sorry not to give credit! Anyway, I looked up the Sytt & Prytt Etsy shop and bought the pattern.

This blue pair is made up exactly to the pattern; my toes are covered… JUST
It’s a super quick and extremely easy thing to make, though I altered the pattern somewhat to make them exactly what I wanted… specifically, the socks as they are quite “skimpy”. To be fair, I think this coverage is perfectly adequate if you’re wearing them with ballet flats, which is totally what they are designed for. However, for me personally, I’m really so not a ballet flat person, and I wanted to wear them with my oxford shoes, that have higher sides and cover the top of my foot too, and so I wanted my sockettes to have more foot coverage too.
I wanted EXTRAAAA!!!

Adding on a good inch nearly all the way around and reducing the elastic length gave me this! much better suited to the kind of shoes I wear.
my white oxford shoes, blogged here

I made nine pairs overall, including my trials runs, which I’m still going to wear, ‘cos it’s not like anyone can see the less-than wonderful ones in situ. With the exception of the white ones, which is fresh fabric, the others are all made from old Tshirts.
Thanks for helping me with my pictures, Clara!! xxx

And finally… !

I made a toiletries bag for a friend for her birthday, using the dopp kit pattern from the Grainline Portside Travel set… I’ve made quite a few of these, see my previous versions here. The cool crackle print is cotton canvas hand painted in Zambia, I bought it at the Fabric Store in Melbourne during my holiday there with Mum and Cassie, and made a skirt for Cassie for Christmas. This is the very last of it!

I lined it fully with plastic waterproof stuff from Spotlight, and made little zip pulls for fun, using beads and earring wires leftover from my jewellery making days. I think it turned out pretty cute, and my friend professed herself very happy with it too 🙂


 o get SO far behind… it’s time to get back on the wagon. I’ve been super busy busy BUSY, sewing up Christmas and birthday presents; including this bunch o’ stuff.
 Tim’s; made first. All grey/black/white, very masculine which at first I thought perfect for a professional young man. I actually made a matching grey/white dilly bag for him to start with, then suddenly felt all that extremely tasteful grey-and-white was all a bit plain-y plain blah blah blah, and decided it desperately needed an injection of FUN somewhere… we’ve been in sore need of fun around here lately… and Tim is naturally a pretty fun-loving kinda of a guy. When I saw this black/white Darth Vader/stormtrooper fabric in Spotlight, well it all just fell into place. I had bought some Star Wars Lego key rings for gifts when we were in Copenhagen last year; and had some leftover, and thought C3PO made a good zip pull for Tim’s bag.


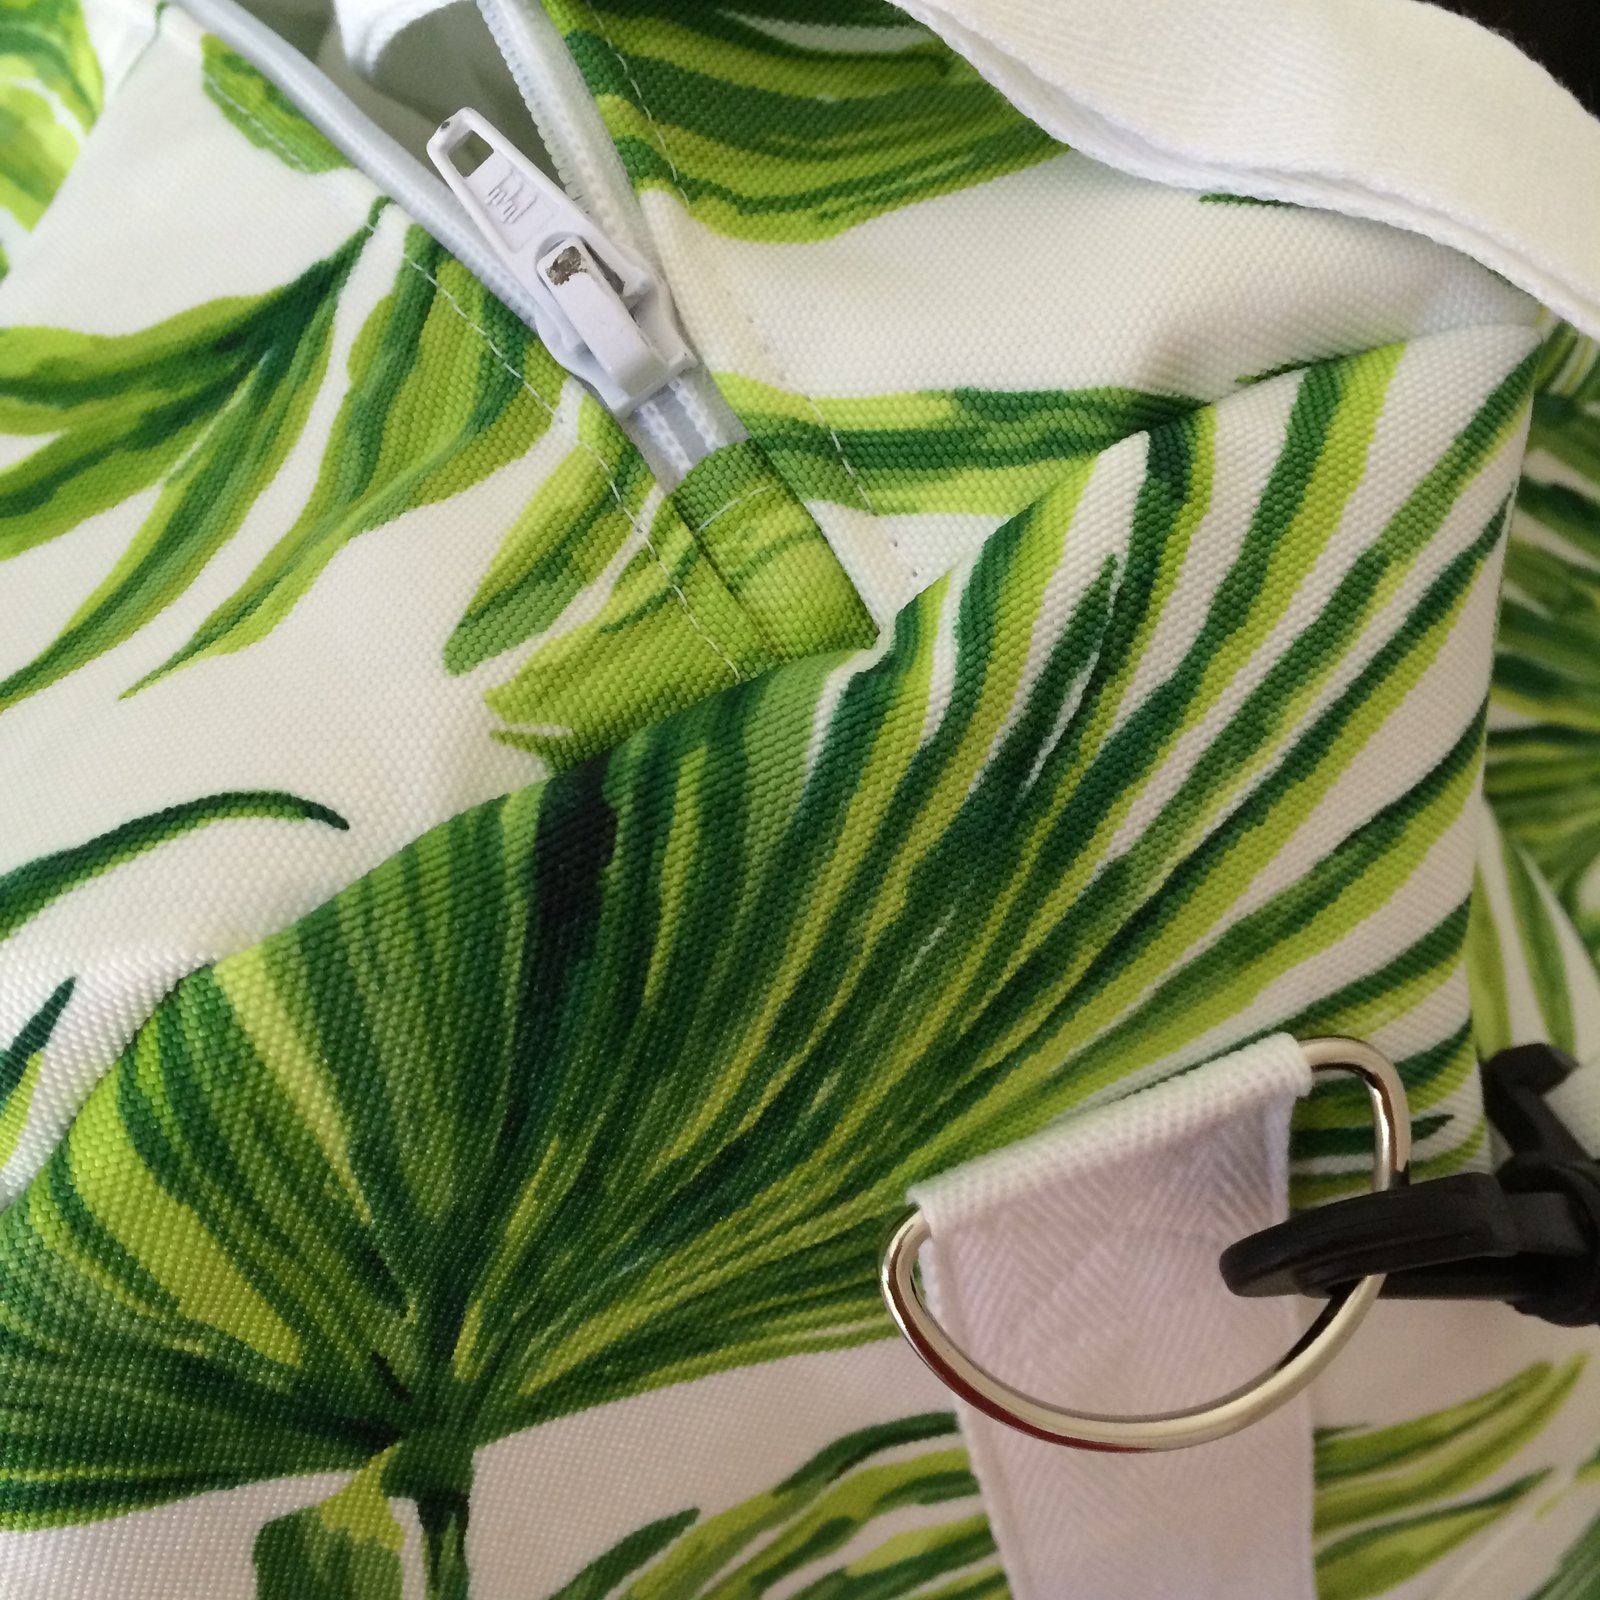
 Finally, I made a second palm frond dilly bag, for another friend, M. She’s been so kind and sweet and generous to me all year, and I just wanted to make something for her. The only thing I’m super ashamed of is that I ran out of time and only just finished this one on Boxing Day, so it was a little late. Eeeeeeek!


 … I’ve only just noticed this; that under “gather your supplies” the list includes “sewing machine” ;D


