I still have one or two really lovely pieces of fabric given to me for pressies last Christmas, as well as from my birthday last year (blush) Beautiful fabrics that I have been too chicken to take the scissors to. I know, ridiculous, right?!
Including a length of luscious powder-blue silk from Fabulous Fabrics, given to me by Cassie.
This is a pure silk, but an unusual silk like none I have ever come across before. The texture is very slightly rough and “grab-y”, almost suede-like; but somehow it still manages to be ripply and totally divinely soft against the skin.
No kidding, it’s like wearing a pale blue whisper.
I’ve given staaaacks of thought as to what to make with it… and eveeeeentually made a decision. Hey, I’m a Libra yo.
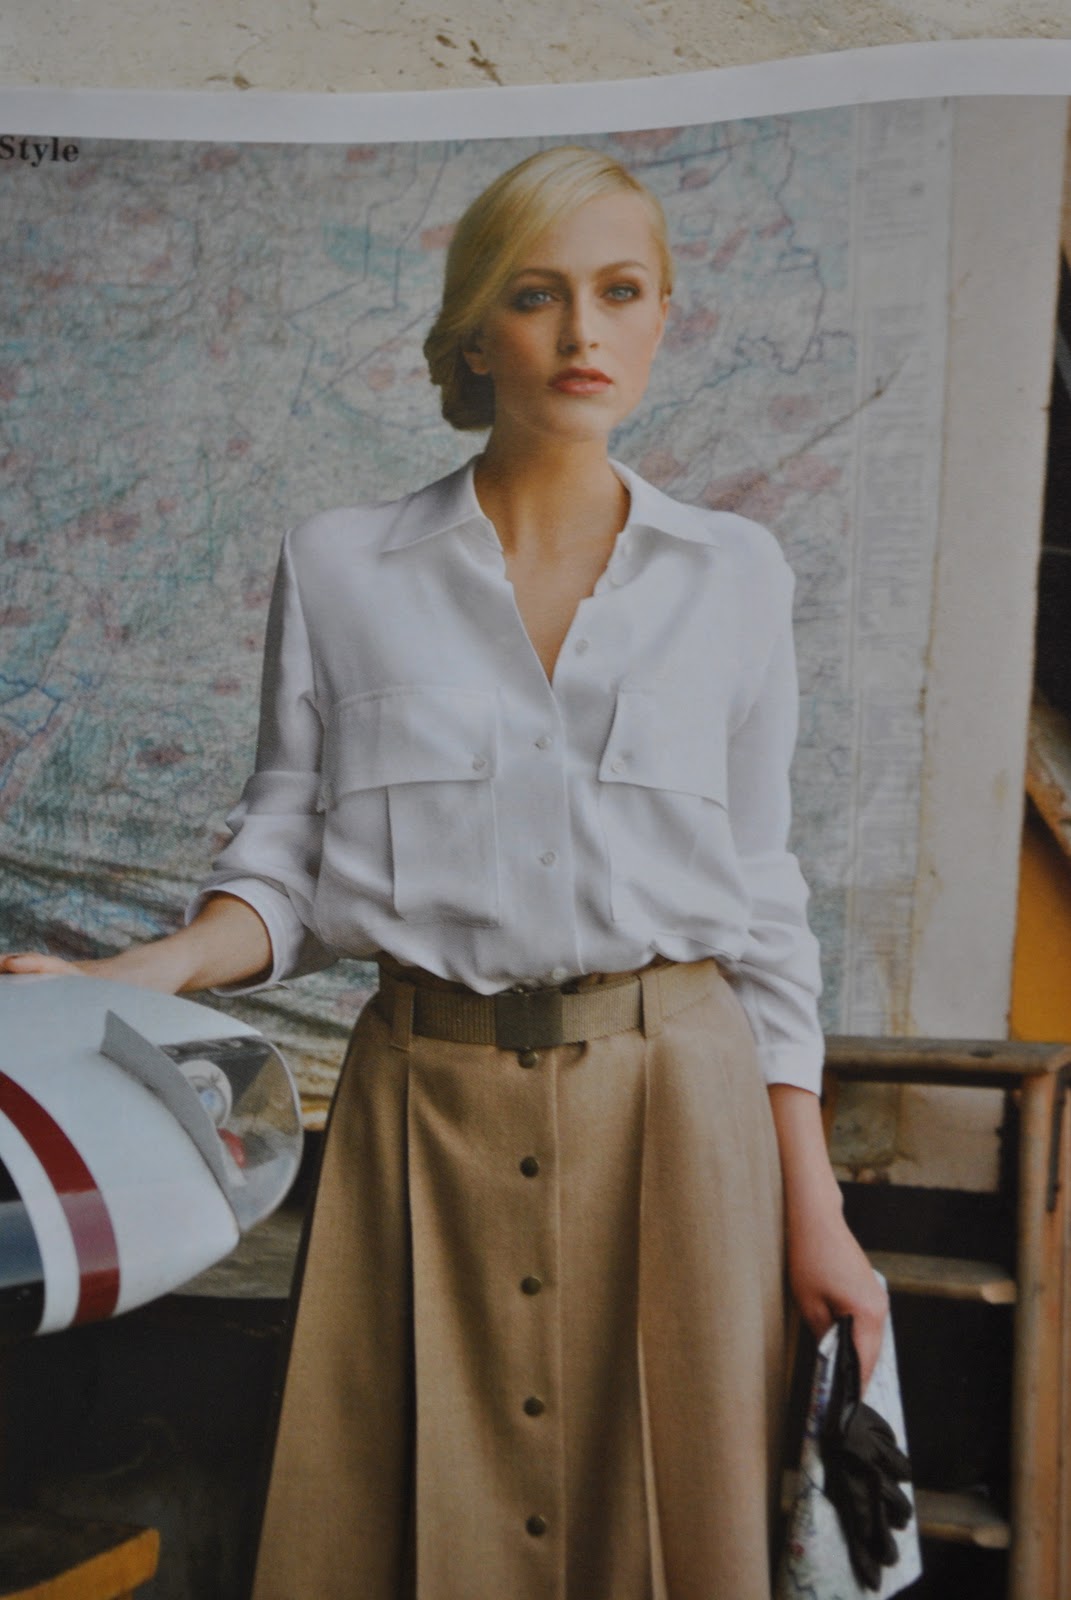
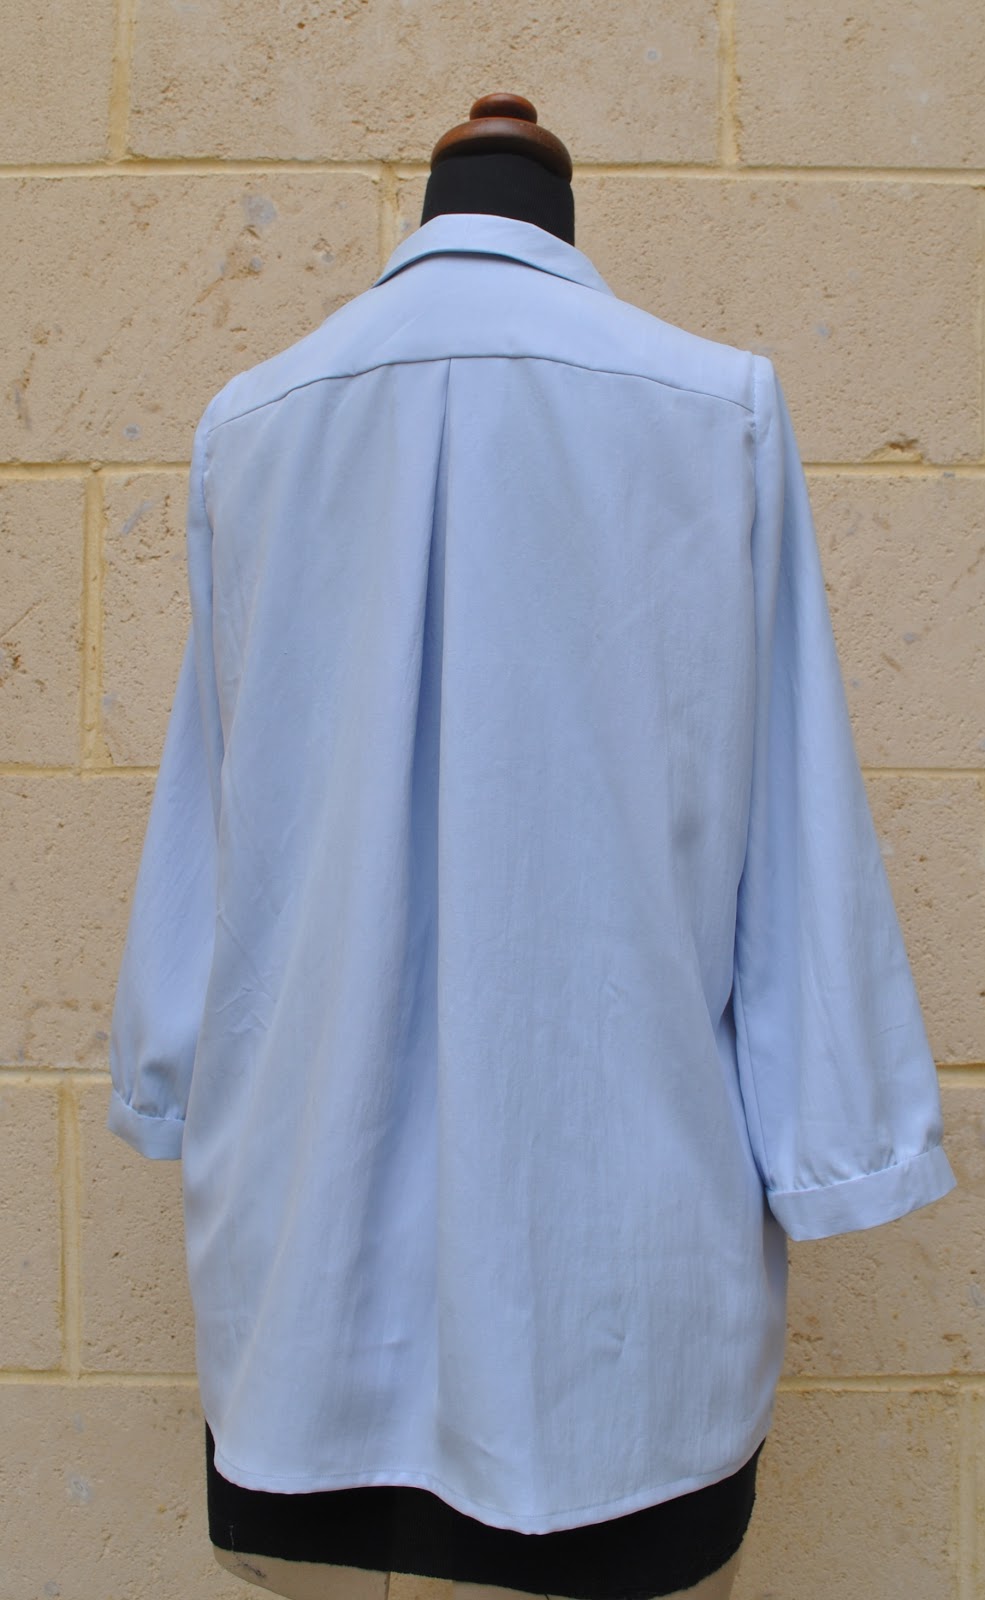
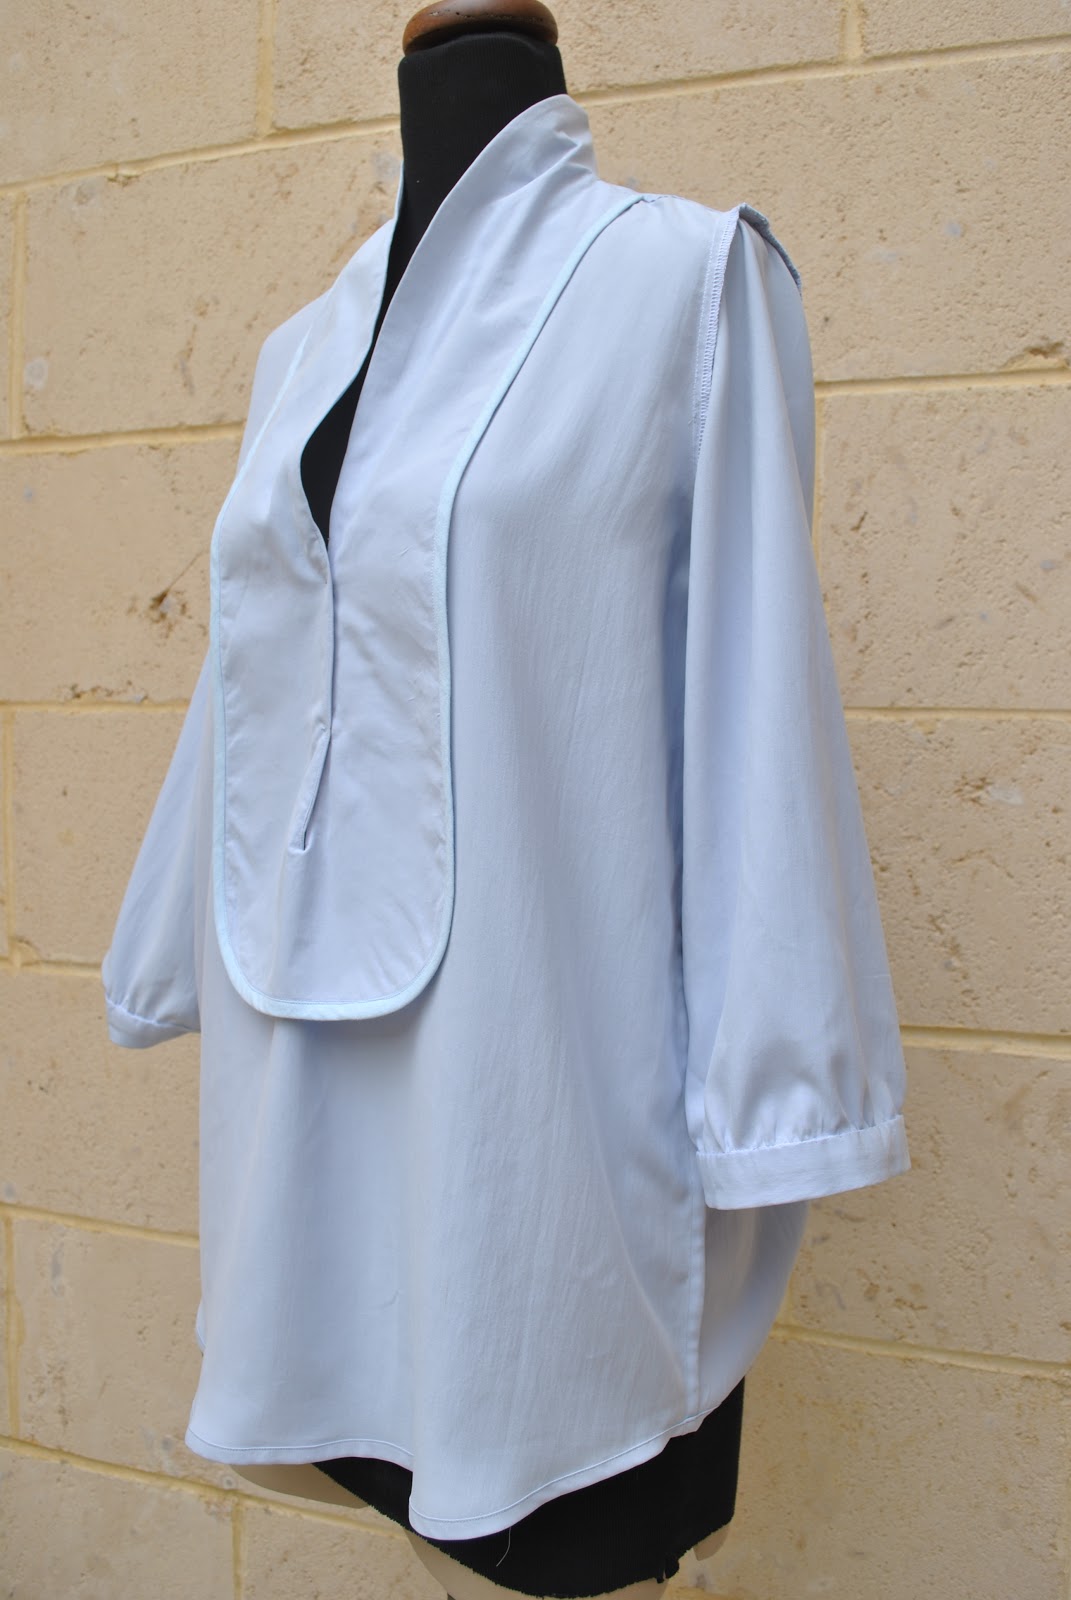
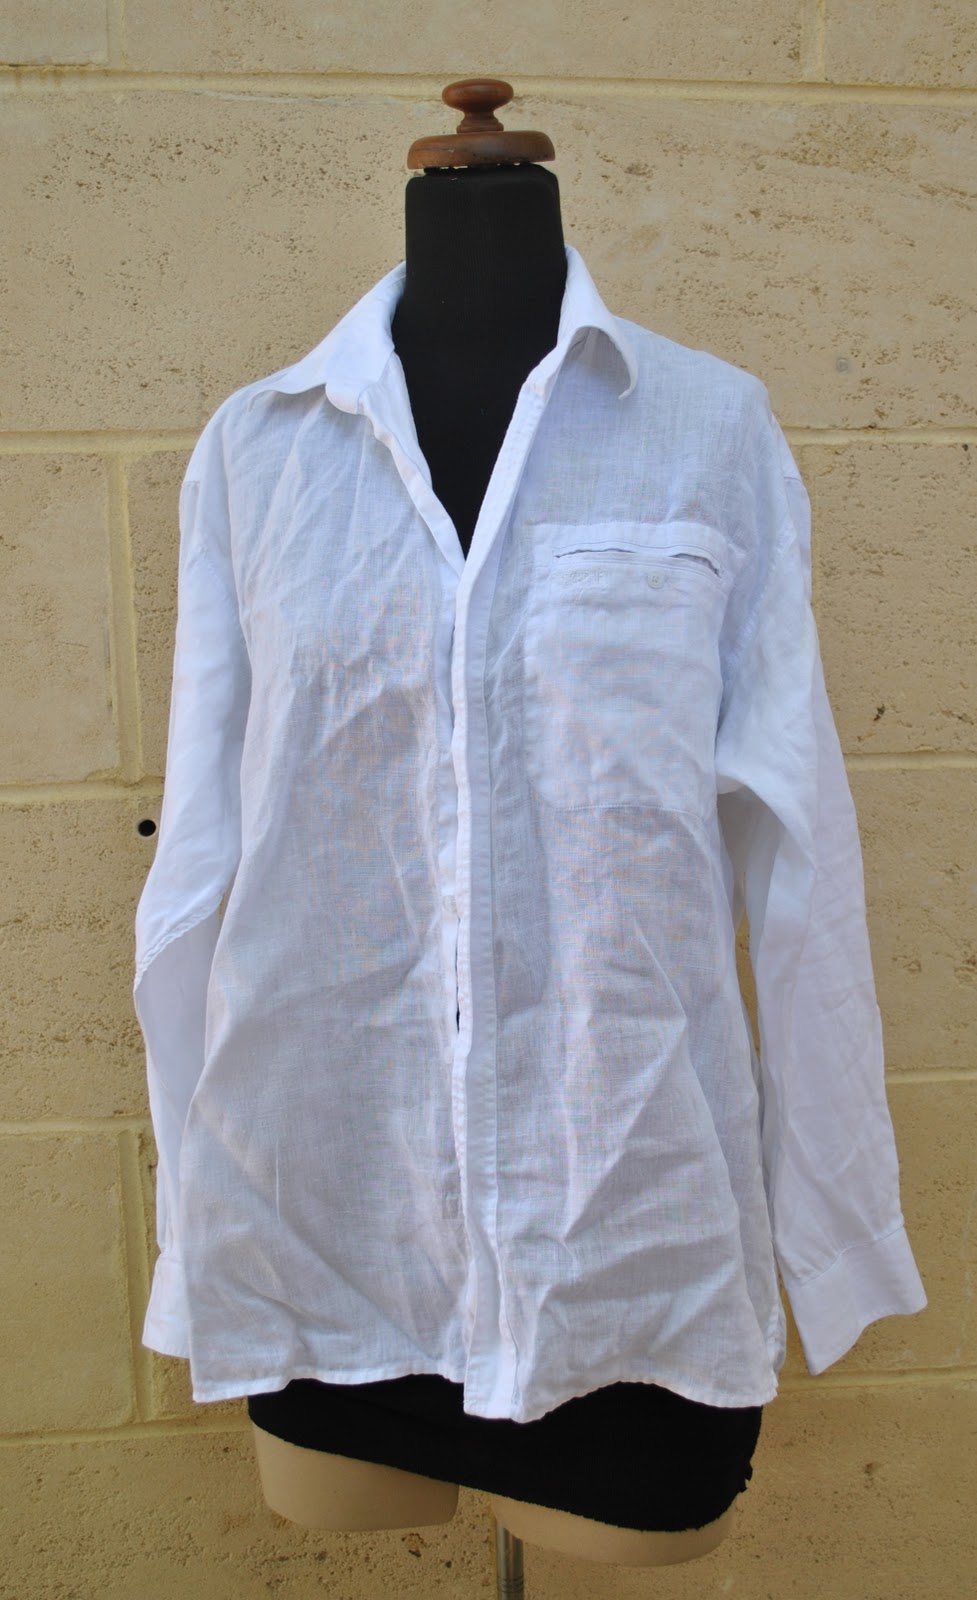
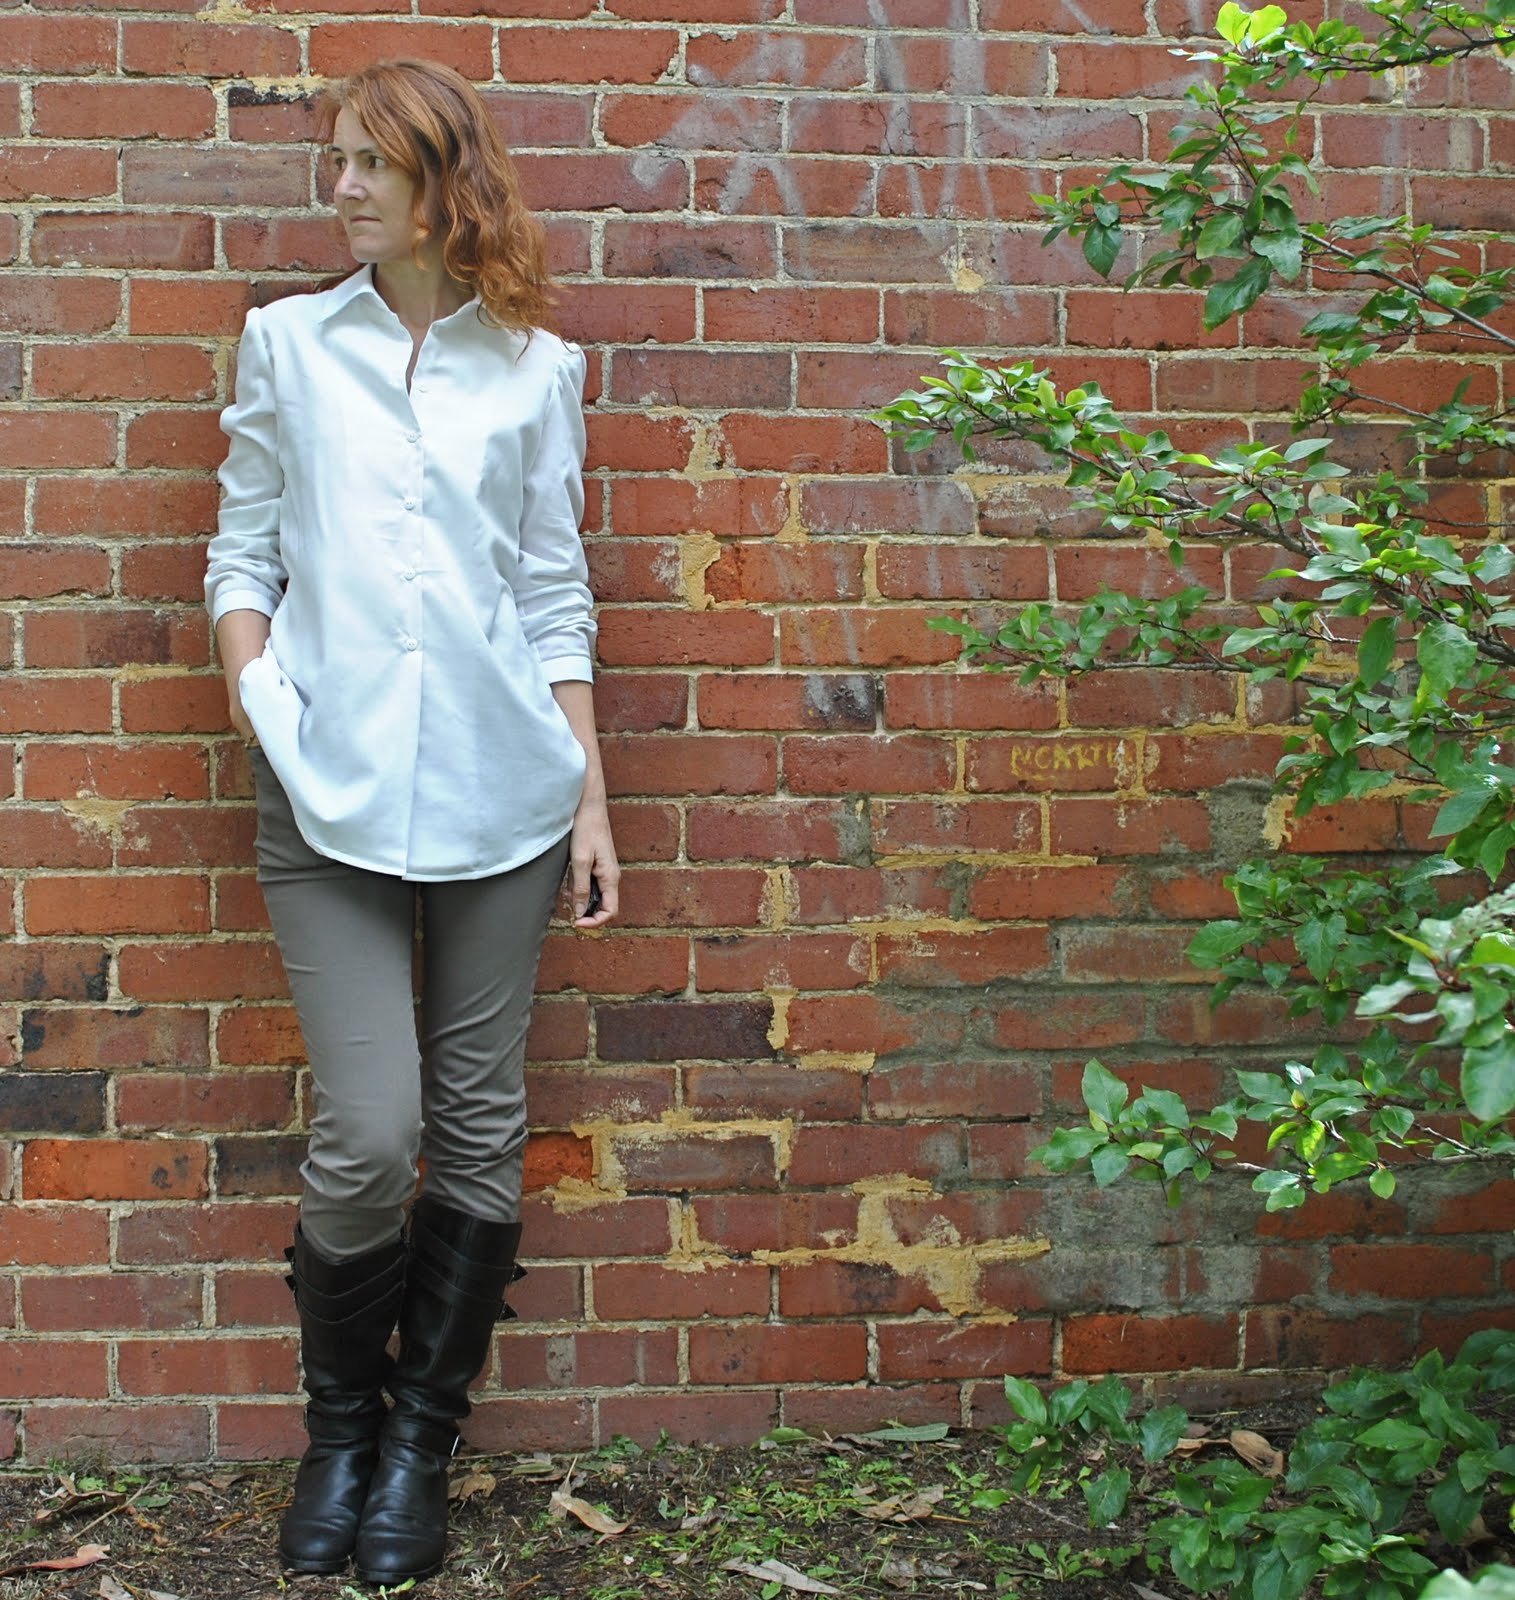
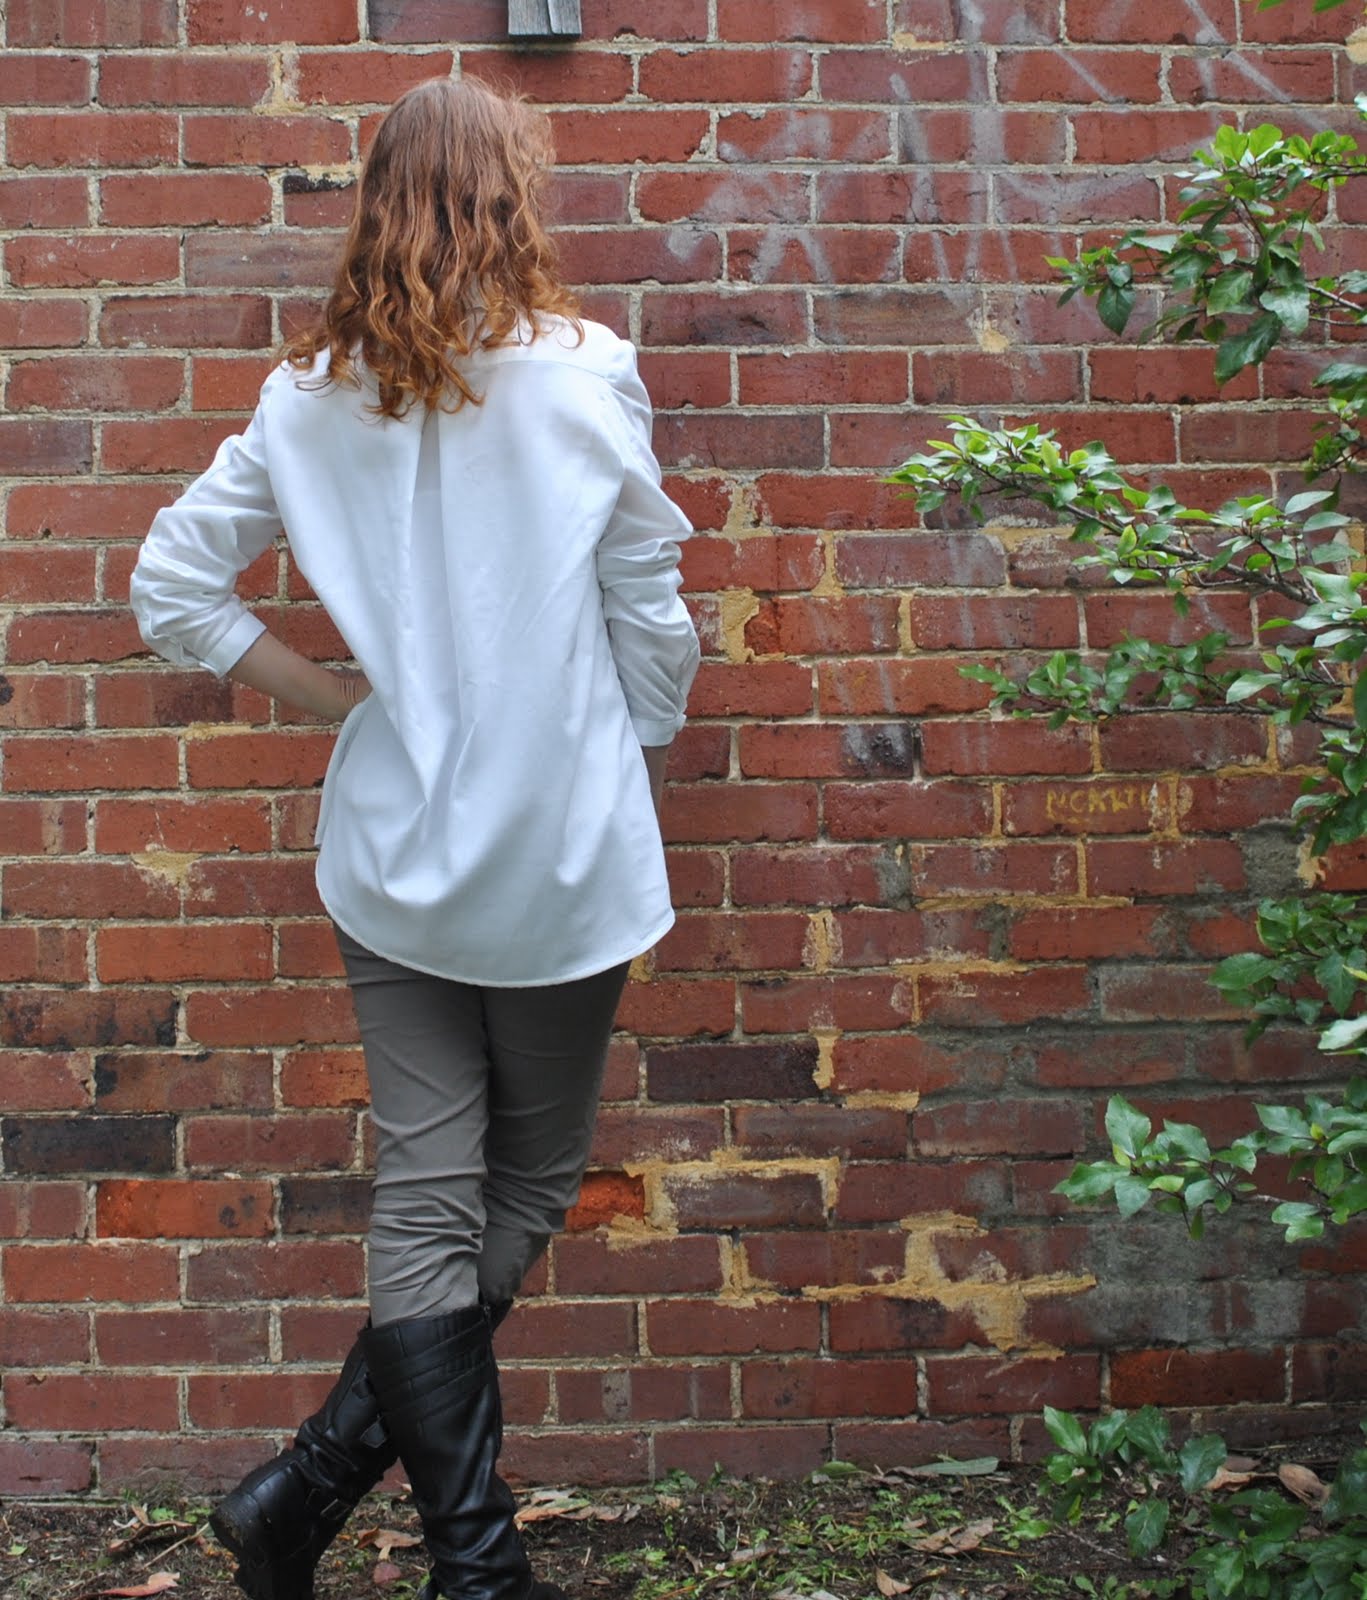
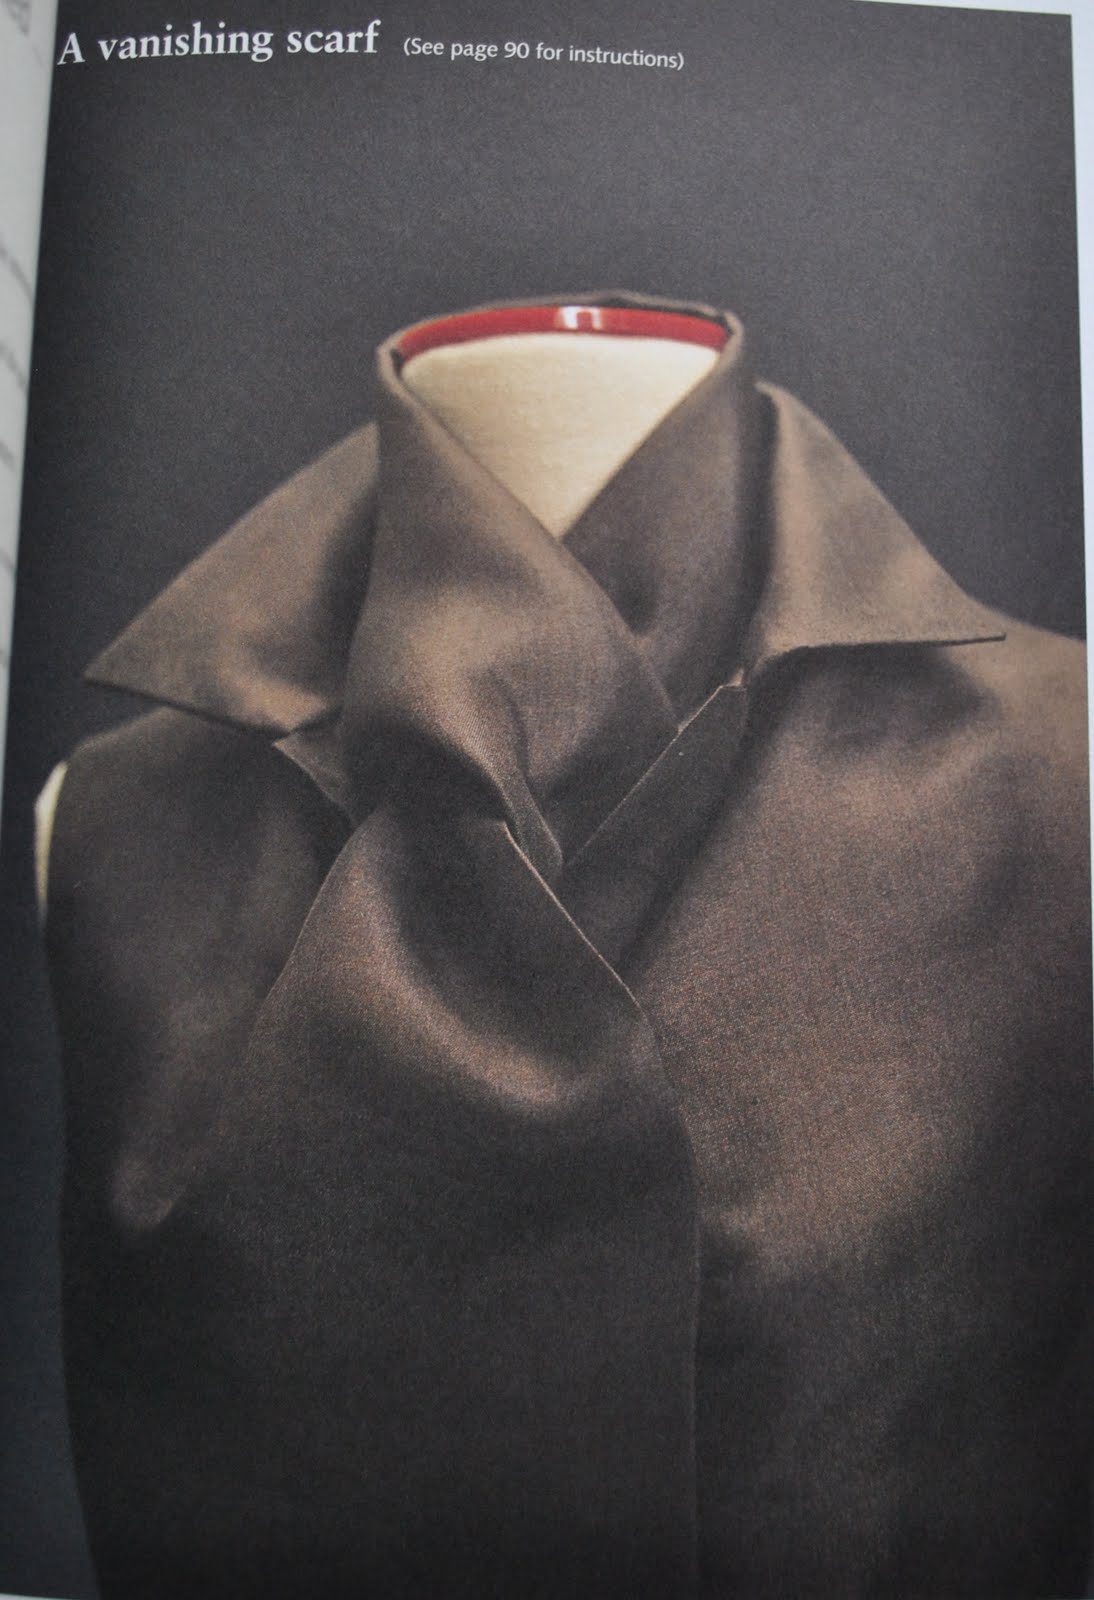
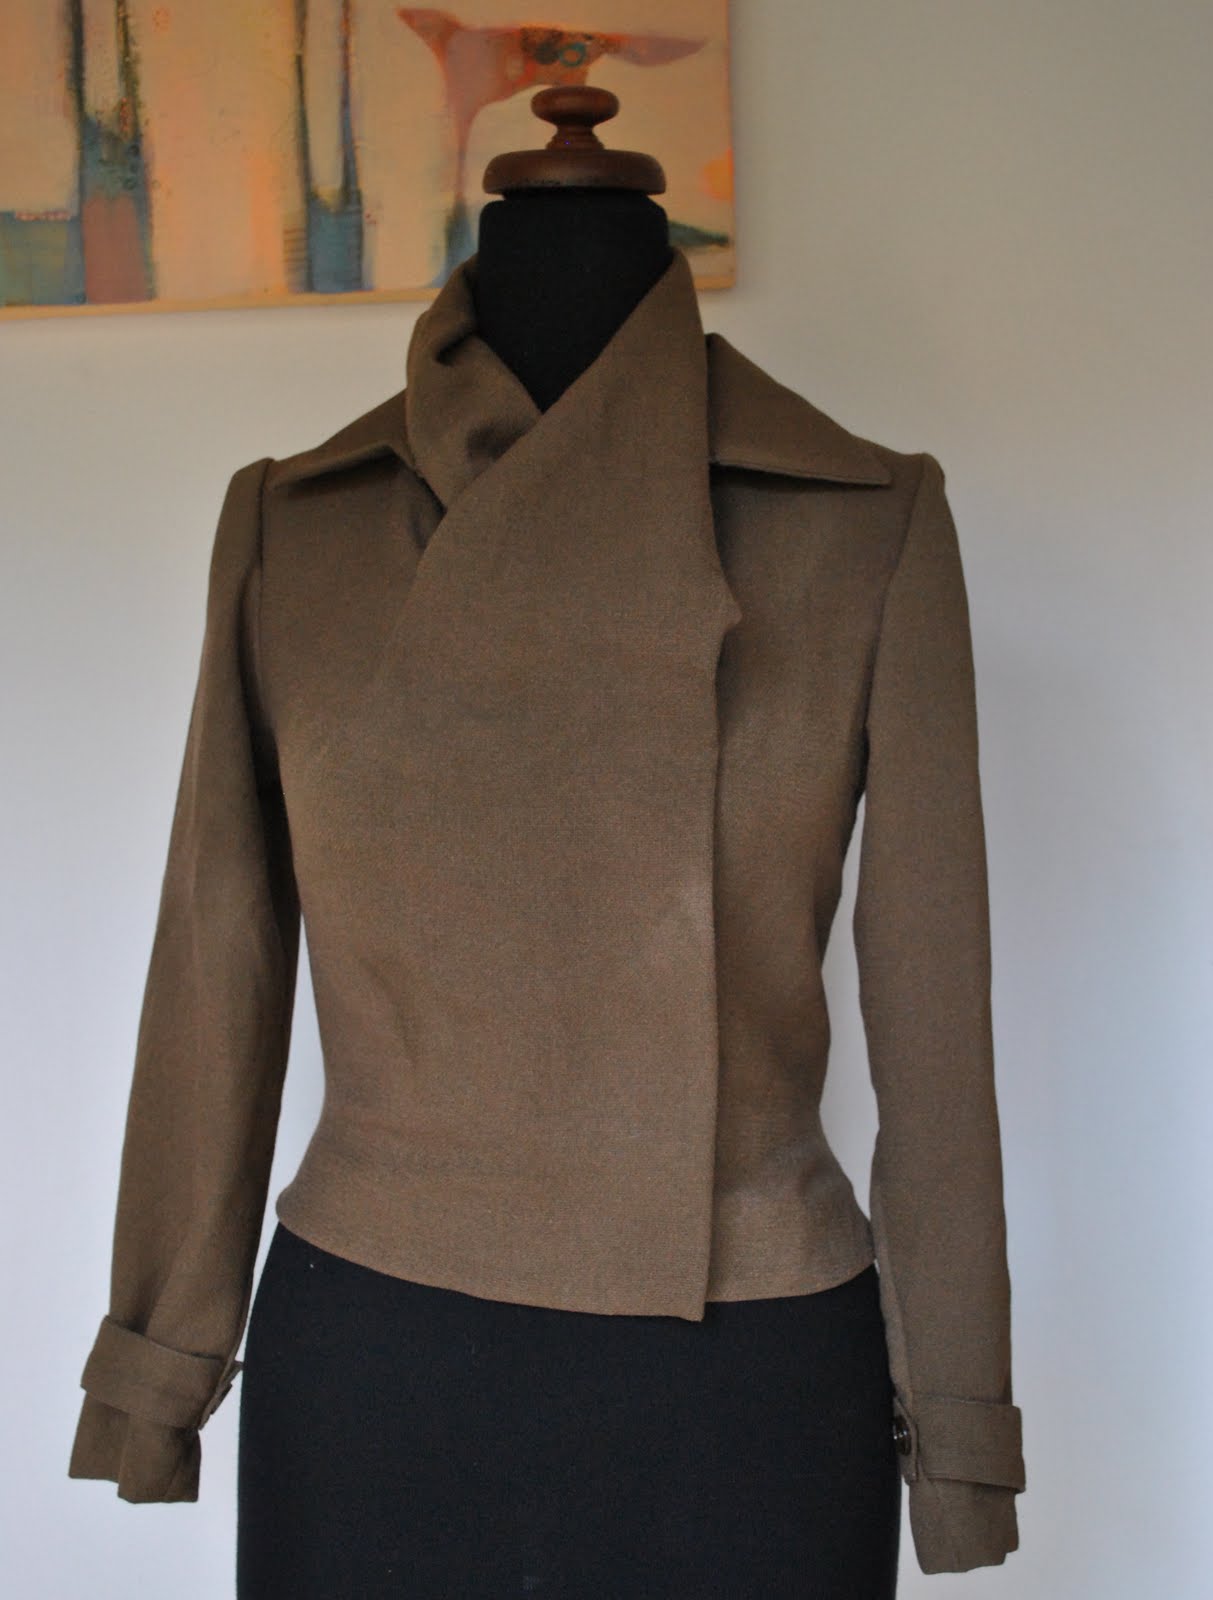
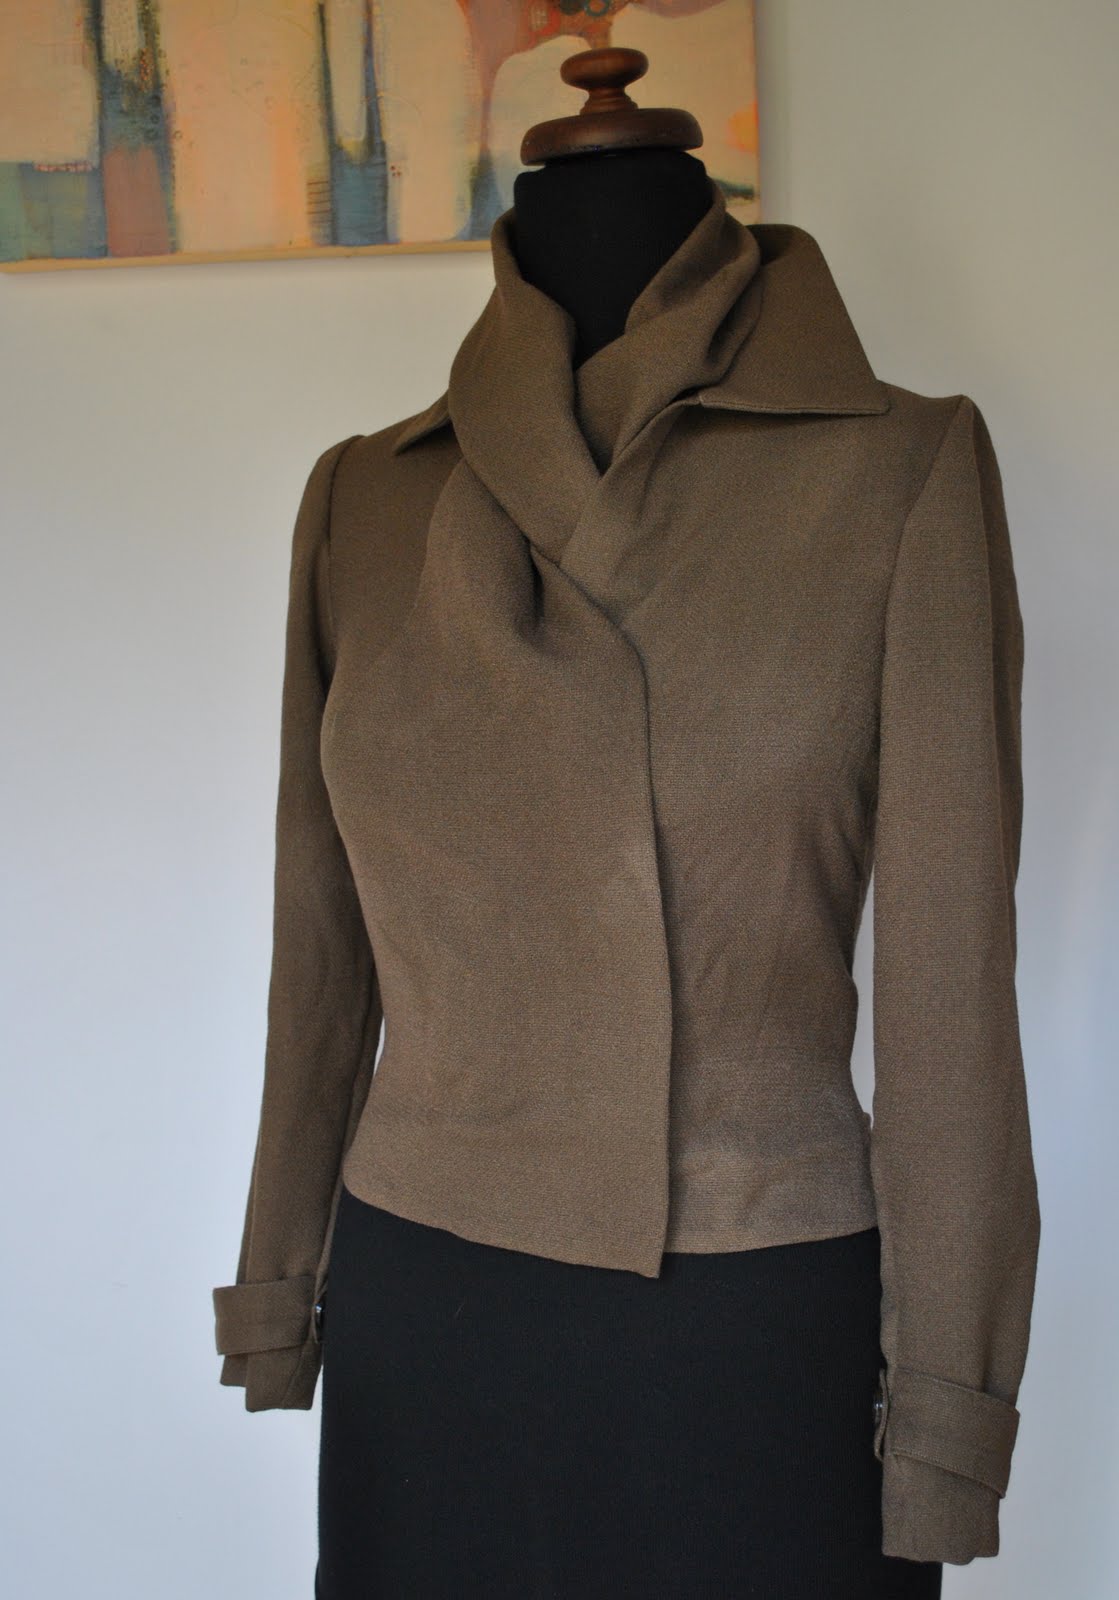
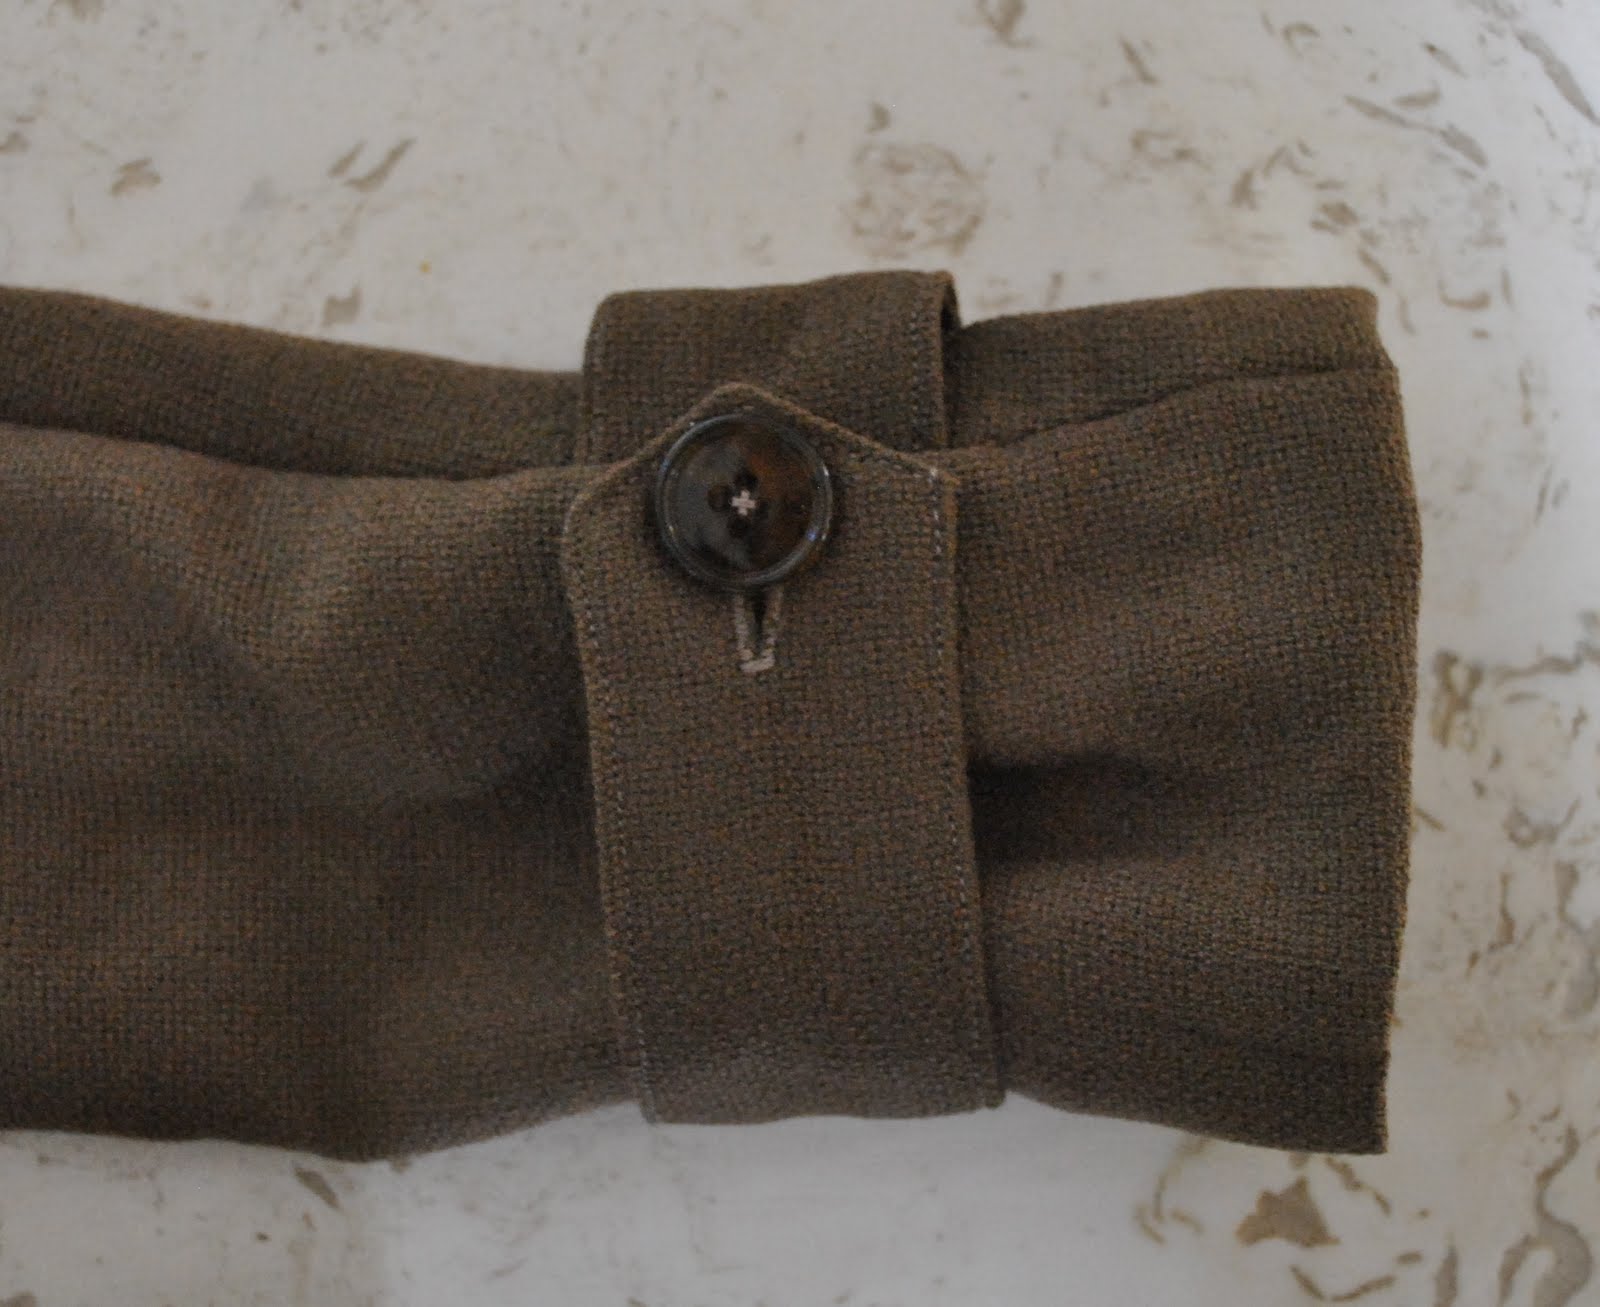
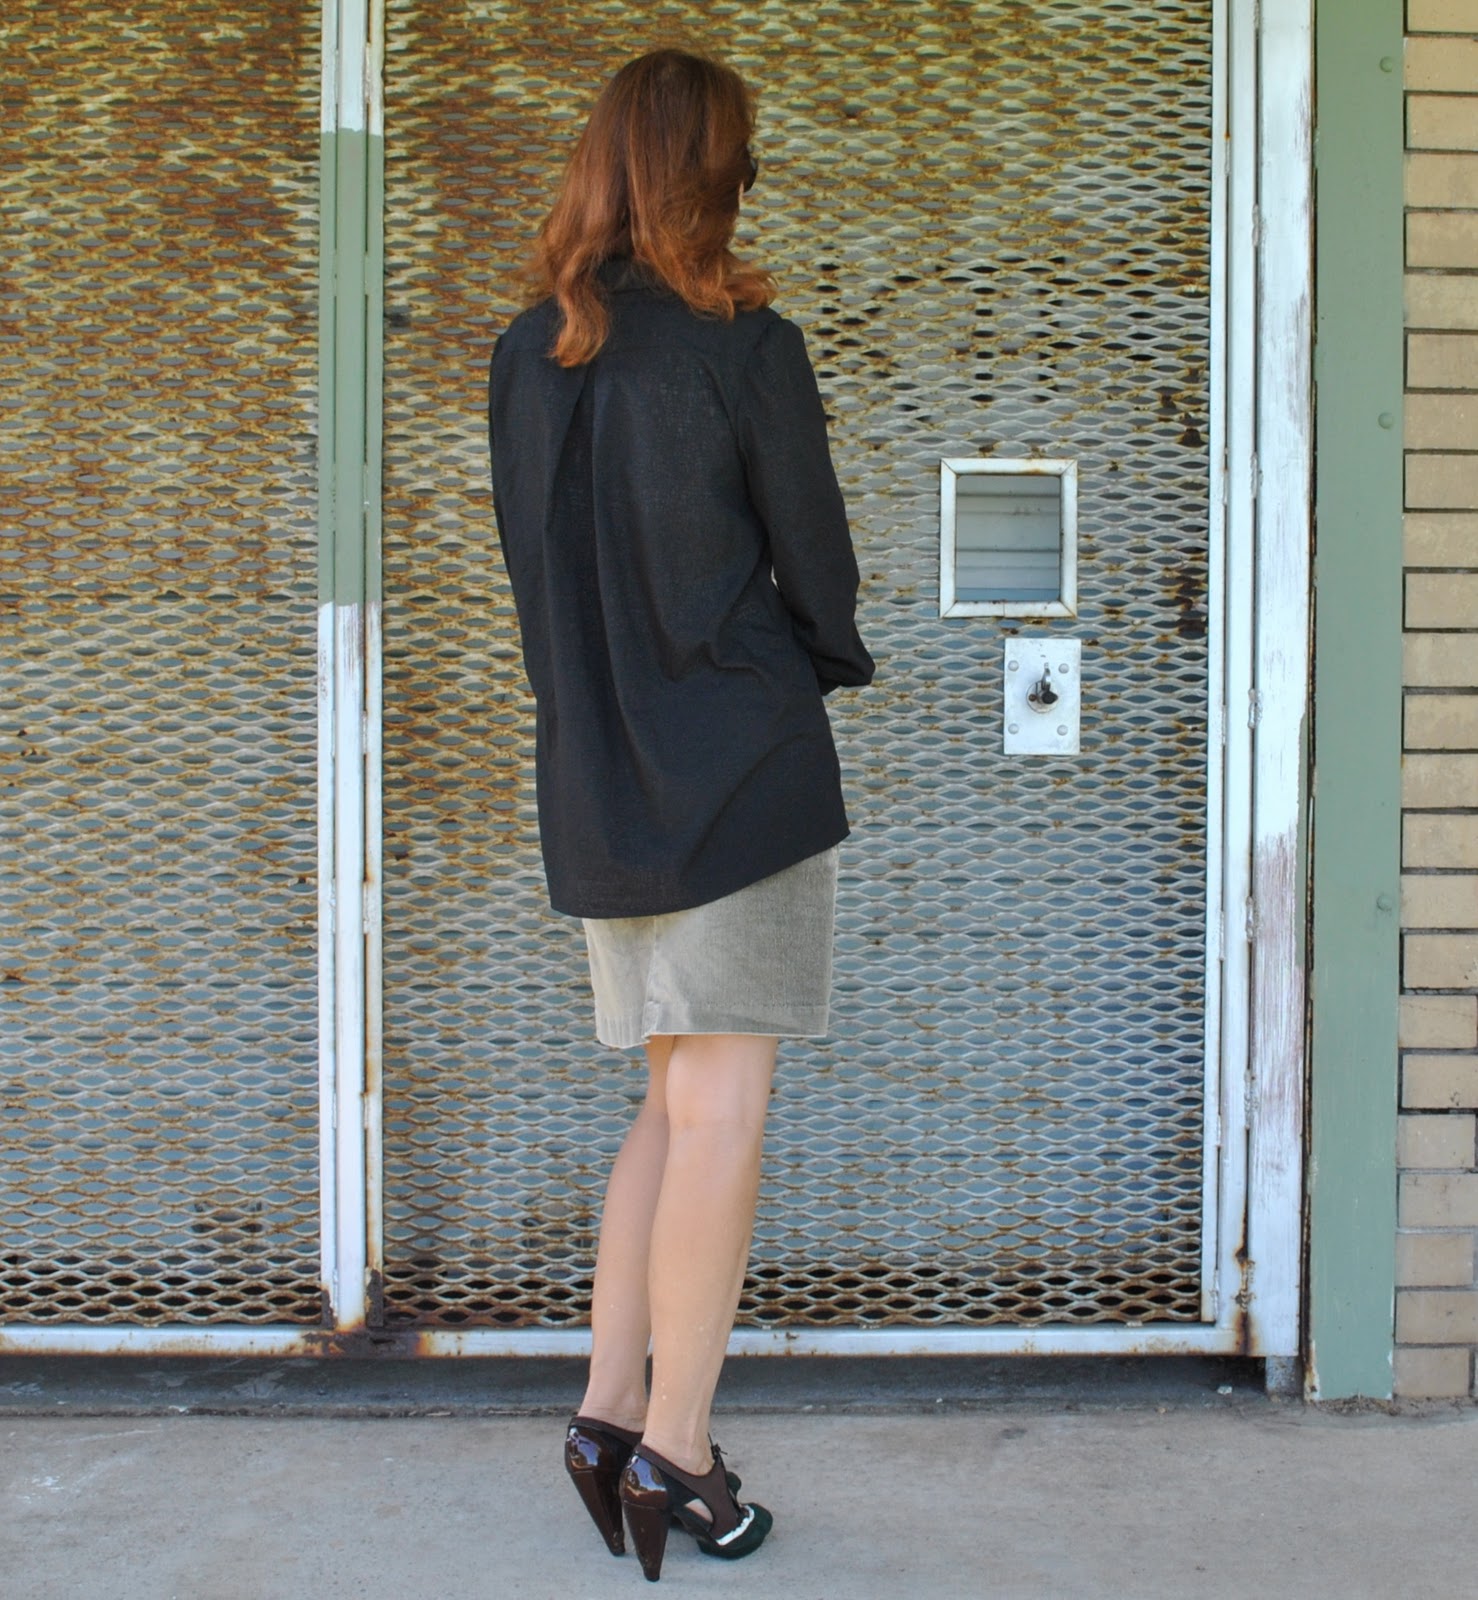
I really love my billowy black shirt, made last year. It is so easy to wear and I feel so so good in it. I feel like it is really flattering. I love the shawl collar, the elegantly draped and gathered sleeves. It is close to being perfect, and I wanted to make another one sorta similar, with a few modifications.
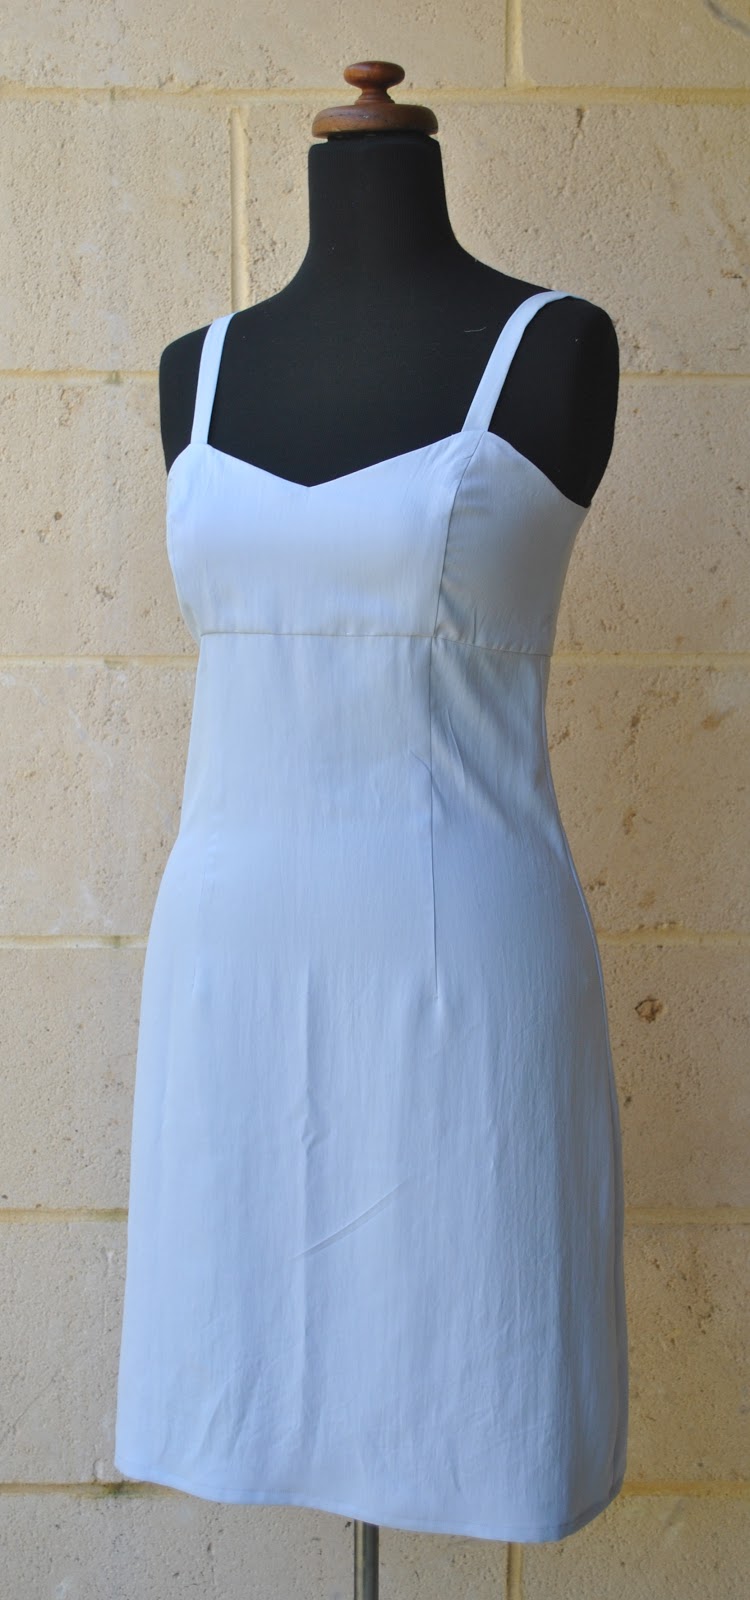
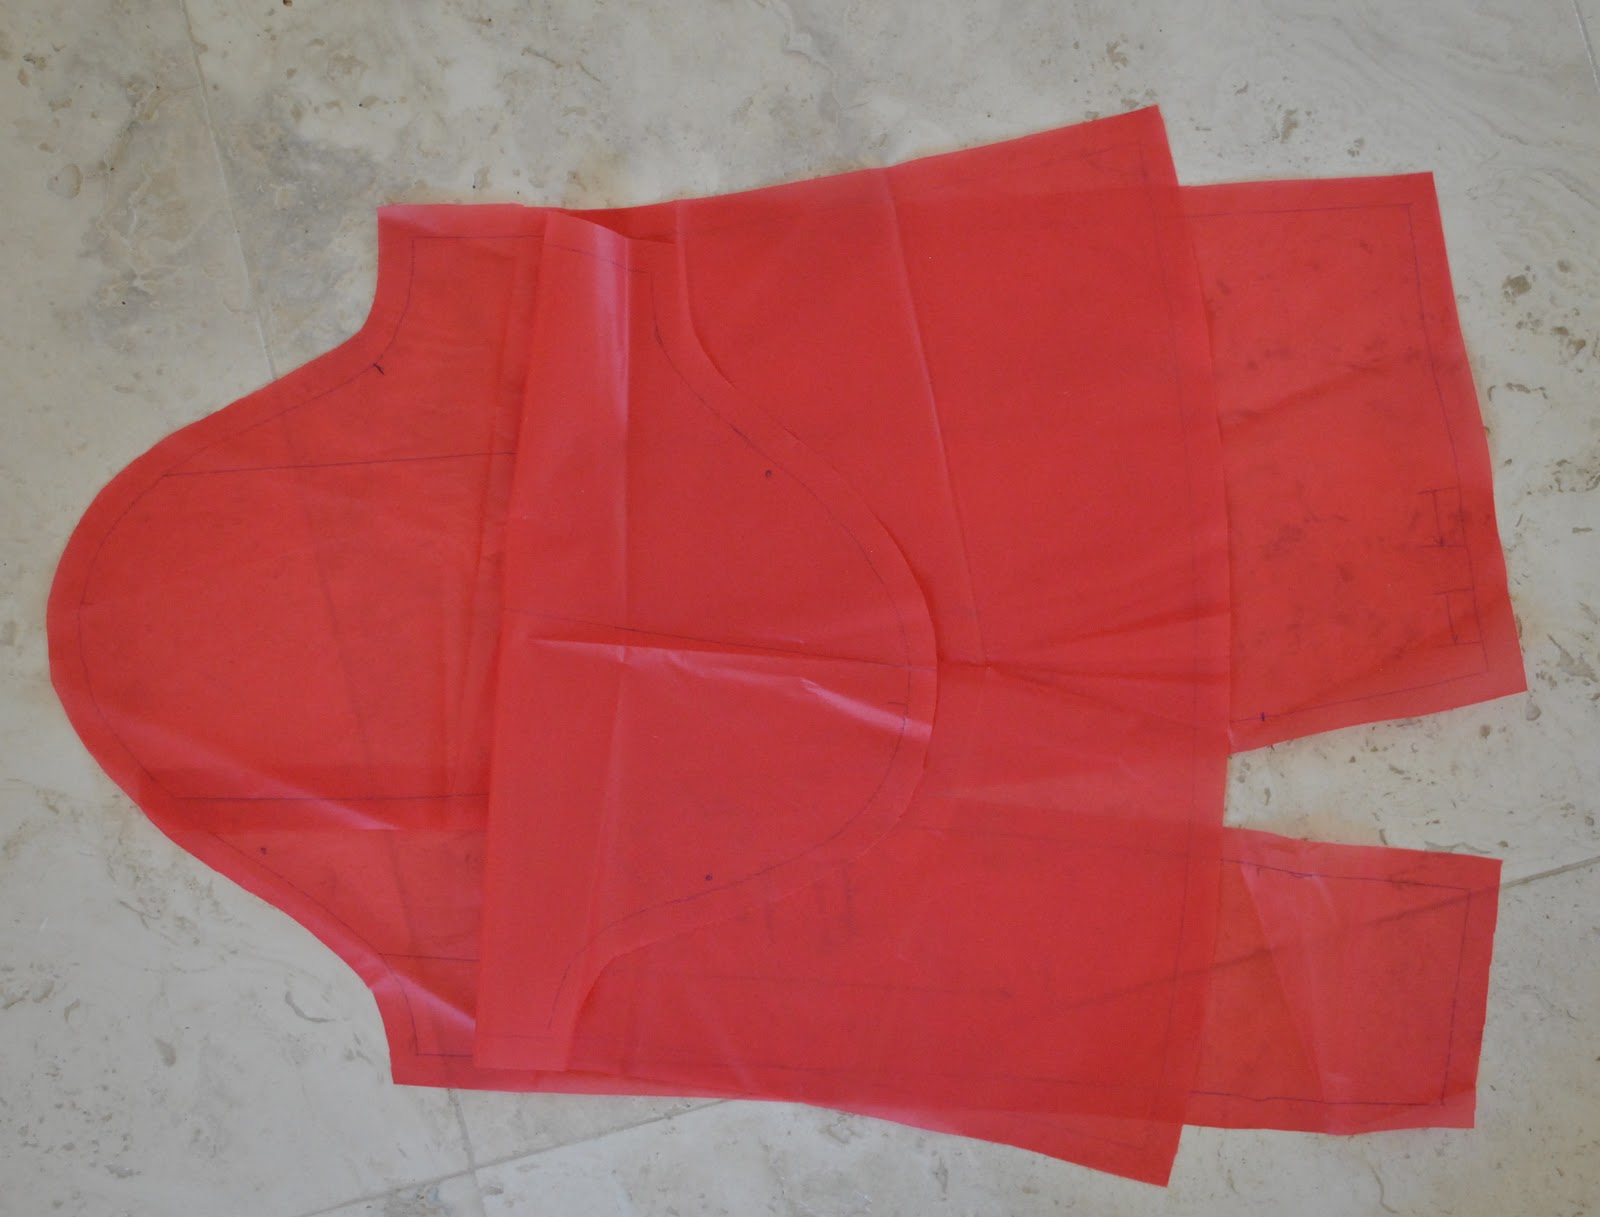
When I laid my pieces out on the fabric and realised I was going to end up with an unacceptably large piece of leftover fabric… aaagh! More scissor-phobia and had to immediately pack it all up for a bit more thought. And finally came up with a plan; yes, I still wanted my shirt, but I thought I might be able to squeeze a little petticoat from the leftovers… and I did! Just!!! And I have absolutely NO leftovers! Whooeee!
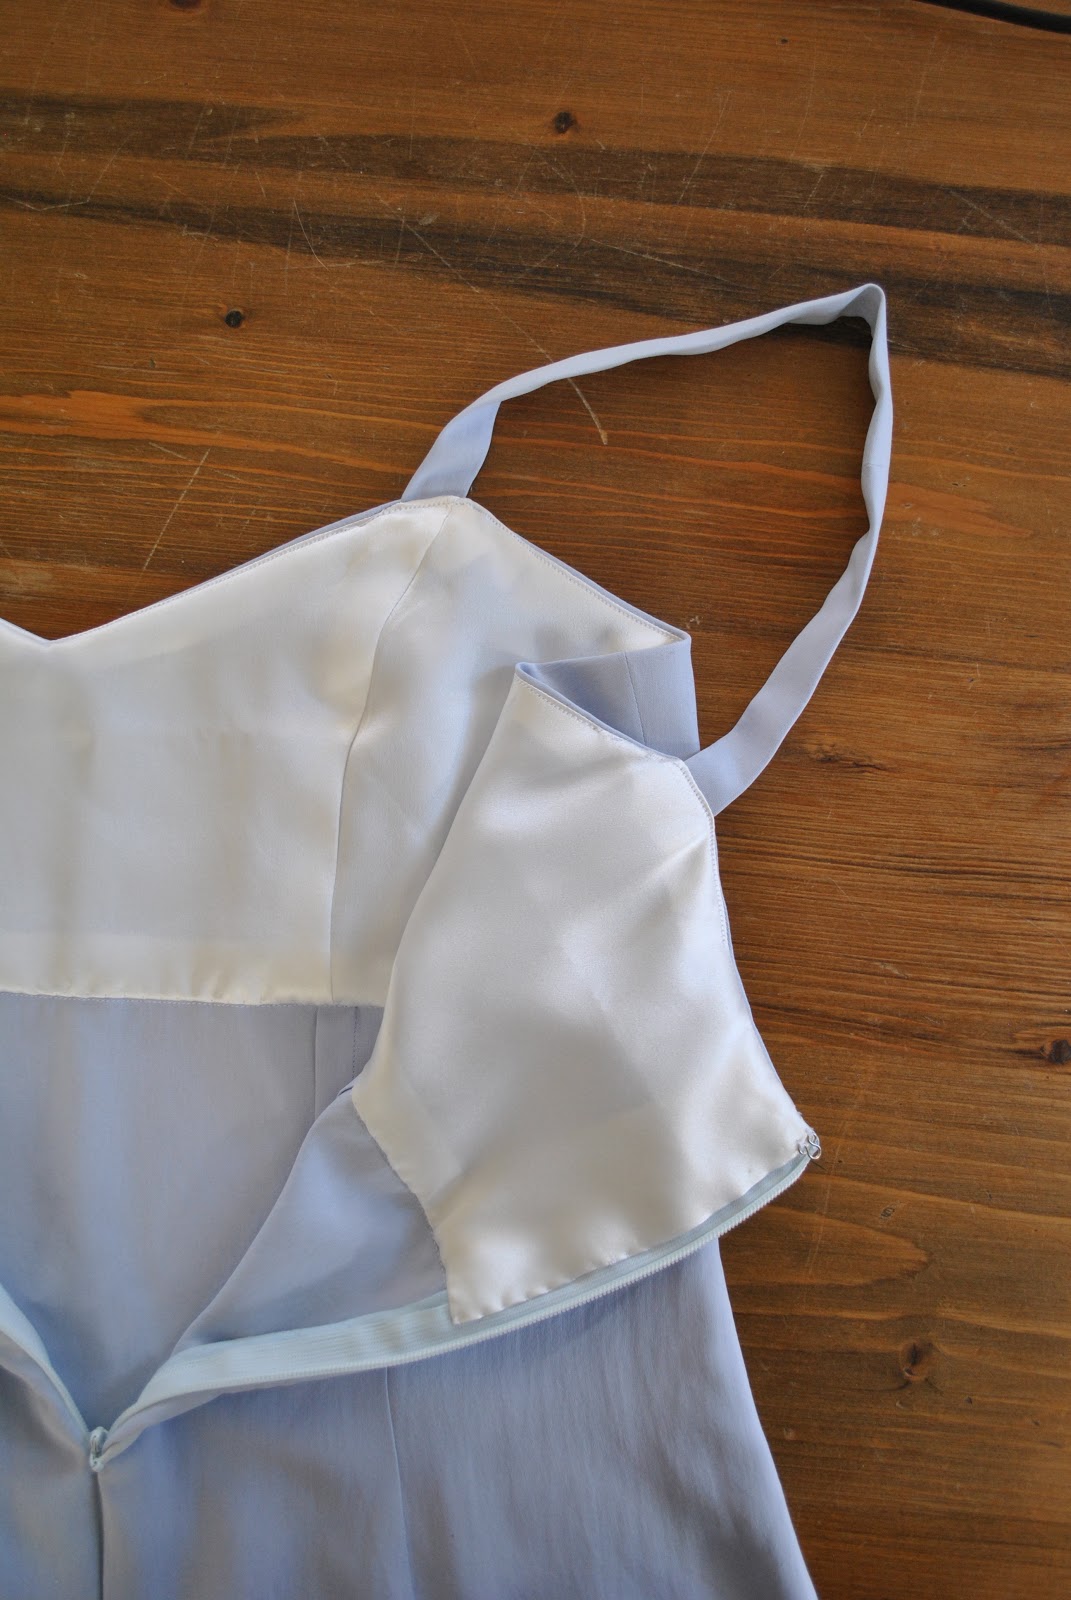
I had to cut the two back bodice pieces of the petticoat on the cross, and piece together one of the shoulder straps, but whoa! Self high-five! The high that comes with achieving zero waste in a project is pretty darn extra euphoric, yes? No??
Hmmm.
Maybe I need to get out more 😀
The nitty-gritty:
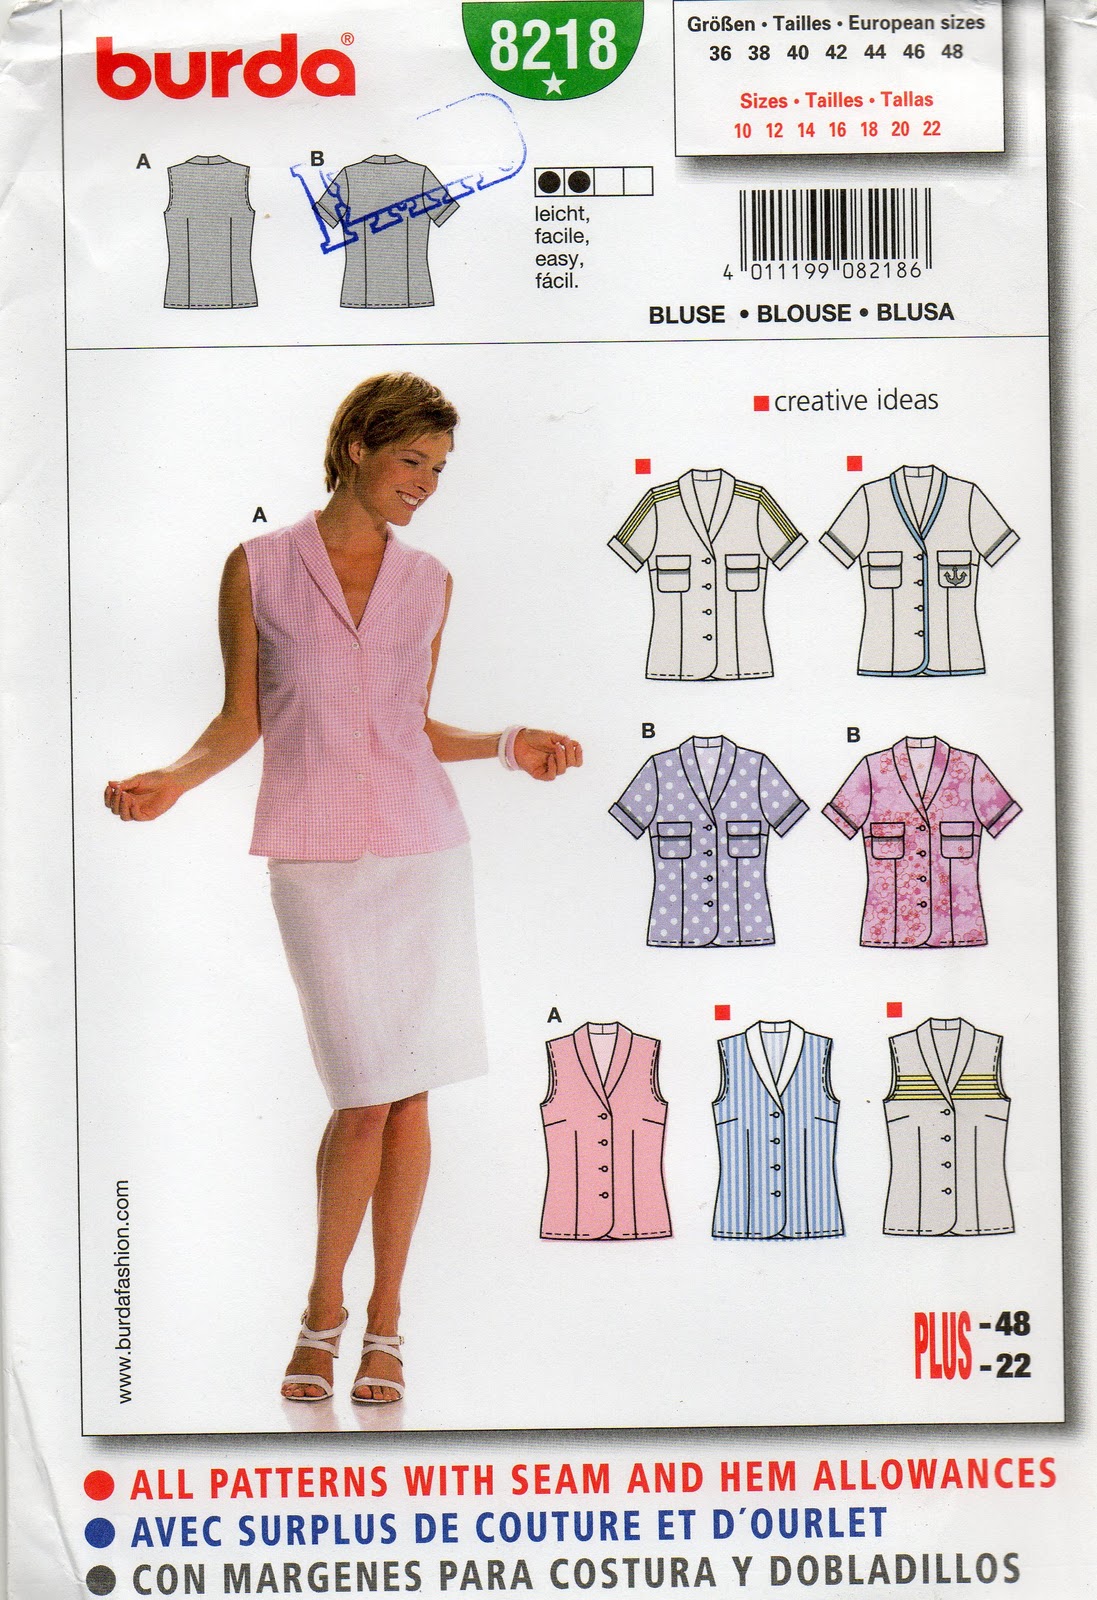
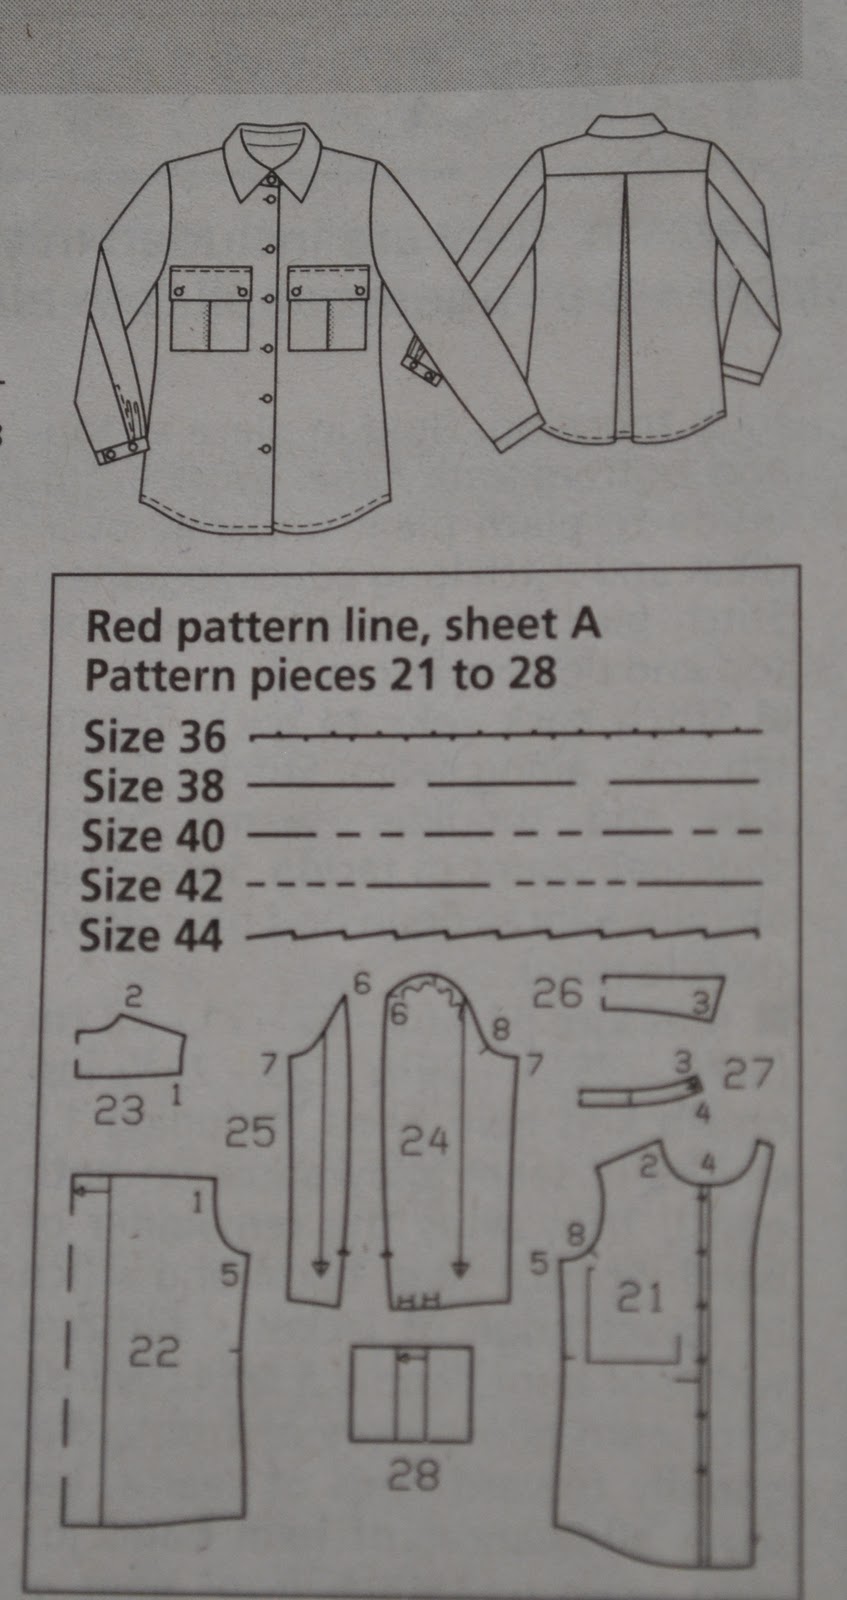
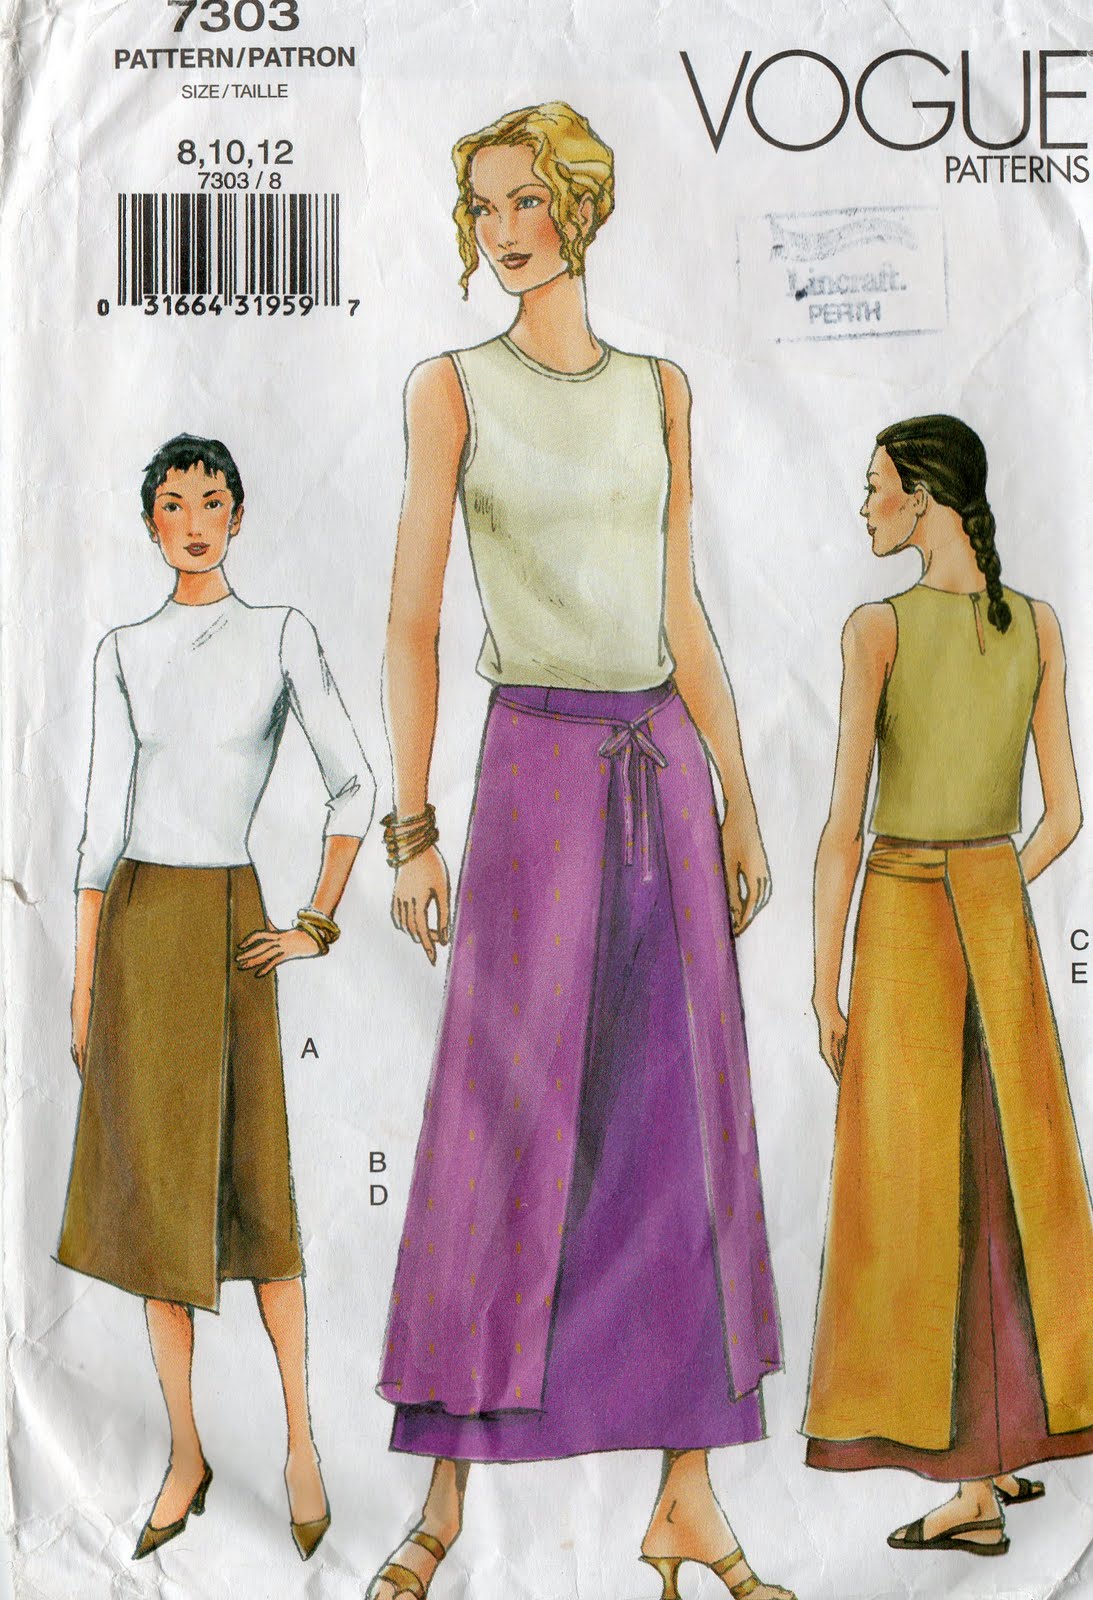
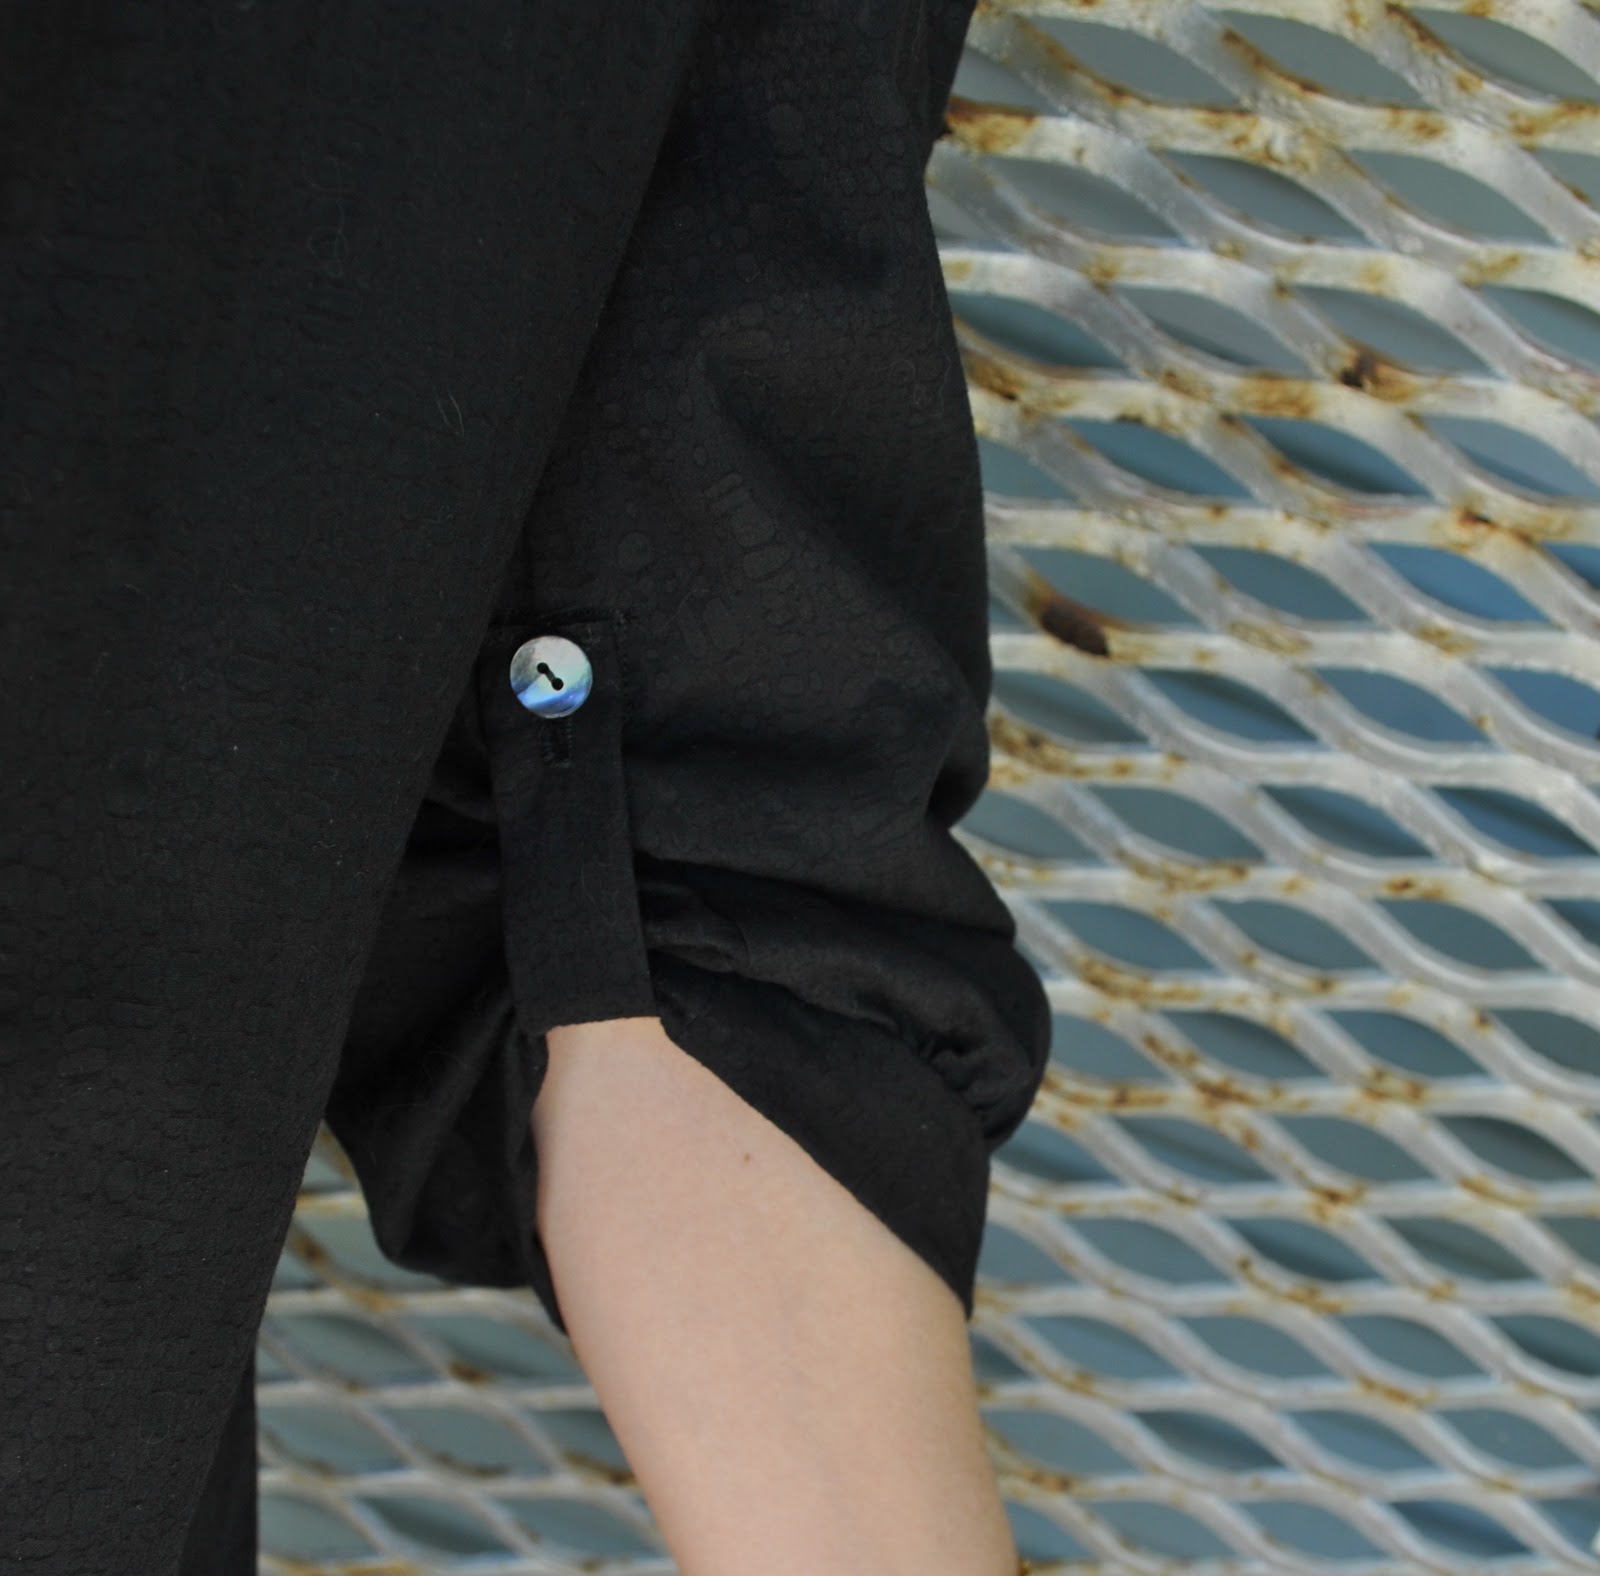
For my shirt/tunic: I used the same basic shirt pattern as for my billow-y black shirt, with some minor fitting modifications too; the bodice is based on Burdastyle 10/2010, shirt 102 (my review of this pattern is here), the shawl collar is adapted from Burda 8218, and the sleeves were partially based on those of my black blouse for which I used Burdastyle 5/2010 dress 101. But I have to confess I didn’t use the pattern piece this time but drew a different one. The sleeves have a shallower sleeve cap, are shorter, slightly more slim-line and not quite as bell-shaped; as the sleeves on my billow-y black shirt.
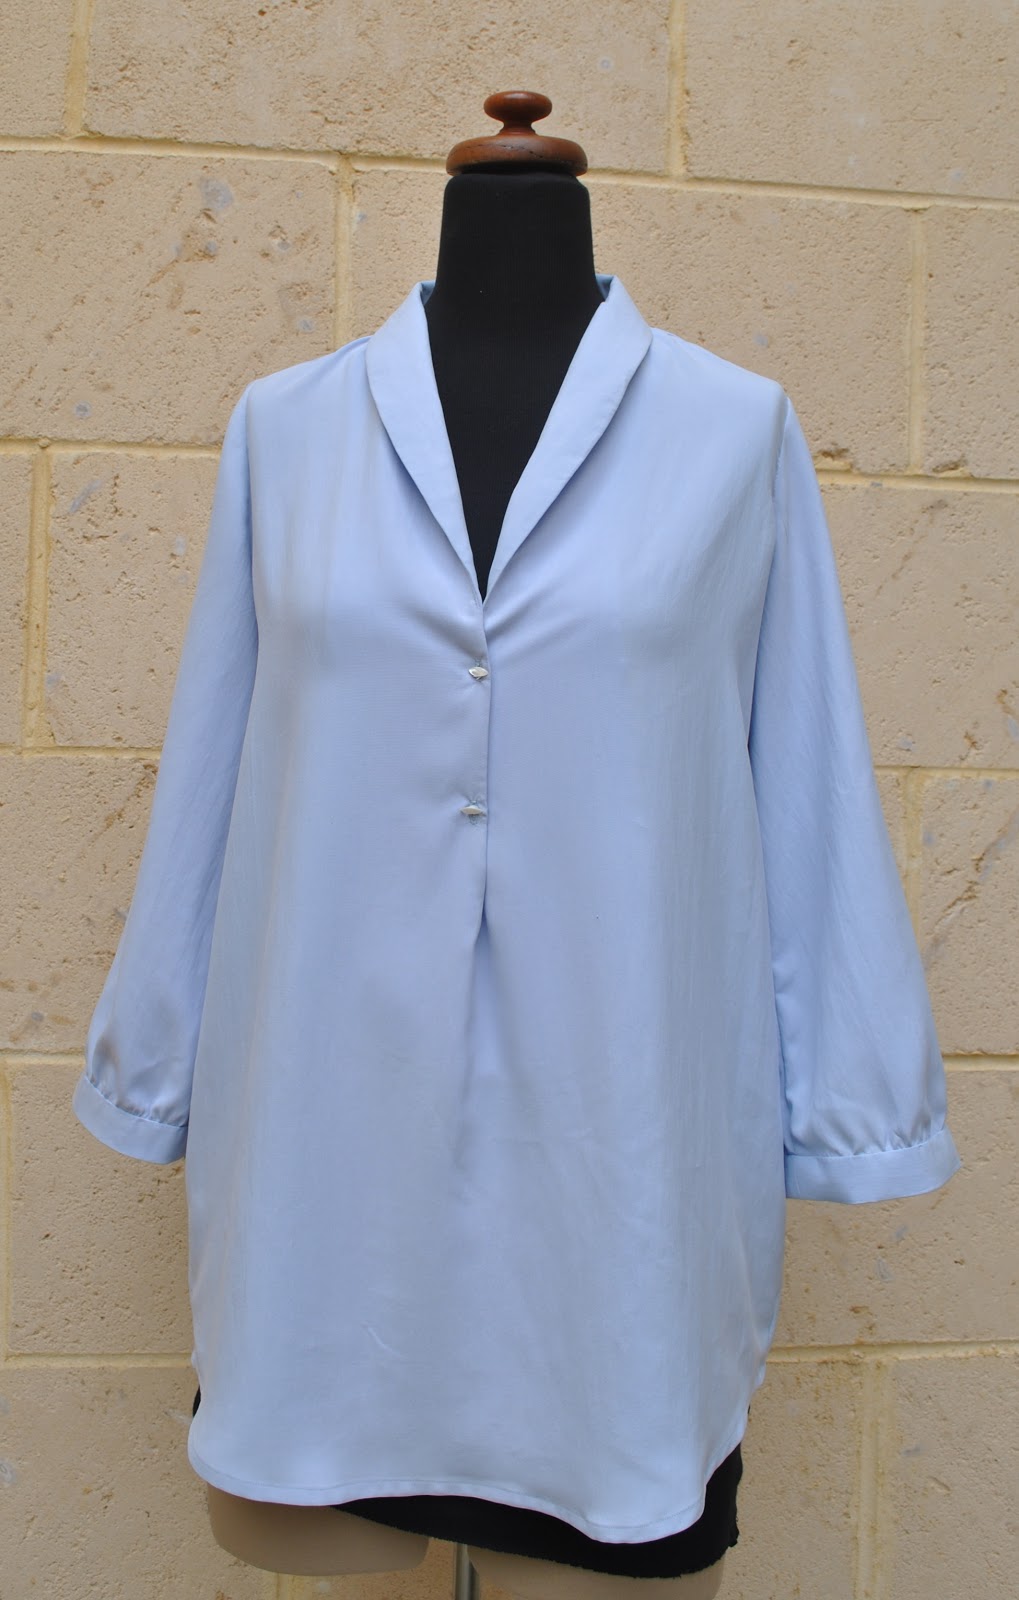
Another modification was to make it a tunic top rather than a shirt, with the front cut in one piece and with a half opening.
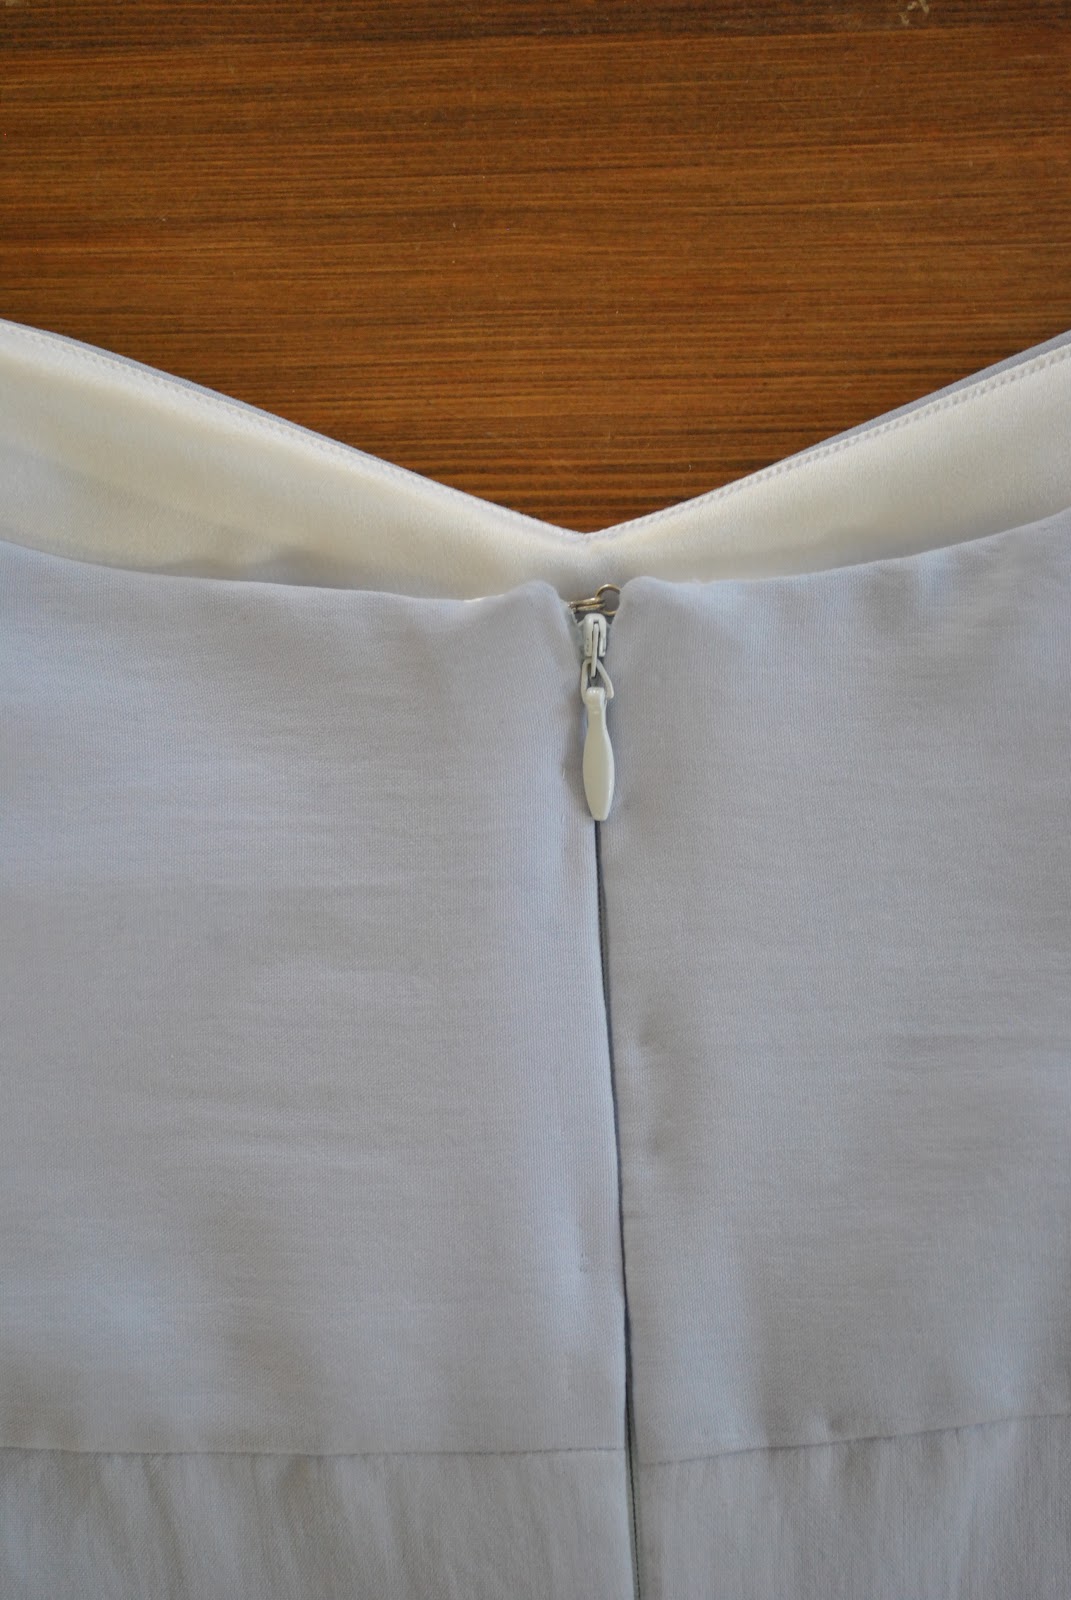
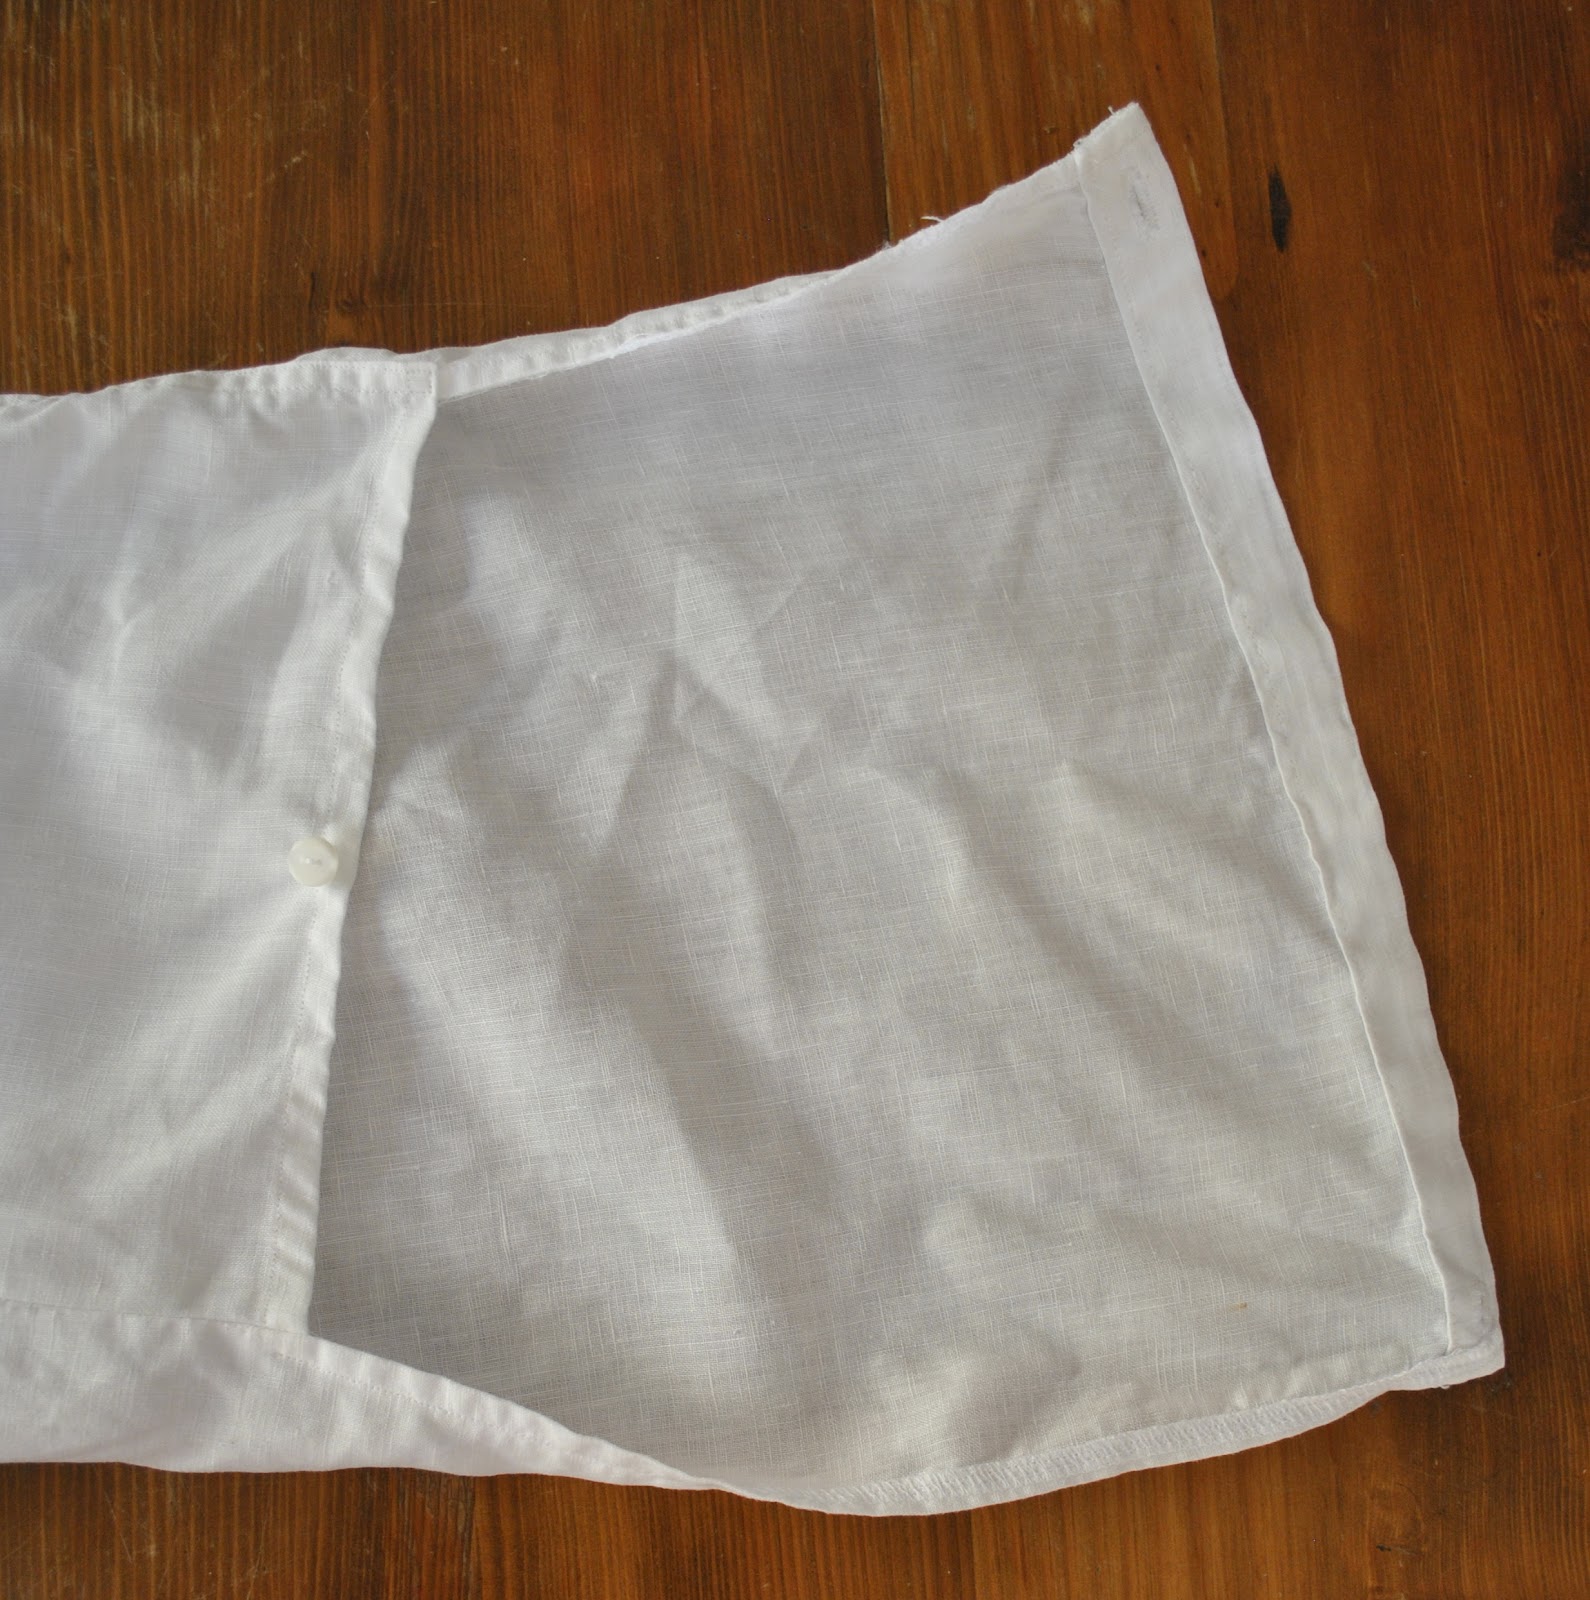
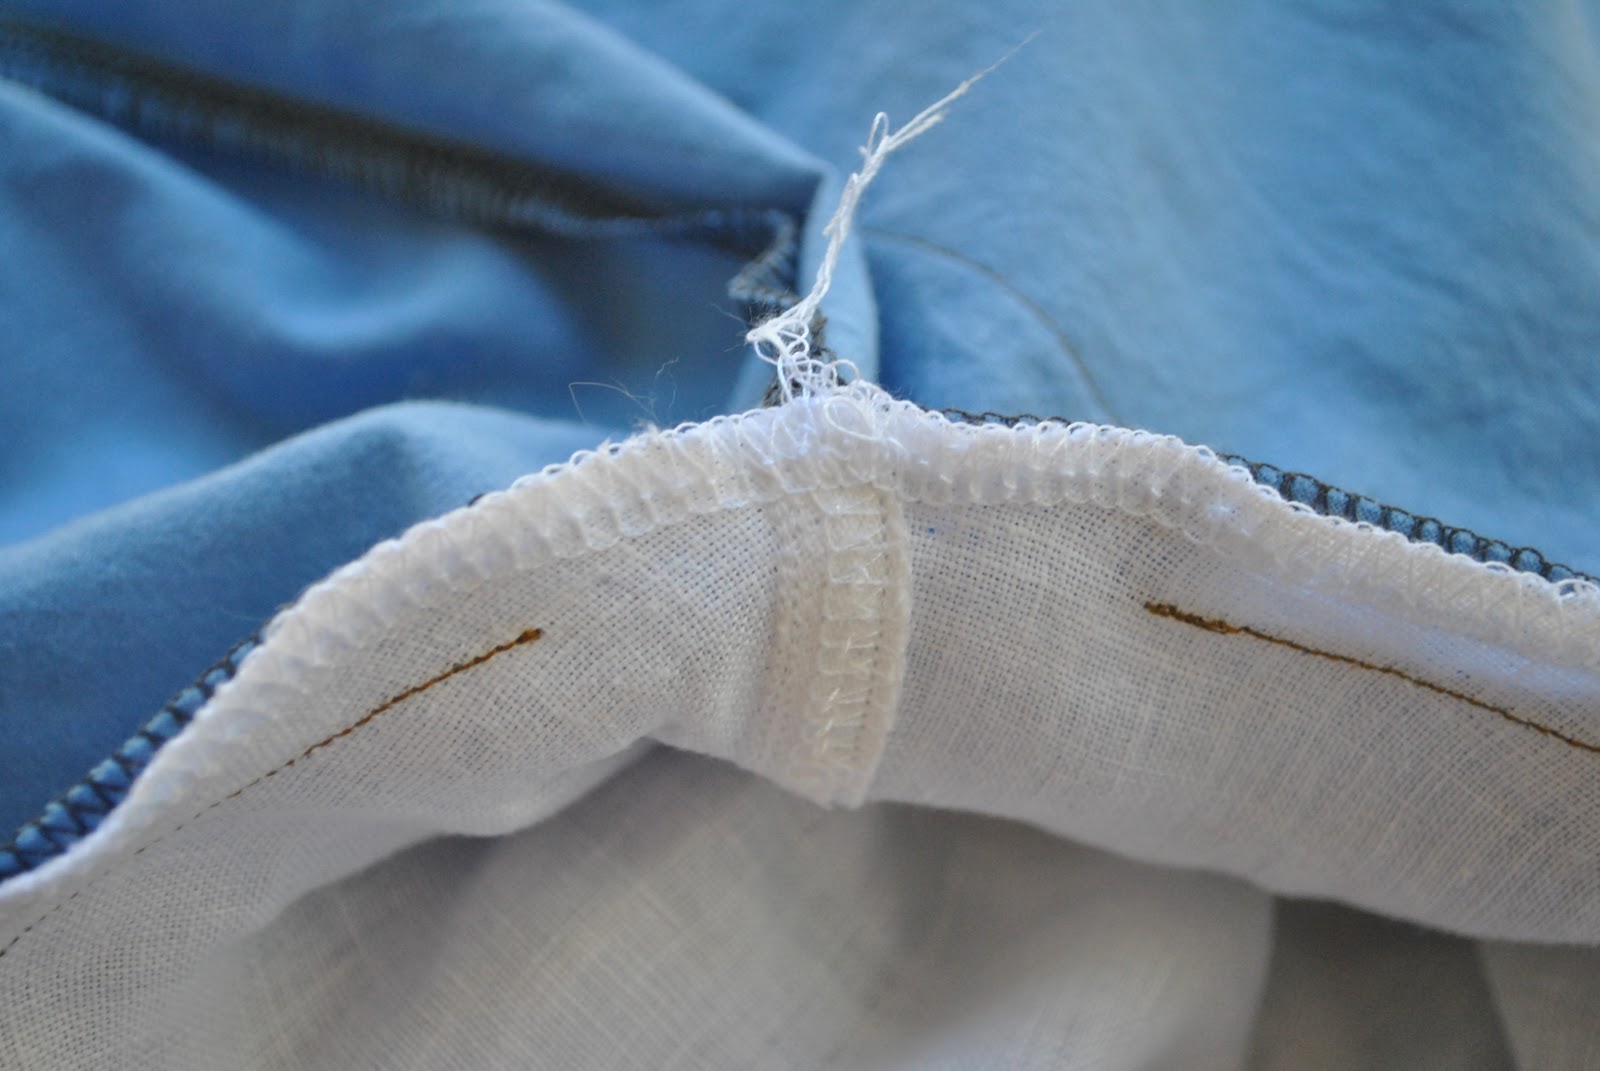
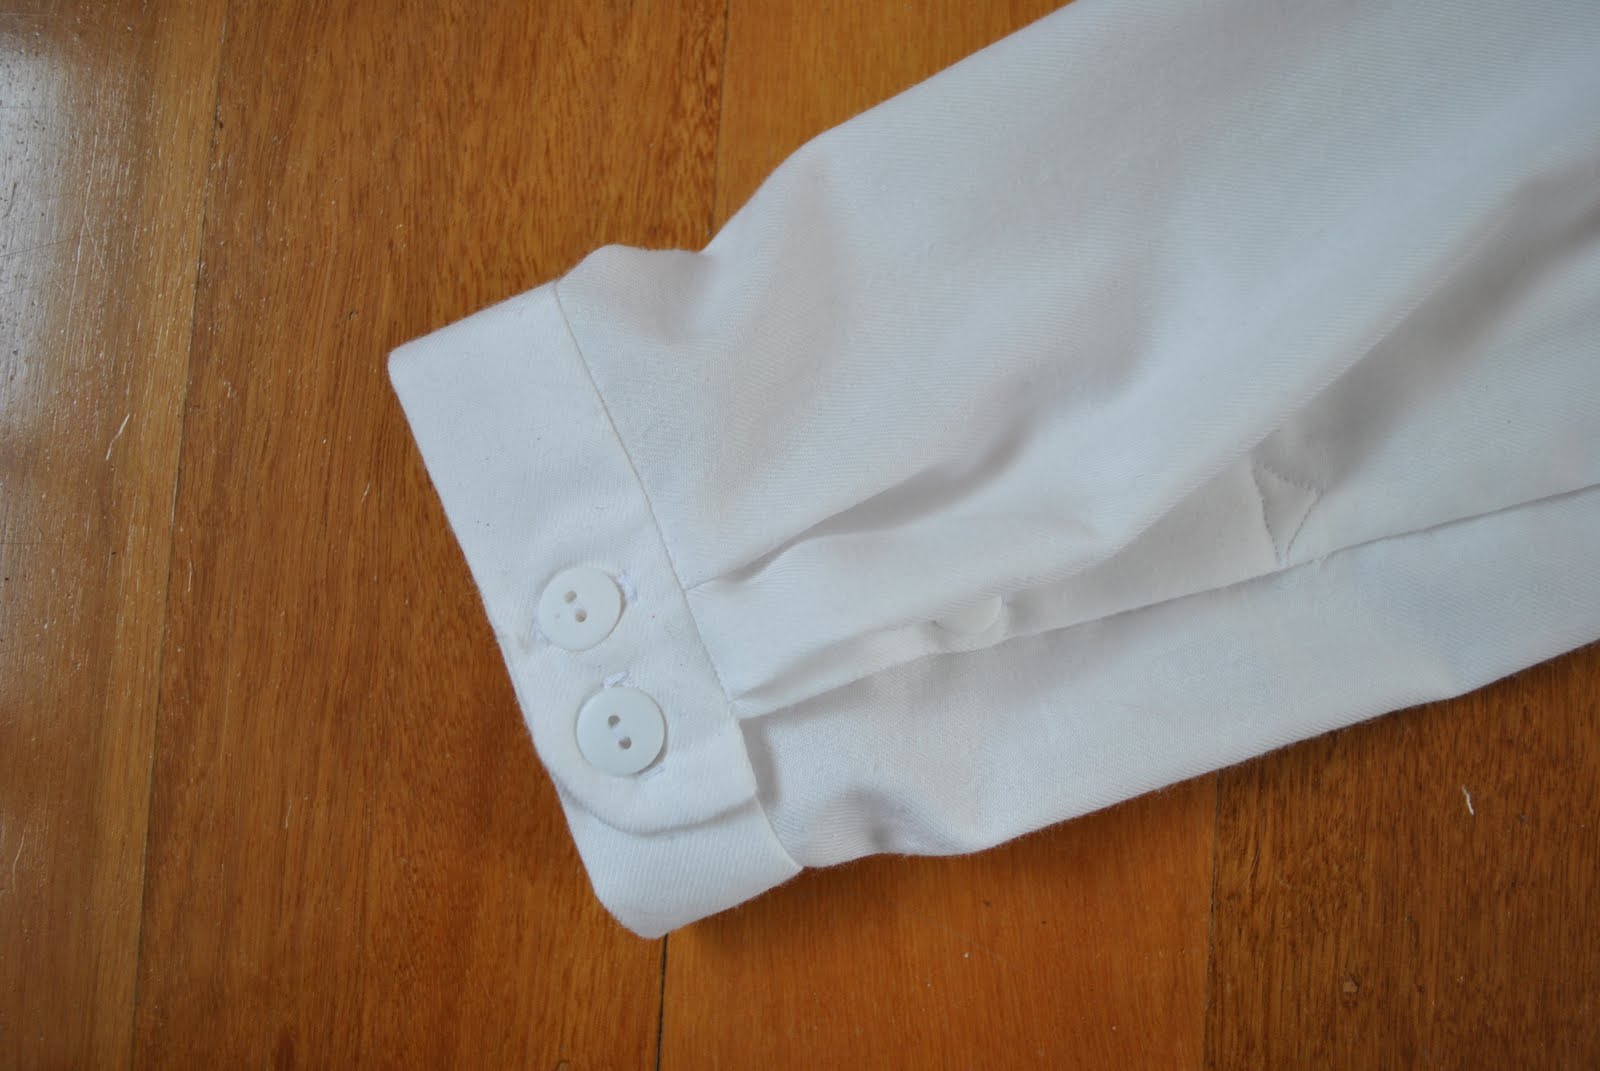
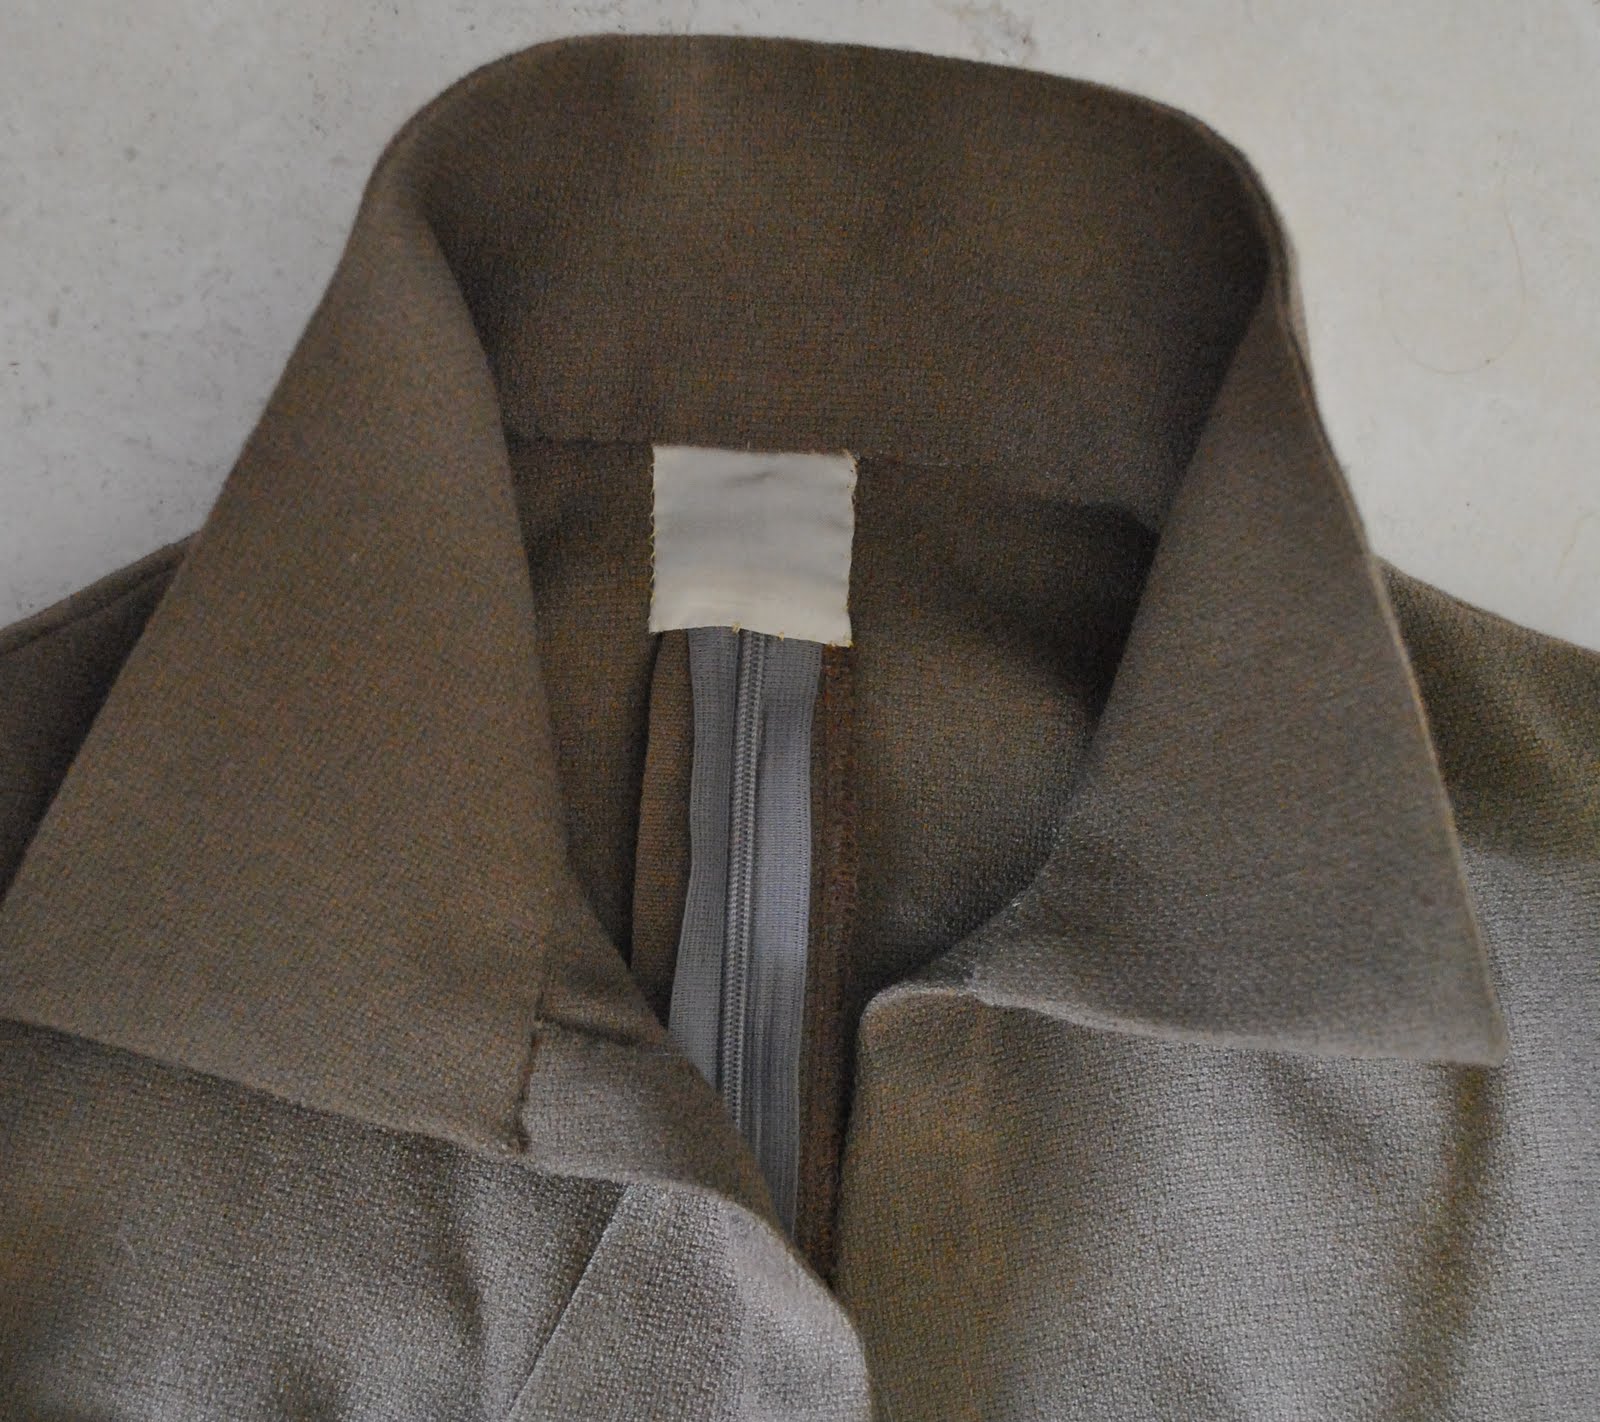
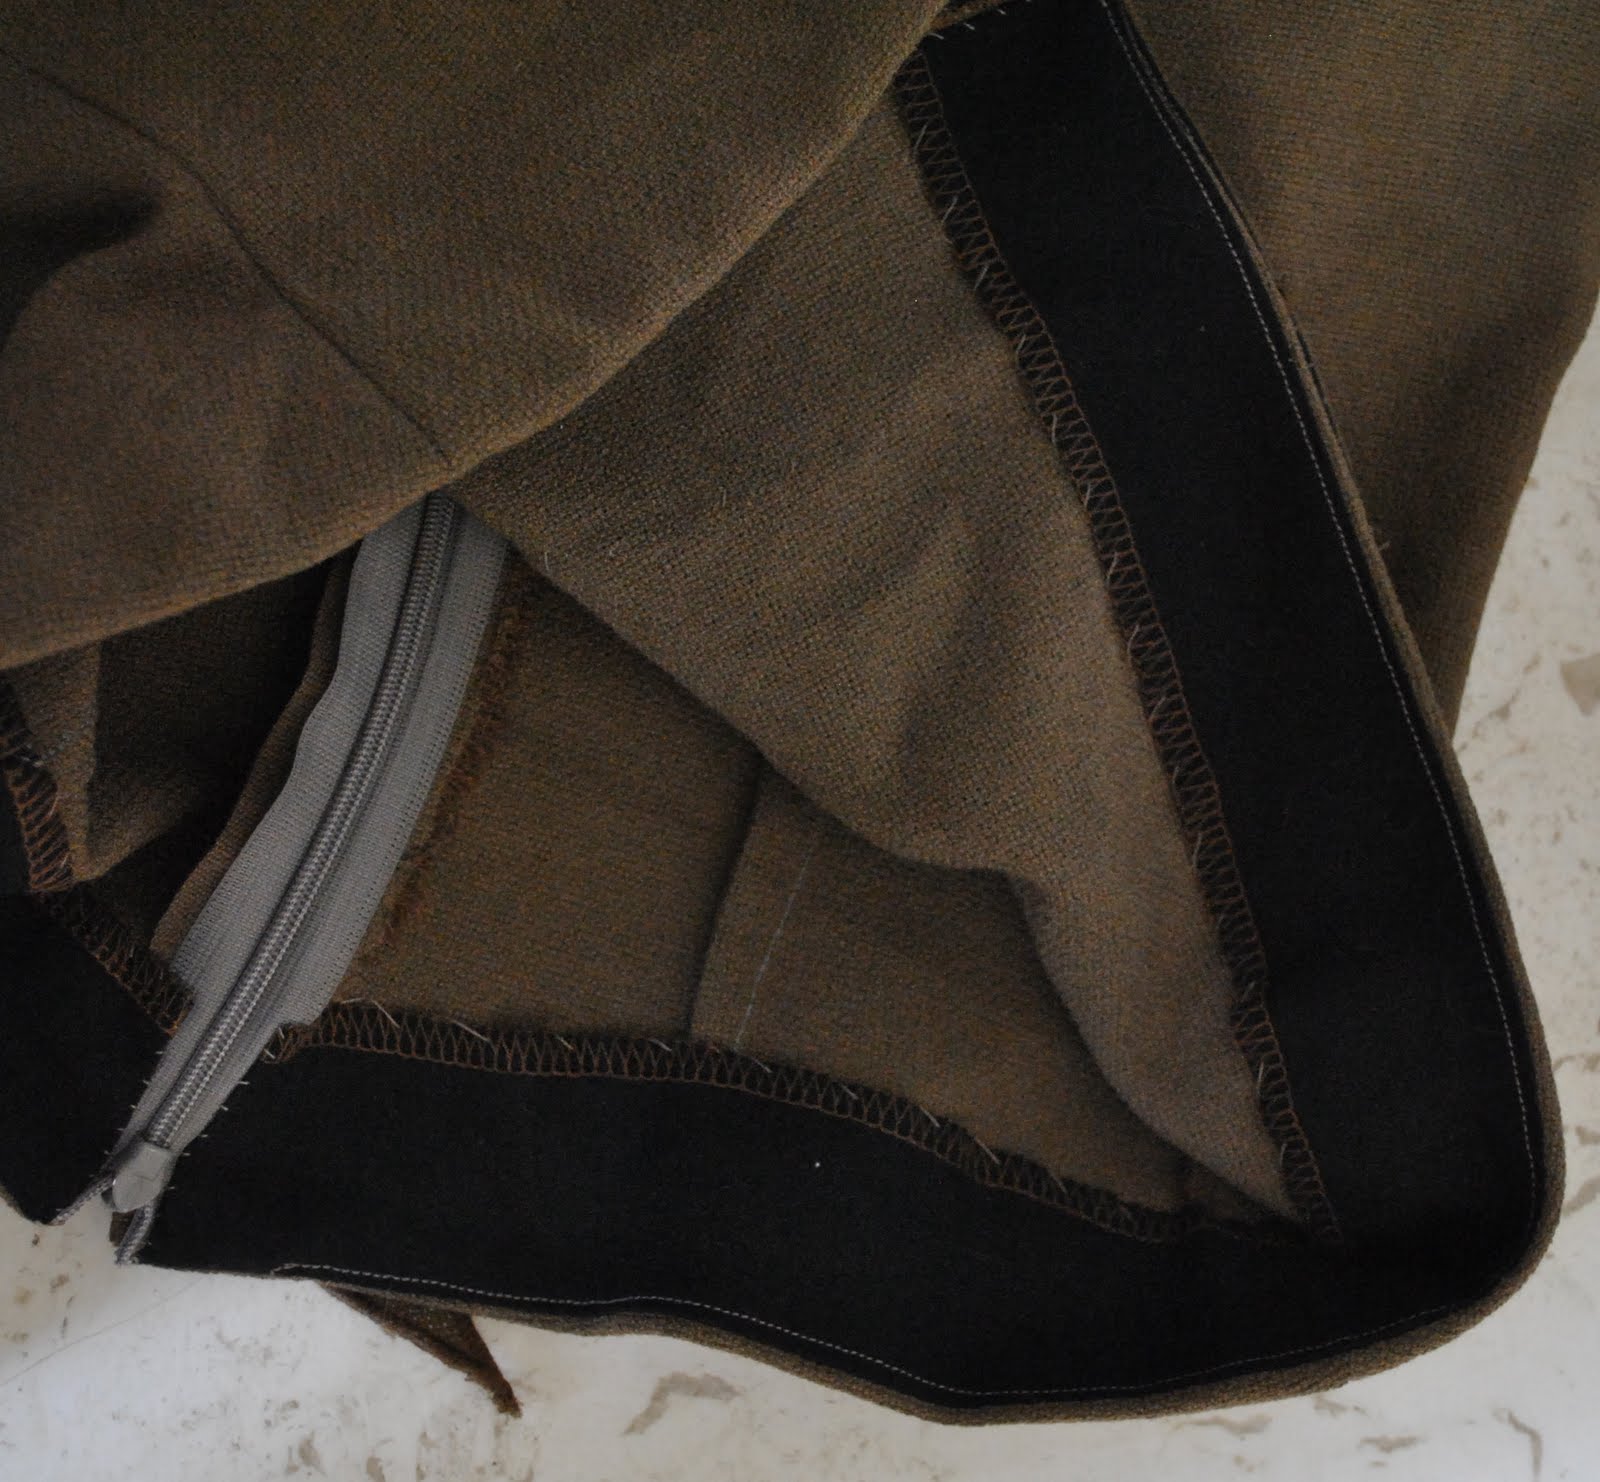
below; insides-ies…
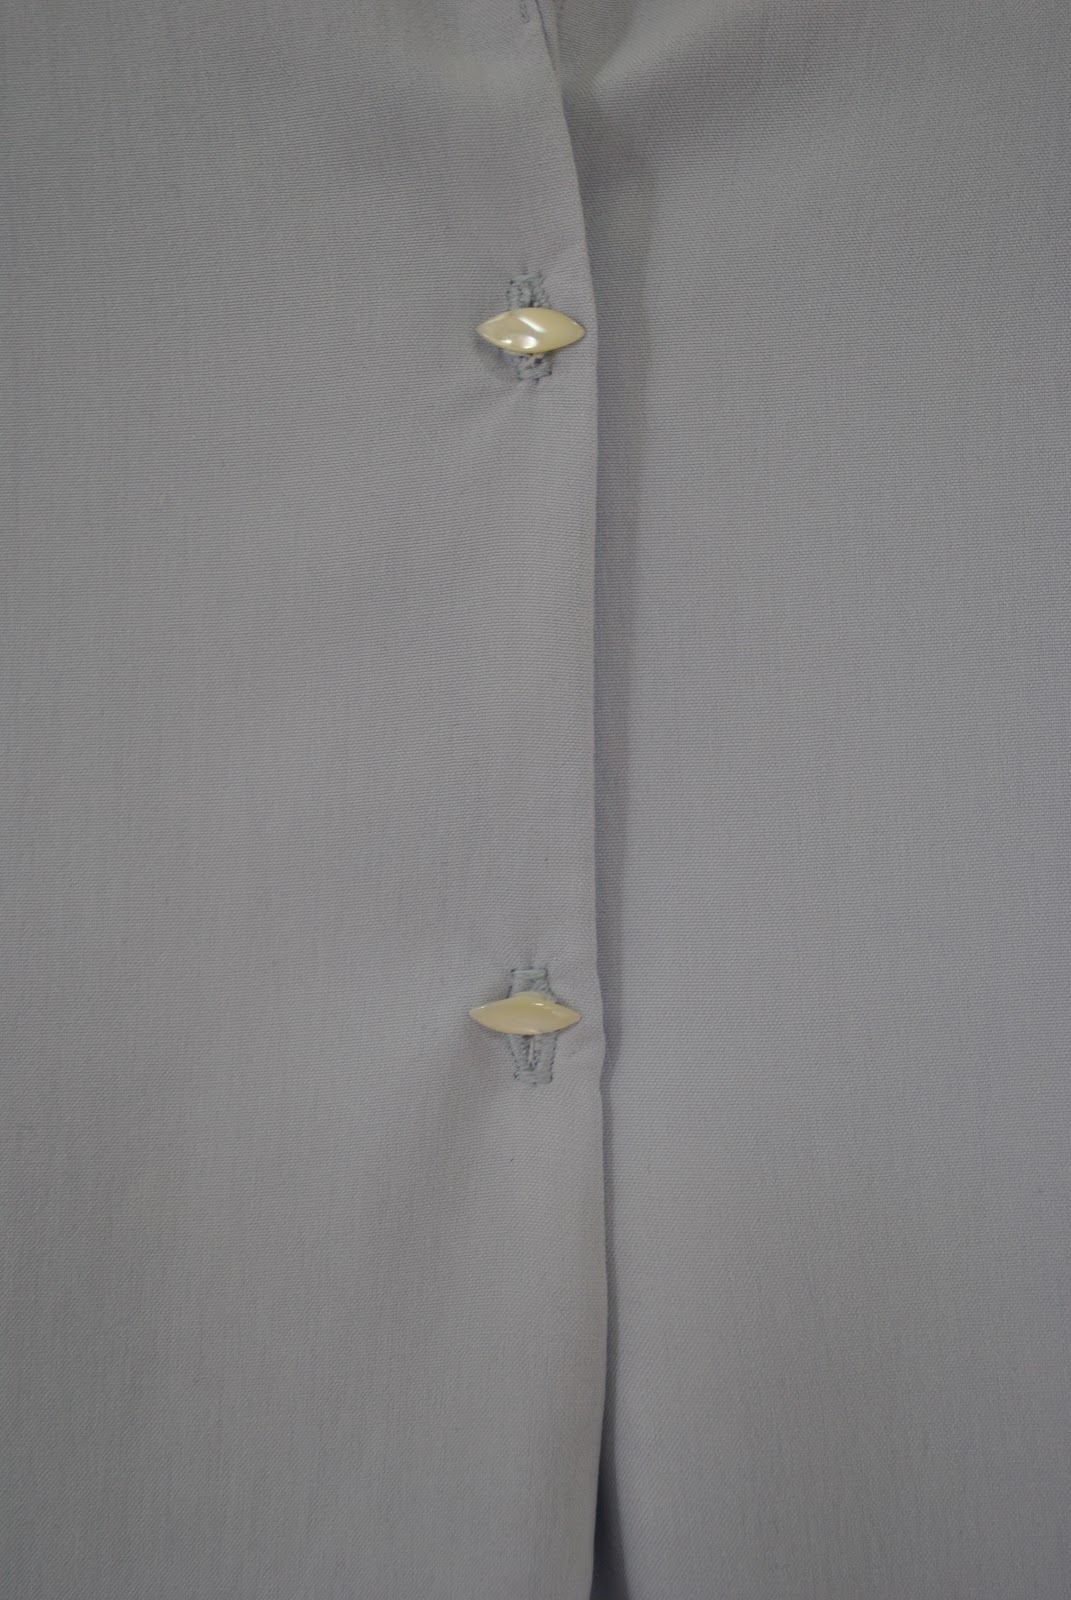
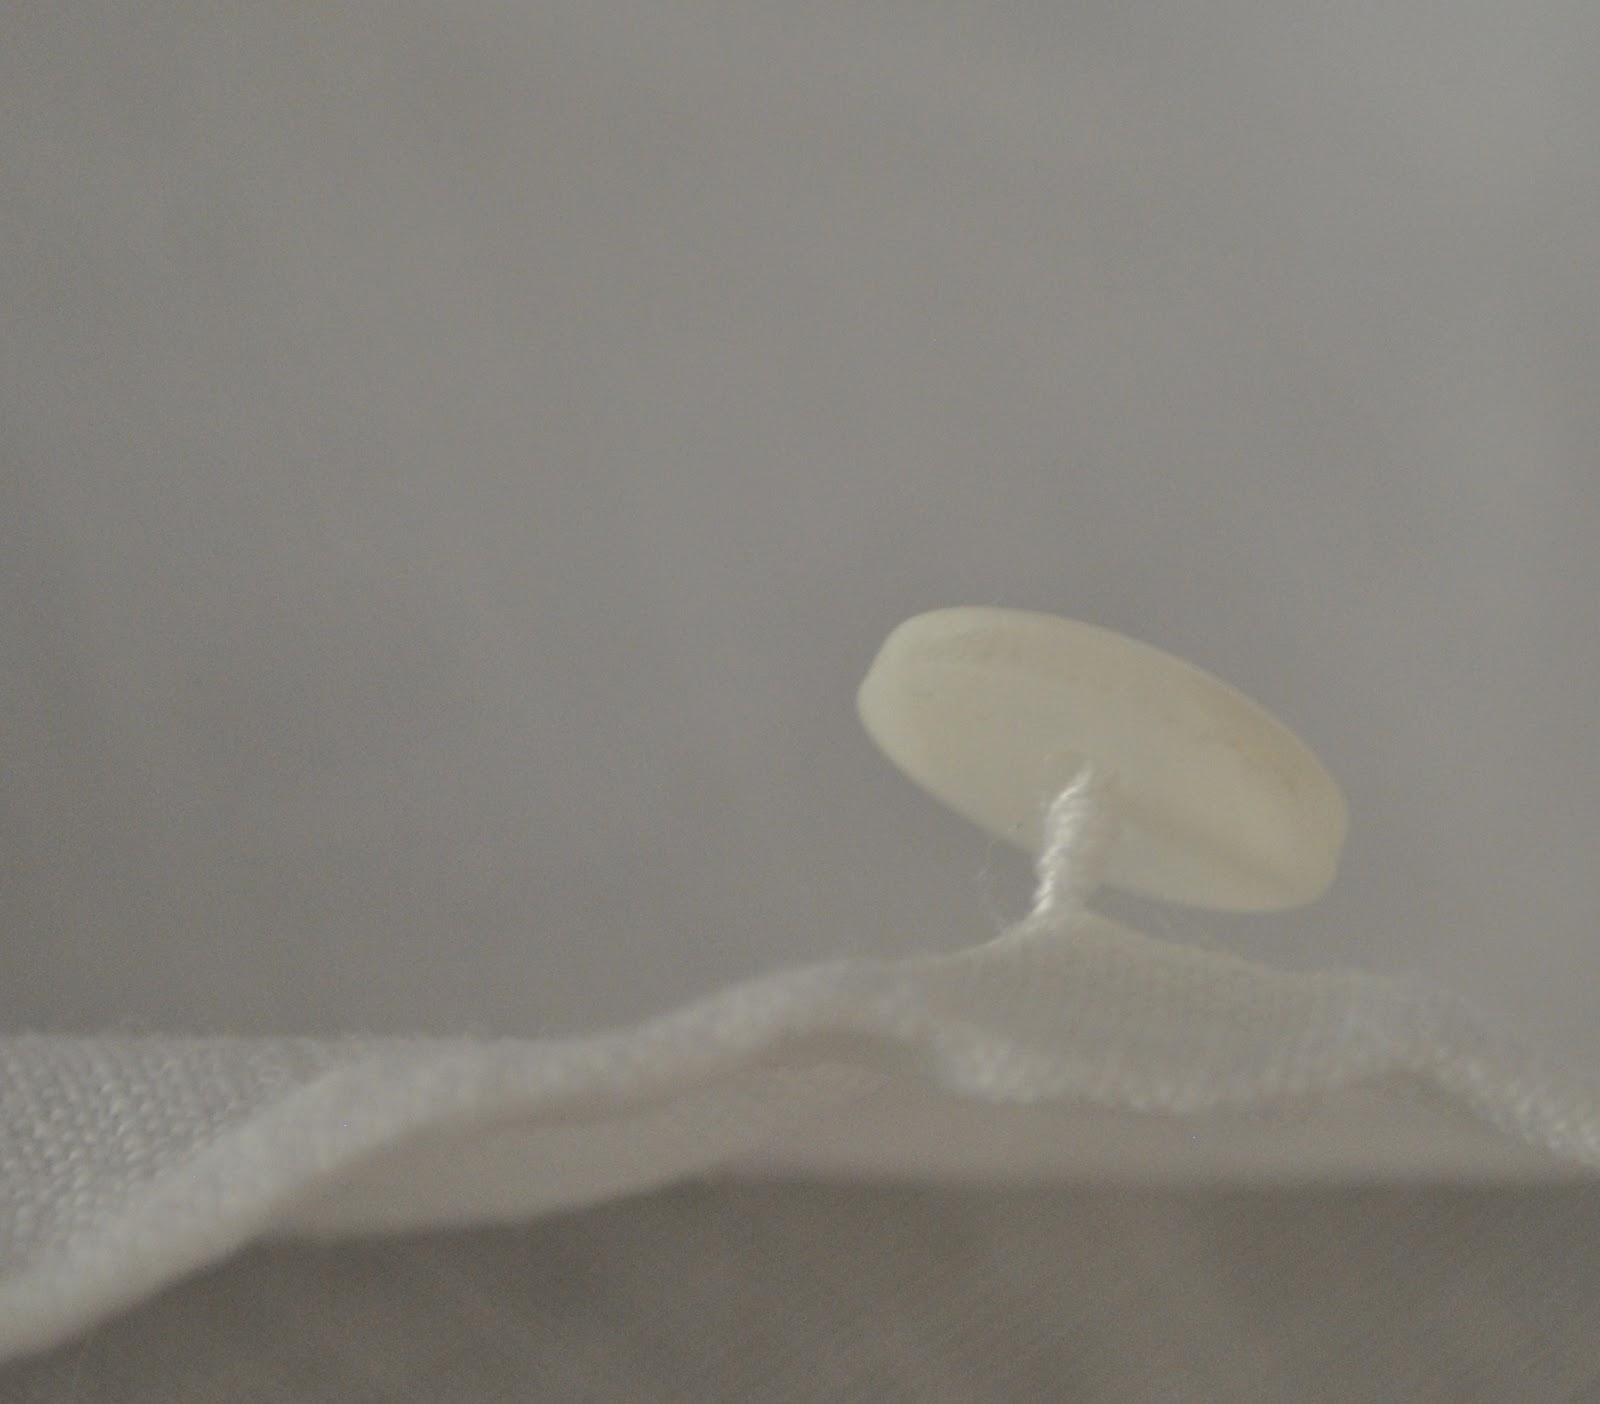
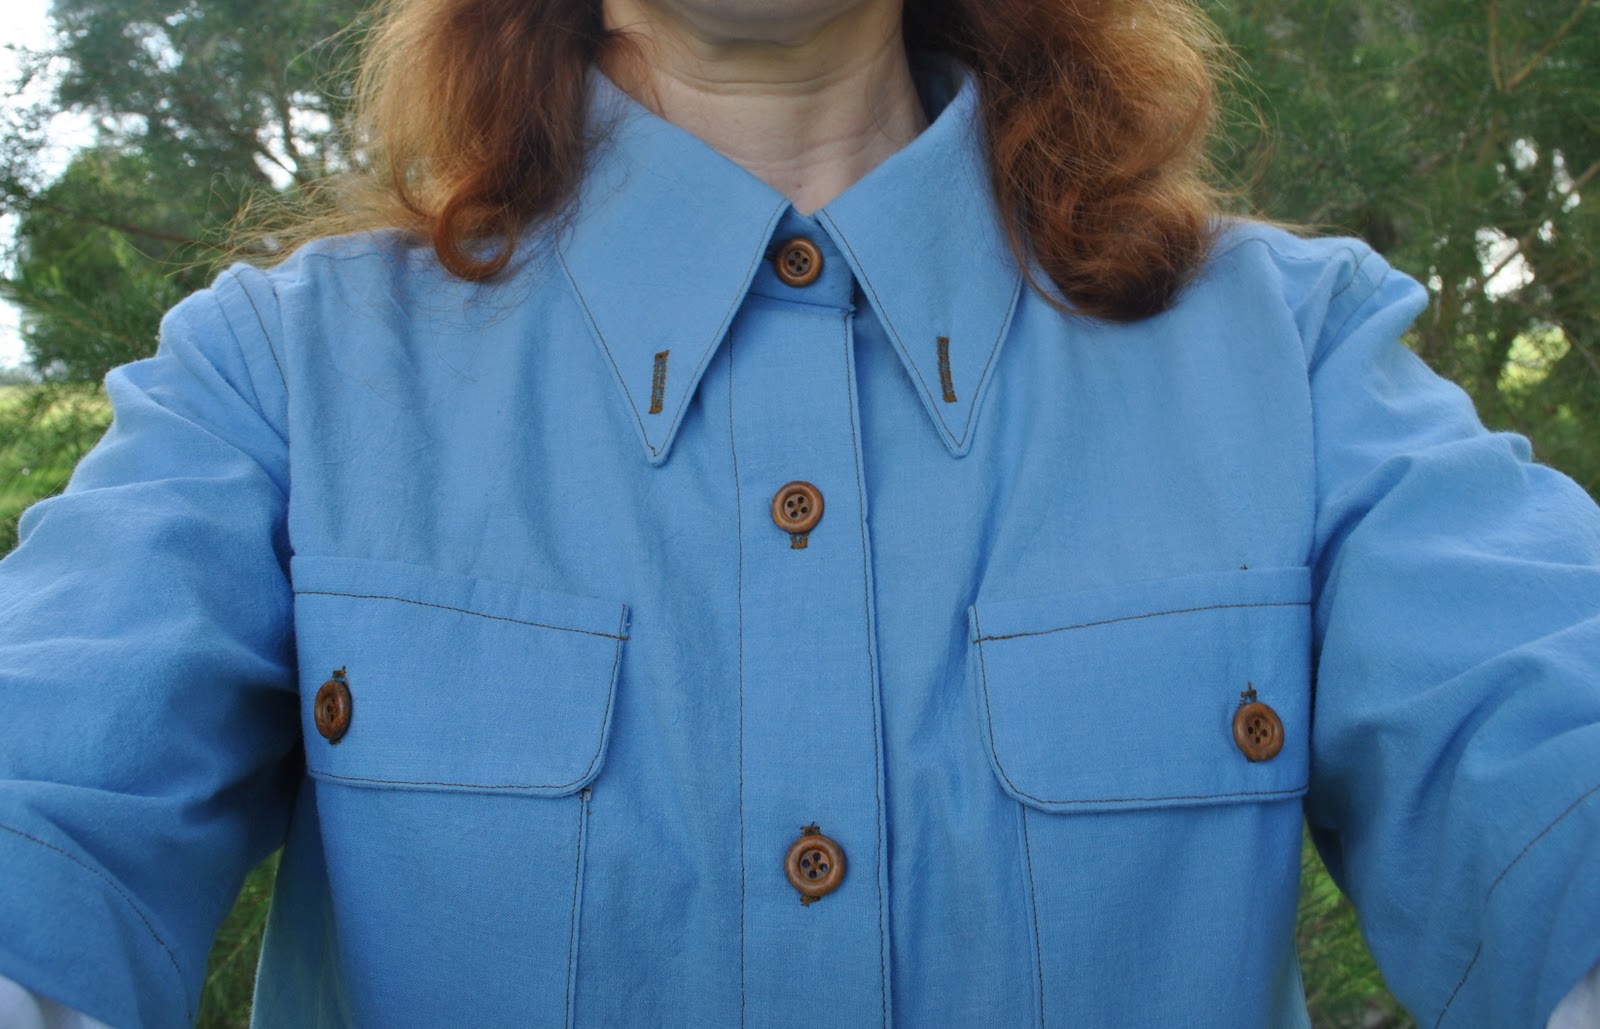
The beautiful pearlescent marquise-diamond shaped buttons were a gift from the lovely
ElleC, thank you ElleC! Snipping these buttons off of their card was another little hurdle that made me hesitate for a day or two, gathering strength; but eventually I forced myself to acknowledge that my new silk tunic
was deserving of the very best buttons too 🙂 Initially I sewed them on vertically but they popped open like nobodies’ business, so I re-sewed them on the horizontal which helps them stay buttoned up.
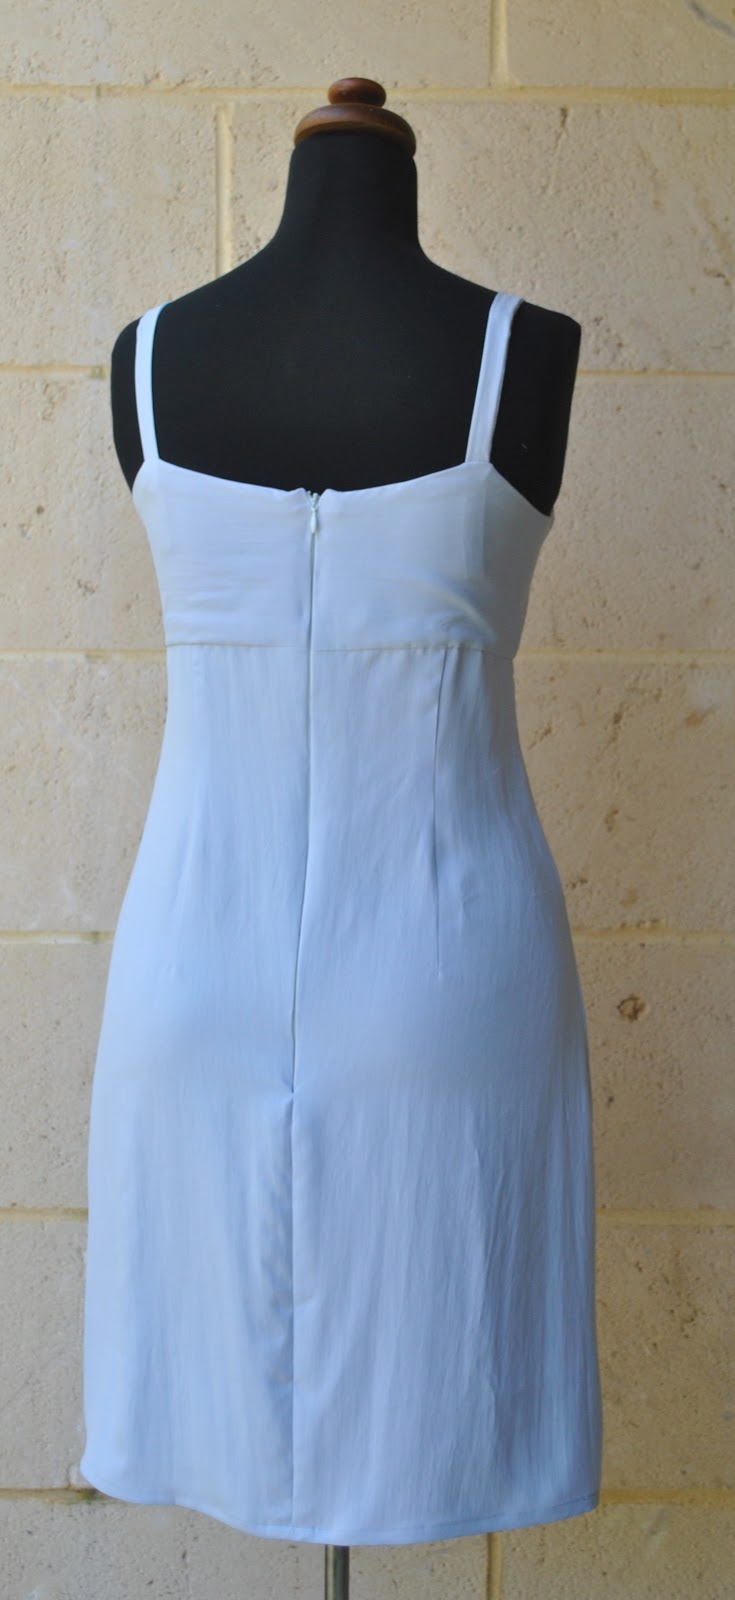
For my petticoat: I used Burda 8071, a terrific basic pattern I have used ten times before; for ten different dresses and petticoats. This is the eleventh! To see a gallery of my previous versions of this pattern,
go here 🙂 The bodice is lined with ivory silk charmeuse, leftover fabric from
this top.
All the seams in
both garments are
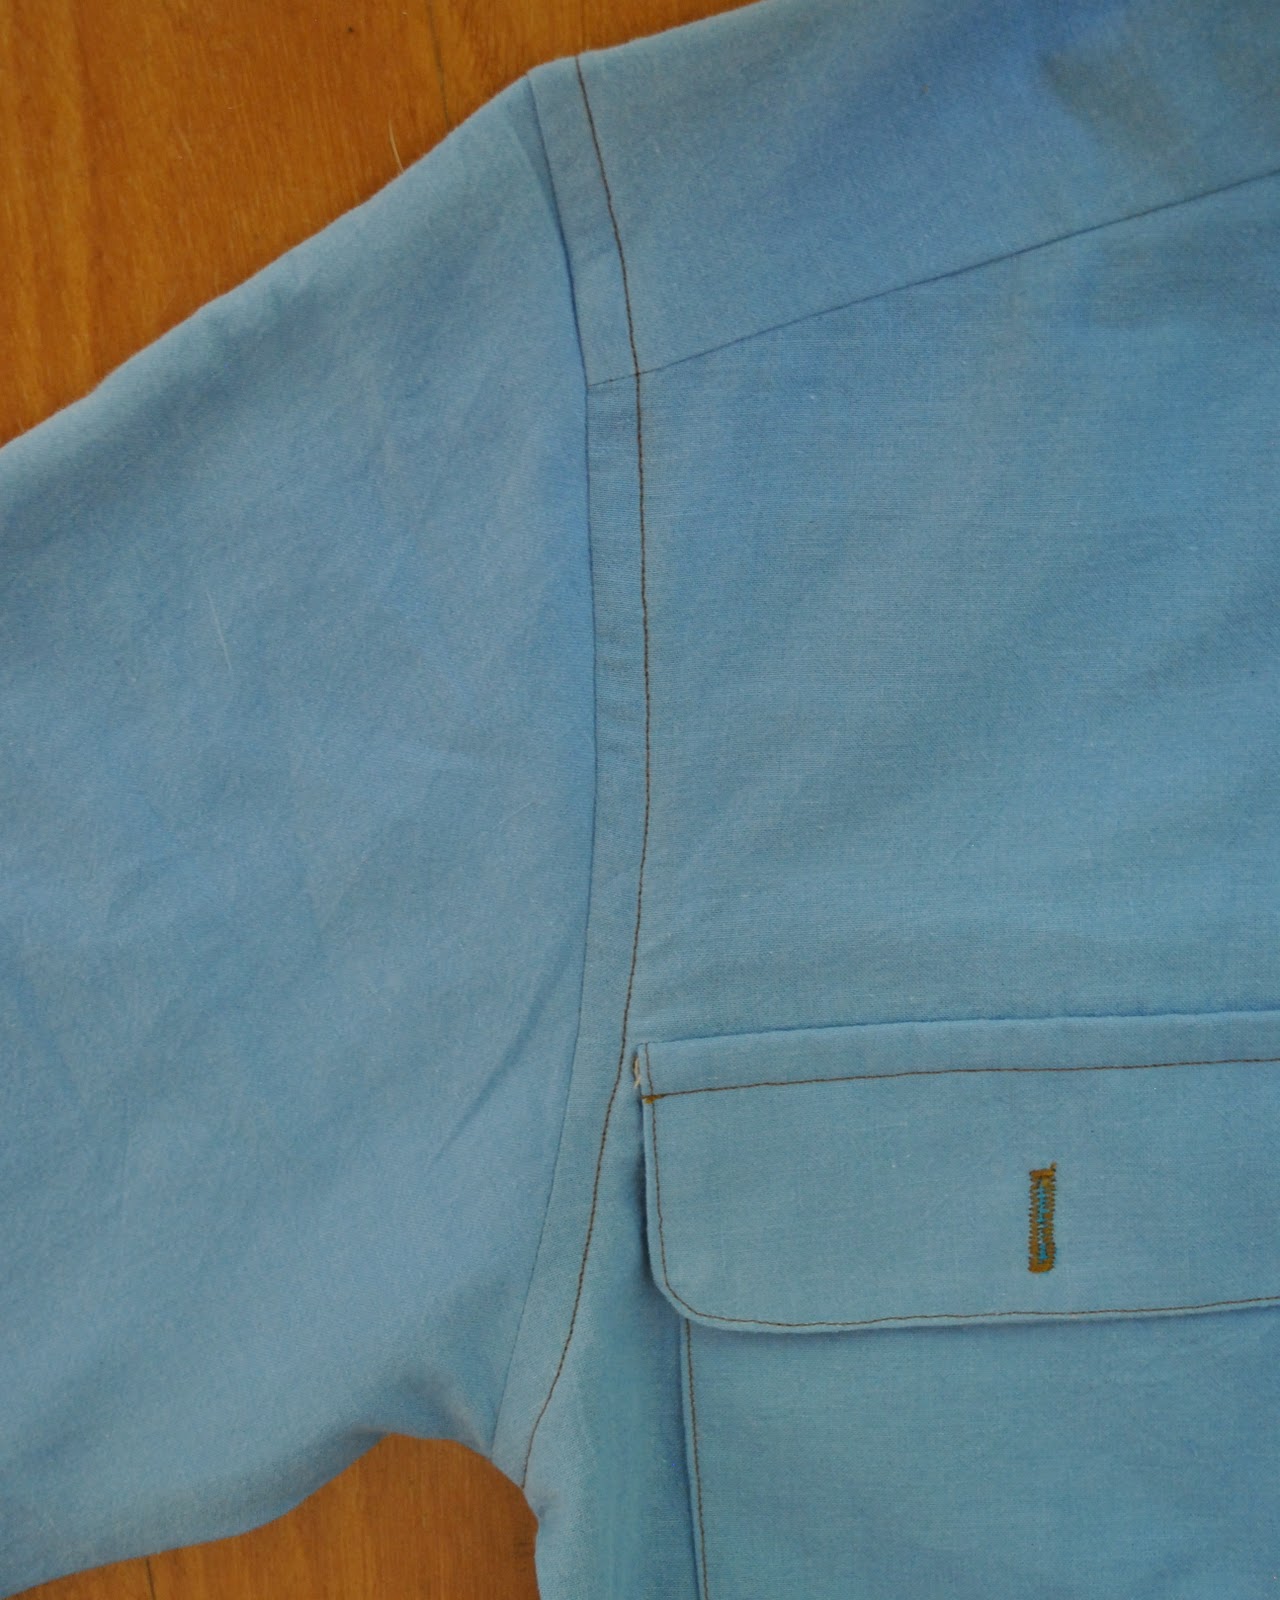
French seams and all other raw edges are finished with
HongKong seaming, in a lightweight ice-blue cotton leftover from
this shirt. The one exception to this is the armscye seams in the tunic; I initially finished them with HongKong seaming but decided they were too bulky and made a bit of a hideously unacceptable lumpy-bump on my shoulder :(( so I unpicked it all, trimmed the heck out of them and finished them on the overlocker instead.
Sometimes, one’s quest for perfect inner appearances must be ditched in favour of perfect outer appearances after all… hehe.
Details:
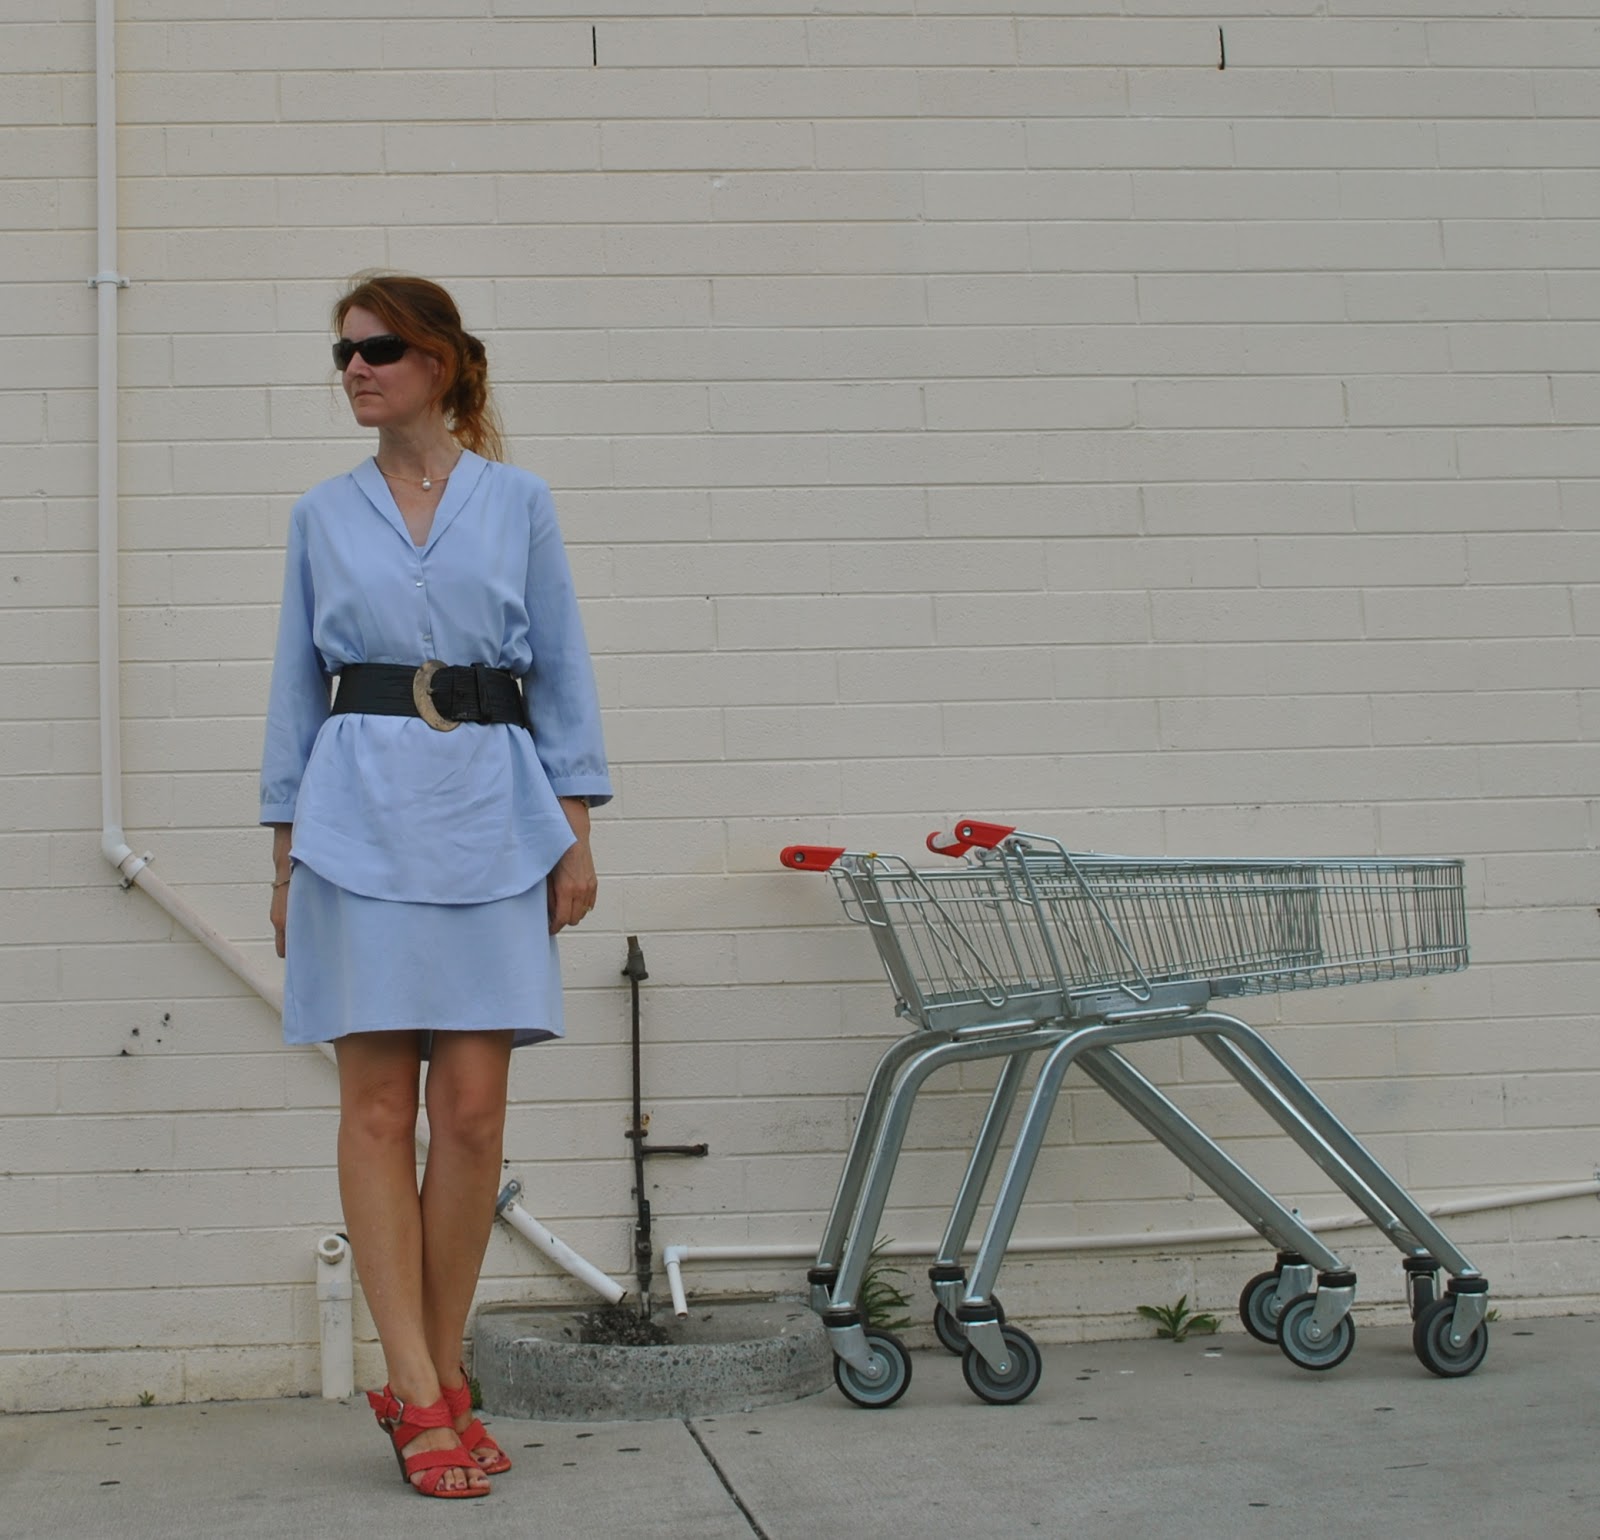
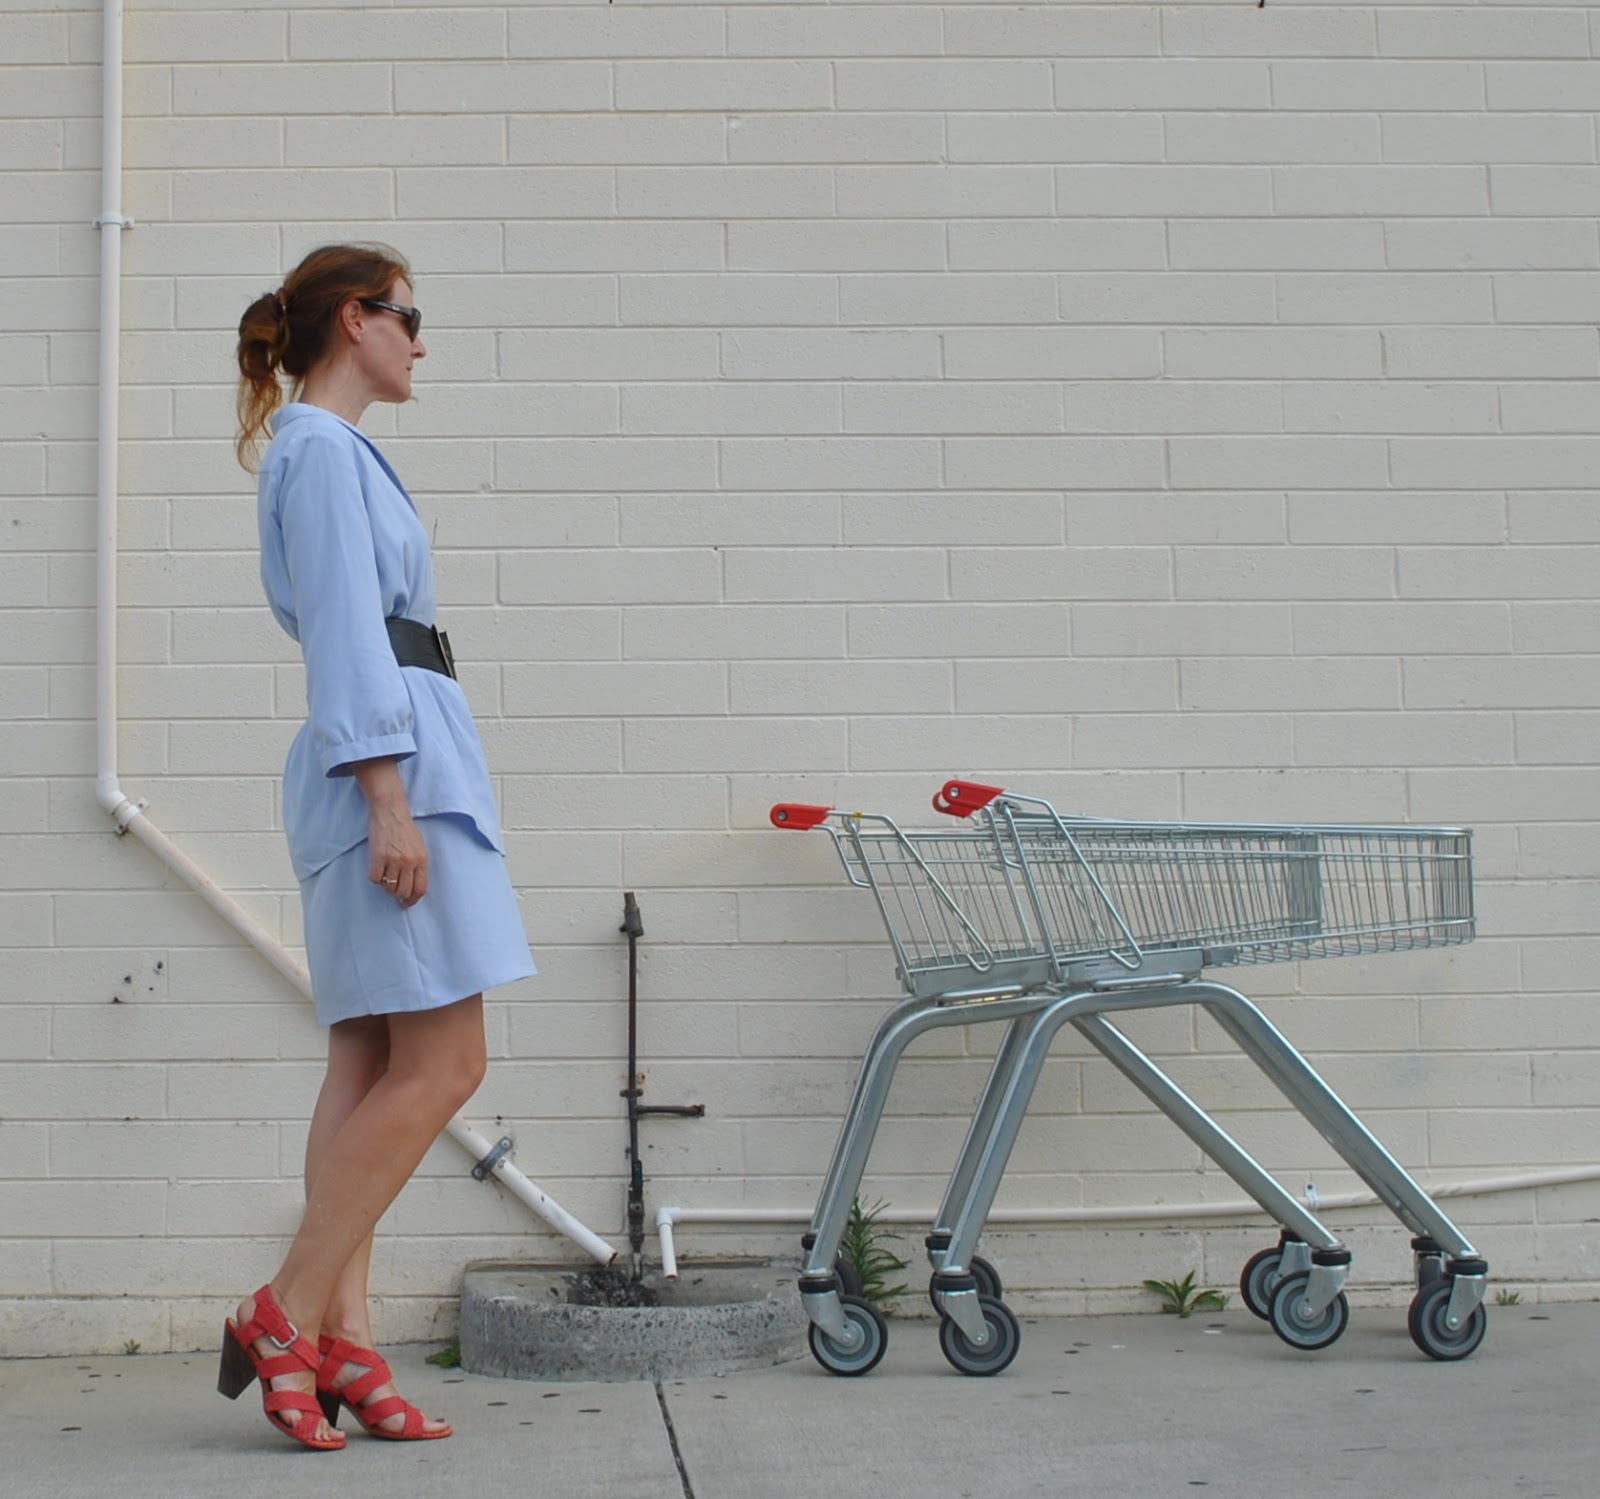
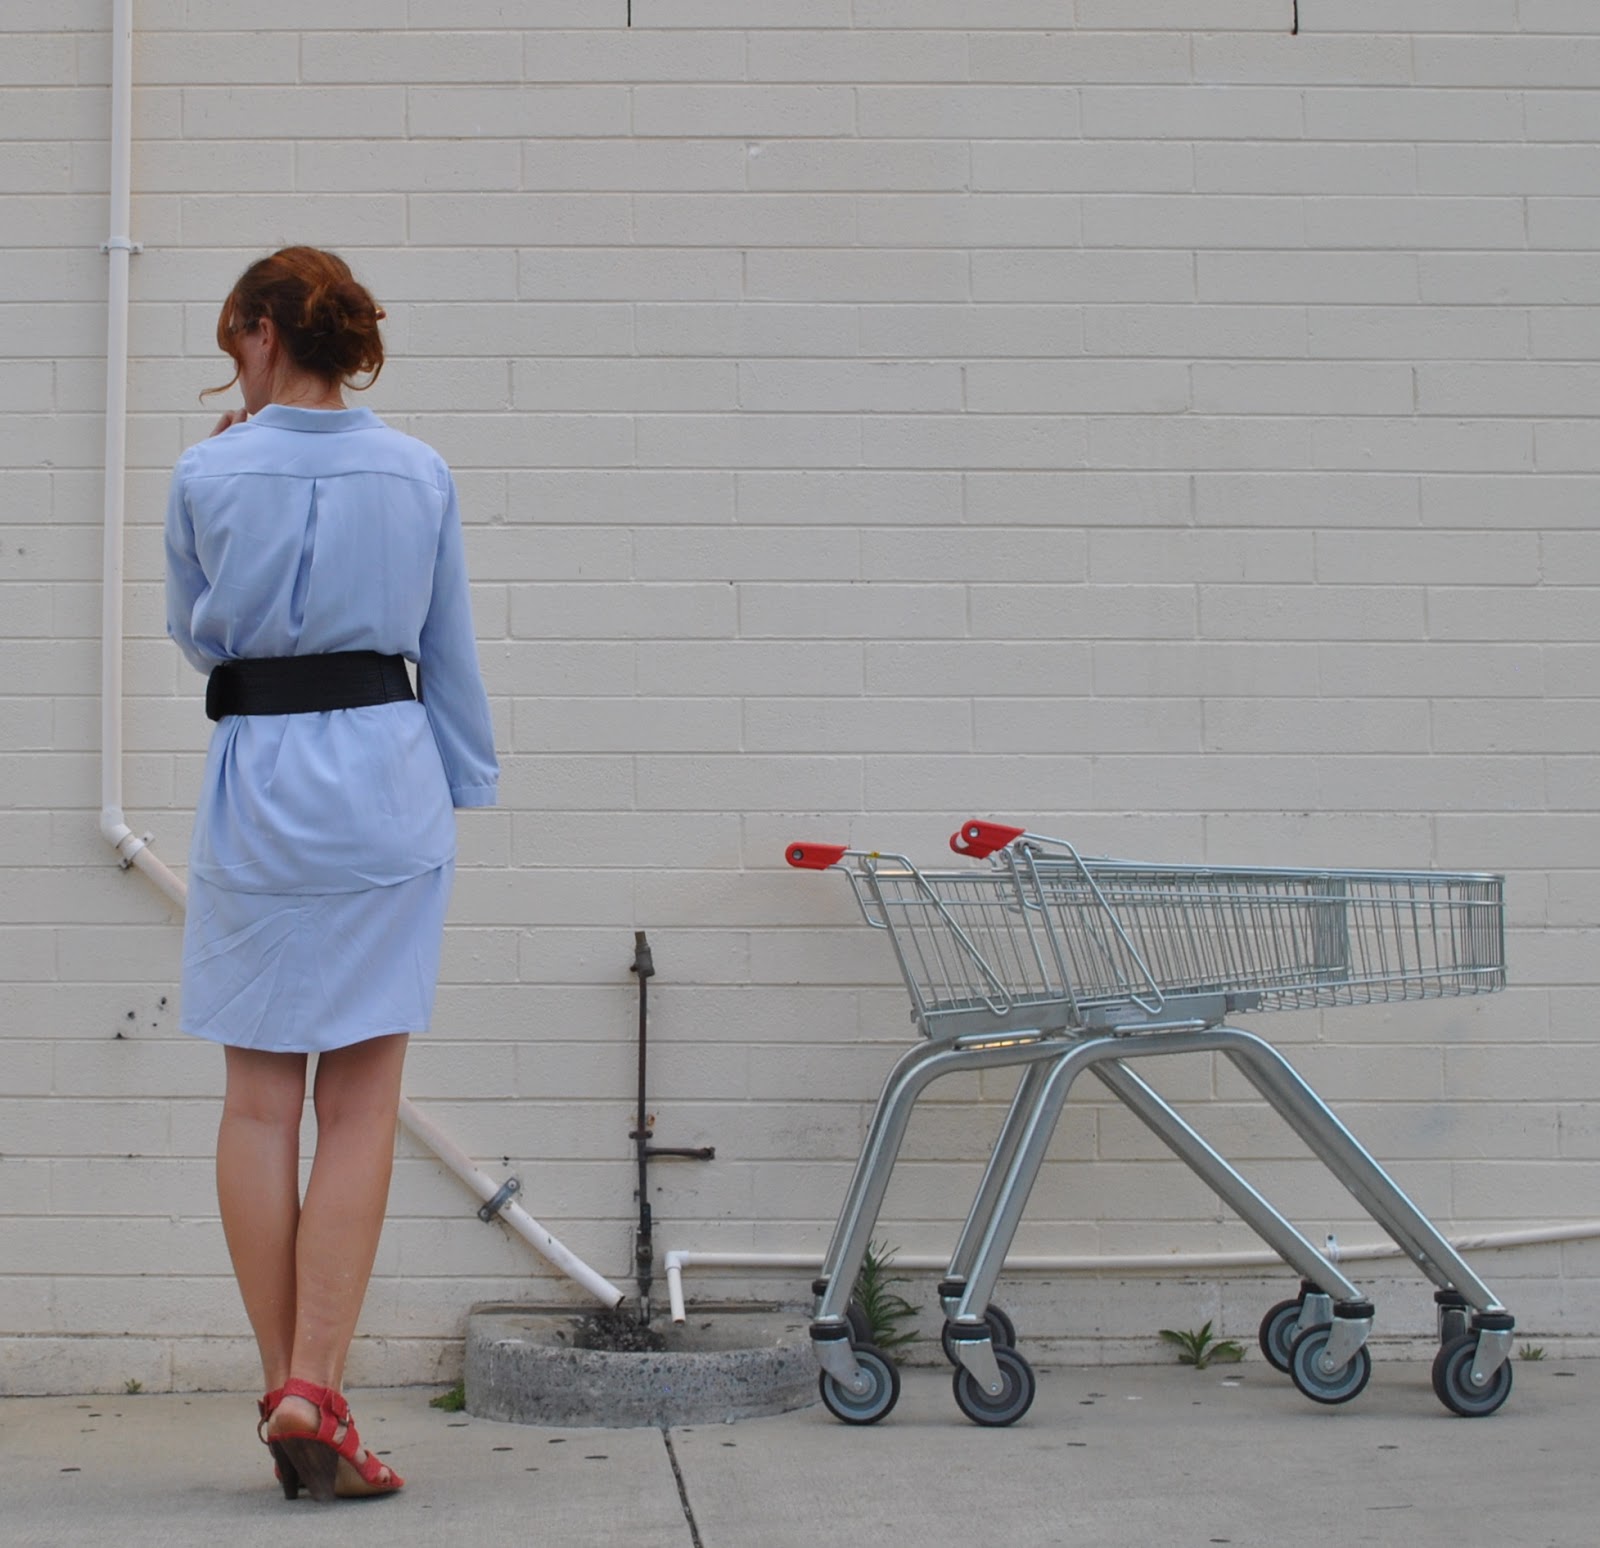
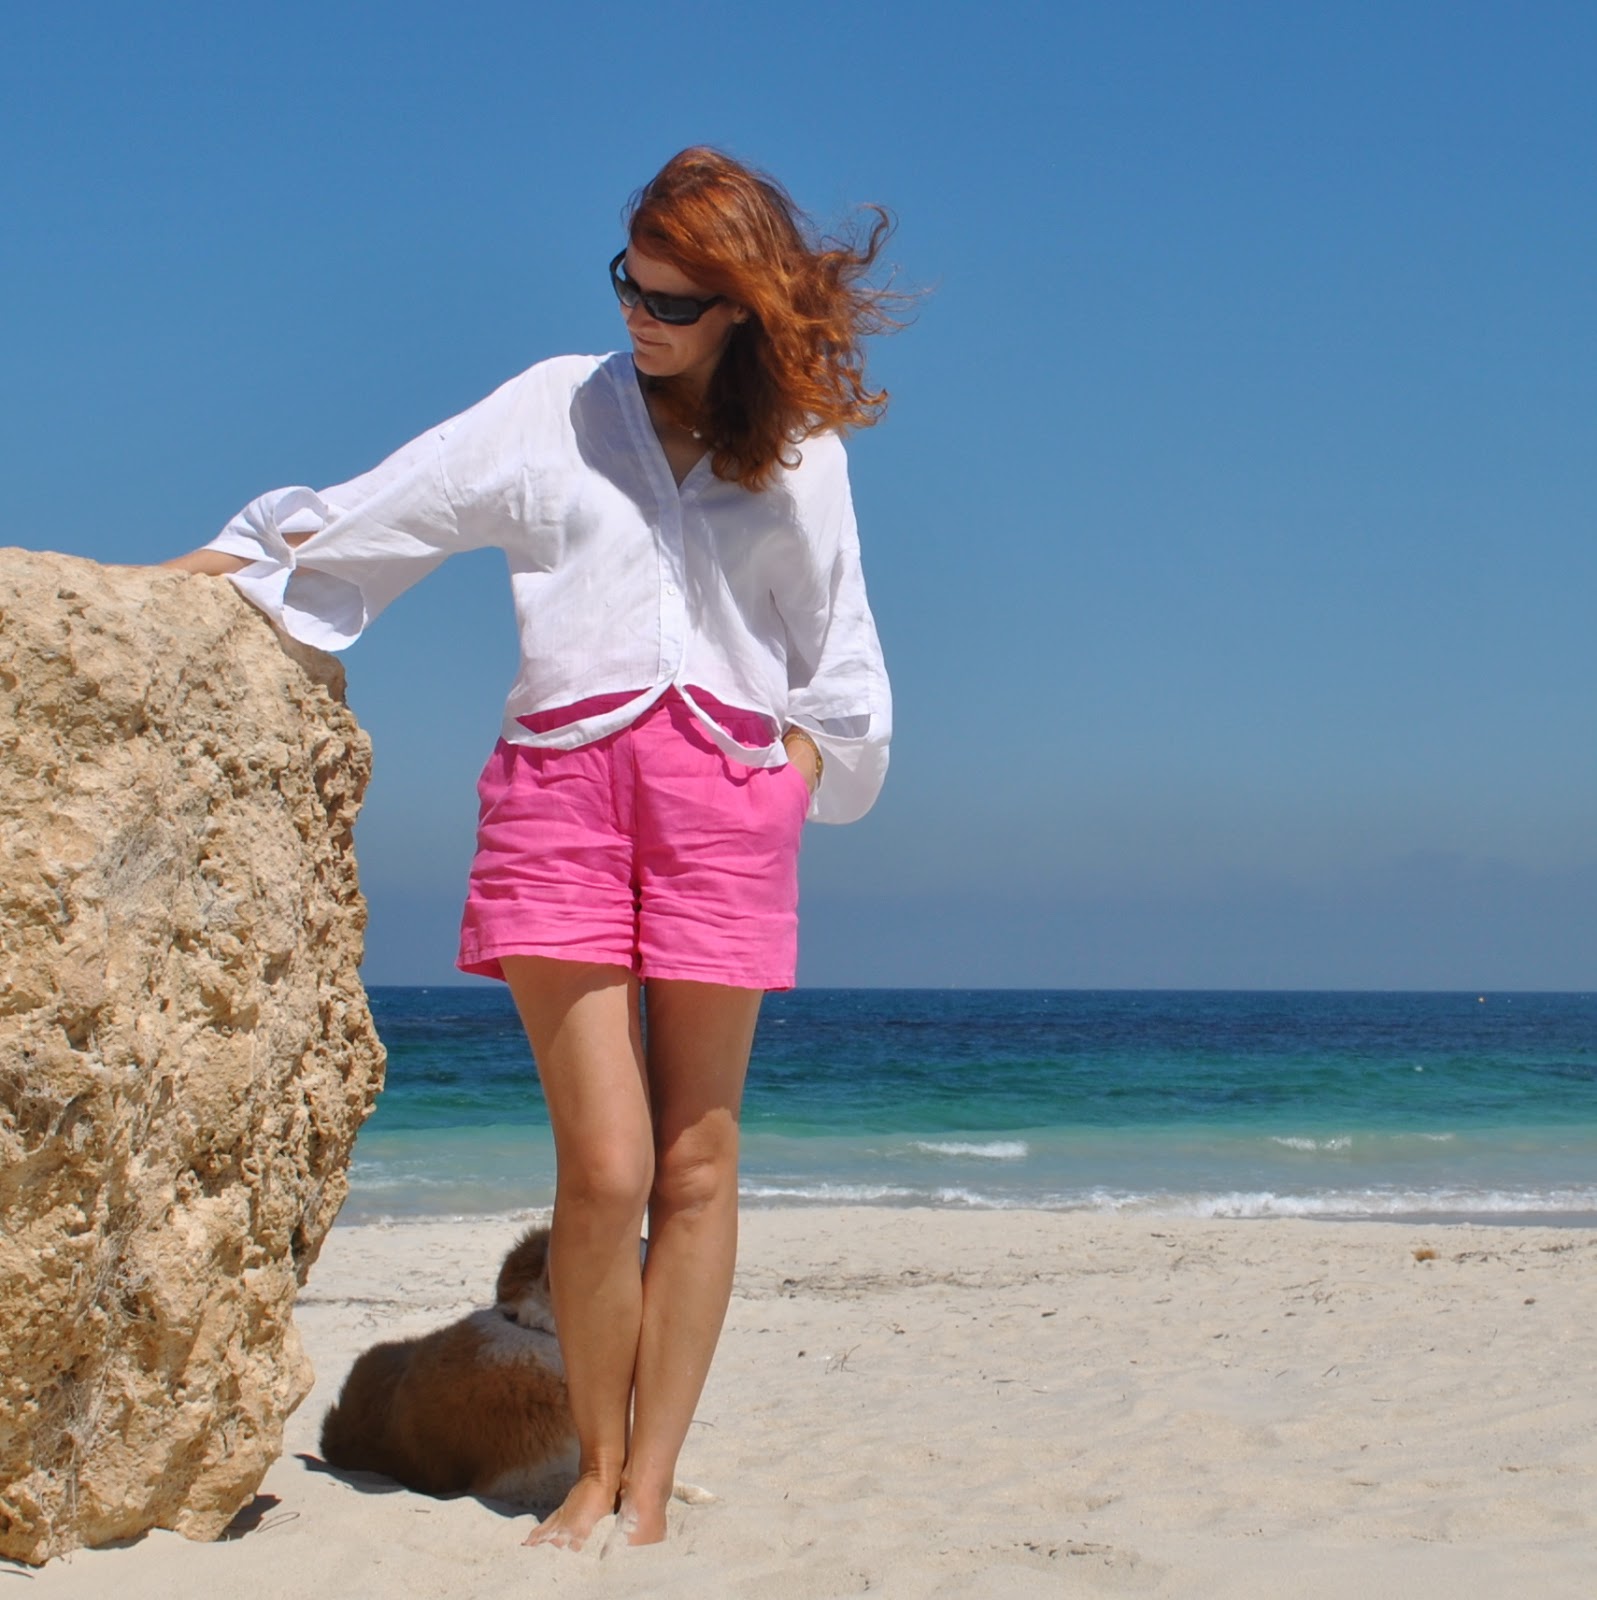
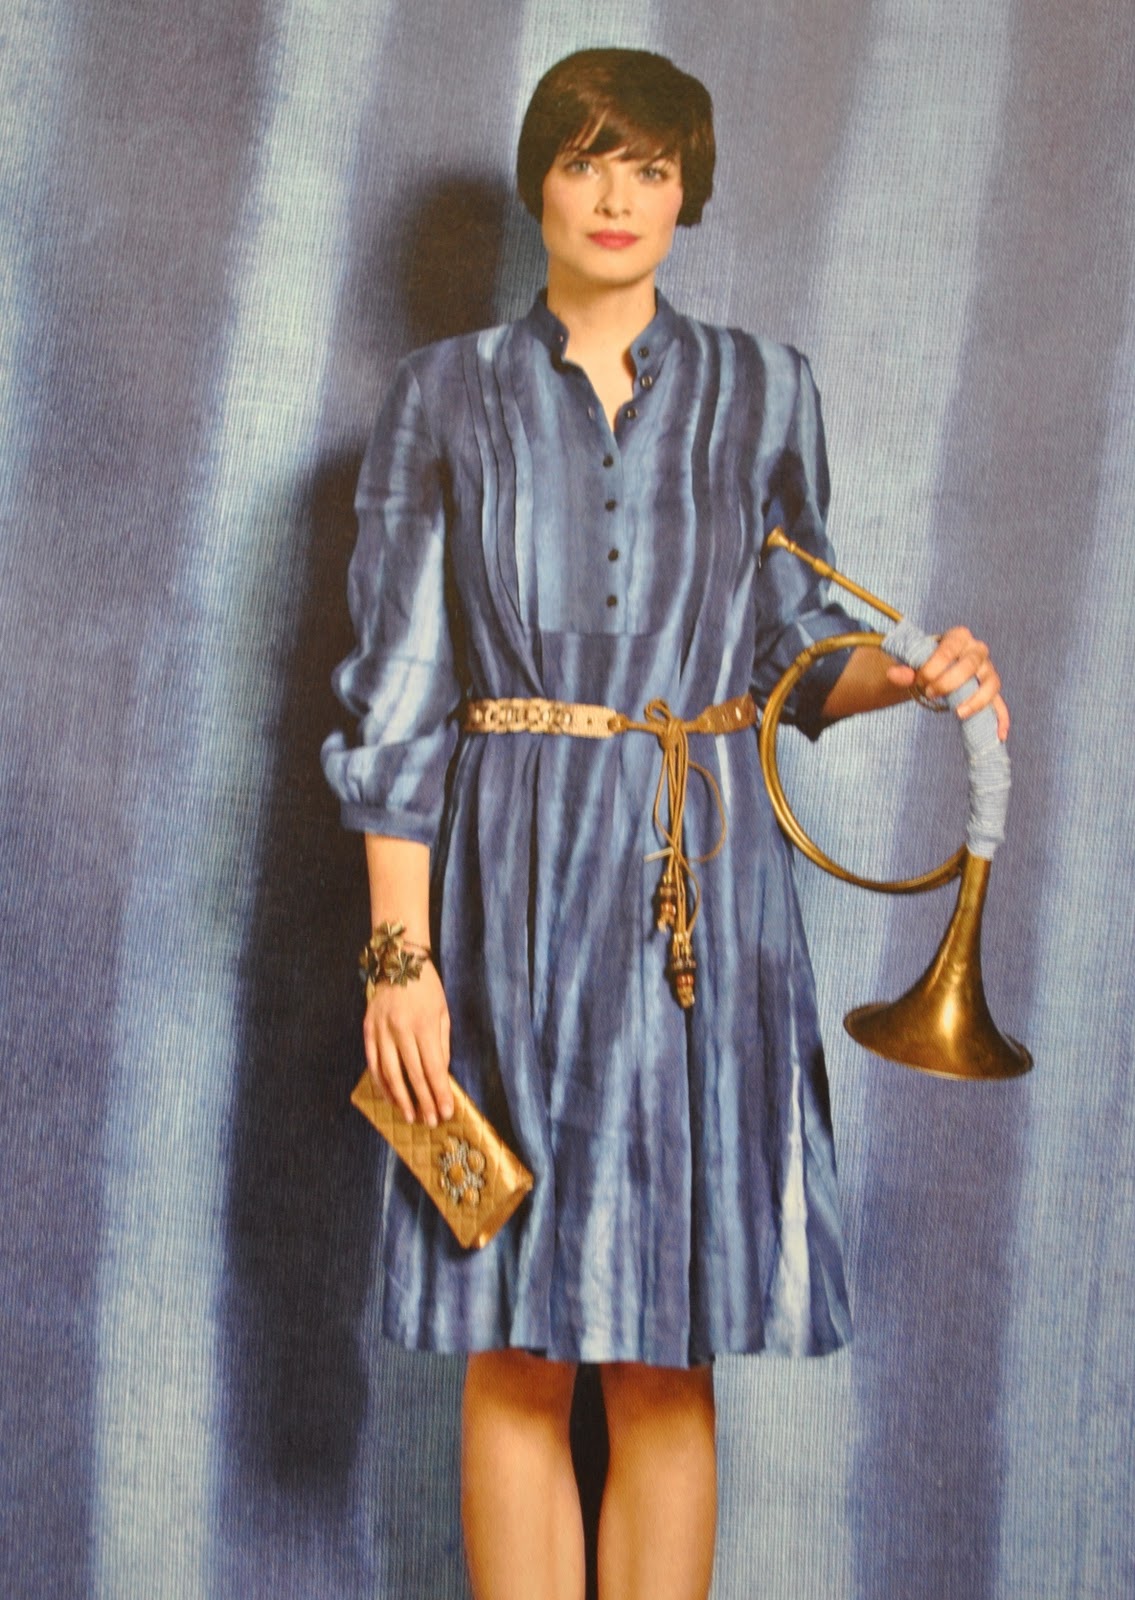
Tunic; my own design, adapted from several patterns, powder blue silk
Petticoat; Burda 8071, powder blue silk and lined with ivory silk charmeuse
Belt; of emu leather, from luxe boutique (sadly no longer open)
Sandals; Pedro Miralles, from Soletta shoes
Just some housekeeping: I have no idea why, but I have been unable to comment on WordPress blogs lately. I type in a comment but it totally disappears… what is with that? So, to my WordPress blogging friends, sorry! I
am reading, and
trying to comment 🙁
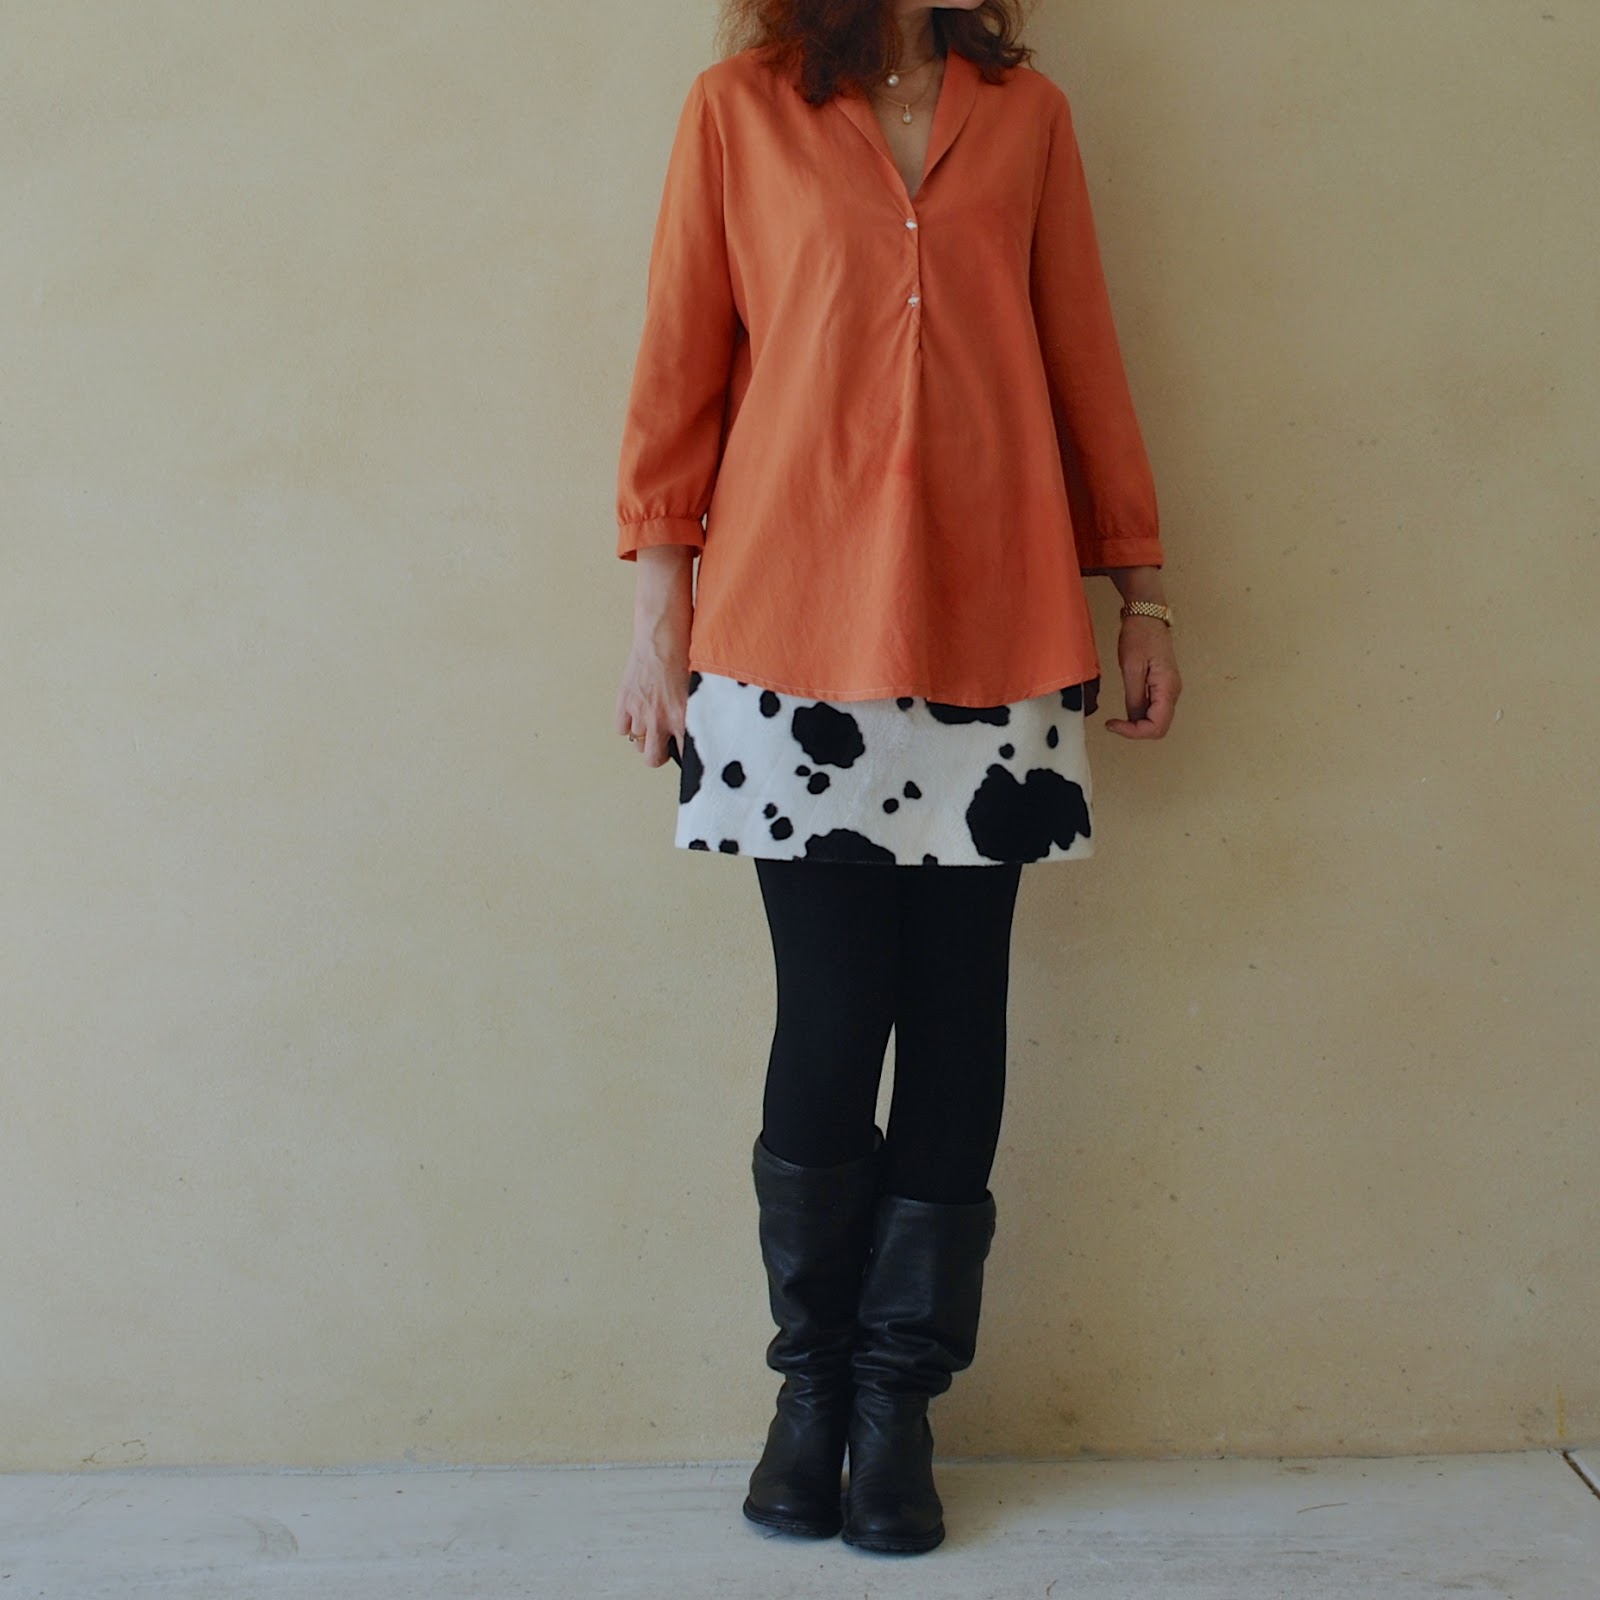
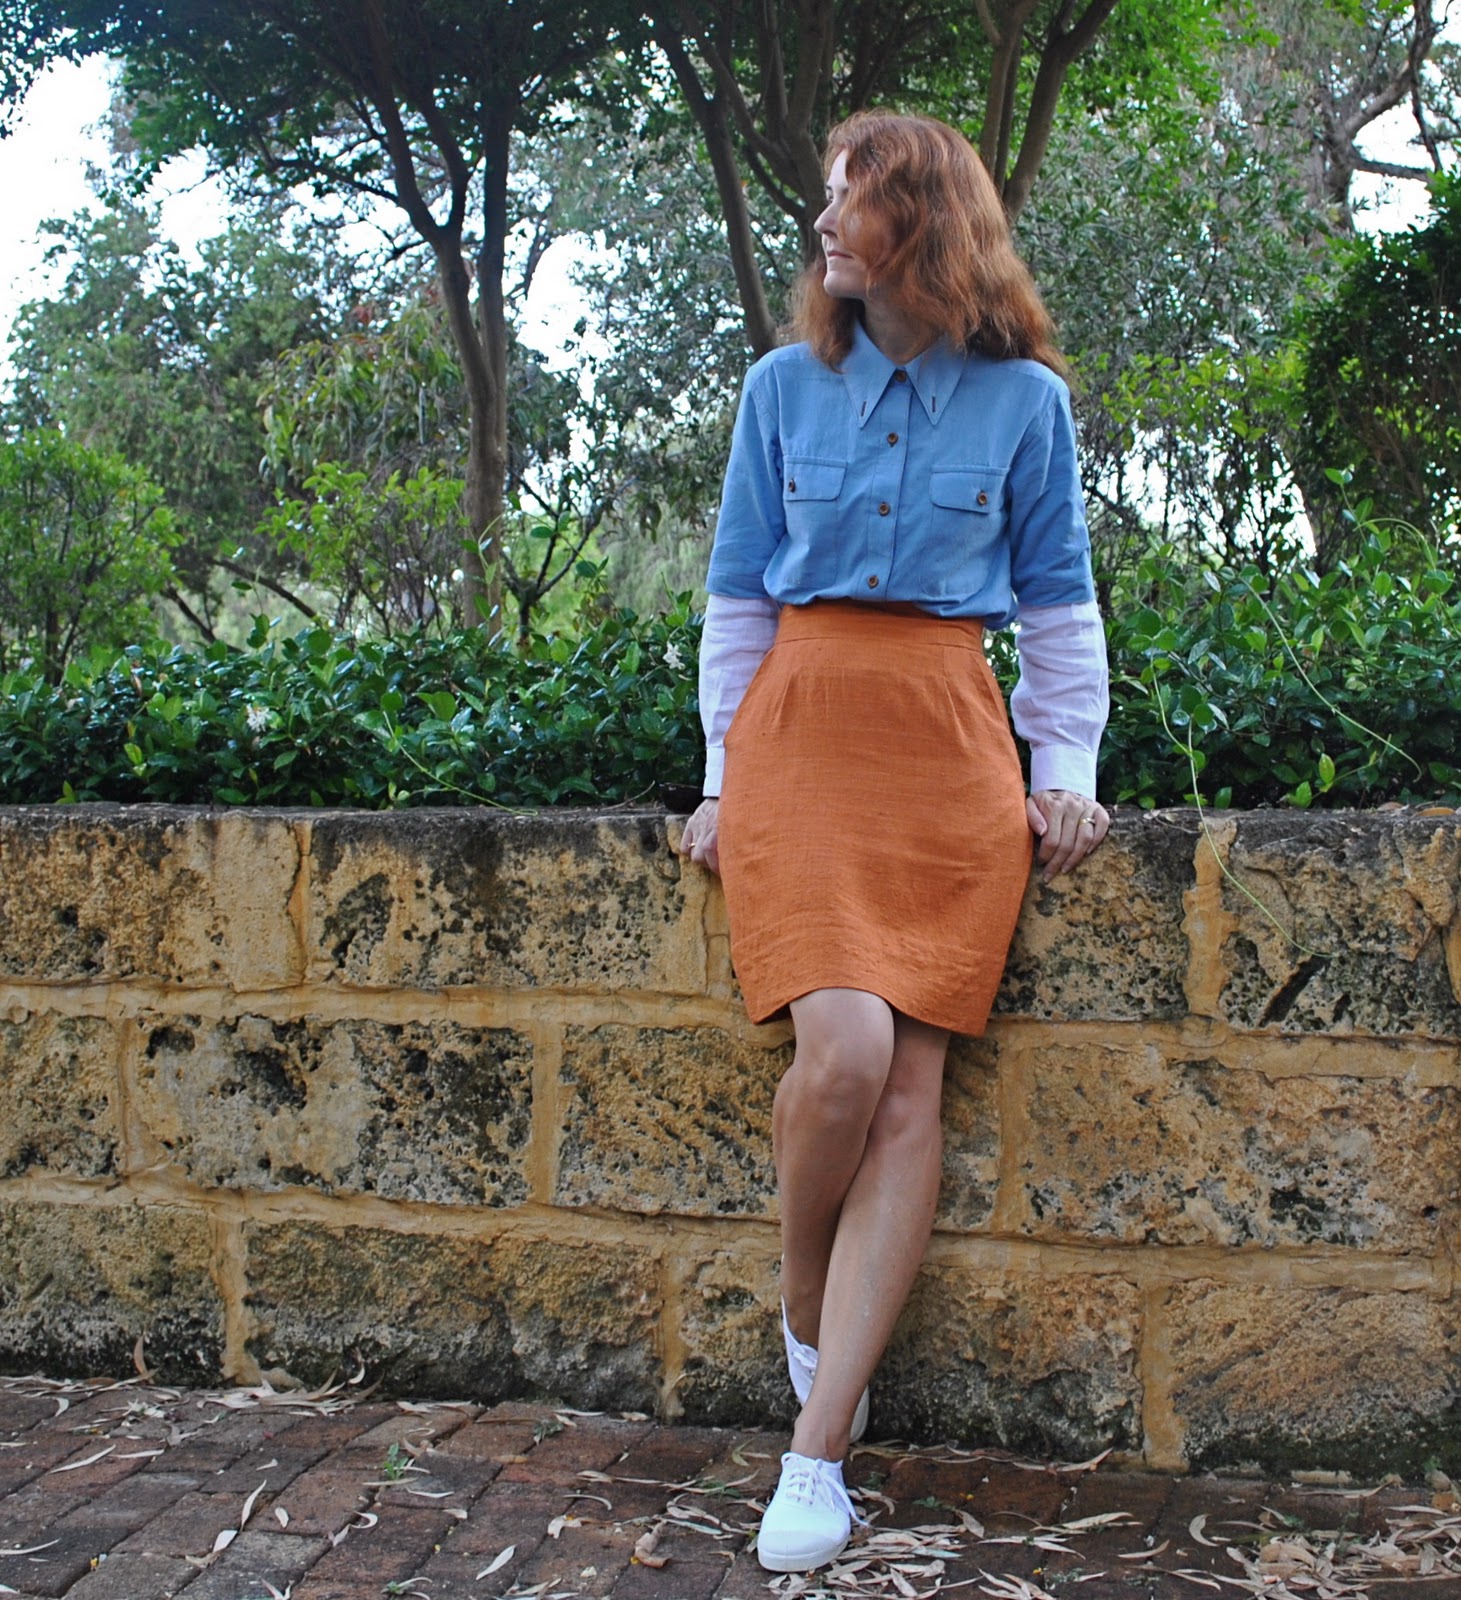
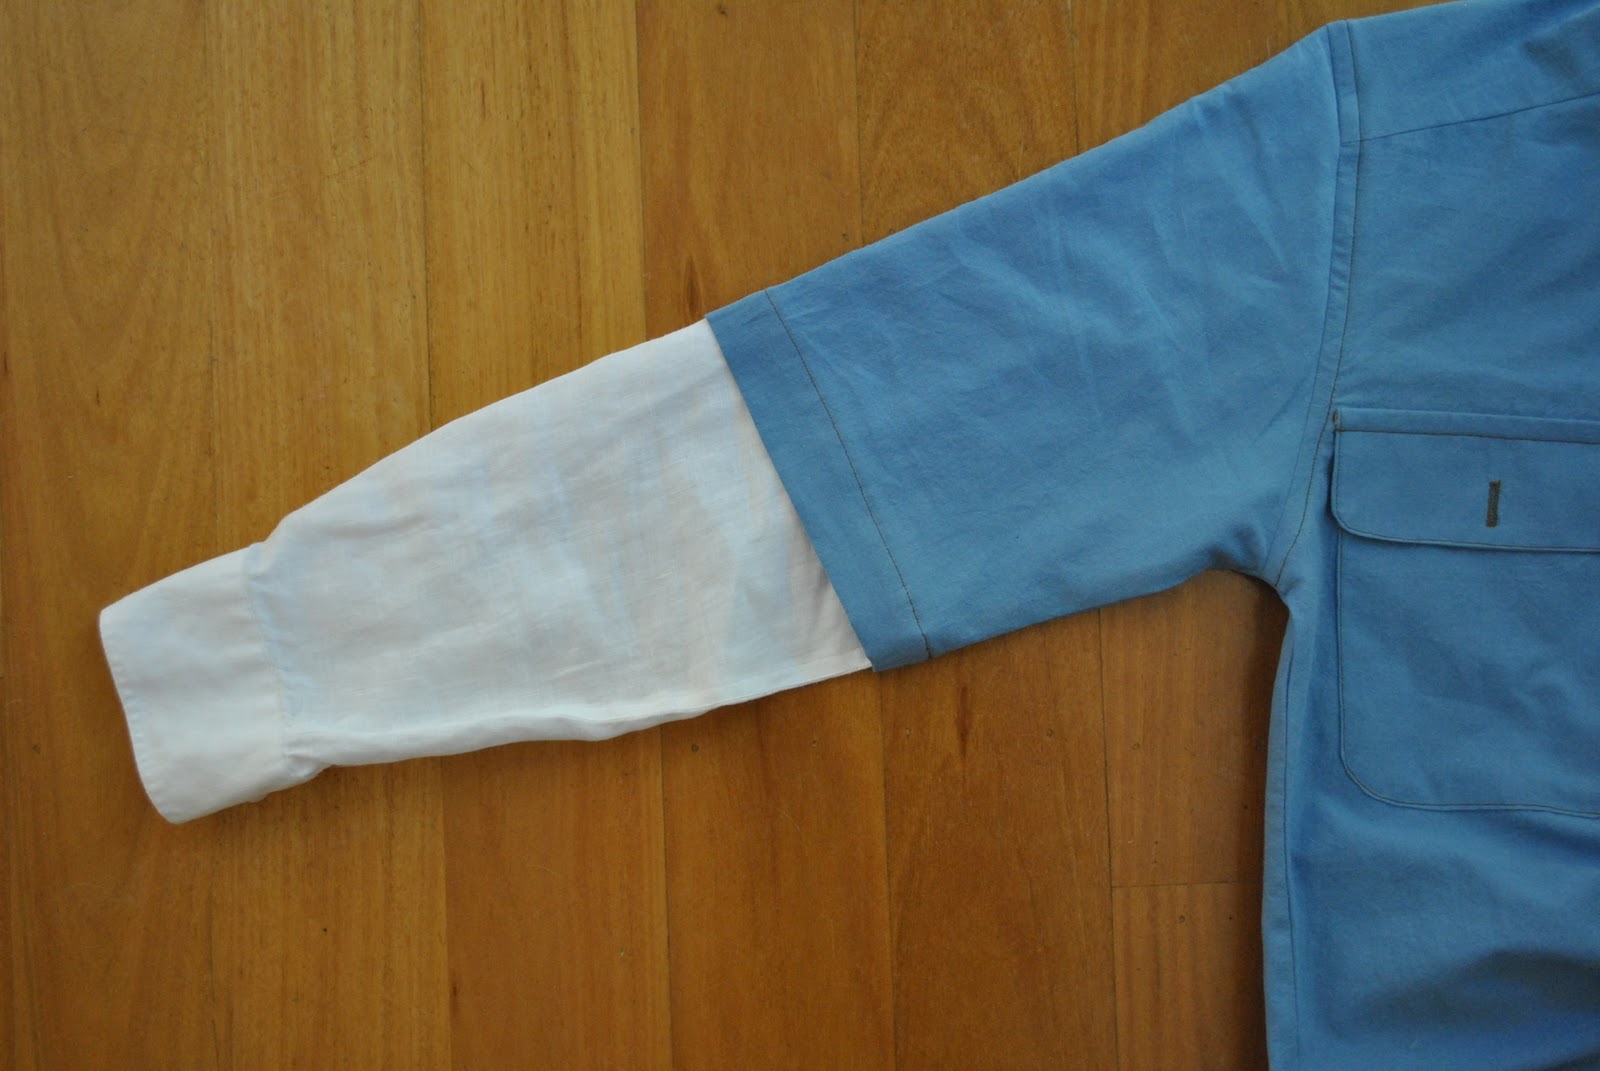
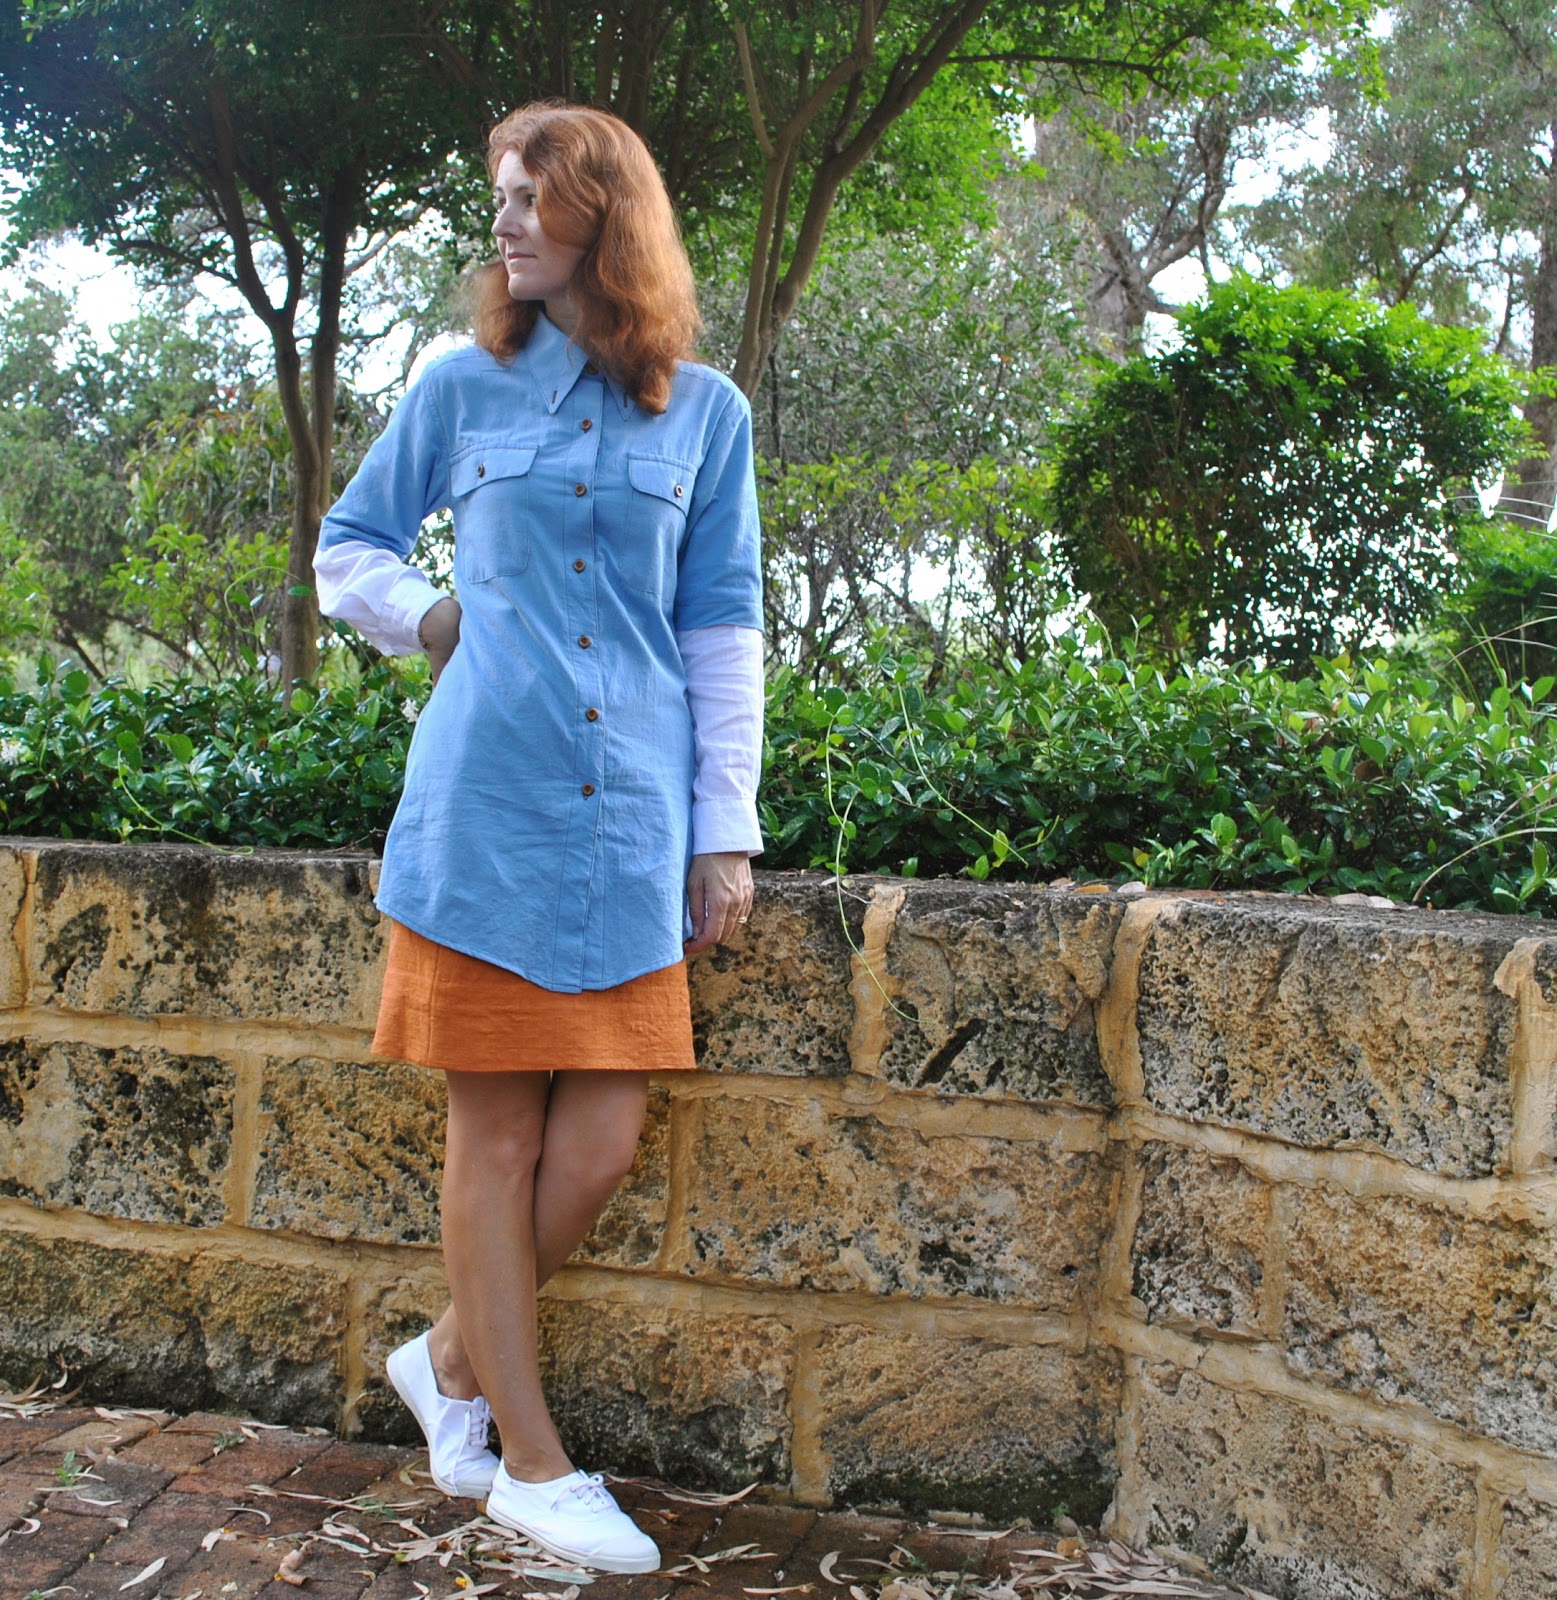
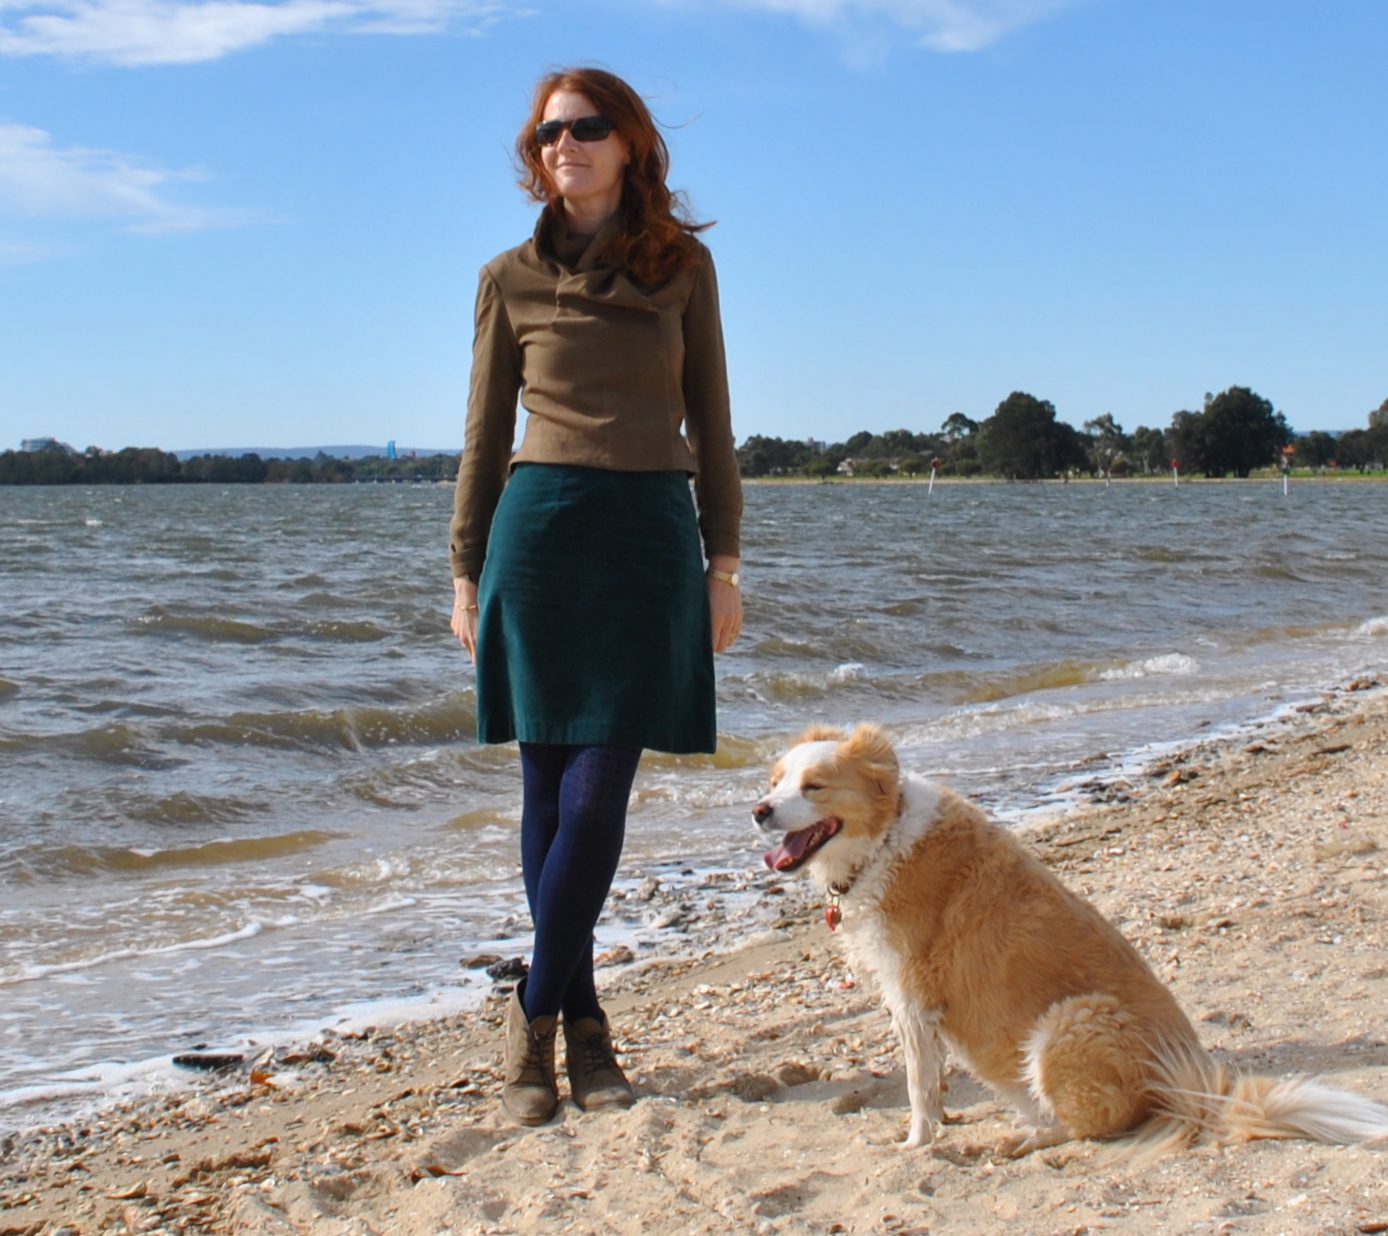
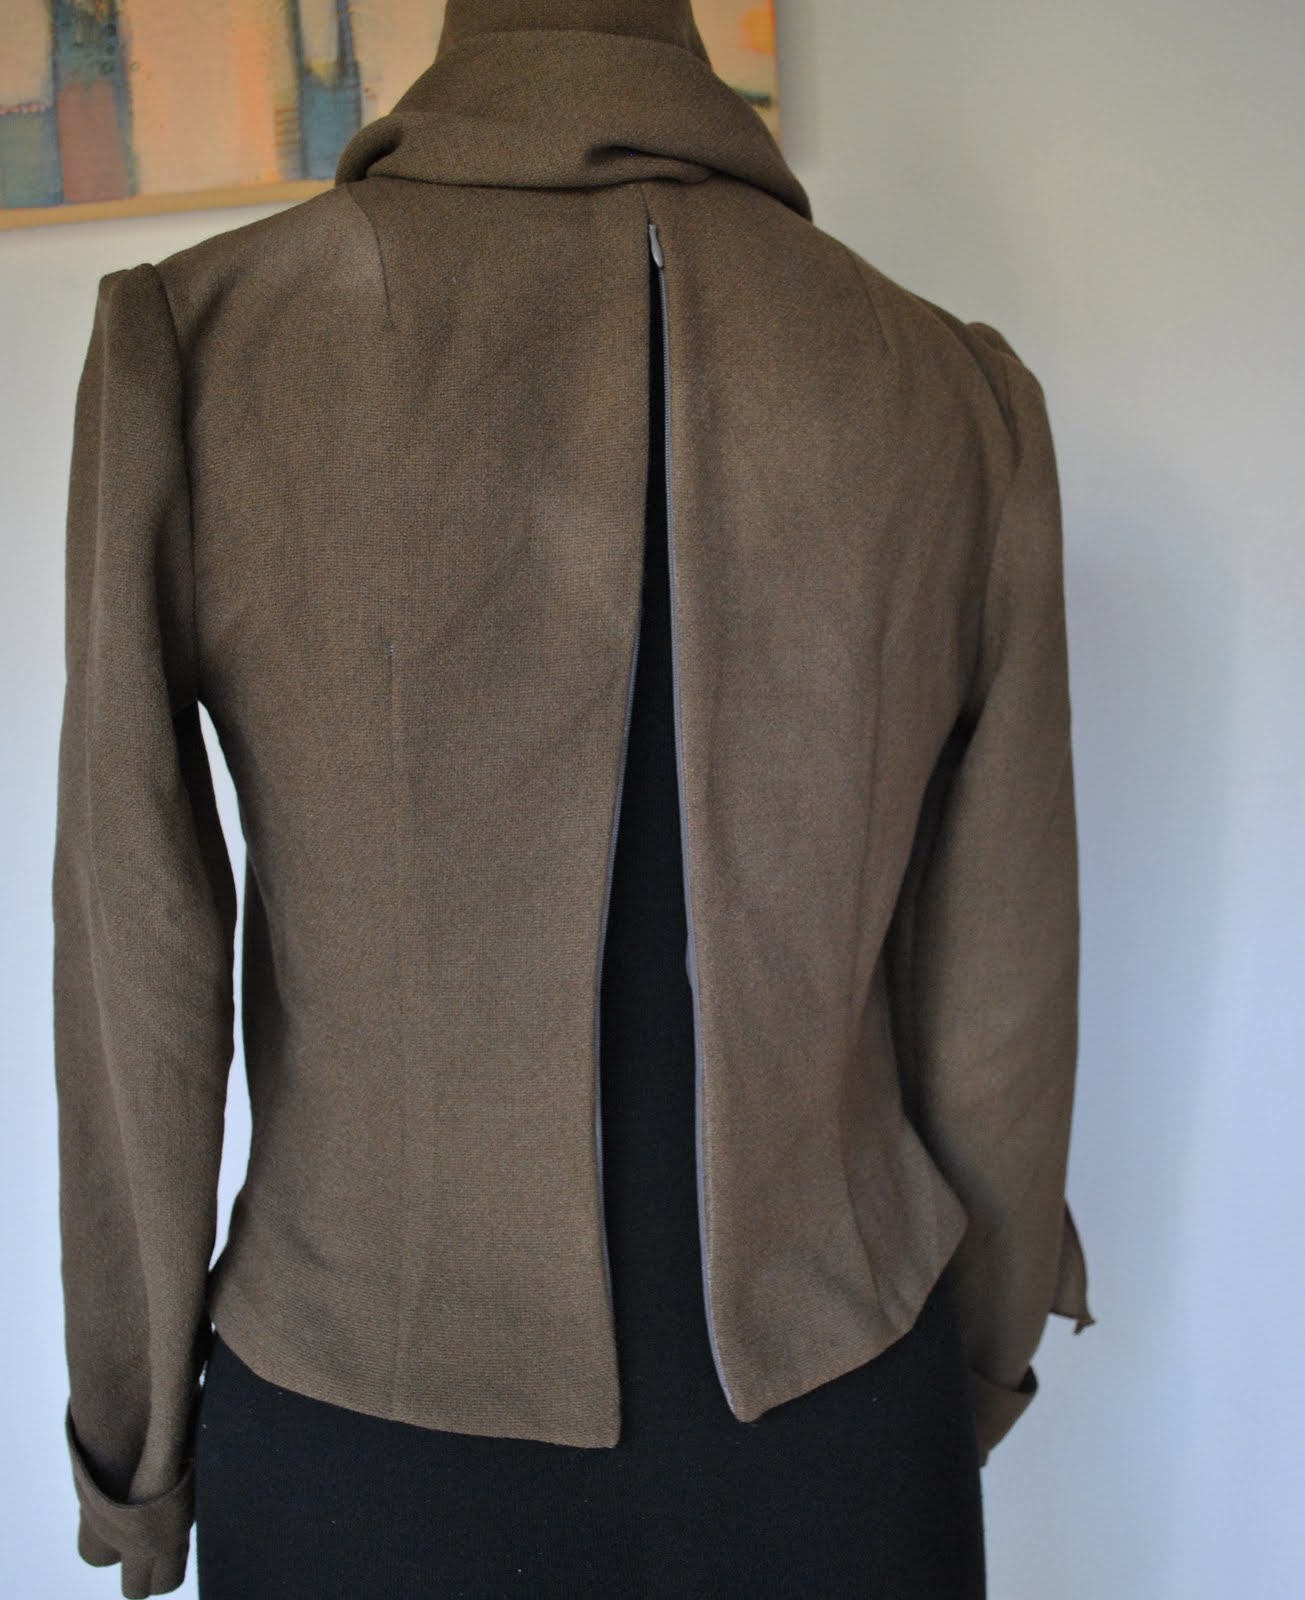
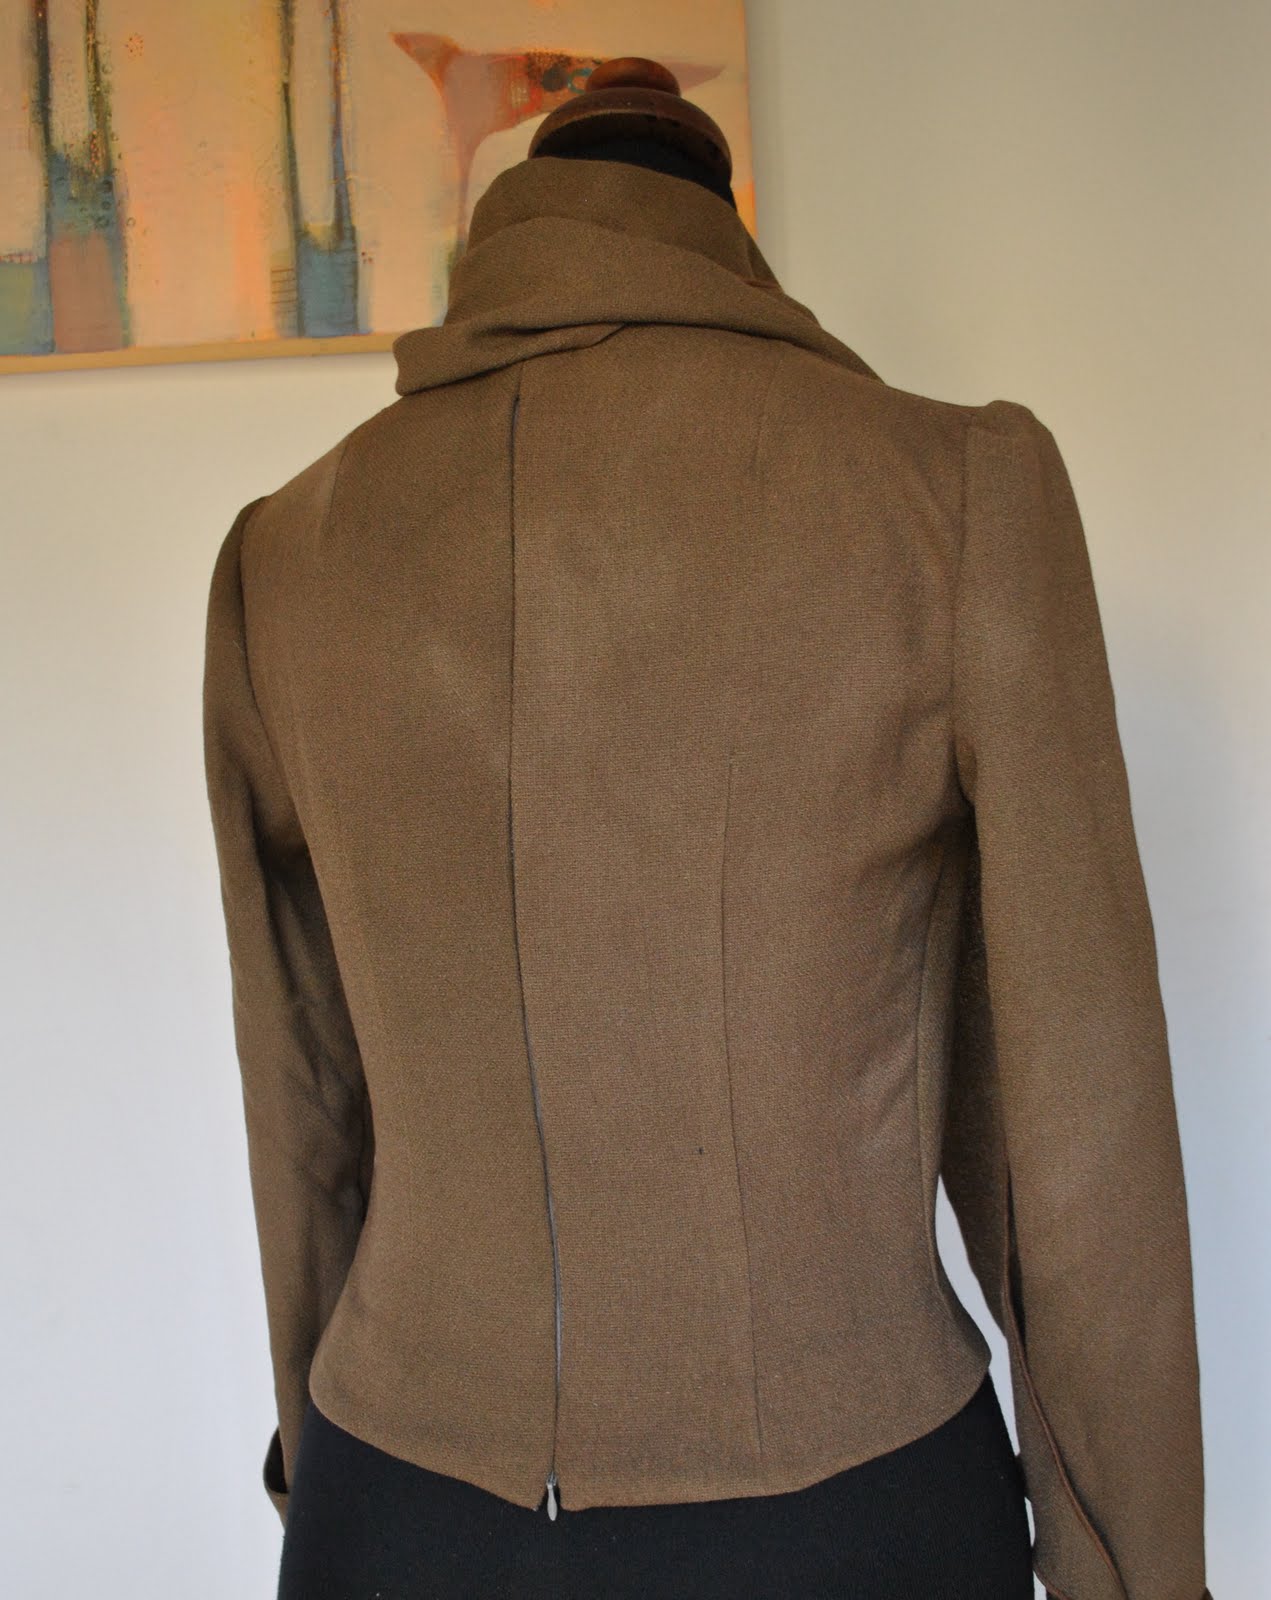
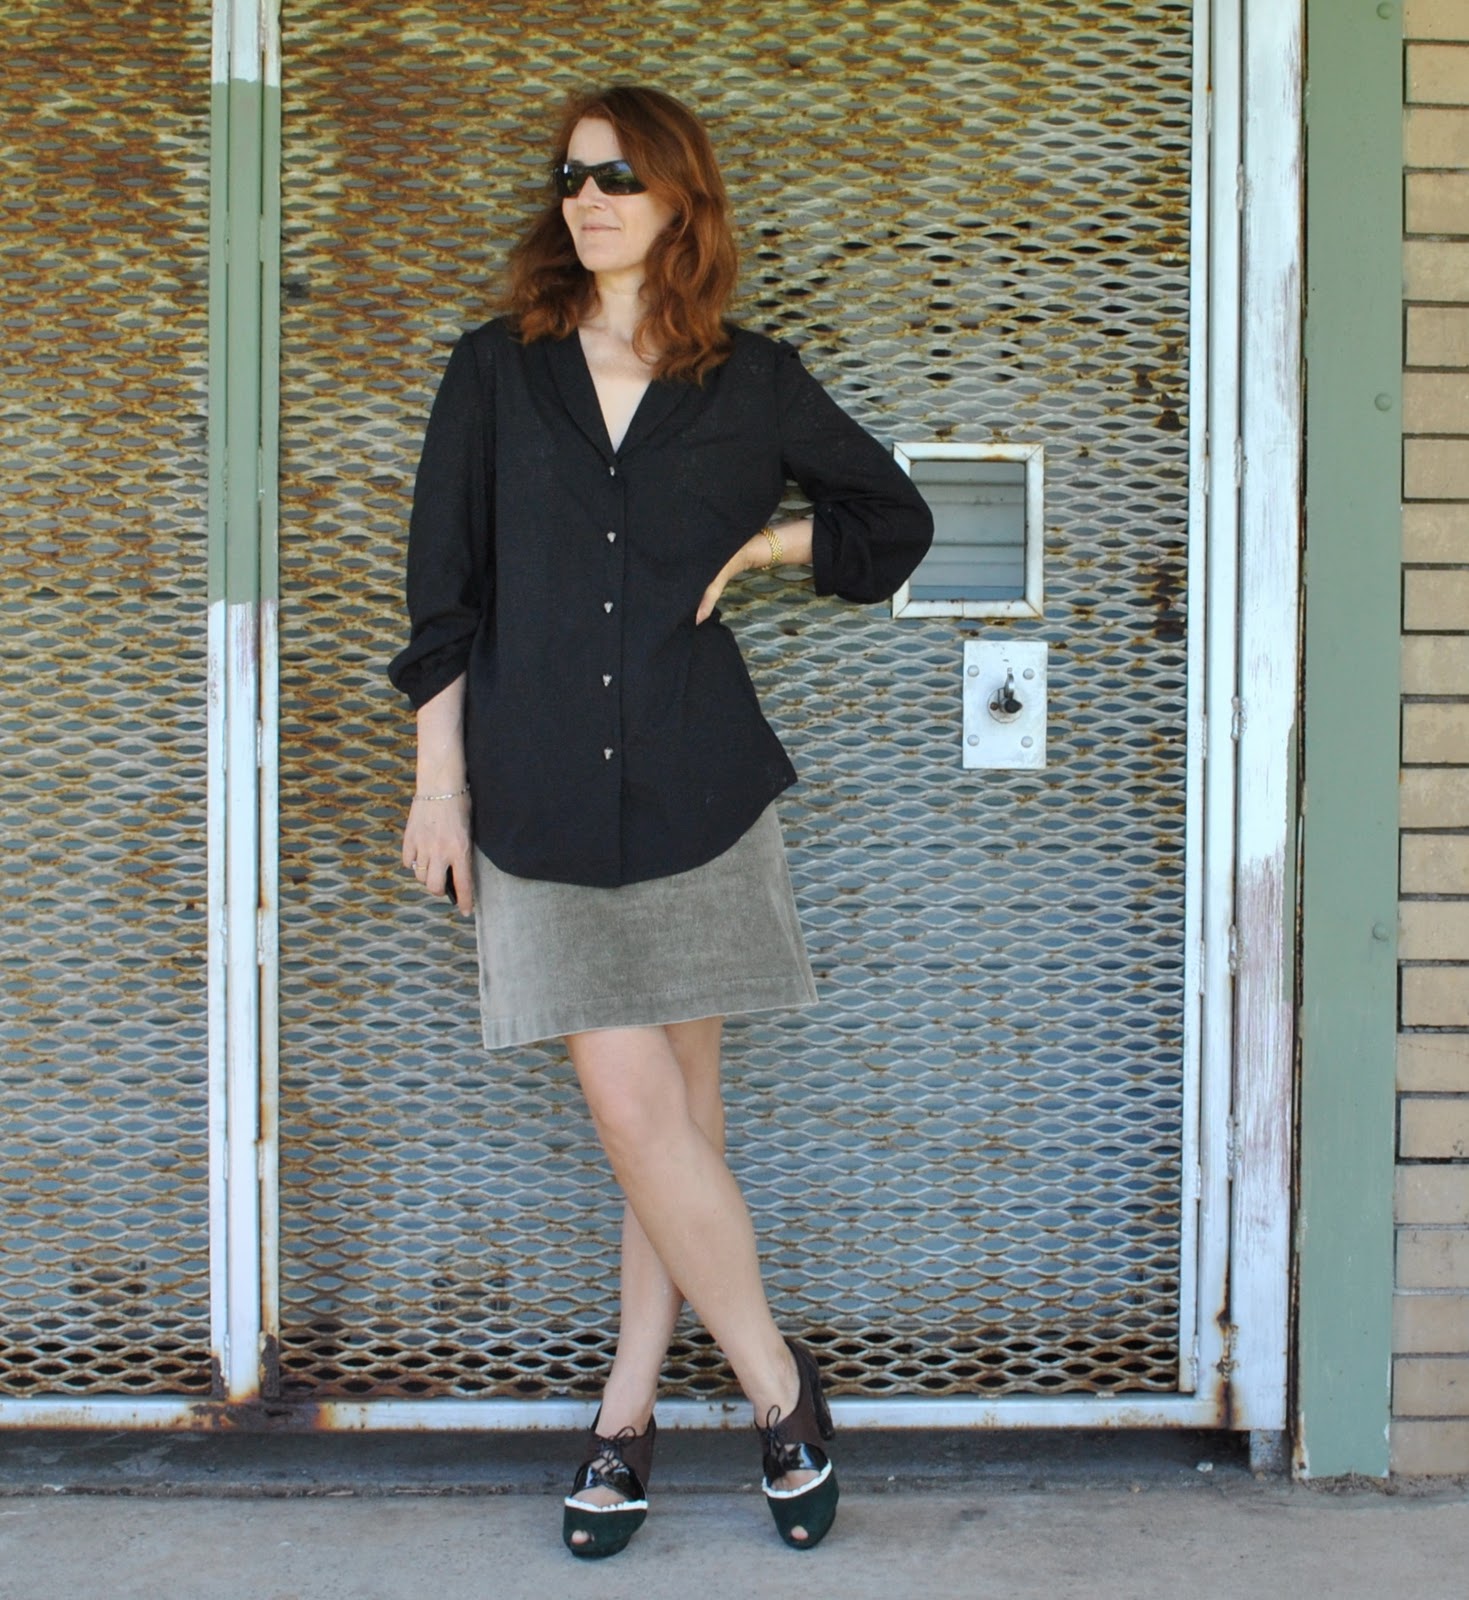
LATER EDIT;
this blouse has received
a dye bath and now looks like this:


 Oooh, it’s been a while since I did one of these posts… which is silly since I do get a big kick out of these myself. Playing in one’s wardrobe, the bestest play a grown-up girl can have, no?