Monthly Archives: July 2011

You are browsing the site archives by month.

Some thoughts on “indispensables”

I do really have to get onto the white/ivory top issue, and make some more.  This little ivory merino Tshirt that I am wearing (an old faithful from about four years back) has sprung a few holes.  Thus the necessity for a cardigan over the top…  Very very sad.  But looking on the bright side, an opportunity for me to introduce something new…?
Hmmm, see here’s the dilemma, when you have something in your wardrobe which is nigh on indispensable, which you reach for over and over and over and wear to death because it goes with everything; when it has reached the end of its life, should one try to replace it with something exactly the same, or should one try to move on and seek out new silhouettes and colours, a new sartorial direction for one’s wardrobe?  
I’m torn.  
Another little thing that is really almost dead is my little olive green corduroy skirt, which I keep wearing, but really really shouldn’t.  It too is now looking pretty awful. ( When I do dare to wear something that is looking a little shabby and horrible, I can’t help but the words of my Granny pop into my head; what if I was to have an accident?  What would the doctors and nurses at the hospital think when they see my hole-y top, or pilled and baggy cardi, or mis-shapen and bald corduroy skirt?  Tut tut…!)
But, I digress; what do you do about those indispensables in your wardrobe? when a really truly favourite basic has had it, do you try to replace it with a clone, or do you see the opportunity to go for new looks?

Details:
Top; Ezibuy
Cardigan; MNG, found secondhand (and covering up some rather un-strategic holes)
Jeans; Burda 7863 with minor modification, grape stretch denim, details here
Scarf; my own design, Patons ivory pure wool, details here
Shoes; Francesco Morichetti, from Zomp shoes

pinterestmail

Yellow silk Tie

Oh boy.  I’m not sure if I have done it right, but I’ve just created my first pattern and put it onto Burdastyle as a free downloadable pattern!

If you want you can download the pattern here… you have to click on “print pattern at home” to get the instructions, which form part of the pdf…
So OK, it’s just for a tie (baby steps, here), but it still took me … er, hours.  Actually far far longer to draw and write up the darn pattern than to make up the tie…!
Obviously, please let me know if there are any problems with it and I will sort them out as best I can  🙂
Anyhoo…

So, during the month of June we had Tim’s birthday party, and he asked me if I could make him a tie to wear.  Tim has very firm ideas on his apparel, and always has to look sharp.  Hmmm, where did he get that one from, I wonder…

He had his heart set on a definite colour, and since I had mentioned oh-so casually once upon a time how a tie would be laughably easy to make, and a darn sight cheaper to make your own than the $60 odd you get charged for RTW, even polyester, he put in his request.
So, I have taken apart one or two ties in my time (the last time to make this), and they are pretty easy to make, but I took a few progress shots to show here, so if you haven’t made one before you don’t have to take apart your own tie natch, to find out…
Firstly, a tie has four different fabric components, the outer fashion fabric, lining fabric, padding fabric, and a section of very lightweight underlining fabric.
I used:
For the fashion fabric the lovely rich egg-yolk yellow silk dupion Tim had chosen
scraps of lightweight turquoise cotton for the lining
A strip of corduroy for the padding
scrap of organza for the underlining
The underlining is pinned in place onto the wrong side of the tie, this is presumably to avoid stitching lines appearing on the outside of the tie.
To get the nice mitred top and bottom edges of the tie, which is a nice finish ensuring that the lining fabric will not peep out from around the edges of your finished tie; I sewed the triangular lining pieces on as follows…
Firstly, fold the tie lengthwise in half, and sew a short line of stitching, perpendicular to the centre fold of the tie… starting at the centre fold and finishing at about 5mm from the raw edges.   The pin is laid in place alongside the white stitching line.
Note: this is a demo scrap that I sewed up later to show up that stitching line properly, really your underlining fabric should be in place wrapped around on the outside of this fold.  I did take a photo with the underlining in place, but my white thread didn’t show up very well against the white underlining fabric, so took these mock-up photos separately, without the underlining.
Lay the triangular lining piece over and stitch to the fashion fabric, each line of stitching ending right at the end of your short stitching line, that you did in the previous step.
Turn out, and you have a nice mitred corner.  Do both the top and bottom of the tie in the same way…
Now insert the padding into the points of the tie.  This requires some gentle stuffing and poking the padding point up cleanly and firmly into the corner; I know there are proper tools for this job that proper seamsters use but I usually use a slightly blunted pencil (hehe, oops!) I had cut my padding a tad long, just in case, and so there was some trimming required here to get it all sitting in nice and flat.
Then just fold one long edge in and press firmly in place the length of the tie.
The last open edge, fold in the seam allowance, then fold over the centre of the tie and press.
Slip stitch that long folded edge in place, and down those short slanted edges onto the lining.
Voila!
pinterestmail

Army style jacket, with detachable (faux) fur-lined hood

I mentioned some time ago my new army/military style jacket; finished way back in March, well, here it is!
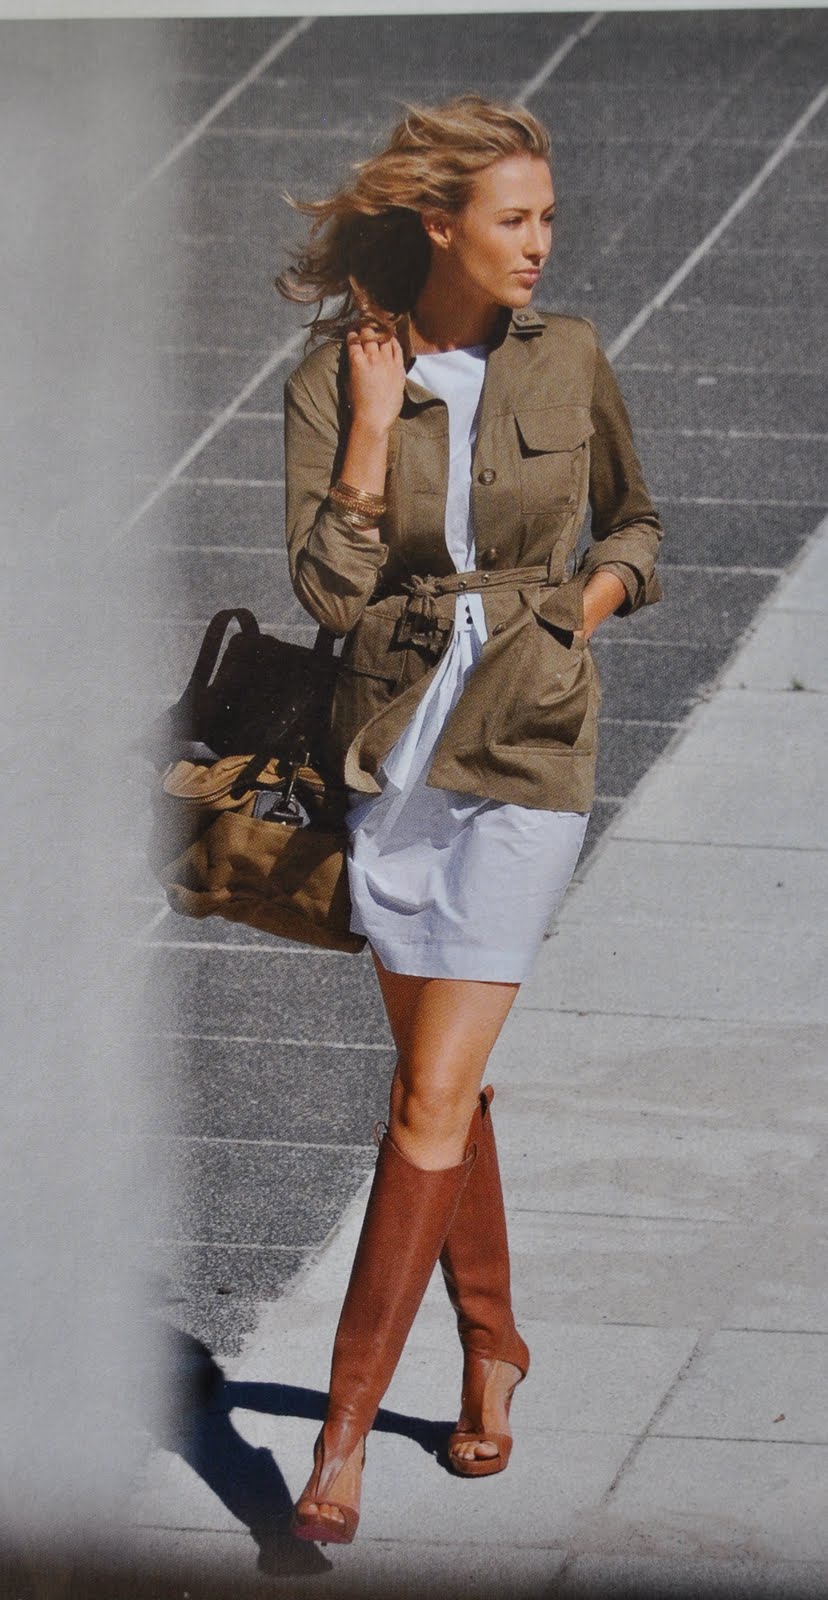
When we were in Tokyo I saw all ages and both sexes, everywhere, sporting big khaki army type jackets.  All with military details, lots of pockets, cinched in waist belts and sometimes with fur-lined hoods, and I just fell in love with them and decided I just had to have my own.  They just looked so big and comfy and cosy looking, and the girls (and boys) wearing them looked so warm not to mention so so so too-cooool-for-school; casually and bulkily stylish…  I’m sure a lot of the ones I saw were real army jackets, possibly from army disposal stores or secondhand stores, but naturally with my DIY aesthetic I was always going to try to make my own… 😀
Of course what I wasn’t taking into account was that it doesn’t really get all that cold here and especially for the hoodie part of it!  I expect I will wear it without the hood for most of the time… but it was still fun to have a go at making a furry hood, and it just might come in handy for some mornings, and if we ever go down to the country.

Details:
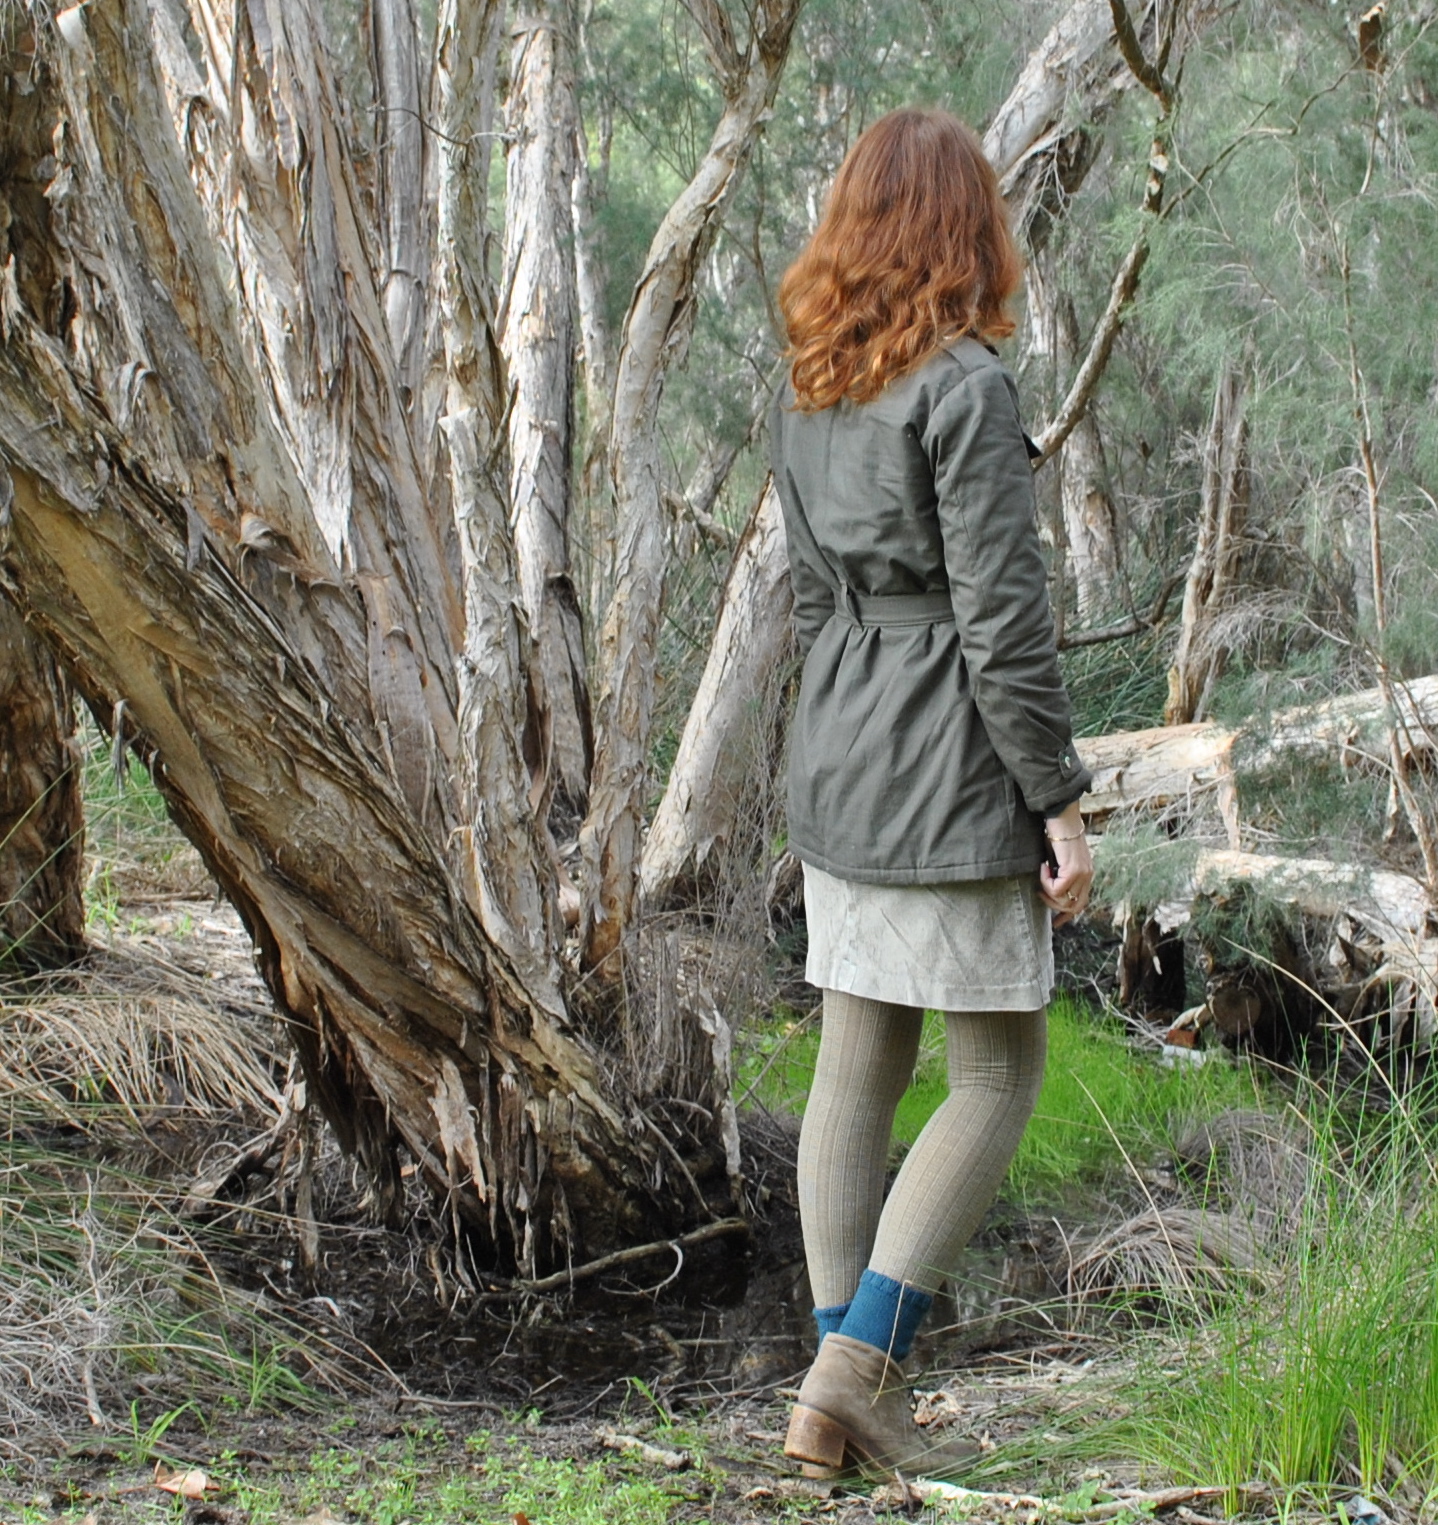
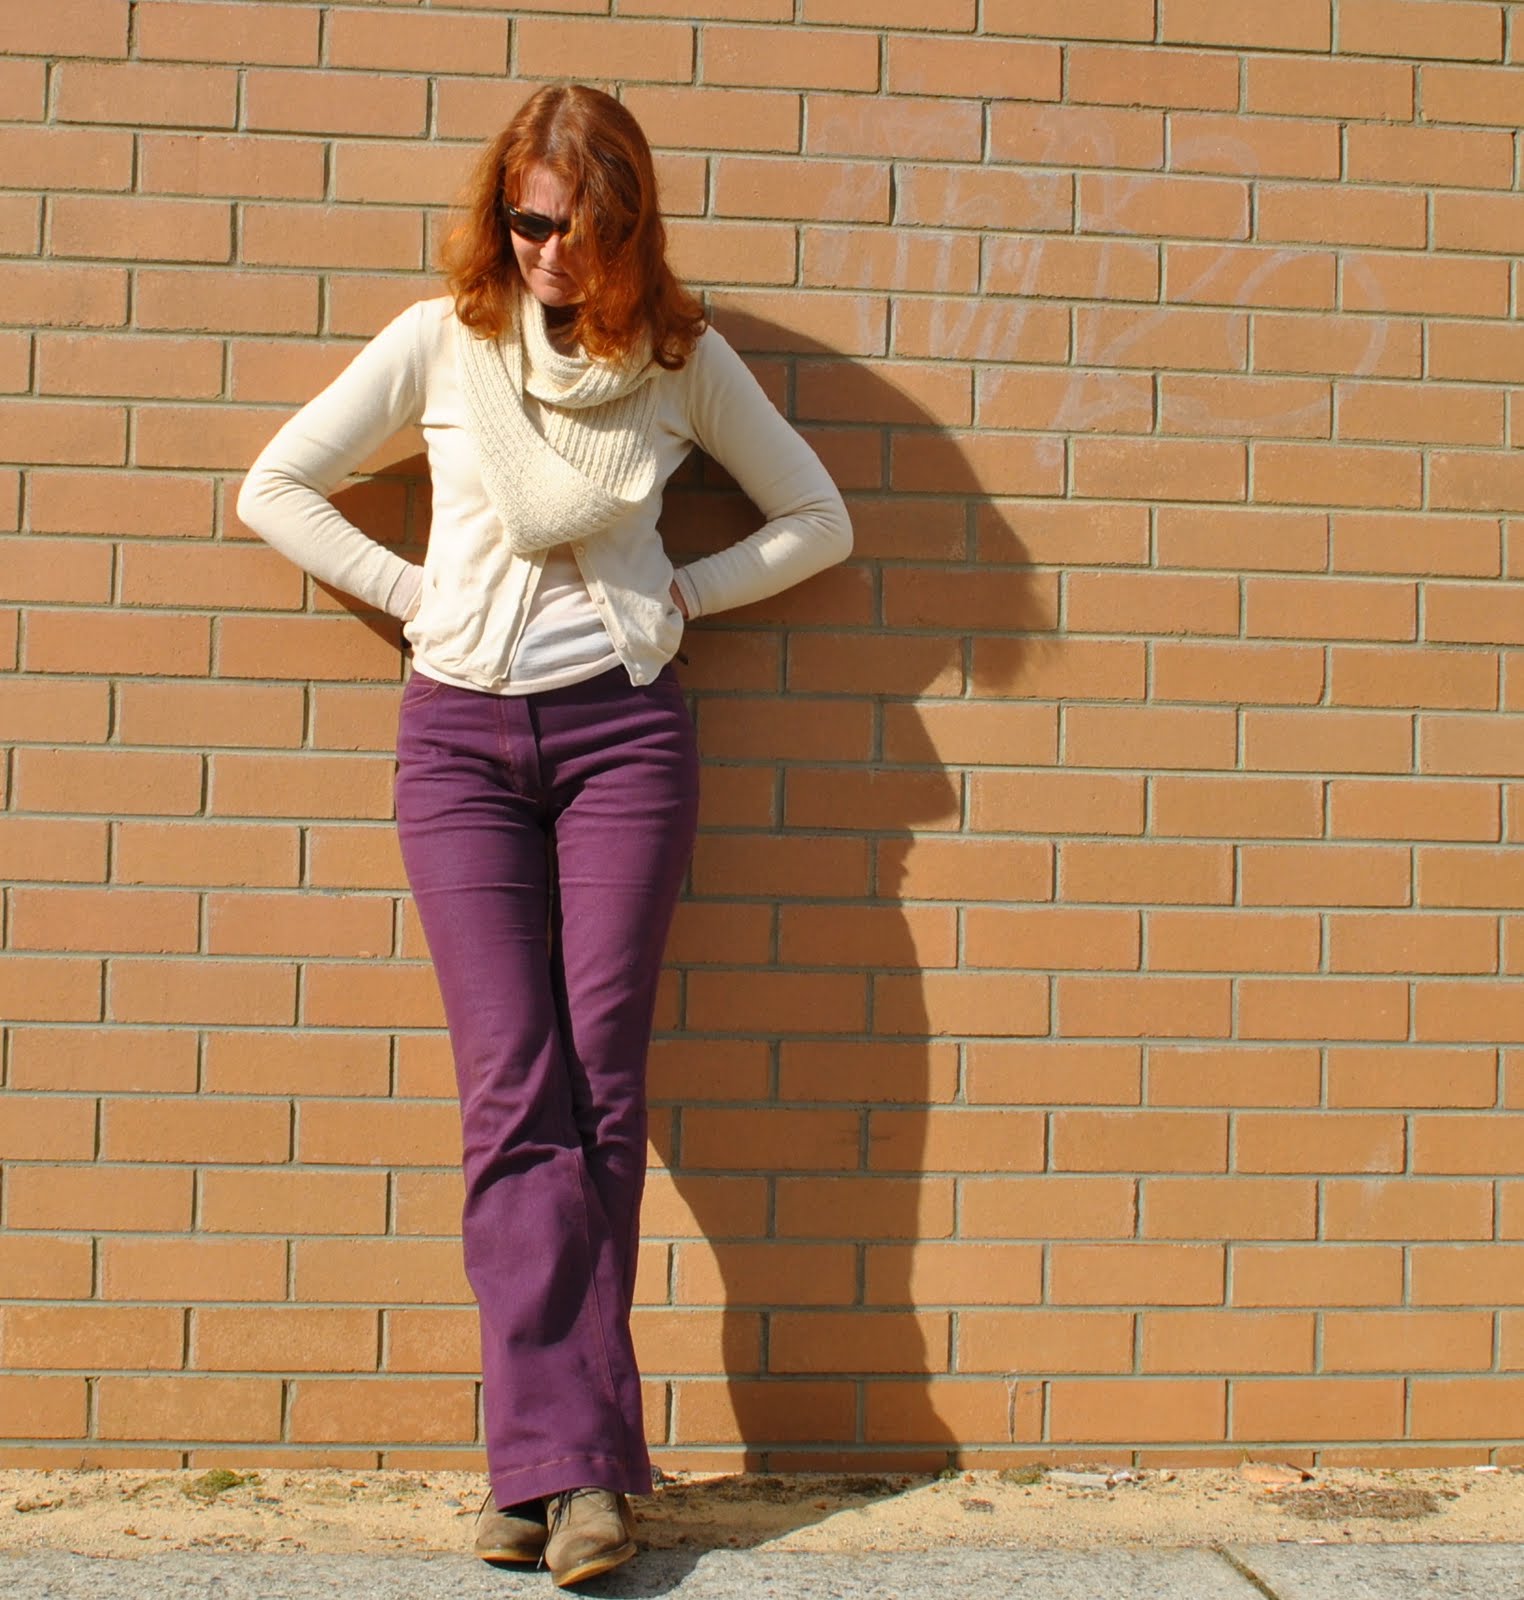
Jacket; Burdastyle 05-2010-127 with my own modifications, khaki ripstop cotton and grey marle fleece lining
Skirt; Vogue 7303, olive green corduroy, to see this little skirt styled in 6 different ways go here
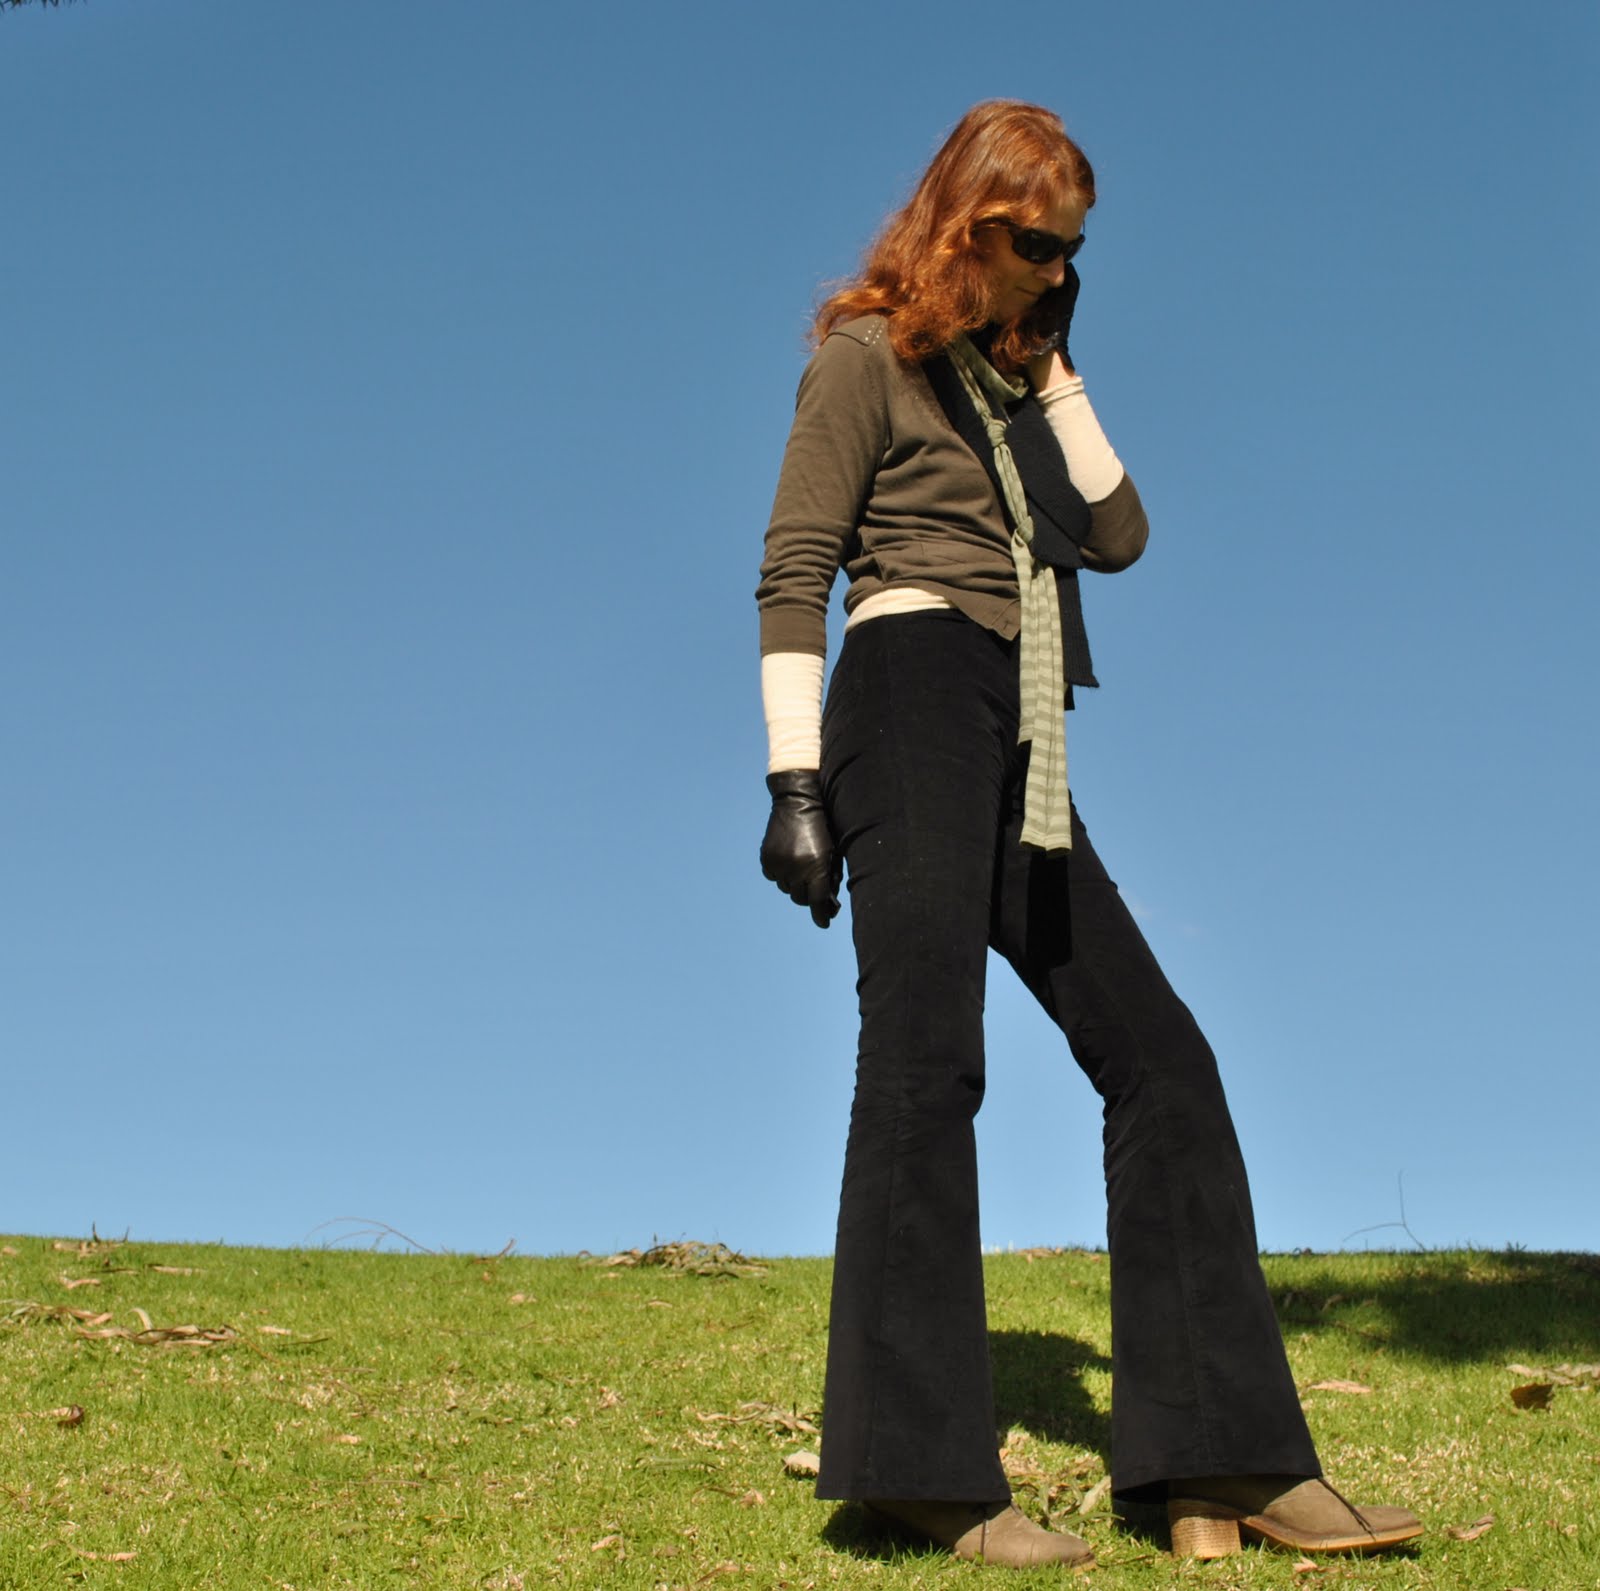
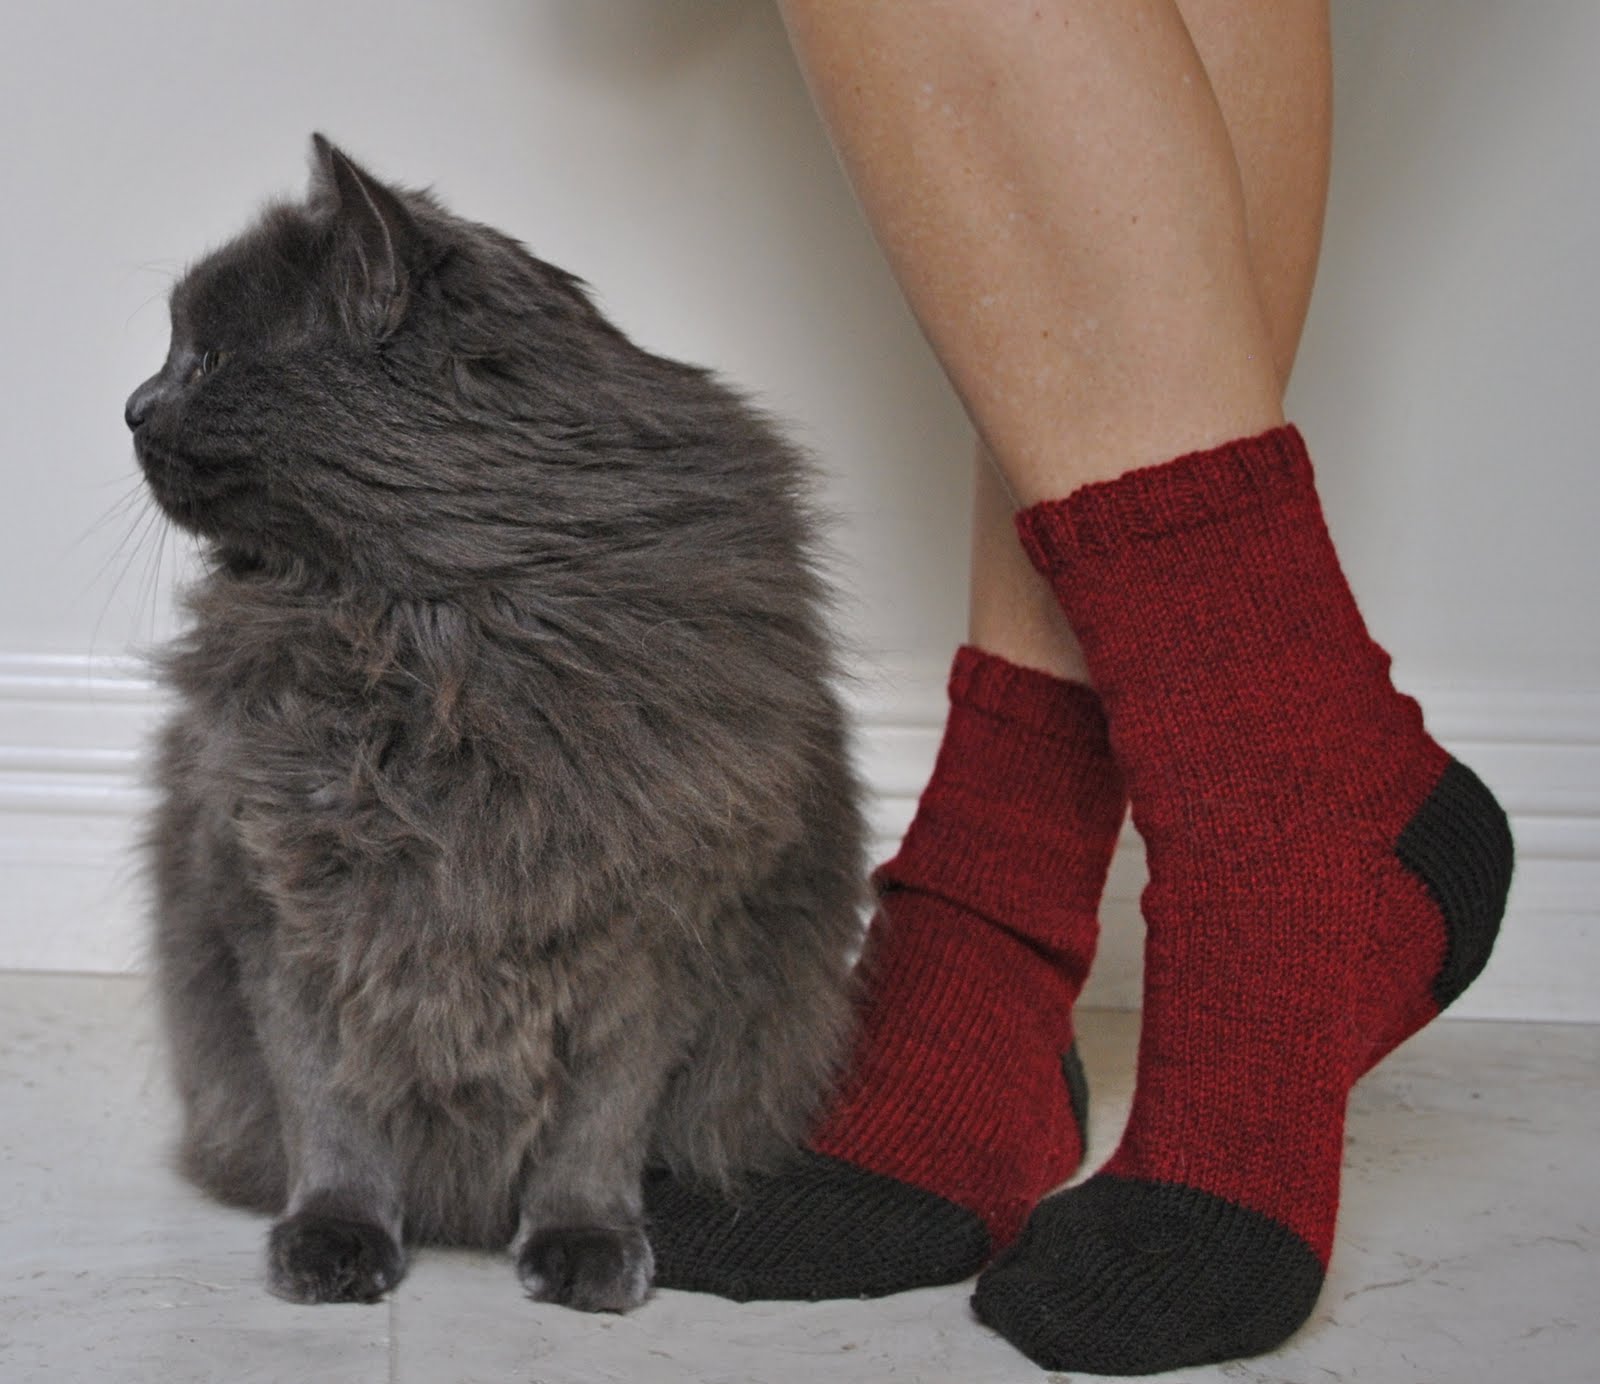
Top and tights; Metalicus
Socks, handknit by me, details here
Shoes; Francesco Morichetti, from Zomp shoes

Dressmaking details; if you want to know…
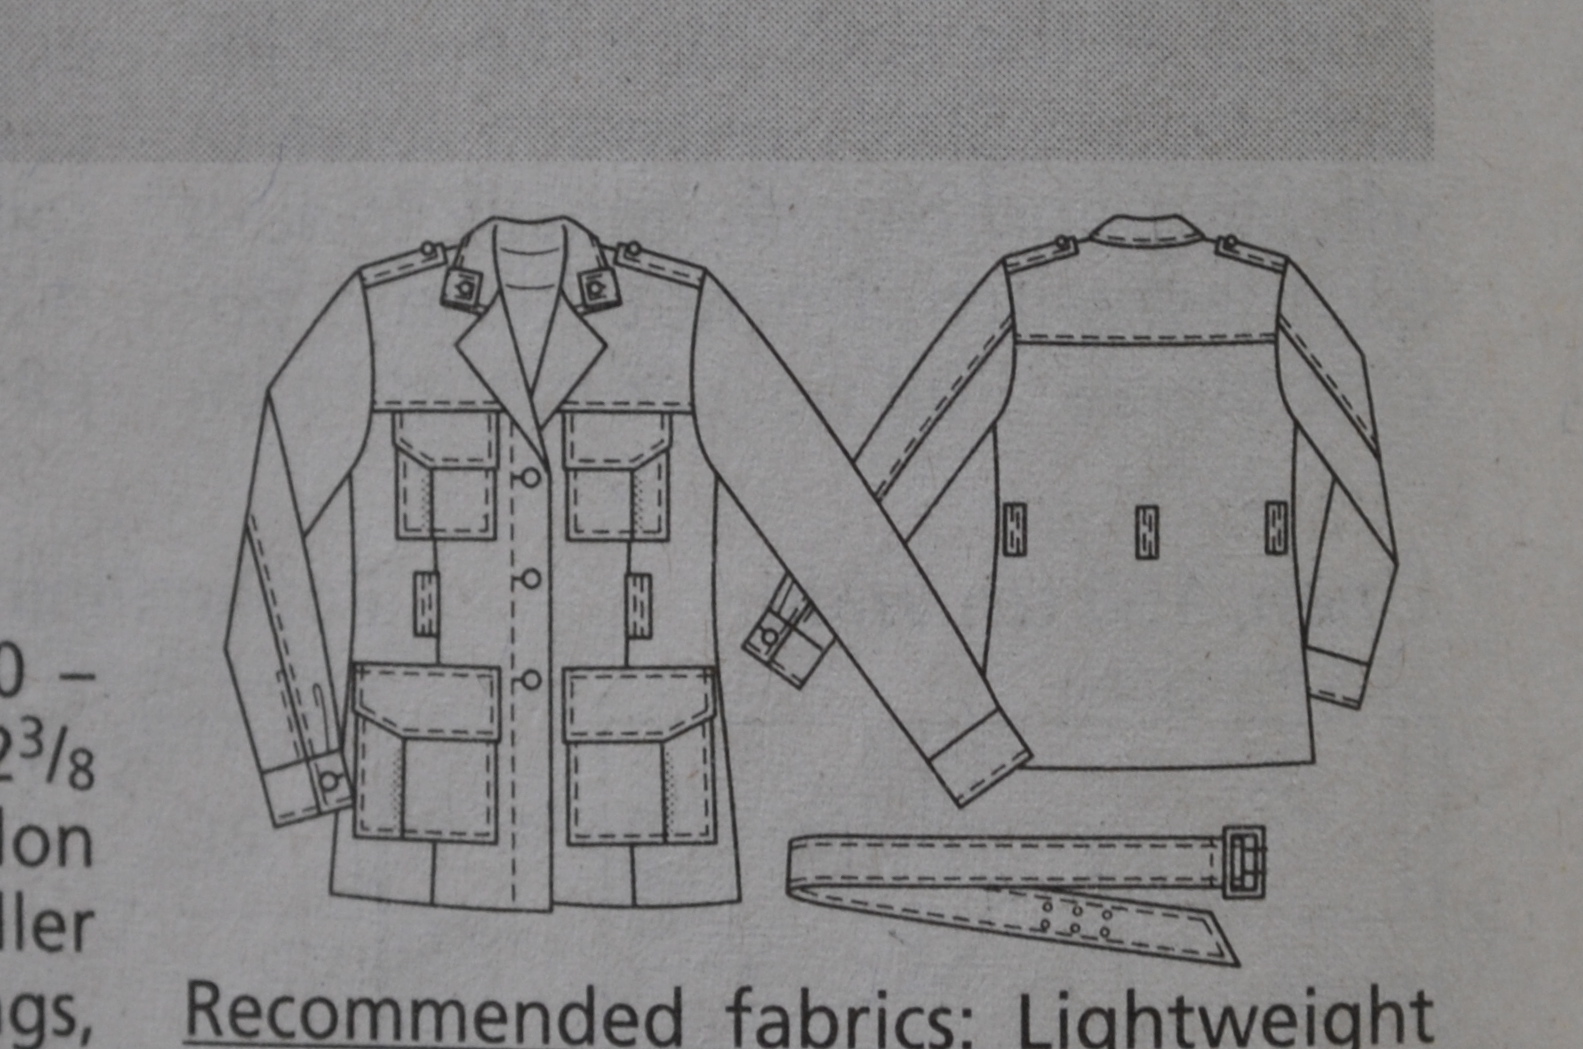
I used Burdastyle 05/2010, pattern 127 as a starting point, and as usual made a few modifications to get the army-style I envisioned, but as the bones of the jacket are essentially the same I think I can dare to write a review for this pattern??  I used ripstop cotton in khaki, a wonderful fabric both tough and hardwearing and so so so perfect for an army style jacket!  I have also made this and this from the exact same fabric, so I guess it is obvious I love it…!  I’d better not buy any more, hmmm?  The lining is a pale grey marle fleece, and the faux fur is… well, faux fur.  I think from memory, it was labelled silver fox.  All the materials are from Spotlight.
The modifications I made:
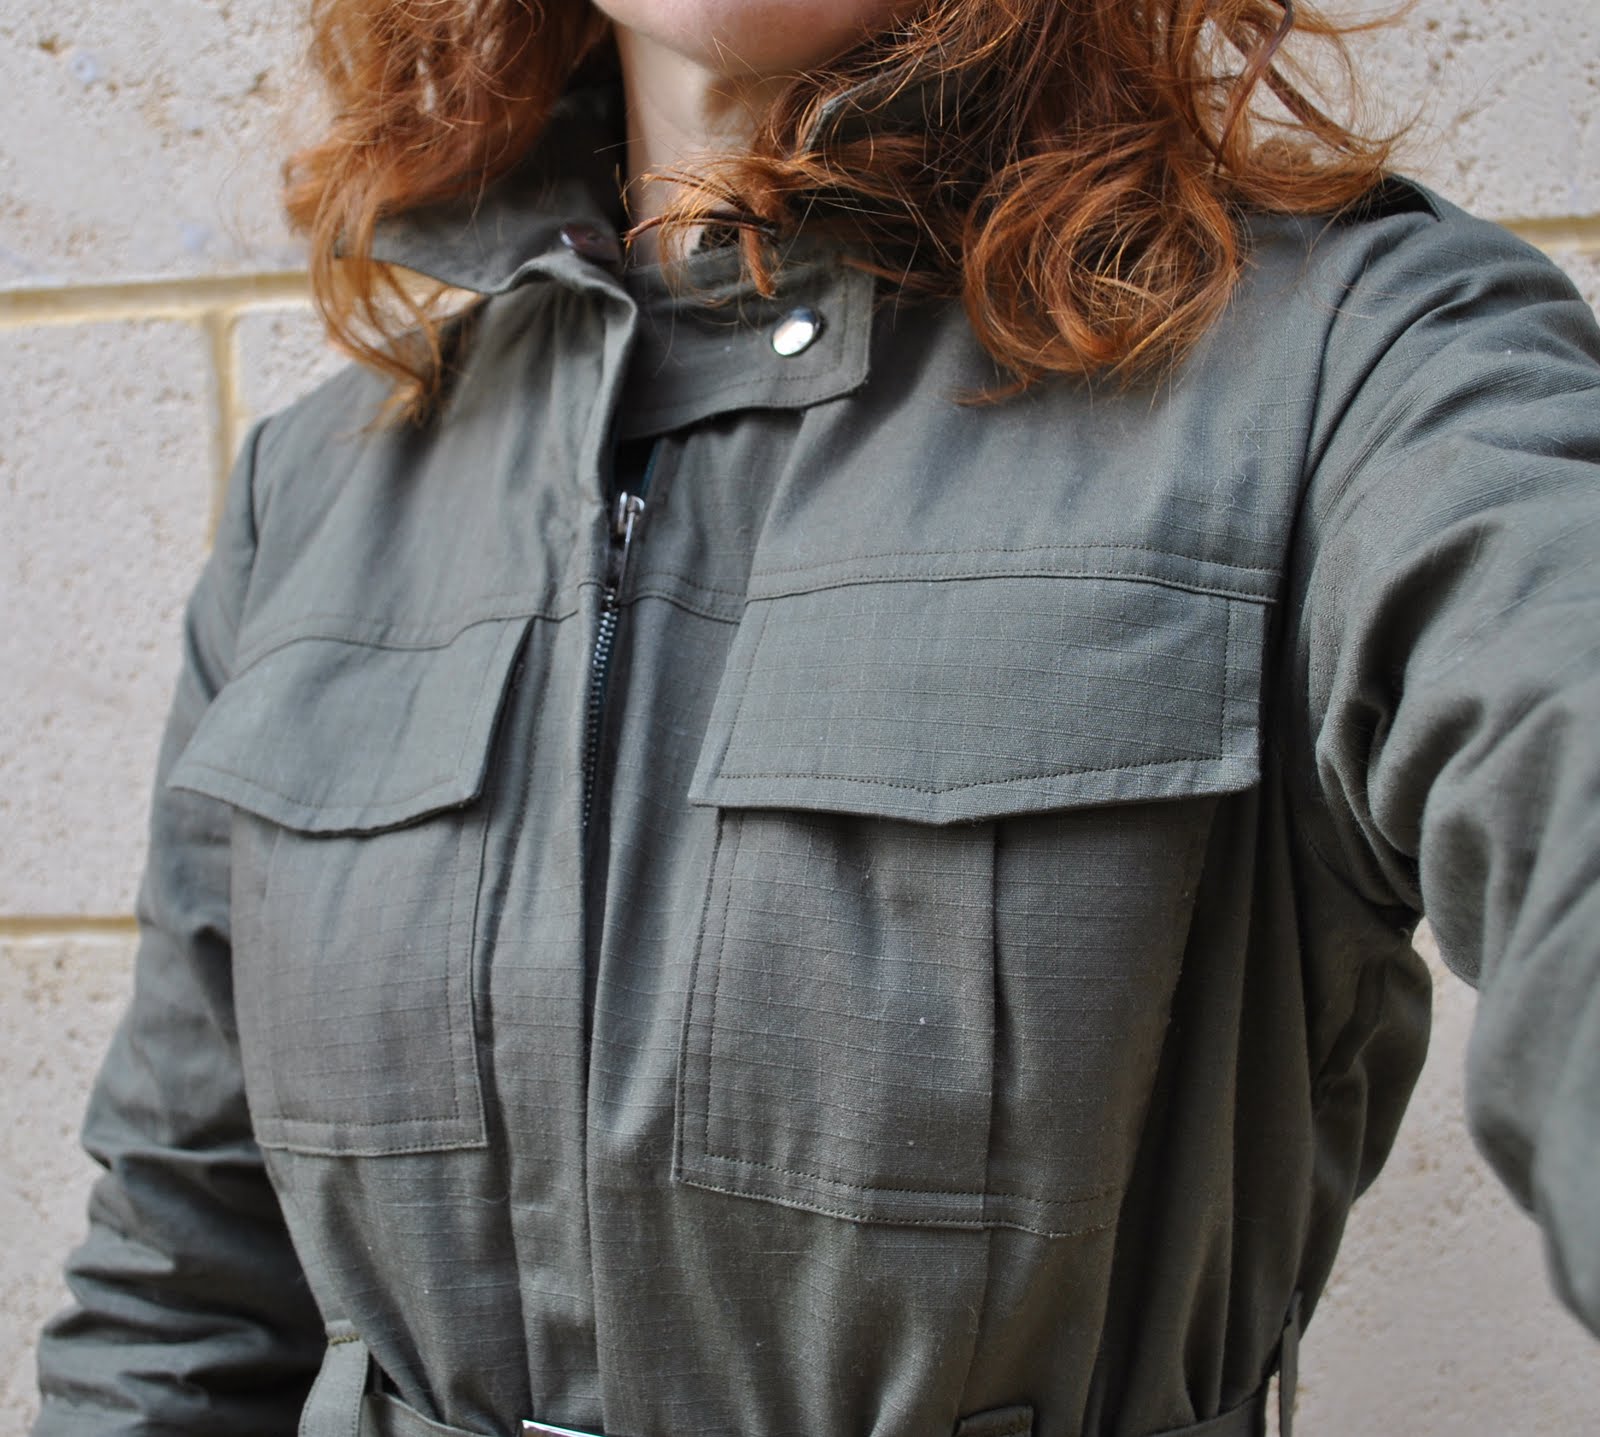
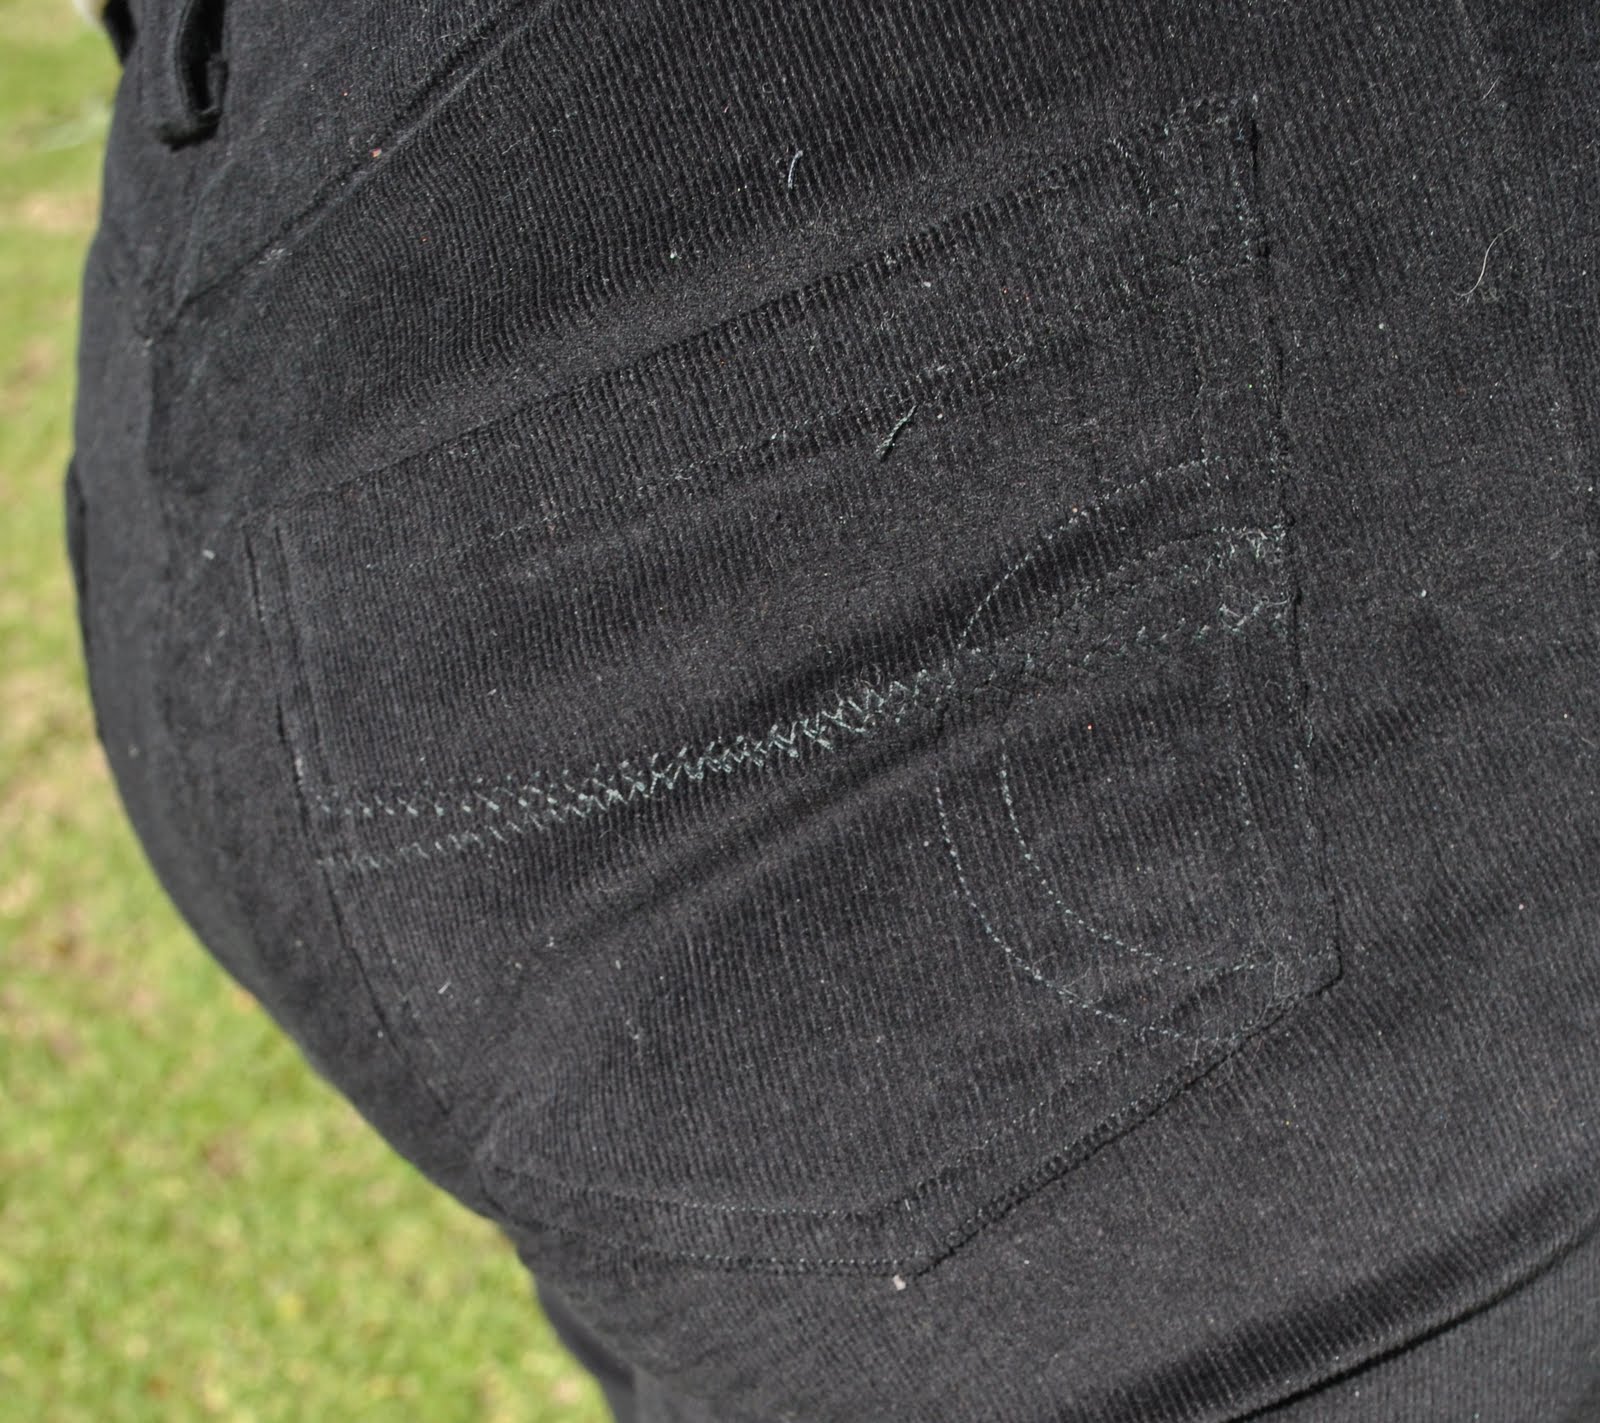
Lengthened the jacket by oooh, roughly 7cm? and also slightly enlarged (length-wise) and slightly lowered the lower front pockets.  I chose to enlarge these because I thought the original smaller ones would not have the right proportions on the lengthened jacket…
I drafted a completely different collar, a sorta slightly curved rectangle, because I wanted more of a wide standup collar than the little fold-down one in the pattern…

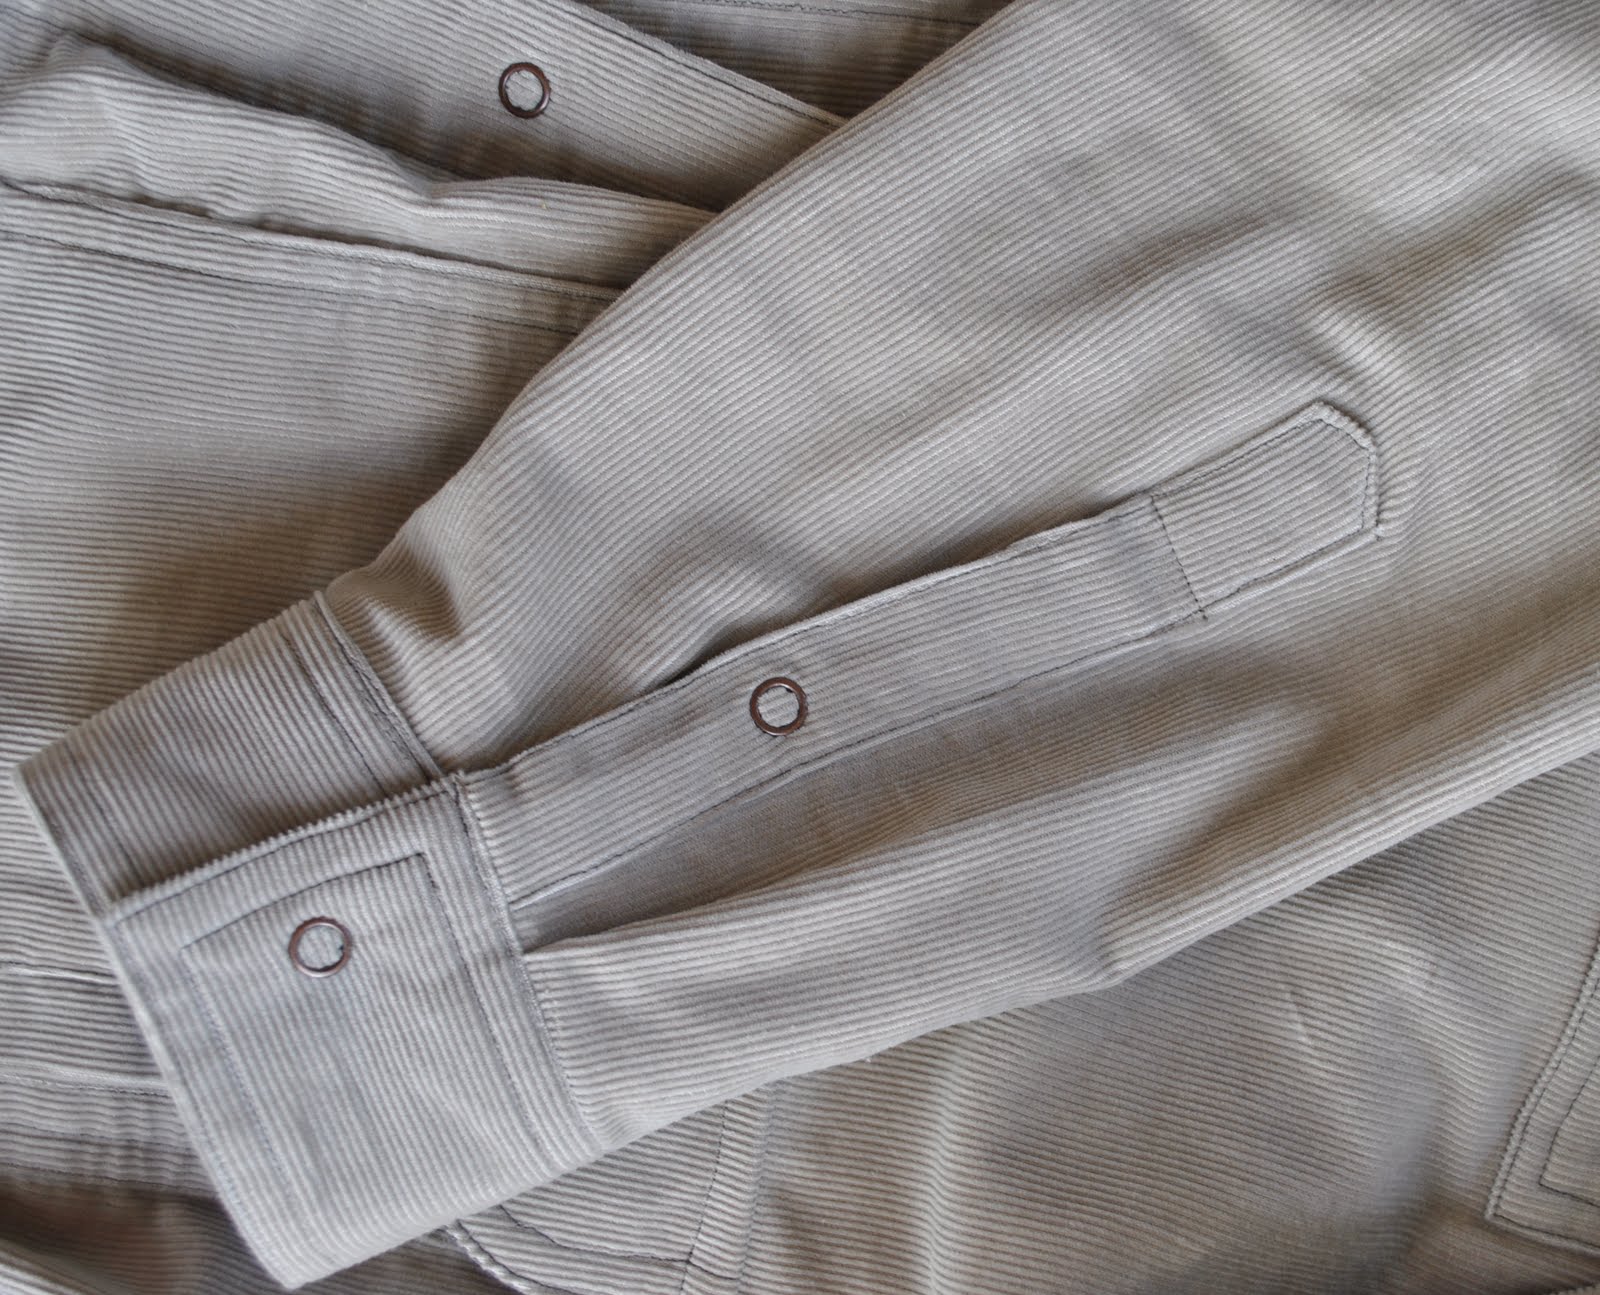
My sleeves are not vented or cuffed, and have a tab with snap closure, for more of a military-looking effect.
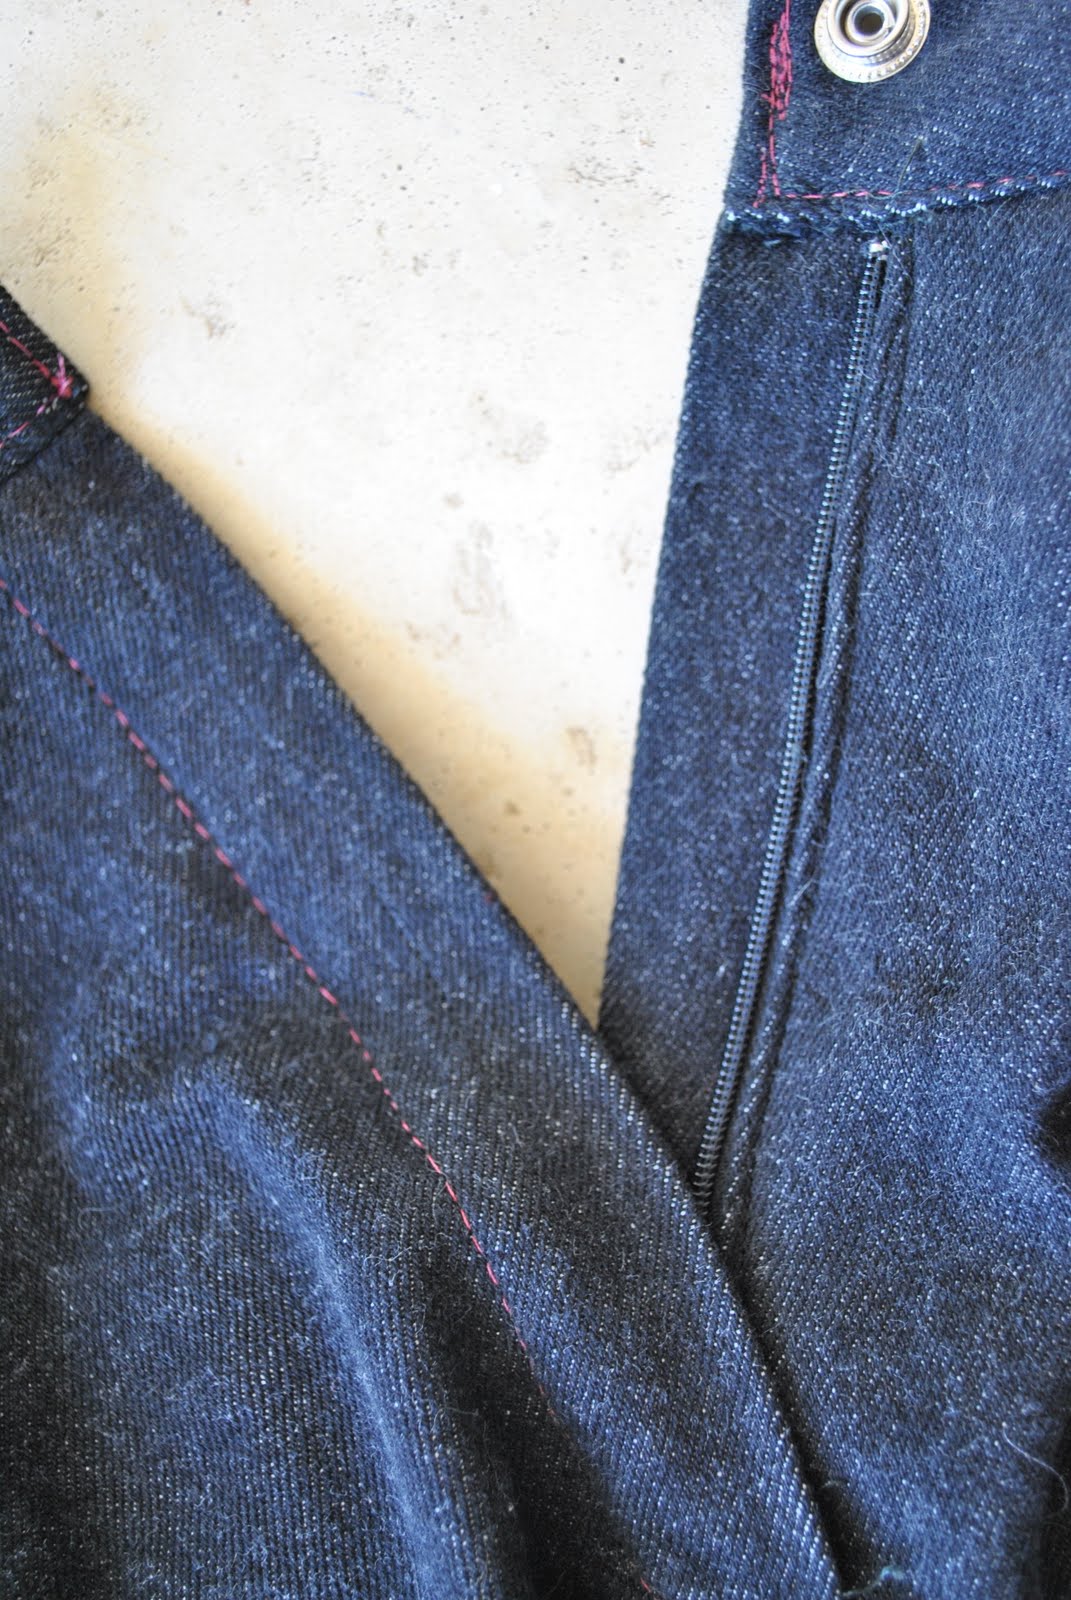
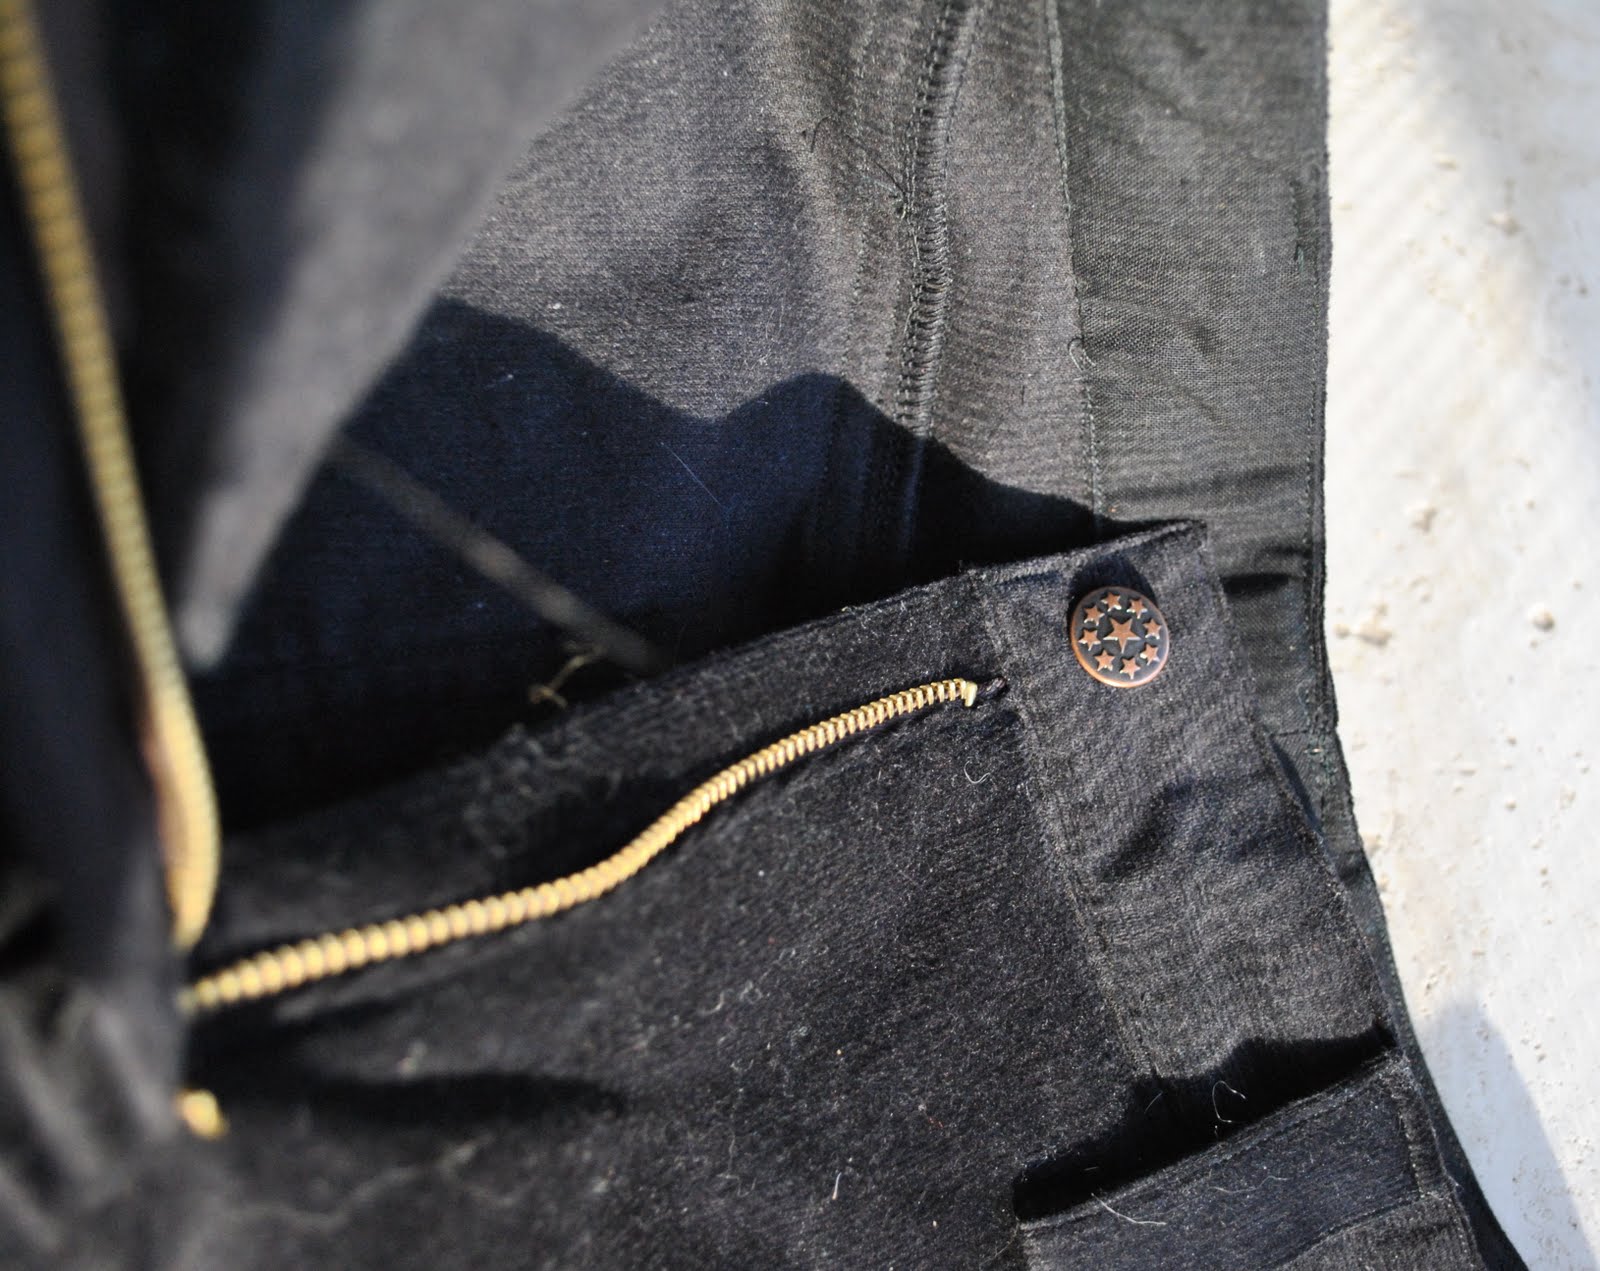
I did not incorporate buttons and buttonholes at the front as stipulated in the pattern, but instead inserted an open-ended zip, again inspired by the styling of army jackets I’ve seen around
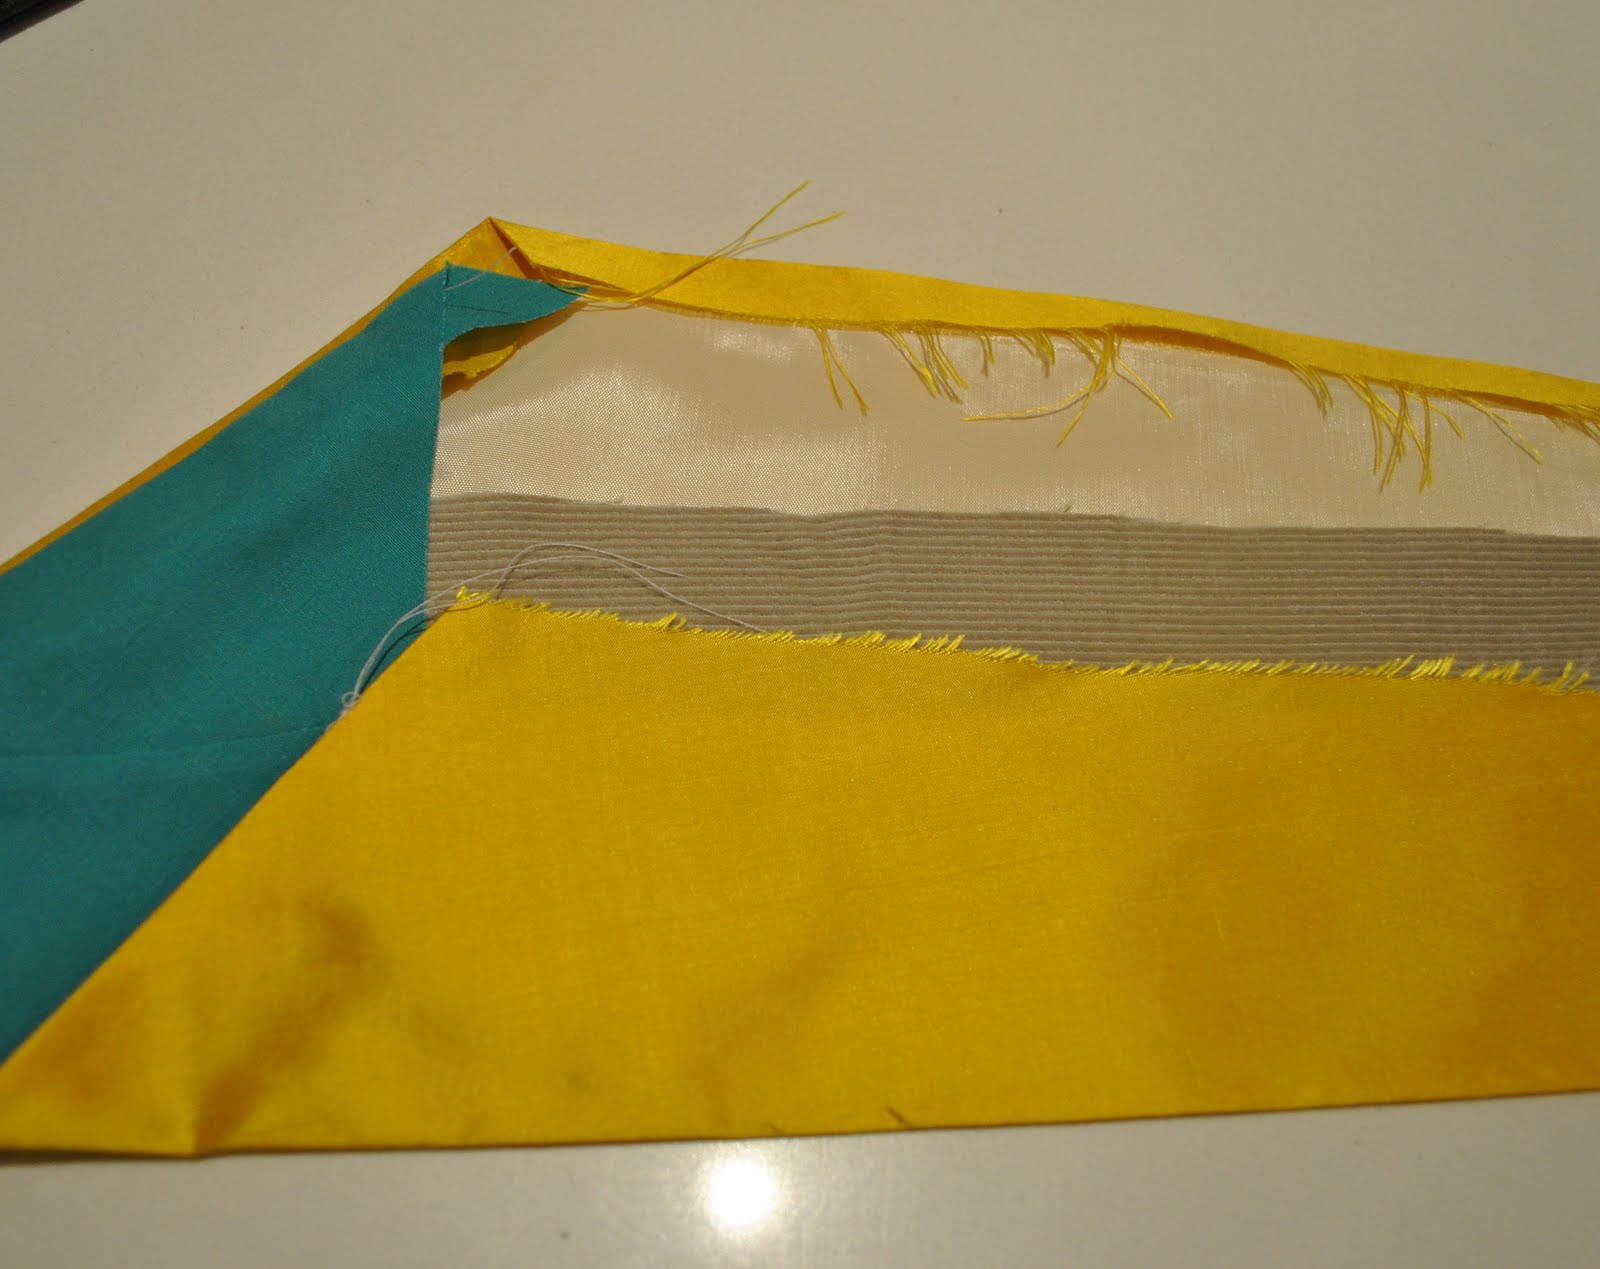
My jacket is fully lined, with grey fleece (for warmth, and also to enhance that bulky look an army jacket is supposed to have)  as it turns out it is very warm!  I did not hem the lining, but enclosed the flat raw edges inside the sleeve and lower hems of the jacket.  The fleece was partly leftover from this project, I had to buy a bit more.

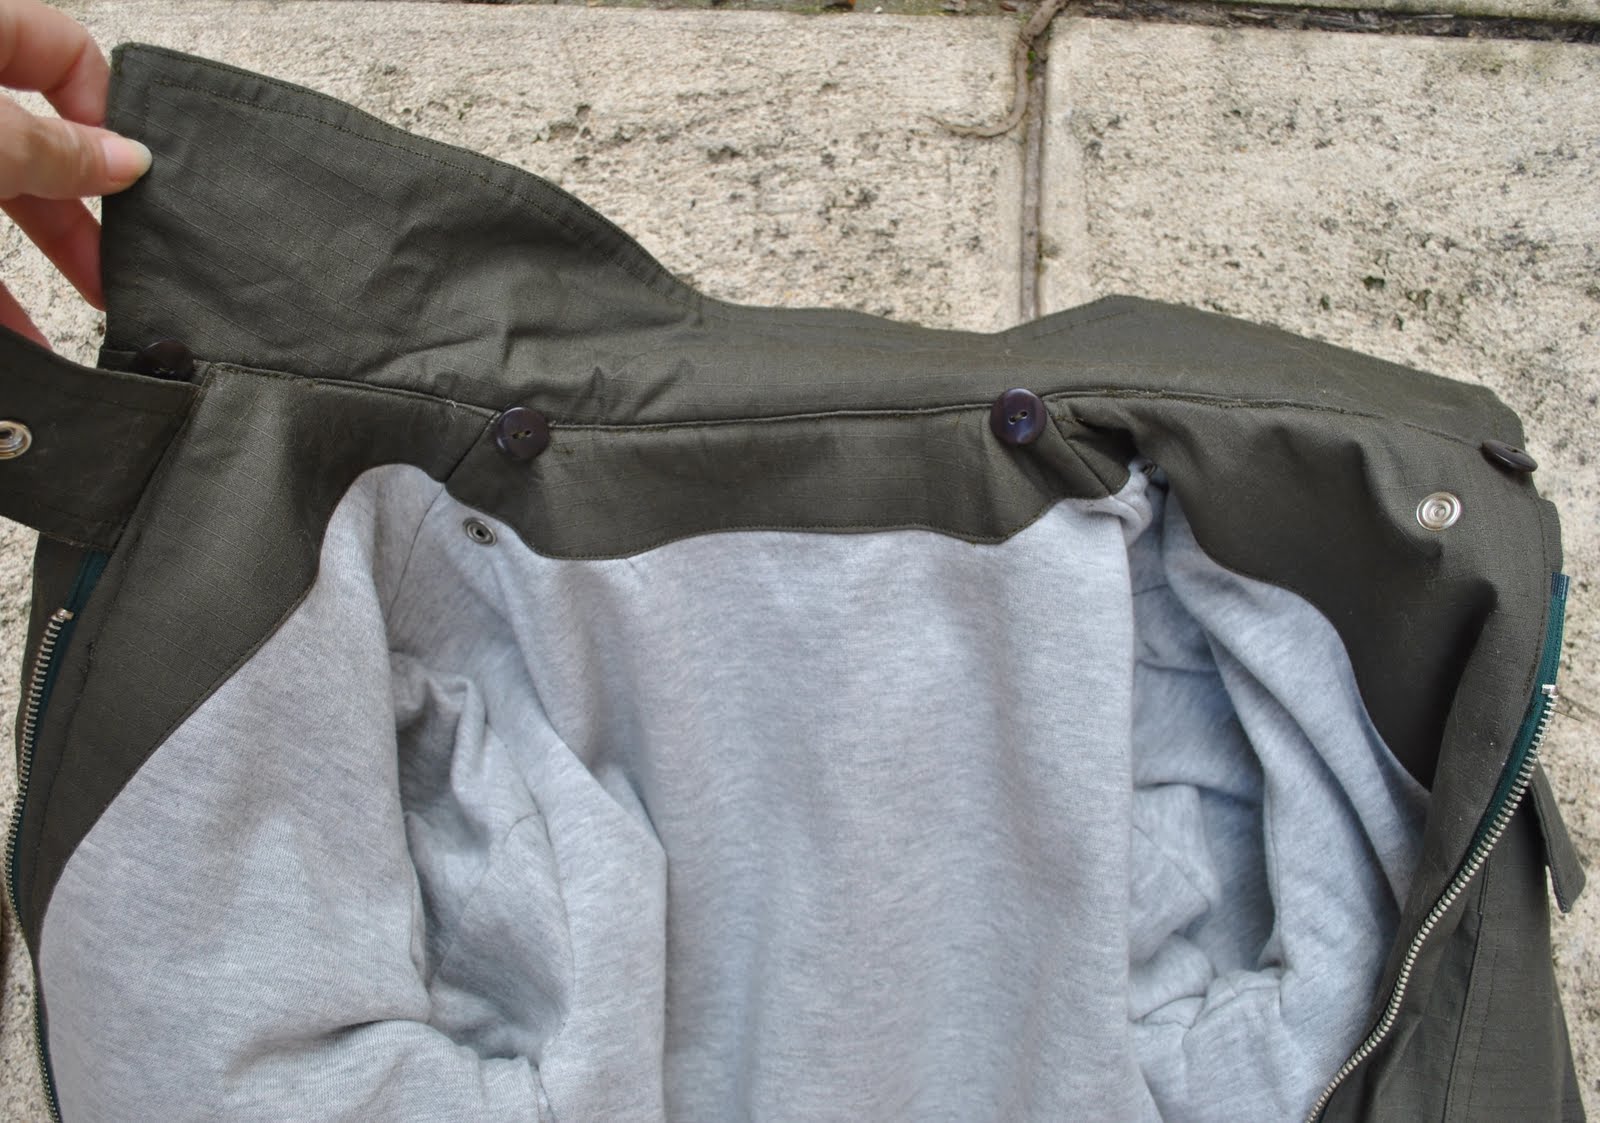
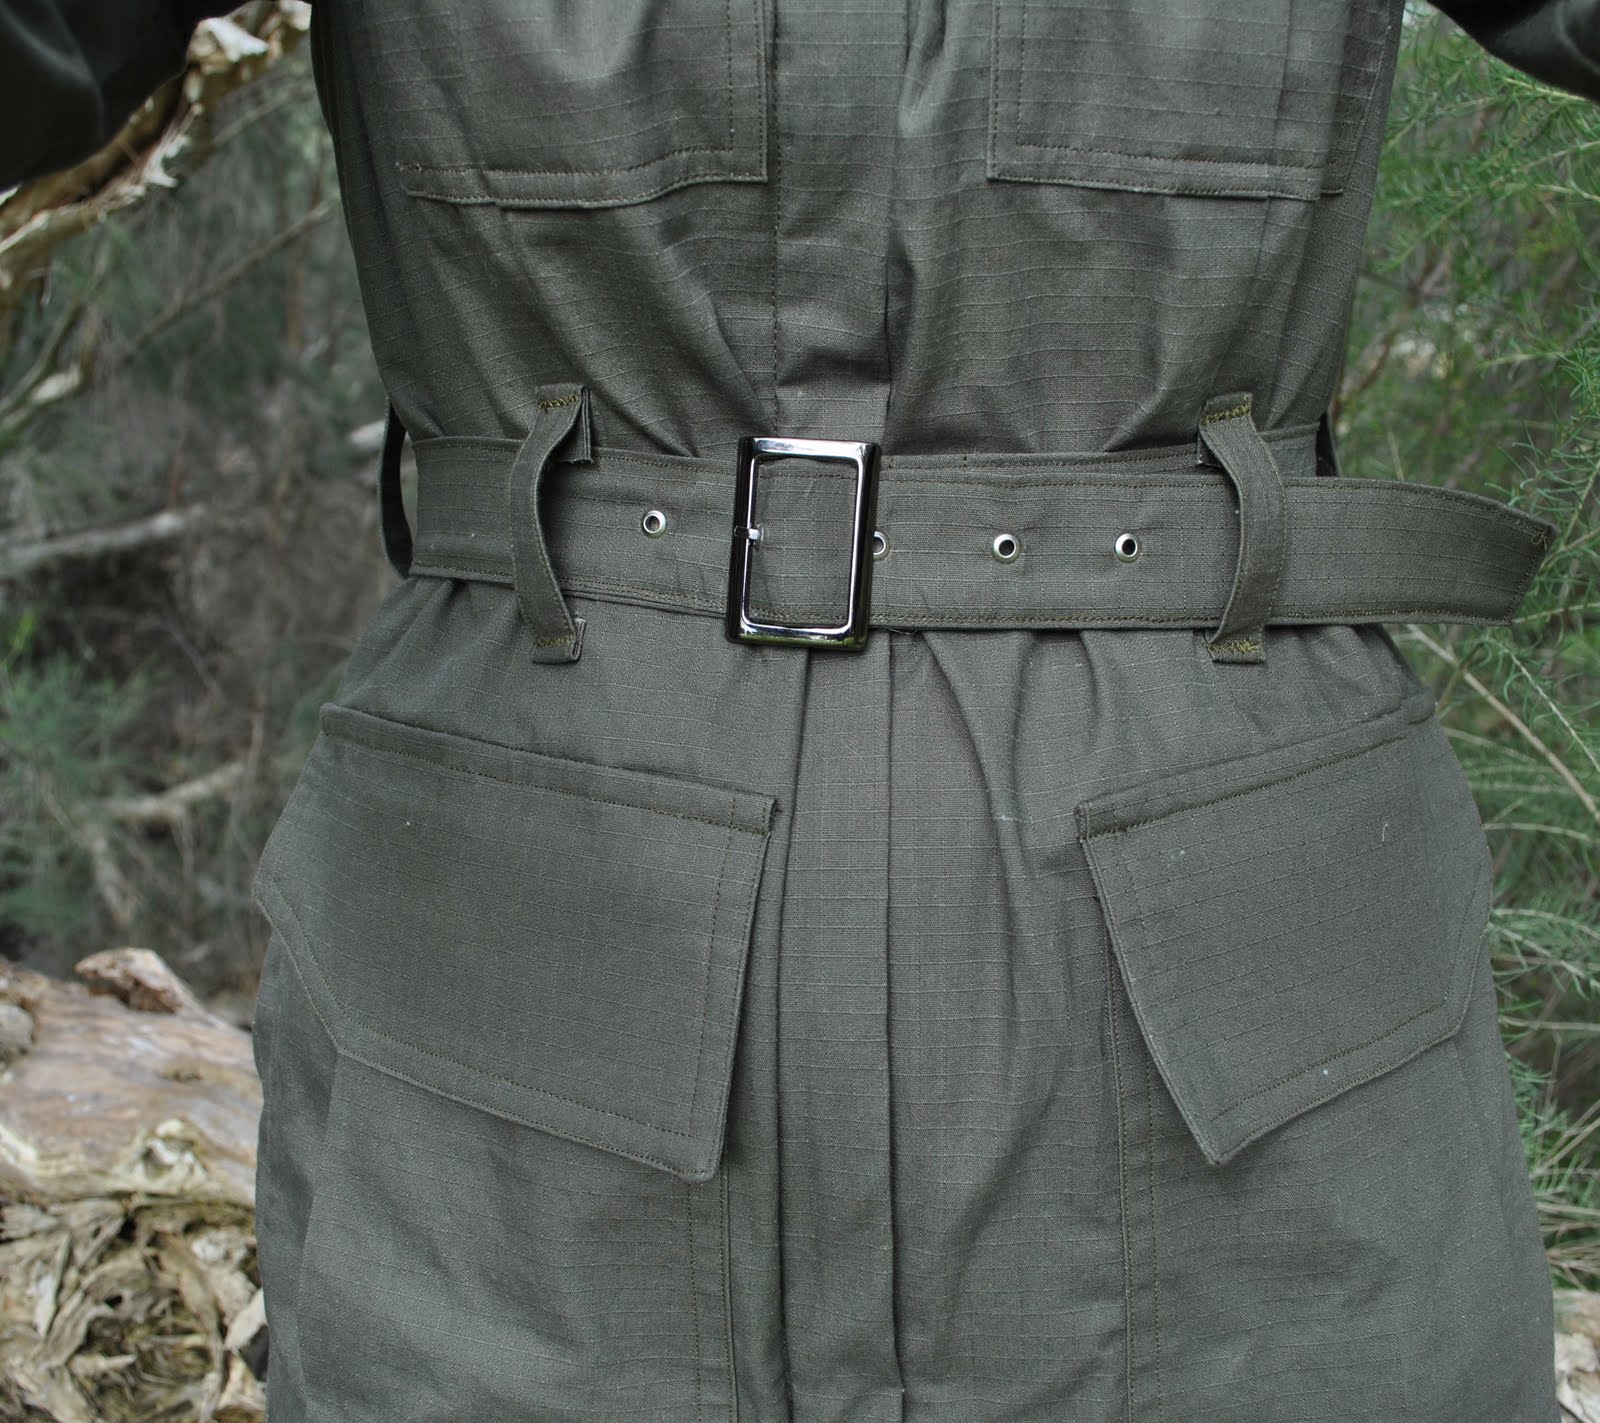
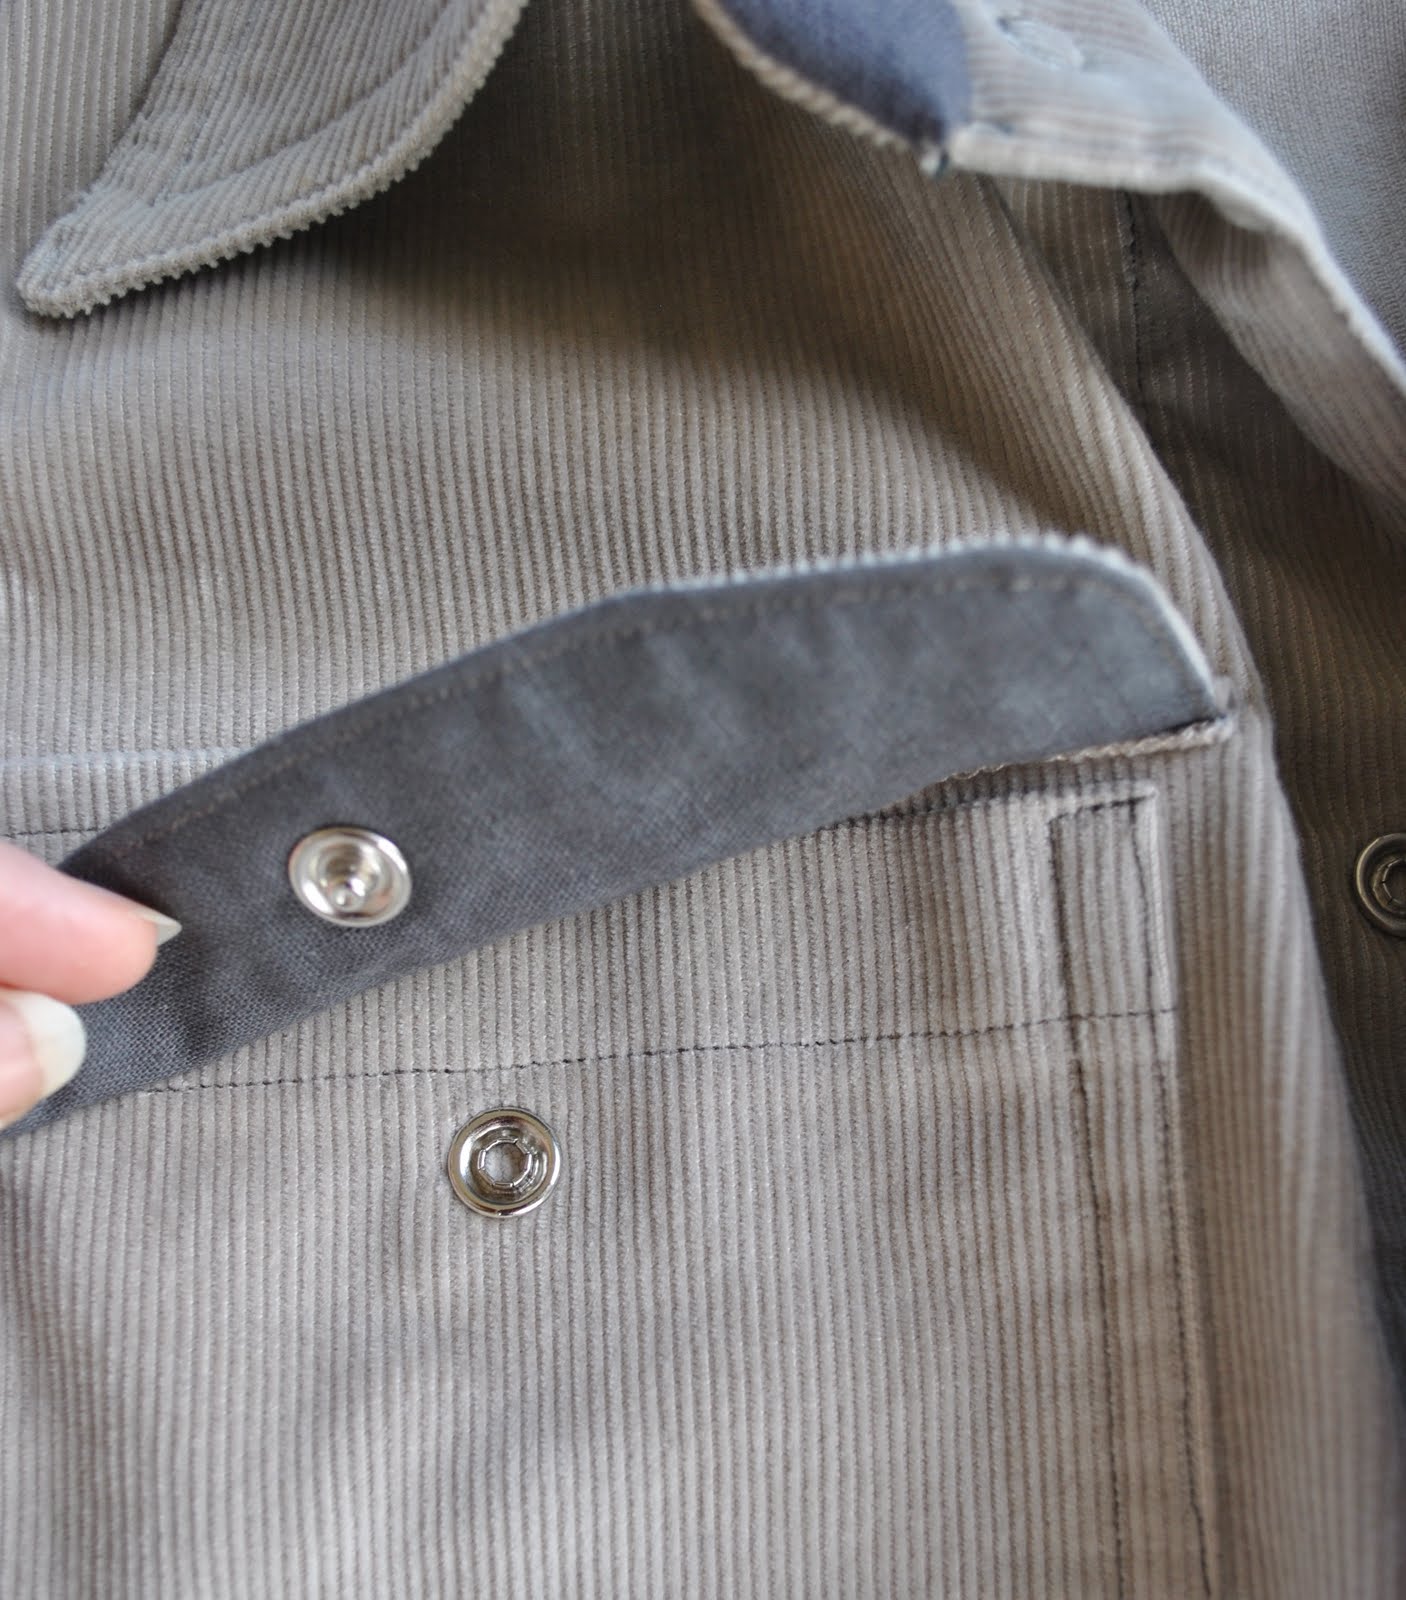
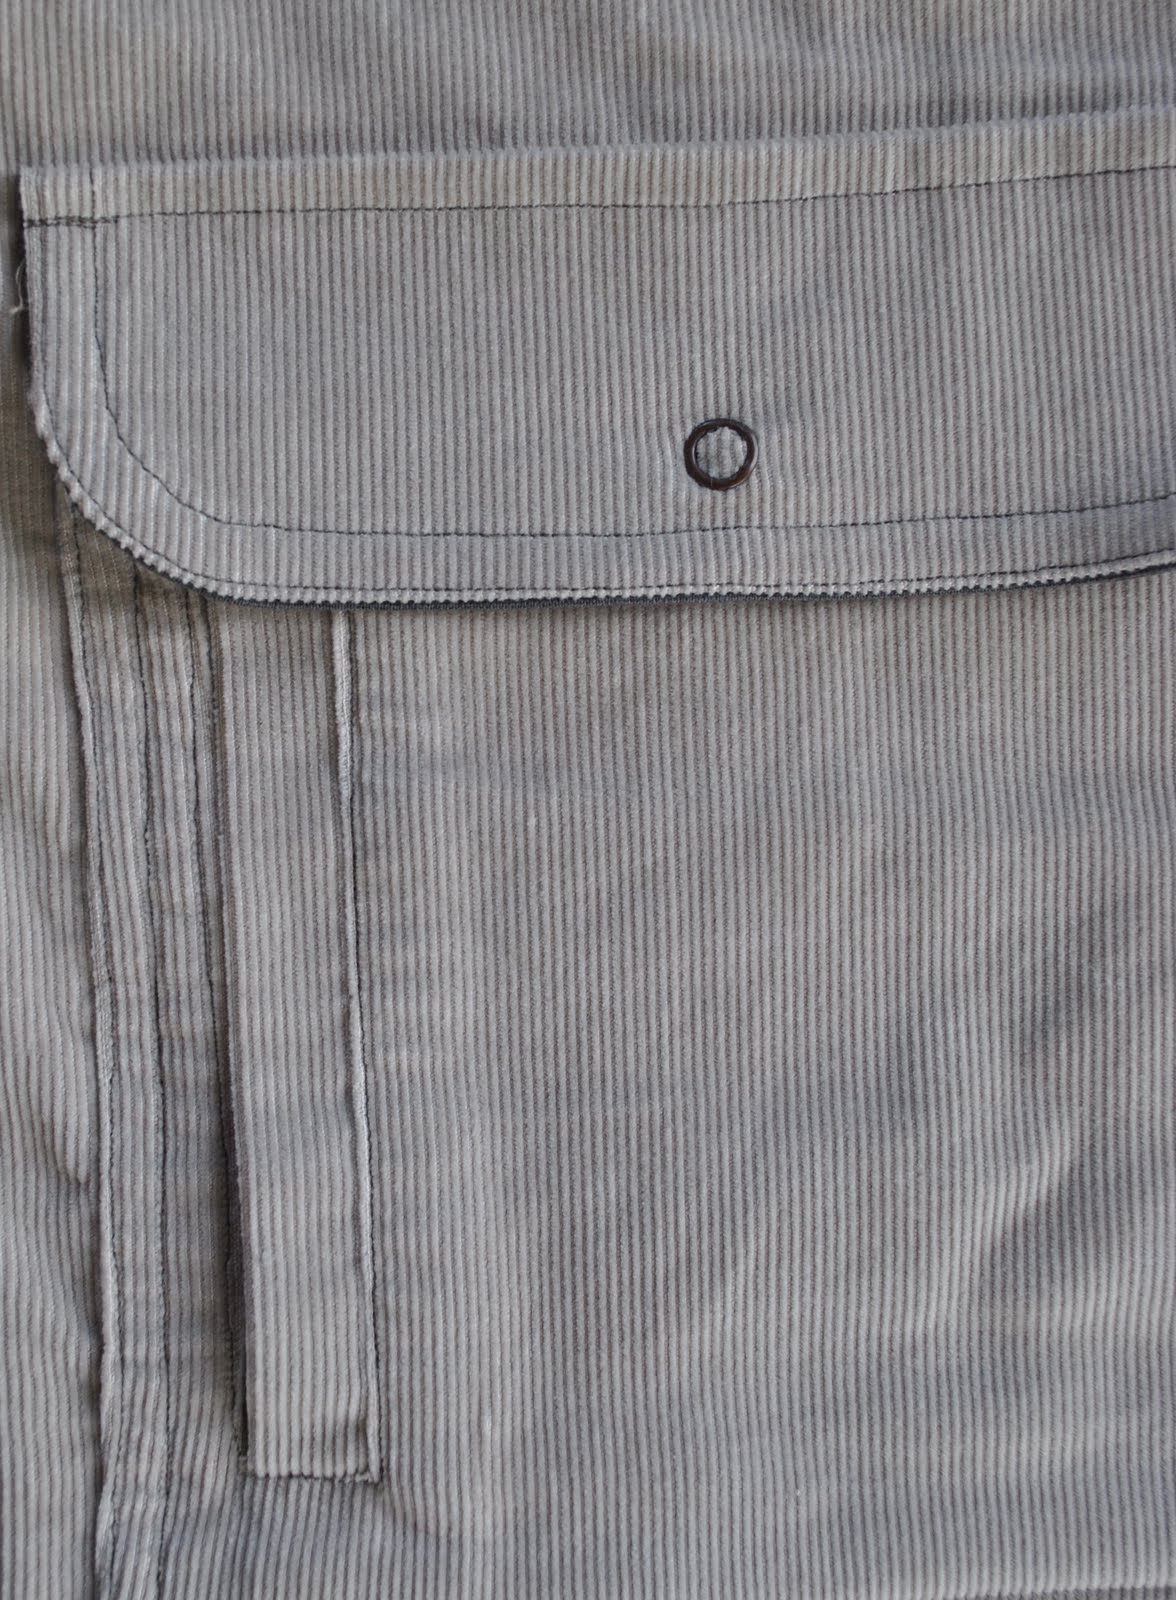
I added a tab at the lower edge, and another tab at the neck edge; both features I mentally noted from the army jackets I saw in Tokyo.  These both have snap closure.
The self-fabric belt is interfaced with the thickest, heaviest-duty iron-on interfacing I could find, and the buckle and eyelets were from Spotlight, like everything else.

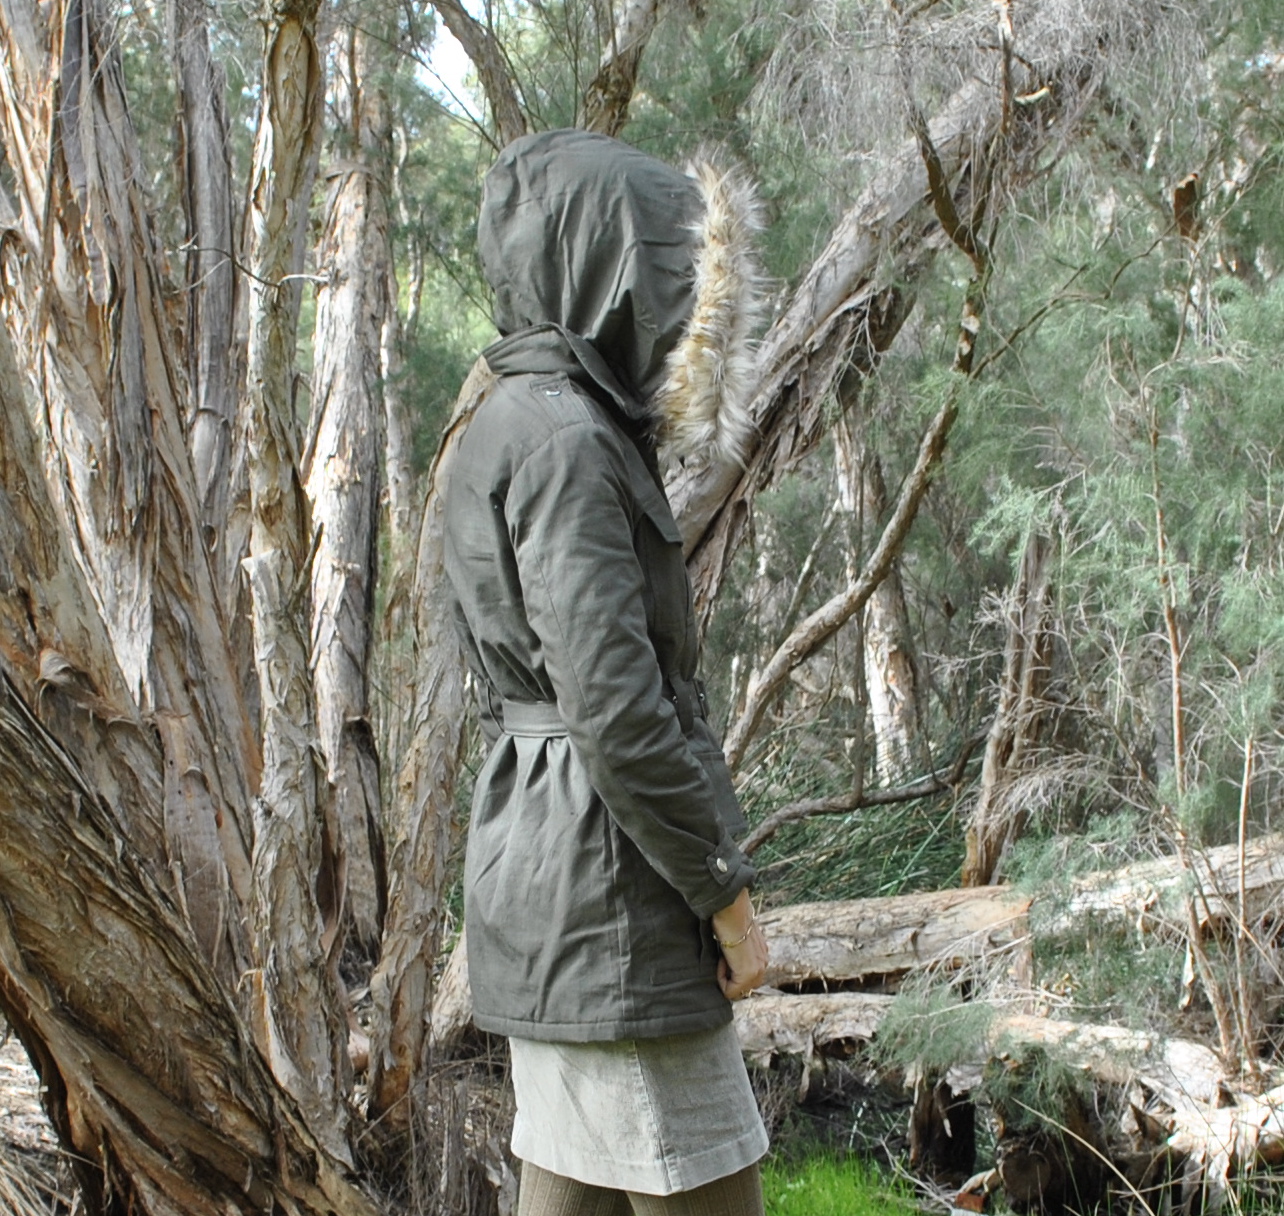
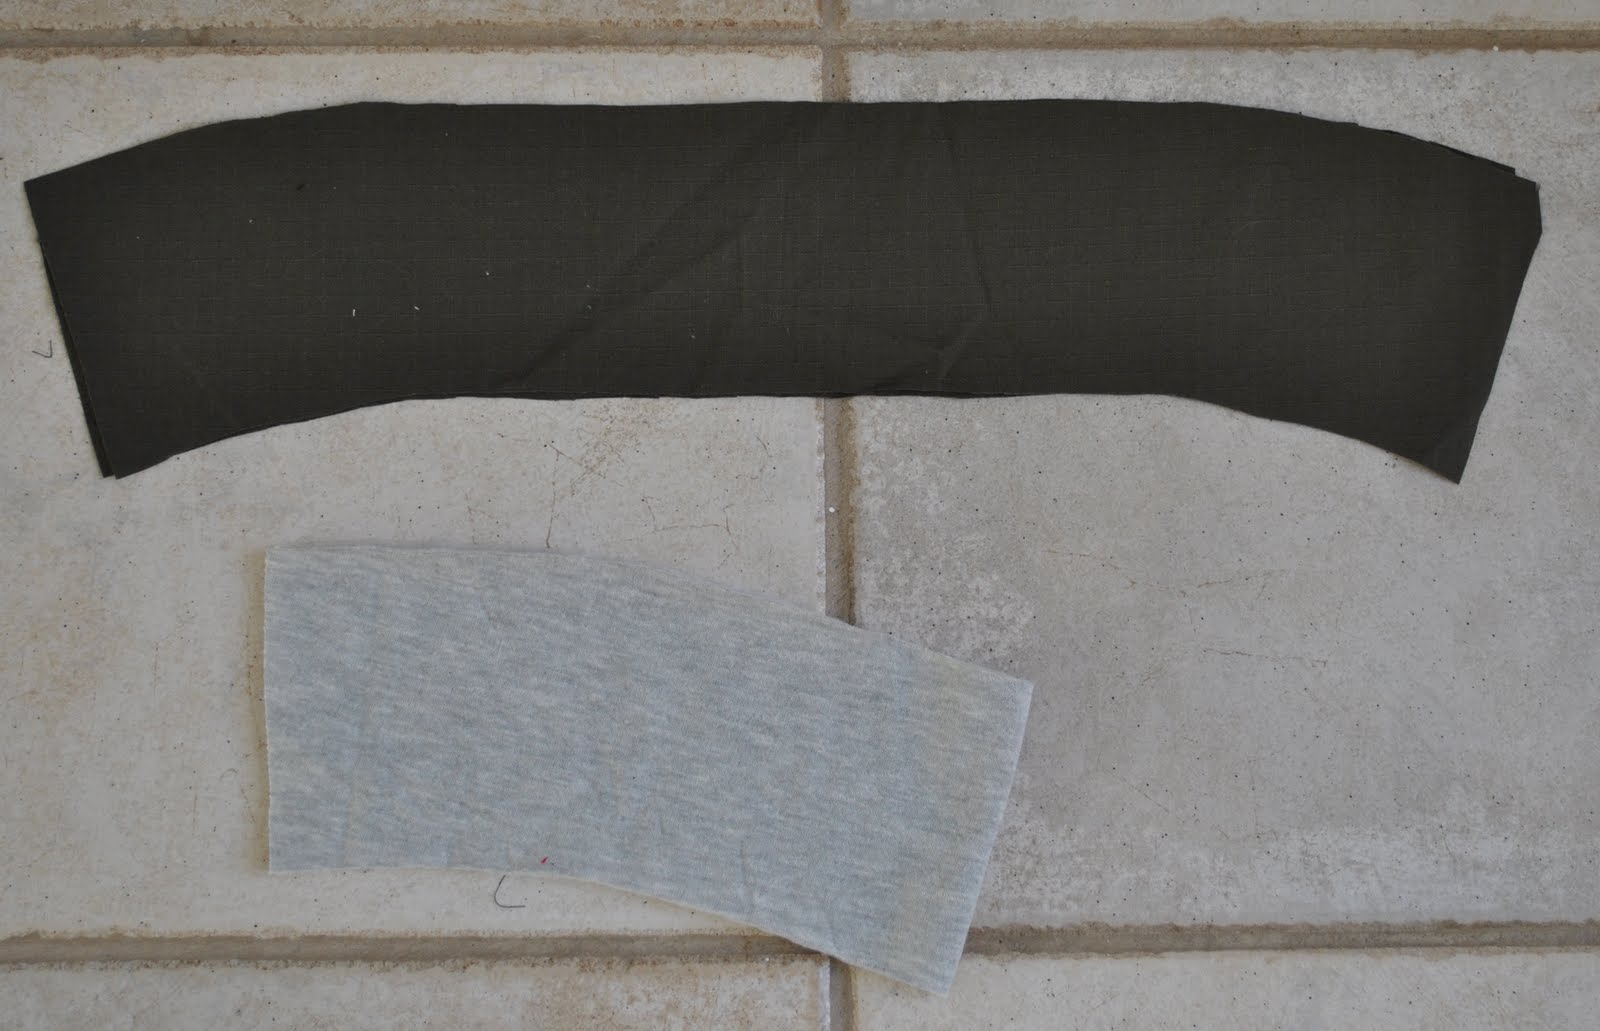
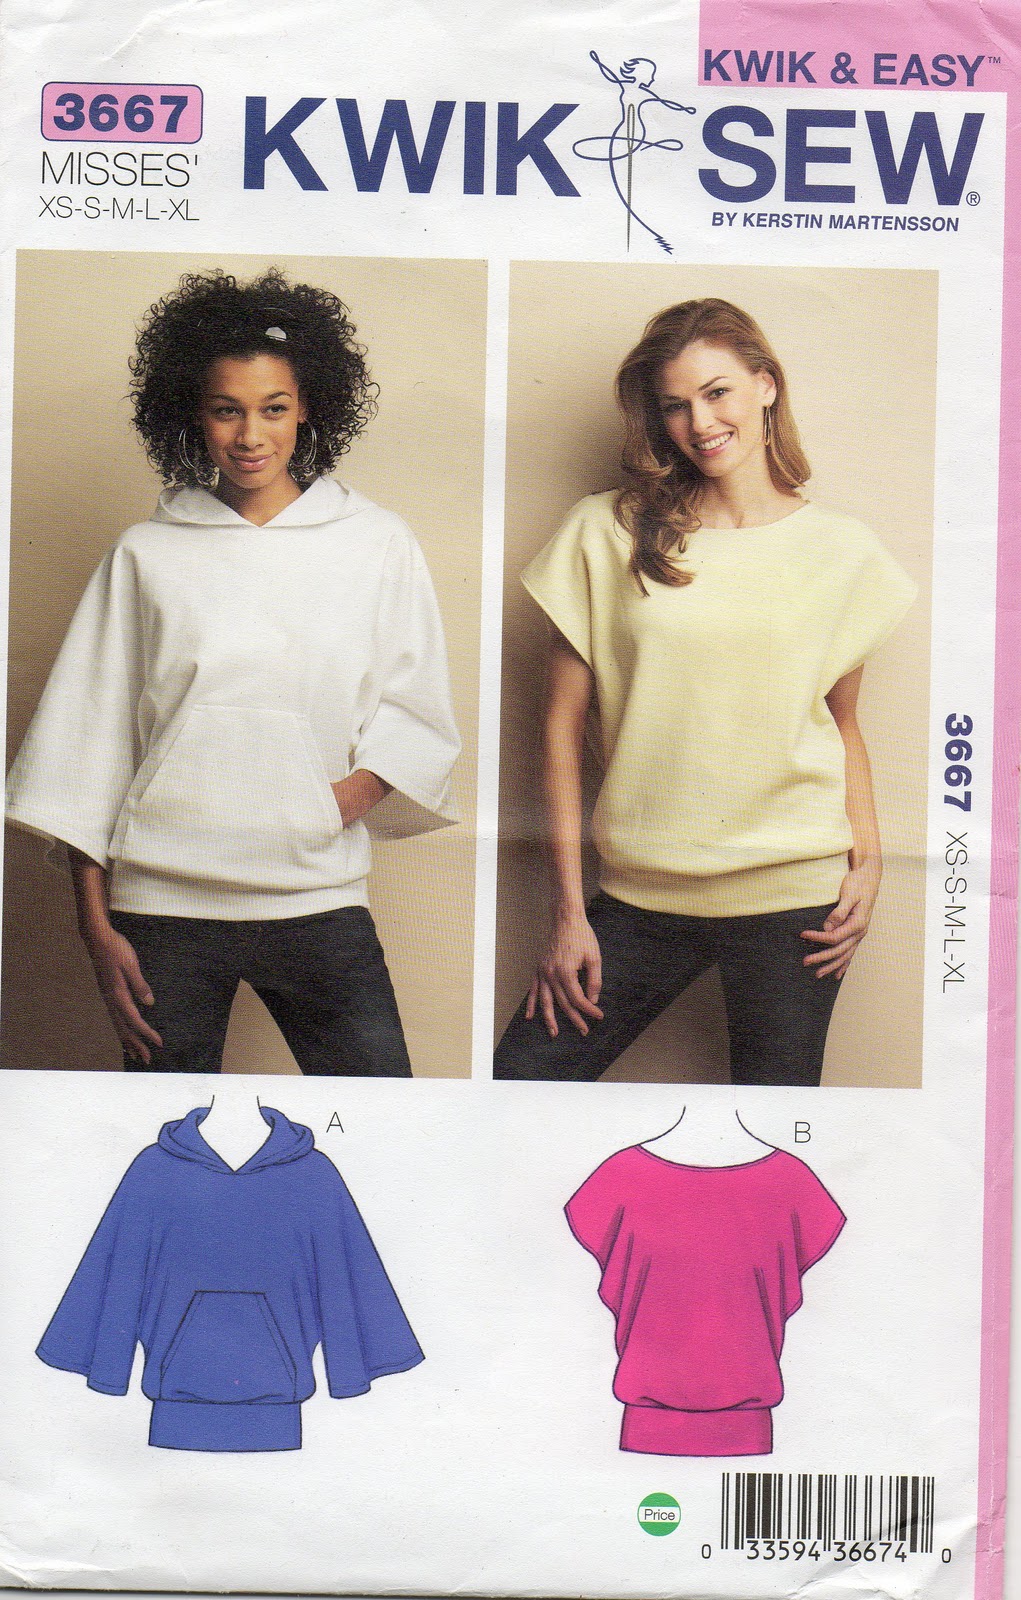
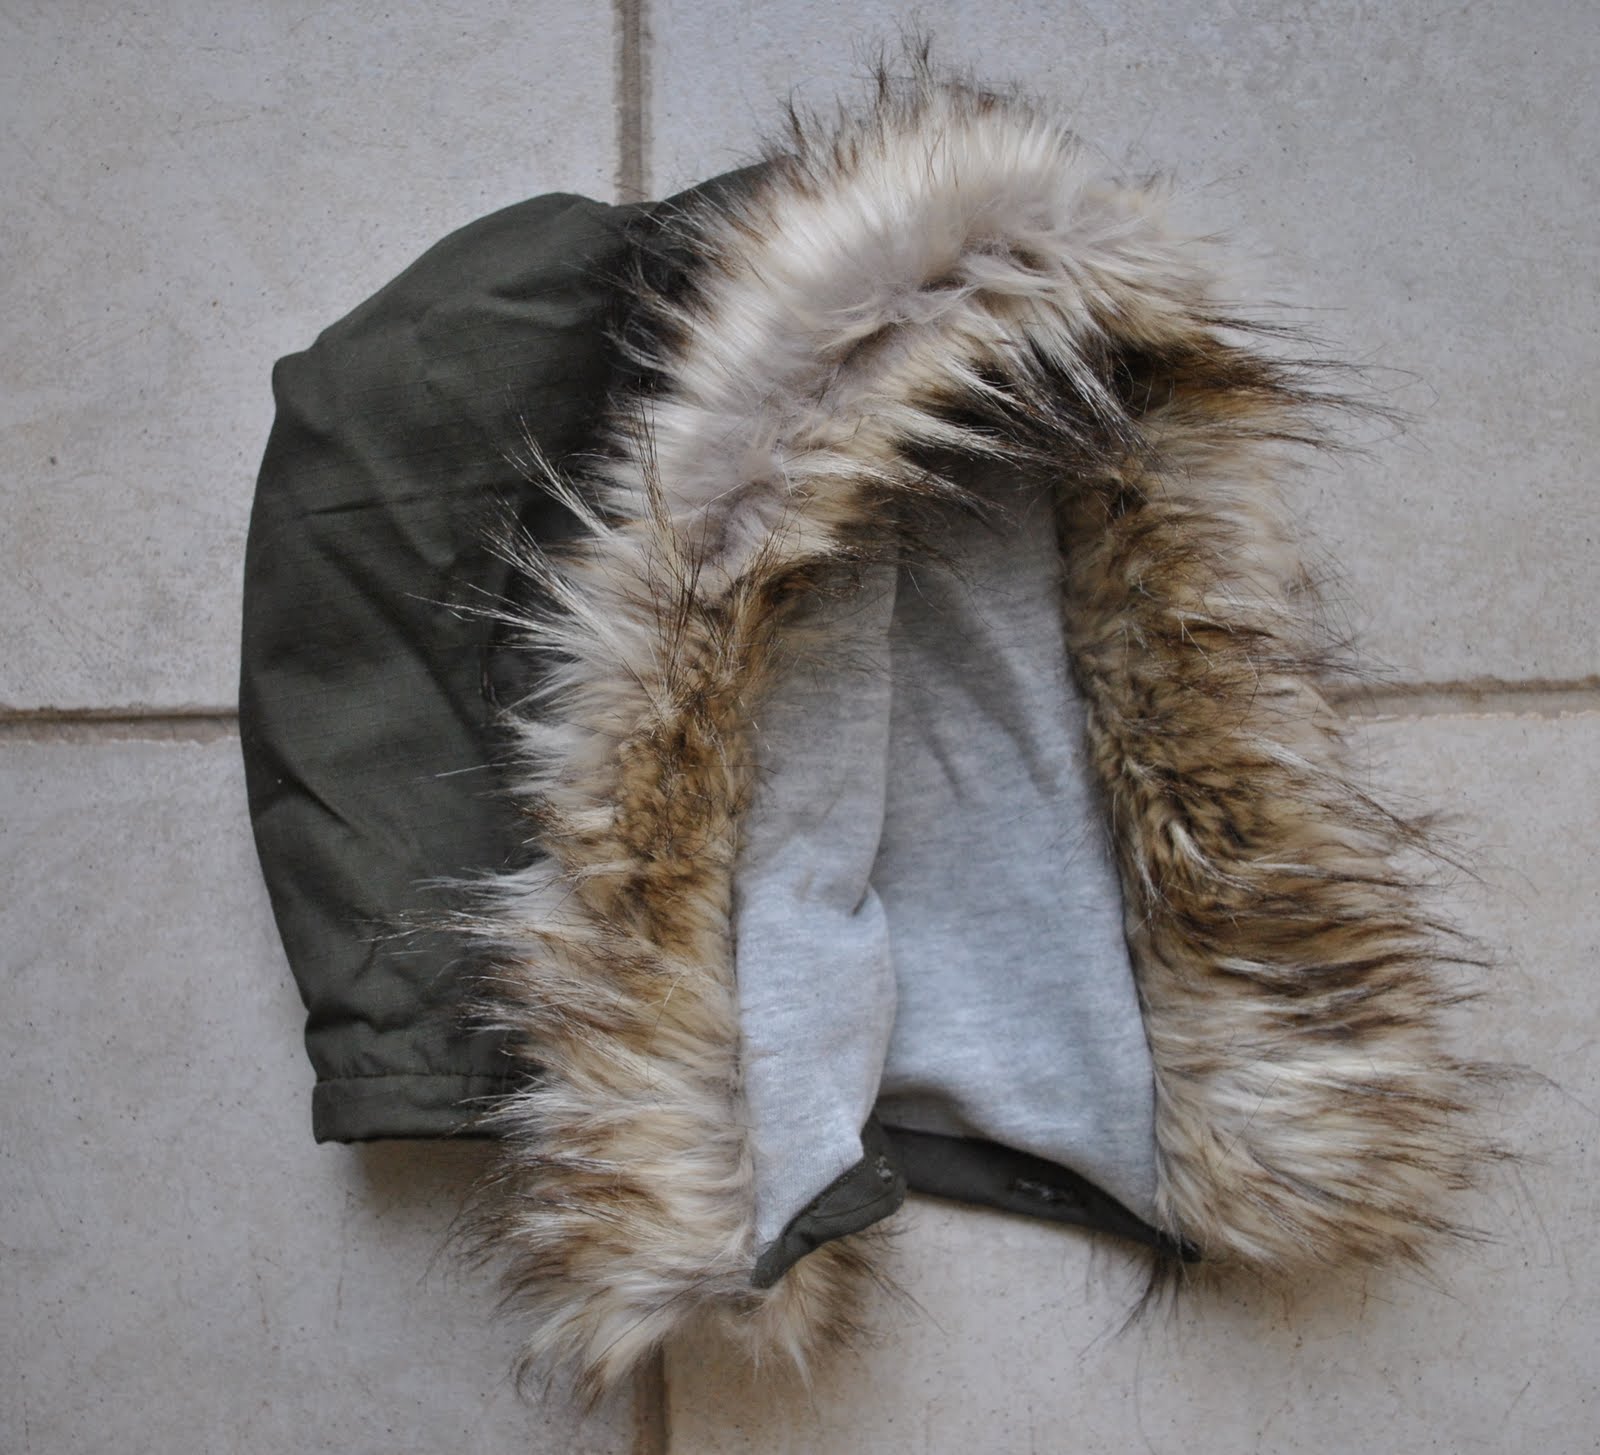
I made a detachable, (faux) fur-edged hood.  For this, I used a modified version of the hood from KwikSew 3667, with the lower edge cut flatter and a bit narrower to fit in with the neckline of my jacket.  It is also lined with fleece, and has buttonholes sewn in the bottom edge, which correspond with the buttons that I sewed inside the collar edge.  I realise the fur-edged hood is probably kinda silly in this climate, but I think it looks kinda cool, and it just may come in useful one day?

My review of this pattern, if you’re interested…

Pattern Description:
Unstructured long-sleeved jacket; with two piece sleeves with vents and buttoned cuffs, front buttons and buttonband, epaulettes, four flapped patch pockets at the front, belt loops at waist level for the self-fabric belt and a short, buttoned collar.
Pattern Sizing:
36-44.  I made a 38
Did it look like the photo/drawing on the pattern envelope once you had finished sewing it?
In essence, yes.  I made a few modifications.
Were the instructions easy to follow?
Yes.  I did some steps differently and in a different order, to accommodate my modifications…
What did you particularly like or dislike about the pattern?
I like everything about this pattern!  The basic bones of the pattern are great; being unstructured it is therefore very easy to fit, to put together and also easy to incorporate your own alterations.  The fun is in adding your own details.
Fabric Used:
Ripstop cotton, and fully lined with cotton/polyester fleece.  A strip of faux fur (silver fox) to edge the hood
Pattern alterations or any design changes you made:
Lengthened the jacket by about 7cm? and also slightly enlarged (length-wise) and slightly lowered the lower front pockets.  I chose to enlarge these not because I thought they were too small but because I thought the originals would not have the right proportions once I had lengthened the jacket…
Drafted a different, slightly curved rectangular collar, because I wanted a higher standup collar than the little fold down one in the pattern
Inserted tabs with snap closure in the top and bottom of the front edges
Instead of the front buttonband and buttons, extended the front opening edges slightly so I could insert an open-ended zip
Fully lined the jacket in a polyester cotton fleece
Added a hood, also fully lined with fleece, and edged in faux fur.  This has 4 buttonholes on the lower edge, and attaches to 4 buttons sewn around the neckline, inside of the collar
Left off the sleeve vent and cuffs, instead inserted tabs with snap closure inside the lower end of the sleeve seam, sewed the sleeves closed to the end and hemmed over the raw edges of the lining.  The lower hem of the jacket also encloses the raw edge of the jacket lining inside
Would you sew it again? Would you recommend it to others?
I would definitely recommend this to others!  I might sew it again, if I need another jacket like this.
Conclusion:
This pattern was one of the first to catch my eye in this magazine, and I always had a mind to make it.  After visiting Tokyo, and being totally inspired by the cool cool army/military style jackets I saw worn over there, I realised this was the perfect pattern I could adapt quite easily to get that style of jacket.  And I’m totally happy with how it turned out; even if the hood is not super appropriate for our climate I still love it, and am very pleased with the smart styling and warmth of the jacket even sans hood.  The waist belt is a nice finishing touch, although I am very glad I lengthened the jacket as I think the belt would have looked a bit funny on the shorter length.

pinterestmail

Black straight-leg jeans; a post mortem, and 6 different ways

So, I mentioned yesterday that my year-old black straight-legs had bitten the dust, but I hadn’t gone into much detail and I thought it would be helpful to any others starting out with their own pair of jeans to list here the two reasons I think they had died so quickly.
Now I’ve made six pairs of things I would call “jeans”, and these black straight-legs were only my second attempt so I did make a few rookie mistakes which are now glaringly obvious to me now, but at the time I just didn’t see… so while I am definitely no expert, it is true that we are all learning with each new garment so if this aids anyone at all, then fabulous…
First mistake; the fabric I chose just wasn’t suitable for the pattern.  I know, sounds glaringly obvious now doesn’t it?  But at the time I had firmly decided I wanted black denim jeans, so as soon as I found some black denim that had a small amount of stretch in it I just bought it.  However, I didn’t put nearly enough thought into it really; and my fabric really was both too thick and not stretchy enough for what is a very close-fitting jeans pattern.  Result, the jeans fitted like a stiff, tight glove, which was fine as long as I was standing and walking about, or sitting demurely upright in a chair.  Luckily, 90% of my day is spent in one of these ways.  If however, I wanted to curl up on the couch in the evening, which is also a part of my day, the jeans were pretty uncomfortable!
Second mistake; I used a dress zip, instead of a jeans zip. 
(at left, a dress zip in jeans, bad idea; at right; a jeans zip, now we’re talking!)

 Another glaringly obvious mistake now, right?  But a person setting out to make their first pair of jeans might, like me, just blithely buy and insert a dress zip like usual.  Be warned; all will be fine for a year or so, then the combination of that thick, strong, non-stretchy fabric and a weak little zip, means that during one of those curling-up-on-the-couch times, something is gonna give.  In the case of these jeans it was the zip…
Lesson learned!
However, while I was a bit sad, I now have my new black flares to comfort me… and I did get an enormous amount of wear out of the black straight-legs jeans.  I went back to check through my own photos to see how many pictures I took… it turned out only seven!  However, you have to believe me, these jeans were worn a tonne during last winter…  I guess I just don’t take my own photo nearly as often as I thought!  100% of the time I wore them with my biker boots, and it is interesting to me to see that in all of these photos bar one (and upon reflection, all the other times I wore them too) I tended to either mostly match the black, or to stick with a predominantly neutral palette.  I’m not a believer that black “goes with everything”.  In fact, I view black to be as much of a prima donna colour as white is, and needs to be treated accordingly with respect.

Which winter-y outfit here would you pick as your favourite?
pinterestmail

Flares in Black

I have made myself a new pair of jeans!
They are of black, stretchy corduroy with black cotton for the pocket lining and the waistband lining, and are very near perfect; if I say so myself 😉  It seems my lifetime is spent on the quest for the perfect pair of jeans, the design details of which change with passing fashions and fads that temporarily sway my choices.  My current passion is for flares, and I think I have managed to nail them here.  I’m super happy with my plum flares, both in terms of fit and comfort… and only had the teensiest tiniest twinge of regret that I didn’t flare the ankles out just that tad further, to make a really truly flared pair of jeans.  Not enough regret for me to be in any way disappointed with those jeans, but just a little factoid I stored away for a future pair … like a note to self; flare out just that leeetle bit more next time.  So I did, and here they are!
This time, I graduated the lower leg section; from a fitted-to-the-pattern knee and then out to the ankle by about 6-7cm on each side seam overall.  I did my usual centre back pinch-in for a sway back adjustment (illustrated here).  The only other alteration to the pattern was to add a zip placket; an absolute essential feature in any pair of jeans which is inexplicably absent from this pattern.
With great difficulty!, I took a picture of my own behind to show the pocket details… which is the same but mirror image on each pocket, natch.    This time I went with two varying width zigzag lines crossing each other, and two concentric part-circles.  The outer of these was drawn using a jar-lid, the inner is just carefully sewn in a sewing-foot width away.  Easy peasy. 
And it seems fitting that I should welcome a newbie pair of jeans into the fold, just as I am bidding adieu to two old pairs *; welcome, new flares in black, and may you prove as useful and wonderful as my old pair of black straight-legs.

Details:
Jeans; Burda 7863 with minor modifications, black stretch corduroy
Top; Ezibuy
Cardigan; Country Road
Gloves; from David Jones **
Black scarf; handknit by me, details here
Khaki scarf;  made by me from an old Tshirt, details here
Shoes; Francesco Morichetti, from Zomp shoes

* I have said goodbye to these (I agonised at unnecessary length about the deterioration of these last month…and have finally, sadly, laid them in the Salvoes basket…) and these straight-legs, in which the zip has gone.

**The gloves… It was flipping freezing this morning; 3C!  Although we had hit our high of 16C when I took these photos I left my gloves on because I thought they added a certain something to my outfit, a sorta chic that was lacking without them…  And I was pretty stunned to see a guy in shorts and a singlet sunning himself on the beach during our walk today!  Decided he must have been a British tourist…  😉  
It’s OK, I’m allowed to joke about the British since I have British blood in me too!   🙂

pinterestmail

Scarlet Twist socks

So, having got over my aversion to taking my own photo… ta da!  I’m back, but who knows what hideousness and violations against the fashion world are being committed, just off-camera, hmm?  We’ll never know… actually, I am quite stylishly clad today, but you’ll just have to take my word for it.  Because the purpose of this post is to reveal my new, and possibly last for a while, sockies.  Last, you may ask?  am I sick of knitting socks? well, no, I still have enthusiasm for sock-knitting and I still have some sock wool left.  But I think I have quite enough socks now :), even Craig is helping himself to my sock drawer occasionally, and I am thinking of making other things from my remaining sock wool… just exactly what is to be revealed sometime in the future…
Do you like my new companion? (Sienna is taking a break from modelling too…)  I have included pussycats in my sock pictures before, here, and here, and once a sort-of animal got in on the act here, but this is a first for this green-eyed diva…  she is very fluffy and very placid, and has just been treated to a good vigorous brush, so was in the mood for sitting happily and plumply, if briefly, at my feet; that beautiful glossy grey coat setting off my socks to perfection.

Details:
Socks; knitted in Morris Empire Superwash Merino 4 ply in Scarlet Twist (col 453) with Beluga (col 430) heels and toes, based on the pattern for Ladies Sockettes in Patons Knitting Book C11, a circa 1960’s publication

pinterestmail

Tim’s shirt/jacket

Here is the shirt/jacket thingy that I made for Tim for a birthday gift… it is very similar to Sam’s here, but using a grey/beige, thin but warm, corduroy and a (leftover) contrasting dark blue/grey cotton linen for the lining of each of the collar stand, yoke, welt pockets and pocket flaps. 
I used the same ol’ Burda 7767 that is now my standby go-to men’s button-up shirt pattern, almost lost count of the number of times I’ve used it now  (just went back and checked… 14 times!)  Hehe, Myrna suggested I do an overview of different ways in which I’ve used the same pattern to get different garments, and I think this pattern might be a prime candidate, along with my all-time favourite Vogue 7303… but not until I’ve given this shirt/jacket thing its very own post here…
Variations to the pattern; 
well, apart from the obvious customised fitting to Tim’s measurements modifications I implemented the following:
1.  lengthened the fronts and back by about 6-7cm, to get a more coat or jacket like effect and curved the hemline up to each of the side seams to get that shirt-tail effect both front and back…
2. added two breast pockets with curved flaps
3. added two of those double pockets at hip height… pockets that are separately a welt pocket and are also a patch pocket (you can tell, I was pretty thrilled with how these turned out on Sam’s jacket and Tim thought they were tres cool as well, so I just had to put them on his too!)  my tutorial for doing these double pockets is here.
4. used snaps throughout in lieu of buttons.  
Little anecdote; I had nearly finished this jacket – bar putting the snaps in, and by this time Tim knew very well that I was making this for him (well, I do make them something for each of their birthdays…. he was expecting it) and he wanted to wear it out to a friend’s place that night.  Of course the snaps seems like the easy quick bit and I’m like, oh hang on, shouldn’t take more than twenty minutes.  Like, well over an hour later….  hehe, SO putting in snaps does take a fair bit of time, if you are trying to be careful about placement that is and not just flying along recklessly… but he did get to wear it out, even if he was (fashionably) late!
In an unthinking moment, I selected contrasting thread to topstitch, that matched the tobacco brown snaps exactly.  Bad idea!  I adore corduroy and have used it countless times, but looking back I have always selected matching topstitching thread.  In hindsight I can see the wisdom of that (even though it was ignorant wisdom…); corduroy by its very nature does not take super well to military-precisioned topstitching, all those furry velvety little ridges, bless them, are an enemy to the topstitching perfectionist.  Moral of the story; always, but always go with matching topstitching thread on corduroy, unless uneven lines are not going to send you spare.  The good news is that Tim, being an easy-going bloke, is OK with it.  It is just something to bother me whenever I have occasion to, say, hang it up on the line and get to see those slightly-darker-therefore-blindinglyobvious wonky lines all over again (grrr…)

At left; contrasting lining: at right; the double welt/patch pockets at hip level, complete with hideous topstitching

Because of the intensity that was me-made June, it may appear I haven’t done much sewing in the last month… actually I have still been sewing and have produced some new things.  For some reason I felt I didn’t want to do postings of any new stuff during that month, so I have kept some things back.  Well, OK I did reveal some new things, a little grey top, and the new scarf… oh, OK then.  There was a smattering of minor-league new stuff, hehe.  And some old stuff that was discovered in my winter sort-out.  But, back to the subject, I do have some new creations to reveal.  Just have to muster some enthusiasm to get back in front of the camera again… you understand.

pinterestmail
Switch to mobile version
↓