Hello!
So furthering onward with my one year one outfit adventures, I thought I would put together a post on my other efforts so far… I have also been making my fabric for the other components of my outfit. Yes, making freakin’ fabric!!!! transforming Western Australian sheep fleece into felt, with which I shall make…. something. Still ruminating on exactly what...
Along with my fellow one year one outfitters Sue, Nicki and Megan, I visited Bilby Yarns; a small but treasure-packed little shop in Willagee that supports local wool producers and enthusiasts and stocks supplies for anything and everything wool-related you could possibly think of! spinning, weaving, felting, needle felting, knitting and crochet and probably some other endeavours that I haven’t taken in yet, too. It also stocks dyes, both natural and chemical and, most fabulously; yarn from Western Australian sheep, hand processed and hand spun by local ladies. It’s a truly fantastic local resource! and I can see myself paying the shop many more visits in the future. The lovely chatty June kindly demonstrated spinning and also felting to us; and we all came away with supplies of fleece, greatly enthused to make us some felt…
I have made some decorative felt panels a few times before, small and therefore easy things; blogged here and here and a couple of others that I’ve given away and never blogged. However, this project would have to fit in with Nicki’s strict criteria; to be a TOTALLY home grown product. Normally if I was considering making felt for a garment to wear; I would felt onto a piece of silk chiffon to give strength to the fabric.
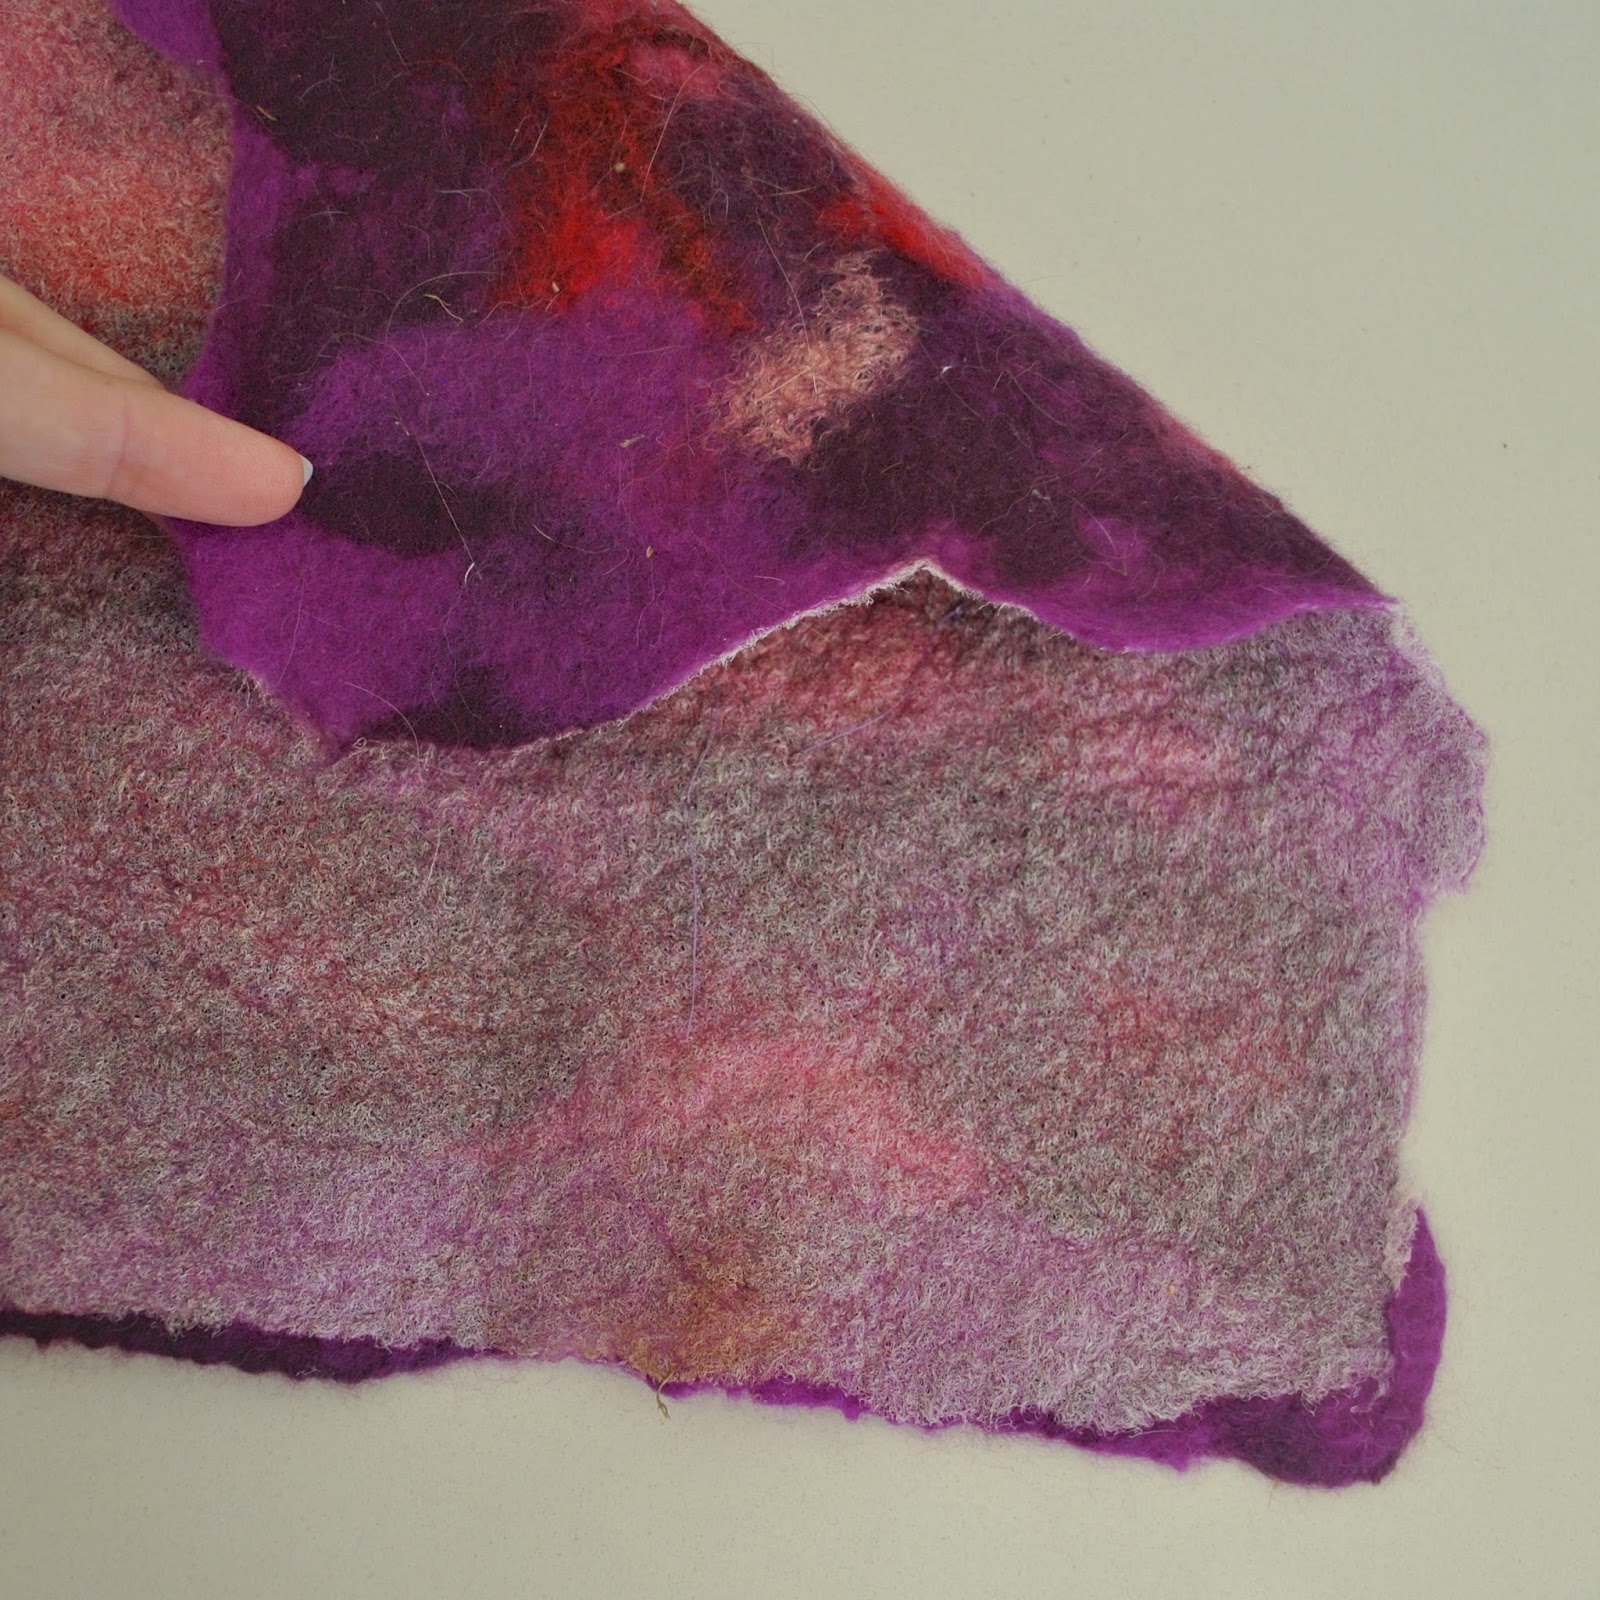
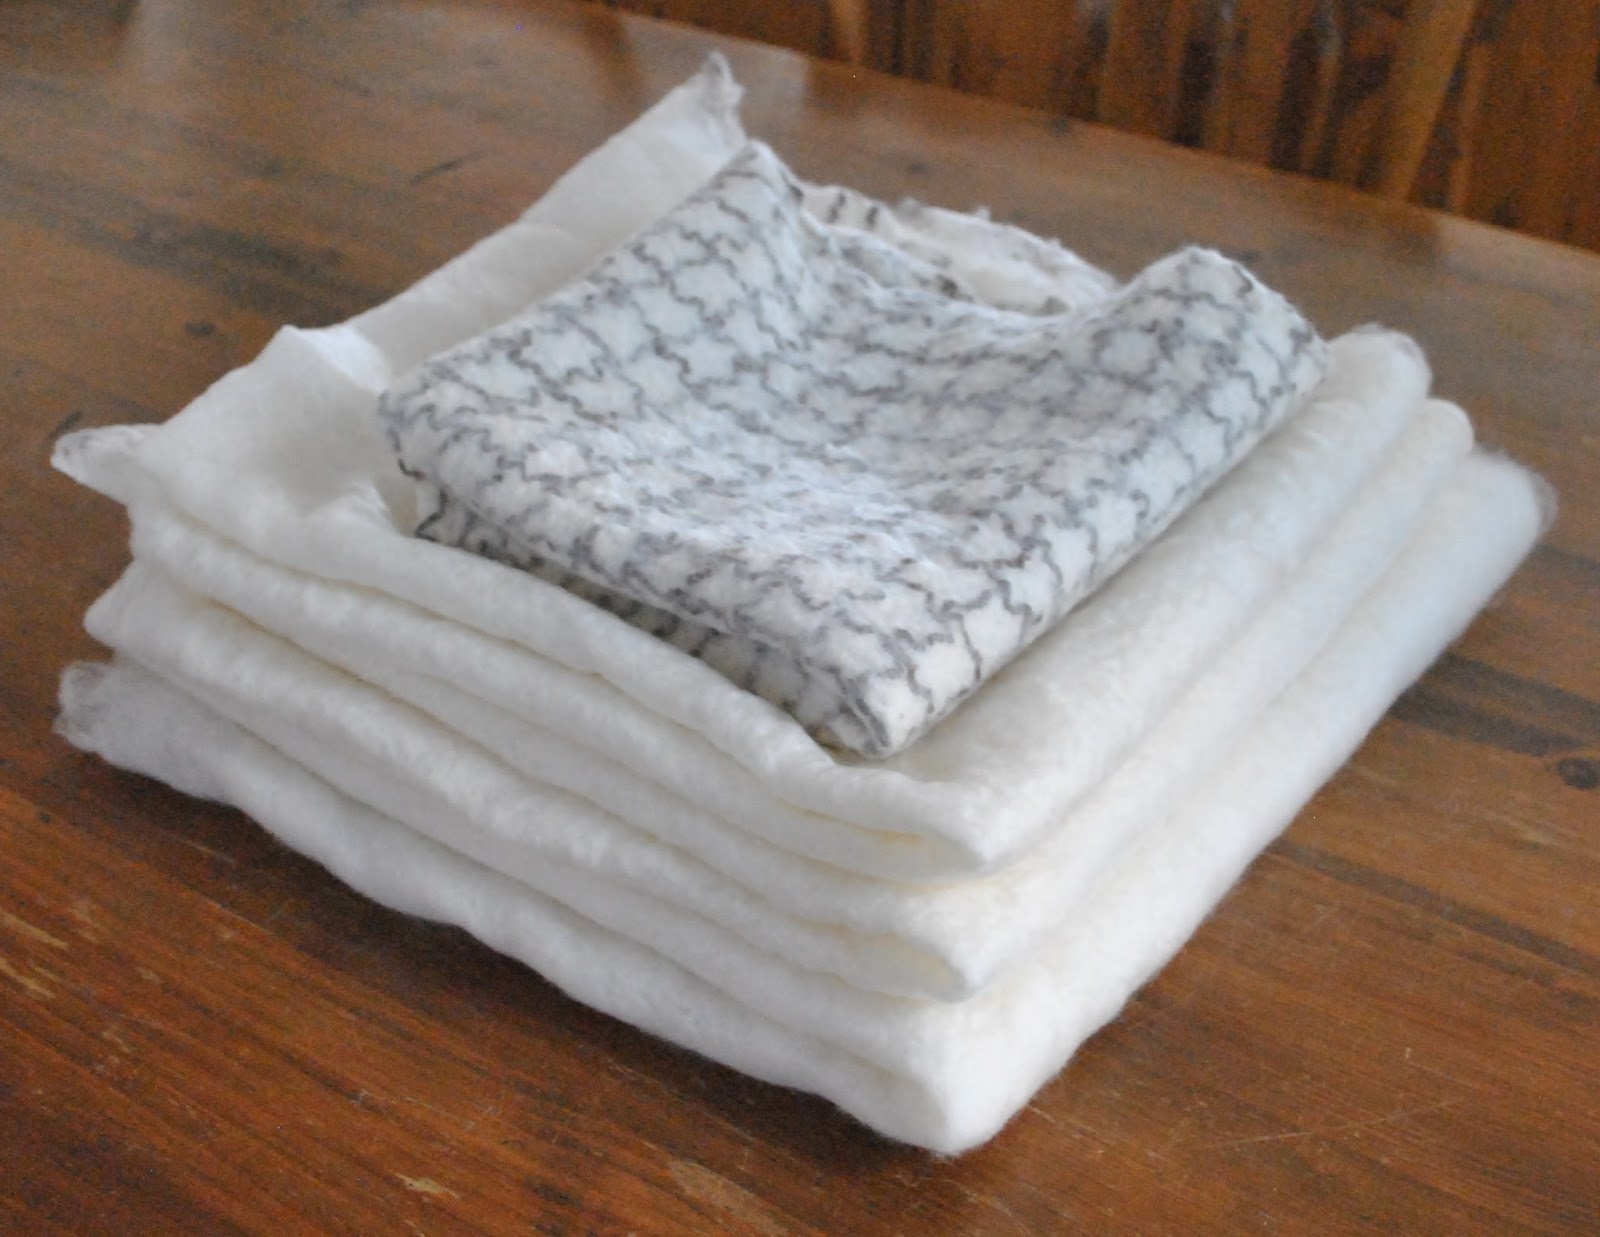
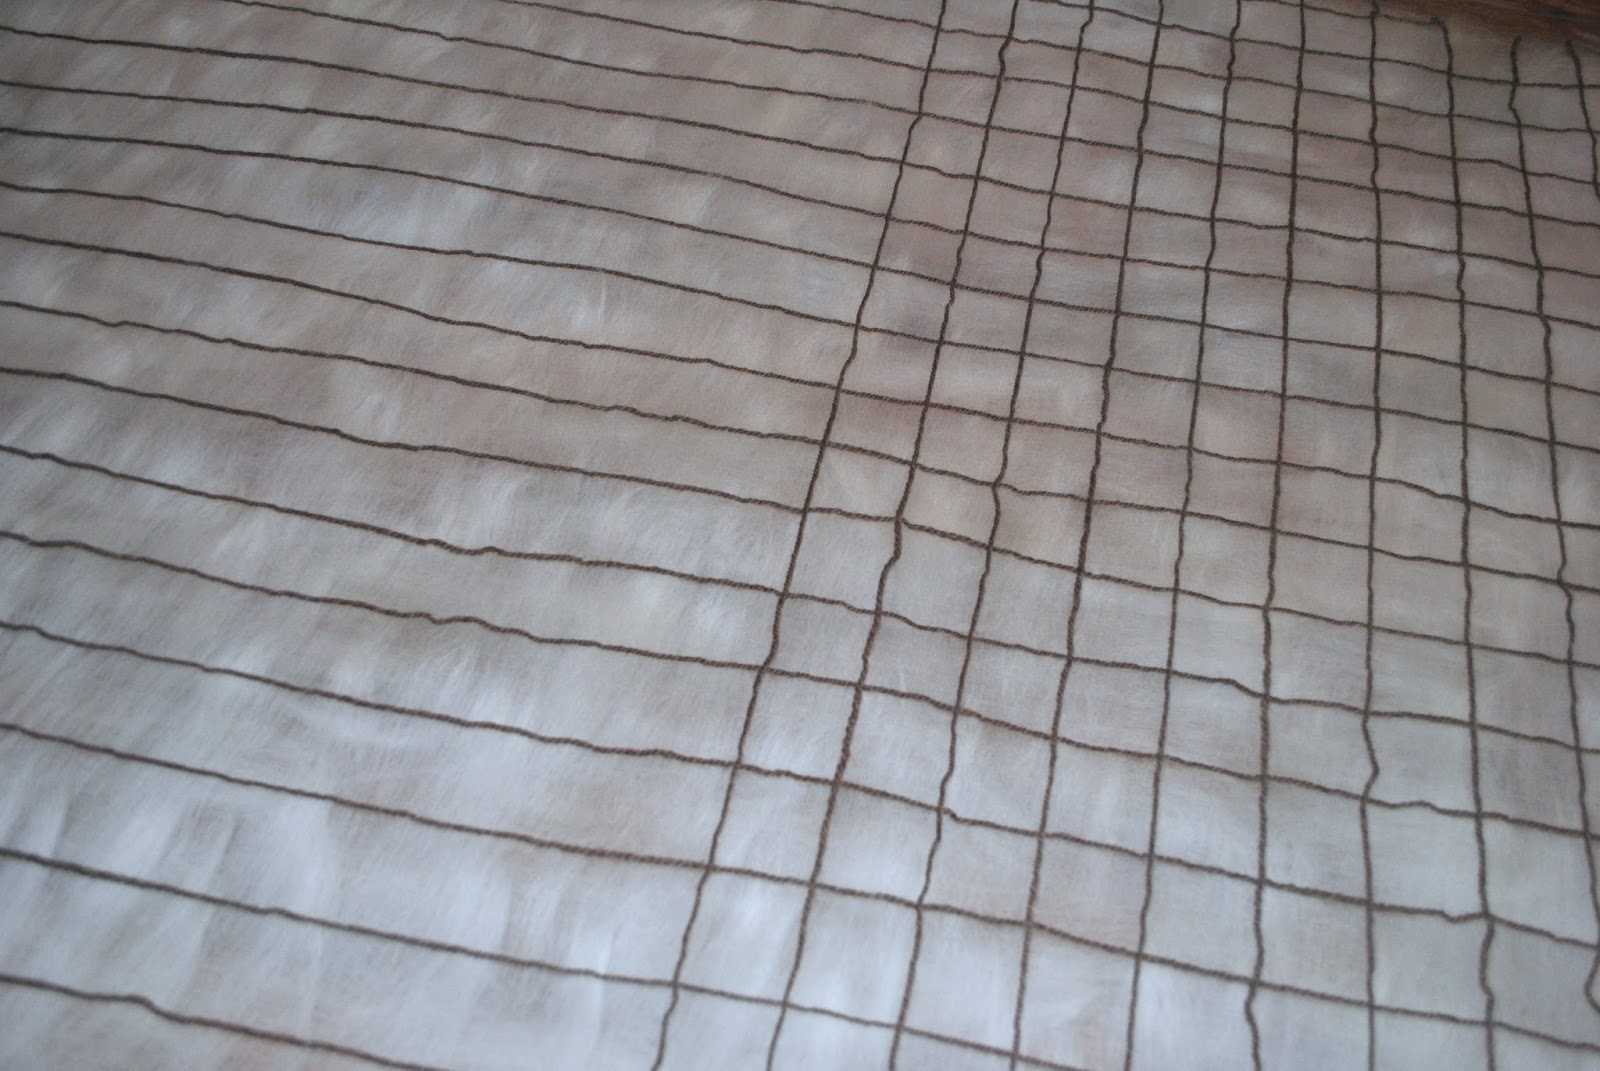
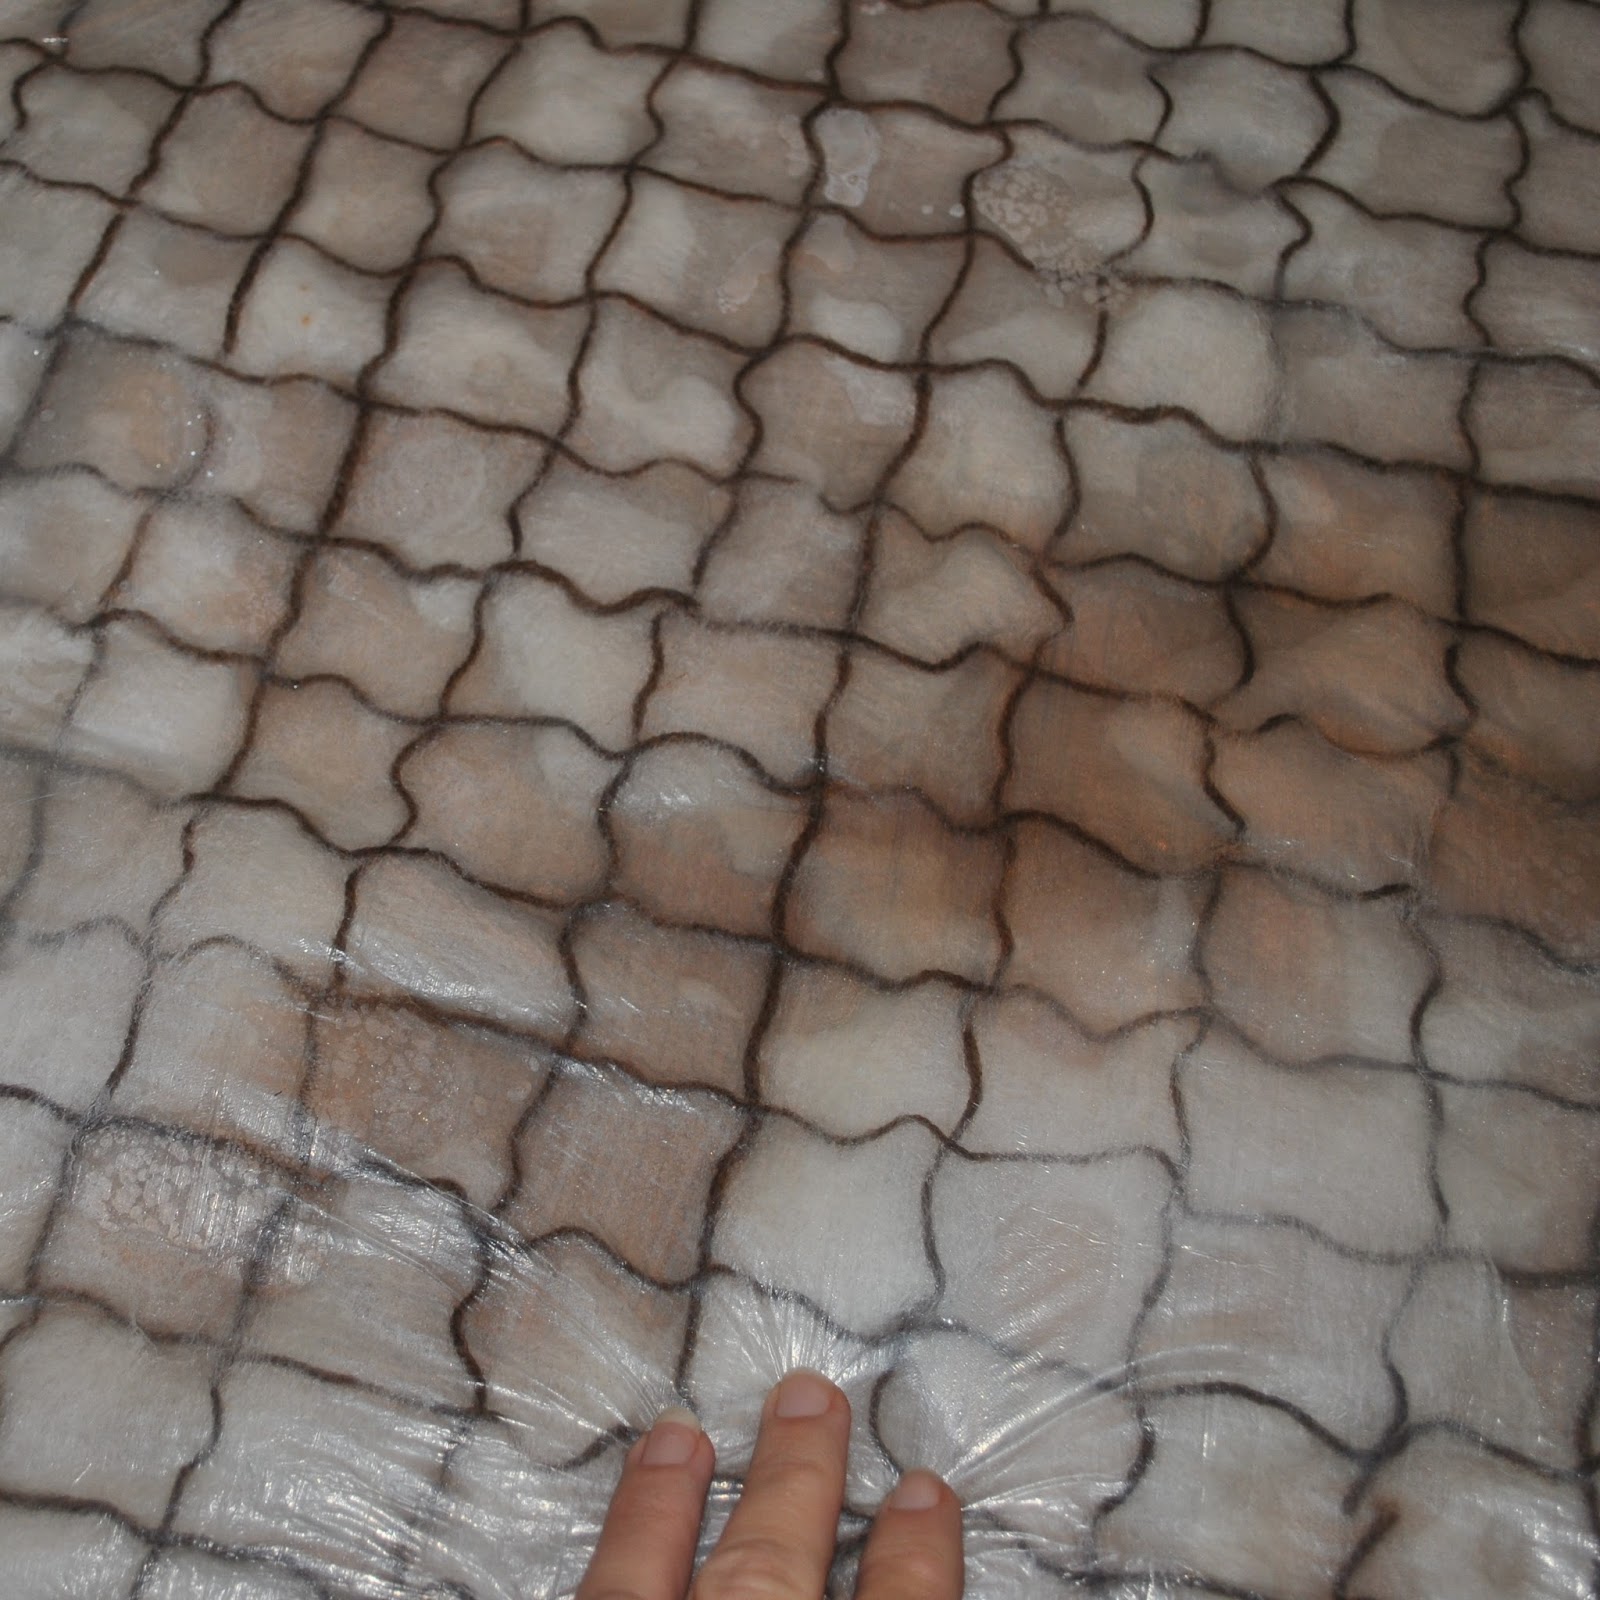
However; obviously silk chiffon is not a thing ever produced here in Western Australia! so in terms of our challenge it was a no-no. I had to think of some other way of building some toughness into my felt… I noticed a small sample in the shop with a yarn grid felted into it, and thought this would be a brilliant way of solving the strength problem. I incorporated a yarn grid feature into one piece of my felt and I will be using another method of building strength into the remaining pieces.
I bought some washed and combed, naturally white Corriedale sheep fleece, and also two balls of locally hand-spun, West Australian wool yarn; one naturally black the other naturally white; and 3 large, thin, plastic, painting drop-sheets from Bunnings.
Modus Operandi:
First of all.. key words: GENTLE! EVEN! Those two words were to be my mantra throughout this entire procedure. OK.
Now: you need a fair amount of uninterrupted time, and for large pieces of felt big enough for an actual garment, a large table; preferably indoors in a wind-less, breeze-free environment. I used my dining room table. When laying out the fleece, bear in mind the fleece will shrink to roughly 75% of its former size in the process of becoming felt, so if you’re after a specific size you’ll need to allow at least an extra third in size dimensions each way.
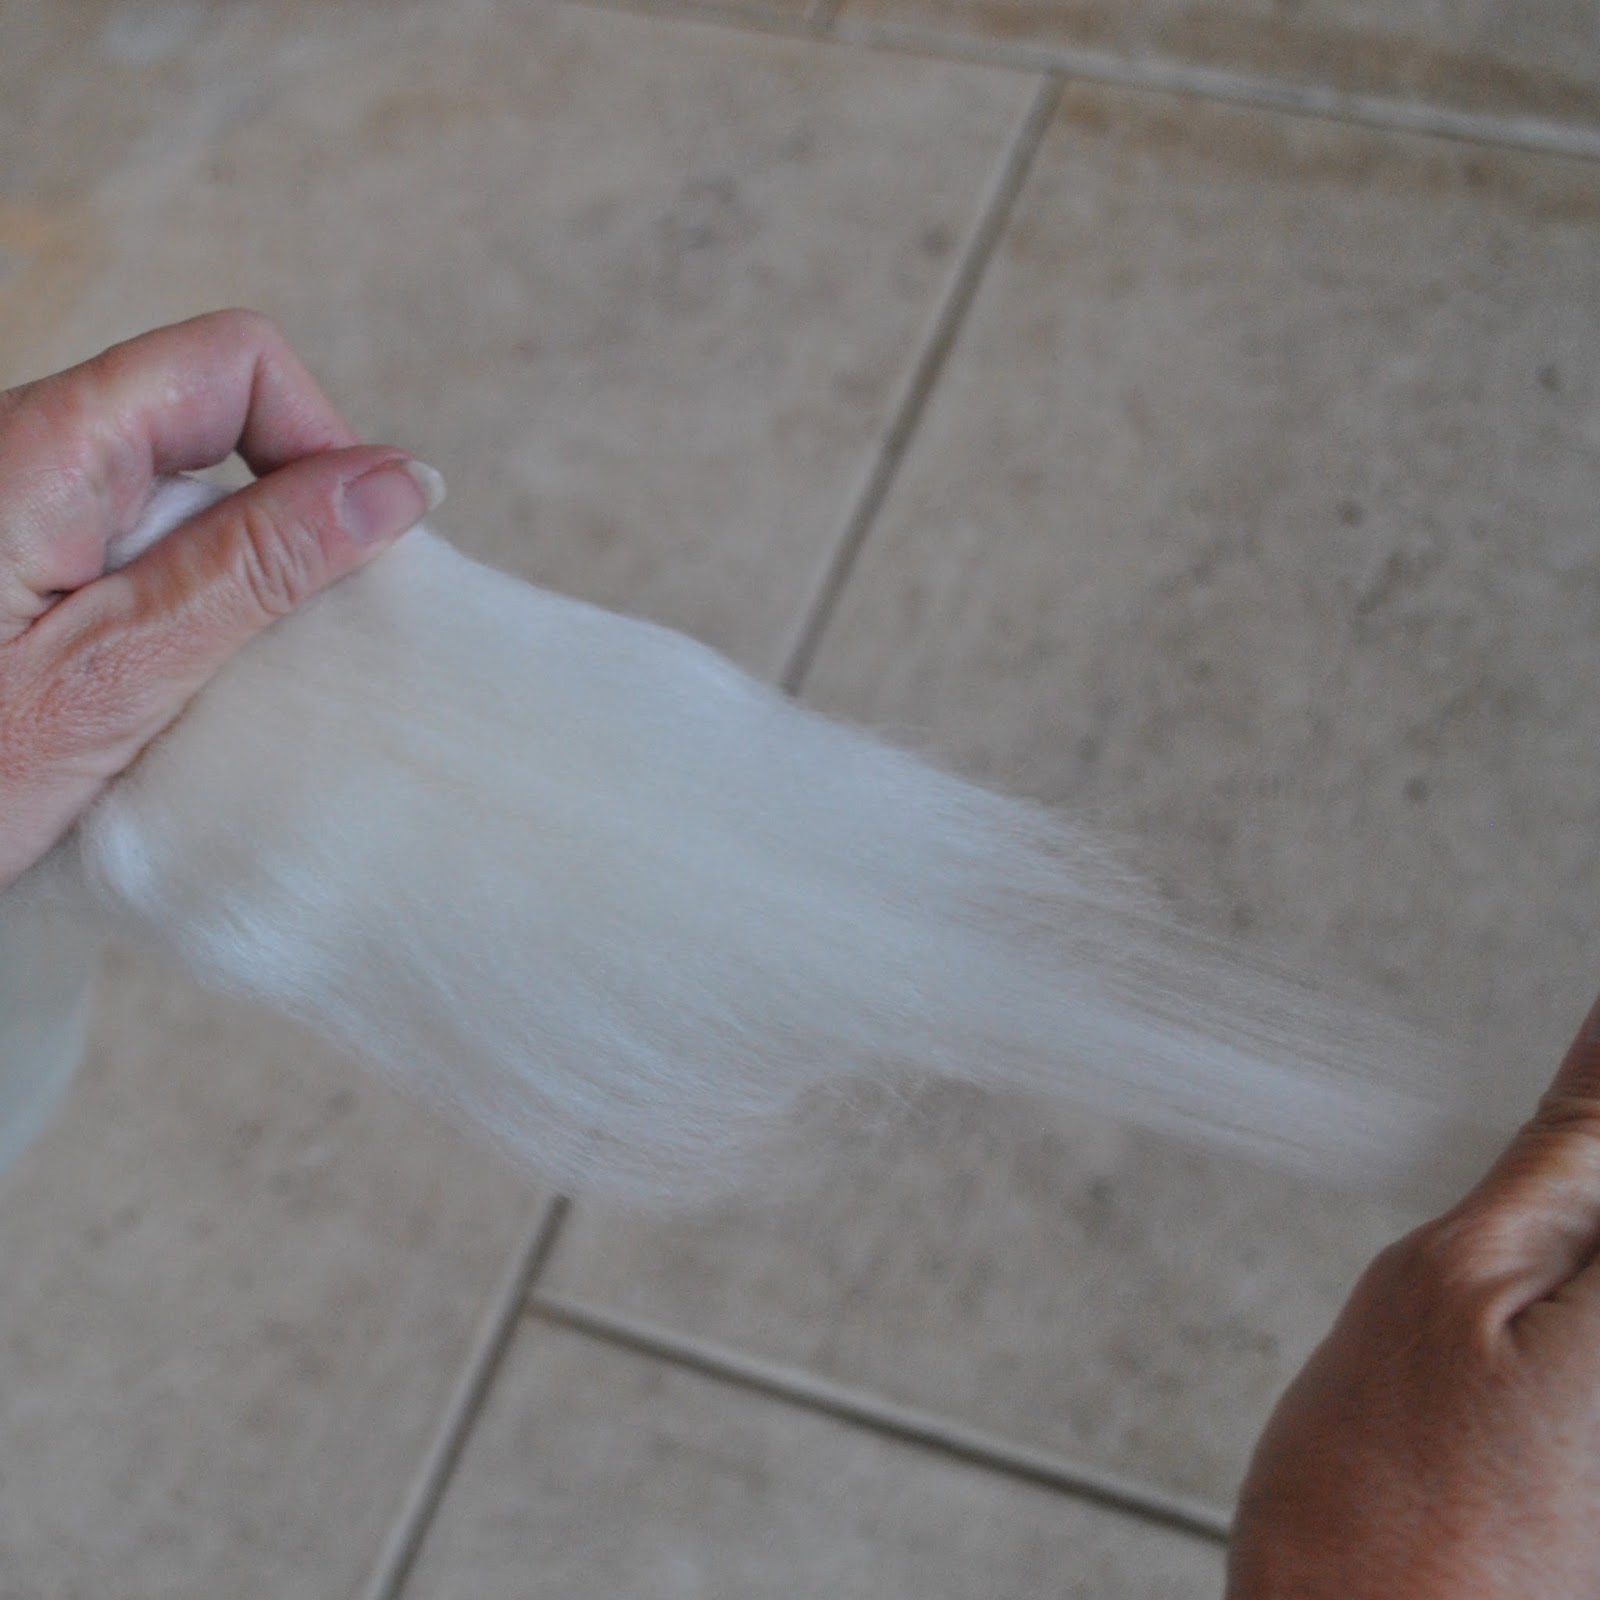
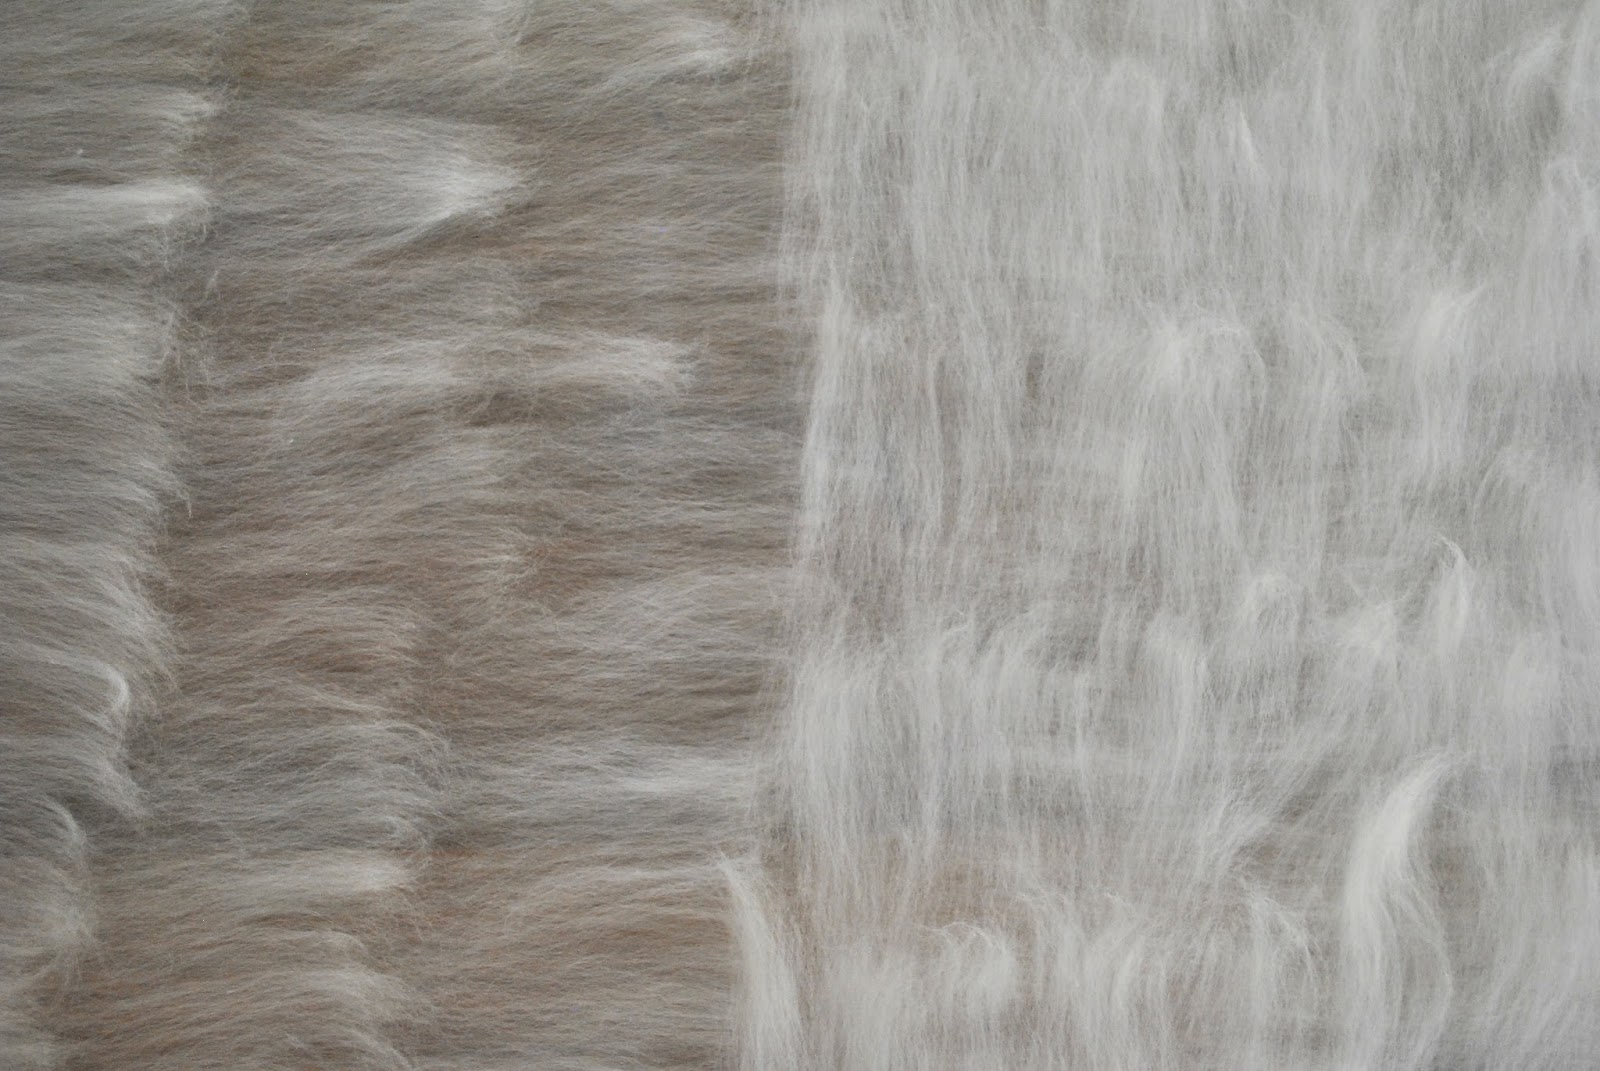
I laid my cut-to-fit plastic drop sheet on the table and start laying out small hanks of fleece onto it. You hold the combed fleece loosely in your left hand, not too tight and not applying any pressure, and then with your right hand you grab and just pull away a small flat wodge. Aim to keep the sections you’re pulling out of reasonably even spread and thickness; i.e., with no thick bits in the middle.

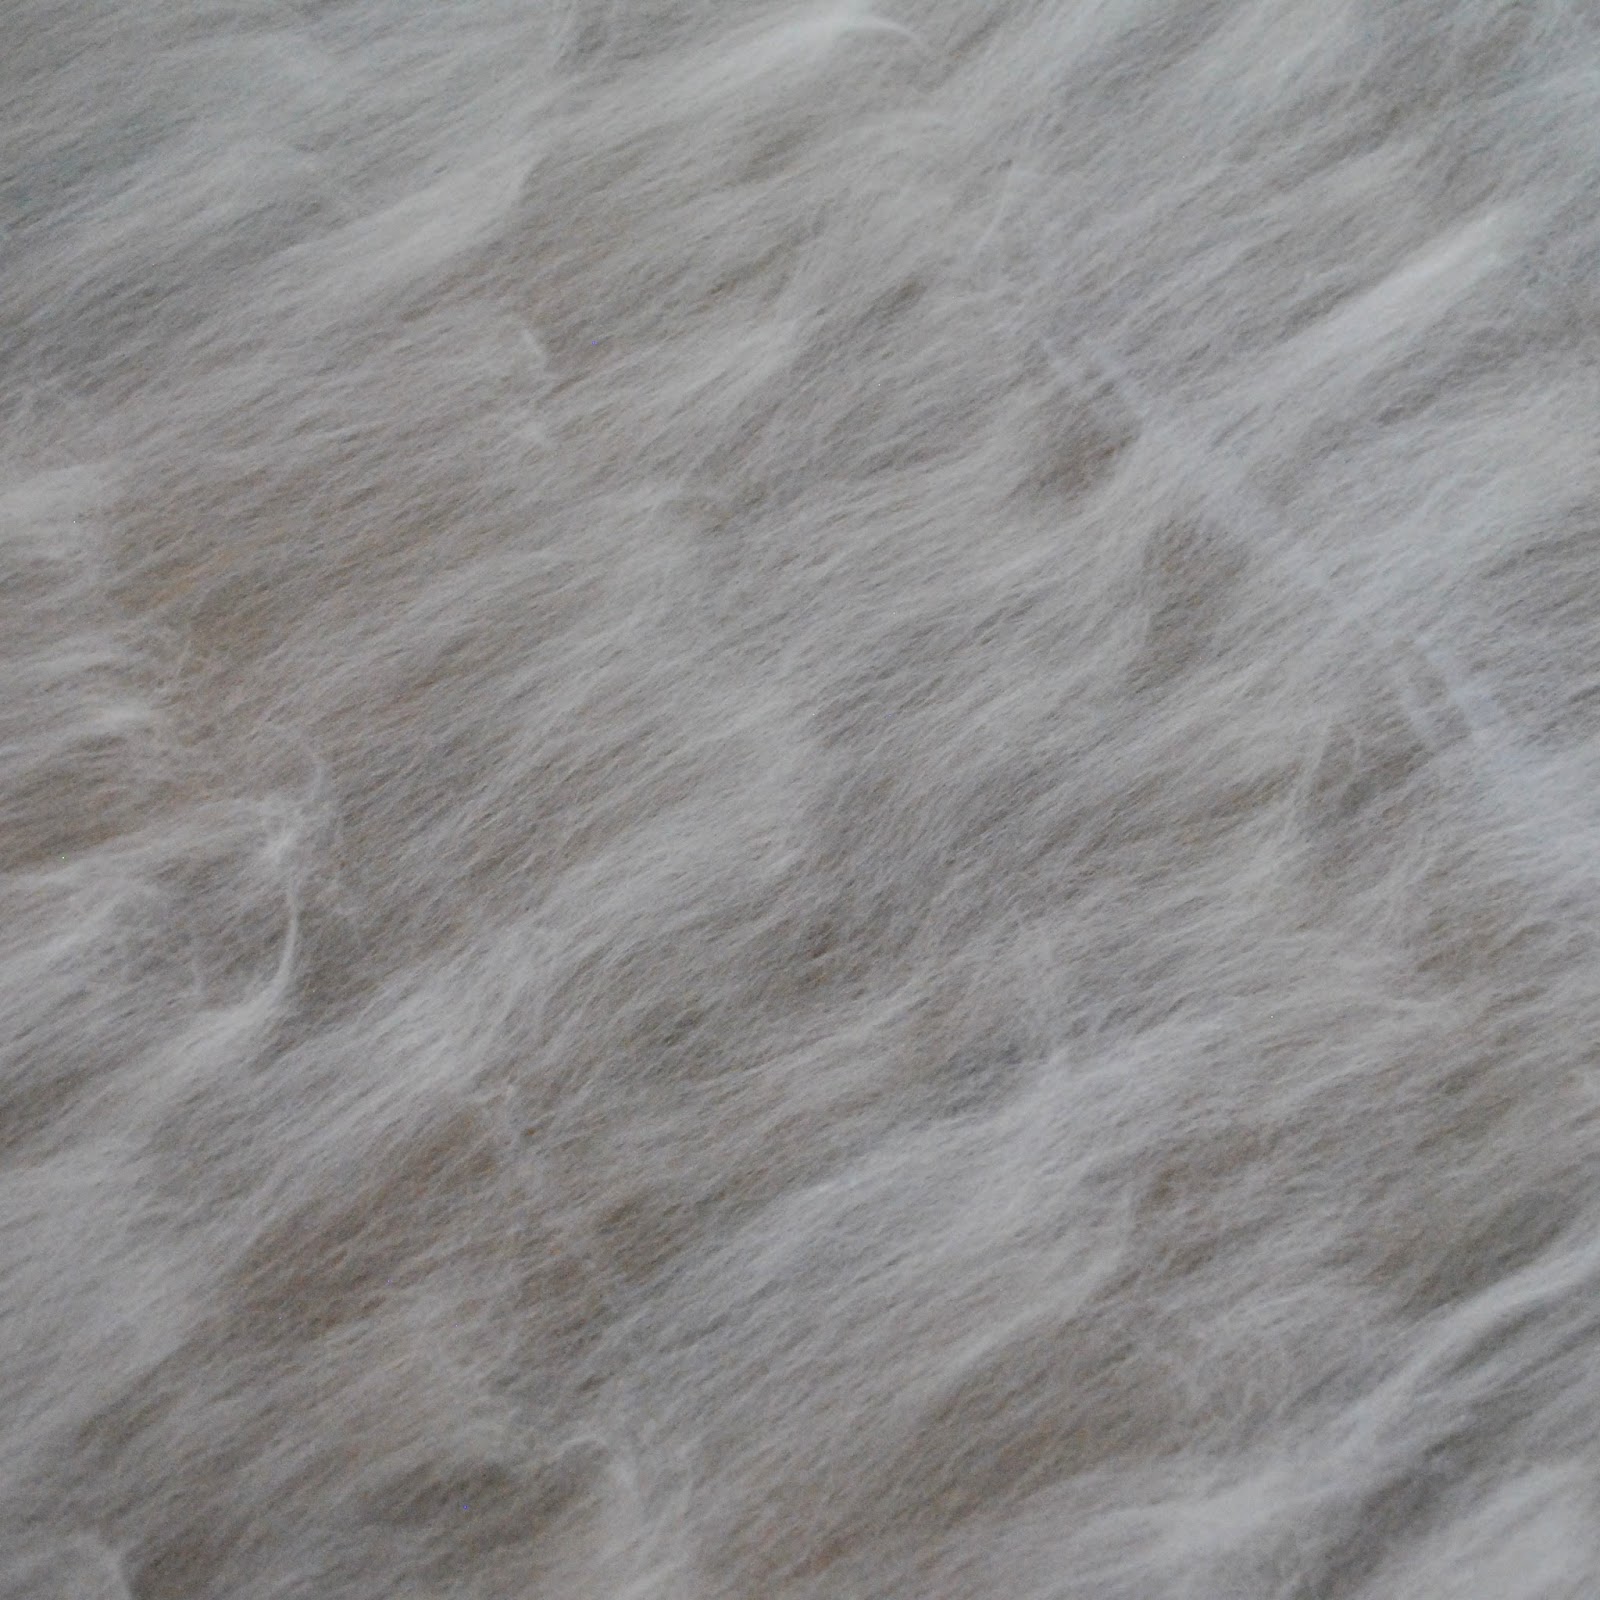
Then, you’re simply laying them all in an even layer as possible, in one direction onto the plastic sheet. I used my whole 2m x 1m table space. This is why you need a good wedge of time, since your family’s not going to be able to eat dinner on the table during this process! and you can’t exactly pack it up out of the way since the wool fleece is so light and floaty that at all times it’s in danger of wafting about, blowing onto itself, or onto the floor if a door opens and a breeze comes through. Plus in my three cat household there’s the very real danger that a curious little helper is suddenly going to jump up onto the table to check out what you’re doing and keep you company while you’re doing it. Eeeeeeeek! The potential for disaster is HUGE!
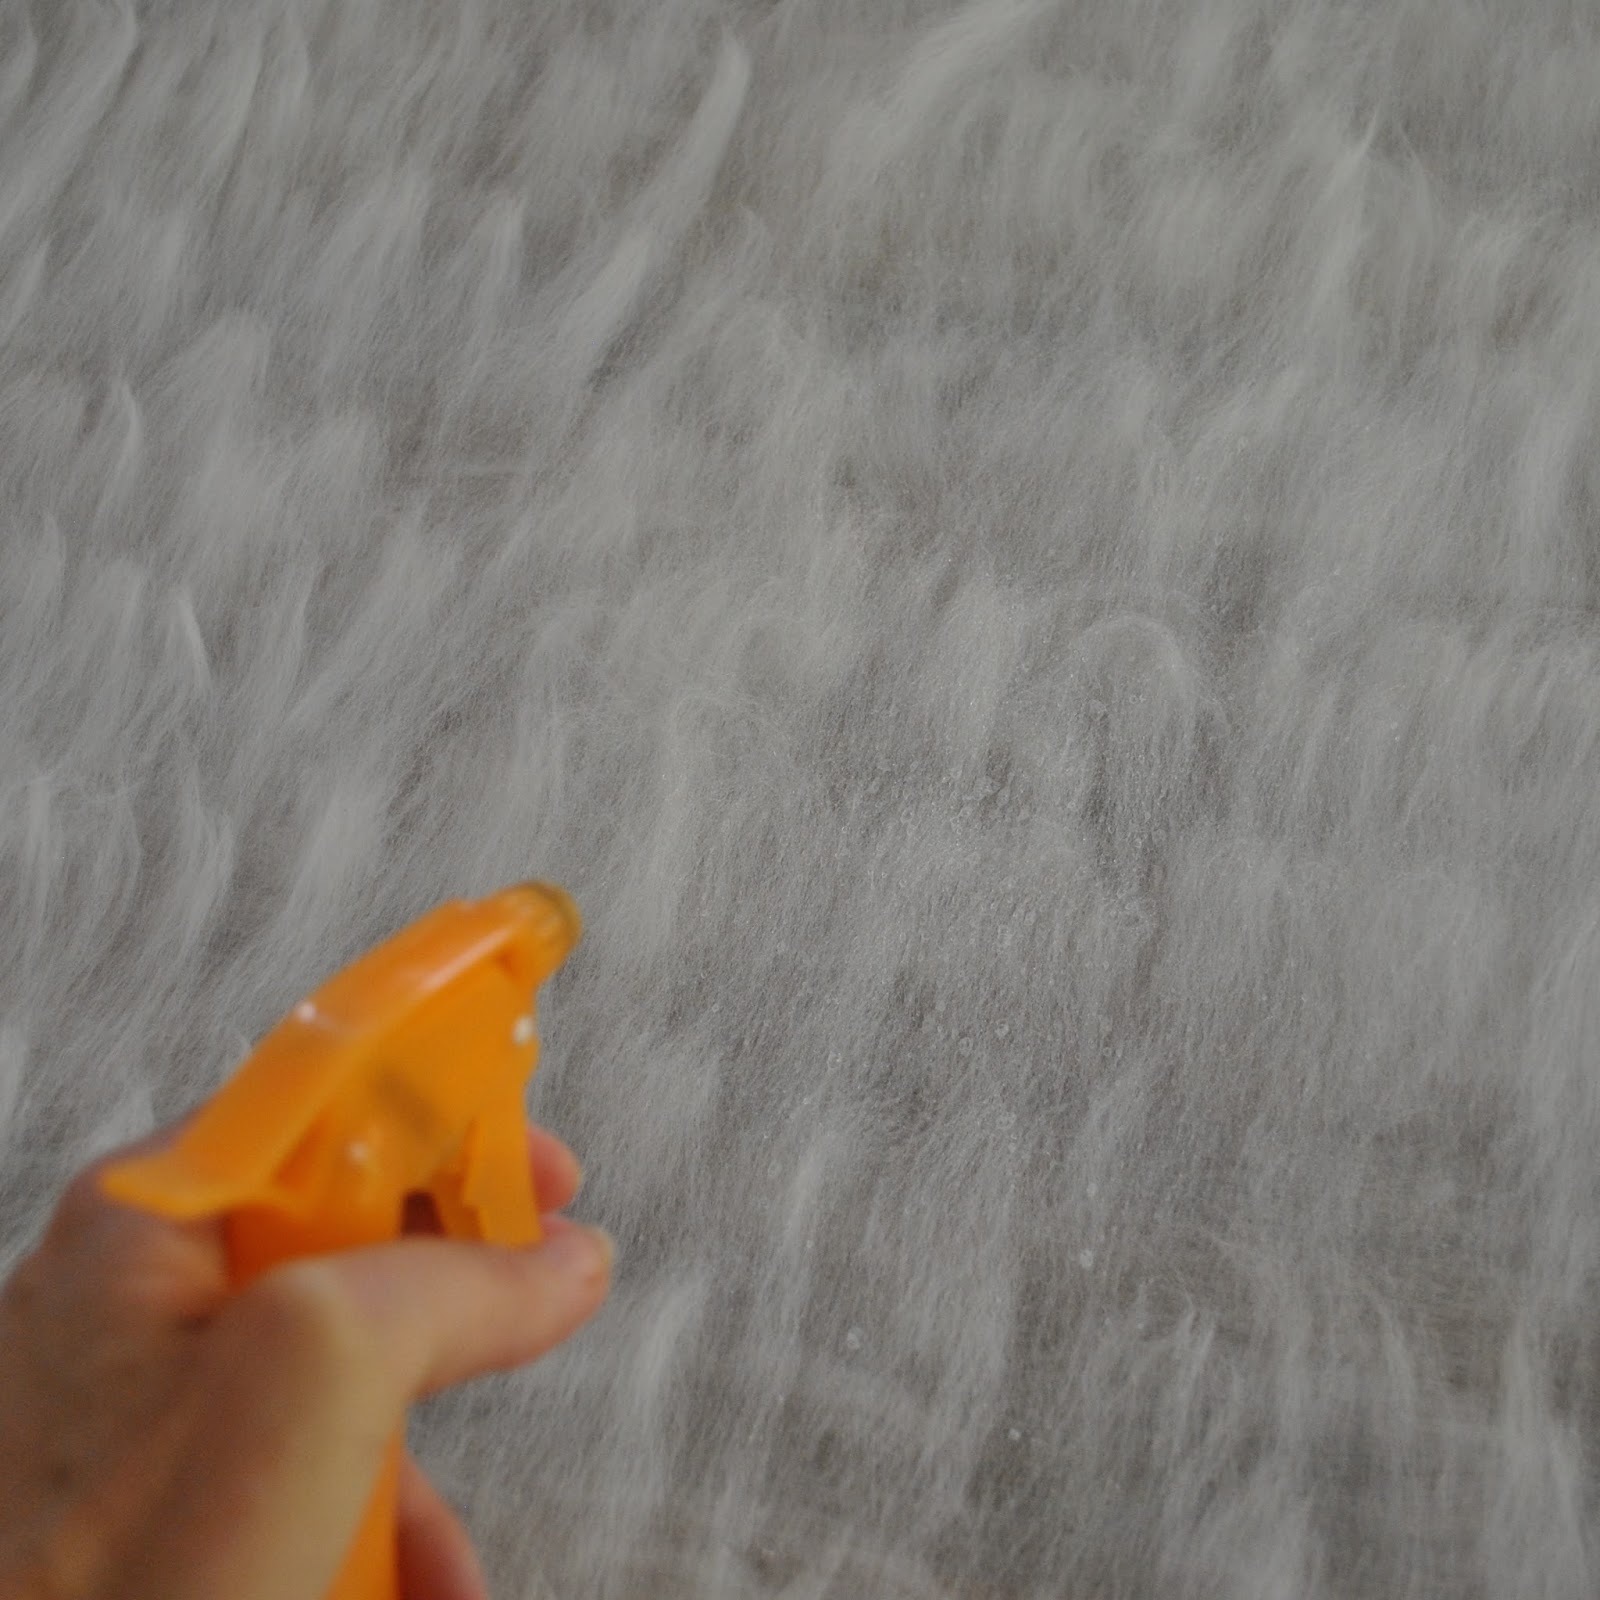
Check all over to make sure there are no dry bits; and once the fleece is wet through lay another cut-to-fit plastic dropsheet over the fleece, smoothing out any air bubbles, and start gently massaging to felt the fleece together. Be light but firm, use small circular movements, and cover the whole area evenly. Every now and again peel back a corner to check that it’s felting together.
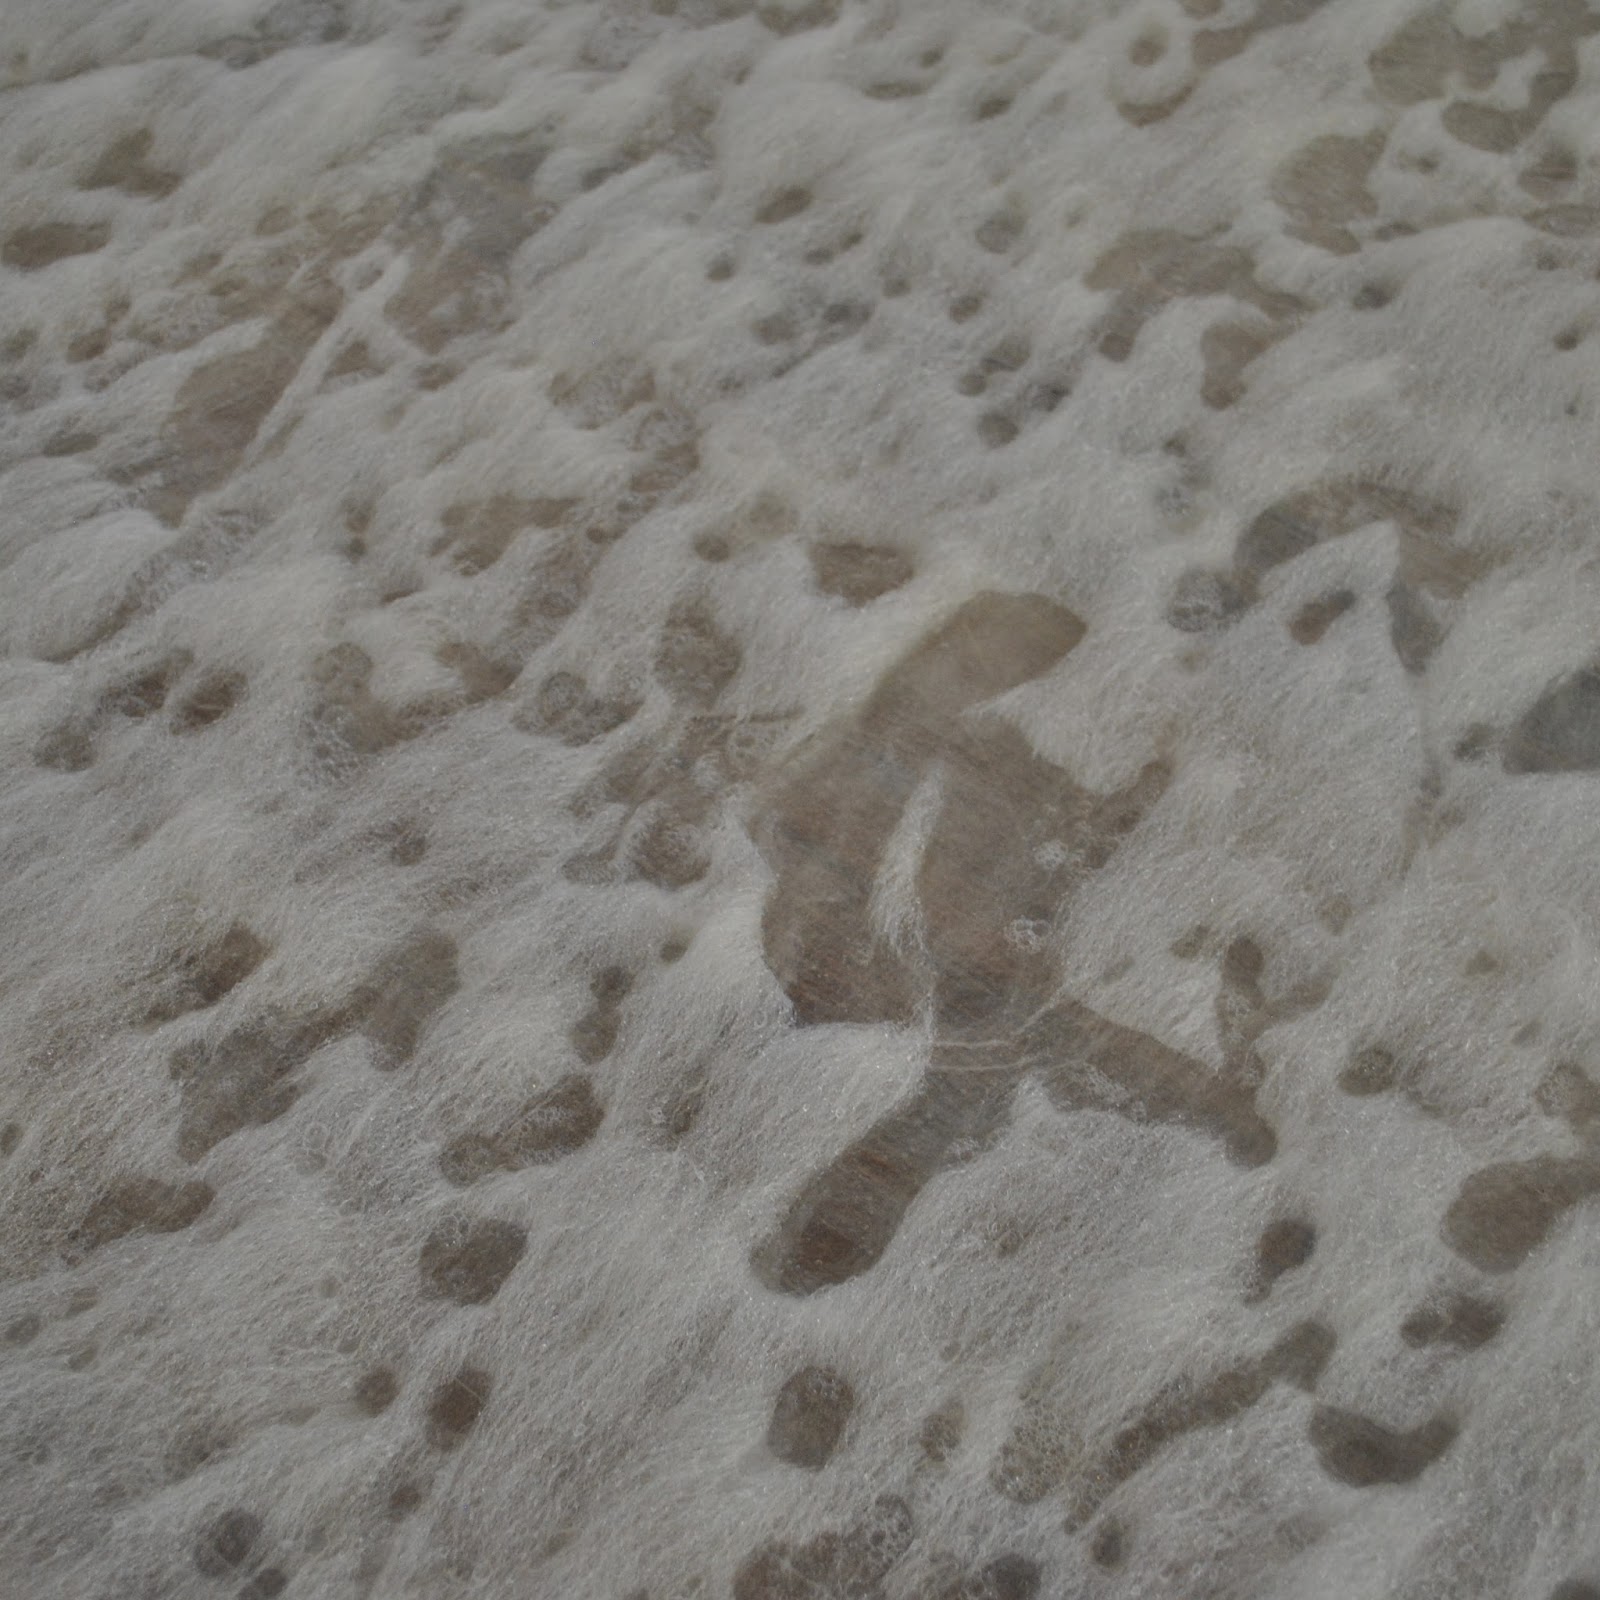
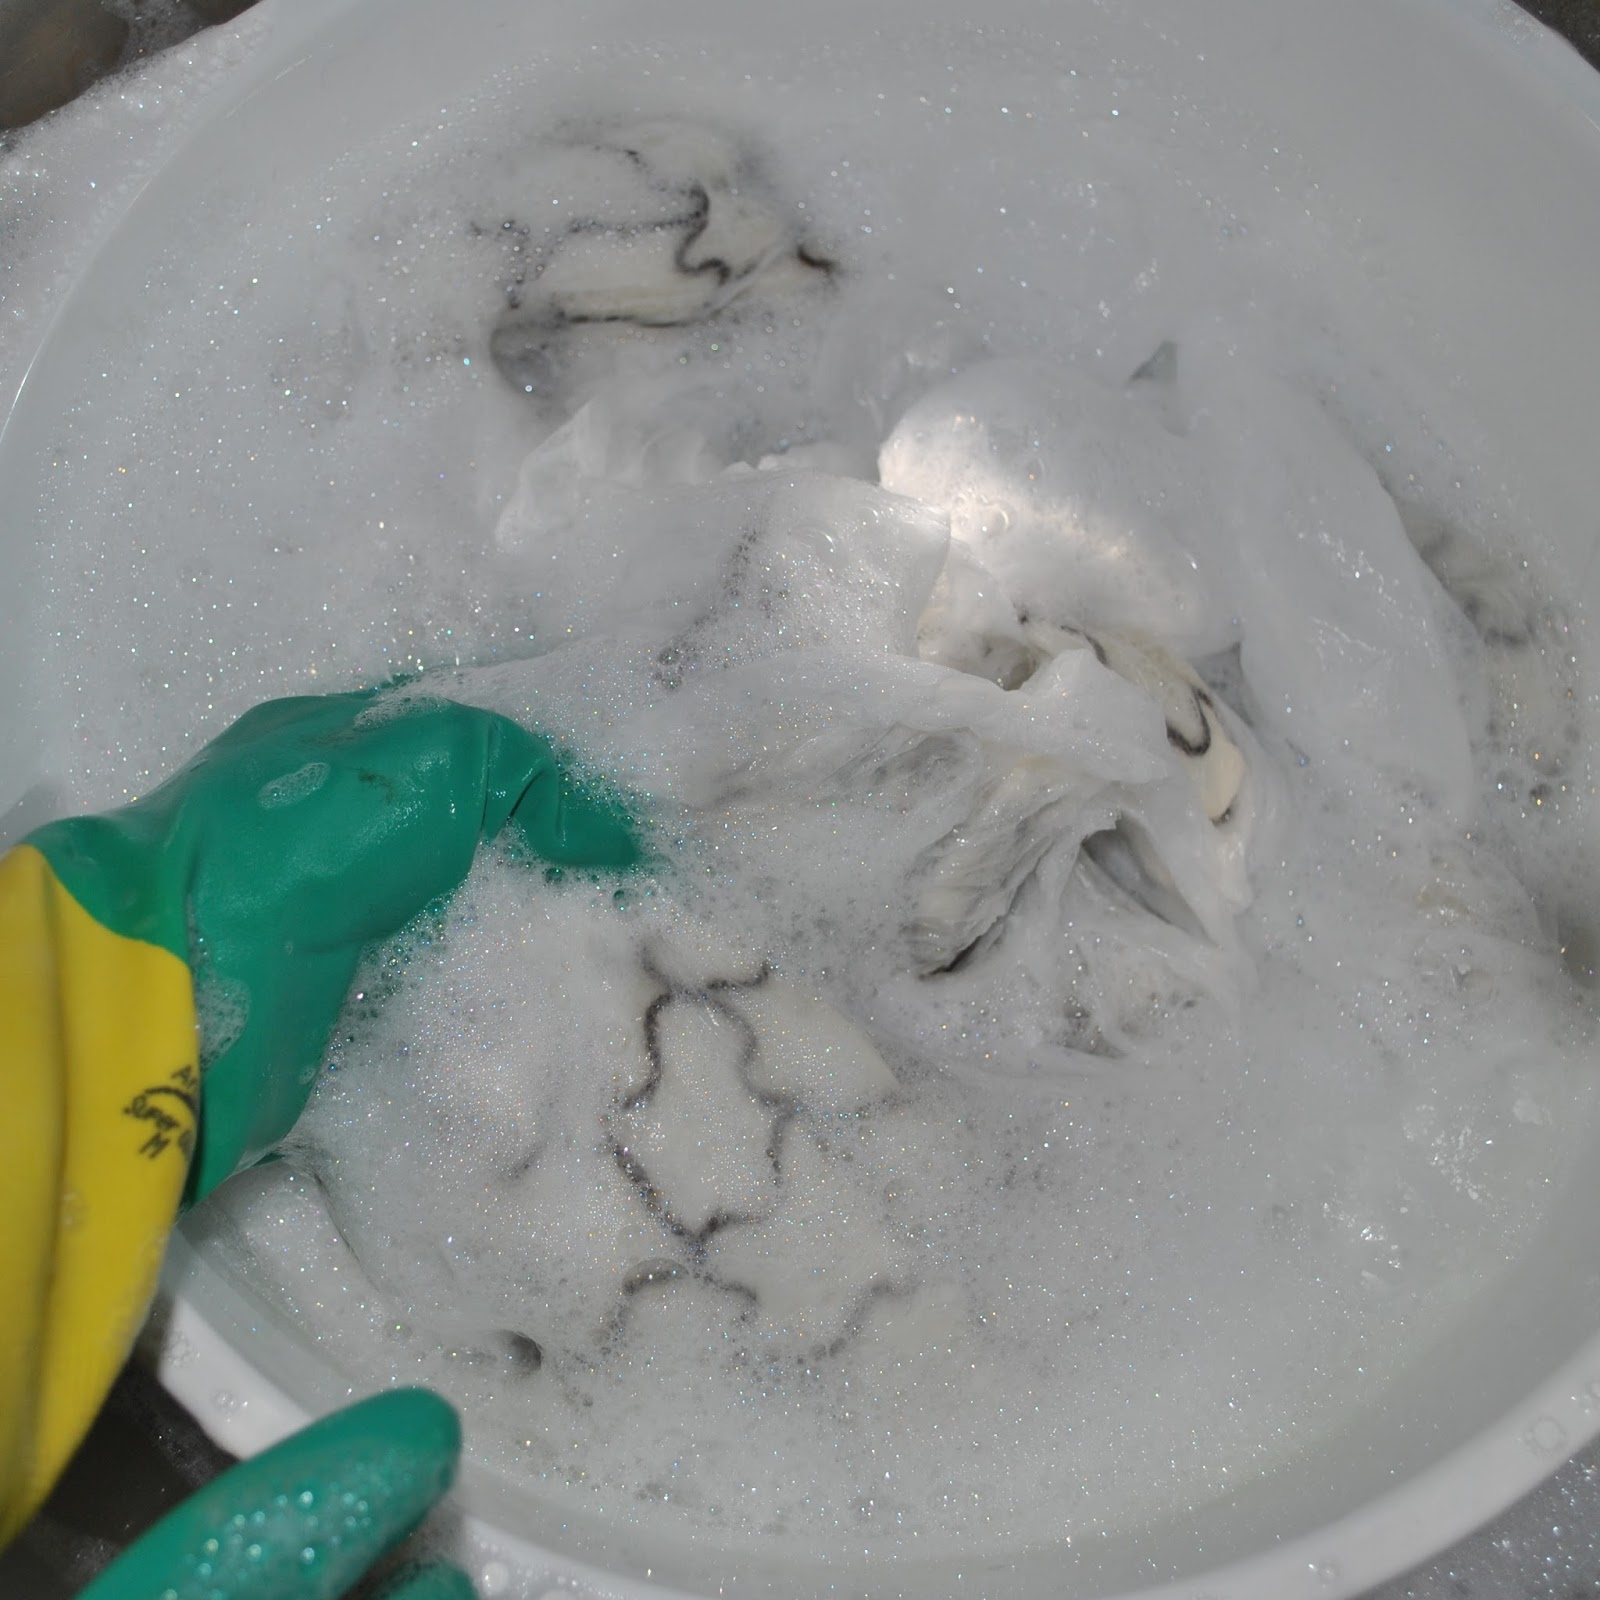
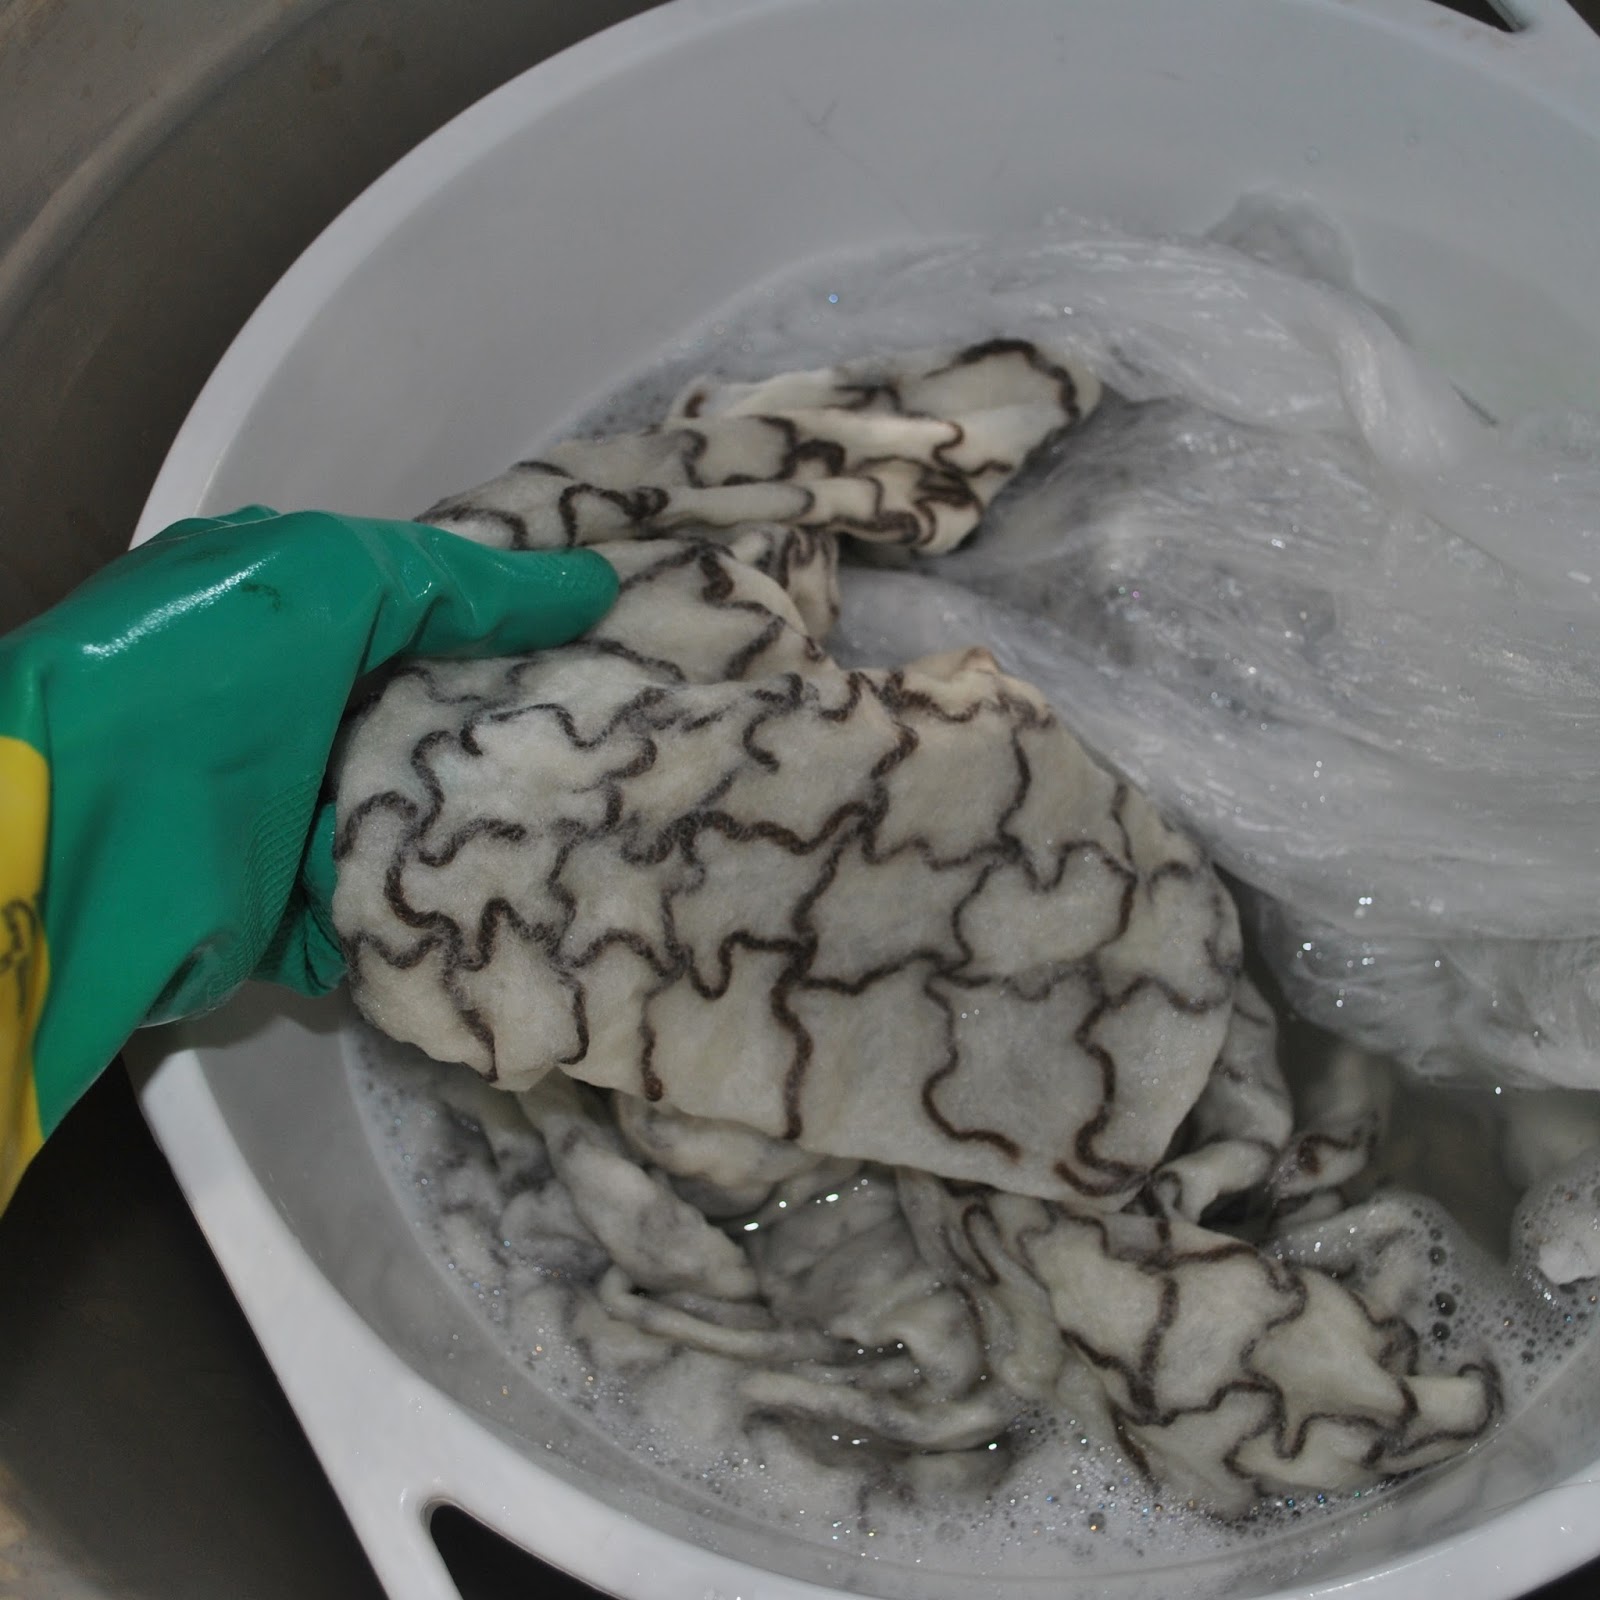
Once it seems to be melded and matted together enough that you can peel a corner away from the plastic and it seems to hold together in a sodden sheet of wool; replace that corner back between the plastic layers, and roll or fold the whole shebang up. Fill a bucket with quite warm, but not hot! soapy water, plonk it in and start to gently agitate the plastic-wrapped fleece in the water. Use the same sort of movements you would if you were hand-washing a precious cashmere jumper. So, a bit of smooth slow swooshing, but no rubbing and nothing very vigorous. Just some nice gentle easy swirling.
Just like you would that precious cashmere jumper; gently squeeze some excess water out, then lay the felt out on old towels and smooth it out as flat and smooth and even as possible. Gently pull it into shape, tease out the crumply edges, smooth out any creases or little folds. It will have shrunk somewhat during the felting process. For the record; I initially laid out my fleece in a 90cm x 180cm rectangle. After felting; my pieces had shrunk to roughly 67cm x 133cm; ie. approx. 75% of the previous size in both dimensions.
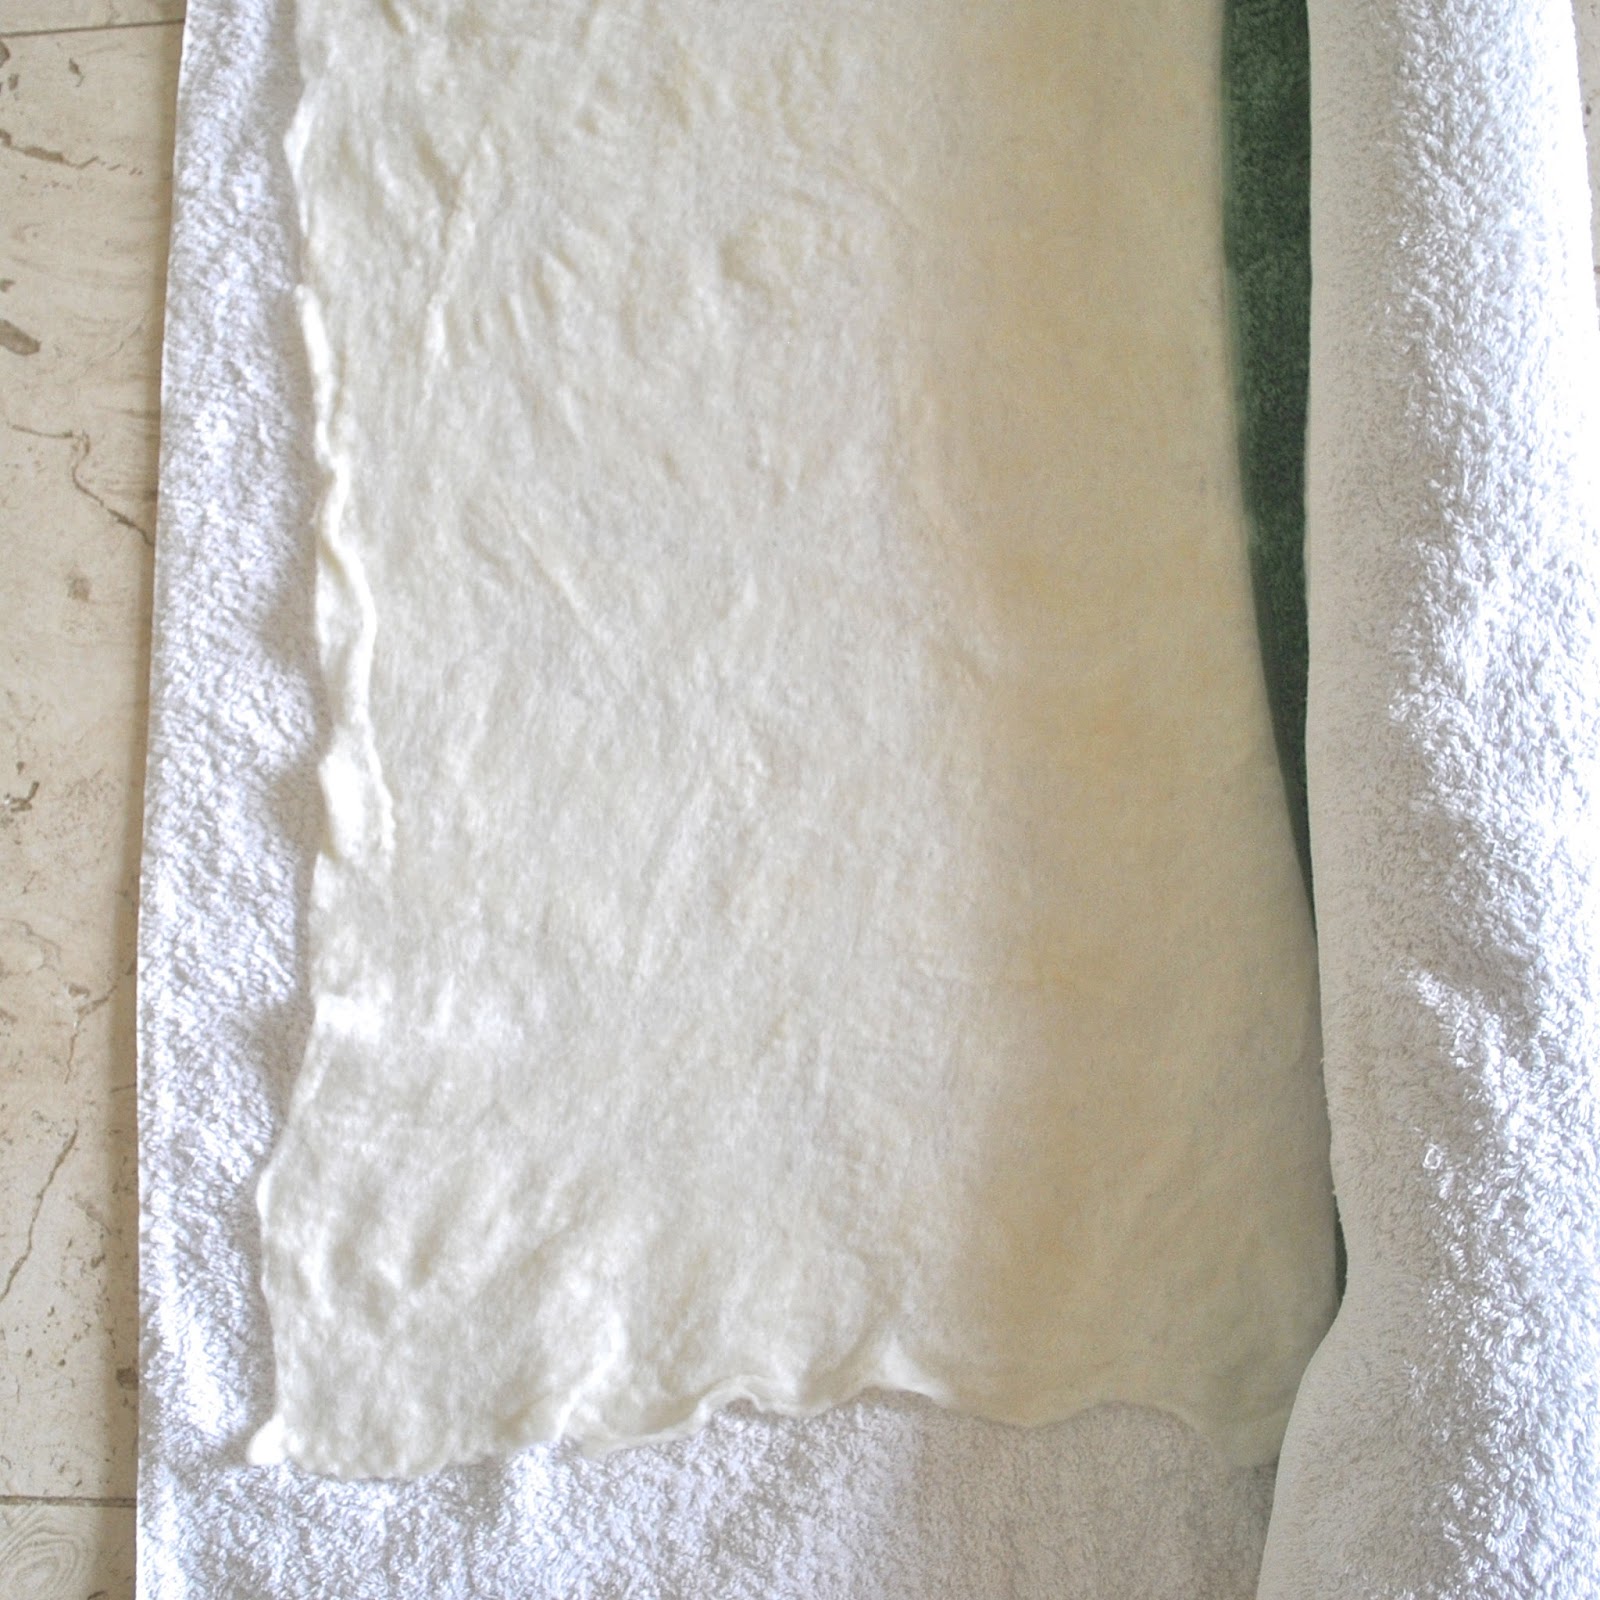
When satisfied it is pulled flat and smooth and into a more or less rectangular shape, roll it up in the towel, smoothing out any little creases that may form as you’re going along. Squeeze excess water out by kneeling on and pressing down on the towel roll.
Unroll, lay the wet felt onto fresh dry towels, and let it dry flat.
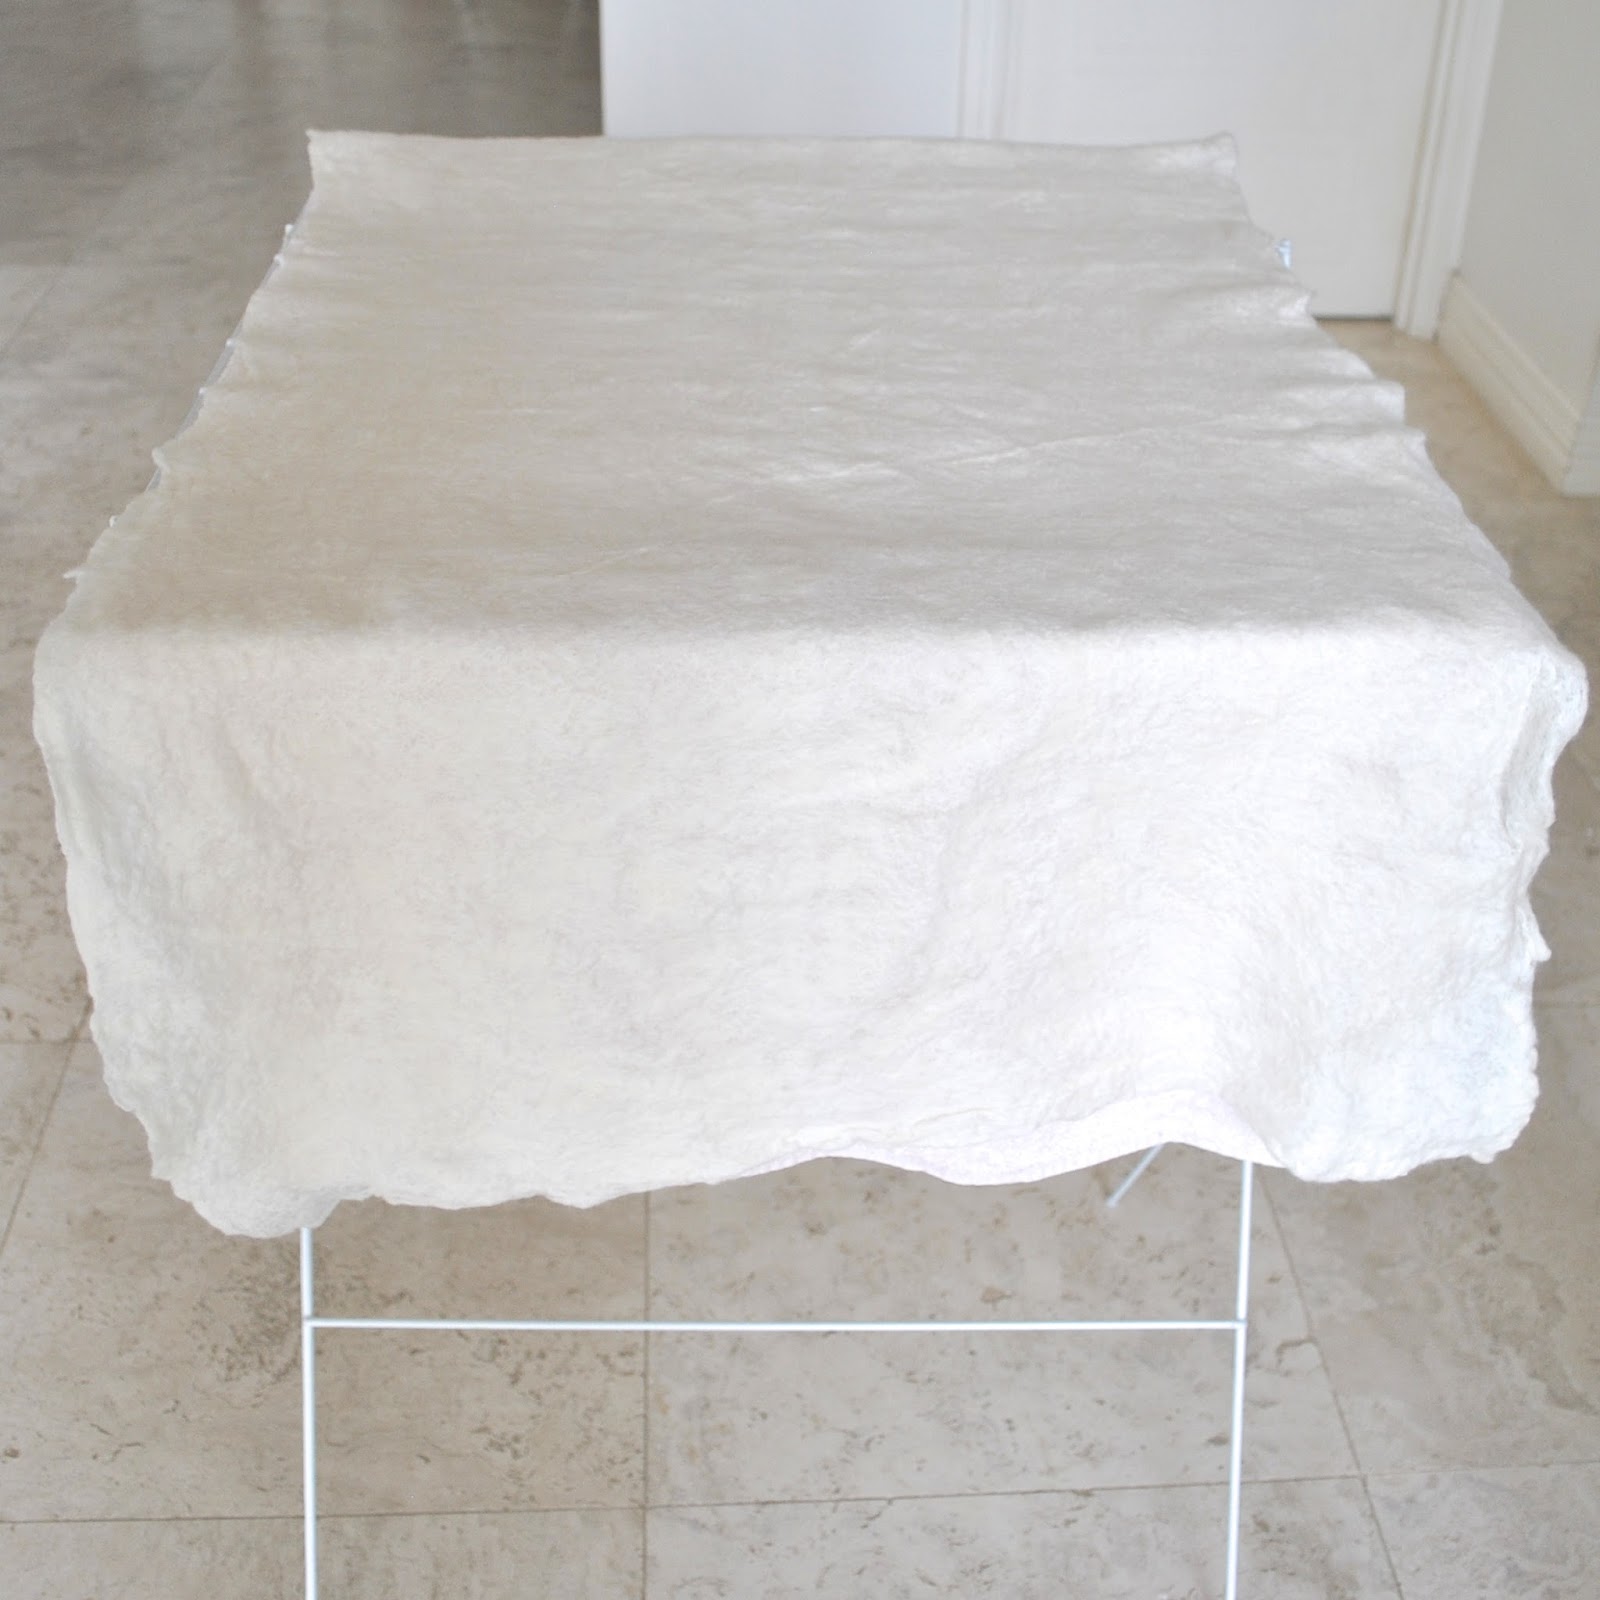
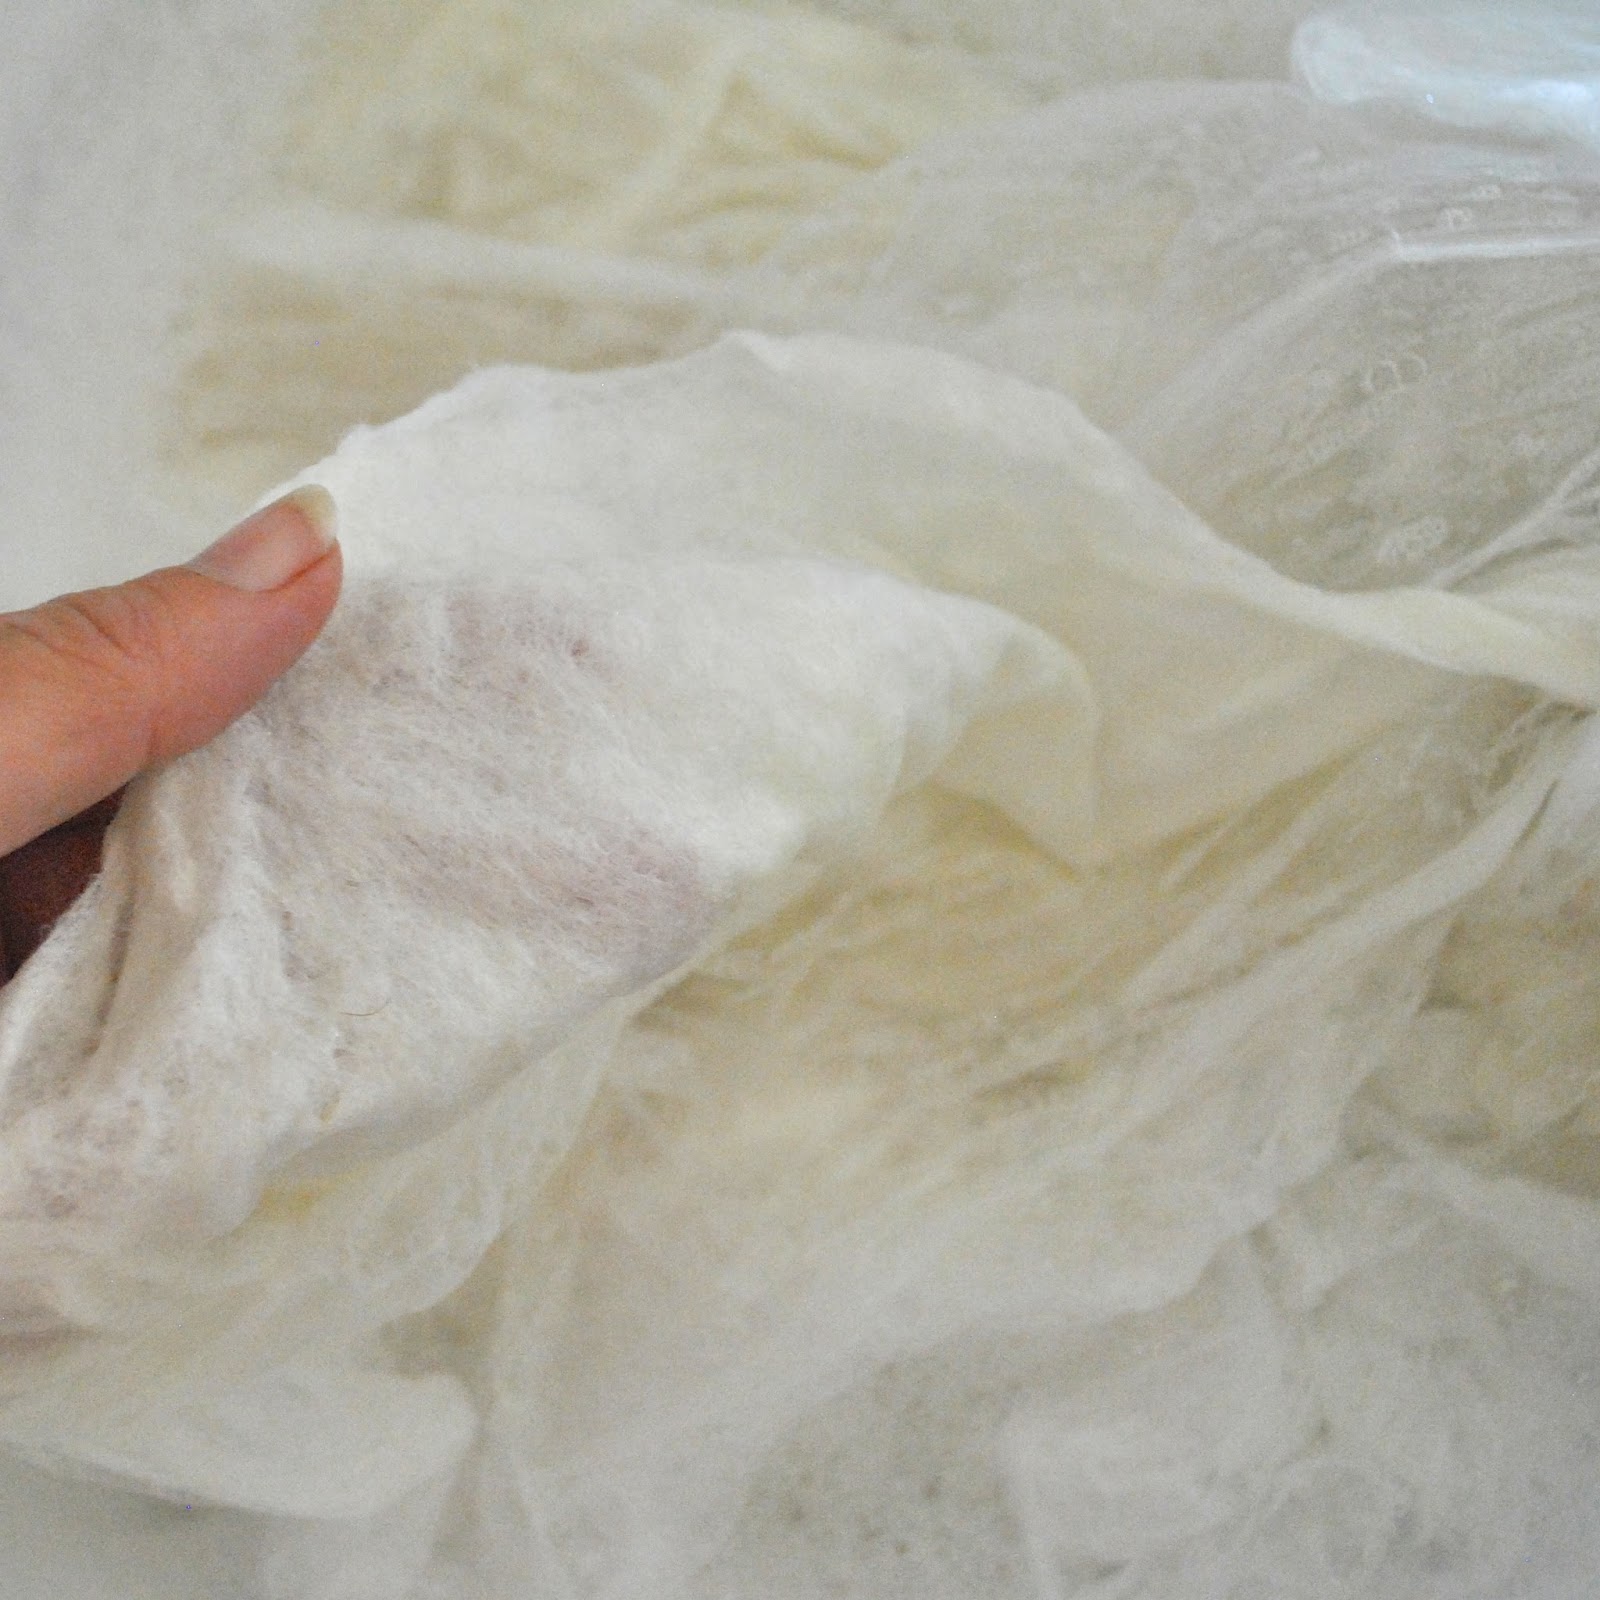
Et voila! felt!
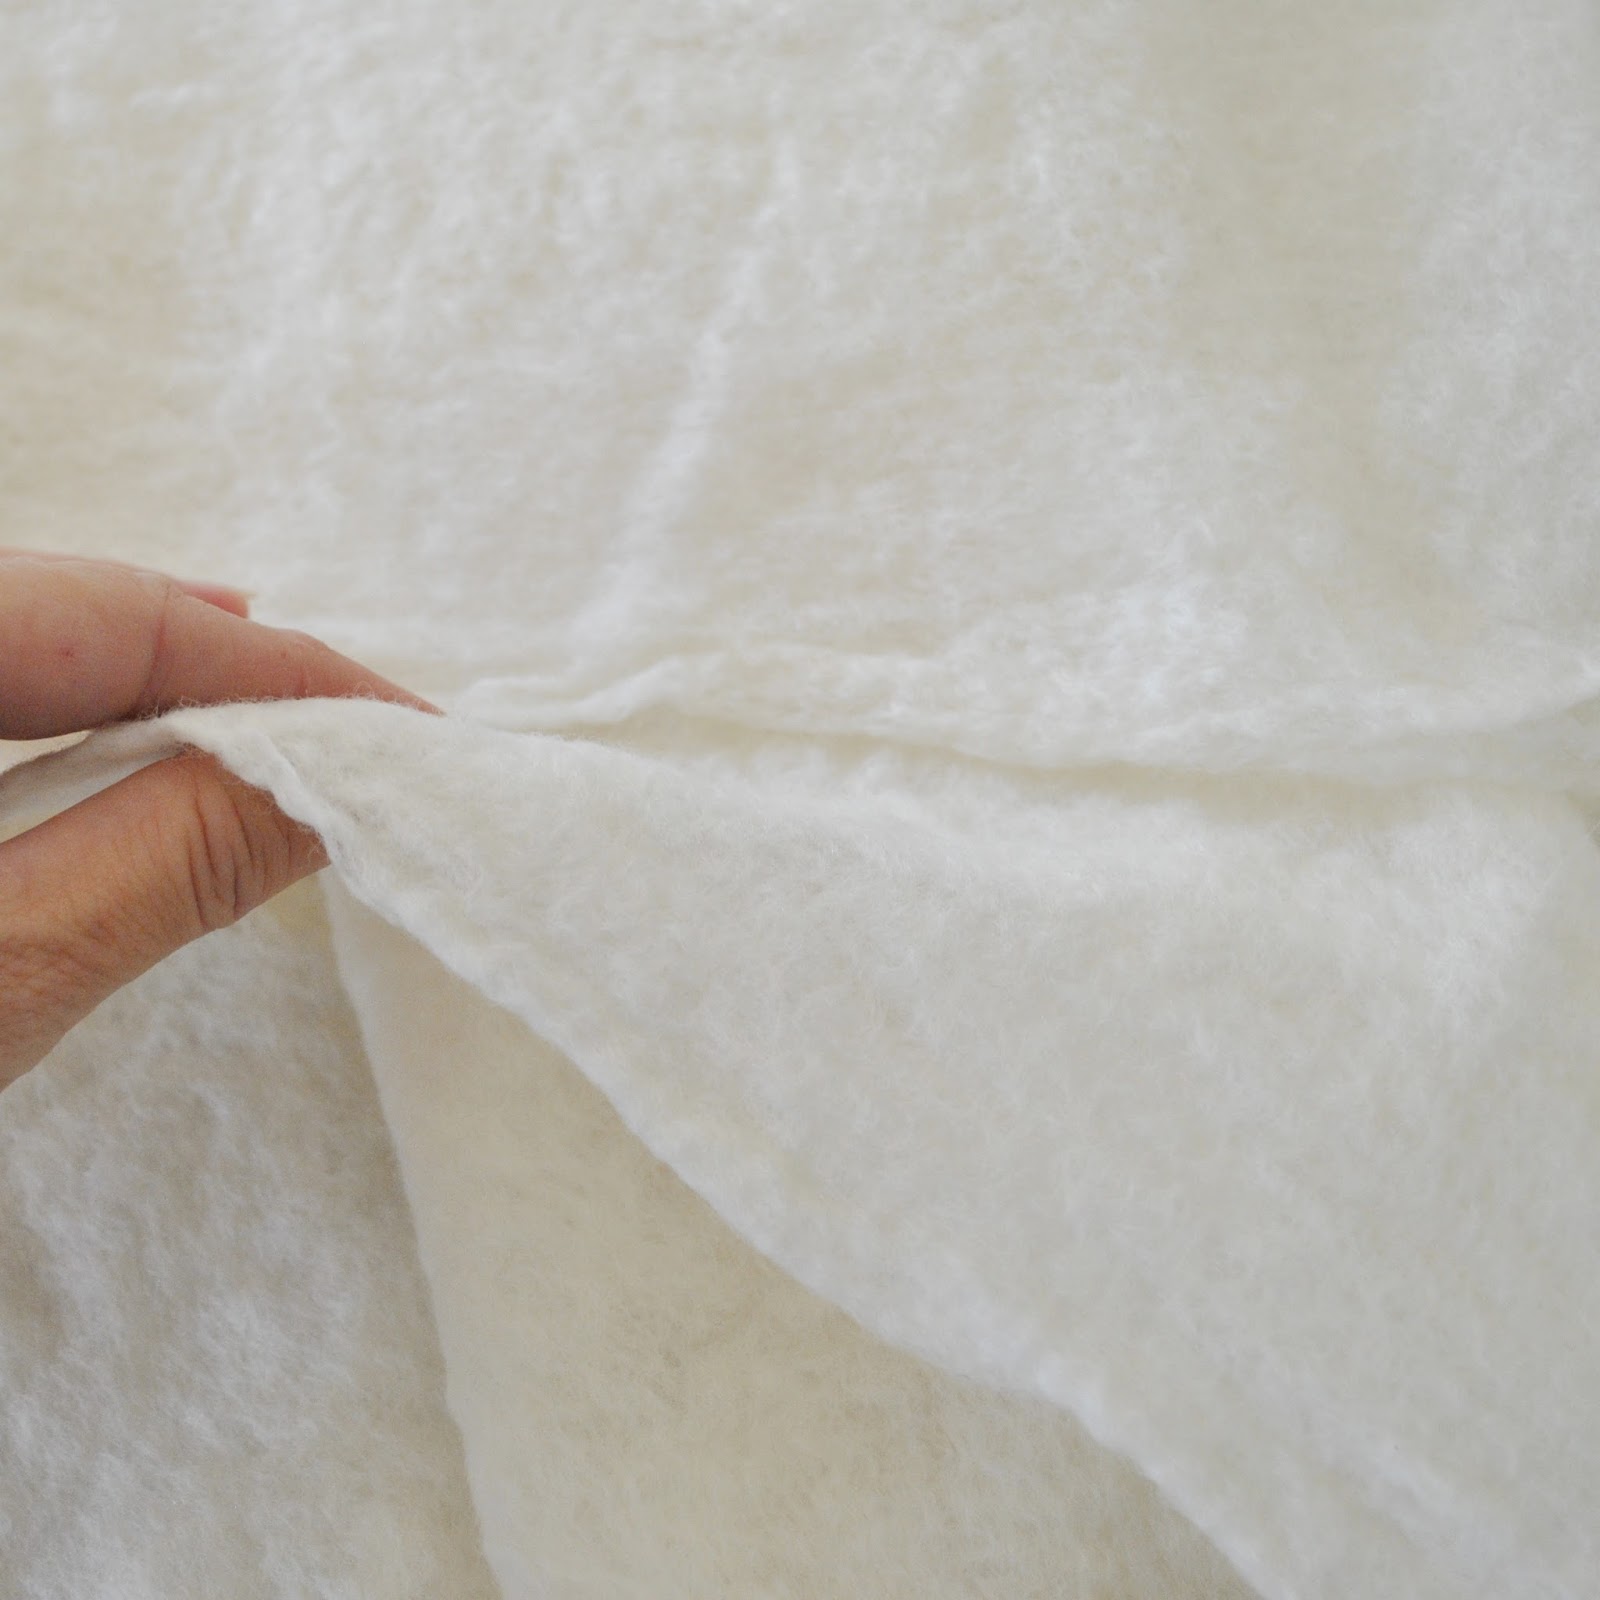
The gridded felt is quite tough, sturdy enough to use on its own; and I plan to add extra strength to my plain cream pieces by adding some wool embroidery of some sort, which I am in the process of designing right now.
The most difficult part of all will be to cut into this precious stuff… eeep! must not ruin..!


I too had wondered what to do without the option of a chiffon backing. Your yarn reinforcement looks beautiful, as well as functional!
I'm looking forward to hearing how the felt performs. I'd been wondering about a pair of felt trousers for myself, but wonder if it would be too thick/wouldn't be hard wearing…
cheliamoose; if you made your felt on a silk chiffon backing then it could be strong enough to stand up to the demands of trousers; however without the silk chiffon backing then I doubt it would be hard-wearing enough; it's not a super tough fabric. Also it has zero stretch or recovery, so I think it would be ok as a loose skirt or dress, or a top. I'd be interested to hear how it goes if you do try it out though, please keep us posted 🙂
I am soon looking forward what you are making from this fabric! It was really interesting to read how you made it!
This would make a fabulous coat http://themakersatelier.com/patterns/unlined-raw-edged-coat
Beautifully made fabrics! Thanks for sharing the process and what a great idea to use spun wool for reinforcement. And it looks so beauftiful and delicate, too. It IS quite hard to cut into these handmade felt pieces… I experienced this myself when I was figuring out what to to with three handfelt pieces (blogged here: http://pomme-et-asperge.blogspot.de/2015/02/filzweste.html, however, in German only… the original plan was to make a skirt, but I finally made a vest which I love). Good luck with your fabrics and I am really curious to see what you will make with them. I am sure it will be beautiful as usual!
Labor of love!!
Thank you for the great tutorial Carolyn. Your felt came out wonderfully thin and almost gauzy. It's amazing. I've seen some fleeces in the process of being felted before but never with the outcome of something this soft (looks soft at least). Beautiful! I'm wondering what garment it's going to be. A chic winter dress or light coat maybe?
Wow is all I can add, this is wonderful Carolyn!
thank you Dilliander! 🙂
I look forward to seeing what you come up with!
The technique you used differs from mine and possibly is easier with part of the felting being done in the bucket of water. You certainly ended up with beautiful and even felt. I guess there is no correct way to do felting. It's a lot of fun learning and experimenting. I might try your method next time!
Yes, there's not just one way to do it; as those of us who have inadvertently felted a cardigan in the wash will know!
And I was already in awe of your hardcore handmade when you made the shoes–making your own fabric just takes the cake! It sounds like a fascinating process, and since I'm wool free by necessity, I will happily vicariously enjoy it through your posts. I'll be very interested to see what you turn it into!
What a wonderful post! So interesting to read about the step-by-step process and how you made that lovely gridded piece. Look forward to reading about your next step! 🙂
This is so fascinating! I can't wait to see what you do with it.
Your posts never fail to educate, inspire and just plain wow me. I cannot thank you enough for taking the time to share via your blog. Amazing. You rock, Carolyn!
thank you so much Nurse Bennet! Your kind words made my day! 🙂
Just how many hours in a day do you get in Australia? Are you in a different time warp to the rest of us? Needless to say, full of admiration. I have made felt [small pieces] and spun and knitted my own wool for a cardi, but you beat us all in 'hand made' league. Now that is just one more thing to add to my ever growing list of want to's – how many more? Just keep 'em coming I love it.
thank you Maureen! 🙂
Very interesting process. Can't wait to see what you end up making with this.
This is a great post! Thank you for sharing this process, you are so talented, Carolyn 🙂 Can not wait to see what you do with it.
Interesting process & the felt looks lovely. Can't wait to see what happens next!
You are so creative! I look forward to seeing what you make with this felt.
A craft group I attend has quite a few felt-obsessed members and I've found myself felting bits of coloured wool like you did the white. Can't say I enjoy this as it seems to take forever and I never know quite what to do with the resulting bits of 'fabric'. The other ladies mostly use theirs to make felted pictures – and some are really amazingly good – or book covers, etc. I can't get past my very narrow minded view that the highest purpose of wool is to keep people warm (if it's not going to be left on to keep the sheep warm). All the other artsy stuff seems a bit silly – which REALLY makes me a Philistine… Look forward to what you come up with to use this for.
I love this post! I have a fleece from a darling local sheep that I was thinking of using for spinning, but your post has inspired me to give felting a try instead!
How amazing! I'd love to try this, but I'll wait until I have a good quiet day to focus on it. I can't wait to see what you make x
That's so cool! Your felt at the end looks amazing! 🙂
This is very impressive. Dare I ask how much fleece you used and what kind of meterage you got out of it?
Pingback: an all Western Australian dress | Handmade by Carolyn
Pingback: I made matching shoes and bag - Handmade by Carolyn
Pingback: a bit of re-colouration - Handmade by Carolyn