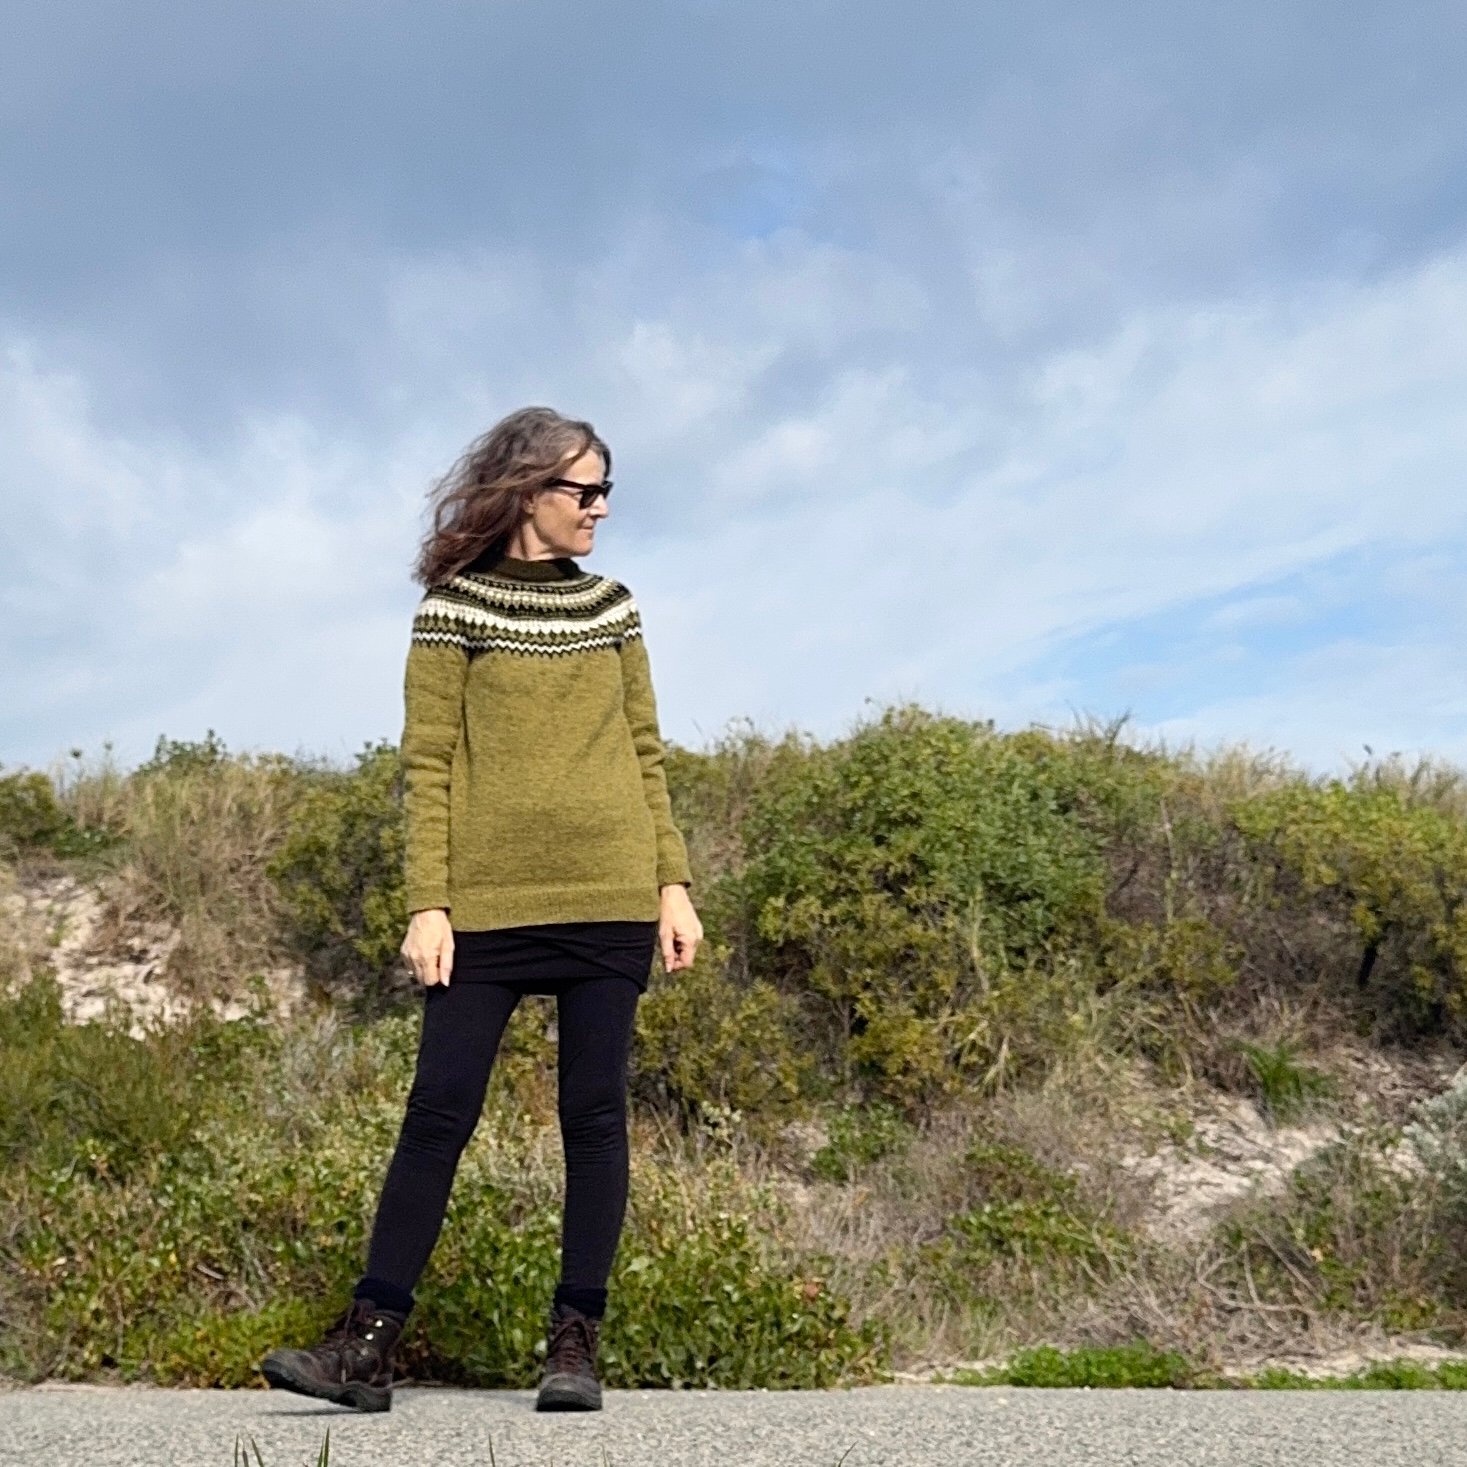

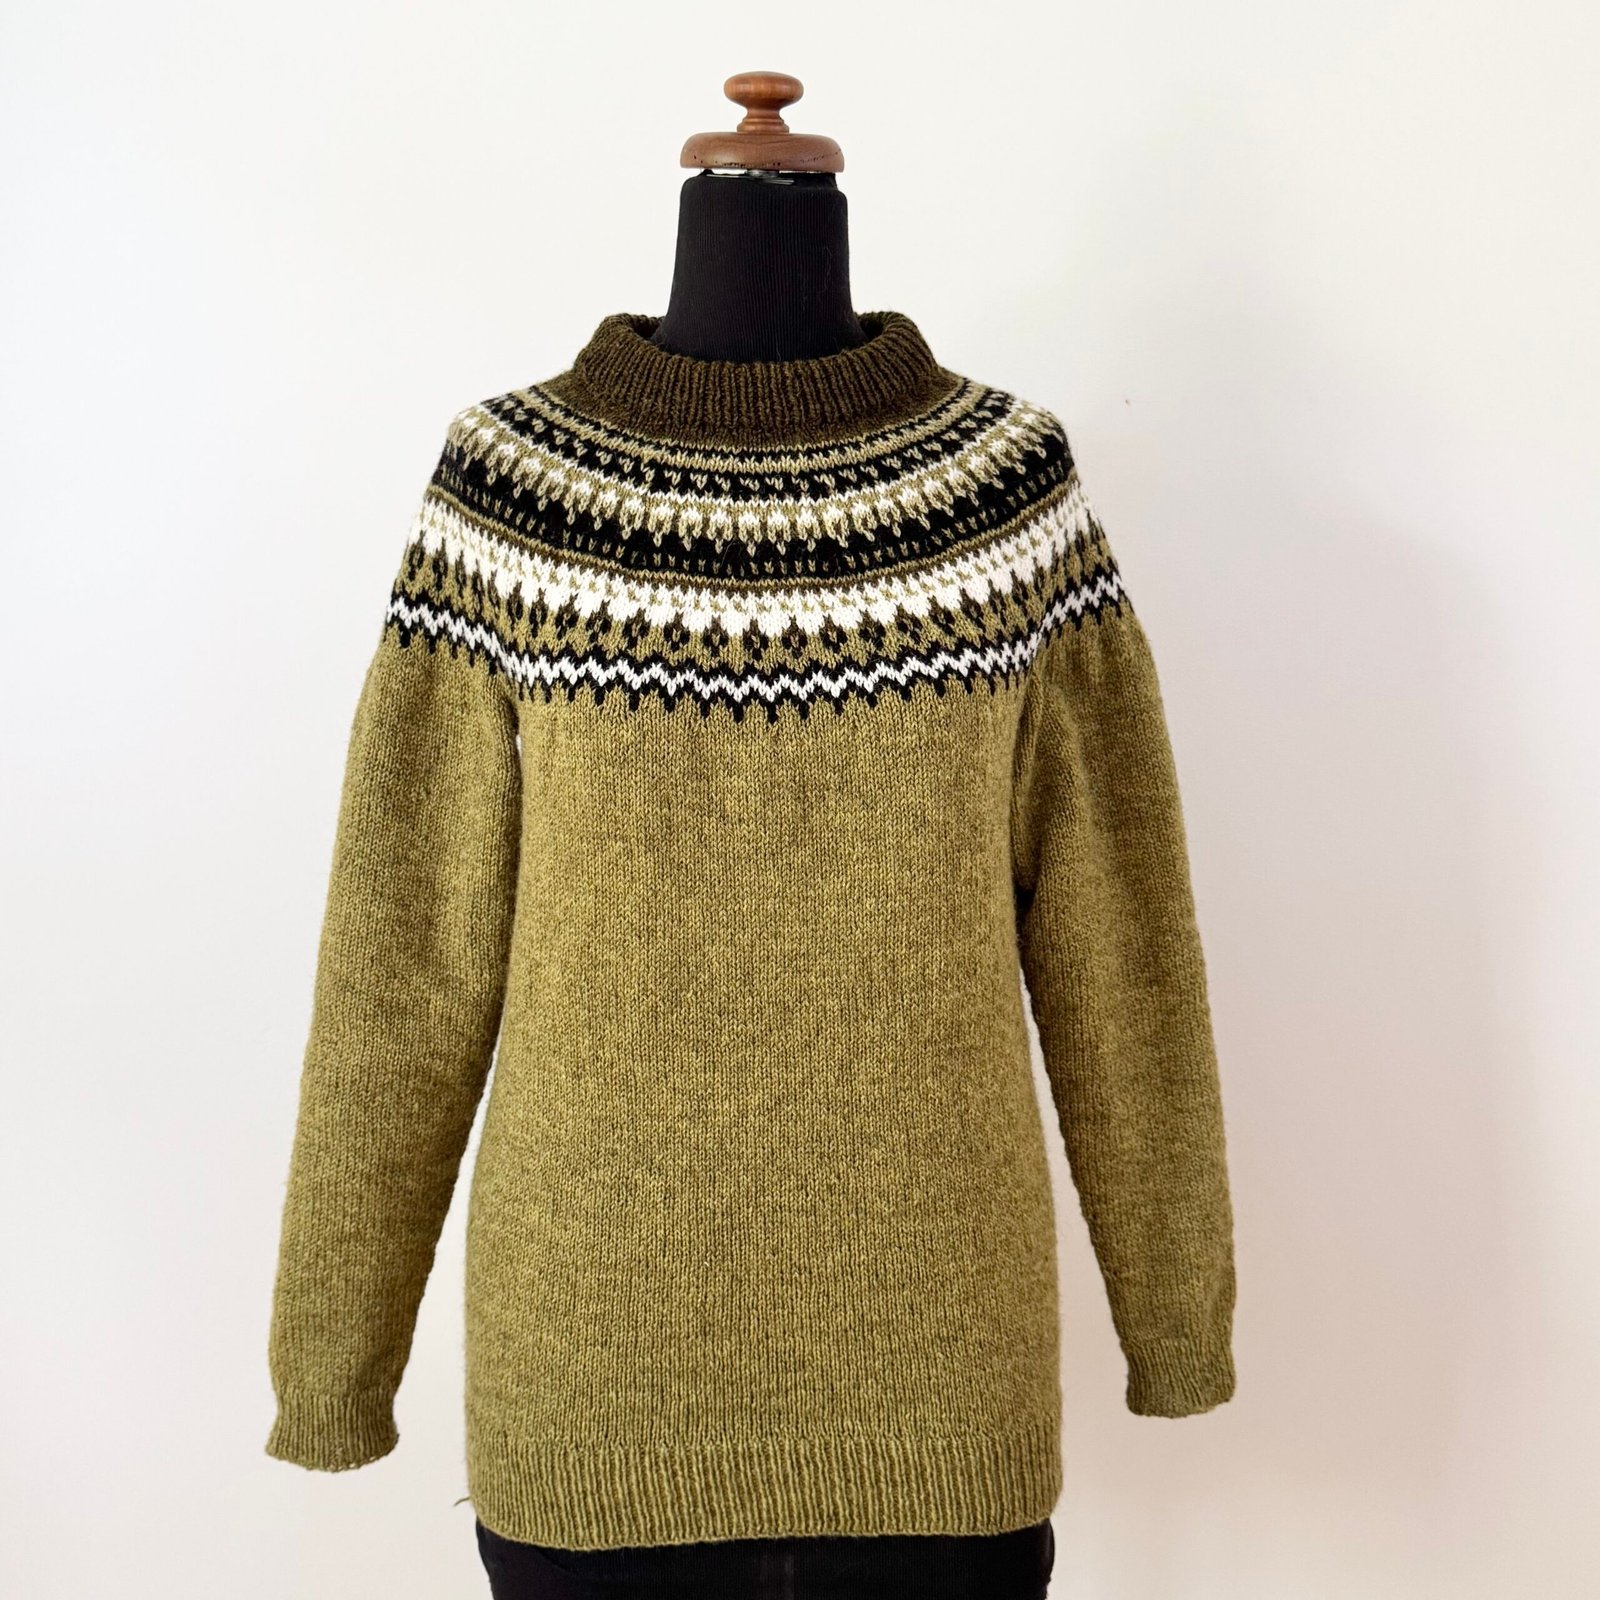
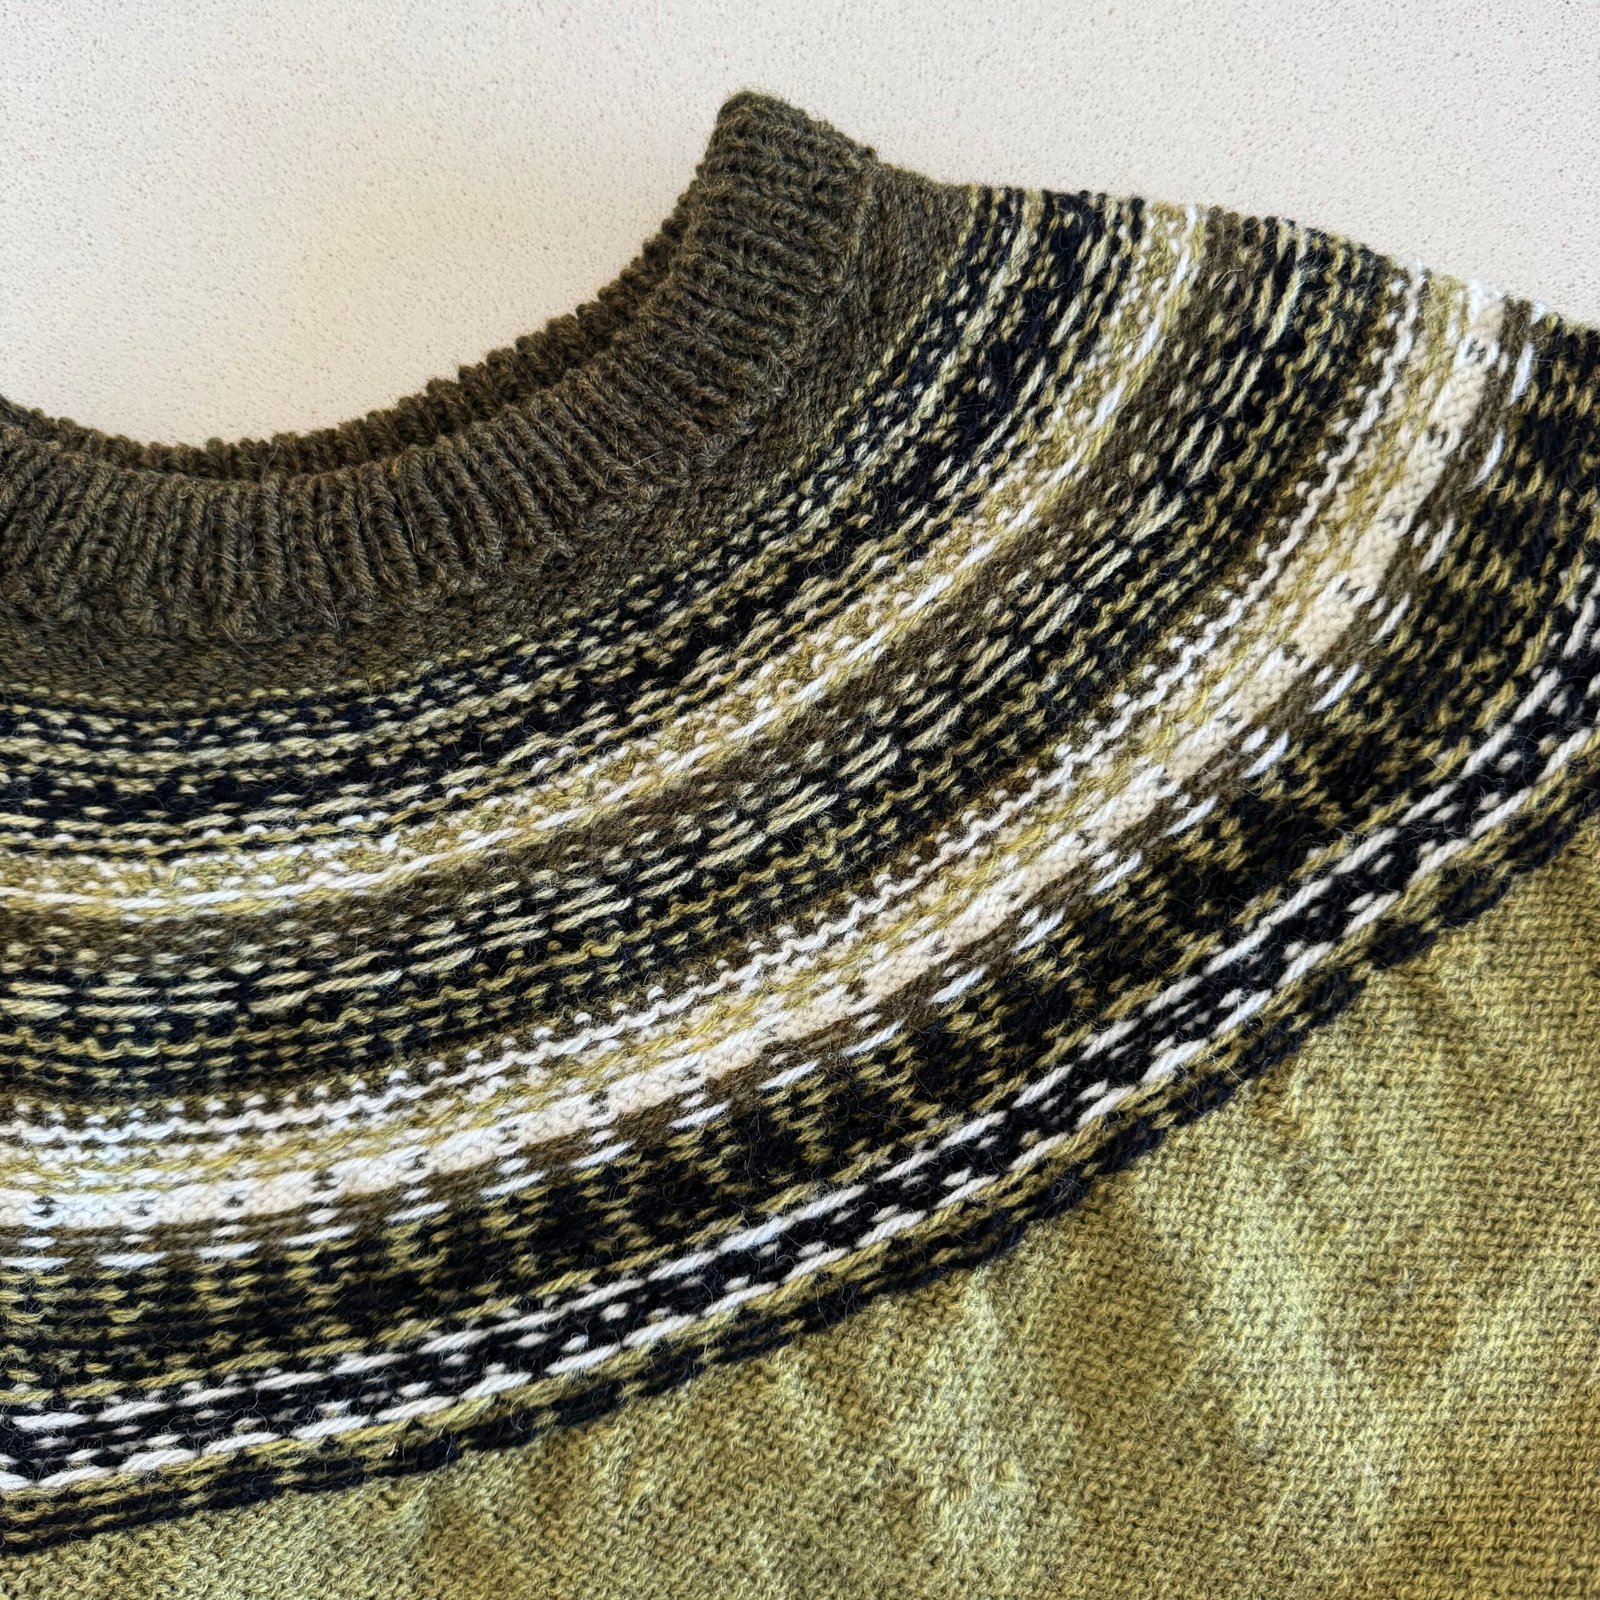
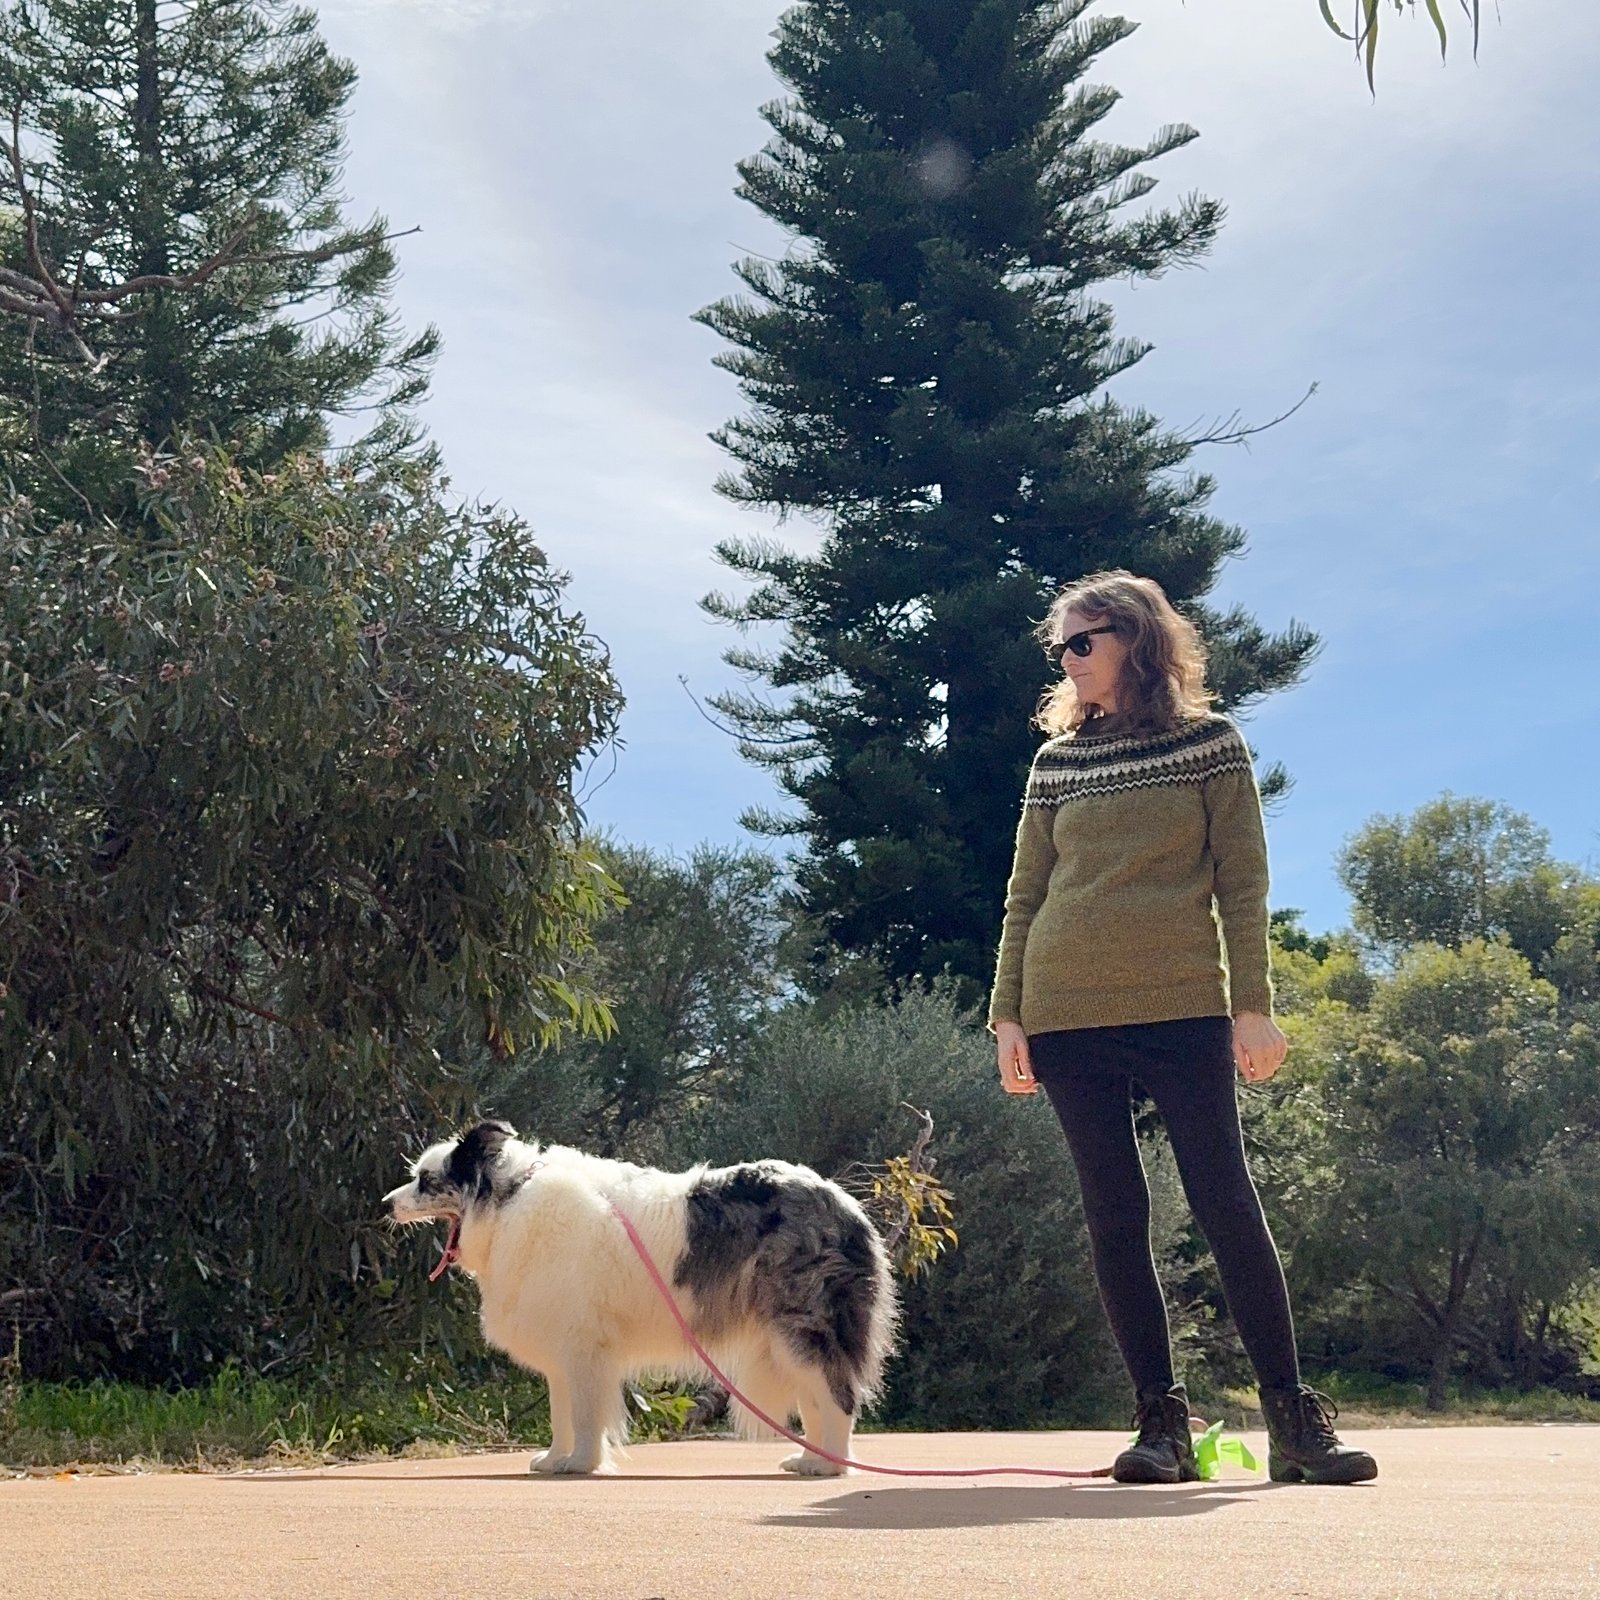
Hello! I’ve been making new things, including this new jumper that I knitting using wool bought during our holiday in Norway last year… I posted about the wool purchase during my travel wardrobe post here, and finished it about four months ago. And finally, I took some pictures!
(I must apologise… it’s been a really long time since I wrote anything here. A series of separate and unrelated things have happened in mine and my family’s lives, mostly not good. It’s not worth going into all the details because none of them are things I want to dwell on. However I have actually managed to make a few things since I last blogged, and I’ll try to document them all bit by bit. My camera stopped working last year too, and since cameras are like dinosaurs nowadays I probably won’t replace it but just rely on my phone camera. I hope it’s good enough!)
One very good thing that has happened is this adorable little thing…
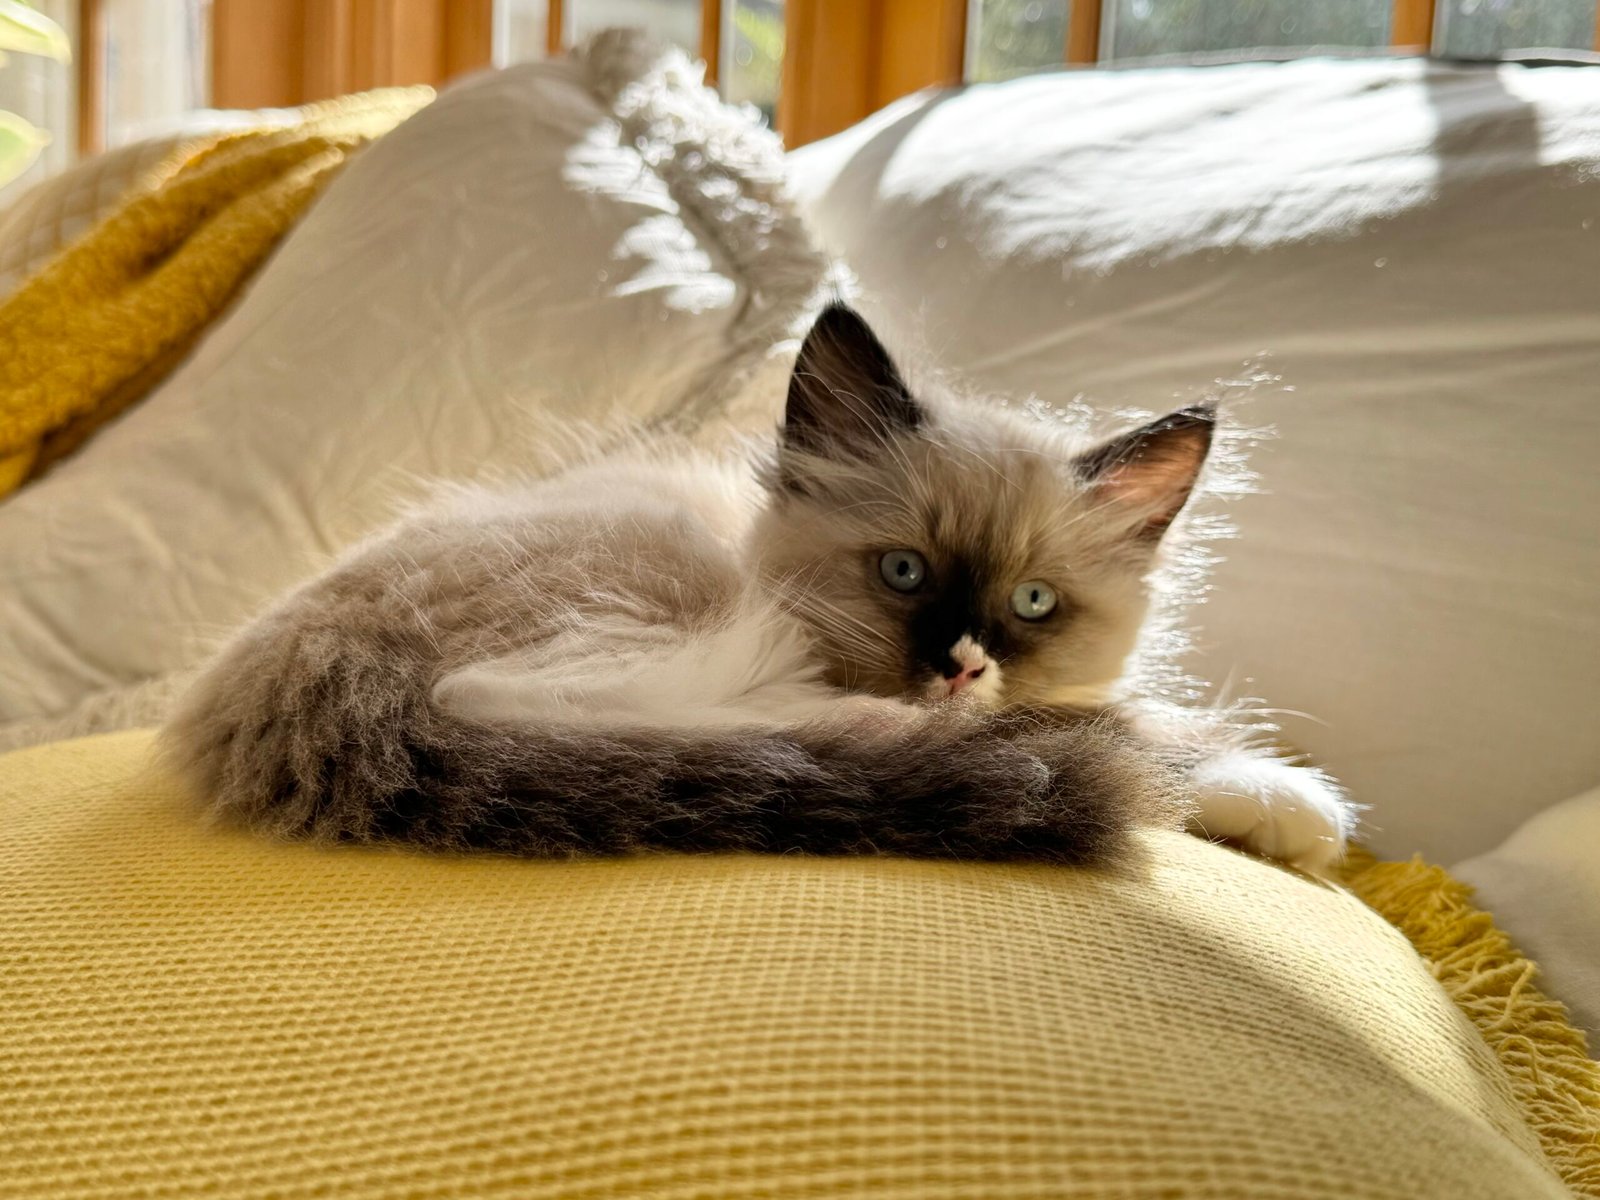
please say hi to Wendy…
Anyway… sewing/knitting updates, let’s go! Last June/July, my husband and I went on a long hiking holiday through Italy and later Norway, and I bought some wool in Oslo with a view to knitting a Norwegian jumper for myself.
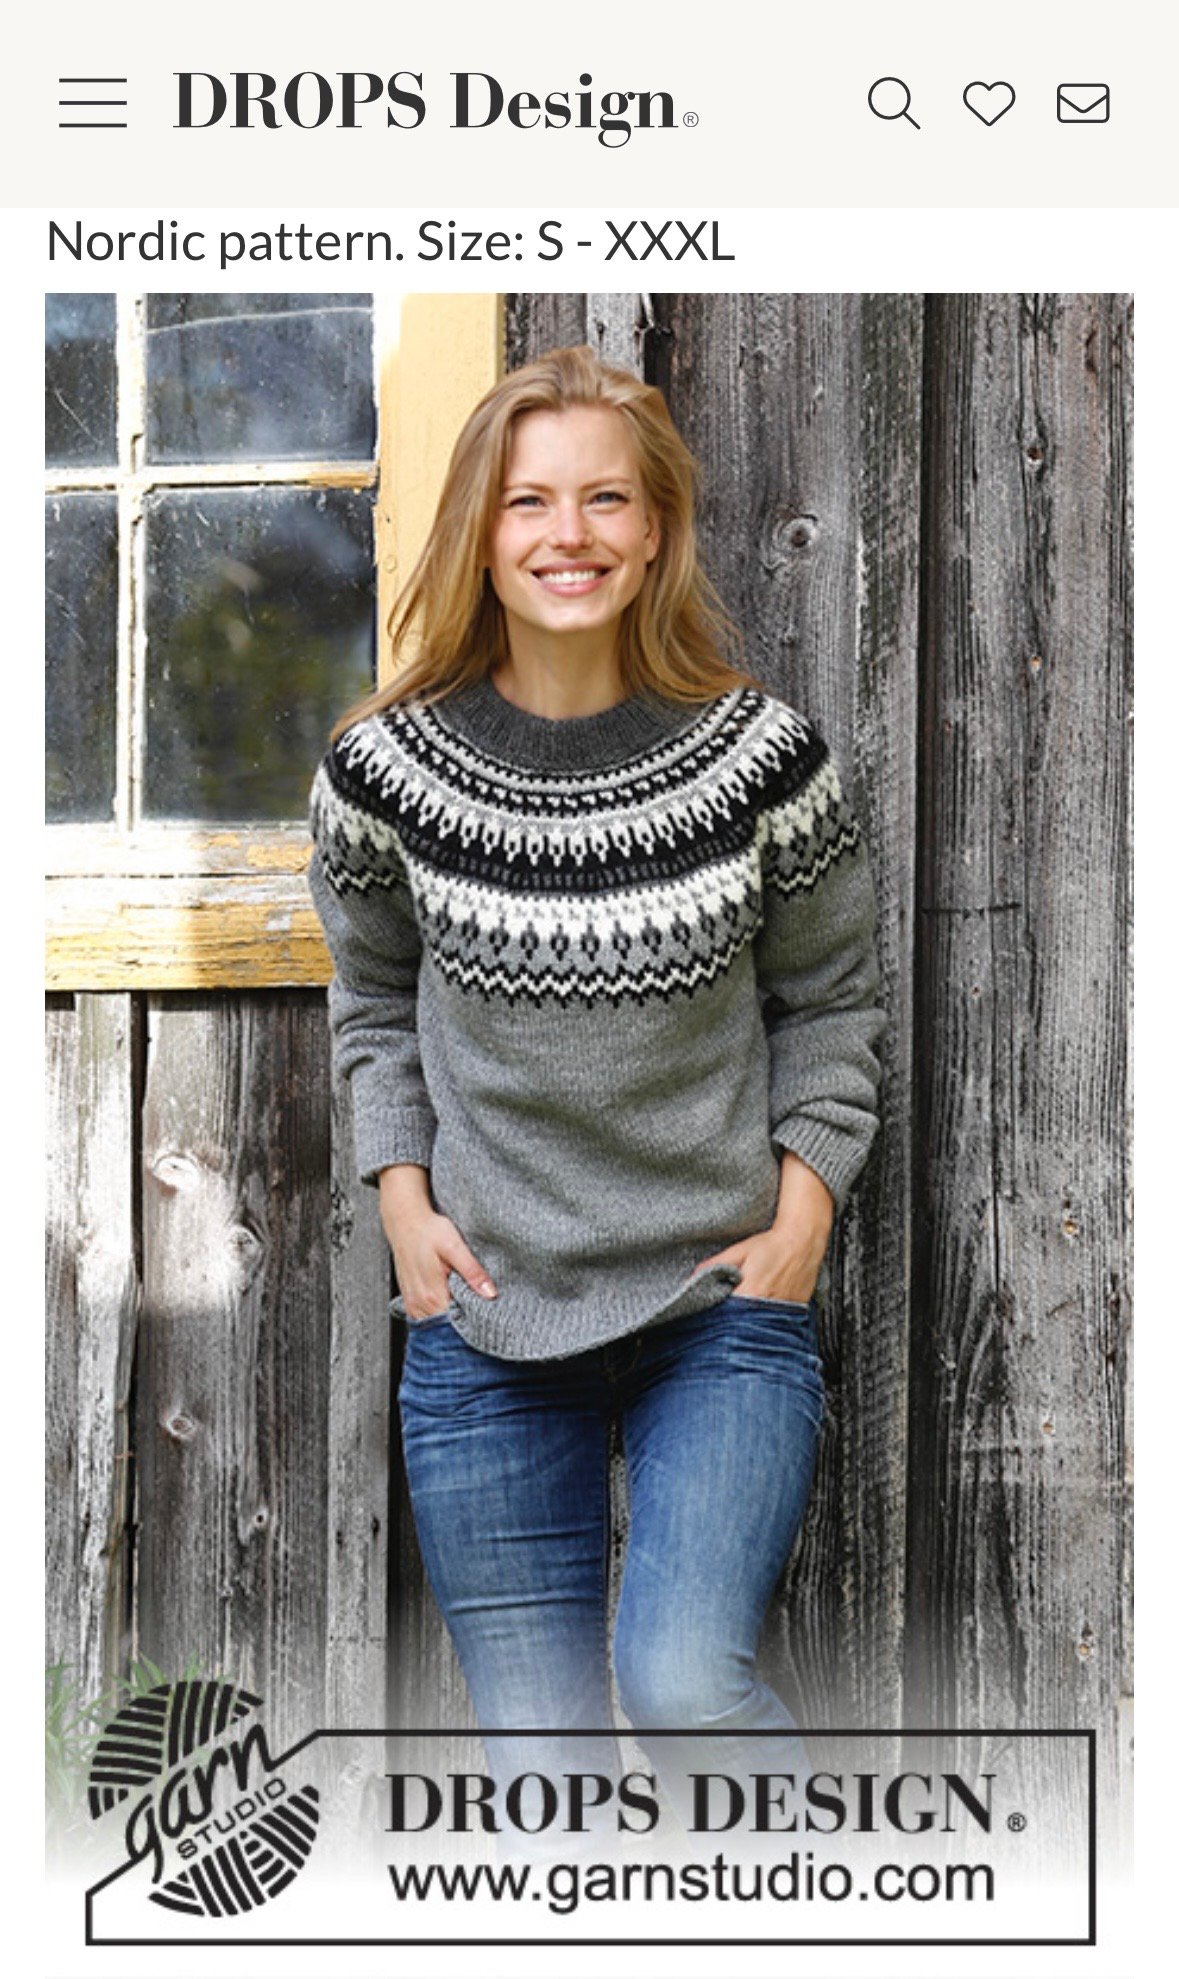
 I’d researched patterns for Norwegian jumpers and chosen this one … Night Shades (Drops 195-19 by Drops Design, a currently free pattern. I also researched yarn stores and visited several of them in Oslo. I found the above yarn in Fru Kvist, and Craig was so patient while I spent hours looking through all the offerings to find what was needed for the pattern! In the end, this particular yarn is actually Danish, Isager by Jensen yarn, but we won’t worry about that… I BOUGHT it in Norway and I’m just calling myself satisfied with that. The colours are 40S (heathered yellow-green) 0 (natural white), 82 (dark yellow green) 29S (light yellow green), 30 (black).
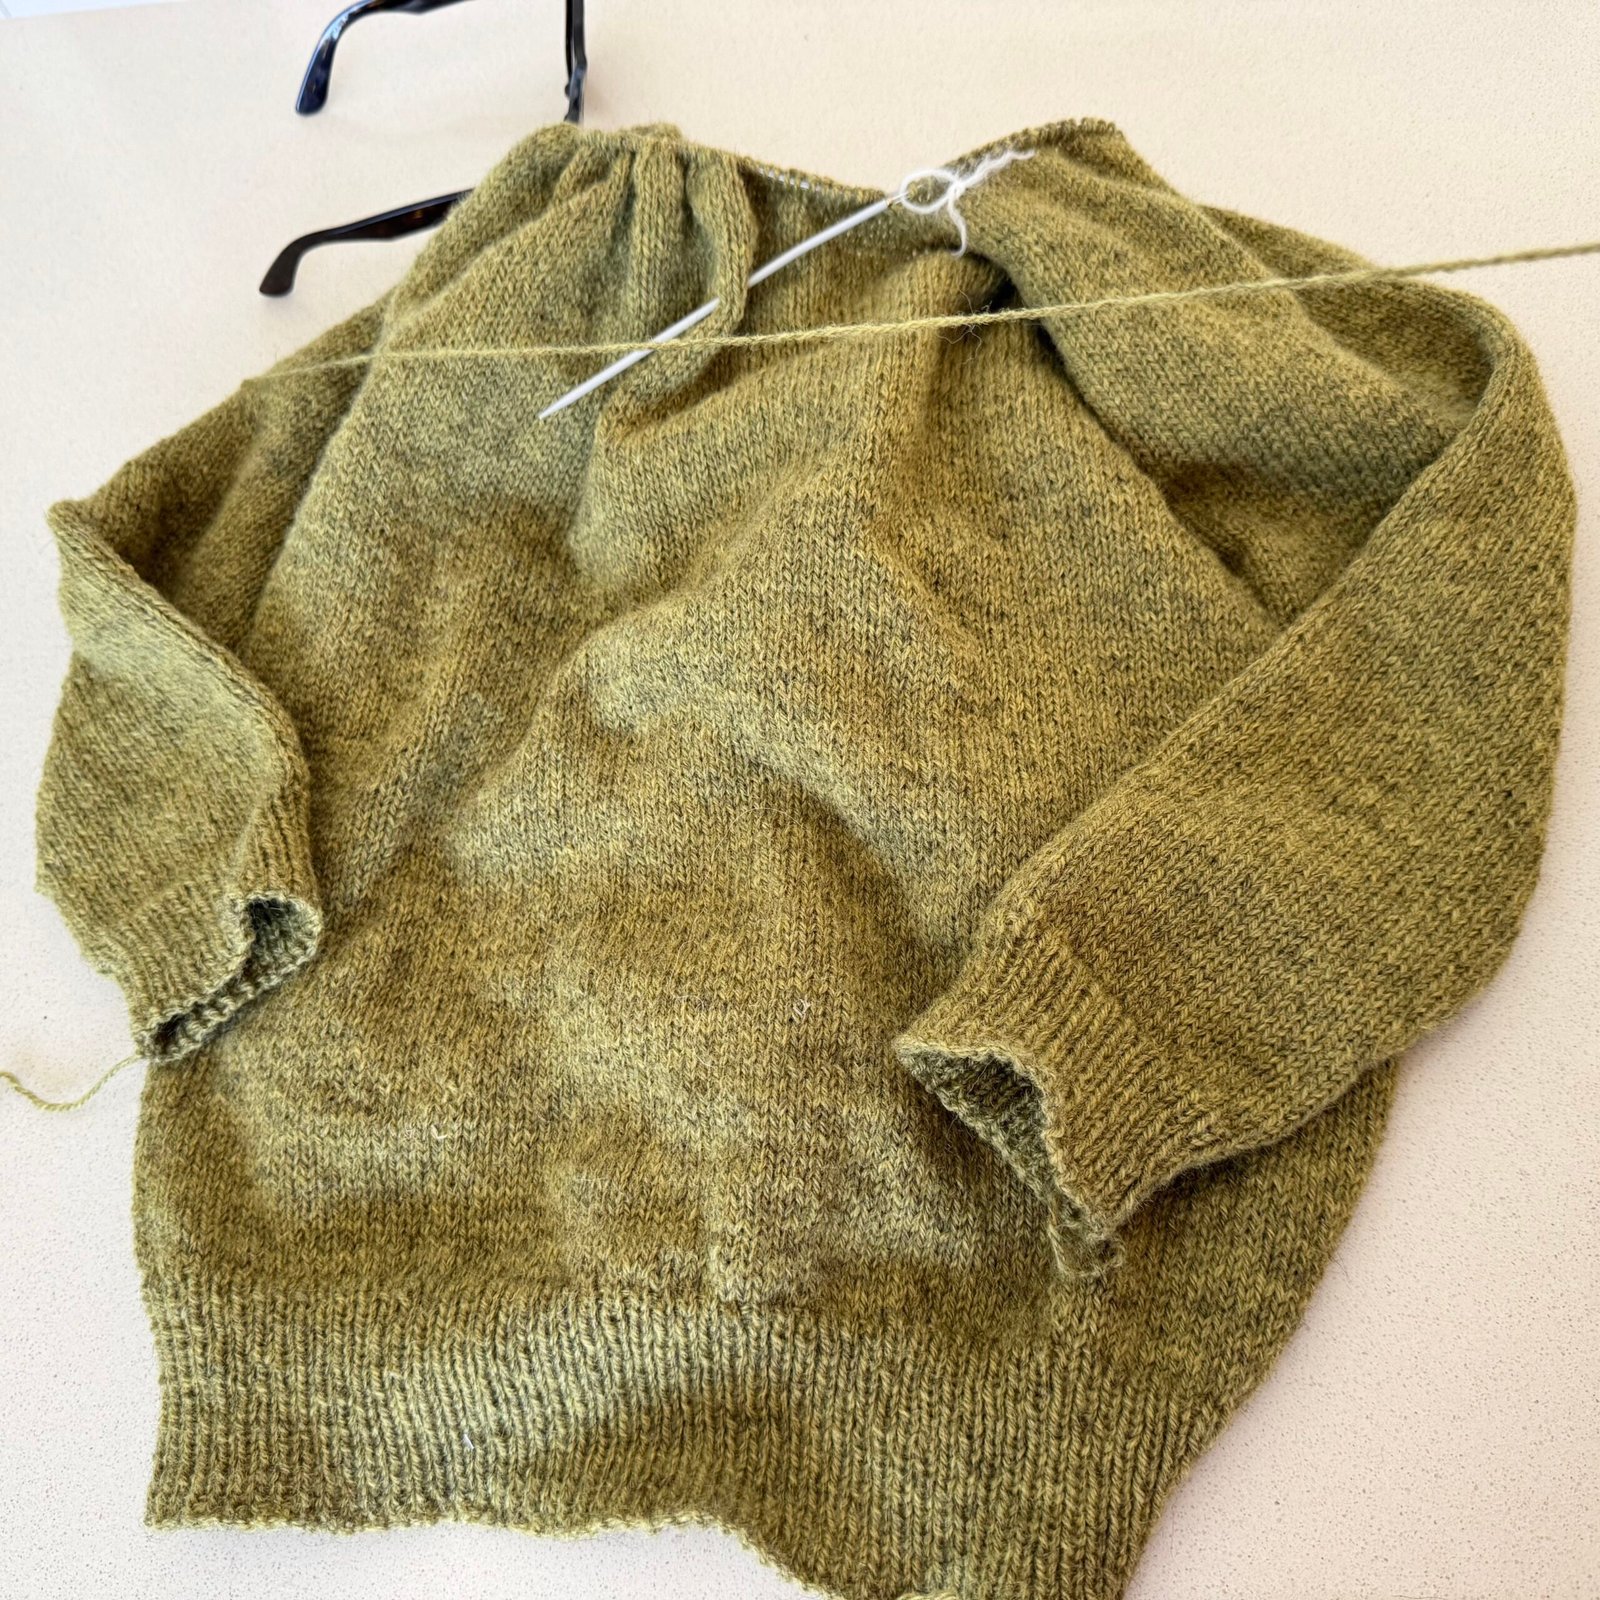
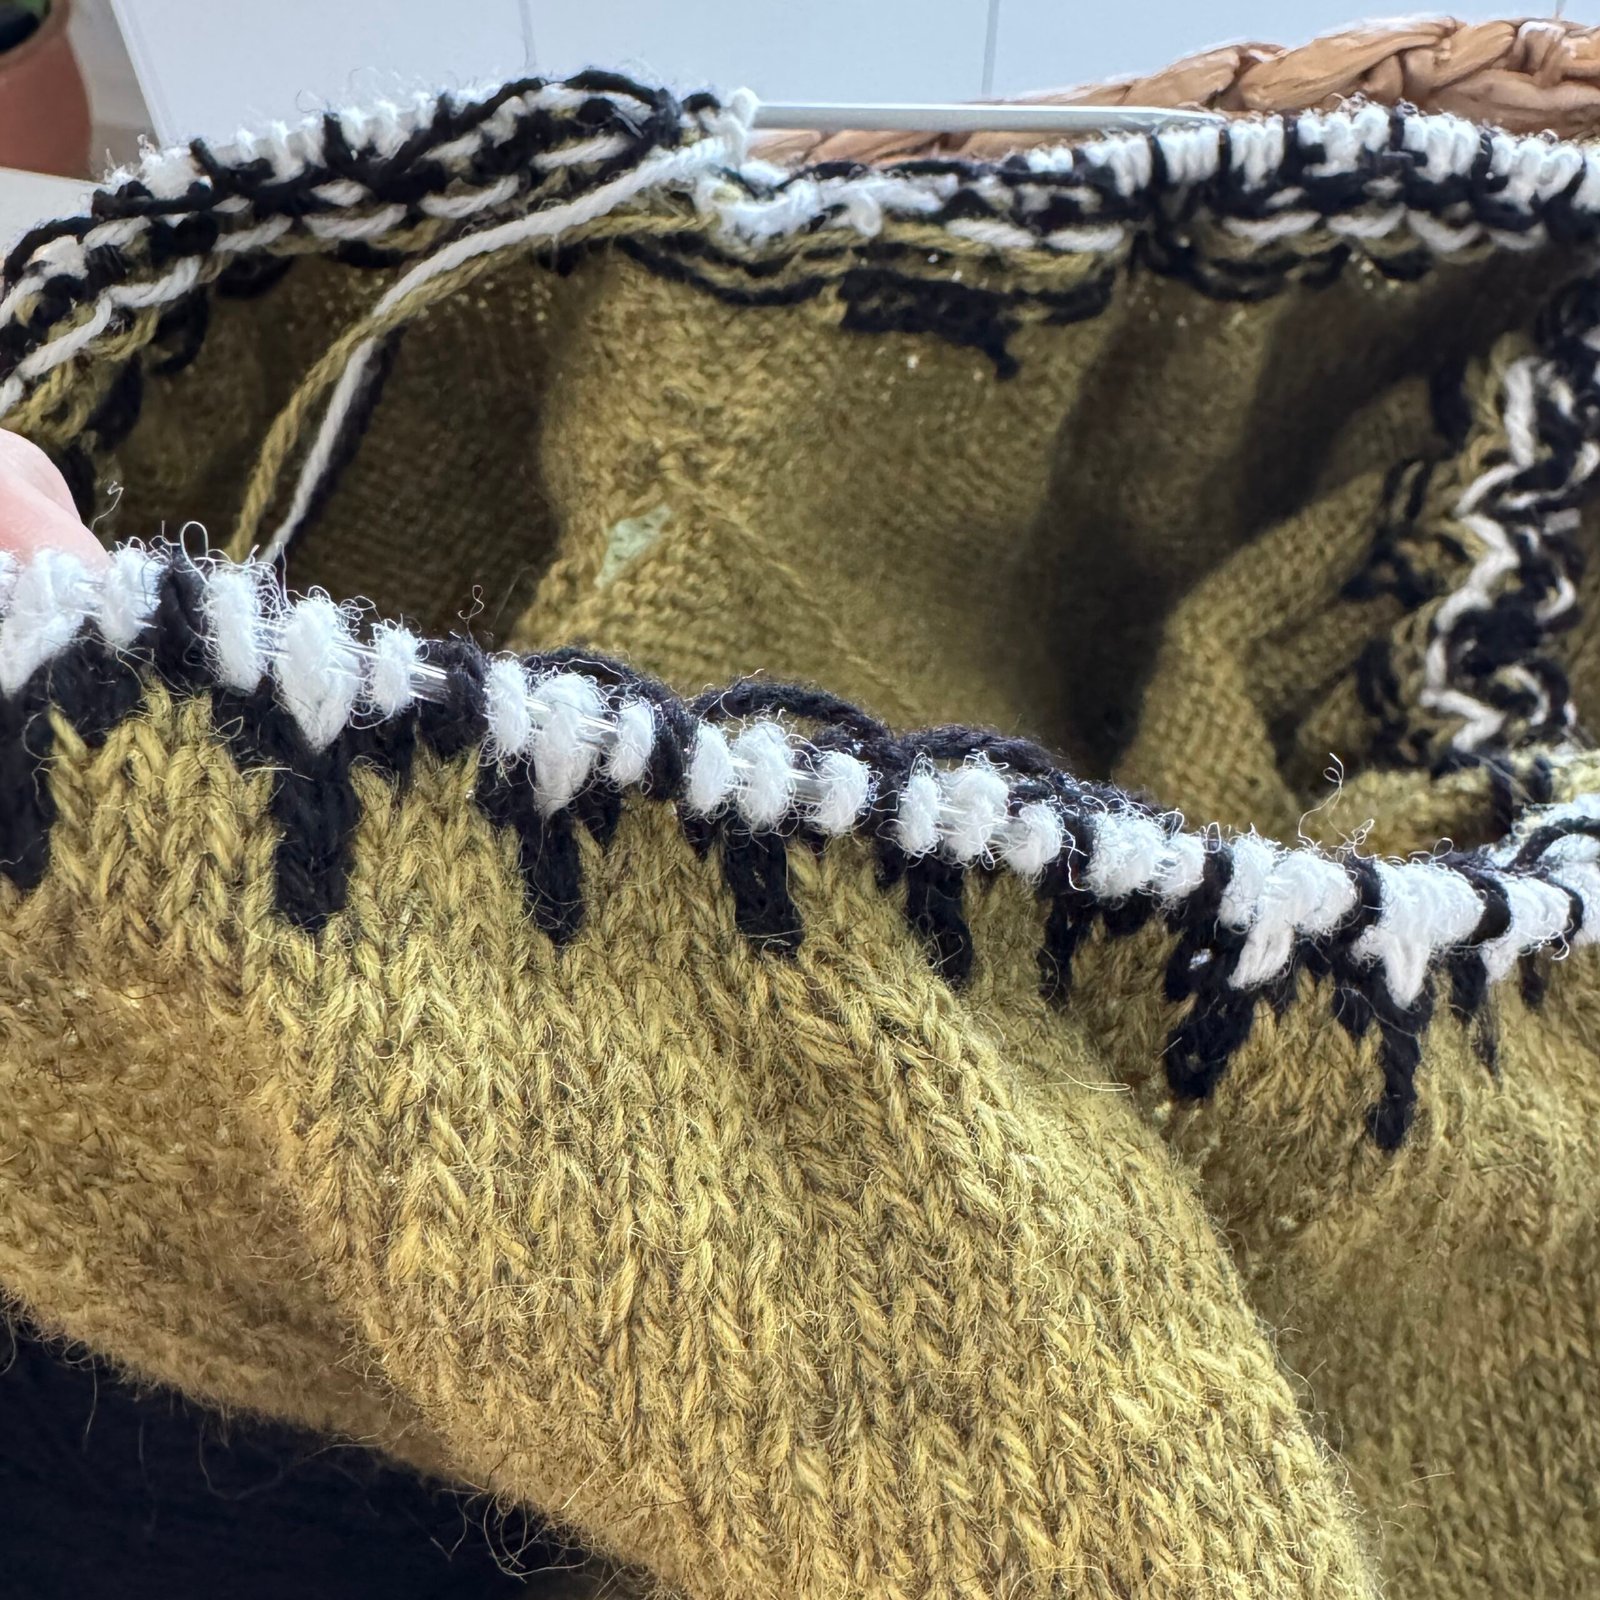
I took precisely two progress photos, whoops… Most of the main colour is one dye-lot, and a smaller ball of another dye-lot made up the required amount. I actually couldn’t tell the difference in colour, although the lady in the yarn store was quite concerned. My solution; I stitched alternate rows in the two colour ways for the torso until I’d used up all the second dye-lot, and then continued in the main dye-lot for the remainder. I know this is a lengthy explanation for something that seems kinda insignificant, but knitters are usually quite strongly opinionated about this sort of thing so I thought it necessary to mention, at least.
I knitted the body and both arms right up to the pattern yoke with some enthusiasm, and then kinda abandoned it for a few months. Silly, because the yoke is the interesting bit! Then my friend started messaging me with progress on baby blankets she was knitting for her expected twin grandchildren… and it inspired me to pick up my own knitting project again too. Of course the yoke was easy and fun to knit and I finished it pretty quickly after that!
The pattern is good, but I had to alter the body part a bit. Mine is considerably longer in the torso and arms. The yoke is pretty identical though. The front and the back at the neckline have short rows to make the back a higher fit, which I really like.
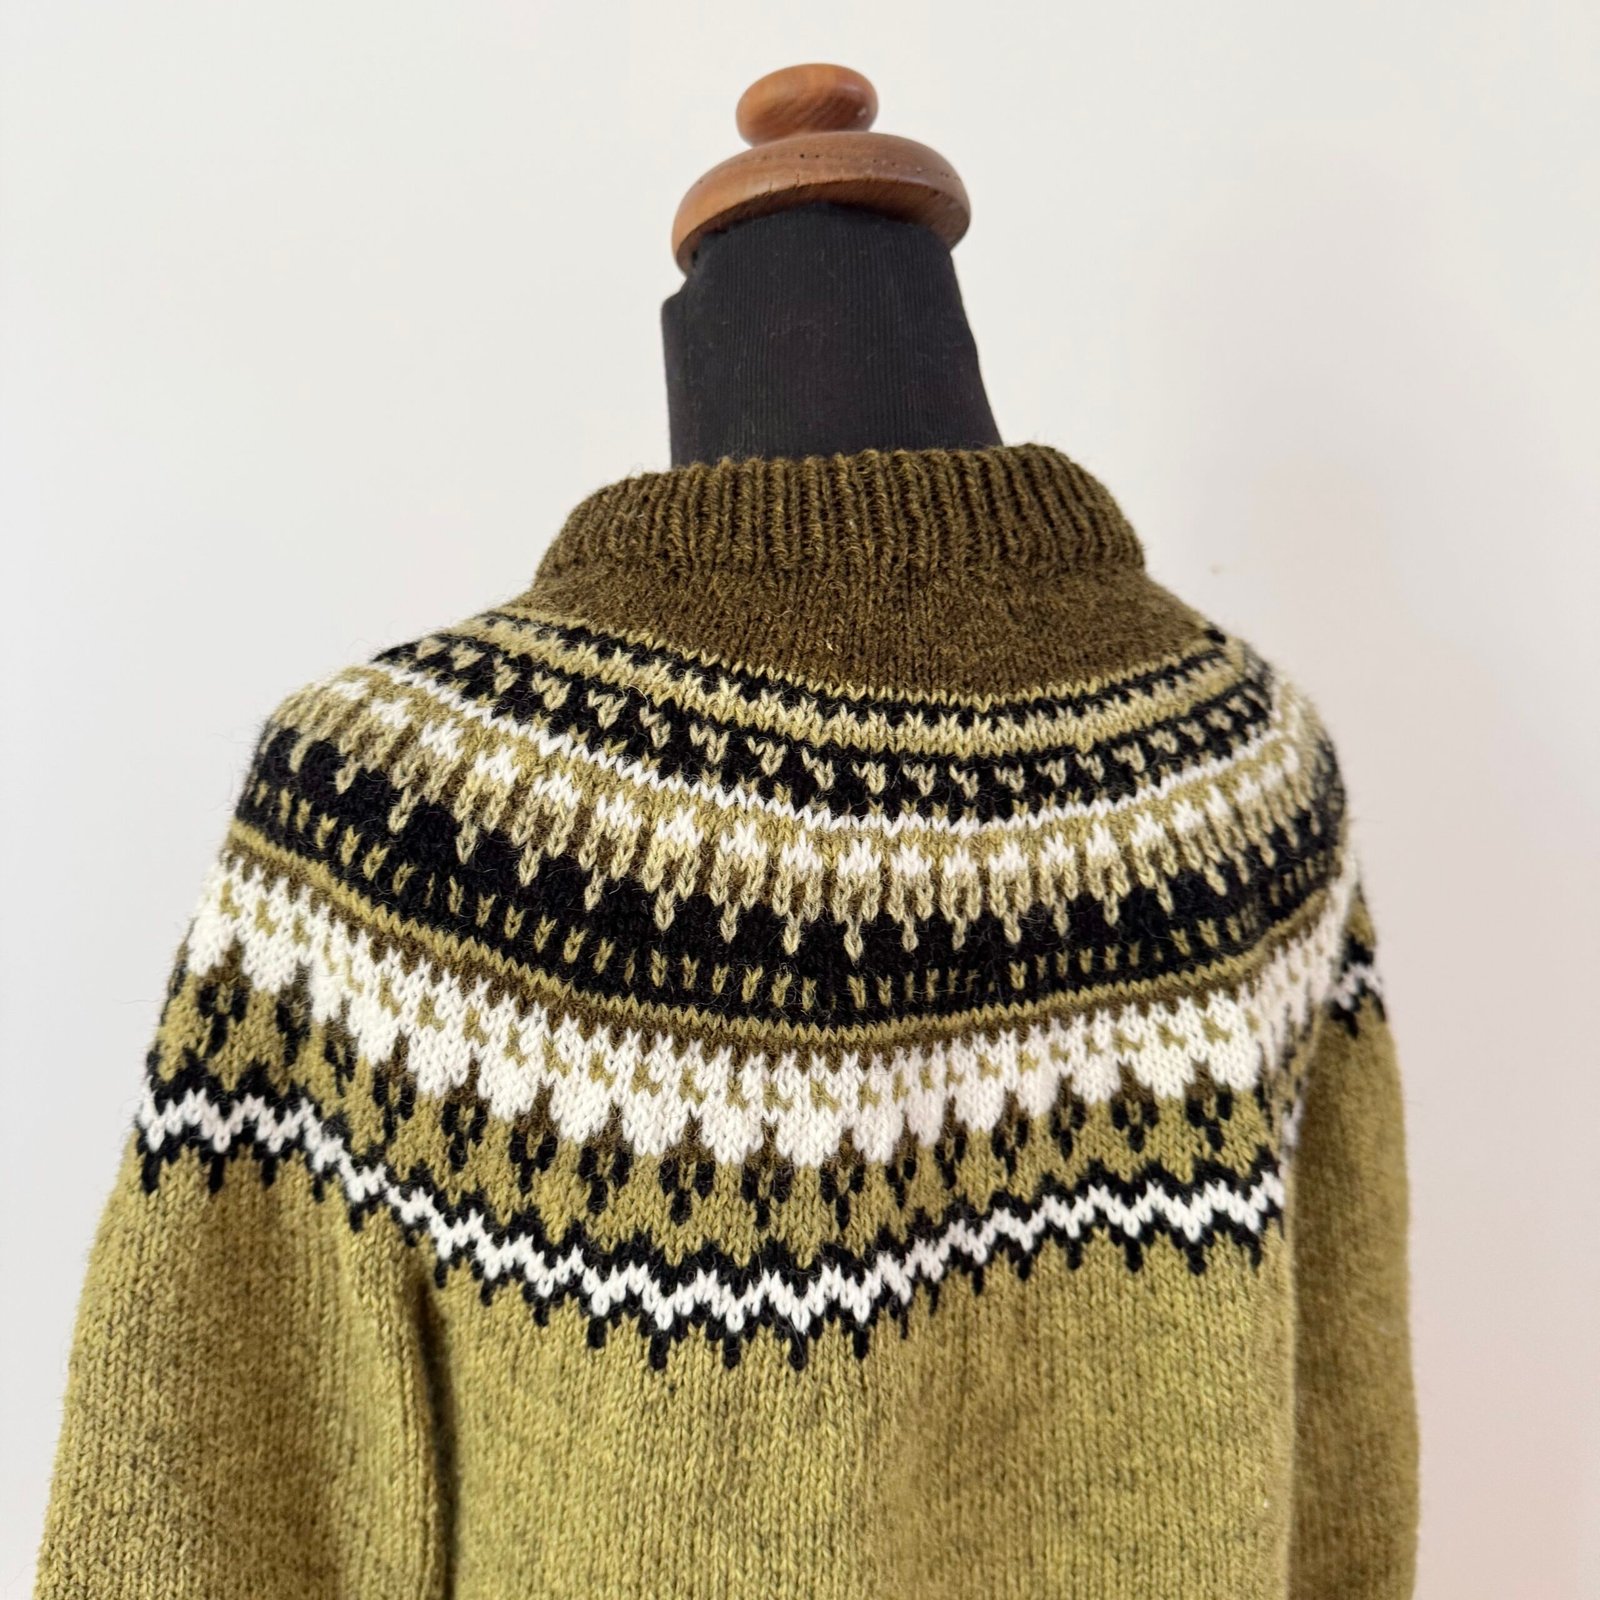
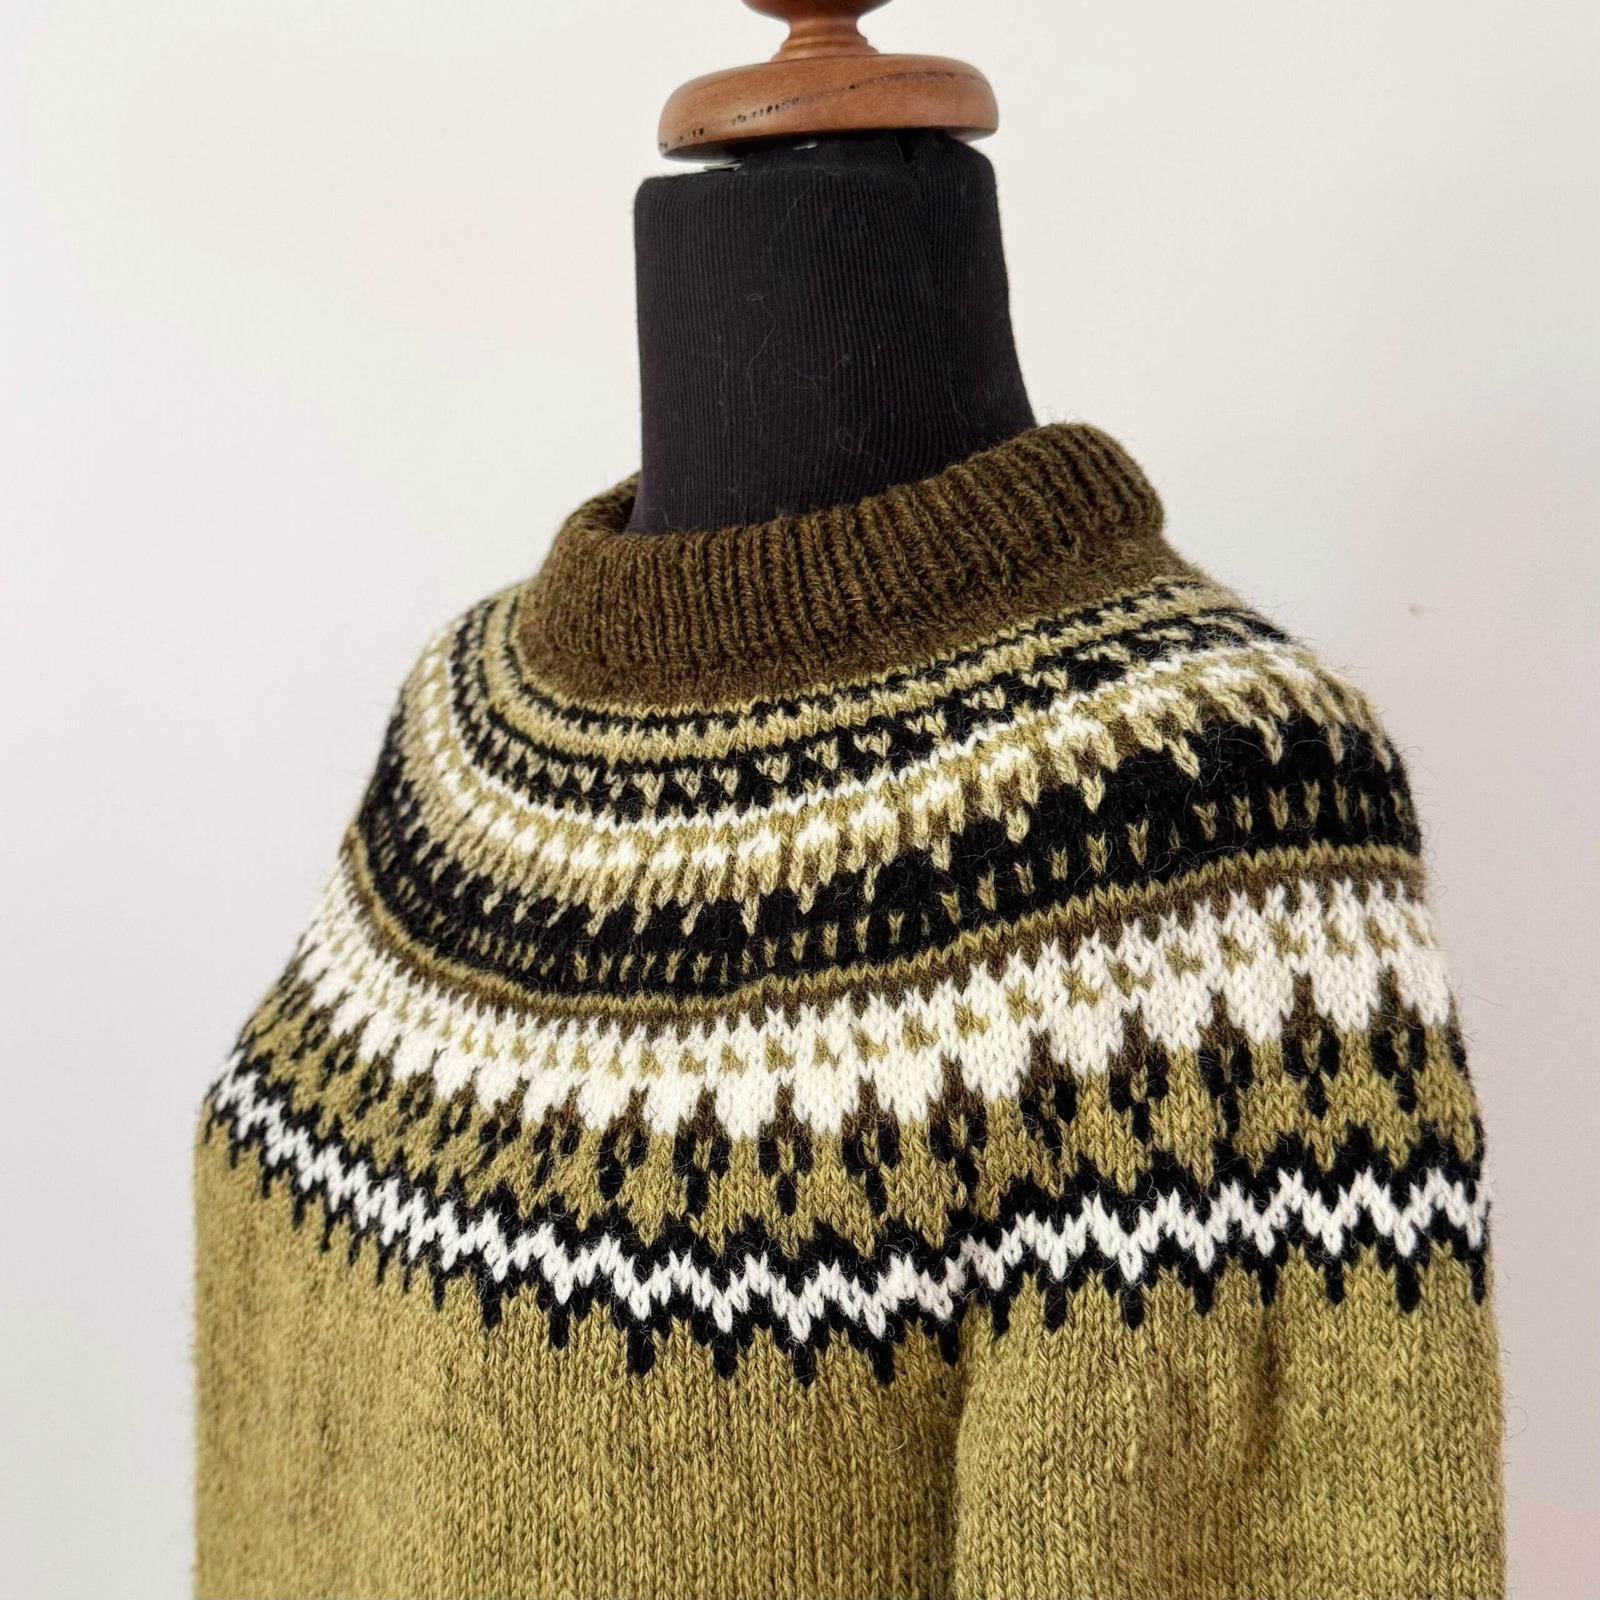 Pictures of the wrong side… just because
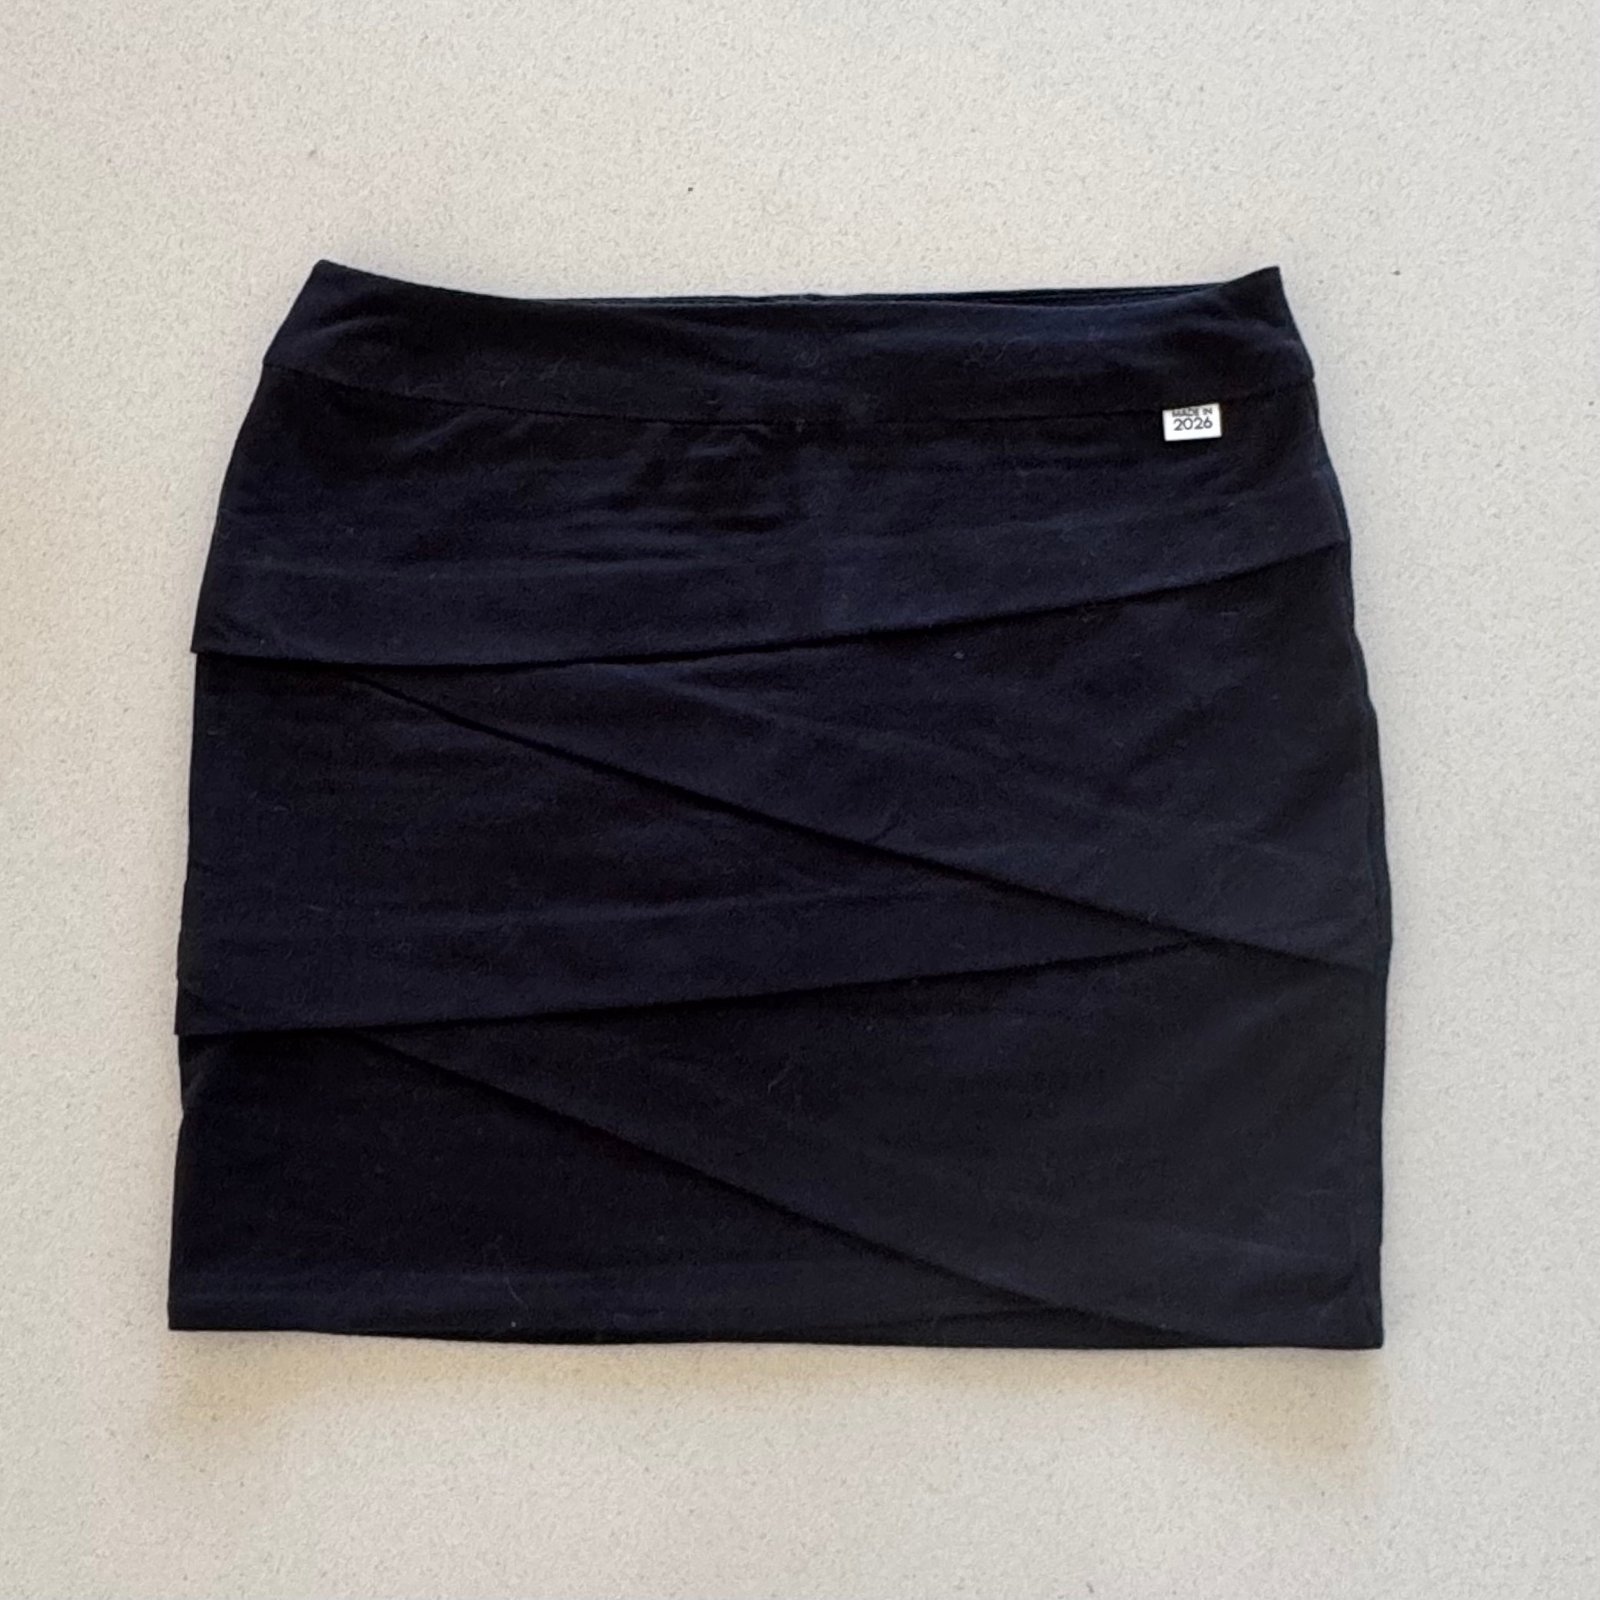
 I thought what this jumper needed was a little black mini skirt to go with it, so whipped one up! The advantages of sewing your own clothes is that you can just make something you need without having to search the shops for that one perfect thing! This is made using one of my favourite mini skirt patterns, the Jade mini skirt by Paprika Patterns. Black cotton jersey an old resident from my stash.
I’ve worn this outfit multiple times and really love it!
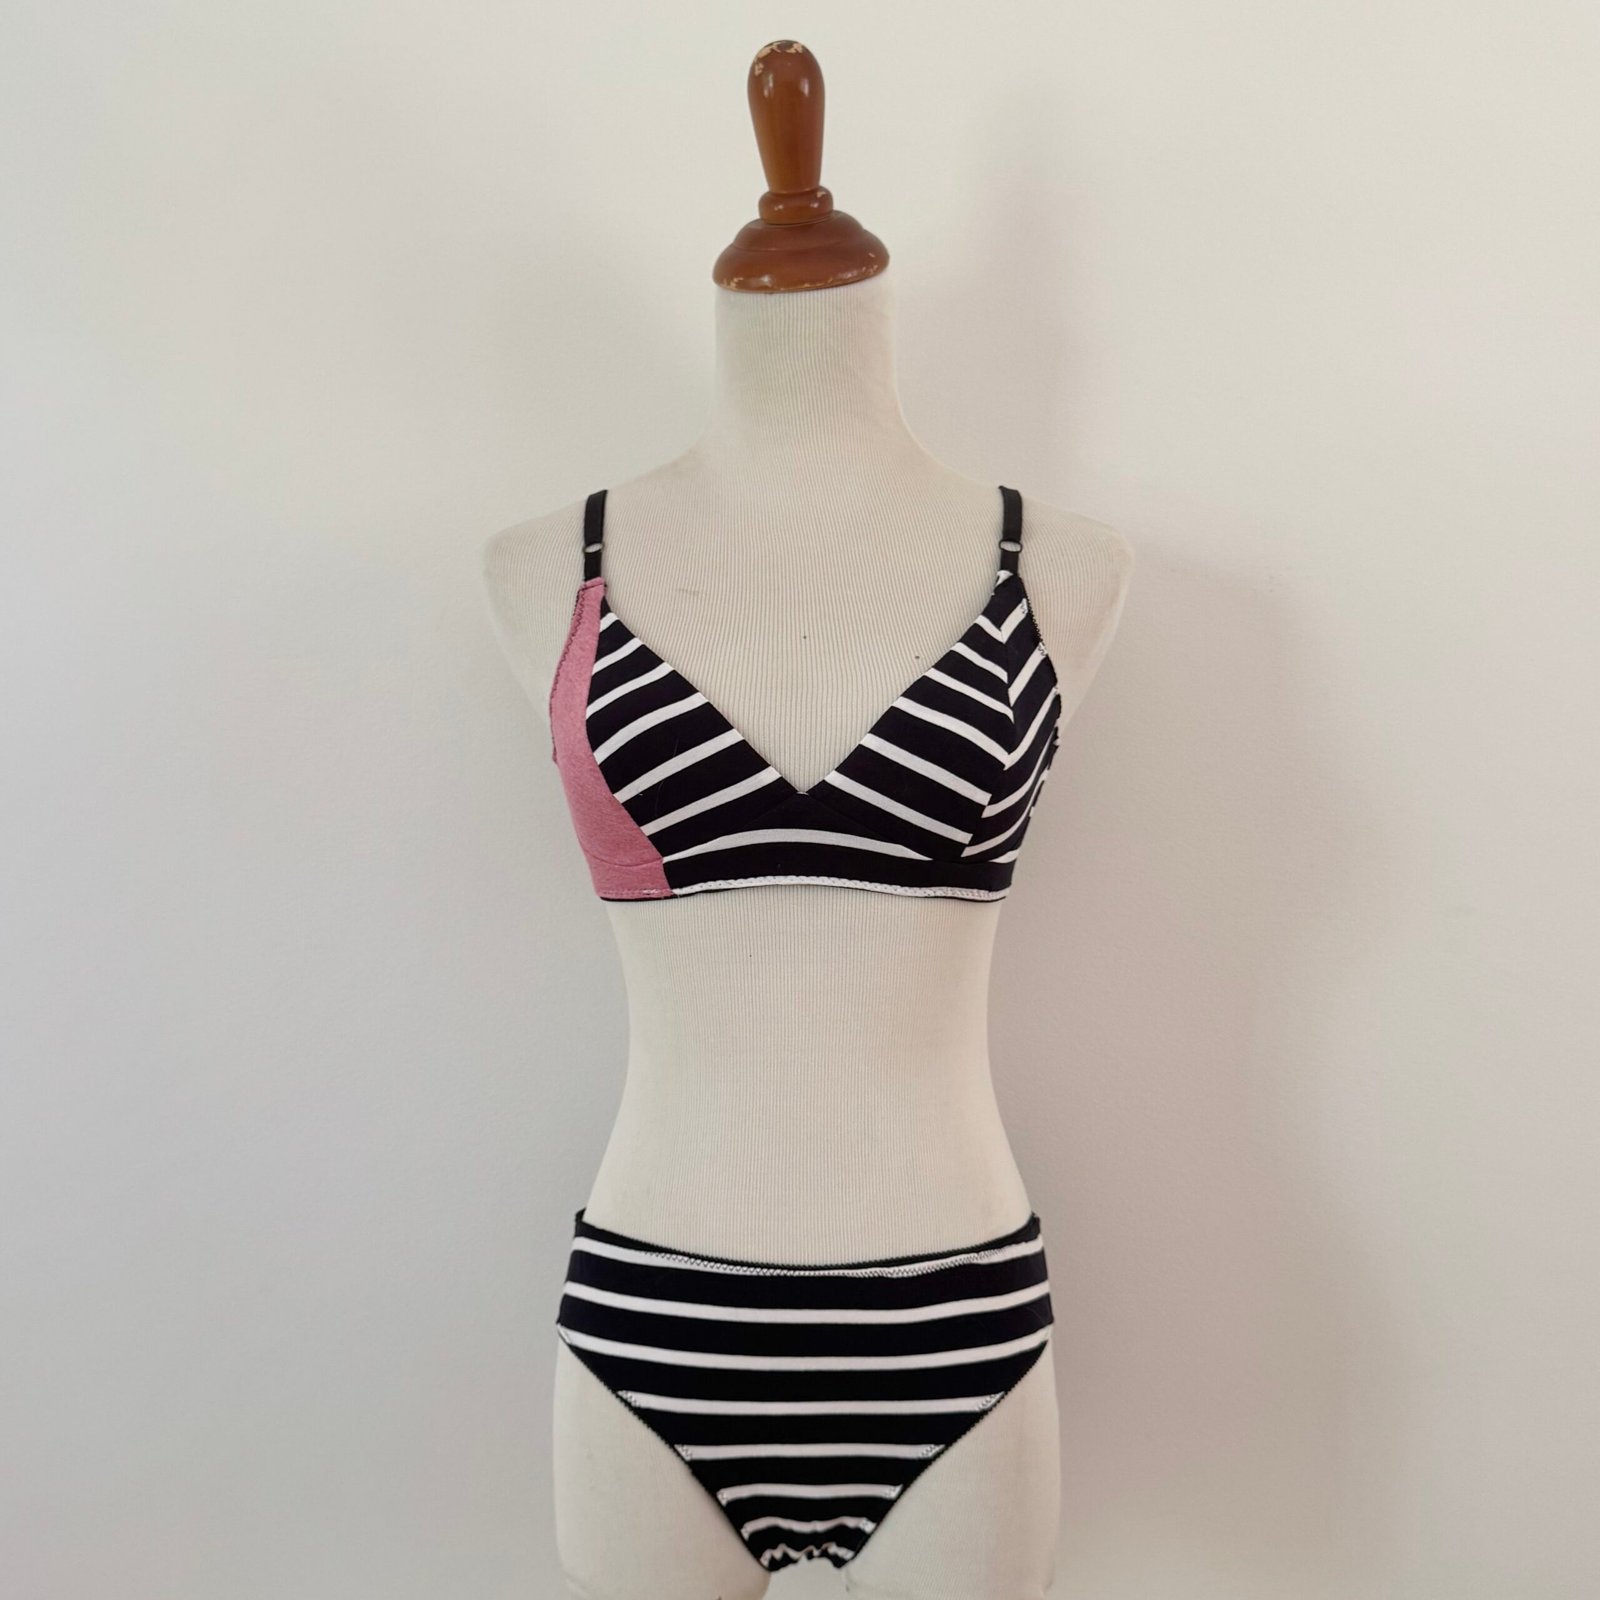
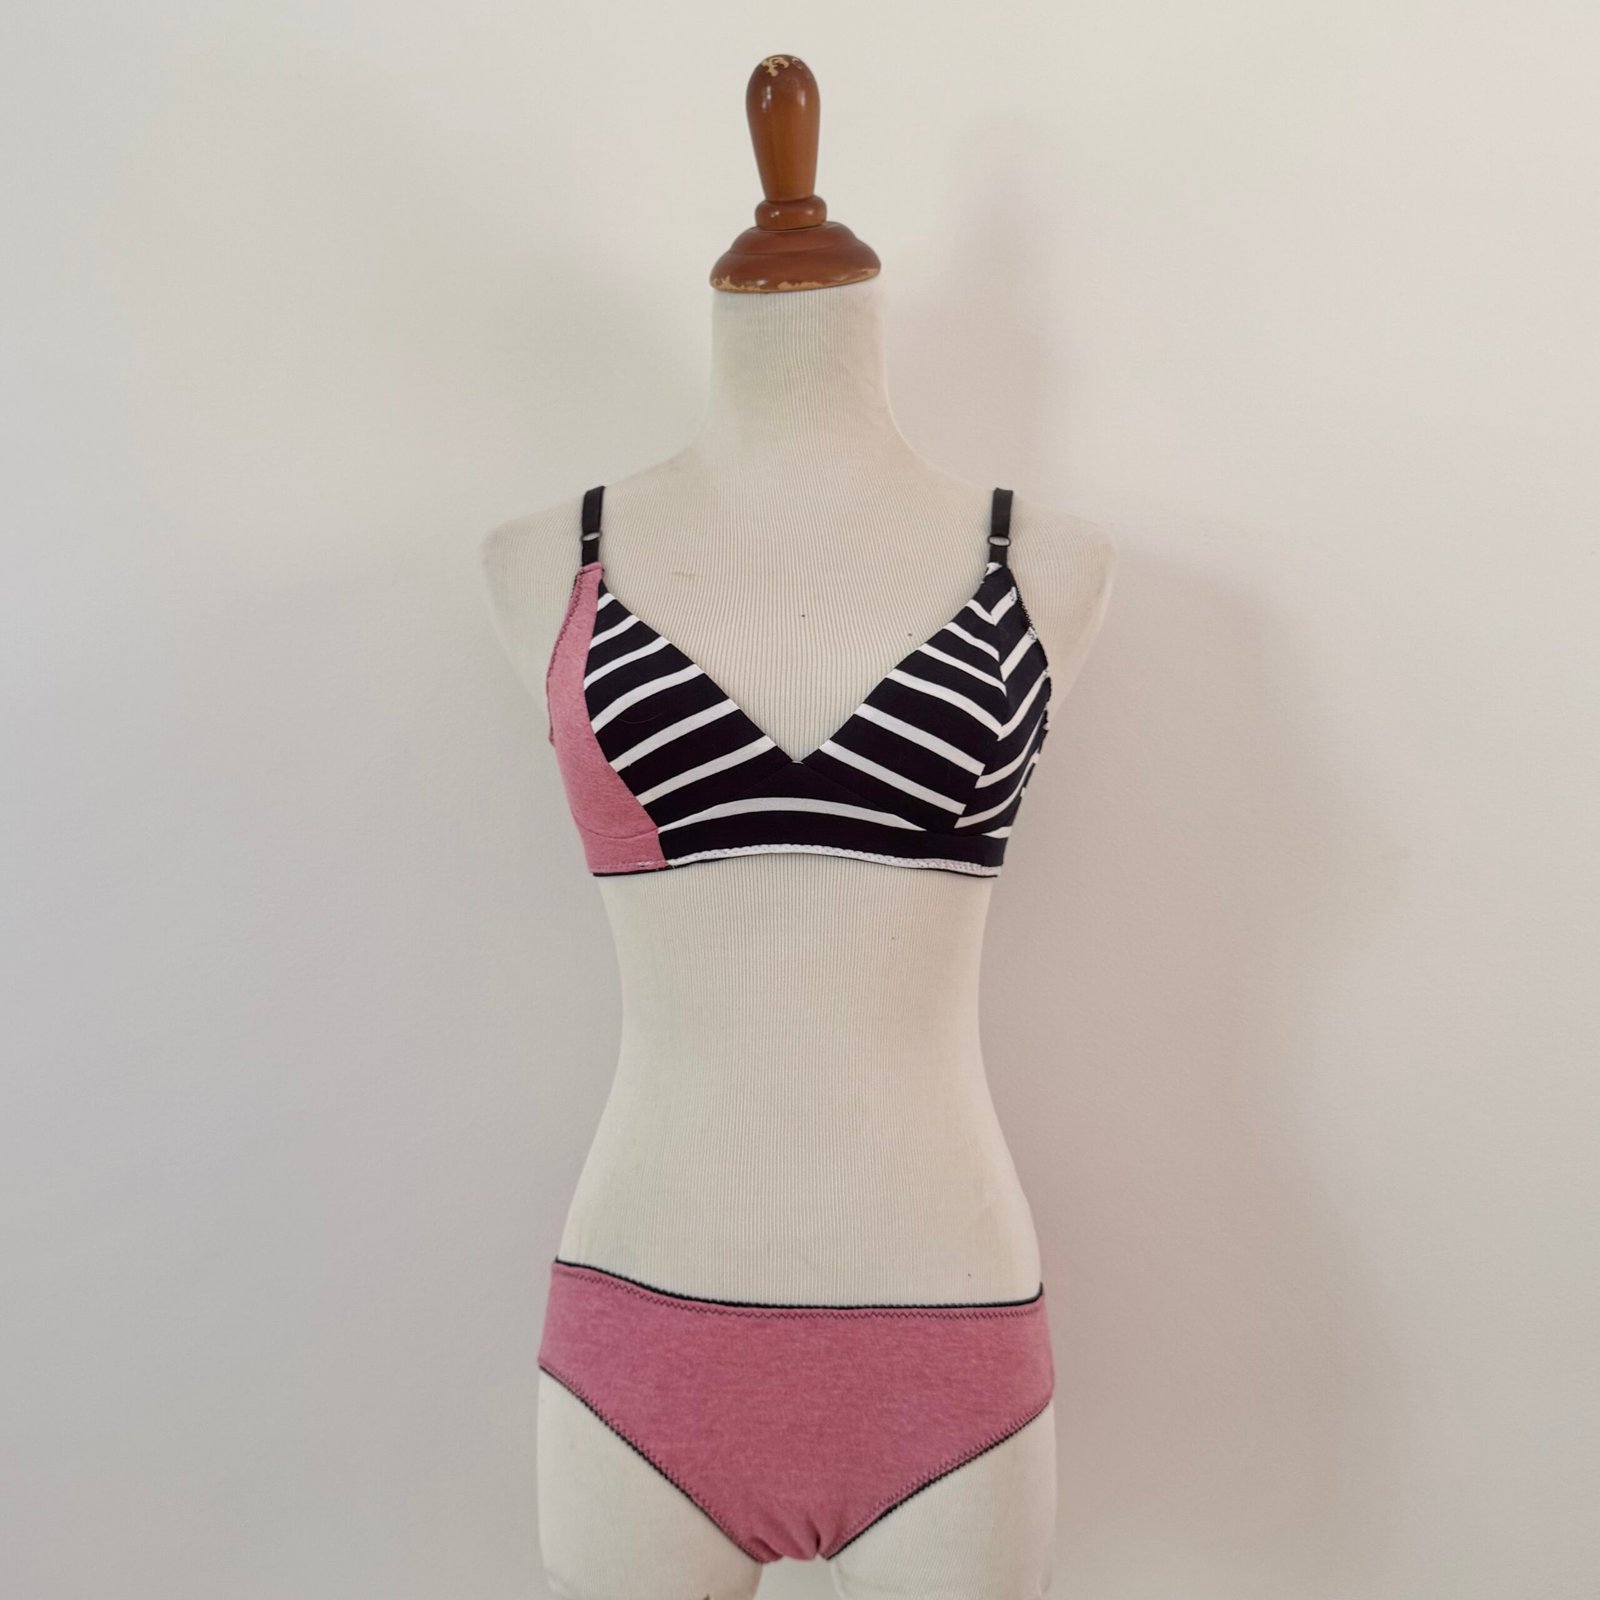
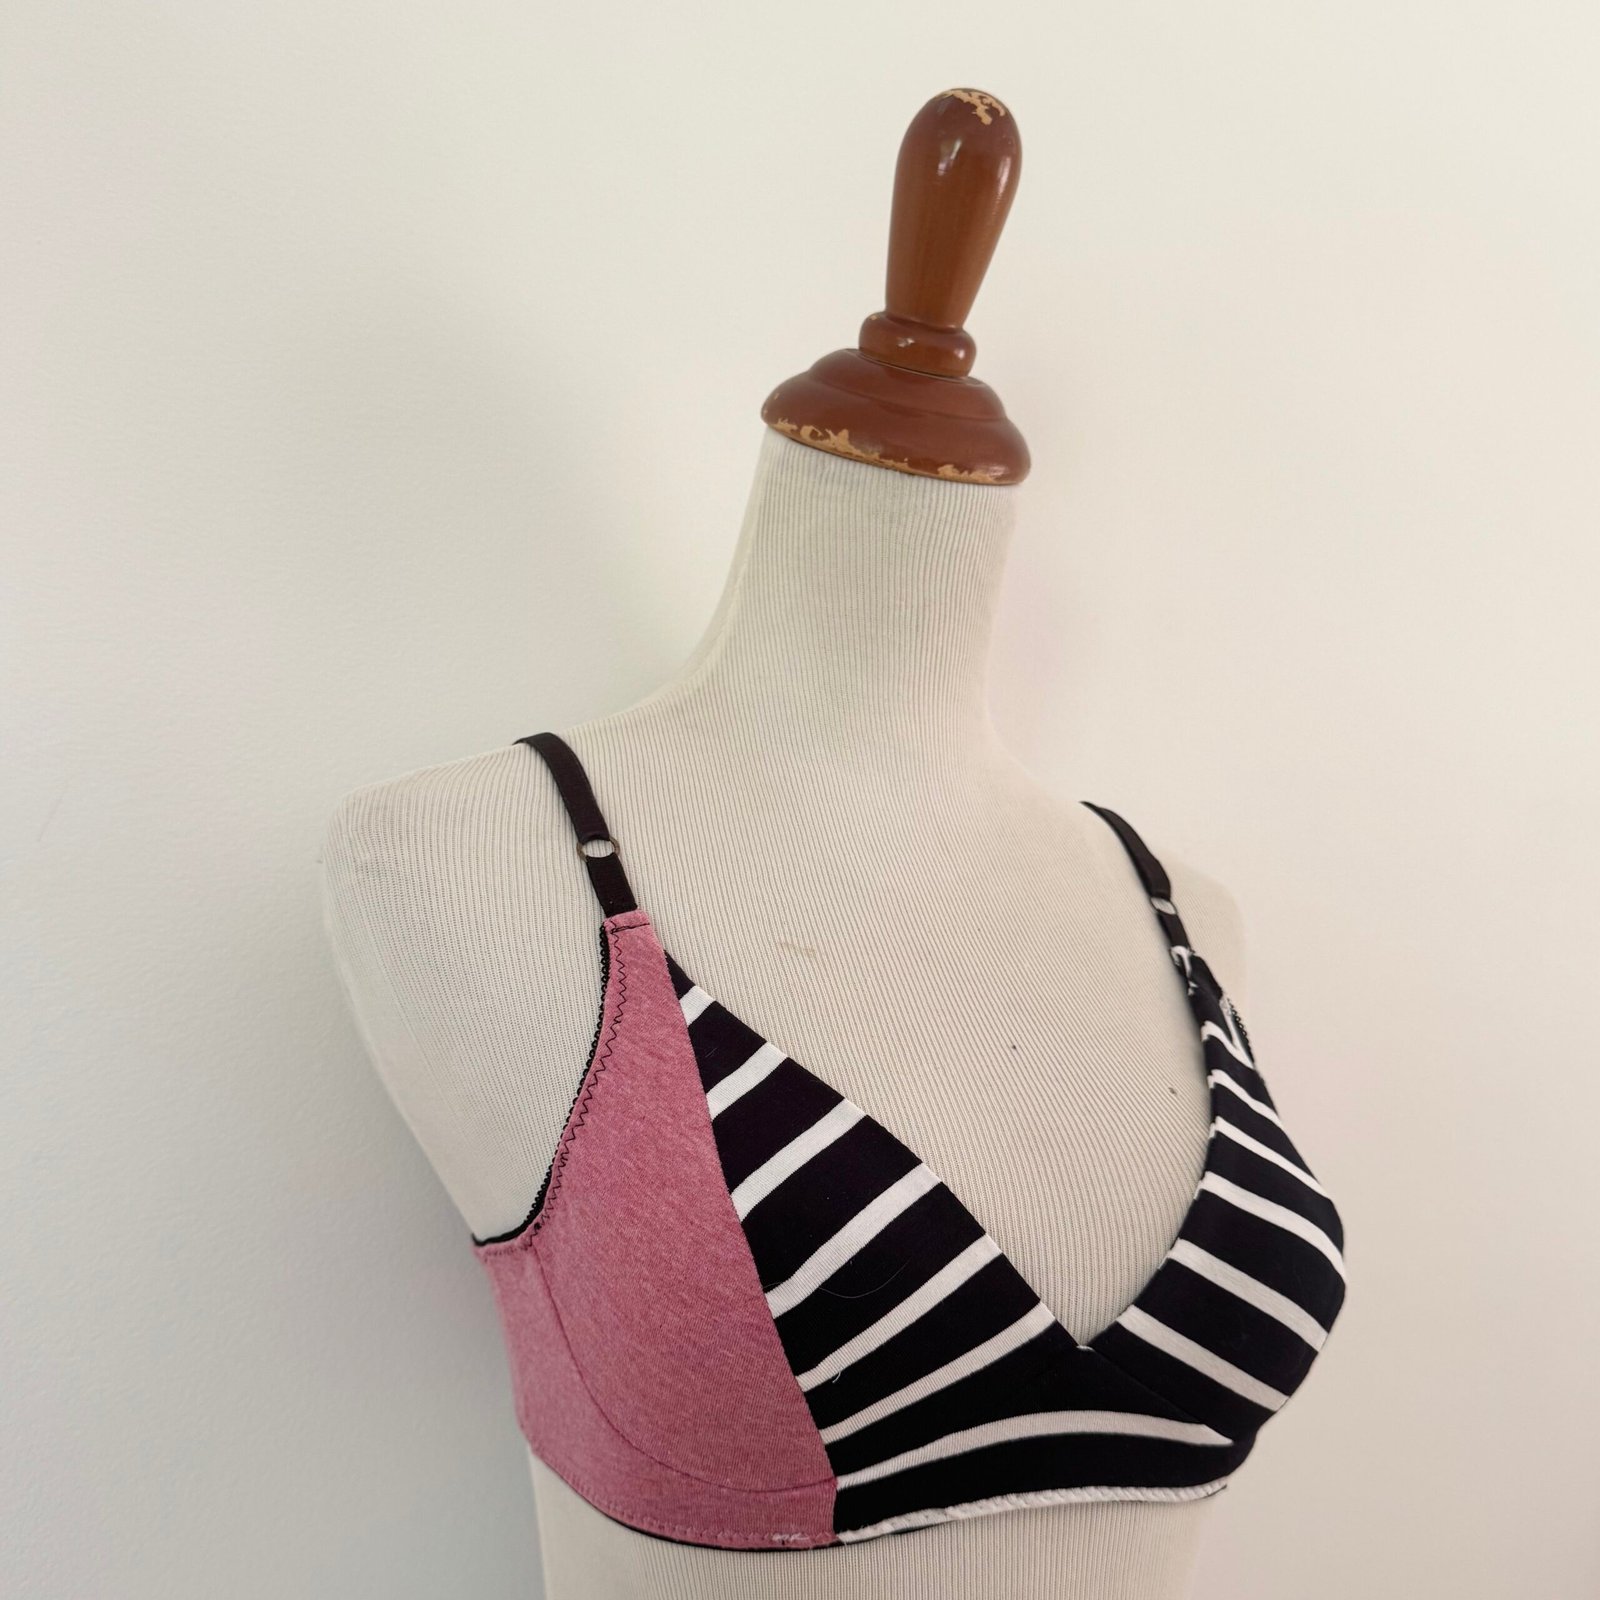
Also made at some point during the past months; a new set of underwear, made using the Cloth Habit Watson pattern and old cotton jerseys left over from previous projects. Everything from stash.
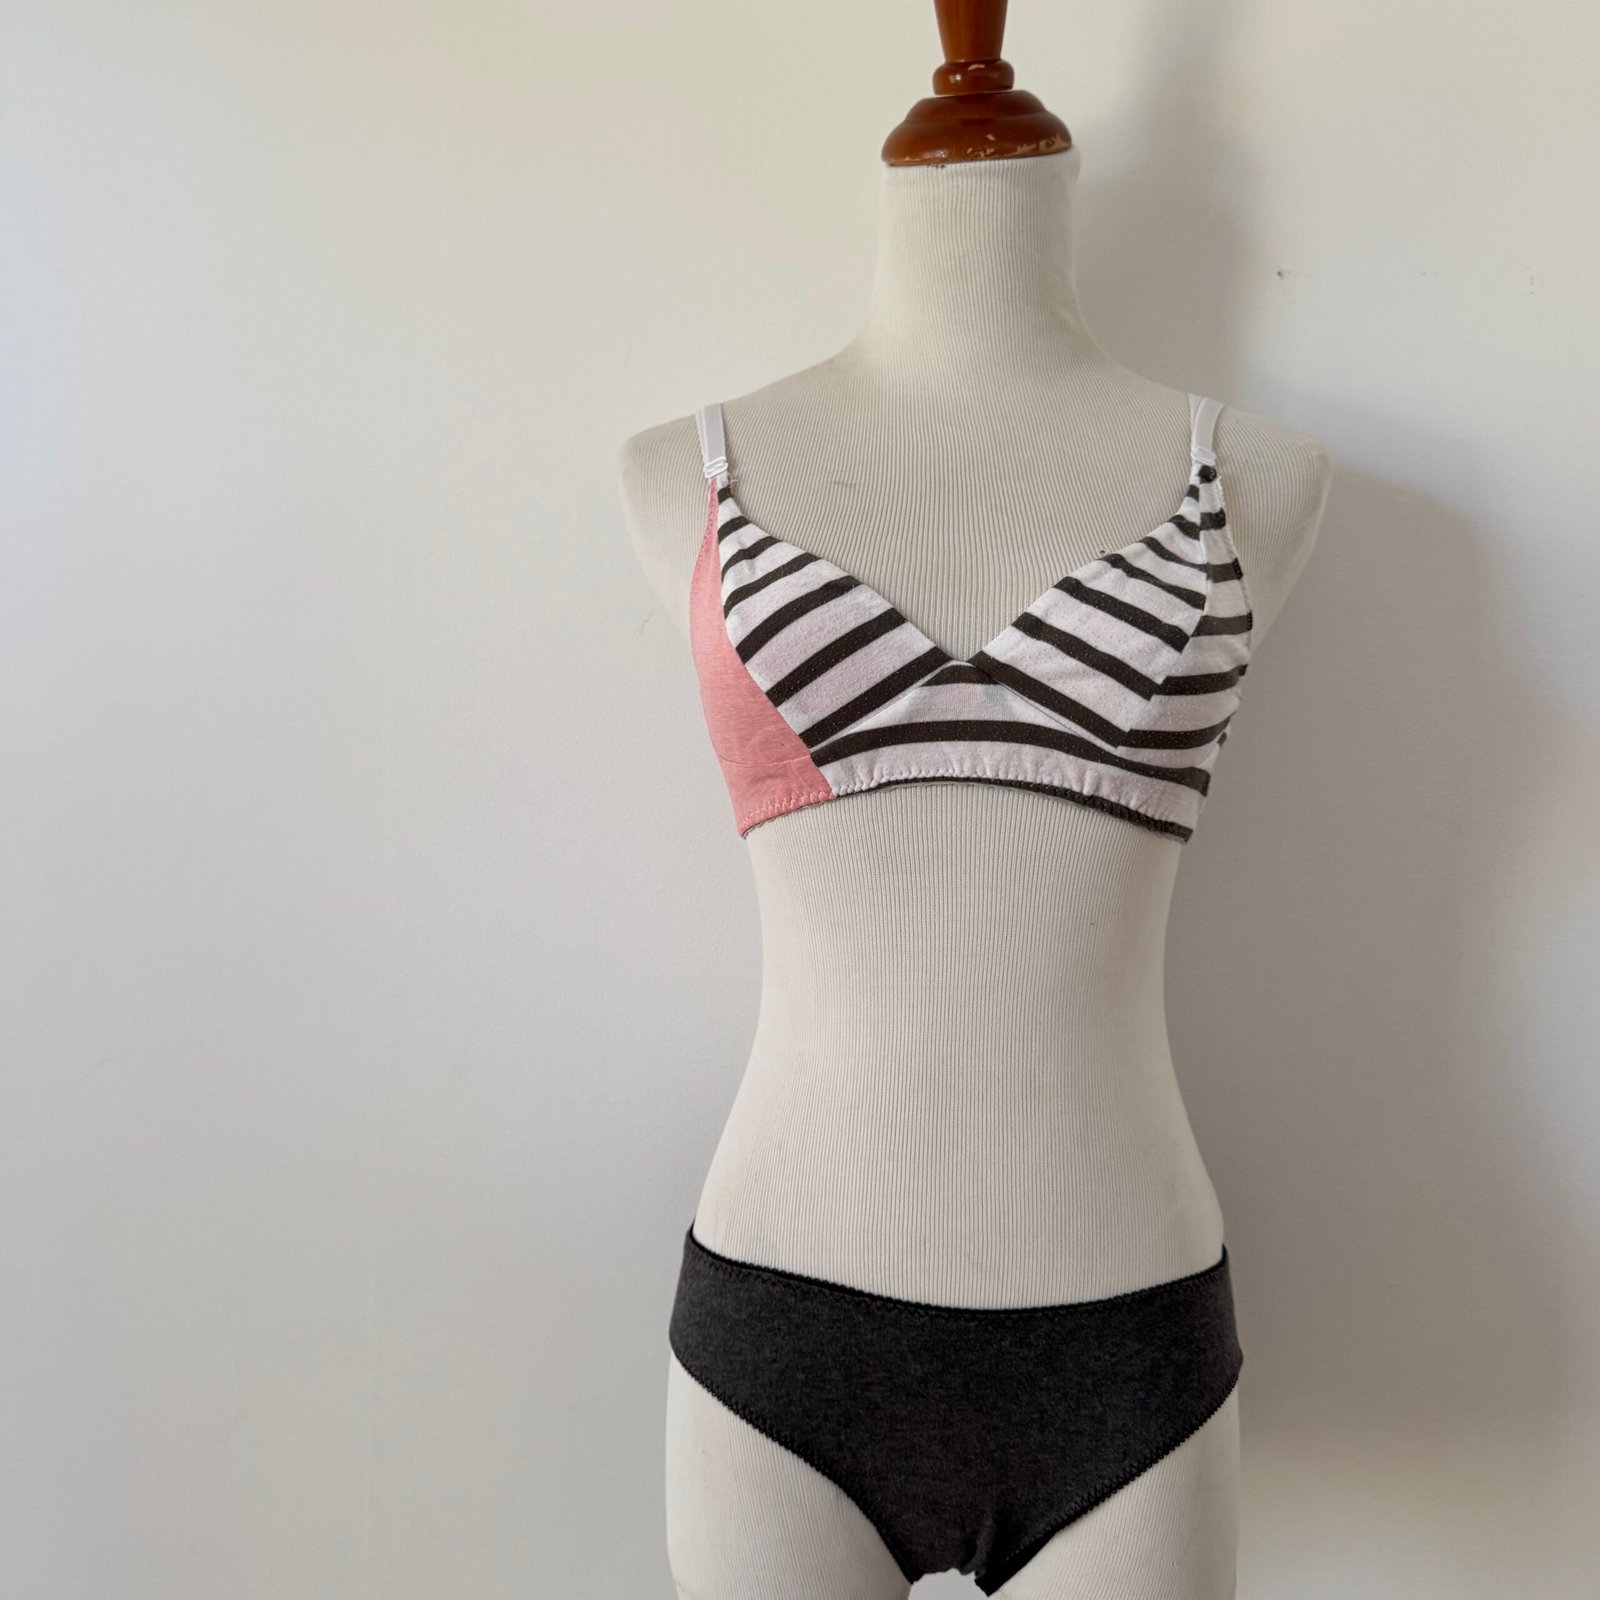
 Also using the same pattern, several new pairs of plain charcoal grey undies to replace some older undies whose matching bra is still going strong….
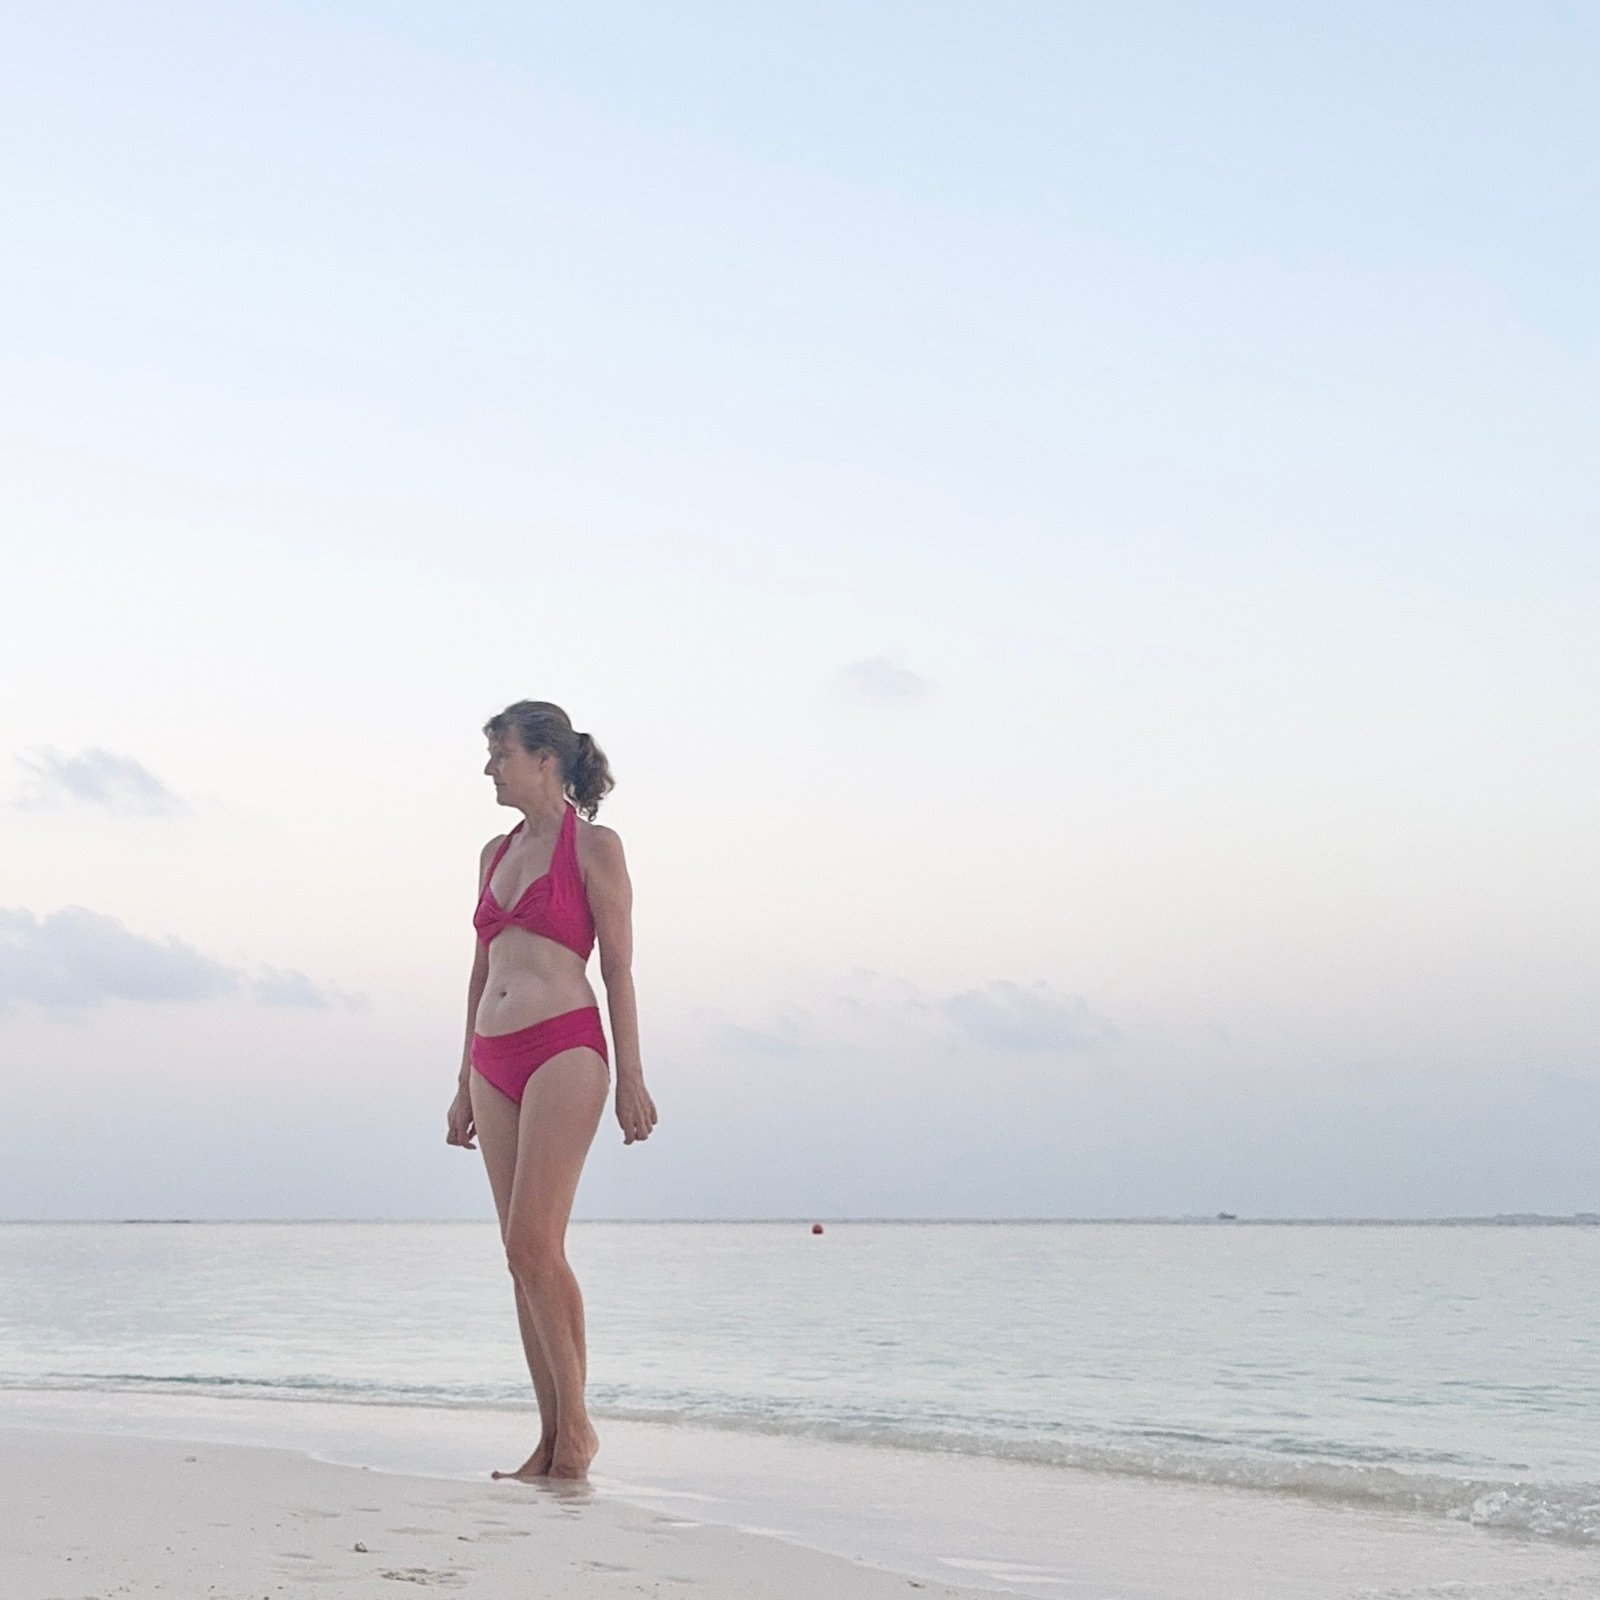
Also made back in February; we were going away and since I now swim daily I wanted an extra pair of bathers. I used my old standby McCalls 2772 and a length of Barbie pink stretch poly that I actually found in the stash… and, what was I thinking when I bought this? I honestly don’t know. They’re not the best finished things ever but I made them during a low point went I wasn’t really caring about gorgeousness very much and was just more focused on getting something… anything… done. I think I recovered from that now. Although I like the bikini style less that the tankini style, I’ve found them more convenient for swimming! and so I’ve gone on to wear these literally every single day for my early morning swim. The fabric was never ideal in the first place and also I really don’t take care of my bathers at all, so they’re now pretty worn out, seams failing, and ready to be replaced pretty soon.
 I’ve made several other things too, not photographed or blogged yet, and I’ll get onto them very soon!


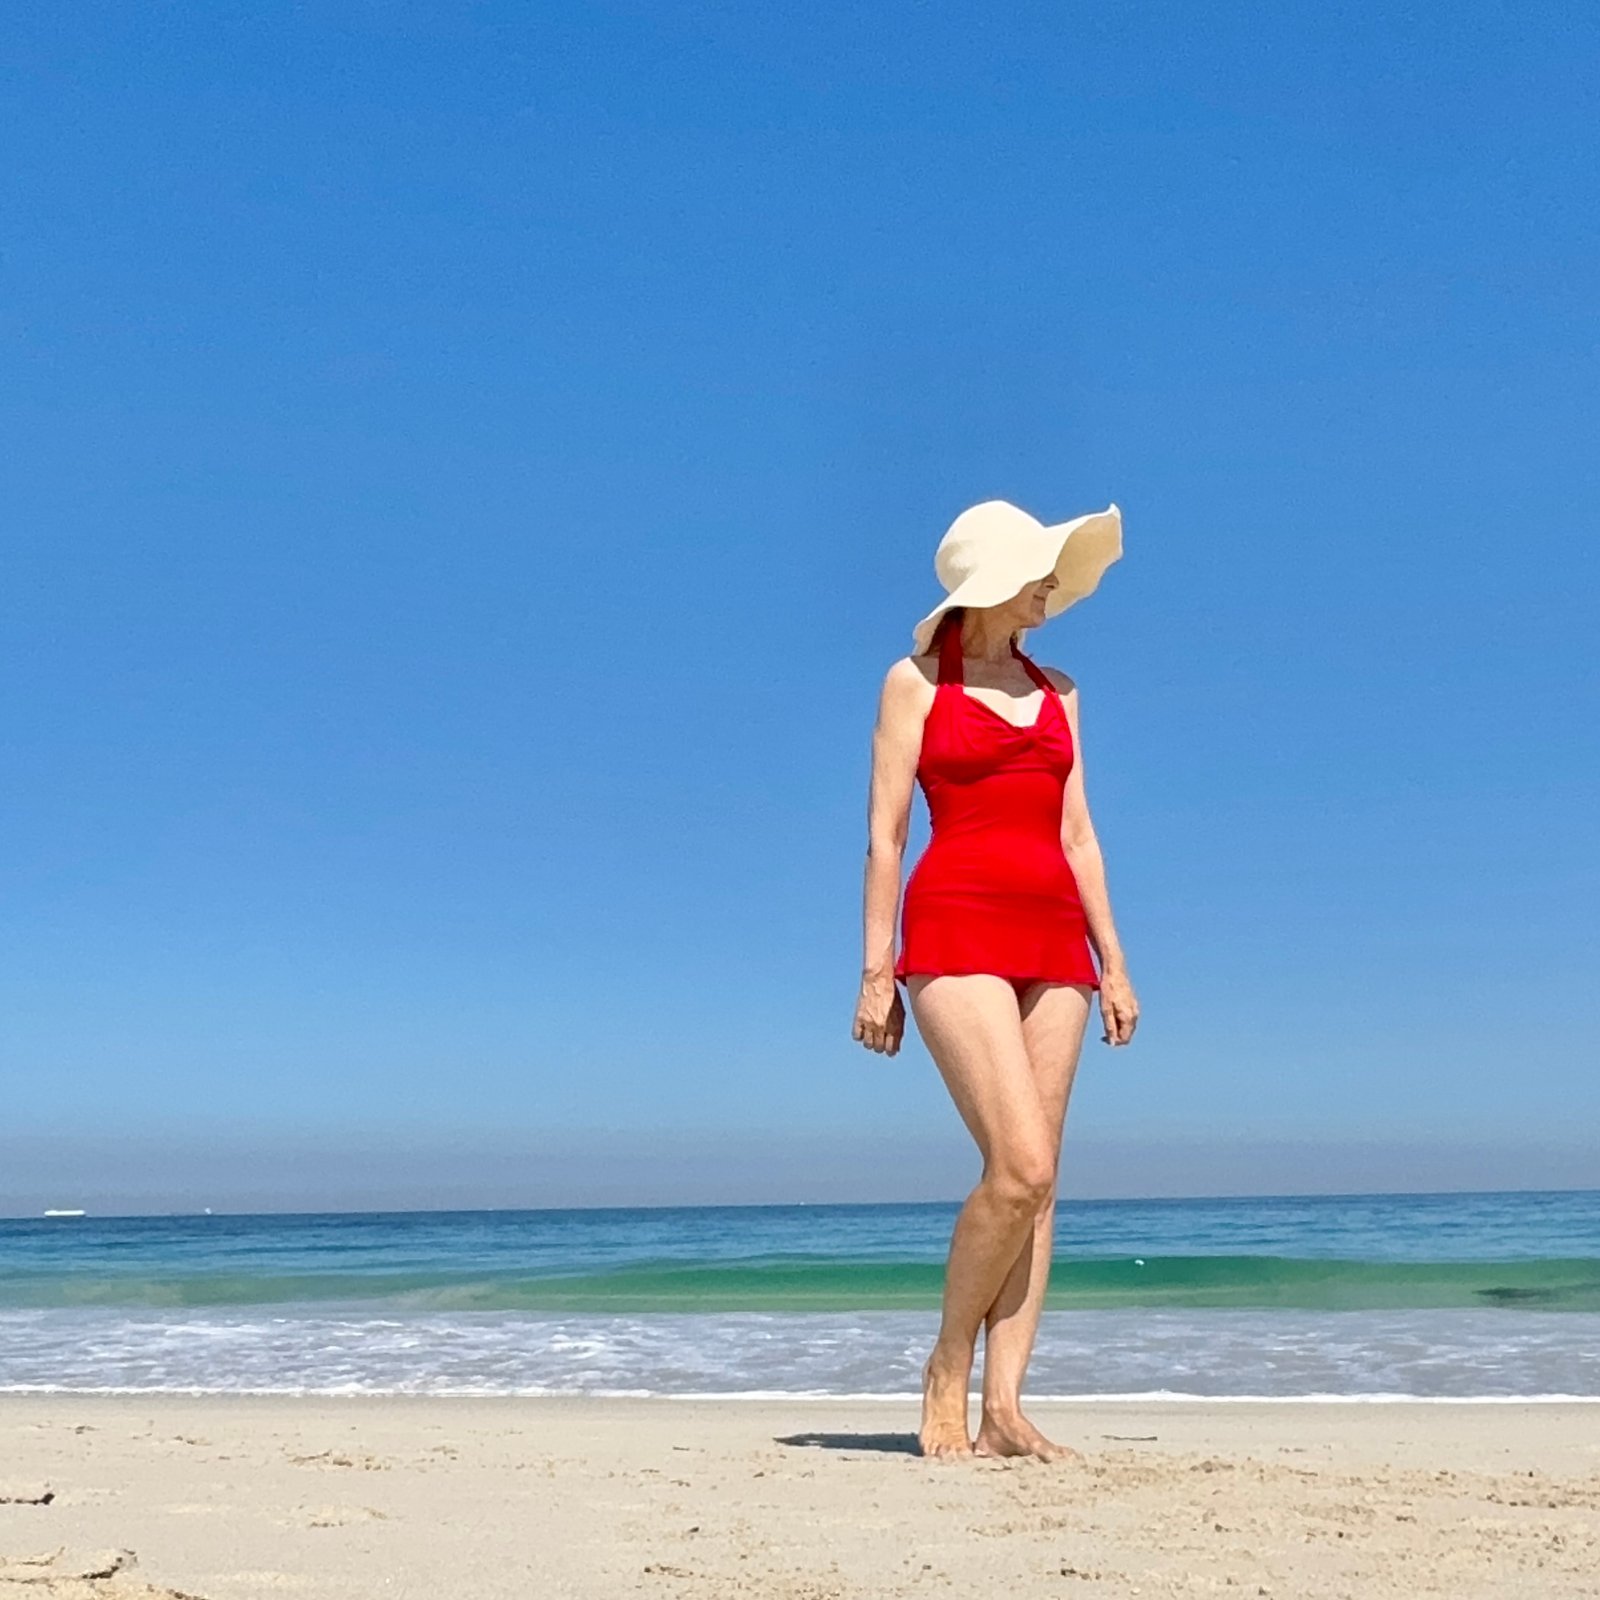
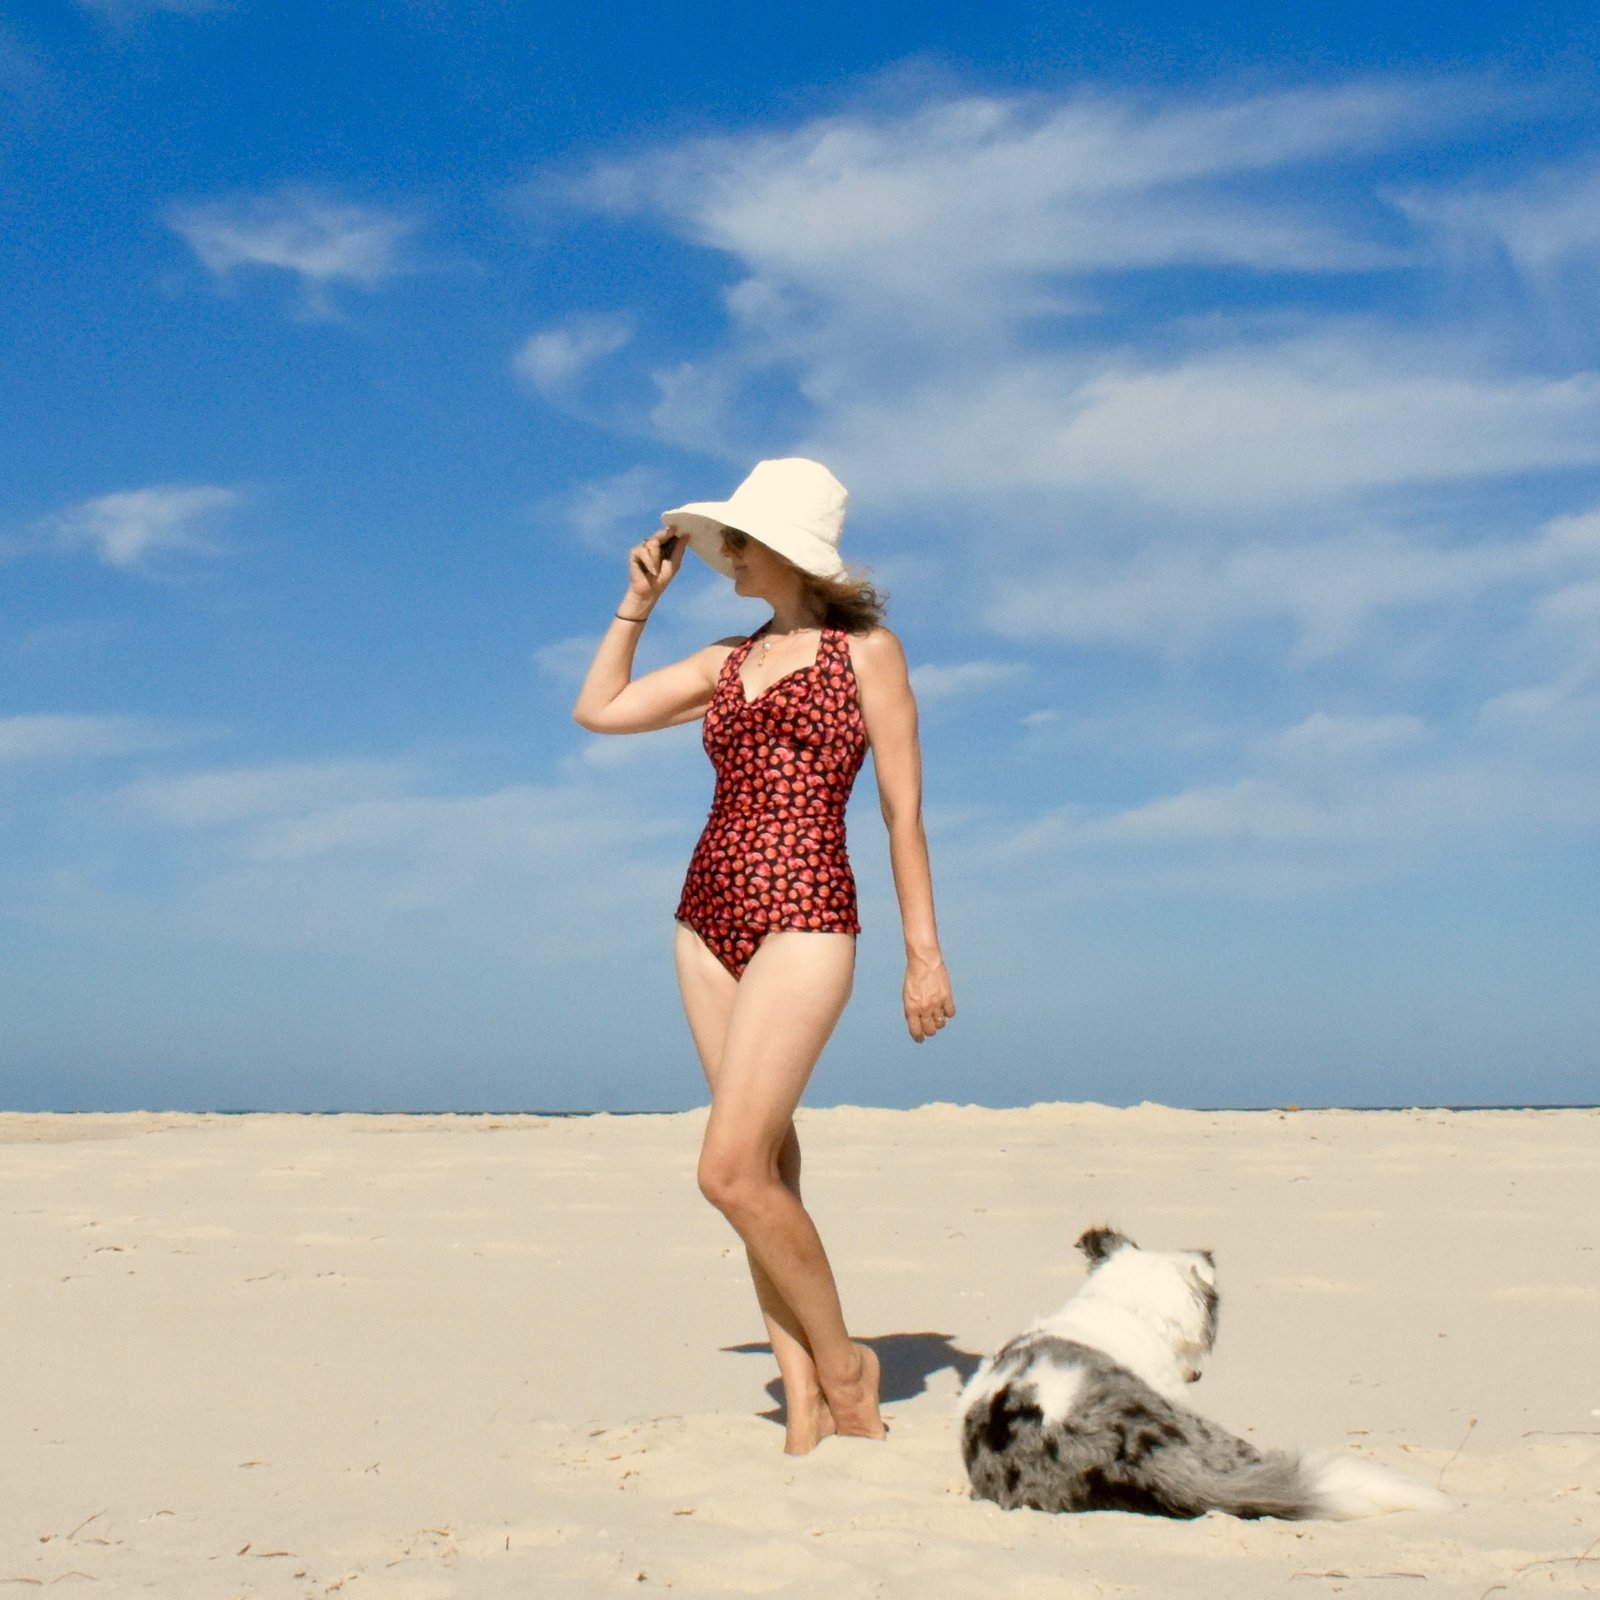
 Hello! I made a new pair of bathers for myself… and I’m chuckling to myself that I’ve gone kinda Bay Watch this year. Is Bay Watch even a part of the collective consciousness any more? hmmm I could be aging myself a bit with that reference?!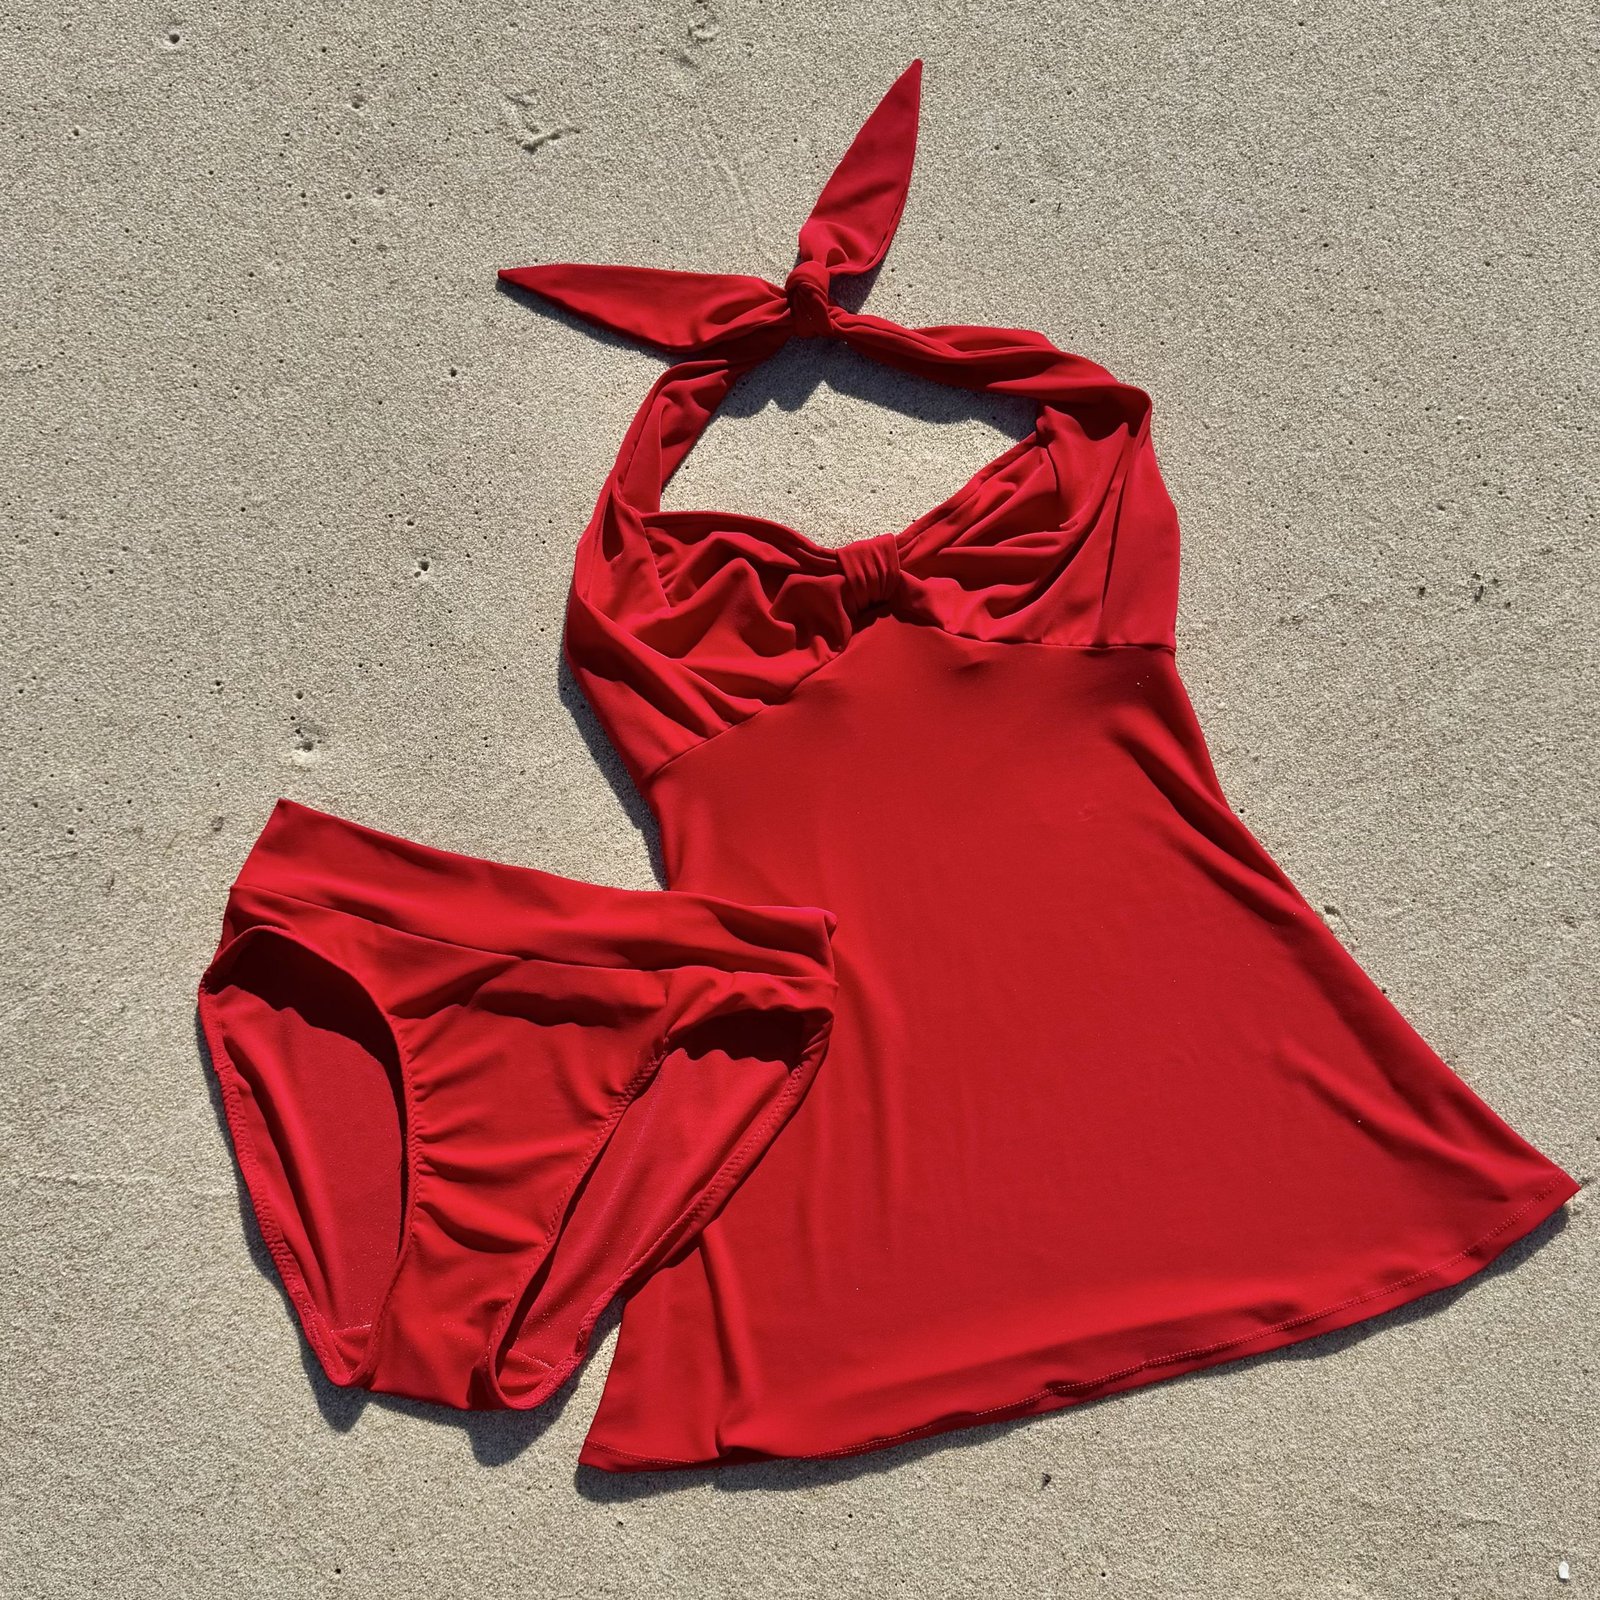
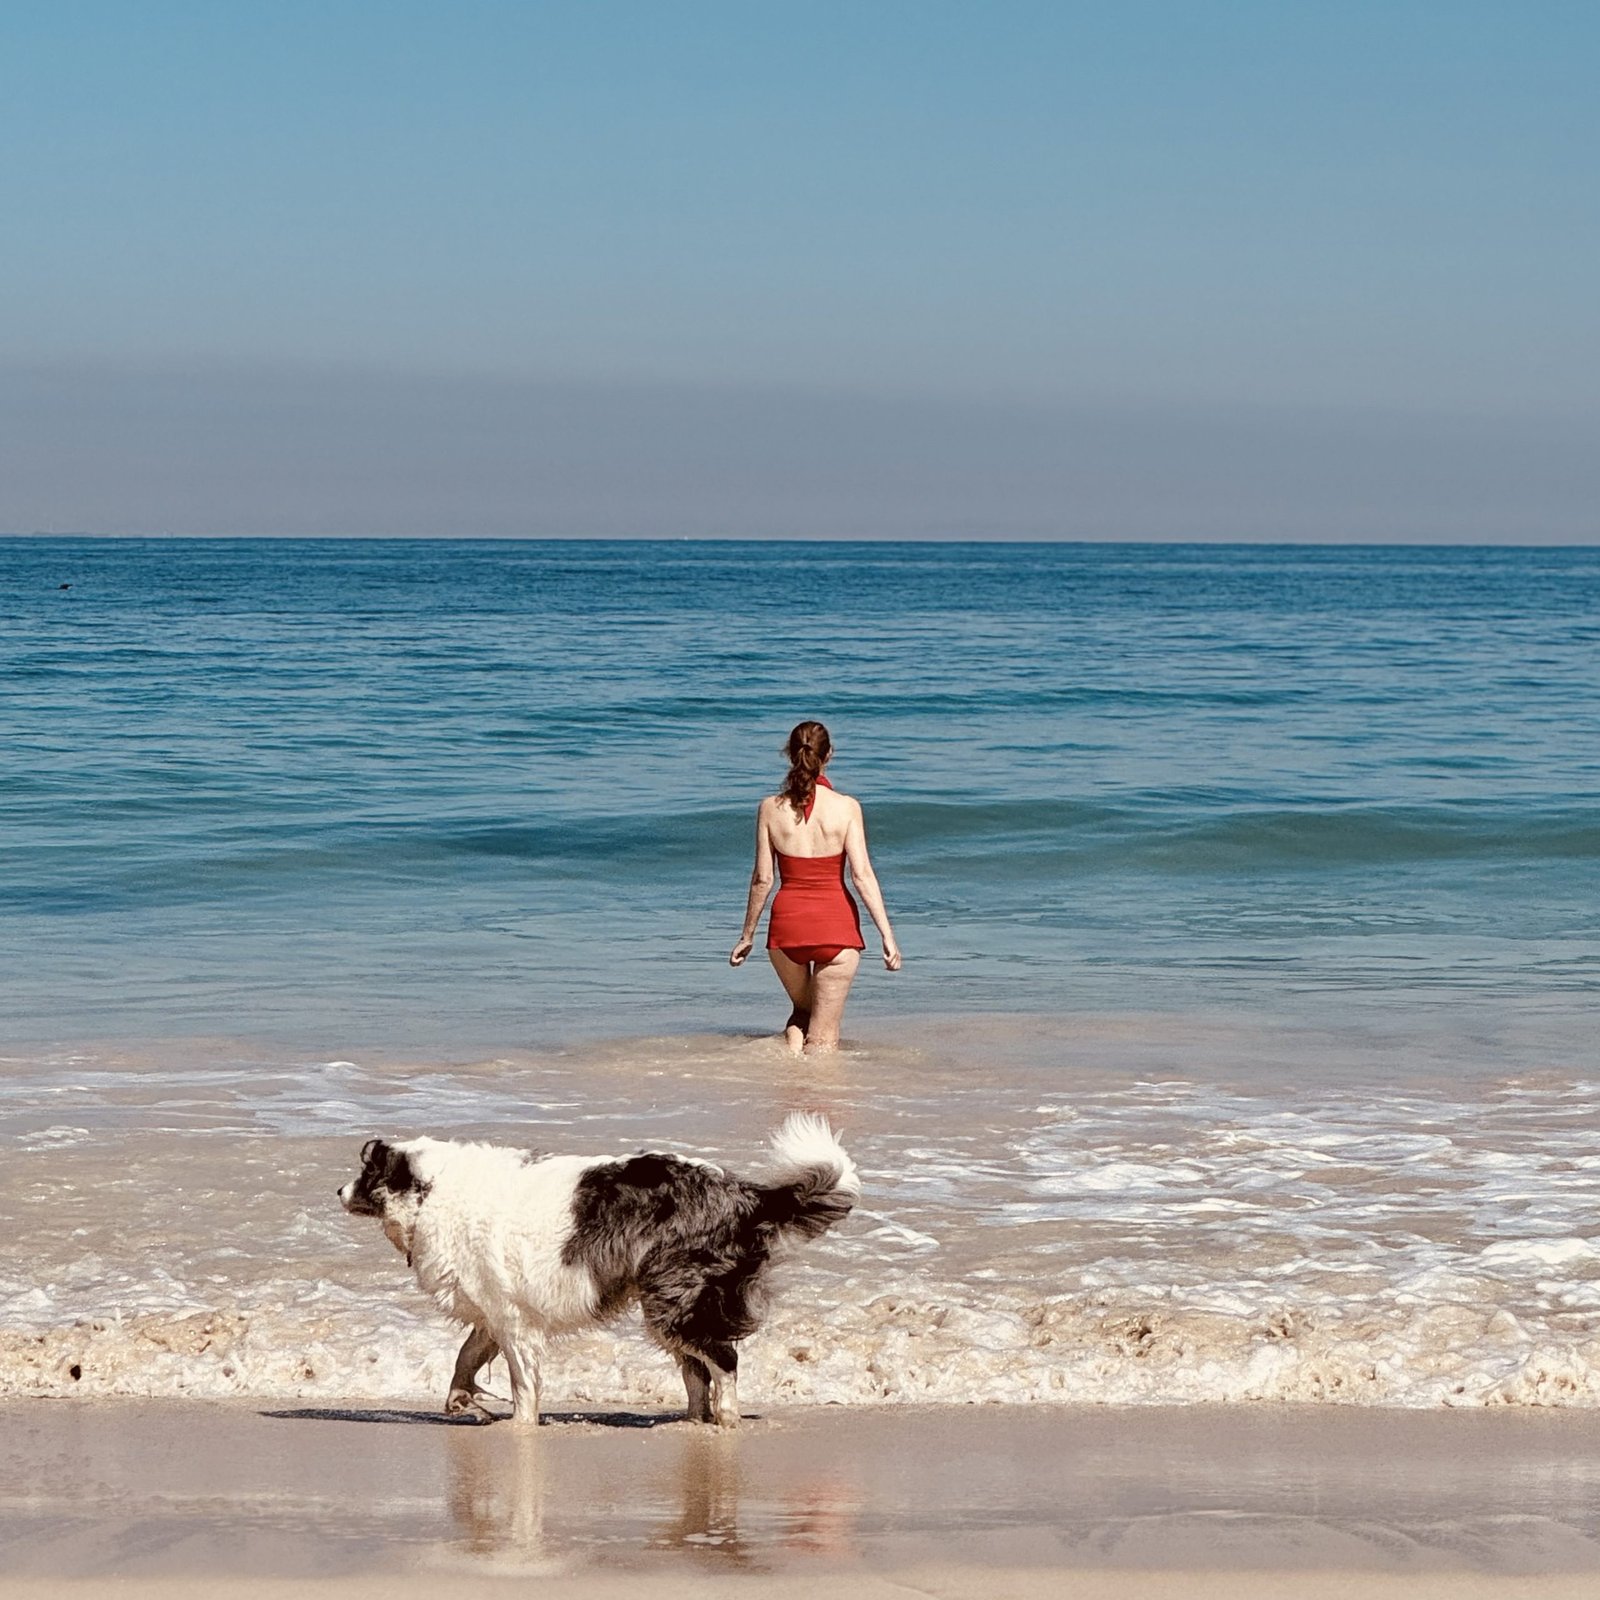
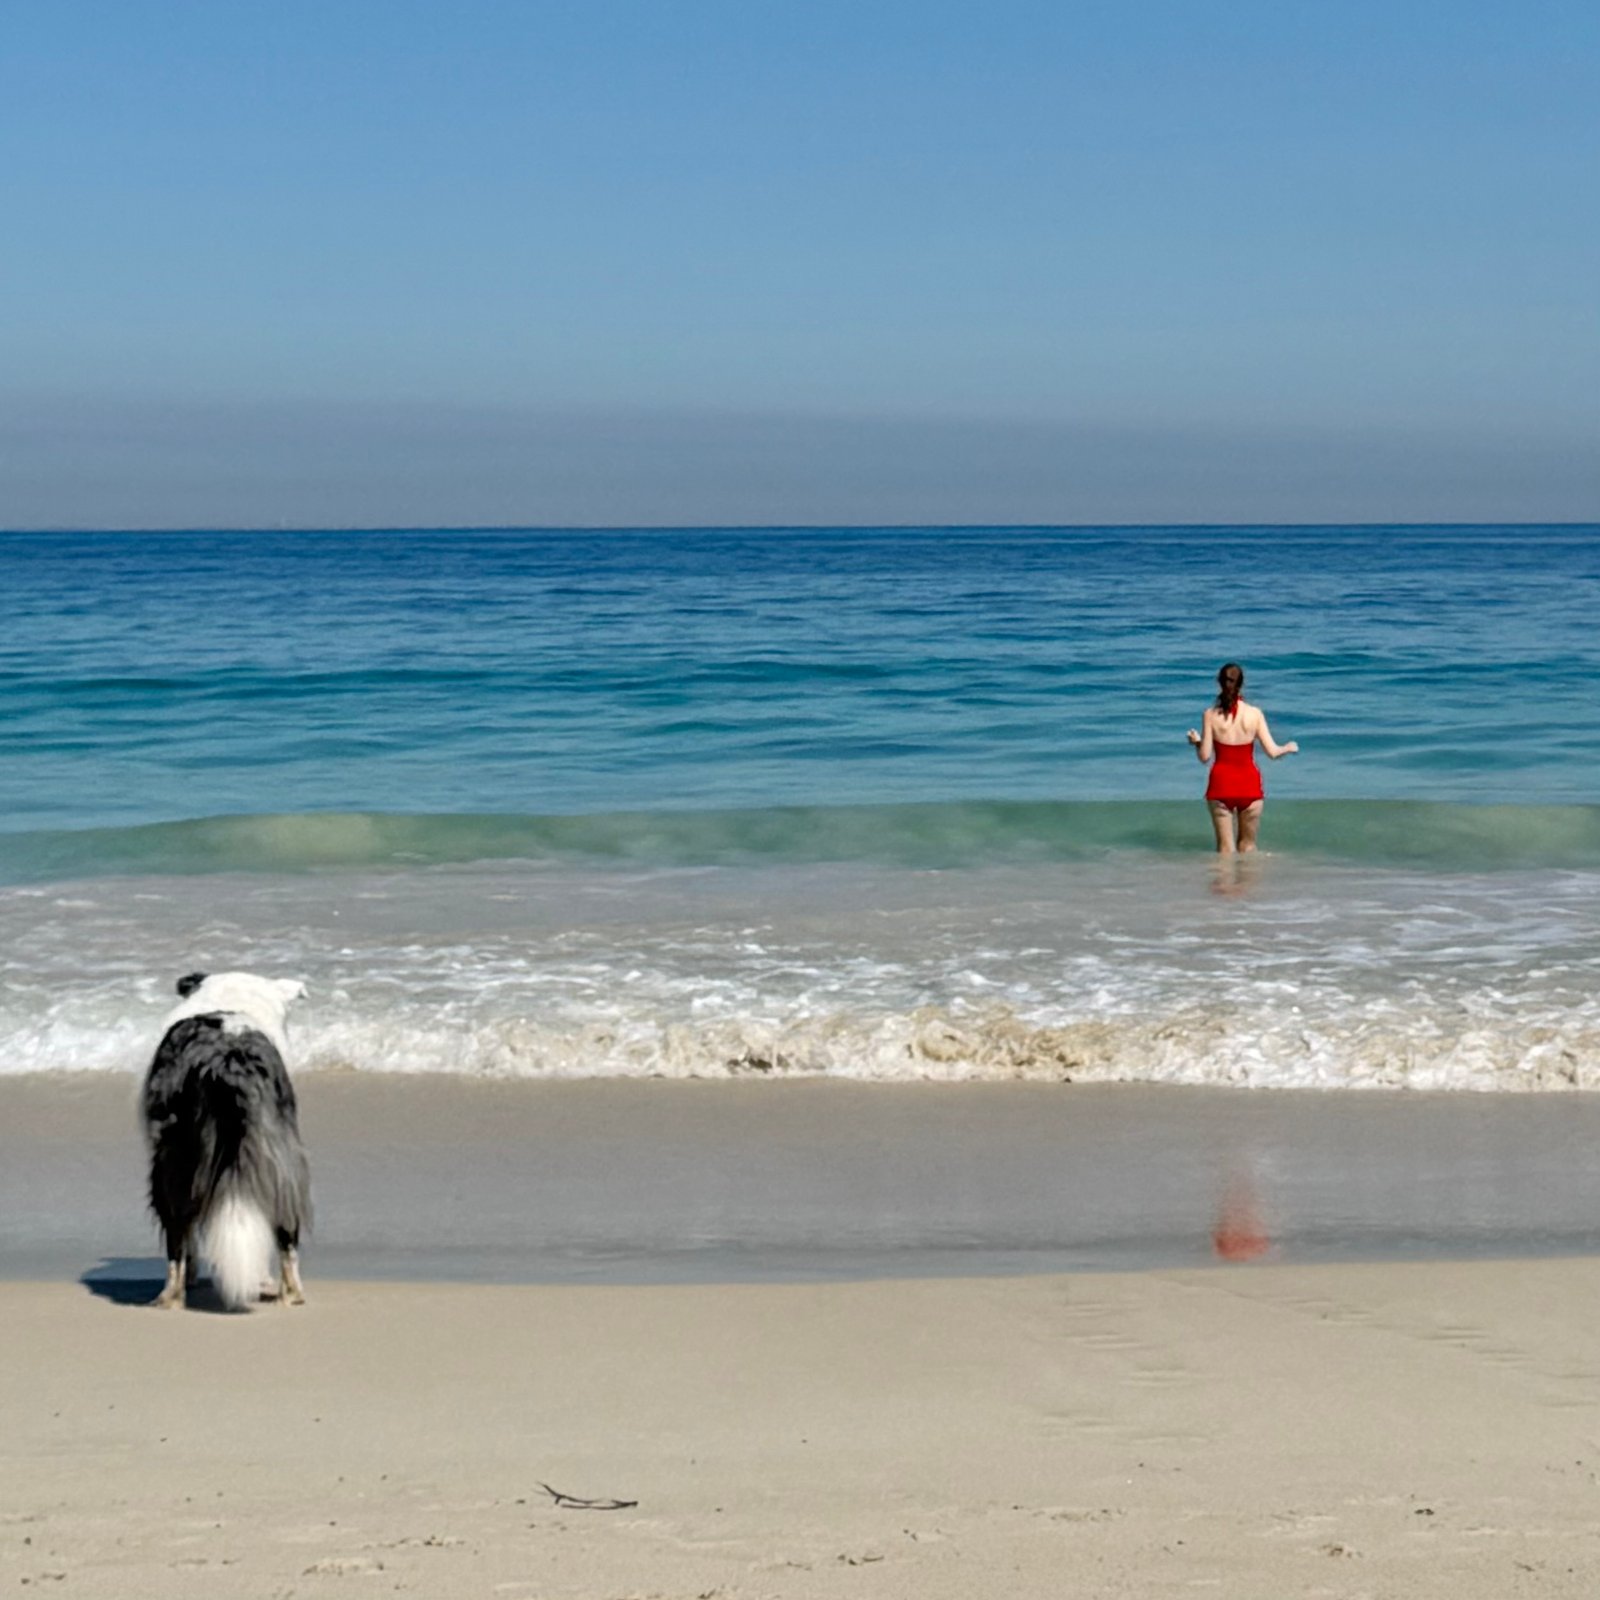


 This cute, random ivory polka dot on a hot orange background, swimwear-specific fabric is also still from Le Stash, surprisingly! I’ve had it a long long time, like probably six or seven years or more. I bought it from the Fabric Store during a previous trip to Melbourne.


 hello! first thing made for 2022, hot off the machine!


 I made these bathers and took these photos over a month ago… hehe I just checked; 19th November! What with the pre-Christmas social whirl and pressie-making craziness, I completely forgot about putting them up here, although I’ve been wearing them almost every day and actually happen to adore them too. Oops!


 Pattern: the Sophie swimsuit by Closet Case patterns; and yes,
 With the bottoms; my black fabric is quite thick, almost a little scuba-like and isn’t hugely stretchy, so to be on the safe side I made size 6 bottoms grading out to an 8 at the hips. I didn’t think it needed a full lining but I did incorporate a “panty liner” of white stretch fabric, sandwiched between the front and back in the joining seam and basted it along each leg edge before attaching my swimwear elastic. I topstitched on each side of all vertical seams 1/8″ out from each side (above). You can barely even see this with the naked eye actually because of the black-on-black! but I just wanted it to be all finished off nicely and to stylistically fit in with that same topstitching on the bikini top 🙂


 Did I dive right into that invitingly turquoise water for a frolicsome dip? NO!!!! Since I’m the wussiest wuss that ever wussed I just got my pictures super fast and then threw on my jeans and thick woollen cardi again pretty quick! You can see that turbulent water and my crazy hair, it was blowing a freaking gale and the waves were booming and thundering onto the sand like the proverbial white stallions. I do love the beach in any and all weather, including wintery and wild; I love the sparkle of sunlight on the water, the swirling foamy shallows, and the crashing of the surf. Well, perhaps more so when I’m warmly rugged up snug as a bug in a rug, of course. Sienna loves the beach too, but it’s alright for her, in her thick fur coat! hehe, the things we do…
 It’s funny; when I finished the pink/black one I almost immediately took a violent dislike to the colours I’d chosen… It seemed a bit… I dunno, young and sporty? or something. Then I made the charcoal version. Which I really adore. When I took out the pink/black one again, to take photos in it, of course, you know the story, it didn’t look quite so hideous after all. I actually took quite a shine to it again. The pink seemed a bit warmer and less Barbie than I’d remembered it. I decided I might even like it better than the charcoal one. I don’t know. Oooh, I’m torn! Either way, I expect both are going to get worn this summer 🙂
 Heather has introduced her own sizing chart for the pattern, which I think is a pretty good idea. You know, when you’re making something and you sometimes get too lazy or too cold to disrobe for proper measurements, and go with the same size you always take, or worse; what you think you are. I do find that when faced with an unfamiliar sizing chart, you’re more inclined to get out the tape measure and do a properly slow and careful remeasure, to determine your correct size. Which I did. So saying that, how do I feel the cups fit? well they both fit pretty good. Though I do feel like the cup on my charcoal one, while it fits me; is just a smidge on the scant side for my tastes, if that makes any sense. I believe Heather has upsized them on the final version, which I reckon is a good call. I am small up top but I still kinda like to have lots of coverage there, for personal preference. I might remake the charcoal bikini top, following the new sizing of the final version of the pattern. But maybe not ’til summer!
 Fabrics and bits and bobs: the fabrics are from Fabulous Fabrics; who do get some very nice swimwear fabrics in stock during the season. I bought all these fabrics in previous summers, stocking up during sales. Stashing strategically, as you do 😉 Other supplies from my fast dwindling MakeBra basic kits; the underwires, under wiring channeling and the foam for the cups. The swimwear elastic, plastic swimwear hooks for the straps and back closures are from Spotlight.

 Hello!
 That’s it, really!






































