I was planning to call this glove-making challenge something witty and metaphorical, like “Throwing down the Gauntlet” or some such cleverness, but then I decided… nah, just go with simplicity. After all, making gloves is complex enough without a fancy schmancy title to put people off…
so without further ado here we go.
Pattern:
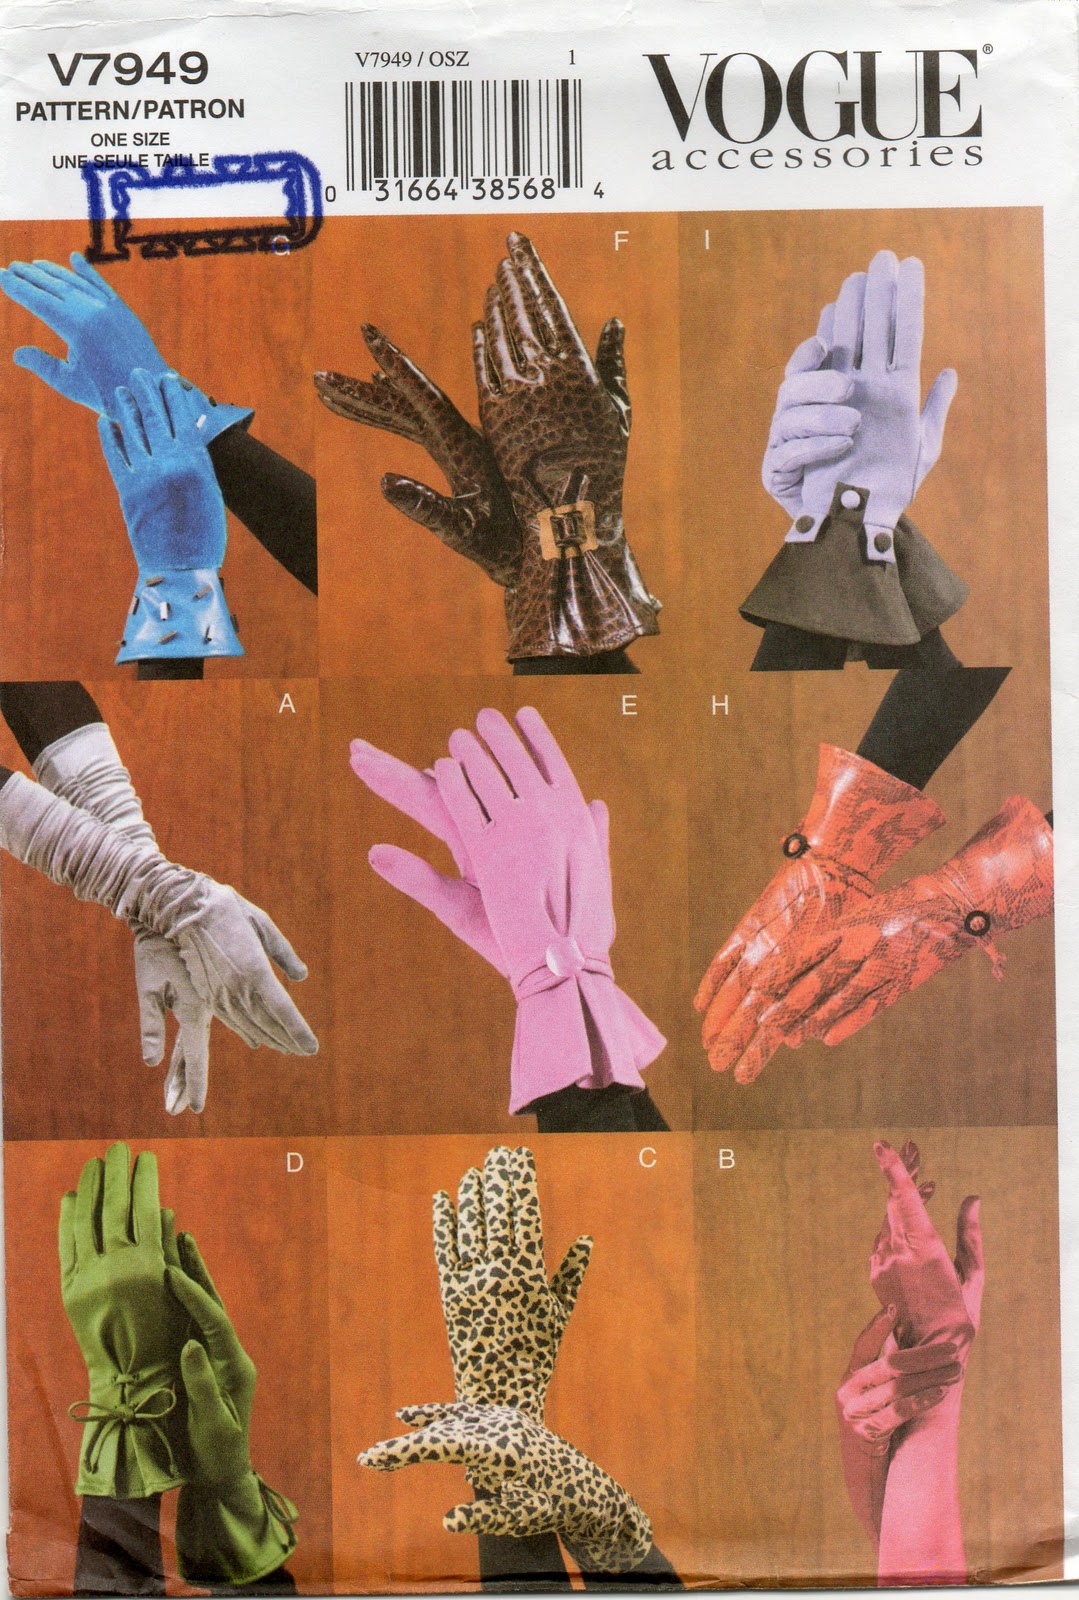
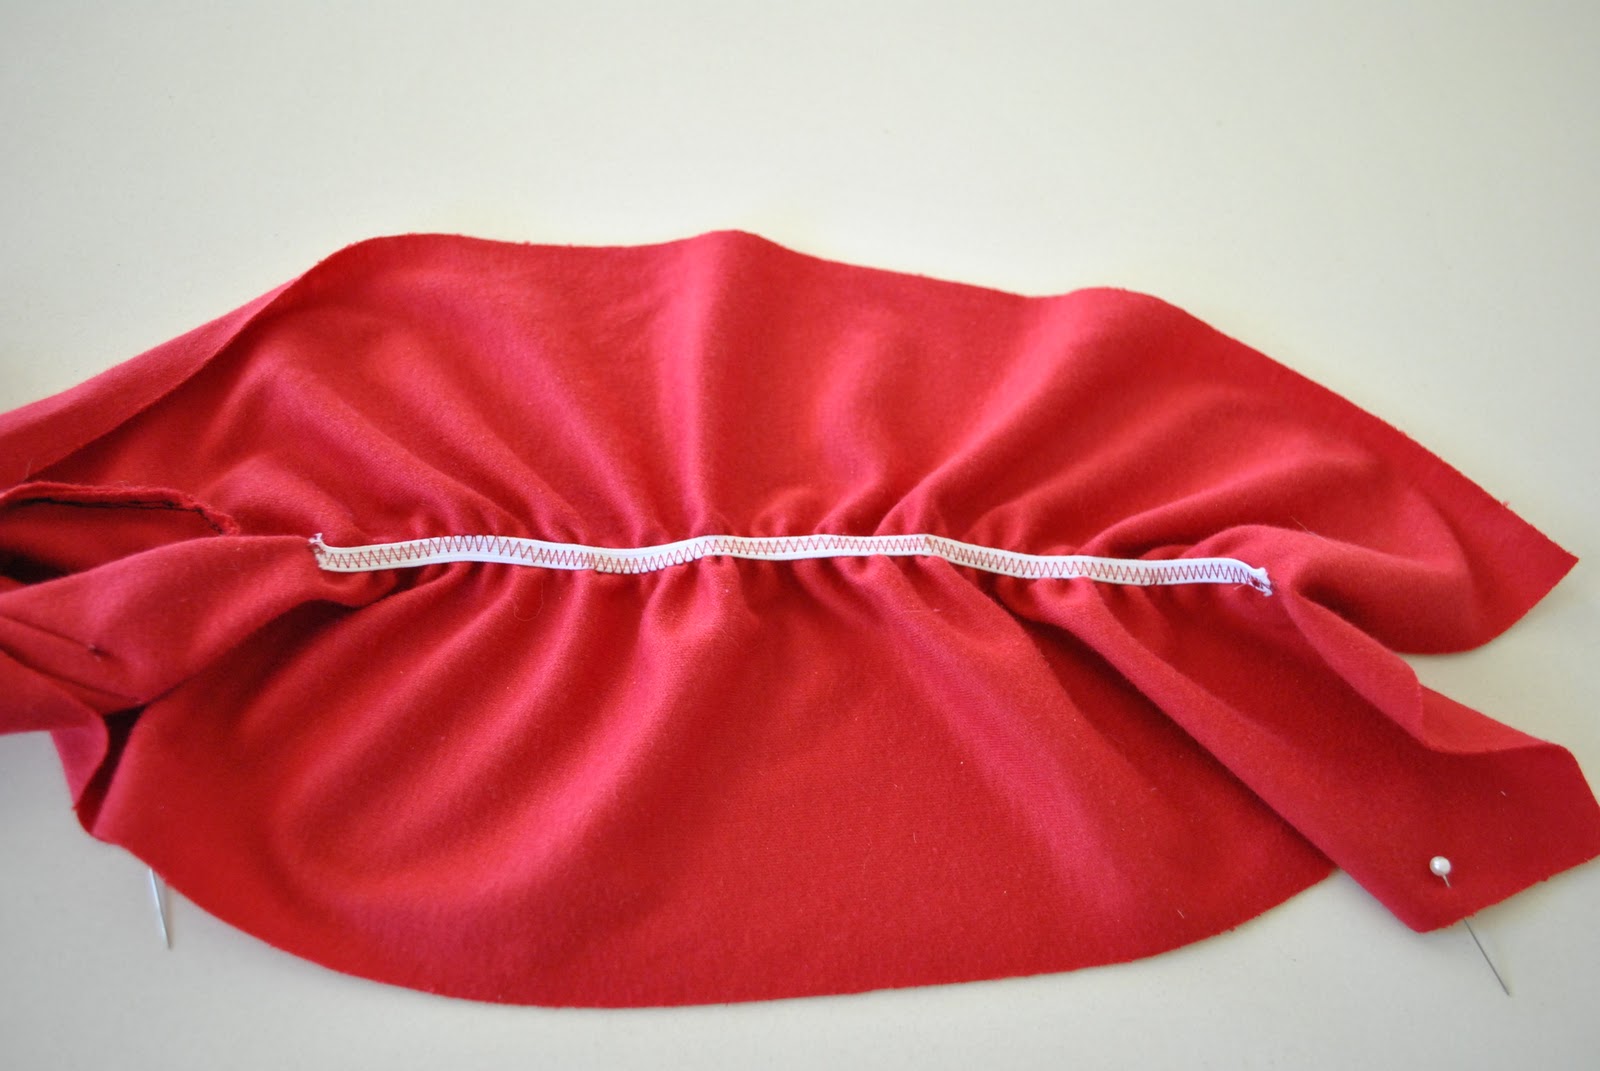
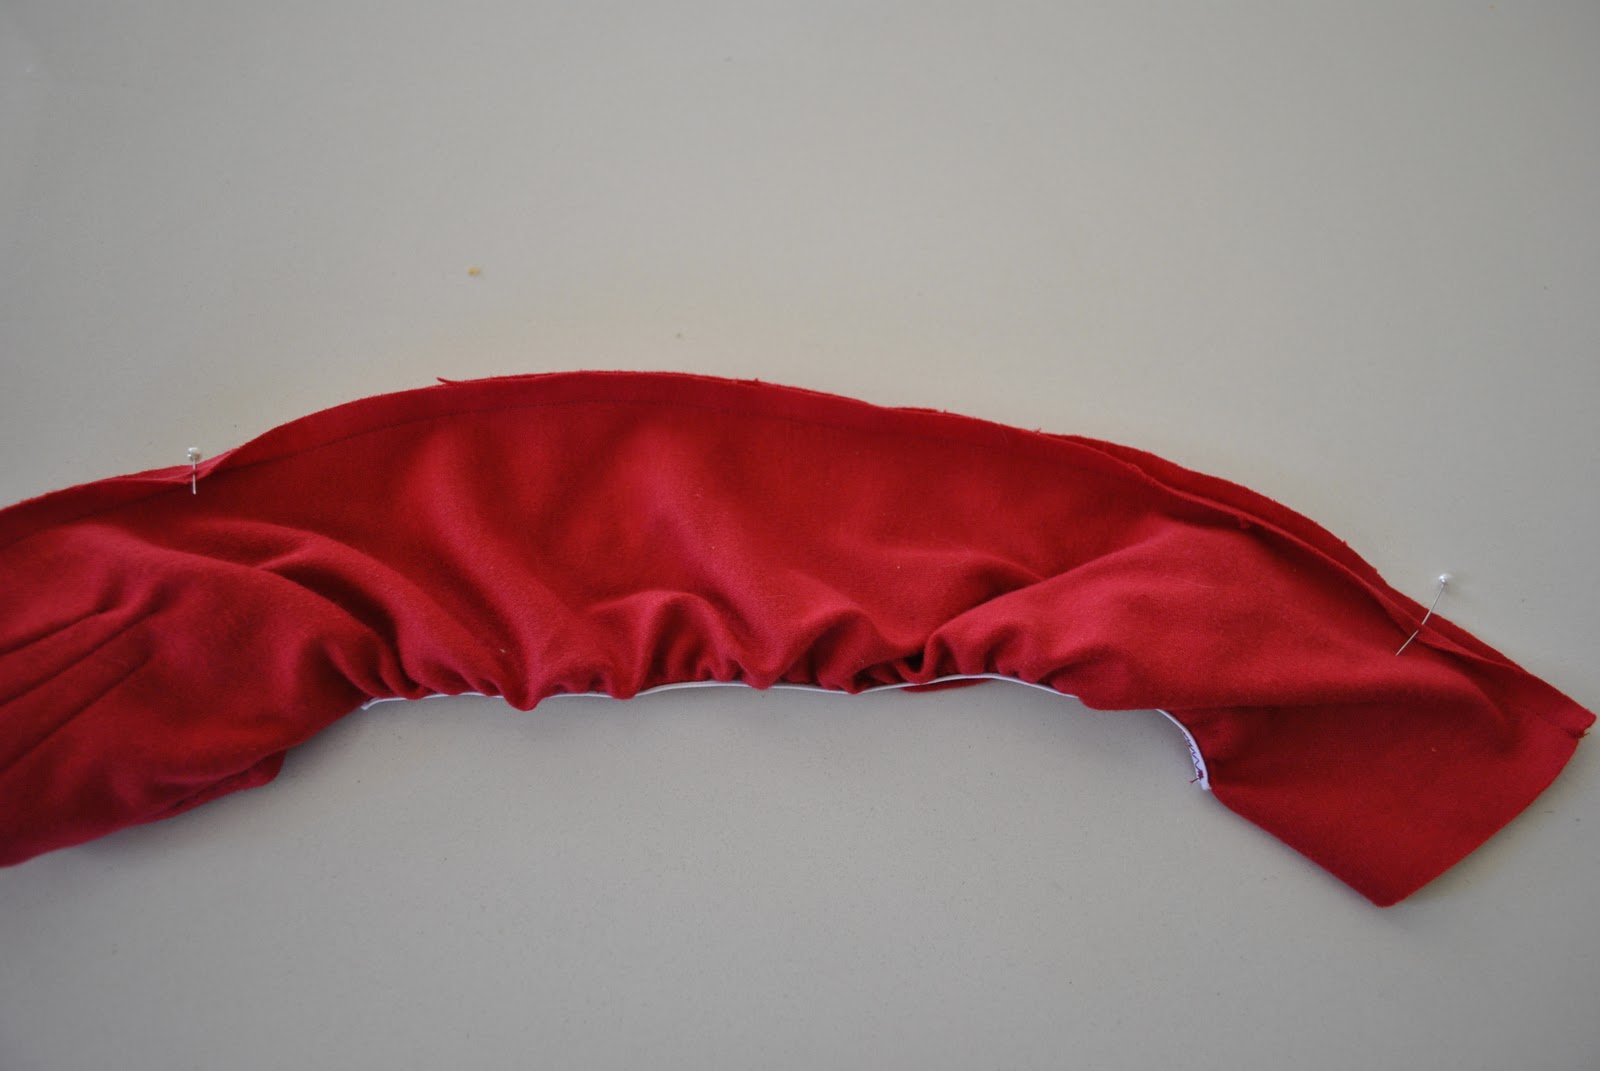
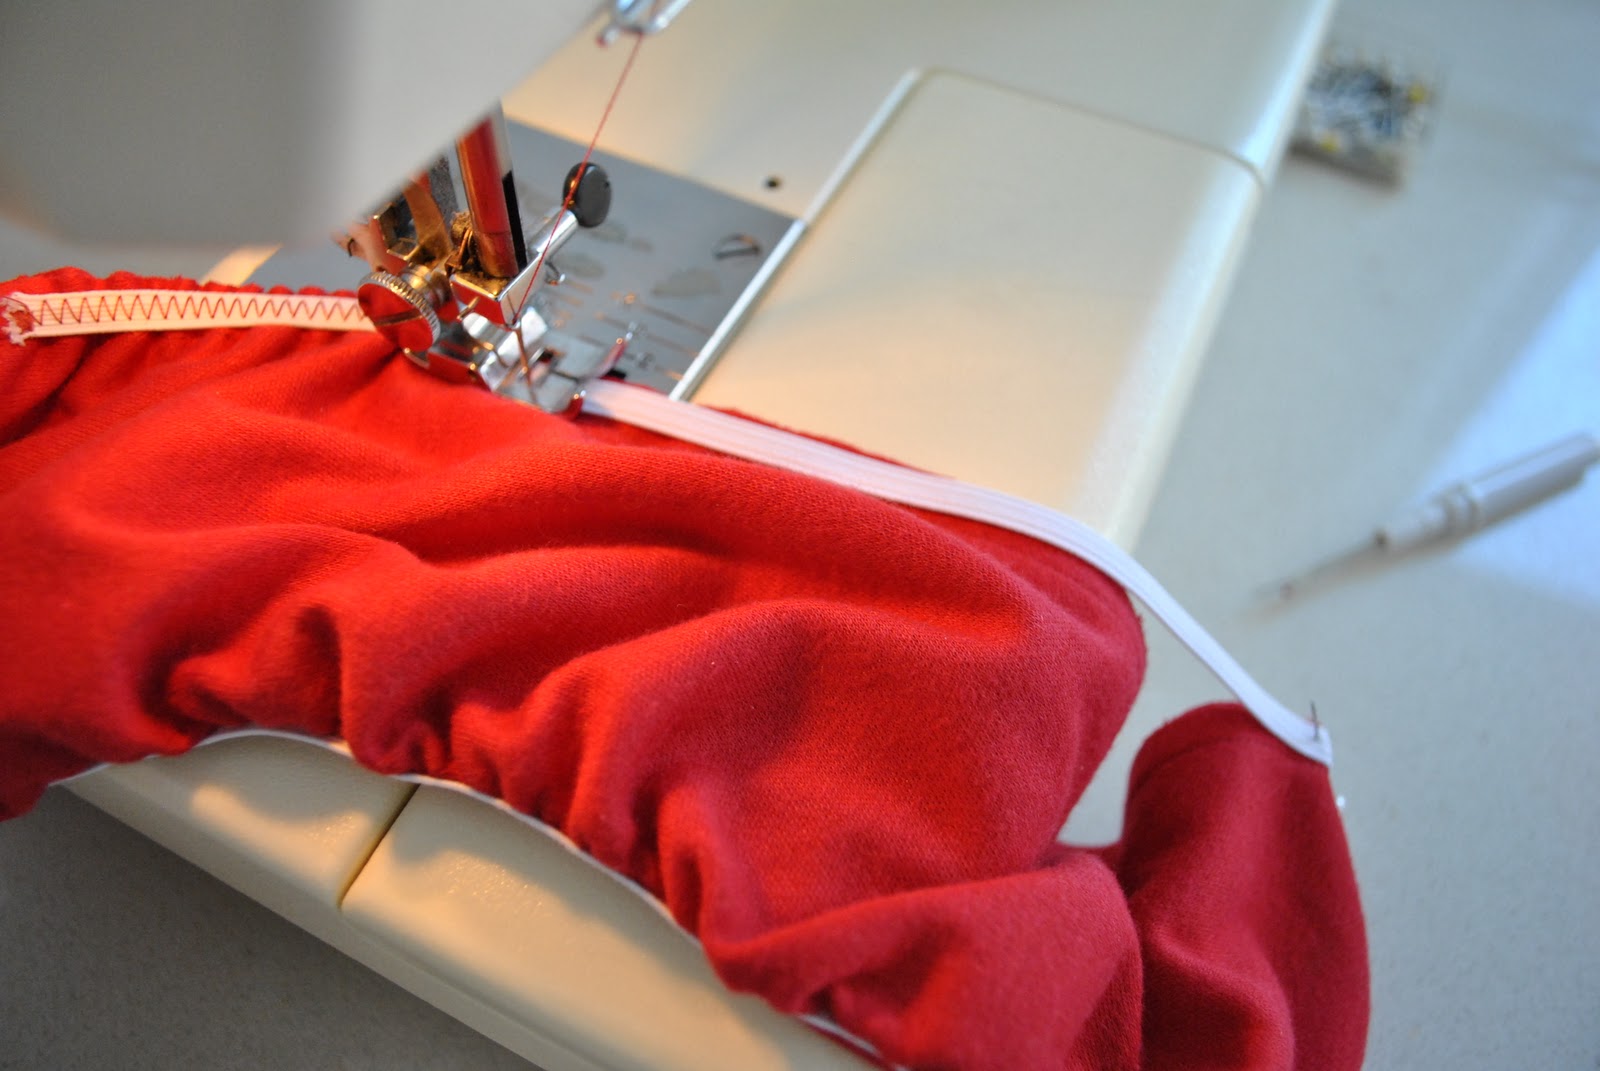
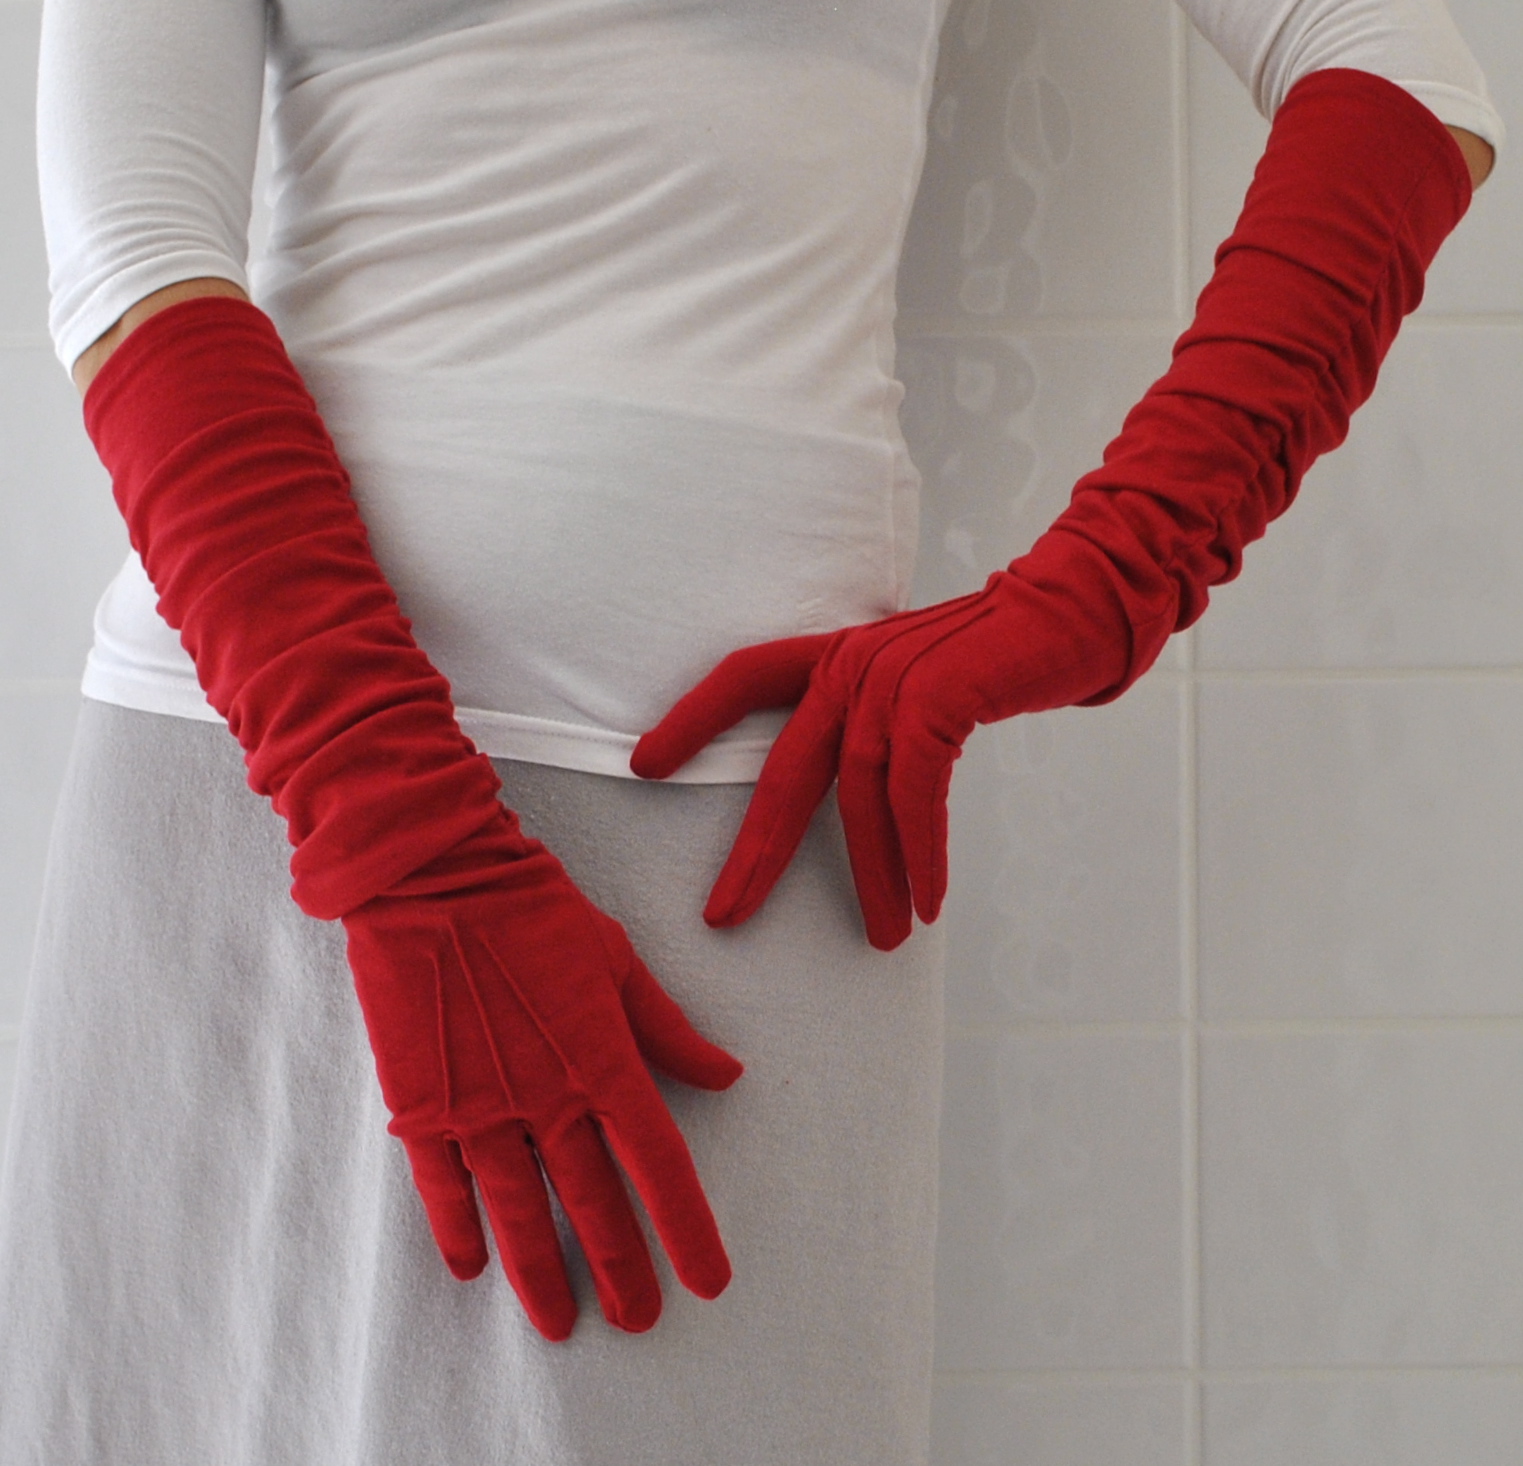
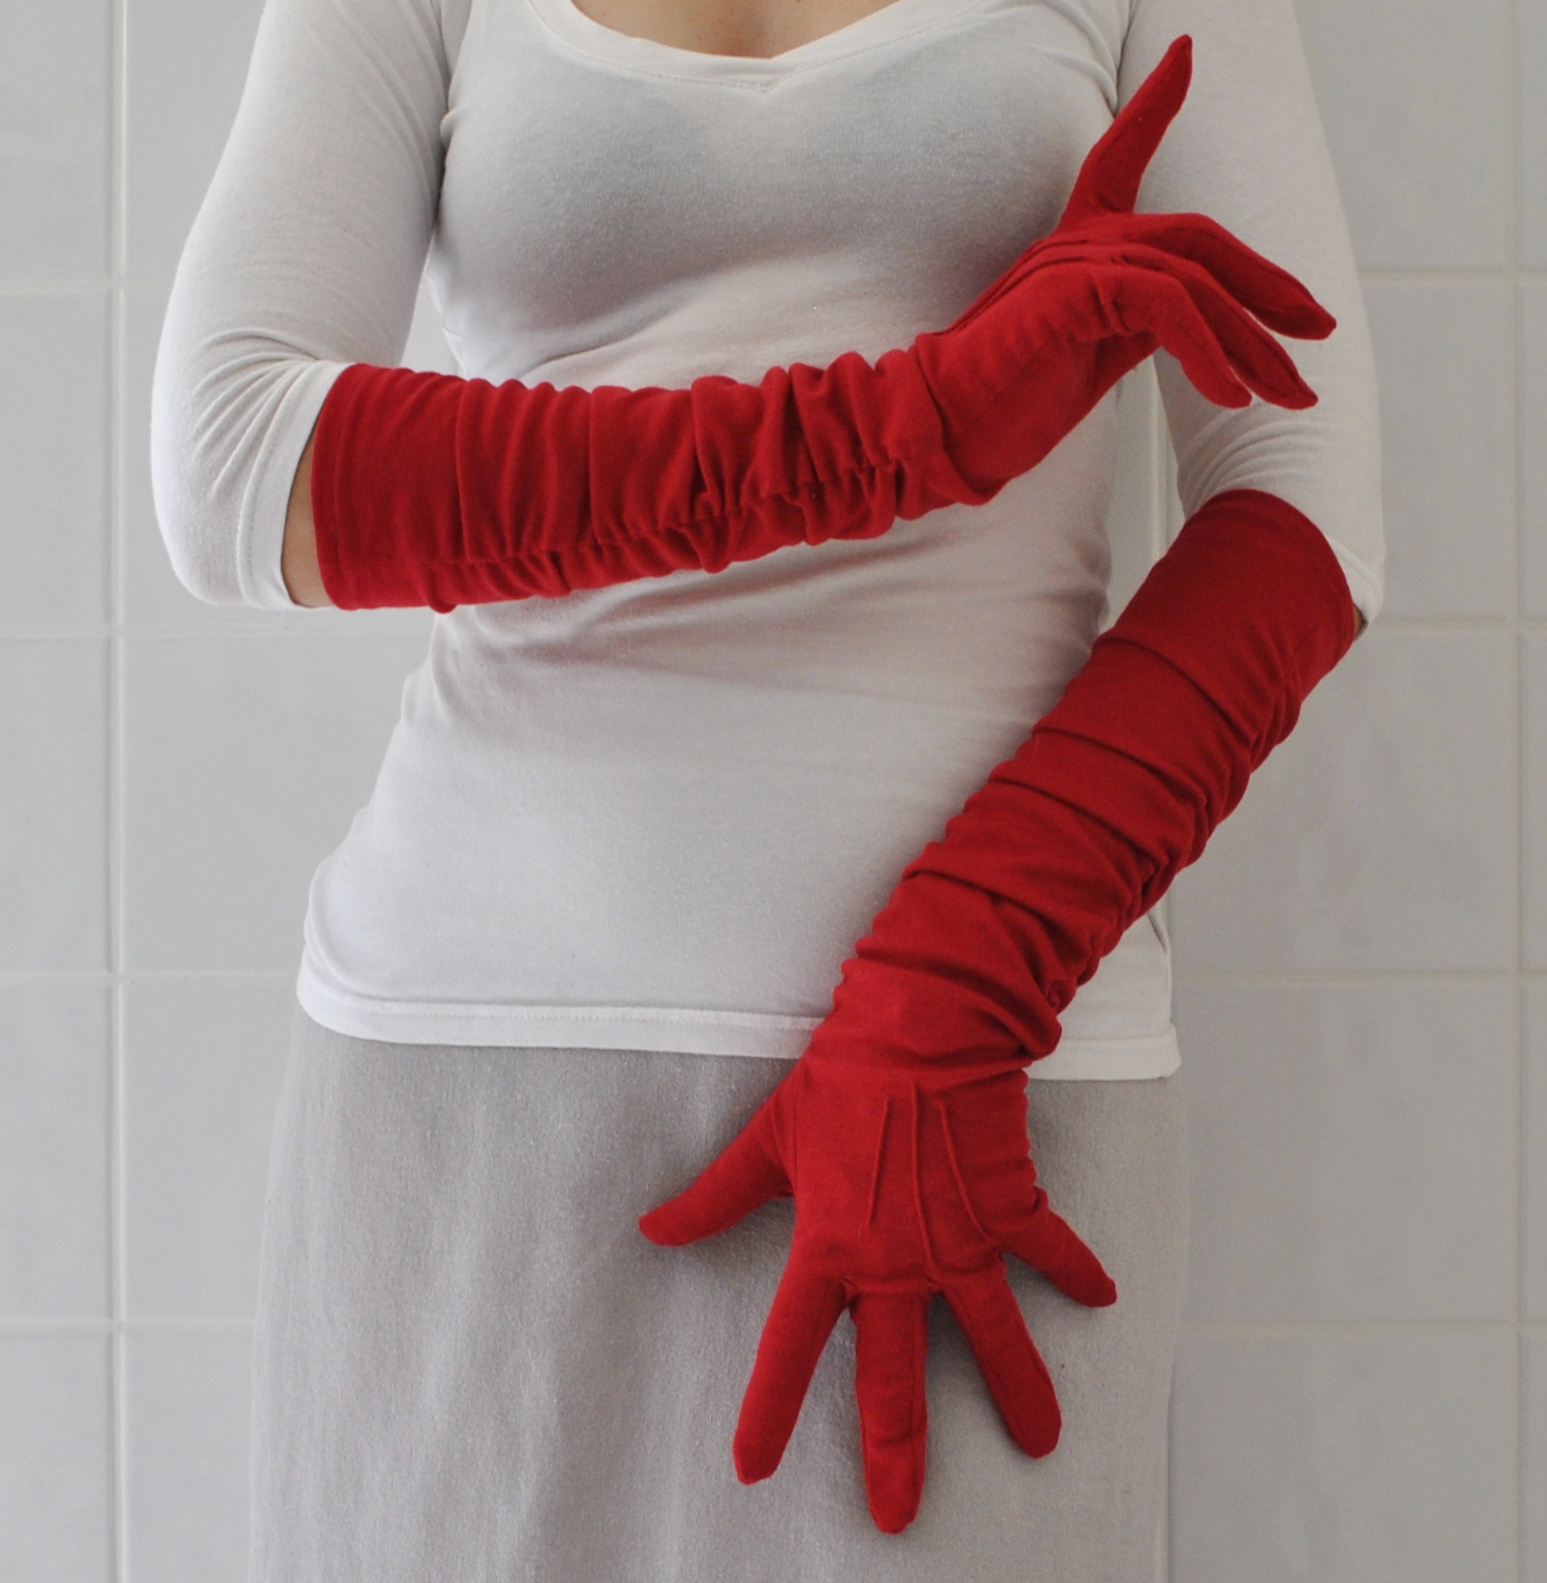
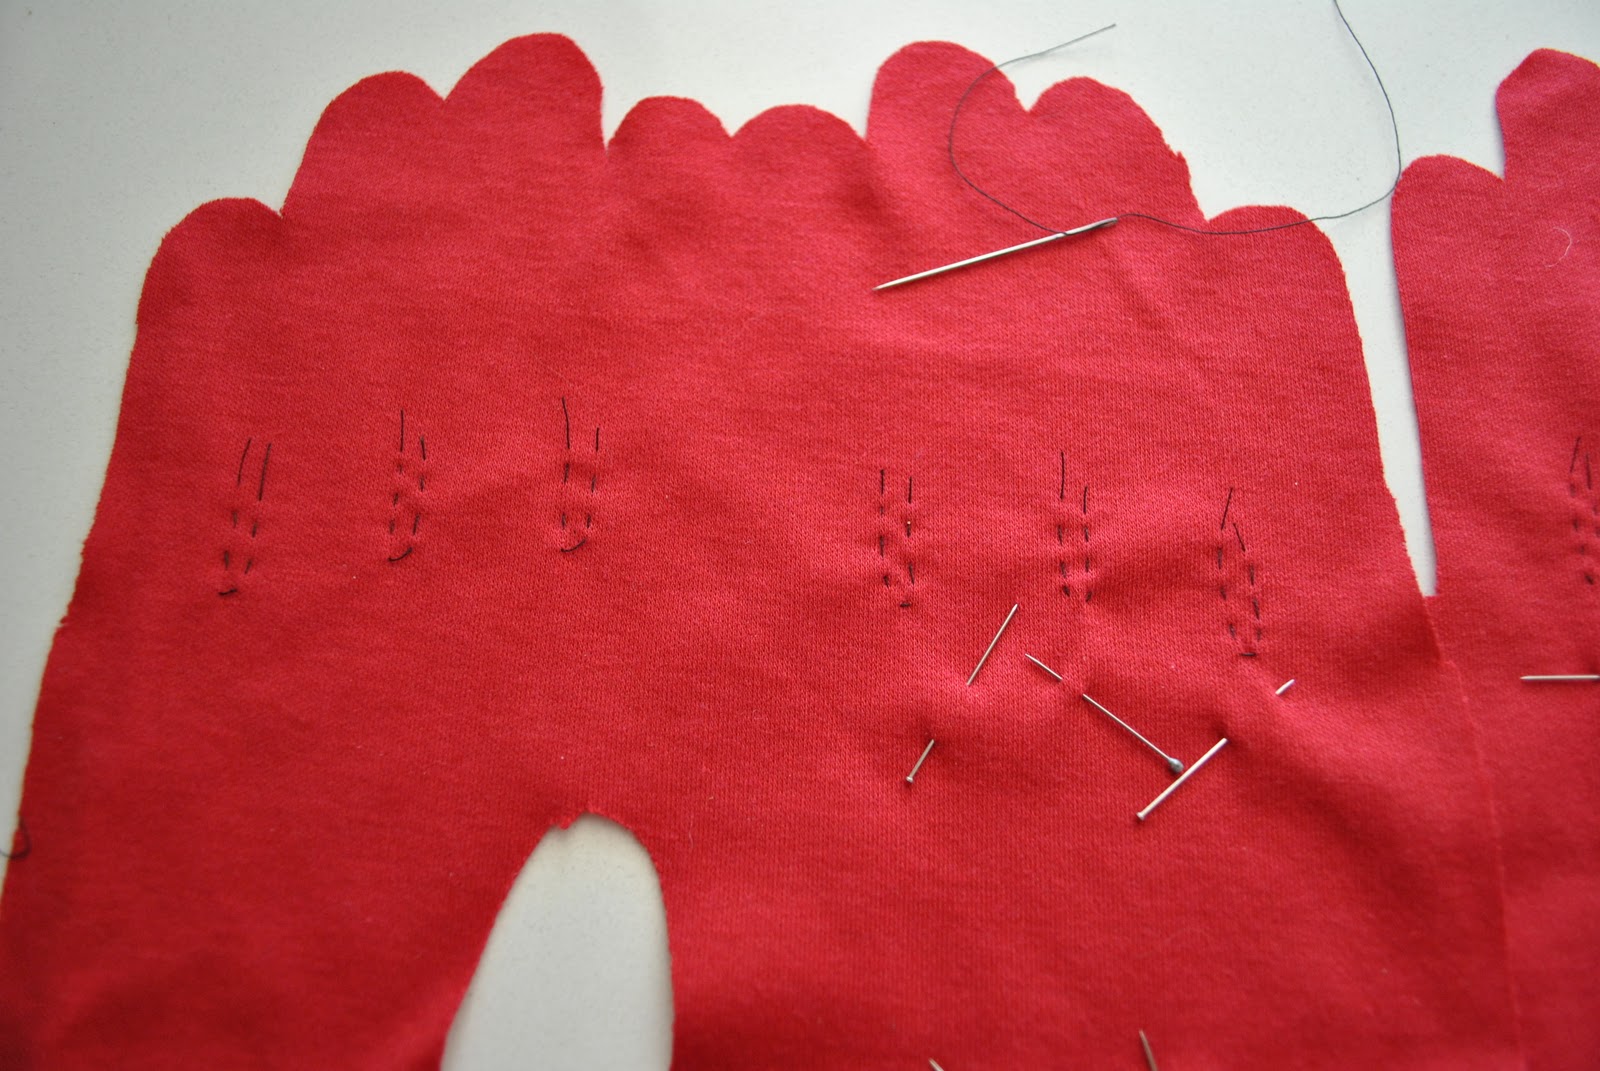
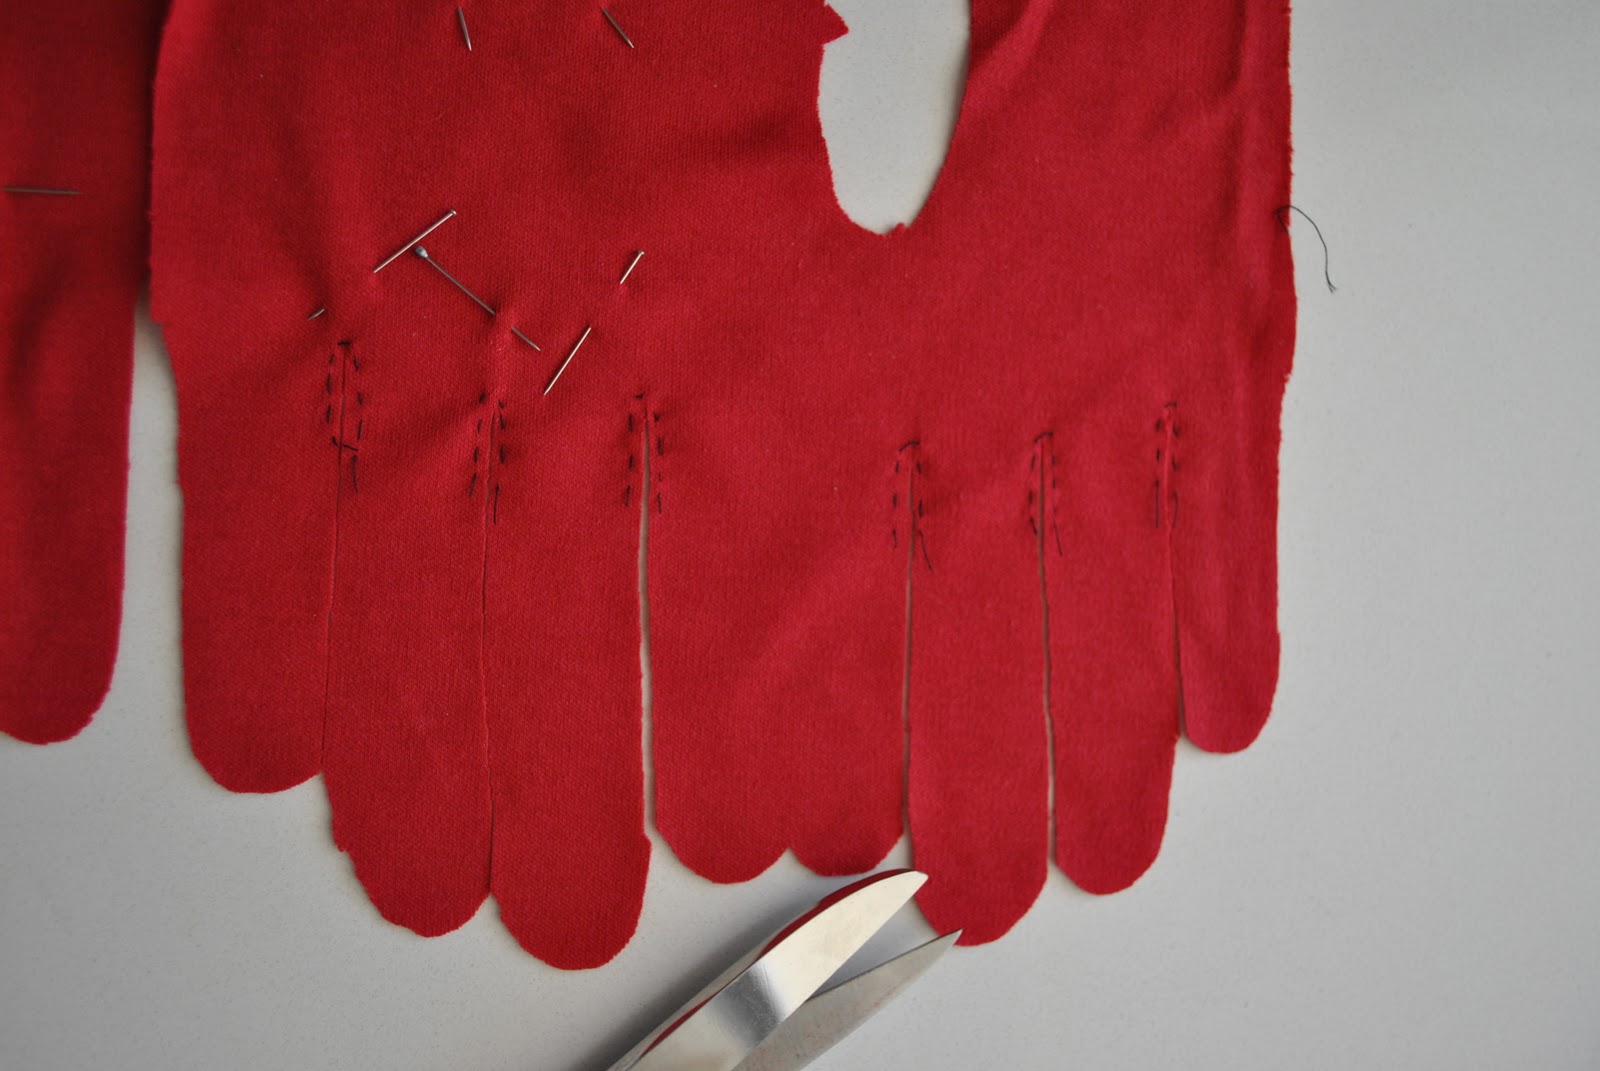
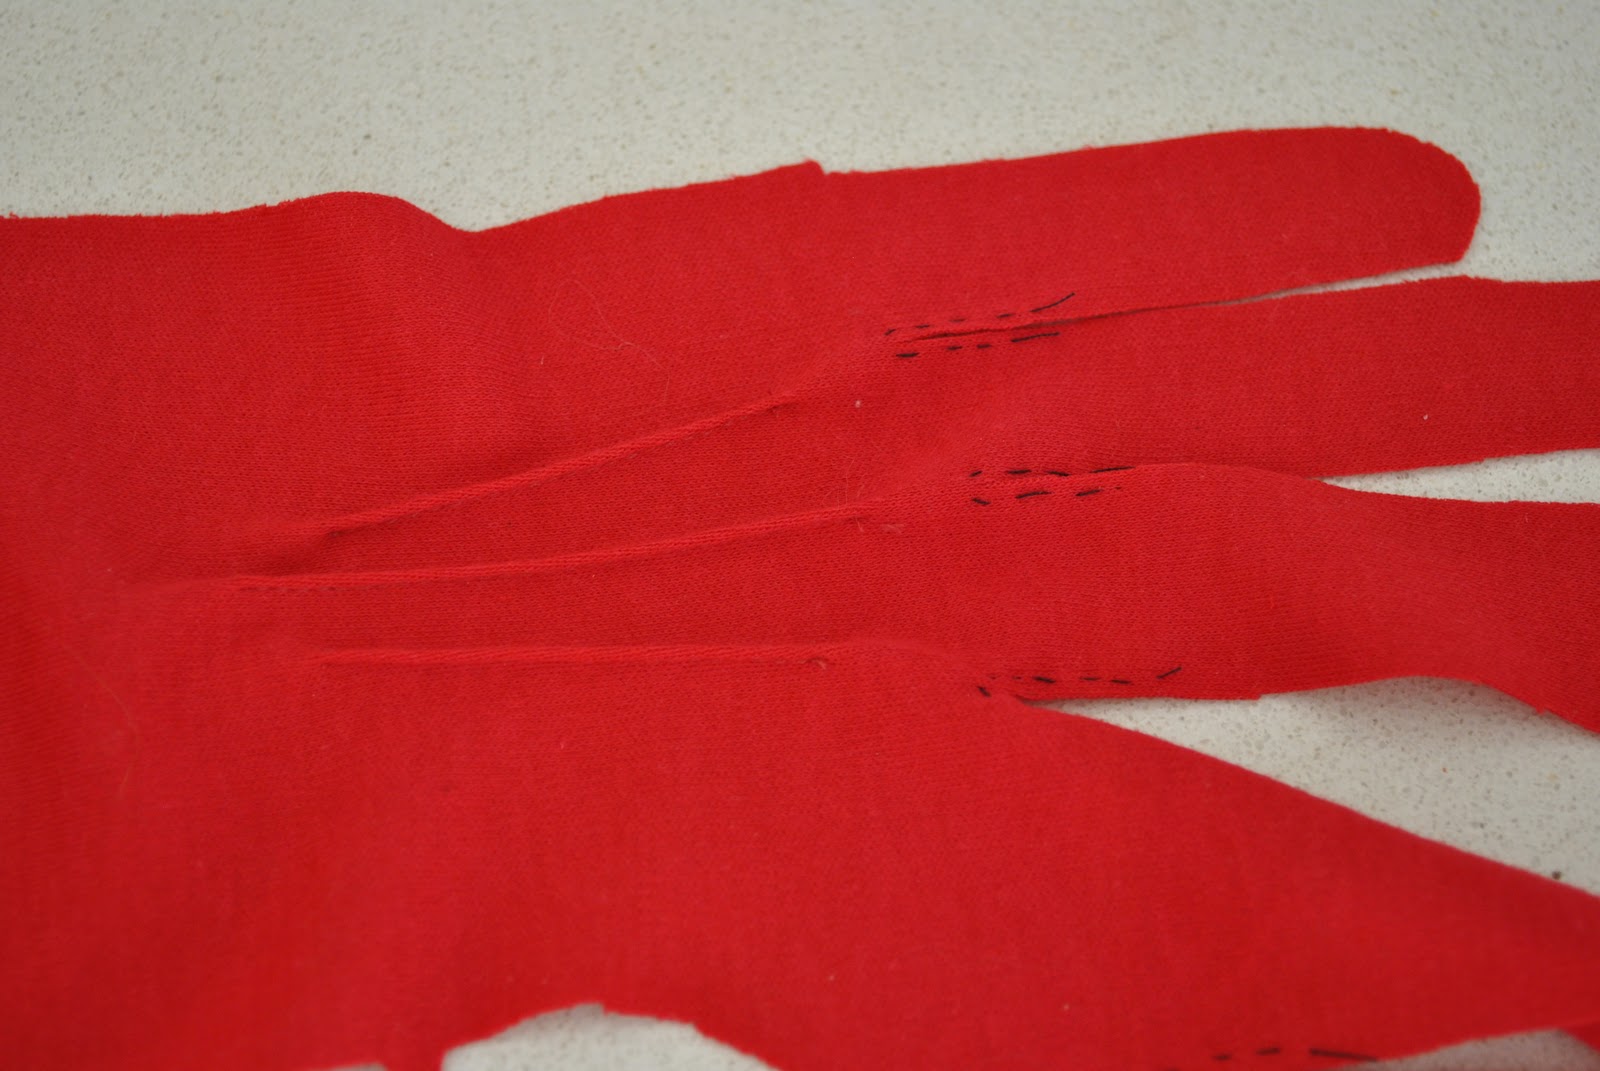
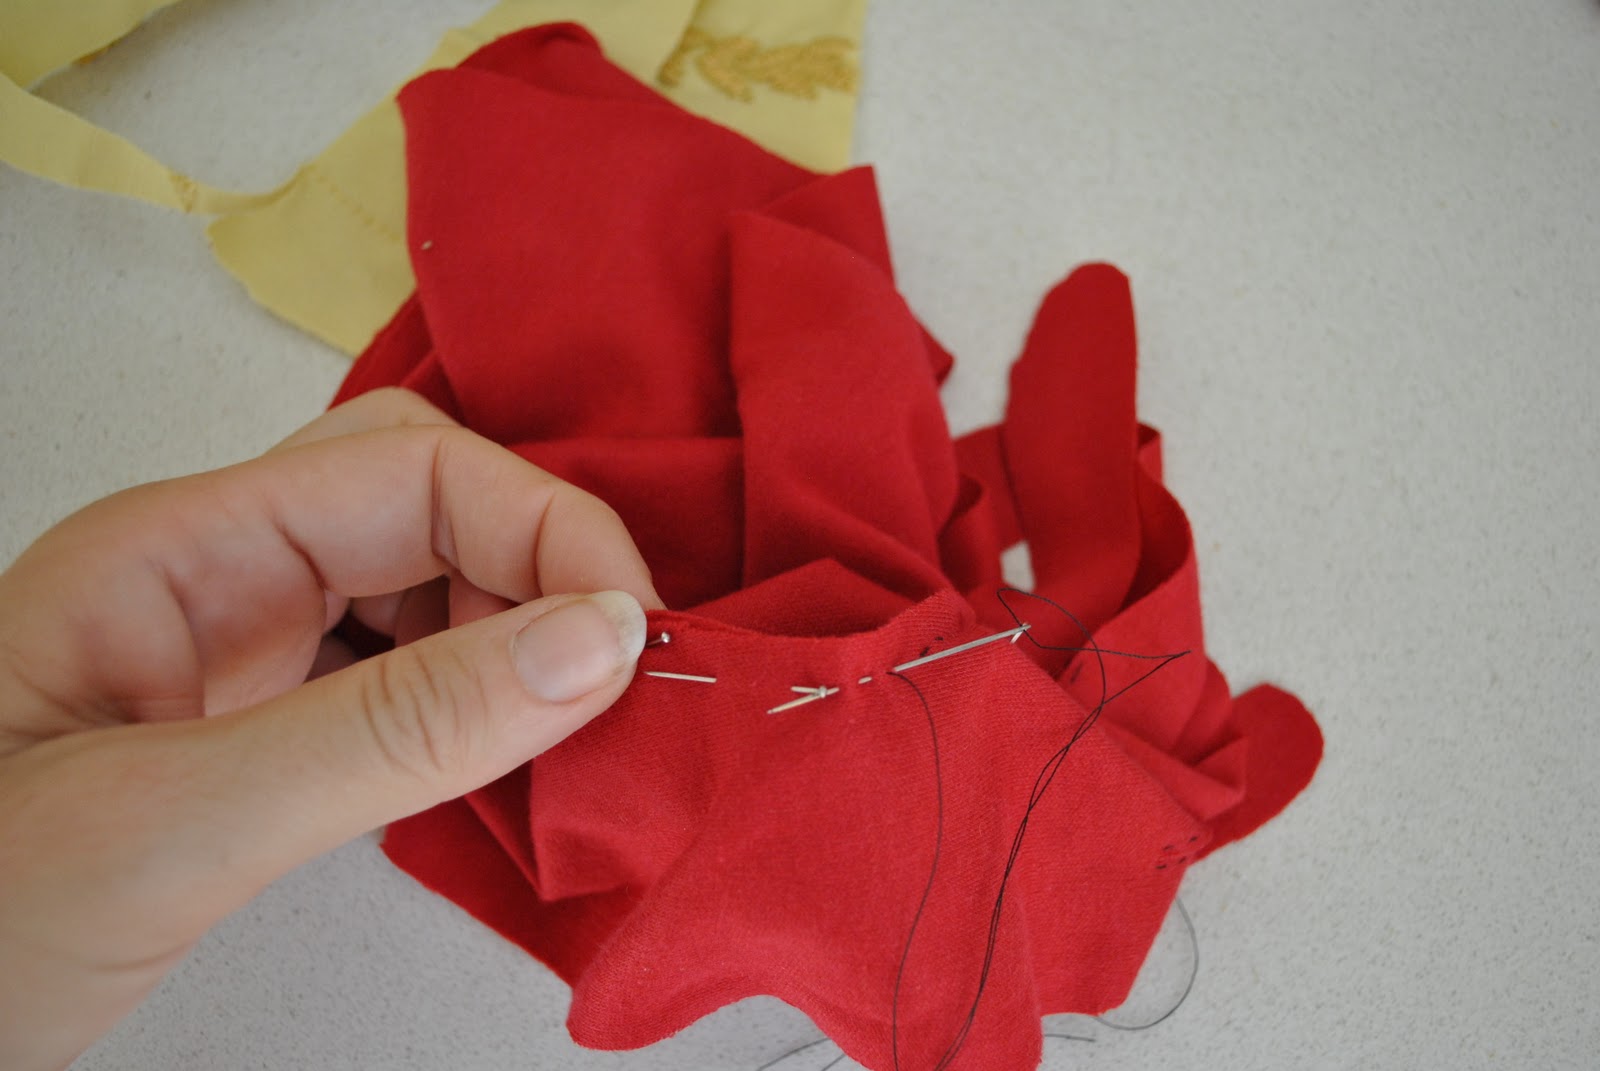
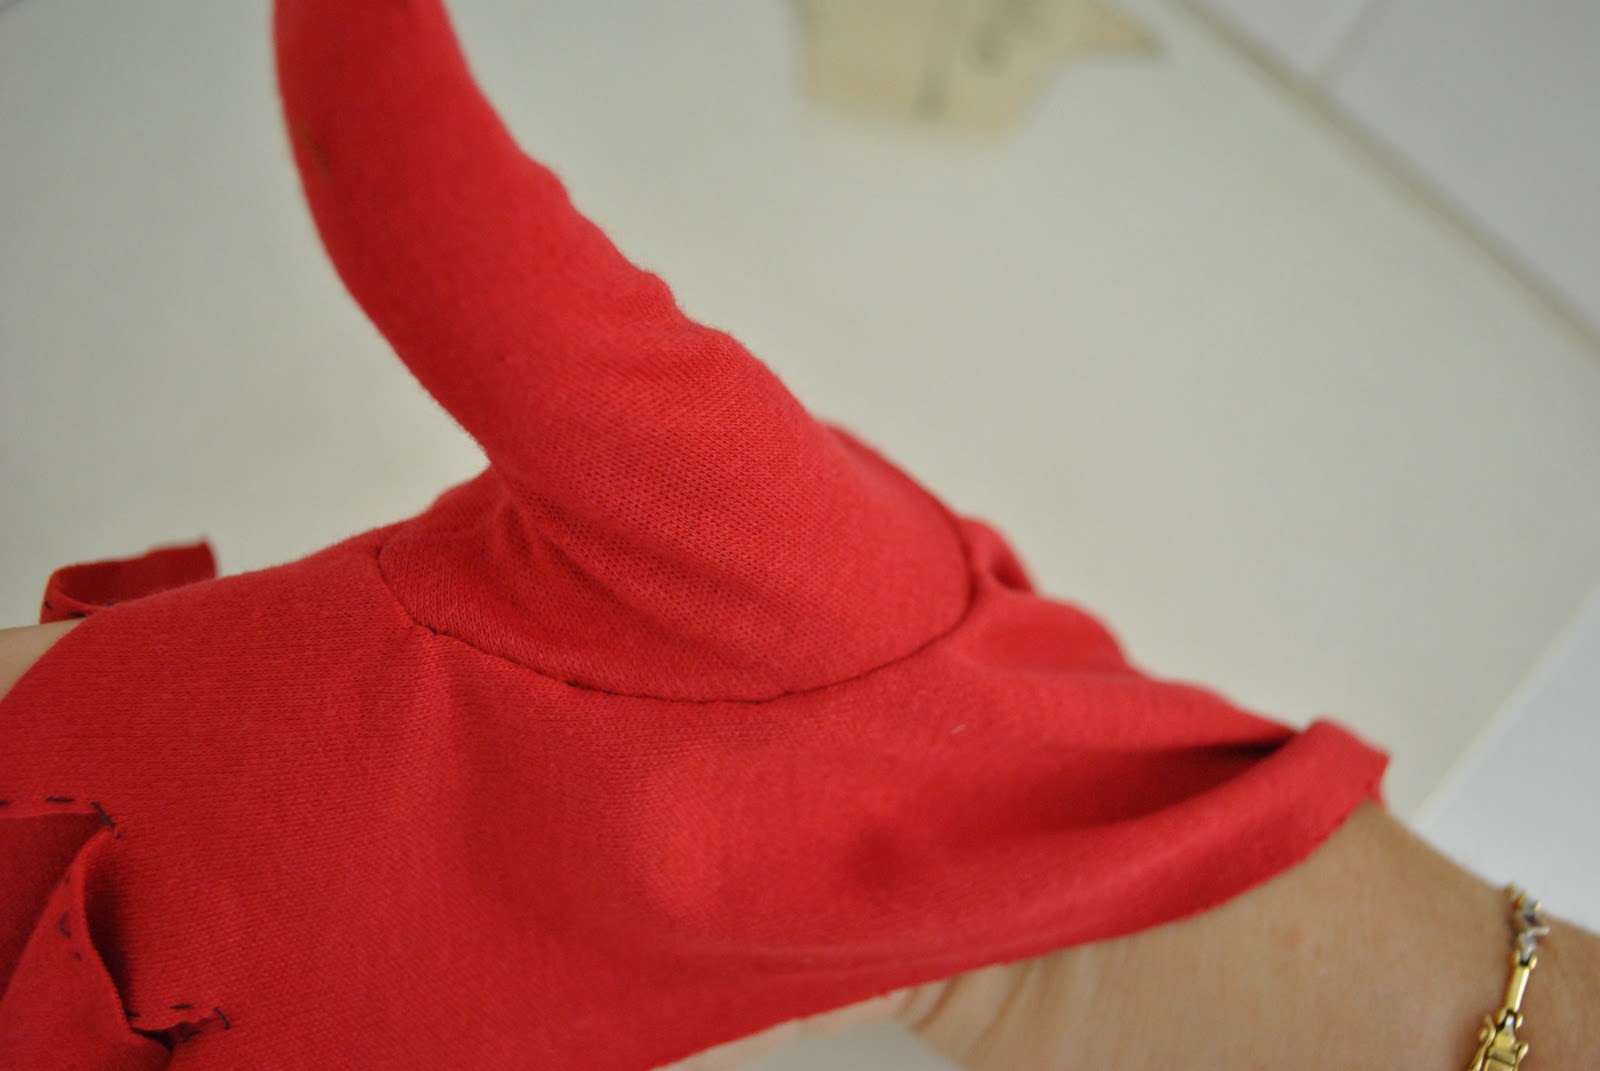
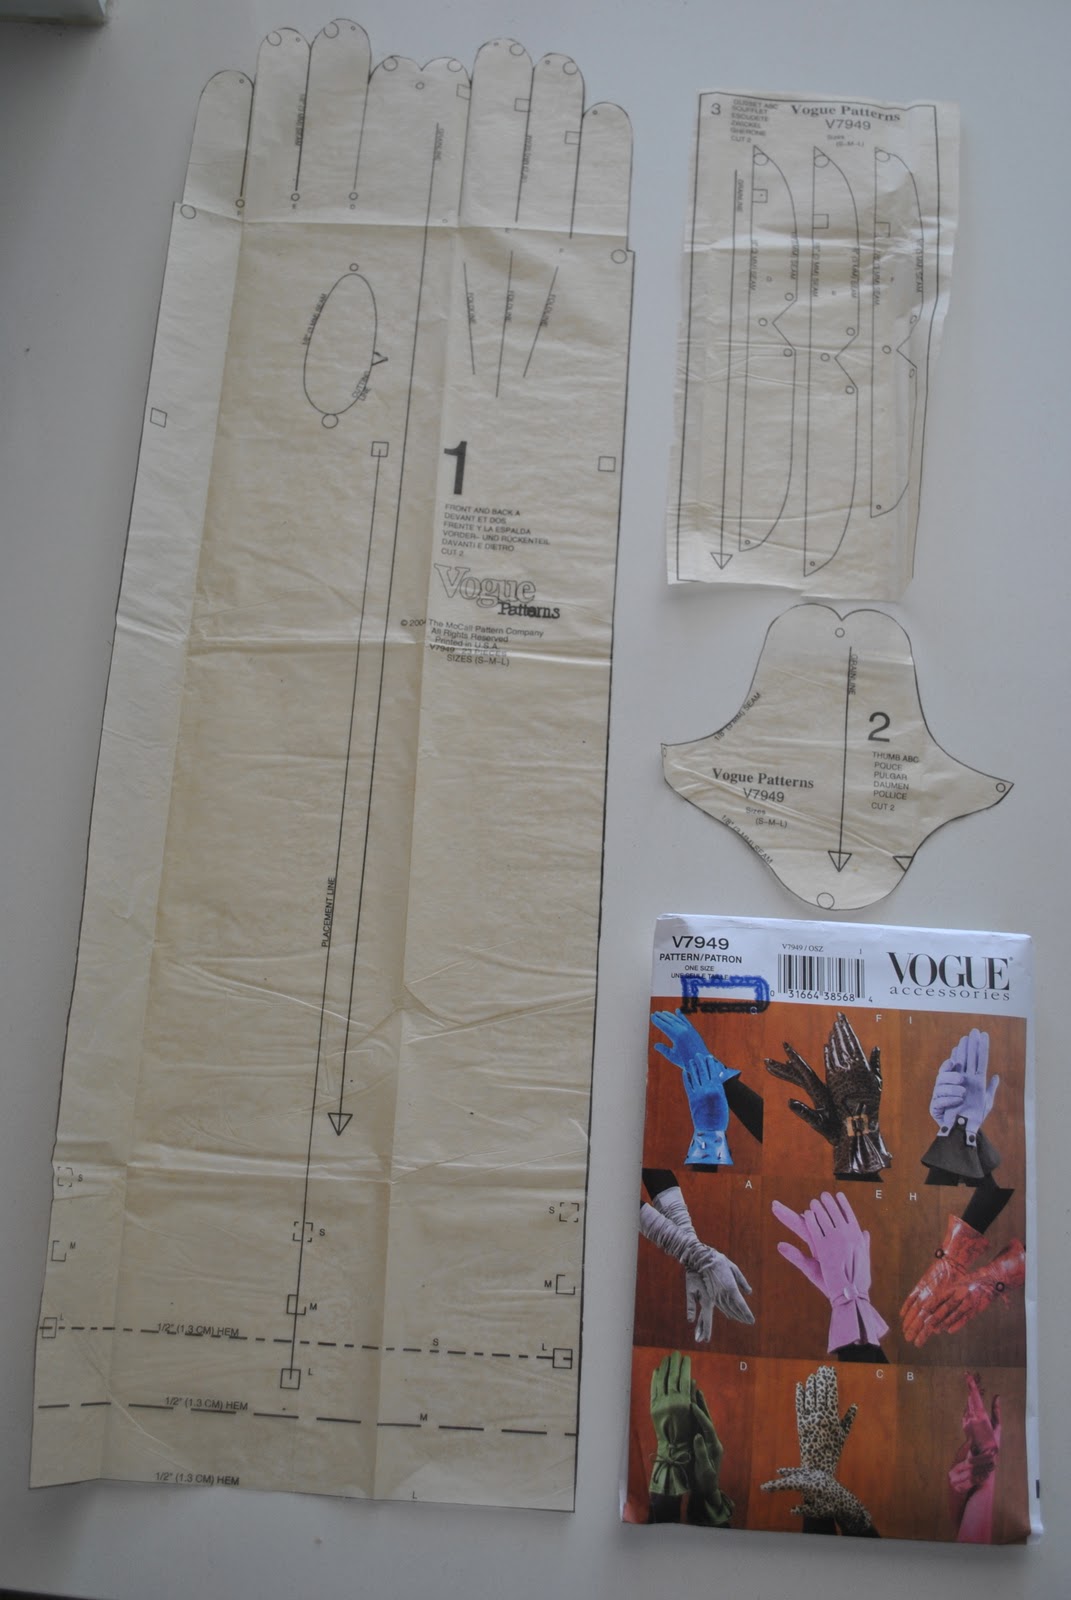
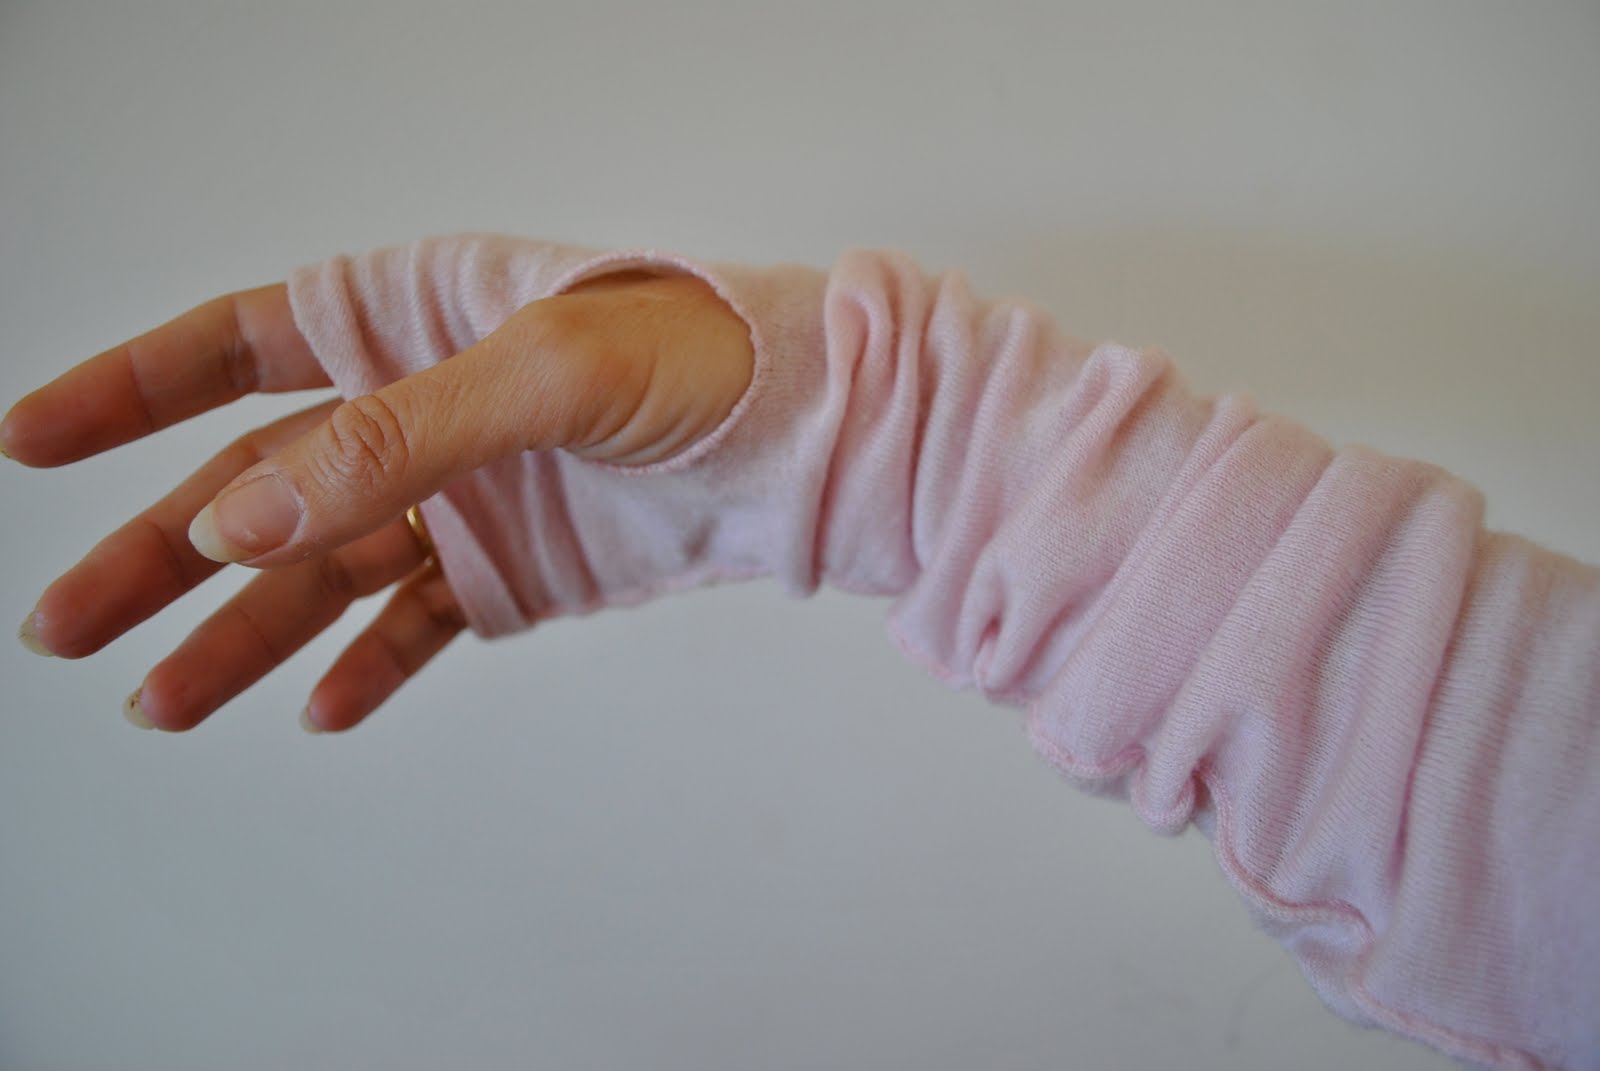
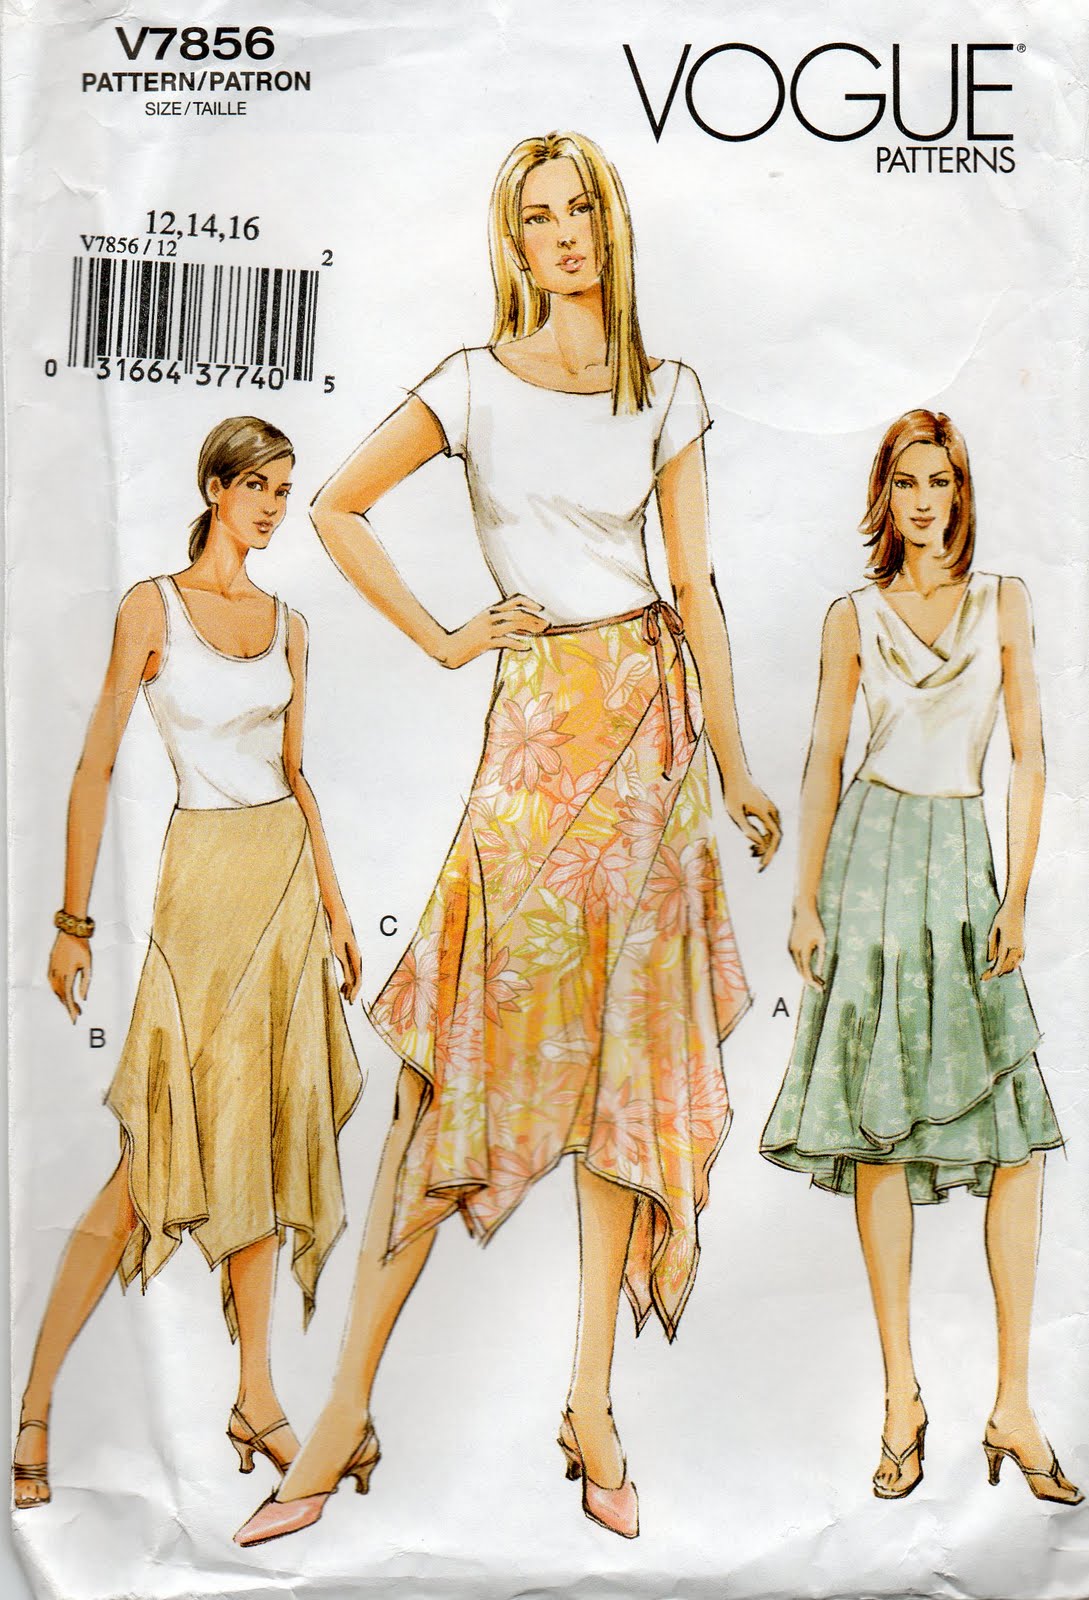
 I am using Vogue 7949, a pattern for unlined gloves, with nine variations. However hands are hands, and I’m sure the basics of glove making will be very similar, if not the same for most patterns. For this first effort, I am going with view A, an elegantly gathered, nearly elbow-length glove with three short rows of attractively slanted pin tucks stitched on the back of the hands. (the silver-grey ones on the left of the middle row)
Fabric:
The pattern stipulates that a stretch fabric should be used, recommending stretch velvet, stretch satin and stretch synthetic leather or suede. Synthetic leather or suede is recommended for the contrast trims on a few of the designs, namely the wrist skirtlet (? is there a proper name for that?), which is an area that obviously doesn’t need to be stretchy.
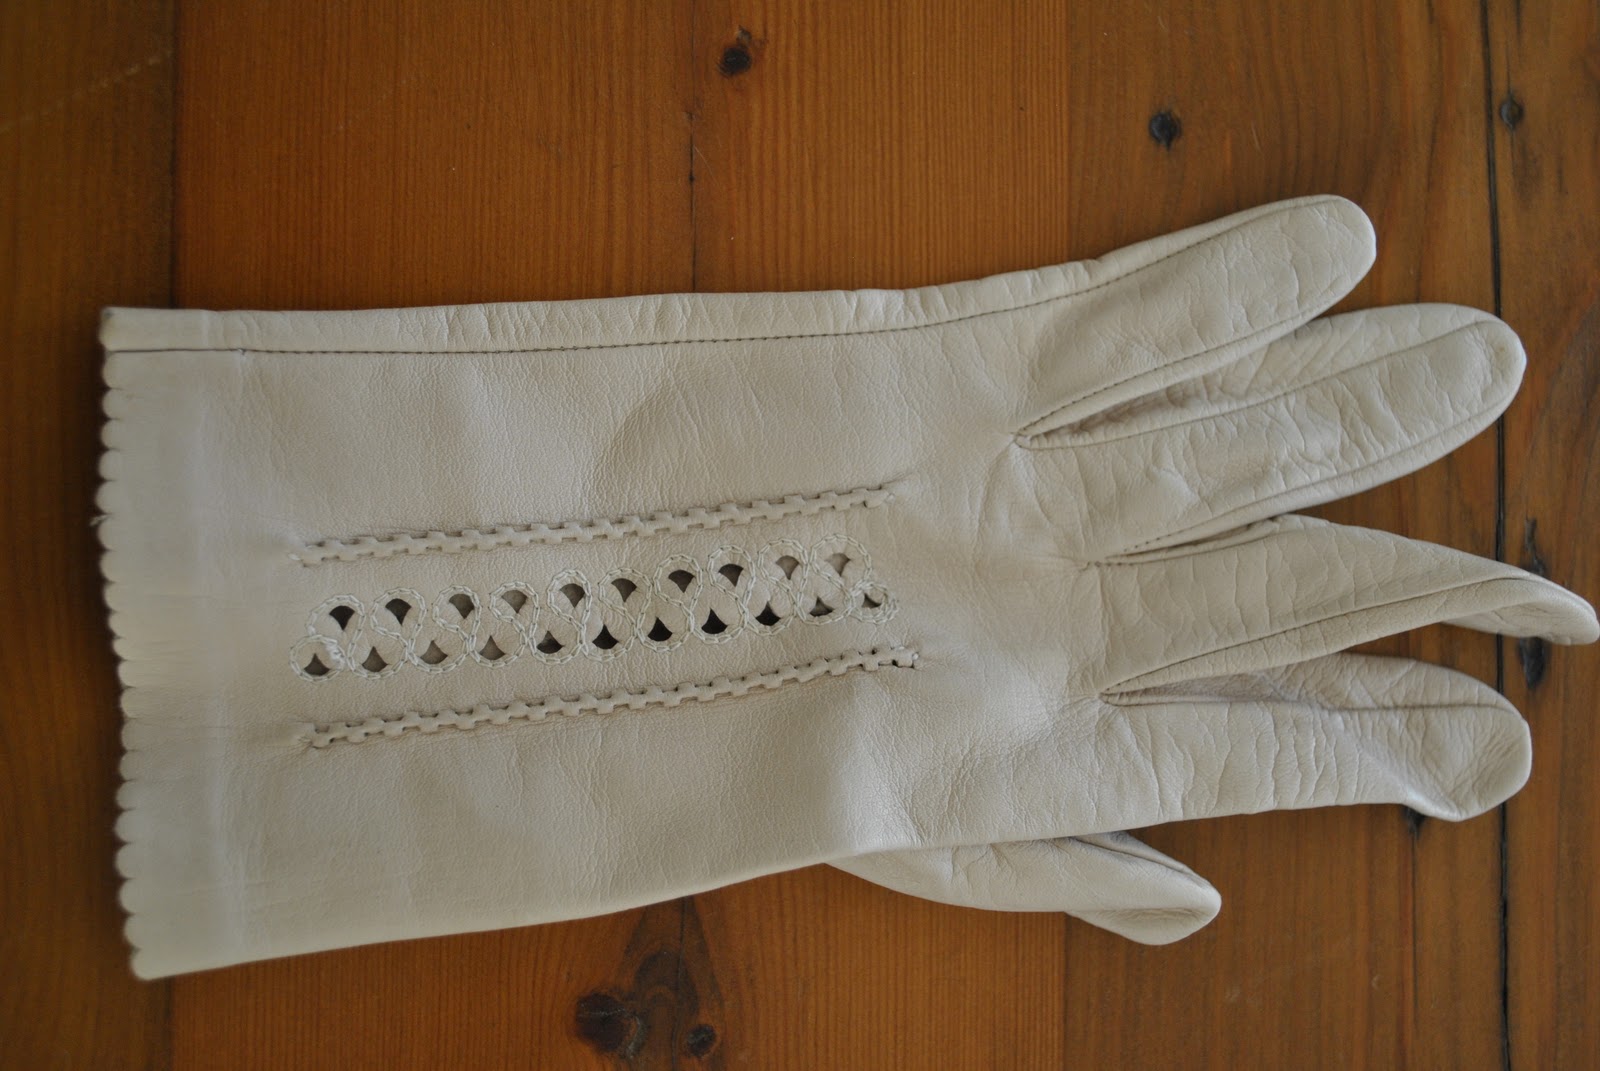
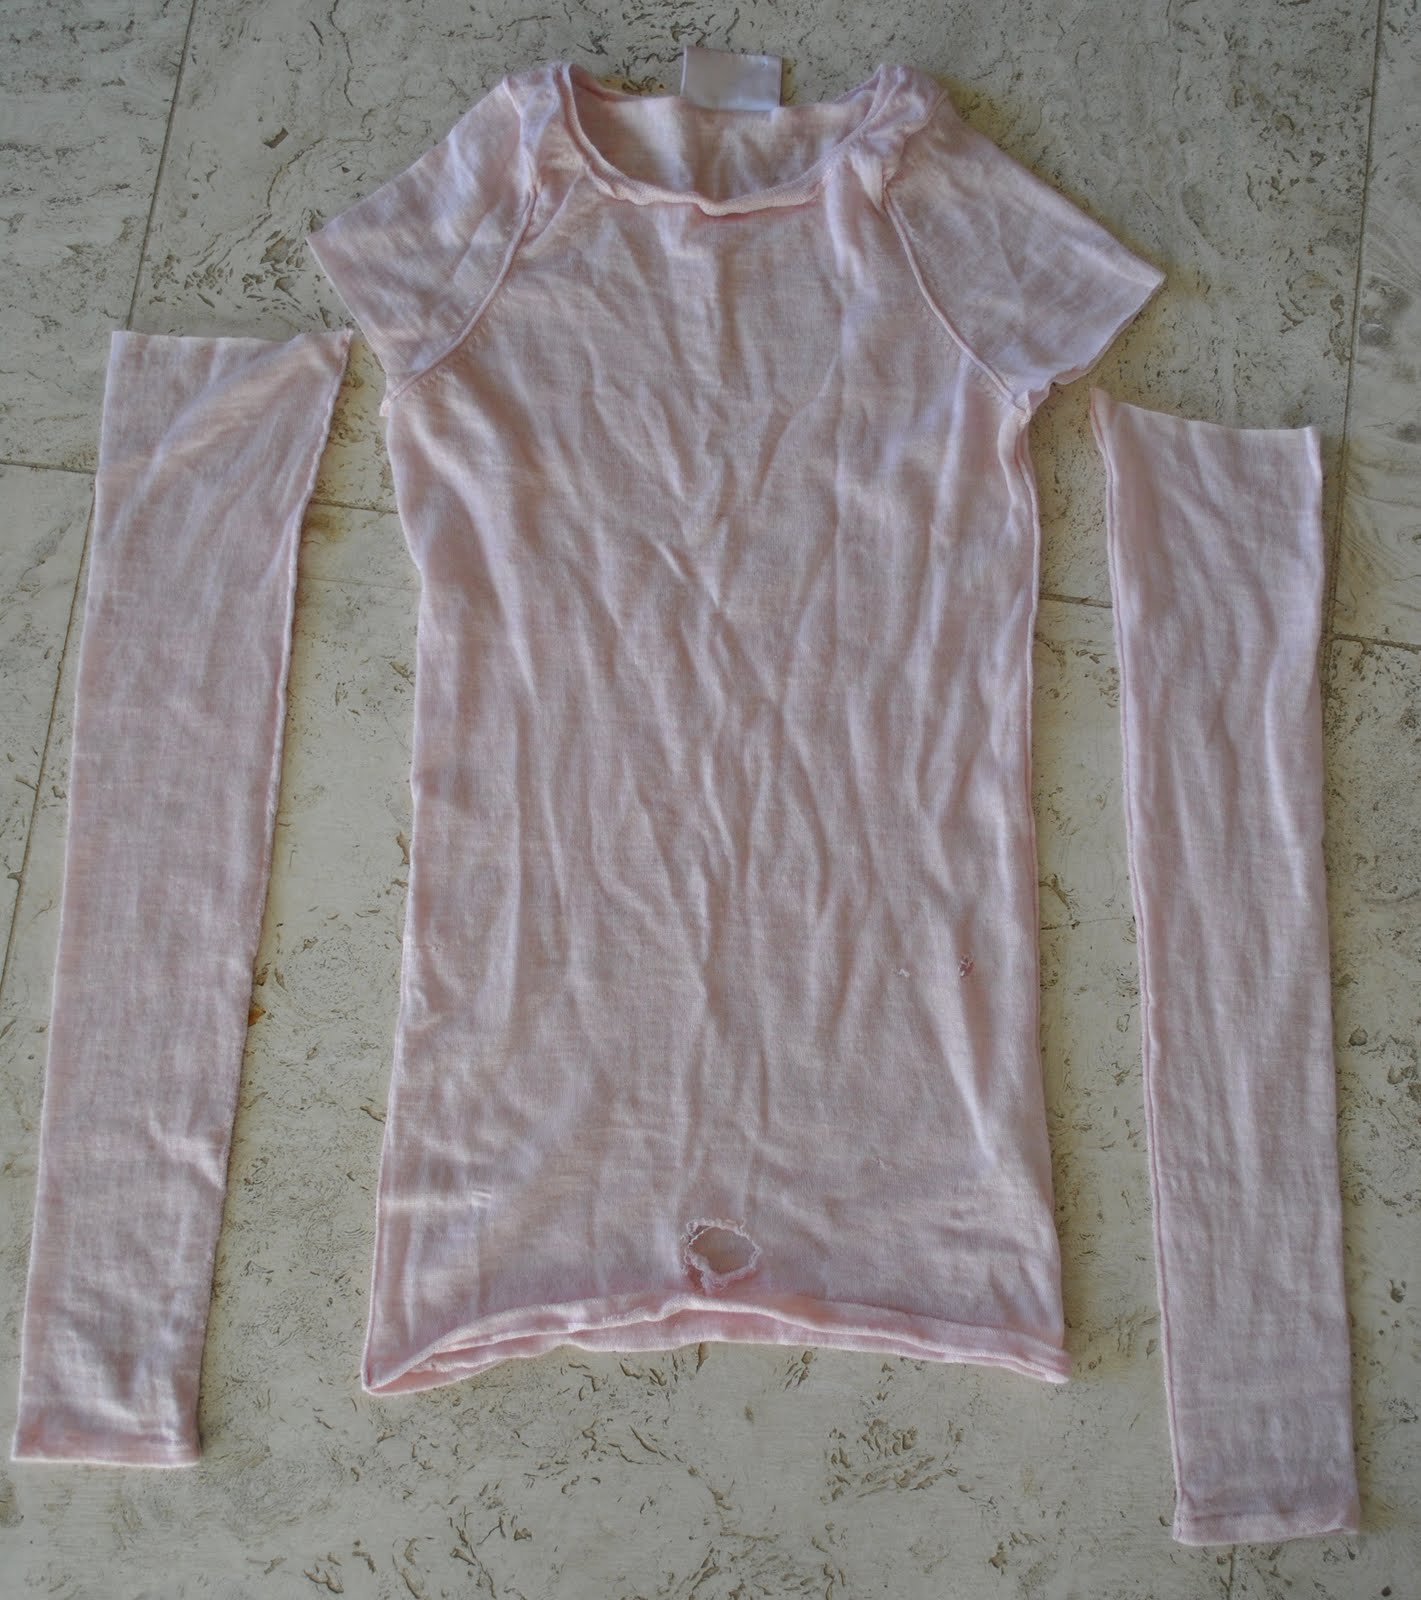
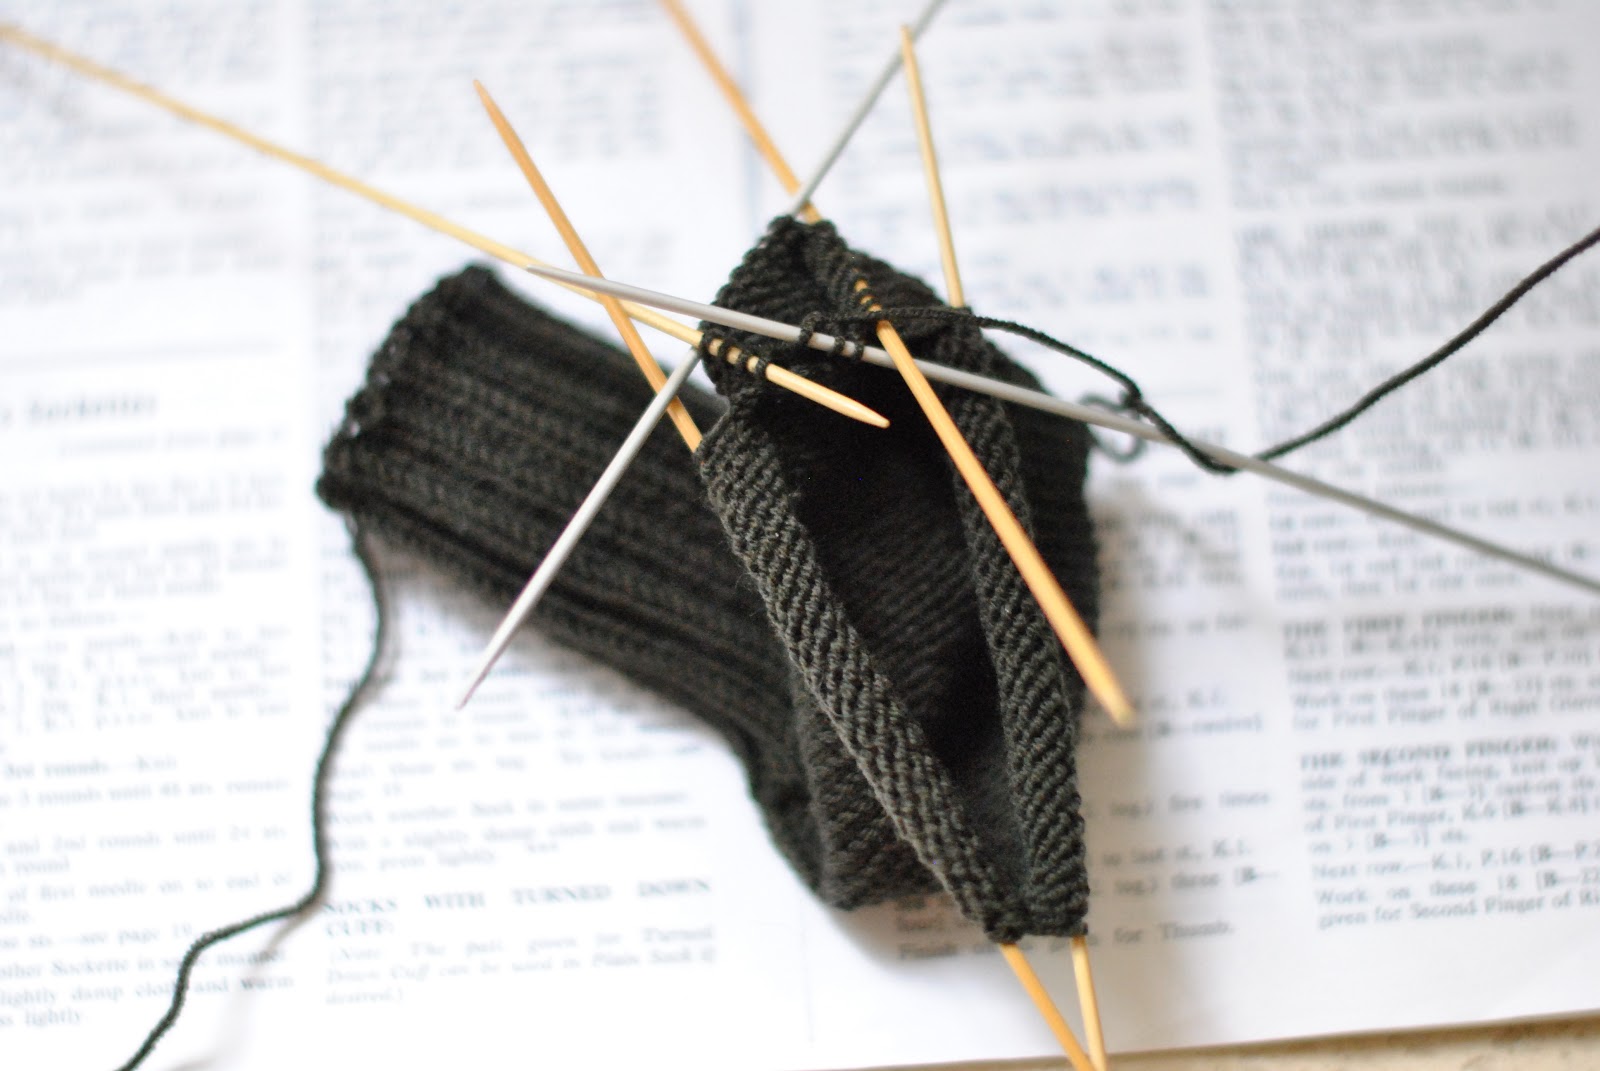
So in my initial trial run of this pattern I am using cotton jersey knit with some stretch in it; and was ultimately planning to make myself suede gloves, using an old skirt that I found in an op shop. The suede is obviously not stretchy, but I shall cross that bridge when I come to it… I do have some non-stretchy leather gloves already that are fabulous and when the time comes I will size up how to go about using this pattern to make my own..
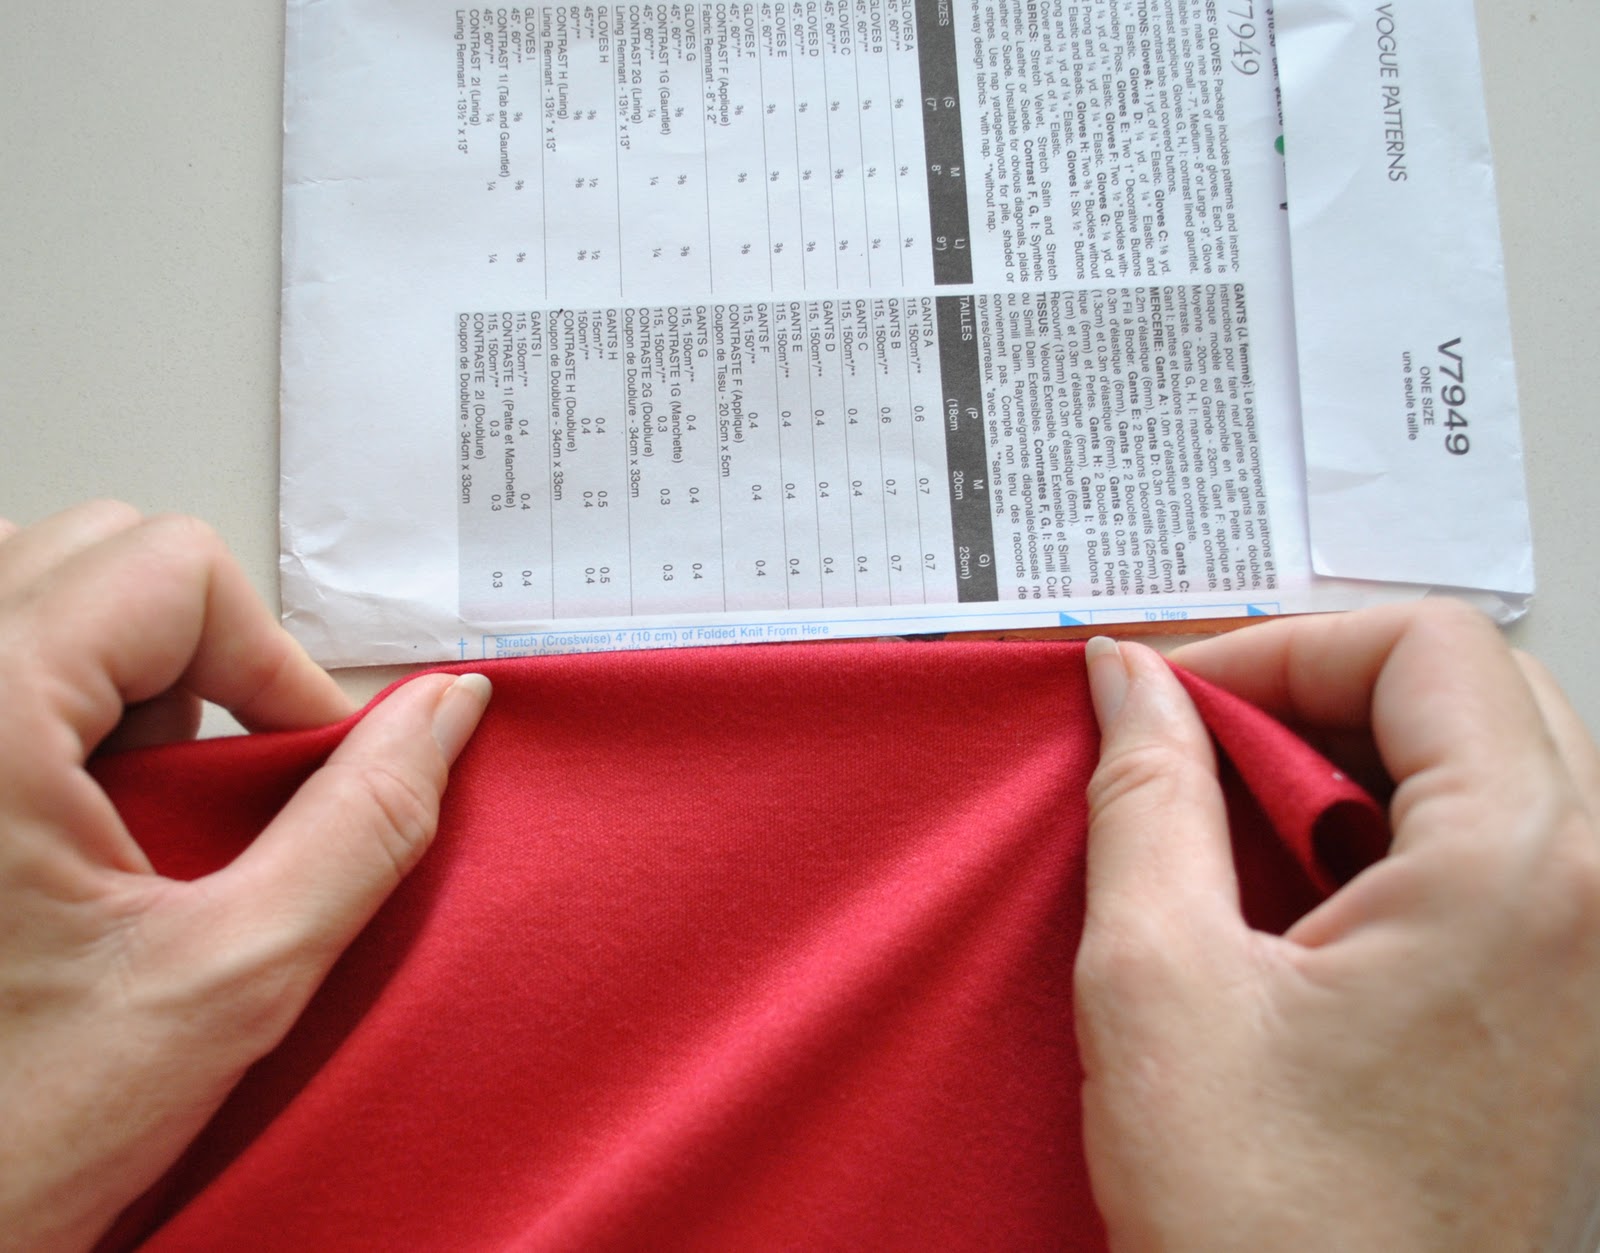
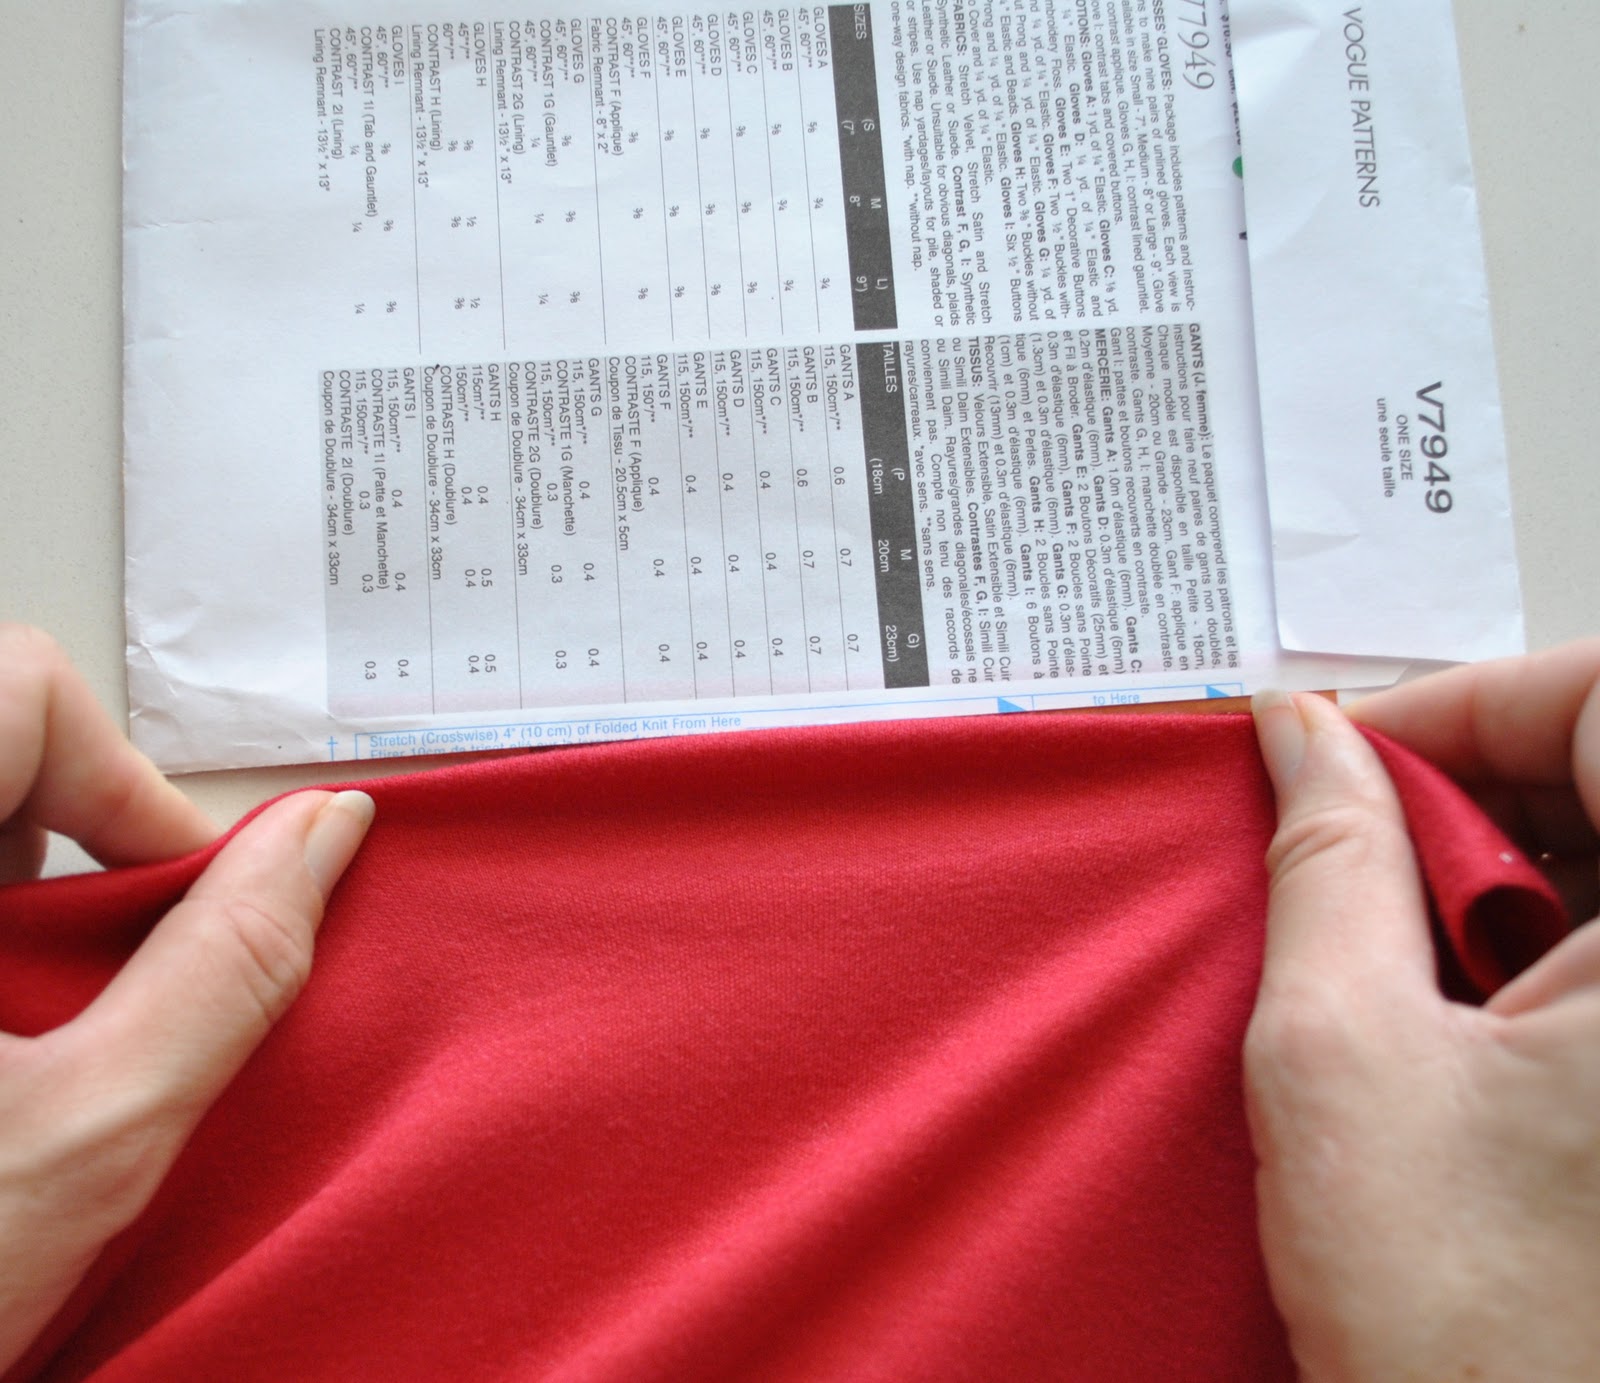
The pattern has this handy guide printed on the back of the envelope that Vogue supplies on all its stretch patterns so you can assess whether your fabric is suitable… on too many occasions I have been known to ignore this guide but completely, but as gloves are new territory for me I am obeying the instructions for once!
A folded piece of fabric should stretch from this width:

to this width… check!
Sizing:
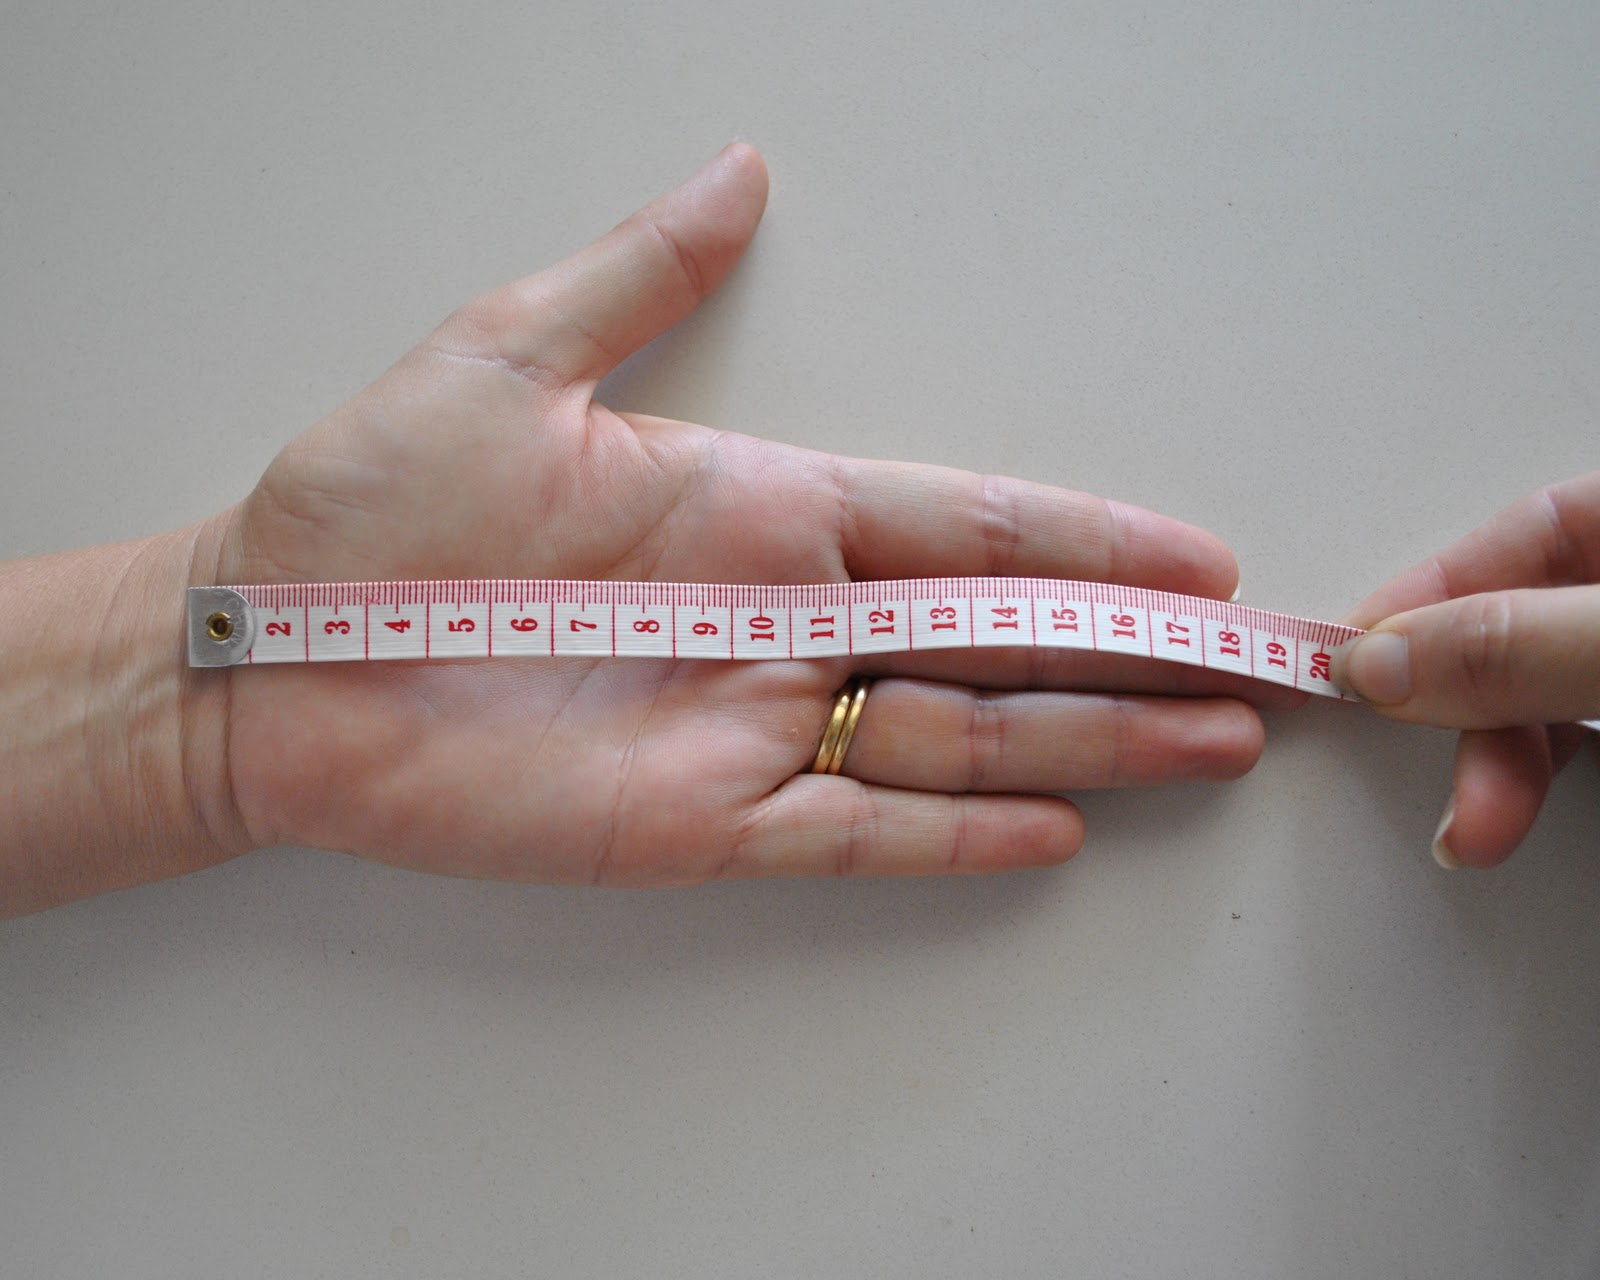
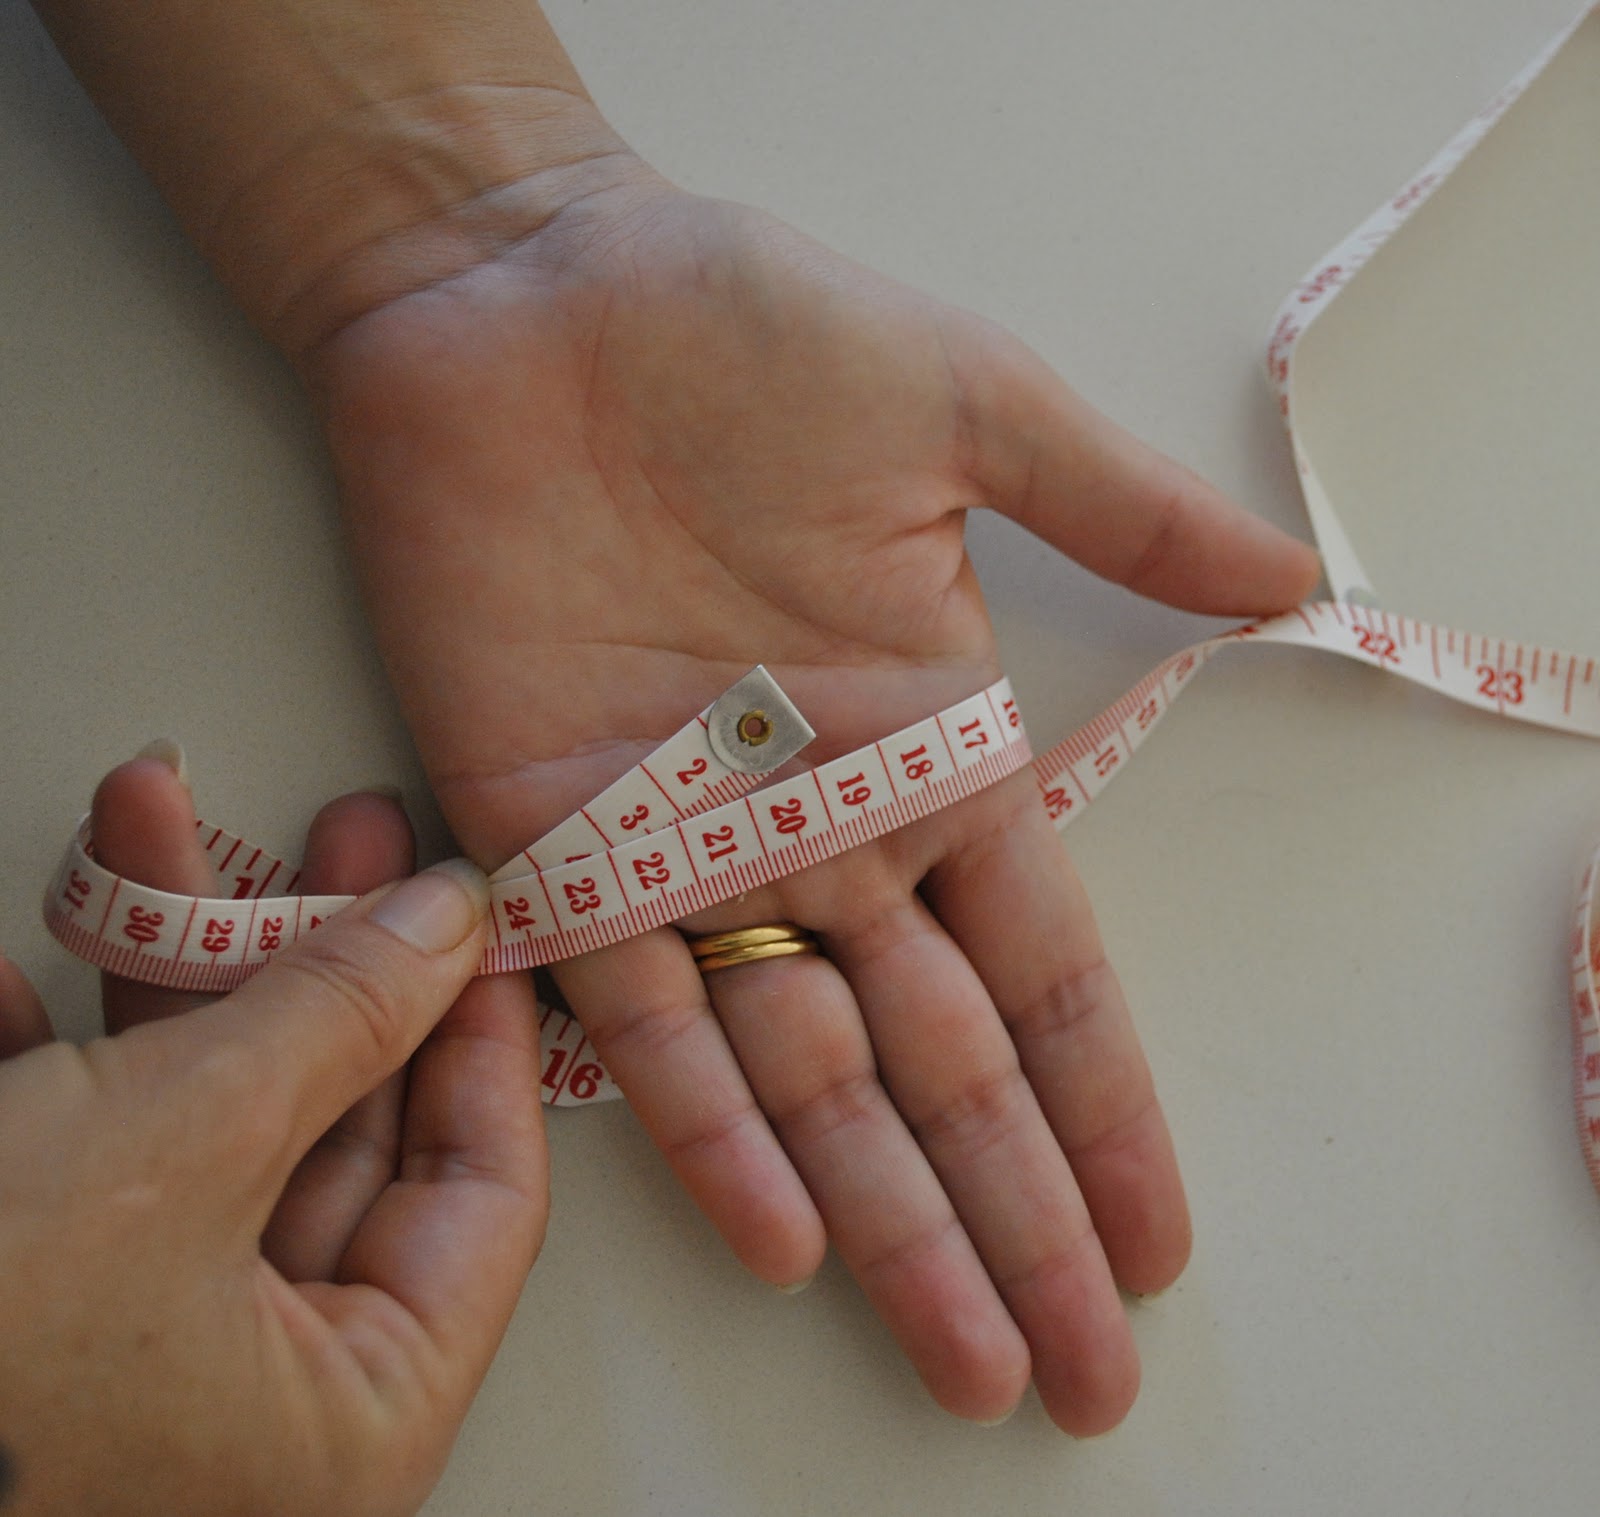
Now this is where I ran into a bit of confusion. The gloves are supposed to come in three sizes, small (18cm), medium (20cm) or large (23cm). Now, I searched and read everything there was to read, all over the pattern envelope, the pattern instructions and the pattern tissue itself, and do you think there is any guide anywhere as to “what” on my hands I should be measuring to decide which one I correspond to??? Nothing. Not a clue. So I was a bit mystified as to what those measurements signified, but I went ahead and measured the proportions of my hands anyway…
Each measurement, the length of my hand, and the circumference of my hand measures about 19cm, which I’m guessing puts me roughly in the small to medium size. This is interesting, because I nearly always best fit the large size when I buy readymade gloves, but pushing on…
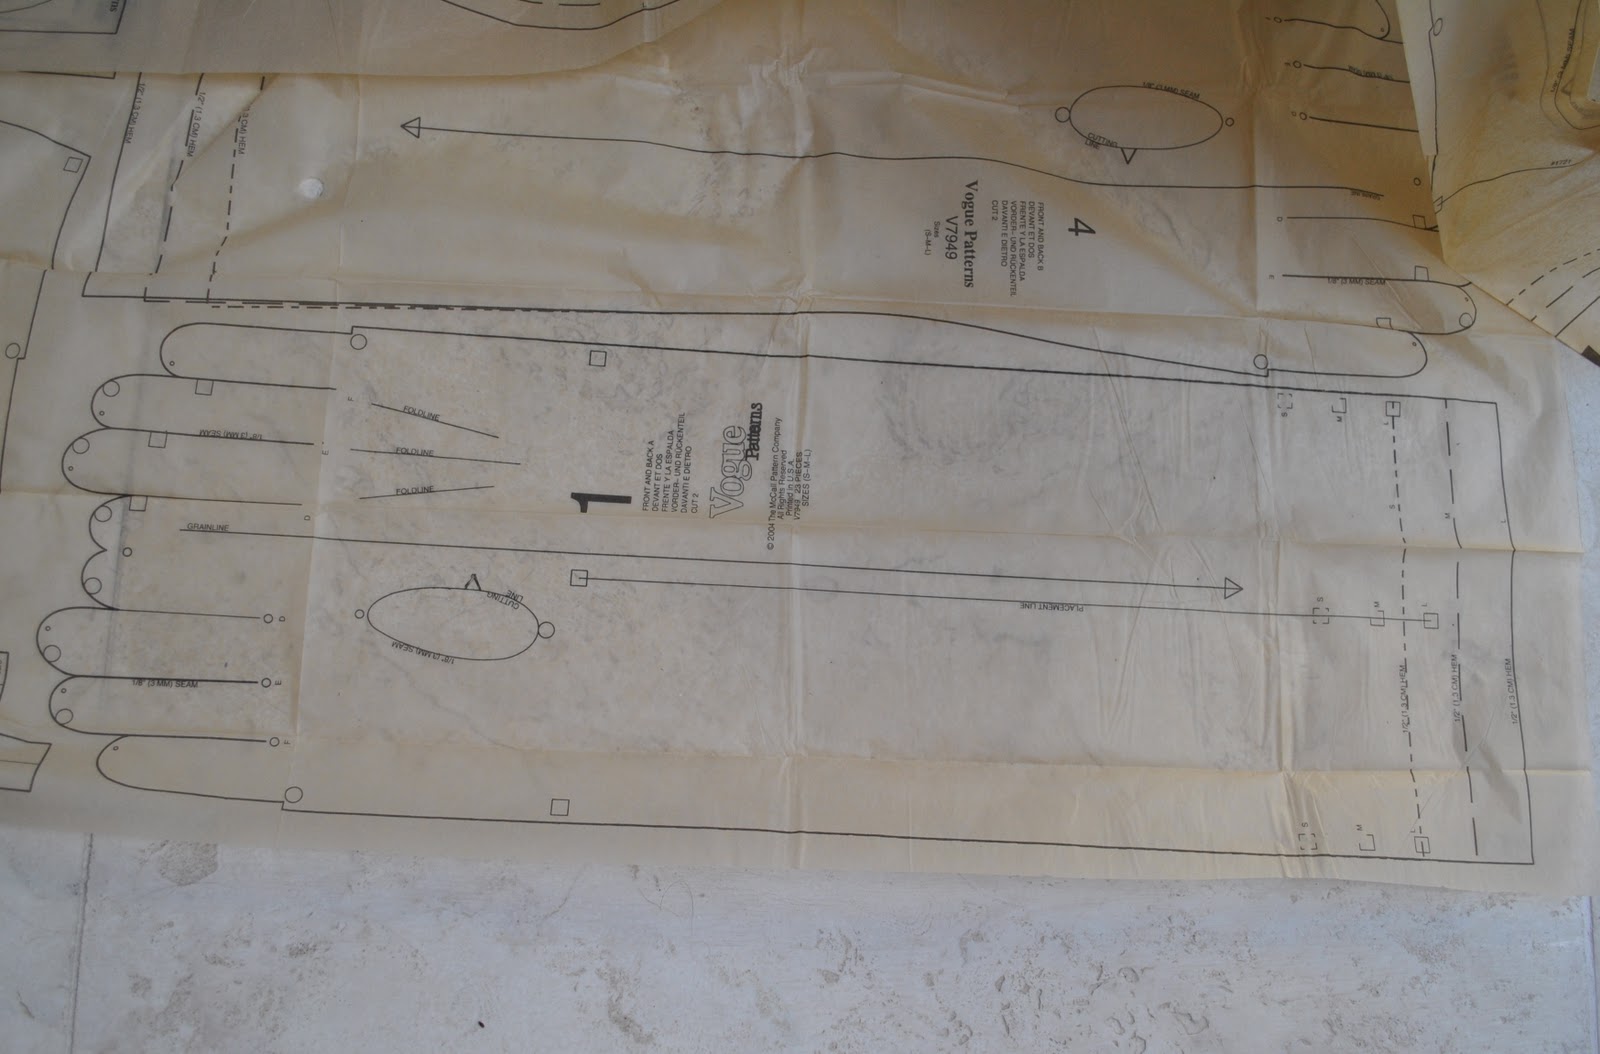
Turning to the pattern pieces now, and hey do you know what, the actual “size” of your hand really doesn’t matter at all, because when you look closely, you see this:

This is the pattern piece 1, for glove A in all sizes, and can you see, the pattern is pretty much completely ungraded for any different sizes, oh sorry, the length of the arm tube itself has been thoughtfully graded for us (seen at the right of the picture), very helpfully a few centimetres has been added on for the medium size and a few more for the large size…..????? Ha! Now I get why they stipulate stretch fabrics….! Of course I’m no size-grading expert, but this seems to be a major fail… why on earth bother with all the “each glove is available in three sizes” advice when it is completely obvious when looking at the pattern that it is a “one size fits all” deal?? Ah well, I’m still determined to push on with this experiment, so not to worry. I am going to think very carefully and compare sizes against my other leather gloves before I start cutting up that suede skirt, though!
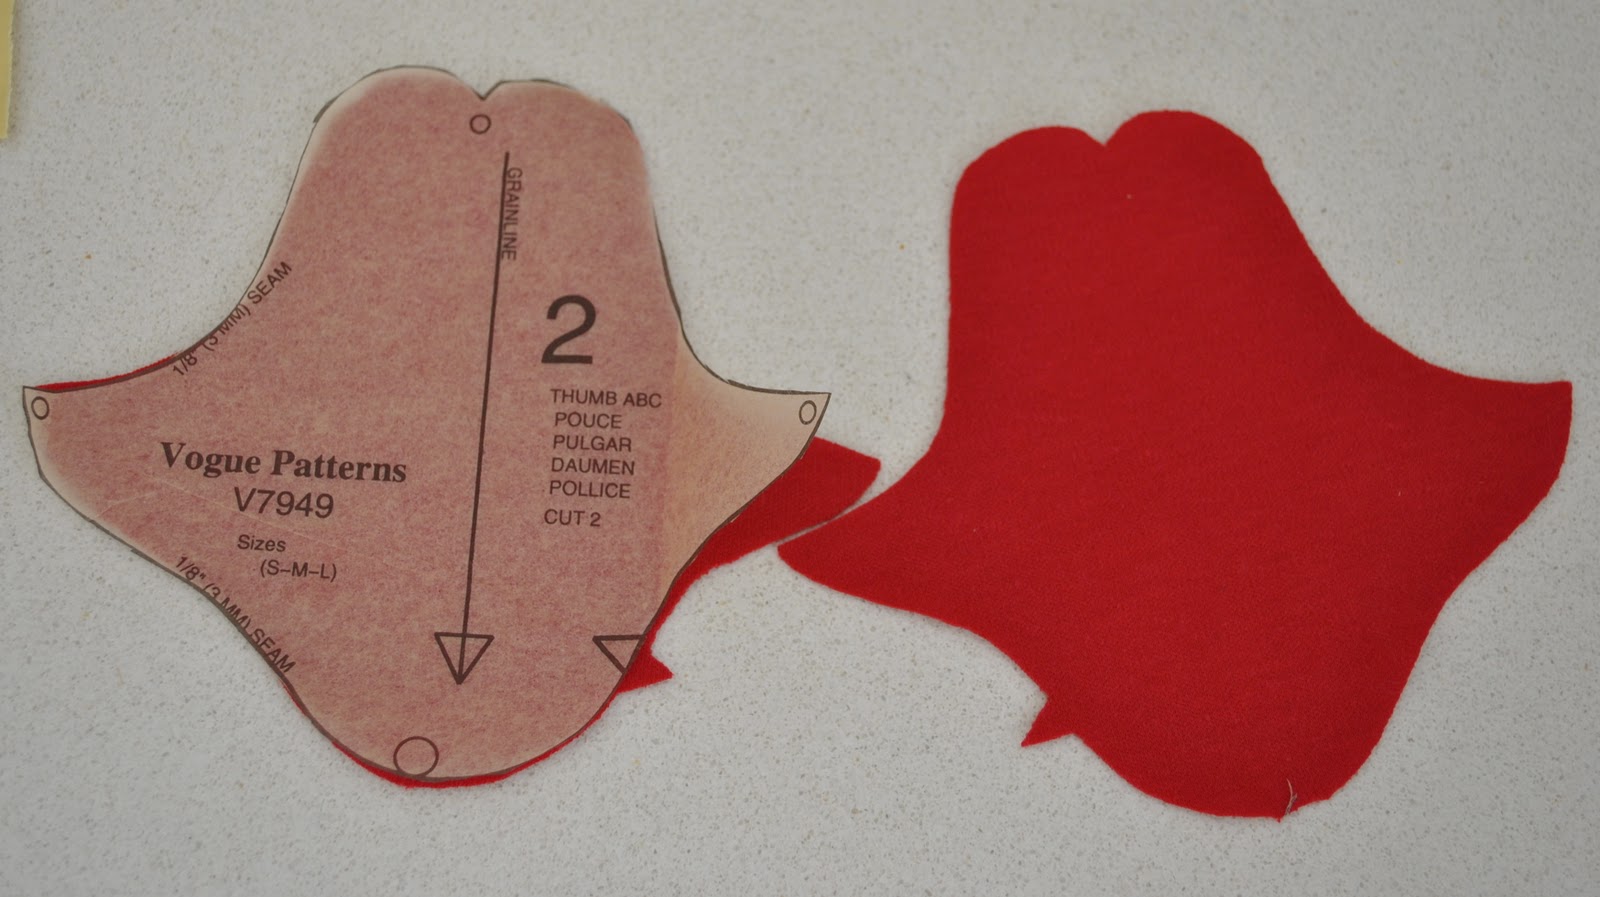
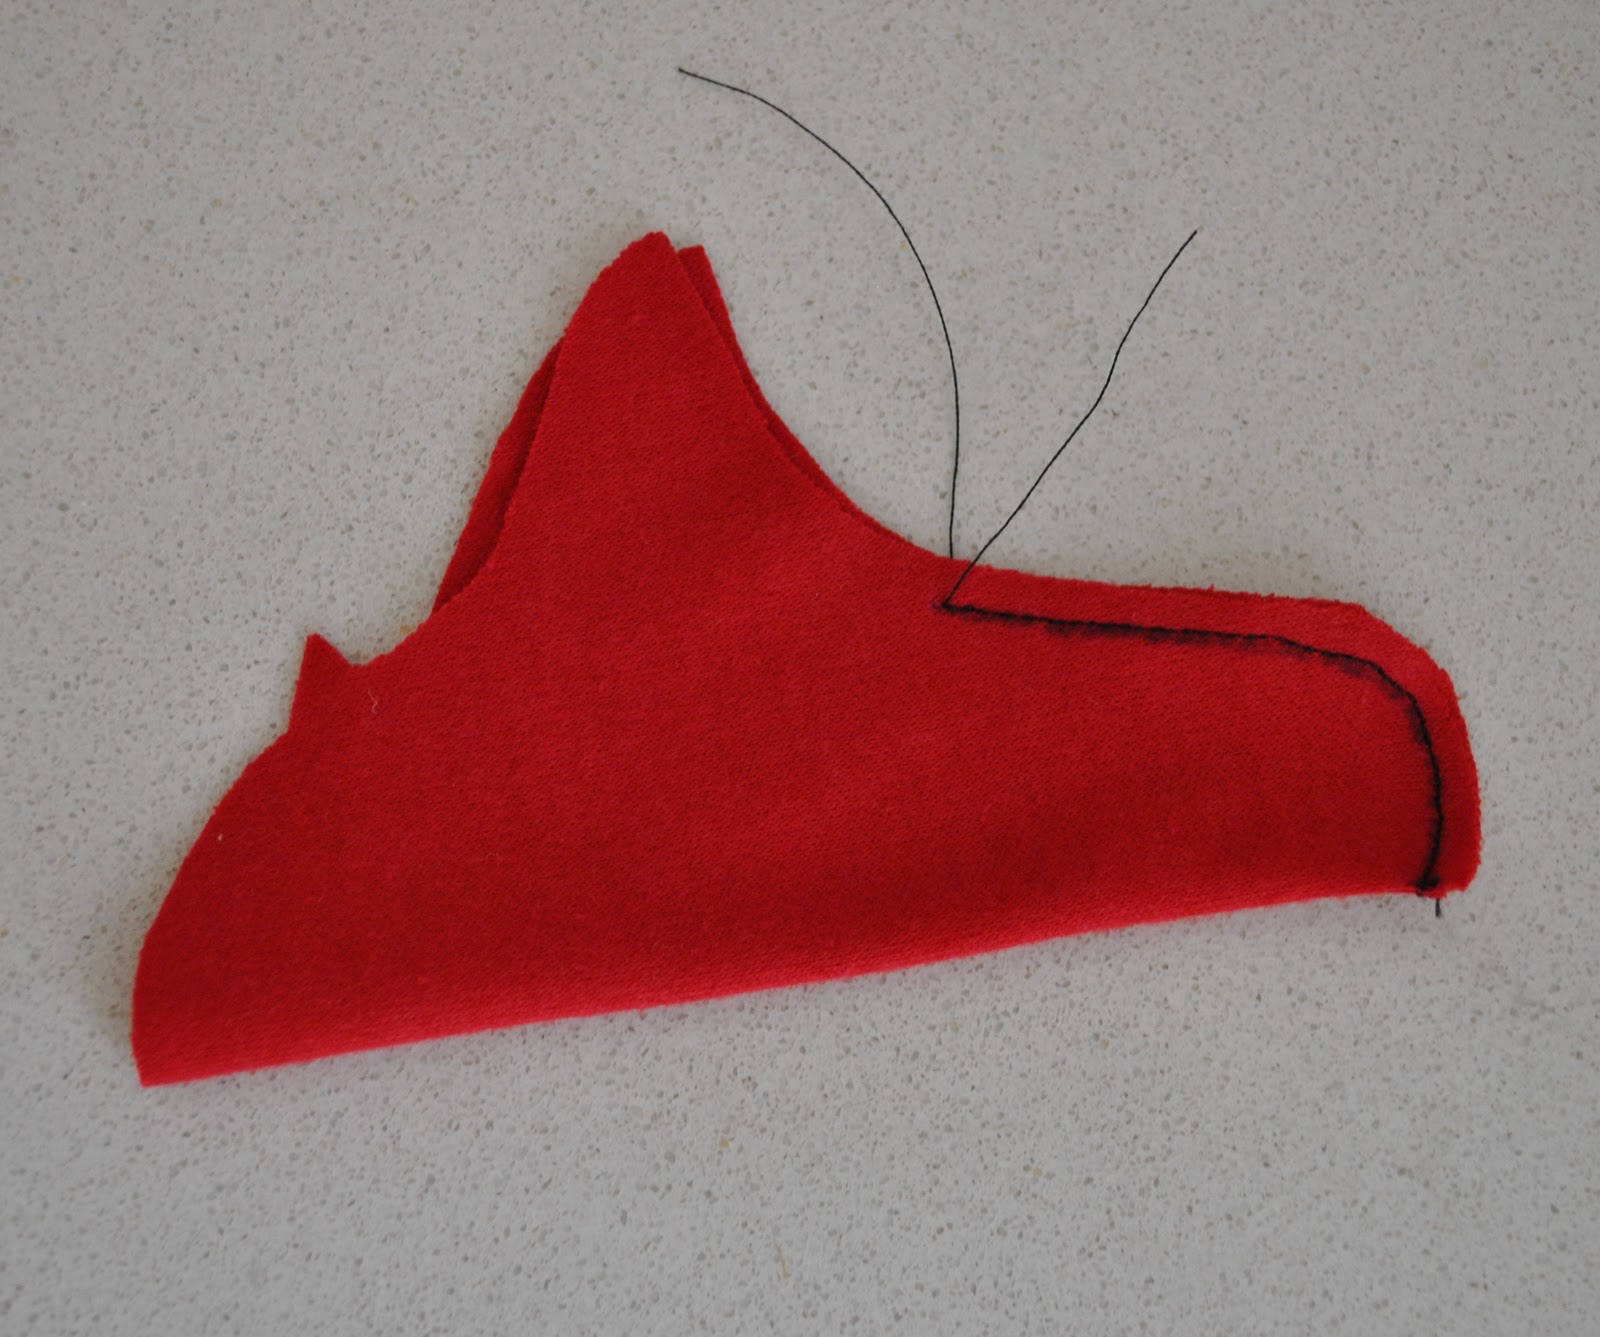
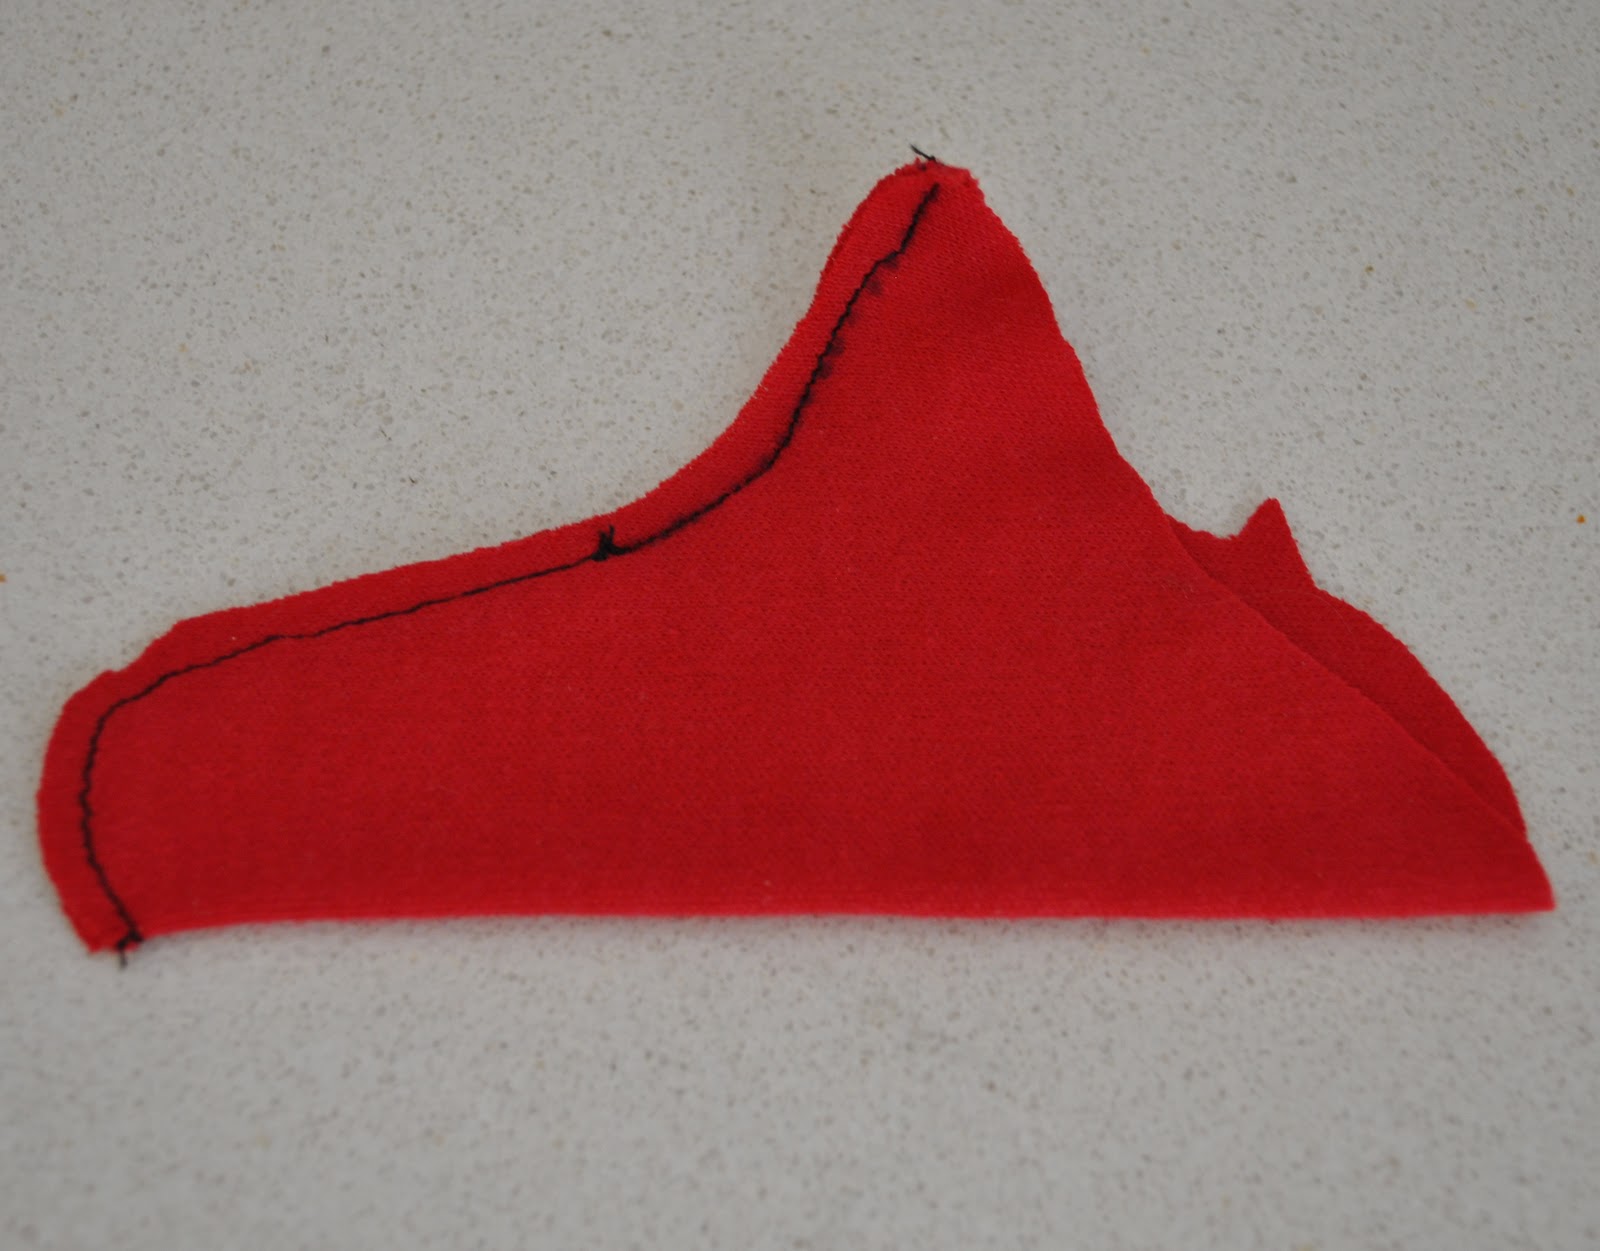
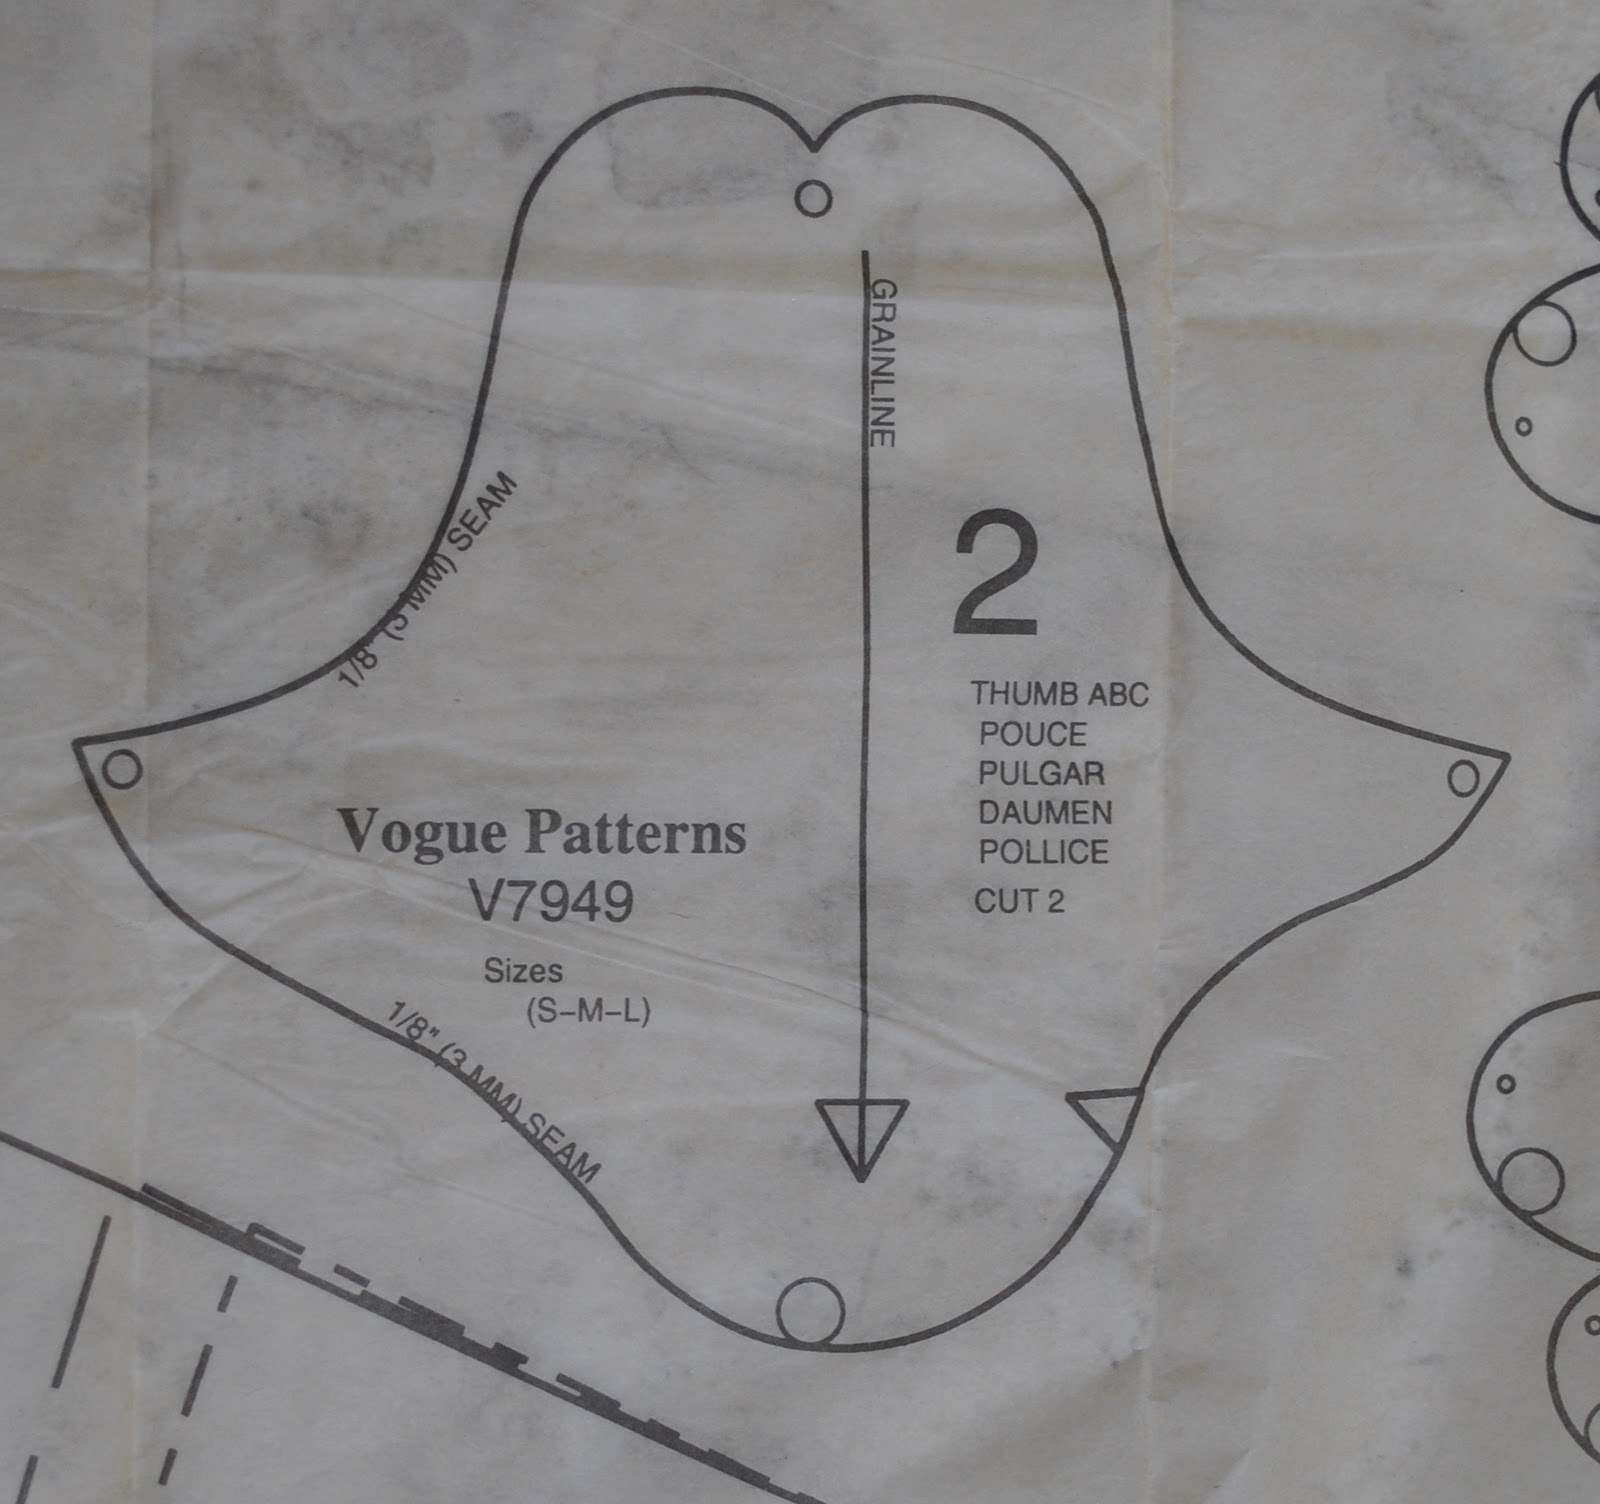
The thumb piece, sizes S, M, and L
Cutting out the pattern:
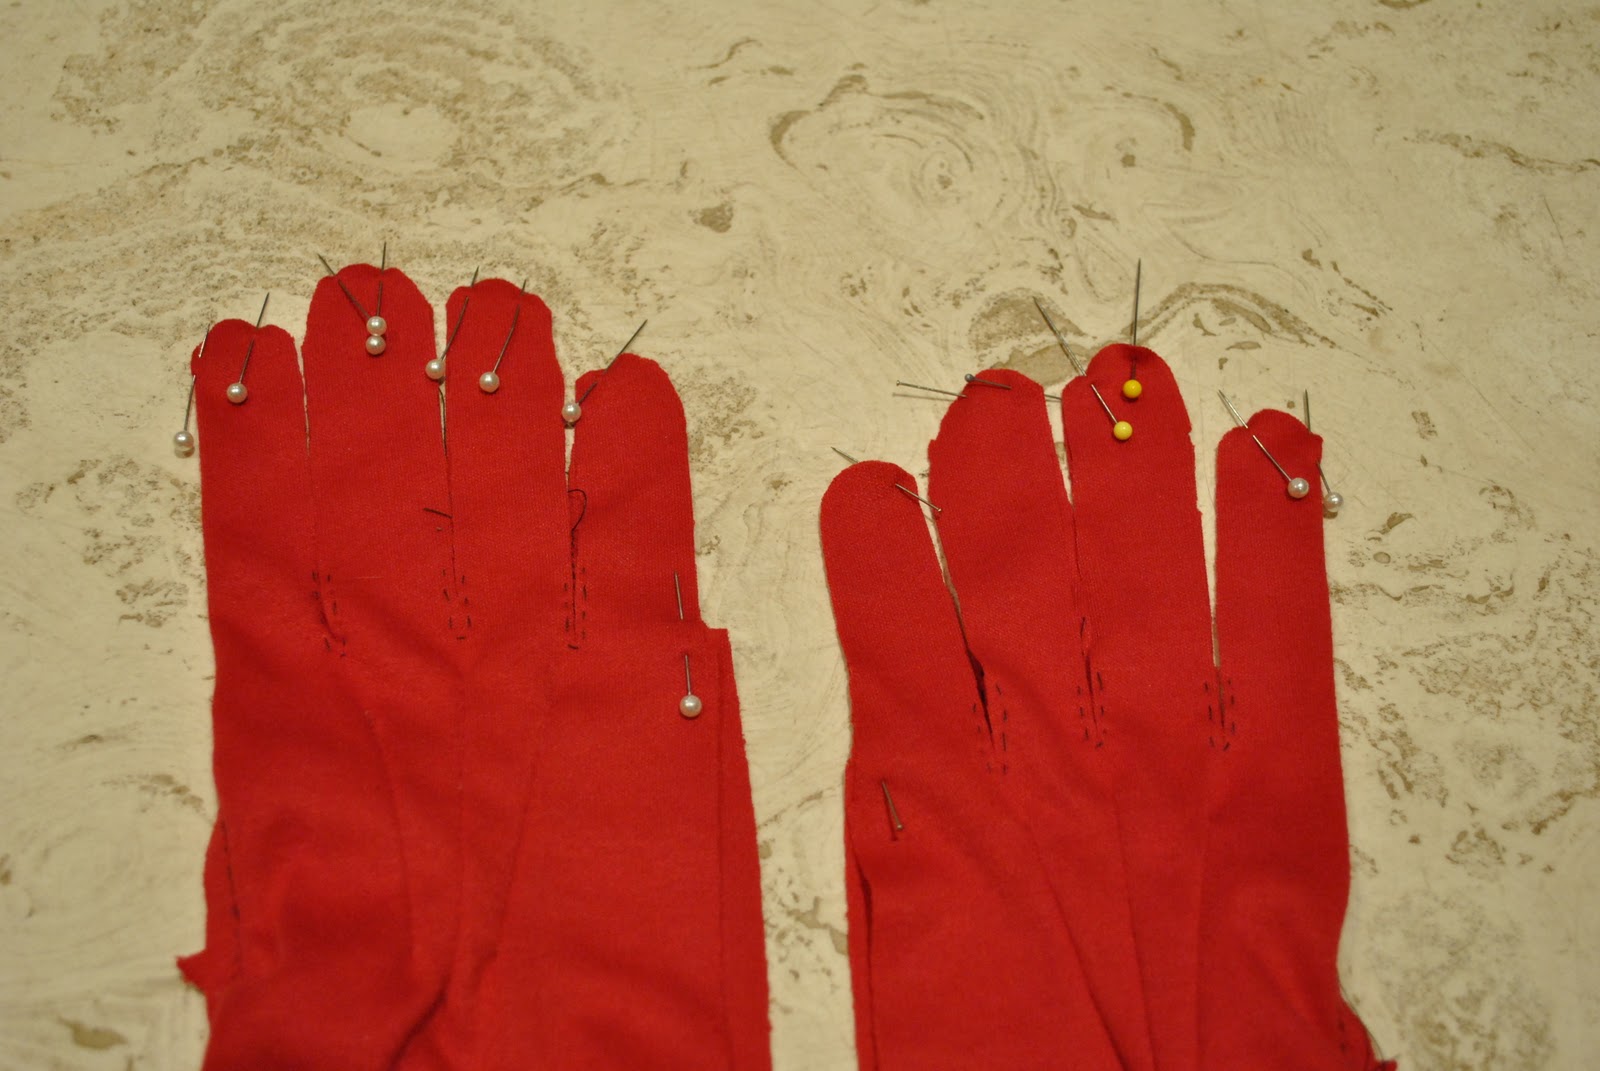
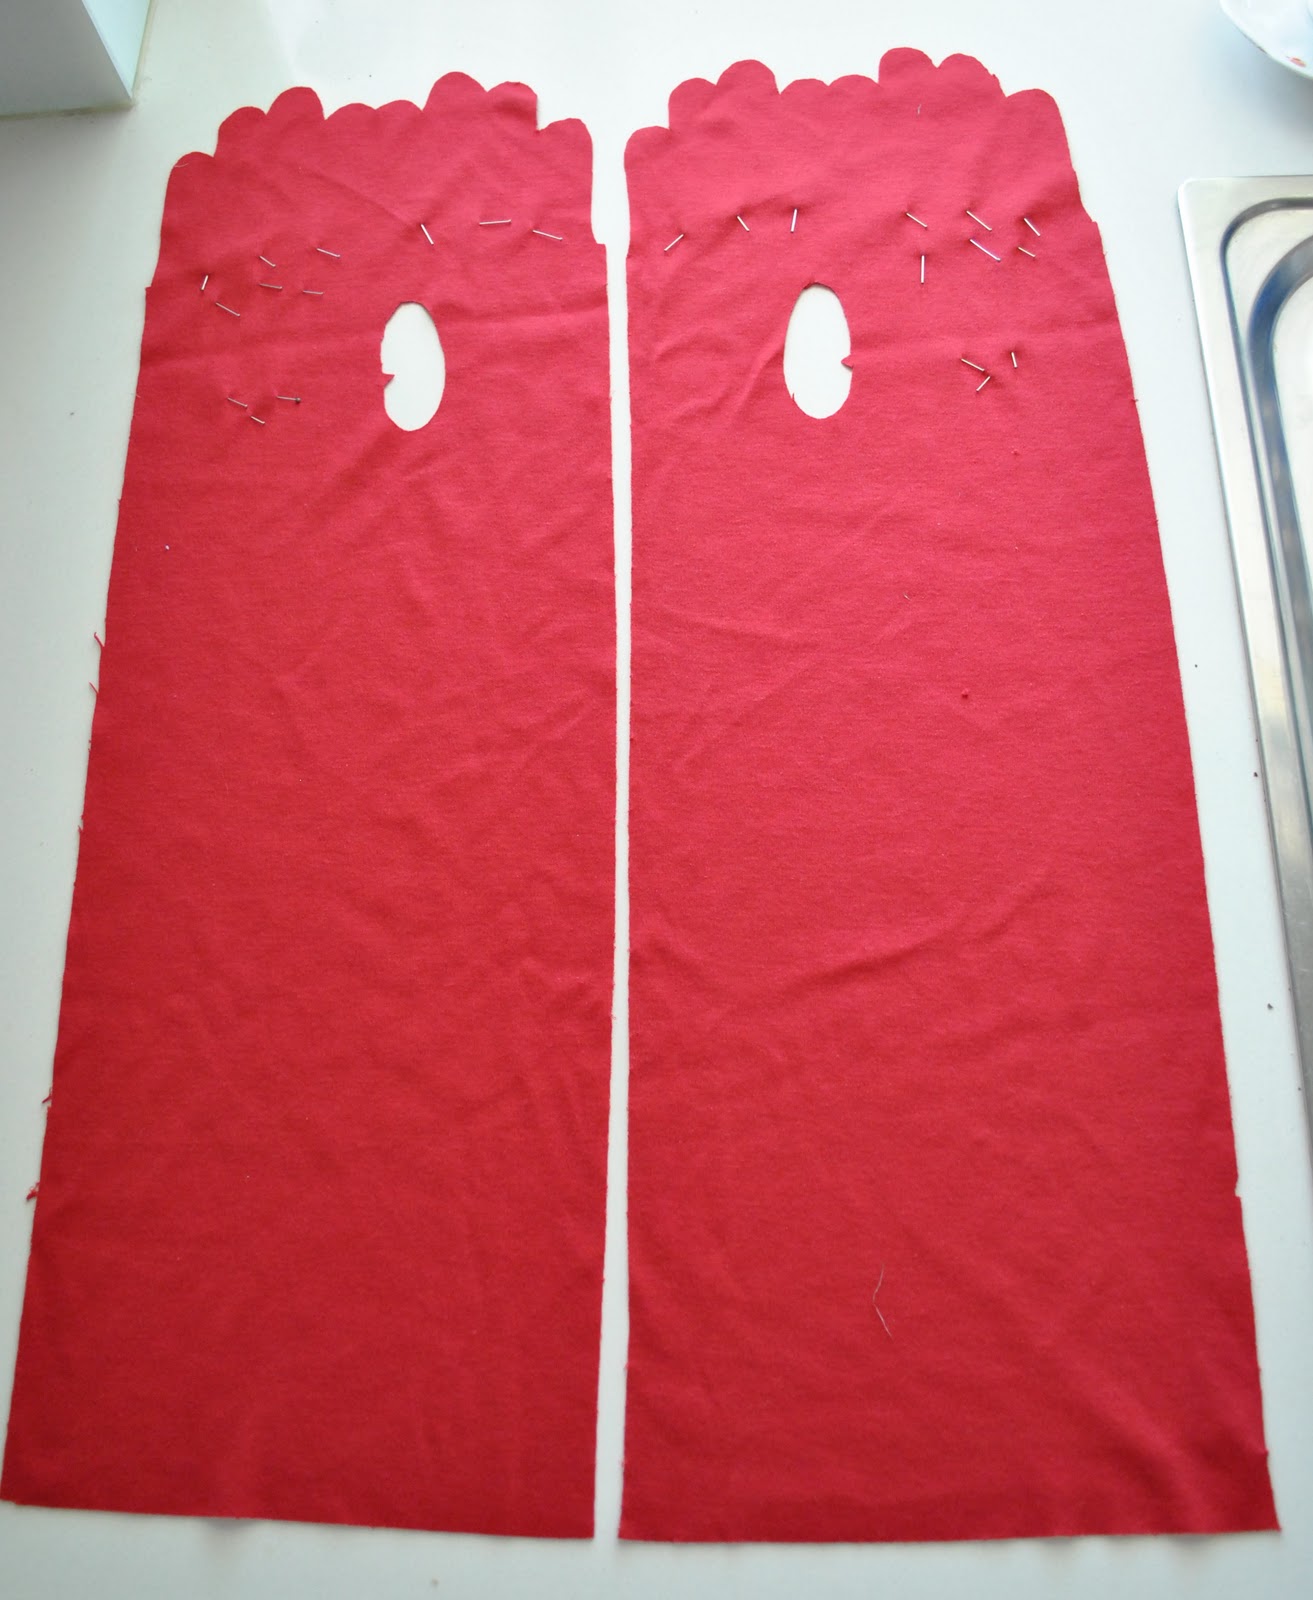
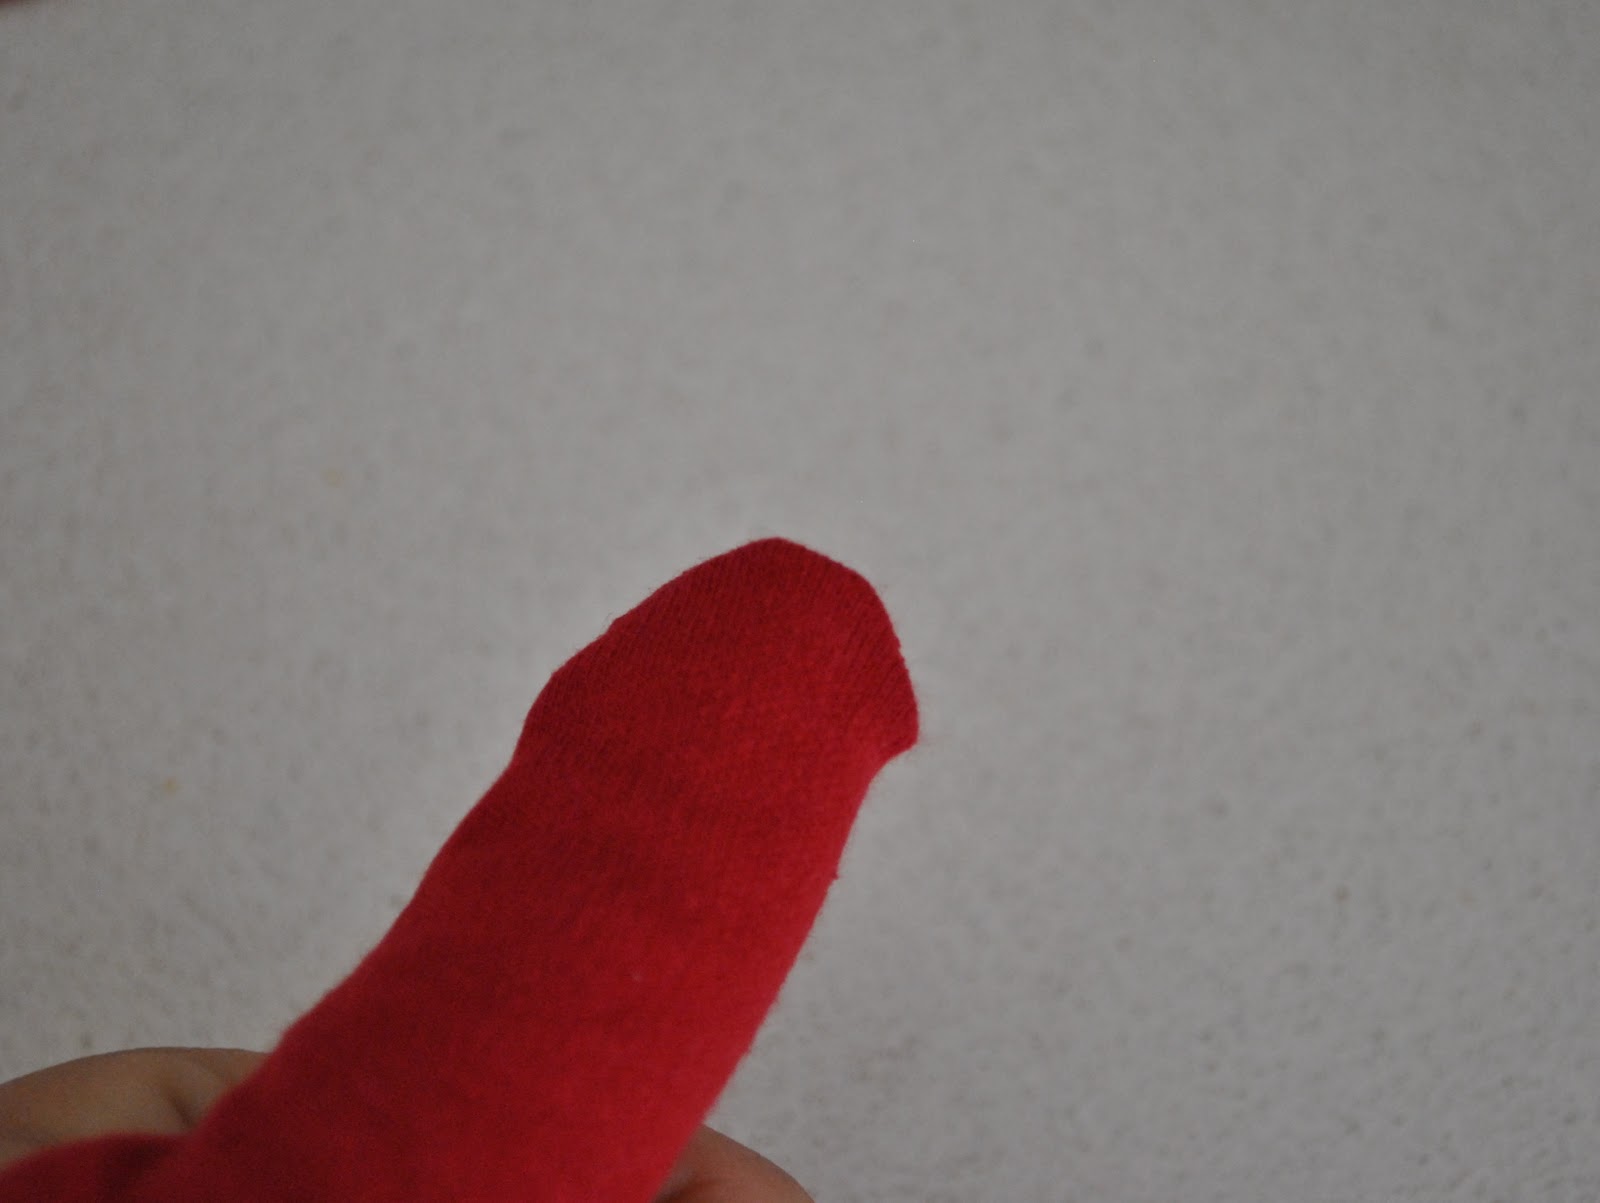
So I cut out the pattern pieces:
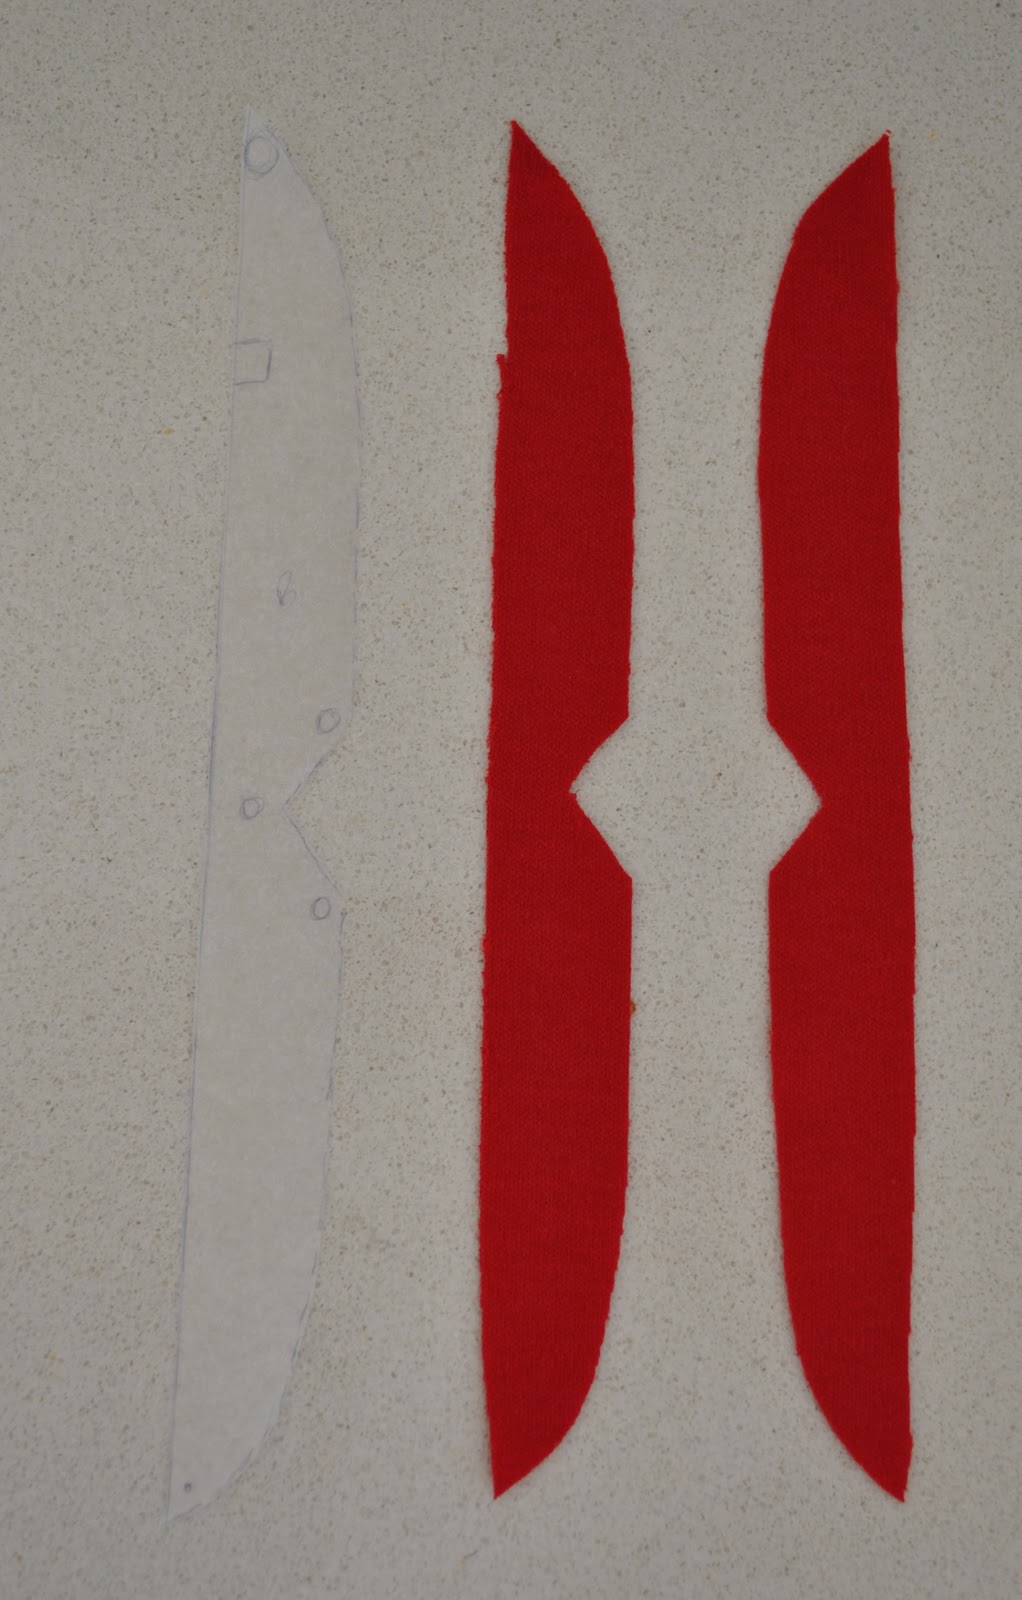
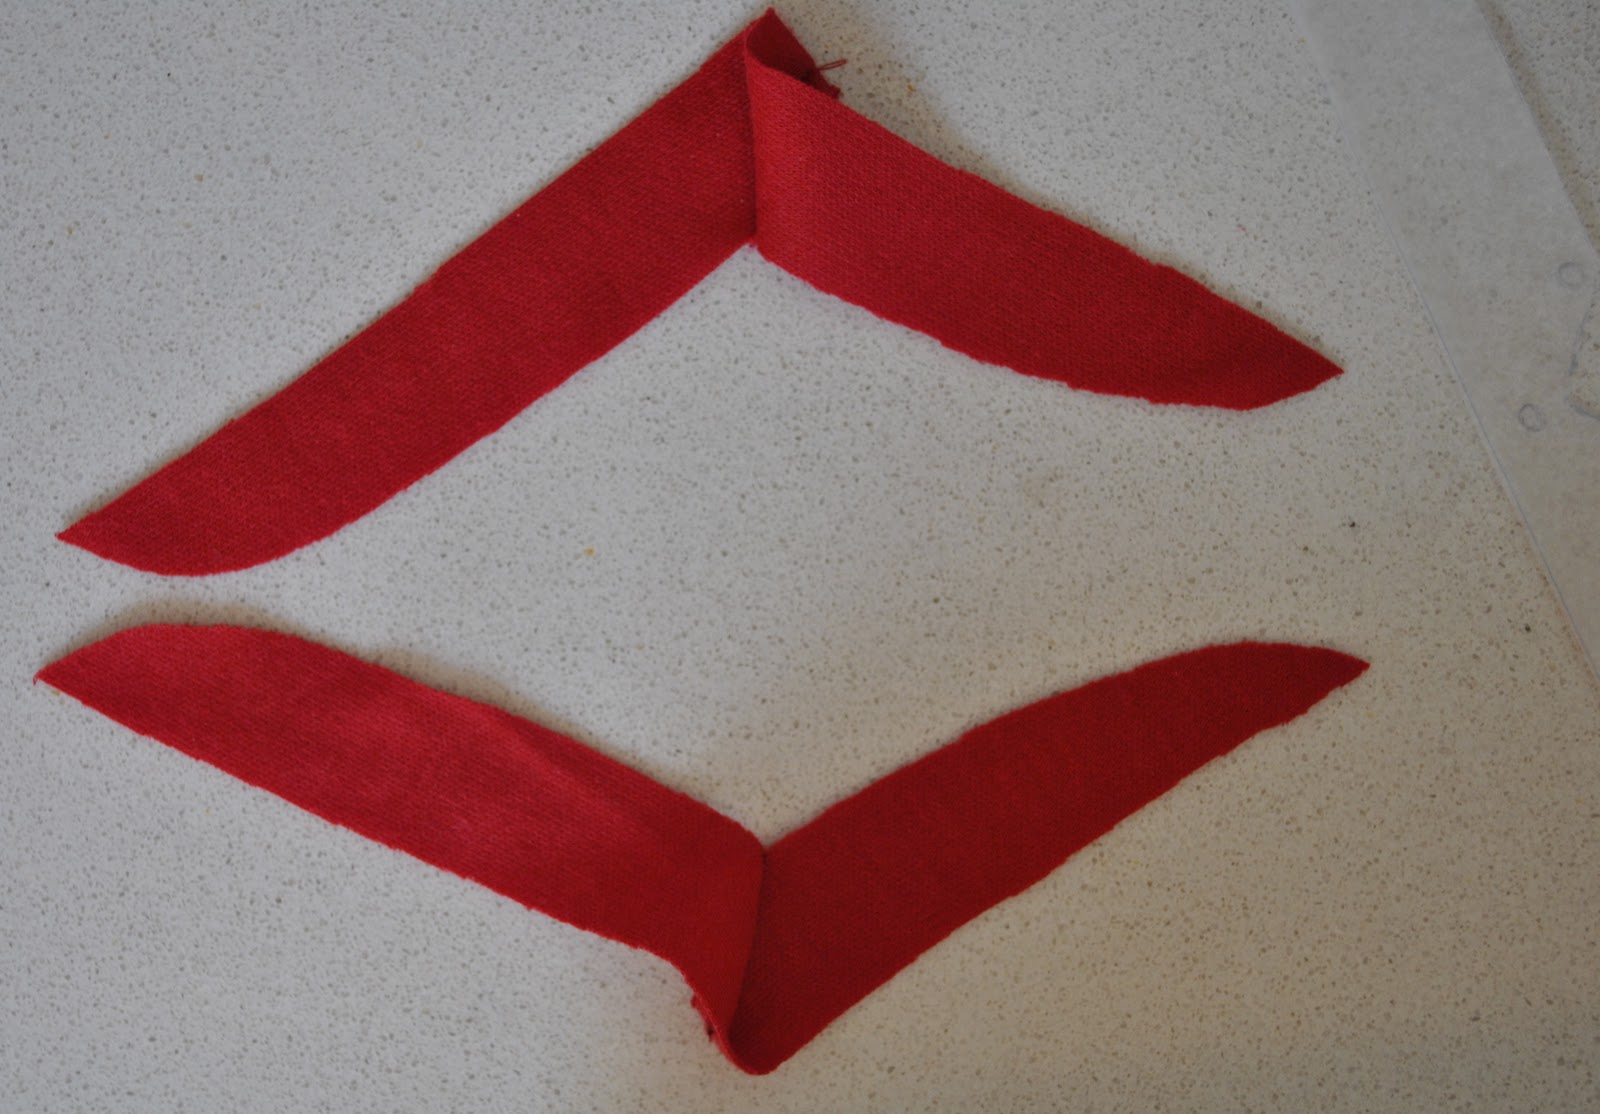
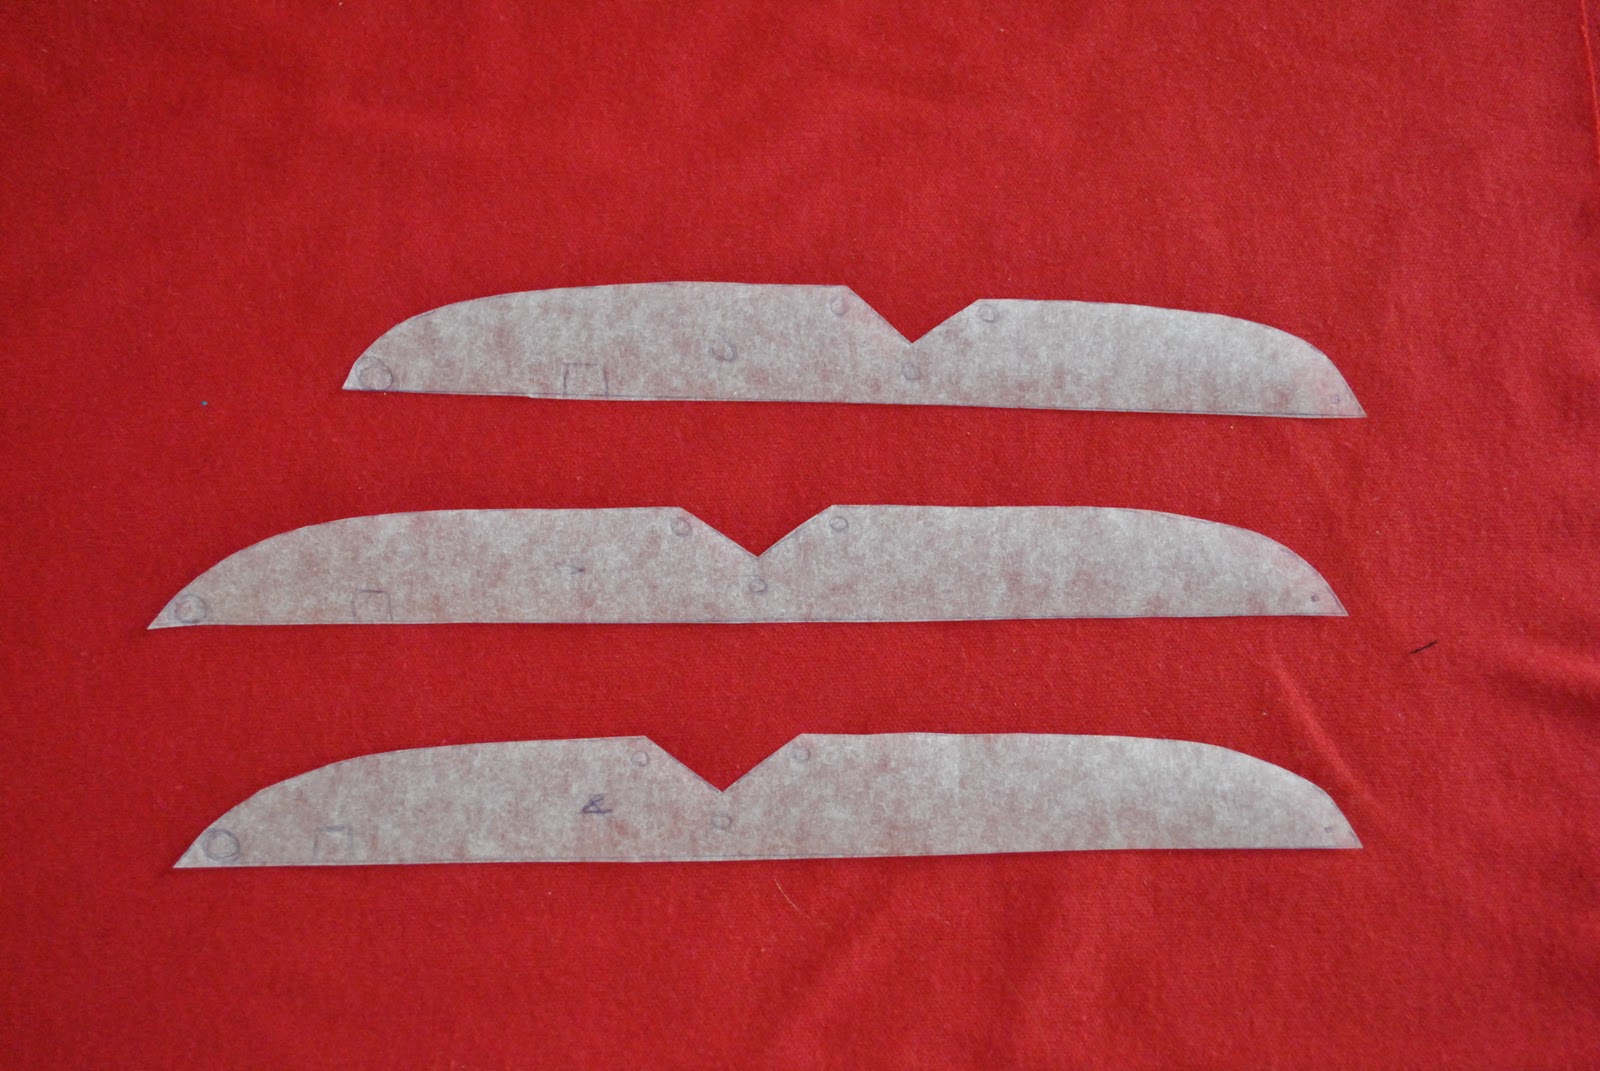
The pattern piece at the top right is the gusset, and comprises the three different sized gussets printed into a box. Each little gusset is way too small to fit printing all the pattern information onto each one… so as I am a little obsessive about keeping all my pattern pieces ordered, tabulated and neatly under control, plus I pictured those tiny awkward little pieces ripping way too easily, or flying away in a breeze under the washing machine and getting lost forever, so I retraced off these gussets on to kitchen baking paper.
(hehe, this is pattern piece 10 which I mistakenly photographed, I actually used the correct piece number 3)
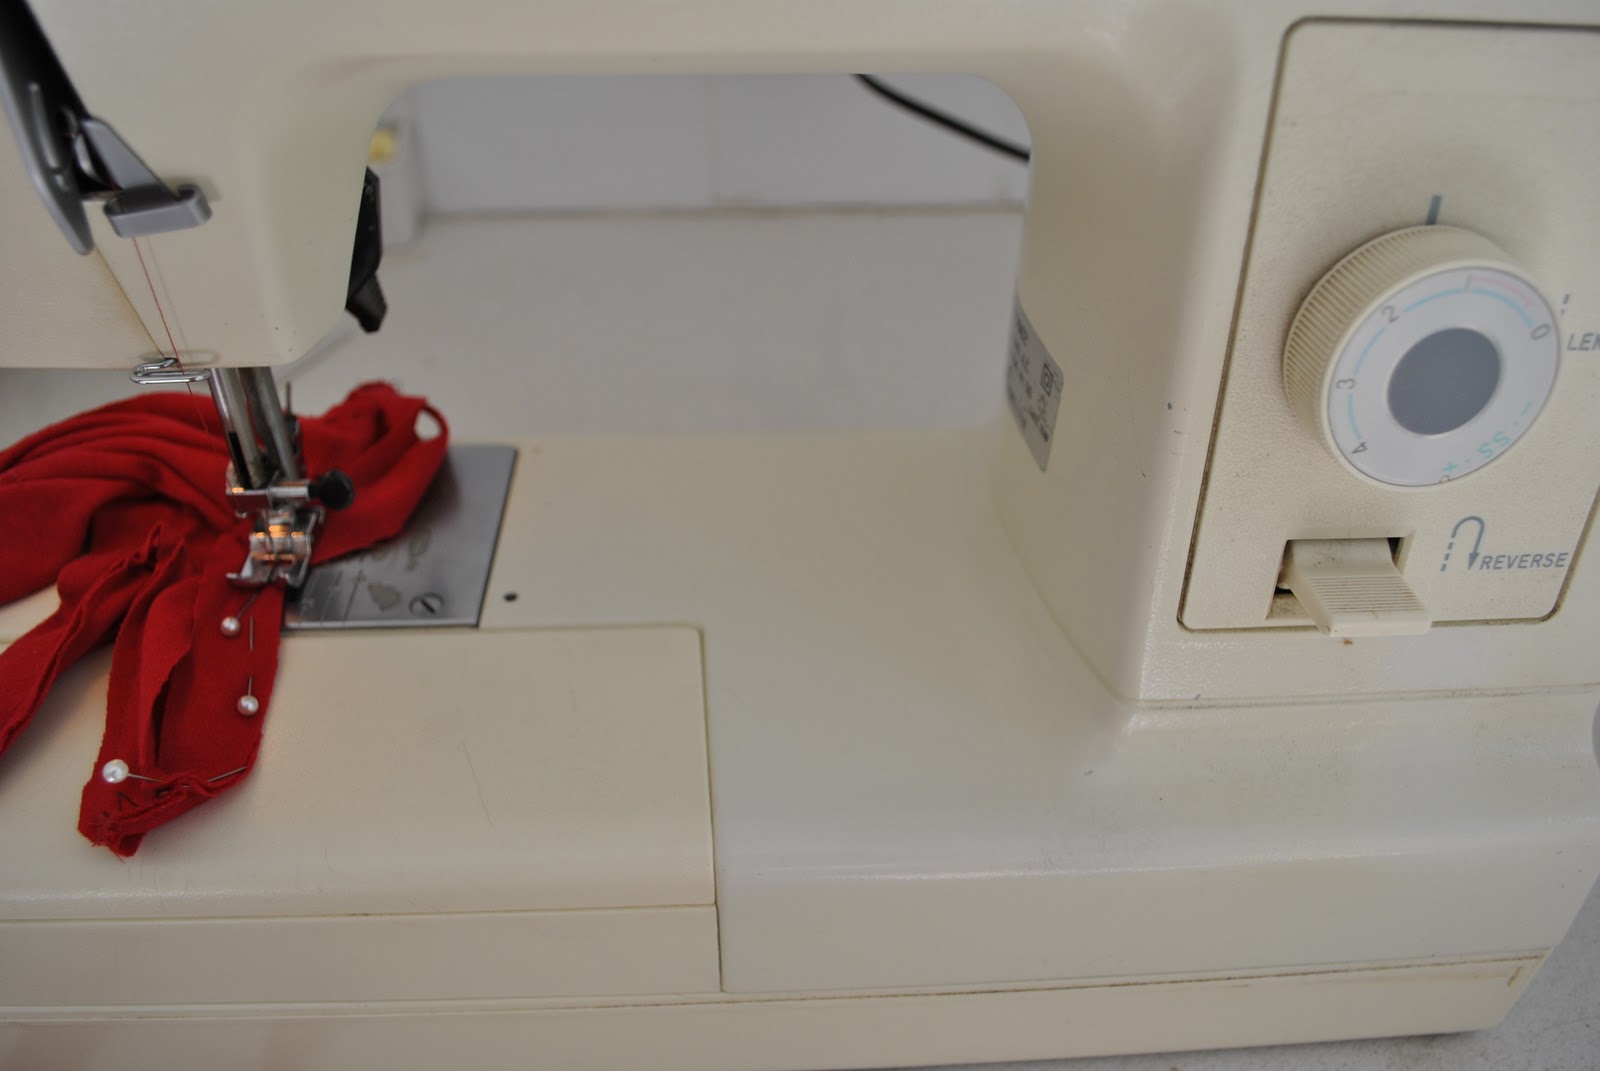
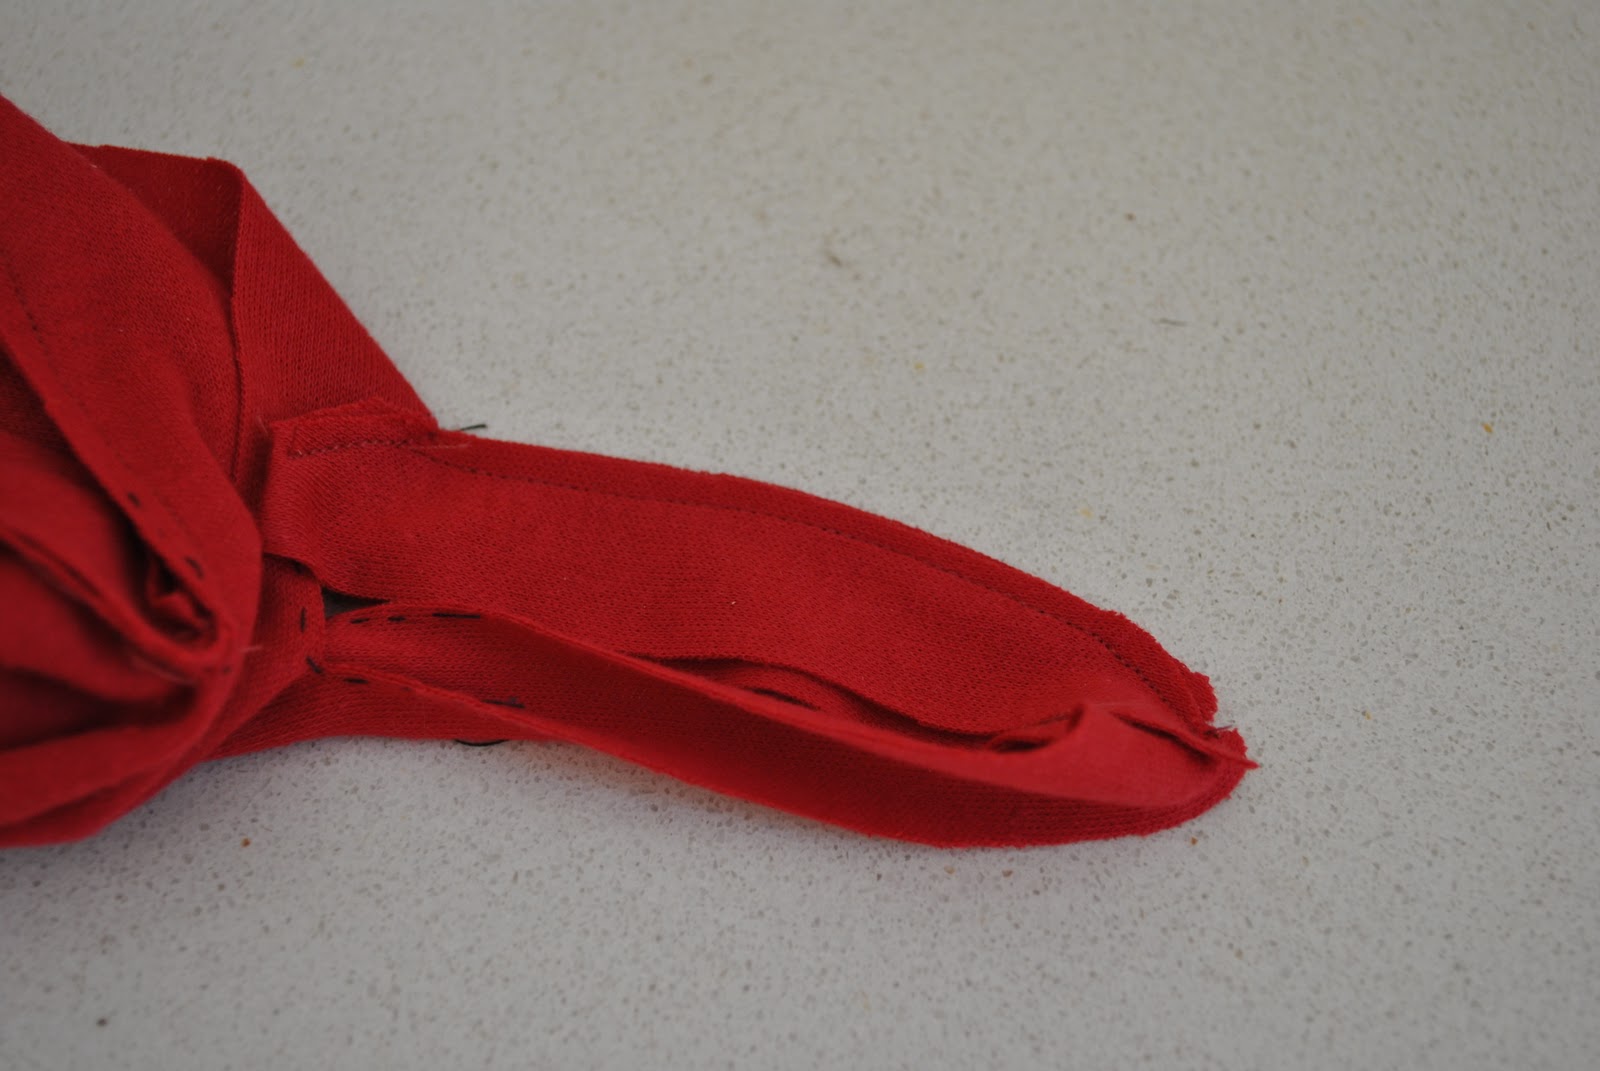
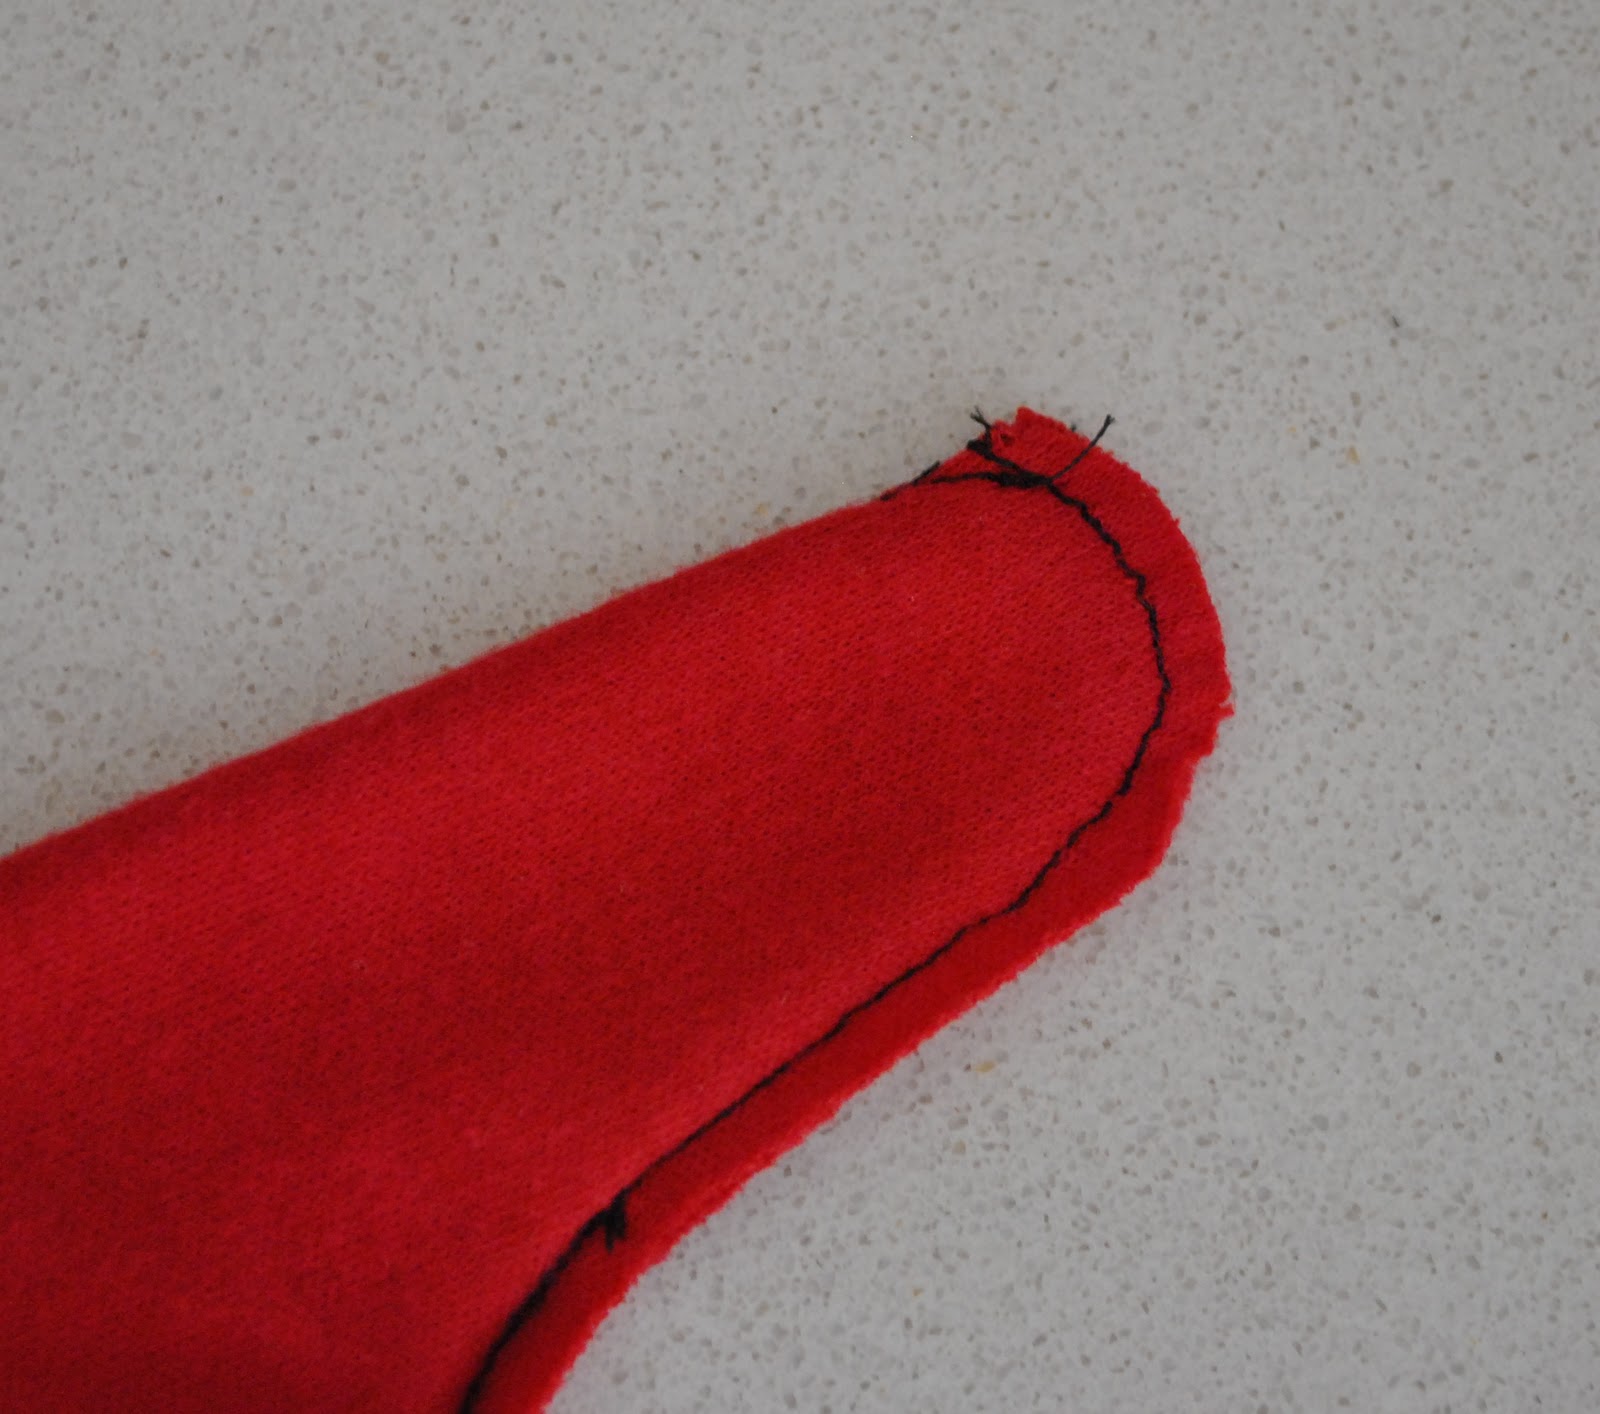
Tomorrow, some actual fabric cutting-and-sewing pictures…


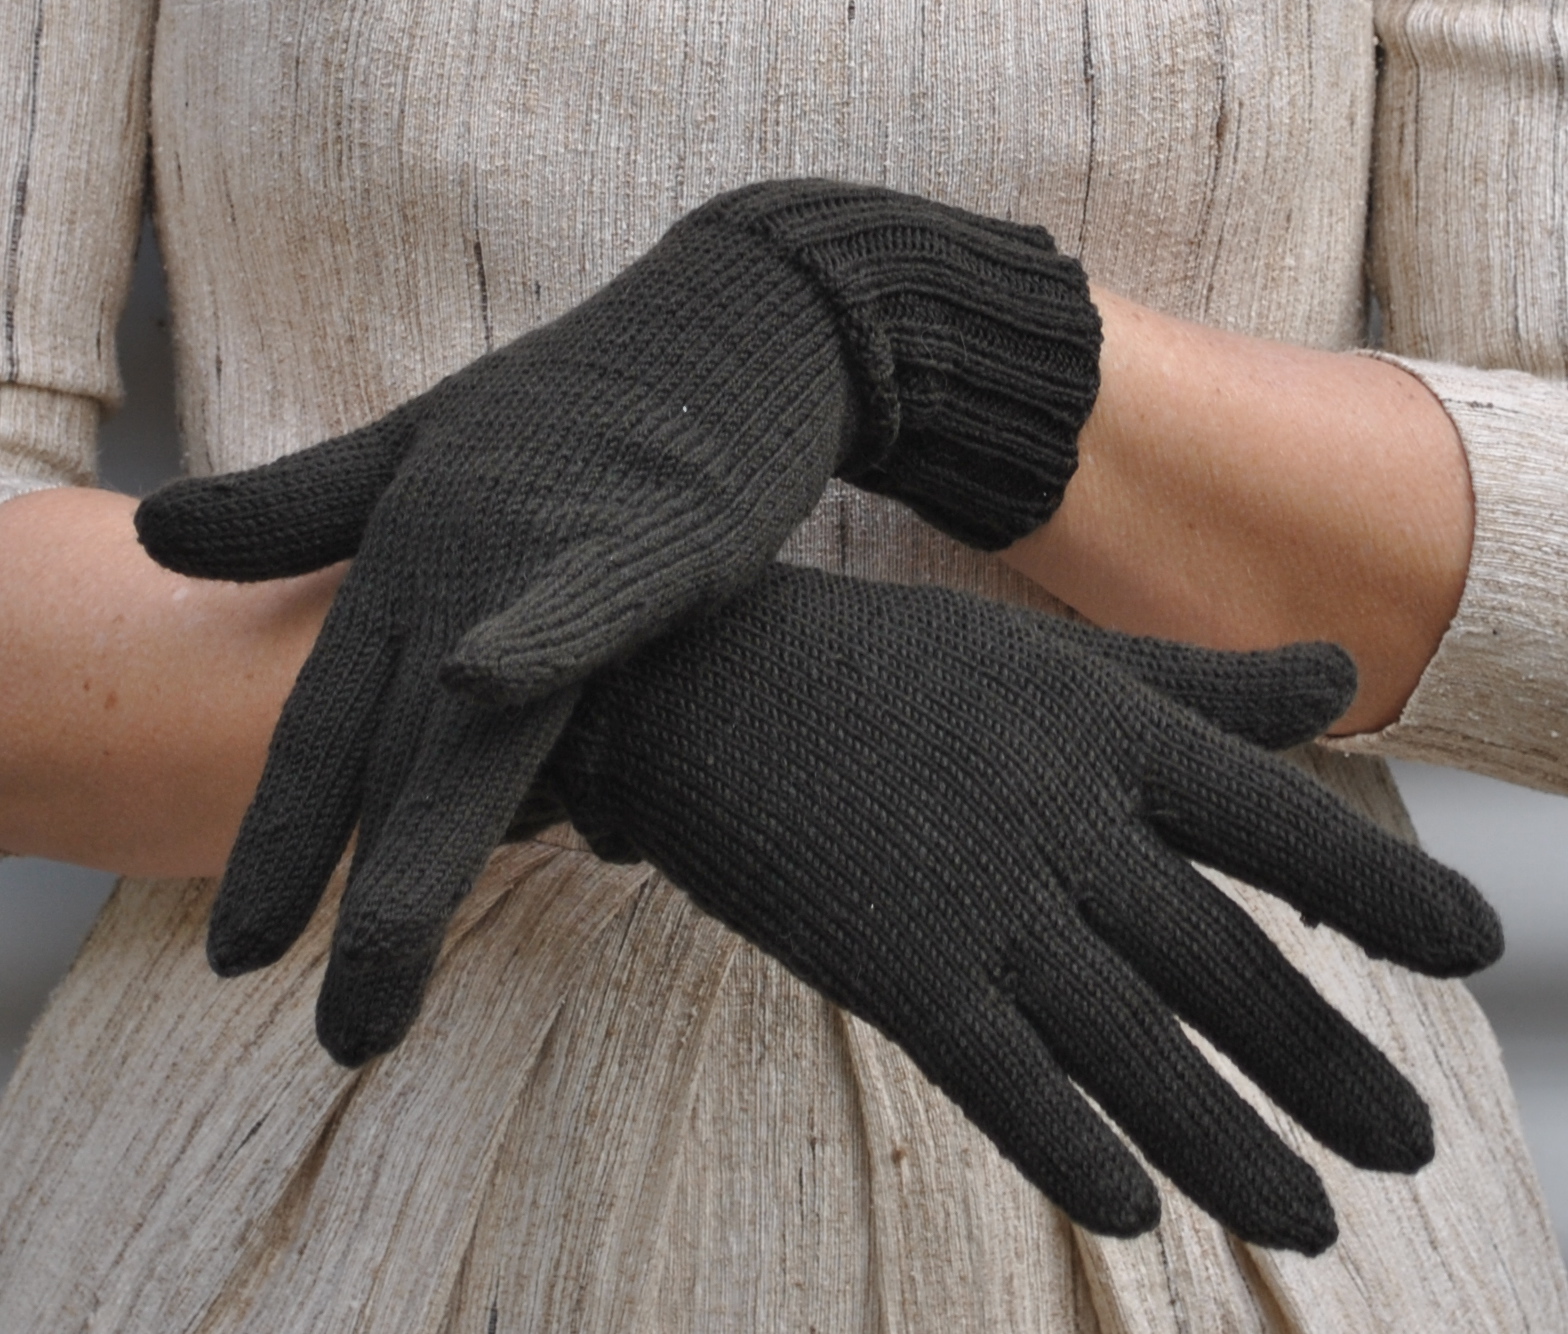
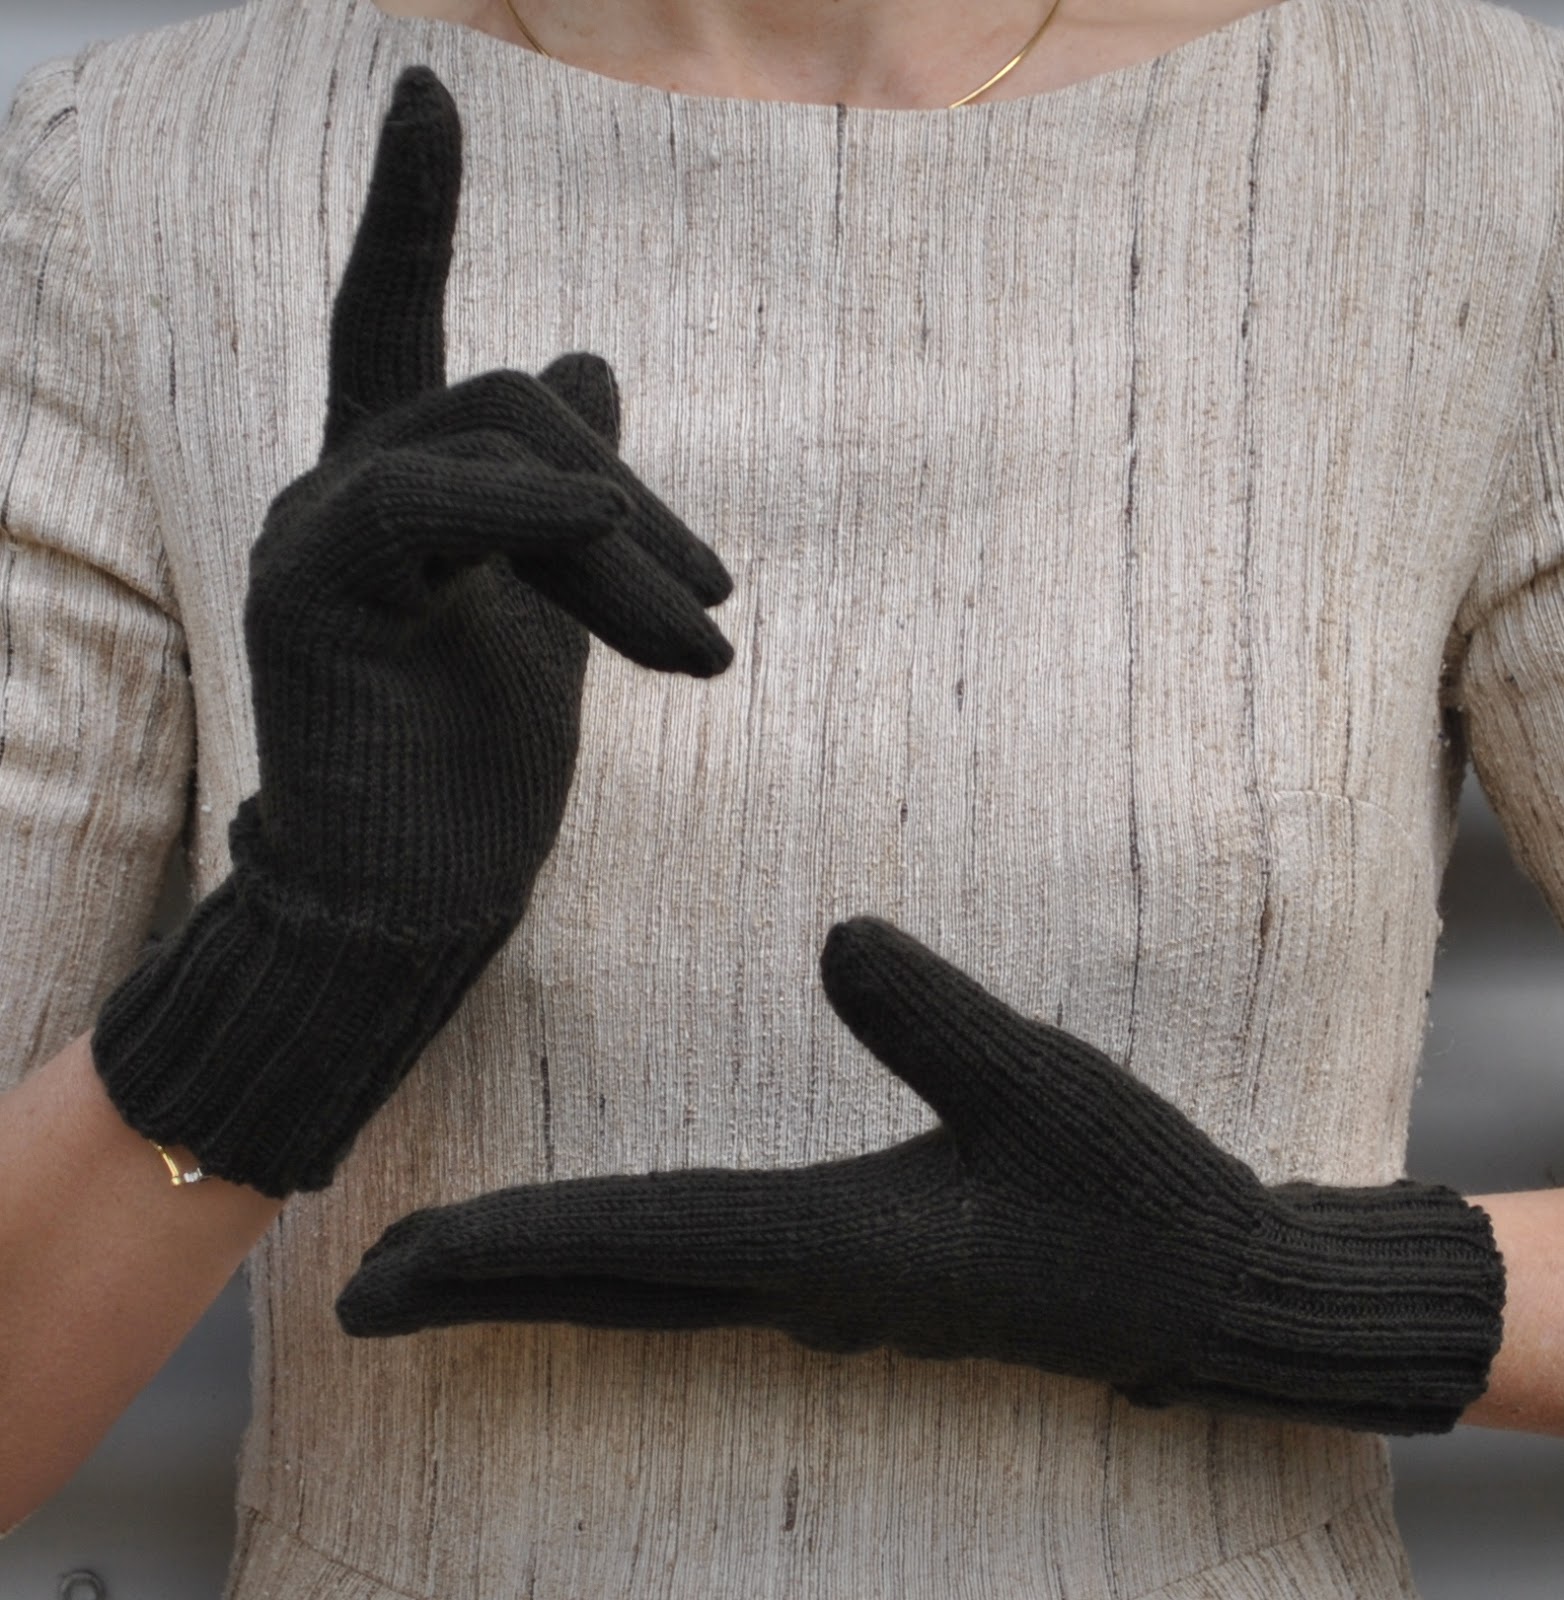
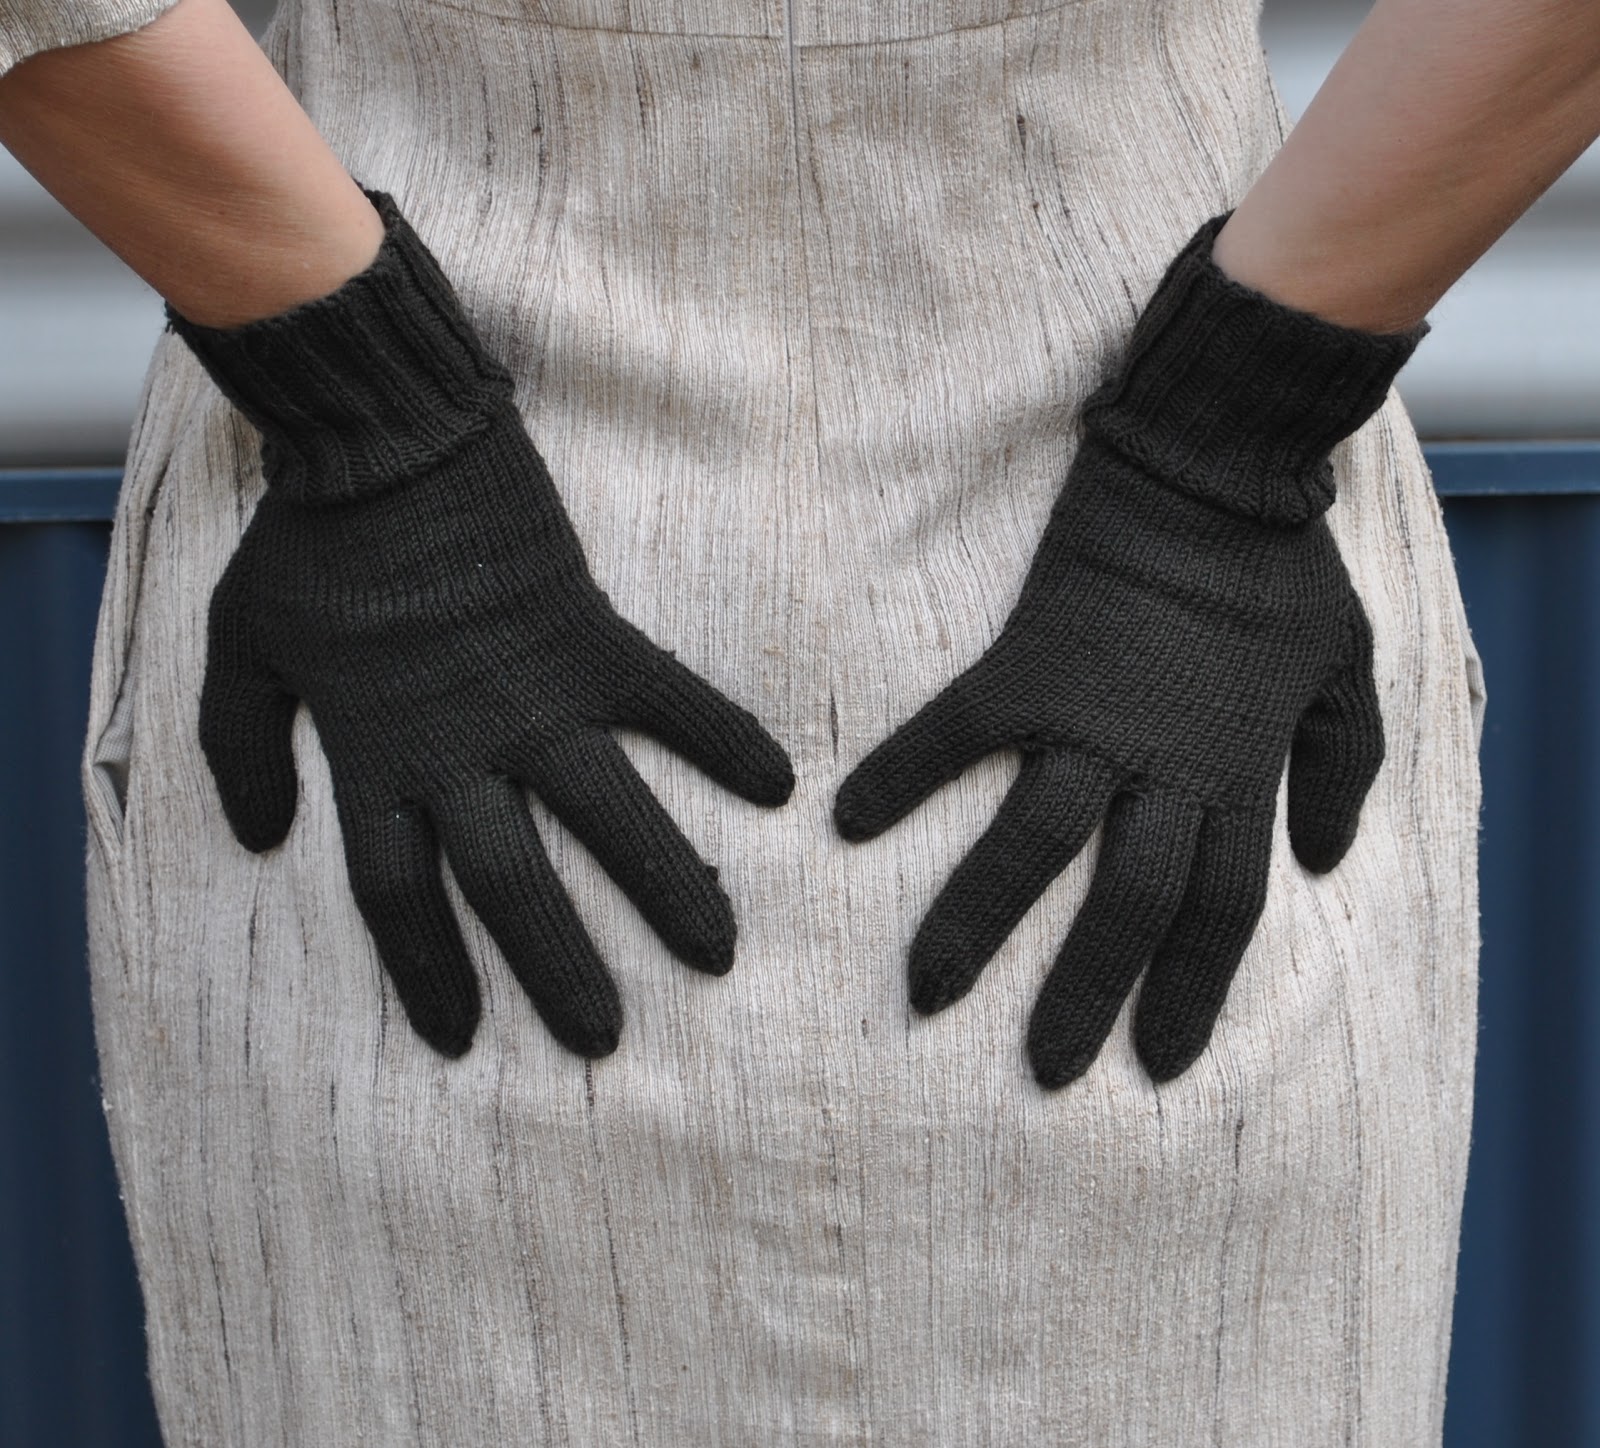
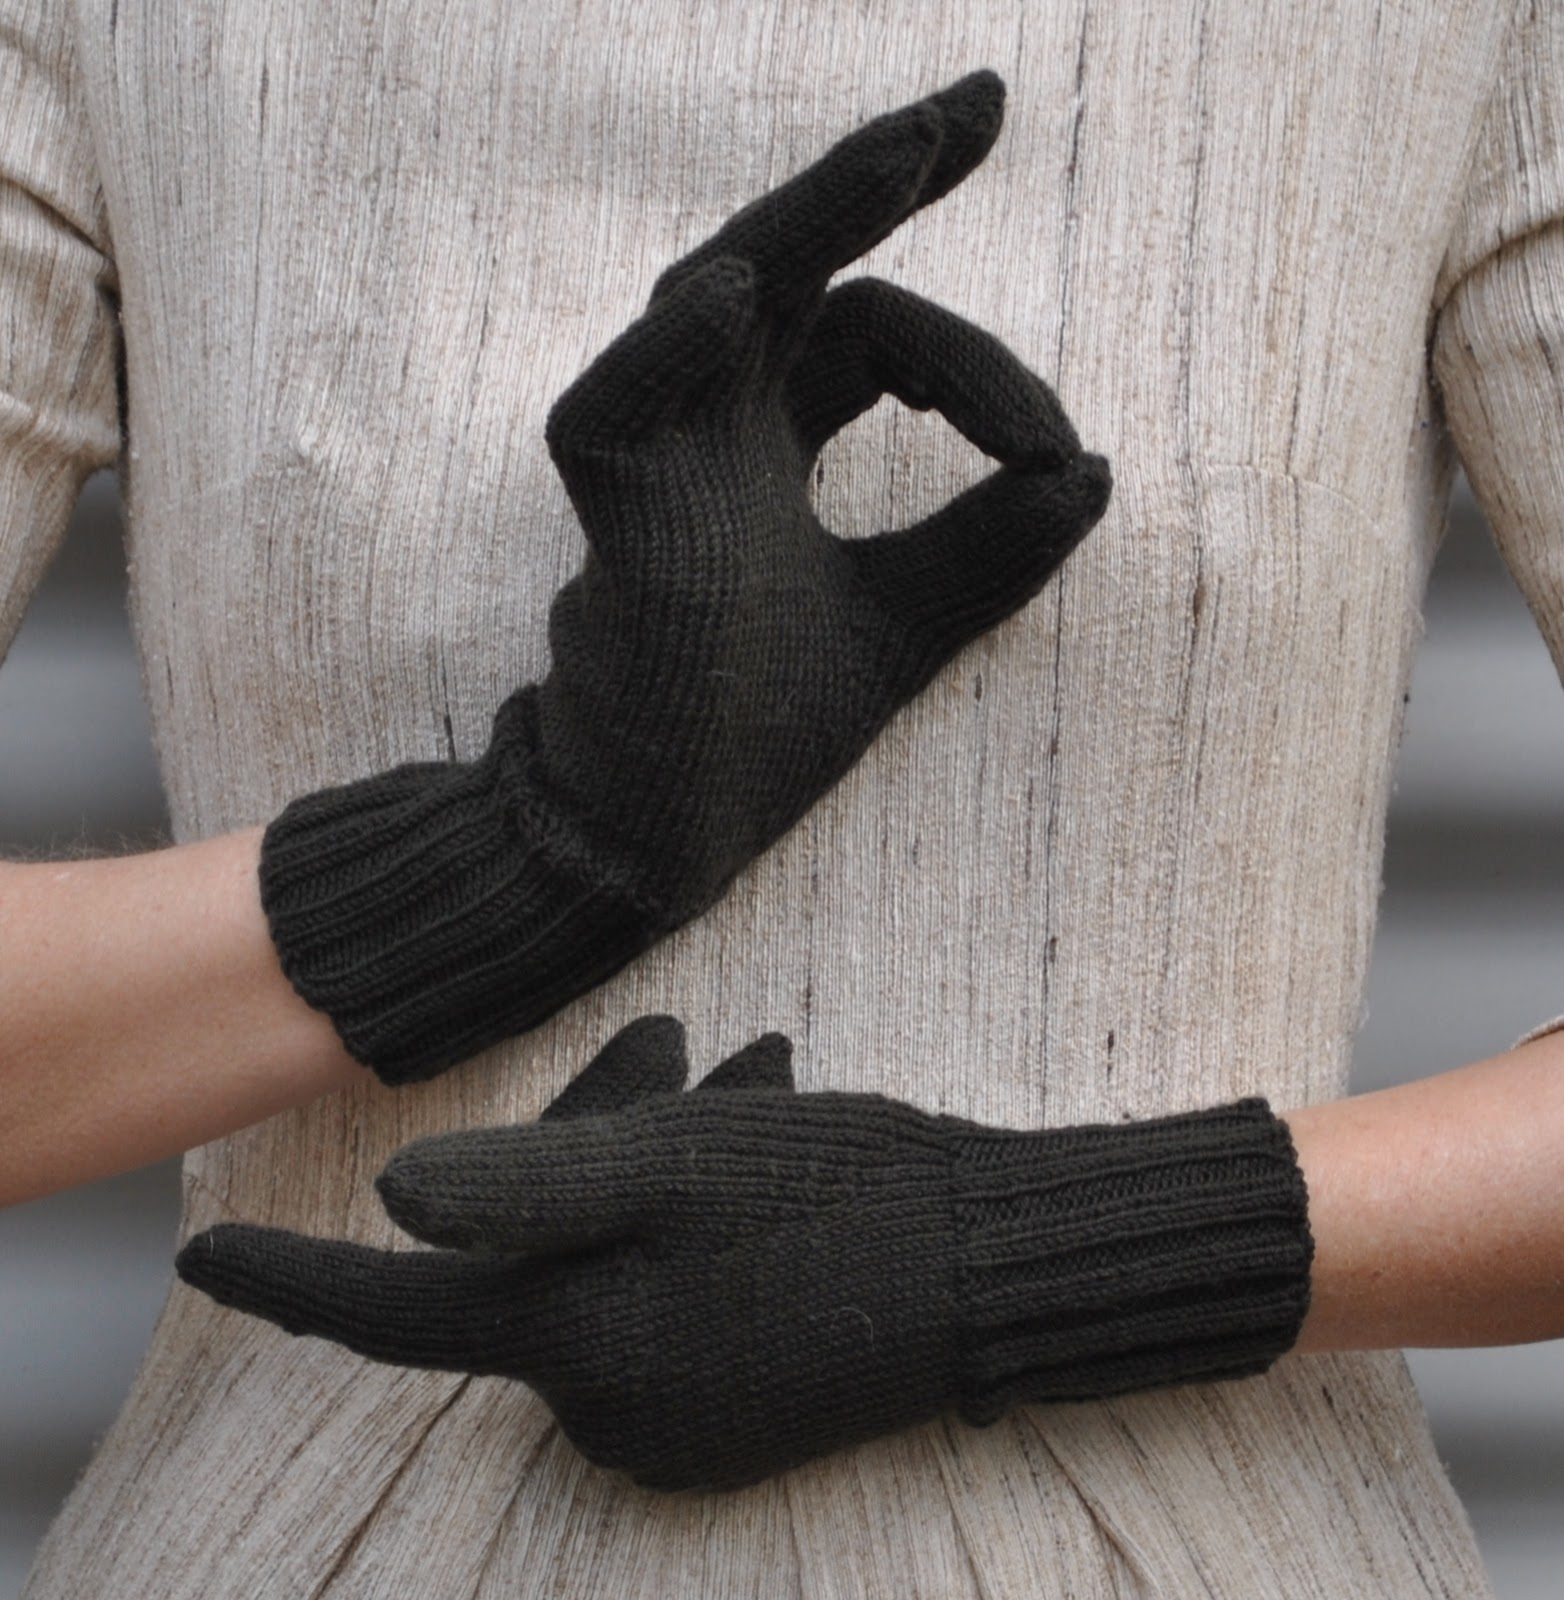
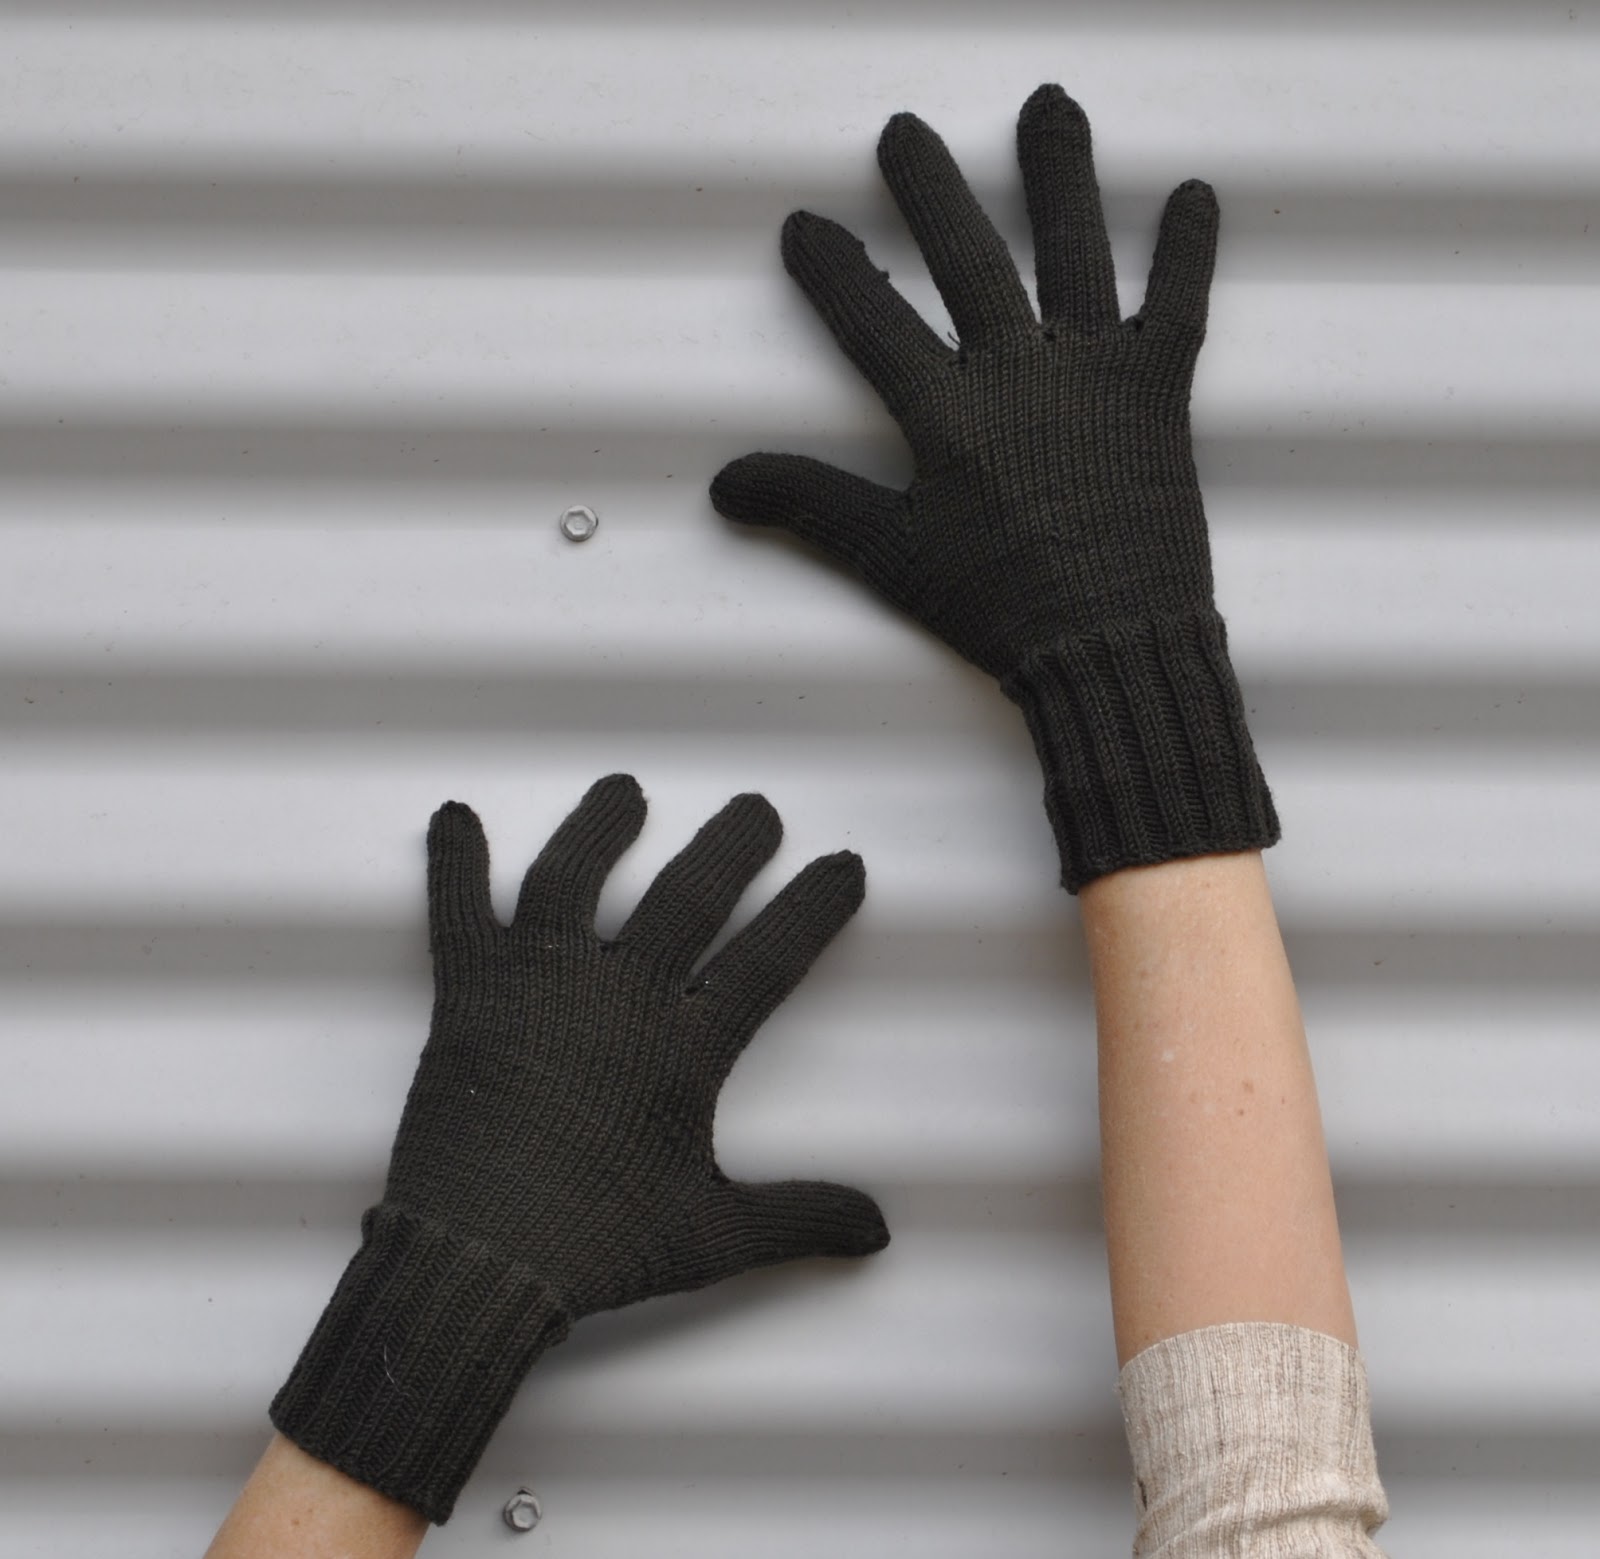
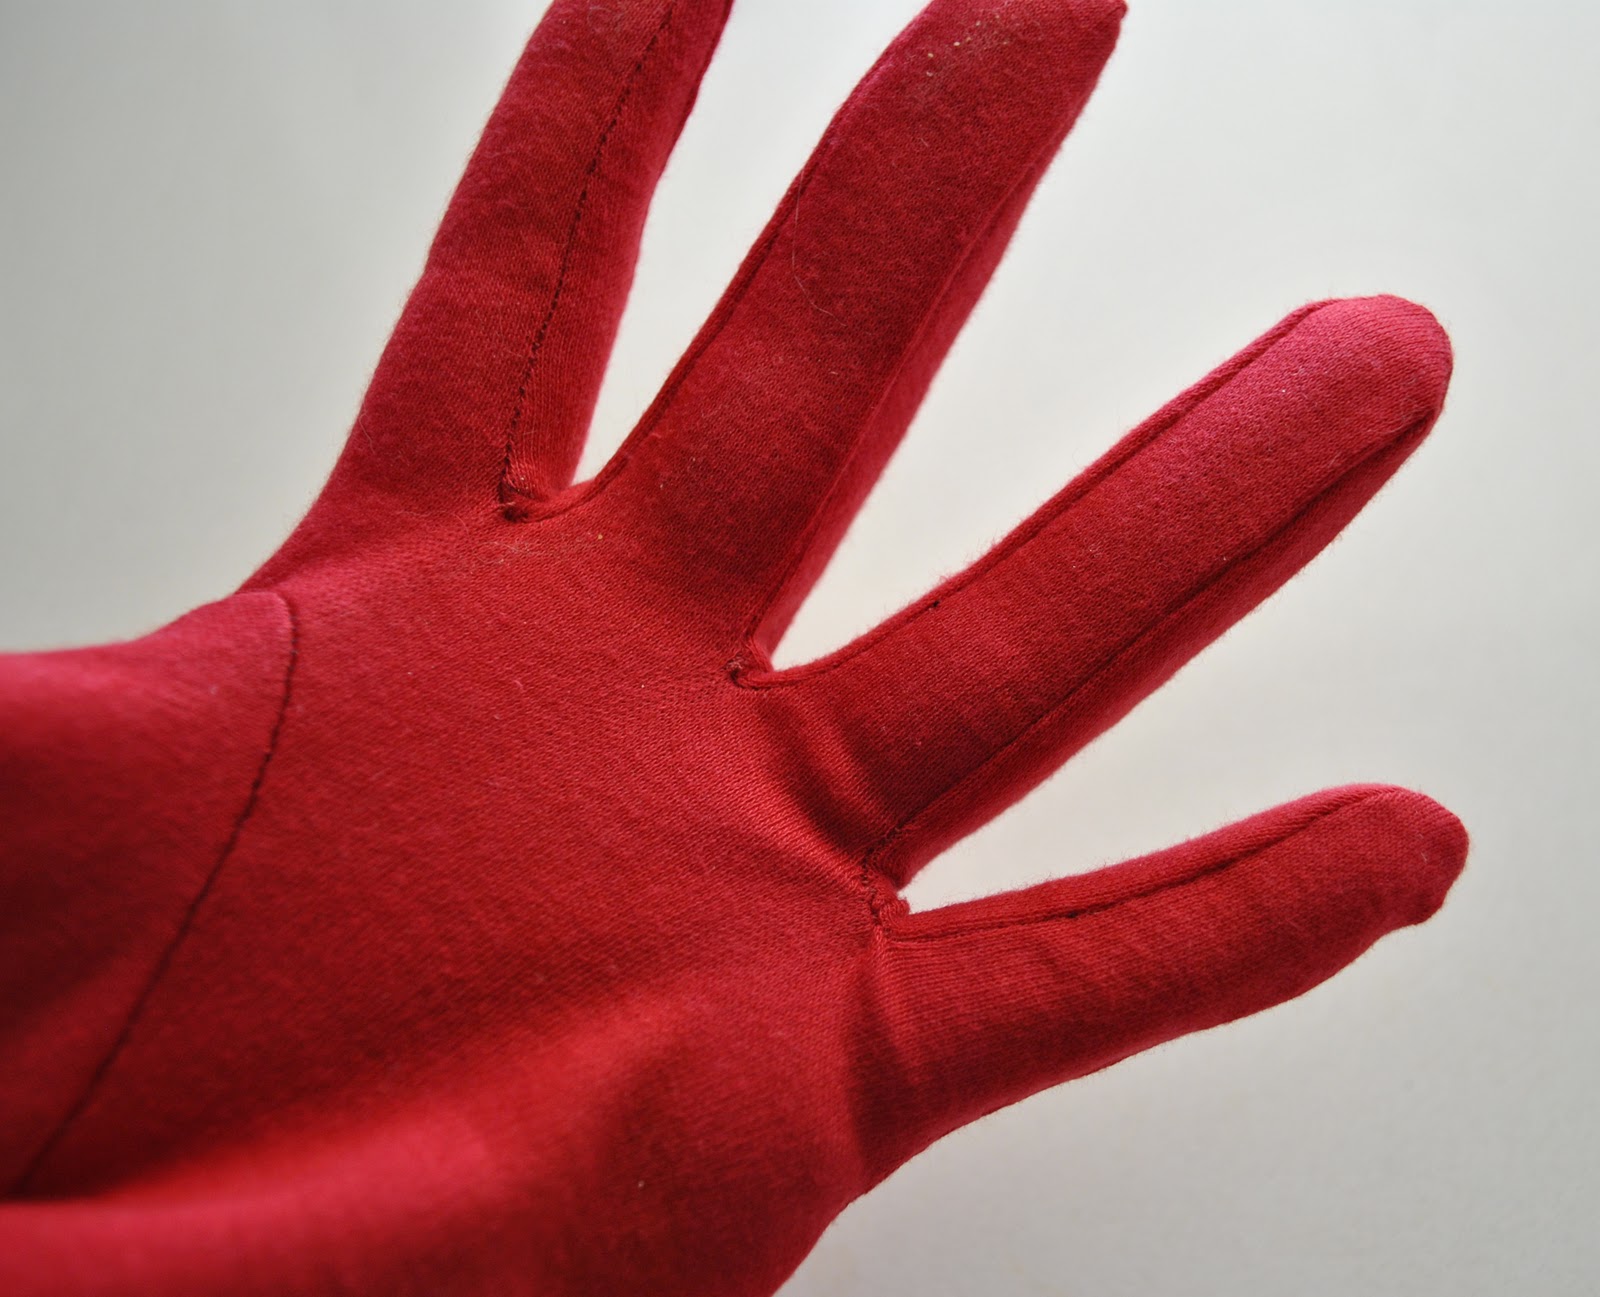
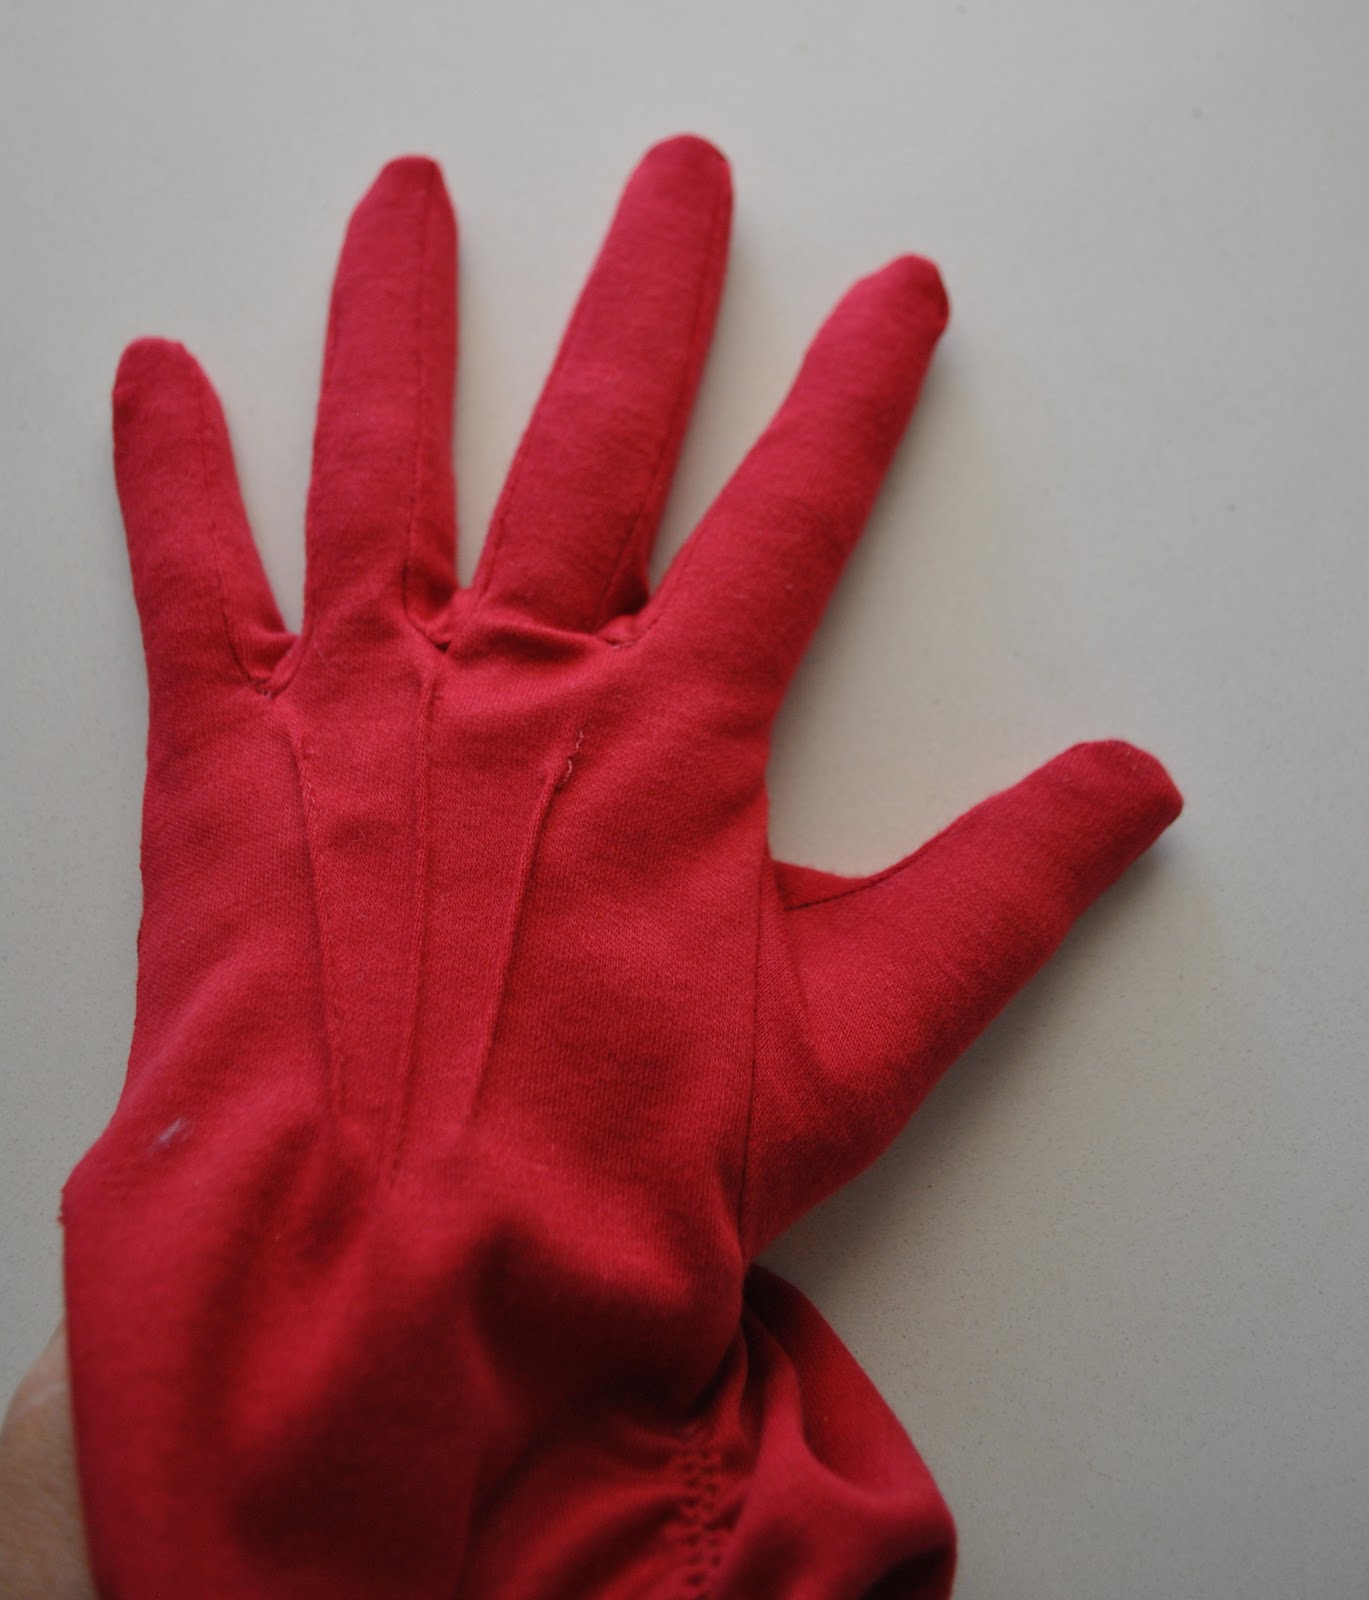
 My husband took these photos, because there is an inherent difficulty with photographing your own hands, even when operating a delayed response remote control! Some posing experiments were conducted to determine how to most effectively show off the new gloves. It was kinda hilarious. I hope some of these outtakes amuse 🙂