Tag Archives: Vogue 7949

Gloves: finishing off, and a pattern review

Relax, the difficult bit is well and truly over.  All that is left are straightforward finishing off seams… easy peasy!

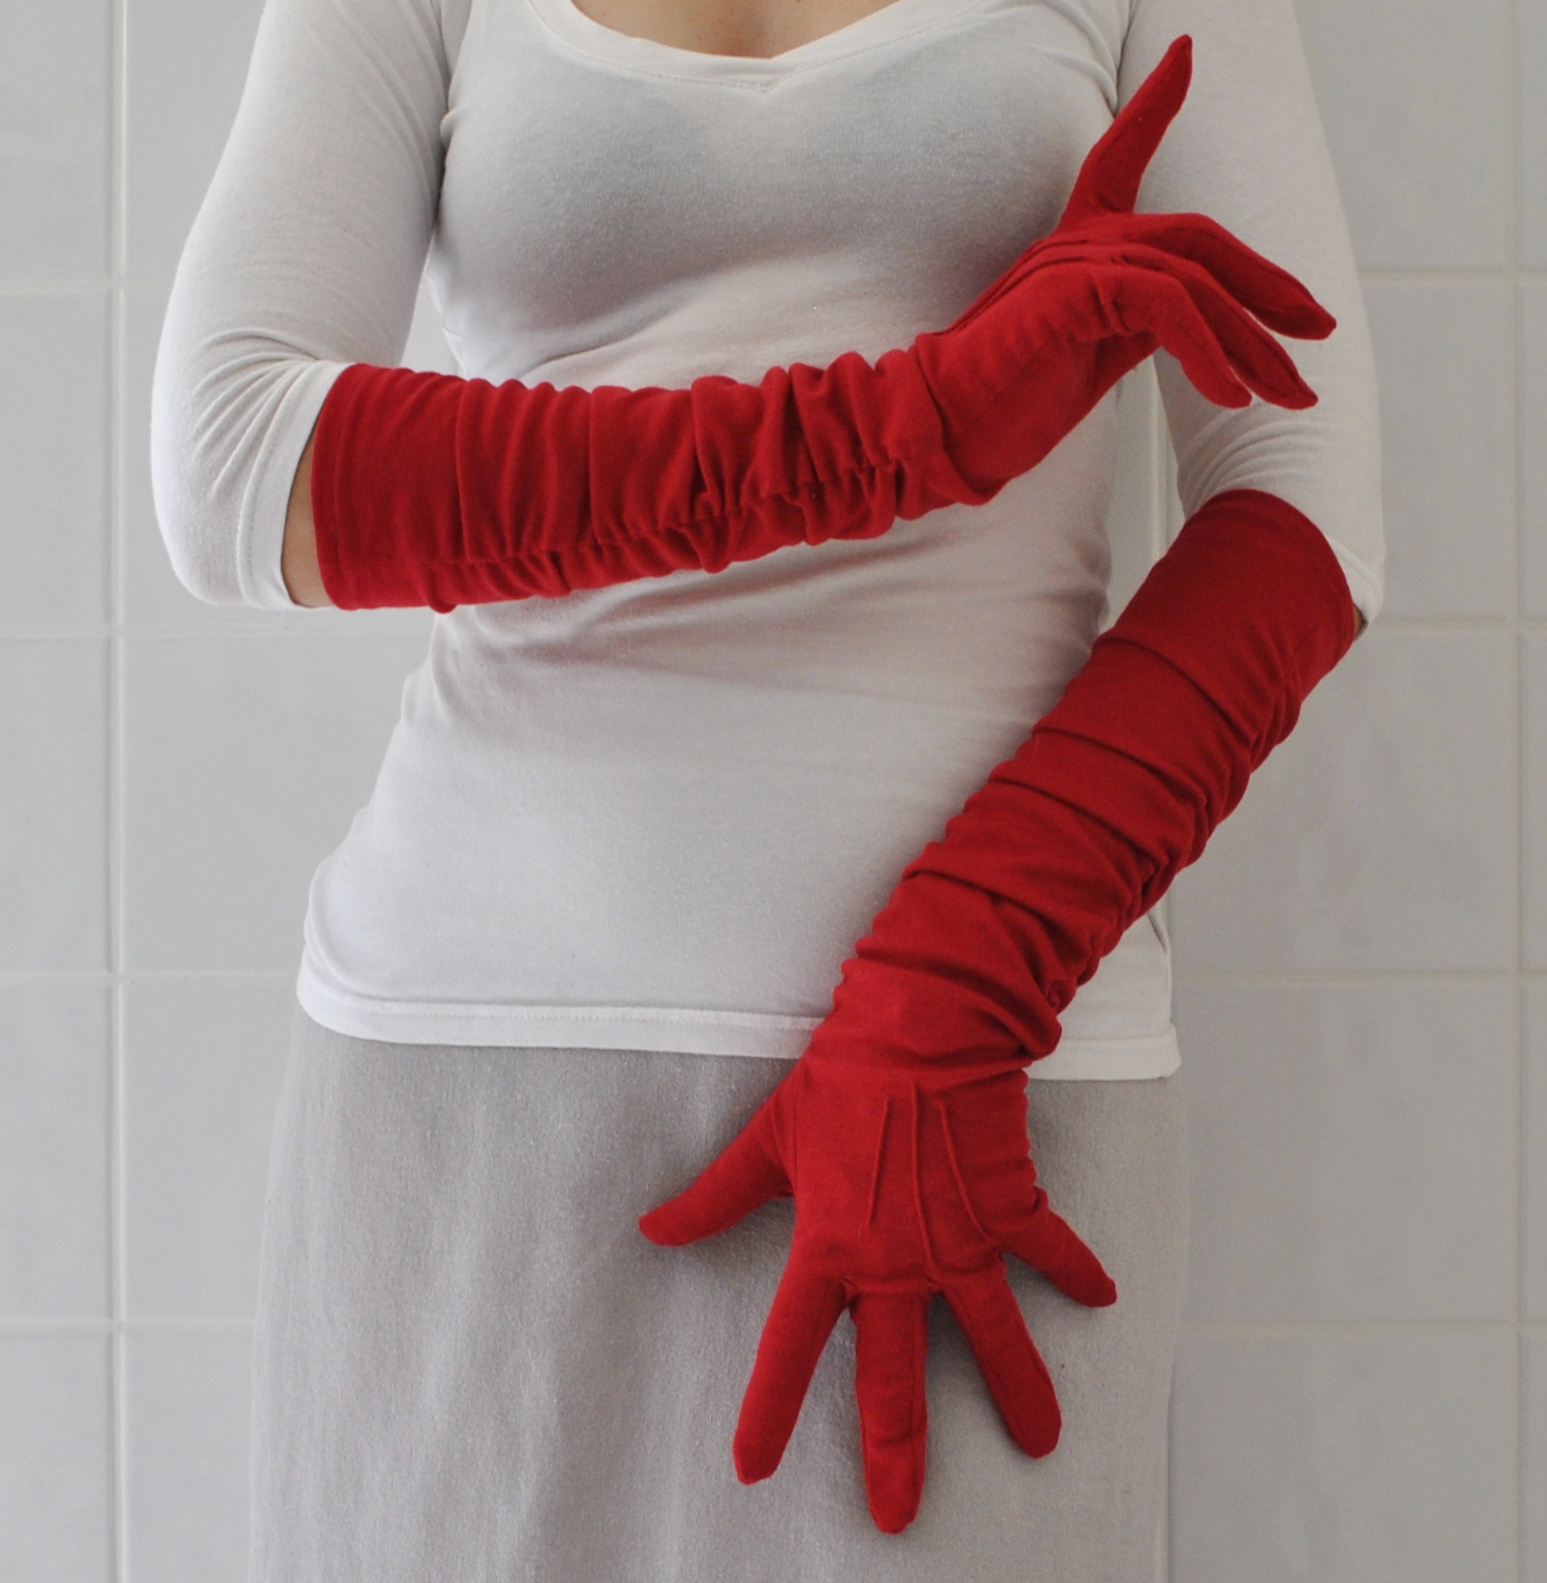
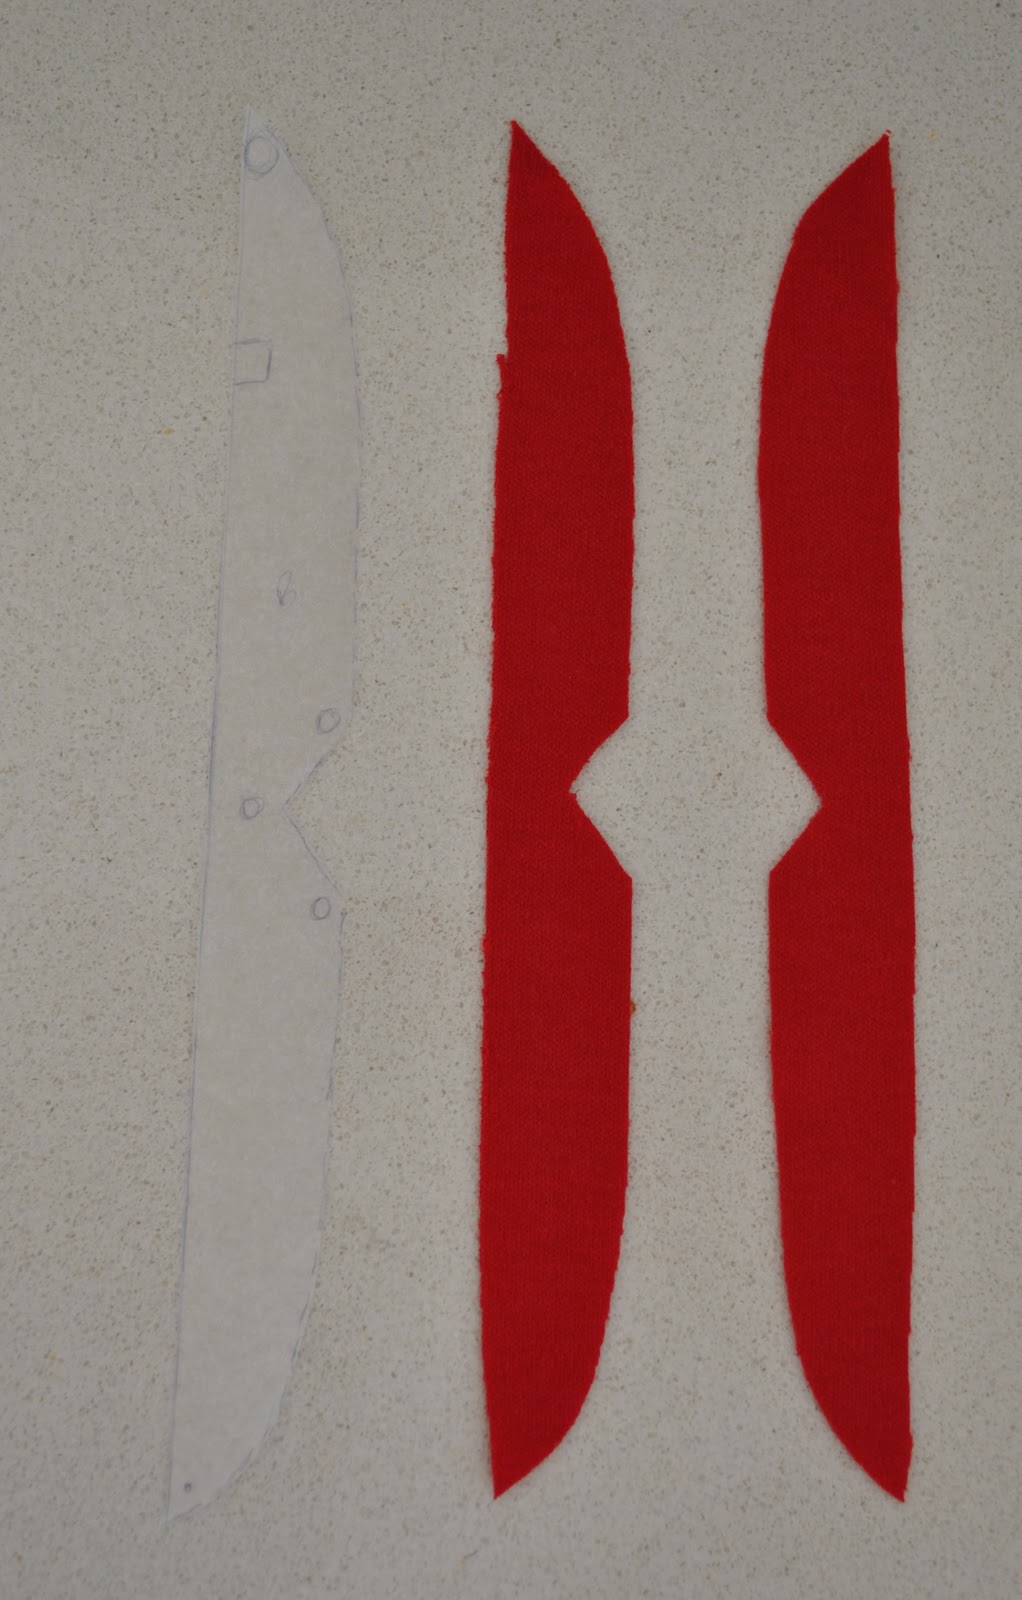
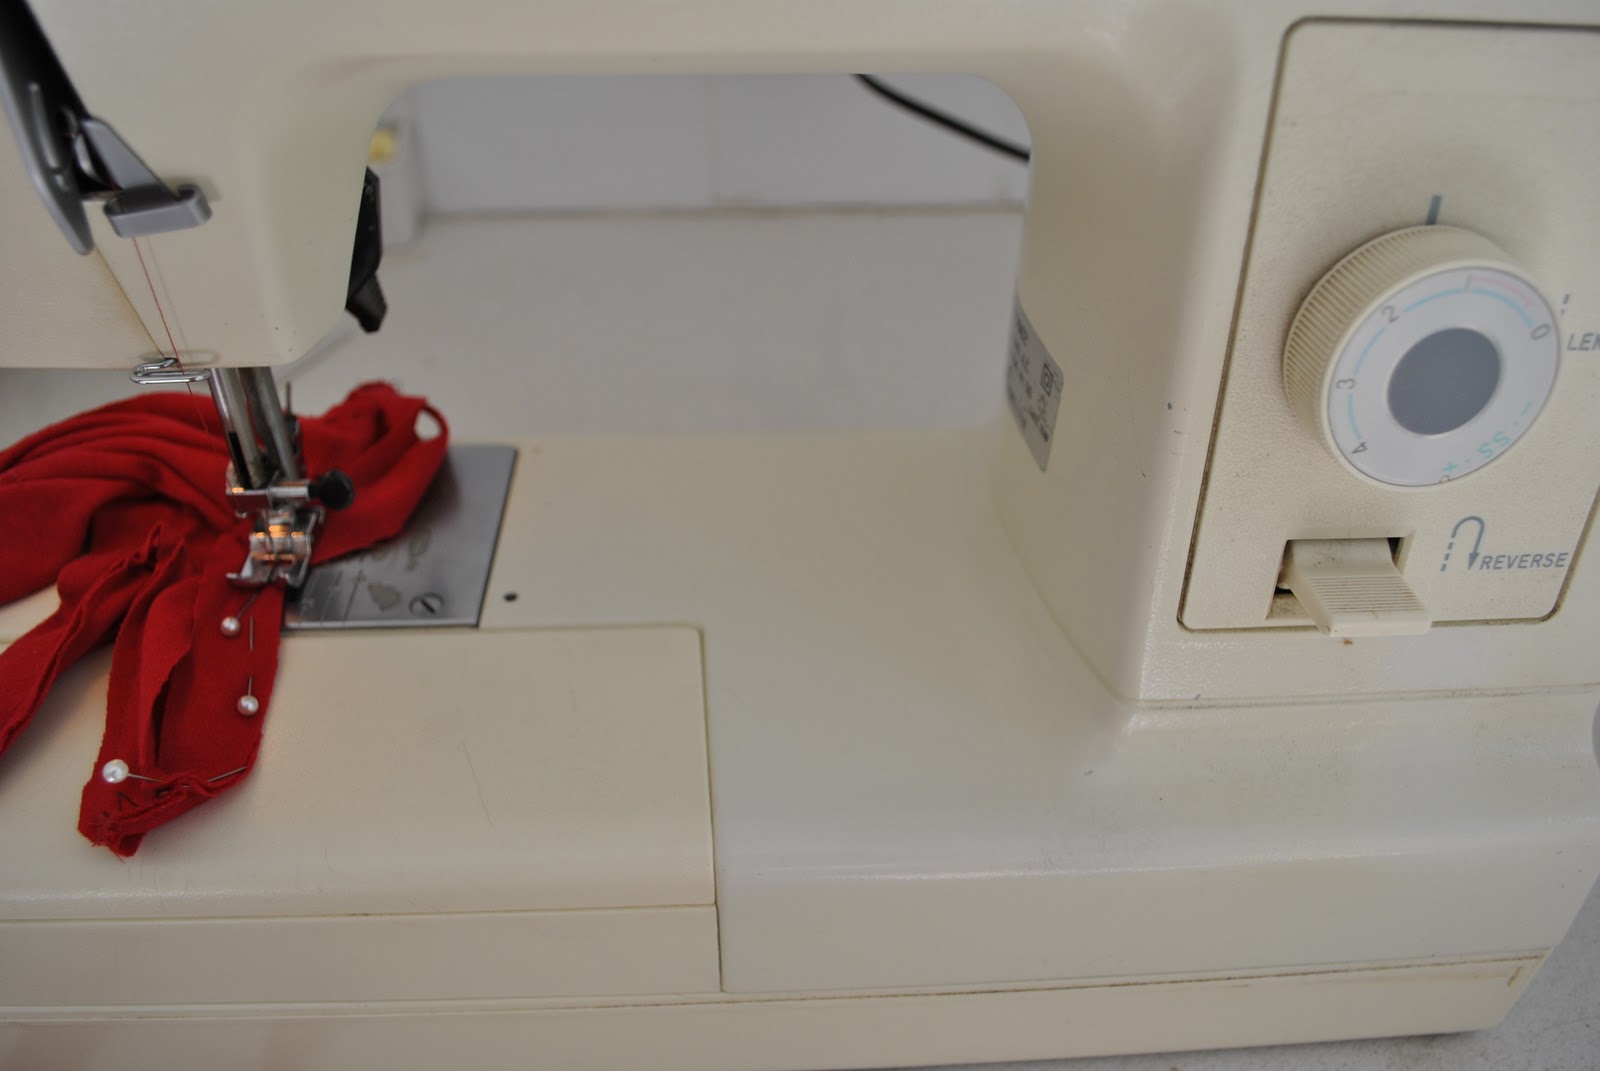
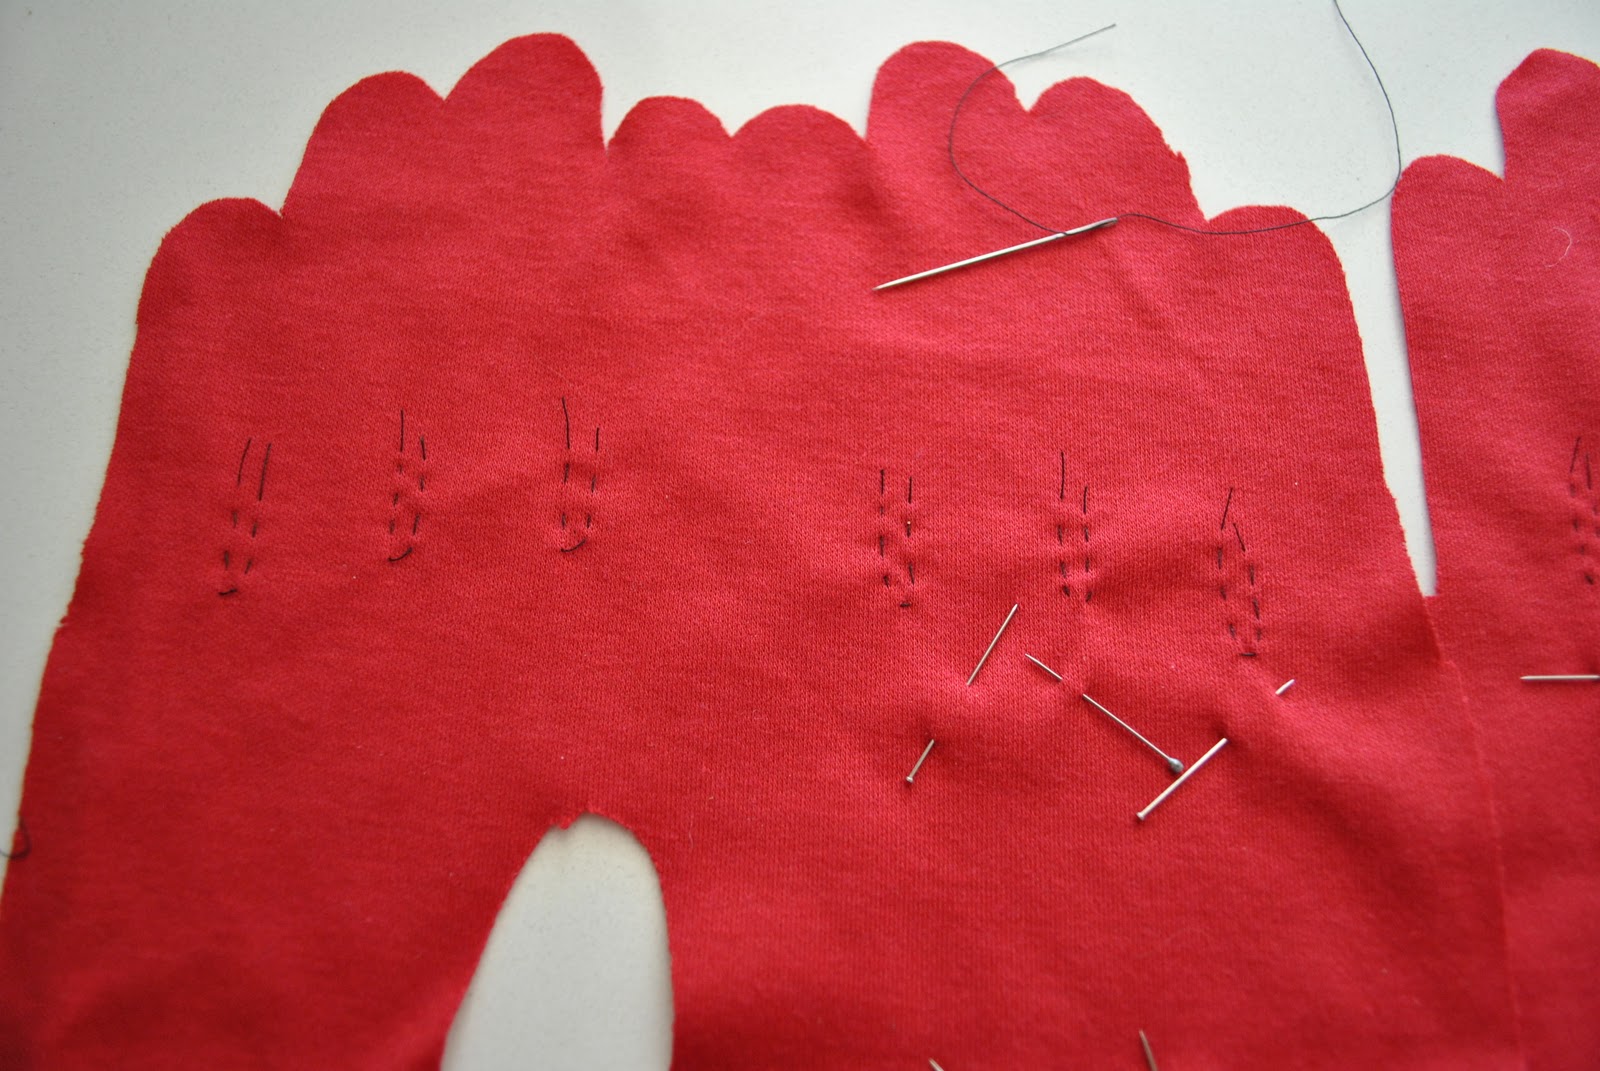
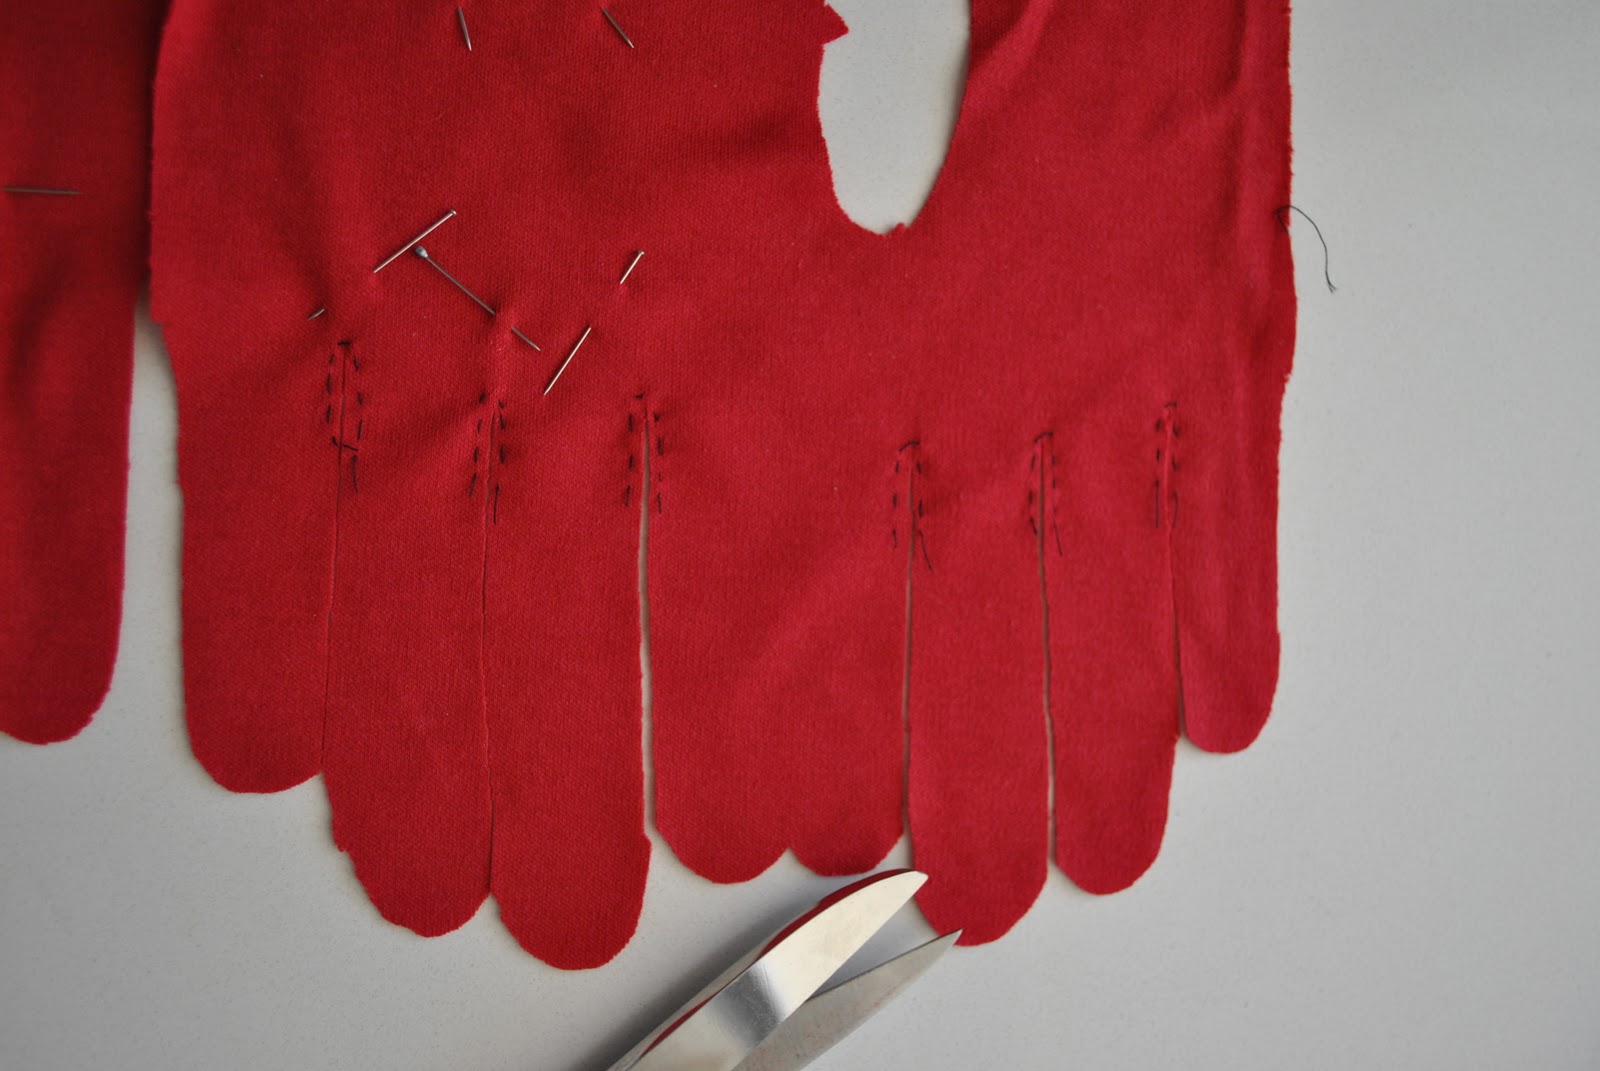
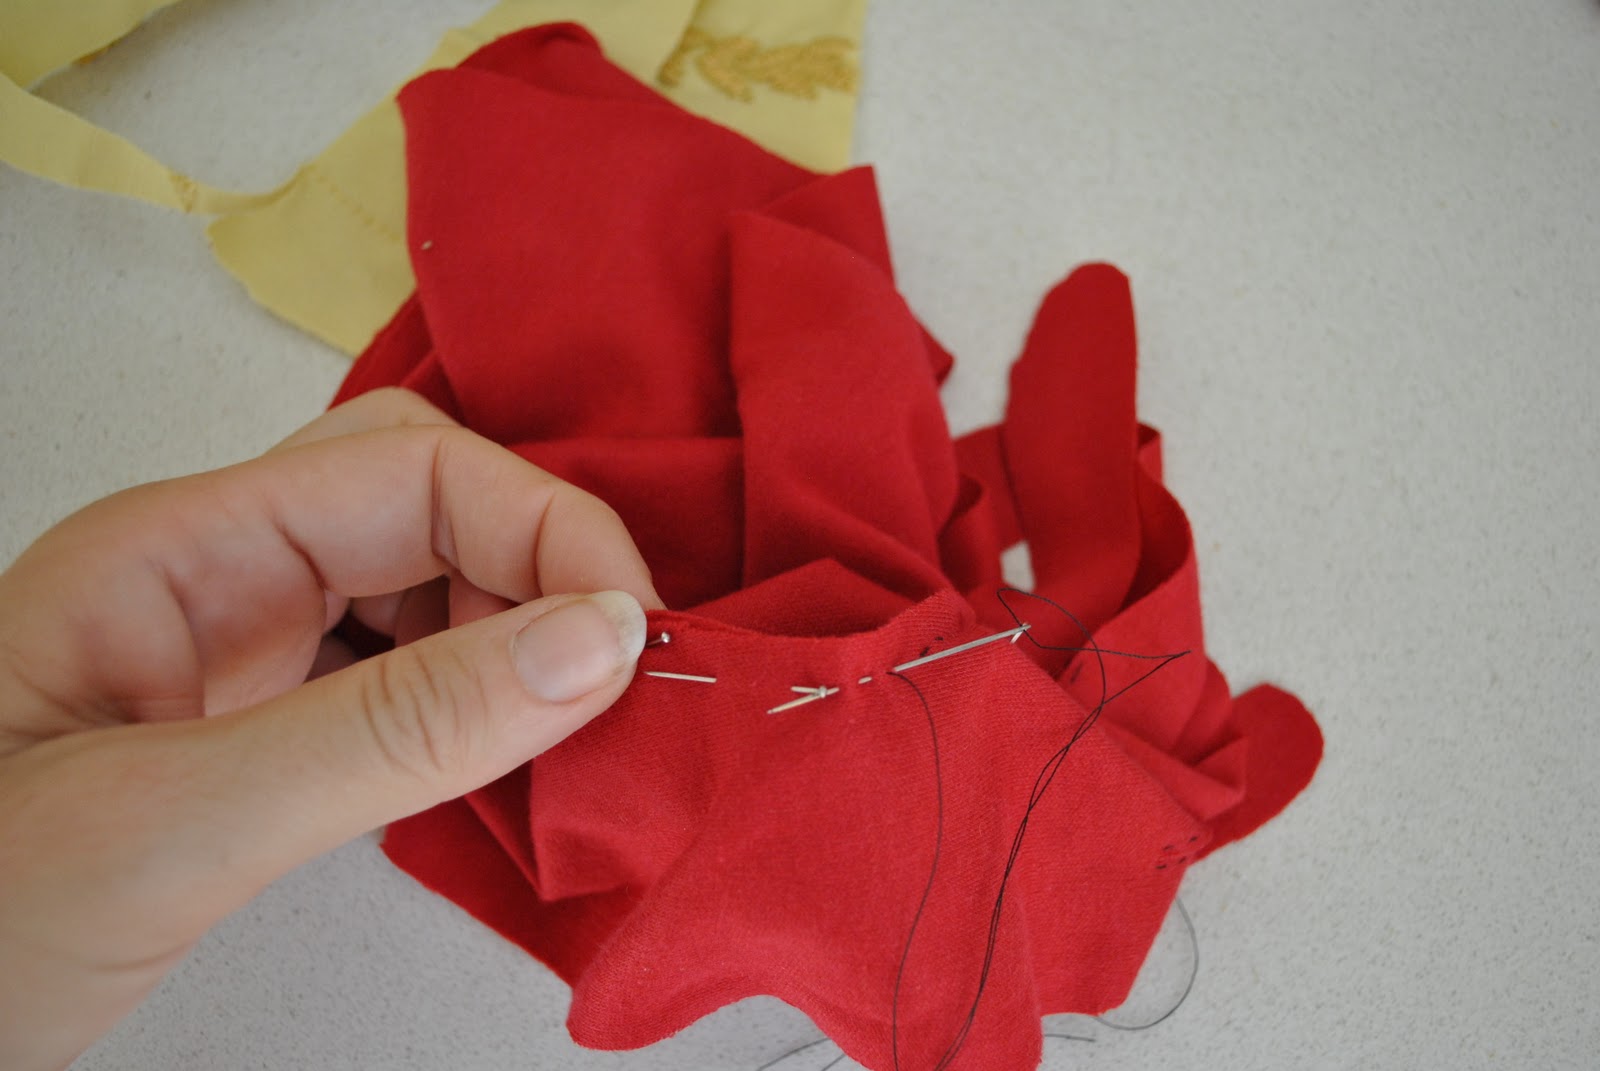
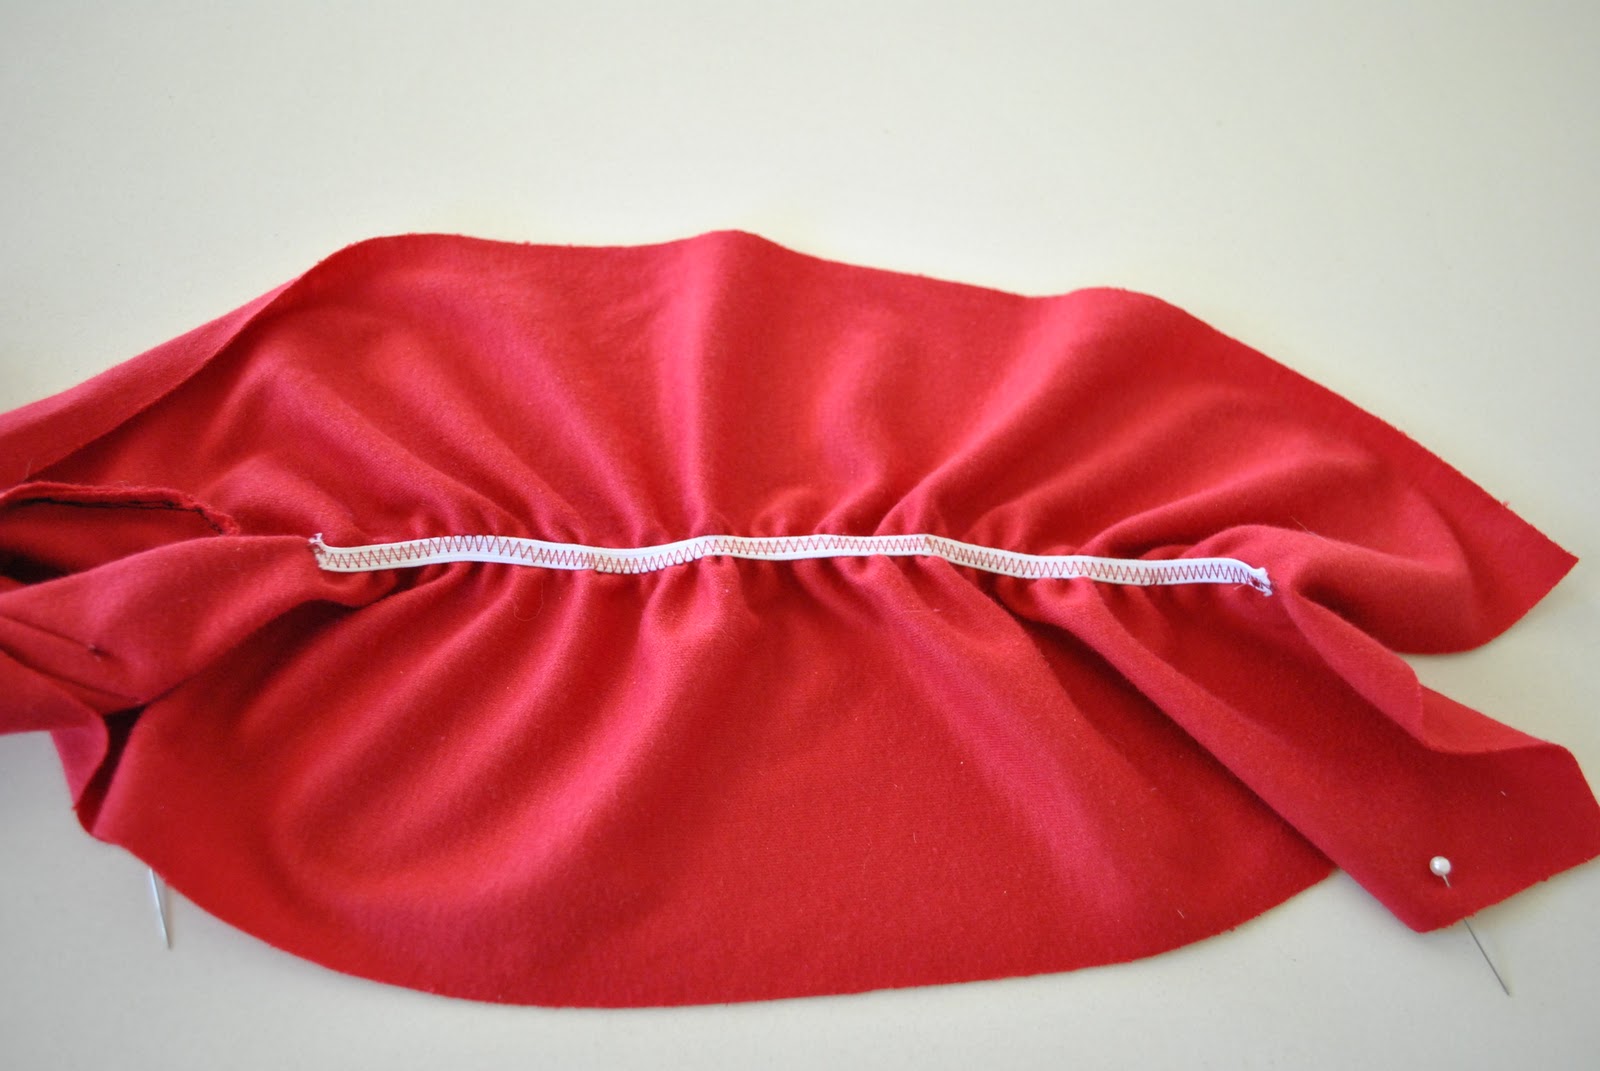
The version I chose here has a long gathered body to it, with elastic sewn in the long sides to bunch it all up elegantly.  The instructions say to sew in a zigzag stitch down the length of the elastic like so… all well and good.

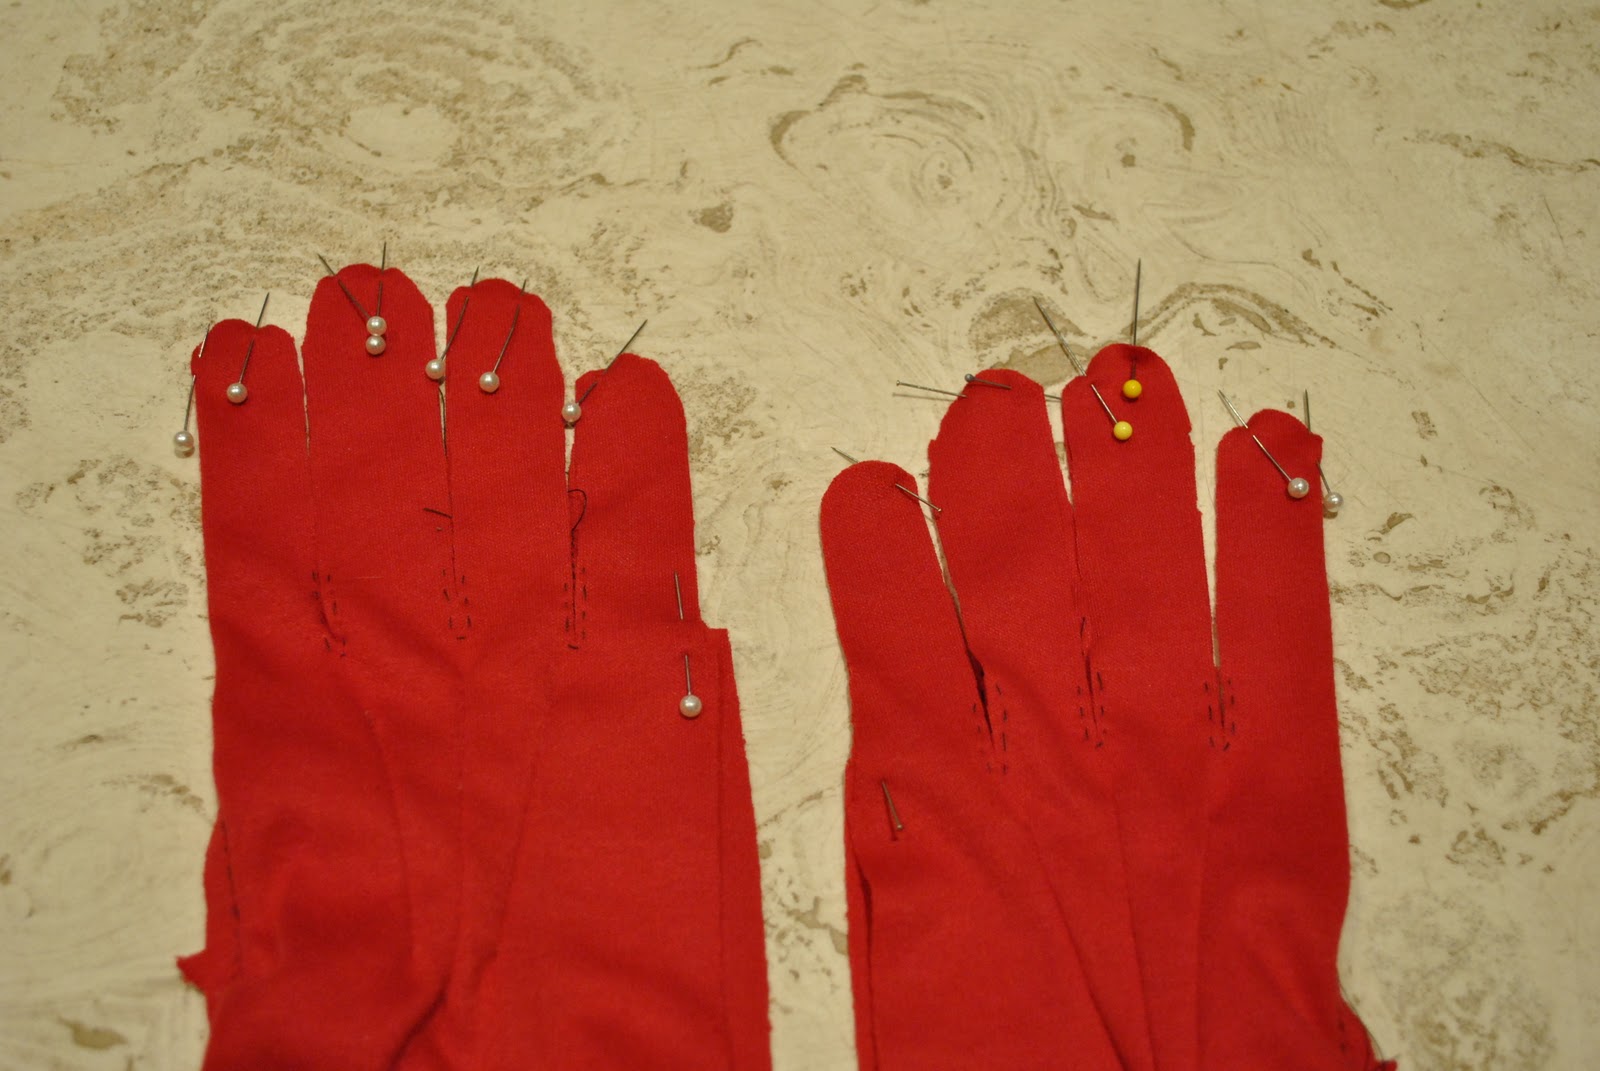
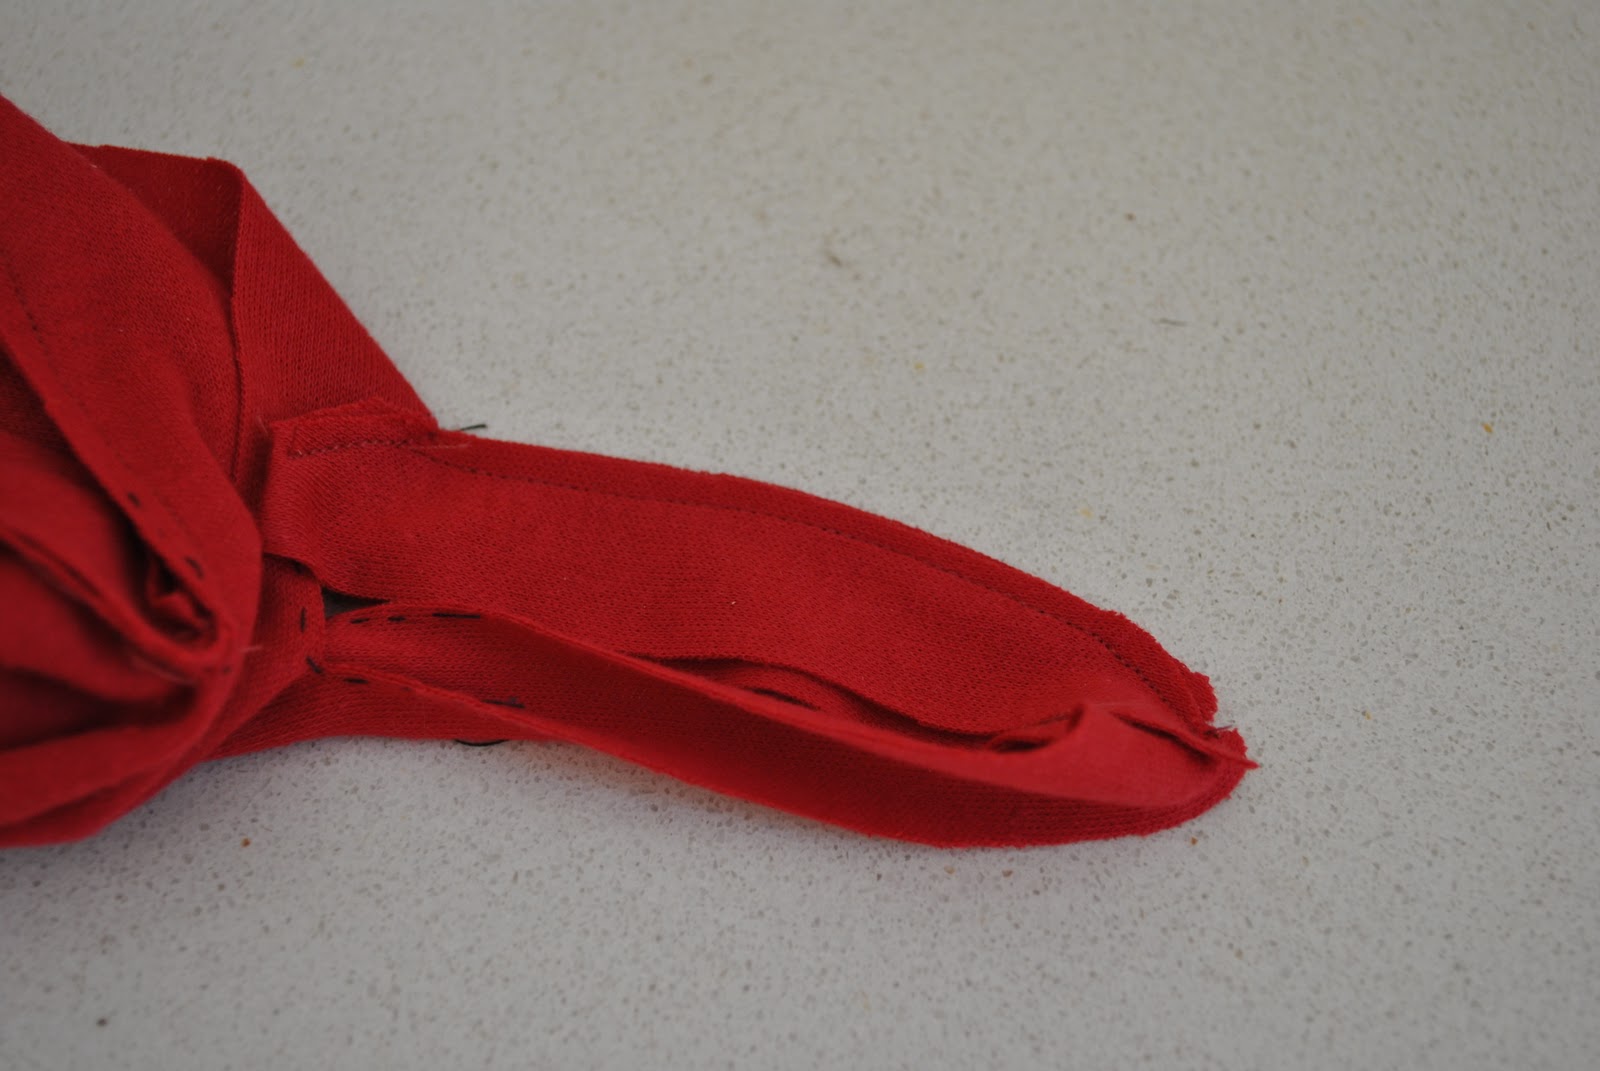
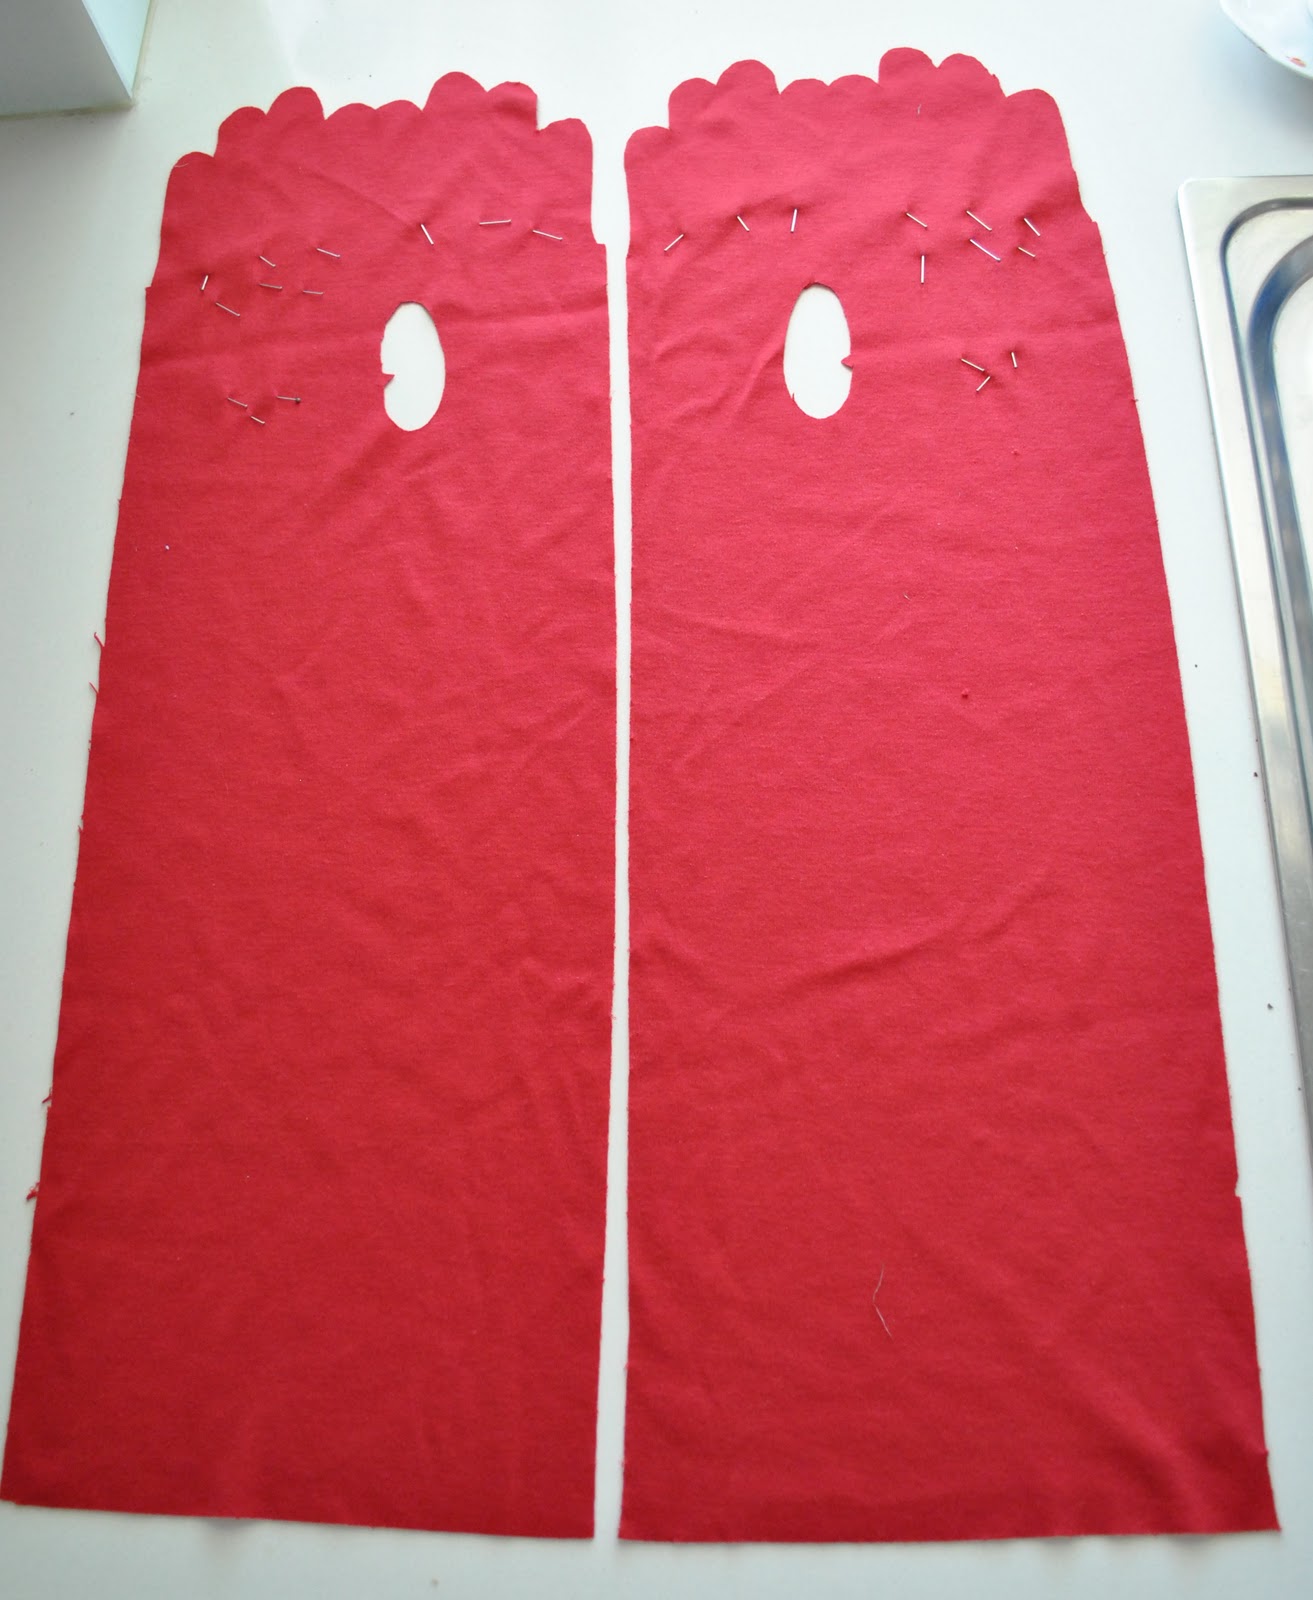
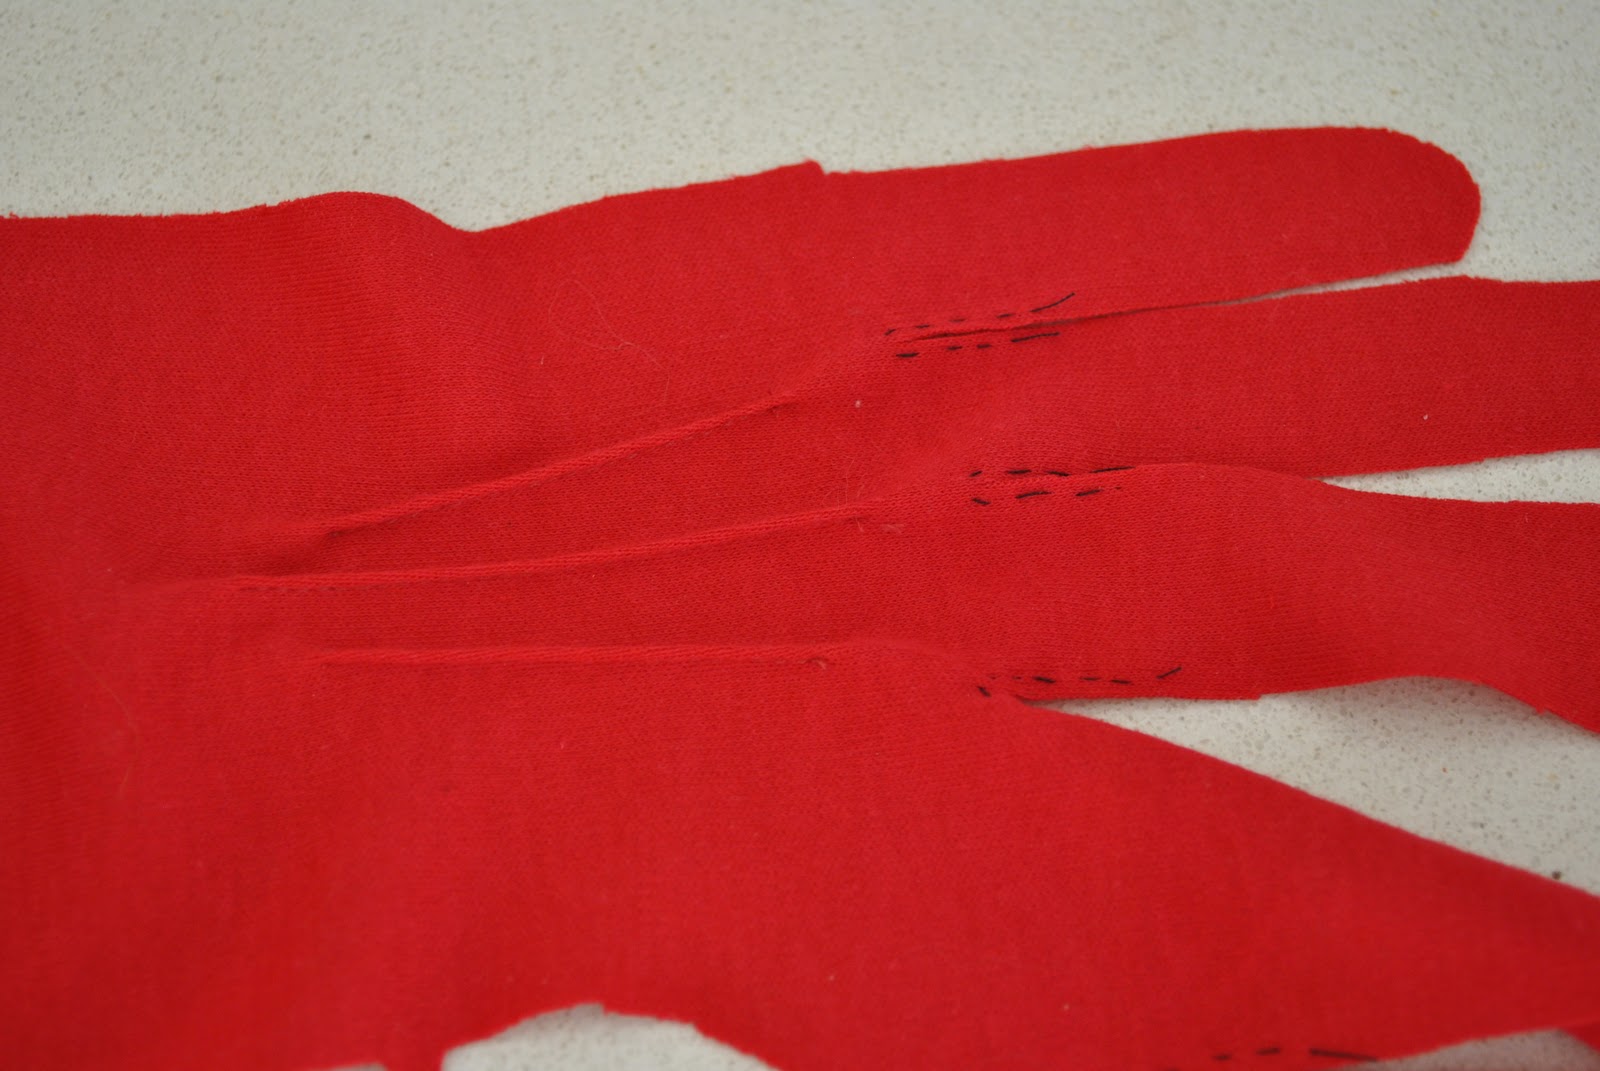
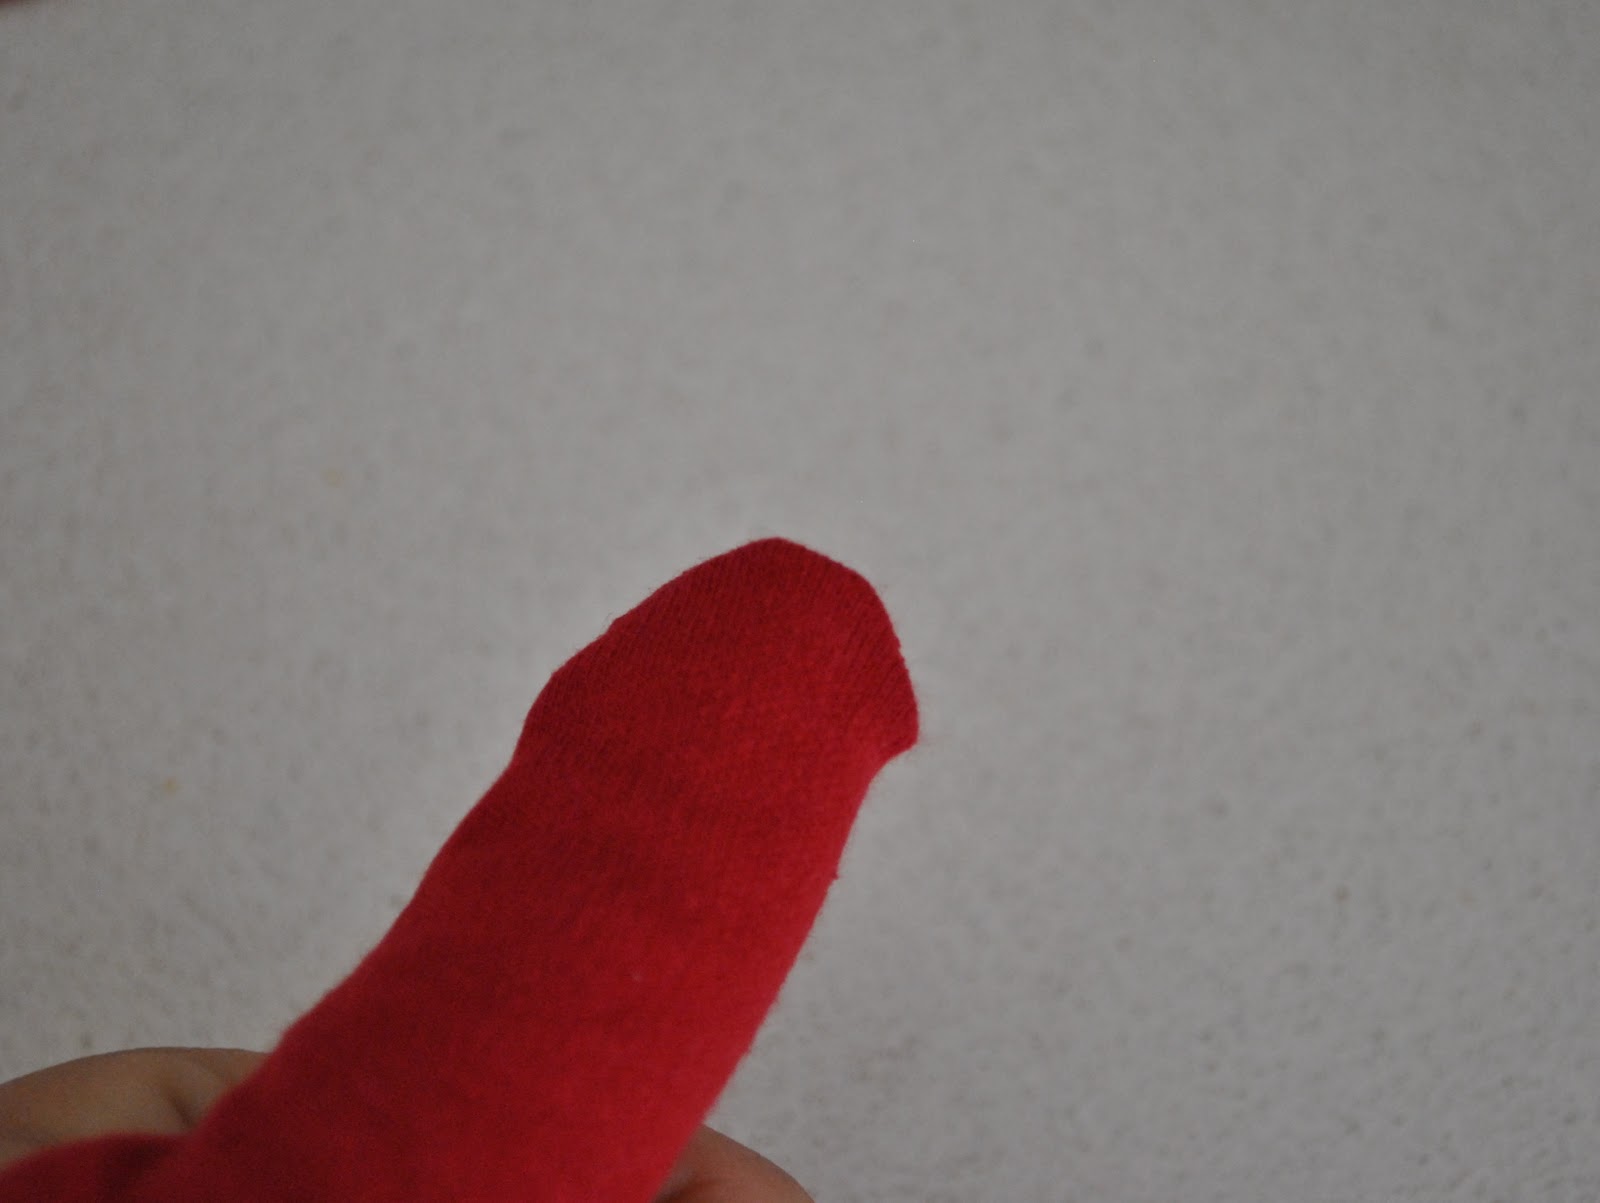
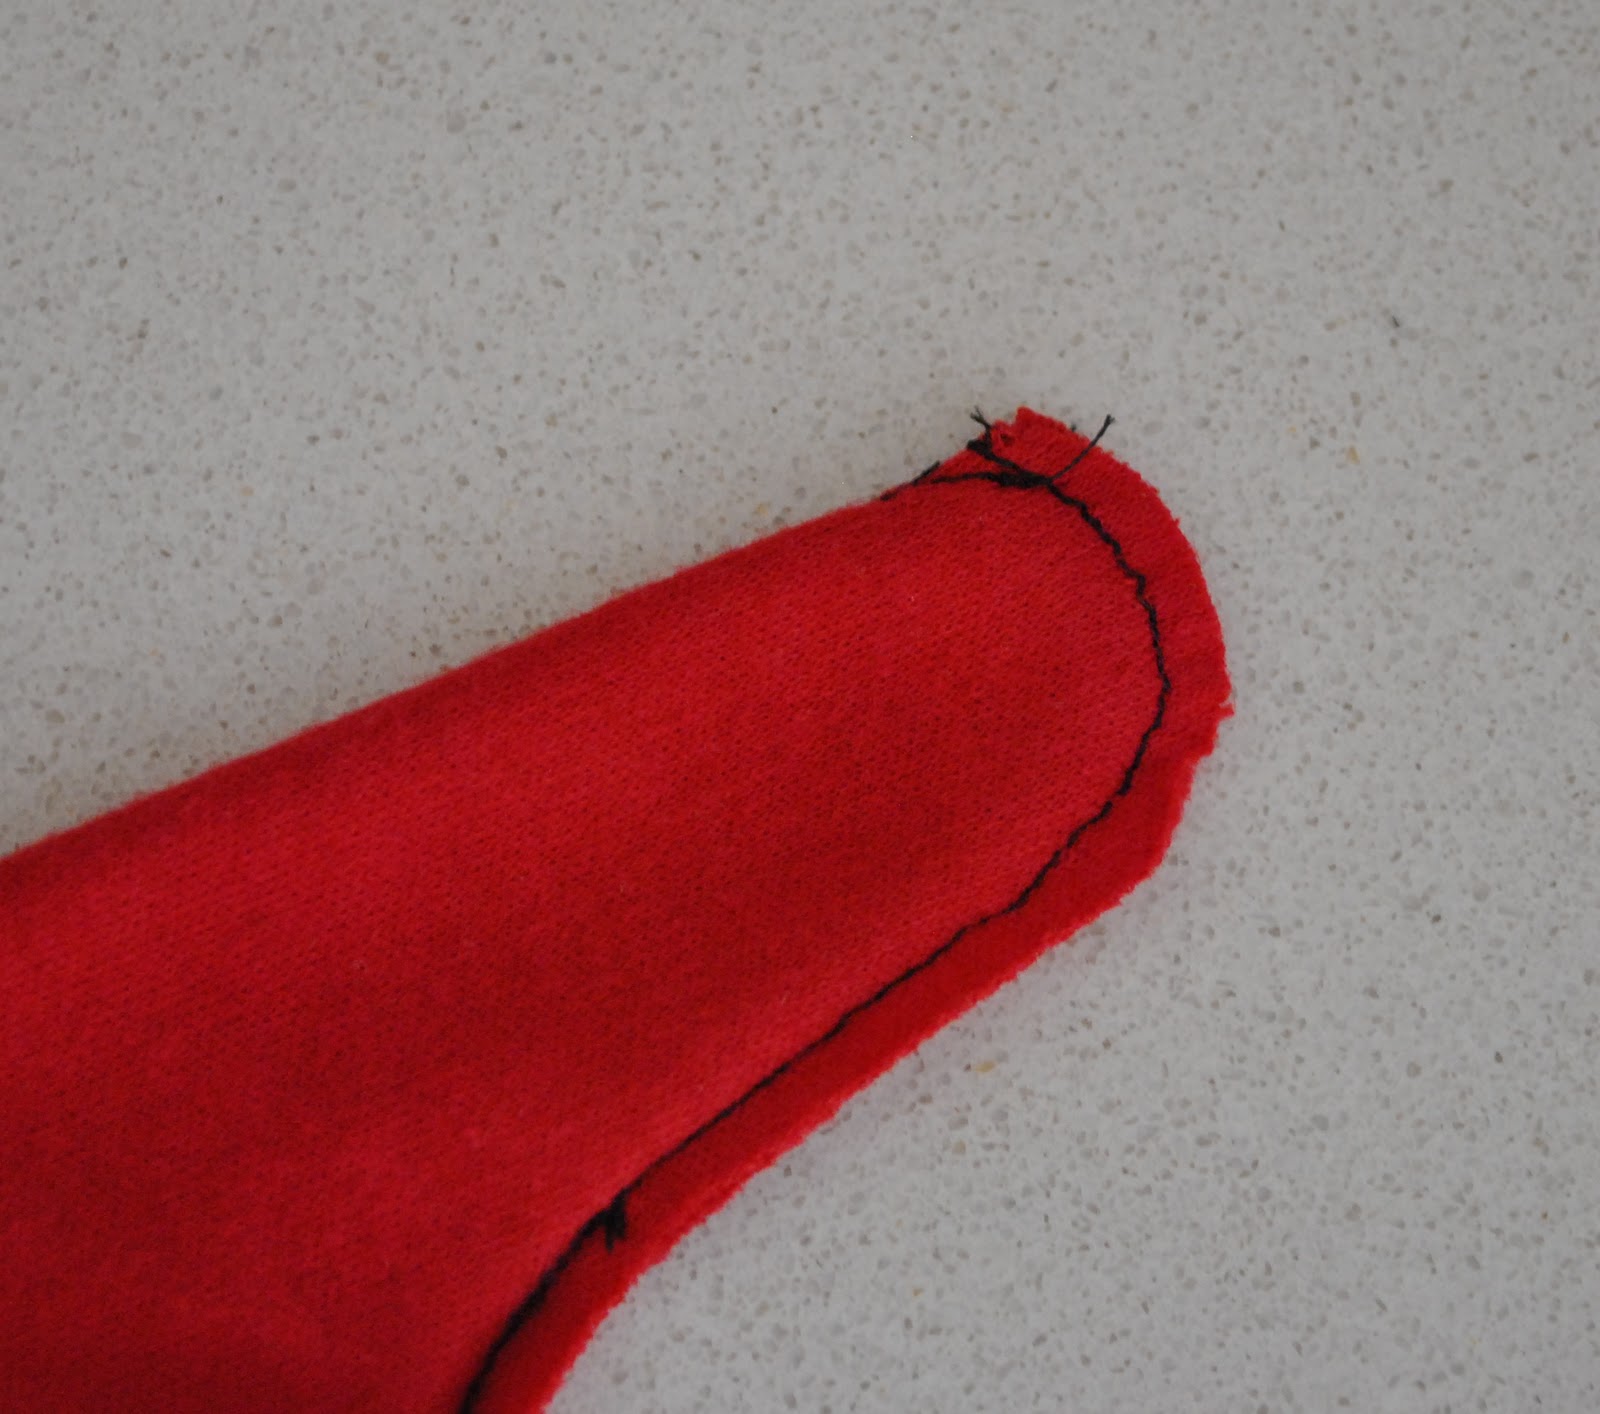
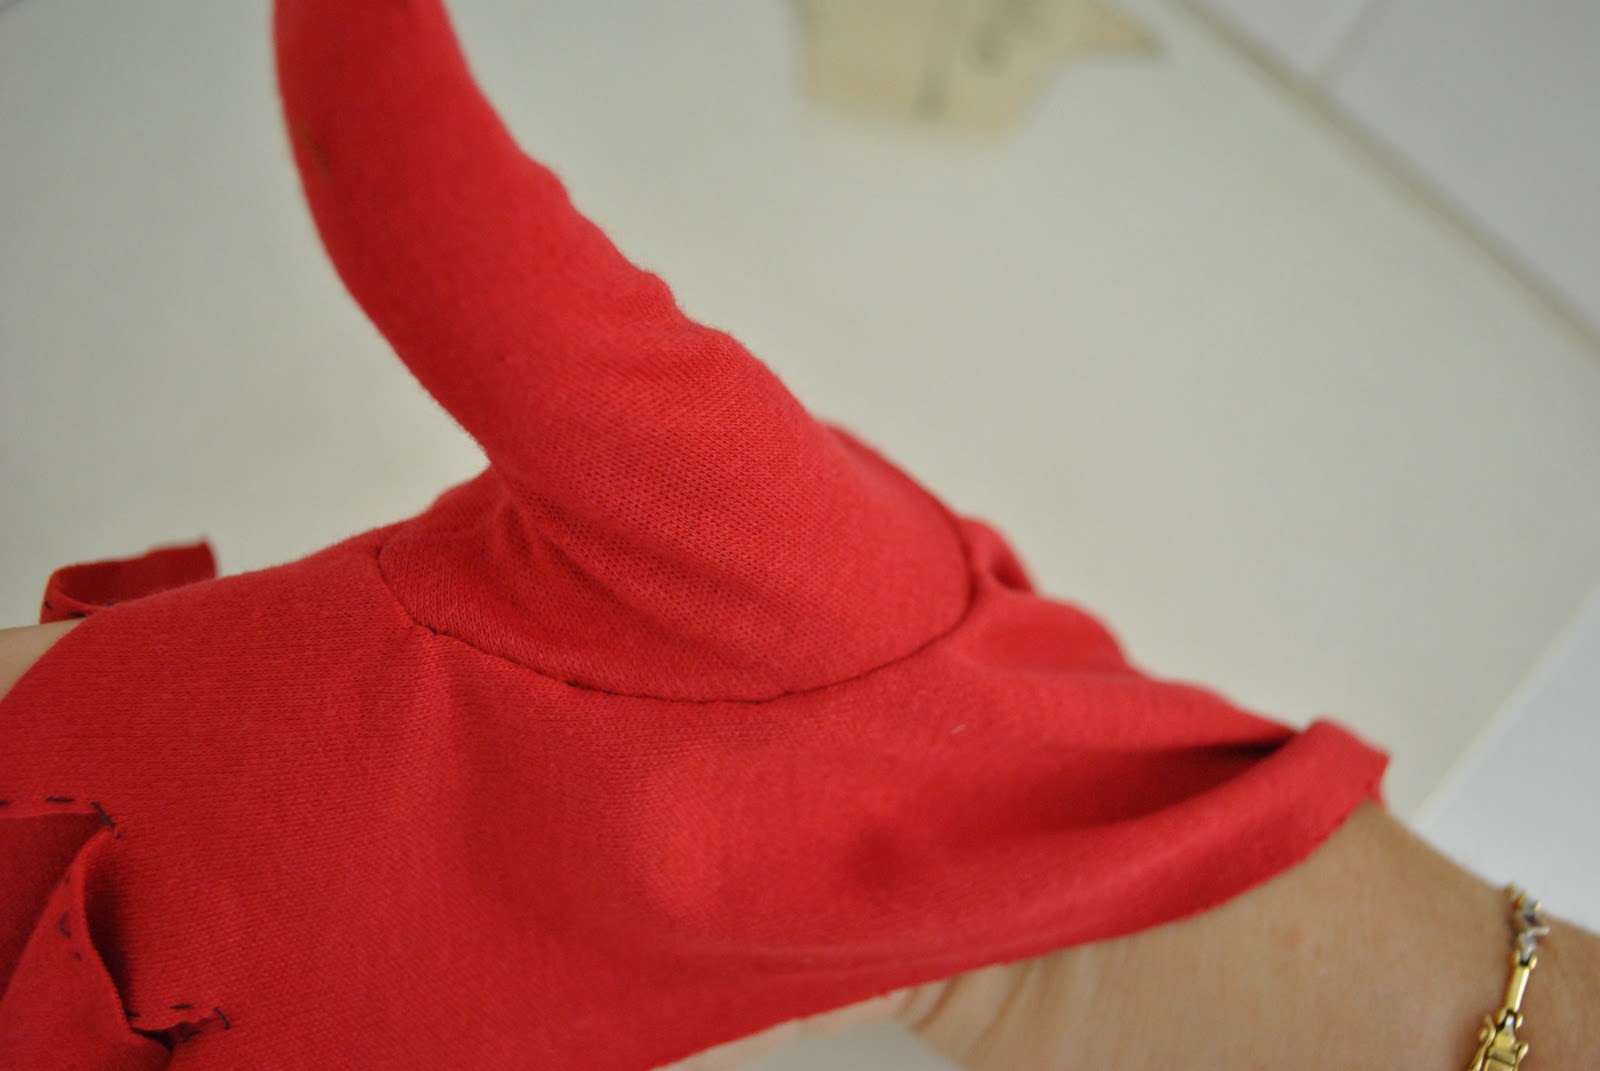
Then I sewed up the remaining side seam of the glove…

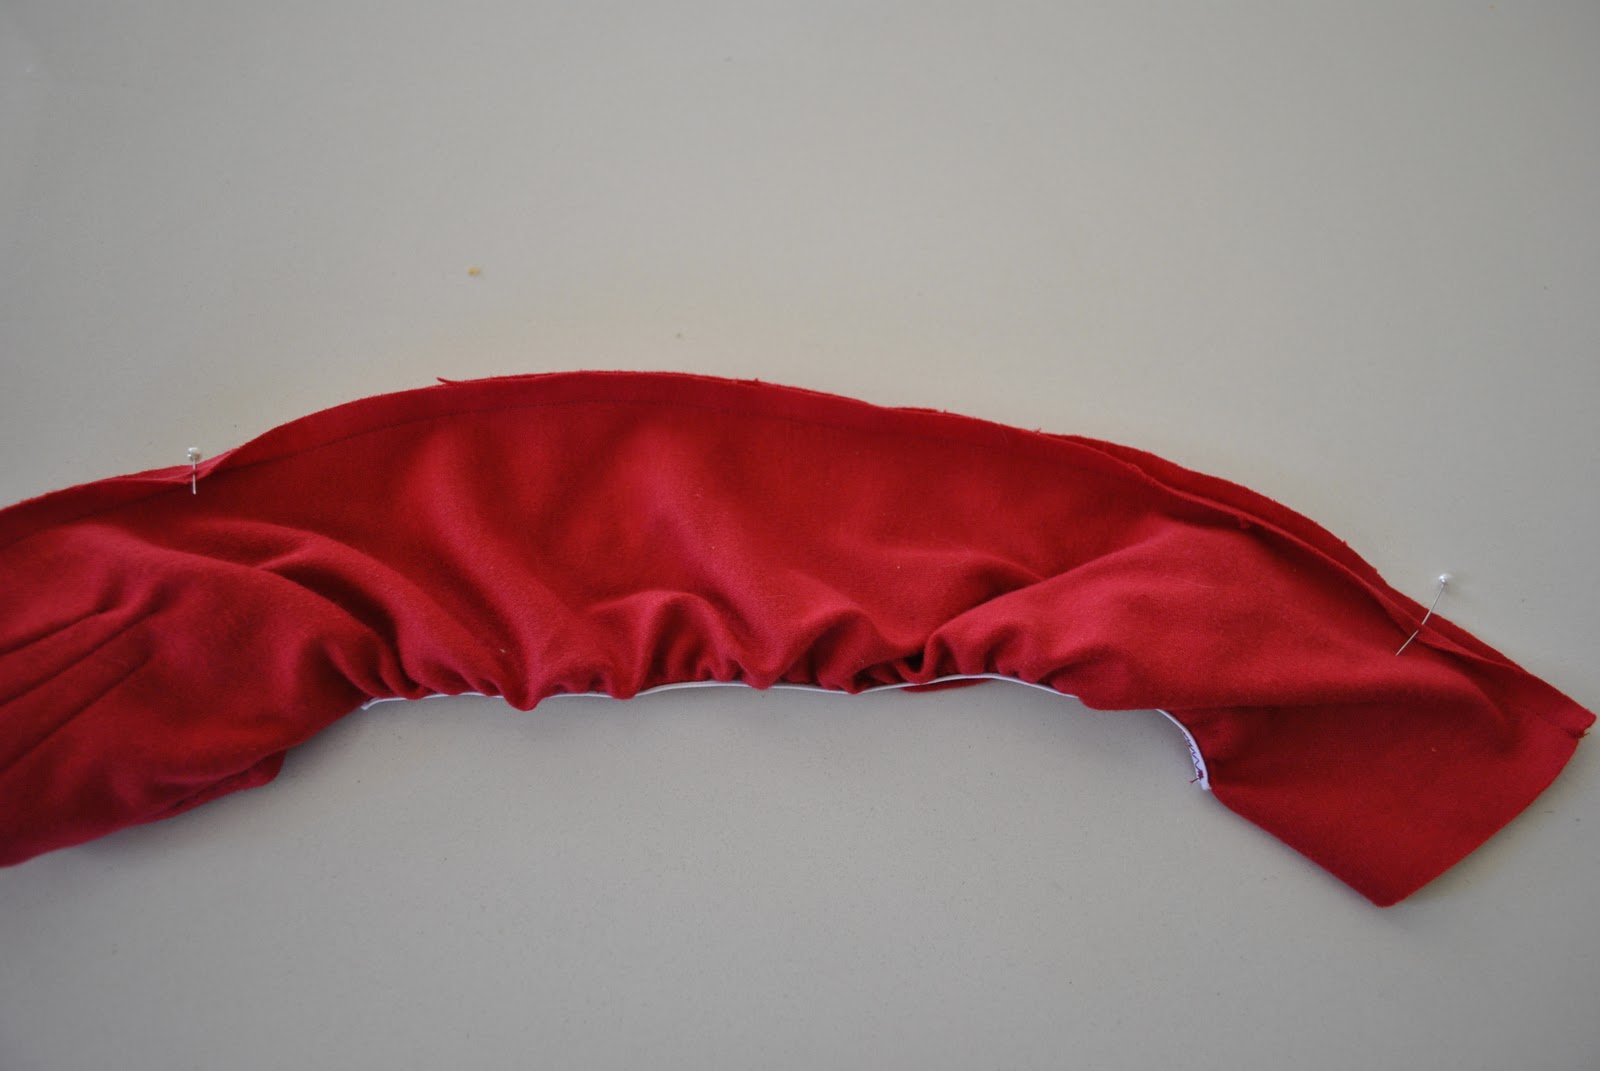
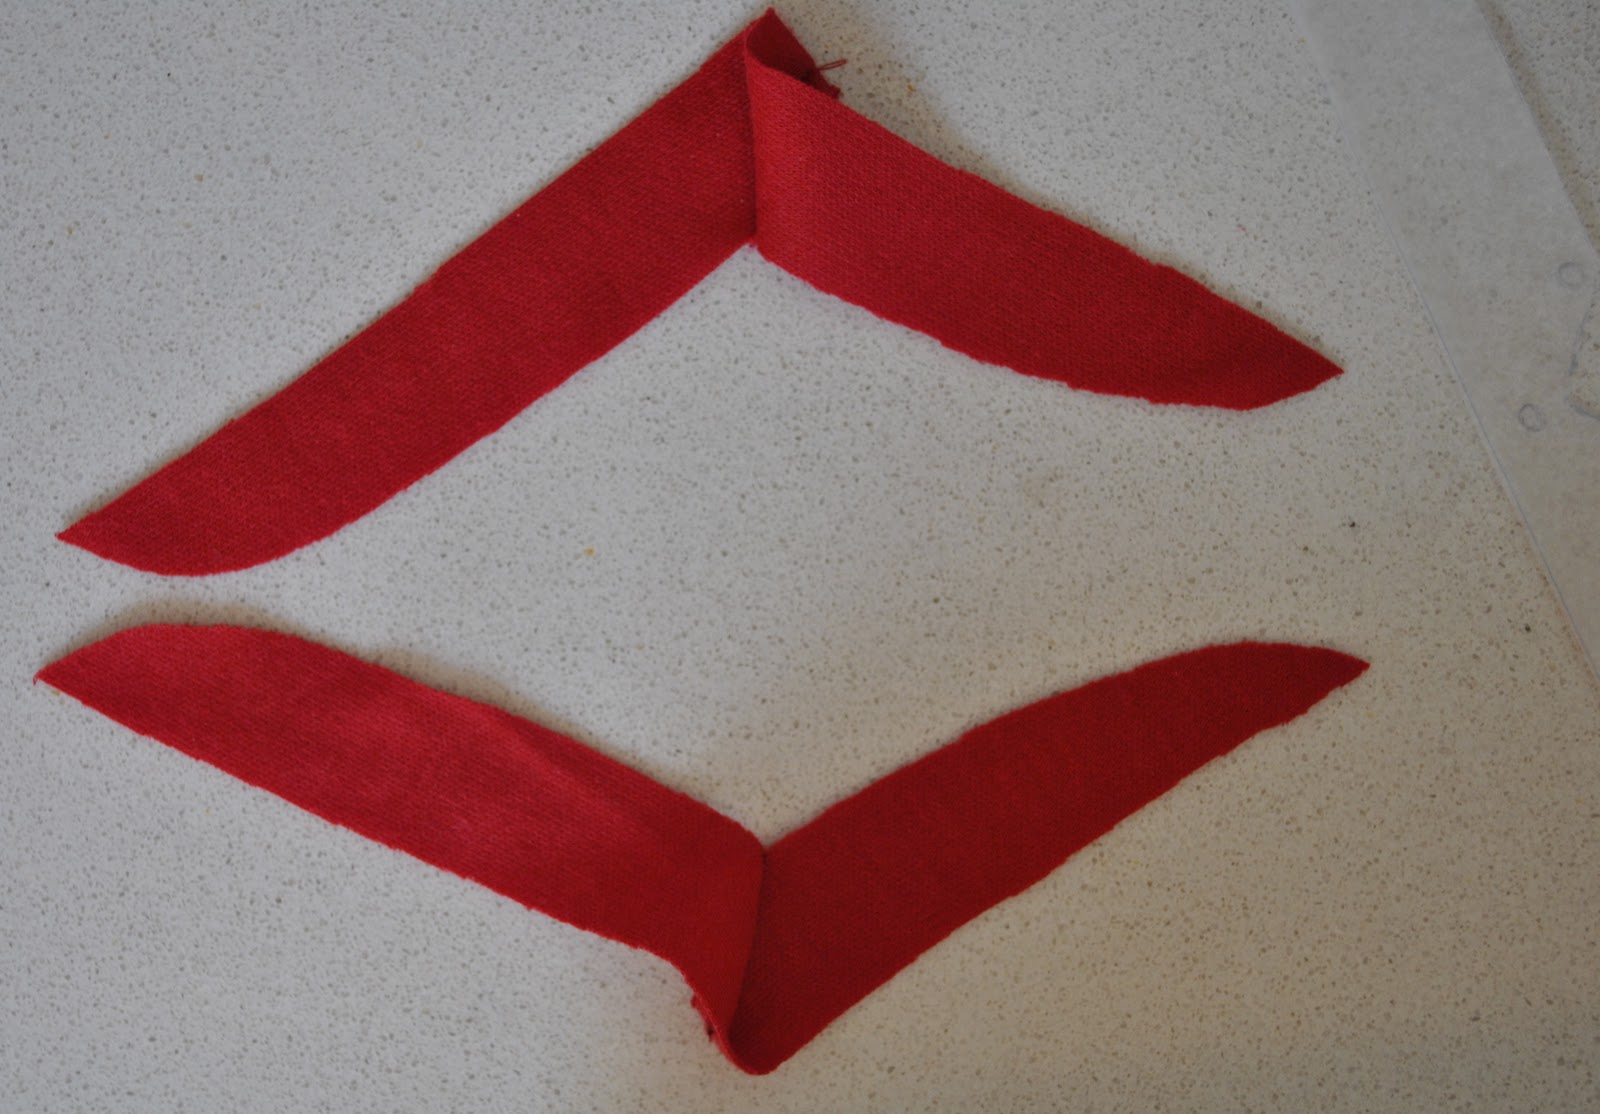
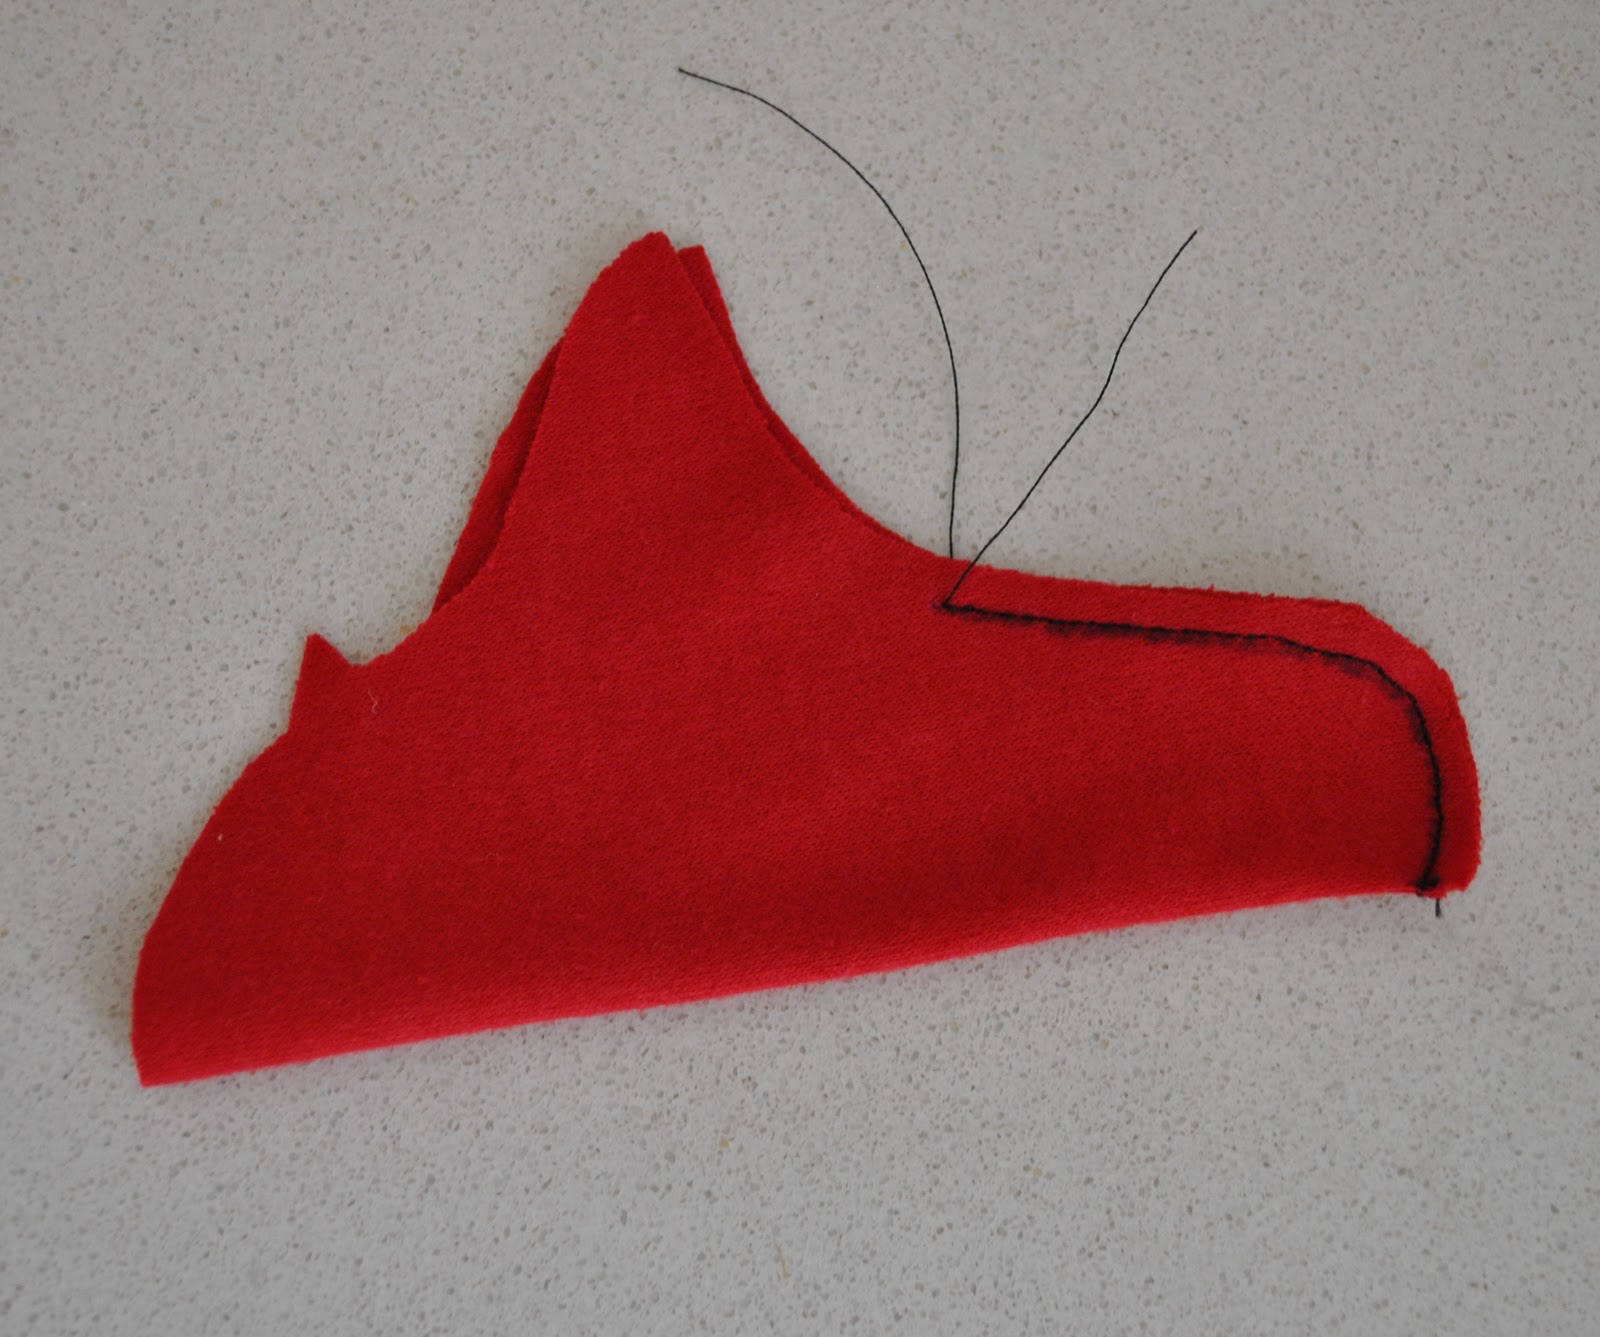
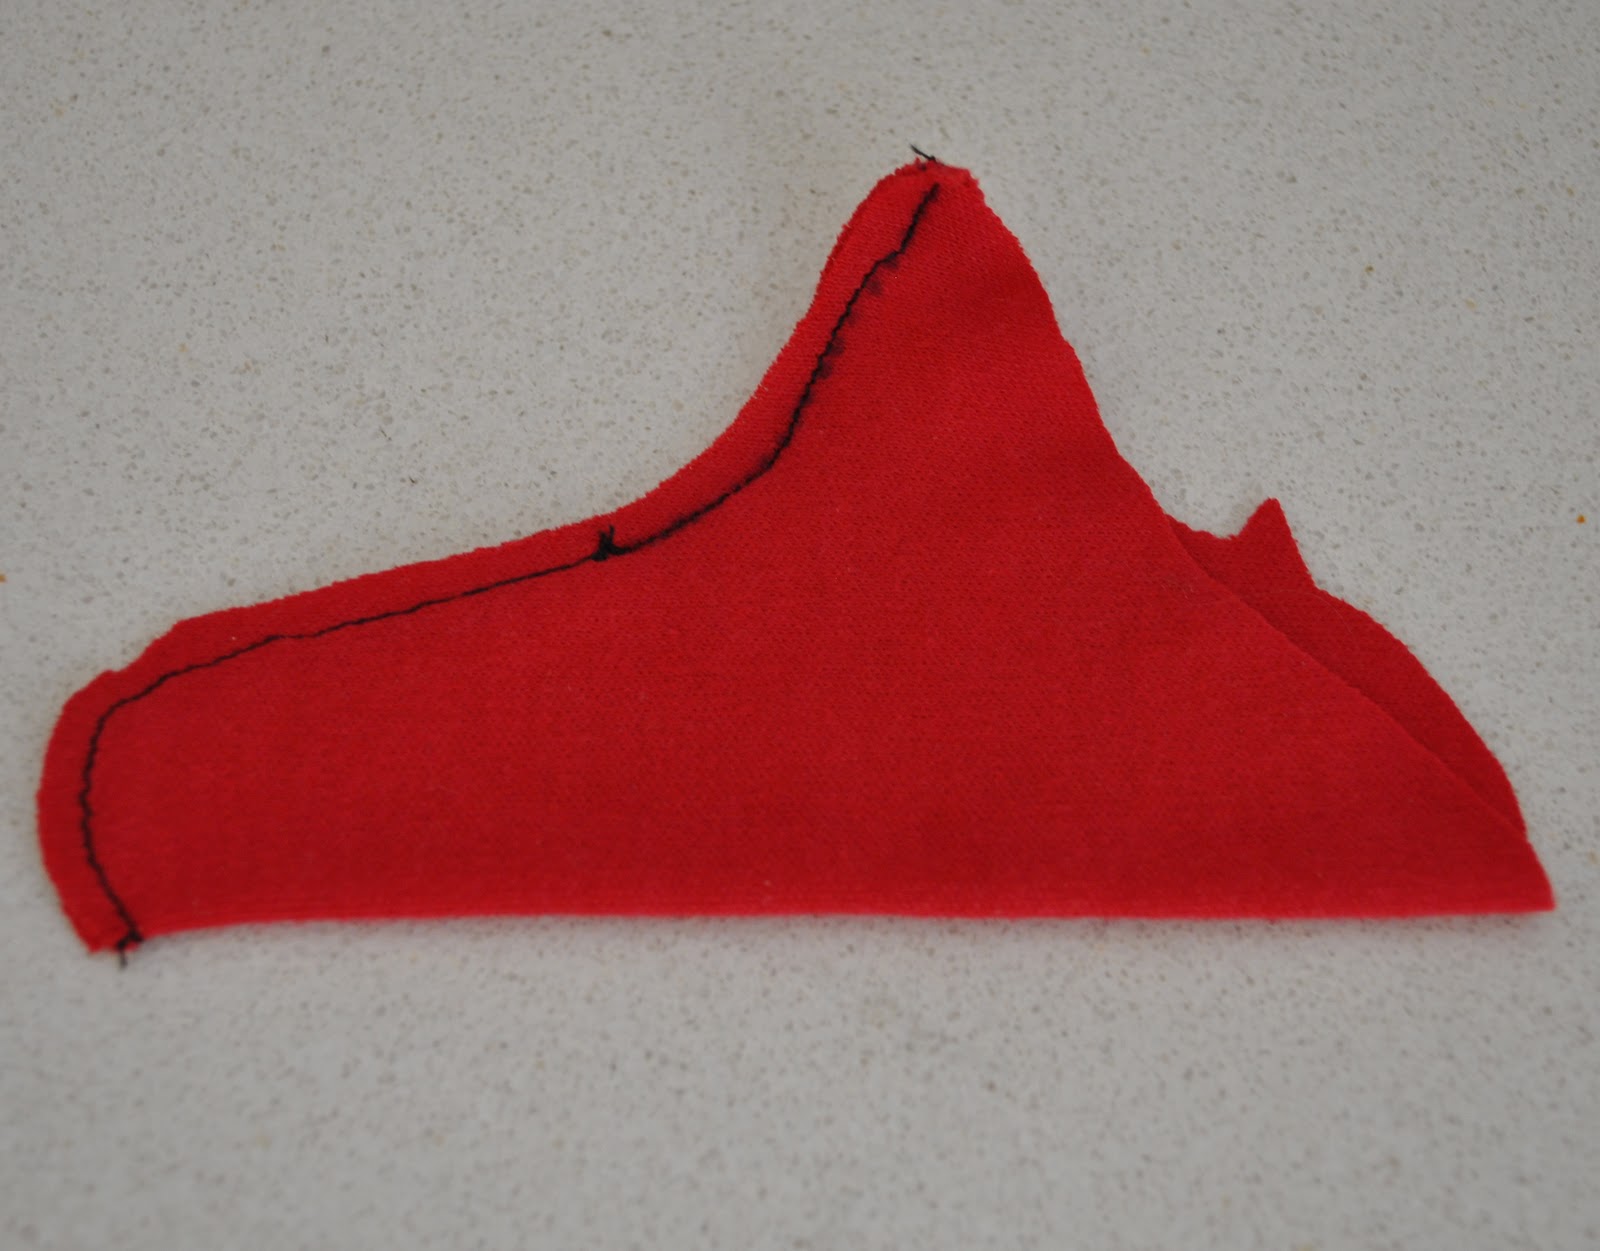
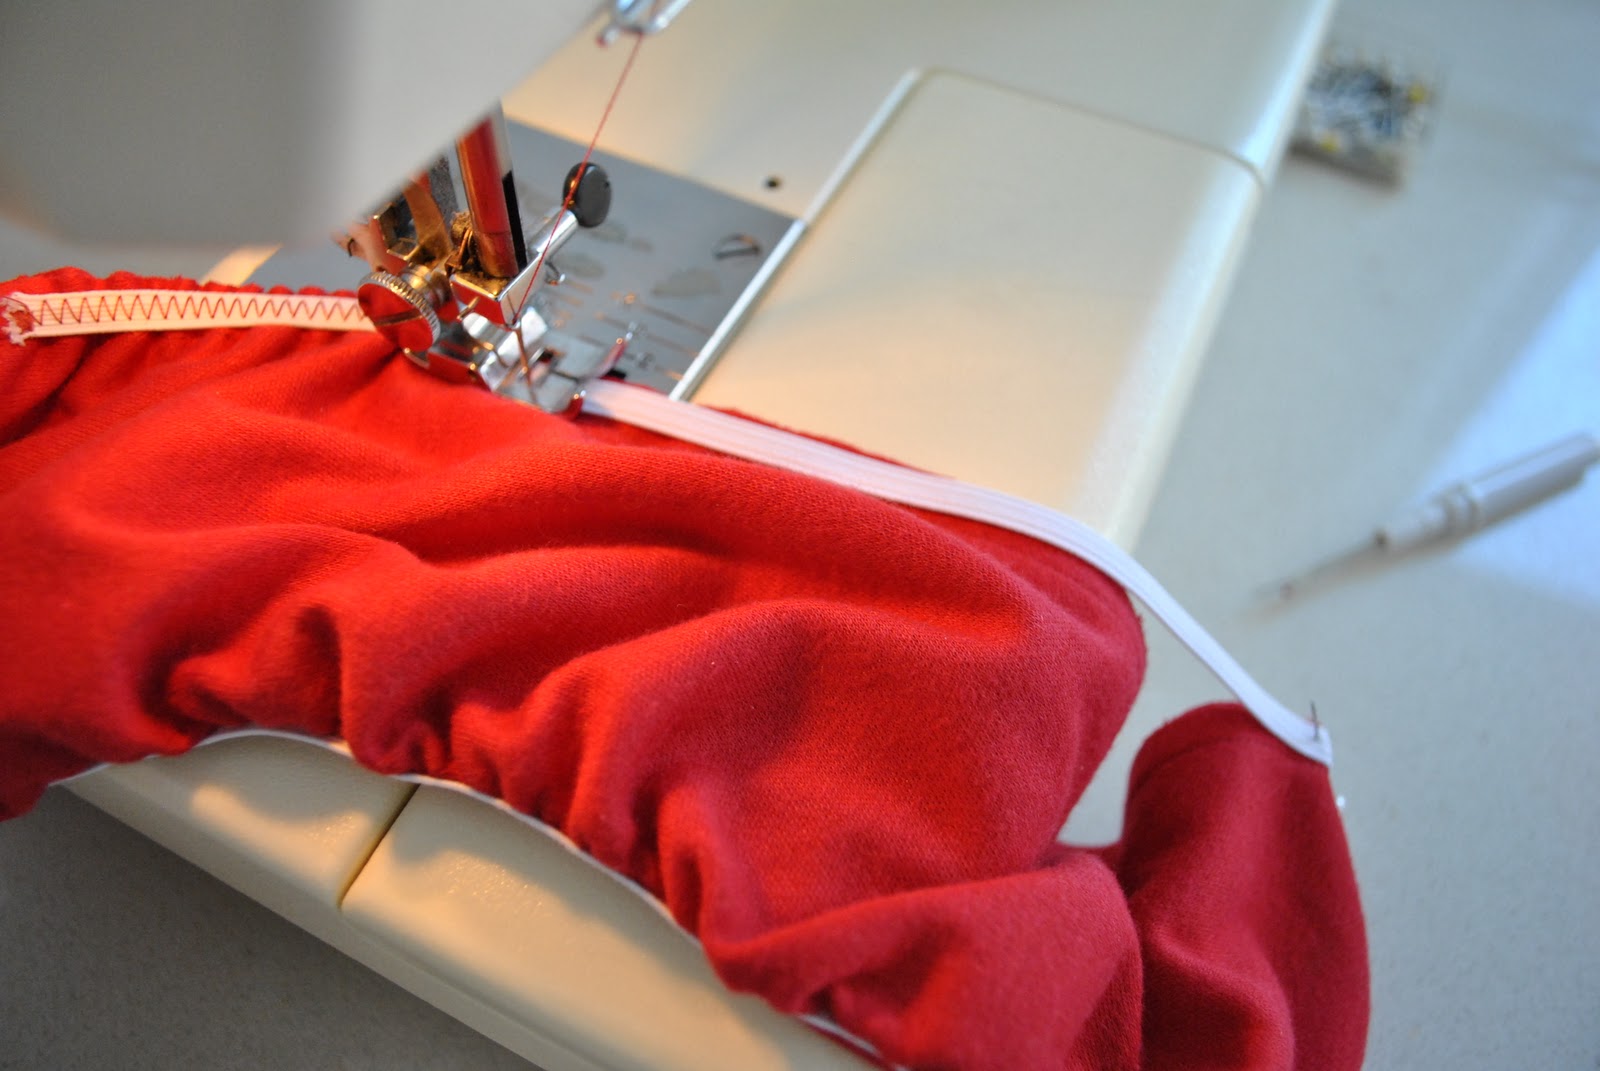
Now, to attach the elastic to the flat ironed-out seam, as specified in the instructions is an impossibility on my standard ordinary little machine… I tried, but it is pretty much impossible for me to sew up the inside of a long tube as narrow as this one.. I settled for sewing the elastic to the side seam allowance.  Has almost the same finished effect, really… as well as being my only option.

Oh, of course the final step is the lower hem, but I didn’t take a photo of this, after those gussets a simple hem is kinda humdrum…!
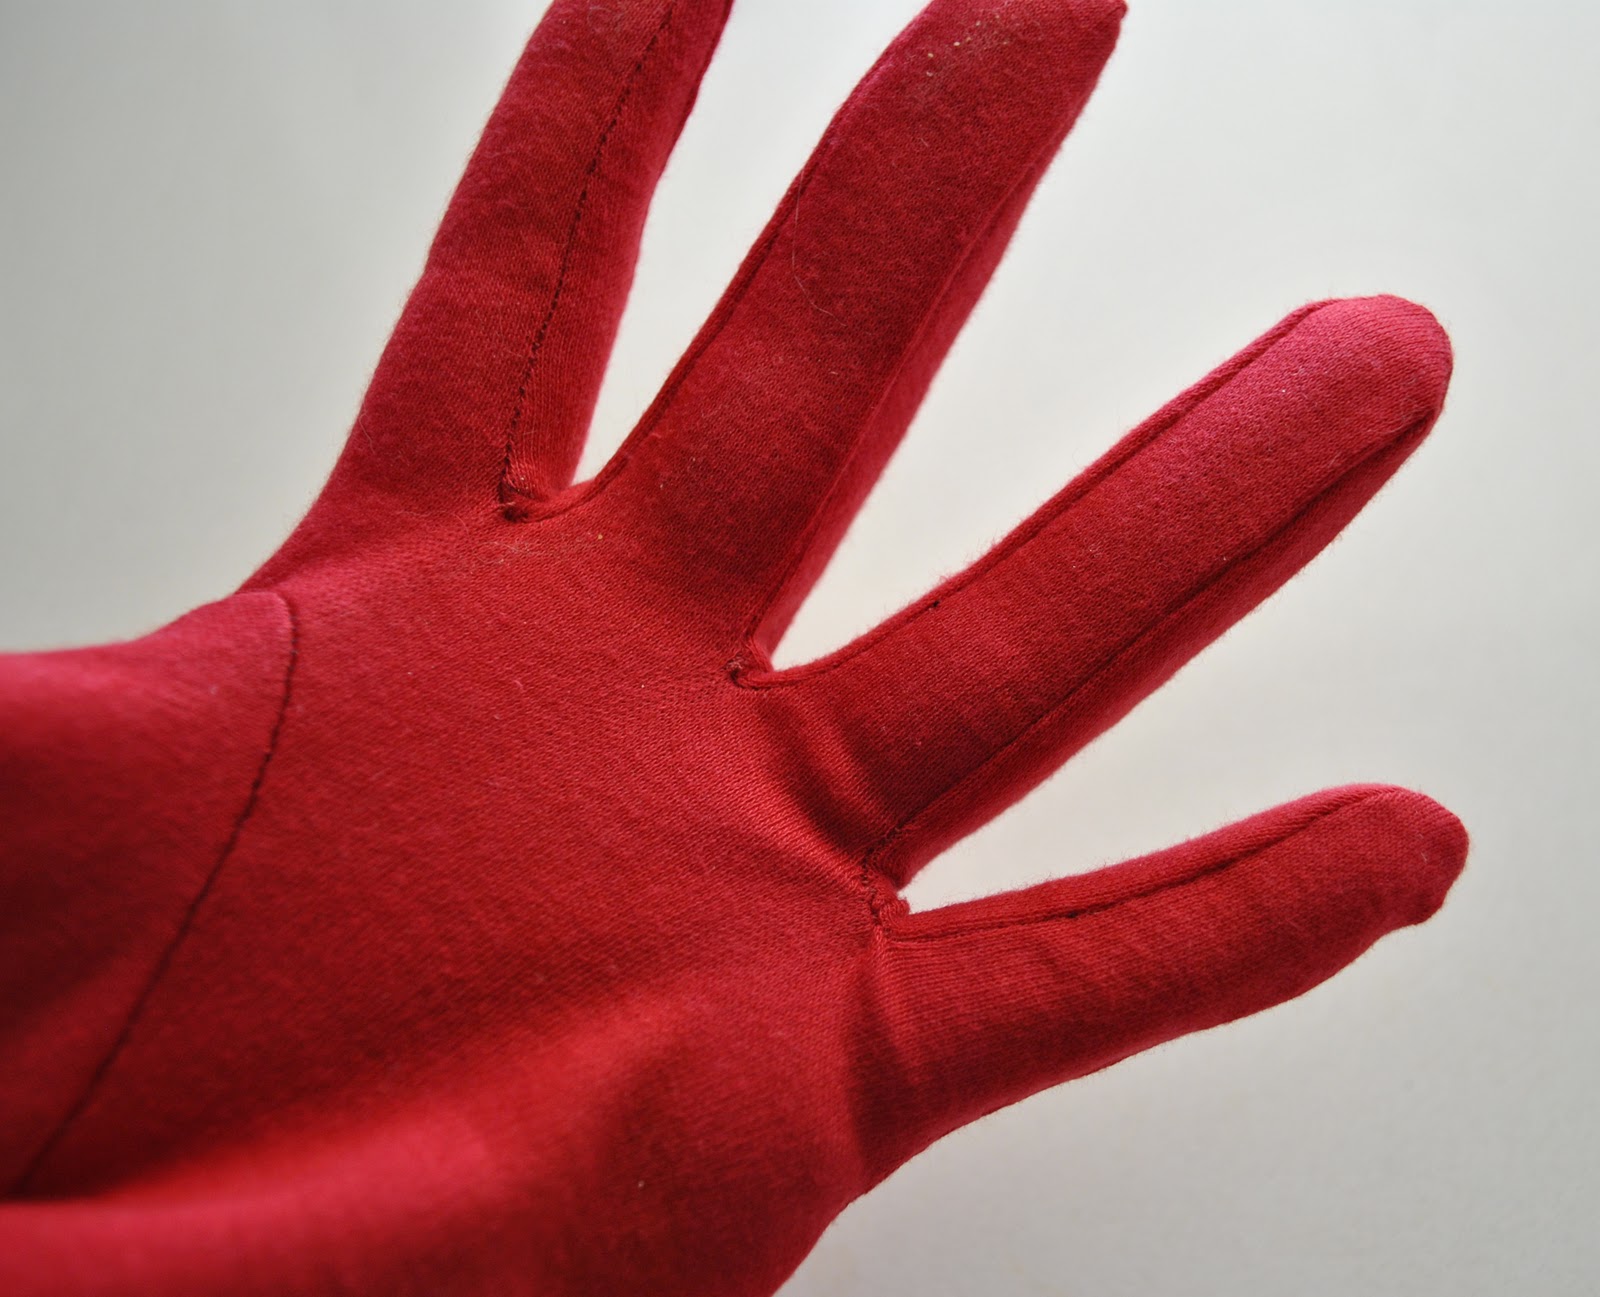
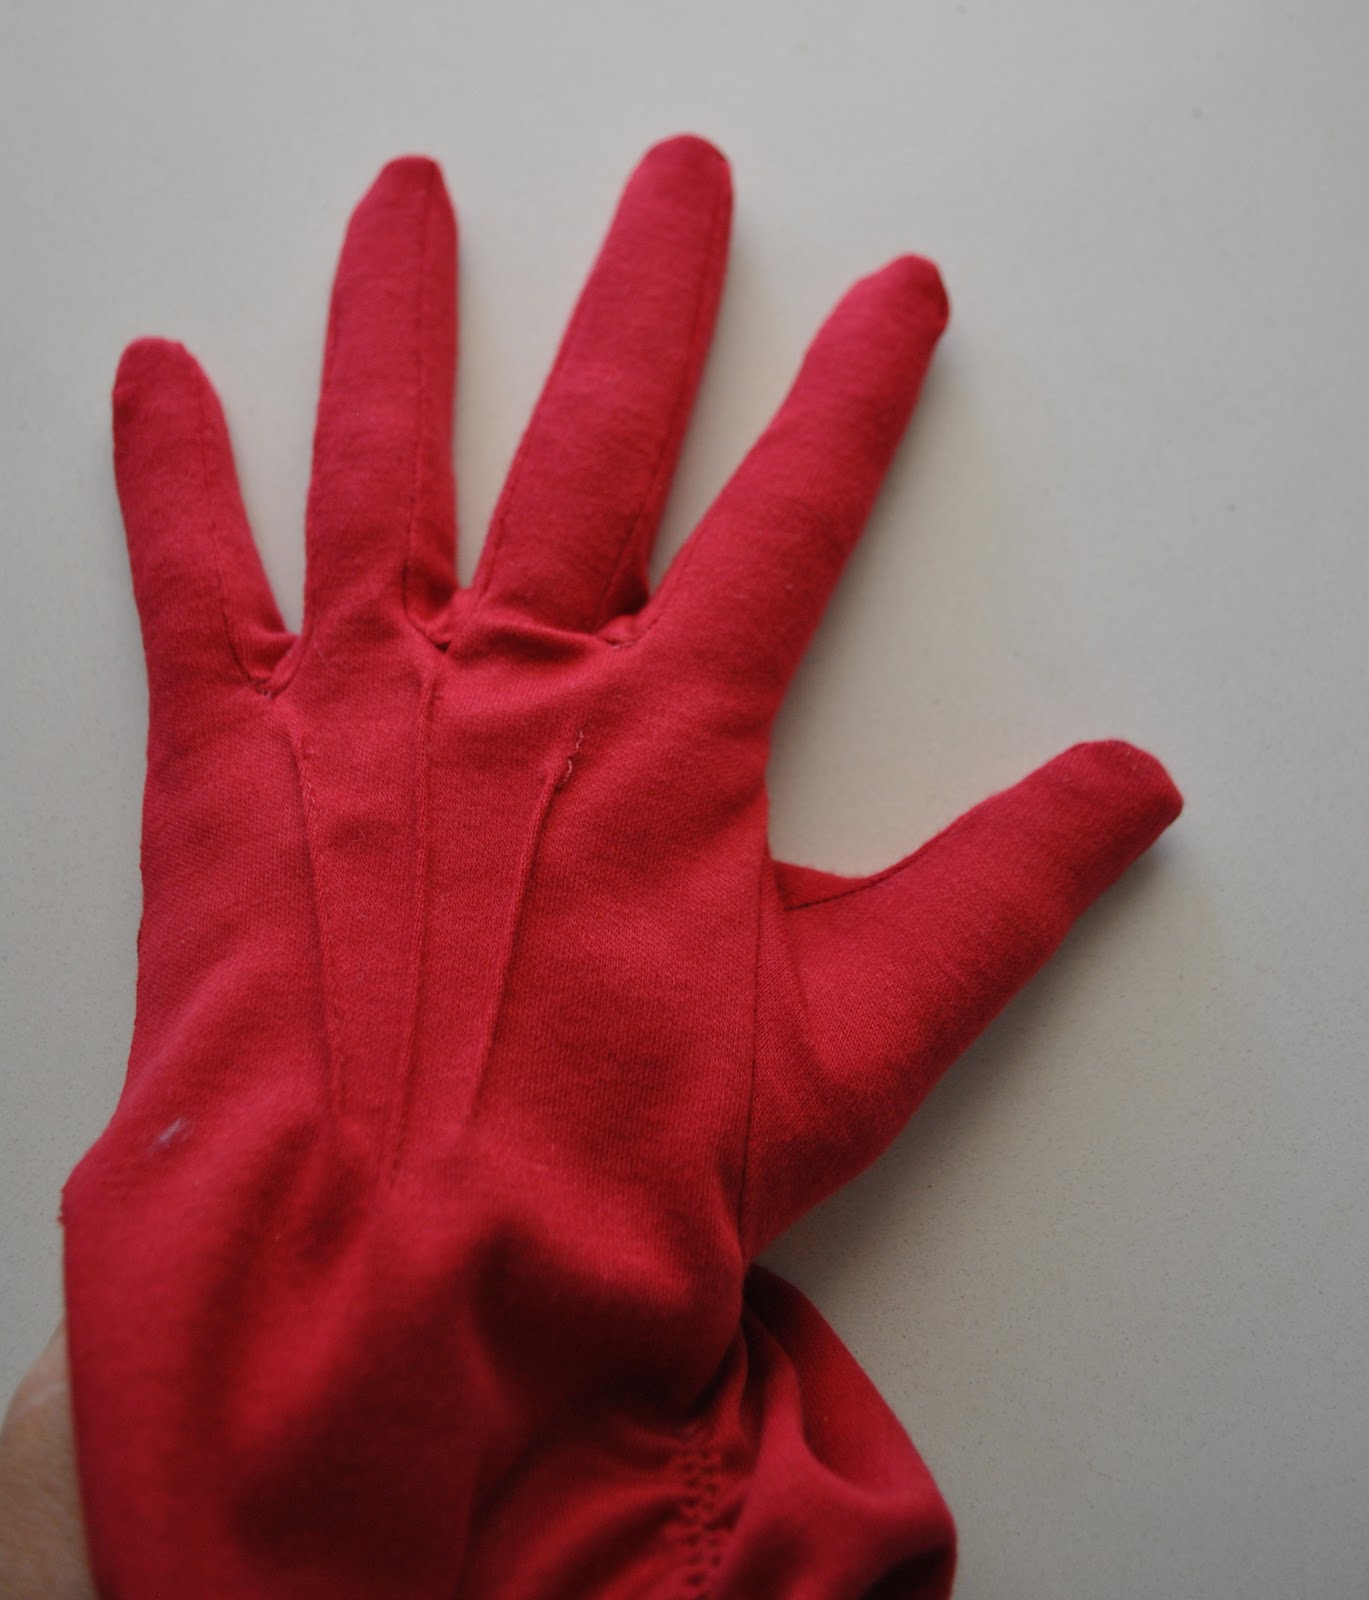
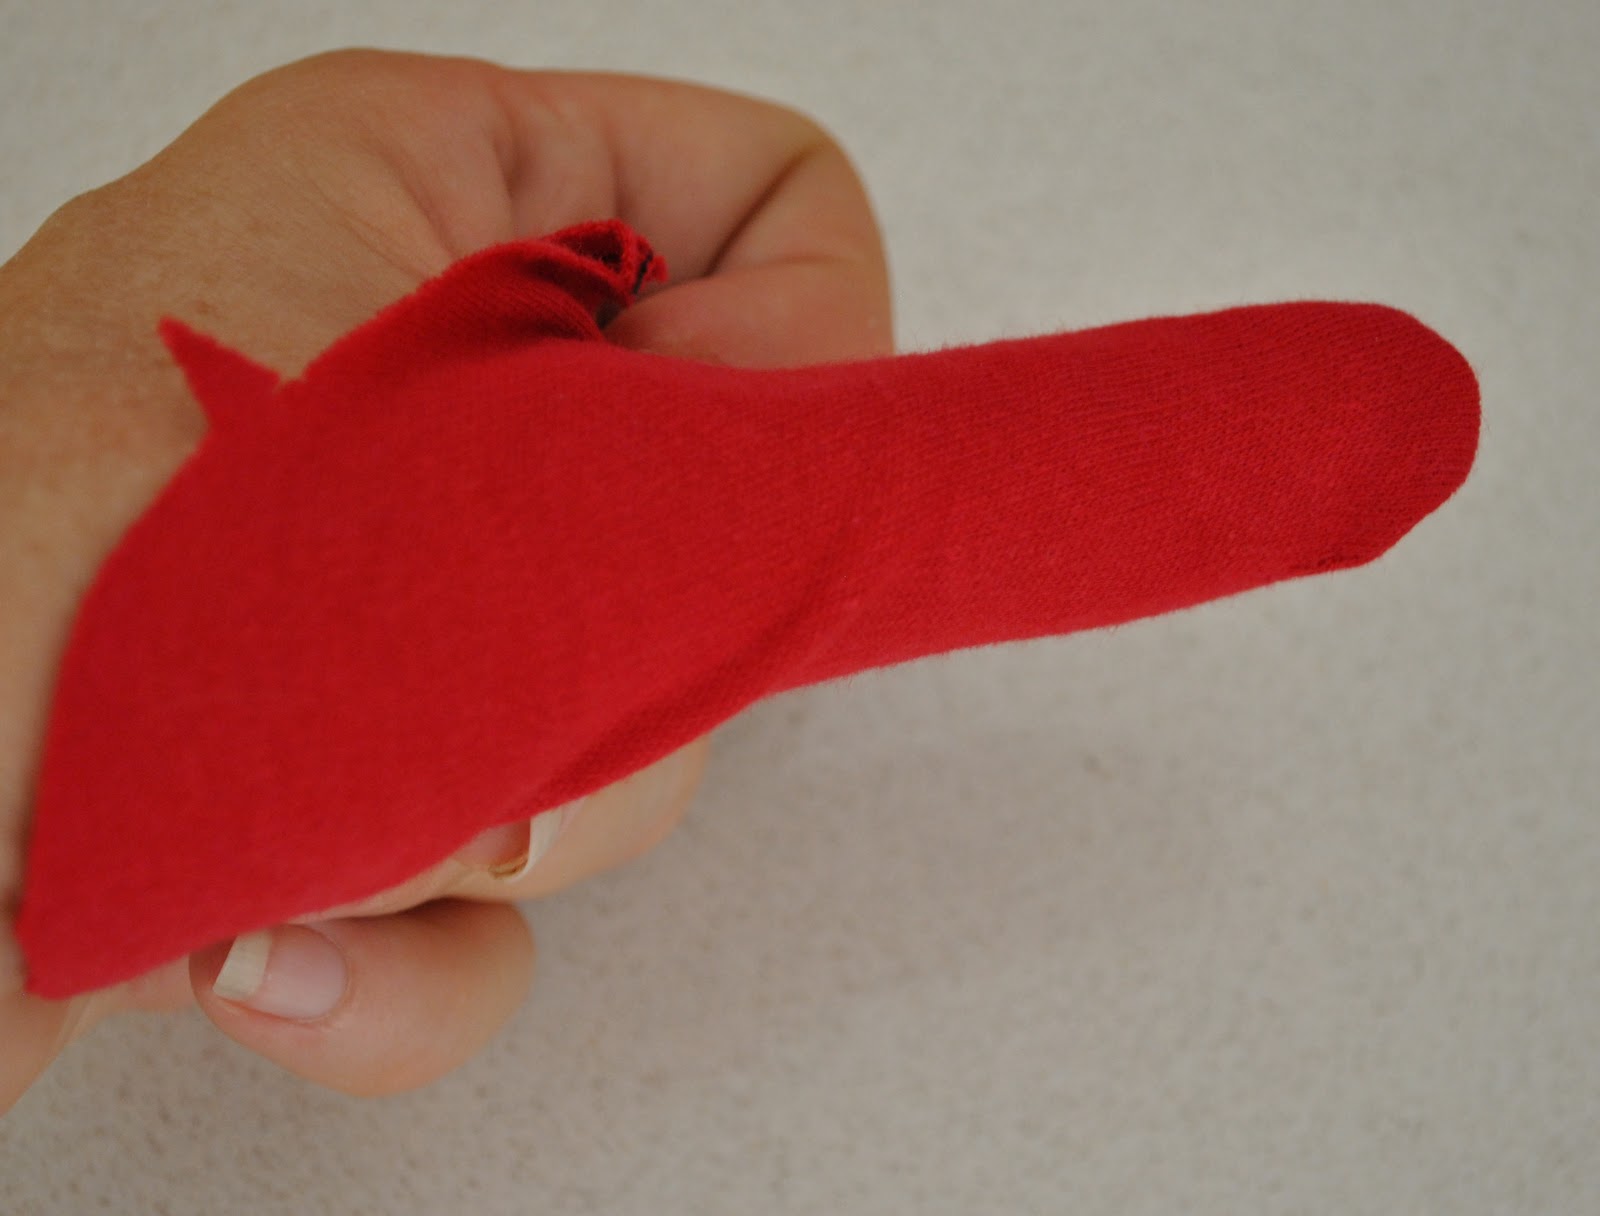
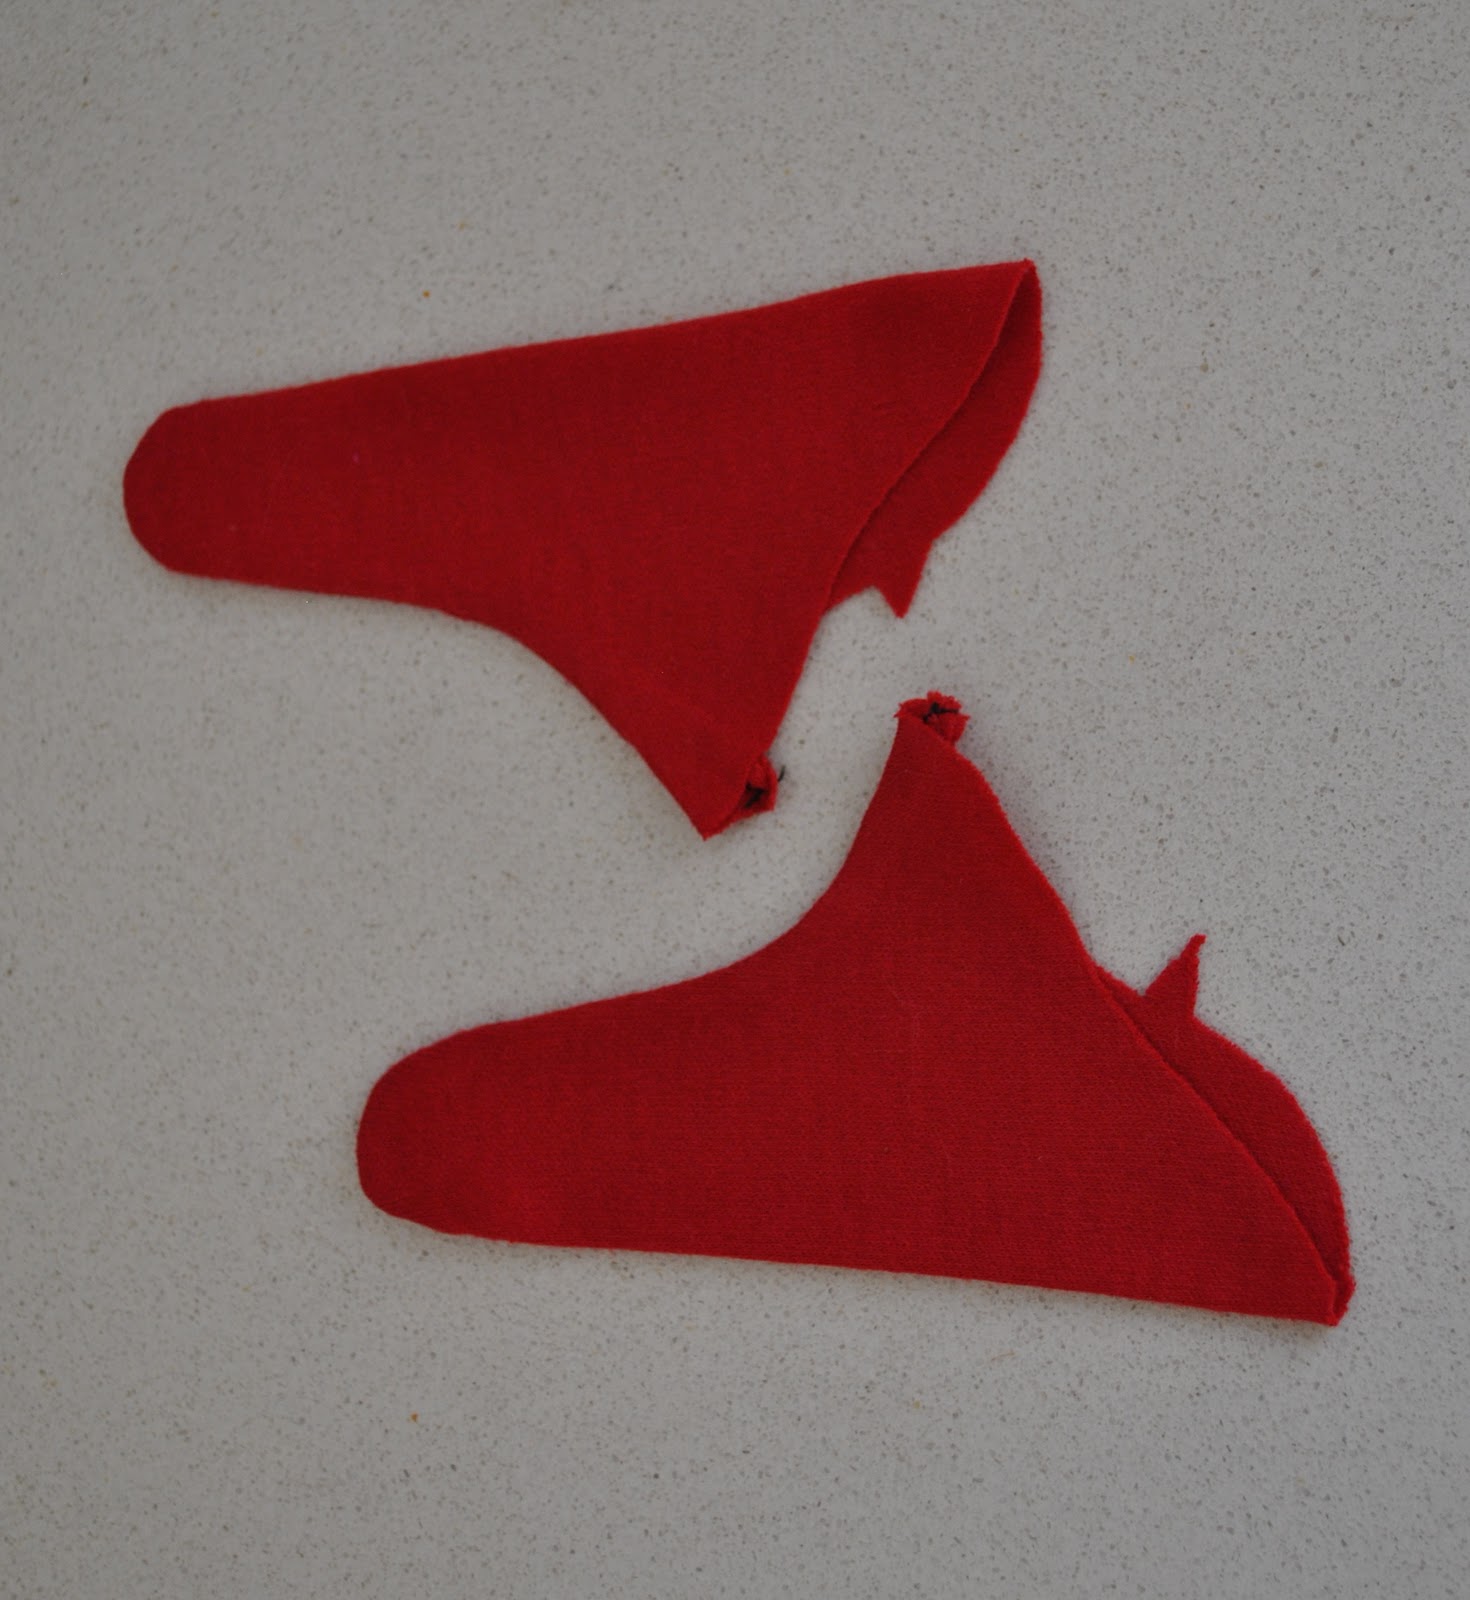
Et voila, my first pair of gloves!

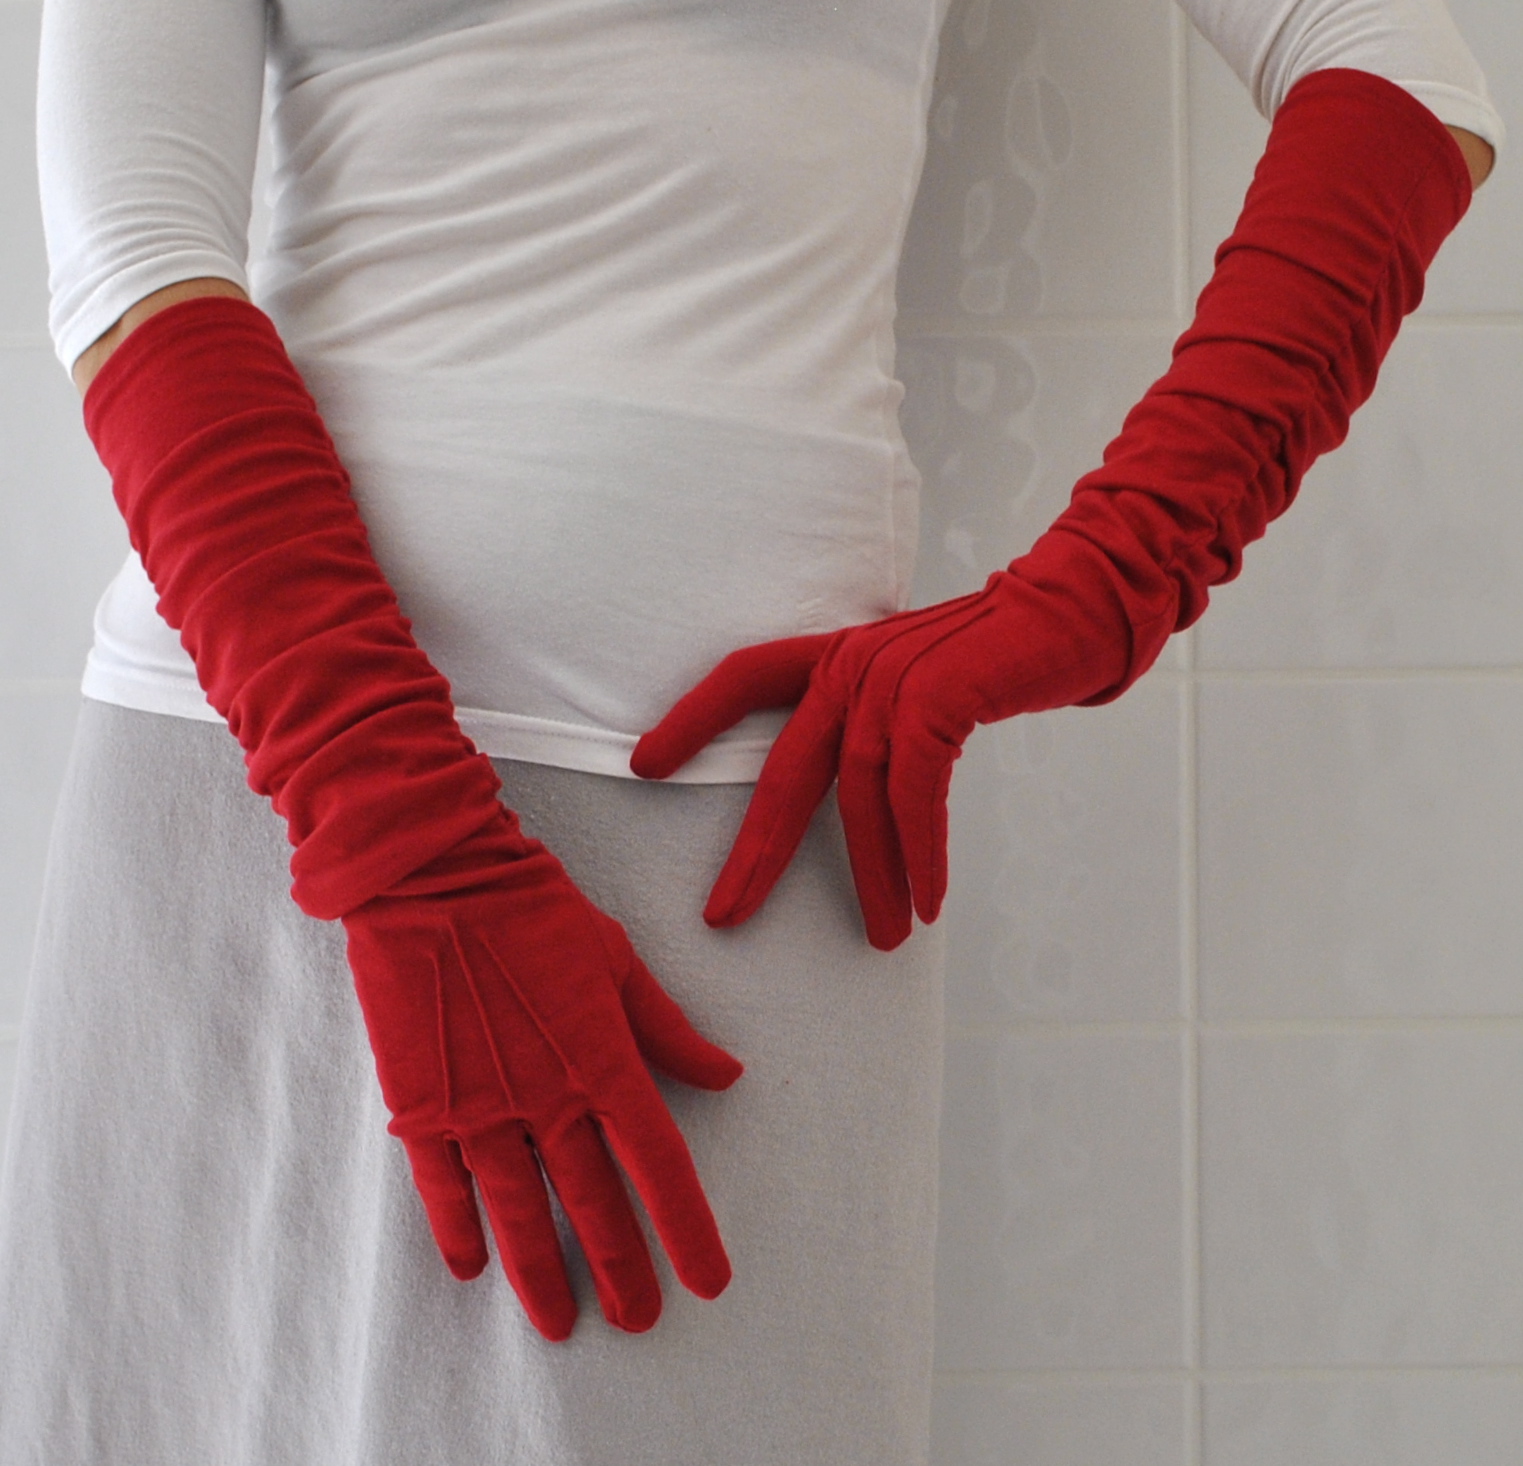
Hehe, so pleased with myself that this “muslin” turned out OK and I will undoubtably wear them once in a while.
Now will I cut up my suede skirt to make some gloves using this pattern?  I might, but I’m going to take a short break to do some regular clothes sewing first, start working on those ten stash-busting garments, and I will take out my old leather gloves and carefully size them up against these new stretch fabric ones before taking the next step.
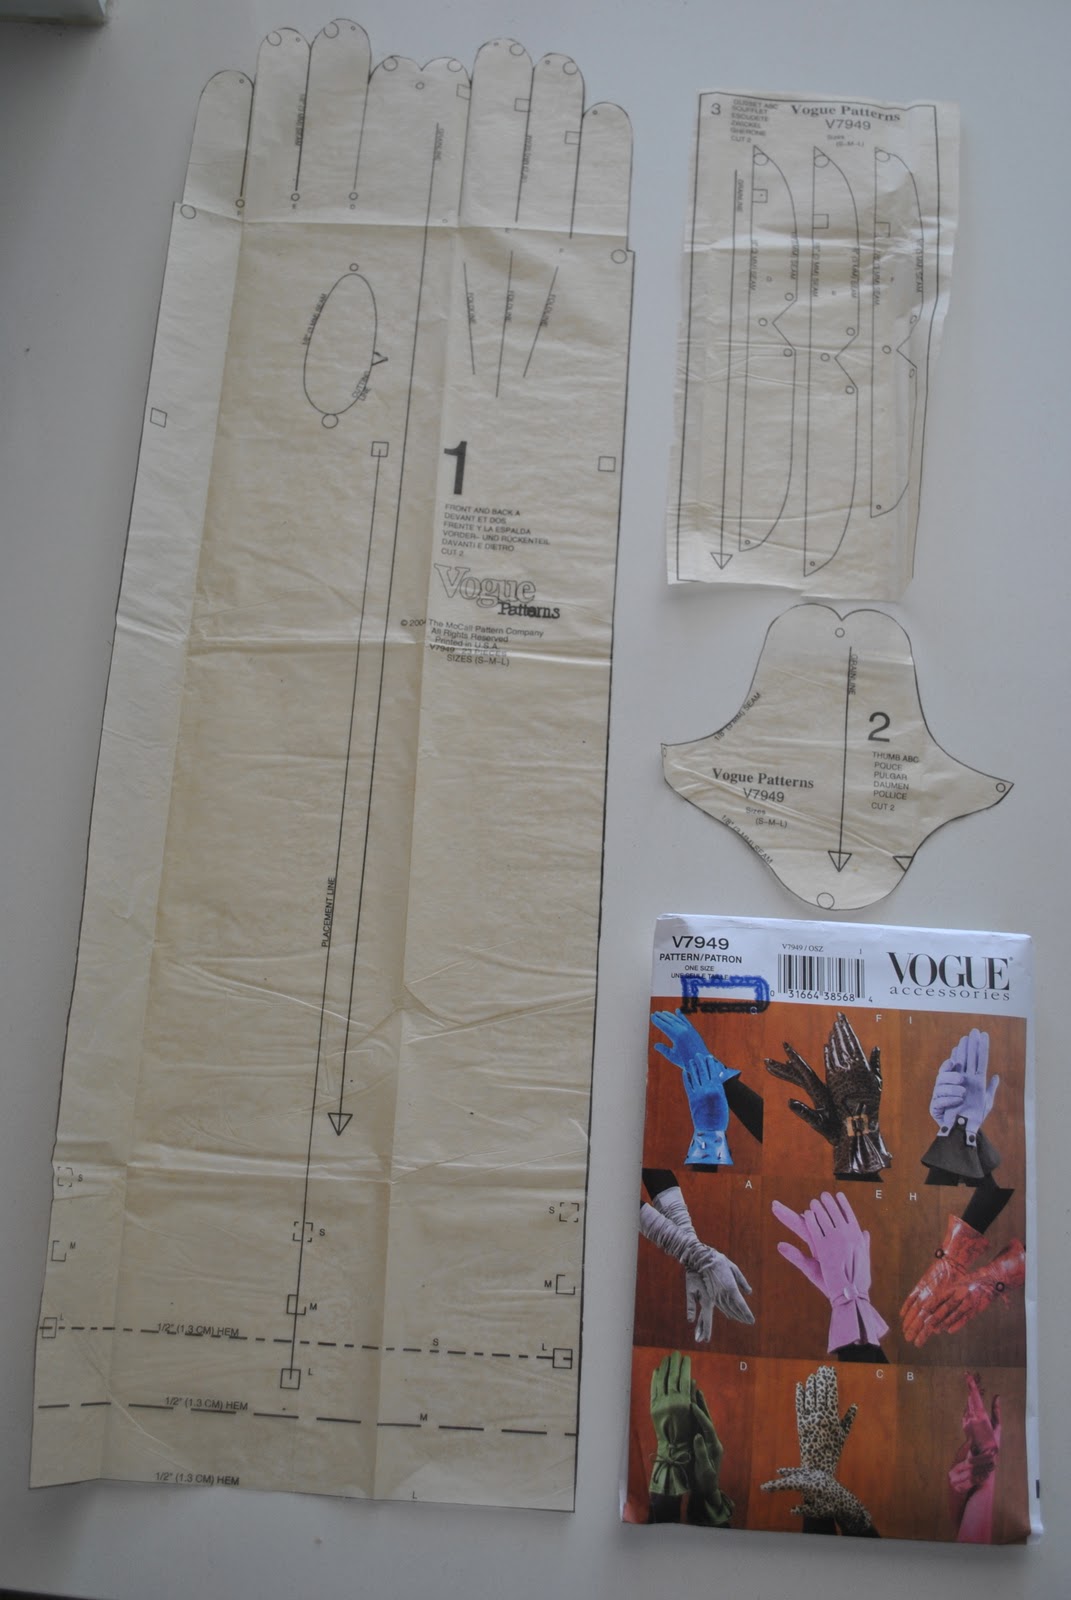
Following is the review I submitted for this pattern:

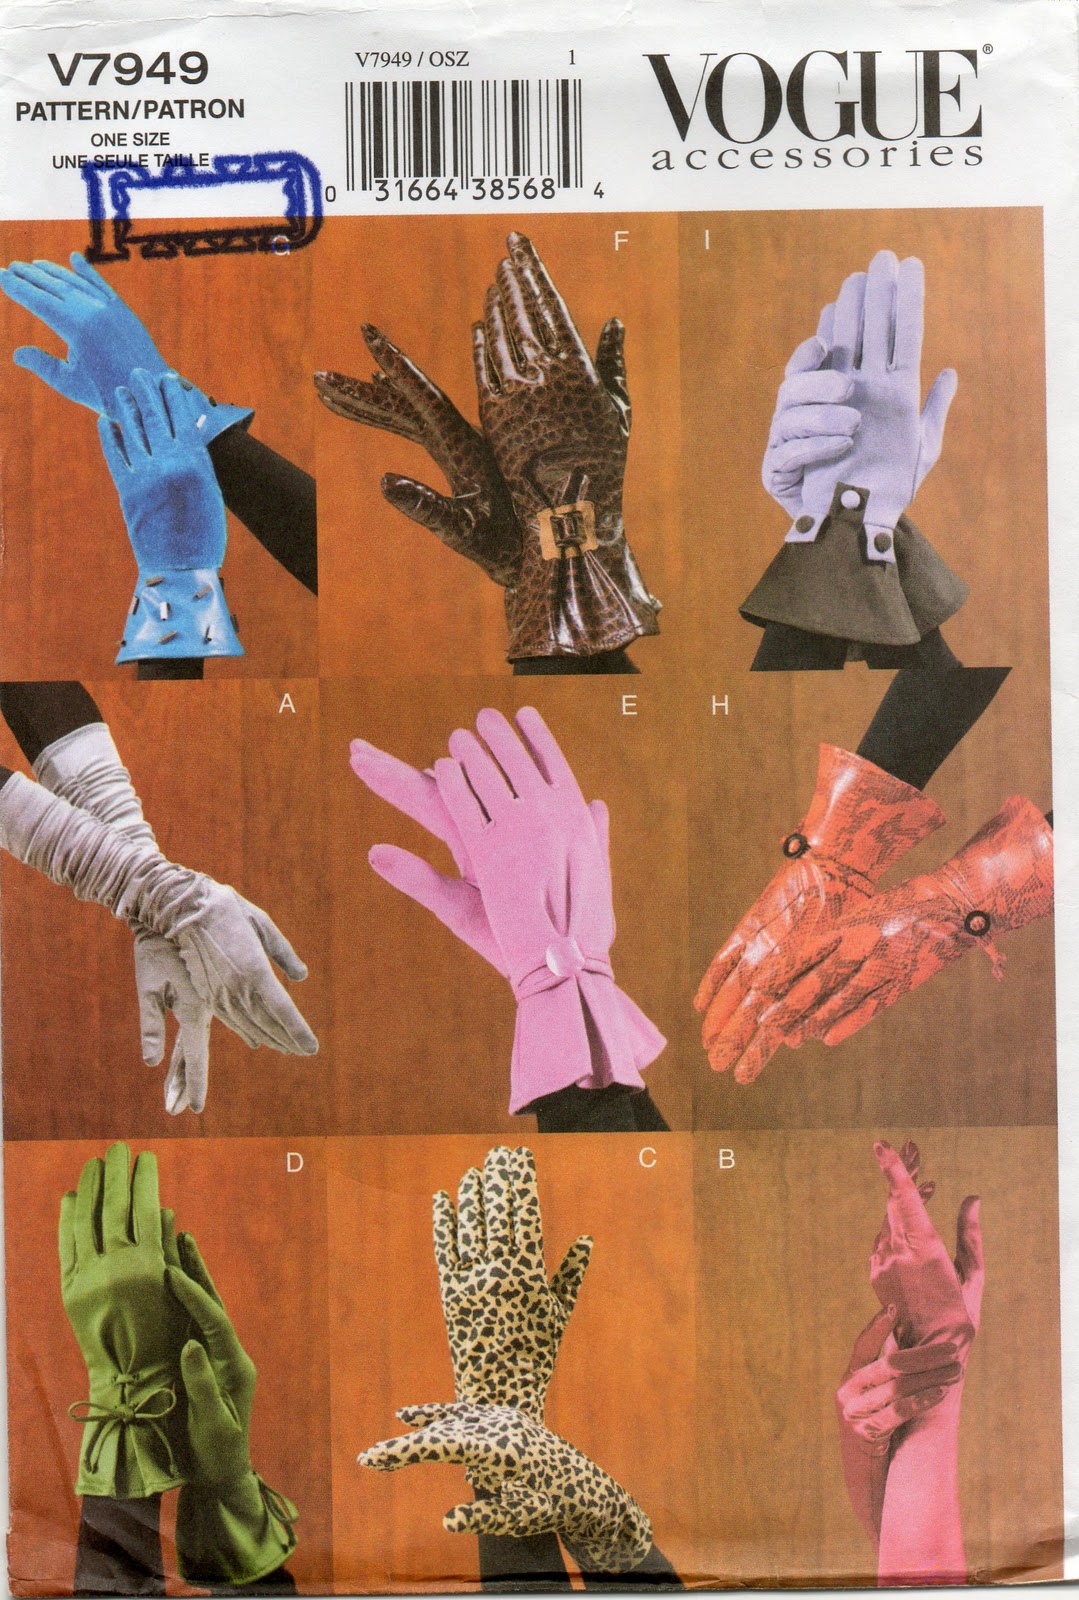
Pattern Description:
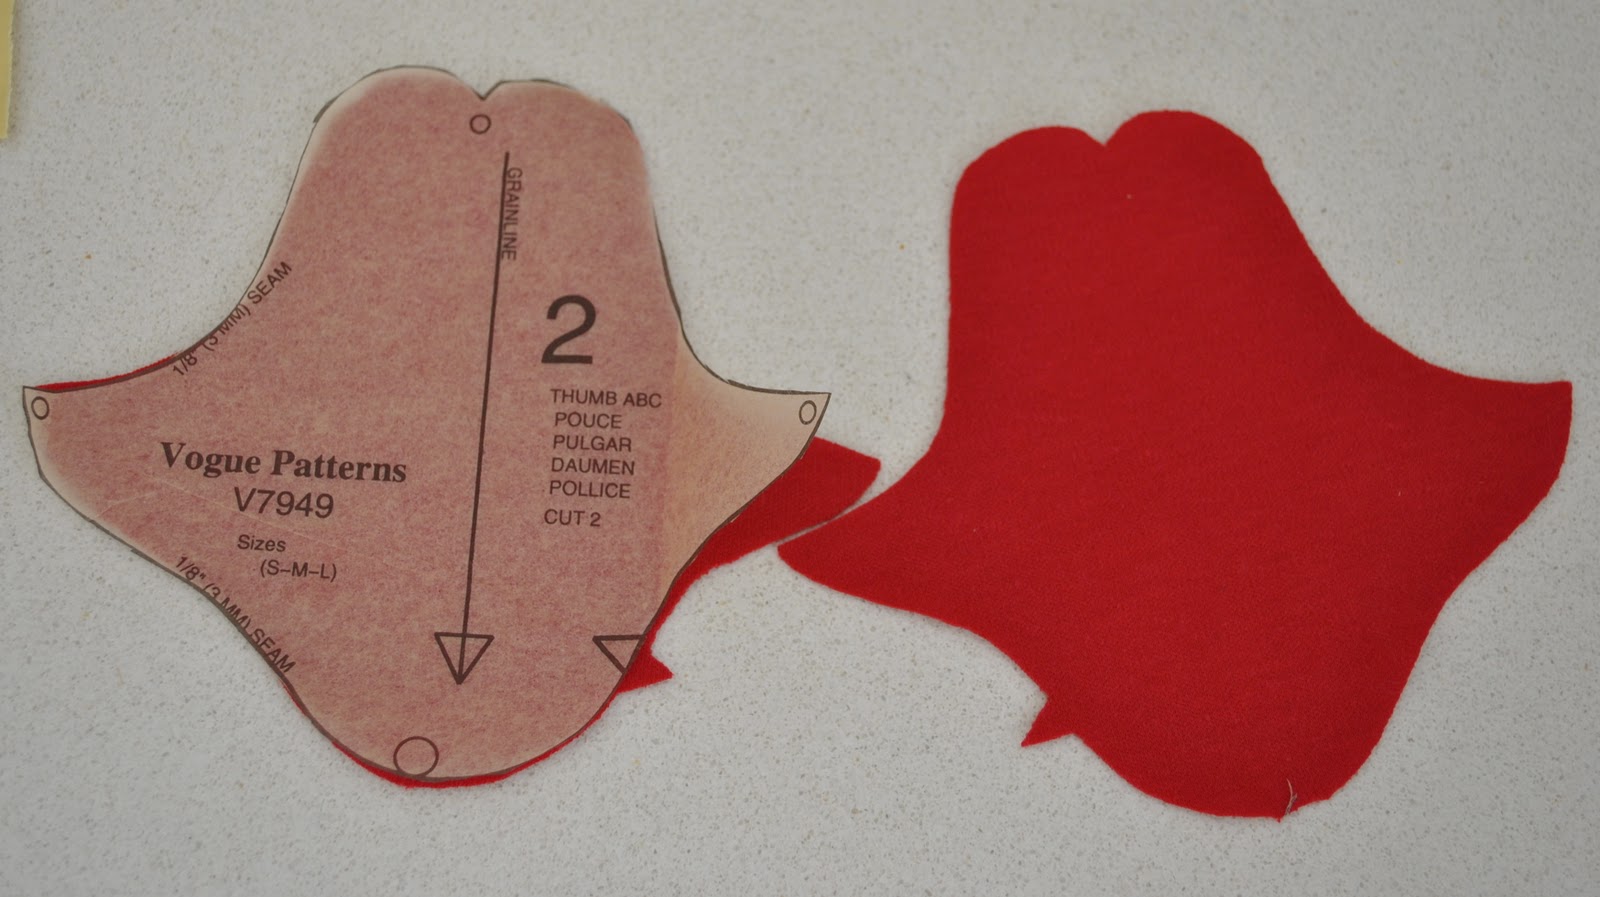
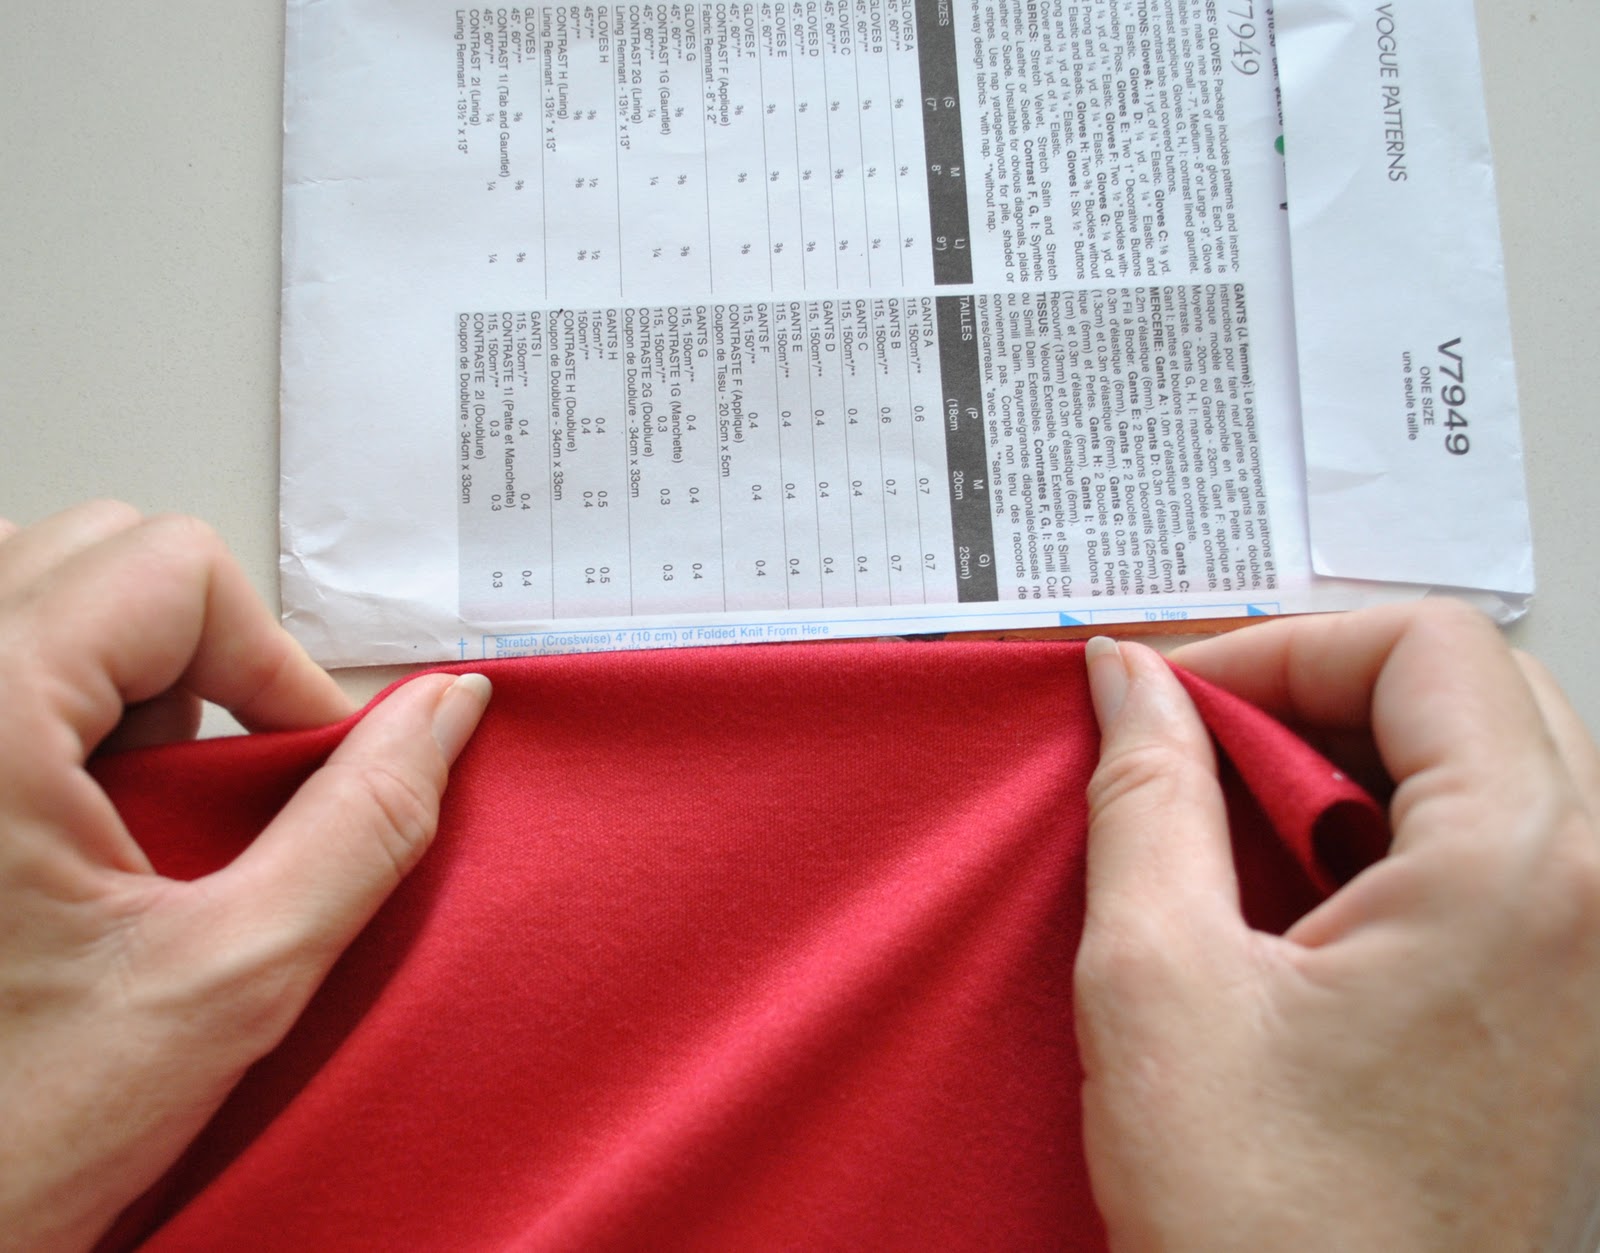
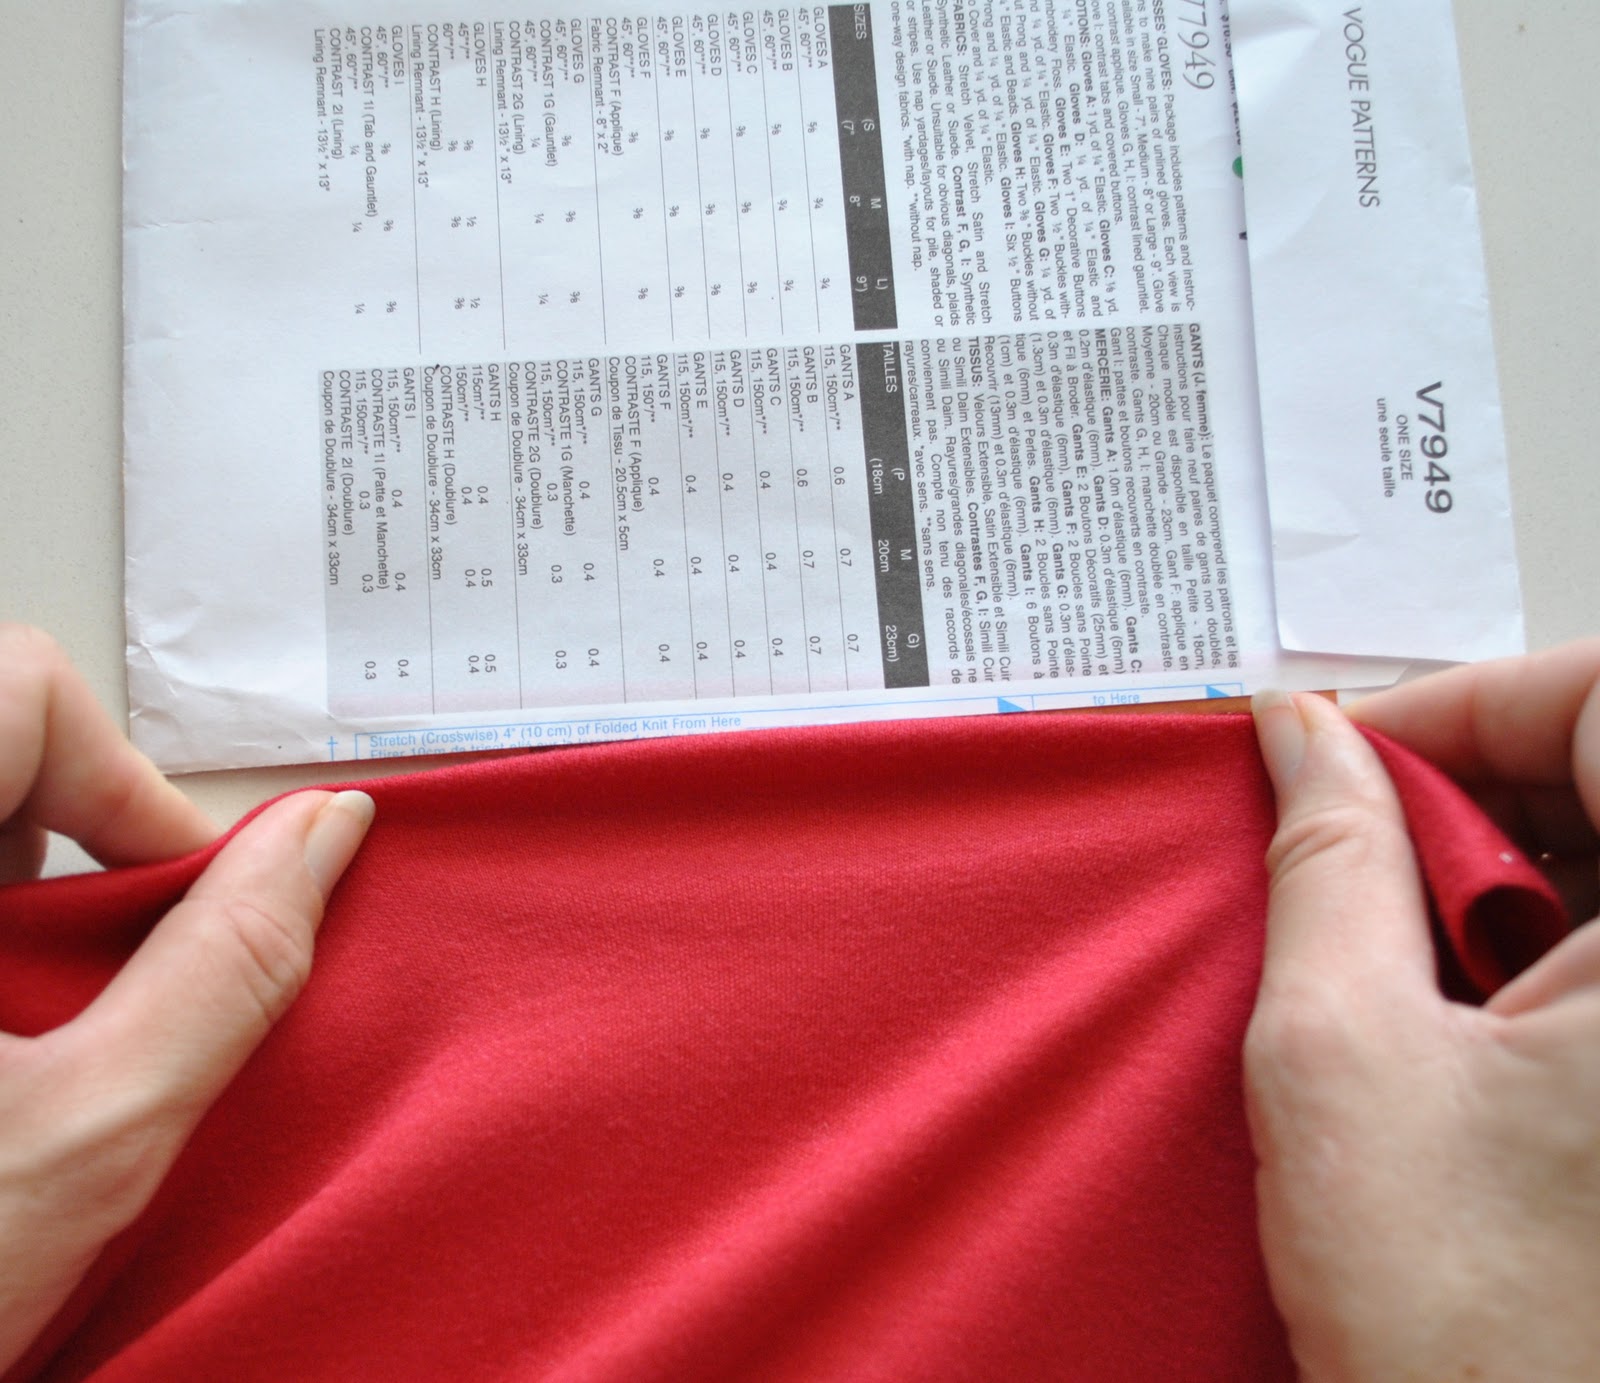
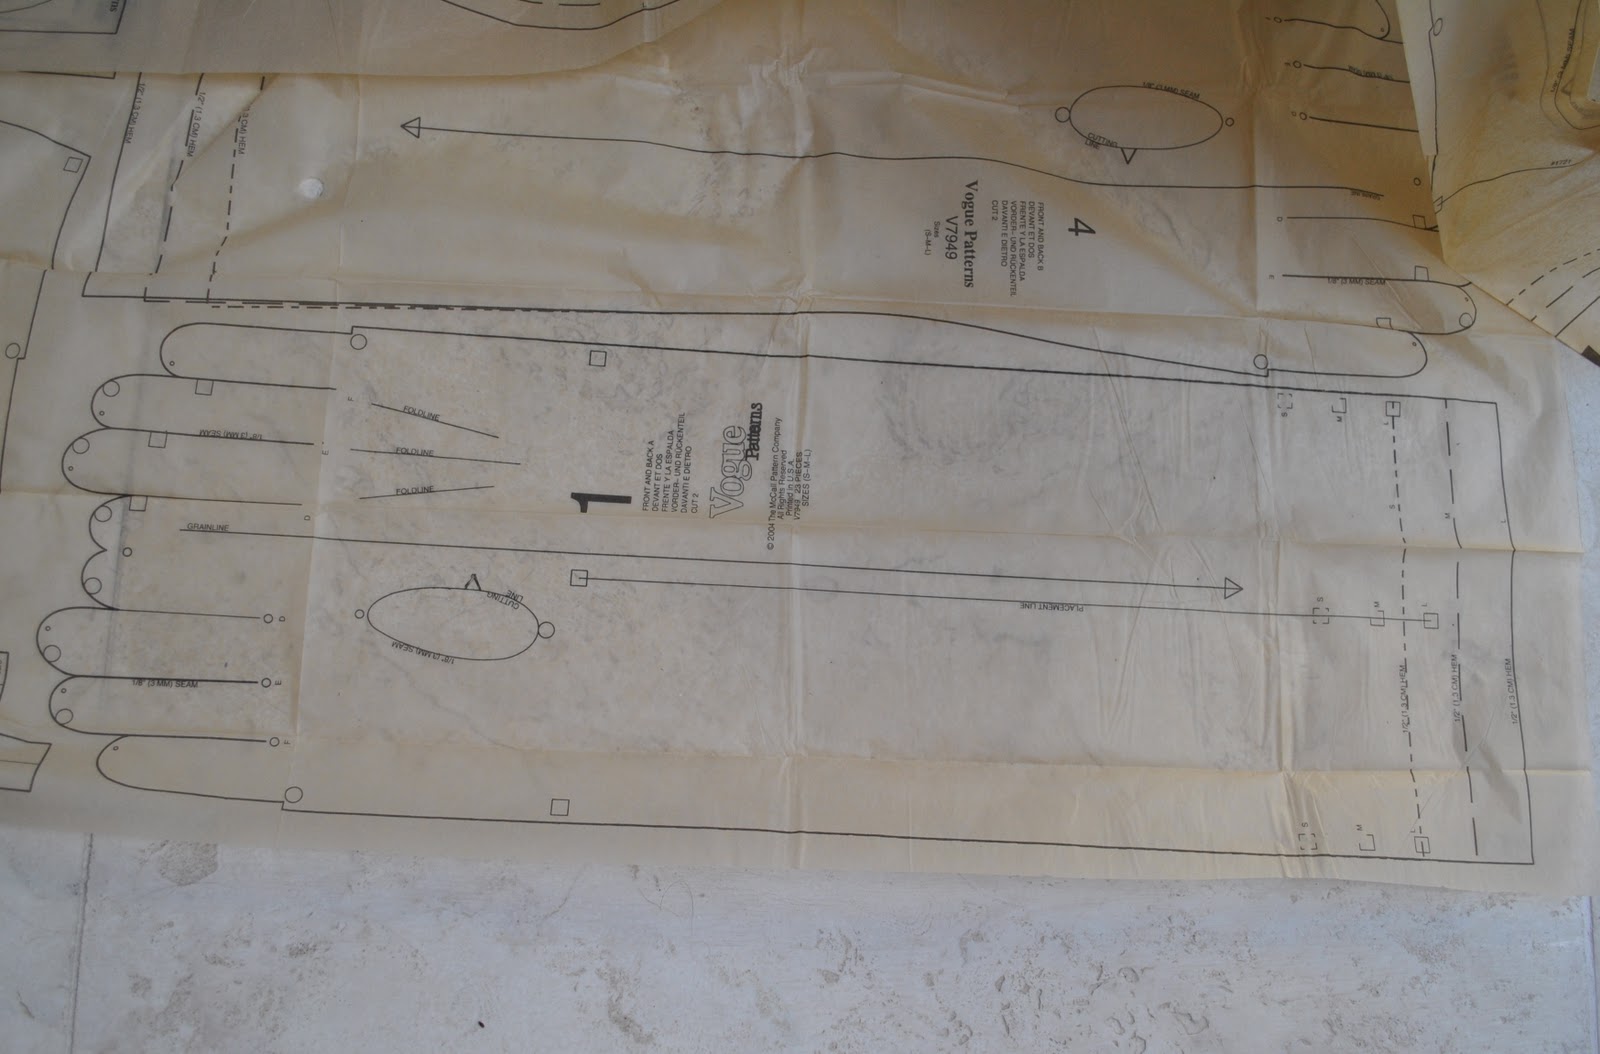
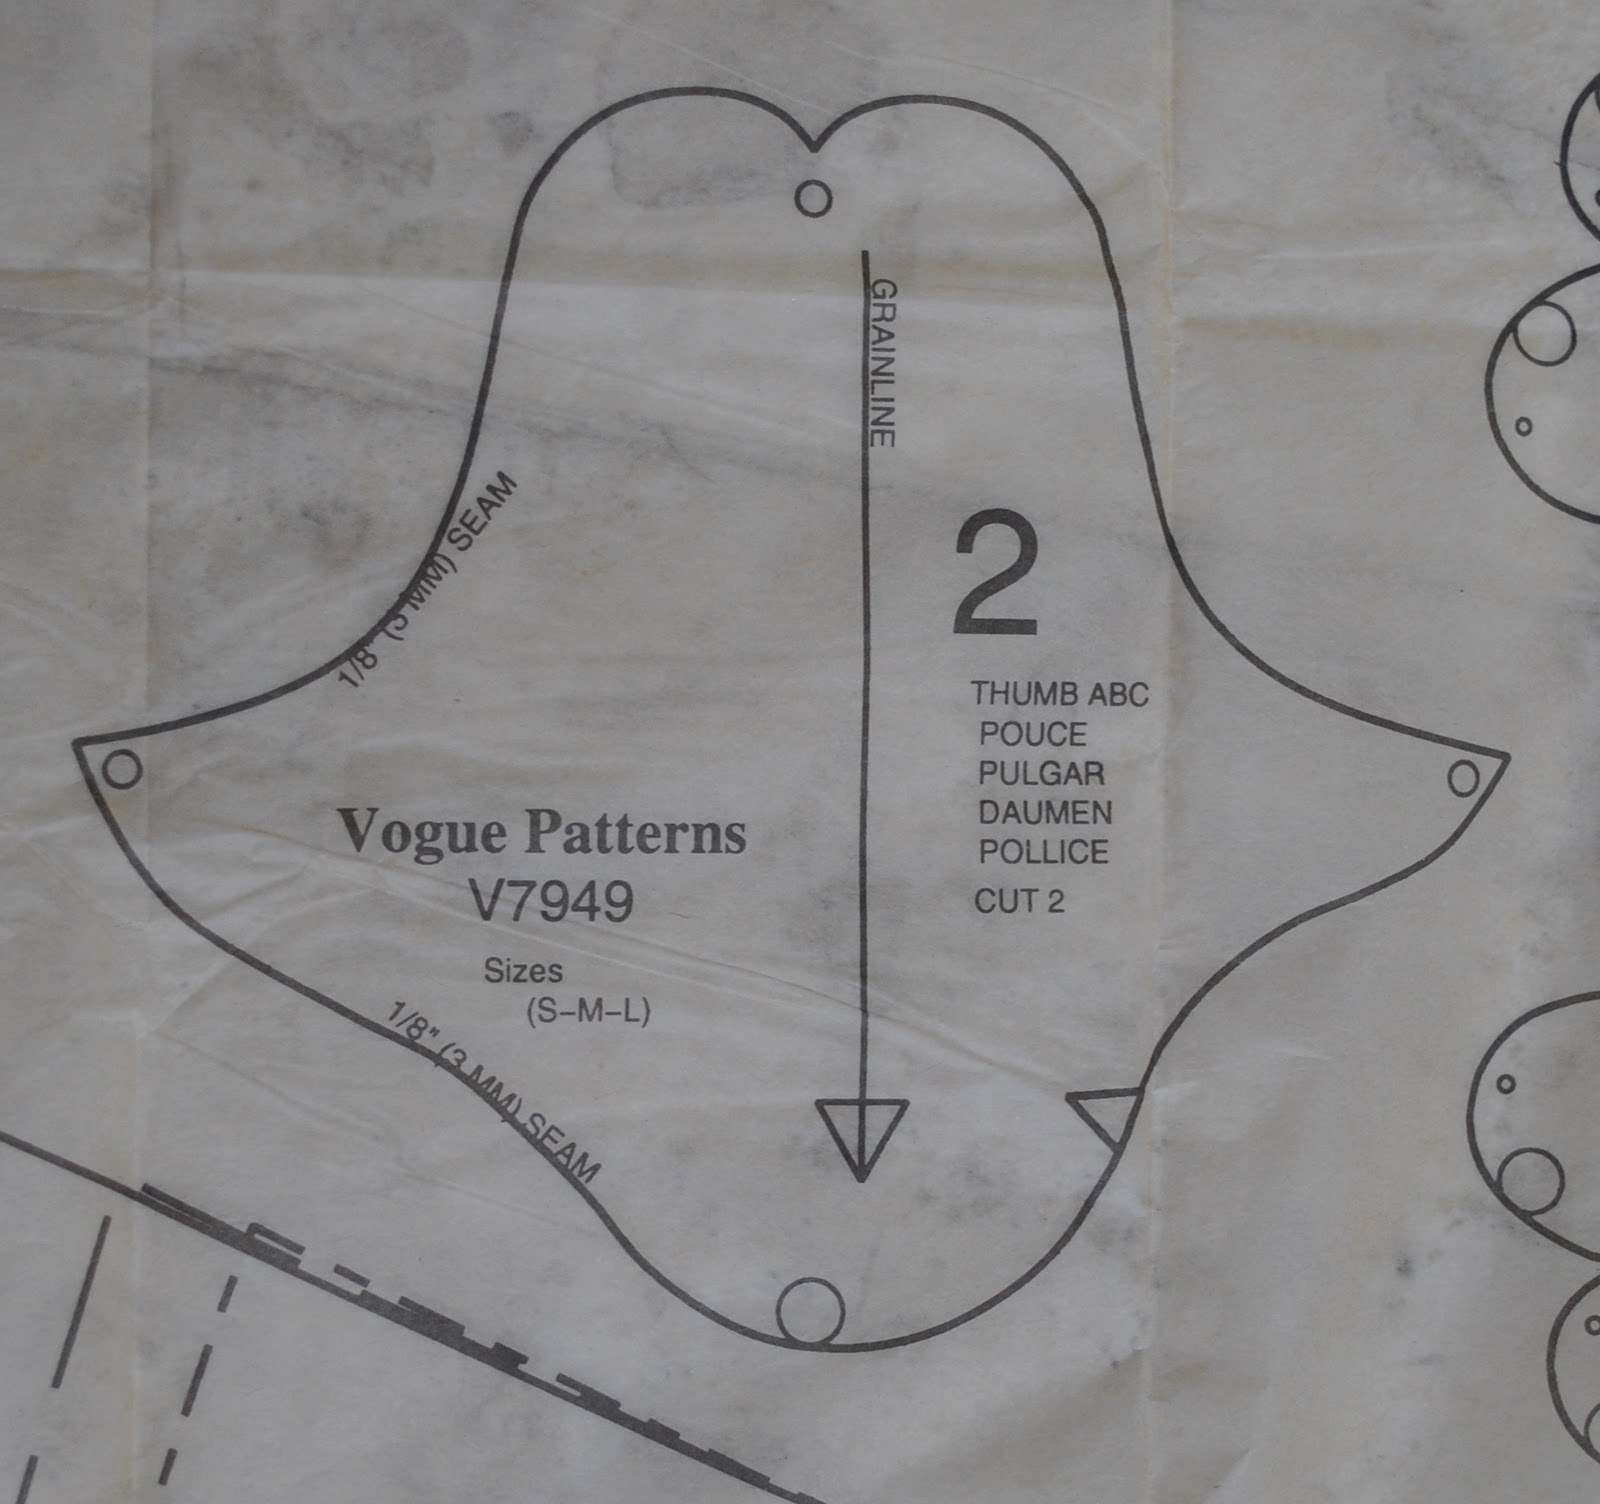
Package includes patterns and instructions to make nine pairs of unlined gloves.  Each view is available is size small, medium or large.  Variations include contrast applique, contrast lined gauntlet, contrast tabs and covered buttons. 
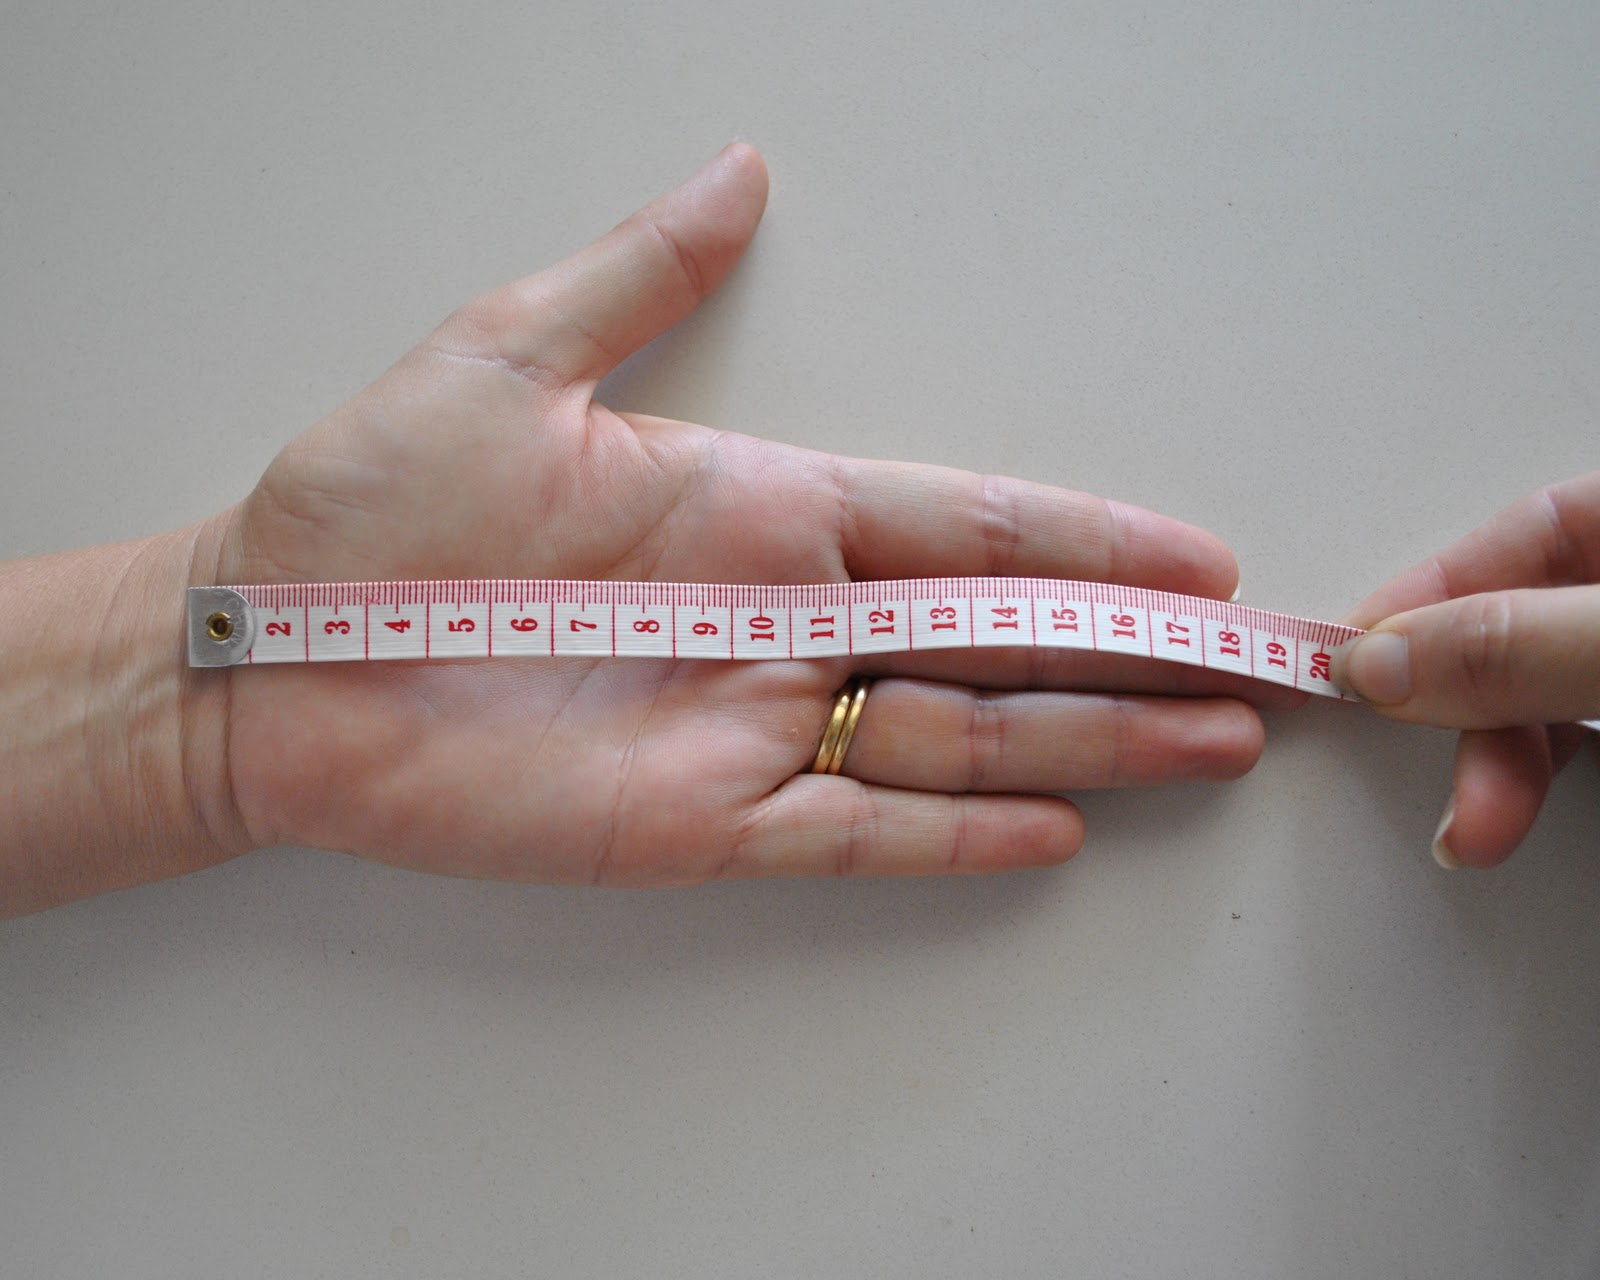
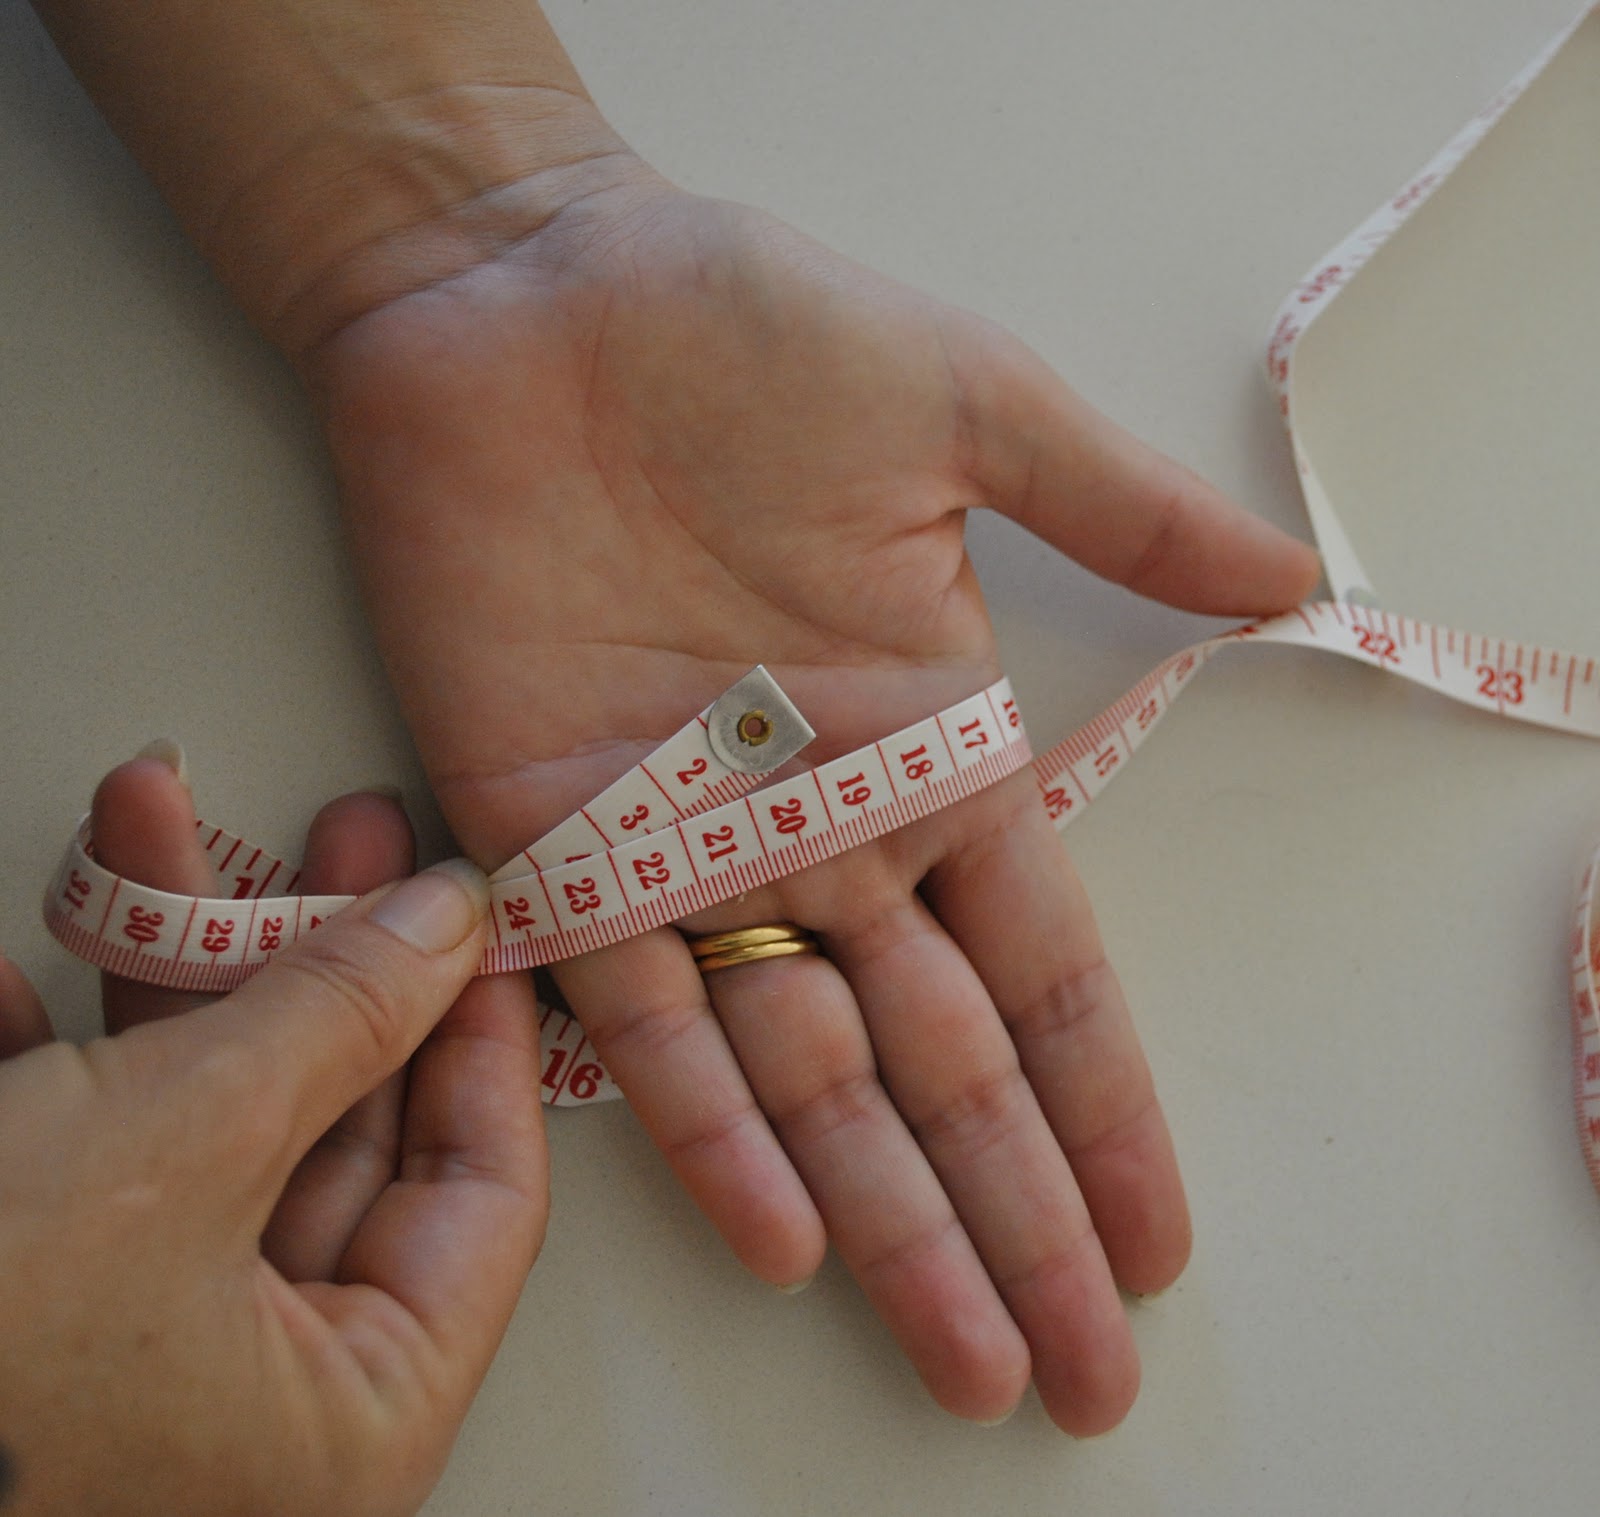
Pattern Sizing:
Allegedly small (18cm), medium (20cm) and large (23cm).
Did it look like the photo/drawing on the pattern envelope once you had finished sewing it?
I made view A, and yes
Were the instructions easy to follow?
The instructions are straightforward, but making gloves is not really easy…
What did you particularly like or dislike about the pattern?
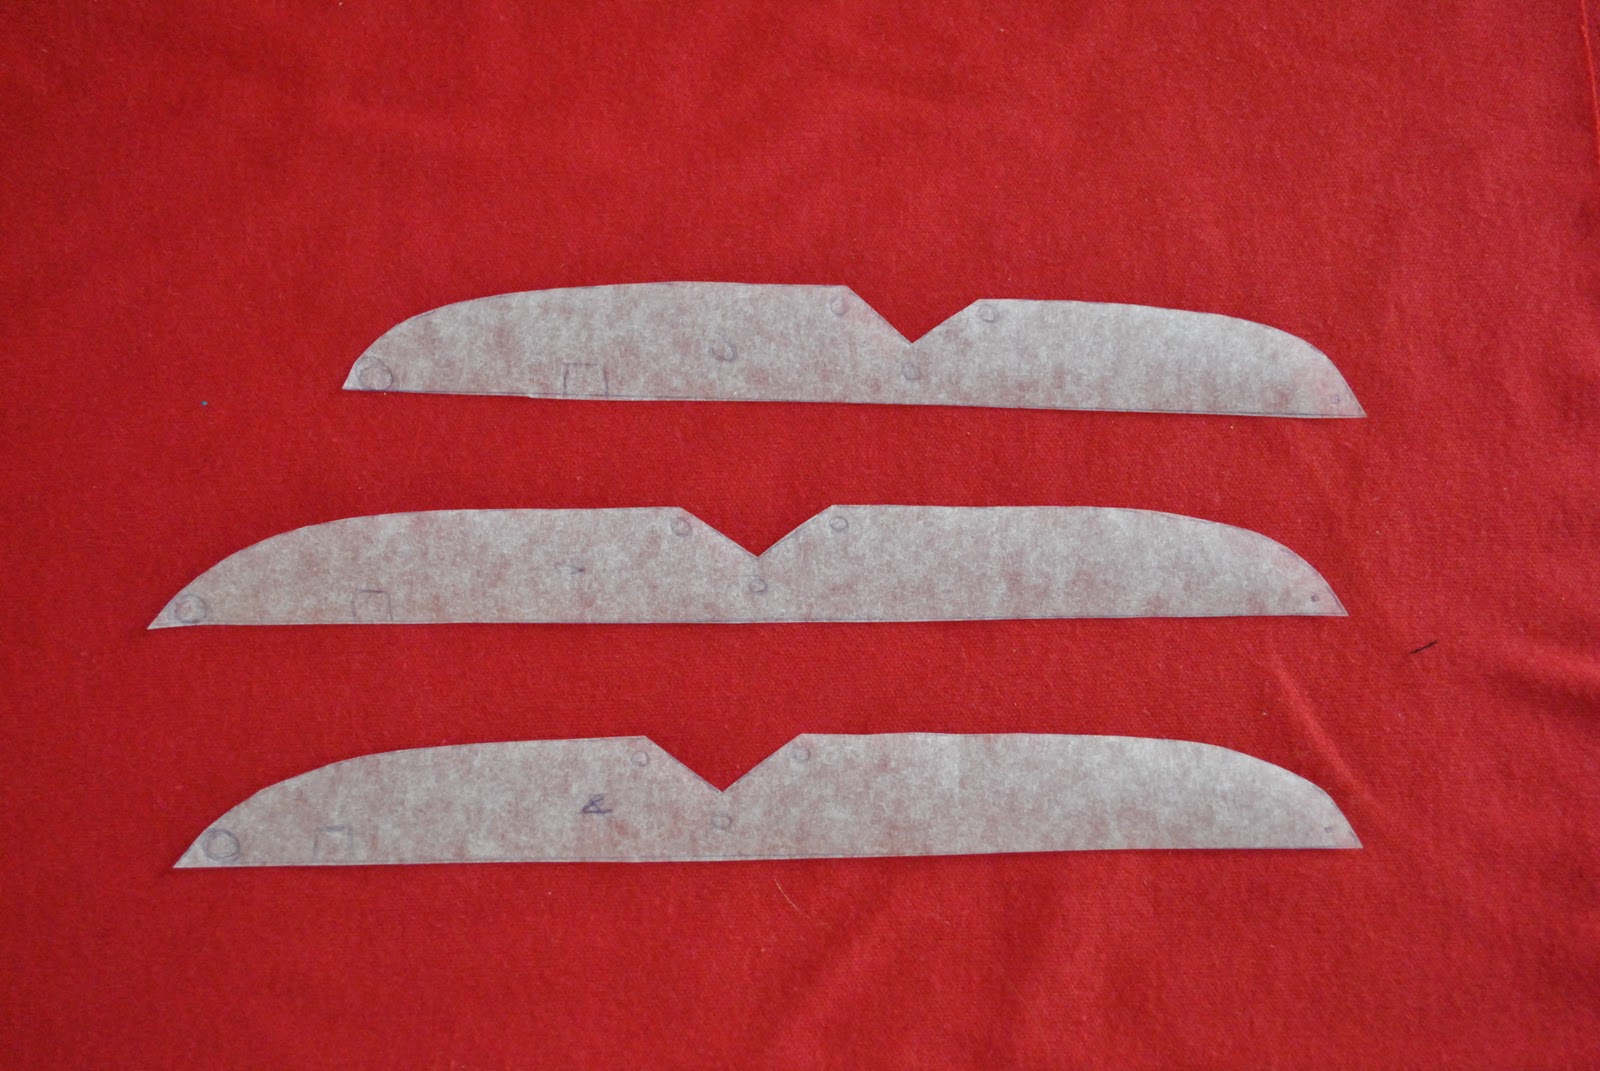
I like that it is a well drafted pattern, the pieces went together very well and fitted together perfectly. 
What I didn’t like; well, what do those measurements, small, medium and large actually mean?  There is not a clue on the pattern instructions as to what part of your hand you should measure to find out which size you should be looking for!
Also, in spite of saying that the gloves come in three sizes, they actually do not!  The pattern is really only in one size.  The different “sizes” are just simple lengthening of the arm tubes and gauntlets, which is an obvious adjustment anyone could make without needing a pattern to do so… there are no gradings on the pattern pieces to allow for different sized hands.  If you had particularly long or short fingers you could probably make this adjustment yourself without too much trouble, but I think adjusting for a wider hand would be a lot trickier.
I guess this is why a stretch fabric is recommended!
But ultimately my first attempt at gloves fit alright, so I must have an “average” hand… thankfully.
Fabric Used:
Stretch cotton jersey
Pattern alterations or any design changes you made:
none
Would you sew it again? Would you recommend it to others?
I originally bought this pattern because I had seen beautifully coloured gloves in runway shows that were unavailable in the shops, and because I wanted a new challenge.  Then an old suede skirt I had got a bit stretched-out in places and I thought I would cut it up to make some gloves for myself…  these jersey gloves are my “muslin”, or trying out the pattern for the first time.  I would still like to use this pattern to make gloves from my suede skirt, but I’m unsure how the un-stretchy suede will go with this stretch fabric pattern.  I’m going to think about it before I cut up my suede skirt, for sure!
Regardless of whether I use the suede or a different fabric, I’m sure I will use this pattern again.
I recommend this pattern for advanced seamstresses who are looking for a new challenge.
Conclusion:
Making gloves is not for the faint-hearted, and is a fiddly process.  But once you get the hang of those tiny seams and fiddly little gussets it is a quick project.  I’m not crazy about all nine of the variations of this pattern, but some of them are really beautiful and unlike anything I’ve seen in the shops here, so I’m excited I can add something different to my wardrobe like this!

pinterestmail

Gloves: fingers!

The tops of the fingers:
The next step in the glove making process is to stitch across the tops of each finger-tip.  This is a tiny little seam, but still pretty vital… so I basted all of these before sewing them on the machine.  Partly because as I mentioned before, my machine doesn’t behave well with tiny little seams, and I feel I have a lot more control with hand-stitching.  In fact, the next time I do this I will probably stick with the precision of a hand-stitched seam and forgo the machine stitching for this bit!
I only have here a photo of the fingertips pinned together ready for sewing and didn’t take any “after stitching” pictures…  that’s me getting caught up in the trance of the sewing process, sorry!
The outside seam of the little finger is sewn down to the base at this point, but this is the only finger seam sewn in such a simple way…!

The gussets:
Now is the time to worry about those funny little gussets… as I said before I left cutting these out until I needed each one.  So, for example, I started with gusset D (out of D, E, and F for the three different finger “valleys”) and cut out just the usual mirror image two of these and sewed these two gussets completely into their correct and final position on the glove before I even looked at gusset E.  I’m really glad I did this, because it could be sooooo easy to mix them up… even when you only have two of them!

The V seam in the middle is sewn right sides together on each one…

And then they are inserted into the appropriate part of the finger…

I’m not going to whitewash this.  This part is tricky and you have to pay close attention to make sure you are pinning the correct edges together.  Sewing these seams is fiddly.  Not trying to put anyone off, but just being honest here…  To sew these seams I started at the base of each finger “valley” at the V seam on each gusset and sewed out from there to end up at the finger tip.  This was a good way of controlling the placement of the gusset properly.  Plus to sew these seams I used a tip I had picked up in a Threads article once upon a time (I have no memory of the specific article, but it was a good tip I filed away mentally for situations like this):
Rather than commencing each seam with a few reverse stitches to secure the thread end like you would do normally, start sewing the seam from the beginning point (ie, right at the base of the V seam, and at the very apex of the finger “valley”) and work a few stitches with the machine stitch length set to 1mm.  

When a few millimetres has been worked in this way, change the stitch length back to 2mm, which is the usual stitch length for most regular sewing and complete the seam up until the last little bit, about 3-4mm from the edge.  Change the stitch length back to 1mm for that last little bit.

This is a great technique and stood me in good stead here.  It results in a smooth even straight seam and avoids the risk of fabric-chewing that can occasionally be a problem with reverse stitching.  Also, in my experience, reverse stitching is a little less controlled that forward stitching and sometimes I’ve been frustrated with the fabric moving sideways a little when I try to use it… this problem is only going to be amplified when you are working with tiny precision seams like this, and anything you can do to eliminate the risk of wonky seams here is going to pay off, big time.  So I was really glad of this tip.

Despite it being fiddly sewing, I am the obsessive personality type that enjoys this sort of precision sewing and thrives on getting it all in as neatly and as perfectly as possible, so I really liked the challenge of this bit.  Plus I am pretty happy with how they turned out!

Tomorrow; finishing off

pinterestmail

Gloves: cutting out, seams, and putting in the thumbs

Cutting out:
It’s probably not necessary for me to go into a lot of detail here about how to cut out pattern pieces, it is pretty straightforward and the same as any other dressmaking pattern, but with a few little reminders…  
I think a very important thing to remember when cutting out glove pattern pieces is that you will be sewing 3mm seams.  These are tiny little seam allowances here… so if you are like me, and as a time saving exercise mark your marking points with a little snip into the seam allowance then you will have to re-think this one.  I went back to the old ways that my mother taught me, and earmarked those little triangles by snipping them out… so they are little points sticking outside the seam allowance like a tiny shark fin on a smooth sea.  I was pretty pleased with myself for remembering to do this… and didn’t just steamroller in and snip them in like normal!

Also, remember those wince-y little gusset pieces? well I just knew they would get all mixed up as the differences between the three pieces are extremely subtle, so I left cutting them out until I was actually using that particular gusset piece right there and then.  When working with teensy little fiddly pieces I find this approach to be far less stressful.
So leave them be, for the time being…


The first step is to stay stitch down around the bottom of the finger bits, and I was lazy here and just used the thread that was already on the needle which happened to be black.  Plus I wanted it to stand out for the photo here, so we could see it… but later on I heartily wished I had used matching thread.  The black does show through a tiny bit.  I regret this.  Important tip; despite that you are treating this as a muslin, if, like me, you entertain a tiny hope that these gloves will be wonderful enough to live permanently in your wardrobe…  treat them with the same respect you would if using your final fashion fabric; use matching thread!

The next step is to cut down each finger “valley”

And next, (on my particular glove choice) I topstitched in place those three short slanted rows across the back of each hand.  Yes, I remembered to use matching thread here.  I just love this type of stitching that is mimicking the delicate tendons on the backs of one’s hands, I think it is a charming feature that looks prettily old fashioned and sweet.

Seams:
The seam allowance on my pattern is given as 3mm.  I decided to be super accurate and use my fading pen (still got it from my quilting days) and draw in the seam allowance for me to sew over.  Two reasons for this: a 3mm seam allowance is too tiny to be even marked on my old machine; also a 3mm seam is not one I ever use so I am unfamiliar with it and didn’t trust my eye to gauge it.

The fabric I am using is a type that my machine doesn’t particularly like and traditionally likes to chew up, particularly when I am asking it to start sewing a tiny little seam from the edge of the fabric… so I sewed most of the seams starting in the middle and ending up on the edge of the fabric.  This approach works well and I don’t run the risk of a chewed up edge.  My machine doesn’t have the same problem with the end edge of a seam…  (note to self; should have used matching thread… but at least you can see what I’m talking about here)

The thumb:
So, once I had finished sewing the thumb seam I turned it right side out for a quick visual check.. and see how it has a rather horrible pimply little bump sticking out at the folded corner on the right?

Went back and resewed the end to be more tapered and dart-like for a smoother non-bumpy finish on the outside…
Much better, yes?
I’m all thumbs…
Next step: I inserted those thumb pieces in to the corresponding thumb hole in the main glove pieces, matching up the tiny shark fins.  I pinned and basted this bit quite carefully as I was anticipating it to be quite tricky, but it turned out to be surprisingly straightforward and not even particularly fiddly.  

And I’m not sure I would even bother basting this bit next time.  Apart from the problem with not using matching thread (grrrr… cross with myself) on the outside I can see some of the basting stitches interfering with and marring the perfectly even stitches of the machine stitched seam  (see below).  It’s not super obvious, but these tiny imperfections bother me a bit

A fitting aspect of this thumb that concerns me a trifle is that it extends out much further into the main glove area than I anticipated.  Perhaps next time I will make the thumb hole a bit smaller, and the thumb piece a tiny bit shorter…?
What do you think?  Do you think the seam should be closer to the base of the thumb?
Tomorrow; fingers!
pinterestmail

Gloves: assessing the pattern

I was planning to call this glove-making challenge something witty and metaphorical, like “Throwing down the Gauntlet” or some such cleverness, but then I decided… nah, just go with simplicity.  After all, making gloves is complex enough without a fancy schmancy title to put people off…
so without further ado here we go.

Pattern:
I am using Vogue 7949, a pattern for unlined gloves, with nine variations.  However hands are hands, and I’m sure the basics of glove making will be very similar, if not the same for most patterns.  For this first effort, I am going with view A, an elegantly gathered, nearly elbow-length glove with three short rows of attractively slanted pin tucks stitched on the back of the hands. (the silver-grey ones on the left of the middle row)
Fabric: 
The pattern stipulates that a stretch fabric should be used, recommending stretch velvet, stretch satin and stretch synthetic leather or suede.  Synthetic leather or suede is recommended for the contrast trims on a few of the designs, namely the wrist skirtlet (? is there a proper name for that?), which is an area that obviously doesn’t need to be stretchy.
So in my initial trial run of this pattern I am using cotton jersey knit with some stretch in it; and was ultimately planning to make myself suede gloves, using an old skirt that I found in an op shop.  The suede is obviously not stretchy, but I shall cross that bridge when I come to it…  I do have some non-stretchy leather gloves already that are fabulous and when the time comes I will size up how to go about using this pattern to make my own..
The pattern has this handy guide printed on the back of the envelope that Vogue supplies on all its stretch patterns so you can assess whether your fabric is suitable… on too many occasions I have been known to ignore this guide but completely, but as gloves are new territory for me I am obeying the instructions for once!
A folded piece of fabric should stretch from this width:

to this width… check!
Sizing: 
Now this is where I ran into a bit of confusion.  The gloves are supposed to come in three sizes, small (18cm), medium (20cm) or large (23cm).   Now, I searched and read everything there was to read,  all over the pattern envelope, the pattern instructions and the pattern tissue itself, and do you think there is any guide anywhere as to “what” on my hands I should be measuring to decide which one I correspond to???  Nothing.  Not a clue.  So I was a bit mystified as to what those measurements signified, but I went ahead and measured the proportions of my hands anyway…
Each measurement, the length of my hand, and the circumference of my hand measures about 19cm, which I’m guessing puts me roughly in the small to medium size.  This is interesting, because I nearly always best fit the large size when I buy readymade gloves, but pushing on…
Turning to the pattern pieces now,  and hey do you know what, the actual “size” of your hand really doesn’t matter at all, because when you look closely, you see this:
This is the pattern piece 1, for glove A in all sizes, and can you see, the pattern is pretty much completely ungraded for any different sizes, oh sorry, the length of the arm tube itself has been thoughtfully graded for us (seen at the right of the picture), very helpfully a few centimetres has been added on for the medium size and a few more for the large size…..?????  Ha!  Now I get why they stipulate stretch fabrics….!  Of course I’m no size-grading expert, but this seems to be a major fail… why on earth bother with all the “each glove is available in three sizes” advice when it is completely obvious when looking at the pattern that it is a “one size fits all” deal??  Ah well, I’m still determined to push on with this experiment, so not to worry.  I am going to think very carefully and compare sizes against my other leather gloves before I start cutting up that suede skirt, though!
The thumb piece, sizes S, M, and L
Cutting out the pattern:
So I cut out the pattern pieces:
The pattern piece at the top right is the gusset, and comprises the three different sized gussets printed into a box.  Each little gusset is way too small to fit printing all the pattern information onto each one… so as I am a little obsessive about keeping all my pattern pieces ordered, tabulated and neatly under control, plus I pictured those tiny awkward little pieces ripping way too easily, or flying away in a breeze under the washing machine and getting lost forever,  so I retraced off these gussets on to kitchen baking paper.
(hehe, this is pattern piece 10 which I mistakenly photographed, I actually used the correct piece number 3)
Tomorrow, some actual fabric cutting-and-sewing pictures…
pinterestmail

Pinky pink.

It took me a while to settle on this outfit today.  I had originally planned to wear my brand new top, from the pattern I was tracing out yesterday (yes, it’s finished!!) but it was lacking the right buttons to finish it off completely.  I had sewn on two complete  and different sets of buttons from my button bag, and ultimately just felt dissatisfied with each set…  so I had to trek out to the fabric shop to locate the perfect buttons today.  And I was very good and only bought one other piece of fabric whilst I was there.  And it was from the remnants table, so I am, you know, doing my bit, helping out the fabric store in getting rid of unwanted fabric.  I’m doing a good deed.  Practically a community service.  Not a self-indulgent or unnecessary purchase at all (cough cough)
Also while there I purchased two patterns I’m pretty excited about for my autumn sewing plans… lookee below.  The jacket pattern is one I’ve read about on other sewing blogs and am keen to give this a go.  Apparently it contains details on reproducing couture construction techniques, so I’ll be following these carefully.  The only problem I’ve discovered in my experience with Vogue top and jacket patterns is that they seem to be set on a default fitting for quite big-busted women.  On me, an only slightly blousy top ends up looking like a deflated balloon and kind of ridiculous.  I find Burda patterns to fit beautifully with no adjustments required.  I don’t know if this says anything at all about the relative shapes of the average American versus European woman or not.  Japanese patterns fit me well too.  But I am determined to work very properly and meticulously with this one and make it a rip-roaring success…  Promise I won’t get bored and try to whip through so I can just move on!! (a recurrent failing…)
The gloves are a no brainer.  Yah, always looking for a new challenge, hehe…  Keep you posted on how these go…!!

Details:
Dress; Simplicity 3745, significantly modified, pink lace
Camisole (under); Country Road
Skirt; “m”, from Unique Clothes Any Way You Like, by Natsuno Hiraiwa, apricot/grey linen mix
Thongs (flipflops); Mountain Designs
Necklace; a gift from my friend K

pinterestmail
Switch to mobile version
↓