Category Archives: Uncategorized

Who am I? (and a giveaway)

We went to a 70’s party last night; and can you guess which character from the 70’s I am?!?  At the time that she flitted into the public eye, this distinctive style of dressing that she favoured sparked a minor new love affair with oversized menswear for girls in fashion circles.
And just to make this fun, I offering a giveaway to a correct guess, open to everybody, and to be drawn out at random on Tuesday 31st July…  You don’t have to be entered into the draw if you don’t want, just say “no entry” in your comment, but please feel free to have a go at guessing who my character is; just for fun if you like!  đŸ™‚
The pattern I am giving away has the same flavour, yes?…   Vogue 8756, sizes 8-16 and still in factory folds.  This is a pattern generously given to me by Myrna, and unfortunately I can see I am not going to get around to it so I am spreading the love by offering it up to a good new home  đŸ™‚

Details of my costume:
Shirt; Burda 8497, white cotton, details here
Trousers; Burda 7944, gunmetal blue linen, details here, and these trousers styled in 6 different ways here
Waistcoat; borrowed from Tim’s wardrobe
Tie; borrowed from Craig’s wardrobe
Hat; op shop
Shoes; Sandler, from an op shop

pinterestmail

New-Old Hoodie

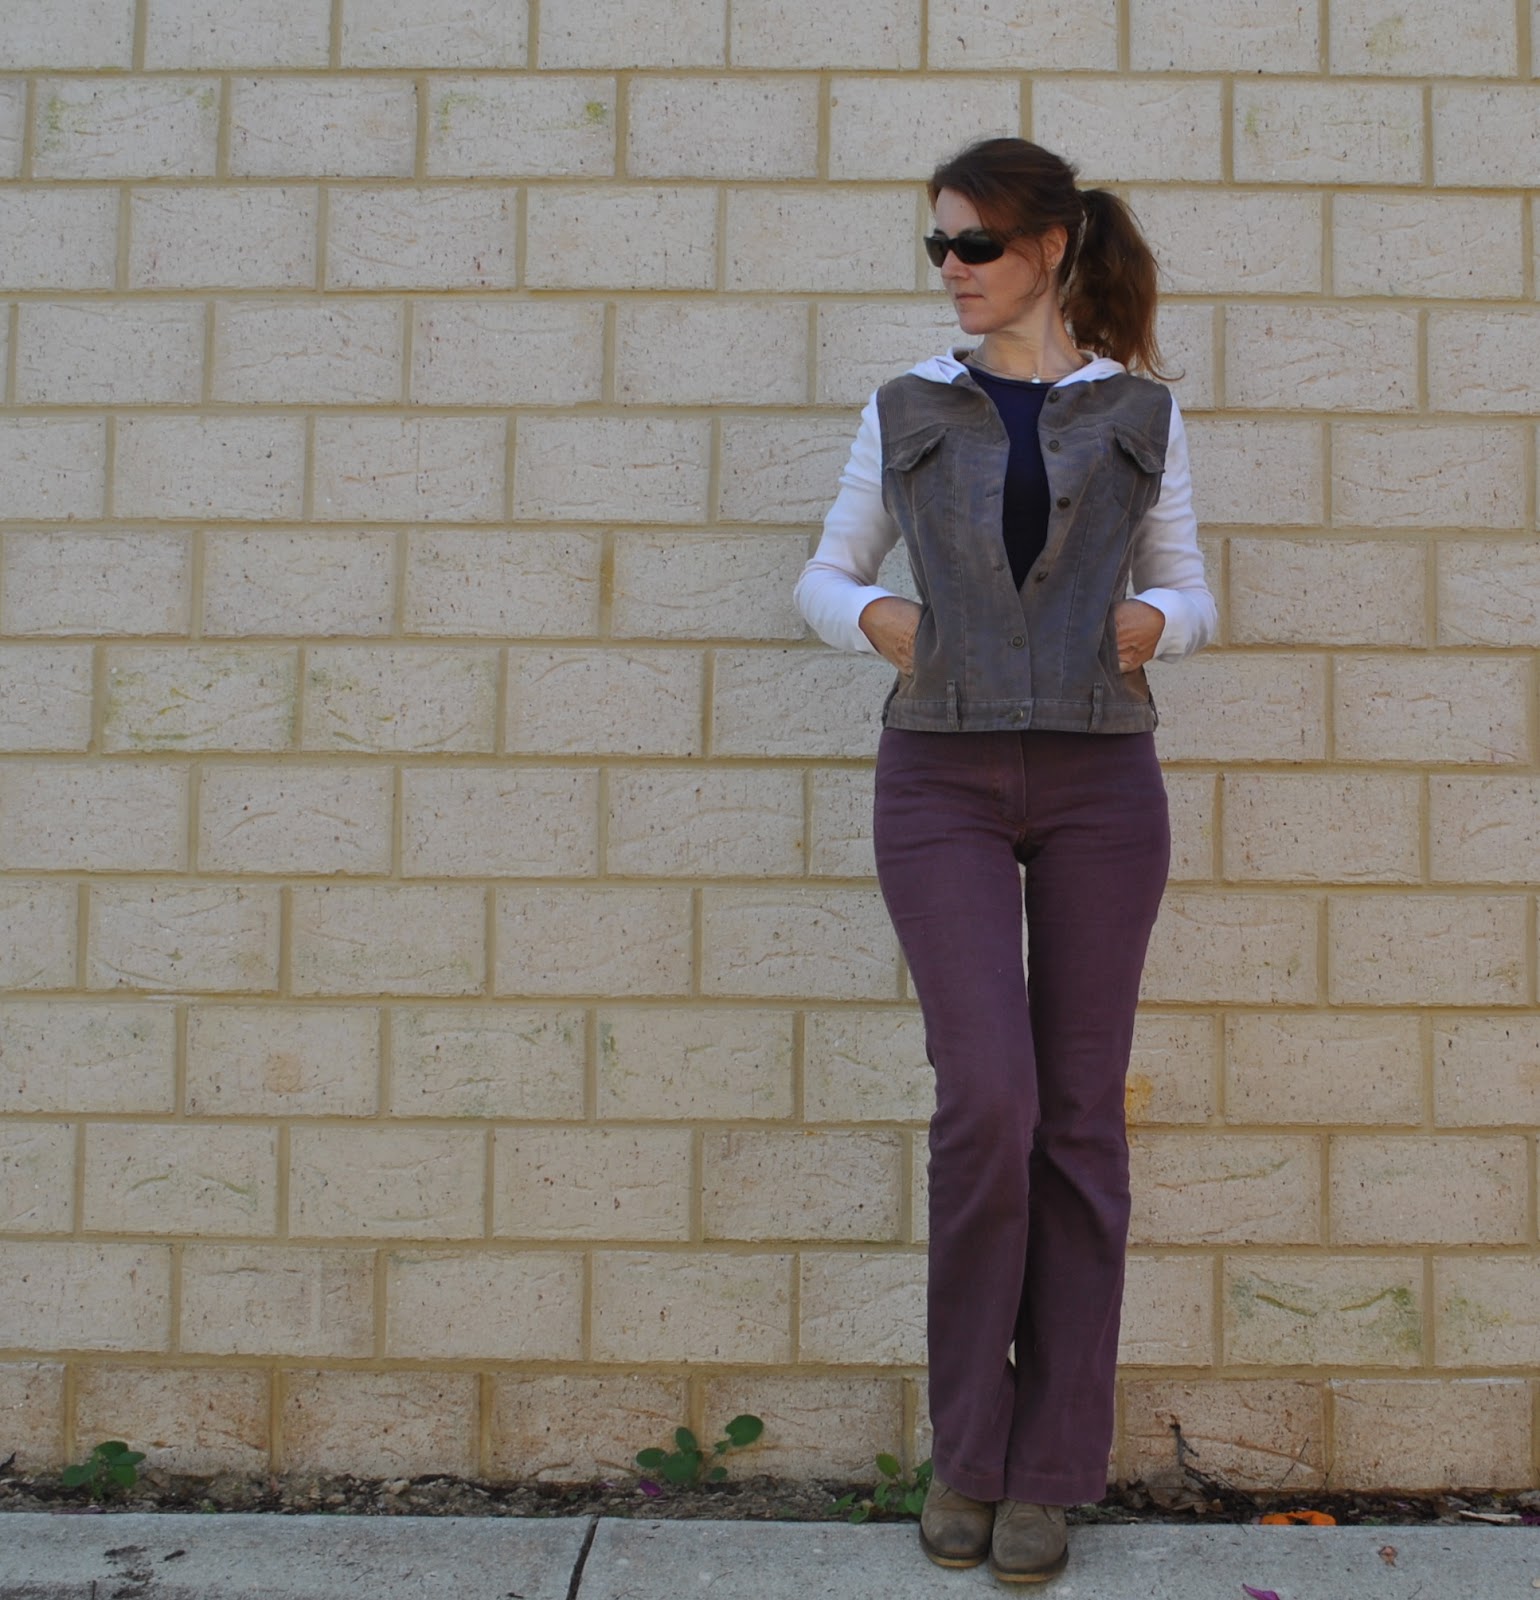
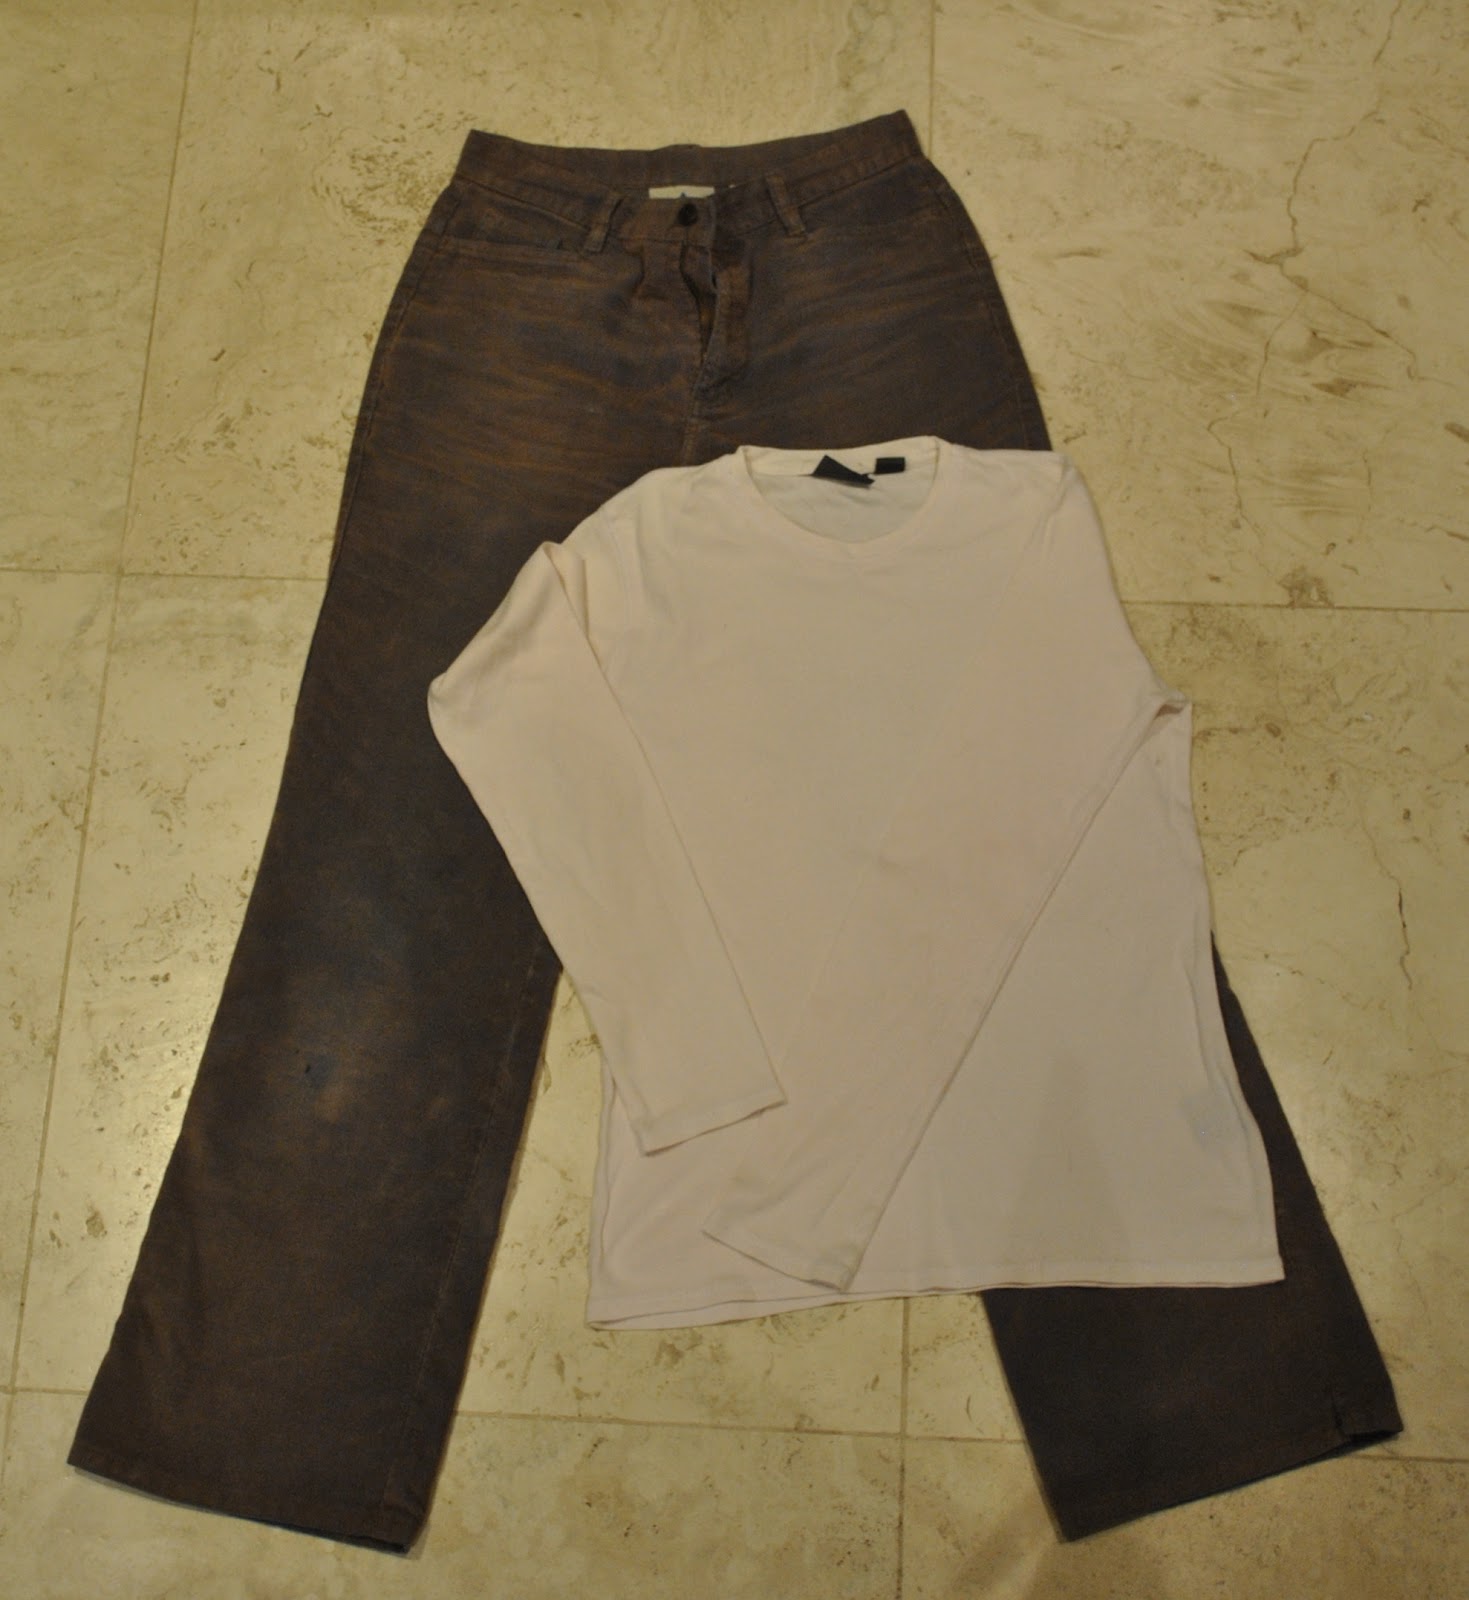
There is something exhilarating about transforming textiles otherwise destined for the ragbag into something fabulous … enter exhibit A: the new/old deconstructed hoodie that I have made for myself.  I was inspired by a really cute little thing that Cassie brought back home from her trip over east recently; an “all about eve” jacket with a vest of distressed denim, fleece sleeves and hood.  Of course I eyed it up and unlike a “normal” woman who upon falling in love with a garment would just seek out and buy one for herself; my immediate reaction was to commence plotting how I could create something myself…  mwahaha.  I emptied out the huge bag of crappy old clothes potential refashioning material that I have in my laundry, and selected an old pair of cords; very worn, but in a yummy colour and one of Tim’s old white long-sleeved Tshirts.  

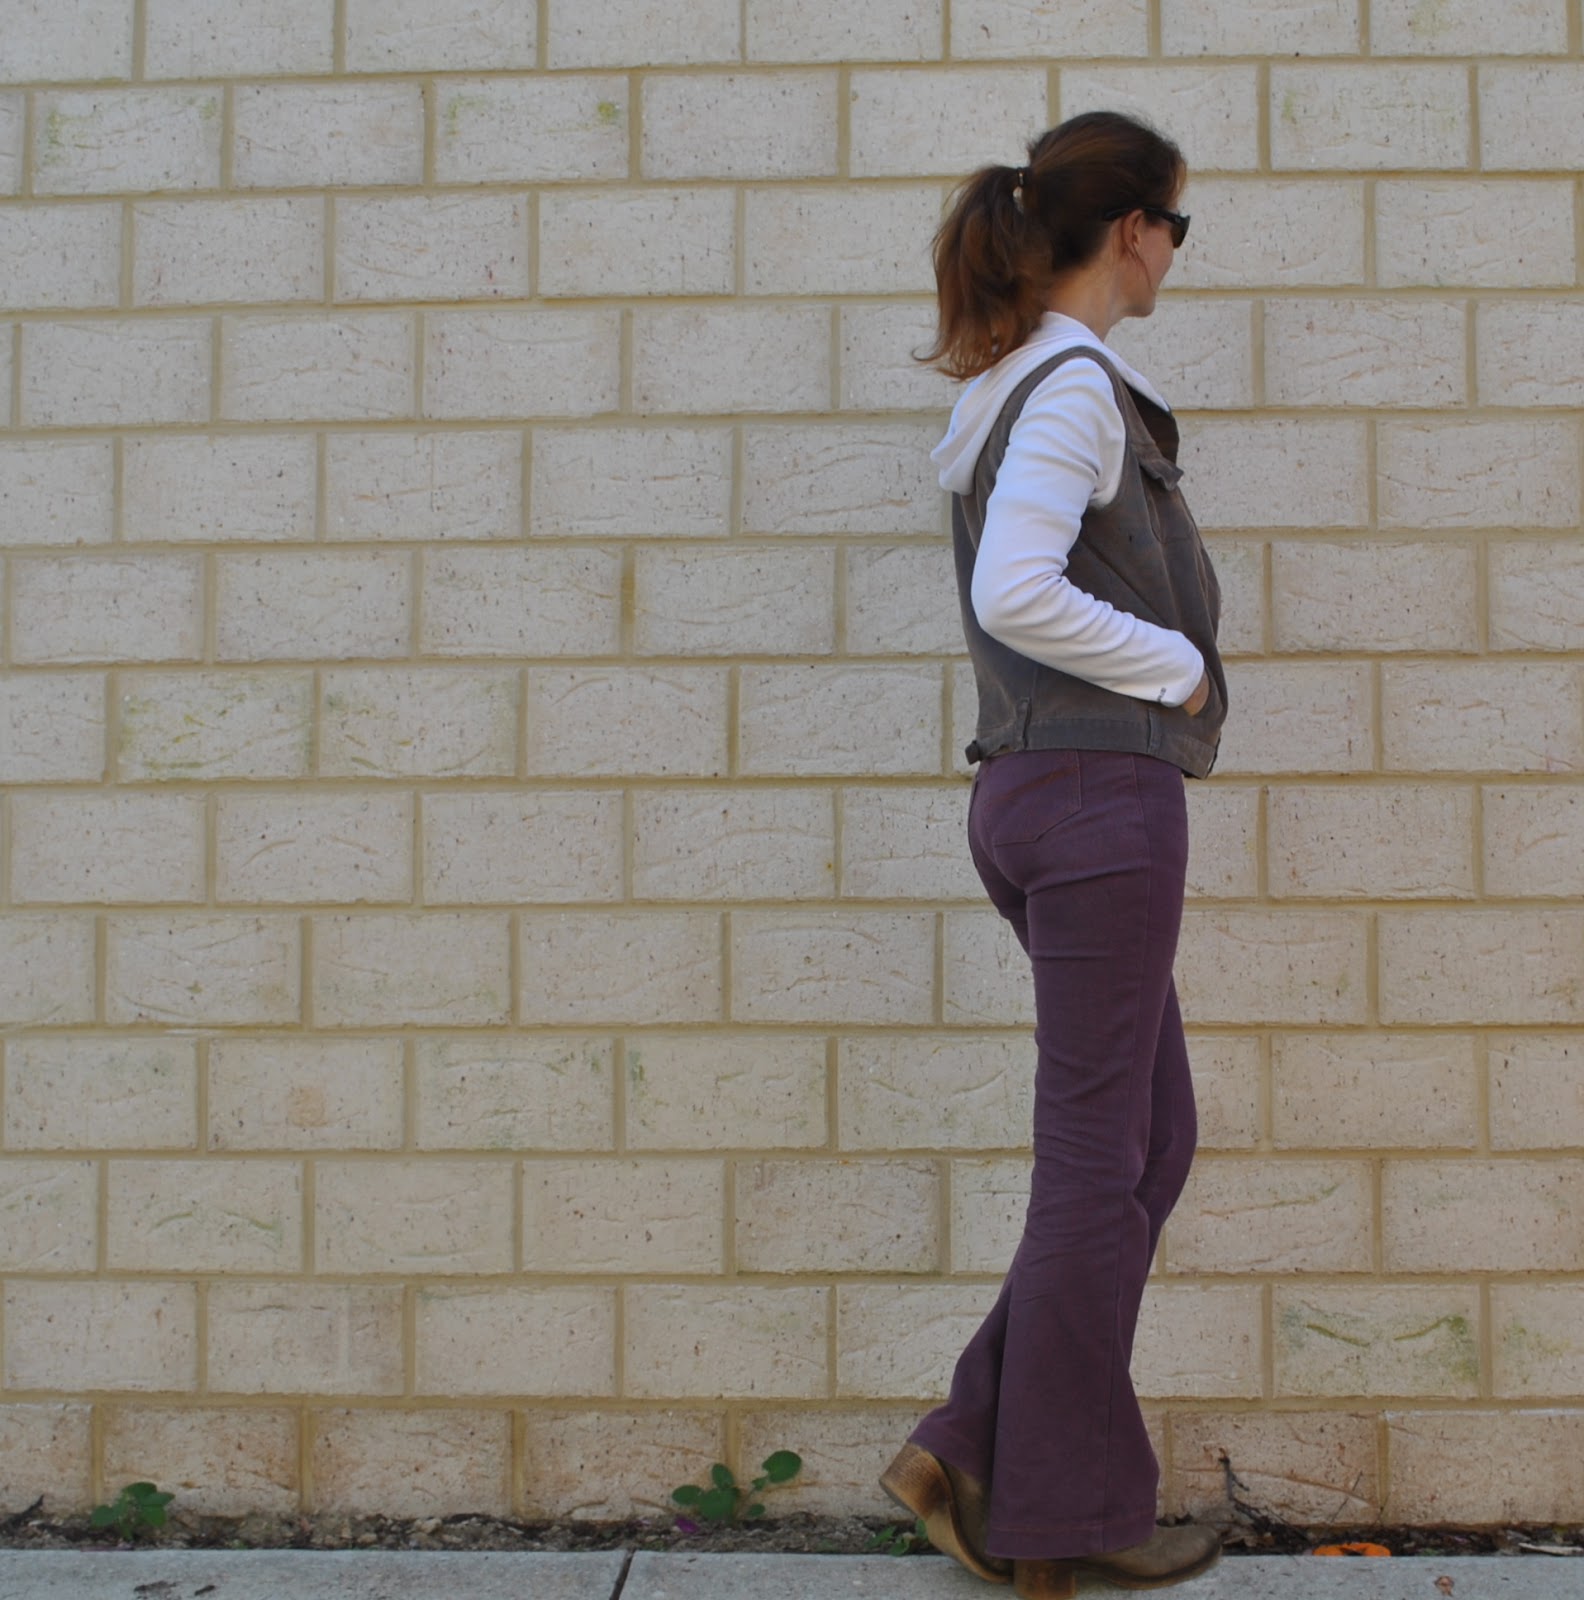
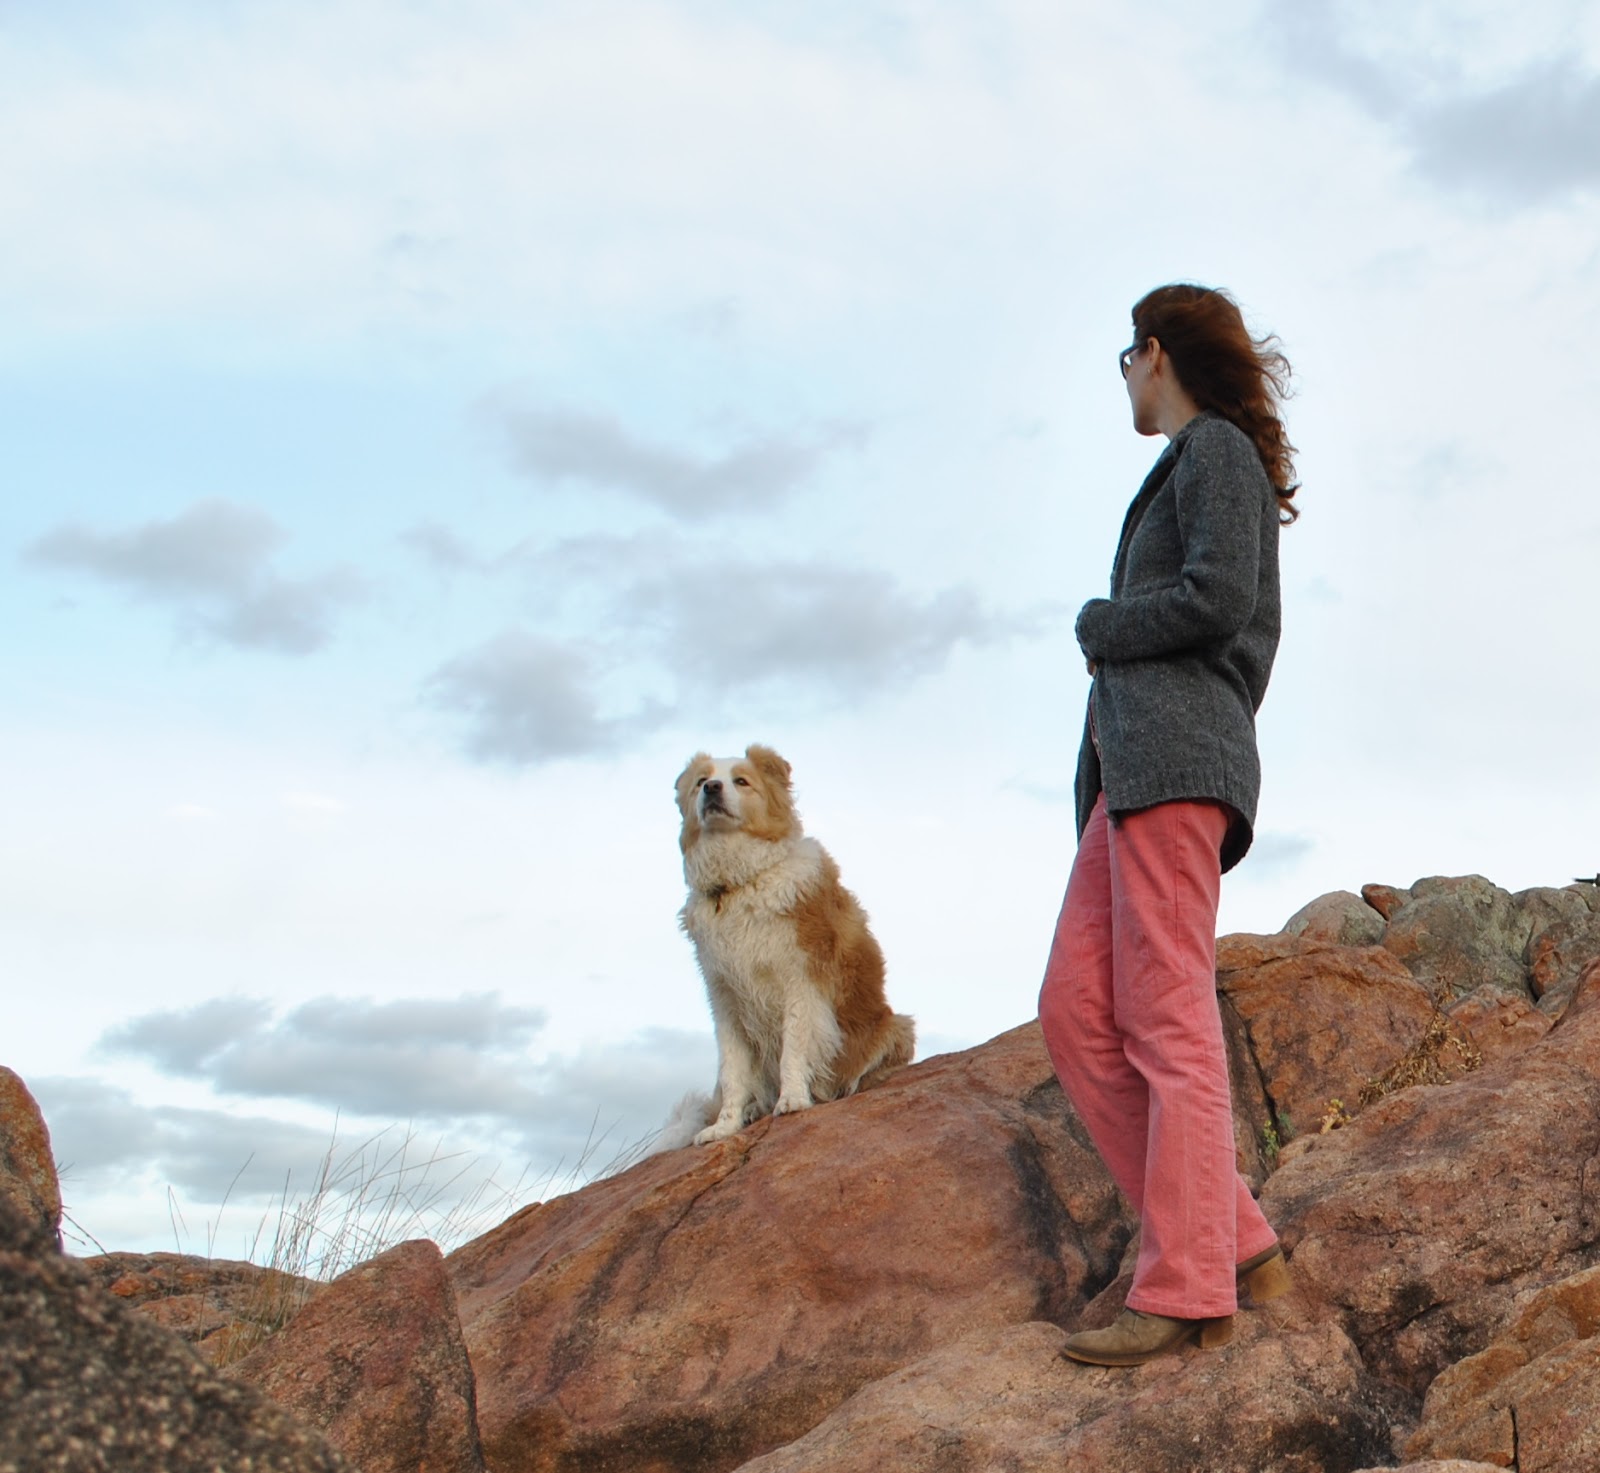
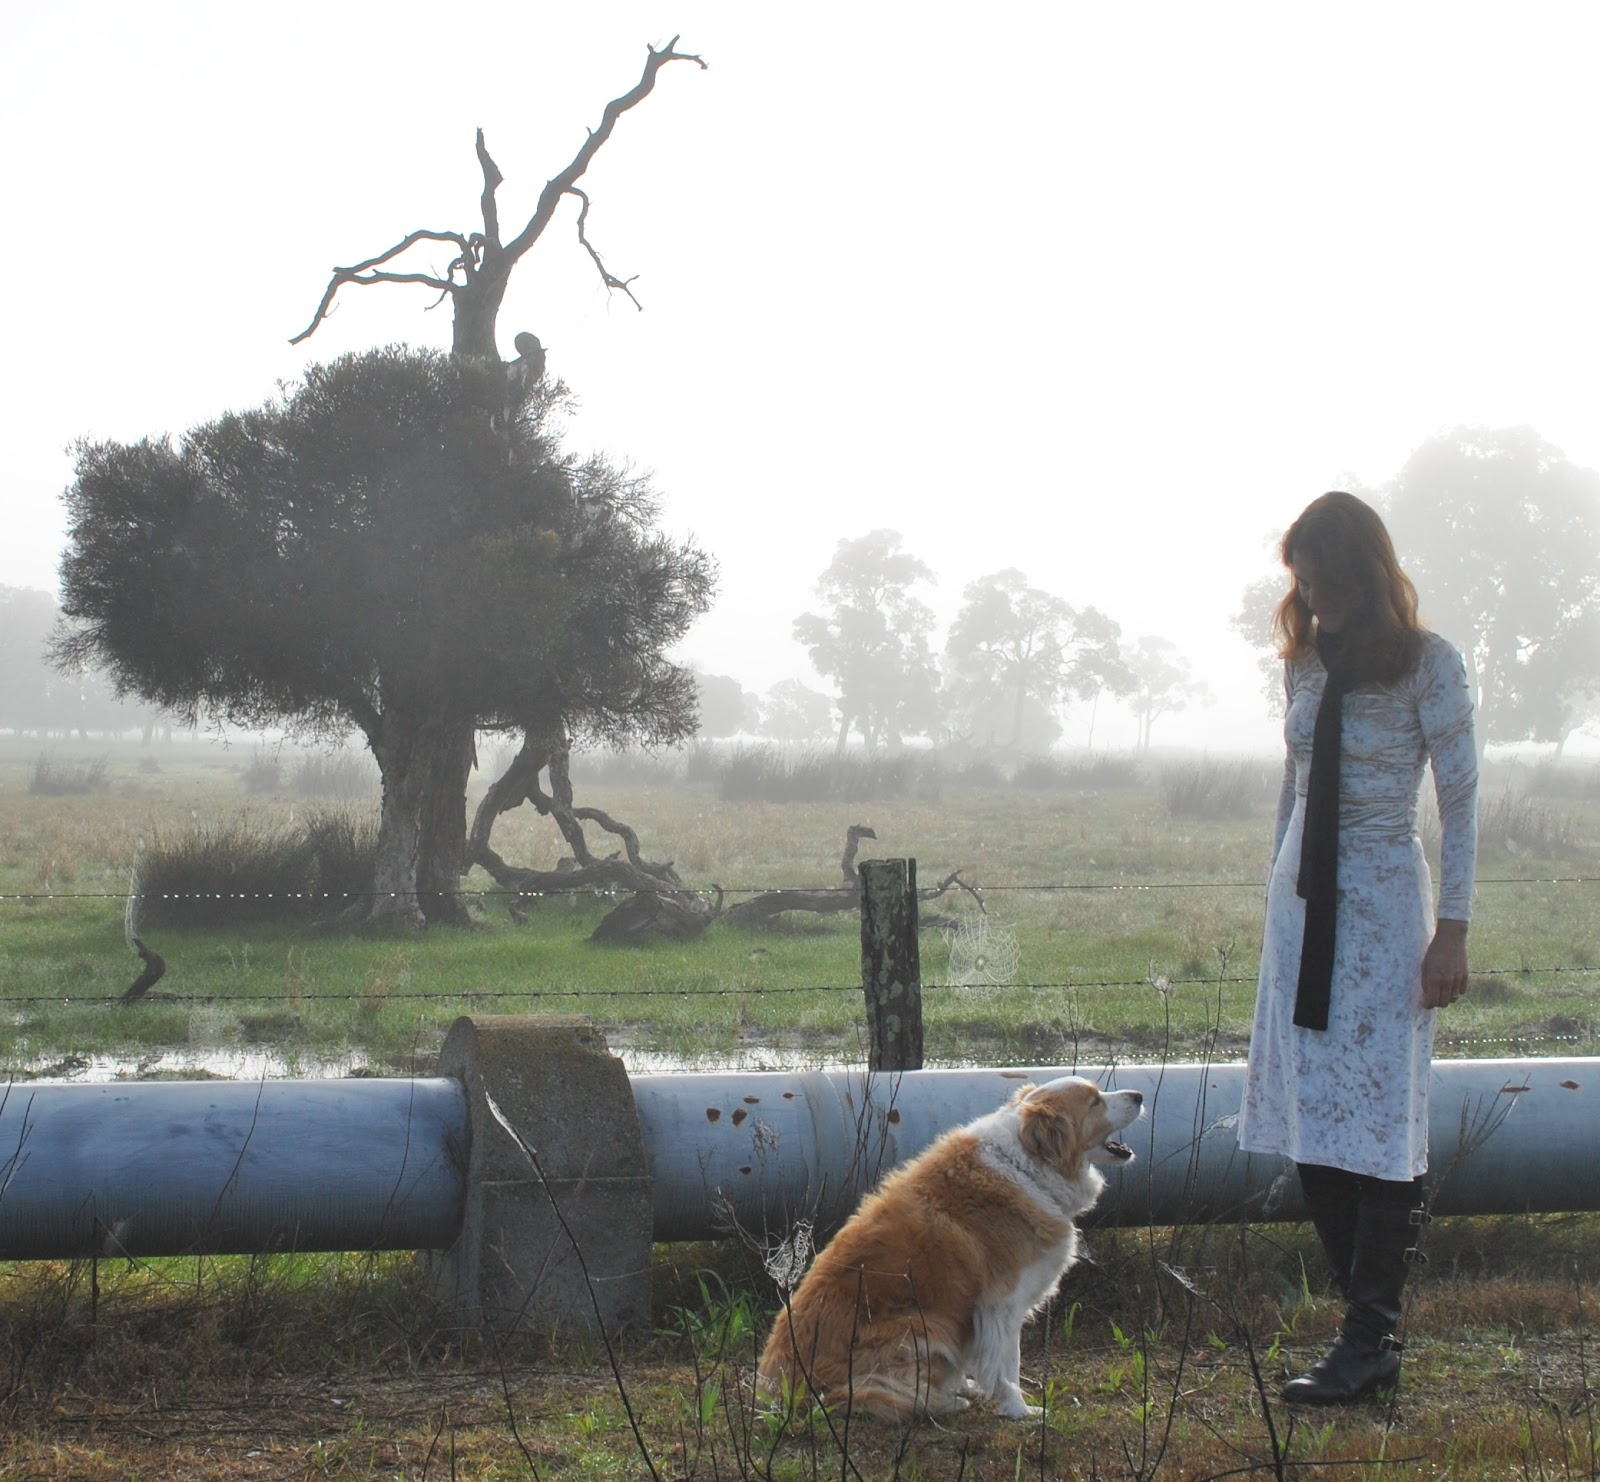
The verdict?  I am pretty thrilled!  I love the deconstructed, already-worn-in, sporty-cool vibe of this funny little piece, and I’m also chuffed that I got to use this favourite-coloured corduroy fabric again!

All the boring nitty gritty of the construction details are below; if you are interested  đŸ™‚

Details:
Hoodie; my own design (see below), made from an old pair of corduroy jeans and an old white Tshirt
Jeans; Burda 7863 modified, purple stretch denim, details here
Tshirt; self-drafted and overdyed cotton jersey, details here
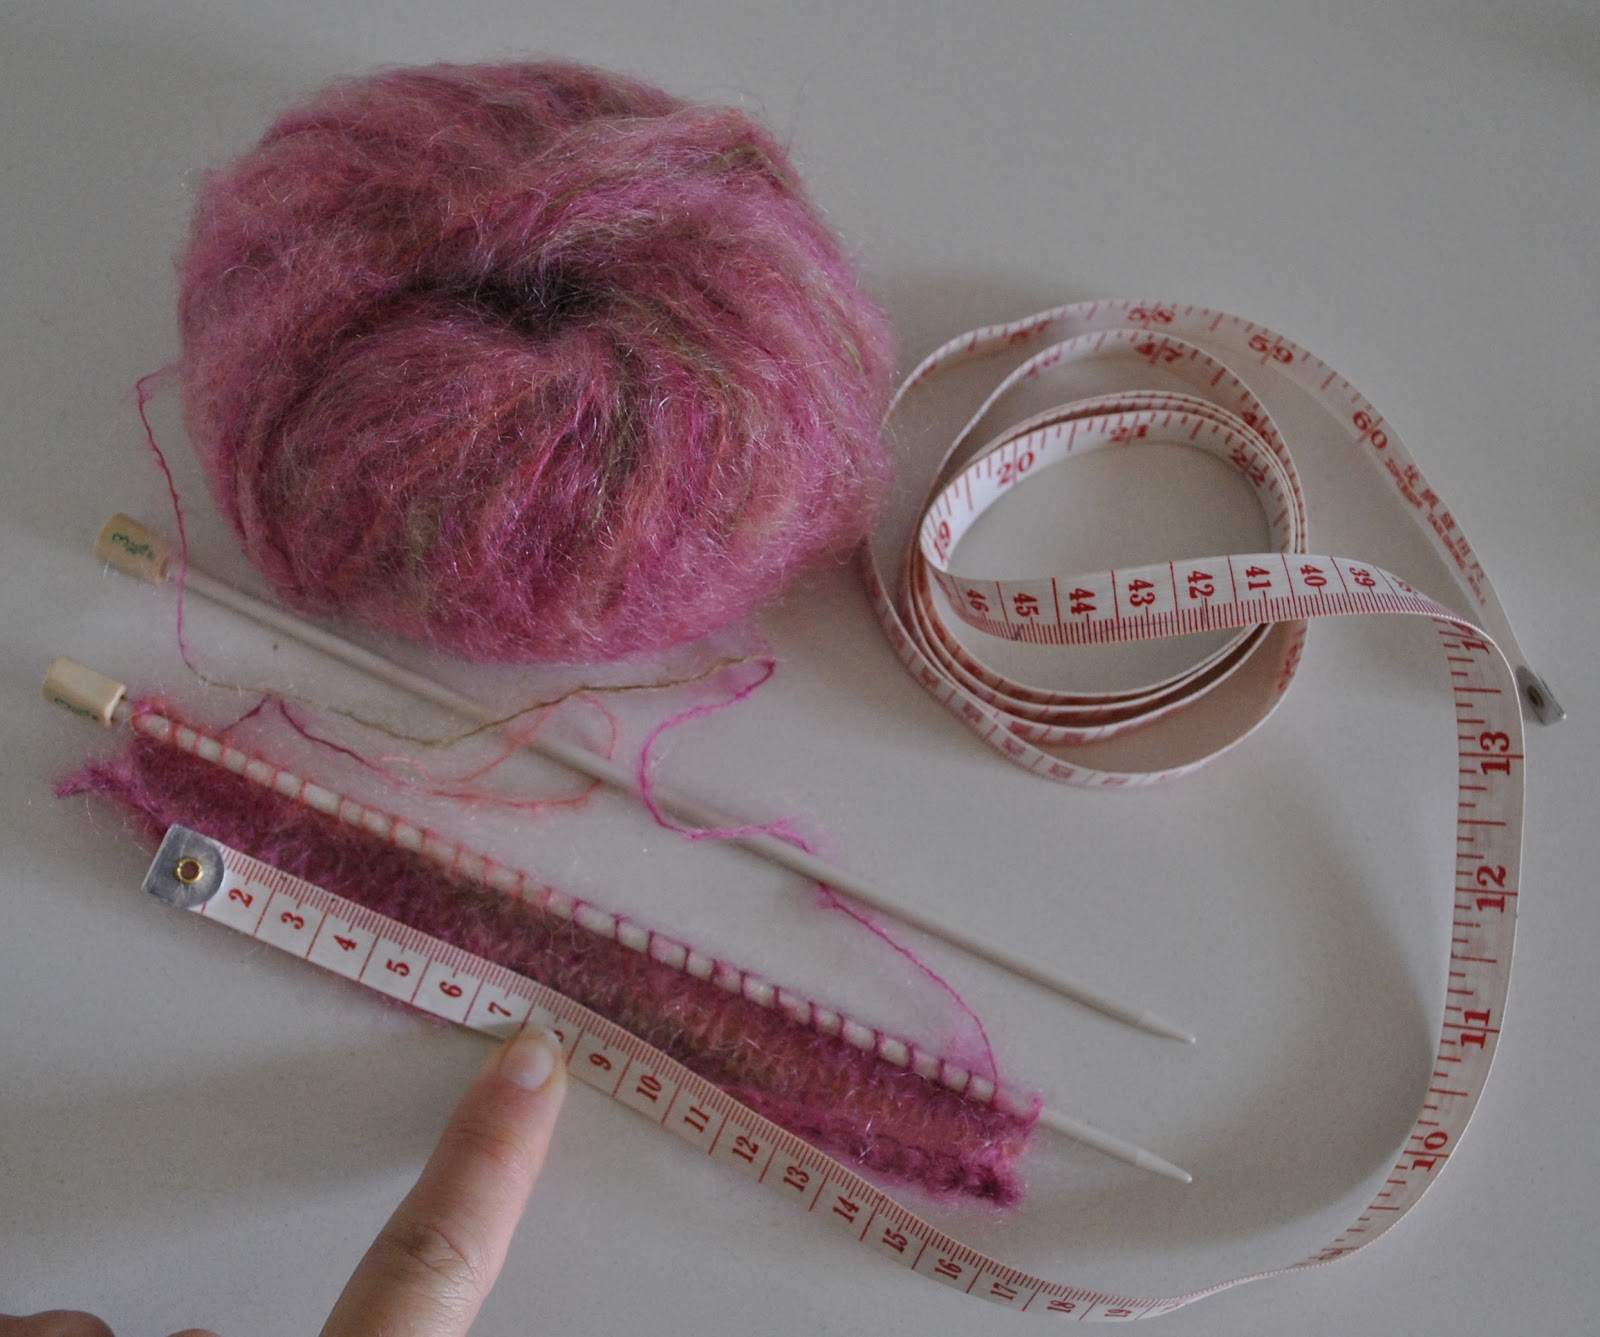
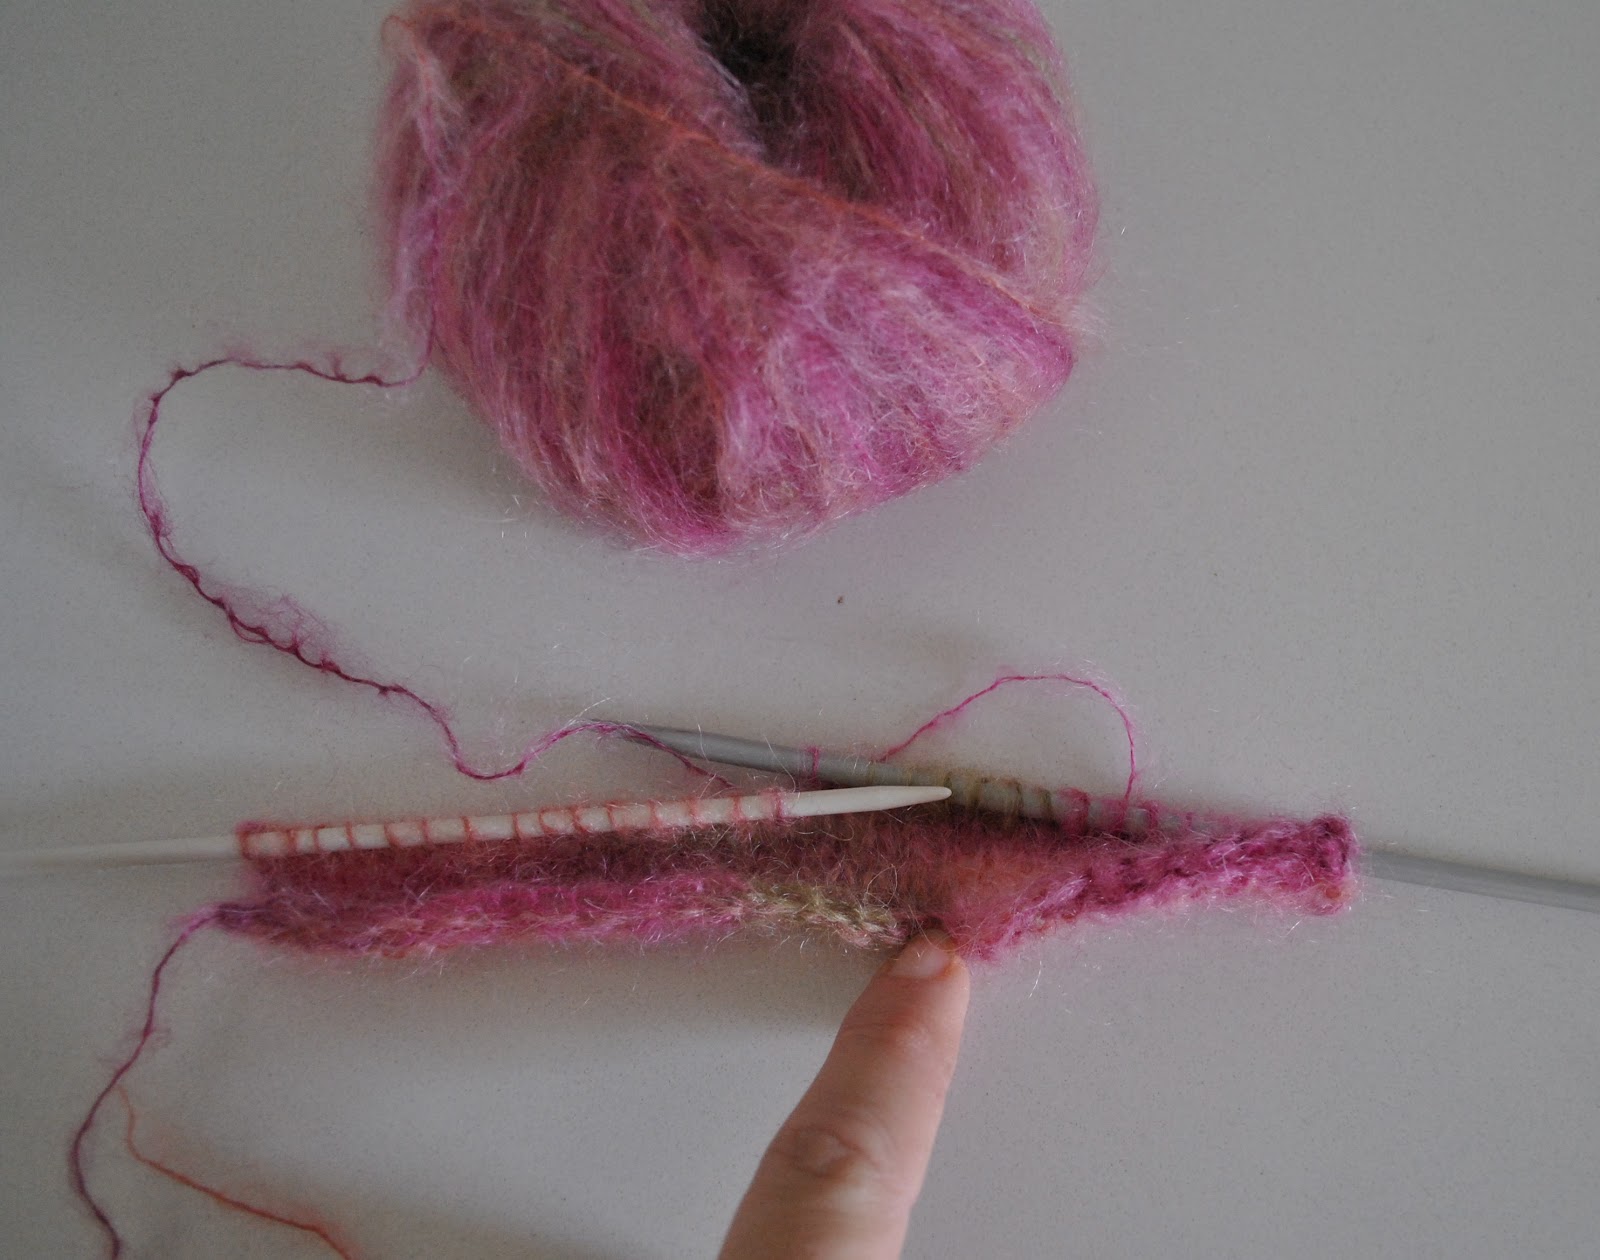
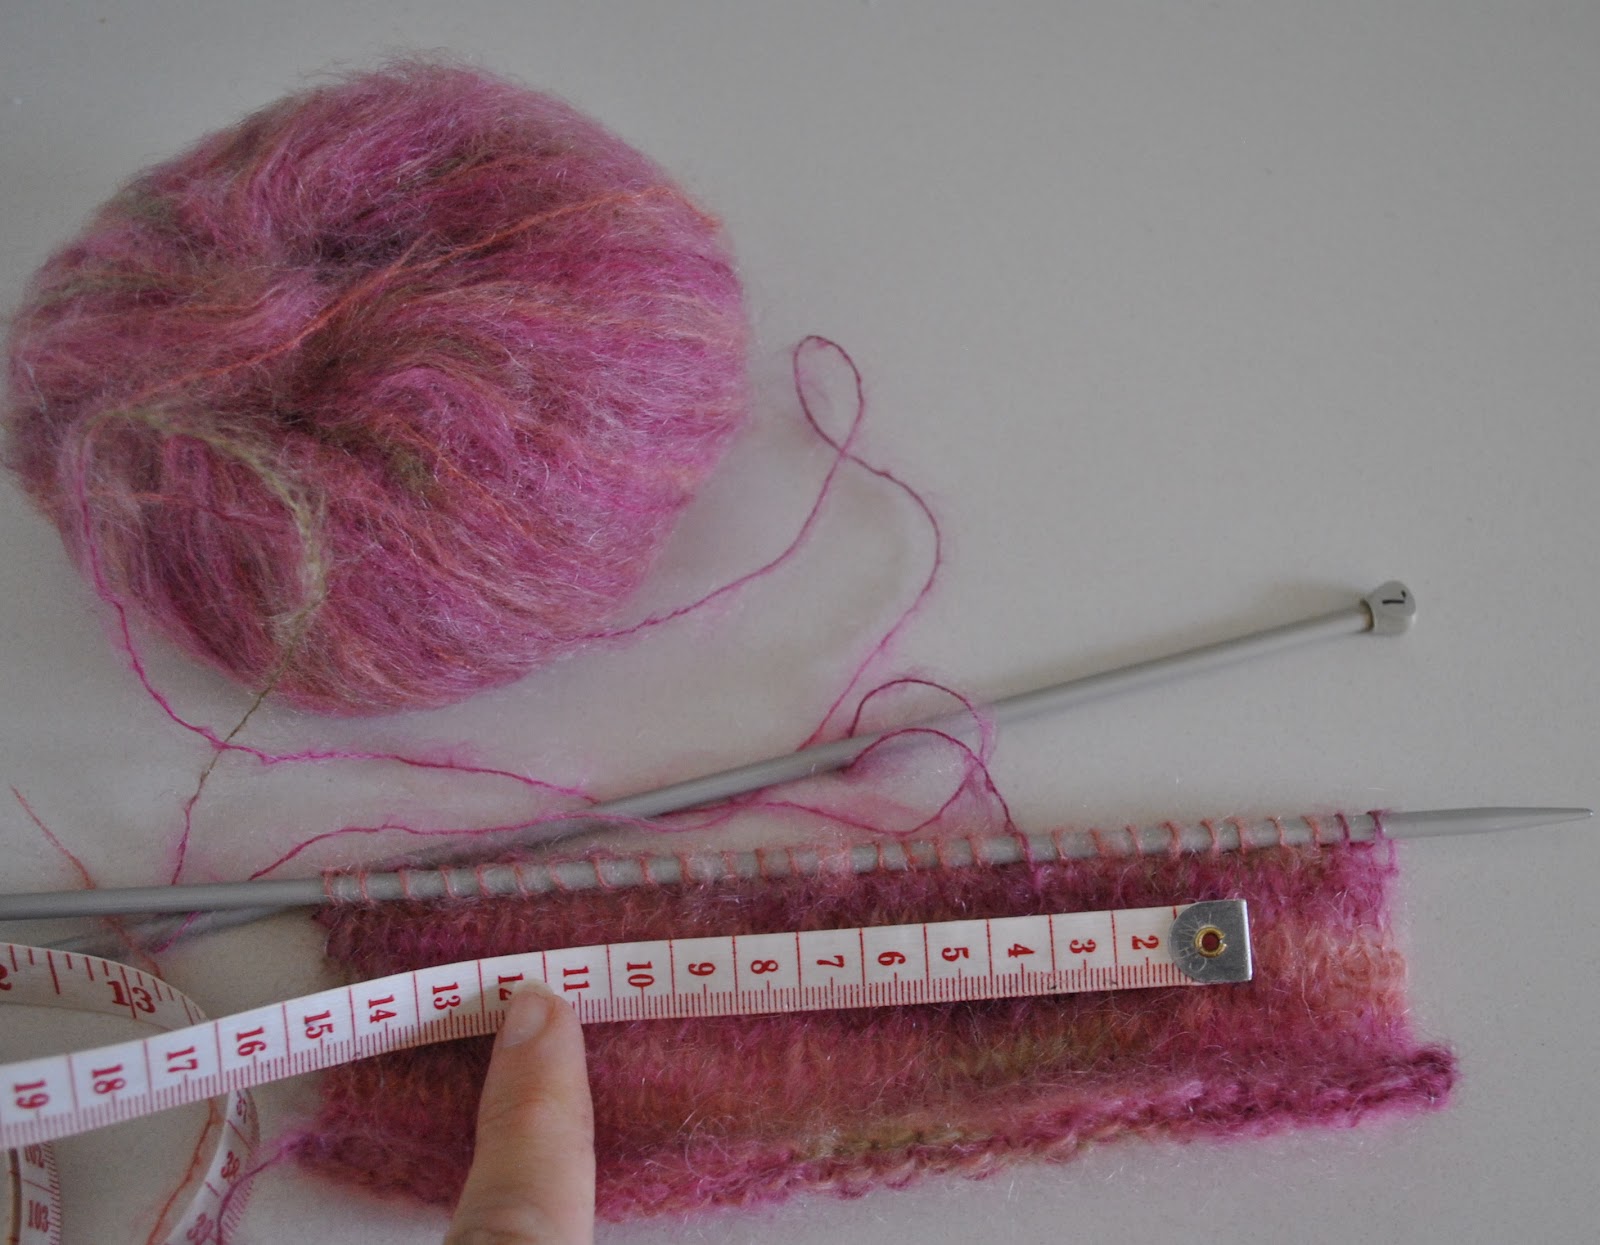
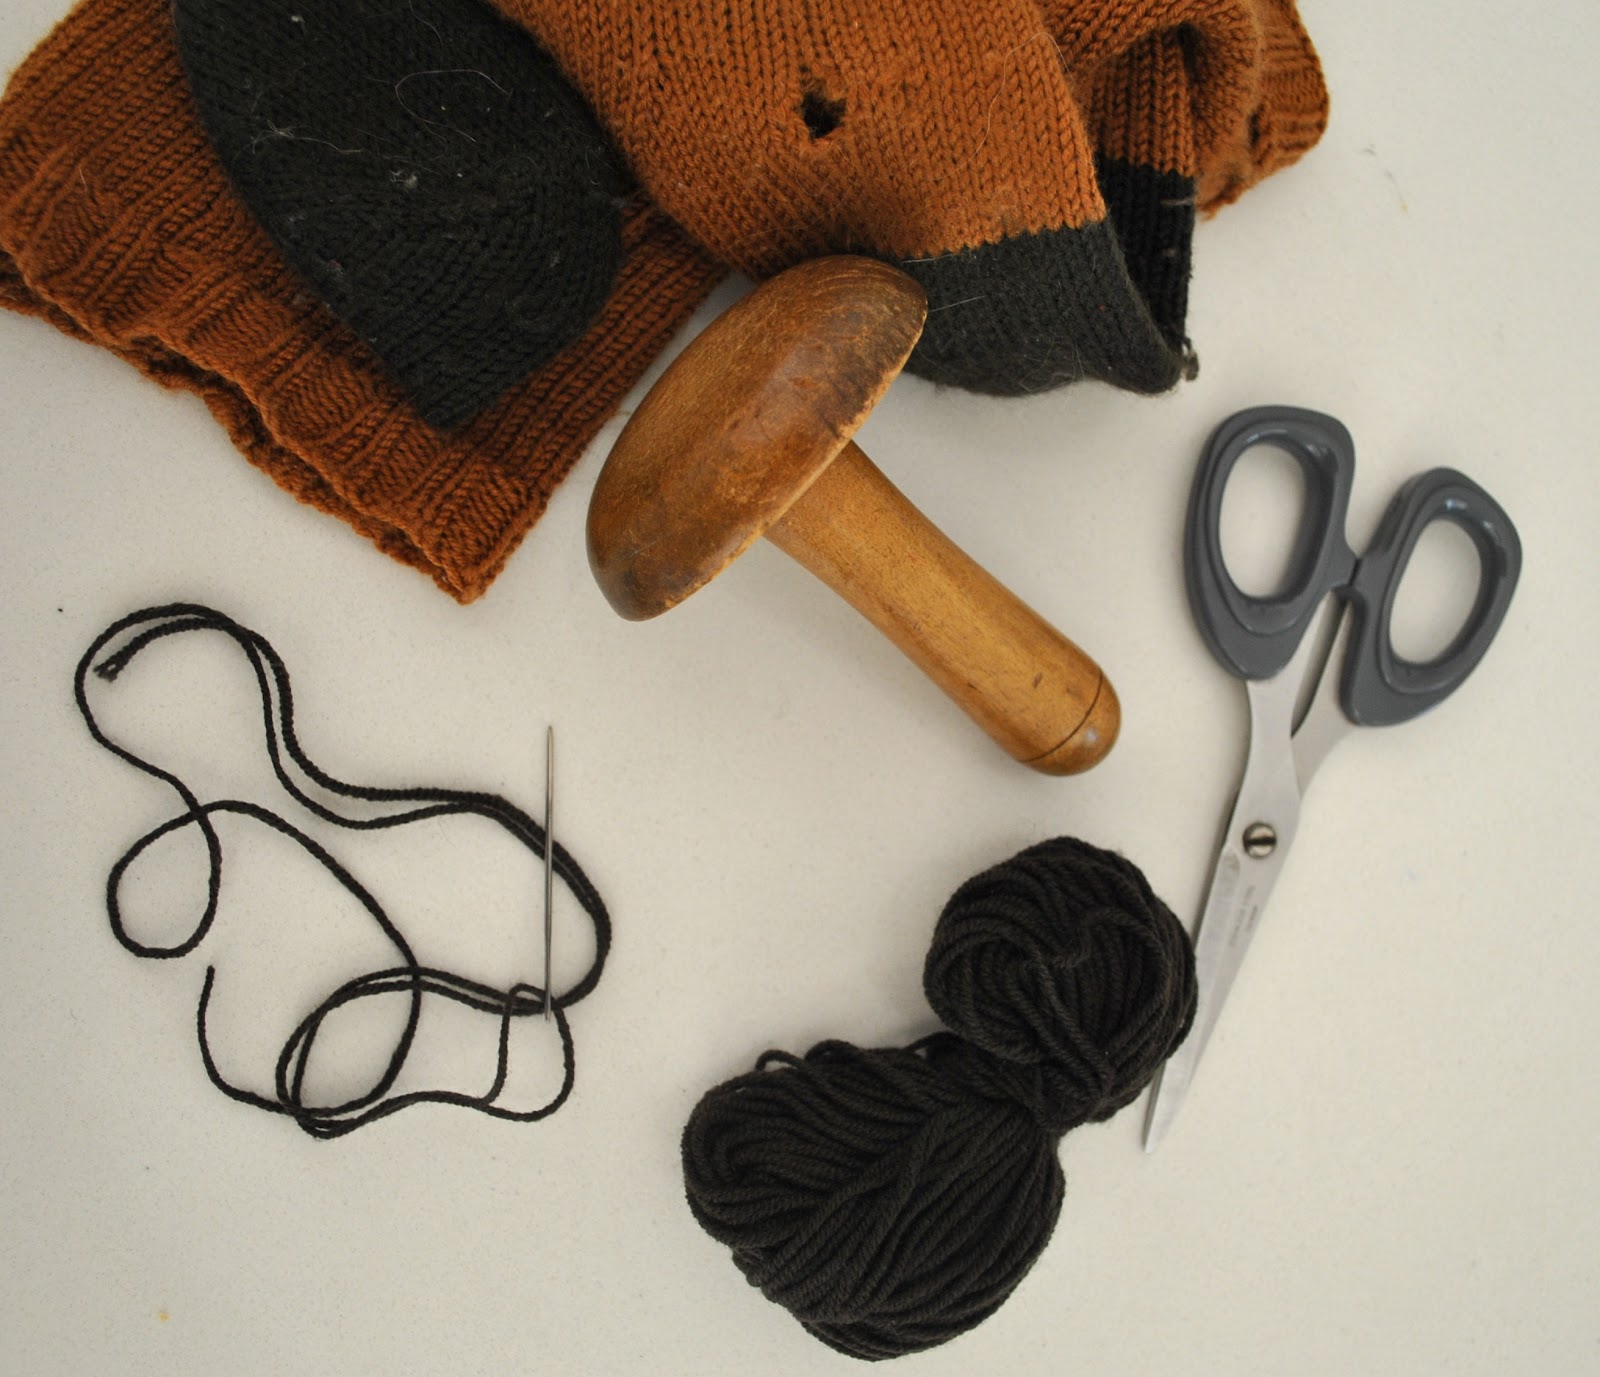
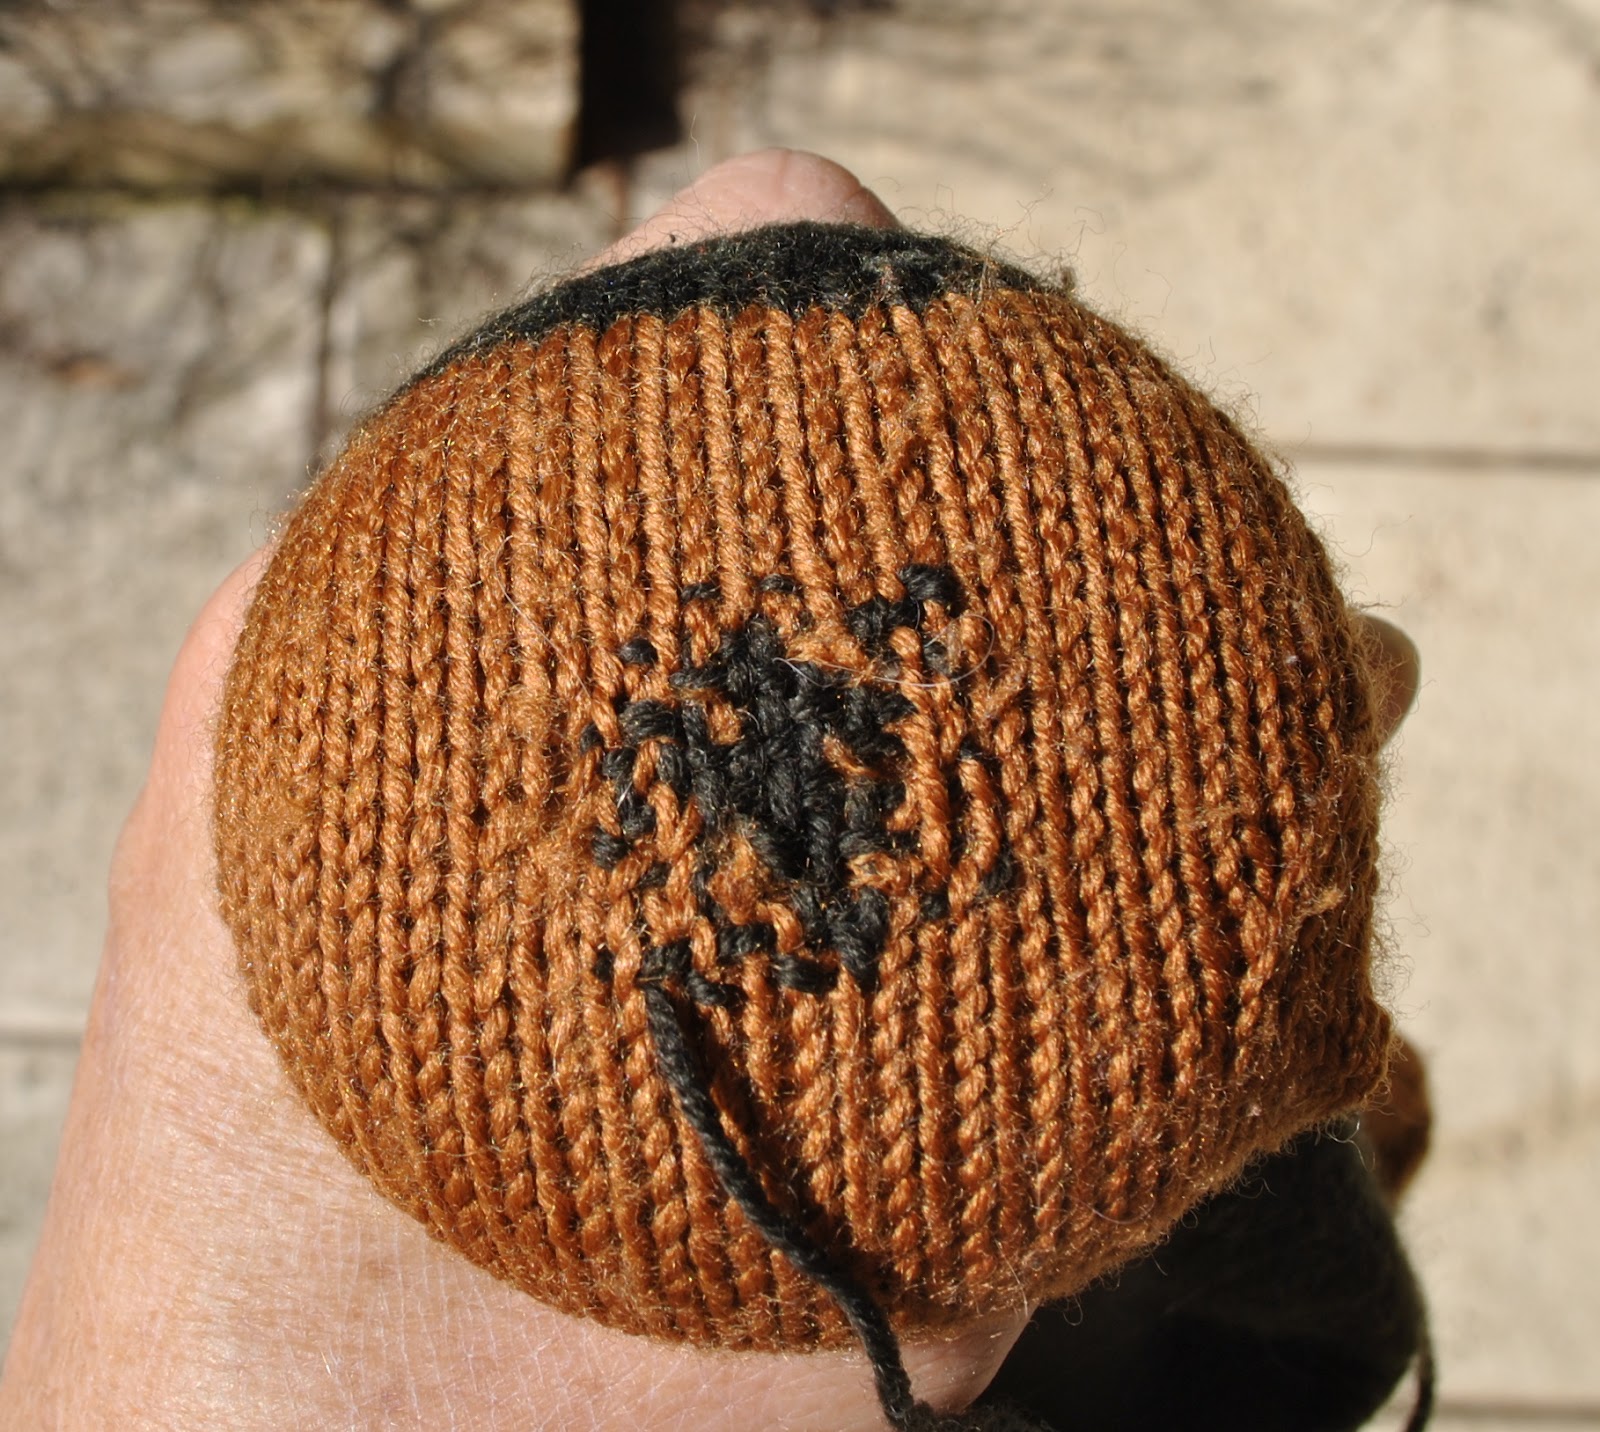
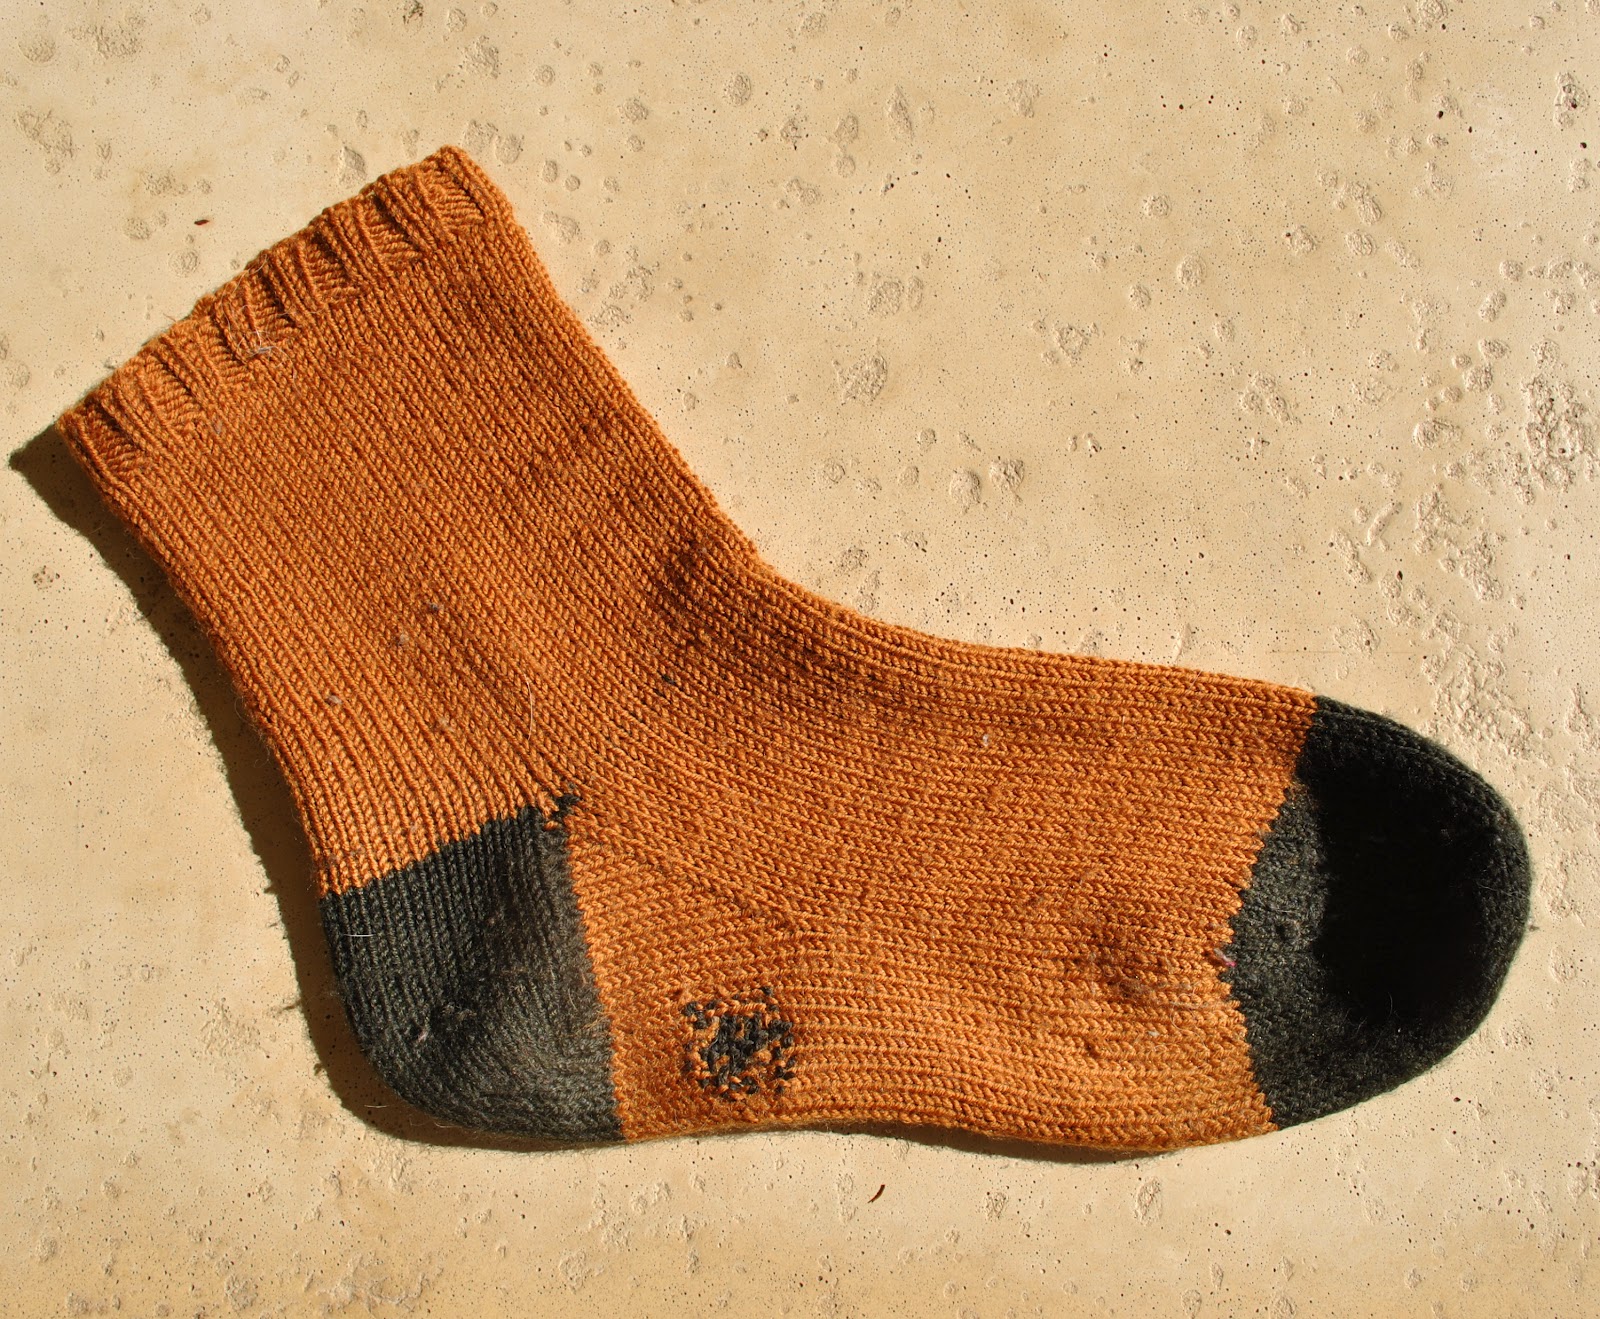
Socks; not seen, but hand-knitted by me!  đŸ™‚
Shoes; Francesco Morichetti, from Zomp shoes

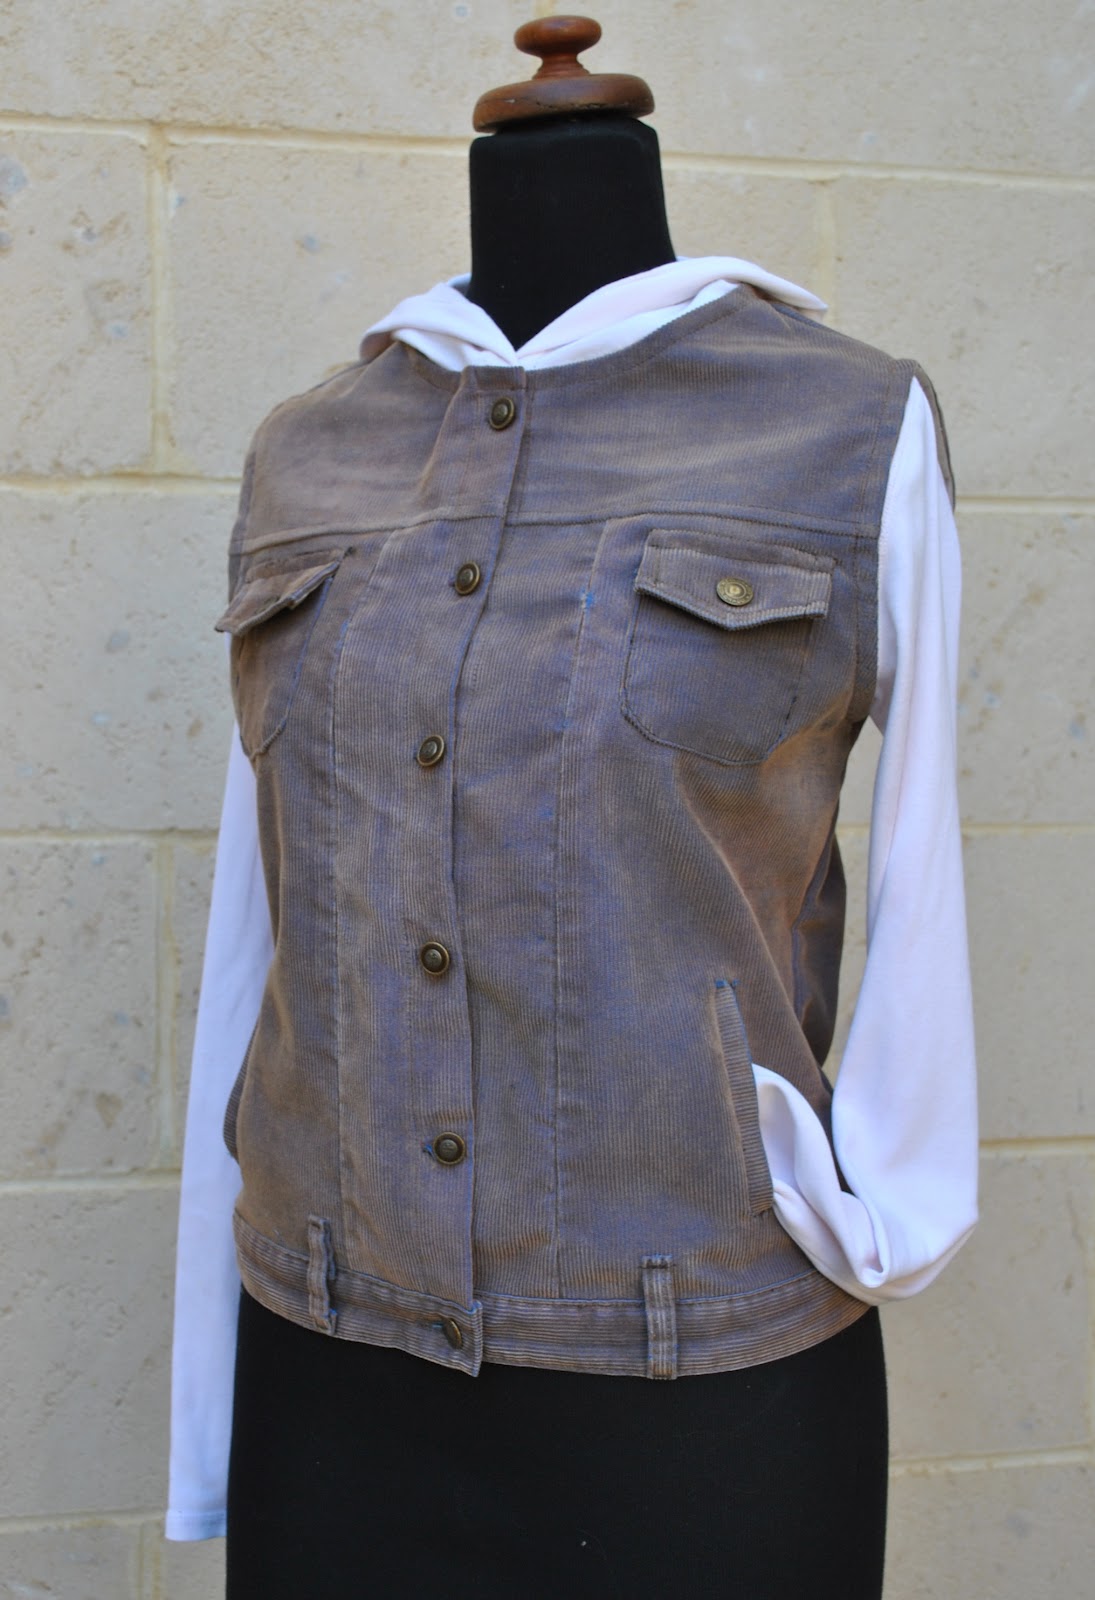
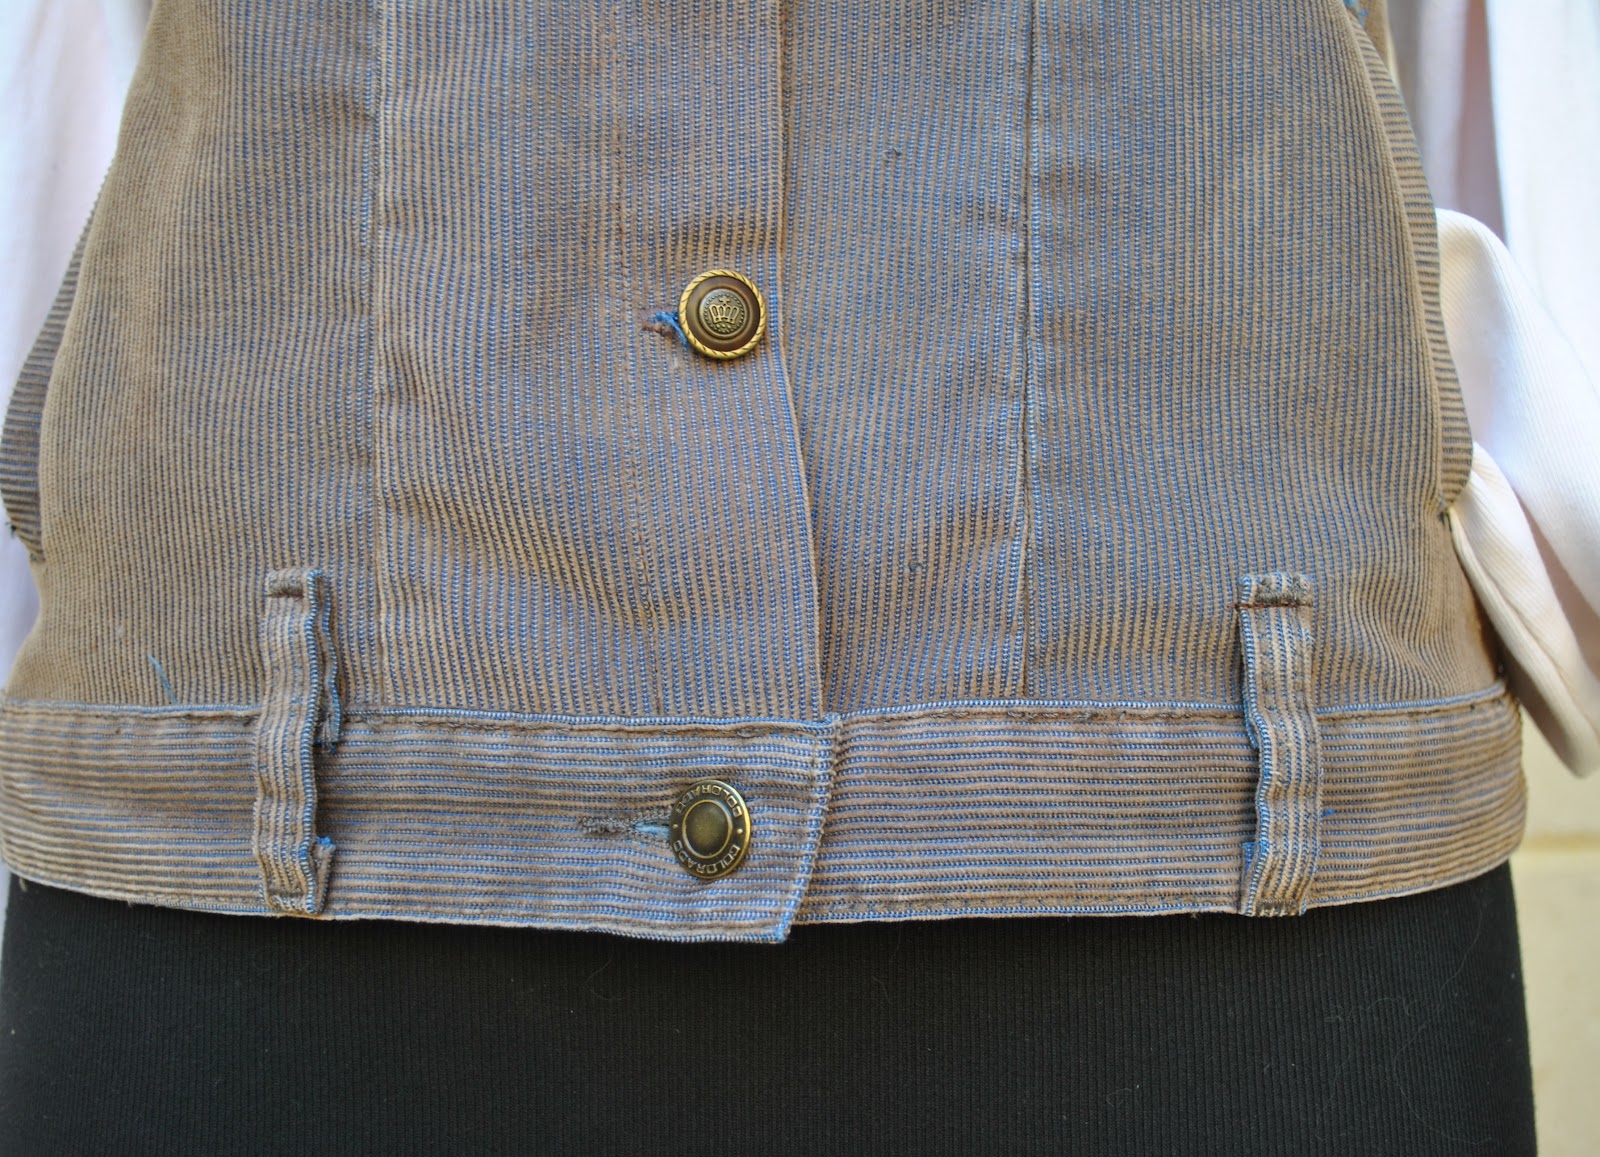
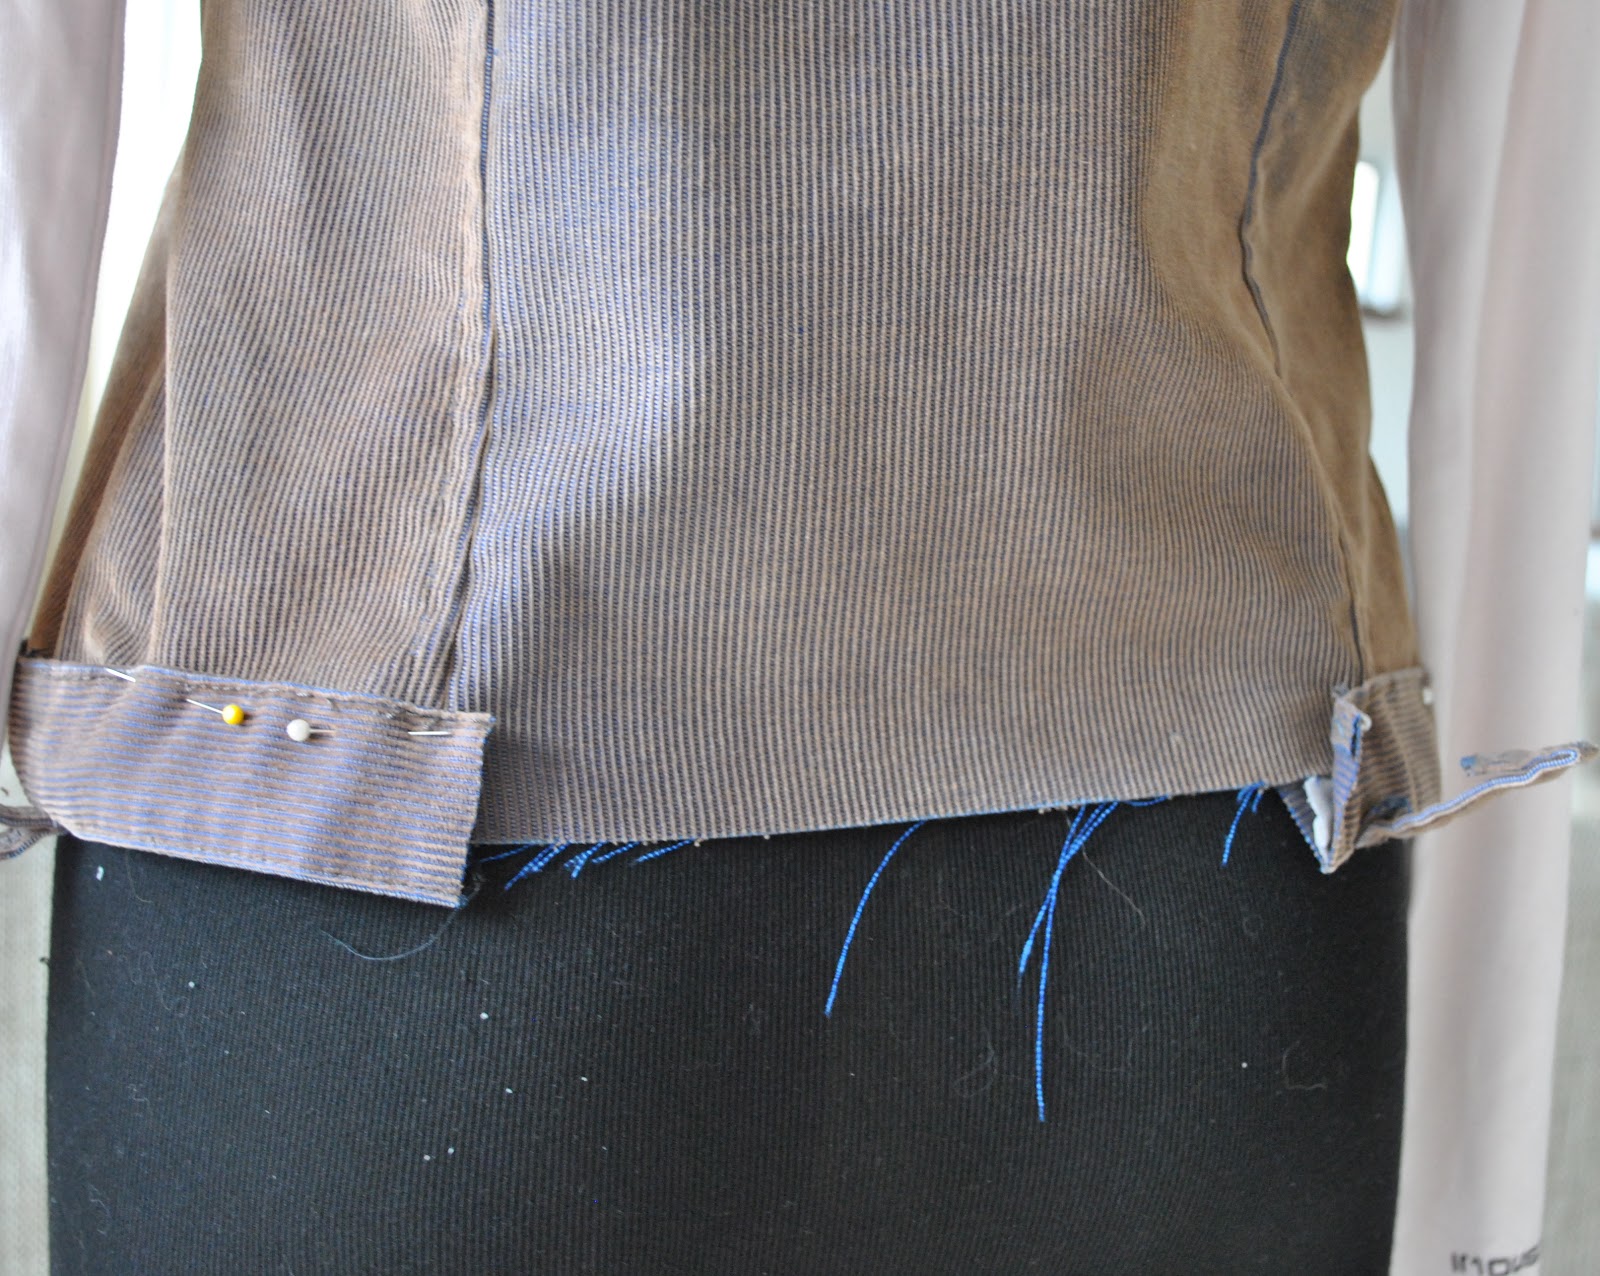
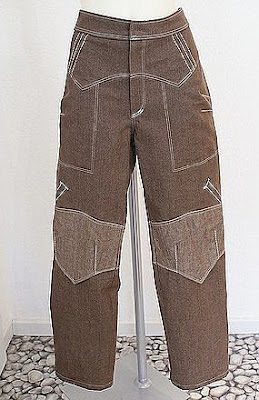
My old jeans were quite worn, with a few holes and the corduroy pile was drastically worn away in some areas, but I kept them because I really really love the sludgy colour of the brown-on-blue pile.  Very very moi, yes?  Luckily they were big enough that I managed to cut my bodice pieces from the two legs of the jeans, only having to lay the wide front pieces over an inner leg seam, and ensuring to have the corduroy pile all running “down” the jacket pieces.  This felt like an achievement in itself!  I unpicked the waistband and re-used it upside down as the waistband on the new jacket, keeping the jeans button and buttonhole; and also the belt loops which were re-sewed back up onto the body of the jacket.  

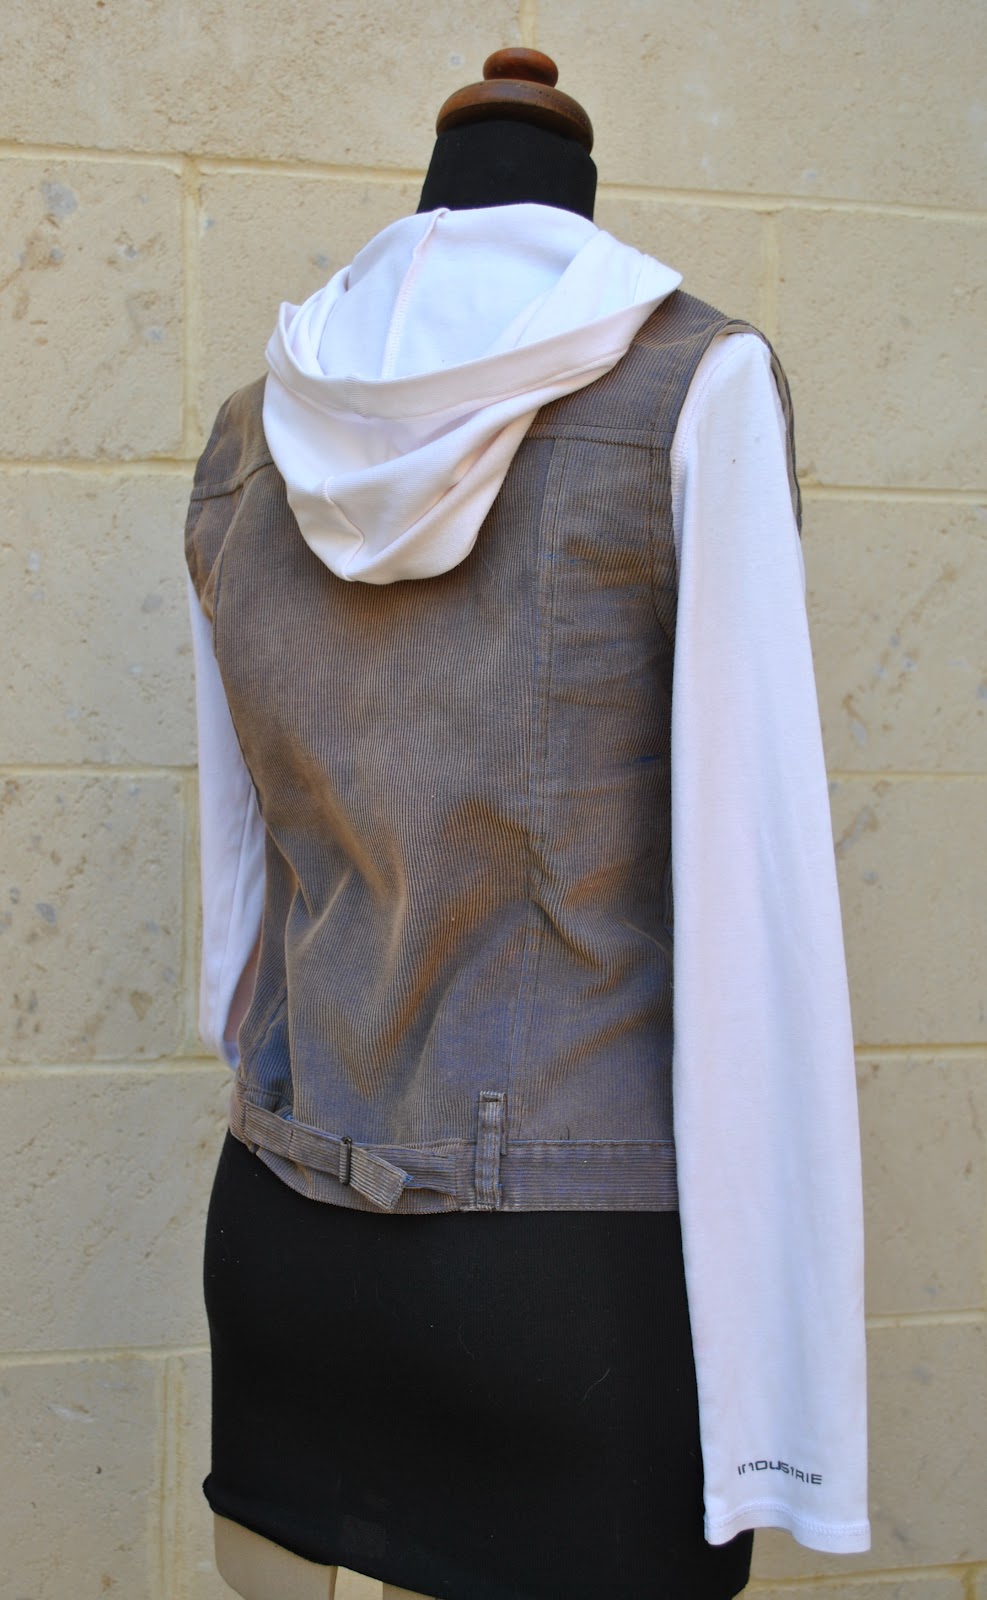
The waistband was not going to be long enough to go around the new waistband of my jacket, so I cut it in half and inserted a filler bit.  I took the opportunity here to also insert in a little self-belt to nip in the back waist; with a brass buckle than I had kept from an old belt.  The “filler” piece is cut against the grain compared to the waistband for two reasons: firstly I had very limited fabric and this was pretty much the only option! but also because I think it is often better for a filler piece to look obviously different from the pieces around it, and not to try too hard to blend in, which can look shonky if it is not completely seamless.  Does that make sense?  (hope so  :))  )

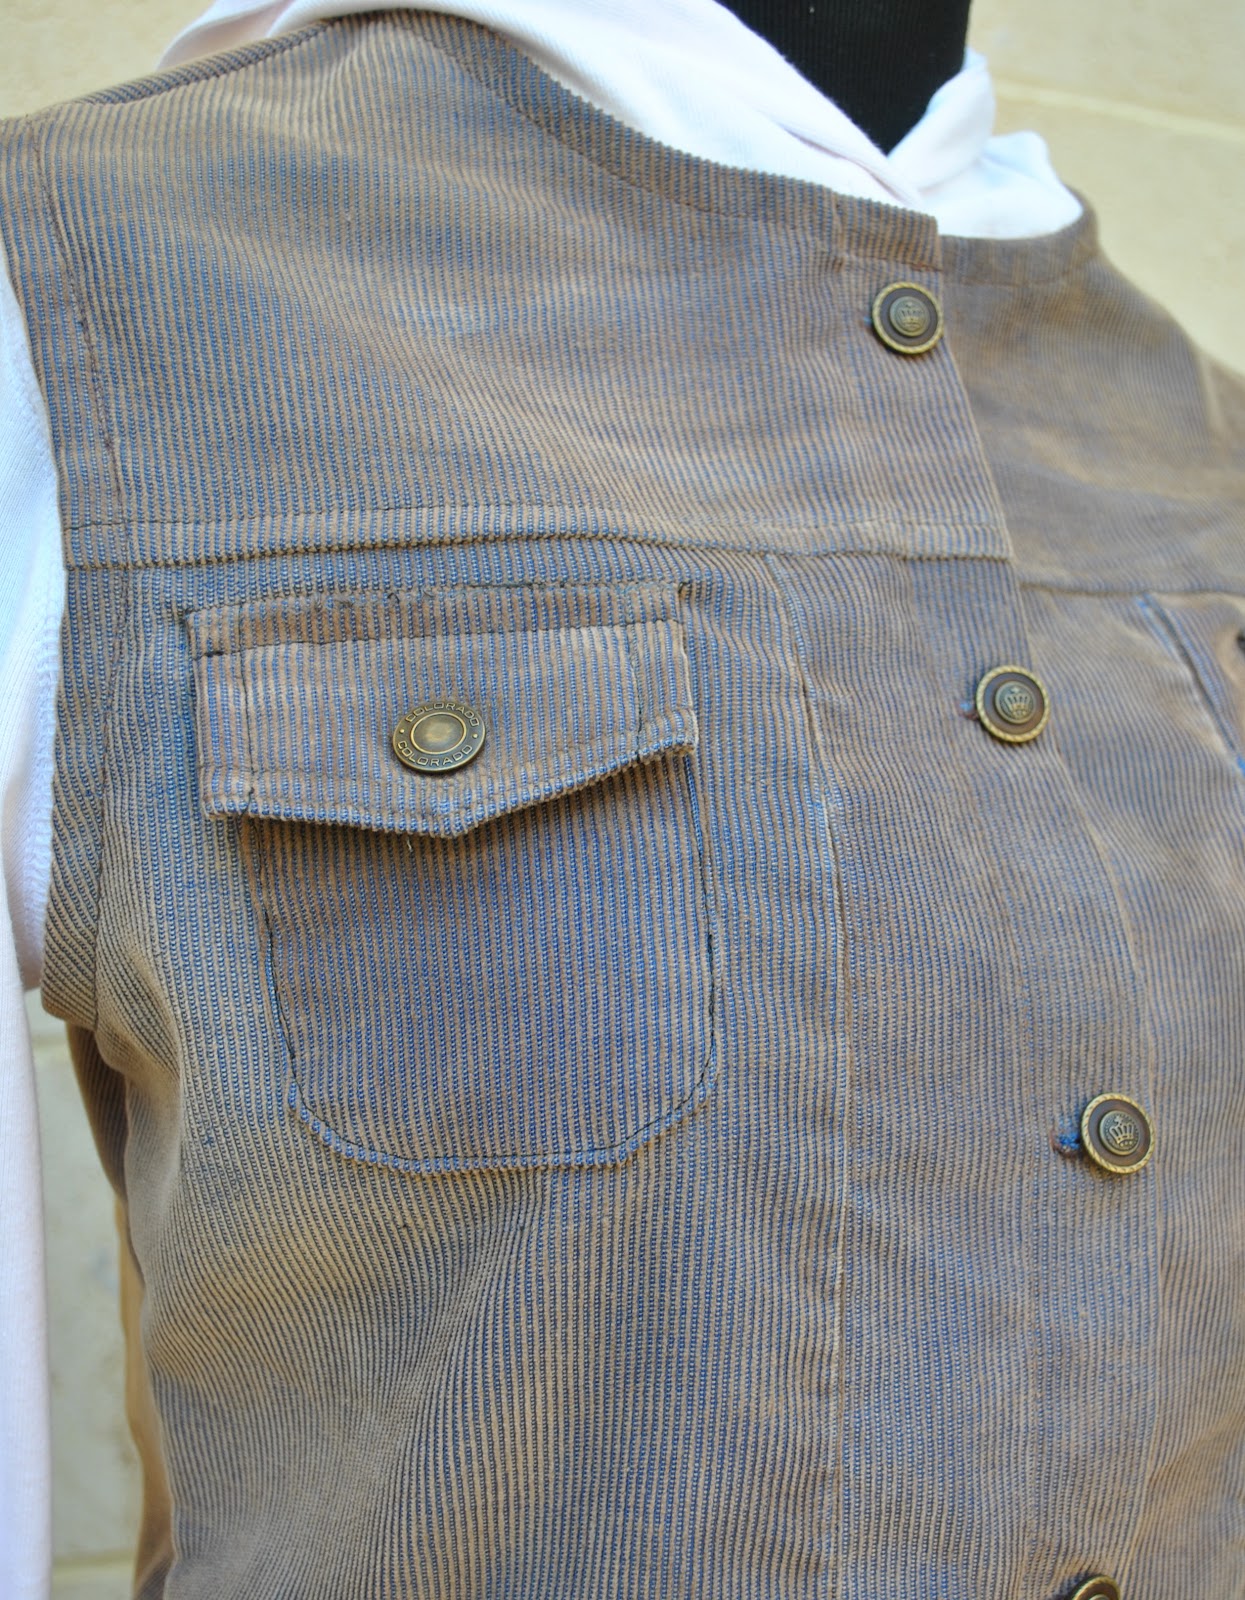
The pockets and pocket flaps from the seat of the jeans were removed, re-sized and sewed on the front of the jacket as breast pockets; with the existing press-studs on each still in place and doing the same job they were originally.  I sewed welt hip pockets into the front of the jacket, for visual interest as well as for function; I’ve noticed how jeans jackets are often chocka with interesting details and bits and pieces.  For the pocket bags inside, I managed to re-use the internal brown cotton pocket bags from the front hip pockets in the jeans.

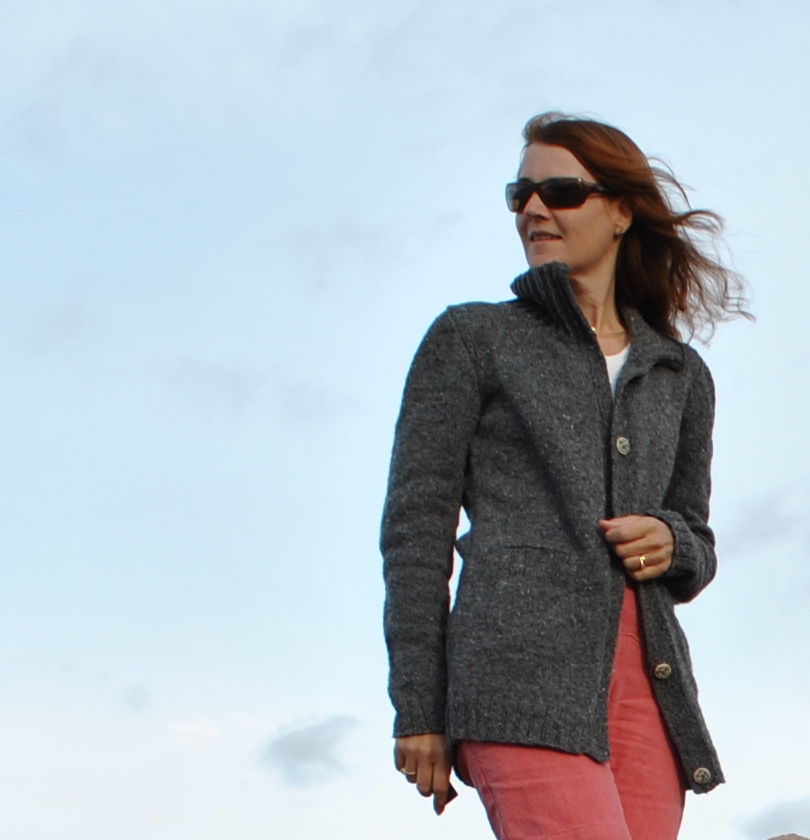
The white Tshirt is one Tim used to wear as a thermal layer under other shirts, and apart from a few small avoidable holes and being a bit mis-shapen it was otherwise in reasonable nick.  It suffered a minor laundry incident a few years ago when a red sock snuck into a load of whites; and everything came out of the washing machine a perfectly luvverly shade of pink!  Fortunately Tim is not the sort of guy whose masculinity is threatened by a pink Tshirt and he continued to wear it.  The pink eventually washed out over the years to off-white, and now you could barely tell its little “accident”  đŸ™‚
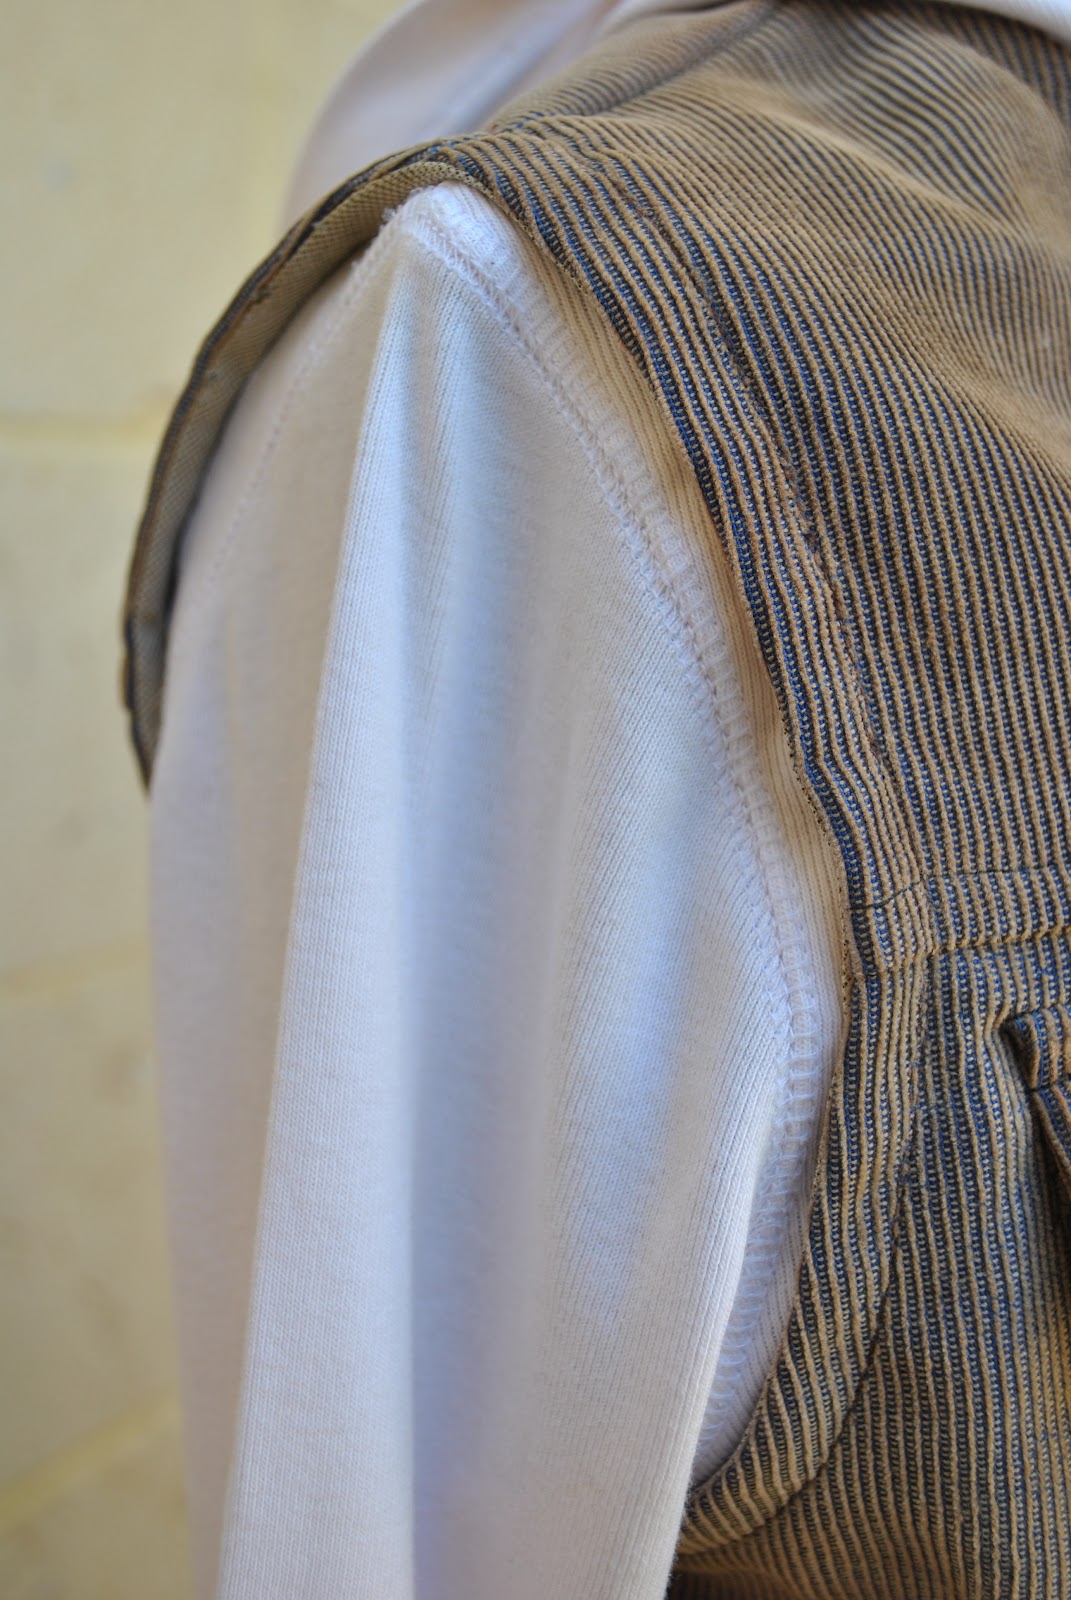
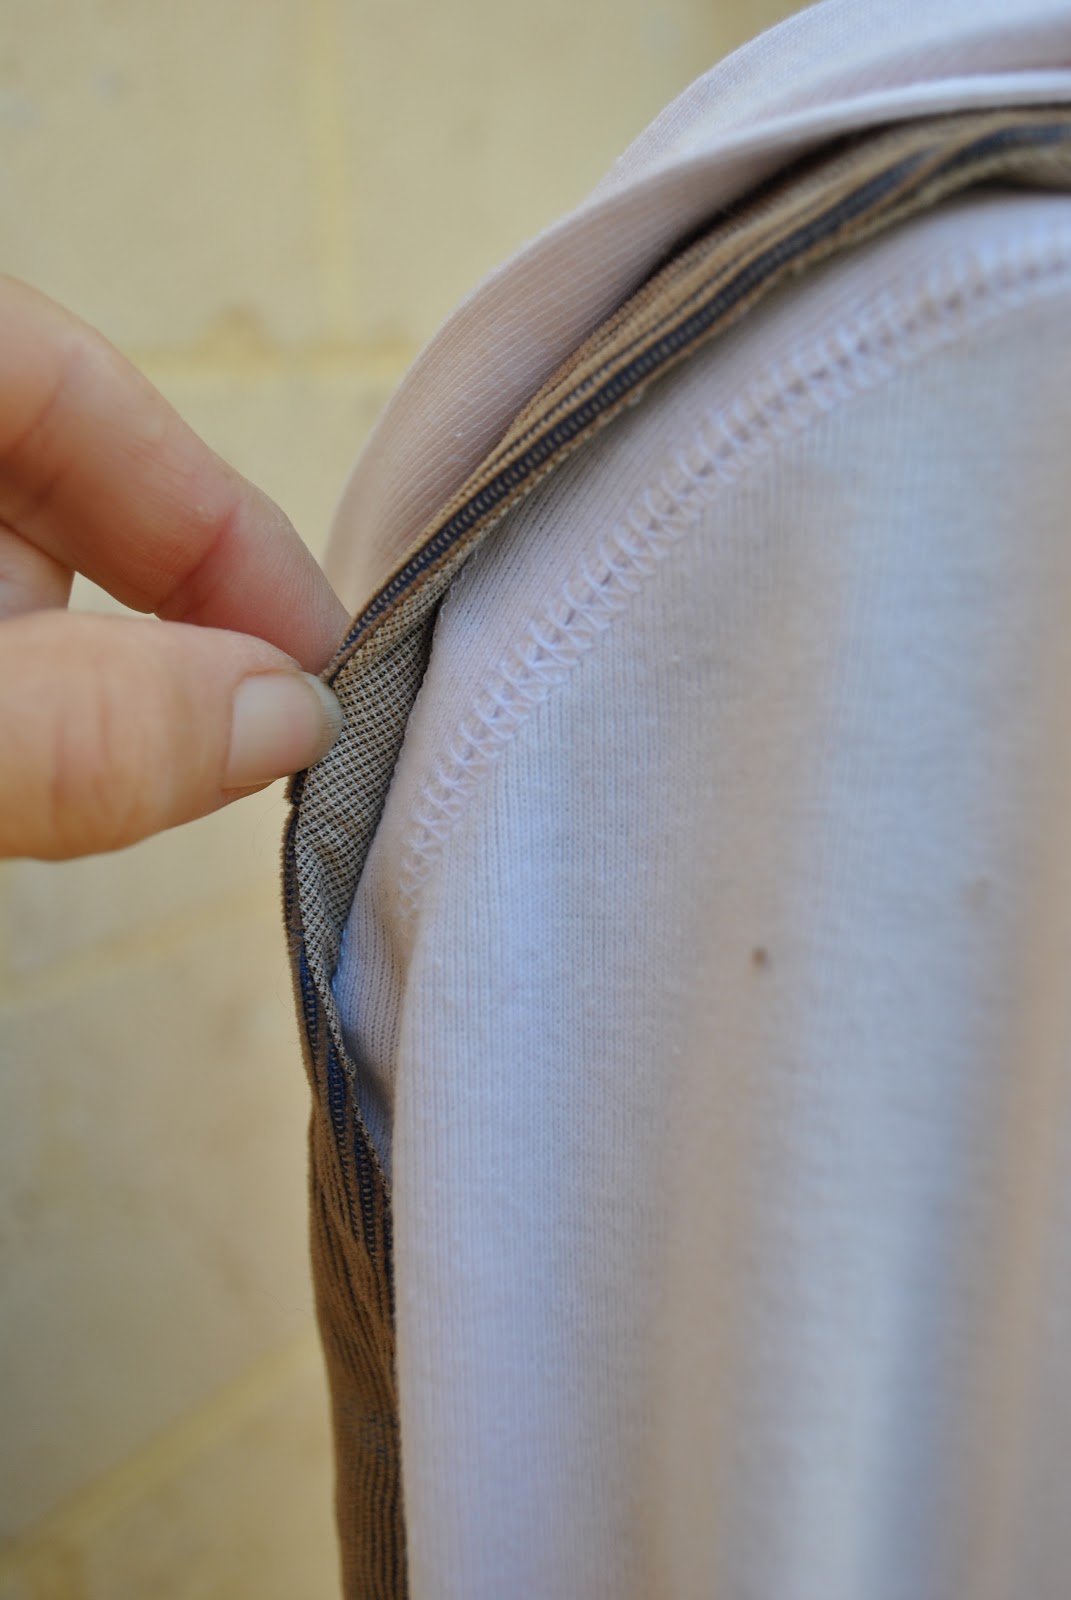
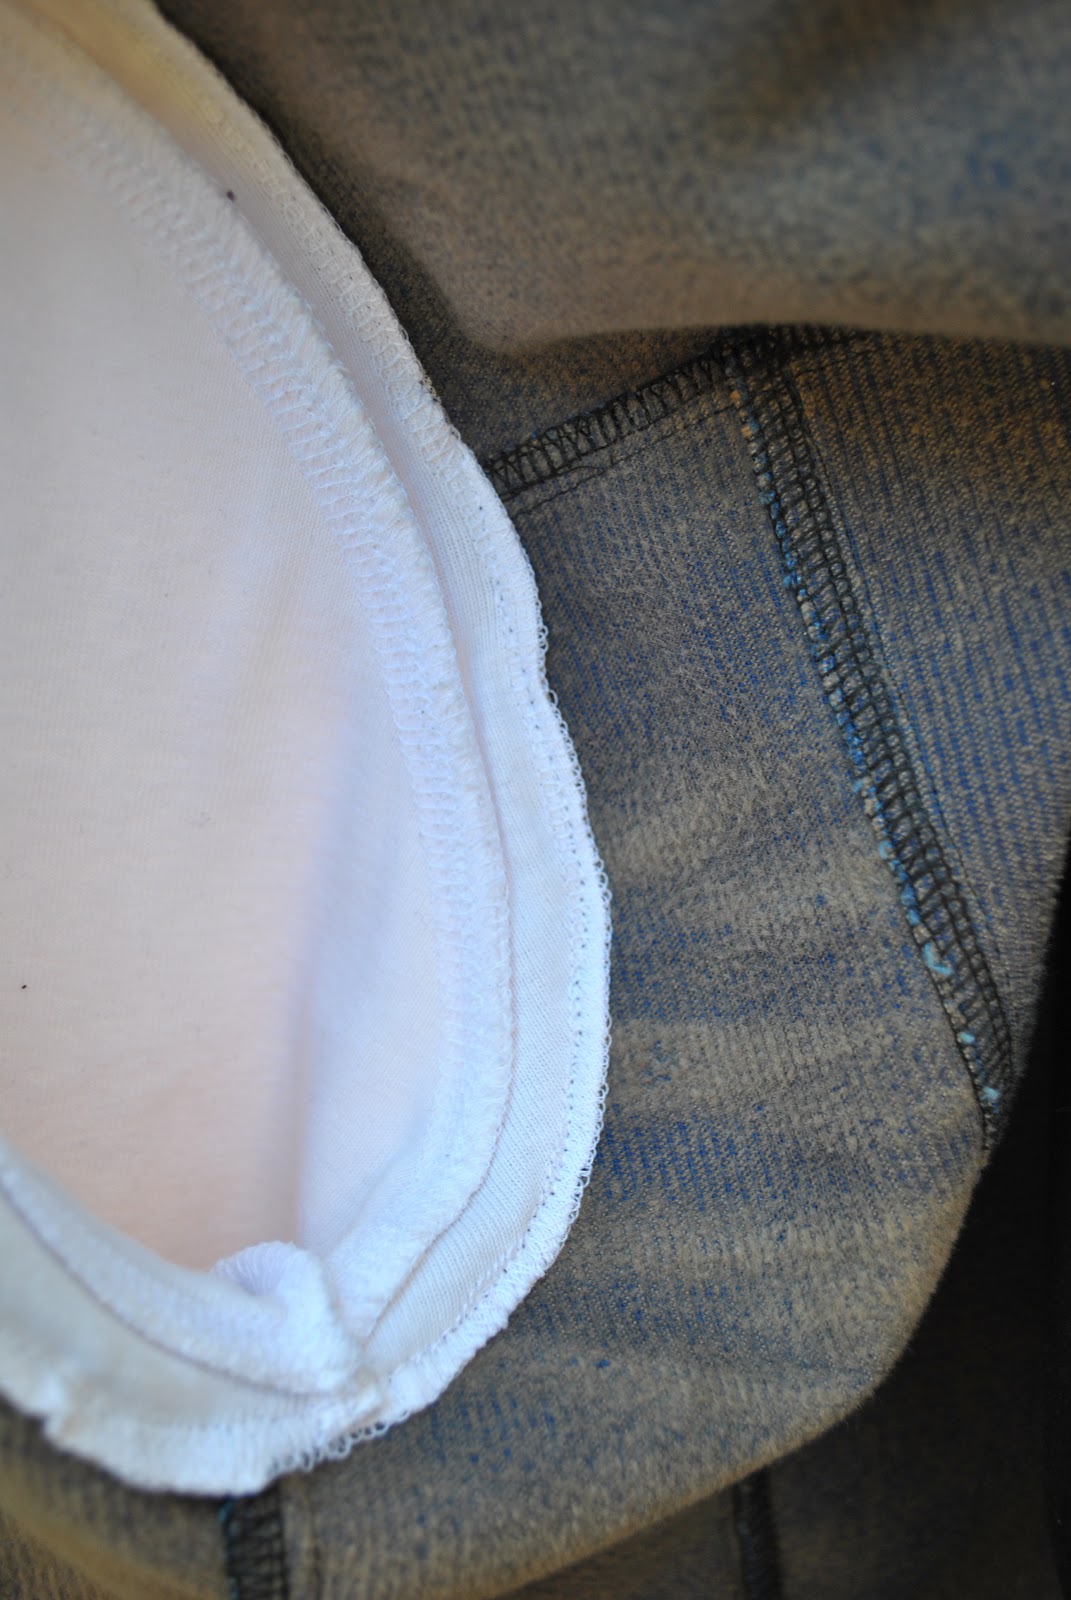
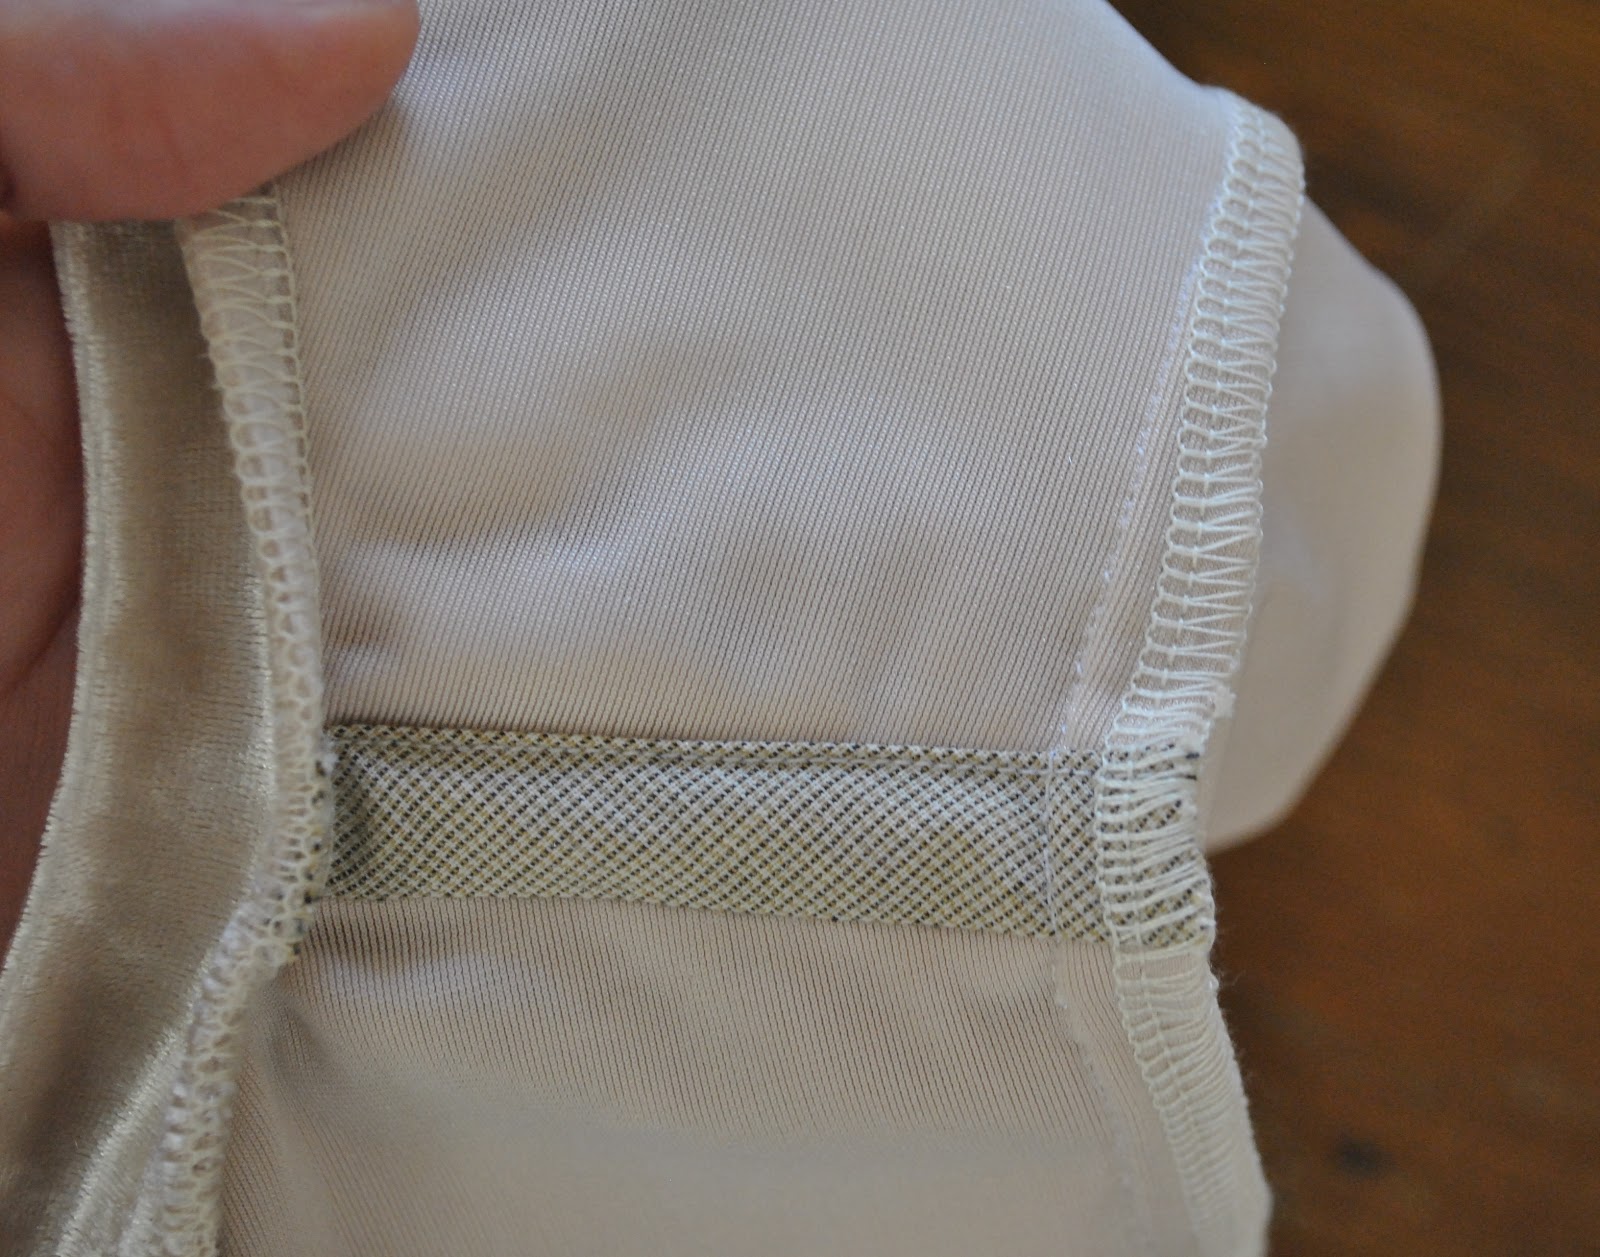
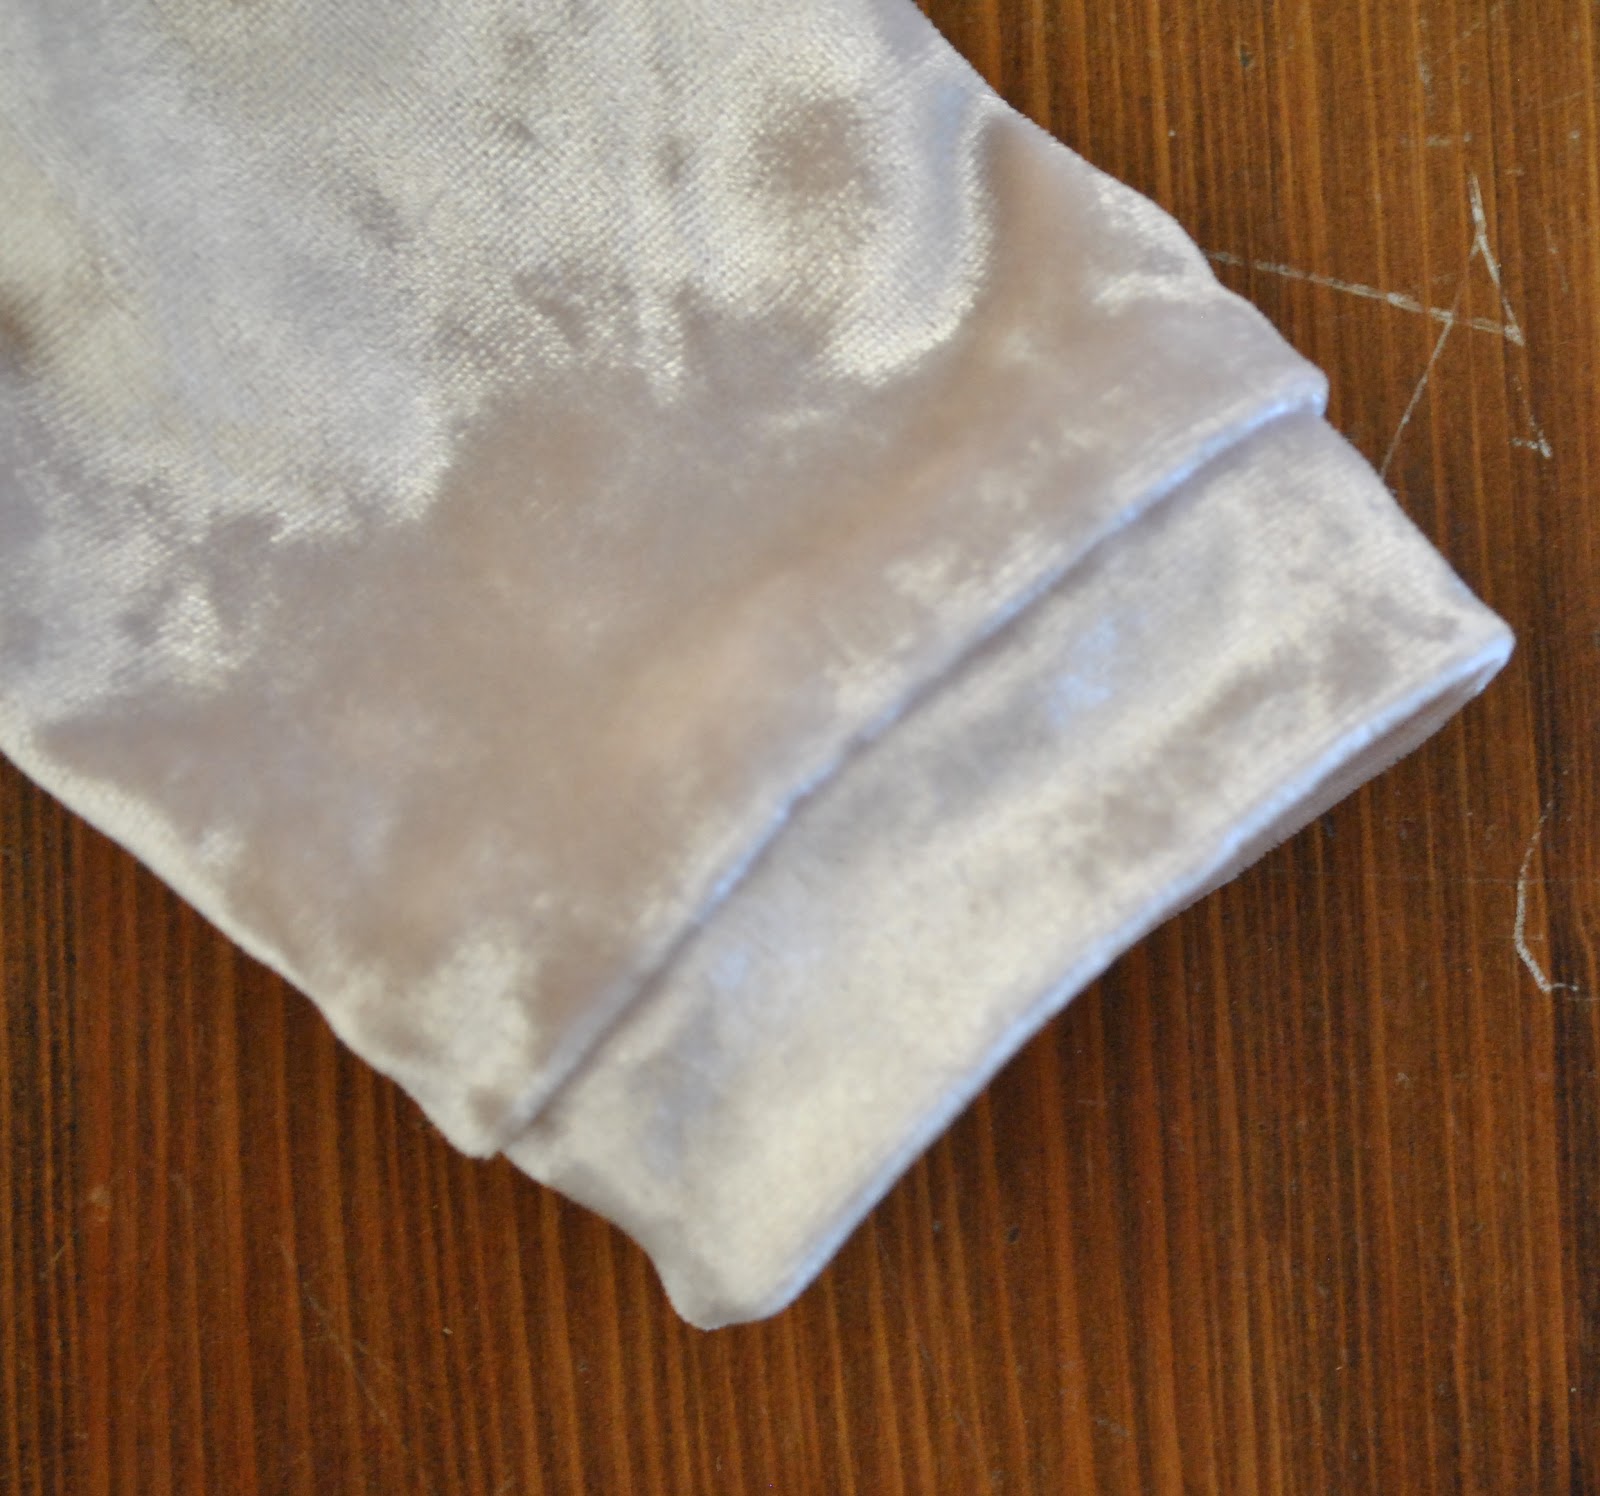
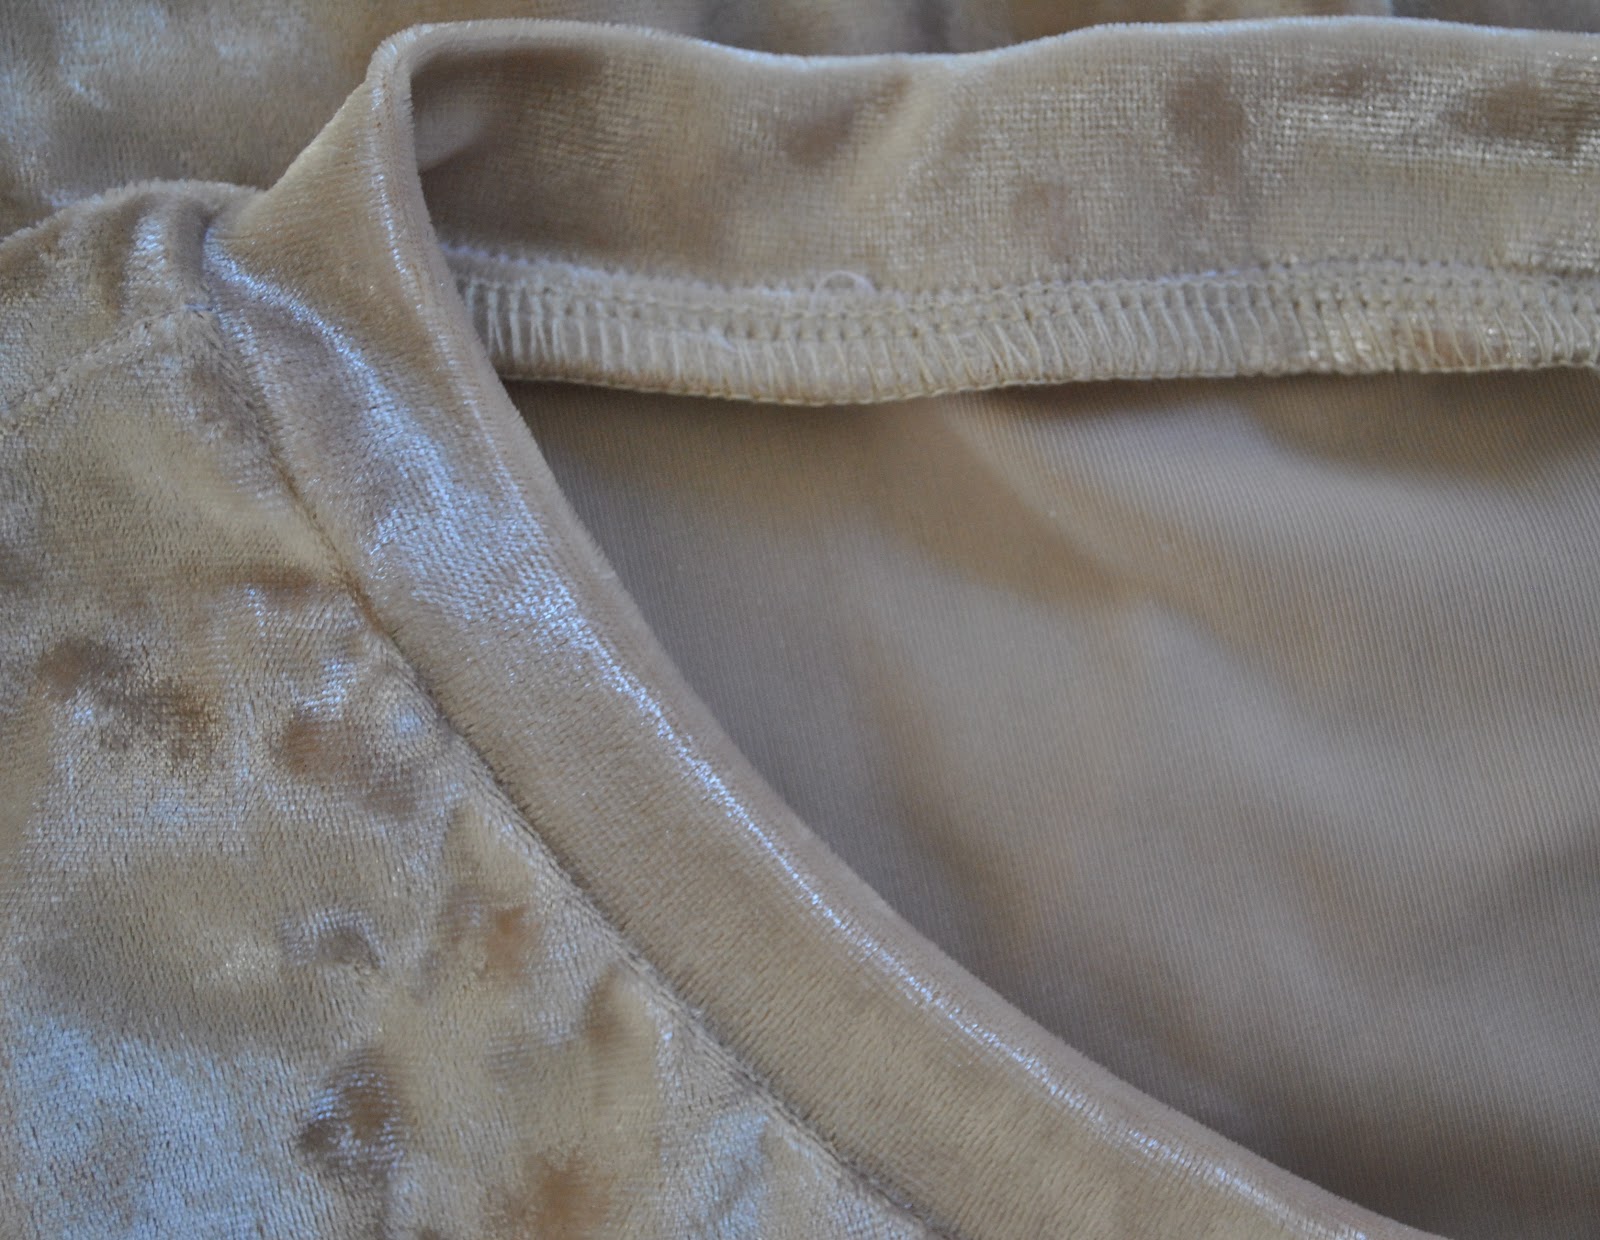
The hood pieces were cut from the body of the Tshirt, using the hood pattern piece from KwikSew 3667, and the sleeves were pretty much unaltered and used as is.  I cut them inside the armscye seam, and overlocked around the raw edge.  I finished the armscyes of the jacket with a bias cut strip of polycotton, and sewed the sleeves just inside this, for a clean finished look on both outside and inside.

The hood was sewn to the neckline of the jacket and the raw edges enclosed in a strip of bias cut polycotton, topstitched down on the outside of the jacket.

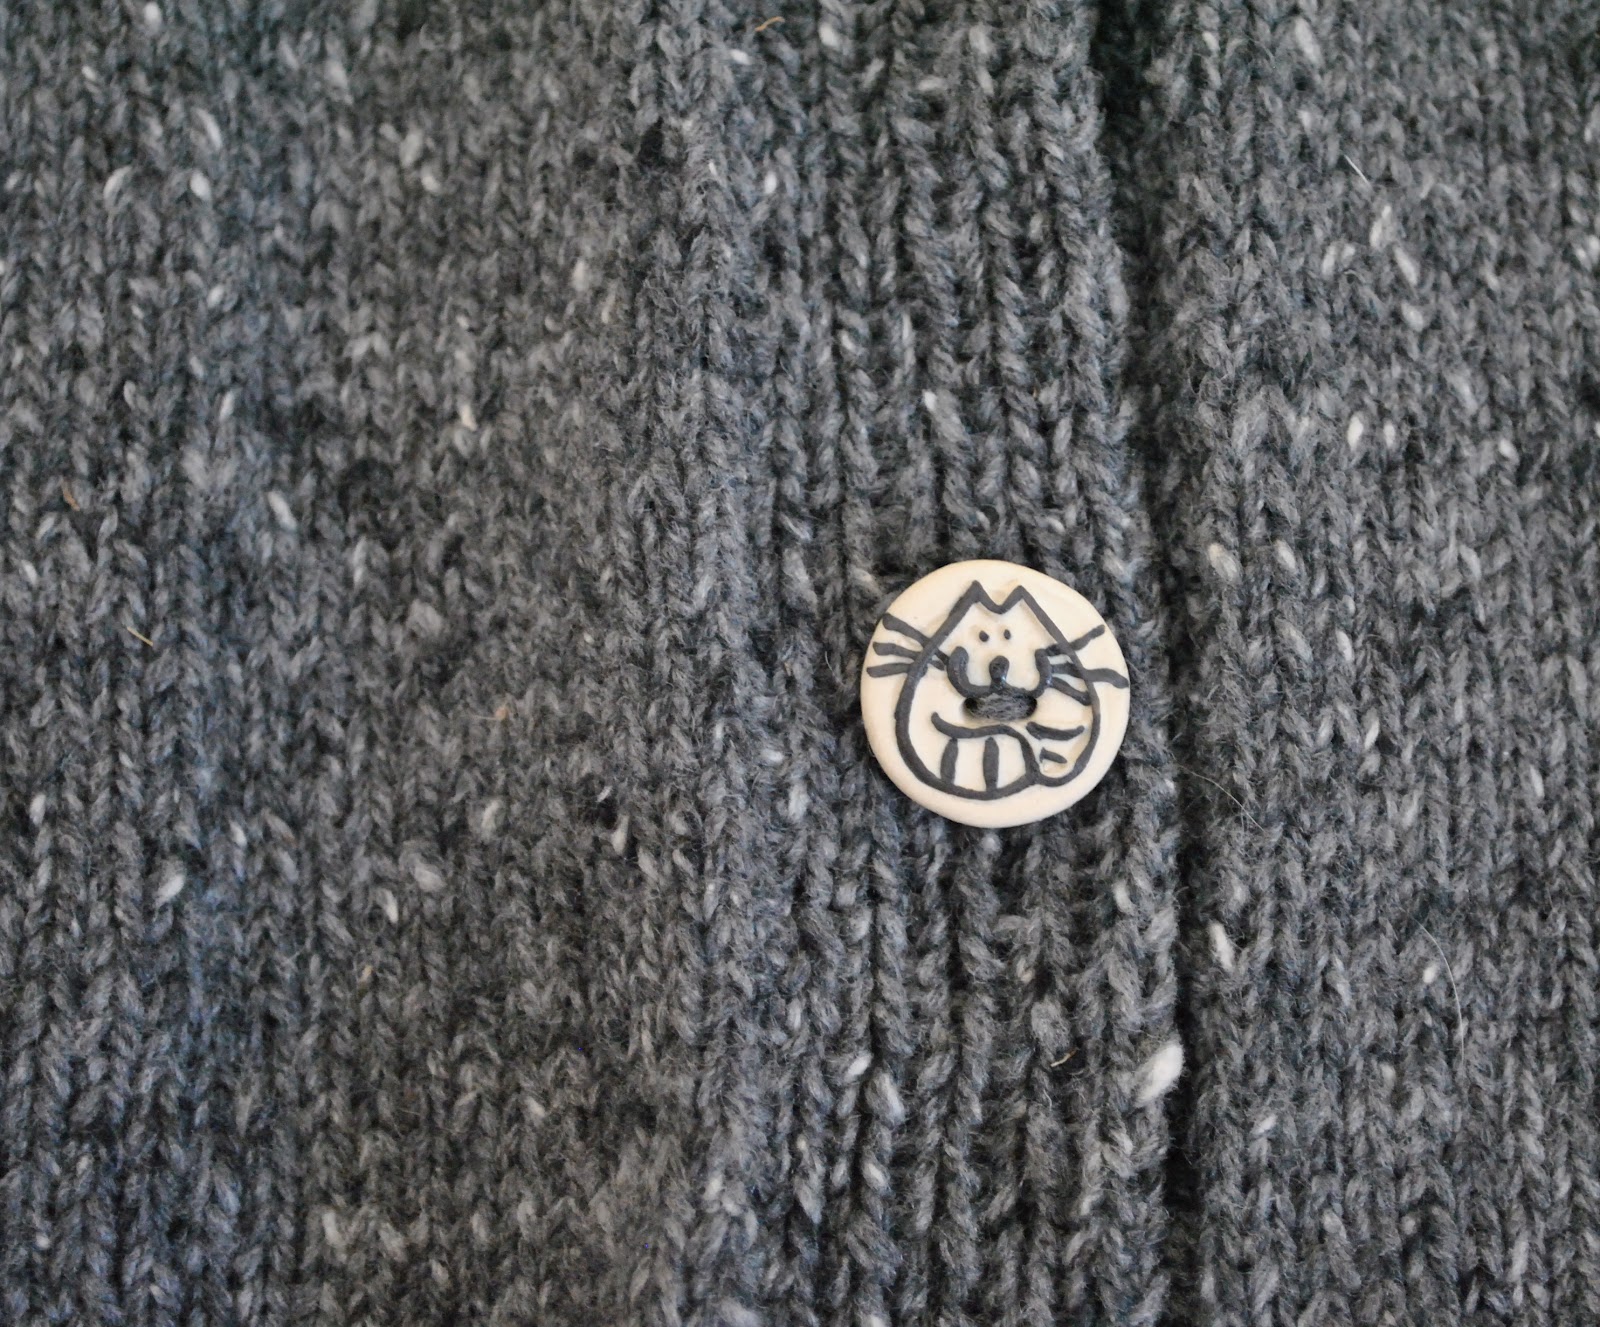
I was extremely fortunate to find buttons in my stash that were a very good match for the press studs and jeans button, so I re-used these.  If old clothes are destined for the ragpile I always keep the buttons and anything else that might be useful down the track; a frugal habit that pays off time and time again in my sewing.  This is a habit that goes back generations in my family!

Some more info re the pattern, since I often blithely state that “my pattern is self-drafted”.  It has occurred to me that people might like a bit more info here in case you wish to re-produce the same thing: I checked out the general shapes used in RTW jeans jackets and used my Pattern Magic sloper to help re-create the same shapes.  This jacket is my first try-out to see how my pattern fitted me, and I am very happy with the fit and the style, although I might introduce a few little variations on future versions  (naturally  đŸ™‚  )
My advice to anyone considering self-drafting? get yourself a Pattern Magic book and work through a few of the exercises as I have; these books are absolutely blinkin’ fantastic for teaching one about self-drafting and manipulating fabric and pattern pieces and shapes to get different effects.  I am no longer frightened of playing about with shapes and moving, altering and grouping together body shaping features such as darts, tucks, gathering and pleats to transform a 2D piece of fabric into a 3D sculpture that will fit my 3D body.  Or even not to “fit” my body, but to do some whimsically artistic thing just to look cool… these books are worth their weight in gold!

pinterestmail

Knitting tension tip

This saves a small amount of time…
If one is using a new-to-you yarn and knitting up a tension square, and you see that the tension is not yet quite right…

Don’t unravel what you have knitted so far; just switch straight to the new size needle and keep knitting on the same stitches.  Saves having to cast on a new set of stitches…

I find 6 rows is usually plenty for me to see if the tension is OK or not.

This is an old tip, taught to me many many years ago, and felt like a revelation to me at the time, hehe.  Probably many people know and use this one already.  I just thought to share it here since you never know it could be new and helpful to someone :)) …  and if you are anything like me and raring to get going with your yummy new project, tension squares are a pain and you just want to get them over with, with minimal fussing about!!

pinterestmail

Peppercorn cardigan


I have knitted a cardigan.
The pattern is Jo Sharp’s “Tweed
Coat” available as a free downloadable pattern here and the yarn is Jo Sharp Silkroad DK Tweed in Peppercorn (col 425) which I bought during the 30% off closing down sale of their shop here (chokes back a sob).  The only change I made to the pattern was to shorten it
by 25cm
 I reckon this is a much more manageable and wearable length than that very very long version in the pattern.  Whilst I like super long cardis in theory, the reality is that they bottom out in no time at all, visually inflating one’s be-hind to ginormous proportions.  How do I know this? because I used to live in a coupla longline cardi’s in the 90’s and I have the rear-view pictures to prove it…    not pretty hehehe  😀
This cardigan has had a tiny preview on this blog already, and I have been working on it for er, quaite a while?, approximately mumble months with
just a short interlude for my holiday knitting project, the mustard cowl.  I am a slow knitter I think  🙂 since it is a very easy knit.  I left this cardigan half-finished at home while we were away, and knitted my cowl in the round using my
aeroplane-OK-ed Denise set.
So, pretty cool, huh?  In a grandpa-cardi kind of a way, hehe.  I am particularly fond of the collar.  A distinctly grandpa-y feature I think.  It’s OK, I am quite partial to looking like a nerd from time to time.  My default look, if you will  🙂
It has pockets.  Just saying.  In case you hadn’t noticed this awesome little detail  🙂
I only knitted 5
buttonholes and sewed on 5 buttons, because this is the number I had.  My Mum gave these to me, aren’t they sweet!  Thank you so much, Mum!  I could indeed pass for a big fat fluffy pussycat in this cardigan, for sure.
It’s very warm.  Super warm.  Toasty as.  This cardigan is cos-ay.  I’m as snug as a bug in a … cardigan  😀
3C  minimums?  Bring it on.
Yup, we have been having extremely cold mornings (for Perth) lately… probably because we have had almost no rain at all!  We have had about two short rainy spells since I finished my raincoat, so that has barely been christened yet.  It’s bad, I’m telling you!  And those clear blue skies translate to cold cold mornings.  It gets nice and warm around mid morning with all the blazing sunshine, but the early hours have been freezing.  Don’t get me wrong I am a big fan of sunshine, but we need the rain too!
Details:
Cardigan; Tweed
Coat (shortened) in Jo Sharp Silkroad DK Tweed in colour Peppercorn (col 425)
Jeans; Au Bonheur PLH08002 in
strawberry pink denim, details and my review of this pattern here
Tshirt; self-drafted, white
cotton jersey, details here
Socks; not seen, but hand-knitted by me too!  😀
Shoes; Francesco
Morichetti, from Zomp shoes
spot the dog…
pinterestmail

Sludgy little skirt; 6 different ways

I haven’t done one of these for a while! but that’s OK since I thought May and June came with somewhat of an overload of “daily outfits” posts, no?  😉
I am so thrilled with this little sludgy skirt, made using Vogue 1247 and originally posted about here, along with my review of this fab pattern.  In fact dressing it up in 6 different outfits felt a bit like cheating.  It is the perfect basic for my tastes… a plain little skirt is my favoured skirt silhouette,  and this deep purple-y brown shade I achieved through over-dyeing is a favoured neutral in my palette that goes with just about everything I own.  The only reservation I have is the length! it is just a touch on the short side even though my version is 5cm longer than the designer intended.  I wore it several times during the warmer months but always felt a tad self-conscious about bending over, which with my doggy, household-y lifestyle is pretty ridiculous.  However, in the winter months with tights, it has really come into its own!
These are all outfits I have worn over the past few weeks and I took each photo on the day I wore it.  With the exception of this first very summery one, natch.  I just put that one in for some seasonal variety…

Below: at left; the top and the skirt from Vogue 1247 worn both together, how the designer intended.  I just love the silhouette of this outfit, the oversized block-y top is perfectly balanced out by the form-fitting, plain little mini underneath.  There is no doubt in my mind I will make this skirt and this top up again in different fabrics, too!  I am totally not surprised that Pattern Review named this pattern one of the patterns of the year! At right; with my crazy patterned tights, and my twisty Pattern magic top, the skirt is a solid and unobtrusive little block of plainness to separate and balance out each of these eye-catching garments.

sludgy1

Below: at left; during a recent discussion with friends, someone remarked that the only two colours that did not go together were brown and grey.  I immediately became slightly obsessed with the thought of wearing those two colours together successfully.  I really love this outfit.  I found it interesting that the other greys in my outfit really brought out the purple in the skirt.  At right; the warm chocolate is nice and cosy-looking when worn with a warm all reddy-purple-y-raspberry palette.

sludgy2

Below: at left; The skirt blends in with an all-chocolate ensemble with just an expected touch of bright colour in a shocking pink pair of tights.  Random fact: I actually garnered a wolf-whistle from a passing truck in this outfit… ha!   😀  And at right; I saw a similar outfit to this in Australian Vogue magazine and tried to emulate it with my own wardrobe.  I really liked this, the combination of a casual chambray shirt with the mini and lace-up heels has a hip, comfy and pretty cool vibe, I thought.  The skirt’s plain shape means it looks equally good with shirts tucked in, or left hanging out.  I love this versatility in a skirt.

sludgy3

Which outfit here do you like the best?  Just for interest’s sake I am wearing the all raspberry hued outfit today.  Except it was pretty nippy earlier this morning, so gloves were on!

pinterestmail

Thoughts on a slow wardrobe…

This morning, I noticed a hole in one of my socks.  Now, your average non-sock-knitter wouldn’t give it a second thought, just toss them out, toddle off and spend a handful of bucks on a bunch of new ones.  But I fetched my darning mushroom…
And as usual when I do anything sock-related, I pondered life, the universe and everything…
 and about “things”.  One really appreciates “things” one has made oneself, don’t you think?  There is that first-hand experience of the time and effort that goes into making some thing.   You come to treasure that thing.  Ergo, you take care of it, and you fix it up if something happens to it.  So, that thing lives on to be useful again.

My handmade socks have really drilled this basic and yet game-changing notion in to me more than any other of my handmade things.  
I think I am less wasteful and more mindful of consumption, thanks to the hours I have spent knitting my own socks.  
Because for sure, knitting one’s own socks is a very humbling endeavour.  Particularly when one walks past those racks of socks in the department stores, $10 for 3 pairs.

I am often asked “why bother?” with a handmade wardrobe.  Why bother spending hours knitting your own socks when it takes so looooong and they are so cheap and easy to buy?  
Well, I don’t know…. but I do take good care of my socks now

(my tutorial on darning is here)

pinterestmail

A Velvet-y Dress

I desired to make for myself something quick and easy and selfishly frivolous
   and a Tshirt dress is very quick and easy, yes?  The fabric, a stretchy panne velvet from Fabulous Fabrics, is very lush; smooth and slippery and glides over the skin, the colour has the same gleaming, creamy-milky-white shimmer of
moonlight, and the texture is the same choppy and shadowed roughness of the moon’s craters.
I was quite struck with
Mary’s post particularly the bit about using fabric from the stash, allowing the fabric within to
achieve the potential you saw in it when you purchased it; to let it have its
moment in the sun.  So often I am
intimidated by my lovelier fabrics, and find myself dutifully using the cheaper
and lesser fabrics first, not ever rewarding myself by letting myself wallow in
the pleasure of the gorgeous ones. 
I have some very beautiful fabrics.  And I want to use them.  I want to have the fun of planning something with them,
cutting them, draping them, making something fabulous with them, even ruining them maybe but hopefully not!
 one thing is for sure I am certainly not
enjoying them whilst everything sits folded up neatly in a cupboard.  Life is too short, no?
So yeah…  I am making a start  😀
For this dress, I wanted a
winter-y version of my grey stripe dress, a Metalicus kind of a  thing.  And for the record, this is the exactly
the vision, or the “potential” I had in mind for it when I bought it too!
The shoulder seams are stabilised with short strips of bias cut poly-cotton, and the sleeve bands and
neckline band are circular bands sewed on using this very simple and easy method.  The lower hem is overlocked to finish the raw edge, turned up once,
and topstitched using a twin needle. 
I opted not to turn the lower hem up twice since the fabric has
quite a healthy pile to it and is thicker than it looks.  Making the dress quite cosy and warm, a
good one for winter! 
This is the easiest sort of
dress to make.  I drafted the
pattern myself, which is just a fancypants way of saying that I cut pieces
for a plain scoop-necked, long sleeved Tshirt, just very slightly gathered-in at the centre front: and then two “cone” shapes for the skirt
pieces, just a straight diagonal line from the waistline width out to the selvedge.  I really like this
A-line style of skirt.  It skims the body in a streamlined way and is therefore very figure flattering; far
more so than a gathered skirt would be. 
 And so easy.
Anyone can make a dress in
exactly the same way using a basic Tshirt pattern.  In fact, my honest opinion? save yourself some money, and
draft your own Tshirt pattern from a well fitting Tshirt you already have; honestly it is the
easiest thing in the world.  I’m
serious.  Even if you do not have
much experience at drafting your own patterns, trust me, this is the one you
should start with.  Get a Tshirt,
lay it down and trace around it. 
Done!  That’s free advice  đŸ™‚

So in the final
analysis I can see this dress probably going to be a very useful basic building
block in my winter wardrobe and not particularly frivolous at all.  I guess I failed that part of my
assignment.  But not to worry, I
have also unearthed some awfully frivolous fabric from the stash, which is
waiting patiently in the wings to be transformed into something definitely very
un-useful and very un-practical; in short horrendously gloriously frivolous!
and which I am steeling myself to take the scissors too
 hehehe.
Soon, peeps!
Details:
Dress; self-drafted, of
shimmery oyster-white stretch panne velvet
Scarf; knitted by me to my
own design, details here
Tights; voodoo
Boots; Andrea and Joen,
from Uggies in Dunsborough, now renamed Eco boutique
pinterestmail

On mittens, and making time for sewing

Rootling around in my winter woollies; I realised that I had never devoted a post before now to these mittens.
I knitted them yonks ago: probably when the children were really tiny, and probably using leftovers from one or another of my hand-knitted fair isle cardigans and jumpers that I was very keen on making at the time, and which have mostly appeared on this blog already.  The yarn is Patons 8ply, my yarn of choice for years and years and years because it came in a gloriously huge range of colours, tailor-made for lovers of fair isle knitting, and which sadly seems to be no more.
I have no memory of the pattern I used, but it is obviously a Scandinavian design, no?  (Later edit; Lydert advised that it is likely a true Fair Isle design from Scotland… thank you Lydert!)
I still love to wear them on really frosty mornings, that is; as long as the finer motor skills are not required   🙂
Each row has two strands of yarn, one carried behind the other, to form the colourful fair isle pattern.  The backs of the hands are still looking quite presentable, but unfortunately the palms are a bit fluffy now through wear.  But I think they still have a good many years left in them!  I think I will try to make for myself a new adapted pattern based on these, because just now I have noticed that the area around the base of the thumb is just a tad too tight across my hand.  I think the tightness is a minor detail that never bothered me before.  When I was a wee young strapping thing I was very accepting of minor discomforts in my handmade clothing and it is only as I have got more, er, mature (haha) that I have become more picky and fussy about The Perfect Fit.
Will keep you posted on the progress of that pattern…

Details:
Mittens; knitted by me, using Patons 8ply merino
Jumper; knitted by me to my own design, using Jo Sharp’s Aran Tweed, details here
Jeans; Burda 7863 modified, black stretch corduroy, details here
Socks; handknit by me, details here 
Ugg boots

I was highly flattered when Carole and Gilly both asked how I manage my sewing time, and even what was my schedule for weekly sewing…  thank you so much for the interest ladies!  
My “schedule” is a very NON-scheduled kind of a schedule, really.  A Clayton’s schedule.  The schedule you have when you’re not having a schedule, y’know  đŸ˜€    That’s another antipodean-ism there btw…
Lately I am trying a new tack; to limit myself to just one project a week, and no more.  I figure; forcing myself to slow down means naturally paying plenty of attention to the finer details and finishing things off properly.  I’m not doing toooo bad about sticking to that one  đŸ™‚  but (blush) I do still have three more finished things to show here, just awaiting me taking some photographs and sitting down to write something coherent about them.  Often this bit takes me longer than the sewing bit  đŸ™‚
I don’t sew every day, but often if I am idly passing my laundry door I’m suddenly possessed and propelled by some mad demonic force beyond my control, over to the sewing machine, picking up whatever is on the go and doing a little bit.  Sometimes that little bit turns into a lot, as the sewing demon evilly tempts me to put off whatever it is I should be doing, just to do a little bit more sewing.  Oh, I’ll just put in this zip, or oh, I’ll just finish off this pocket, or whatever.  Oh, I really should walk away right now and NOT apply that iron-on interfacing to the collar… oh woops, look I just did.  Now I really just have to sew it together now, darnit…
Other times I might have just put on a load of washing and suddenly woosh!  I awake from a trance to find myself sitting at my sewing machine, doing just some little thing more.   The sewing demon is powerful, I tell you.  Cunning too.
It gets particularly malevolent  when I am all enthused and excited about a new project.  I will be super-restless about getting on with it, and obsessively think about it every moment I am not right there with it, working on it.  My raincoat was one of those projects; I worked on it solidly for several days. feverishly plotting over the minutiae of the construction details and the best possible order it should all go together.  
Until it was finished.  Then I am at peace and the demon is appeased.  
This house is clean.
well, momentarily anyway…. mwahahaha 😉

pinterestmail
Switch to mobile version
↓