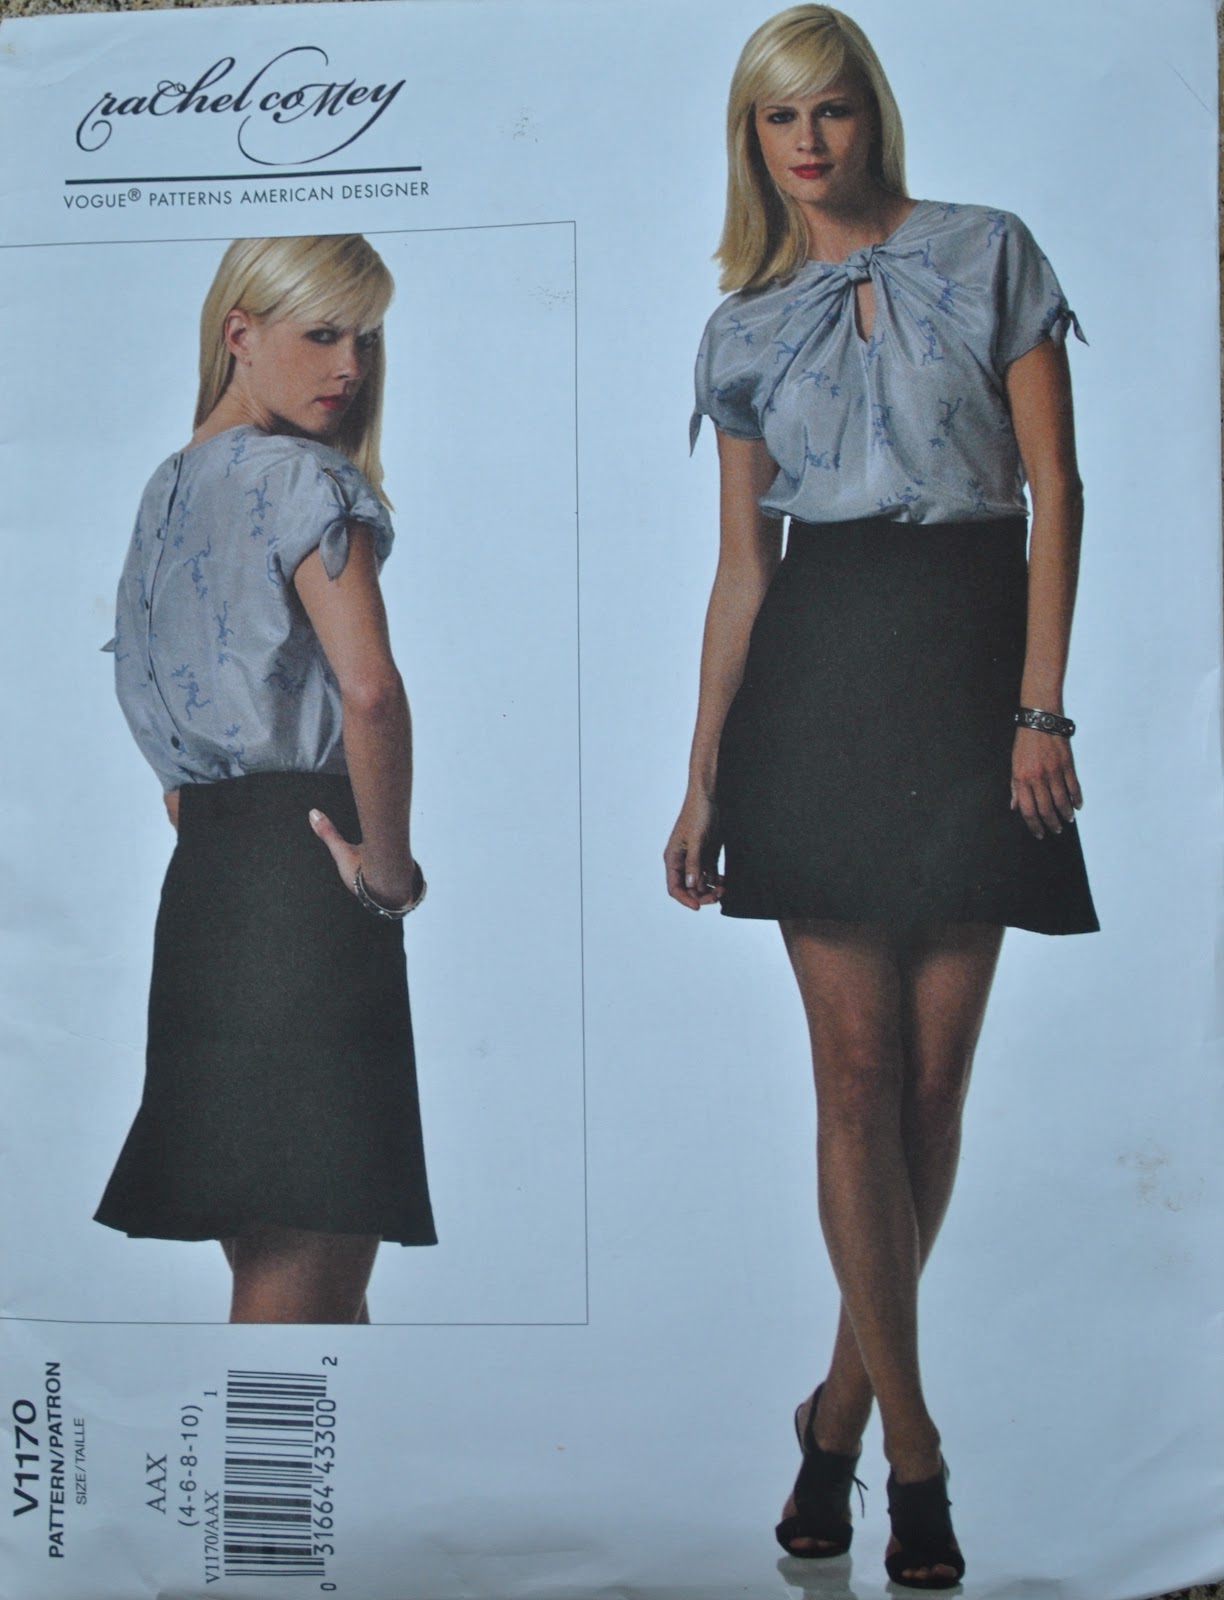
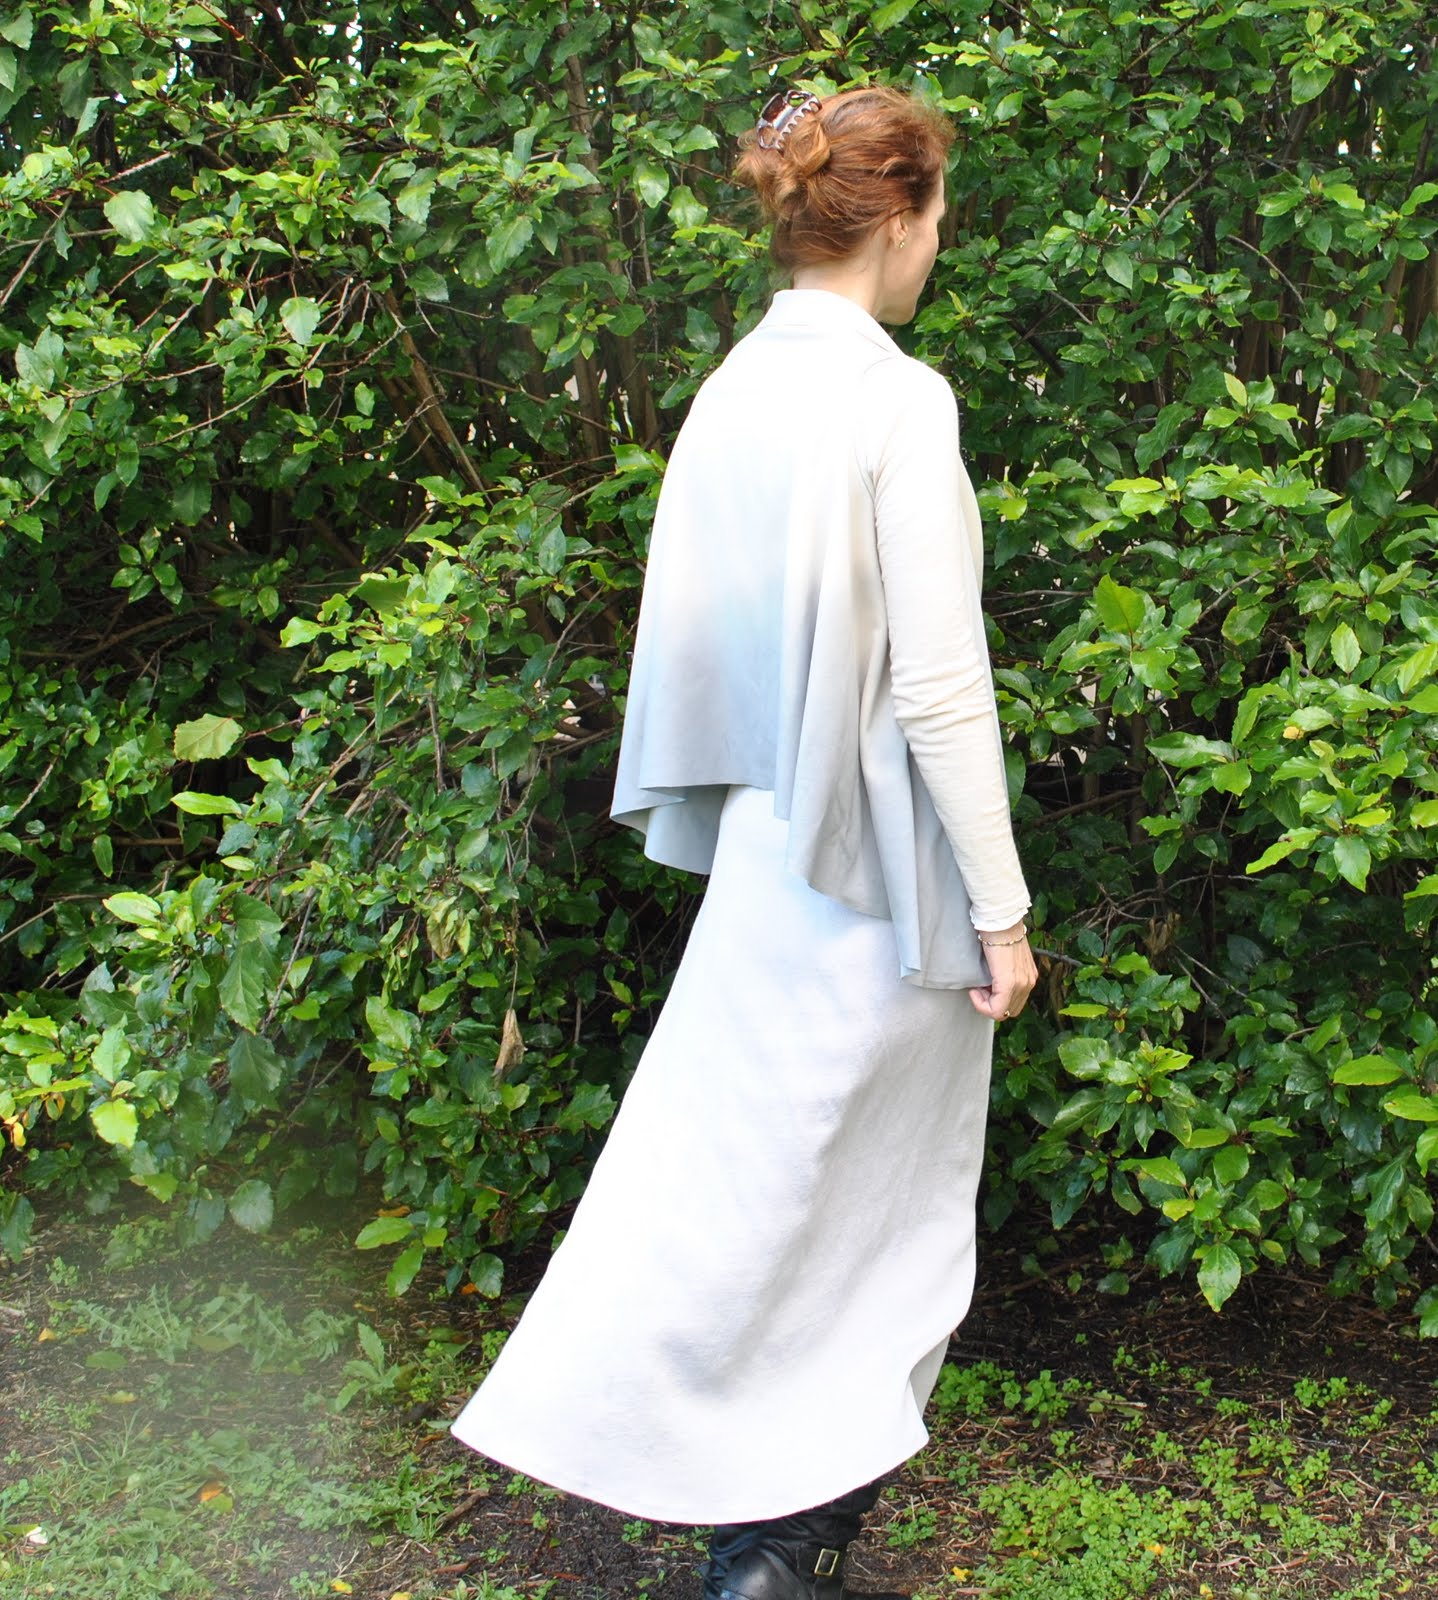
above; top “b” and skirt “d”
 I was very flattered to receive some requests (well, two, hehe 🙂 ) for my thoughts on the Japanese pattern book Shape Shape (formerly known as Unique Clothes Any Way You Like) by Natsuno Hiraiwa. I have only used six out of the nineteen patterns in the book, and made a total of eight garments. So I haven’t made everything in the book yet. But two ladies alerted me to the fact that there were negative reviews of the book on Amazon, and I popped over to have a look and was pretty amazed to see that some of the most negative reviews were from people who hadn’t yet attempted anything at all from the book! Which made me realise that maybe I did have something concrete and useful to offer after all 🙂
I was equally amazed and equally flattered to see that someone had written something very nice indeed about my blog in a review of the book, which totally made my day!!!!
A big thank you to Nancy Bowron and jenniferp for asking for my opinion, and to A. Badus for those kind words on Amazon!

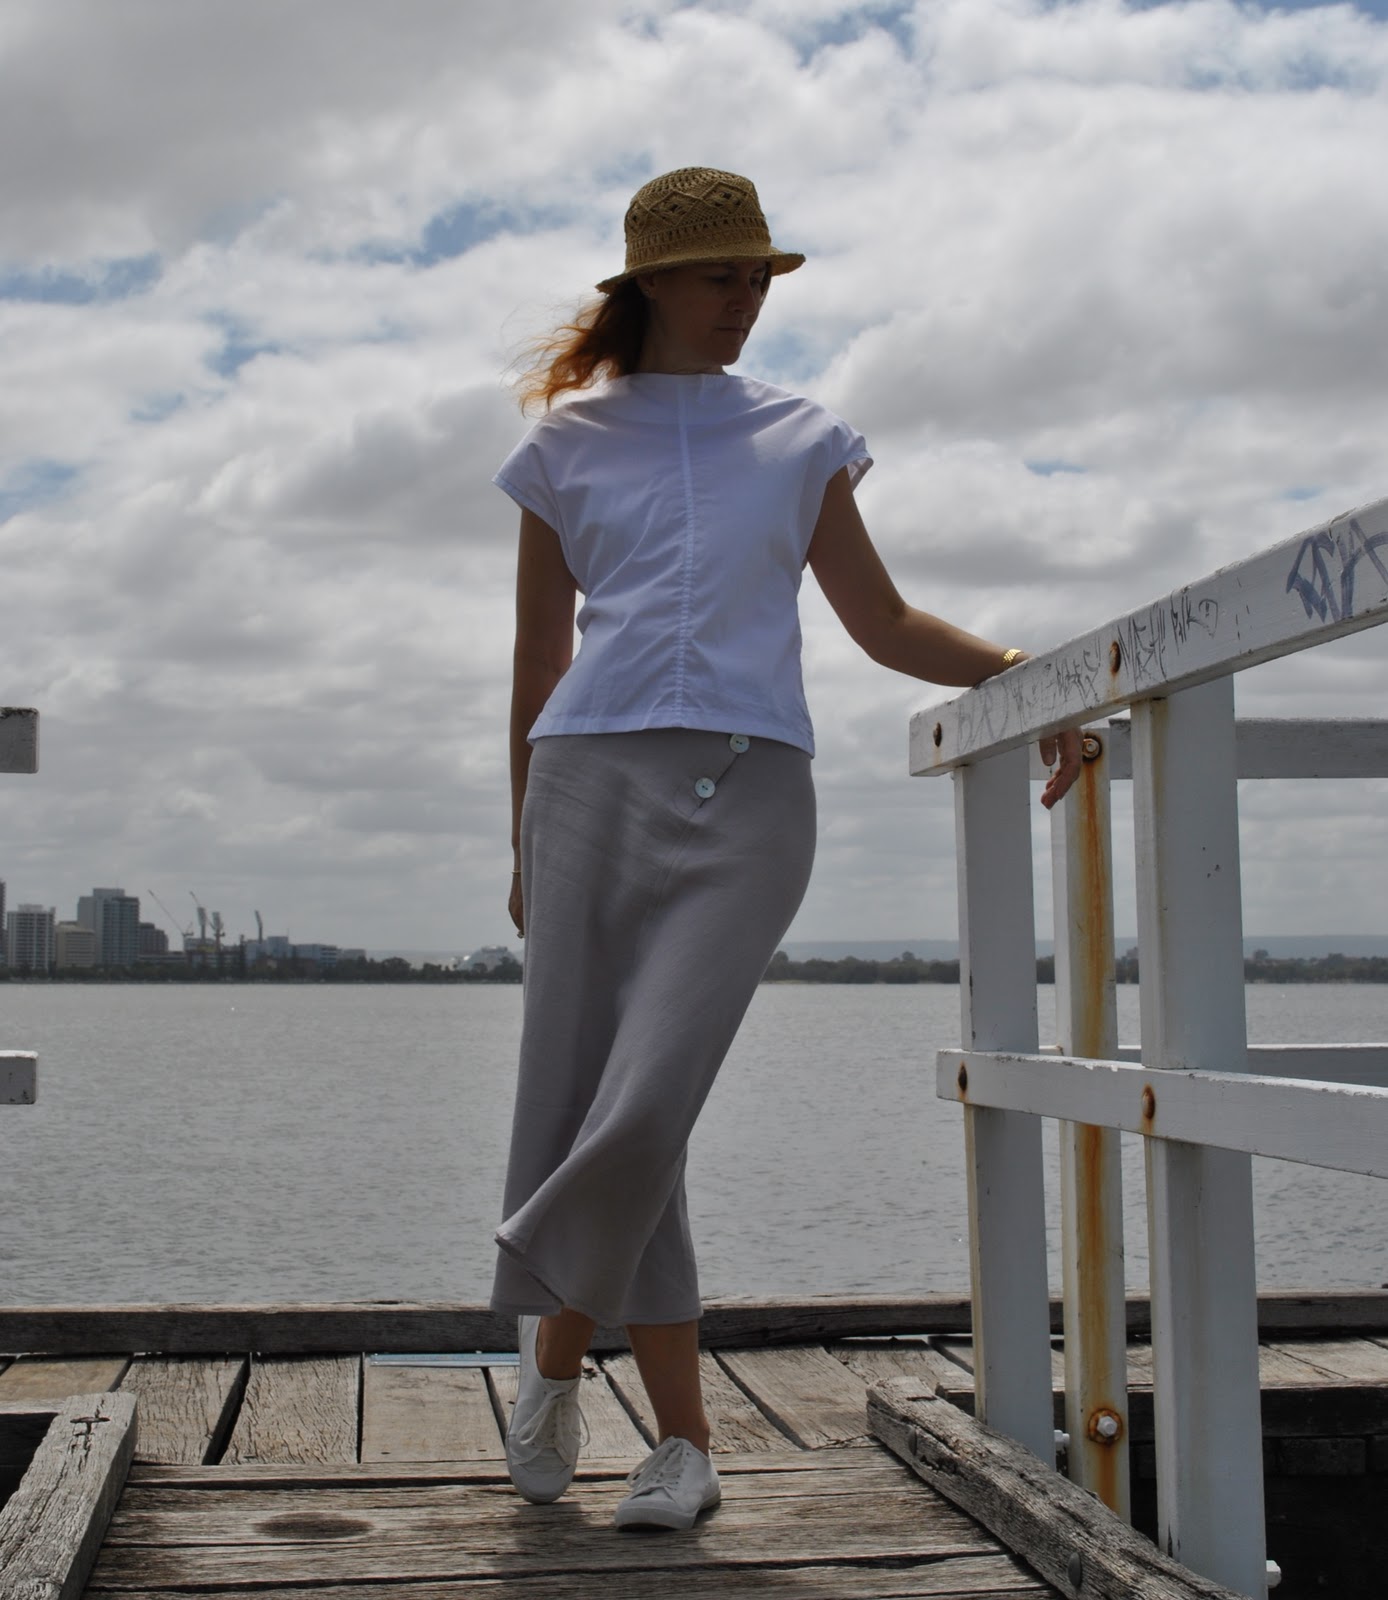
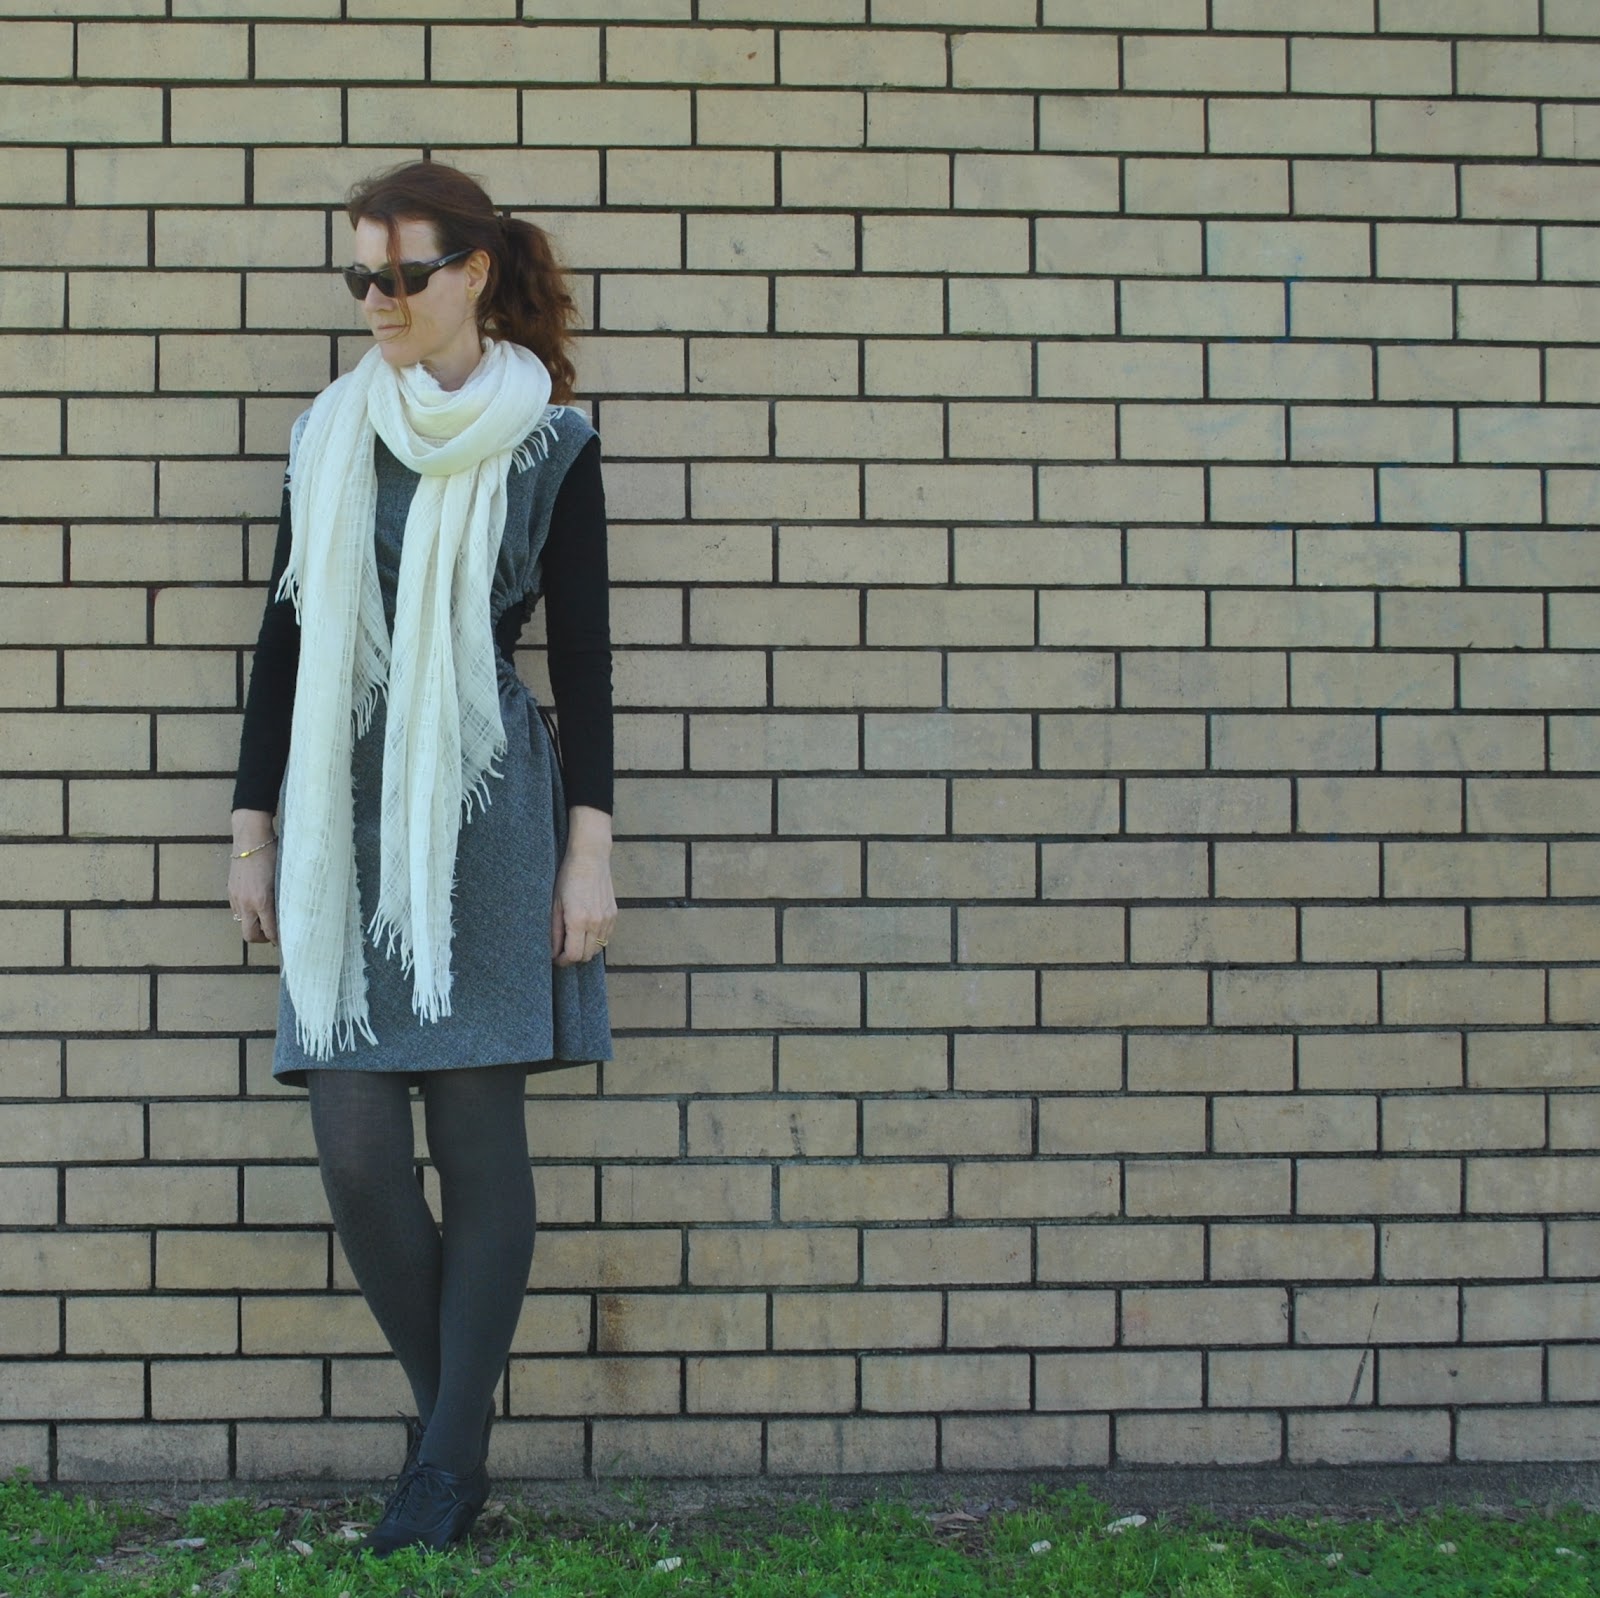
above; top “a” and skirt “m”
So:
Description:
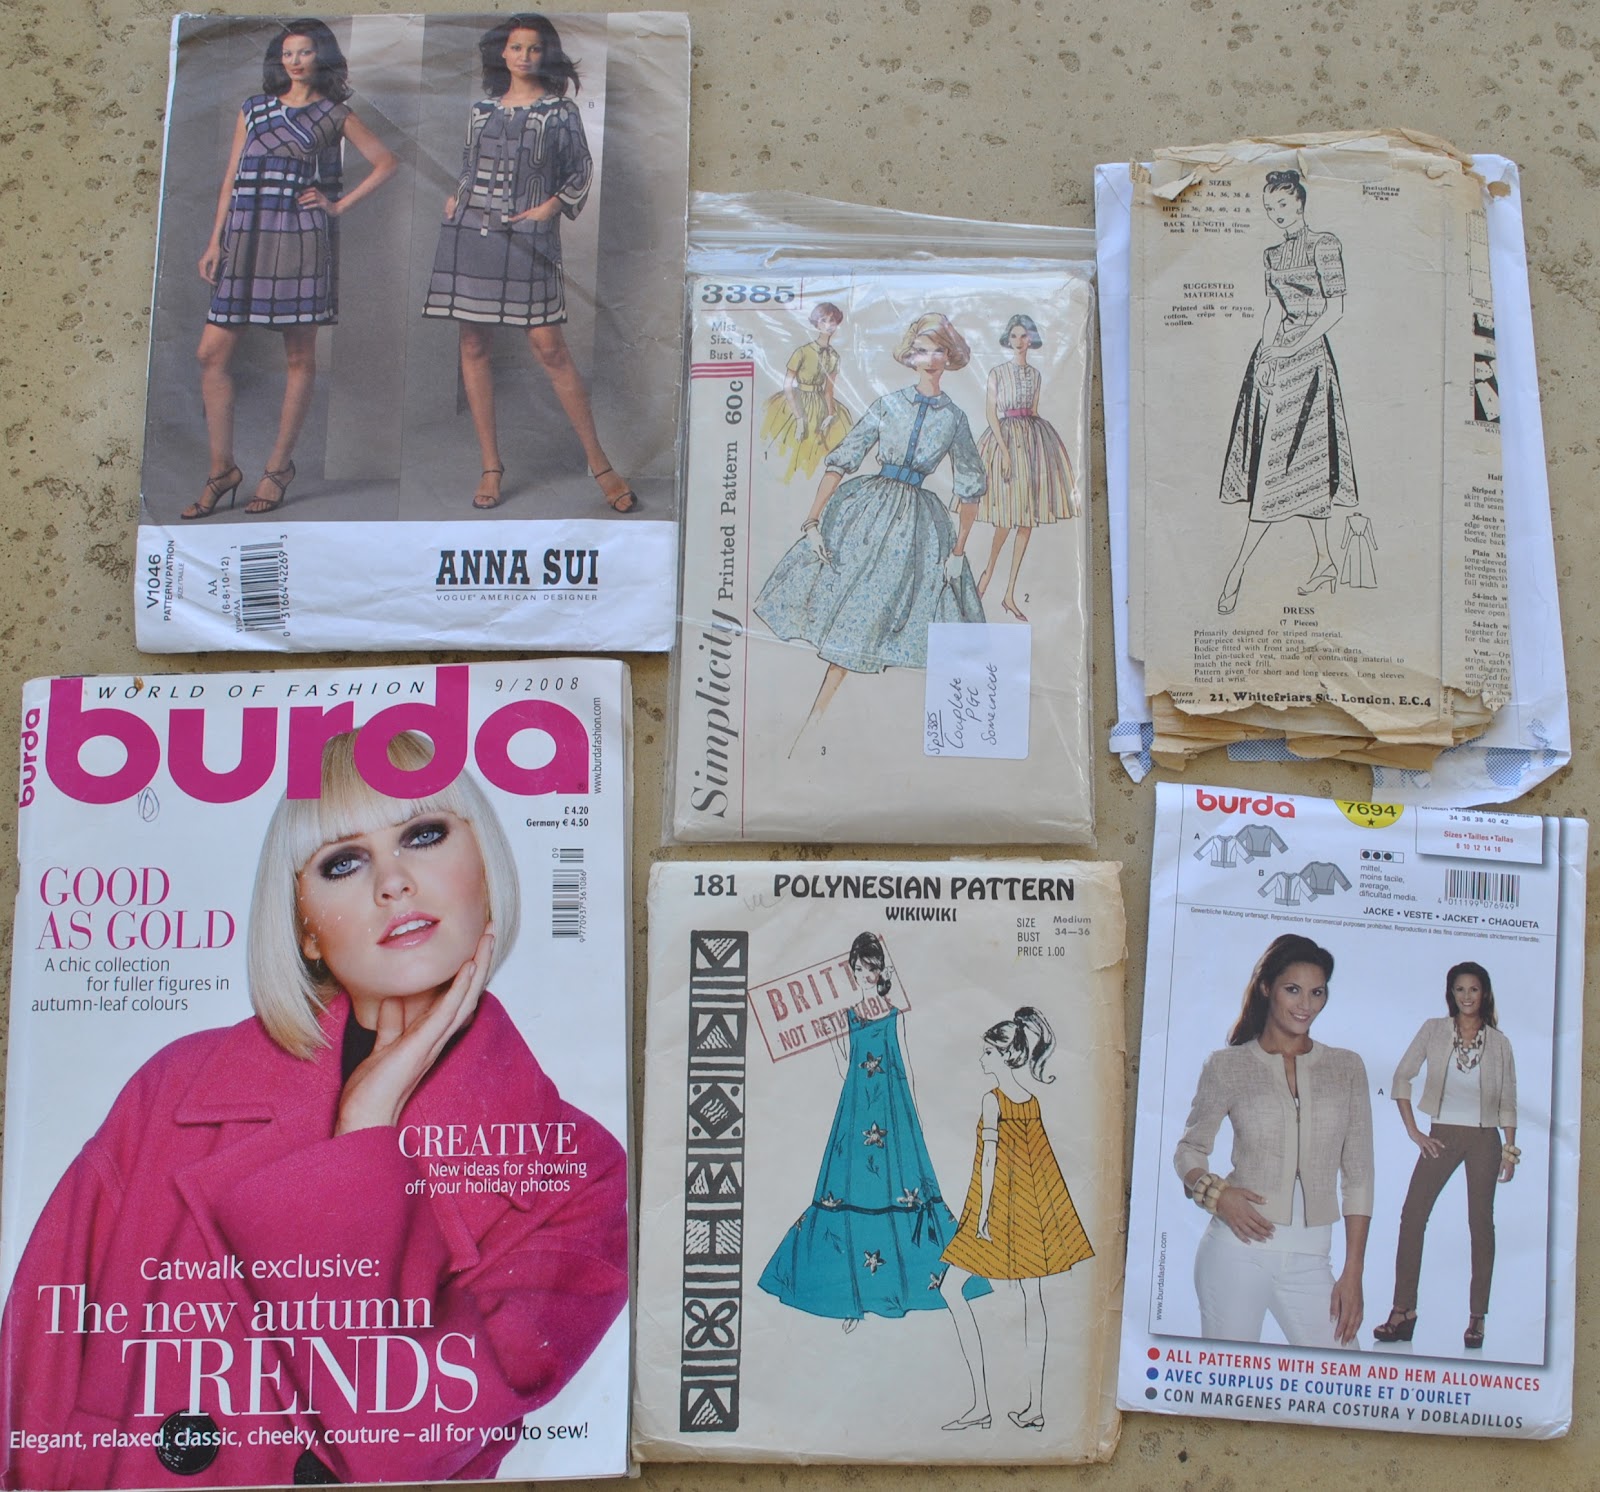
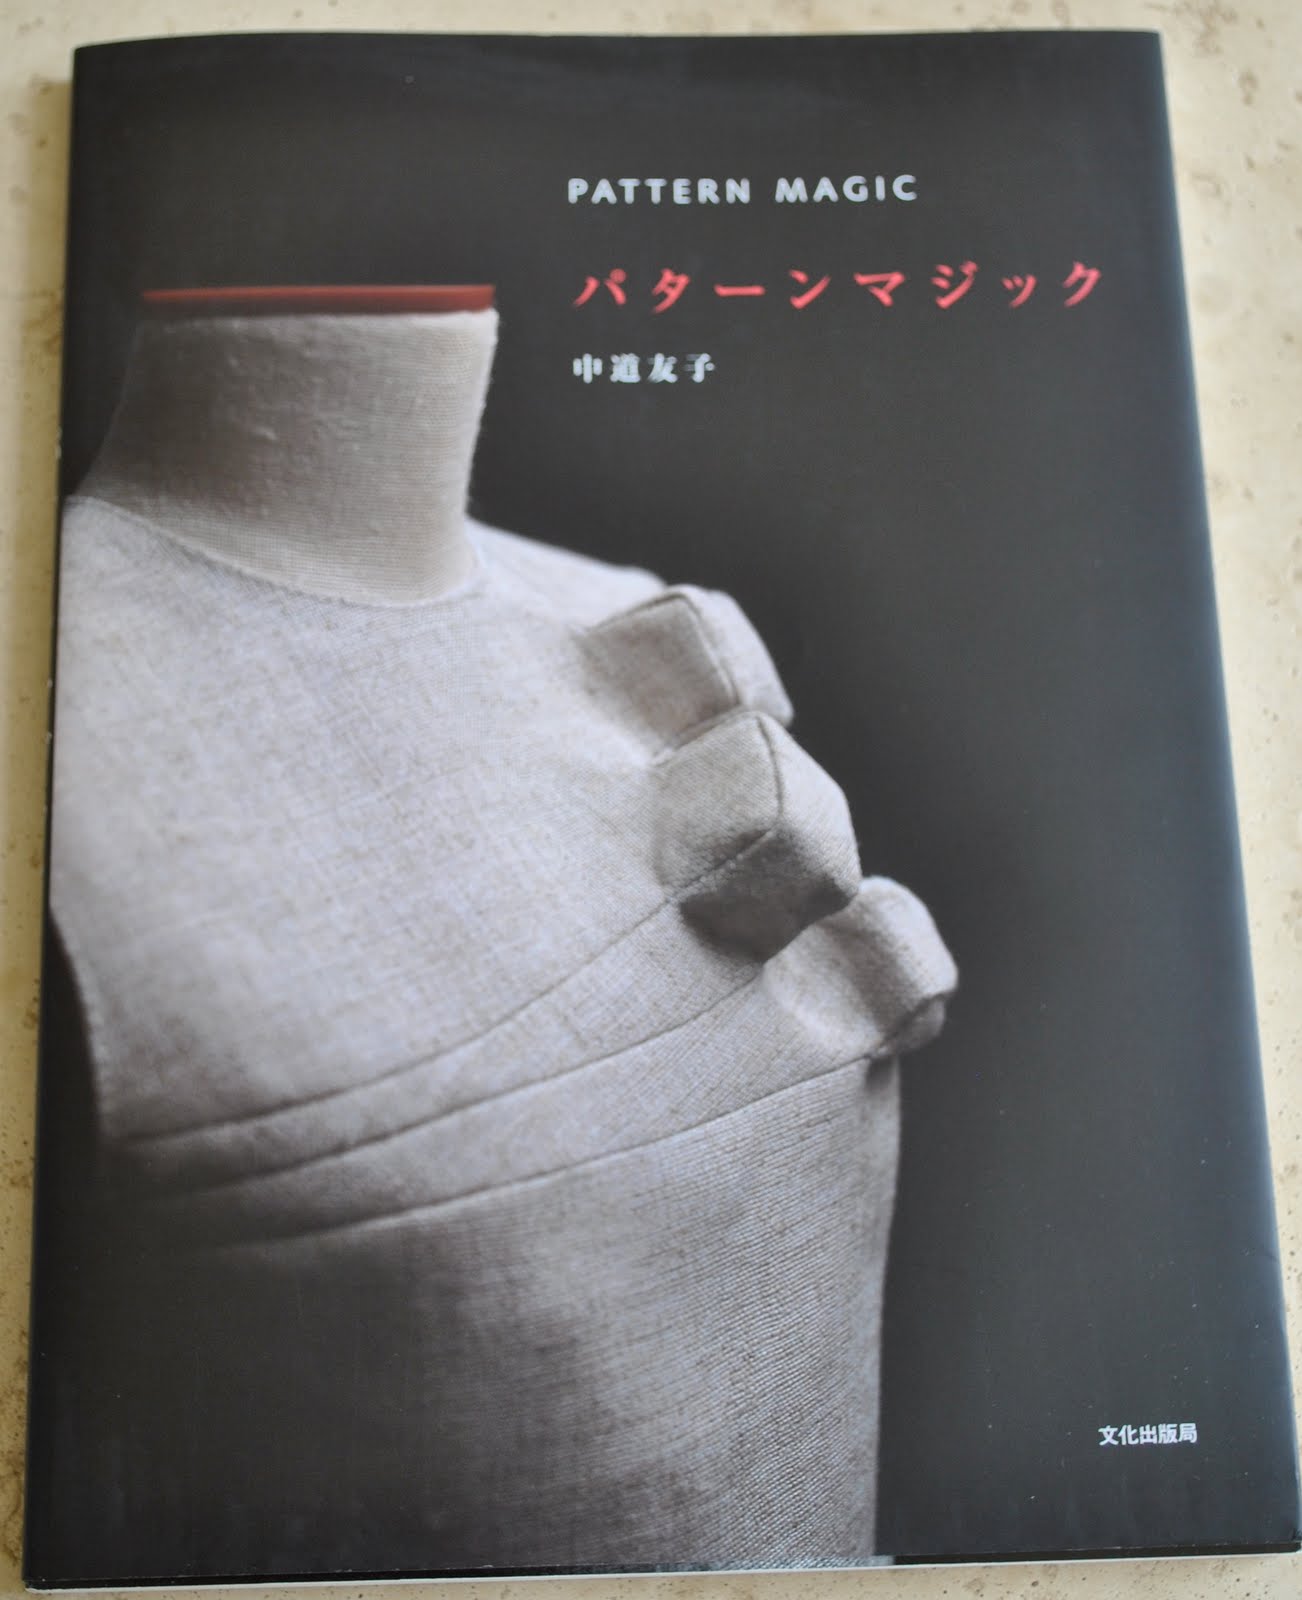
Shape Shape (formerly known as Unique Clothes Any Way You Like) by Natsuno Hiraiwa, is a book containing nineteen patterns for some tops, skirts, wraps, scarves, one pair of loose trousers and one bag.
Sizes:
The patterns are for two sizes, medium and large, with the Medium being very roughly equivalent to a European 36, and the Large to a European 38. Now these sizes might seem too restrictive to the average Western body type, but nearly all the garments are very loose-fitting and flowy in that easy comfortable Japanese style that is much admired by Westerners, me included. They could very easily be adapted to larger sizes, particularly if you have sewing experience. Very few of the designs are close-fitting or body hugging, or would require a lot of fitting. I use the Large 🙂
The Patterns:
The patterns are printed on one large loose sheet of paper within the book, just exactly like how Burdastyle magazine supplies its patterns. The user traces the patterns of interest, keeping the master sheet intact for use of the other patterns. If you are familiar with Burdastyle magazine then you know how it works!
Some of the most extreme negativity of the reviews on Amazon were directed at the pattern sheet, and how difficult the reviewers found the tracing. Personally I did not find it tricky at all. A twelve year old could do it, easily.
Once upon a time I wrote a post on my method for tracing patterns and used this book in my pictures, here
Sewing Instructions:
I own the Japanese language version of the book; so my copy has literally not an English word in the entire publication, save for the author’s name. So I cannot comment on the written content, since I am sadly very ignorant in Japanese 🙂 However; I do not feel that has been a hindrance in this excellently illustrated book. I have found the drawings and diagrams for constructing the clothes are excellent; very good, very clear and helpful and very easy to decipher which step follows which. The book does assume some basic sewing skills, so is probably not suitable for an absolute first-timer. There is no hand holding, like you would get with a conventional pattern from say Simplicity or McCalls, but if you have been sewing for a few years and know already about interfacing, clipping curves, how to sew buttonholes, how to finish hems and edges; generally how to construct clothing: then I think you would cope just fine.

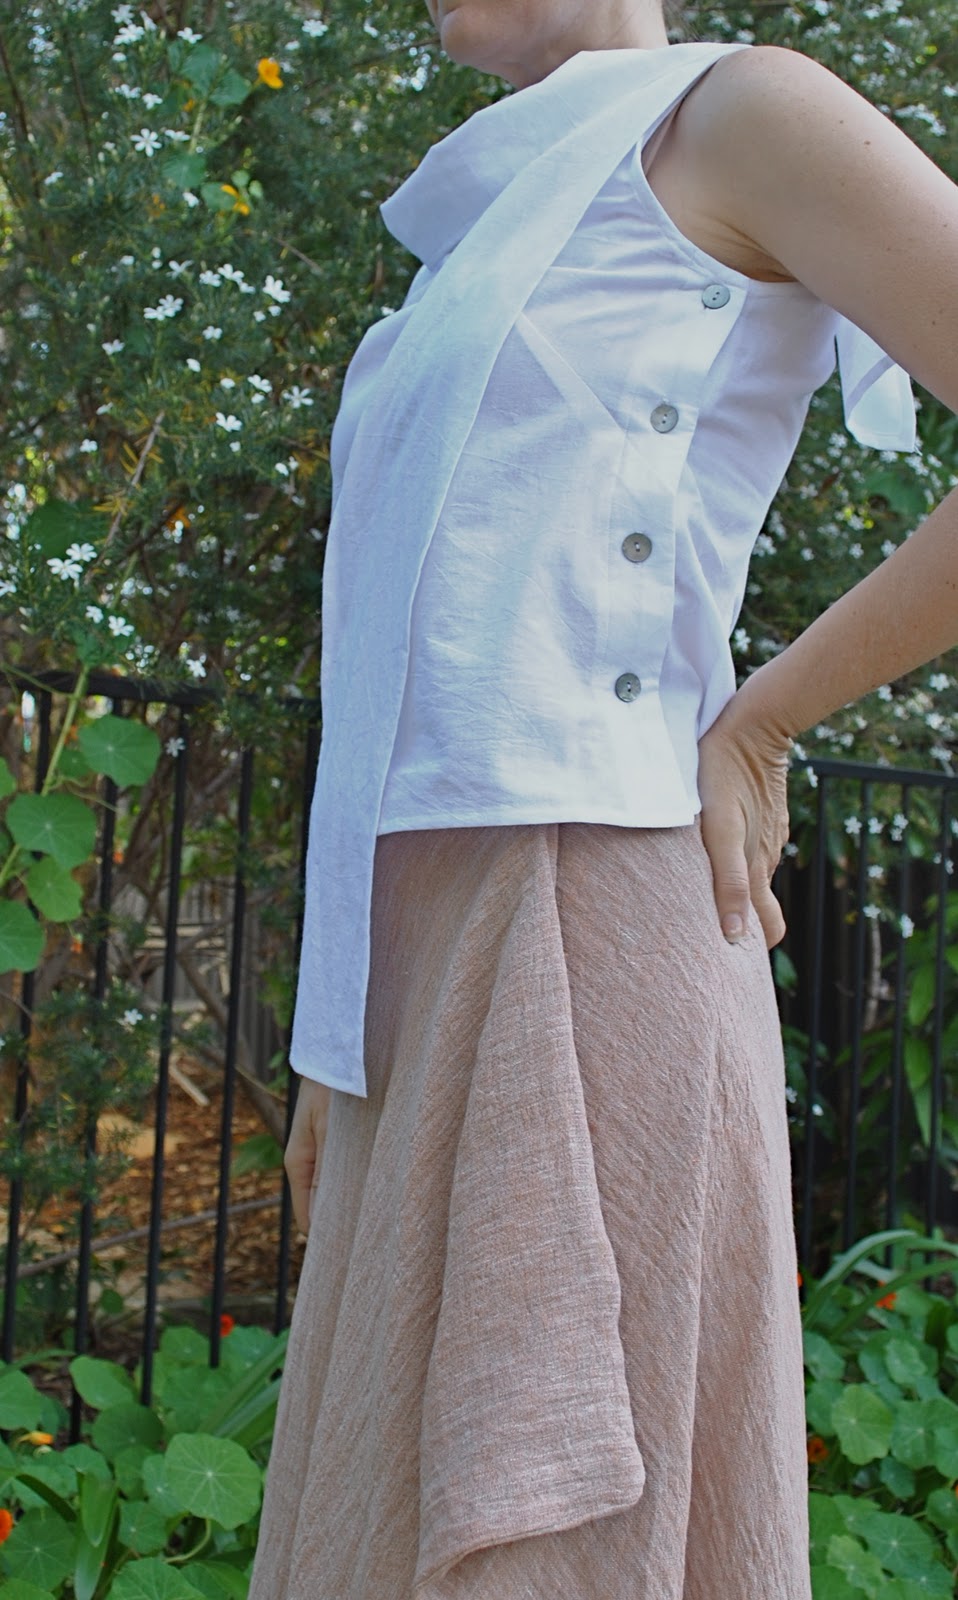
above; “top “p”
The Designs:
I would describe them as simple and minimalist, with a twist. The designs are in my opinion, unique and cool. Natsuno Hiraiwa has take some organic shapes and turned them into interesting patterns for comfortable clothes. I love them, and some of the designs have been the most versatile garments in my wardrobe. Skirt “d” has half the skirt on the straight grain, half on the bias, so hangs differently depending which way you wear it. I wore my version styled in 6 different ways here. The design of skirt “m” is also stunning in its simplicity, but is an insanely unique garment that looks nothing like any other skirt pattern I’ve ever seen. I wore my version of this skirt styled in 6 different ways here. Complaints on Amazon about not enough pictures showing off the versatility show a sad lack of imagination on the part of the complainers, and are not the fault of the designer, in my opinion! My view is, make something and have a bit of a play and experiment with it yourself, you may be surprised and learn a few things about manipulating your wardrobe yourself!
Skill Level:
I would rate this book overall to be a bit more difficult that your standard average big 4 pattern… I am basing that rating solely on the level of autonomy required in sewing up the garments, and the fact that there are no entry-level instructions to help the beginner in the basics. However, some of the projects, such as the wraps “f” and “j”, and say, the scarf “o” are uncomplicated and are well within the scope of a beginner. These would make good projects to start with, to get a feel for tracing the patterns and nutting out the gist of the instructions. Then one could move on to some of the more complex projects.
Do I recommend this book to others:
of course!! In fact, just flicking through the book again to write this review whetted my appetite to try out some other of the designs, as well as to re-visit my favourites too 🙂
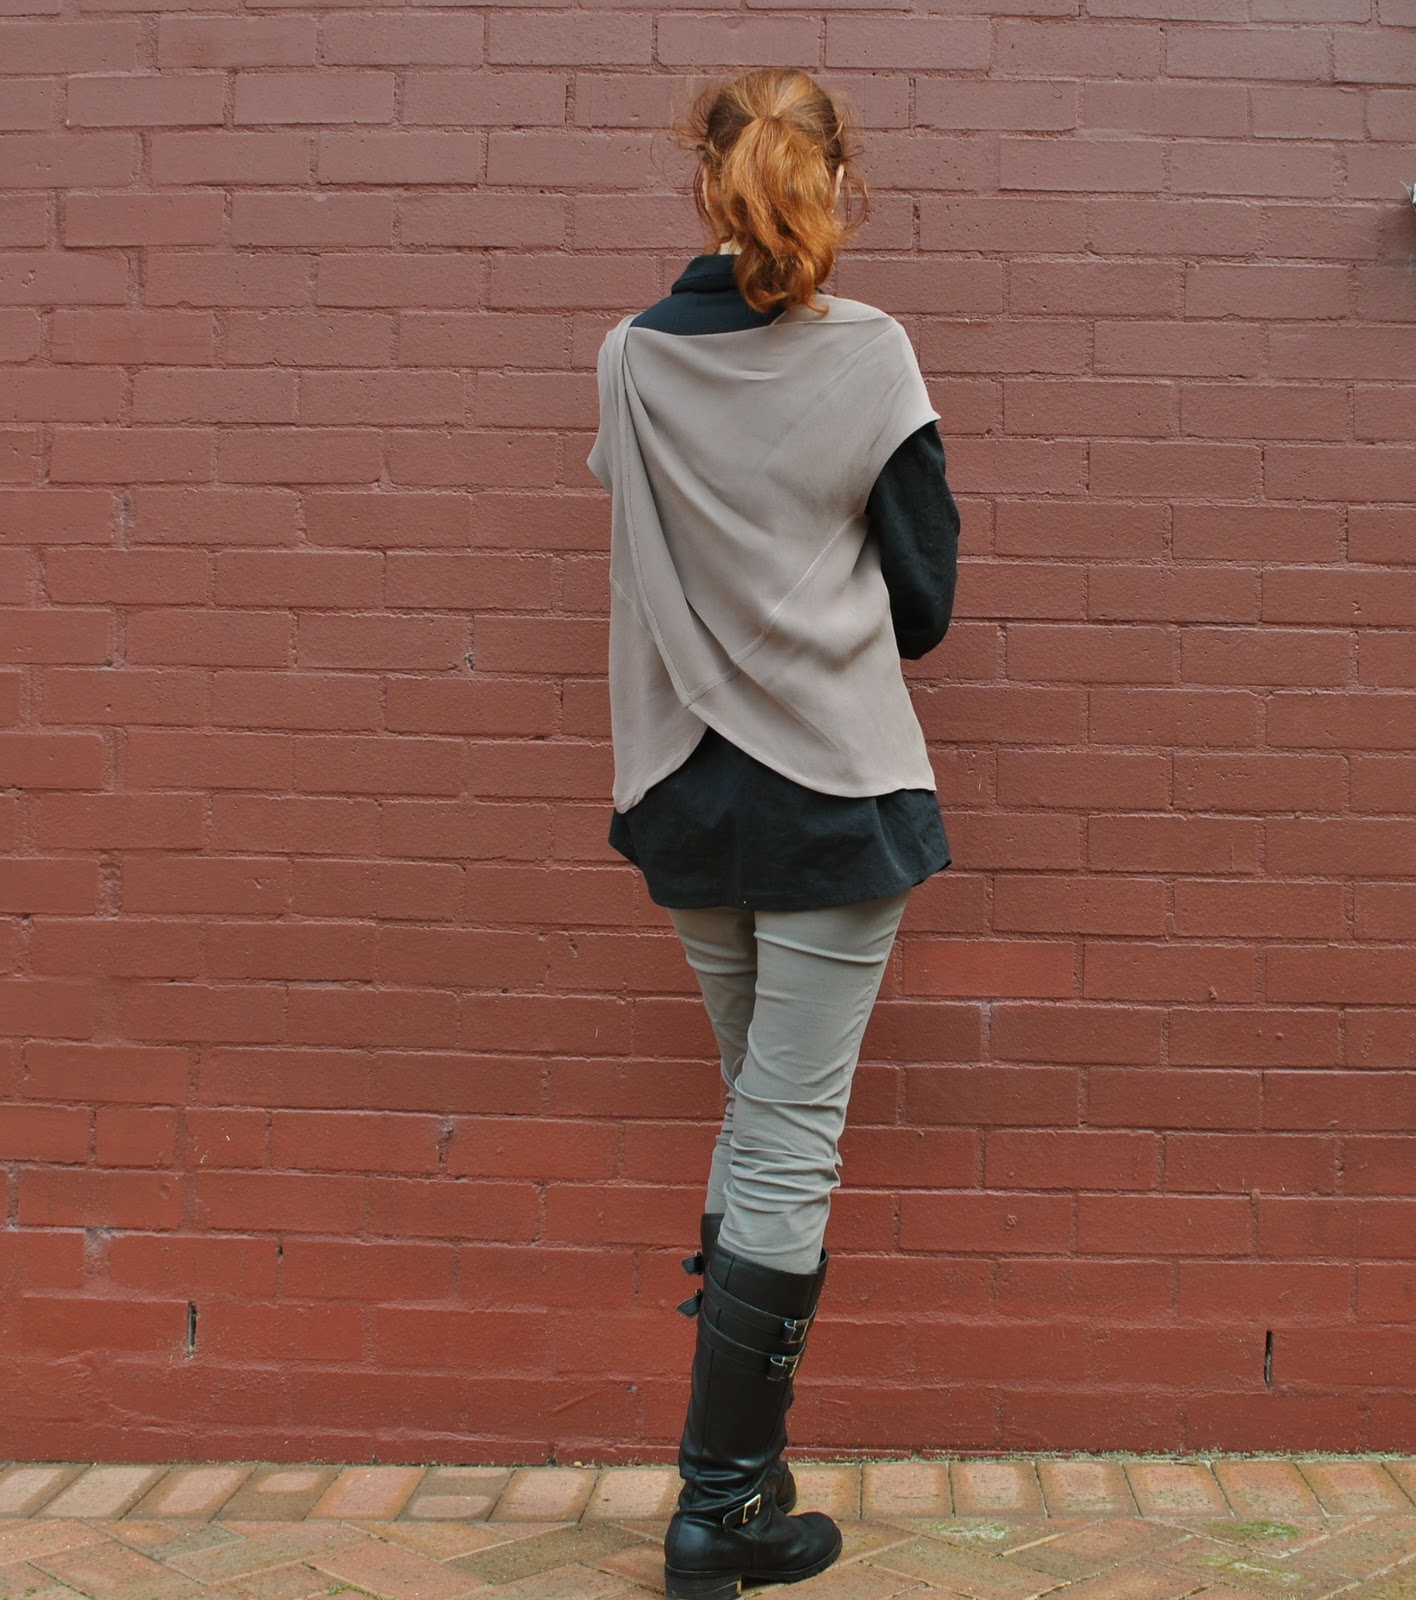
below; wrap “f”