Monthly Archives: July 2011

You are browsing the site archives by month.

An ancient xanthorrhoea…

… and me.
We have been busy recently; school holidays and an overseas visitor staying so we have been going sight-seeing.  There is nothing like touring one’s own surroundings and talking about local features to make one truly appreciate all over again where you live.  We have been doing lots of Aussie stuff, including a visit to the Perth Mint where we learnt about the Gold Rush and how many of the world’s biggest nuggets have been discovered here (most of them); lifted a gold brick (far heavier than I imagined) and learnt about the minting process.  Can you guess the melting point of gold?  Go one, take a minute to guess….

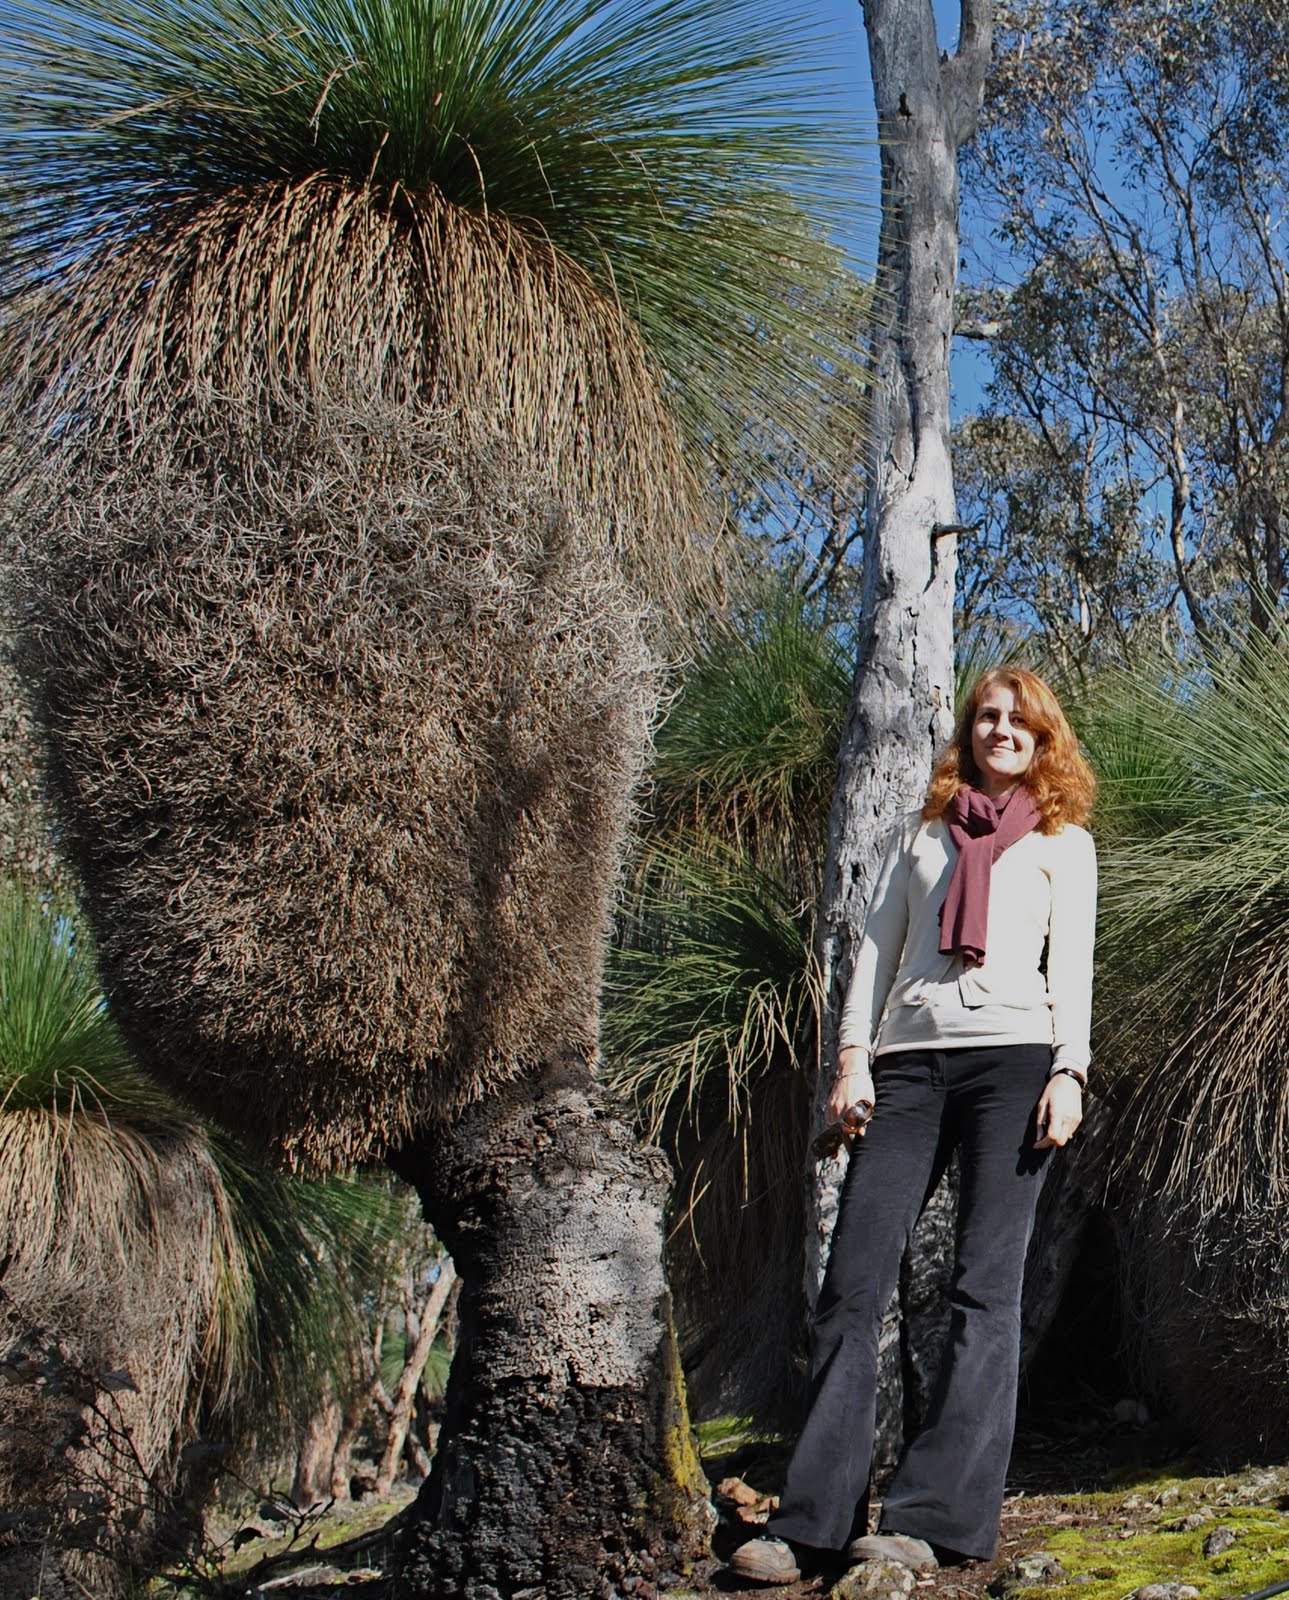
We’ve visited Kings Park, the beach and gone paddling on the river.  The last few days we have been down visiting my parents in the country.  We cooked damper and billy tea over an open fire out in the middle of the bush, as well as took plenty of photos of kangaroos.  Each of these things we have done lots of times, but have been extra nice when viewed through the enthusiastic eyes of an overseas visitor.  And today we visited a little traditional sweetshop, then I intuitively headed next door to the junk shop to have a trawl through … I couldn’t resist.  I told our visitor she didn’t have to come with me but she wanted to!  She found a really old kangaroo print dish and a boomerang shaped leather covered shoe brush, also printed with kangaroos and xanthorrhoea (the plant in my picture above).  I found some more glassware and more old mismatched fine bone china to add to my collection, and a manual typewriter for Craig.  Sam found a double-headed adaptor… er, well, one person’s trash etc etc, right?
So everybody scored and everybody’s happy!
Finally; the melting point of gold; 1064C…  How close was your guess??
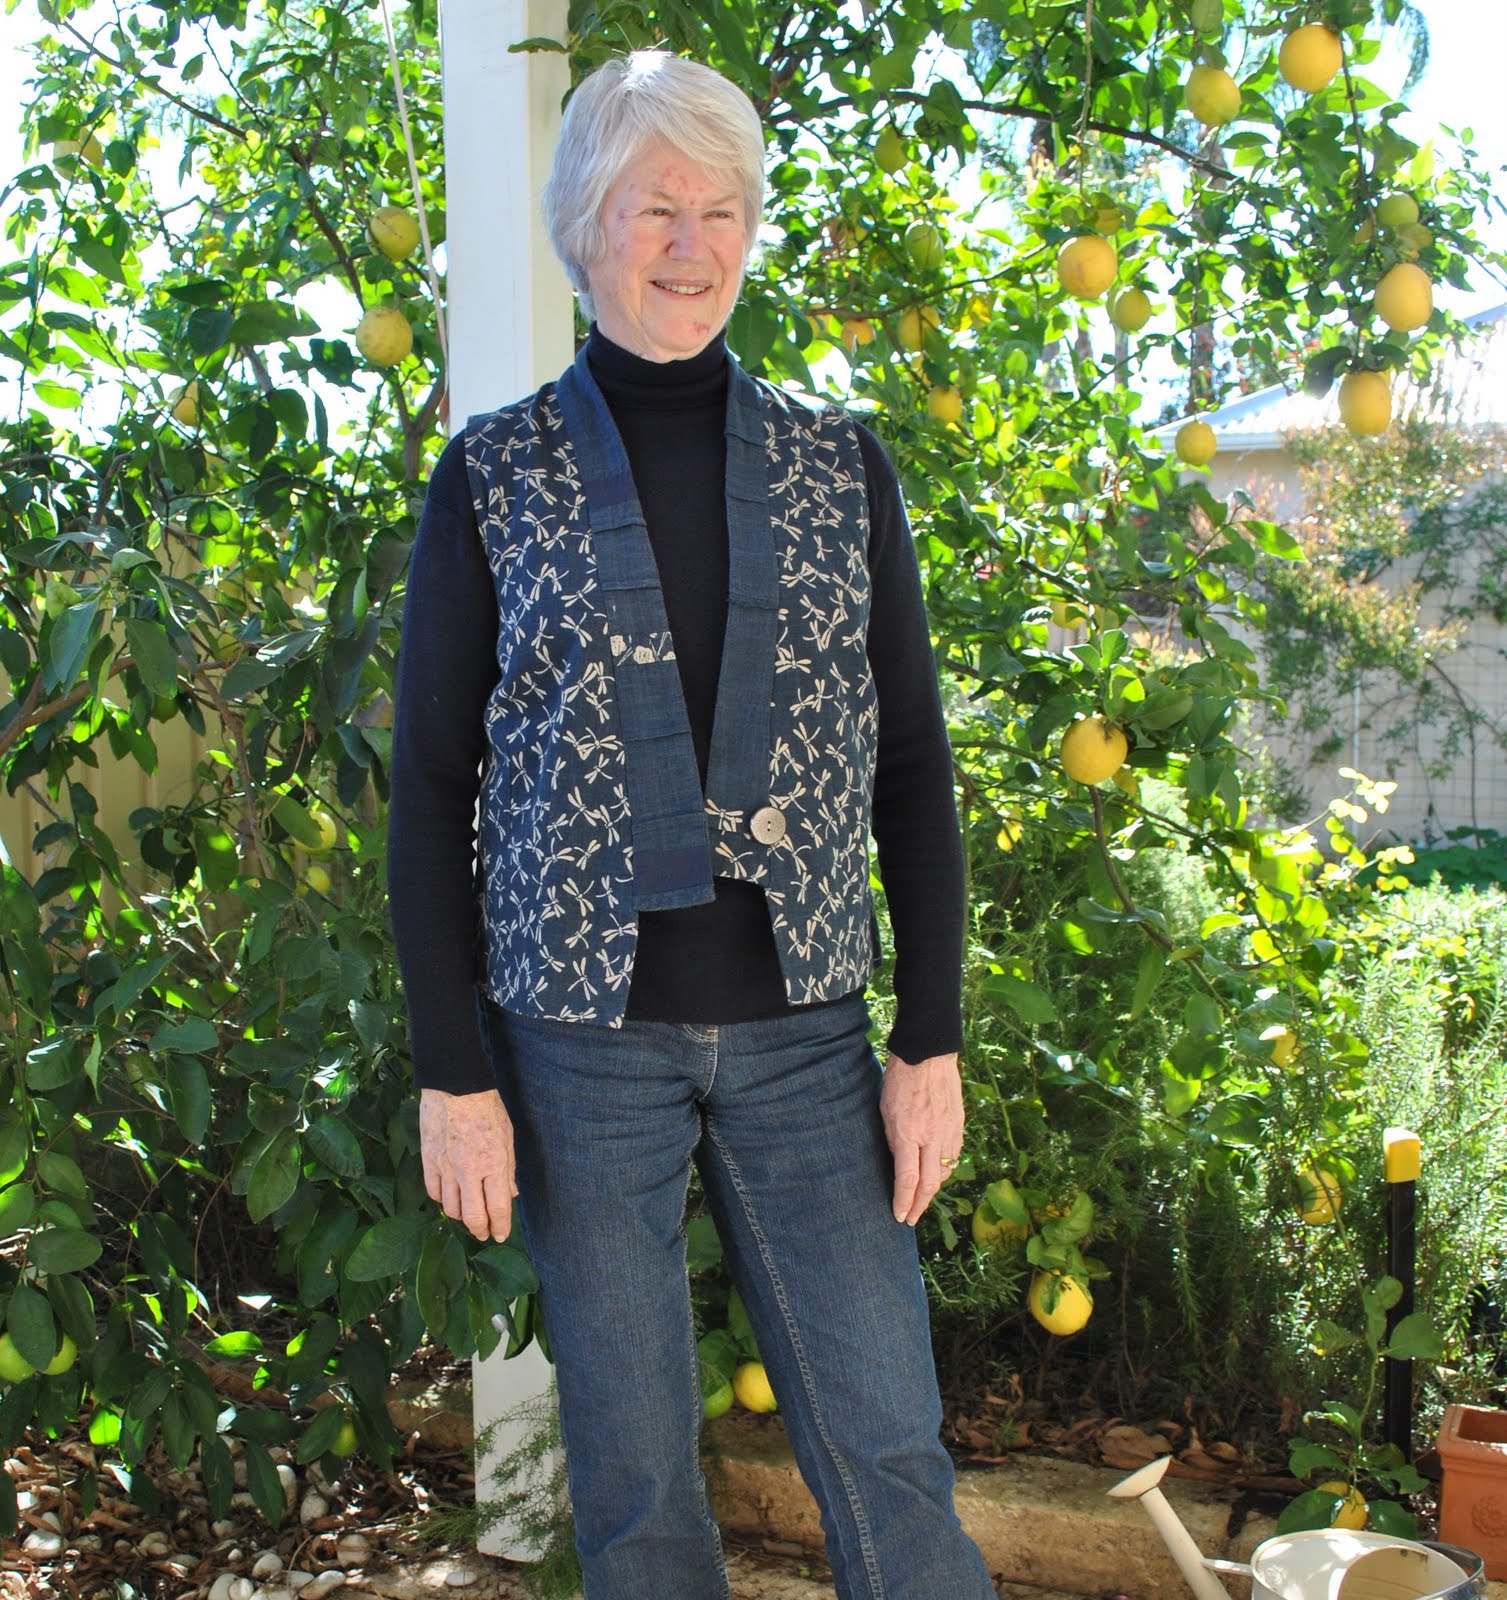
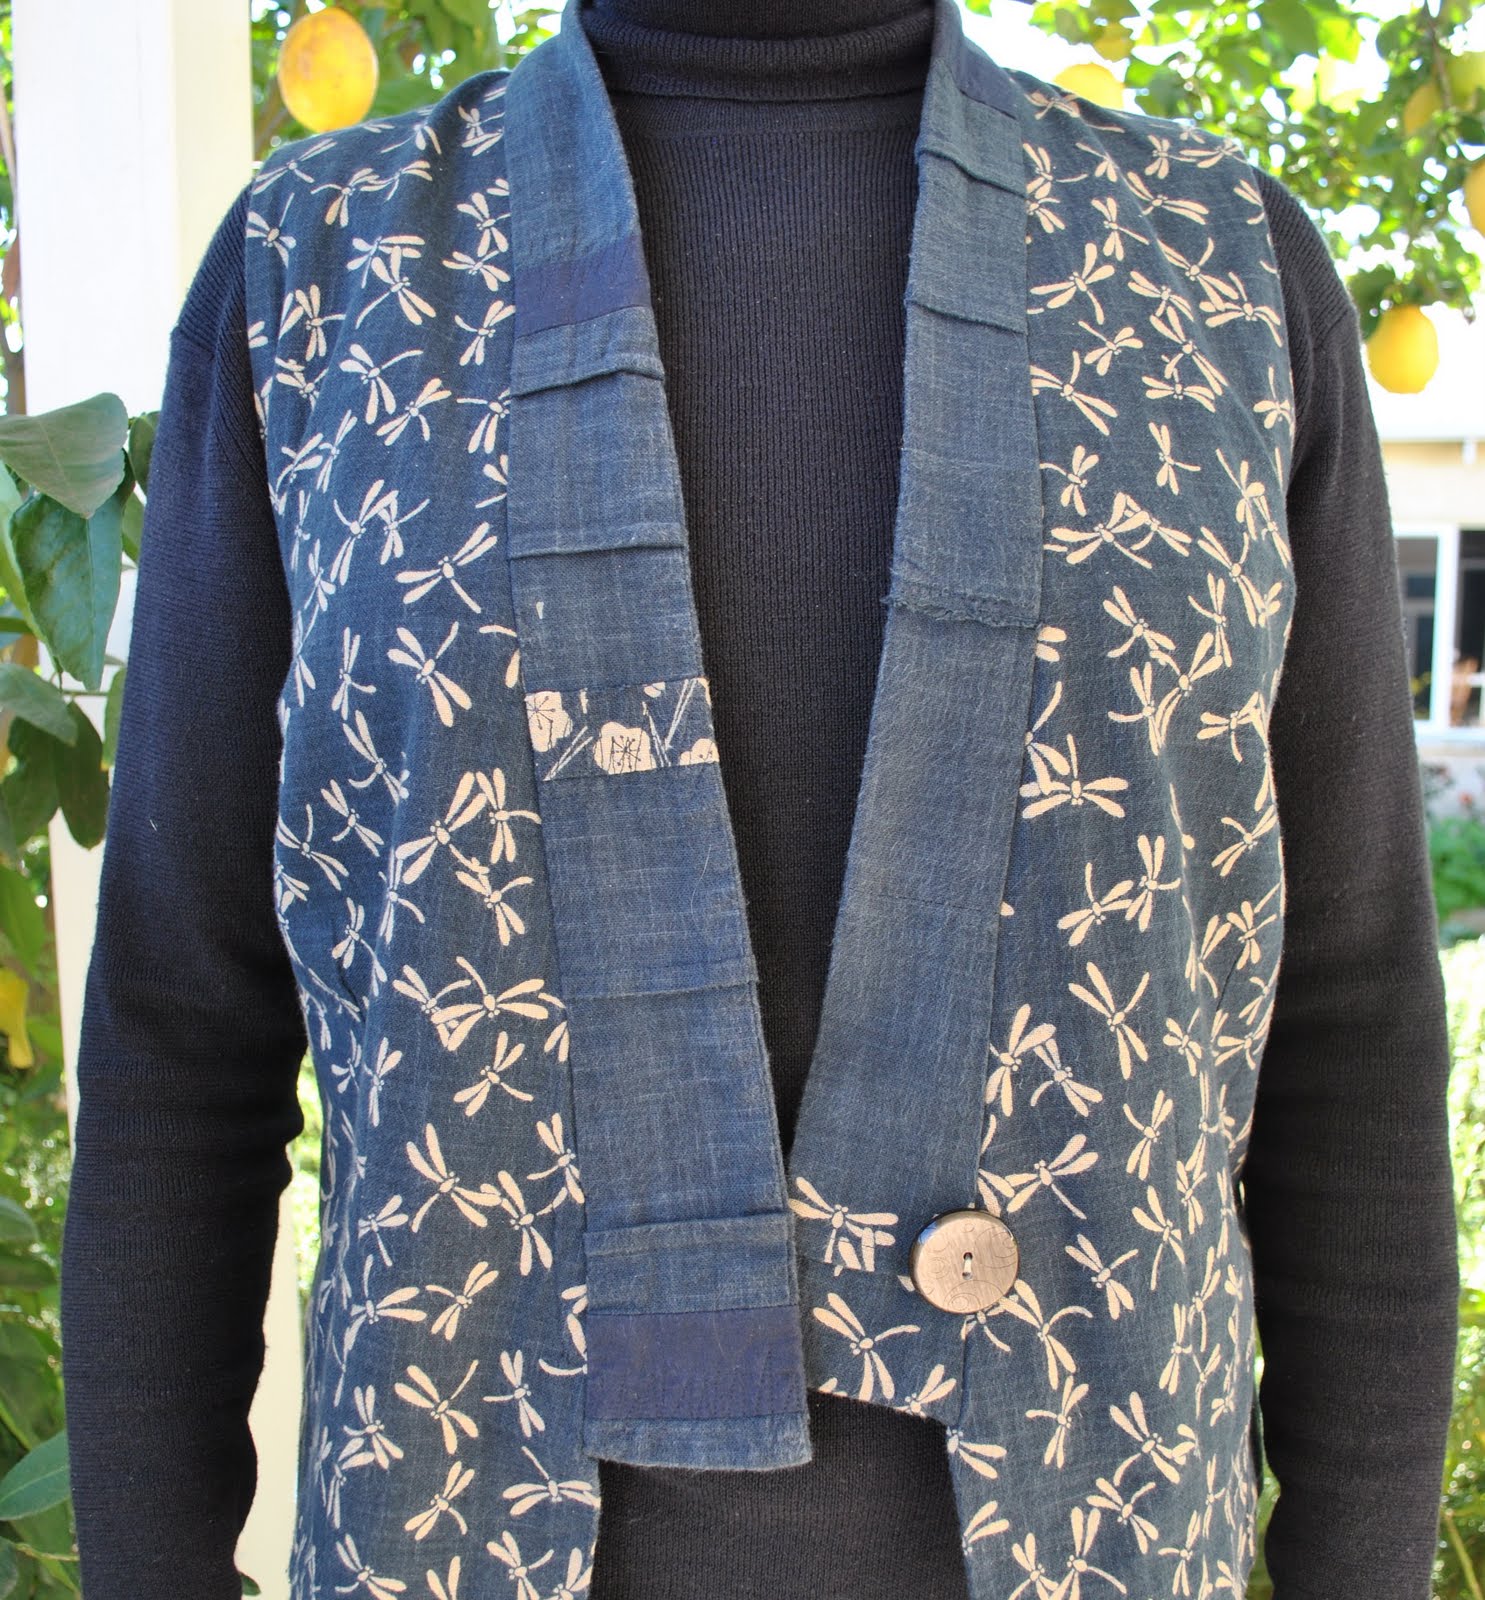
Details:
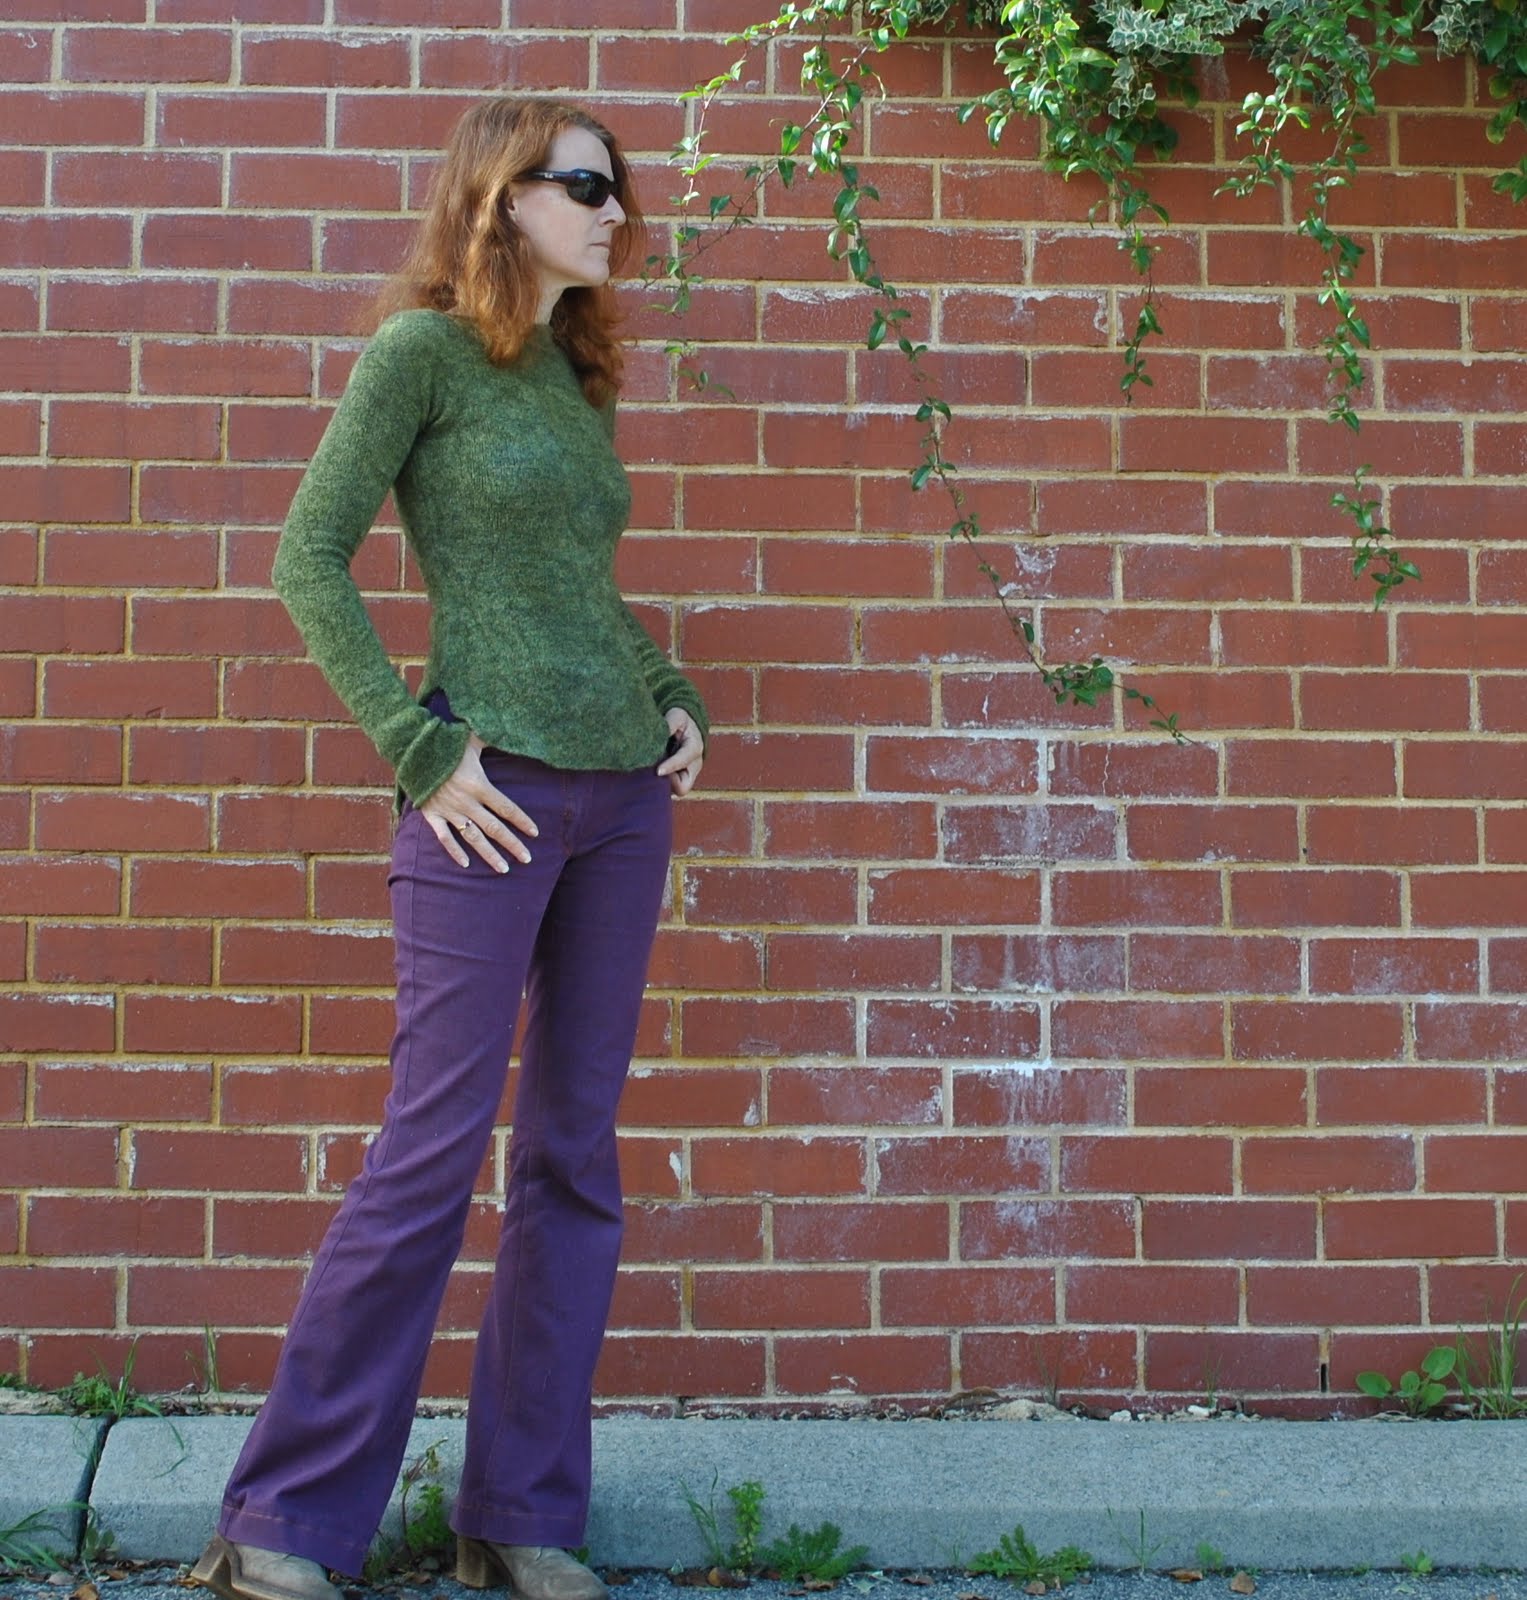
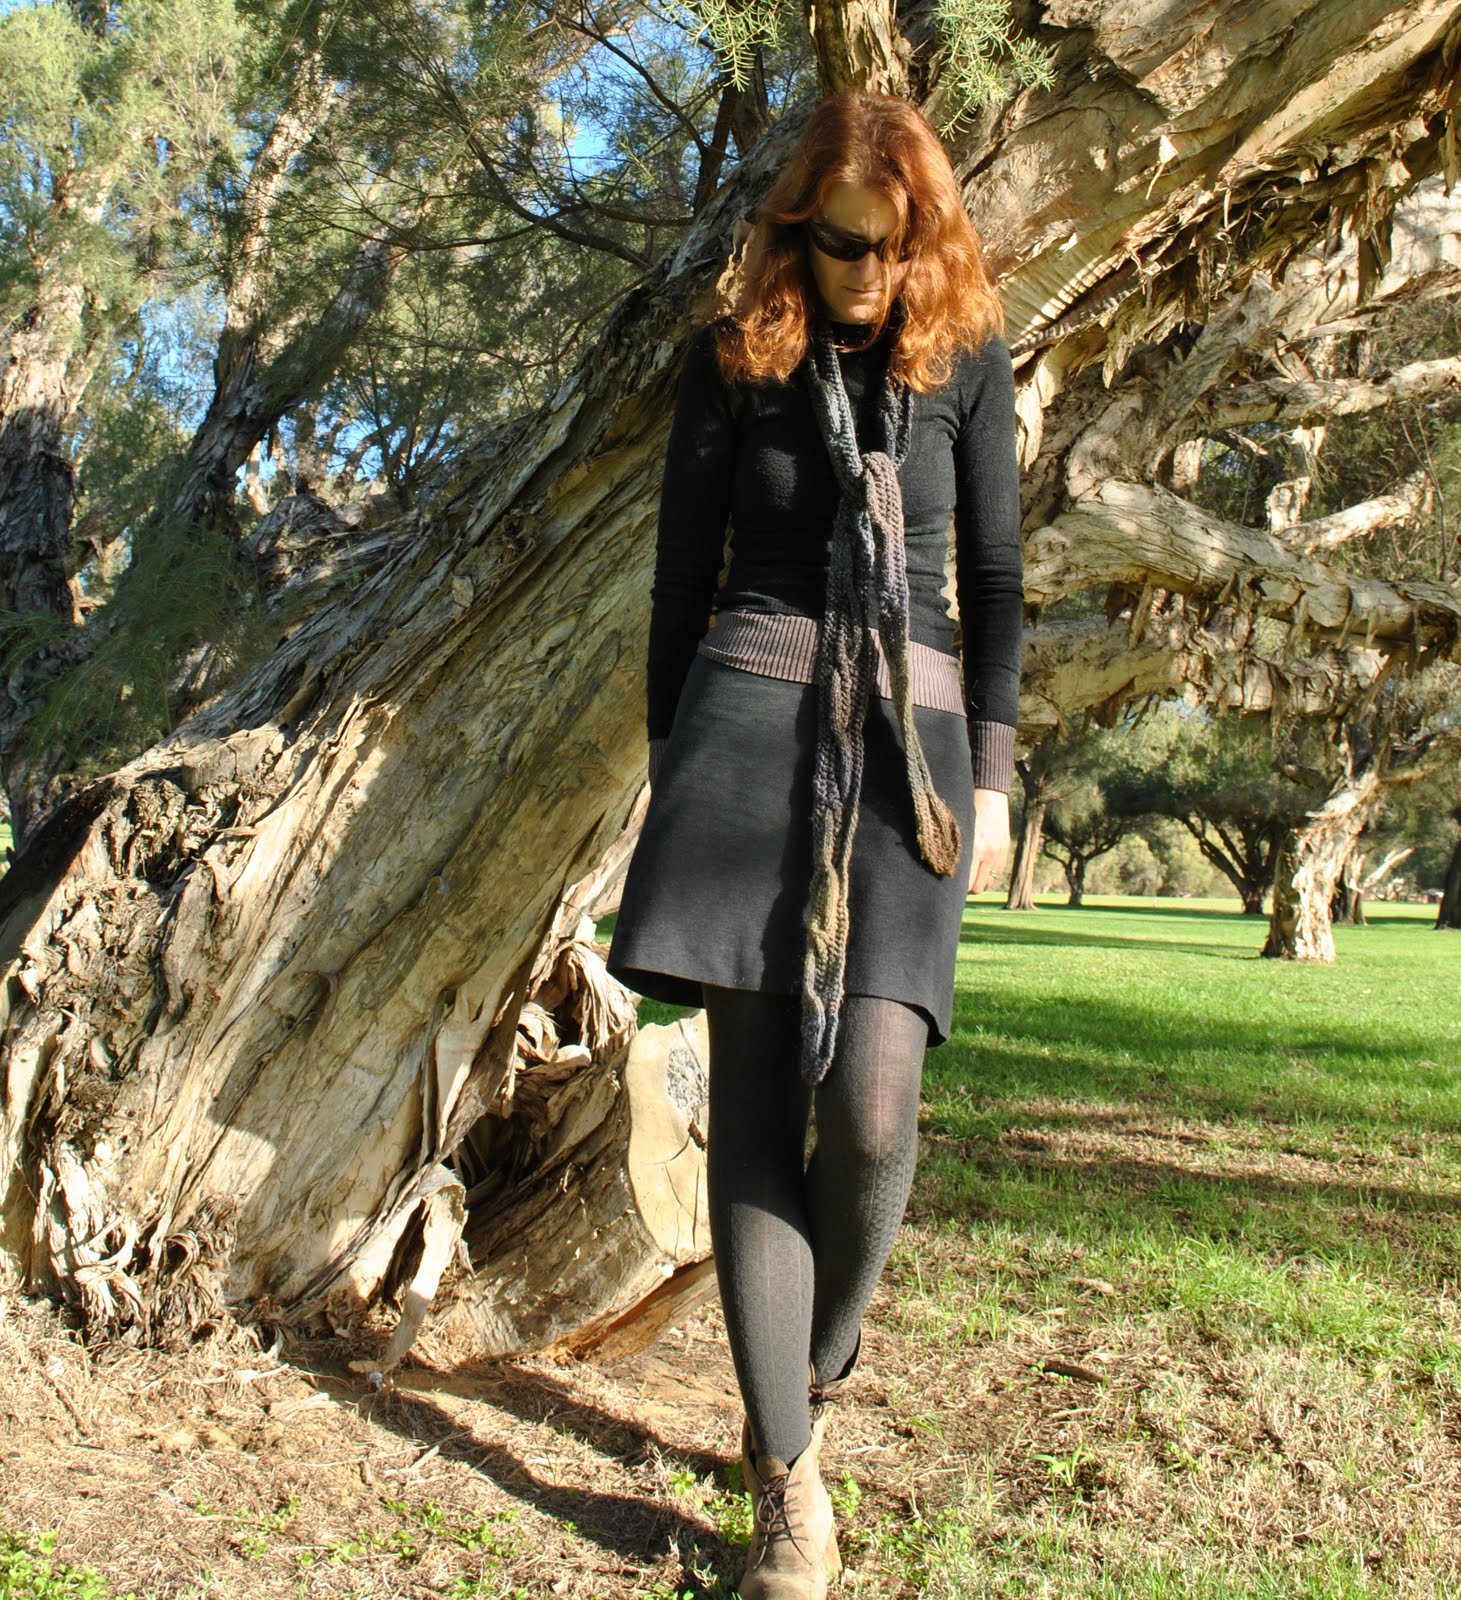
Top; Ezibuy (the indispensable one with holes in it, gulp!)
Cardigan; MNG Suit, found secondhand
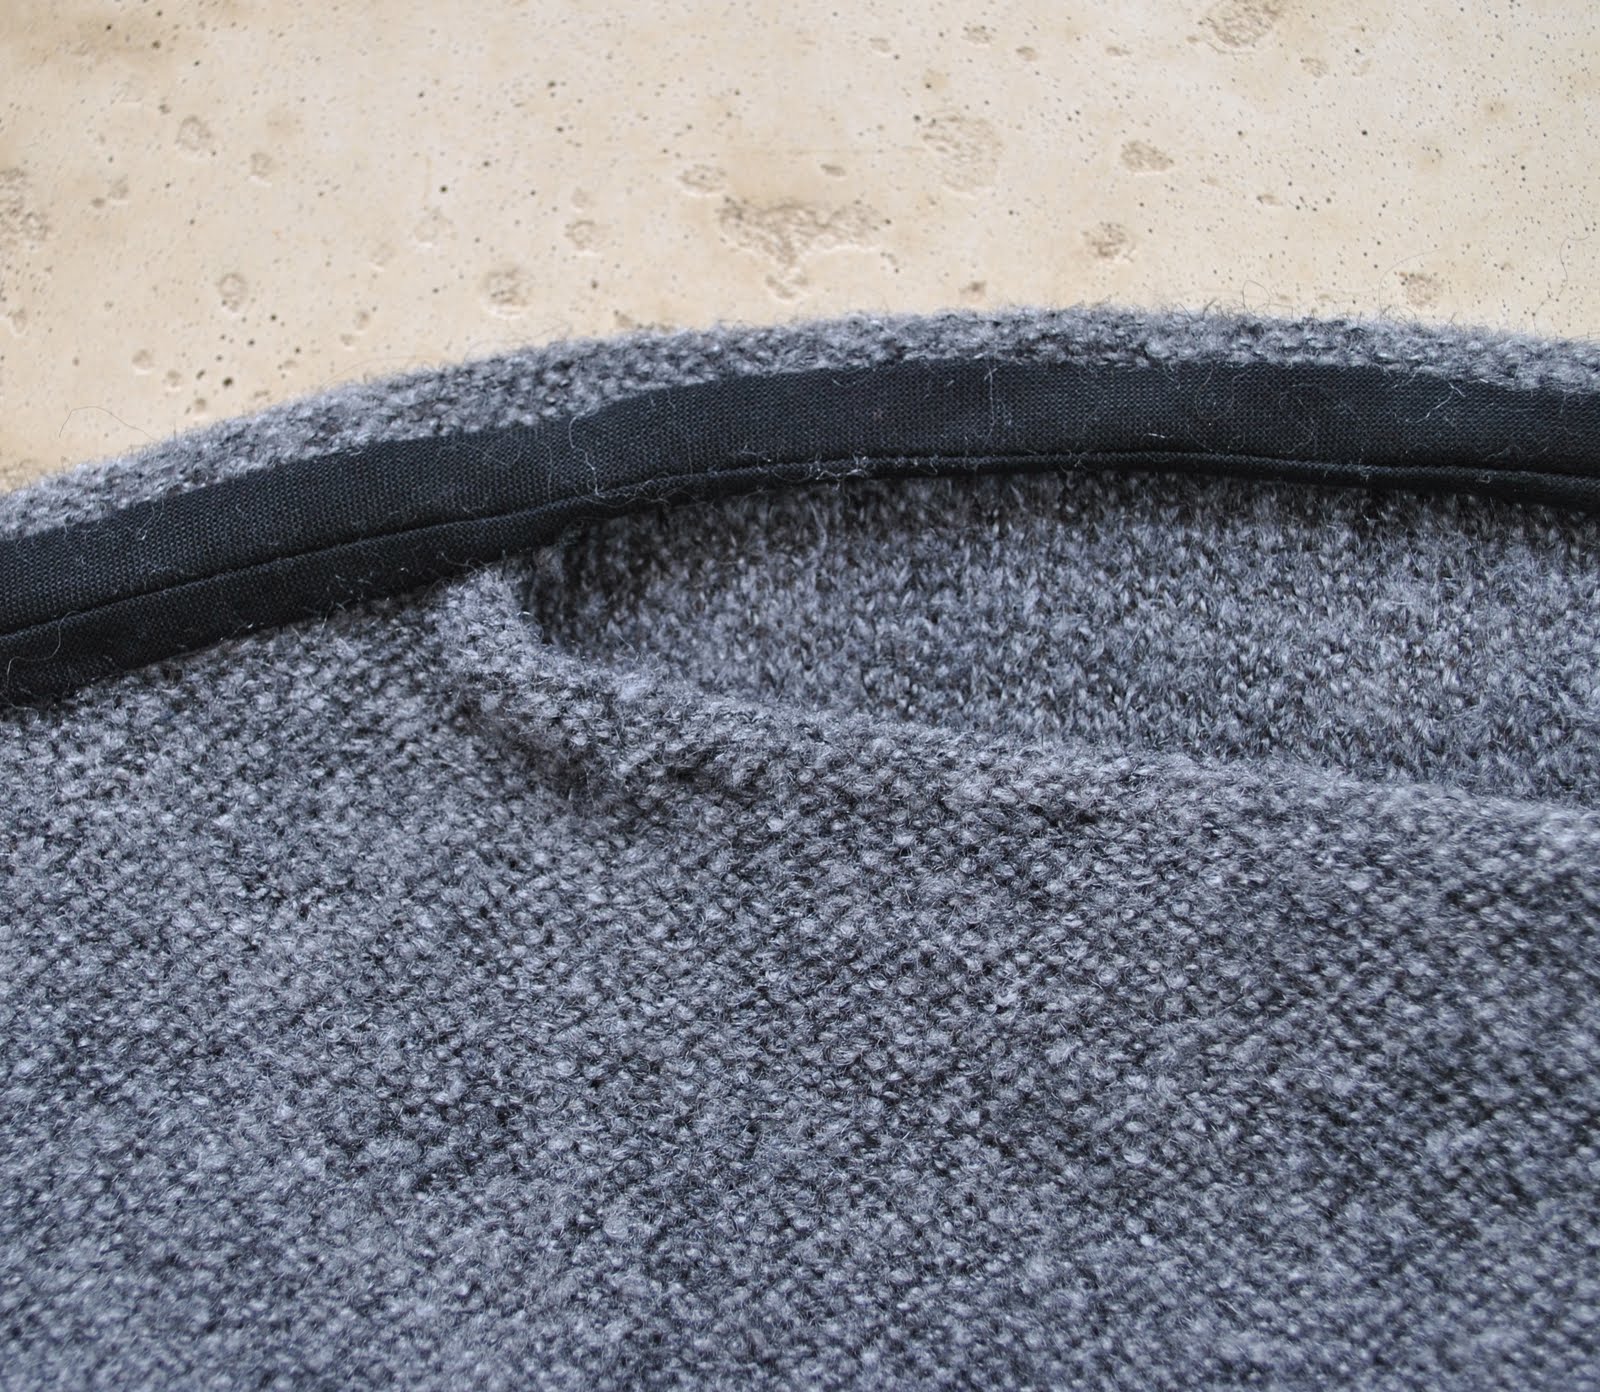
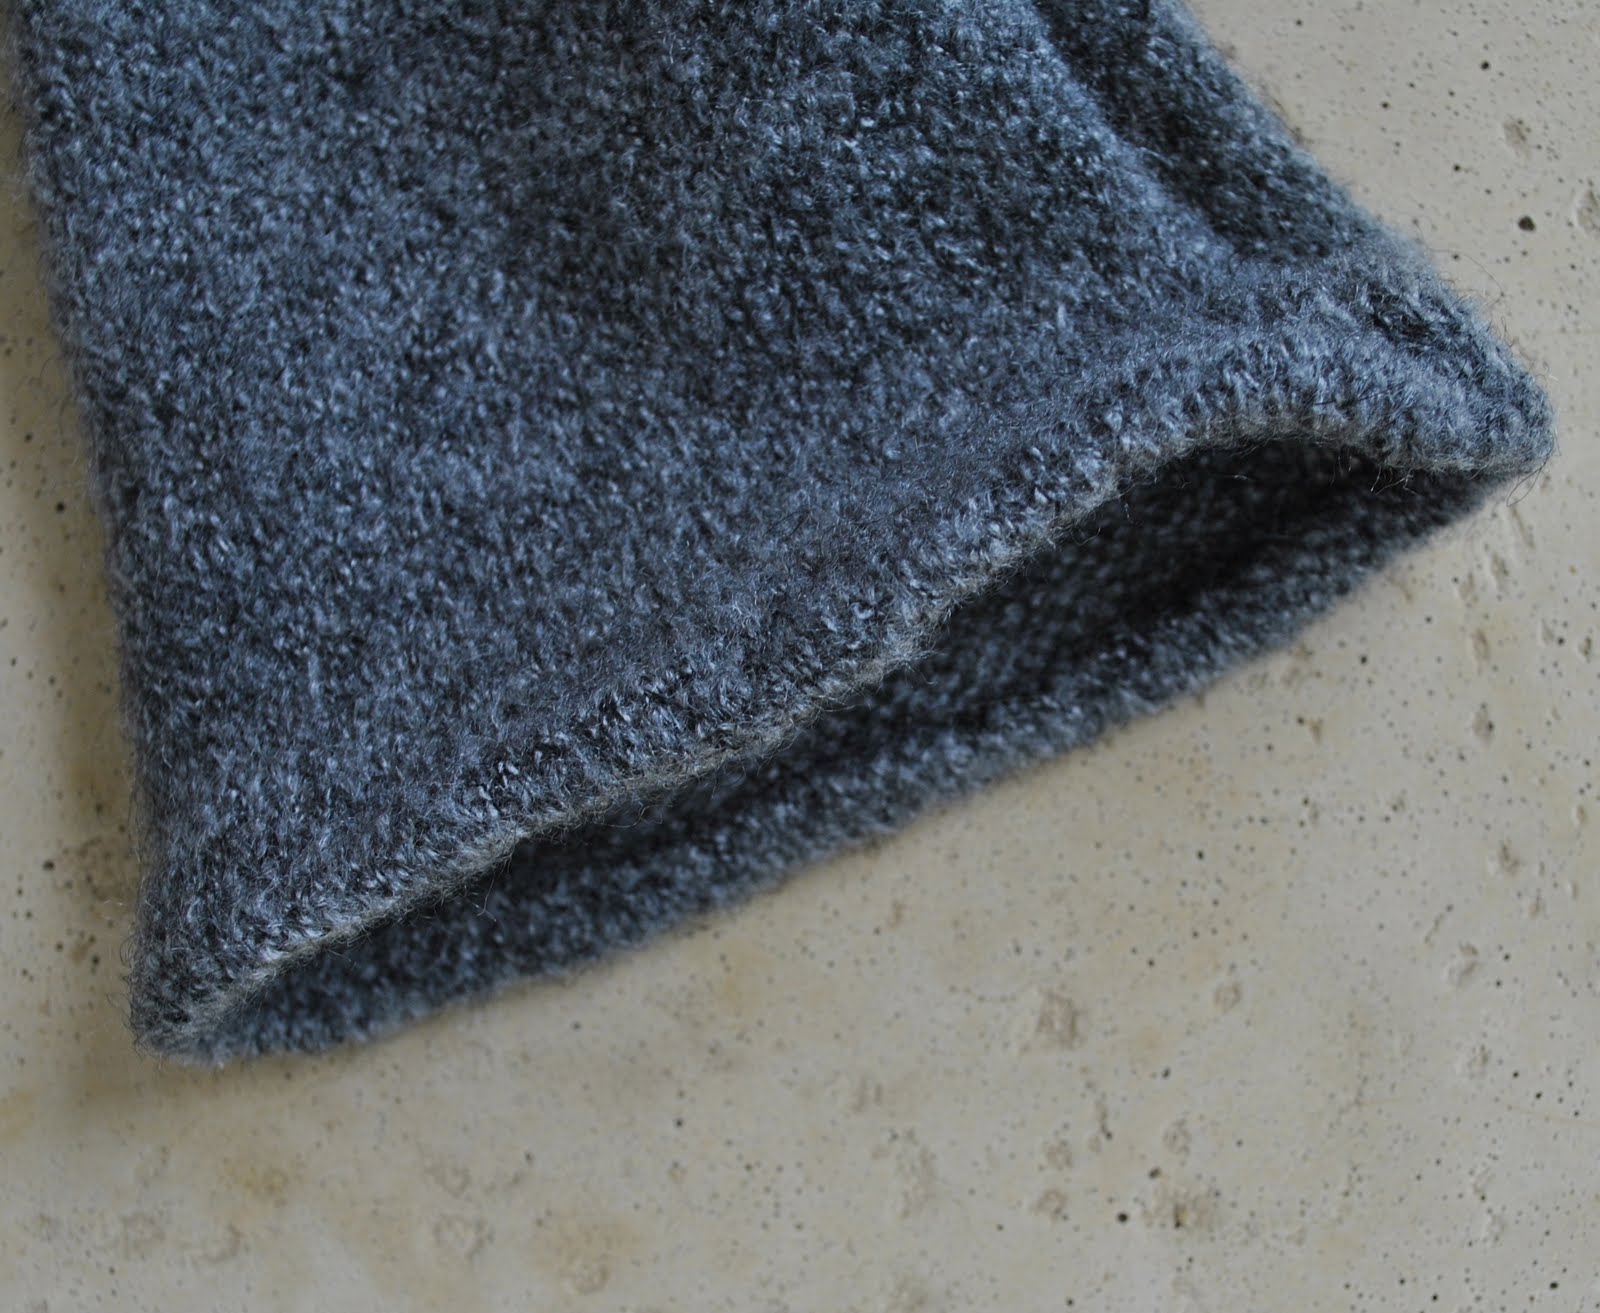
Jeans; Burda 7863 with modifications, black corduroy, details here
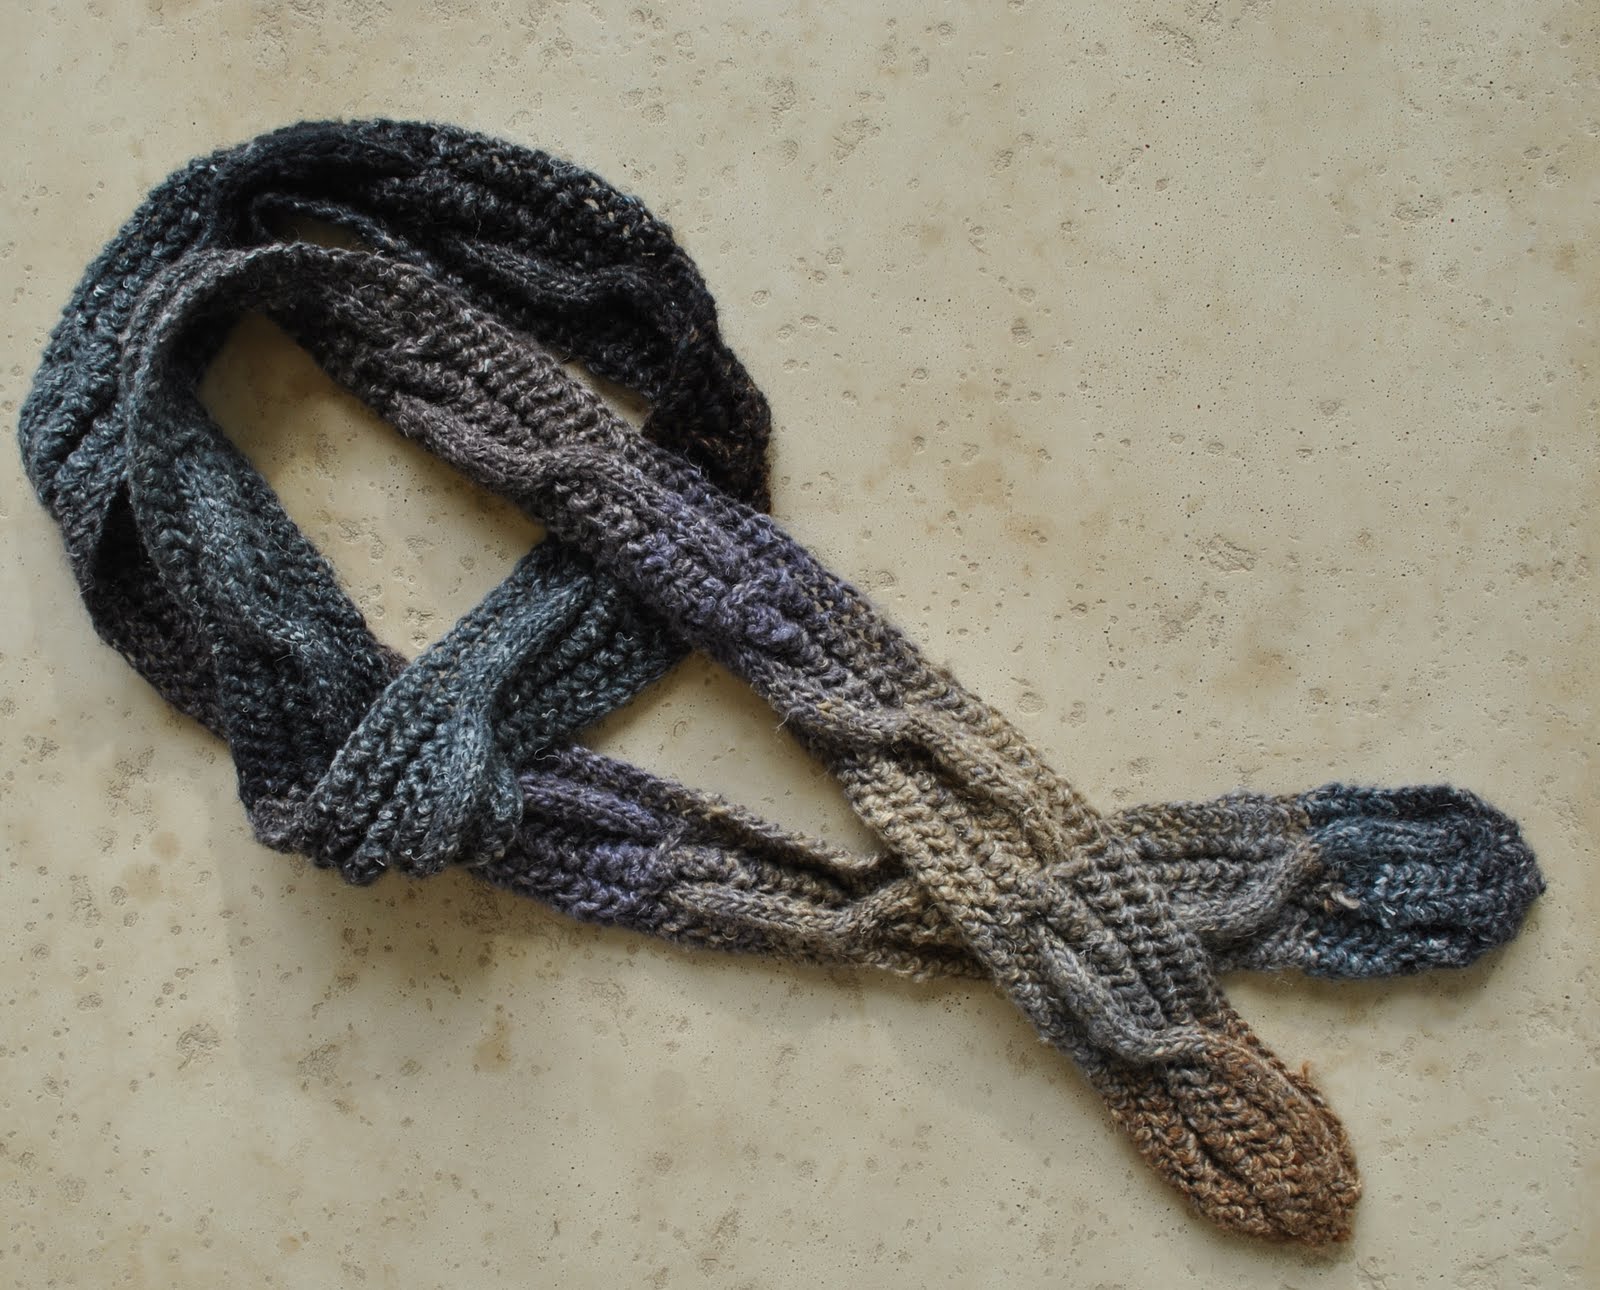
Scarf; dark crimson jersey, details here
(old and cruddy) hiking boots; Scarpa

pinterestmail

Sam’s quilt

An ongoing part of this blog is the documentation of stuff I have handmade in the past, including the small collection of quilts I have made for my family.  I have shown here before Tim’s quilt and Cassie quilt, now here is Sam’s quilt.
Like the others his quilt still lives permanently on his bed, but unlike the others has never had to be repaired and, apart from some fading of the colours, is in very good nick.  This is probably due to three reasons; firstly probably because it is the newest of the three, but also possibly because Sam is not the sort of boy who played on his quilt like the other two did.  He liked to hang out with his older brother and sister so would go and play on their beds instead!  And lastly, because I had finally learned about finishing a quilt in the traditional way this one is actually finished off “properly”, if there is such a thing!
The design is a simple arrangement of squares of fabric that I chose because I liked them, and I thought the soft antique-y shades of yellow, red and blue suited Sam’s sunny but shy personality.  The squares are enclosed and showcased in a grid of pale yellow strips.  The quilt is bound in the traditional method with self-made bias binding.  Each of the squares is bordered by hand-quilting.  I embroidered my name in the bottom corner and the year in which I made it.
Every now and again I read on the internet about the “slow-sewing” movement; a trend that is about taking the time to appreciate the sewing process and work meticulously and carefully on getting a perfectly handcrafted result…  Of course, nearly always such references are about a garment of some sort; a project that would take a few months at the most, whereas to the quilting fraternity (sorority) that time-frame is hilarious!  
A handmade quilt is the very definition of slow sewing.  Making someone a quilt is a labour of love, not a project to be taken by someone after a quick-fix result.   Each of the quilts I have made has taken me a year to complete; no exaggeration.  I have usually machine pieced the top so this can be put together in a few days, but the hand-quilting process takes at least a year.  Anybody who has made a quilt will attest to this highly labour intensive hand-made craft, so I always have enormous respect for people who quilt.  I don’t think I personally have the patience for another quilt (although I have at least one more, I think, to show here.) so I am pretty proud of these that I have made!

pinterestmail

Horrible colour, begone

So, as I mentioned last post, colour

Exhibit one; some grey synthetic knit stuff from the remnant bin.  Remnant bins are a terrible trap really, aren’t they?, the fabrics within can be so tempting pricewise, and the truth is they might not be very “you” at all.  So in a moment of madness I was swayed by this mottle-y grey fluffy stuff and brought it home, and eventually got around to making up a top and donned it, and it looked more than a bit awful.  No I wouldn’t even take a picture of myself to show here on the blog; I looked pale, and ill, and … awful.  The shape of the top was OK and I liked the monastic roughness of the fabric combined with the simplicity of the silhouette, it was just the colour that was the problem here…  So it was off to check out the dye section.  I was pretty sure the fibre composition here was mostly synthetic, so I bought iDye Poly for synthetics, in Yellow.

Et voila!

I was just hoping to just get a more yellow-y shade of grey out of this that would be more flattering to my complexion; but imagine my delight at this wonderful moss-y green that resulted!  Obviously the grey had far more blue in it than I realised, and I’m sure we all remember from our paint mixing days in art class at school that blue + yellow = green.  This is a prime (haha!) example right here…

Construction details; I drafted the top using one of my other Tshirts as a guide.  The fabric remnant I had was cut off at a funny angle, necessitating the curved lower front hem. I matched this curve on the other side of the front, but I left the back pieces straight for a contrasting hemline.  Initially I meant to curve the back hem too, but I think I like that contrast now.  Both lower hems are unfinished, and after more than a few washings that the garment received during the dyeing process, I can report the happily un-fray/ravel-abe nature of the raw edges of this knit.  However I did handstitch the sleeve hems in a rolled edge.  The neckline, well I tried to be sort of clever here, and apply a bias binding that would both enclose and stabilise the shoulder seams inside, and as well as finishing the back neckline.  This turned out to be a trickier exercise than I thought to achieve my desired effect, but I think I pulled it off.  The front neckline is rolled to the outside in a tight little roll, and hand-stitched down.  (these pictures taken before dyeing, obviously!)

Final summary; well to think I started out with fabric that was, let’s face it, a bad purchase since I wouldn’t have bought this fabric at full price off the roll, and then finally managed to get something that I am actually happy with; ultimately a successful project.  I’m still not in complete love with the fabric, it is a tad cheap and scratchy but the new colour is so wonderful, and was a far more perfect-for-me colour than I was hoping for.
On that note, does anybody know of a good source of pure wool knit fabrics…?

Details:
top; my own design, from (originally) grey synthetic knit stuff dyed using iDye Poly in Yellow
Jeans; Burda 7863 with some modifications, purple stretch denim, details here
Shoes; Francesco Morichetti, from Zomp shoes

pinterestmail

Blue and green, etc

We all remember that silly ol’ saying about blue and green never to be seen (together), but I love blue and green together.  Particularly because teal and turquoise, both quasi sort-of versions of both the blue and the green factions, are amongst my favourite colours.  I wore this outfit yesterday, on a very nice morning tea outing with my lovely sister-in-law A…
You know, when I first made this coat I was a little sad that I didn’t have enough fabric to make the full length sleeve, and these half sleeves were the only option.  If I had had enough fabric, the truth is that I would probably have gone for longer sleeves….  but now I have them I am actually very happy at the serendipitous misjudgement on the part of my former fabric-buying self!  The reason?  quite apart from that gloriously feminine and distinctive shape; grey is a fabulous colour for winter clothes; practical and “serious”, neutral enough so all other colours look good against it, and unobtrusive enough that one is not going to tire of it easily… but even in the dead of winter it is nice to have a little bit of colour somewhere in the ensemble to set the mood, and this coat with its half-sleeves has turned out perfect for wearing different layers of of whatever colour is currently taking one’s fancy on the arms, and ditto for my charcoal Pattern Magic gathered hole dress… that hole!  who would have thought it would be such a great idea introducing a great little splash of colour into the ensemble!  (should have taken a picture sans coat but didn’t, meh…)
Colour is starting to occupy my thoughts more and more, and particularly the fact that one is so restricted by what is available in the fabric store.  I am starting to entertain more fantasies about dyeing my own shades… and particularly in the wake of a recent success in the dyeing department, which right now as I type these very words! is drying on a clothes horse in our living room and which I am quite excited about showing here soon…!
So watch this space… and wishing you all a wonderful weekend!

Details:
Coat; McCalls 5525 view B, charcoal wool, details and my review of this pattern here
Dress; gathered hole dress from Pattern Magic by Tomoko Nakamichi, charcoal wool mix, details here
Navy tights, teal top, and turquoise scarf cardi; Metalicus
Boots; Andrea and Joen, from Uggies in Dunsborough

pinterestmail

Mum’s dragonfly vest

I hasten to point out, not my work at all but another clever example of Mum’s creativity…  A vest made of Japanese linen; resist dyed, with a lovely dragonfly motif in the natural linen, and the background in traditional indigo.  The vest is unstructured and quite loose-fitting; the interesting and creative part here is the unique collar and front band.  Instead of going the pedestrian option of cutting the band in a single length of cloth with no features and letting the dragonfly fabric of the vest do the talking alone, Mum has made the band a feature in itself by sewing together a random arrangement of patches and strips, including pintucks and exposed selvedge edges, a coupla patches of the dragonfly fabric, and sudden and unexpected crazy zig-zaggy machine-stitching (hard to see here, but they are there!)   The vest has a single HUGE coconut shell button…
Thank you Mum for letting me share this inspirational sewing moment!
(Later edit: the pattern Mum used is Vogue 8454)

pinterestmail

Pattern Magic twist top; take 3

So, I had originally bought this heavy cream knit stuff with the intention of re-creating exactemente the dress on the cover envelope of Vogue 1087 (below, right), and obviously got disenchanted with the idea since it sat in my stash uncut… and I did start to think, do I really need another dress, when my winter lifestyle is more oriented towards separates, and since doing Me-Made June I have identified a need for tops not dresses… Luckily, creamy coloured stretchy stuff is not that sort of demanding fabric that is only going to suit one and one only type of garment, and so I changed tack.  Hehe, actually not a hugely surprising turnabout since this twist top from the Pattern Magic book is a pattern I have made up twice before and adore, and the colour is hardly a break-away for me either, but still!  I’m in love with this new top already…
I’m sure you are wondering what this intriguingly sculptural one-pattern-piece top looks like when it is laid flat…  no?  Well, since I have just brought it up and no doubt piqued your curiosity, I shall now proceed to satisfy it… kind of me, no?  Below is my older, but the same pattern, charcoal top, now washed and worn for about a year now so maybe has got a tiny tad mis-shapen over the last year, but you get the idea….  When it is on those skewiff details pull the top in to hug one’s body beautifully and make for a very flattering silhouette.   The cream jersey I have used to make this new version is quite a bit stiffer than the charcoal, and has less stretch, so getting it on is kind of a struggle.  But once it is on it feels great!  I do love a firm snug top, especially in the winter time.

Details:
Top; the twist top from Pattern Magic, by Tomoko Nakamichi, heavy cream knit stuff from Knitwit
Skirt; skirt “d” from Unique Clothes Any Way You Like, by Natsuno Hiraiwa, silver grey crepe, details here, and to see this skirt styled in 6 different ways go here
Tights; Kolotex
Shoes; Django and Juliette, from Zomp shoes

(below; a spectator…)

pinterestmail

Winding cable scarf; grey and brown

This is a scarf I finished last year, but never blogged about for some reason, which is peculiar since I have worn it once or twice… just never got around to photographing it, I guess.  I discovered it anew in my recent winter woolies sort-out.
I knitted it using a pattern that was just on two photocopied, typed sheets stapled together, from Calico and Ivy from where I bought the wool; so I expect it was probably designed by one of the talented ladies at that store.  The design is a cable but instead of twisting over and over the same way to finish up with that classic barley twist cable design; in this design the cable was twisted first one way then the other, so you end up with a meandering cable, that loops in and out of the scarf in a lazy snake-through-the-grass kind of a way.  It is cleverly reversible, so both sides look pretty much identical; thus satisfying a slight pet peeve of mine about right-side-and-wrong-side scarves…  The ends are tapered to a lovely curved arrowhead point, quite an unusual feature.  I should wear it more because I always get compliments for it, but I have this feeling that being of an eclectic mix of neutrals that it doesn’t end up going with any colour much except for other neutrals!  Yup, I am very strict about how I mix my neutrals and my colours; I have quite firm views on which colours go together and which colours don’t, and the shade is so vital and just has to be taken into consideration also… I know, pretty neurotic huh?
 Anyhoo, the long and short; this scarf looks great with other earthy neutrals, but I don’t tend to ever wear it with any actual colours.  So perhaps not as versatile as I first envisioned when I selected this wool!
The wool is a Noro yarn, hand-dyed in Japan, and I’m afraid the tags with the type of yard and the colour  has long been tossed out…. so I cannot provide you with this info.  Sorry!

Details:
Scarf; hand knitted by me, using Noro yarns, to a design by Calico and Ivy
Brown top; Metalicus
Black top; Sexy Woman, found secondhand
Skirt; my own design; charcoal jersey knit
Tights; Spencer Lacy
Shoes; Francesco Morichetti, from Zomp shoes

pinterestmail

A few more memories

Here are two more of the little outfits that I made for my children when they were little, along with some other cute outfits made by loving grandmothers…

The shorts and shirt set Tim is wearing here I made from two different blue print cottons; one striped and one spotted and with red contrasting cotton sections as well.  The little dress and matching bloomers that Cassie is wearing was made by my mother, and I made my own shirt and shorts I am wearing here (first seen here)

In this second picture, Cassie is wearing a little dress I made for her, of two different floral fabrics.  The skirt had sections of both floral fabrics, and the bodice was of one, and the sleeves, collar and button band were of the second fabric.  The shorts, and the screen-printed and appliqued Christmas snowman Tshirt that Tim is wearing here were made by Craig’s mother.  (yes, dressmaking for oneself and one’s family runs very deep in both our families!)
There is a kind of funny story behind the second picture…. Craig had brought home from work a couple of big bags of shredded paper, for me to play paper mache with the children one day.  Before that day could come, they discovered it in the wardrobe and I walked in to this exact scene, shredded paper all over my children, all over the carpet, and in fact all over every available surface in the room!  Of course, I couldn’t be cross because they were having so much fun, and were so happy and giggly I had to laugh too, and raced to get the camera.  Hilarious!  After they had extracted maximum fun from the shredded paper in that state, it took me about forty solid minutes to tidy up and vacuum the room afterward, all those tiny crinkly little miniature shreds stuck in the carpet!, but it was worth it as so much fun had been had.  Not the paper mache fun that I had originally planned, but a different but equally good kind of fun!

pinterestmail
Switch to mobile version
↓