Yearly Archives: 2012

You are browsing the site archives by year.

Blood Orange top; 6 different ways

Hey y’all peeps.
I’ve been
having a play around with my blood orange Vogue 1247 top… trying out different ways to wear it.
So… I might have said this before, once, or twice, or twenty times  😉  but I absolutely love brainstorming in my wardrobe
trying out different outfits like this.  It never fails to inspire me with
new and different ways to wear my clothes.  I frequently get tired with everything in my wardrobe and crave to break free of the
little “outfit ruts” I get into; and experimenting with unusual and different combinations really keeps my
pieces interesting to me and helps my wardrobe to achieve the fullest variety
of which it is capable.
Having said that; I have to admit that the first two looks are the two ways I wear this top and its older twin the clementine top, just about all the time.  But, I’m setting my sights on breaking free from that  😀


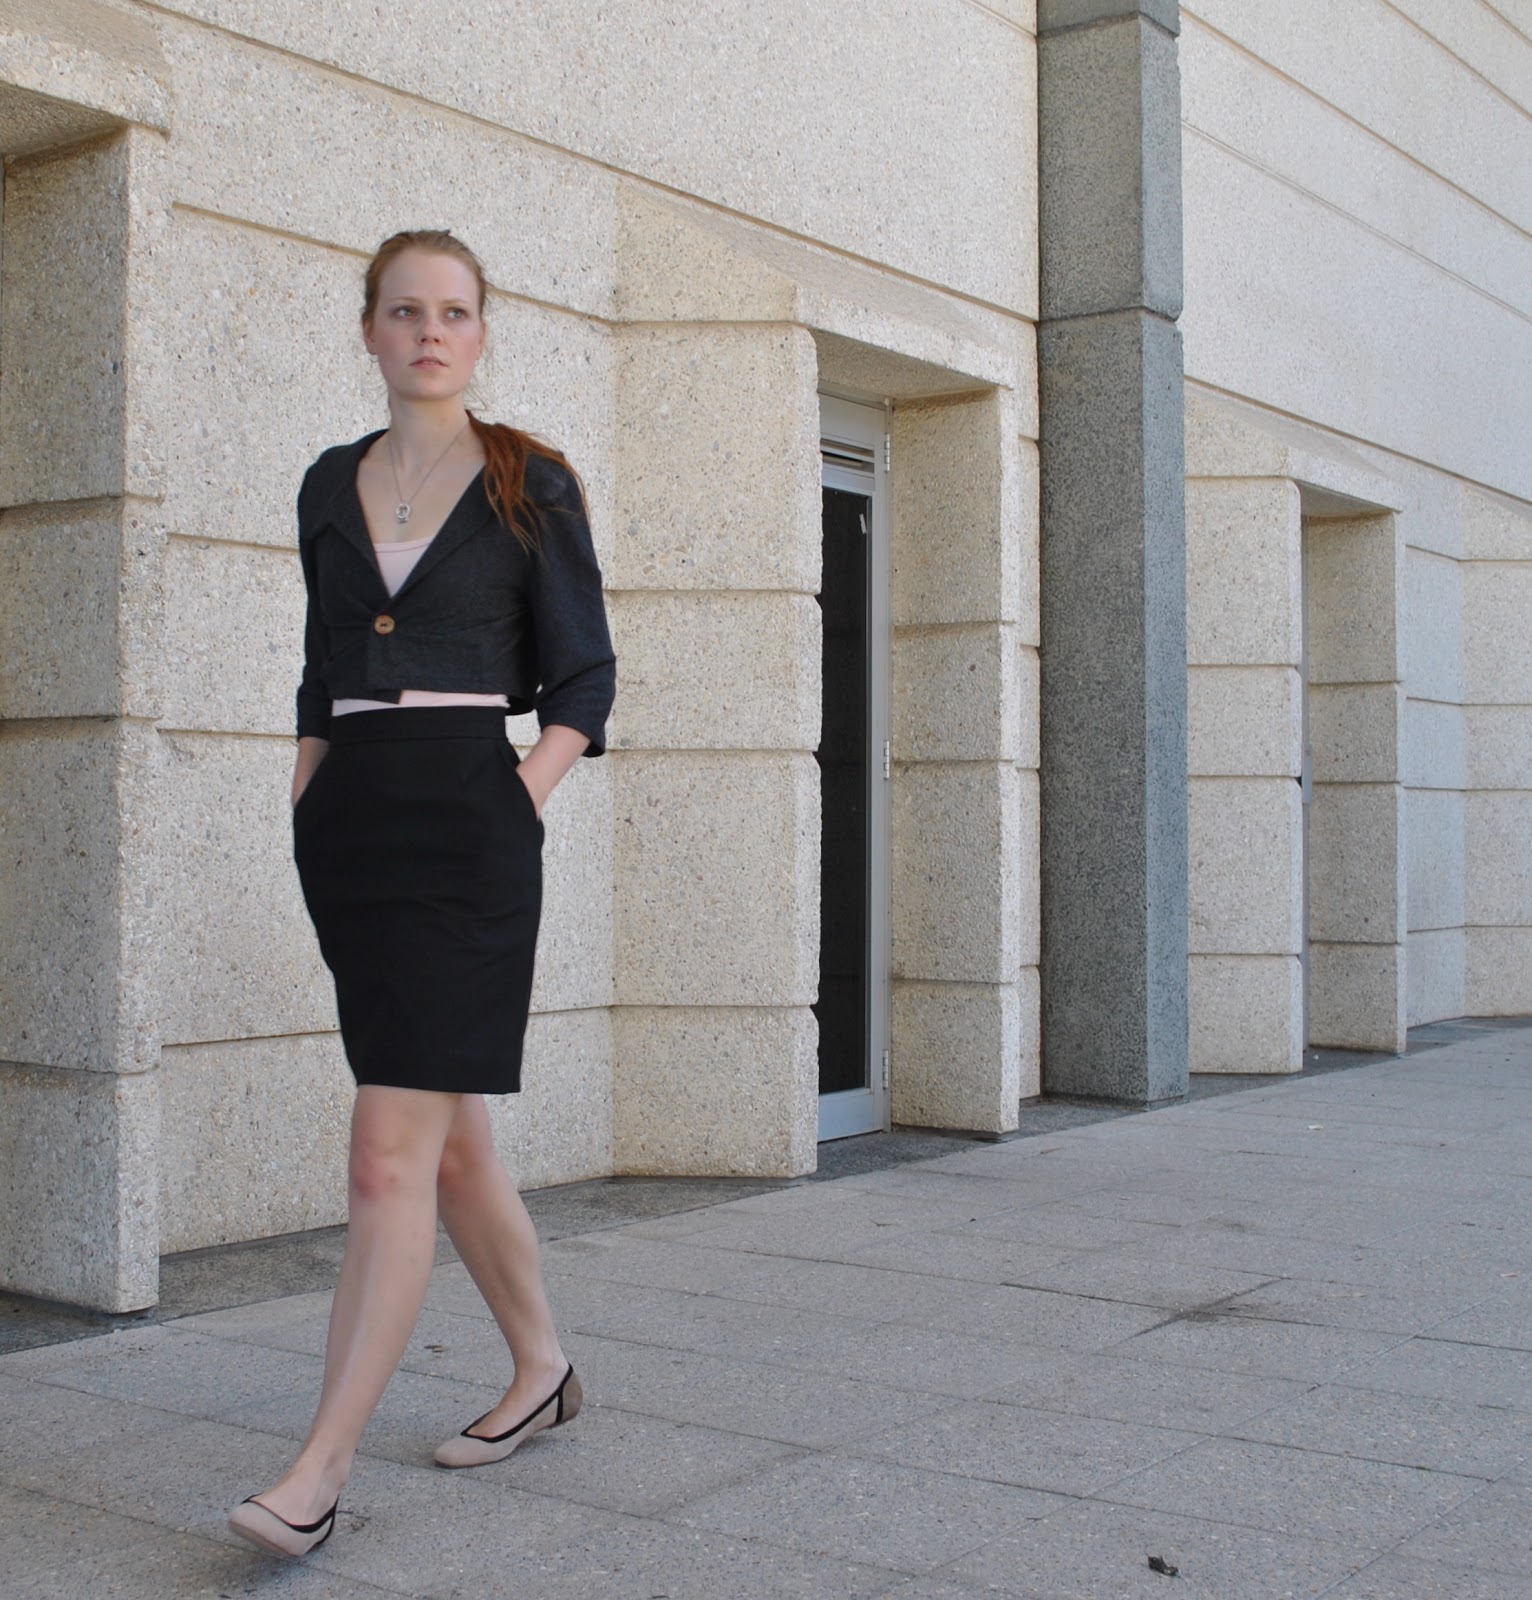
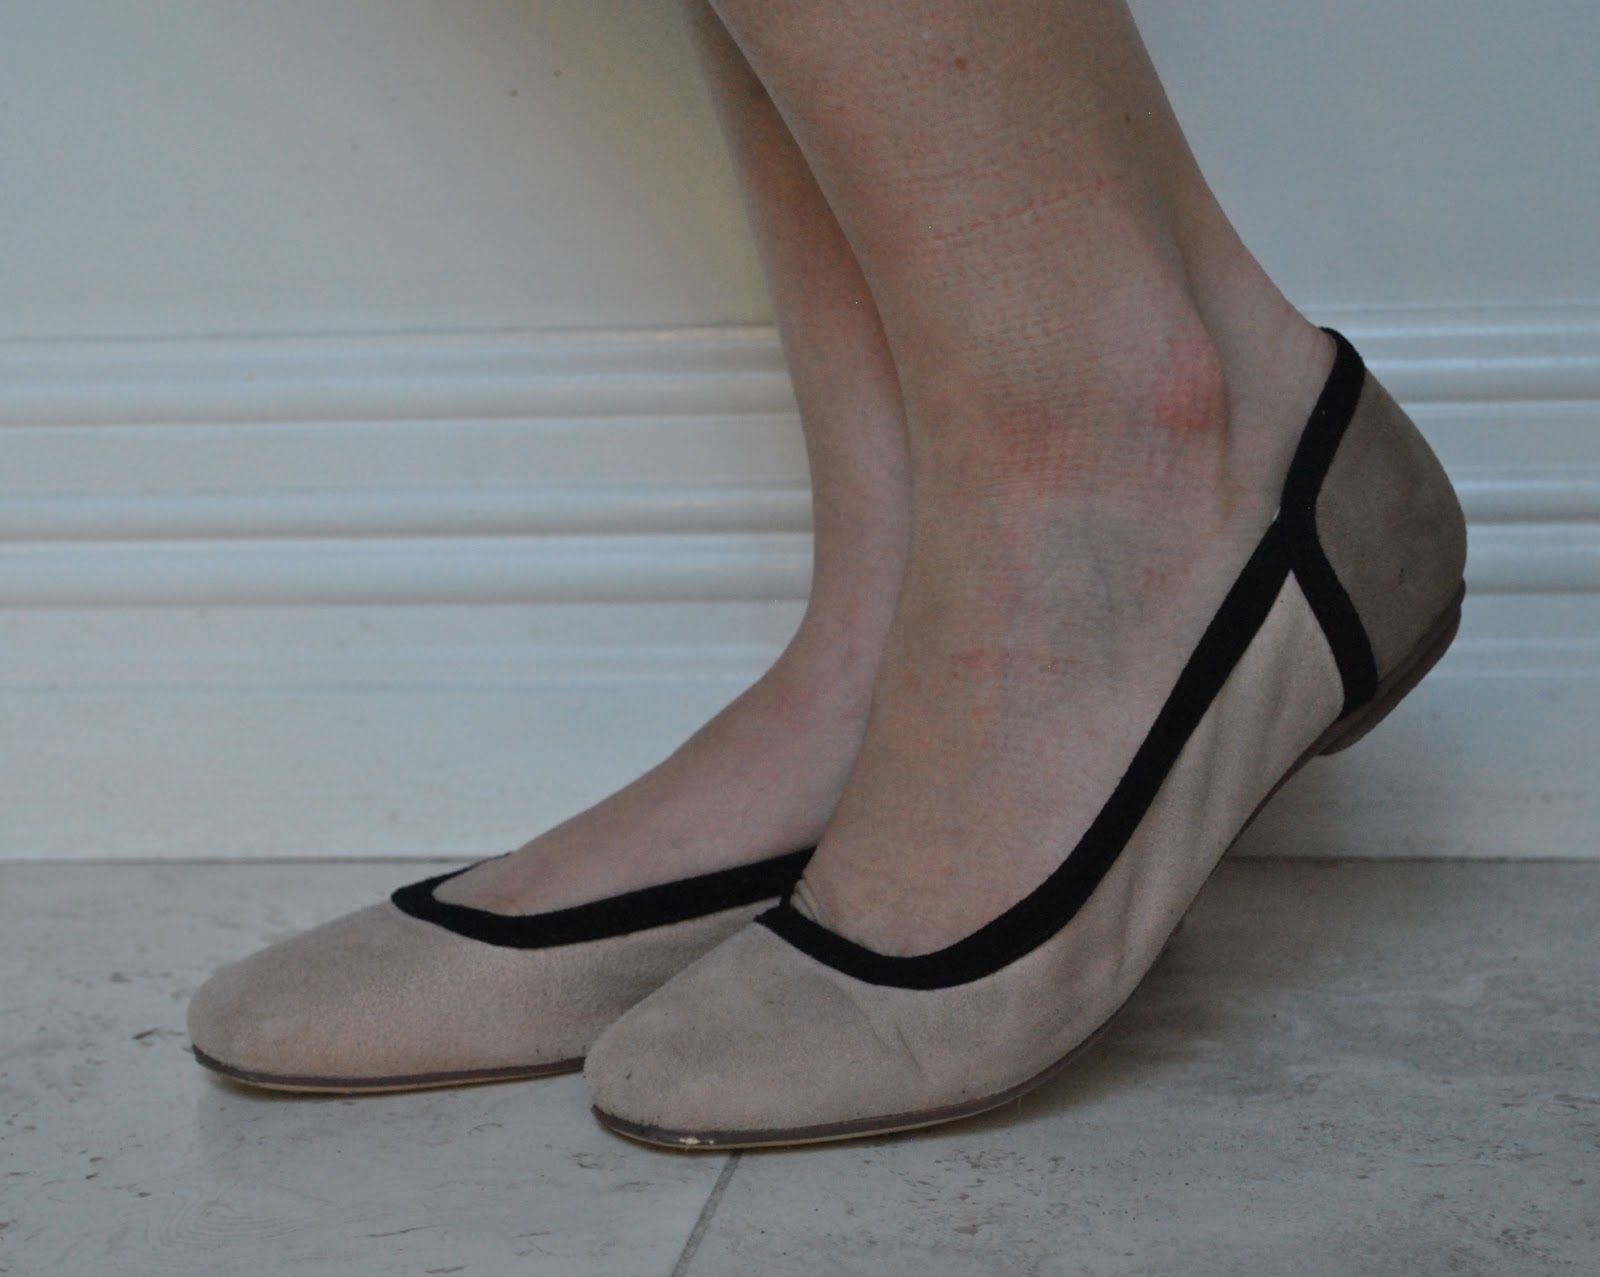
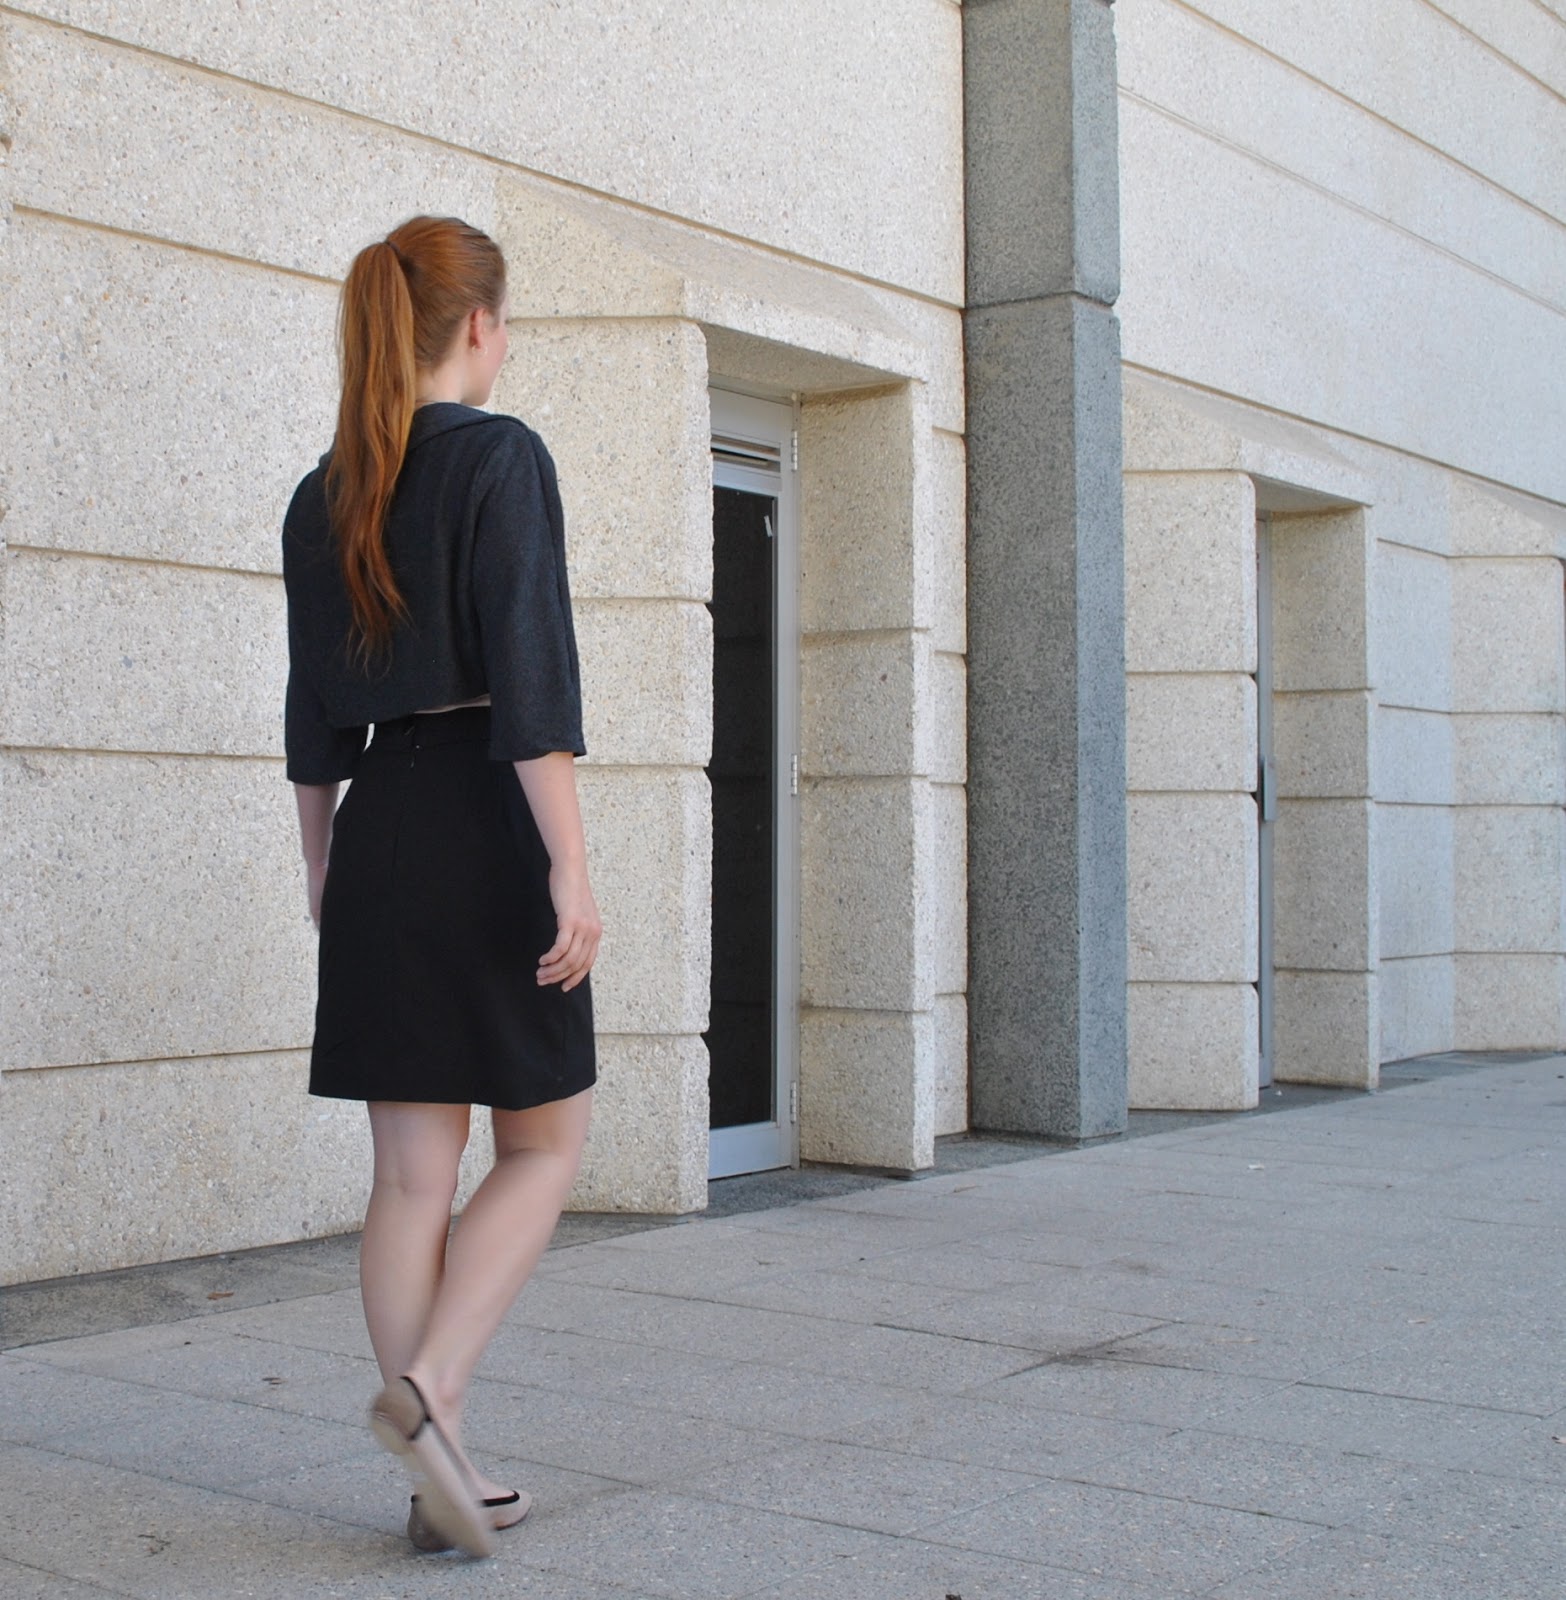
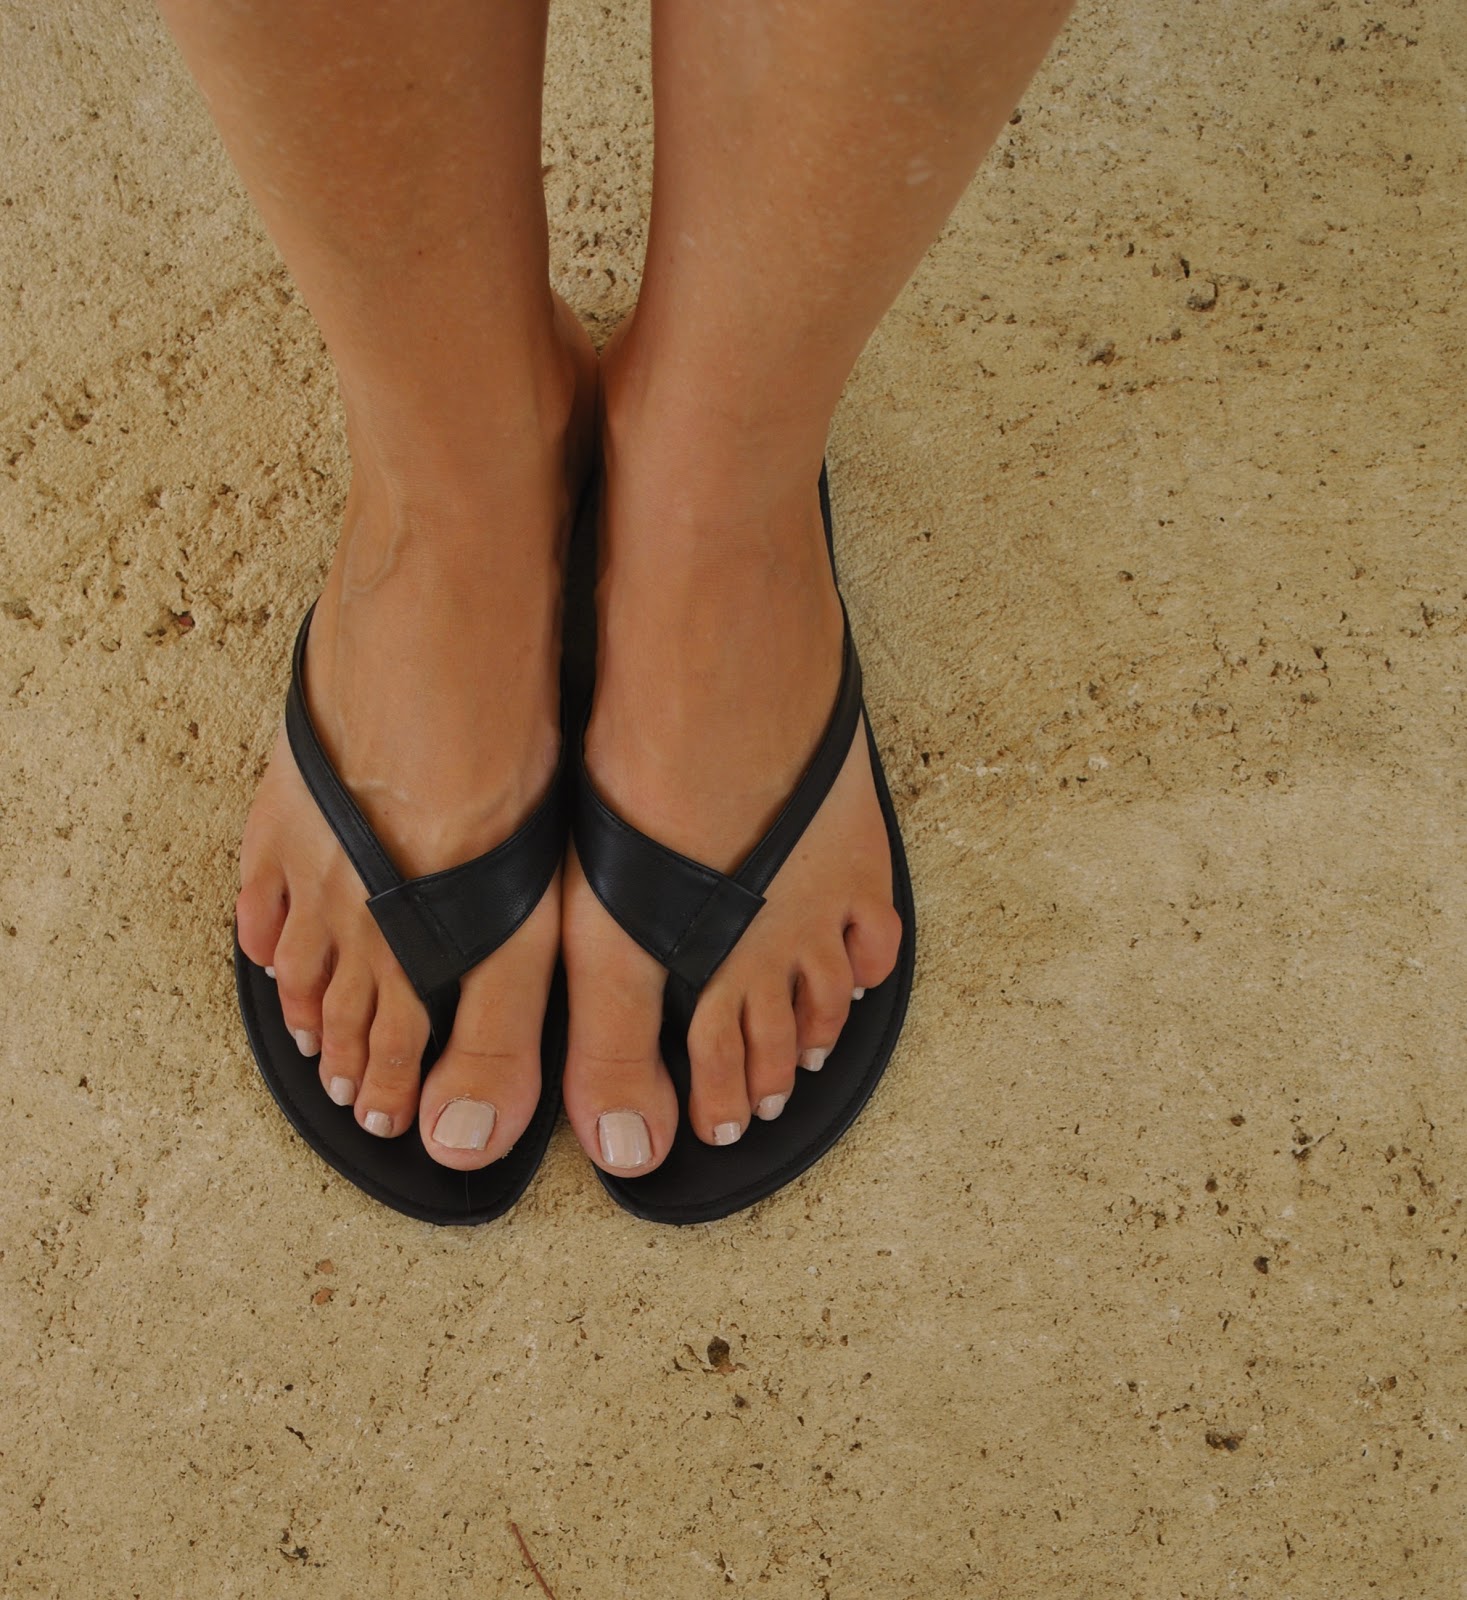
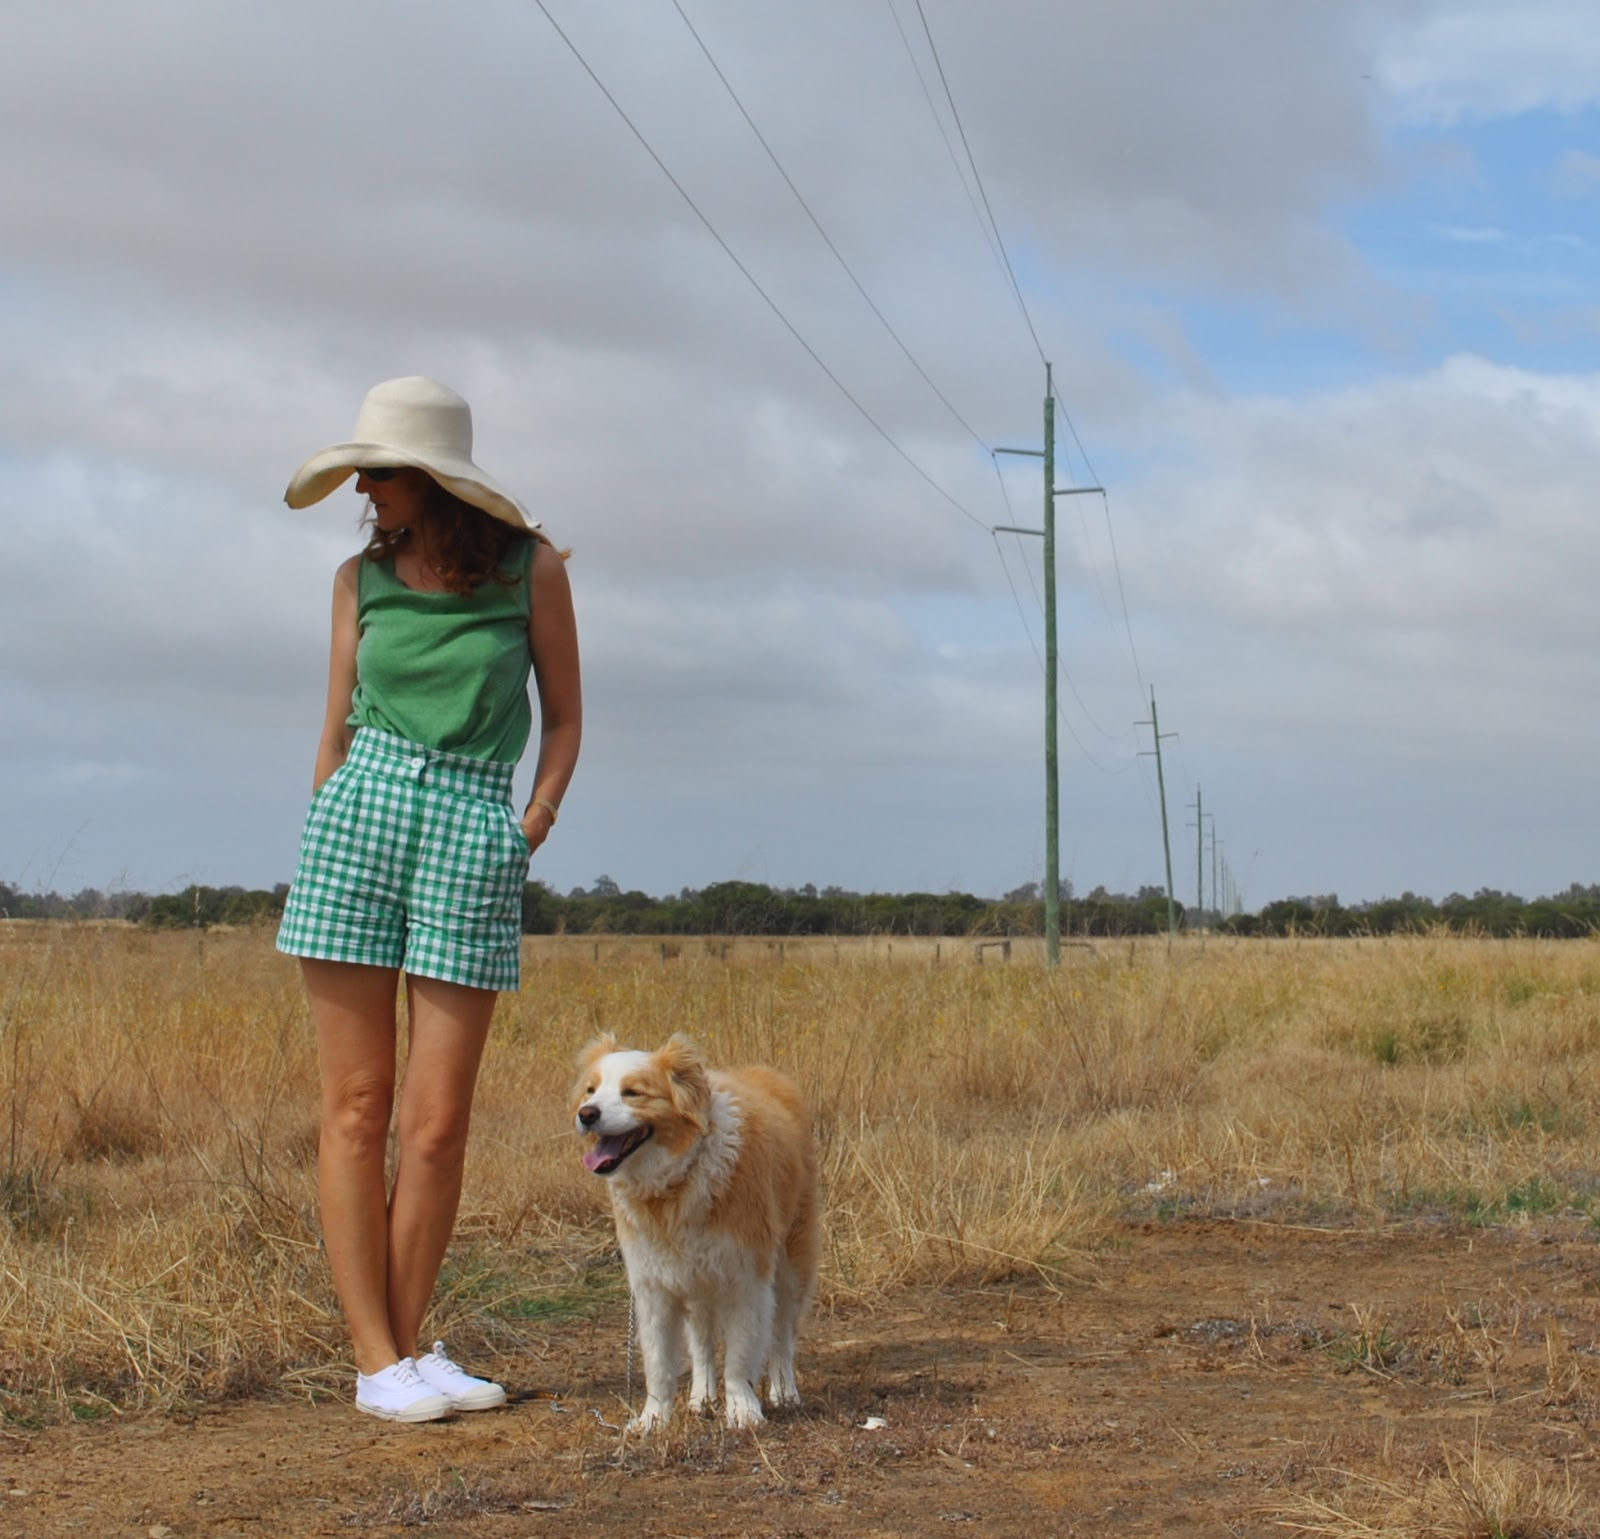
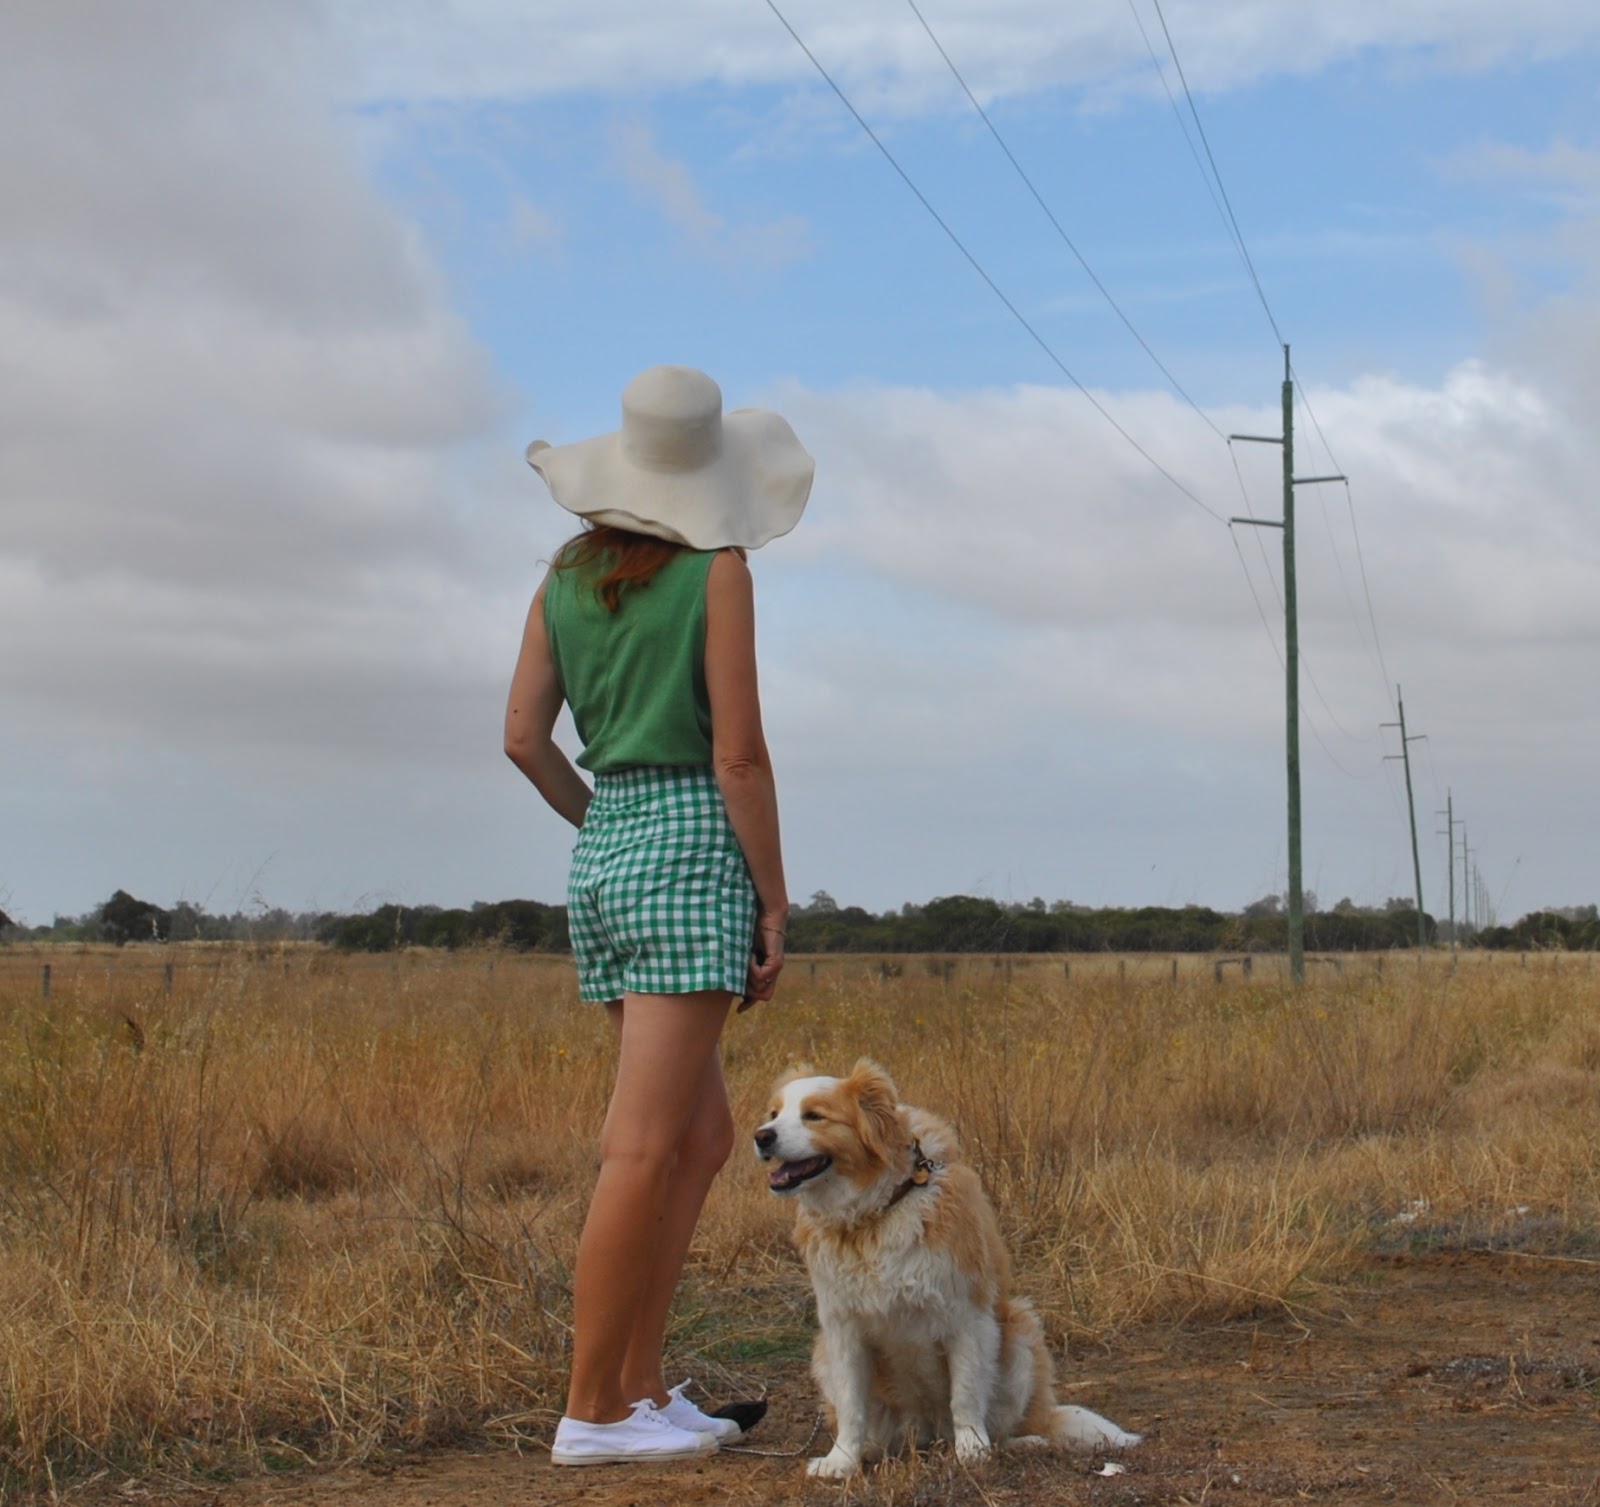
Below left; unadorned and no frills, it is the perfect thing to wear with shorts on a really hot hot summer’s day at the beach or around the house.  Cool and airy enough for the hottest of hot days.  Colourwise, I also adore the unexpectedness of this sombre claret against the shocking pink too.  Below right; pop on a sludgy little skirt, cute ballet flats and throw on a couple of entwined skinny scarves, and the top looks quite smart enough to sally forth on some errand requiring a bit more style.
boshirt1
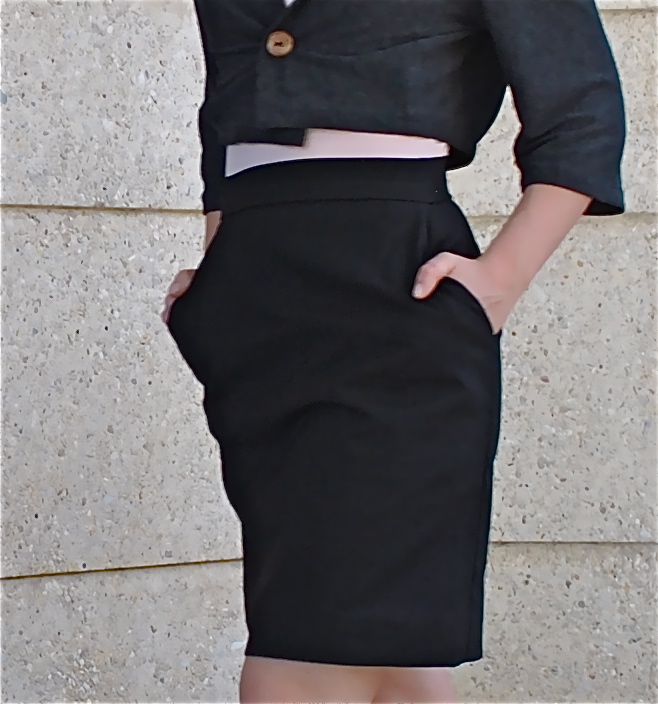
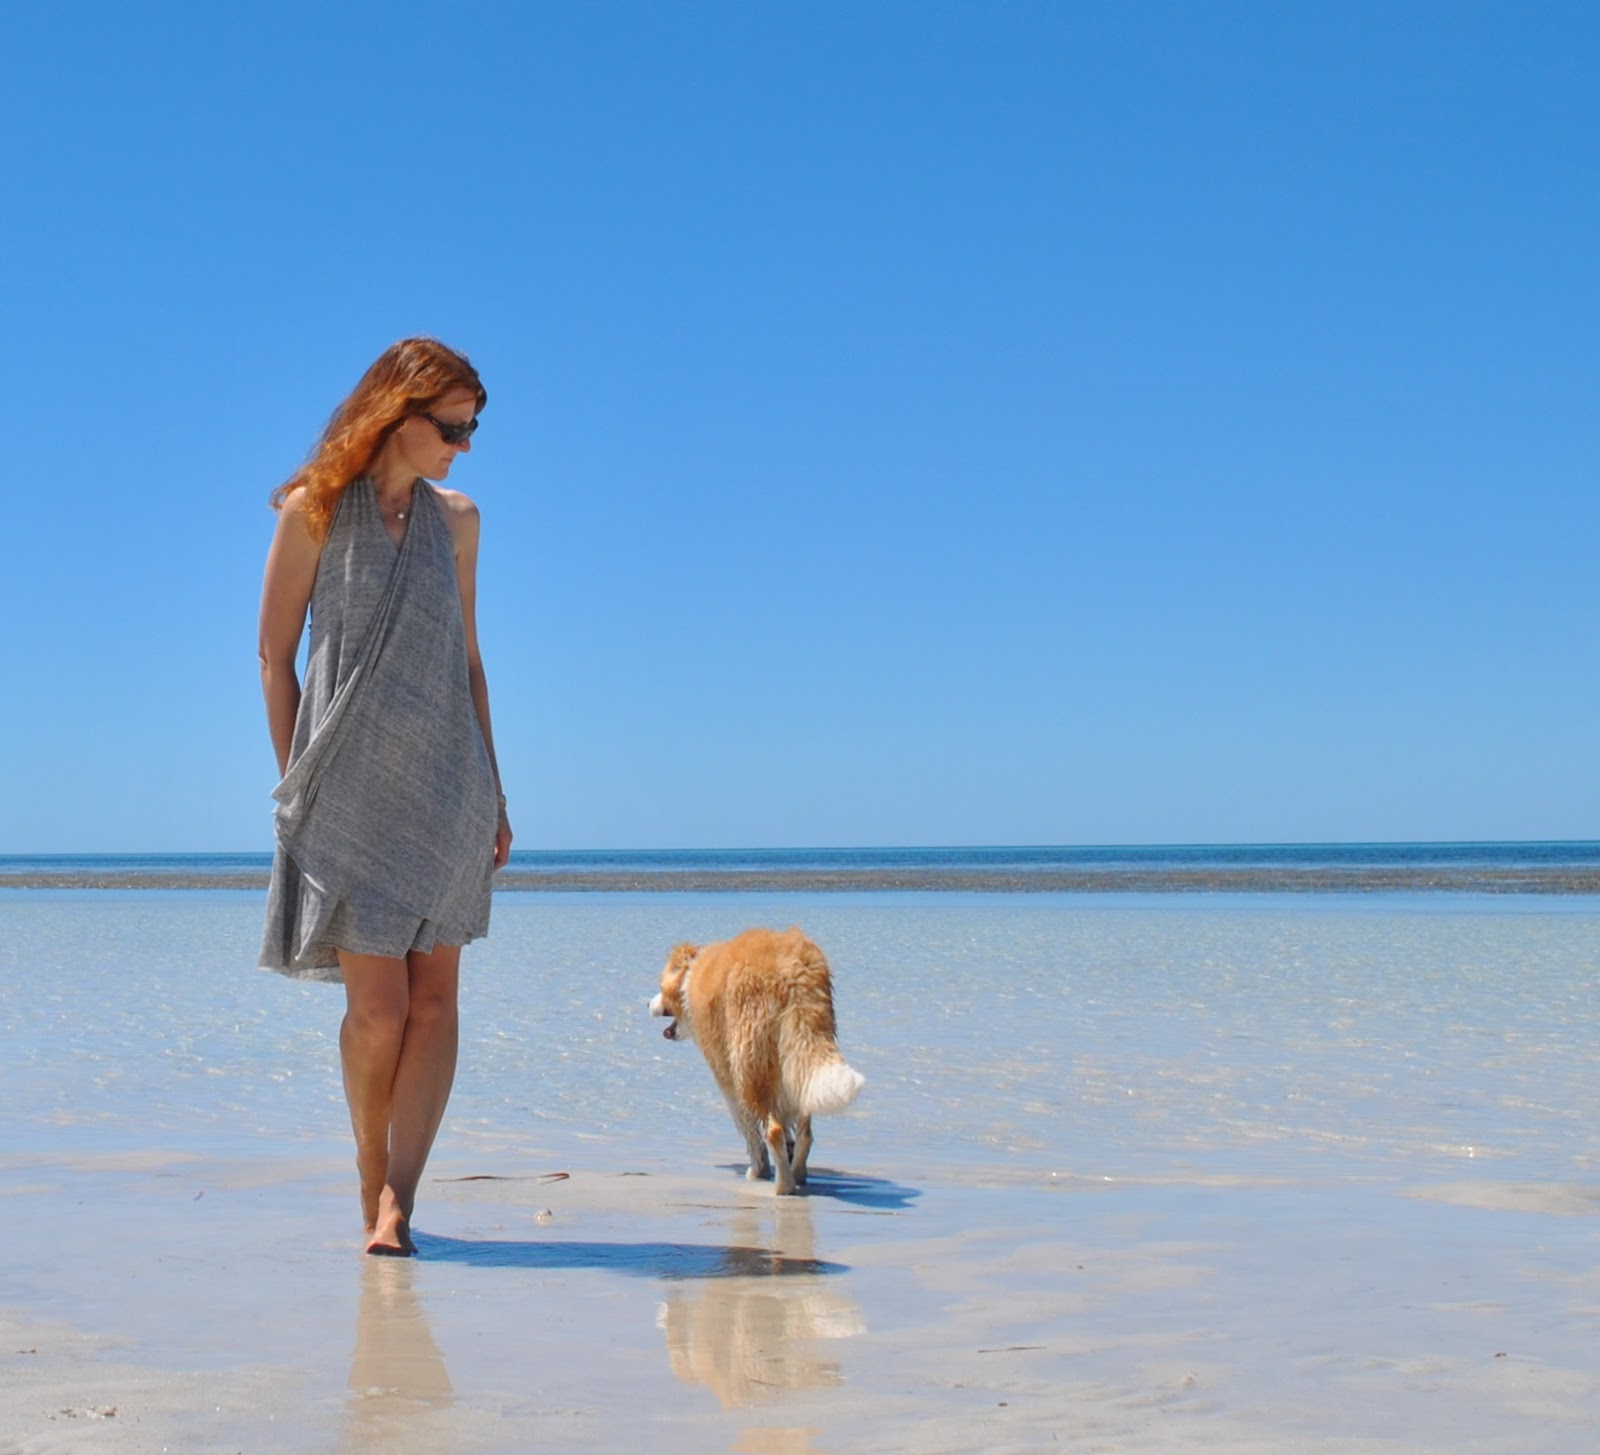
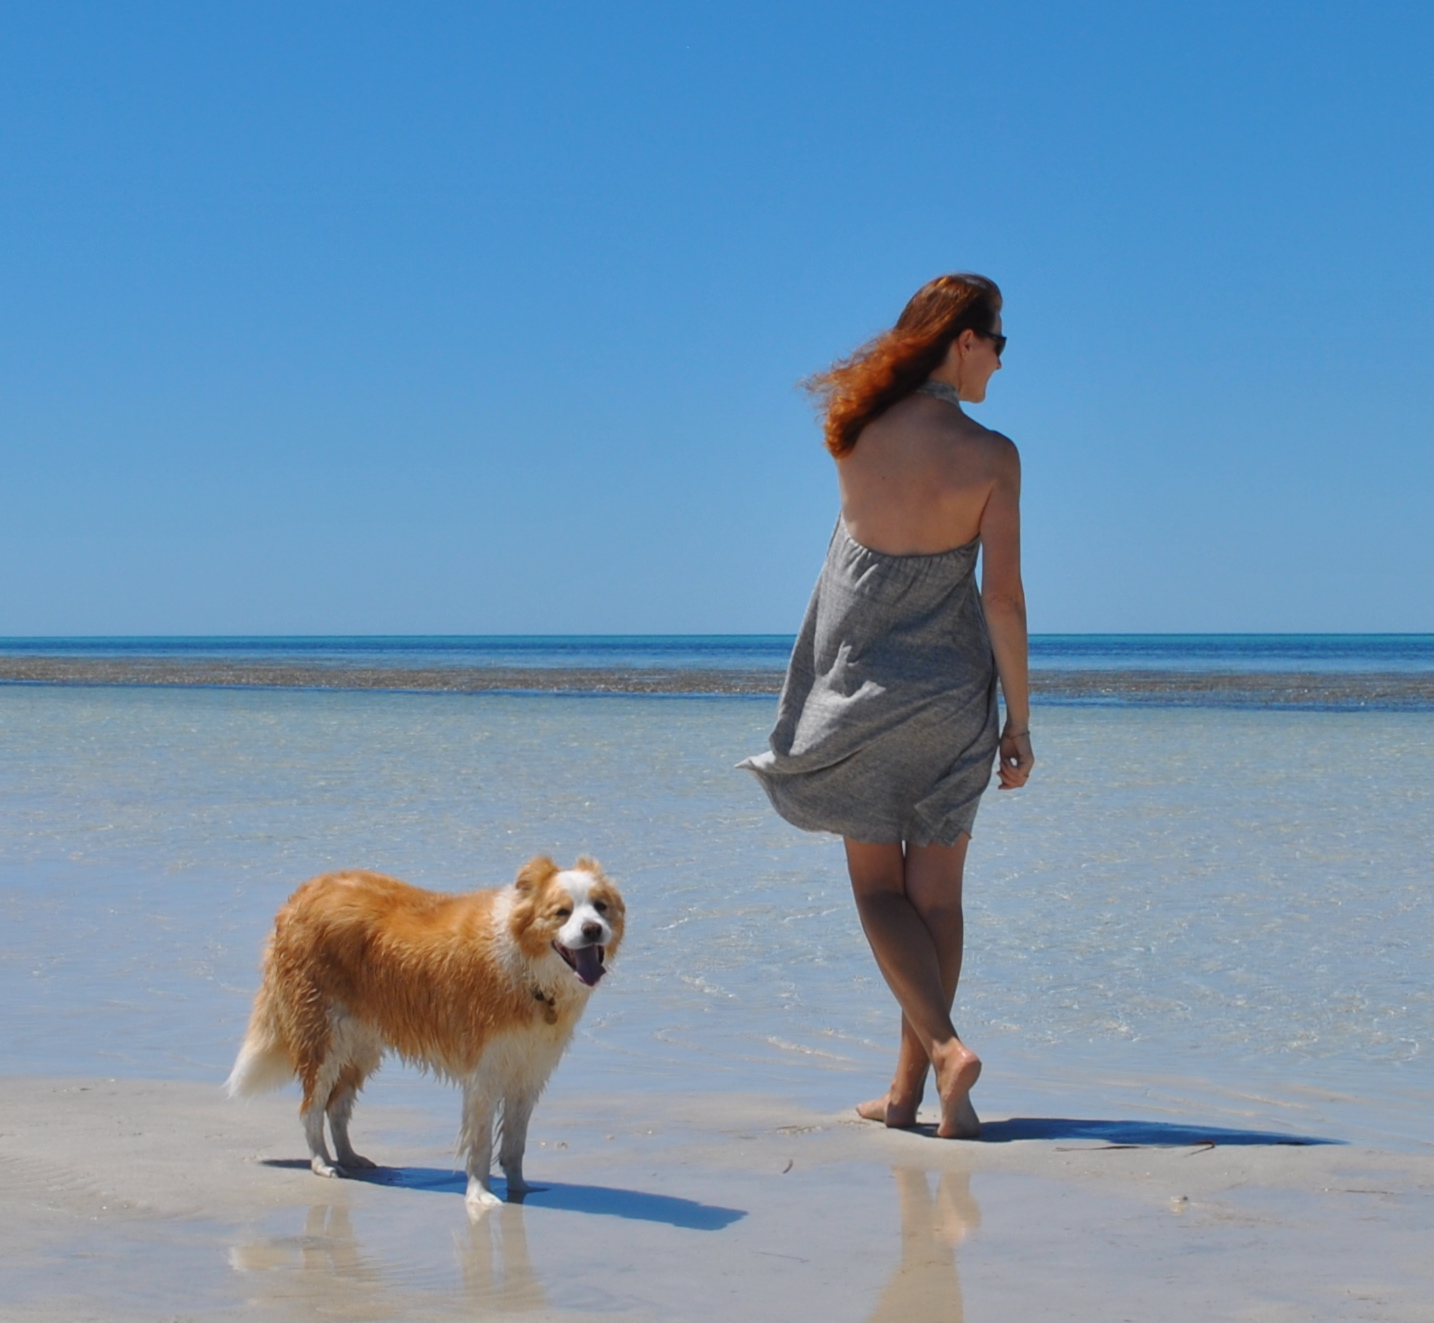
Below left; on very hot summer days you might want to wear a dress with spaghetti straps, but need to protect your shoulders from the sun.  Cardigans are too hot and cloying to even contemplate, but a light boxy top like this is comfortable and cool and fits the bill quite well.  And looks sort of boho-chic too…  Below right; I know we all in the sewing blogging world have been conditioned into thinking that this top must be worn hanging out! and I have sure been guilty of this too… well not necessarily!  I actually love how it looks when tucked into a high waisted skirt as well.  Looks pretty cute like this, yes?  I was also serendipitously thrilled to discover that the top is just about a perfect colour match for my high heeled caramel wedges too  🙂
boshirt2
This top is just made of cotton, and therefore it’s not really suitable for really cold or winter-y days.. but it can still be worn as part of a cooler weather ensemble and not look silly imo…
Below left; sometimes, y’know you just want a bit of that colour, added into your outfit??  worn like this, I like how it looks peeping out as just a layer of colour layered over a long skirt and under a shorter jacket, and co-ordinating with a matching scarf and boots.  Below right; being quite loose, it can also be comfortably worn over an insulative Tshirt, with jeans and a skinny scarf.  I’ve always liked this slightly grunge-y double-top look, with shorter sleeves worn over longer.
boshirt3
Actually I really love both these last two looks.   I just wish I’d thought of them during our winter just gone!  Aah, well, there’s always next year  🙂
Which look am I wearing today?  well being quite a fairly hot day and having errands I am sporting the green ballet flats, the sludgy little skirt and twisted blue and black scarves.  I love dark sludgy colours made just slightly edgy with just an unexpected splash of bright colour.  Kinda reminds me of Tron.
(And incidentally I’ve done something new with this 6-way post… I’ve linked to the construction posts of all the other garments appearing in the outfits here.  Please let me know if this is helpful or interesting, and whether you think it is worth my continuing with this… thanks  🙂  )
pinterestmail

LBS

The amount of Christmas “creating” going on around here has been insane lately!  I have been sewing like an absolute madwoman… ! 
but this Little Black Skirt is not a part of that.  This is a sorta urgent extra!       aiyiyi…
My daughter has completed her undergraduate degree and successfully secured her first “real” job. She will be returning to uni next year to do her Masters, but will probably continue to work concurrently in the firm she has just joined… 
So, just prior to her interview we attended to a detail of paramount importance: her wardrobe.
For the past few years she’s been a university student, with an appropriately fun and funky colourful casual wardrobe and lots of crazy shoes… hmmm.    We assessed everything and came up with one or two smart and stylish little separates that she can wear in the office, but identified a few holes that I will have the pleasure of addressing over the next few weeks… the biggest of which is the ubiquitous LBS.
So I made one for her.  It may not look very earth shattering, but I wanted this skirt to be a long-term goodie, a wardrobe builder; a simple, streamlined and smart basic, high quality enough to last for years and years; and also sturdy and practical enough to cope with being tossed in the washing machine.
I used Vogue 8363, and a very nice quality washable wool-mix suiting fabric from Fabulous Fabrics.  The skirt is fully lined with black polyacetate lining fabric, also from Fabulous Fabrics, and I juggled the various views of the pattern to give the skirt a one piece darted front, to have those satisfyingly deep, slanted hip pockets, and to have a central back invisible zip opening.  I shortened the skirt to hit at a very workable just-above-knee-length.  This is both mine and Cassie’s favourite skirt length; suitable for both summer and winter wear.
An easier-to-see view of the pockets can be seen on another version of this pattern I made previously; here.

The hem is finished with a black bias-cut cotton strip.

I adjusted the lining pieces to incorporate an extra few inches of width at the widest part of the hips: since in my experience this is the first part of a pencil skirt to show strain, particularly in a skirt that one is seated in for long periods of time.  The darts in the lining are not stitched, but simply folded in position and stitched along the top, for that little bit of extra wearing ease.

Below; the inside view of the lining, skirt back.
The skirt has one shaping dart at the front, two at the back; all the better for that slight sway back adjustment
I worked a bound buttonhole (seen above) for the single waist button.

She owned literally one pair of suitable shoes for the office, so we also bought a new pair of Misano ballet flats in beige and caramel, with black feature strips.  These are exactly the same as my own ballet flats, just in a different colourway.  These neutral shades are going to be the backbone of her new working wardrobe.  
Cassie made her charcoal jersey jacket herself, and blogged about it on her own blog here.
I’m actually rather excited about helping to add to Cassie’s working girl apparel!  what to make next, what to make next?  but any new pieces may have to wait until the seasonal mayhem has subsided…..  😉

Details:
Skirt; Vogue 8363 modified, black wool-mix suiting; my review of this pattern here
Camisole; supre
Jacket; made by Cassie, and blogged here
Shoes; Misano, from Hobbs

pinterestmail

Bread

Have I ever mentioned before that I married a very clever man?  Maybe, but if not then.. I have.  A very clever man indeed.
Well, he married me, didn’t he?
Haha! kidding!
He has done some other clever things too  😉

Including making bread.

Now let me explain… we are not foodies, oh nooo!.. although in fact I have been “making bread” for the family for about fifteen years; only I use a bread-maker which is kinda cheating, and not really like making your own bread at all.  So, while I do “make my own bread”, please note the use of self-mocking inverted commas.  Well, you see; Miss Frugality, in her zeal for DIY, went and bought a breadmaker, even though it was expensive and she is allergic to kitchens.  Fortunately it turned out to be so easy even the worst cook in the world could cope, and the cost per use is probably down into the micro-cents by now.  So, the kiddies grew up on that deliciously chewy, crusty, chocka-with-seeds stuff it produced and we quickly discovered we just could never go back to that crap masquerading laughably as “bread” sold in the supermarket, ever again… so the homemade bread habit has continued to this day.  Chuck in the breadmix, water, yeast, press a few buttons, a few hours later, hey presto, a yummy loaf awaits.   Simple as that.  Easy peasy.  And domestic contentment ensues.
But recently my husband read a book “52 Loaves” by William Alexander; which outlined the author’s grail-like quest to make bread the traditional way, truly from scratch.  Very entertaining read, by the way.
My husband, not a man easily impressed, was impressed.  He was like, “Challenge Accepted!!”
Yes, in case you’re wondering, my husband is an inquisitive as well as a competitive man.  On those personality thingie tests, he always comes out as a lion; an A-type; a born-leader; a go-getting, never-admit-defeat, super-intelligent dynamo of doing-ness; or whatever.
Anyhow, he found himself compelled to make bread, too.  The hard way.  And like just about anything my husband attempts, he succeeded.
So.
He started out by developing his own starter.
You begin with blueberries… yes, really.  Why? Well, blueberries are one of the few substances which are still sold today with their protective layer of wild yeast intact.  That white, slightly powdery substance coating the surface of blueberries?? well, that is an atmospheric fungus, a naturally occurring thing, that has been used for centuries by our ancestors to grow the leavening agent for bread.  Nowadays, most of us are lazy and use either dried yeast or a pre-made starter developed by somebody else, but fortunately for the apocalypse-minded amongst us: the materials are still at hand for those who wish to make use of ancient techniques and go the pure unassisted route towards making their own bread.  Can you make your own yeast? why yes you can!

It also occurs on other fruits and veggies, you sometimes see it on grapes and apples here but most of the time it gets polished off before they reach the grocer.

Craig soaked a punnet of blueberries in pure (chloride and fluoride free) water to harvest, or in old terms; “catch” the yeast.  Then he combined this “live” water with an equal quantity of flour, and left it to develop.  After a few days he had a thick bubbly paste with a pleasantly fertile, brewery-like aroma.

This is the levain, and it lives in our fridge.  In colder climates people keep it in a warm spot on the window sill, but we are in a very very hot climate so it would get bloated and whiffy in no time at all on our windowsill!  You need to feed and tend to it every few days to keep it in good shape.  
As you can imagine, in ancient times the levain was like gold in a family; it was their ticket to the staff of life and it was essential for it to be kept well maintained.  The health of a family’s levain was literally the key to the health of the family!
Obviously we are a very fortunate first world family whose survival is not dependent on the survival of our levain; but after all the effort that went into producing this stuff you can be sure Craig is taking blinkin’ good care of it!
He baked the bread on pizza stones.  Fortunately we’ve had these already a Christmas gift one year I think.  
Incidentally I was allotted about one nanosecond in which to take this photograph… something to do with “YOU’RE LETTING ALL THE HOT AIR OUT!“… or something or other…  

and then … bread.

As they say in the ad biz;  Un Serving Suggestion…   

And was it tres delish?  
Oh, oui.  

pinterestmail

Vegetable placemats

Occasionally I still come across old things, handmade by me, but still not shown yet on this blog (blush)
I found this set of eight linen placemats tucked into the back of my linen cupboard.  These were entirely hand constructed and embroidered by me…  I hadn’t forgotten them precisely, but they were one of those things that I kept thinking; I must dig those out and take photographs of those things one of these days…  which has now finally been done!
I made these yonks ago; not even sure exactly when now.  But it was when we had all three kids, and they were very little.  I was heavily into cross-stitch for a coupla years.  Note: was.  It’s a good thing I have these, yes? even just to show that I once did have the patience, if nothing else  😉
I bought natural linen, and measured off the placemats and finished the pulled thread-work and hand-hemming on all eight mats before I allowed myself to do any of the fun stuff; the actual embroidery.  
For the pulled thread-work: I pulled two threads from along just inside each edge, which were then each woven invisibly into the border.  I then hand-stitched along each edge, pulling the loose threads into pairs to form a long skinny “ladder” inside each border.  I’m calling it pulled thread-work, but I’m not absolutely certain that this proper name for this kind of embroidery?

The hems were then folded under twice and hand-stitched, and each of the four corners on each placemat is mitred at the back.
Then I did the cross-stitch embroidery.  The designs are from a Prairie Schooler pamphlet that I bought from Aherns.

I’ve always been taught that the back of the embroidery MUST always look at least as neat as the front…

They all got used, but there were favourites; so there was often swapping and switching before the dinner came out so that a particular veggie was set in front of the appropriate person!  

pinterestmail

twelve recurring

… posted at twelve minutes past twelve o’clock, on the twelfth of December, 2012

pinterestmail

Not-naked toes

“There’s only one thing worse than chipped toenail polish, and that is NO toenail polish!!”

These words of wisdom are oft repeated by a very good friend at this time of year… striking fear into the hearts of those of us who, at their peril, do not heed her advice and may well be called upon to account for the offending nakedness of their toenails in a social setting… !

We all have our own preferences.  Some ladies are faithful to one colour all summer long, something classic like coral pink, or a sparkly Christmassy crimson.  Some rotate between a select few “fashionable” colours, chosen to co-ordinate with their summer wardrobes.  One of us is very very fickle and changes colours once a week.  All summer long her toenails will stand testament to many and varied fleeting love affairs with a whole rainbow of crazy colours.
Ahem, that last one would be me.  I’m such a nail polish tart  😉

I absolutely adore this new colour!  My Mum bought this one in Melbourne during our recent trip away.  Gorgeous, no?  It is not white, or pink, not even pale pink, not grey or even beige, but a sort of combination of all of the above.  A non-colour really.  Like the colour of nothing.  
Quiet.  Peaceful.
And so perfect for my mood at the mo’.  The pre-Christmas period is the craziest, most hectic time of the year, and painting ten little spots of a peaceful and quiet non-colour on the toenails is like ten tiny pearly pools of zen calm in my life right now.
Cassie and I bought different colours, and now I am kicking myself I did not get this one too at the same time, since I have fallen in love with it.  Drats.  It was much admired by my friends this morning too.
Double drats.
If I cannot find this polish locally I will have to invite Mum up, avec nail polish, for another stay!
So, let’s talk colour… what is your hue of choice for the summer tootsies…? and do you play favourites; or like me, are you a woman of whimsy?

Nail varnish: Buttercream, by Kester Black
Sandals; Misano, from Marie-Claire

Disclosure, in case you are wondering: this is not an endorsement, and this was not a freebie; we saw and purchased our nail polishes at a craft fair, of all places! and paid full price.

pinterestmail

Check-mate

… because I’ve made something in a check, and I’m accompanied by my best-est mate  🙂  The former, a rarity; the latter, far less so!
So, the searing-est of searing hot scorchers are but just around the corner, and like a war-wife stocking her air-raid shelter before the blitz, I am laying in supplies… I have made a new pair of shorts using Burda 7723, altered by lengthening and flaring the legs slightly, and adding a zip placket.
This is the eighth thing I’ve made using this pattern… yeah, so I’ve come to the conclusion that this pattern is one totally cruddy pattern which does not work for me at all… hehe, joking!  Just seeing if you were paying attention.  Obviously, this has been one of my favourite and most used patterns.
The green gingham was given to me by my friend C from her late mother’s stash.  I can tell it is a really old old fabric, a cotton gingham of a solidly satisfying quality you just don’t see very often anymore.  Seriously, I don’t want to come across all “oh-all-modern-stuff-is-crap-compared-to-the-good-old-days” since I think that is not true at all: but; a Case in Isolation…  like the proverbial man; good gingham is hard to find now.  This is a very good gingham; crisp, strong, thick and tightly woven.  The white has slightly yellowed to a pale-ly creamy ivory through age, but as this suits my colouring I consider it a plus.
Now.
There is actually something  rather special about my new shorts….  🙂
this is the very first garment fully made on my baby sewing machine; my tiny elna Opal, that lives in our beach house!  YES!  

I have used it for hemming curtains, but I really wanted to make a proper and complete “something” entirely using this weeny little machine while we were at the beach house, so took down everything I thought I might need.  Of course, I get started and quickly realise I did NOT have everything that I needed!  I remembered after the fact that I usually finish off a few internal raw edges in this pattern on my overlocker, which of course I did not have with me.  However, I did have a piece of white voile with me, which I had taken down just in case, like for pocket lining or something.  I did not use it for pocket lining, but it was sliced into bias strips and I finished off all the raw edges inside my new shorts with HongKong seaming.  This is a kinda high-end finish I would not normally bother with in a casual pair of shorts, so my overlocker’s absence really forced me to lift my game here!

Also, I also belatedly realised that my baby machine does not have a zip foot, meaning I had to insert the zip using its one and only foot, a regular wide one.  So the front fly top-stitching around the zip turned out a wee bit wonky… but that’s OK.  Seeing those sweetly crooked stitches on my machine’s very first garment is like looking at my child’s very first piece of kindergarten art.  
Likewise, the baby machine does not do buttonholes, that I can work out anyway: so instead I handstitched a keyhole buttonhole using embroidery thread in a tight blanket stitch.  Another example of a maybe higher quality finish than I would otherwise have employed!  Maybe I should make more things while I am away from my “real” sewing machines  😀

Just for fun, and “why not?” I added strips of bias-cut gingham in the pocket opening edges.  I was planning to put some welt pockets in the back with bias-cut welts too; but the unheard of happened, and disaster struck… I ran out of thread!  
(heard in Perth, all the way from Dunsborough)  “Noooooooooooooooooooooooooooo!”

Oh well.  It’s not like one ever uses rear pockets… they’re just for show and I guess there’s already plenty of visual interest happening with the check and all.  But once something is in my head and I haven’t been able to see it through; it’s Unfinished Business and niggles at me.  Hate that.  Maybe I’ll bring these shorts down again the next time and put those welt pockets in… maybe.  We’ll see.  🙂

Details:
Shorts; Burda 7723, green cotton gingham; my review of this pattern here
Top; the ponytail top from Pattern Magic 3 by Tomoko Nakamichi, green jersey, details here
Shoes; bensimon, from seed
Hat; Country Road

pinterestmail

A fluttery cloudy thing

This wasn’t actually supposed to be a real dress.  I was playing about.  I have to confess to a few struggles
with my fabric… that had a mind of its own and a recalcitrant disposition.  If fabrics can be anthropomorphised;
this fabric would be a will o’ the wisp, absent-minded girl with a head full of
poems and fairy tales and dreams, given to wandering barefoot on sunkissed
white beaches and forgetting that her library books were due back.
But it has been coaxed into a coolly flitter-y
flutter-y dress, which I think it wanted to be all along in its heart of hearts.
This is the Loose Flare Drape Dress; pattern no.11 from the
Japanese pattern book Drape Drape by Hisako Sato.
The fabric is a very lightweight, very soft, pale grey
marle jersey knit, part of a massive quantity I bought from the Morrison
remnants sale.  A fabric I picked
up because I liked the soft cloudy-grey colour and the slightly fuzzy texture,
but was actually extraordinarily flimsy and difficult to work with.  It clings and flutters and slips all at
the same time, it is very drape-y and almost sheer.  It likes to curl up tightly on itself, and the sketchy “stripe”
in the fabric is whimsically slanted at a slight diagonal.
But happily ever after et cetera; the thin floatiness
of the fabric is a near perfect match for this pattern… I’m thinking of
rustling up a halter-neck bra to wear with it, but in the meantime it’s being stoushed
in the beach-bag to do duty as a cover up.  
It may even stay there if I don’t get around to the
halter bra, since it is just the right shape and style to go over my
bathers.   And it is so ethereally summery; a
flattering and exceptionally easy-to-wear dress, edgily short and cute-ly
flippy.
The dress is an A-line halter neck dress with a wide
and swing-y skirt; and a full length, full skirted lining for which I used the
same fabric.  The loose flare piece
referred to in its title is a separate piece attached in with the halter neck
at the left side and sewn into the armhole, to flow free and loose across the
front of the dress.
This piece is what makes the whole dress, of
course.  The extra piece is a very
simple idea, and it swishes and flutters so prettily against the dress.
The only adjustment I made to the pattern was to
leave off the zip and just to sew up the side seam.  Well, it’s stretch fabric.  I’m currently of the opinion that zips in a stretch garment
are a complete waste of money, time and effort. 
Naturally I reserve the right to change that opinion
any time it suits me. 
The fabric isn’t the only one here subject to
whimsy.
Details:

Dress; the loose flare drape dress, pattern no.11 from
Drape Drape by Hisako Sato, made of lightweight grey marle jersey knit

pinterestmail
Switch to mobile version
↓