This new dress is the latest step in my current project to add some architectural whimsy to Cassie’s work wardrobe …. and it was barely off the machine when she wanted to wear it to work straight away, like the next day, meaning today! I took these pictures before she popped off this morning, looking exactly like this…
I consider that the hugest compliment 🙂
 That townhouse print though; it did cause me a wee bit of angst… how on earth to make it into something that was going to look cute and fun and funky and stylish? You know with some prints the subject material is absolutely perfect for a person, but the print itself is kinda messy and busy and so has the potential to be disastrous? It’s one of those prima donna prints, I felt it would look overpowering in a dress with a sleeve, also I knew it would not play nicely with many other colours/prints; likewise any design details like draping or … well anything at all, was OUT. At first I thought about making a very simple plain sleeveless shift, but still worried that it would look a little naf.
When the idea of a white raglan sleeve occurred to me was an instant kapowww! that this could work out quite cute after all. The white raglan sleeve lends it that little bit of a fun and sporty vibe and just takes the right amount of edge off the messy print. The sleeve fabric came from an old puffed hem dress *shudder* which Cassie tossed out. I’ve kept it because it has a mass of lovely soft ivory jersey fabric in it.
 Once the raglan lightbulb had popped up it was all super easy from there… I used my own raglan sleeve Tshirtpattern, that I’d worked out years ago from laying down and drawing around an old Tshirt … in a time when patterns for raglan sleeve Tshirt were non-existent! Yes, it’s hard to believe now there are tonnes of patterns available everywhere, but for a long time and until quite recently some design features were very difficult to get hold of. We had to hunt for them, and be creative and innovative and sometimes very devious in order to get what we wanted. The elusive Raglan Sleeve tee was one such rare beastie. I think it was often assumed that patterns for basics were something you either had already, or could work it out yourself with no pattern by cutting up an old one.
 Collar band, simple folded band done using this method; sleeve and lower edges overlocked, turned up once and stitched on the machine with a twin needle. All seams stitched and overlocked inside to finish.
Details:
Dress; elongated raglan sleeve tee, body custom fitted to Cassie. No pattern, townhouse print fabric from Fabulous Fabrics, ivory jersey harvested from an old dress
Shoes; Melissa
 It’s taken a while but I’ve finally taken pictures of Cassie wearing the dress I made for her for Christmas!
 btw, it’s faaaaaaar harder to hide Christmas sewing from Cassie than it is the boys! who pay precisely zero attention to whatever I’m mucking about with in the laundry… Cassie is a high probability to go snooping around the stash to periodically pet the fabrics and select stuff for herself. I had to be SUPER devious to get this made without her twigging as to what was going on… and she was completely surprised! Yay!!!


 Although it looks short on the model in the magazine, it didn’t look that short when made up so I removed about 9cm off the bottom to get the same look. Sleeves are about 2cm shorter.

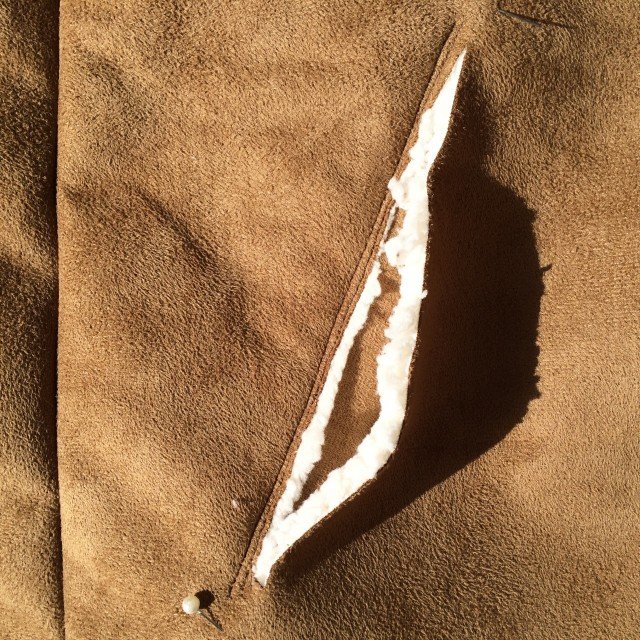
 SO! I’m currently making a shearling jacket to take to our much anticipated trip to snowier climes, coming up v v soon… eeeeeeeeeeeeeee! I can’t wait!!