A small silk surprise

I think it is safe to put this here since no one in my family is going to be reading my blog at this late stage in the game…
And if you are a family member reading this, then quickly; avert your eyes!  Now!  ðŸ˜€


There is to be one of those Christmas lucky-dips-with-a-strict-budget at the family gathering this year and I racked my brains to come up with a wearable something, both lovely and of high quality as well as handmade.  My gift had to be for a girl, and had to suit any one of a range of hair and skin colours; from beautifully grey, to a pale ash blond, to rich chocolate-y black, and to a true strawberry blond.  All divine hair colours on their individual heads, and for each of which I would rejoice in choosing just exactly the right colours, if only I knew which fair hand would be the one to pluck out my own little offering…
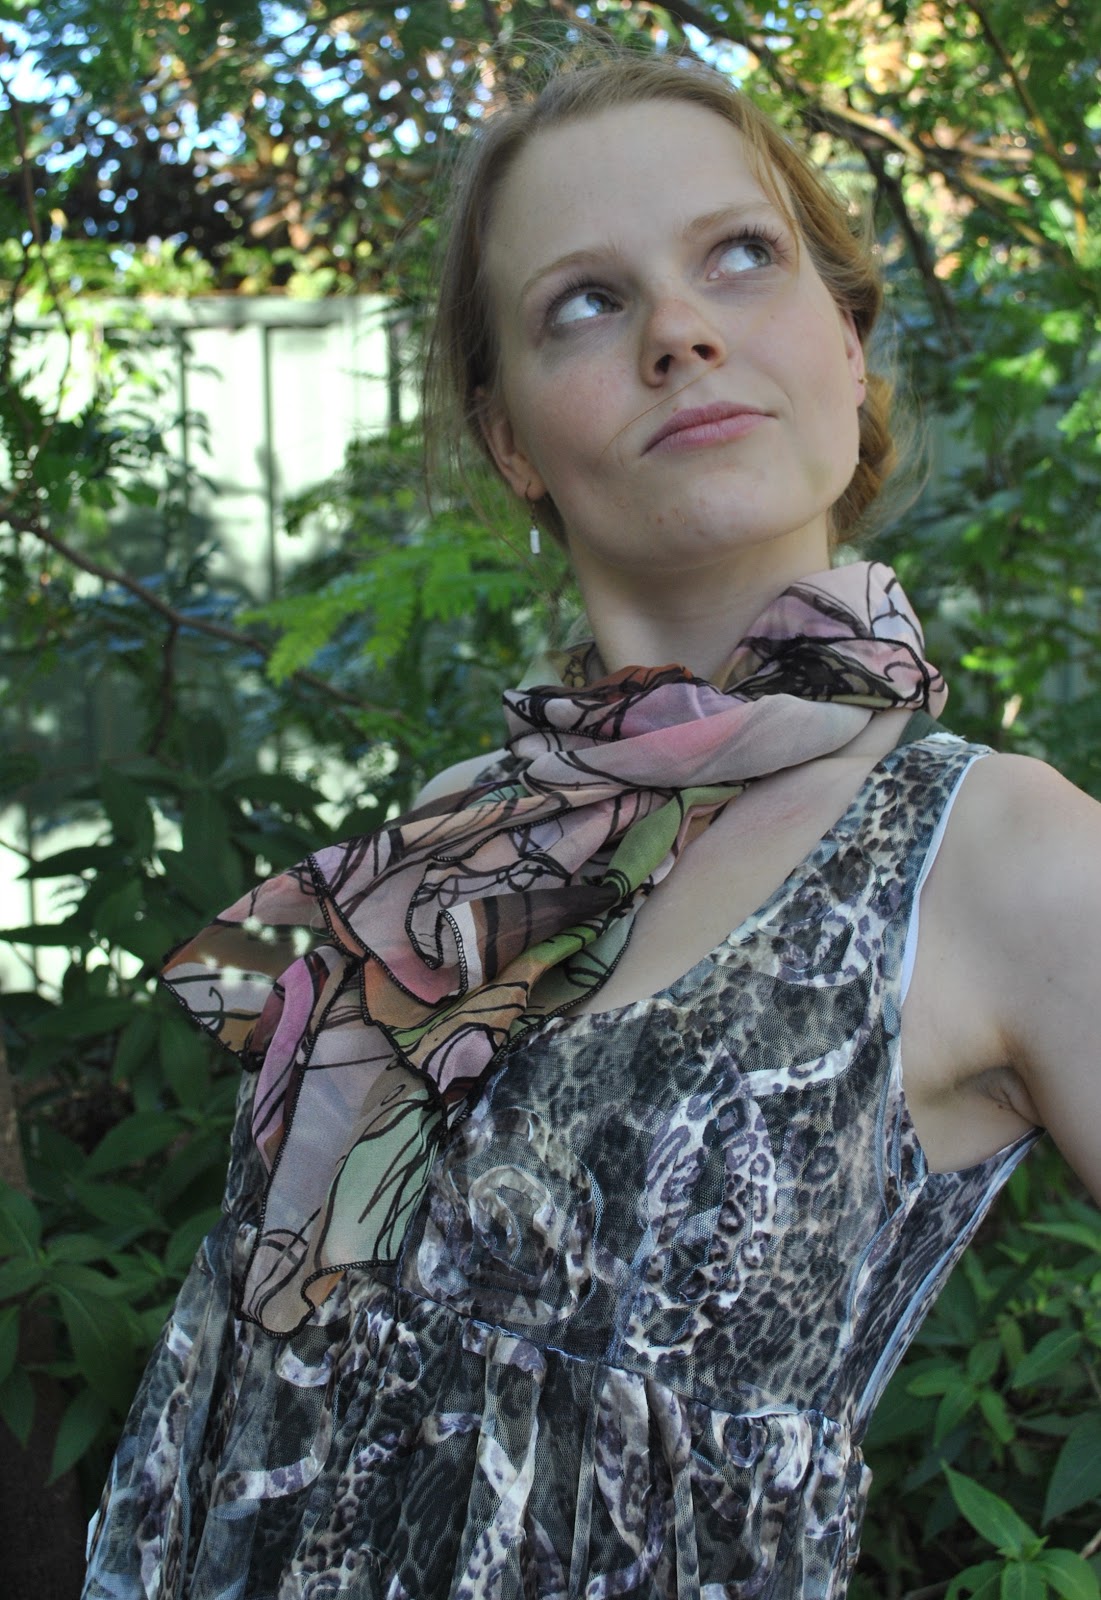
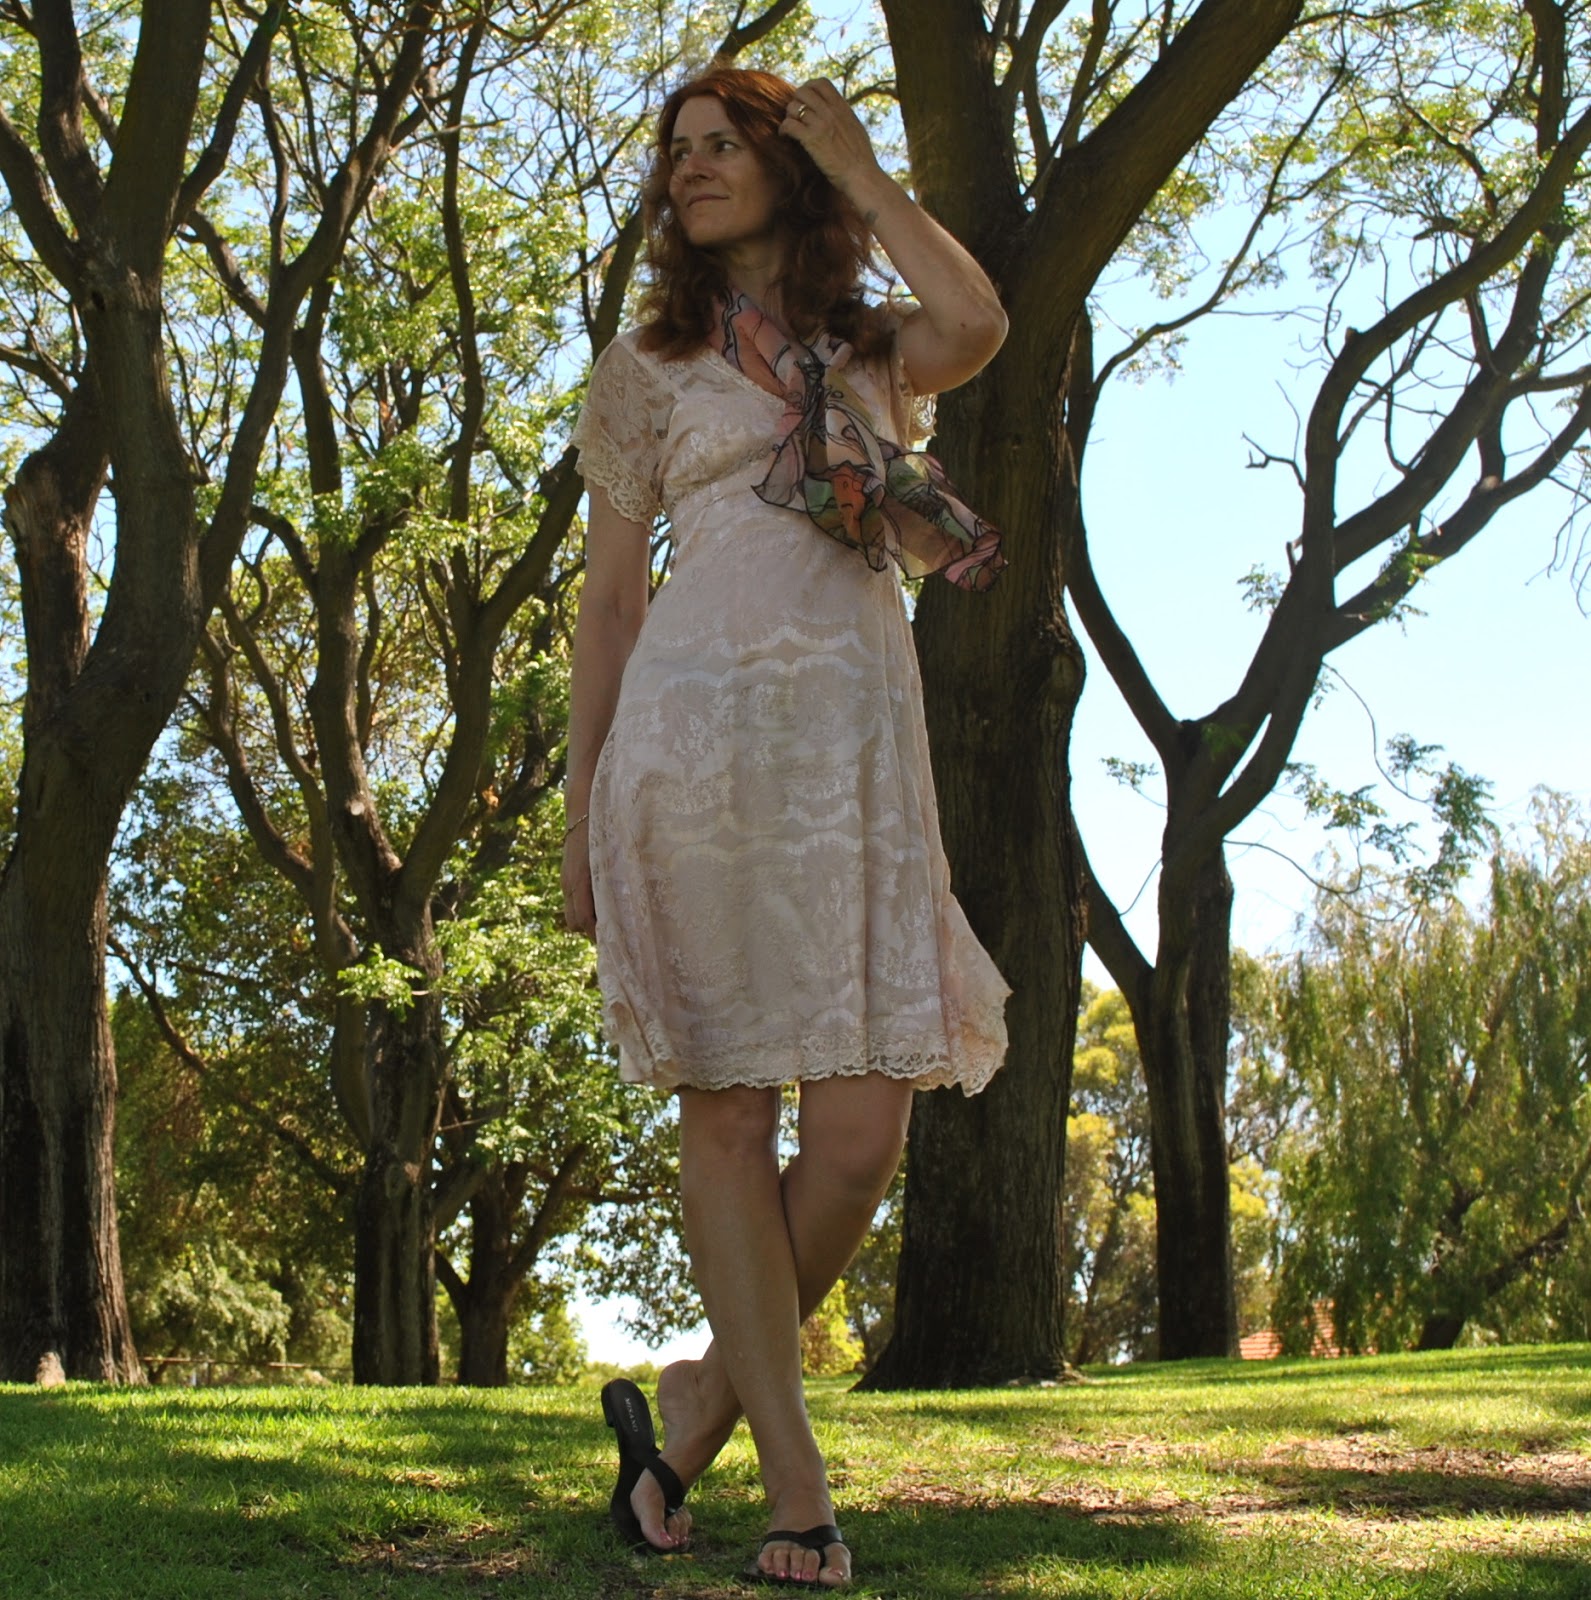
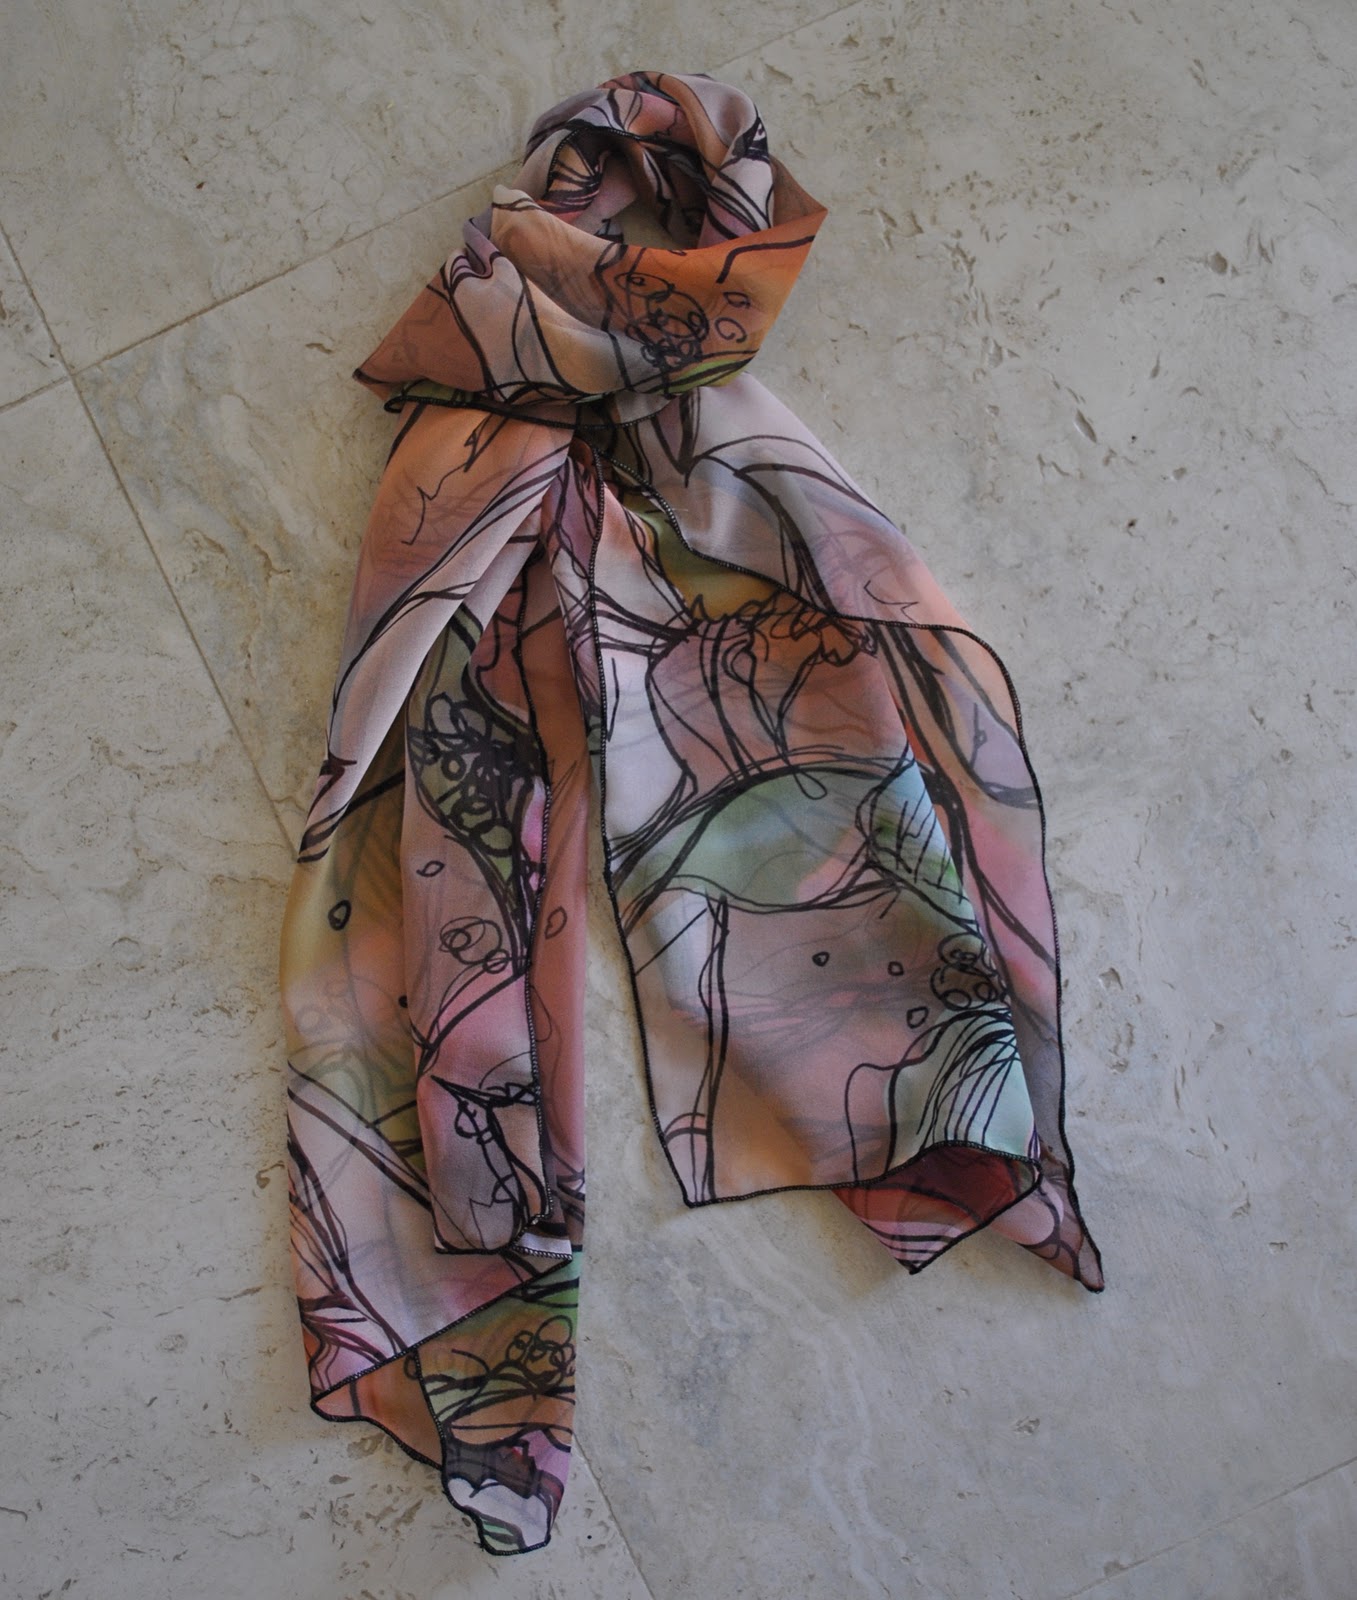
I spied this absolutely delicious silk chiffon at Fabulous Fabrics, and could buy just enough for a little scarf.  With its shades of warm pale pink, blue-y murky green, bronze and with just a little bit of black I reckon it is perfect.  It spoke to me a sense of dusky, pastel, subtle and yet warm and rich, all at the same time.  What a find!
Simply edged with a rolled hem in black.

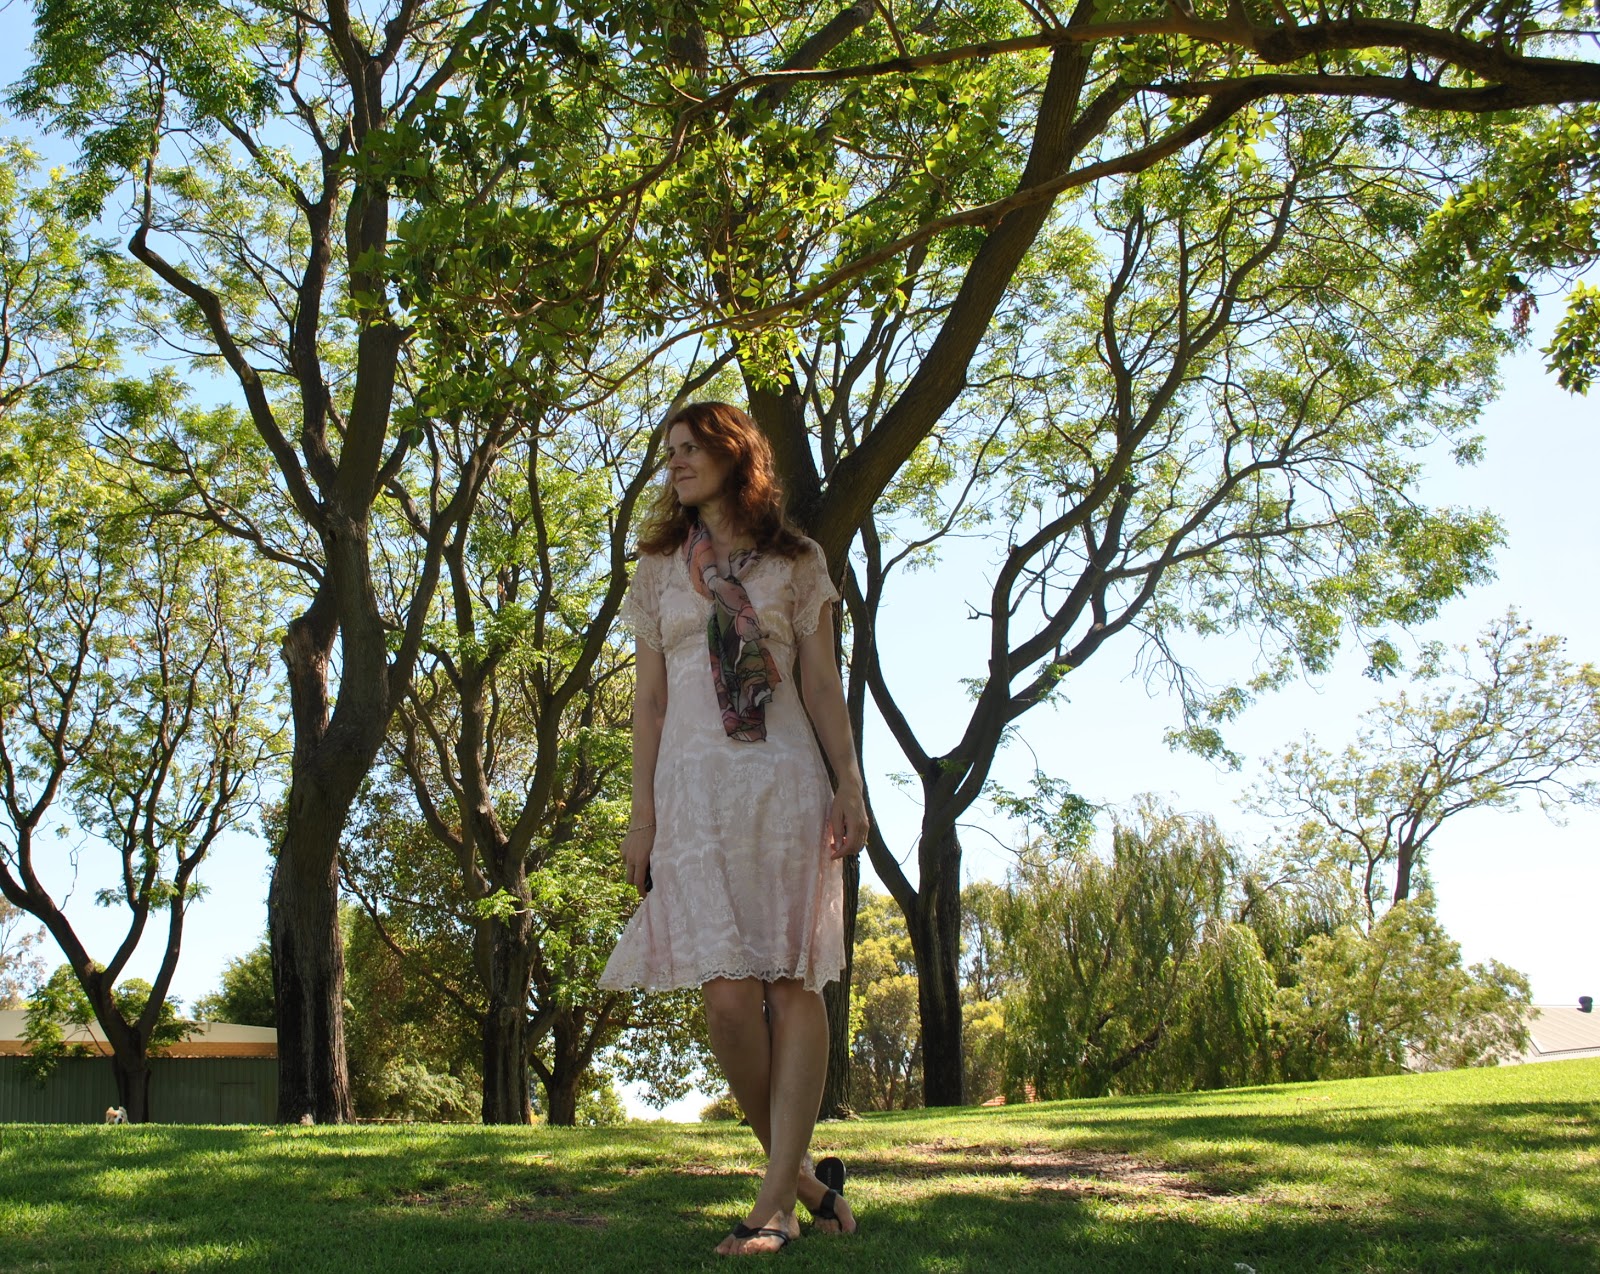
And just because this picture below made me smile (seeing Sienna’s furry face always does) and just because “finding the dog” is fun…!  can you spot her this time?

Details:
Scarf; silk chiffon (and don’t worry, it was only worn for just these few pictures before being safely tucked away)
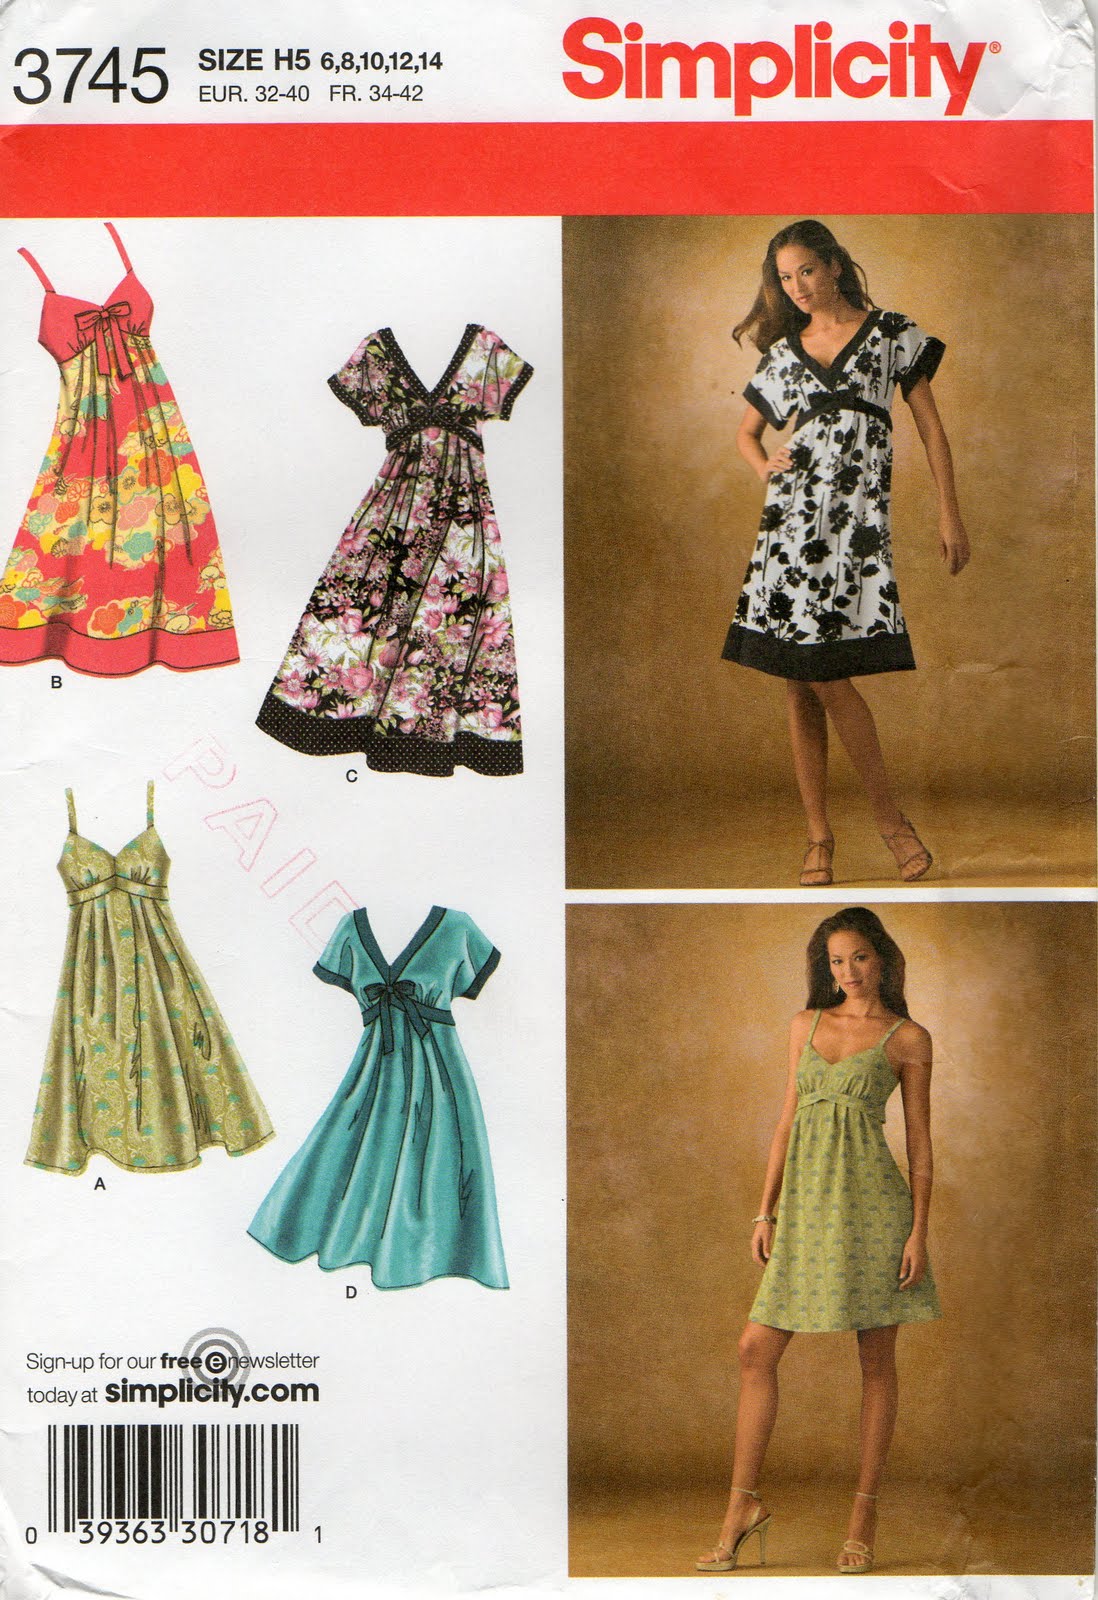
Dress; modified Simplicity 3745, pink lace and pink border lace, details here
Petticoat; Burda 8071, pink satin, details here
Sandals/thongs (new! a present to myself!); Misano from Marie Claire shoes

(impatiently) What?  Not more photos… let’s go, already!
pinterestmail

Aegean gracefully….

(Forgive the pun; I couldn’t resist!  You don’t want to be anywhere near me after a few drinkies…  Really)
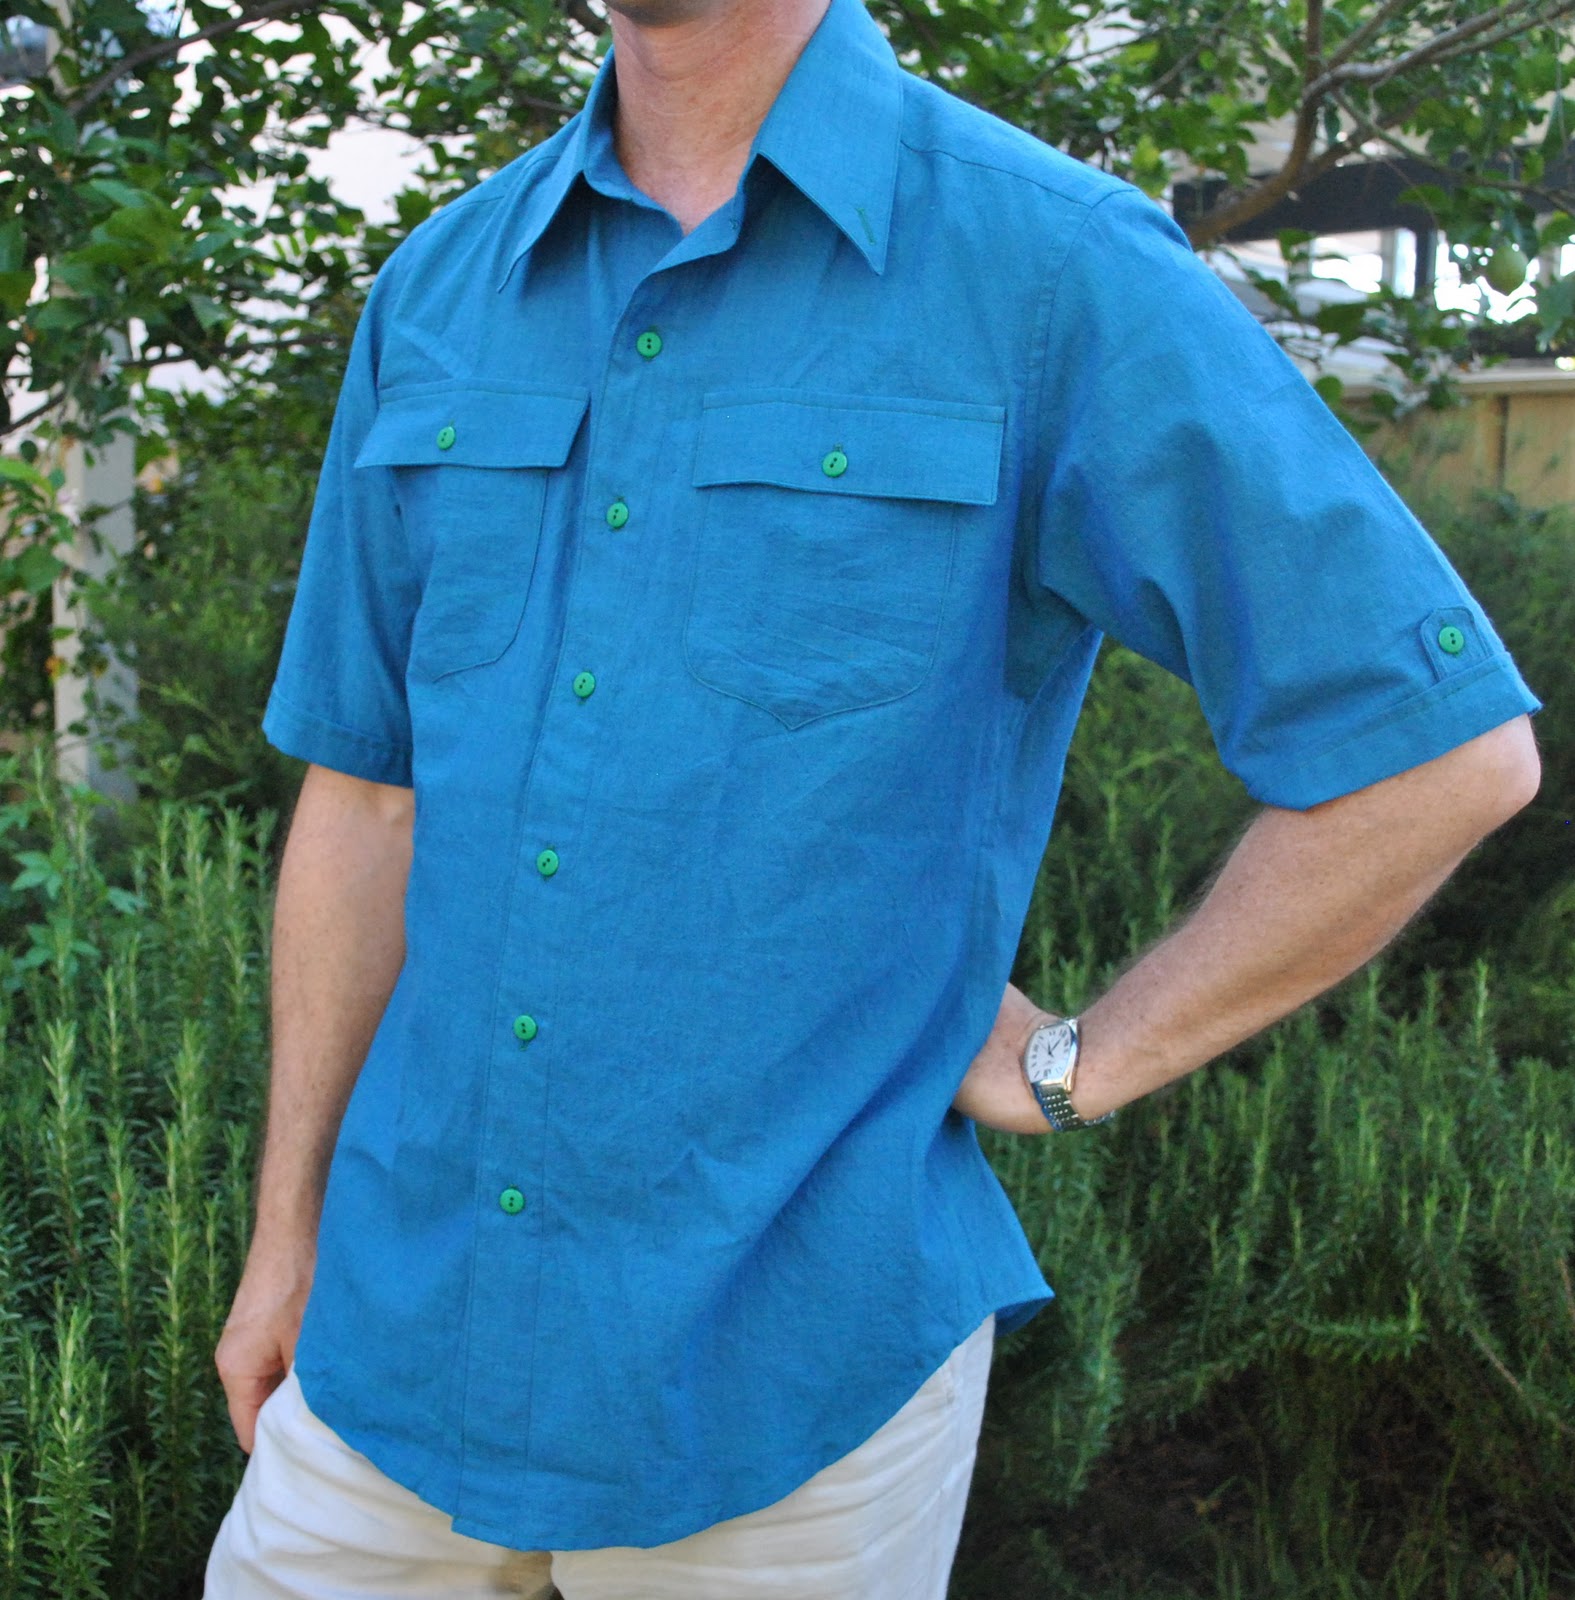
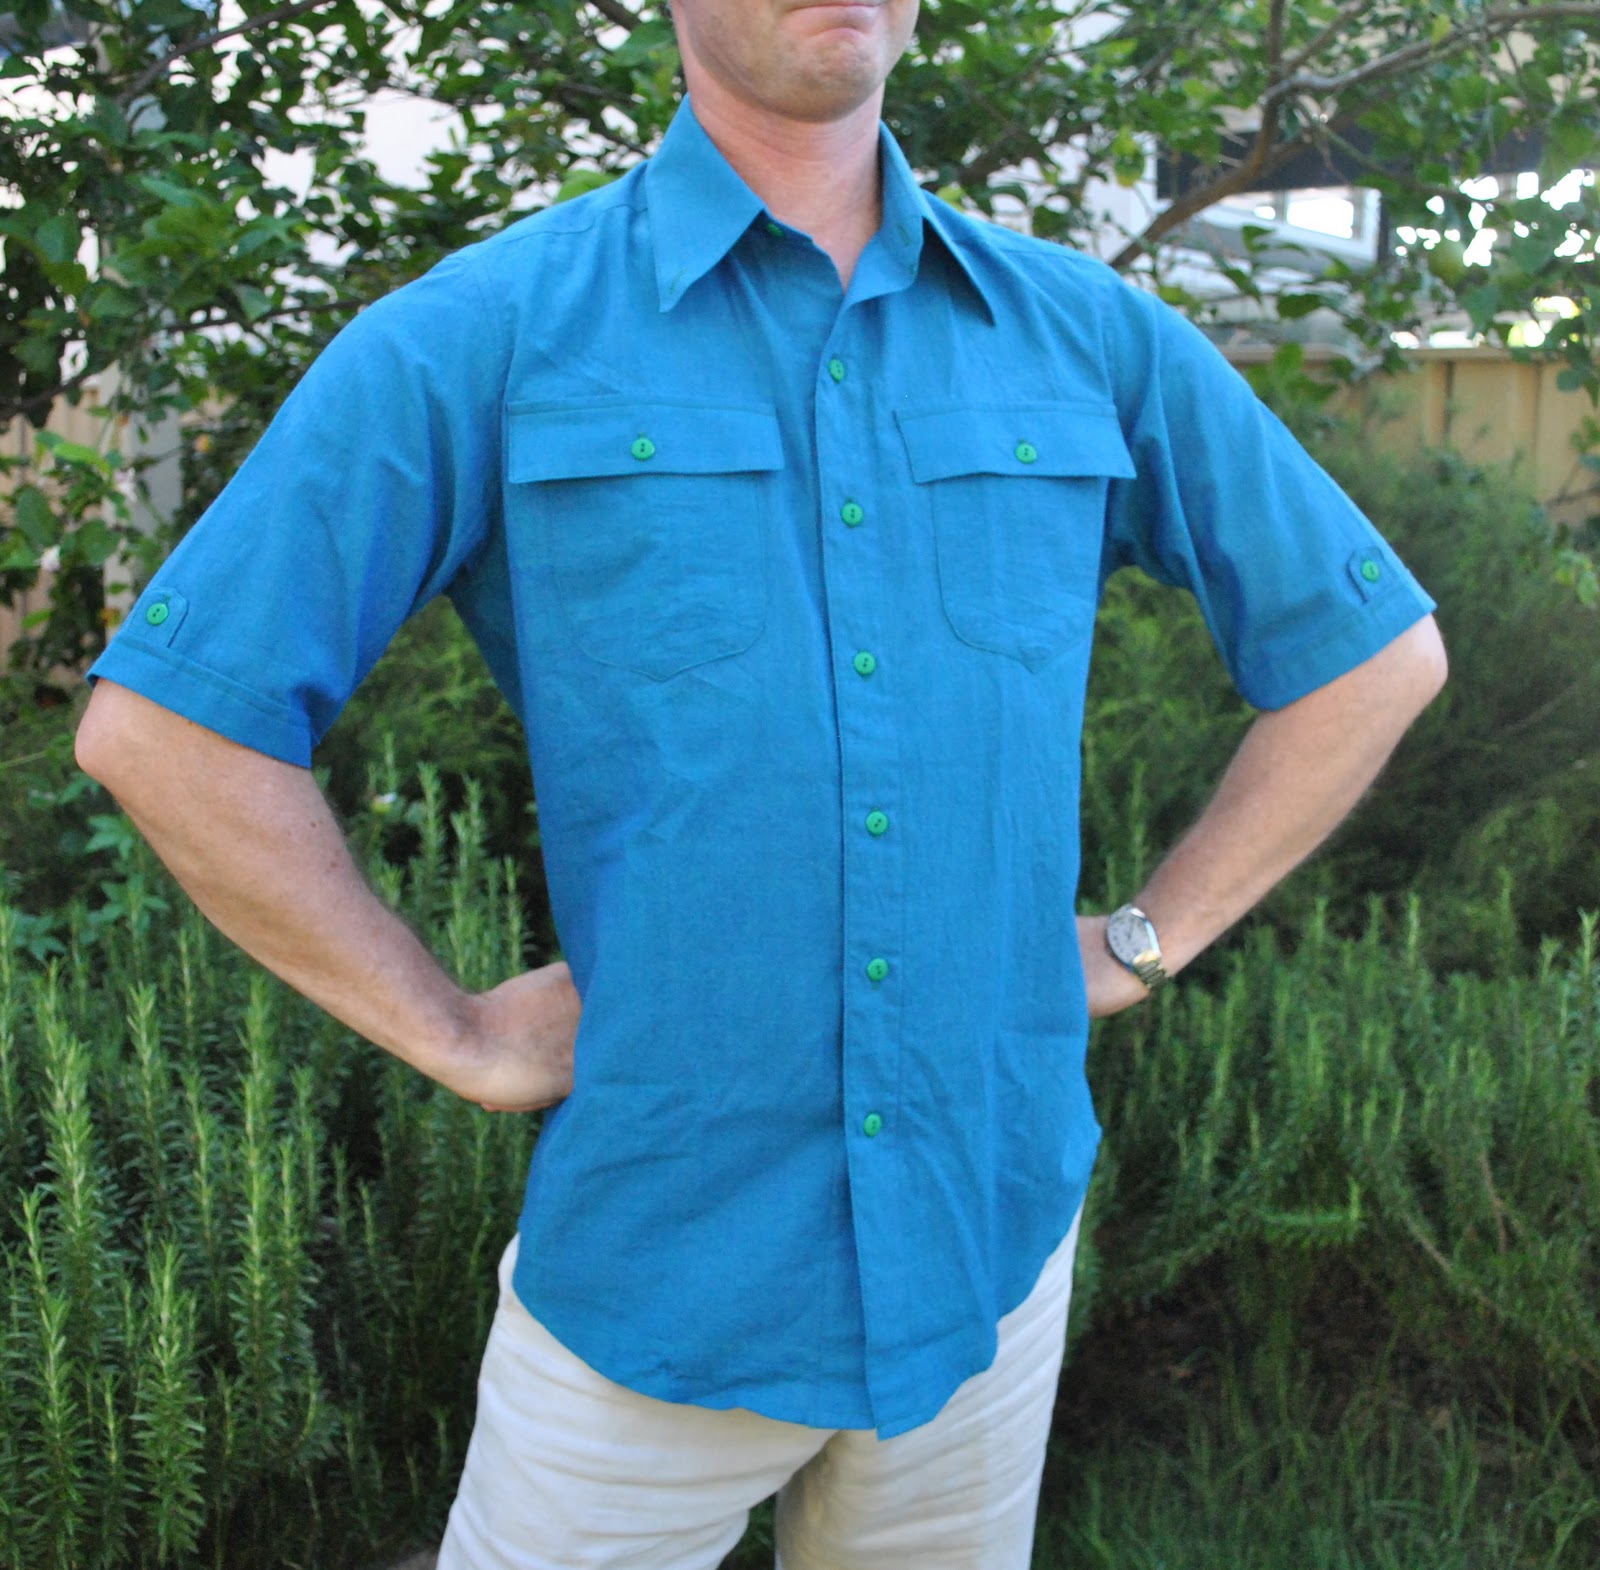
You see, today is my husband’s birthday; and I have made for him a shirt using Burda 7767 (surprise!), of Aegean shot cotton.
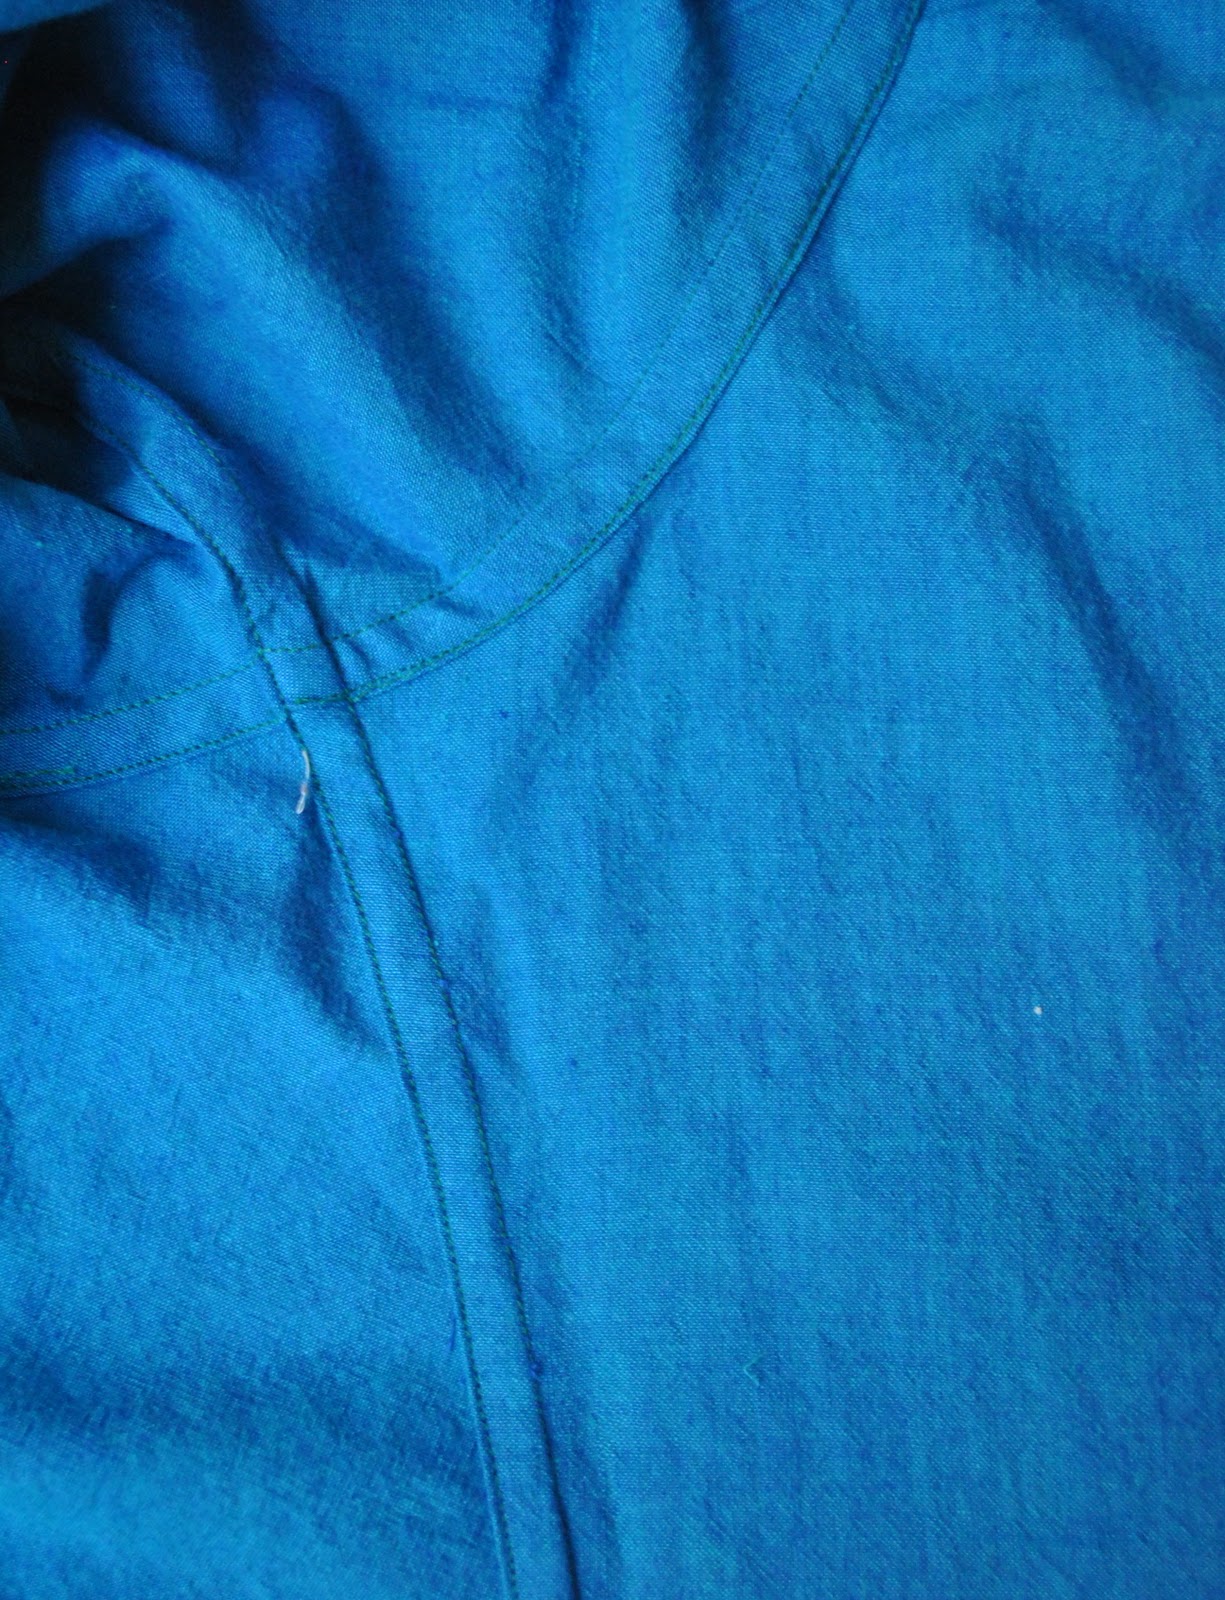
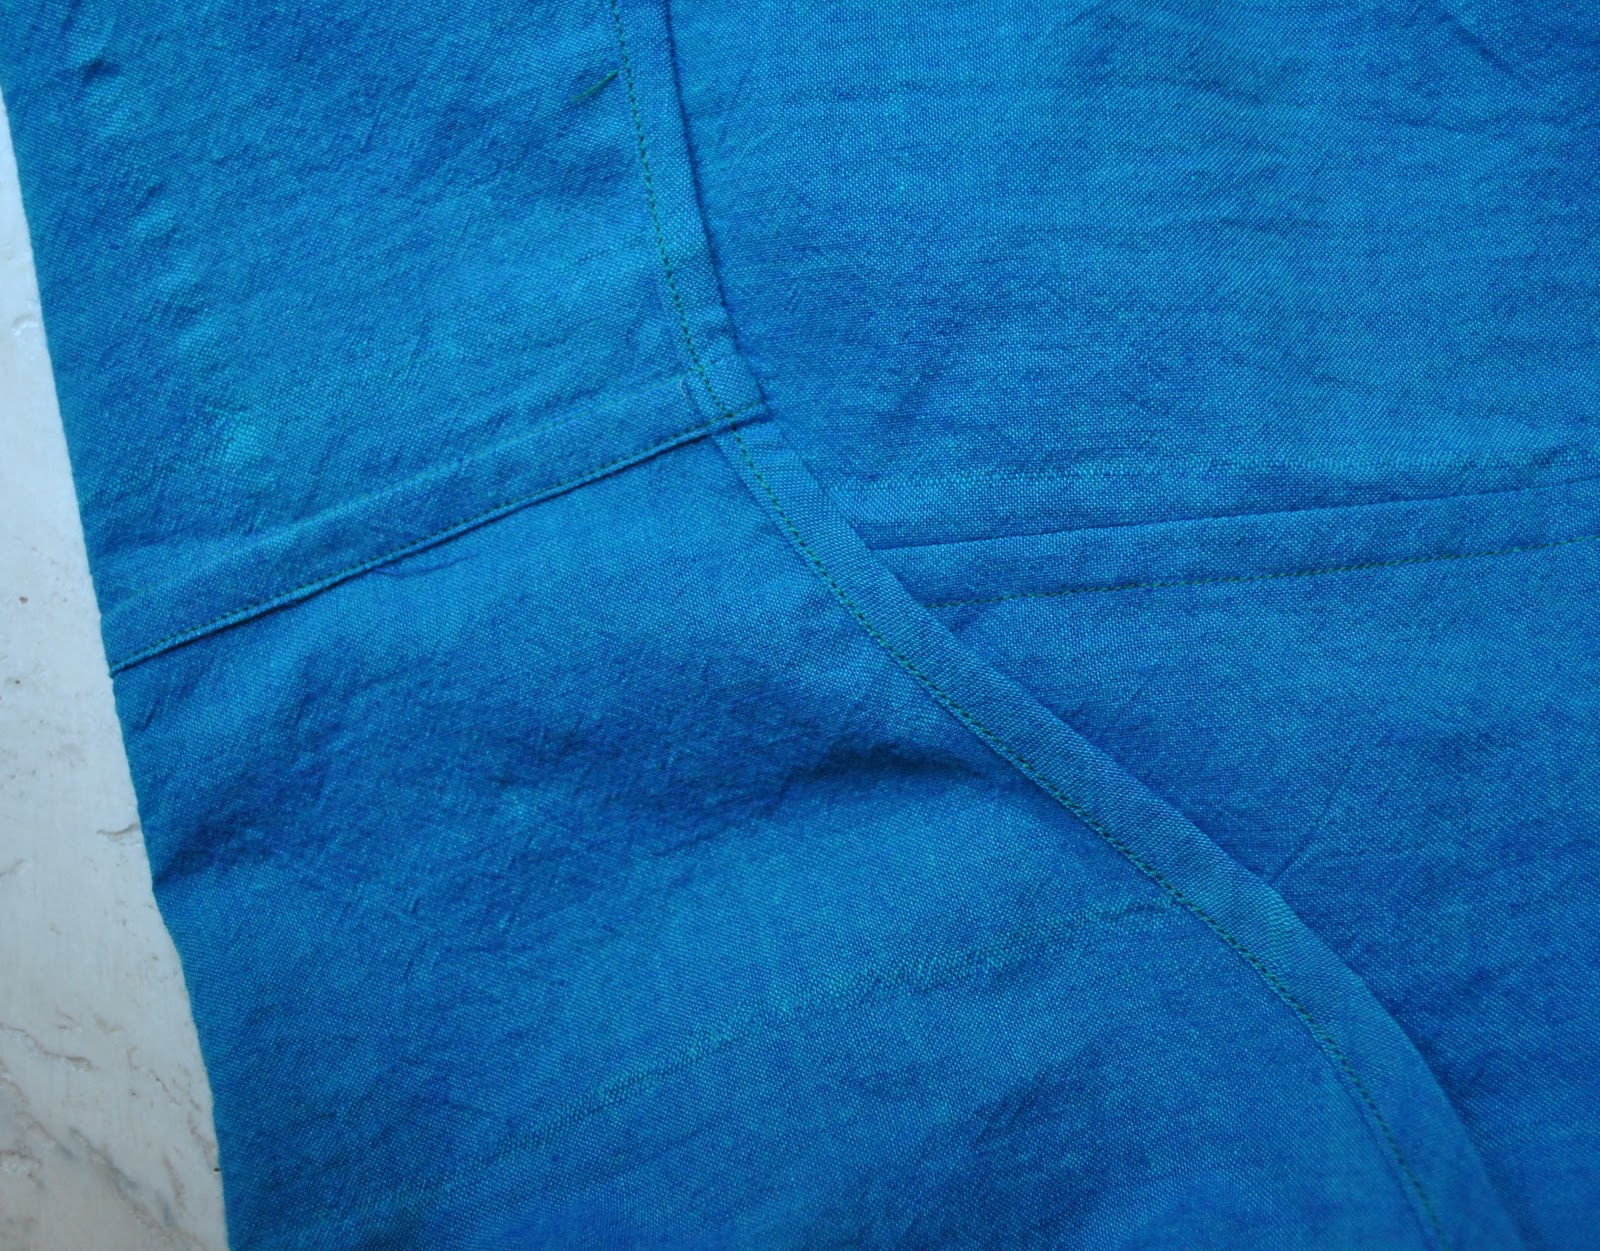
At the risk of self-big-noting… ah what the heck.   This is my most well-finished shirt to date, if I say so myself.  I went down the path of extra immaculateness as far as inner appearances go, and flat-felled the armscye seam allowances as well as the side and sleeve seam allowances.  In some fabrics this might be tricky wicky, but in this amazingly lovely fabric (about which I have previously raved) it turned out to be very achievable…  I’m pretty chuffed at how it turned out!
(below left; view of side, armscye and sleeve seams inside the shirt, right; lower hem and both inside and outside view of side seams)

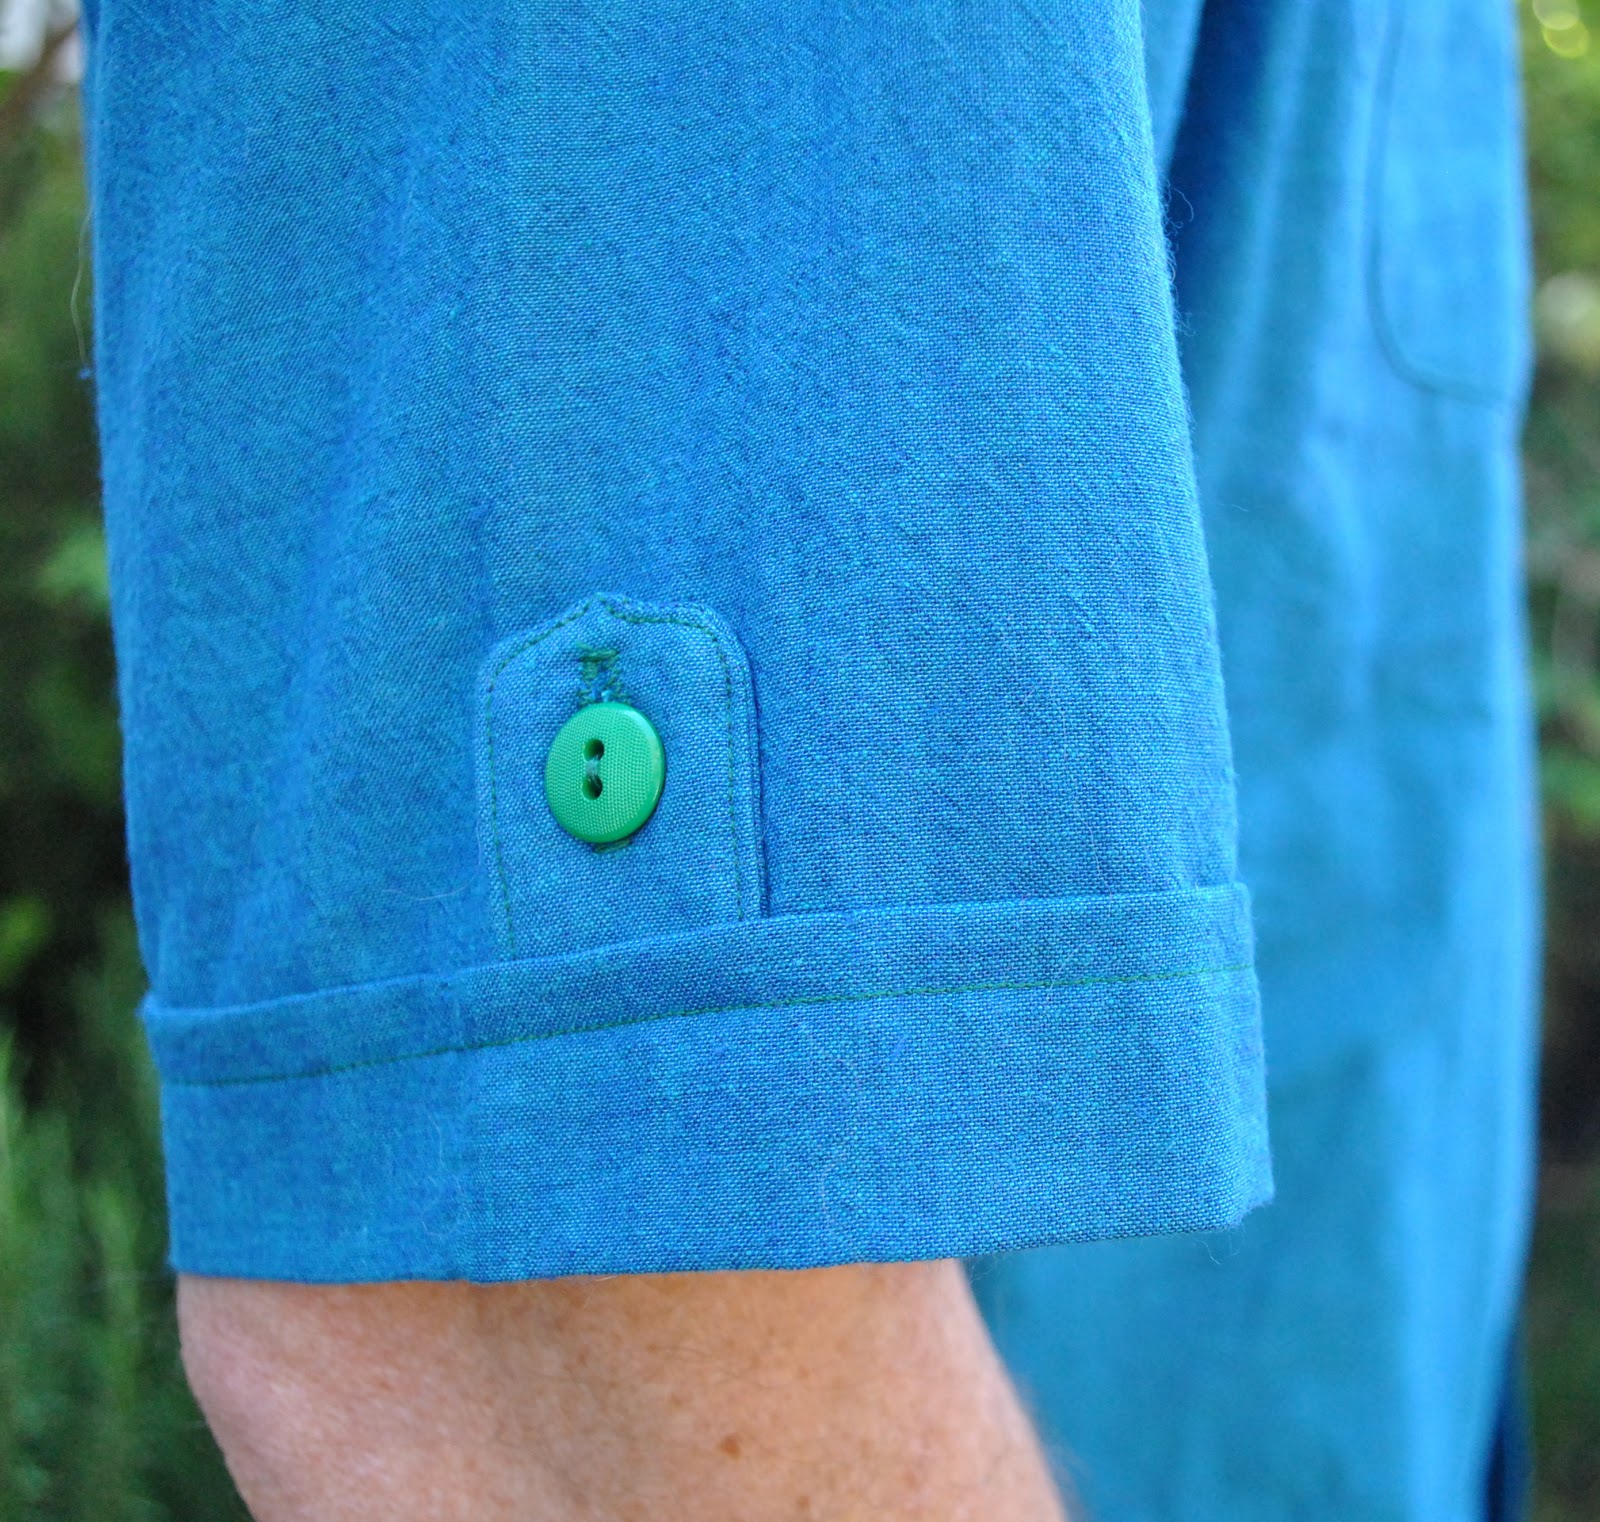
Modifications to the pattern; well, I absolutely love this pattern (obviously, as this is just the latest in a very very long line of my efforts with Burda 7767) but it is super-basic.  Honestly; great pattern, but it is pretty much a blank canvas…  So once again my long-suffering husband is the innocent victim of experimental, and fortunately minor, mucking about; which he will have to wear out and about in the big wide world for everyone to see…  This time I tried out “coat of arms” shaped breast pockets, and shallow, extra wide pocket flaps that extend out well beyond the edges of the pockets.  This feature is echoed in miniature on the sleeve hems, with their own little “coat of arms” shaped tabs tucked under a turned-up sleeve cuff.  Kinda ups the funk-factor in an acceptably low-key way, no?  Well, I think so…  Since the sleeve cuffs obviously run the full distance around the sleeve hem, I toyed briefly with the idea of extending the breast pocket flaps to fill the entire width of the shirt front to fit in … but decided that might be too weird for my husband to consent to wearing. Sartorially speaking he is a pretty conventional bloke, actually; he likes stuff to be … plain.  I think I shall have to work him up gently to wackier stuff like that.

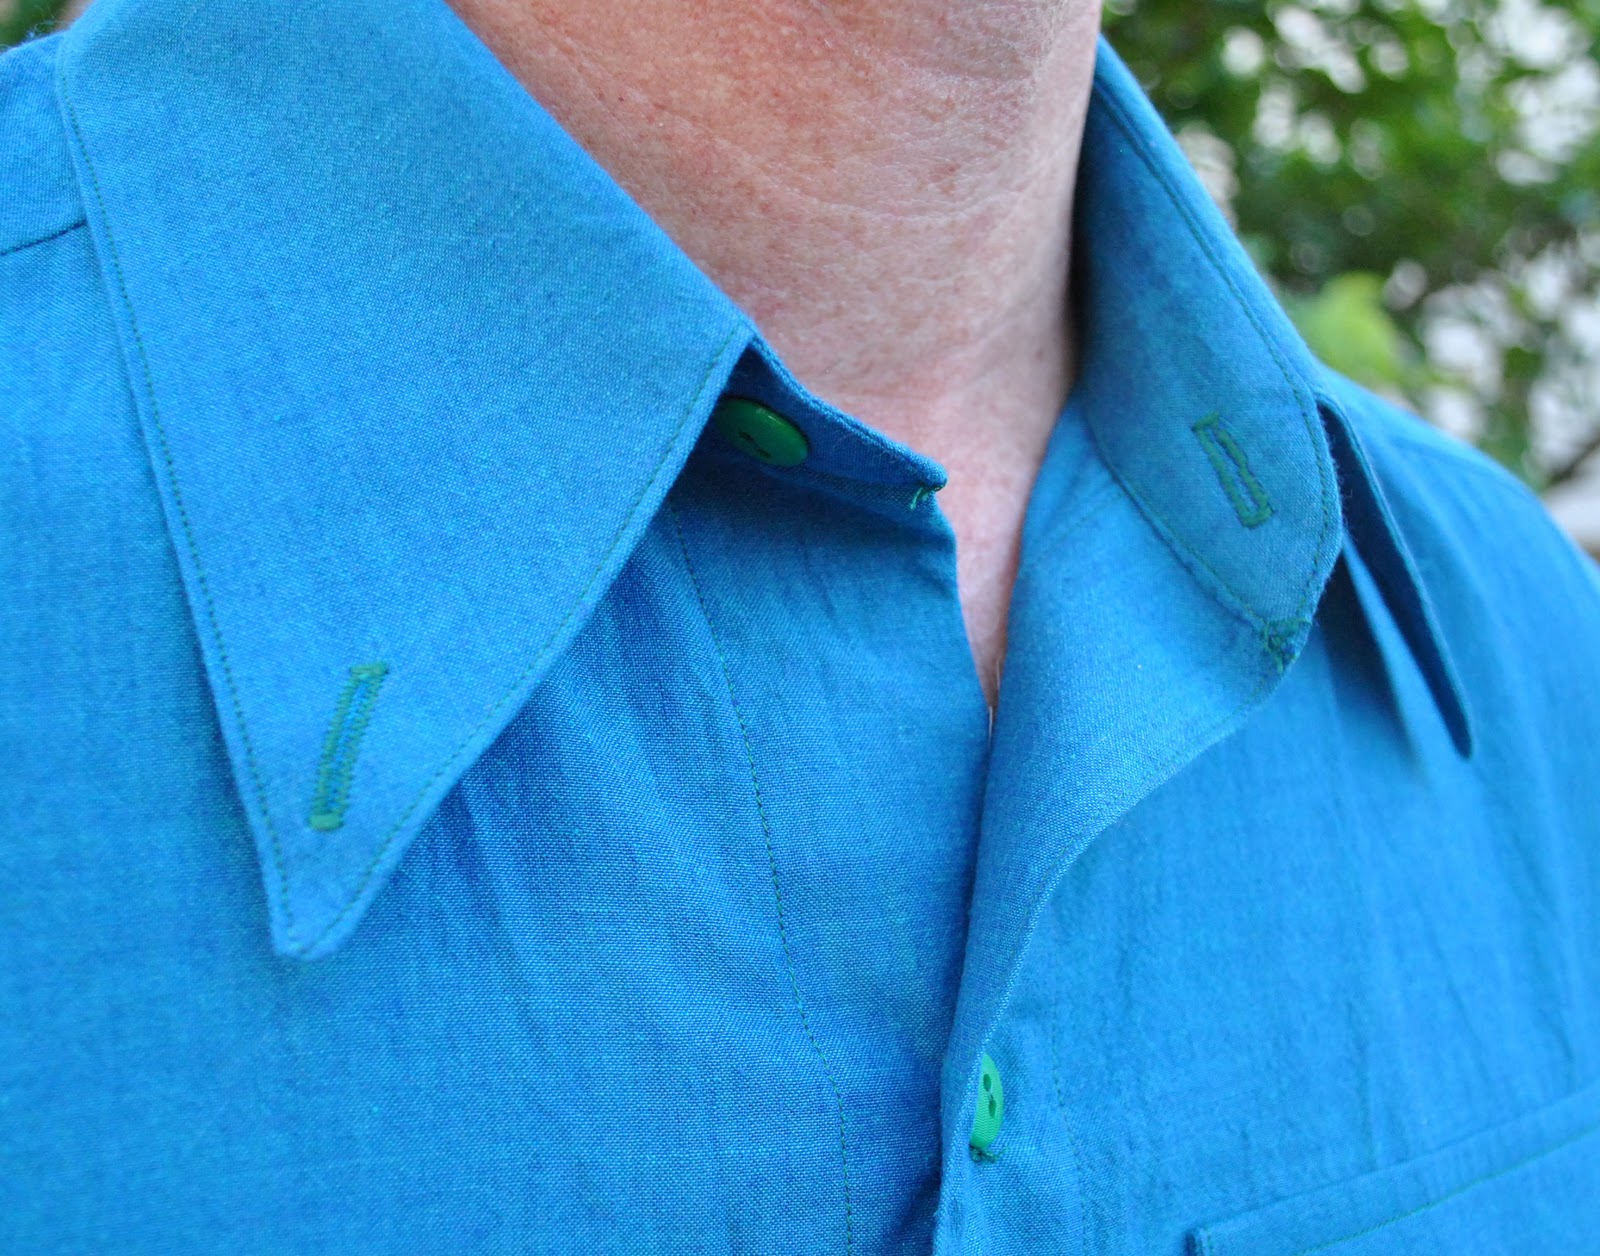
I sewed decorative buttonholes onto the collar points; now one of my favourite standard features to add to a man’s shirt, and curved the lower hem.  The last is a given, now.
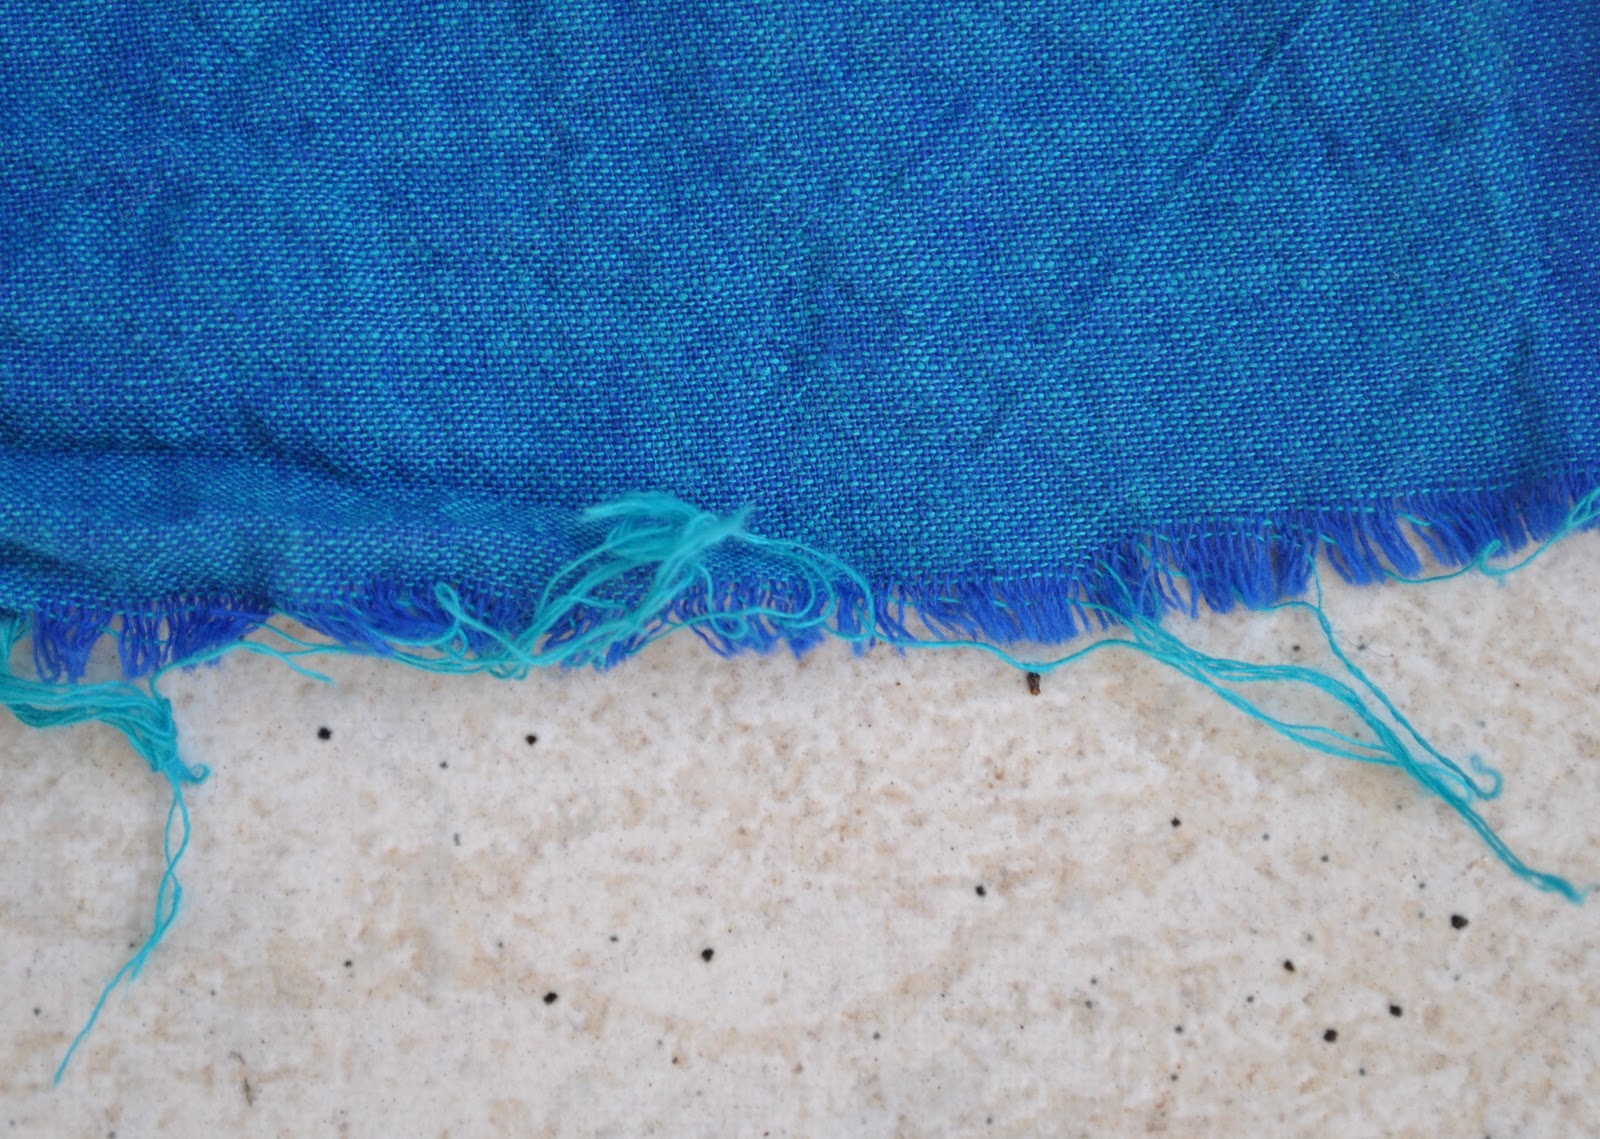
The colour of the fabric is a result of an ultramarine warp with a bright turquoise weft, giving it that iridescent oceanic glow.  Kelly green for the thread and the buttons just seemed to “go”.

Details:
Shirt; Burda 7767 with modifications; of Aegean shot cotton

below; the Superman pose

Now our Aegean Superhero is being taken out to a slap-up birthday dinner by his wife and kiddies.  Cheers all!
pinterestmail

It isn’t easy being green…

… at Christmas time.  Oh tosh.  Of course it can be VERY easy!!
Something I feel guilty about every year is the massive pile of wrapping paper that gets tossed out on Christmas Day.  We go through our wrapping paper on the day, salvaging bigger unripped pieces to recycle as much as we can, but the “keep” pile gets smaller each year and after you’ve cut off the mangled bits the pieces get smaller too.  And the next year there’re always one or two bigger pressies that need LARGE amounts of wrapping paper and one always ends up buying a few more rolls just to keep yourself topped up in wrapping paper and just because you don’t want to run out…
and I feel guilty about buying new paper all over again.

well not this year!
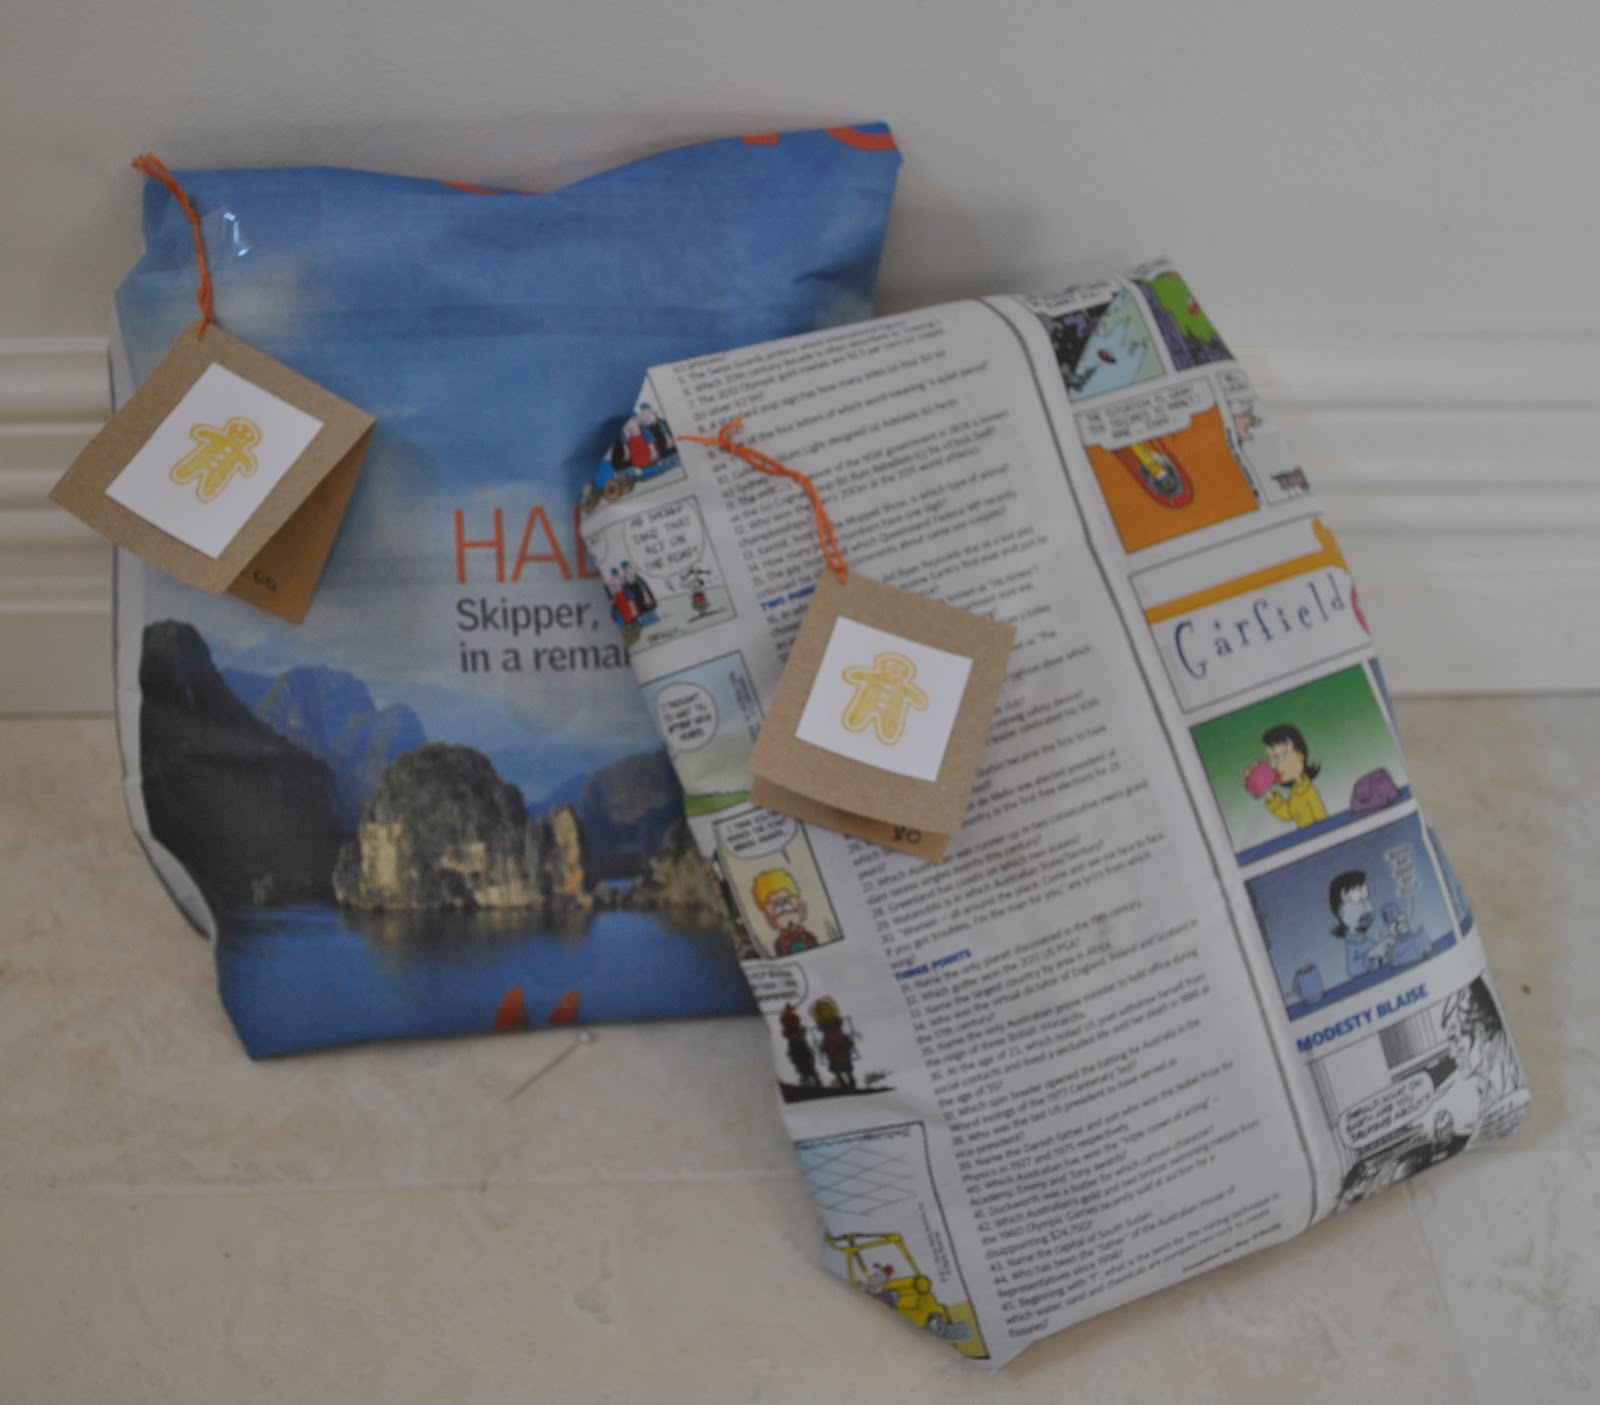
I decided to go really green, and use newspaper this year.  Remember my eco-friendly gift bags?  Yes, I am still making up those to use in all my other gift-giving too.  Actually I really do like the muted and monochromatic look of newsprint; the rustic look of it appeals to me more than bright glossy sparkly paper.
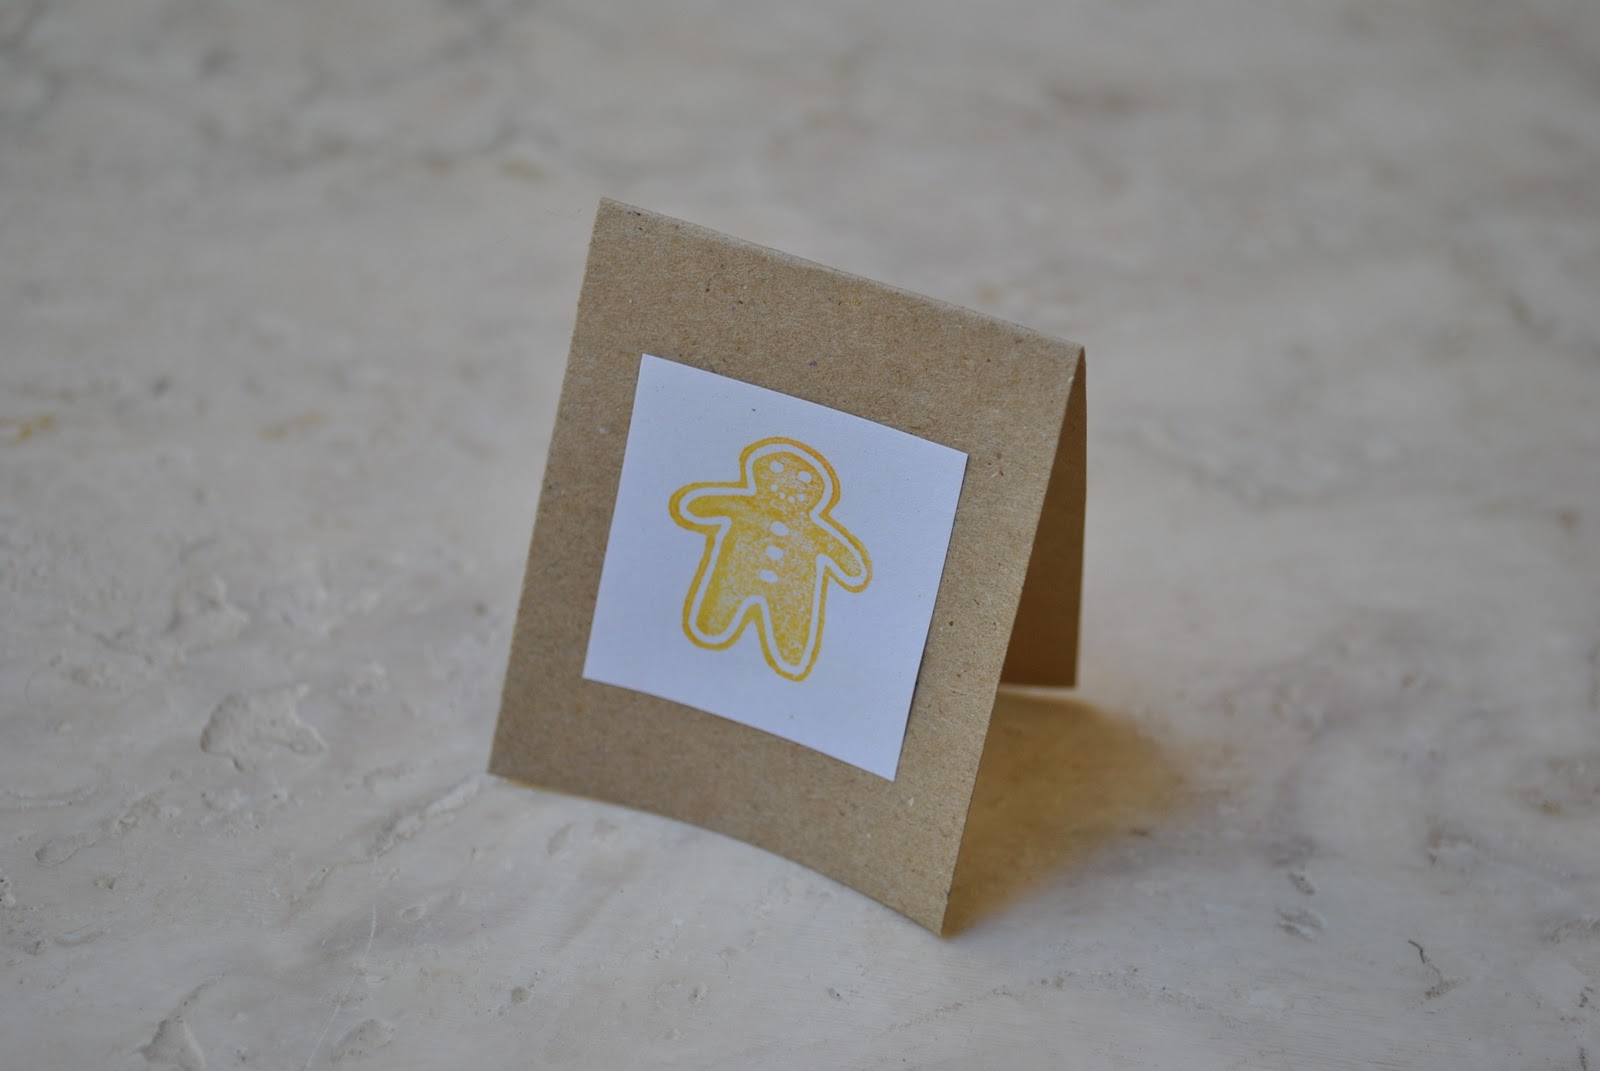
The little tags were made using a piece of lightweight cardboard found rolled inside a poster, and the little gingerbread man stamp I’ve had for years, from back when I was really into card-making and made all my own cards.  Actually, I still do make most of my own cards… which doesn’t take up very much time since my designs lean towards the very simple in style, which is my style..  A time-consideration thing there as well as my personal taste.
Just to make it all a bit more personalised; I select parts of the newspaper that suit that person.  So, Tim is into cars in a big way, and Cassie is fashion-conscious.  Sam loves the comics and the puzzles, and then for my man who loves to dream of travel… the luscious scenery in the travel section.

So, no guilt come clean-up time.  And let’s face it, it is the gift inside that really counts, right?!

pinterestmail

On the rocks…

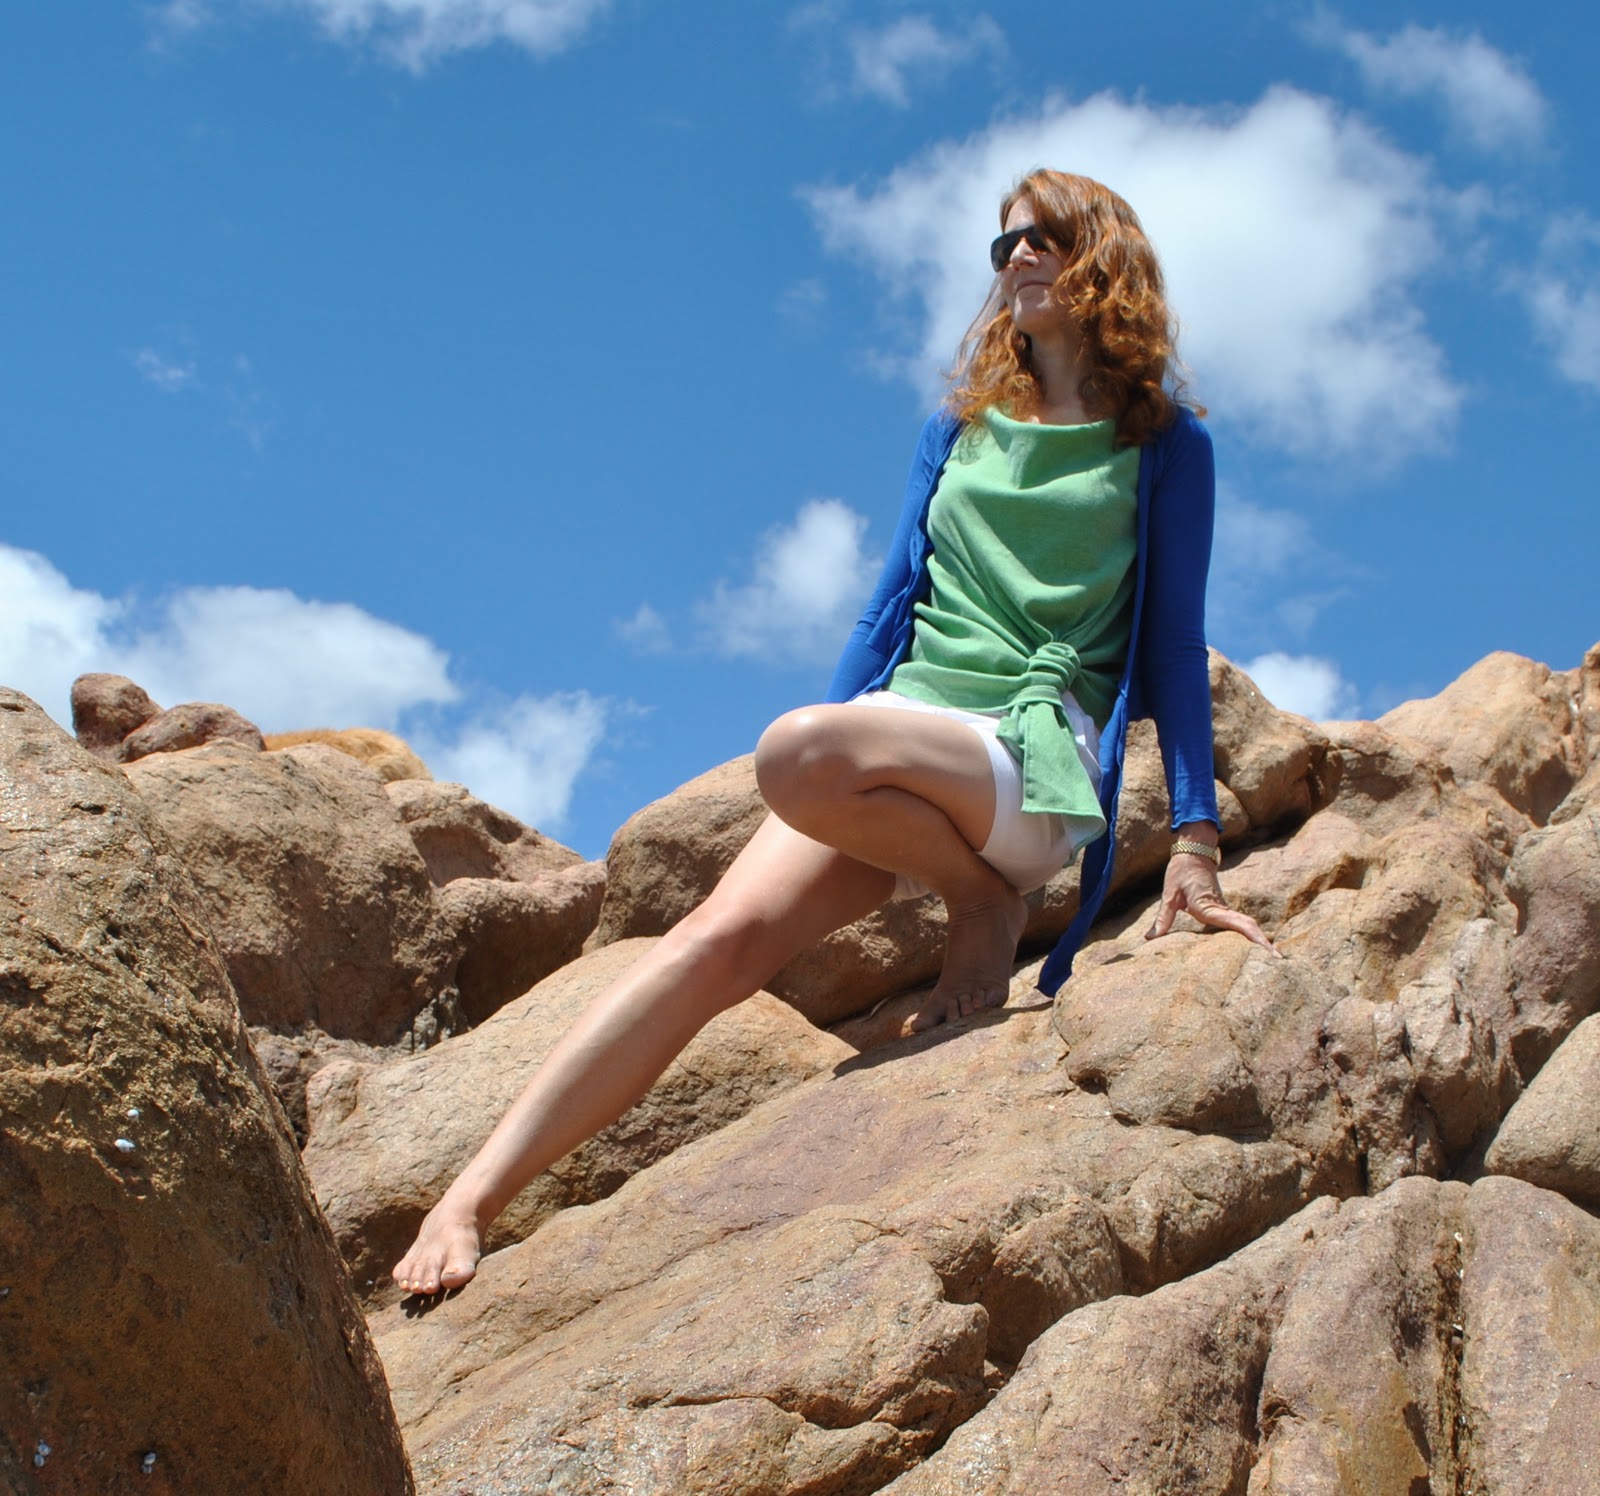
… in my on-going part-time quest to get great pictures with my dog; can you see her?  She is there in the picture… just.
Camouflaged well in amongst the rocks…
Blue and green together is such a great summer time colour combination.  They look so fresh and clean together.
In sewing news; I am squeezing an insane amount of sewing in amongst glasses of champagne, canapes, and strawberries and small pieces of chocolate fudge cake impaled on skewers so you can dip them into a chocolate fountain…  and btw, YUM  (it’s a tough life but somebody has to do it)  But all my current projects are top secret coal-and-dagger stuff; mwahaha.  To be revealed at a later date….

Details:
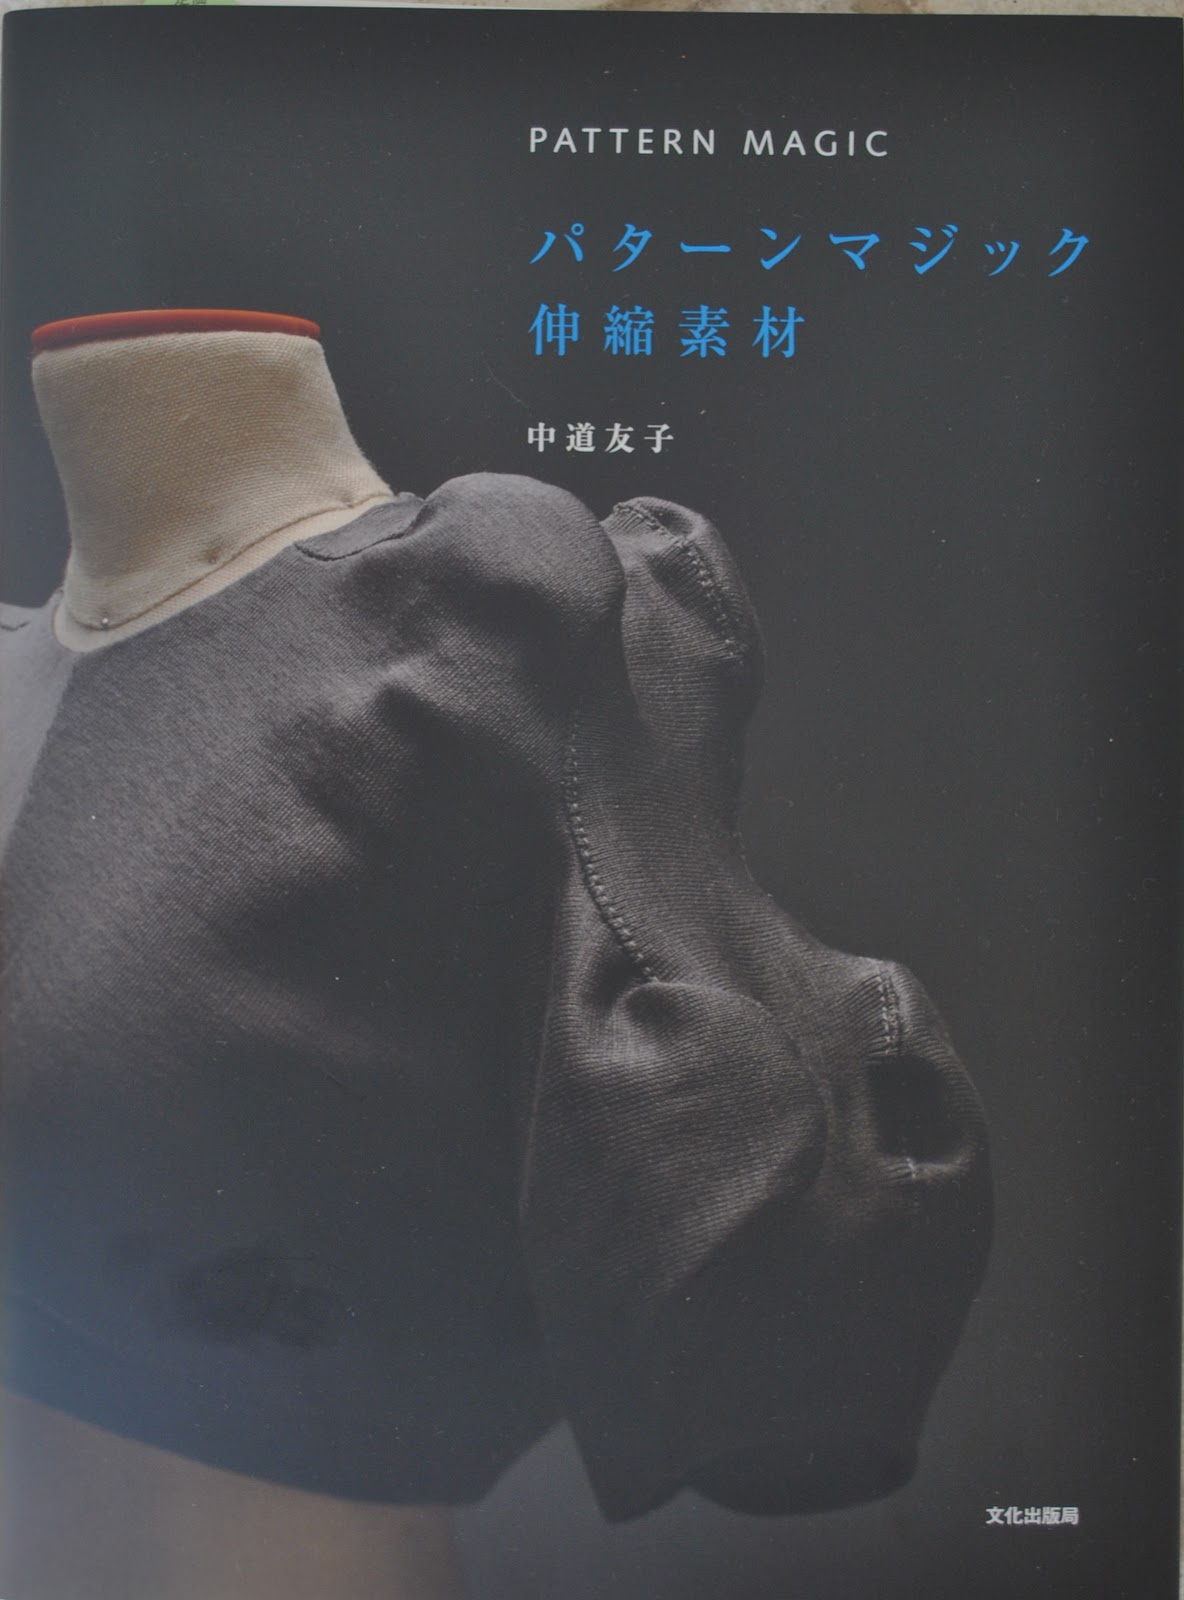
Top; from Pattern Magic 3 by Tomoko Nakamichi, green cotton jersey, details here
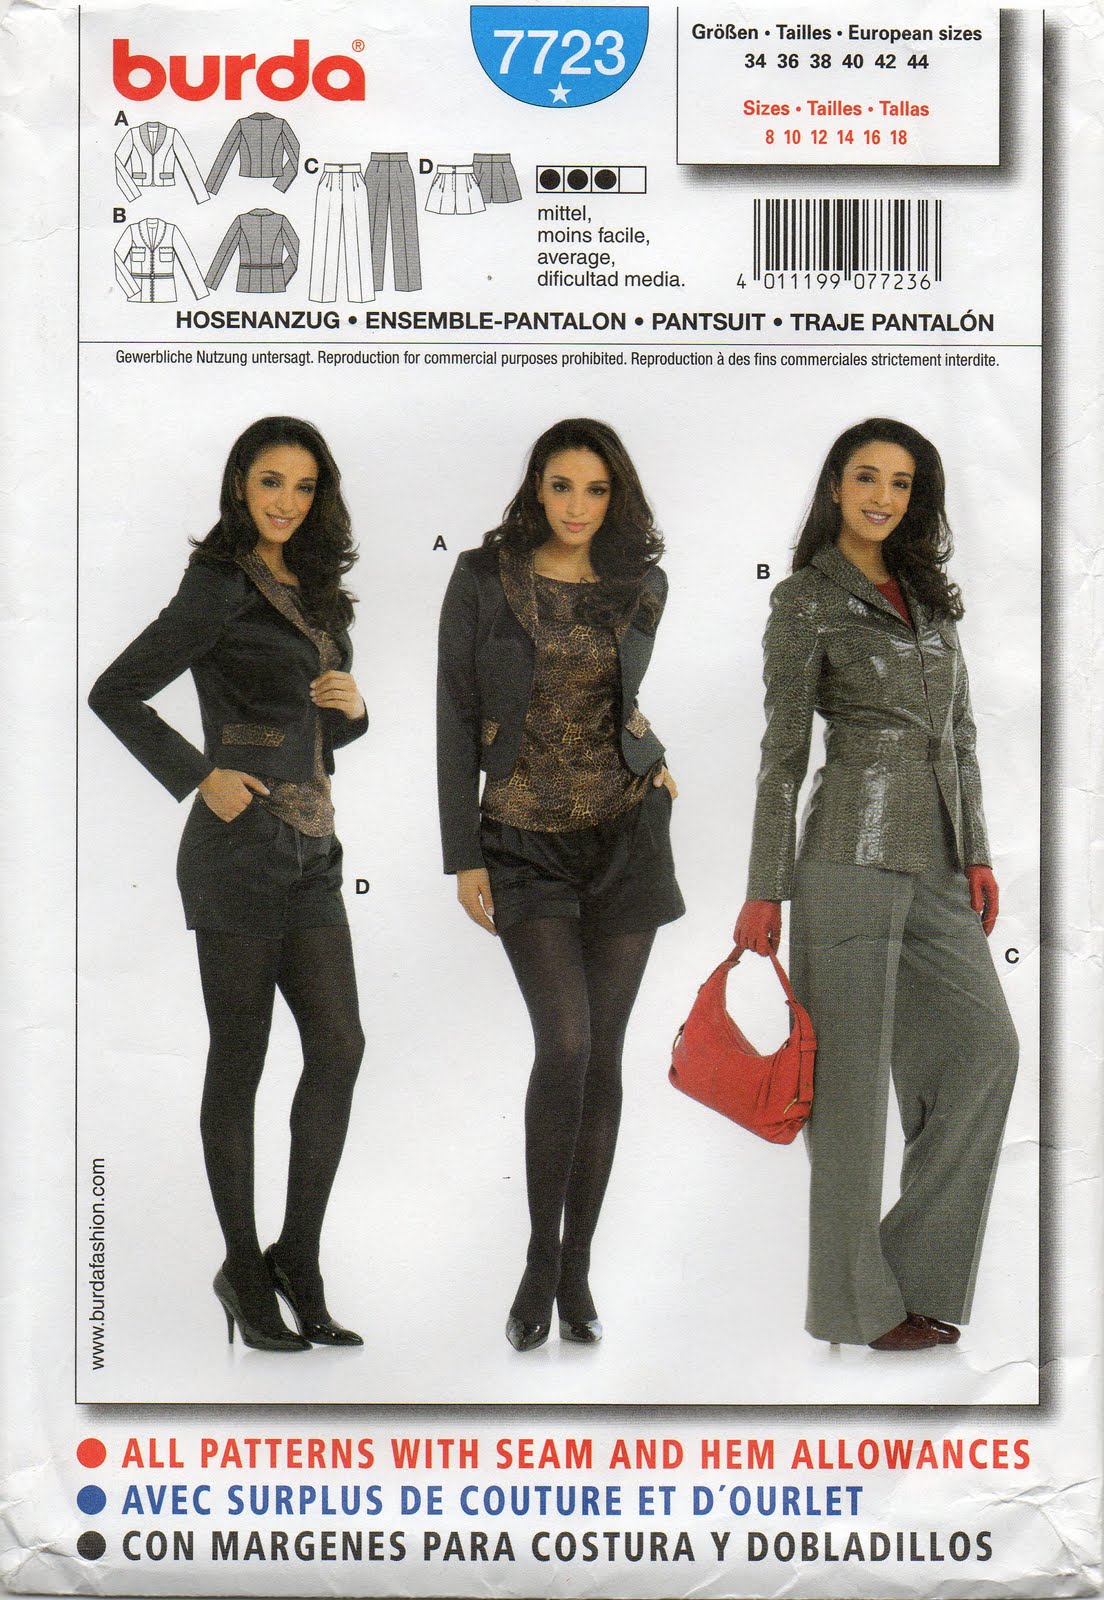
Shorts; Burda 7723, white linen, details here and my review of this pattern here
Cardigan; Metalicus

ps. she is the slightly more orange “rock” at the top left.

pinterestmail

Blue bunches top; 6 different ways

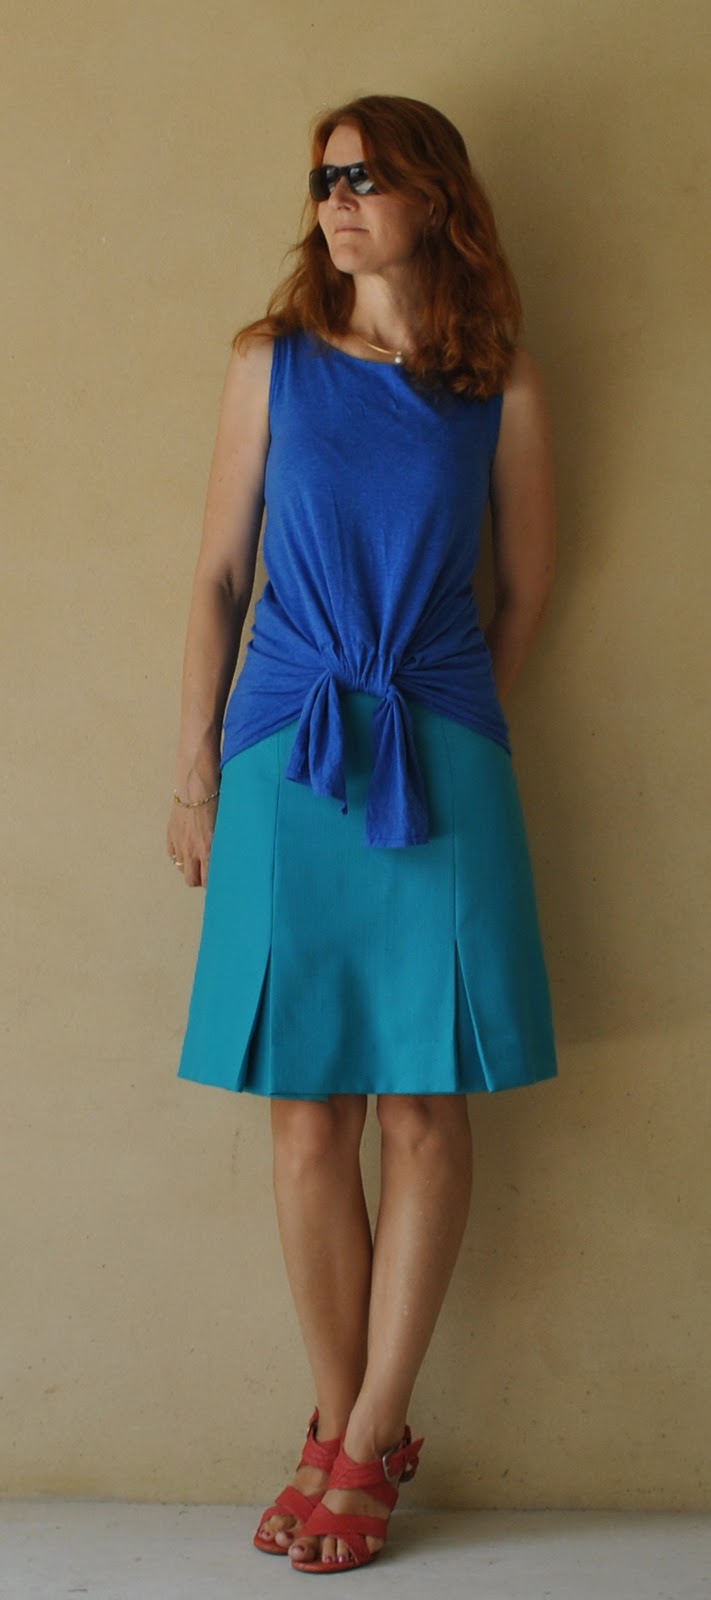
I thought this little top, from p58 of “Pattern Magic 3” by Tomoko Nakamichi (seen first here), might be a versatile little thing from the very first, since I tried wearing it both frontwards and backwards and it looked equally OK both ways…  And then I started playing around with it and found that it could literally be worn in six different ways, and I don’t just mean jamming it randomly into six different outfits!  although I did put together six different outfits too….  just because it is fun, y’know  ðŸ™‚

At left; the top worn in its intended form as it appears in the pattern book, that is with the round neck and ties (or “bunches” as I think of them) at the front, and the V-neck at the back…… And at right I am wearing it back-to-front and with the V-neck at the front and the ties hanging down at the back.  Oh, I know the details are covered up some in this picture but well I had to throw in just one slightly winter-y option into the mix!   And really I’m just trying to show how the top is all-seasonal, layering with light cardis during the cooler months too… (if you want to see this “way” fully and without a scarf and cardi over the top it is shown better here)

Also, the bits that form the “bunches” can be taken out and folded down against the body, and then the top can be tucked into a high-waisted garment.  This way it just looks like an ordinary little plain tank top.  I dunno if it is just me but I do think the round-neck at the front (at left) is a tad more dressy while the V-neck looks more casual.

Lastly, those “bunch bits” can be left loose and free, and the top takes on even more different and interesting shapes.   Again, I think the V-neck and the longer length at the front (on the right) is somehow a more casual look.

Interesting, huh?  Who would have thought that one little top could work in so many ways?
Oh, what am I wearing today?  I am wearing the fifth outfit; “all out” and with the round neck and shorter length at the front (just above, and on the left)  I reckon it looks pretty funky like this too…
Which “way” do you like the best?

pinterestmail

Iceberg garter-stitch jacket

With impeccable timing I have finished a toasty warm little knitted jacket.  Yeaah, just in time for these really hot hot summer days ahead, hehe…   I’m a bit sad about having to pack it away for a while, but that’s my own silly fault for starting my new winter cardi during winter. 😉 It is the shorter (version 1) Garter Jacket from Jo Sharp Knit 6…  As soon as I laid eyes on this design I loved the boxy shape and interesting stitch arrangement but when I saw an actual made-up example in real life I thought it was a bit bulky and a bit big in the body for my tastes.  So I took a punt that using a finer gauge yarn could work out quite good…. and I think it did!  Basically instead of using the thicker gauge Aran Tweed recommended in the instructions I used the thinner DK Tweed, knitted up to its own recommended tension (not the one in the pattern instructions for the thicker yarn) and I also knitted up the very smallest size.  I still followed all the instructions for number of stitches and rows etc… but the smaller scale gauge of the thinner yarn resulted in a smaller and finer cardi; not too thick and just right in my opinion. Another bonus to this approach was that I needed only 9 balls, as opposed to the 11 balls required in the thicker yarn.
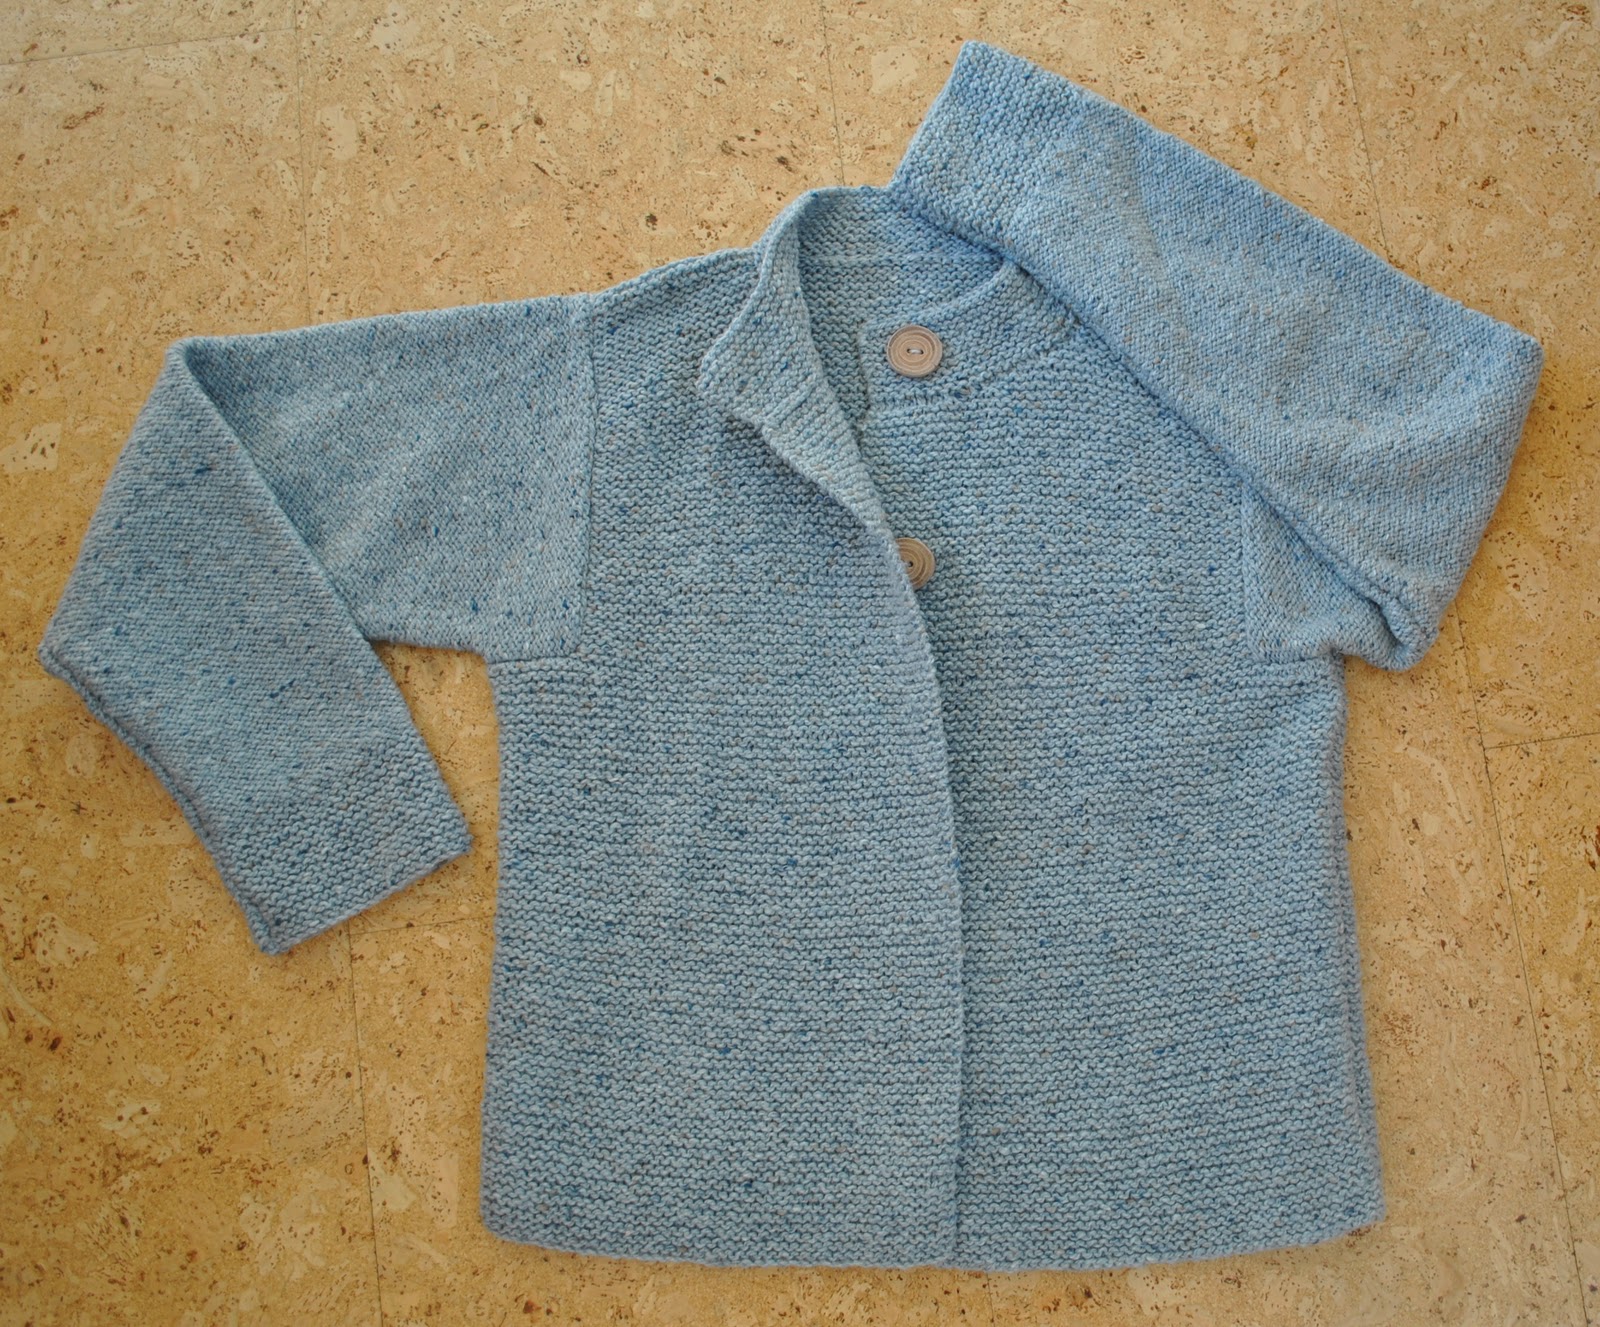
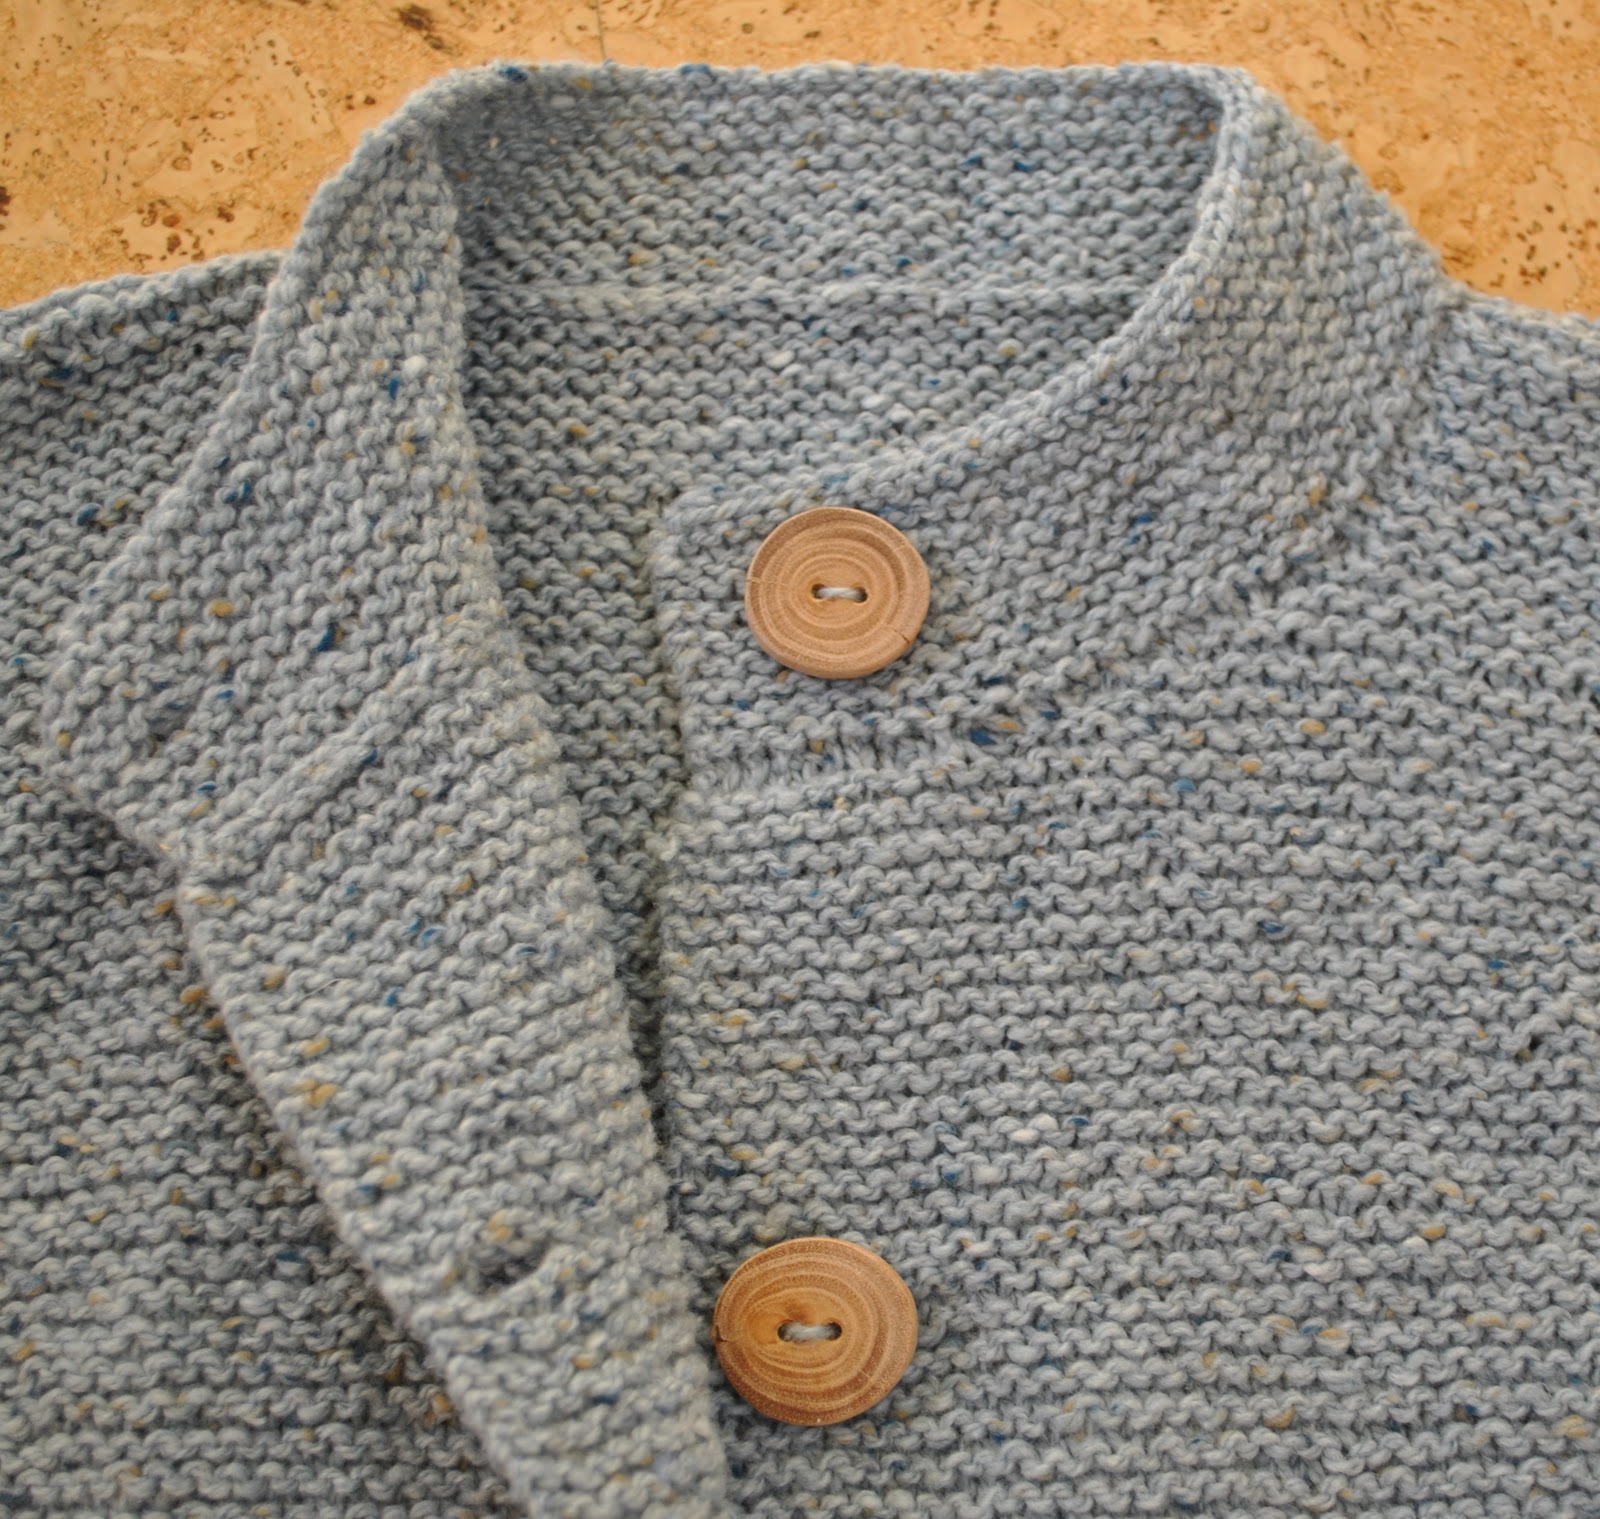
Those gorgeous wooden buttons are made by Dad.  Thank you Dad!  I am lucky to have such a clever father.

Details:
Cardigan; Garter stitch jacket from Jo Sharp Knit 6, in Jo Sharp Silkroad DK Tweed in colour Iceberg
(the individual pattern is available by digital download here)
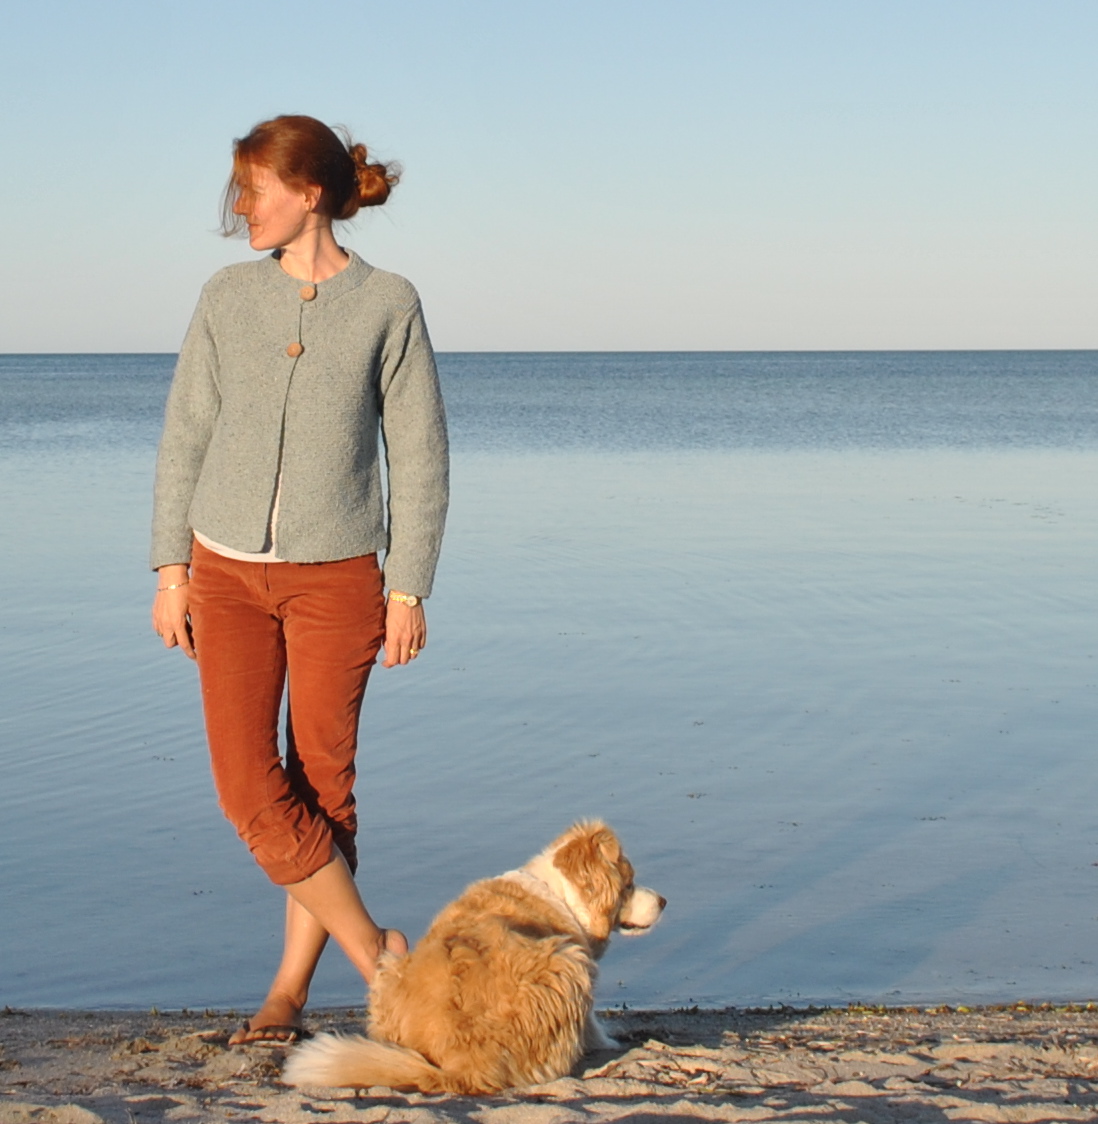
Jeans; Burda 7863 modified, rusty stretch corduroy, details here and my review of this pattern here

pinterestmail

A handmade Christmas, II

some Christmas decorations…
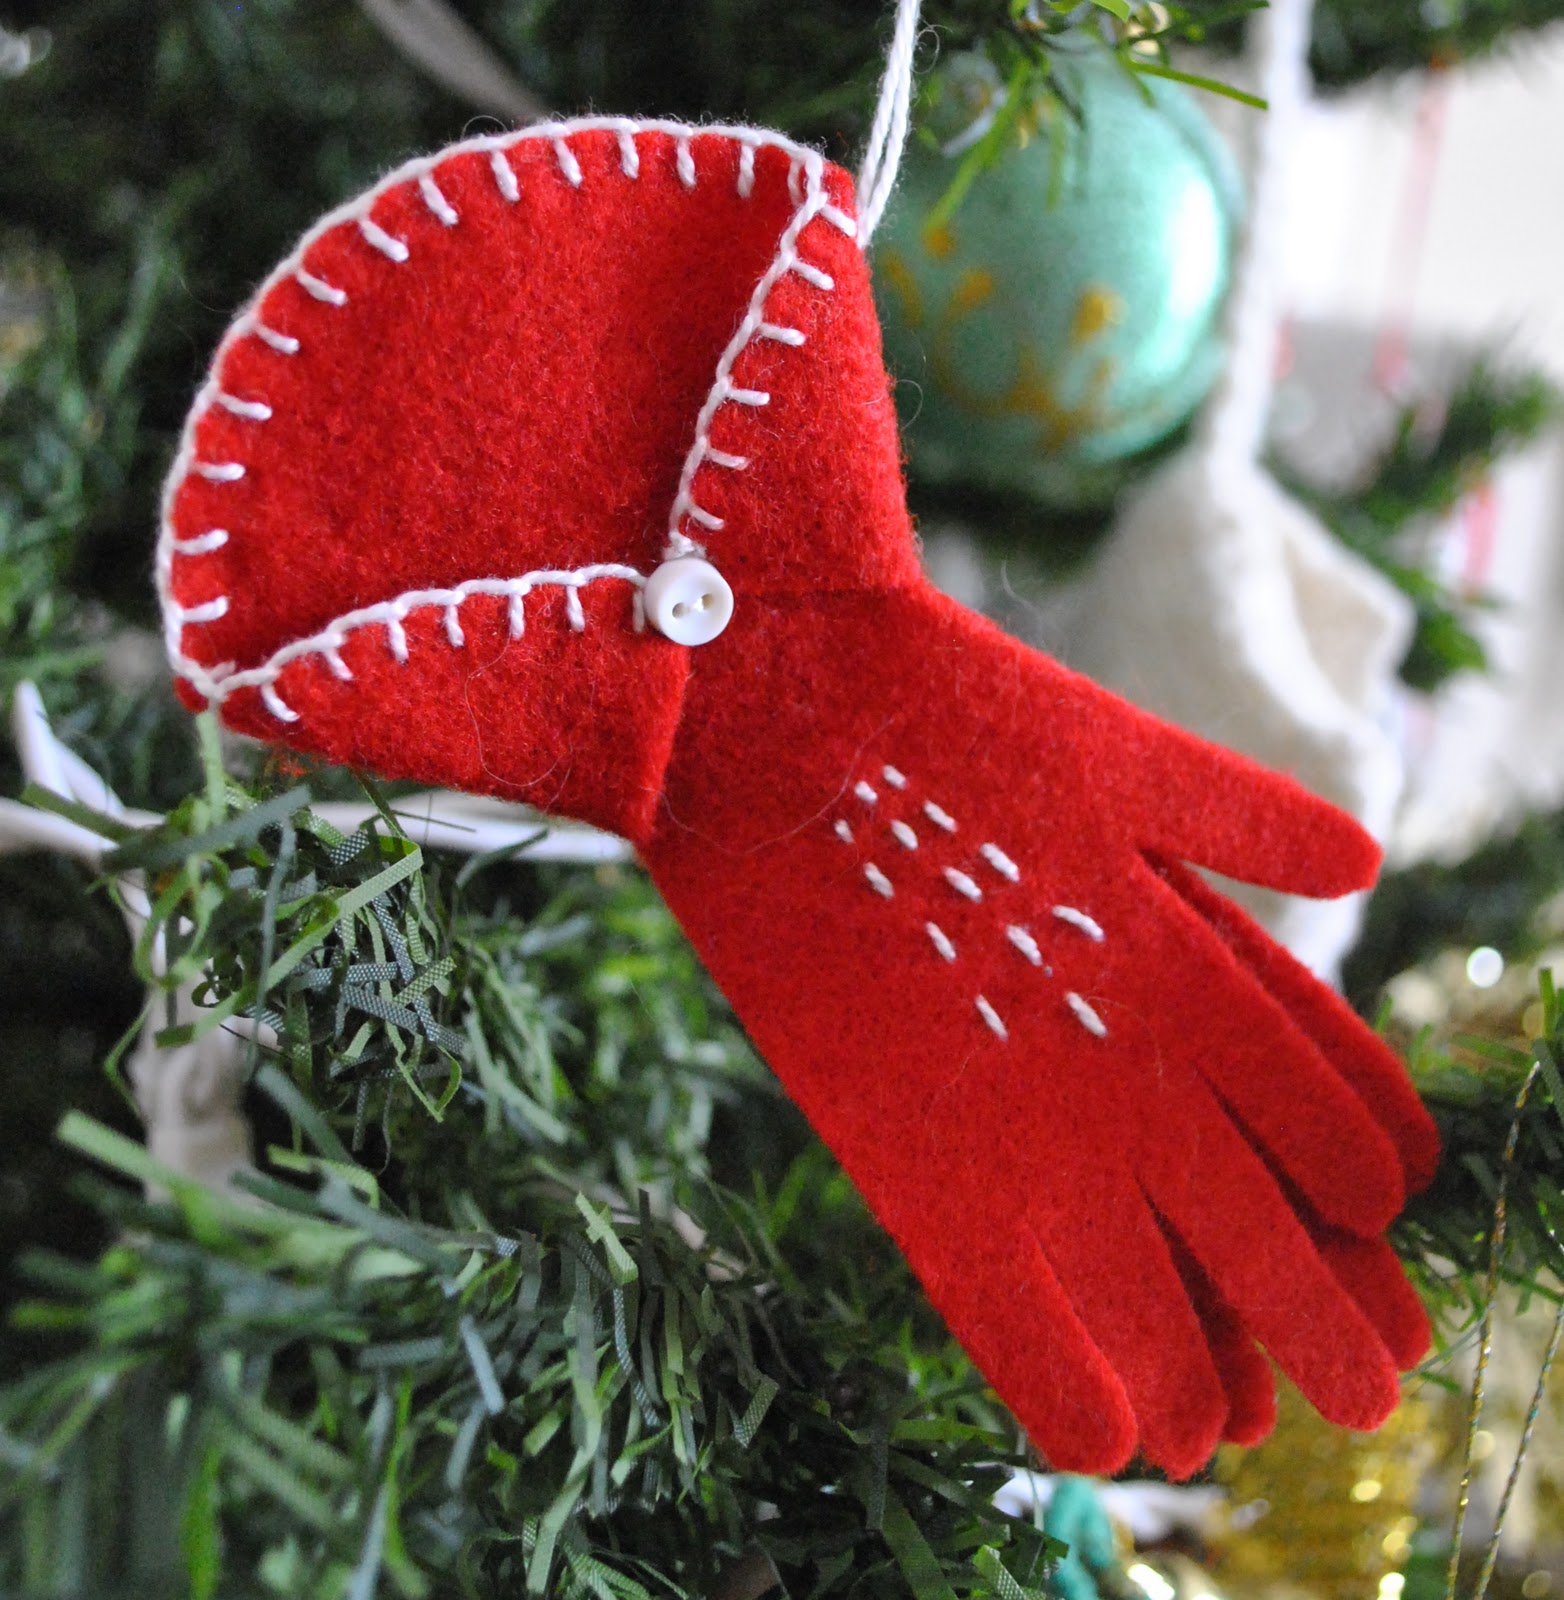
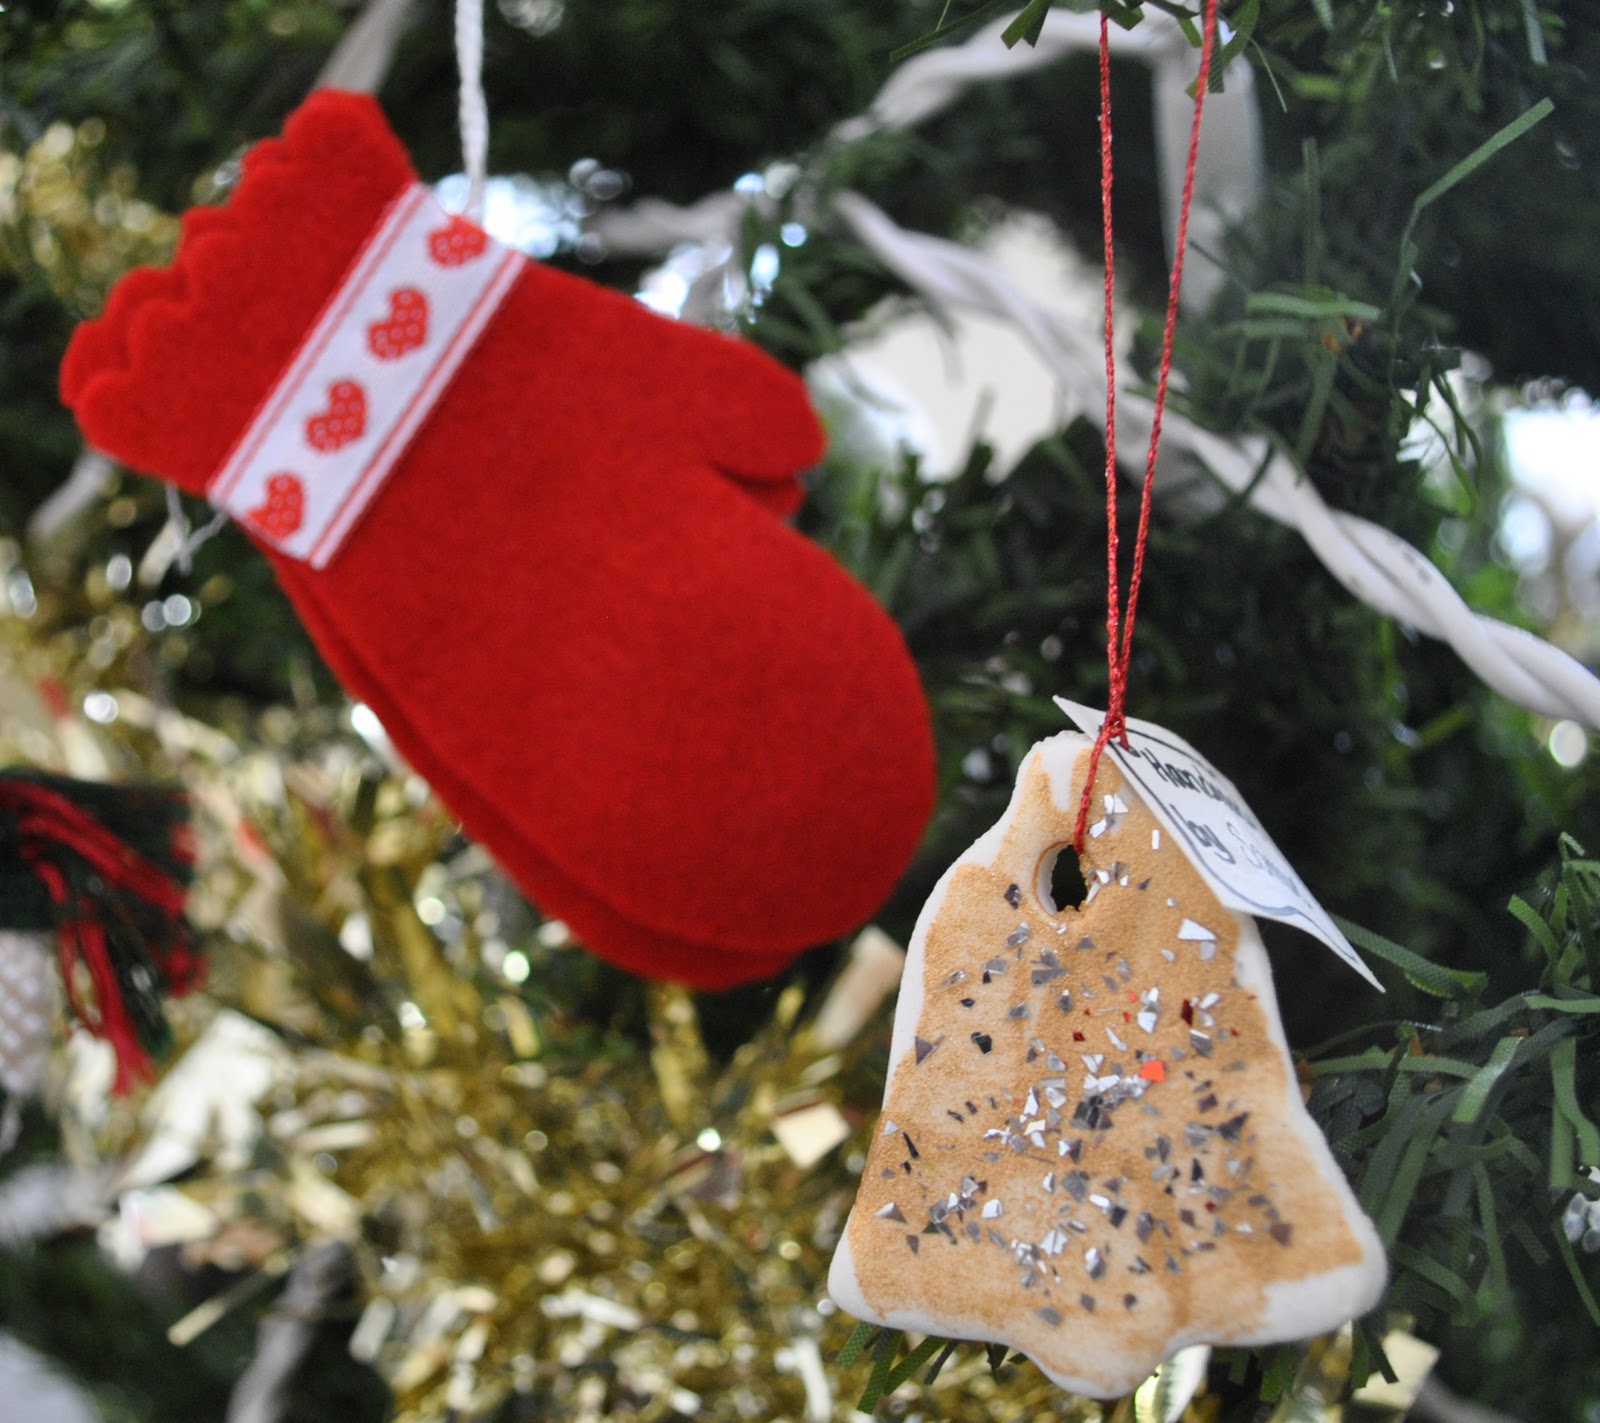
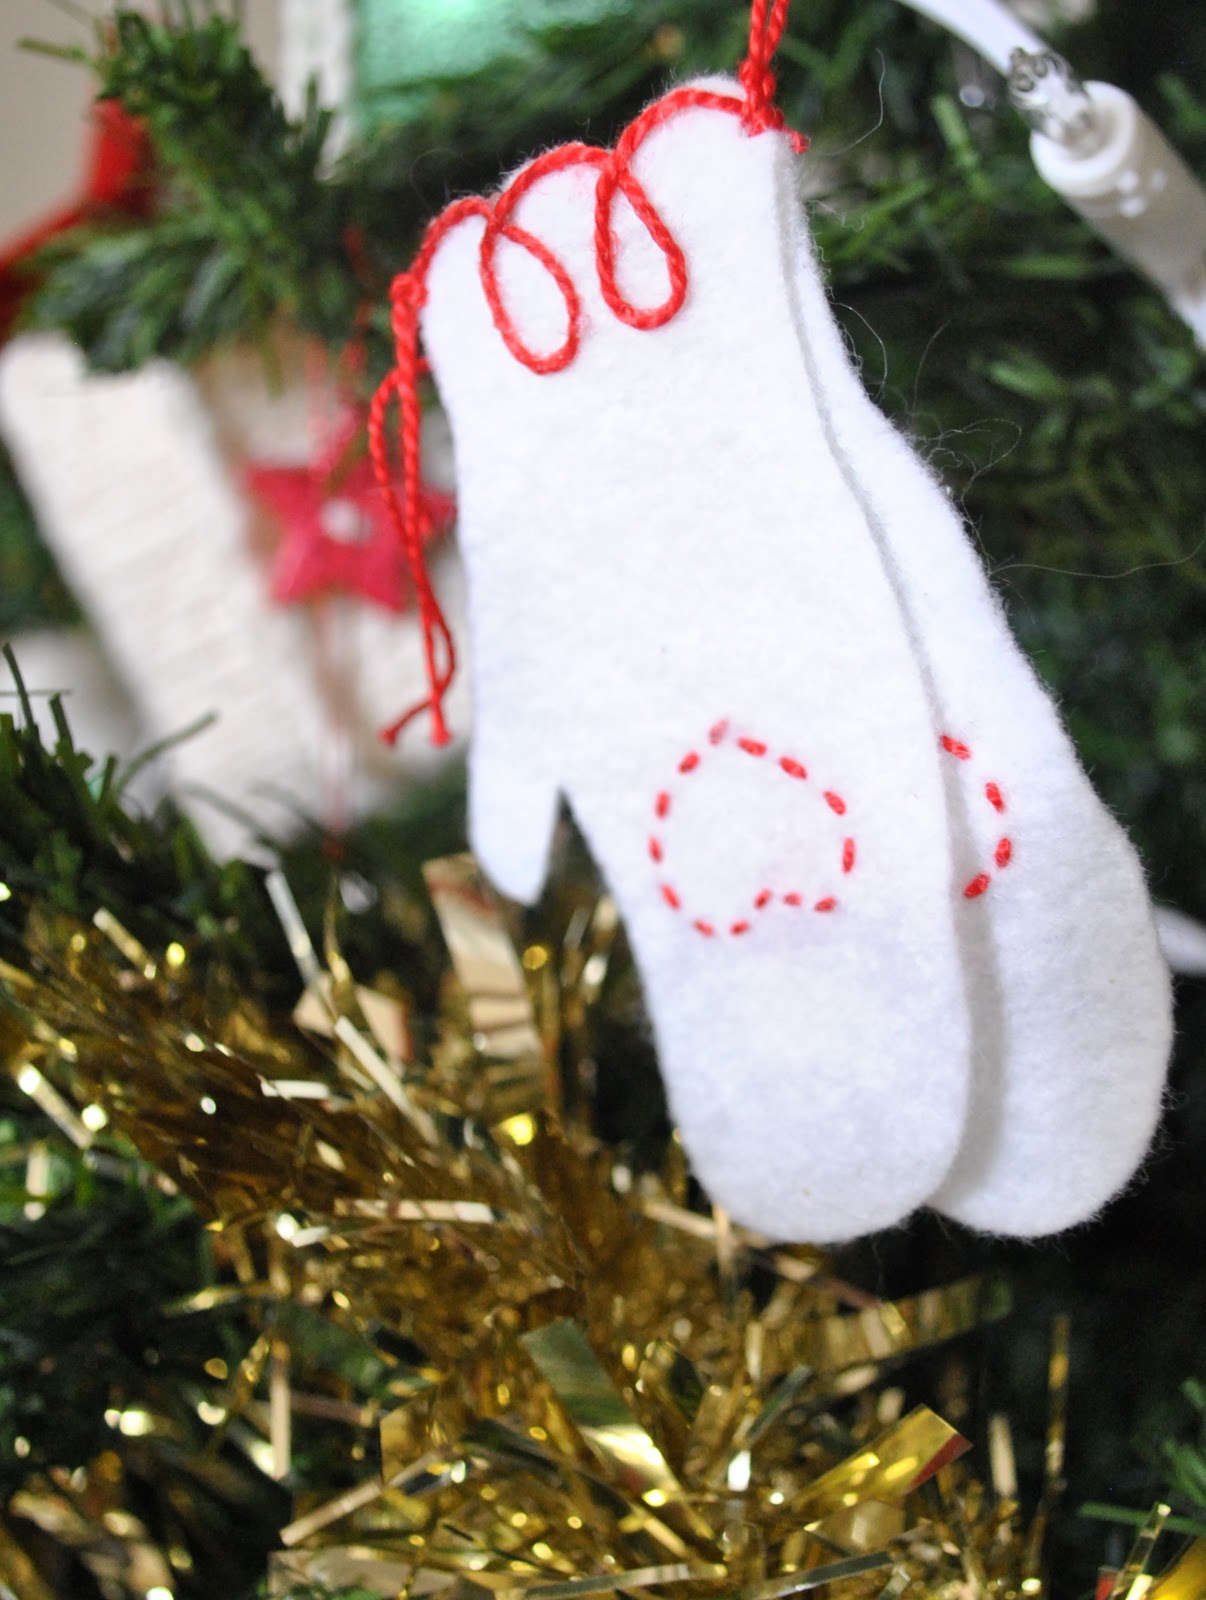
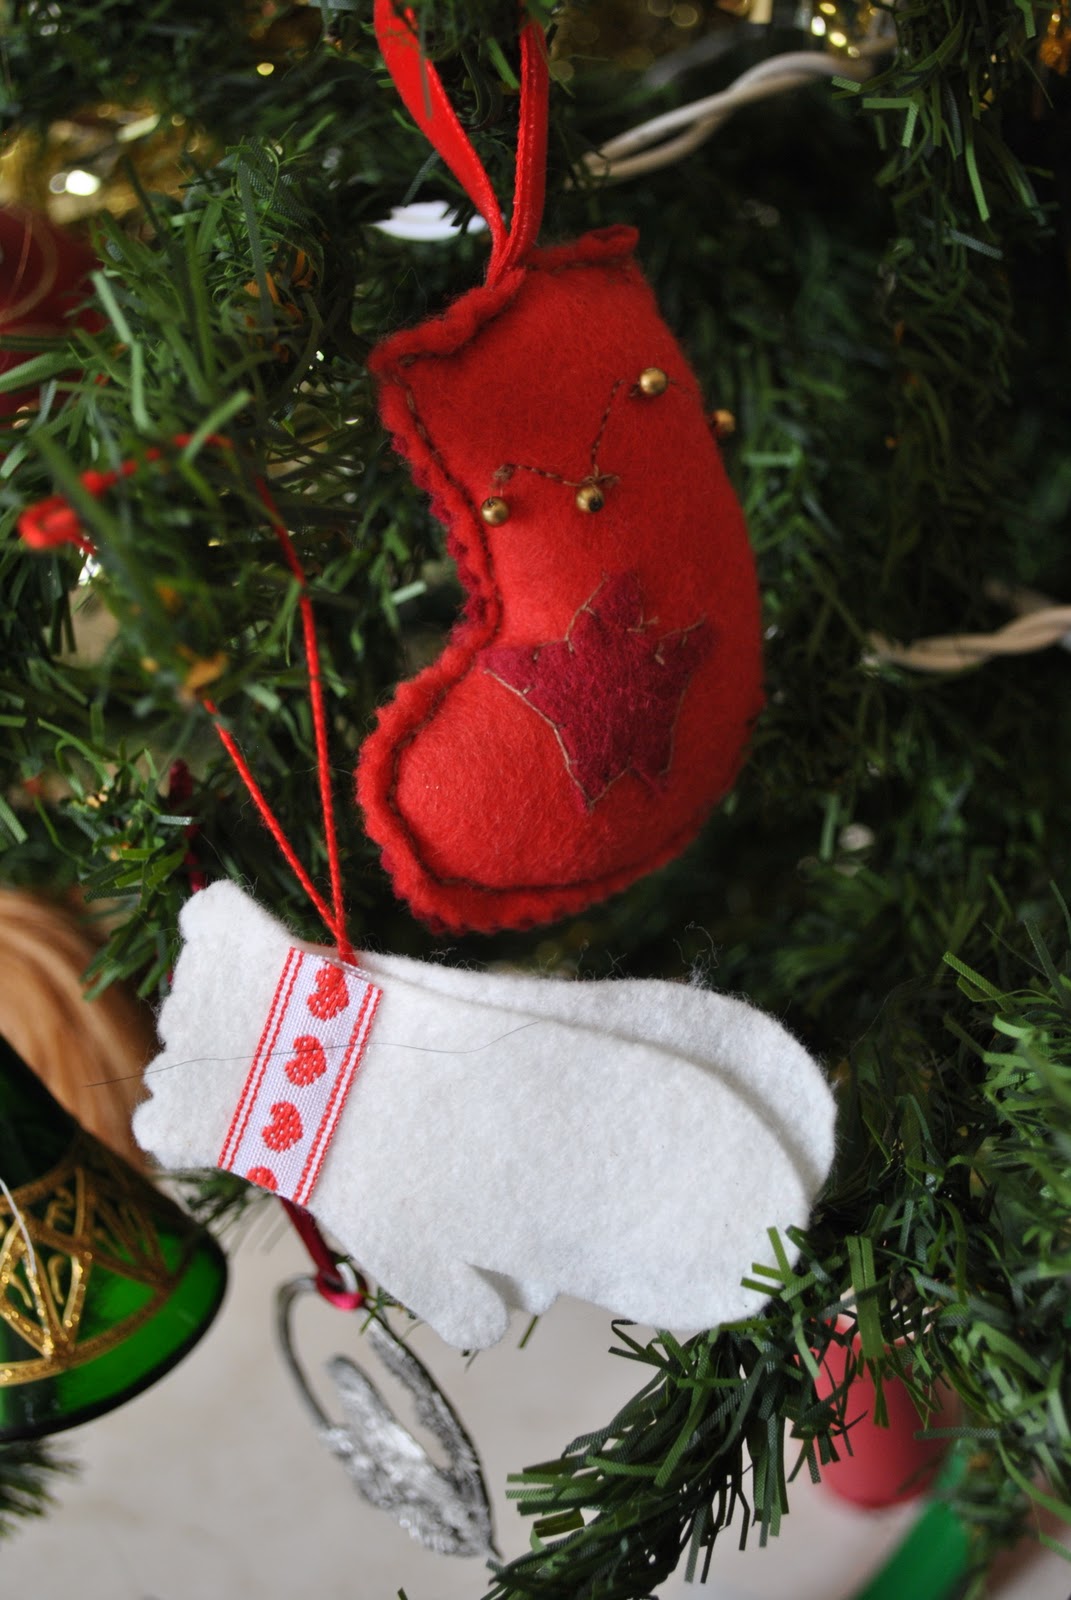
a series of mittens and gloves, of a single width of felt and decorated in various ways.  These made nice and simple little gifts for friends.  The little glittery gold bell was made by a 4 yr old Sam, and he made 4 of these in different colours and shapes.  Cassie made the stuffed stocking

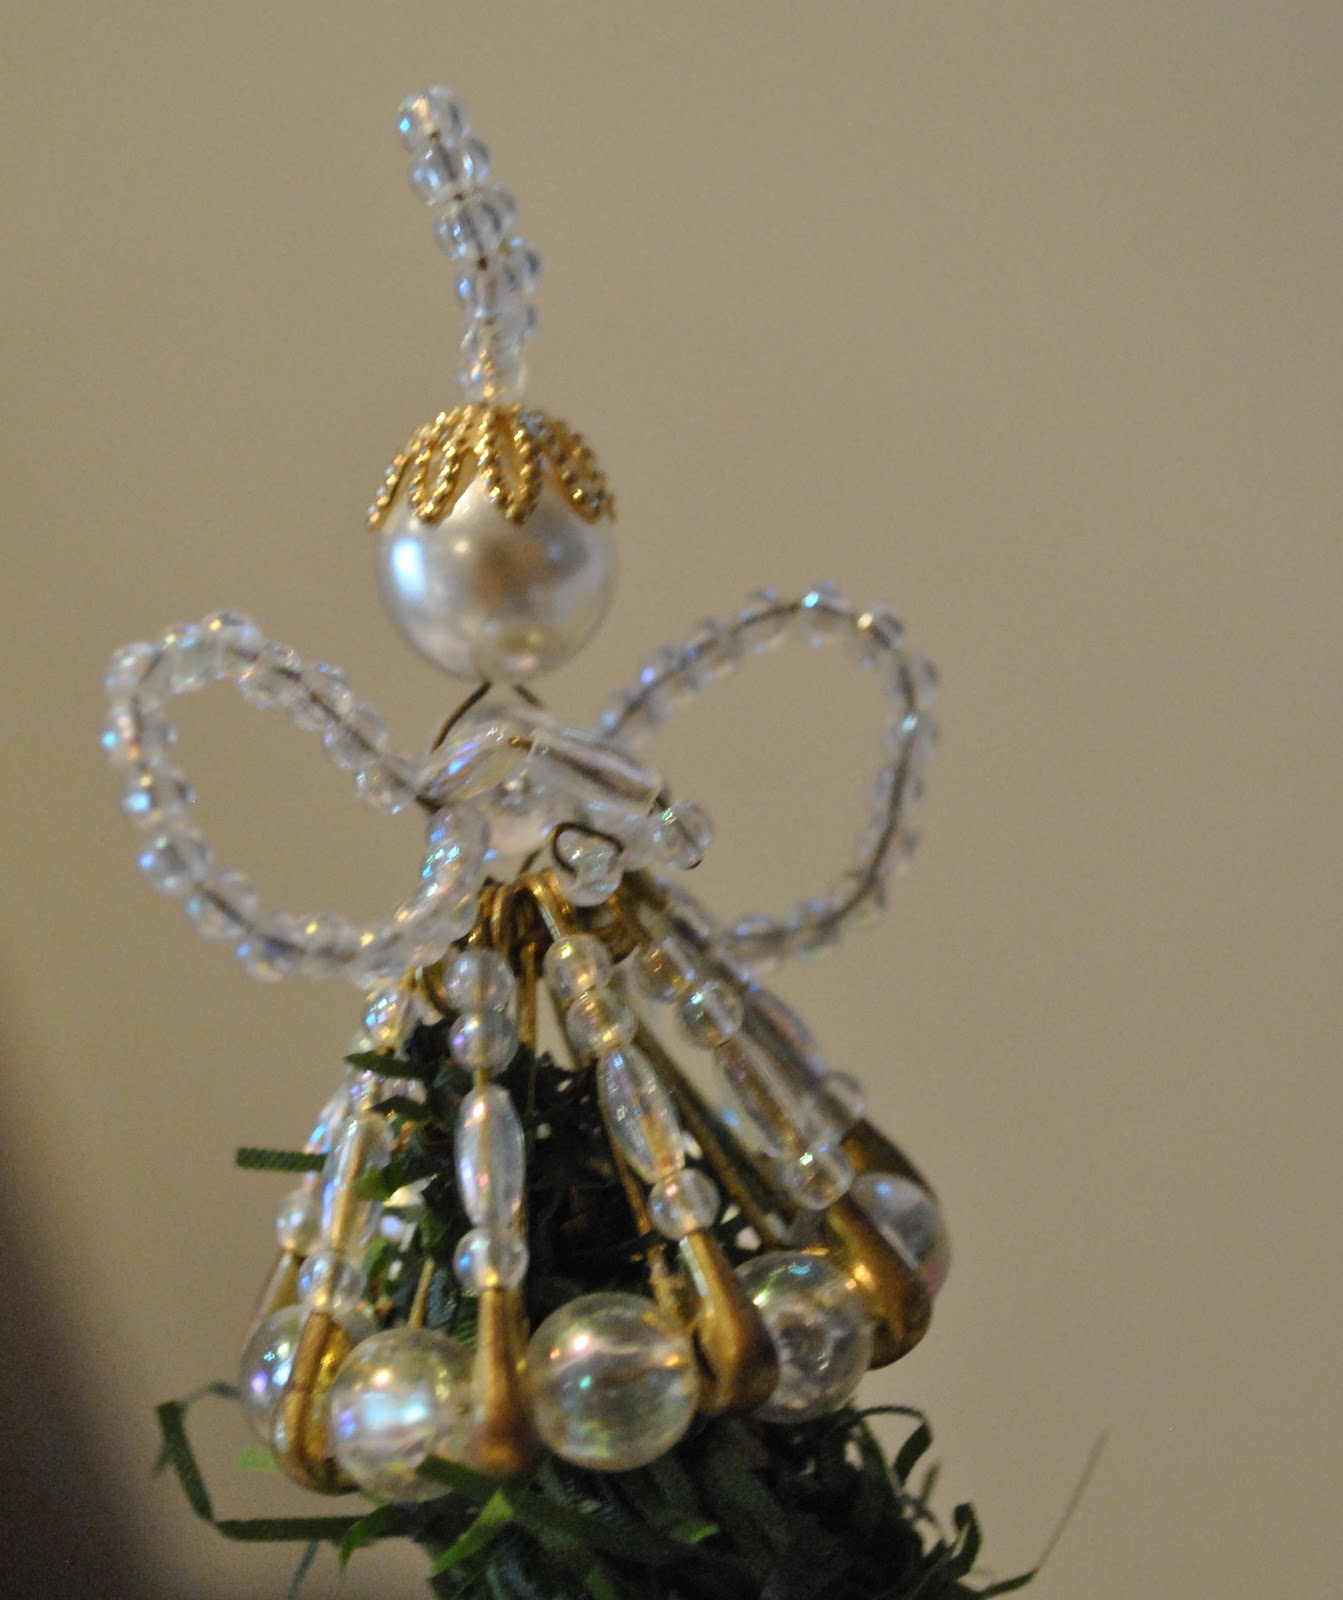
a fairy… a lot of girls of my age would have come across this project, made out of safety pins and beads.  I think it was out of a magazine, or on Better Homes and Gardens, or something like that.  A group of my friends and I all made one together.  Her place is on the top of the Christmas tree, when she has a fairy light stuck up under her skirt (keep it clean now) she actually looks pretty speccy*!                   (* Aussie slang for spectacular)

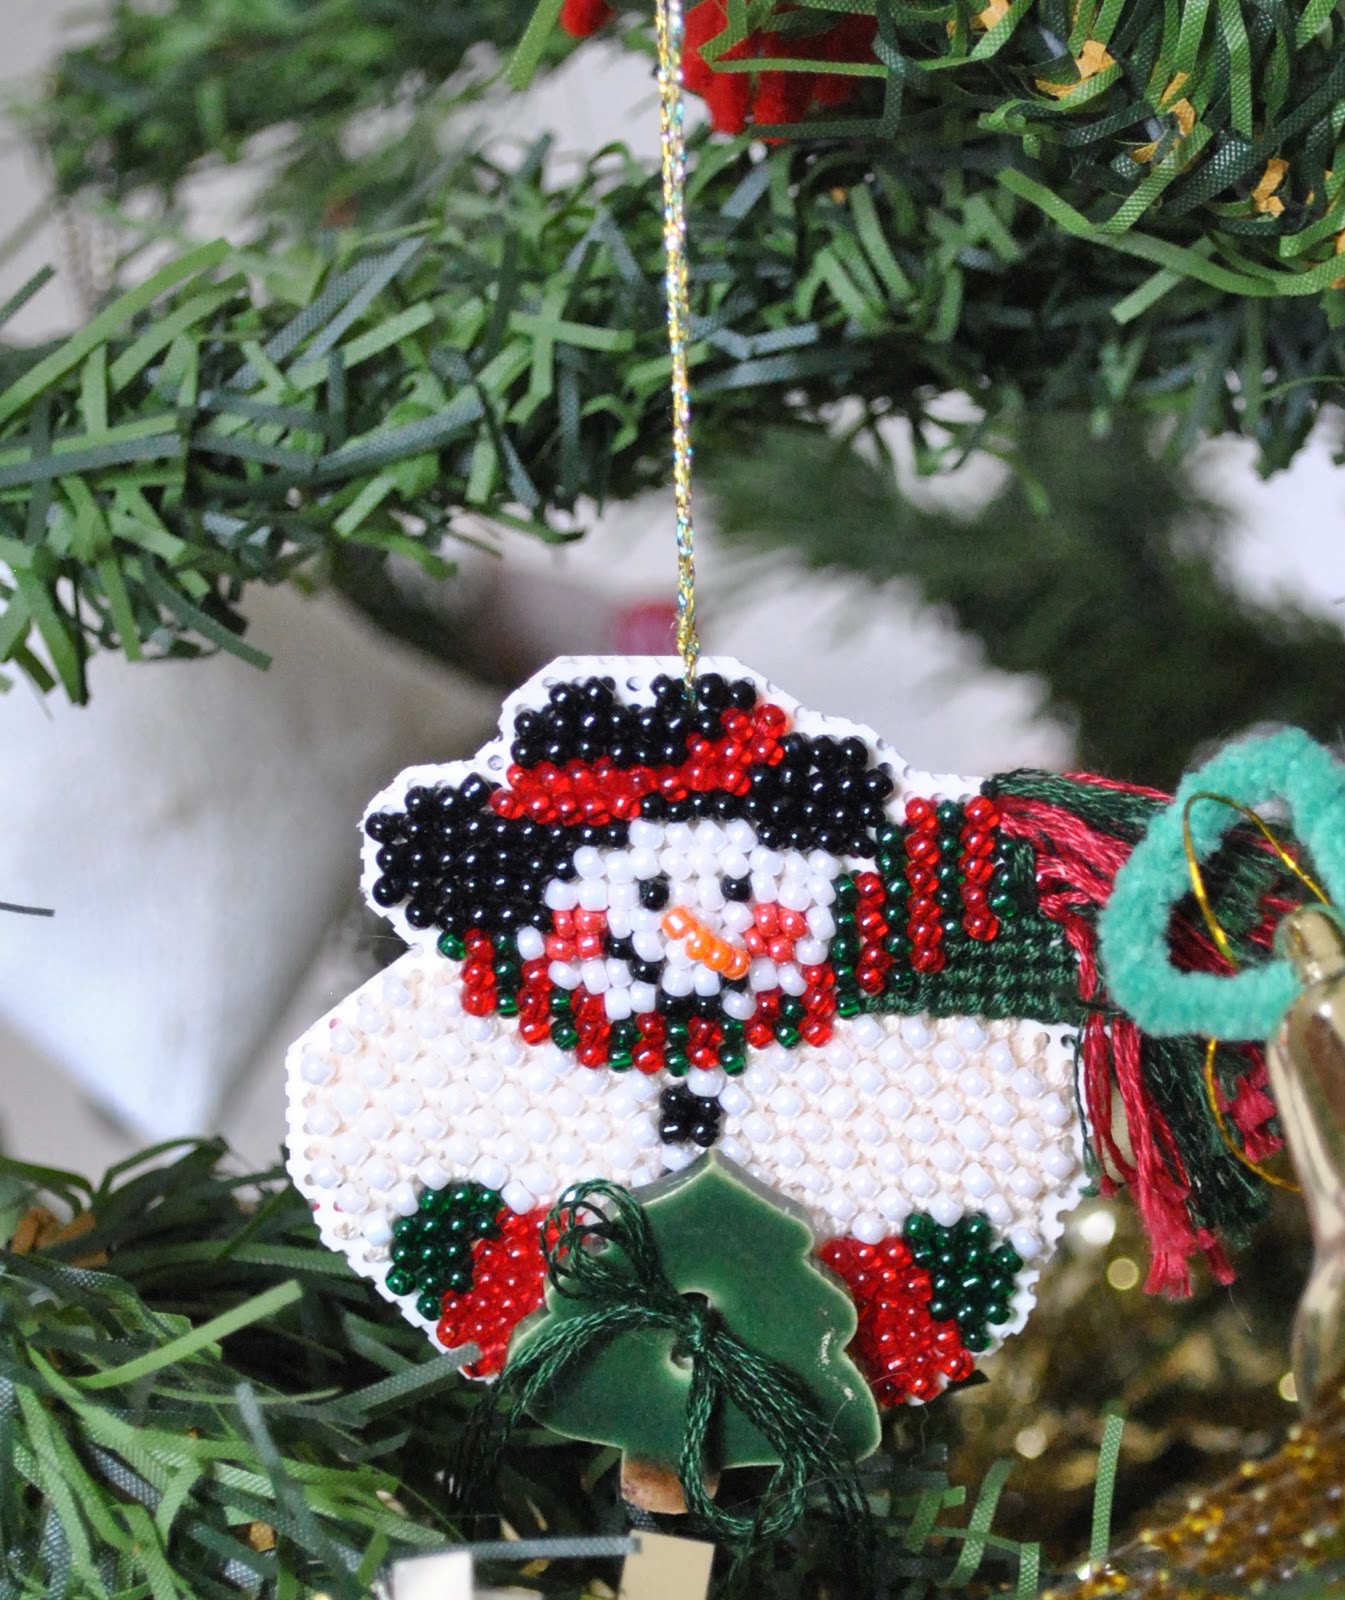
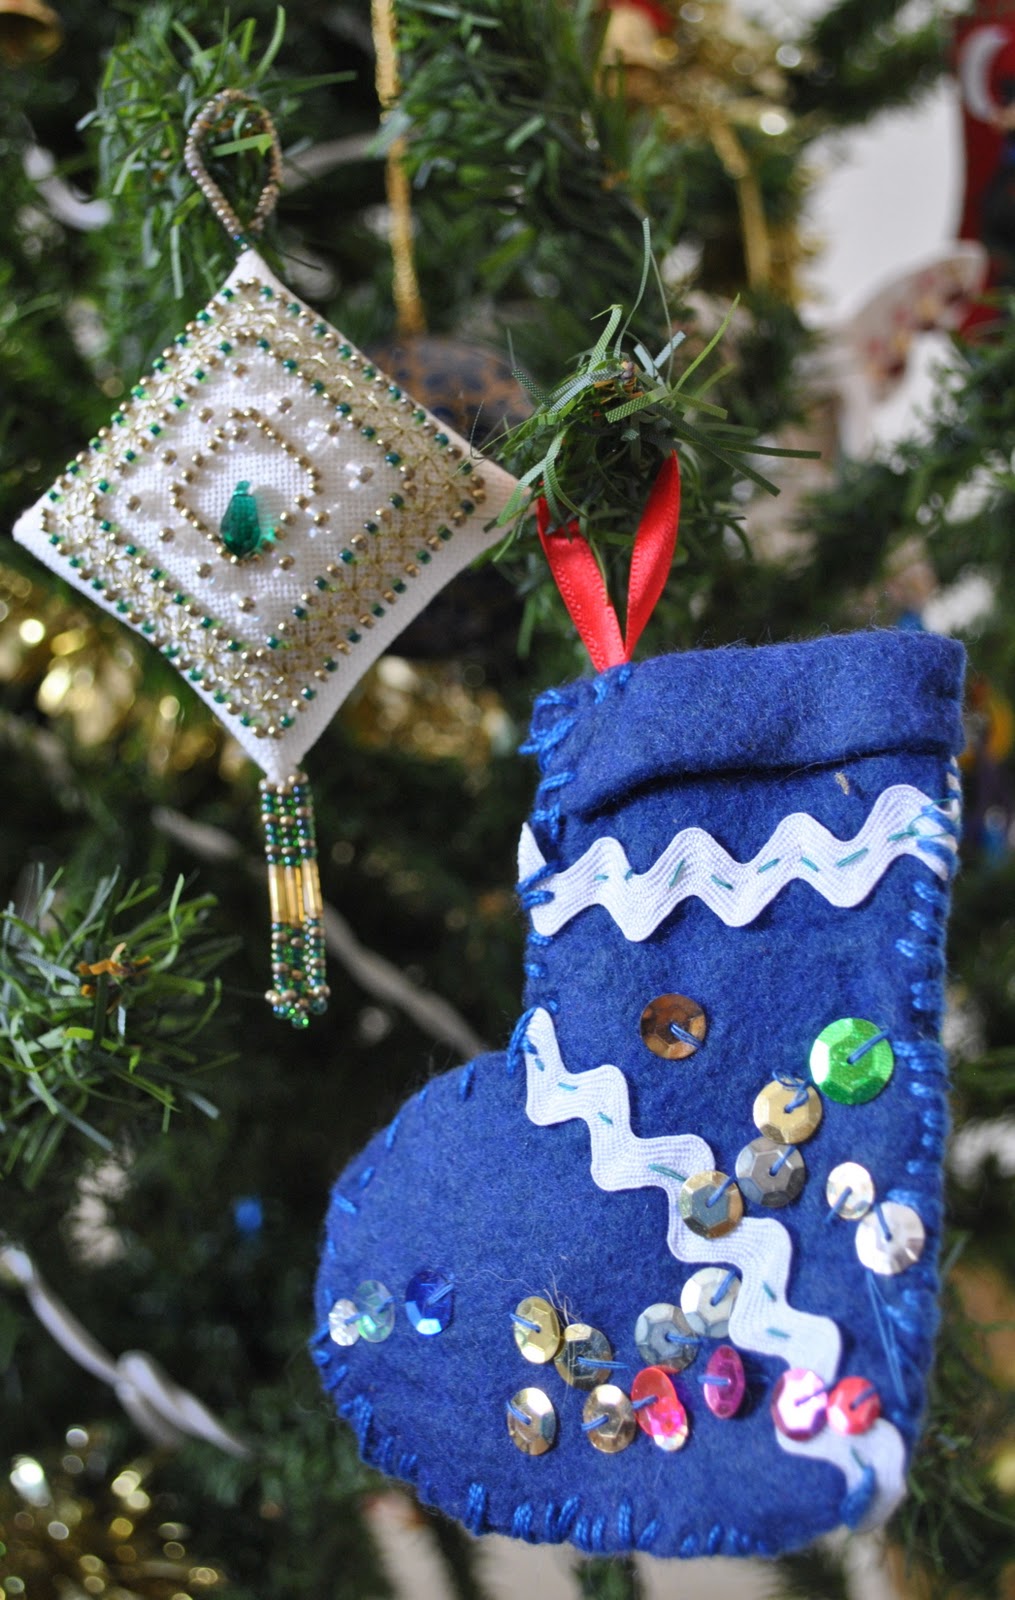
… beaded snowman and white beaded and embroidered pillow both from kits (by me); the blue sequinned and embroidered stocking by a pre-school Cassie

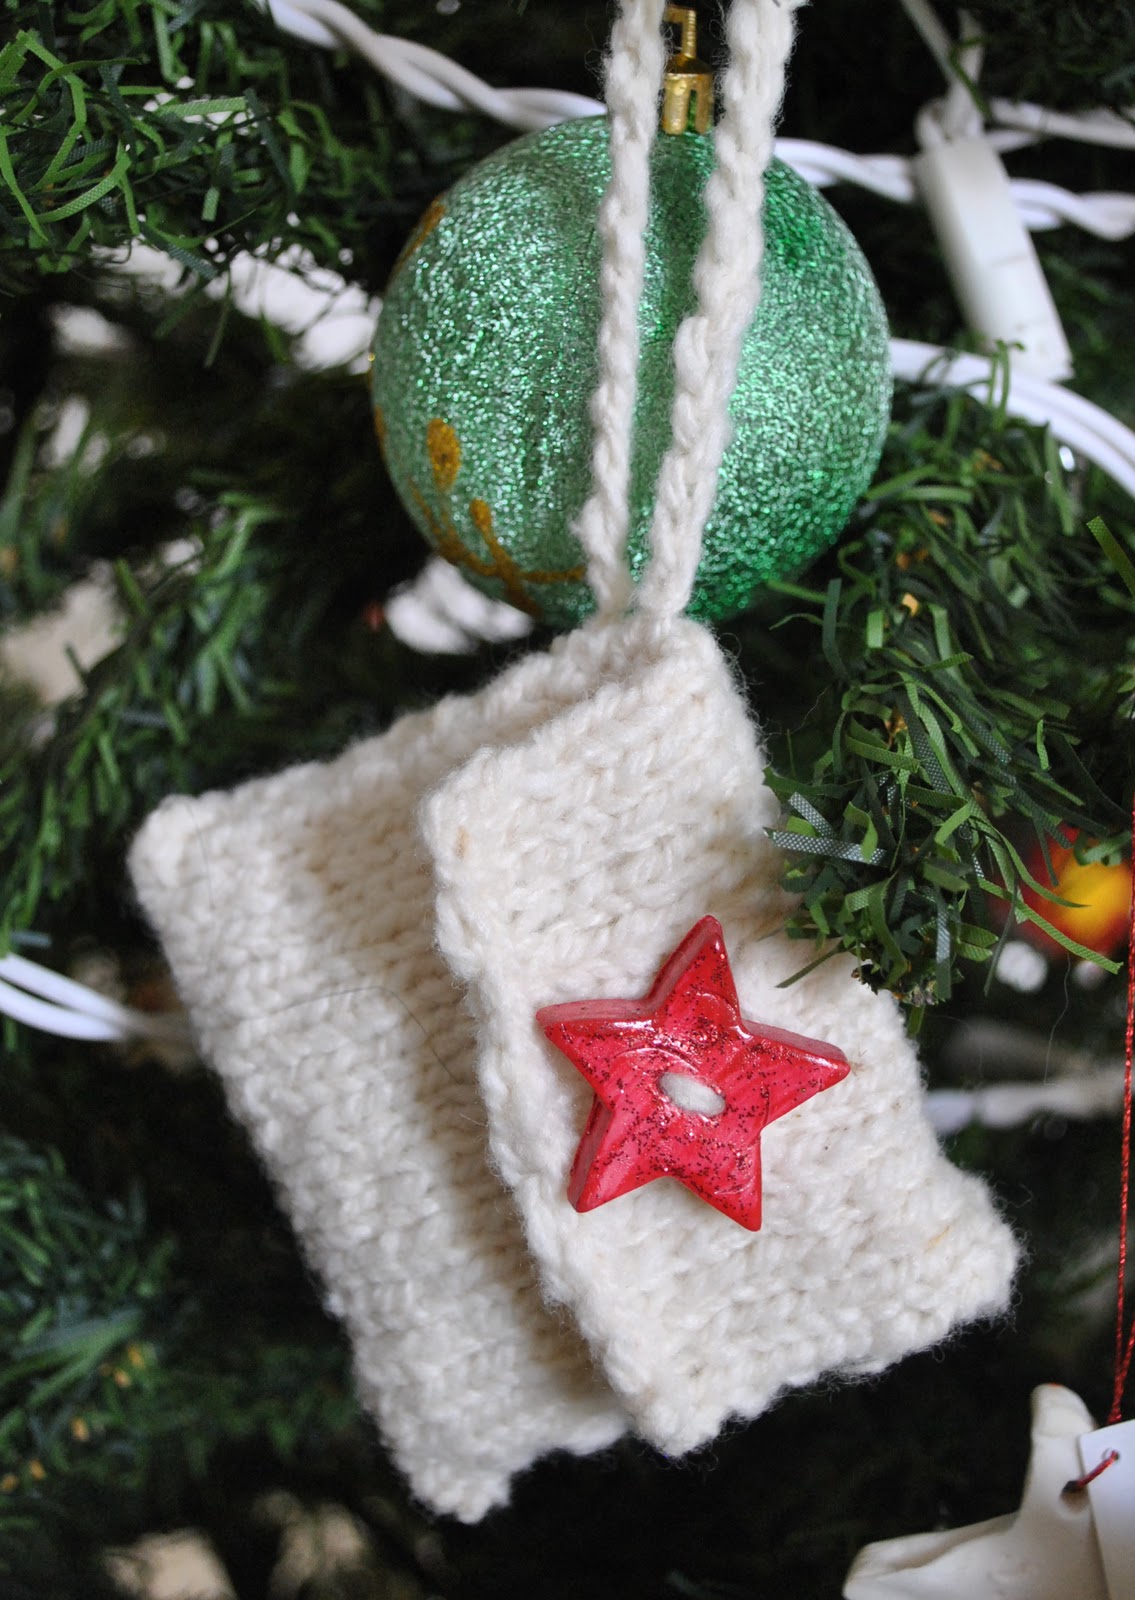
Using up some leftover wool, one year I made a series of knitted envelopes filled with pot pourri, to give to friends.  The star buttons are made from Fimo clay, painted with acrylic paint and with glitter sprinkled onto the wet paint.  (the gold and green ball was a kindy project by Sam too)

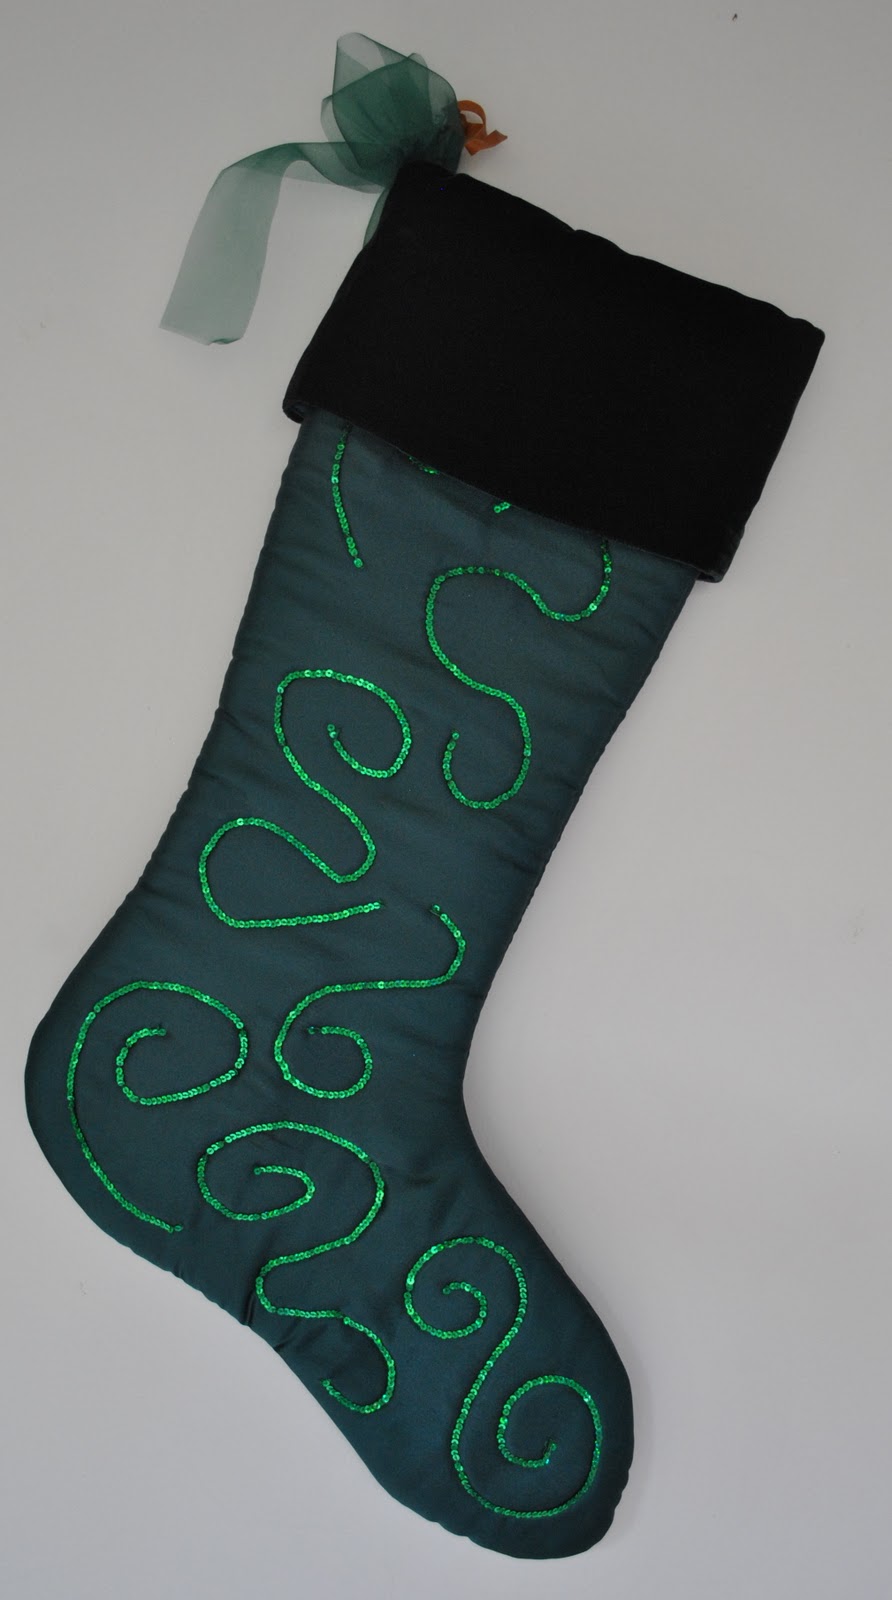
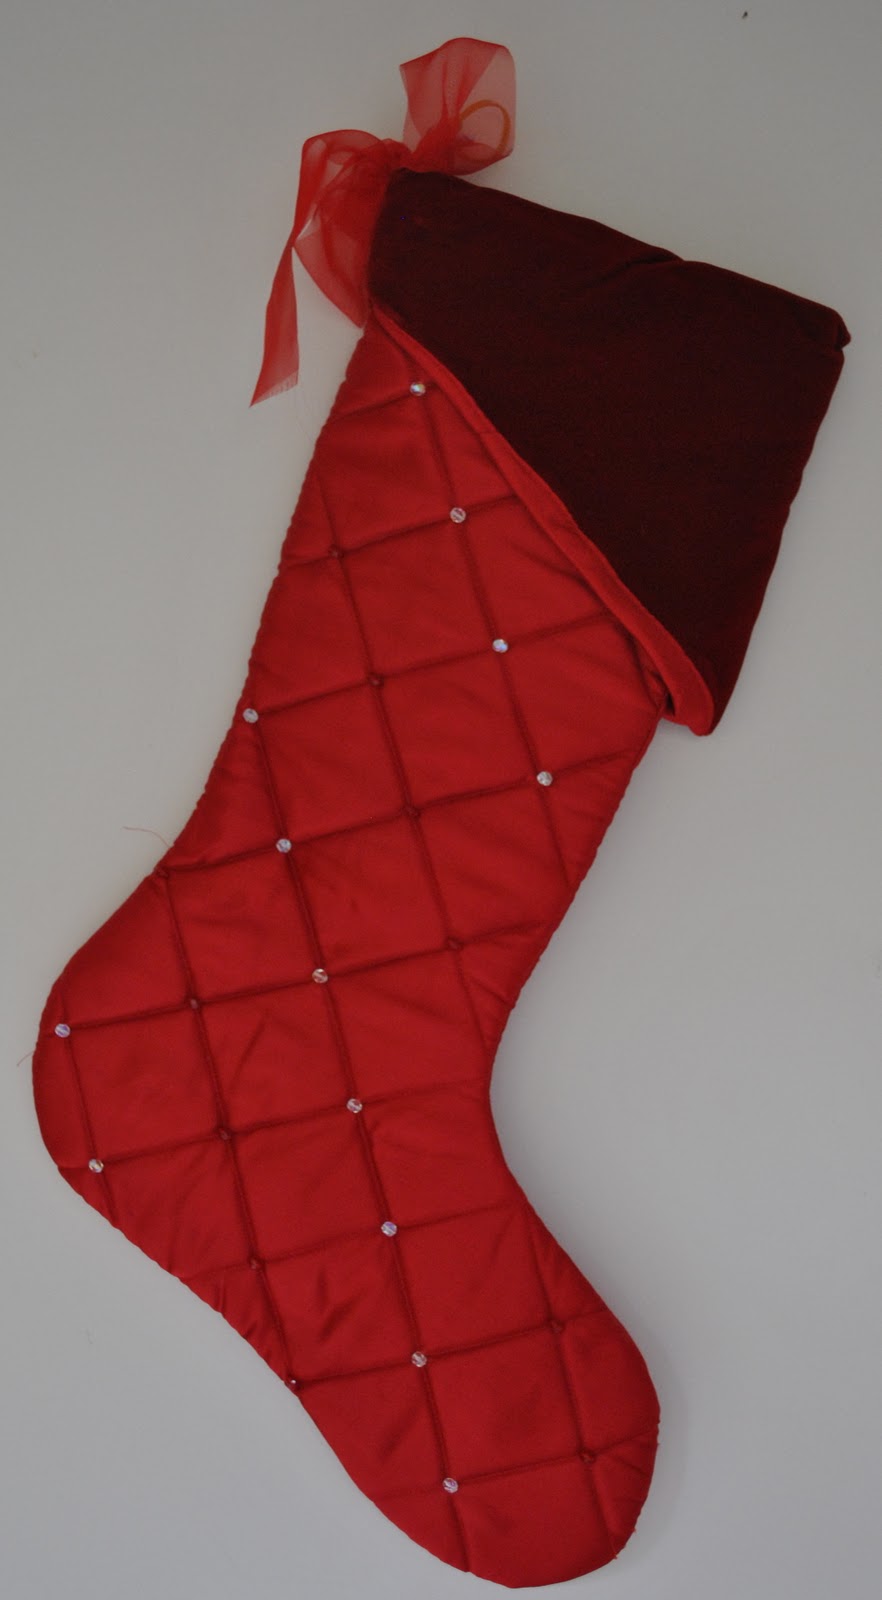
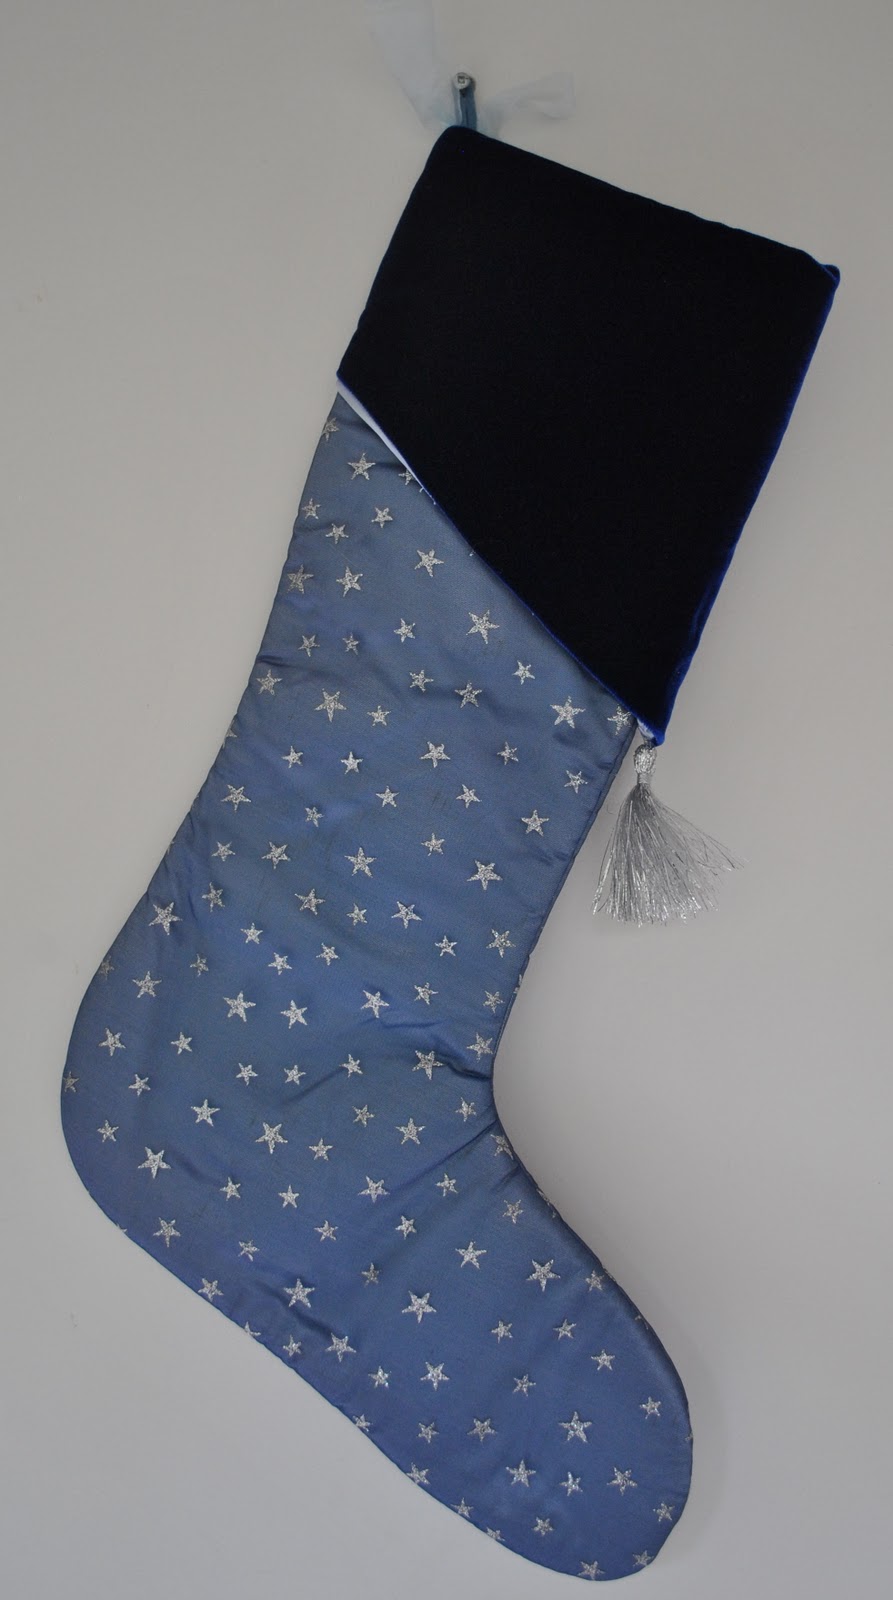
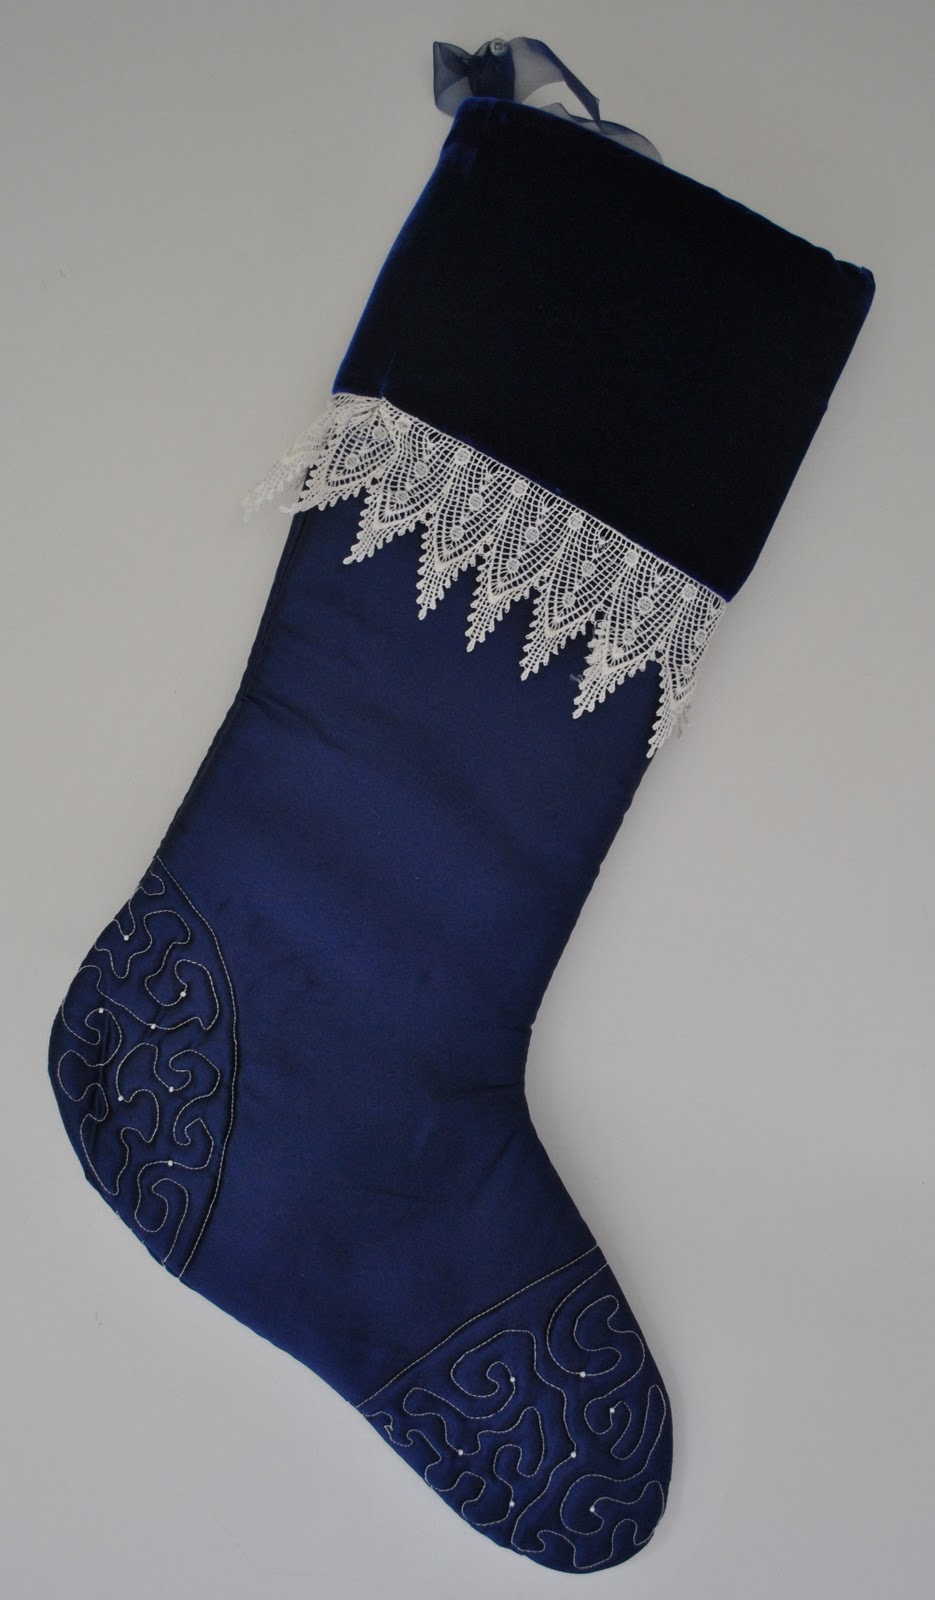
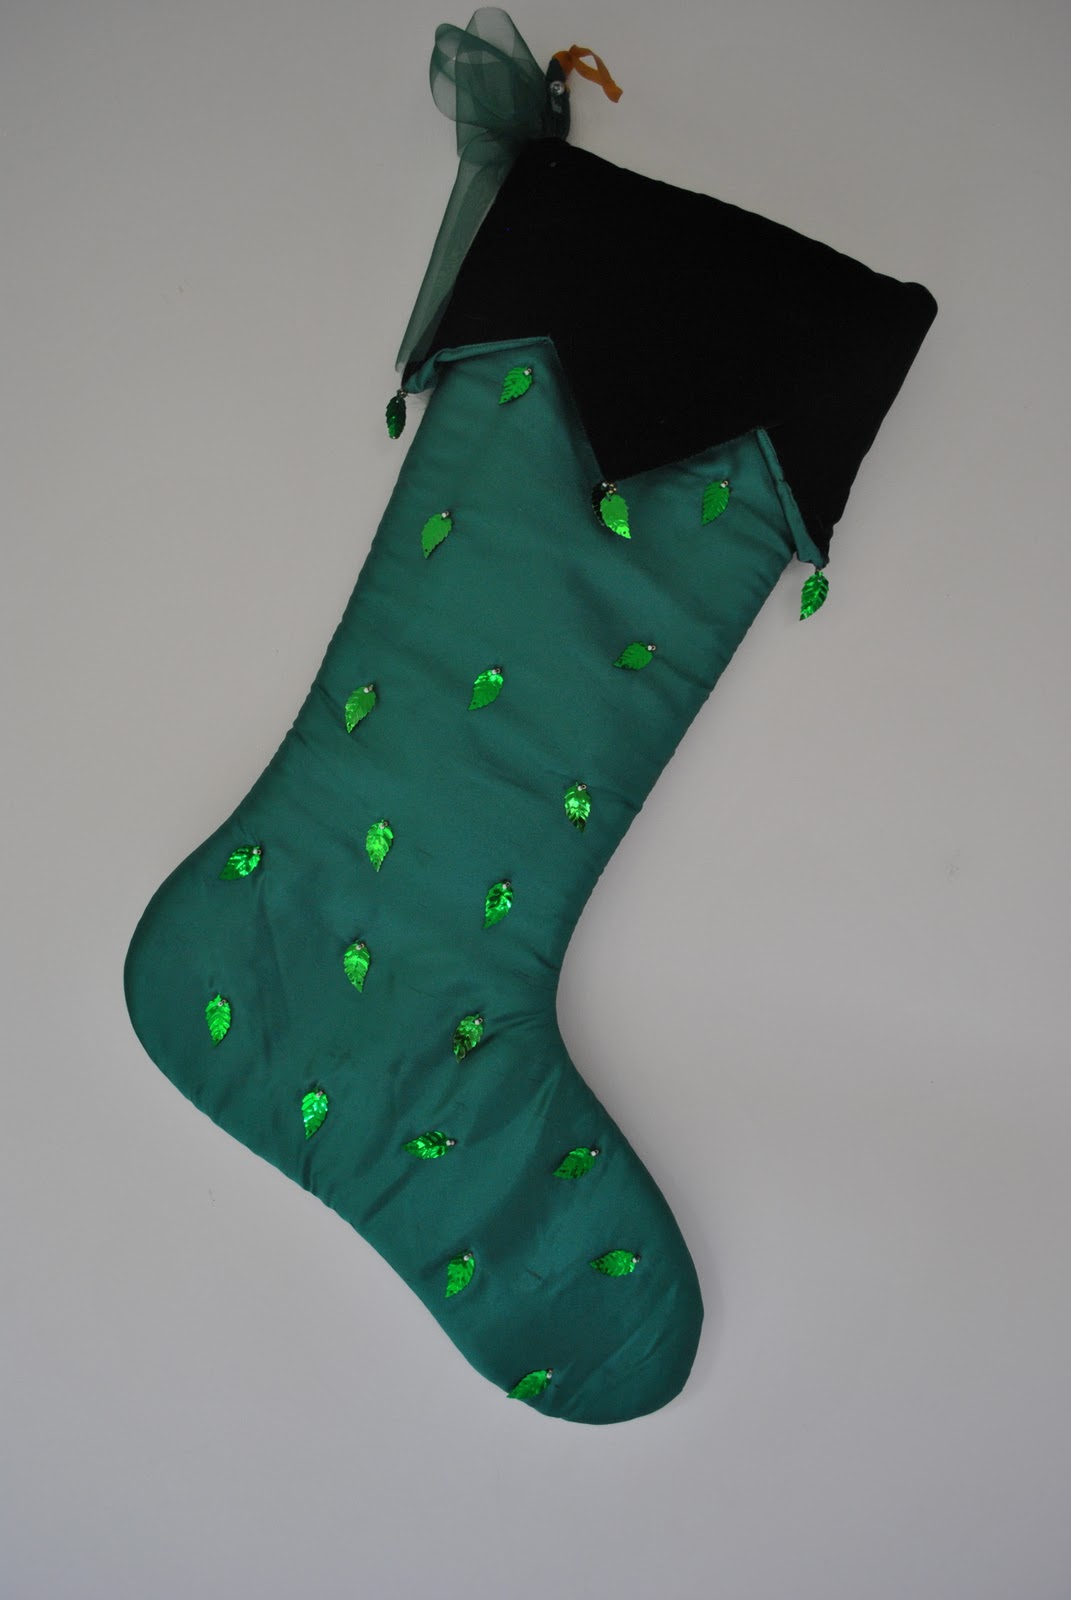
A few years ago I got really enthusiastic and made everyone in our family a glitzy Christmas stocking; big enough to be worn on a real adult foot, believe it or not…  These are all of satin, each front and back double-layered and padded with old ironing board padding (yup, I keep stuff like that, just in case; sad, huh?), and with velvet cuffs, all decorated in an individual way.  They each have a cotton loop to hang them up, even though they never ever actually get hung up since I baulk at having nails hammered into our beautiful jarrah mantlepiece… (that’s an over-my-dead-body sort of a thing)  They usually lie flat around the bottom of the Christmas tree.

pinterestmail

A handmade Christmas

I do admire other people’s Christmas trees, the ones which are all glitzy and sparkly and beautifully colour co-ordinated, sometimes even with a new colour scheme each year, but it is just not for us.  We have a small artificial tree that we use each and every year.  It was bought when we were first married 23 years ago and our collection of decorations has grown and been added to over the years and each one tells a story.  Hardly any of our decorations have been bought cold, as a finished object.  
Some of them are souvenirs that we have bought on overseas holidays, or are gifts from dear friends.  Our most precious decorations are the ones that our children made with their own chubby little fingers, and proudly brought home from kindy, daycare and preschool, and even sometimes as they got older too!  I used to be into beading and embroidery, and so made some decorations too… and some of our decorations are little things I did with the kids as fun little activities, to fill in those long weeks when Craig was working and we were home alone.

According to Aussie tradition, these gumnut babies have to be hung somewhere so they can “see” a gum tree. (embroidered and beaded on cardboard by me)

one year, Cassie and I ceremoniously transformed her Kelly dolls into elves and pixies…   Tim made the sparkly gumnut elf with googly eyes…
Cassie made this beaded gingerbread man…
you can make cool decorations using origami too… one small sheet of paper is all it takes!
the advent calendar… when my children were little this would have 3 lollies tucked into each heart pocket, and it was such a treat to take one out just before bedtime… !   The top heart would have 3 Freddoes; it was a tight squeeze to get them in there but you’ve got to have something a wee bit special for Christmas Eve! 
a clothes peg with toothpick arms and wrapped up in embroidery thread makes a cute Father Christmas… don’t you think?
a pine cone. stuffed randomly with glued-in cellophane and tinsel, makes a pretty good table decoration I reckon.  This is the very first one Tim brought home from kindy, and the beginning of my obsession with non-commercial handmade decorations…

pinterestmail
Switch to mobile version
↓